Zelda Tears of the Kingdom Destroy Ganondorf and how to beat Demon King Ganondorf
Soar to victory in the grand finale to Tears of the Kingdom.

Ganondorf is the final boss of Zelda: Tears of the Kingdom and with multiple stages, will test your skills to their limits.
This guide will explain how to prepare for the final challenge of the Zelda: Tears of the Kingdom including what quests you should have completed, what to bring, and the steps to vanquish this Demon King for good.
Remember - it’s dangerous to go alone and this guide contains spoilers! We've done our best to avoid any major storyline spoilers for this fight.
On this page:
Explainers:
Ganondorf phases:
This really is the final part of this epic game, so if you’re after help for other important quests and upgrades in the game, you can consult our Zelda: Tears of the Kingdom walkthrough.
How to prepare to destroy Ganondorf in Zelda Tears of the Kingdom
Ganondorf is located in Central Hyrule Depths, deep below the floating Hyrule Castle. Similarly to Breath of the Wild, it’s possible to seek him out from very early on (unlike that game however, his location isn’t apparent until you’ve played through the main quests). Of course, if you rush straight in, you’ll have a very difficult time of it, and that’s before you even make it to the fight itself.
Before you even make your way down into Central Hyrule Depths, make sure you have done the following quests:
- Complete all of the four champion’s quests by investigating the Regional Phenomena in each of Hyrule’s four main regions, and in turn awaken the five sages. They will be key allies in your final battle.
- Recover the Master Sword from the Light Dragon. The recommended way to do this is to reach the Lost Woods and defeat Phantom Ganon beneath the Deku Tree Chasm, which triggers the Trail of the Master Sword quest. Not only does the Master Sword deal high damage, doubling damage against Ganondorf, but it can also be fused with other materials for further damage.
- Visited all the geoglyphs in Hyrule and witnessed all the memories in the Dragon’s Tears to get a full picture of the story, which will also help make sense of the ending in the final battle.
- Complete as many Shrine quests as you feel comfortable with so that you have enough hearts and stamina to survive the final battle. 20 hearts (the maximum displayed on one row) should tide you over well, while you need a minimum of two full stamina wheels in order to recover the Master Sword.
- Try to upgrade your best armour set at least once by getting at least one Great Fairy to emerge from their bud. If you can look the part and dress in one of Link’s legendary tunics, then even better.
- Upgrade the Purah Pad so that you can use Travel Medallions. Central Hyrule Depths is a long way down to reach Ganondorf, and there will be a lot of threats along the way. If you find yourself short on supplies and need to retreat, using a Travel Medallion will save you having to re-run the gauntlet.
You’ll also want to bring plenty of supplies to help you out in this final gauntlet. This doesn’t mean you need to pack out your inventory slots but some key recommendations are as follows:
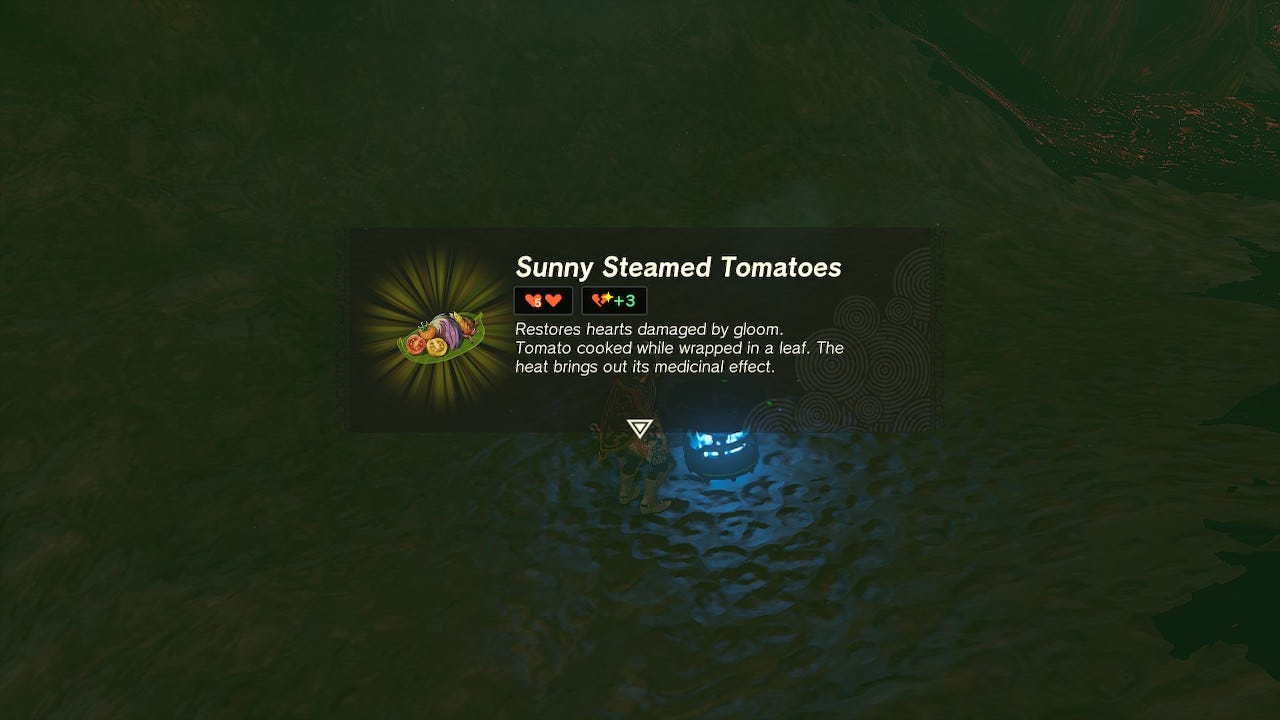
- Cook plenty of meals. The biggest concern you have is that any attack you suffer while down in Central Hyrule Depths will inflict you with Gloom, reducing your maximum hearts. For this reason, the most important meals to cook are ones that will restore hearts damaged by Gloom, which requires Sundelions as an ingredient.
- Have plenty of shields on hand. The defensive game, especially parrying, is important in the fight against Ganondorf but, since these can be hard to time, you’ll want durable shields to last you the fight, preferably anything with a defence of 30 and above. Why not make sure you find the Hylian Shield as well?
- While the Master Sword won’t break when fighting Ganondorf, it may lose power if you’re leaning on it in the fights leading up to him, so it’s recommended you have plenty of strong weapons as back-up, and make sure they’re fused with strong materials beforehand. Parts you’ve picked up with fights against black or silver variant monsters, Lynels or Gleeoks will serve you well.
- Have some powerful bows on hand and get hold of as many arrows as you can. You may also want to farm Bomb Flowers, so that you’ve got enough to destroy an army (30-40 is a good number to aim for).
- This is probably the biggest cheese tactic but if you’ve autobuilt any contraptions that can get you in the air, these can make the final battle laughably easy. At the most basic, you could bring a supply of fans from Zonai Dispensers.
Once you feel confident and prepared, it’s time to descend to the deepest part of Hyrule for the final battle against the Demon King, but not before taking on his minions first.
How to the defeat the Demon King’s Army in Zelda Tears of the Kingdom
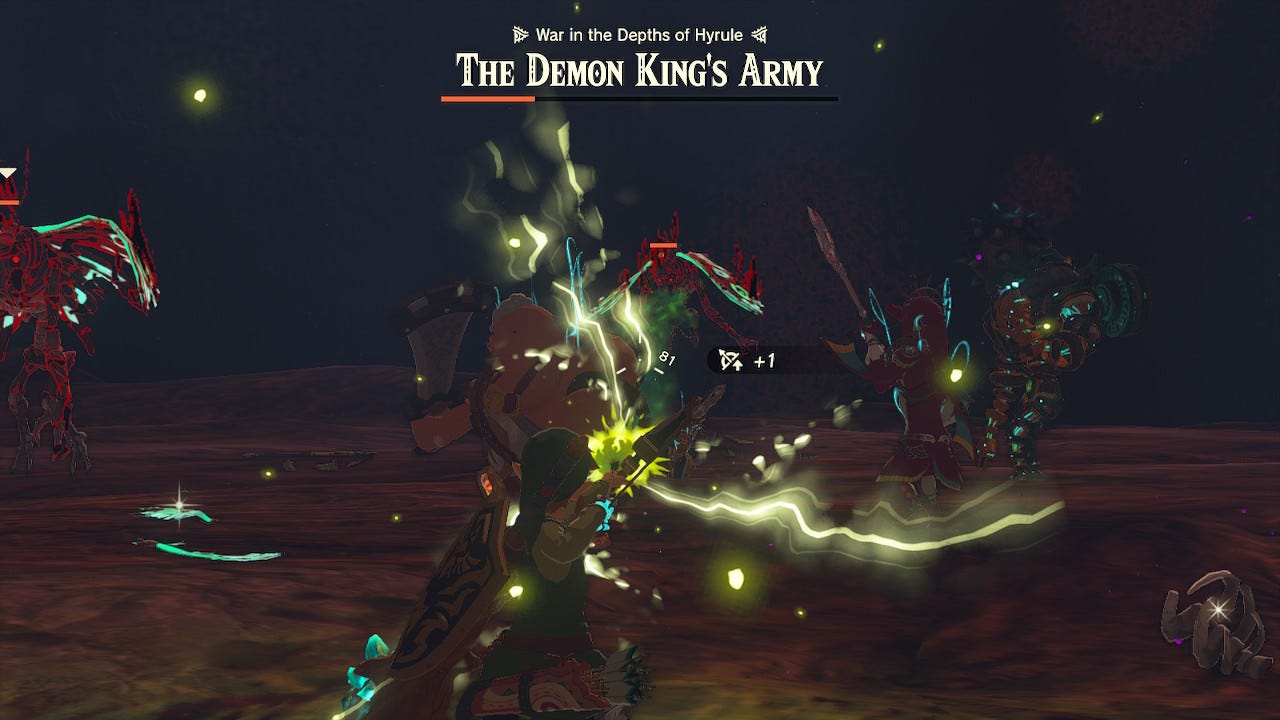
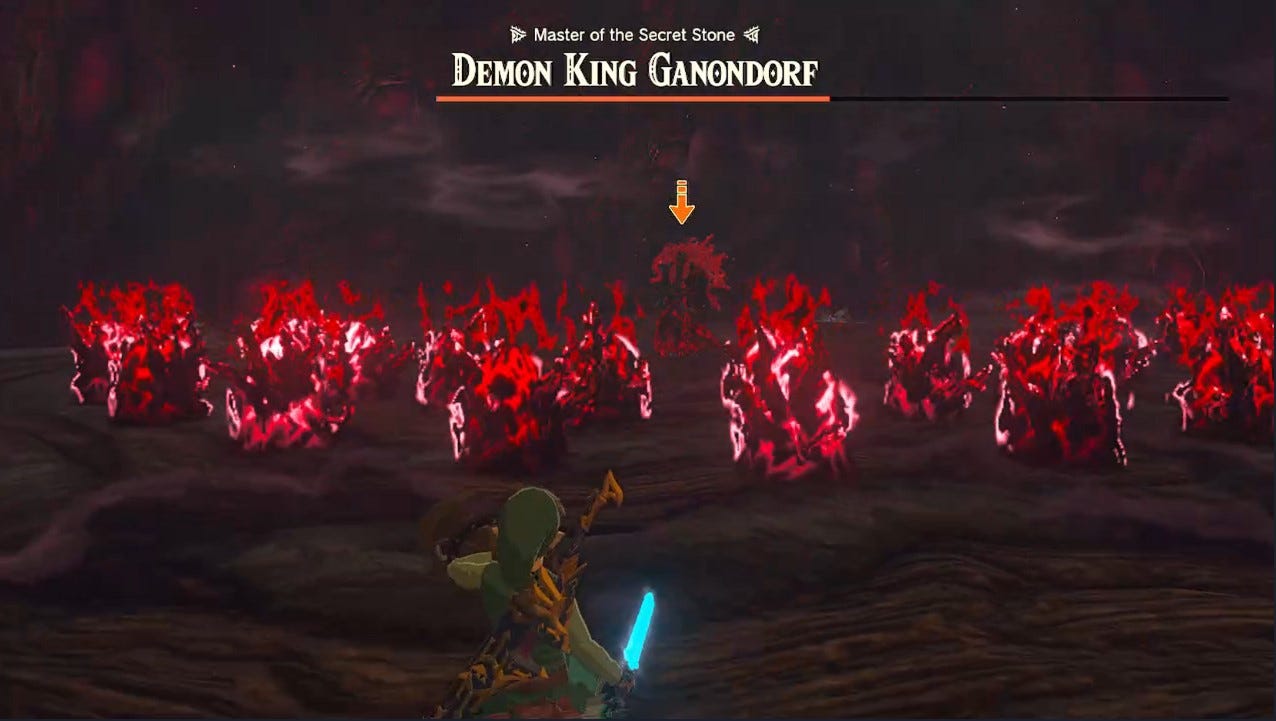
Before you face the Demon King, you’ll have to face waves of the Demon King’s Army. Not to worry however, if you’ve awakened all the sages, the four champions and the fifth sage will join you in this phase, so you don’t have to fight all alone.
There’s four waves in total, beginning with corrupted Bokoblins, followed by corrupted Lizalfos, then by corrupted Gibdos and, finally corrupted Moblins, with all four waves represented with one big health bar.
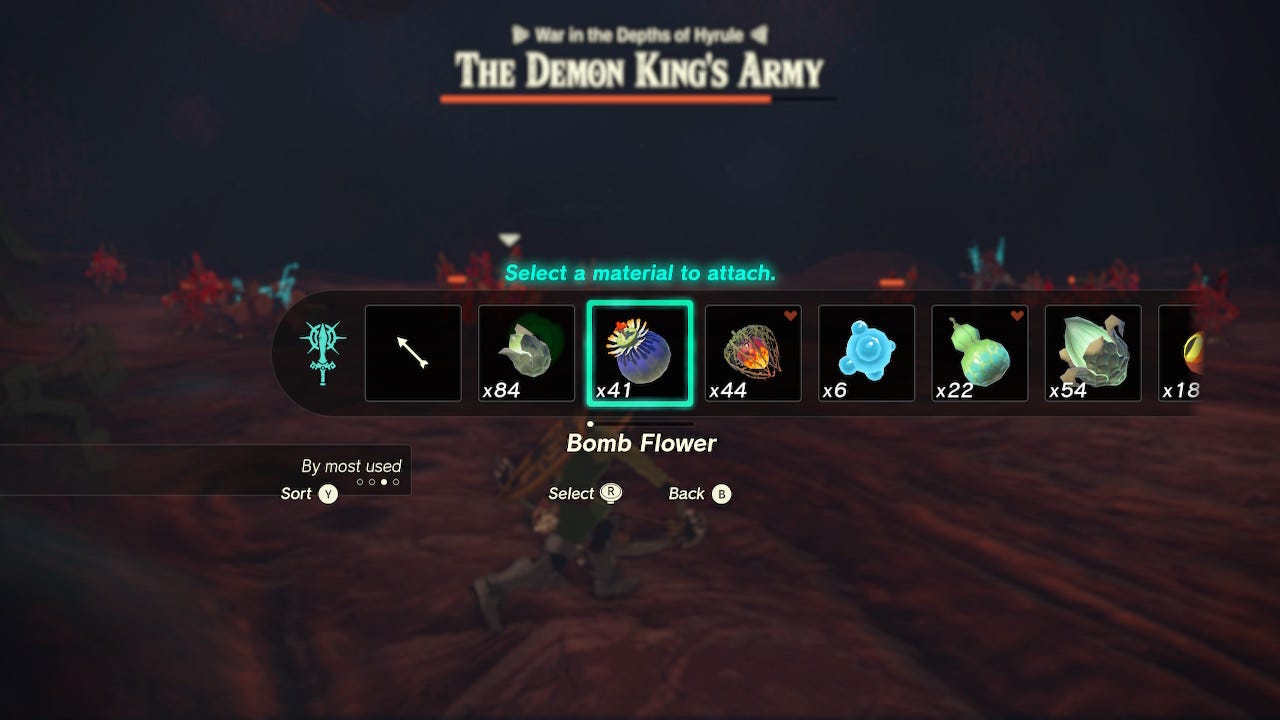
When fighting the enemies in melee, ideally use another weapon rather than the Master Sword in case it runs out of energy just before the fight with Ganondorf. However, the best way to take care of these waves is with bombs, so the blast radius can damage multiple enemies. While you may choose to throw Bomb Flowers instead fusing them to your arrows to conserve the latter, being able to aim for the head can also ensure you get critical damage, and more bang for your buck. Enemies will, however, charge towards you so make sure you run away and keep your distance before lobbing or firing any Bomb Flowers to avoid getting caught in the blast.
Keep an eye on the number of enemies as you may find it’s more effective to pick off the stragglers with just an arrow, which you can fuse materials too. This method works well on each of the waves, though shock-based attacks are more effective for Gibdos. But as Riju will be fighting independently here, you won’t be able to use her power. Instead, fusing arrows with Shock Fruits will, however, do the trick against the both ground-based and winged Gibdo.
If you want to make this phase even easier, you can take out and activate a Zonai fan then use your Paraglider to get in the air. You can then have Link enter slow motion when aiming with his bow - either for letting loose some bomb arrows or targeting individual enemies.
When the Demon’s King Army has been defeated, it’s not quite over as you’ll be confronted by corrupted versions of each of the main bosses you had previously fought in the story - that’s Colgera, Marbled Gohma, Mucktorok, Queen Gibdo and Seized Construct.
If you have not fought any of these bosses by completing the main quests, then you will have to do a boss rush here. Of course, if you have followed our recommendation to awaken all the sages, they will take it from here, letting Link get on with the headline match - the showdown with Ganondorf!
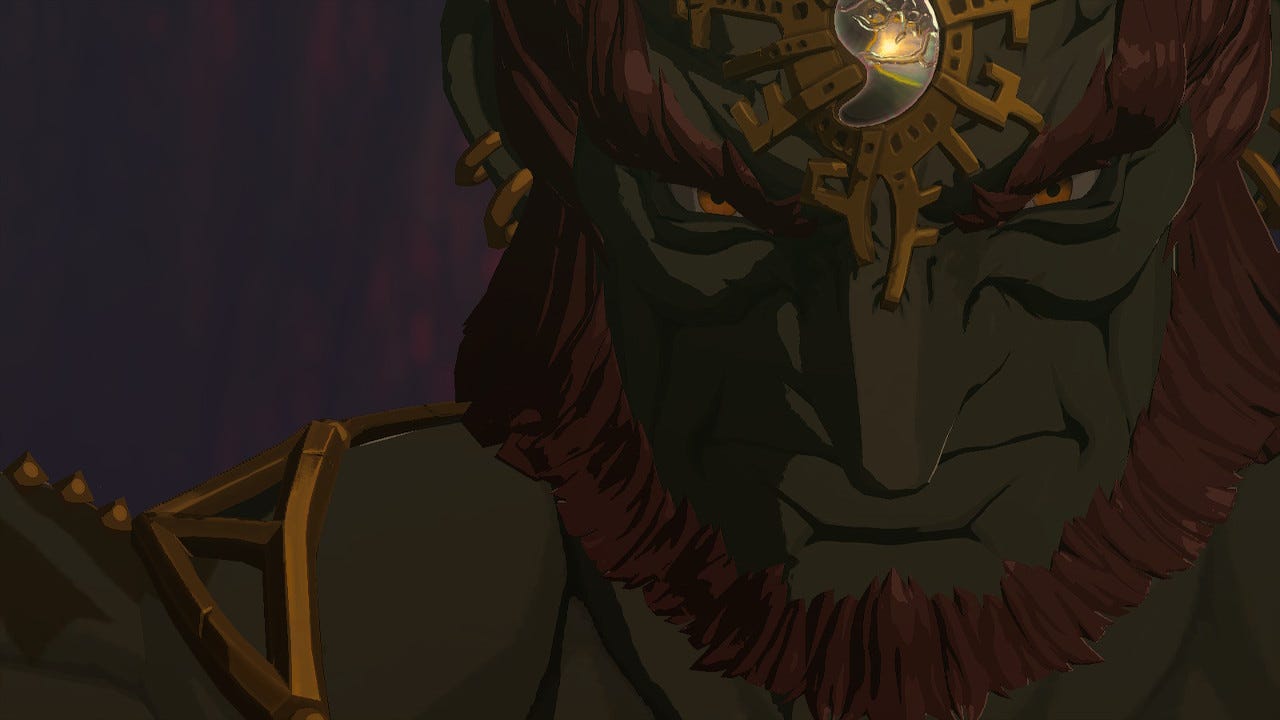
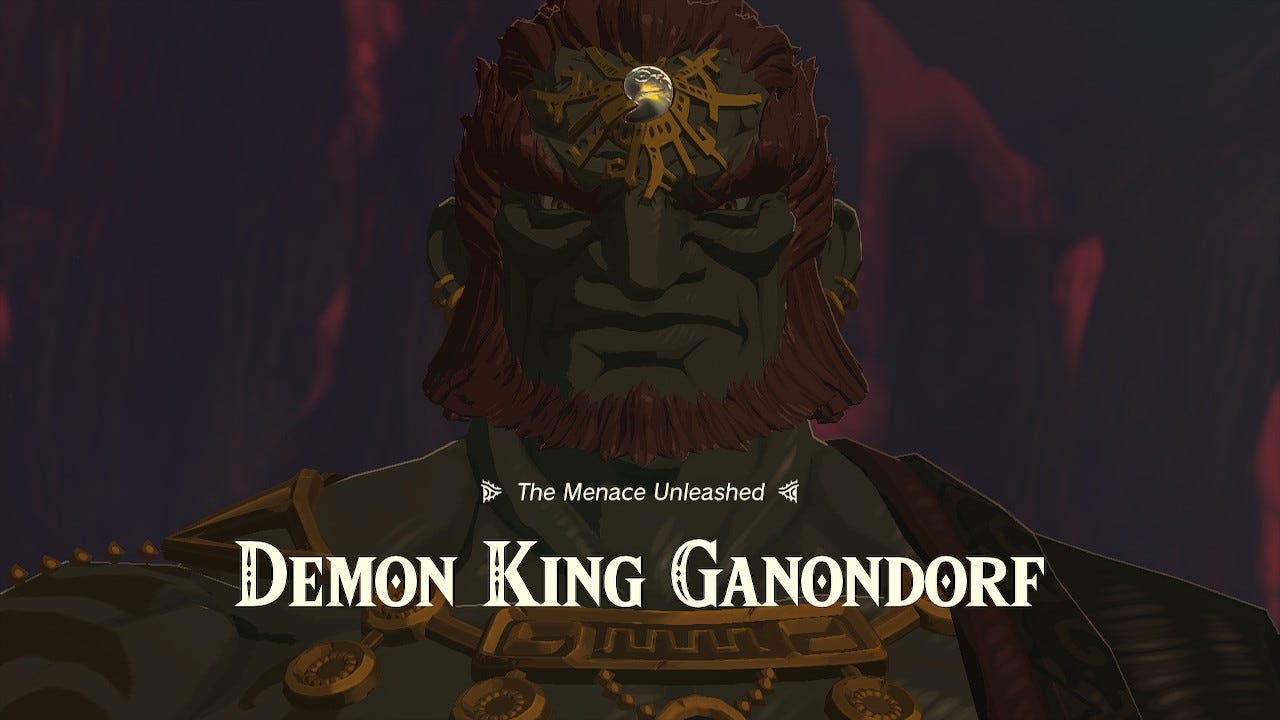
How to defeat Demon King Ganondorf The Menace Unleashed phase in Zelda Tears of the Kingdom
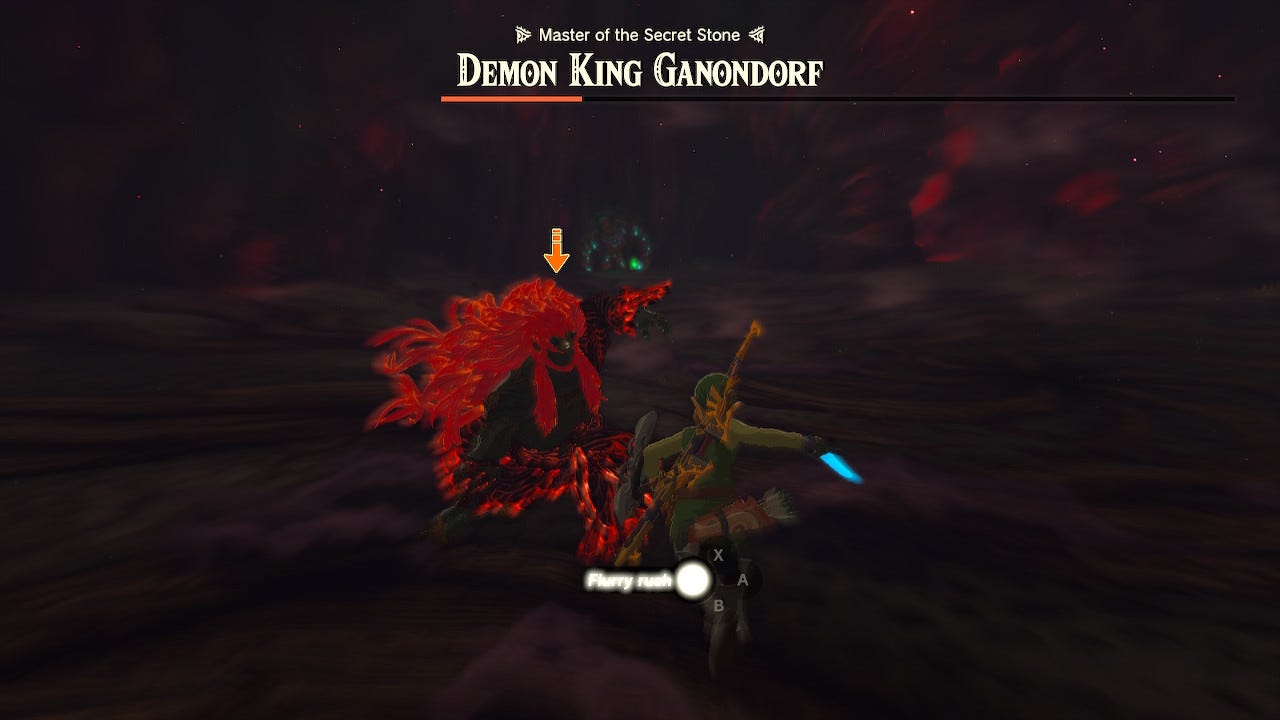
The first phase of your fight with Ganondorf is very much a straight-forward mano a mano affair, mostly devoid of gimmicks so that you can just concentrate on learning his attack patterns and getting in your strikes.
Ganondorf focuses on melee attacks but he can switch between three weapons - a blade, a spear that he uses for charging attacks, and a mace that he uses to deliver a wave-based or area-of-effect attack. The key is that these are all heavily telegraphed attacks that you can parry or dodge in order to counter, though you will need to practise with getting the timings down.
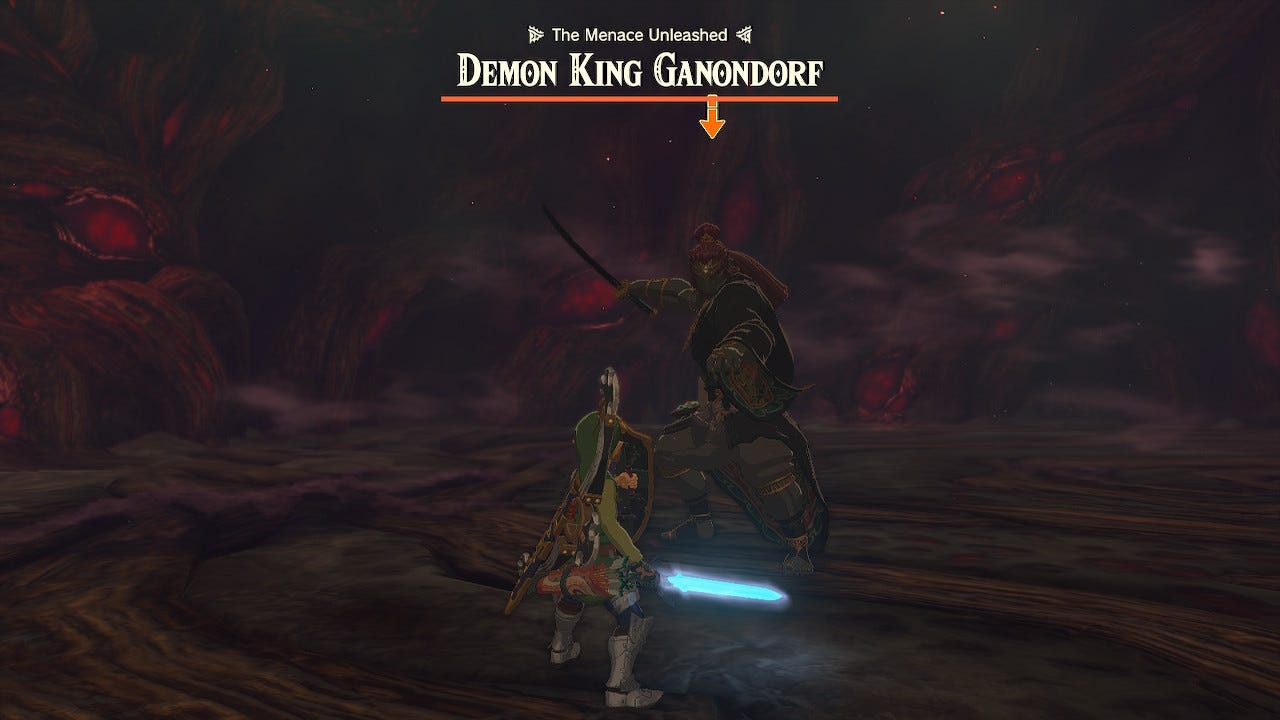
Flurry Rush after a perfect dodge is the most effective counter since parrying risks wearing down your shields when blocking attacks, and the window to counter attack after parrying is not nearly as generous. Be warned, however, that attempts to just try and attack Ganondorf normally are not advised as he can also perfect-dodge and then follow up with his own counter charge. This can be effective though if you want to bait him into attacking.
One issue is that Ganondorf can also perfect-dodge your Flurry Rush, which sometimes means you have to perfect-dodge twice in a row before you can successfully land a Flurry Rush combo on him. Suffice to say you may have to practise this quite a few times and get hit in the process, so make sure you have enough meals that also recover you from Gloom damage. On the bright side, if you’ve got good defence, Ganondorf should only cause you to lose one heart from Gloom damage with each hit.
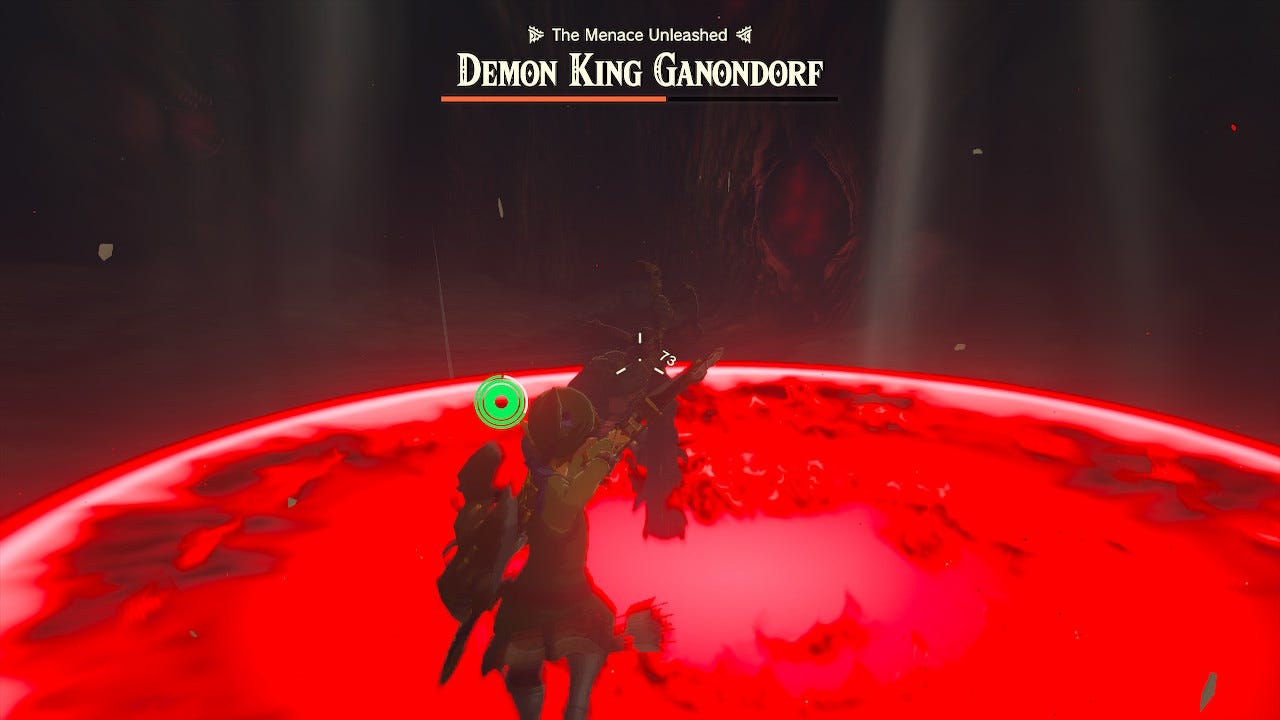
One other rare attack he may dish out is a wide area-of-attack that sets the floor alight in red glooming flames. This, however, also creates a huge updraft, which is your chance to escape in the air. It’s also here that you’ll discover that you can fight dishonourably with a bow and take advantage of the bullet-time to land as many hits as possible. You can maximise the damage by fusing with strong materials, and a Savage Lynel Bow would be terrific to have since it triples the damage.
On this note, even if Ganondorf doesn’t use this attack, you can actually make this fight a whole lot easier by bringing in anything that can help you get up in the air - whether it’s a fan or rocket or hot air balloon contraption - and then exploiting the slow-motion bow as the Demon King has no way to counter this.
How to defeat Demon King Ganondorf Master of the Secret Stone phase in Zelda Tears of the Kingdom
You didn’t think it was going to be that simple, right? In this next phase, Ganondorf throws in all of the gimmicks, including an absurdly extended health bar while also making copies of himself.
Don’t get intimidated by this though as the first part of this fight is a bit like a re-run of the Demon King’s Army, in that the champions will be back to fight alongside Link. For the most part, Ganondorf’s copies will take their time approaching you and each champion should eventually be able to hold them back, it’s the real Demon King himself you need to focus on as he will charge at you.
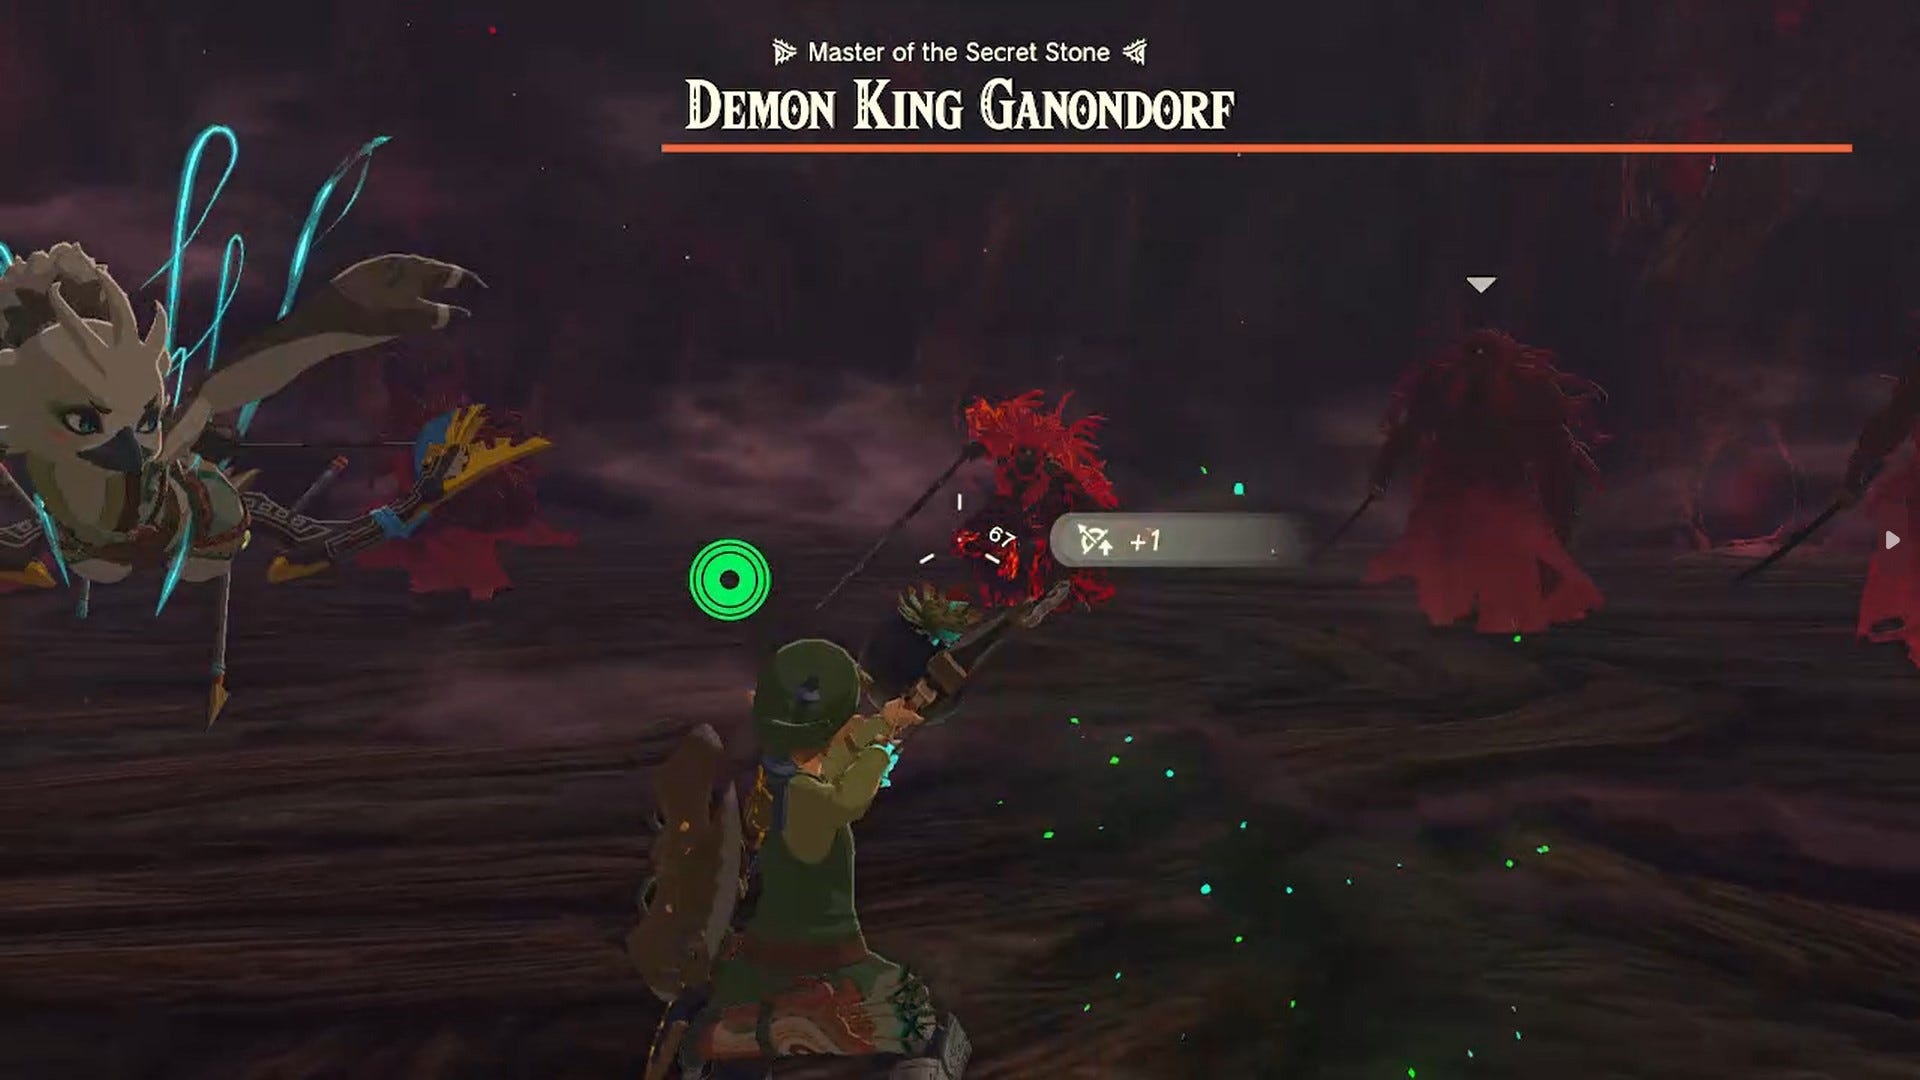
You can play this phase much like the previous phase, except Ganondorf also uses ranged attacks with Gloom projectiles, and if these hit, they have the power to completely take away each of your Heart Containers that can’t even be recovered by the Sundelion-cooked meals. It’s also much trickier to focus when you’ve got to worry about multiple Ganondorfs trying to attack.
Instead, a more devious trick is to run away from his attacks and then do what you did in the Demon King’s Army phase and loose off bomb arrows to damage both Ganondorf and the copies. If you’re out of Bomb Flowers then you can still use your bow against him and just focus on bringing that health bar down. Especially since it’s not essential to defeat his copies, and your allies should be able to draw enough of their aggro.
When Ganondorf’s health bar is down to the same amount as he had in his previous form, it will be back to a one-on-one fight with his weapon changes. The problem now is that each attack also comes with Gloom-based magic attacking you at range.
There’s one where he will surround you with Gloom that then closes in on you before he shoots Gloom arrows at you with his bow. With his spear he sends out a few homing Gloom projectiles before performing his charge attack, which now also leaves behind a Gloom trail. With his mace, he brings it down on the ground, sending waves of Gloom toward you before performing a leaping attack with it.
It’s the follow-up mace ground pound is probably the easiest to anticipate and parry to get in a counter, while the others are designed to keep you occupied and at a distance. But what you need to do is close the distance so you can bait him to dodge and then counter, so you can respond with your own parry or perfect-dodge.
All told, this is a tough fight to get openings and you may find yourself short on Sundelion-cooked meals to keep your hearts topped back up. But as this is pretty much the end, don’t be afraid to use everything you have on him.
And, because it worked in the previous phases, exploiting slow-motion arrows while in the air absolutely does work here too. The trick is finding an opening for it, since Ganondorf is a lot more aggressive here, so you don’t have as much time to be Autobuilding anything complex or Ultrahanding a contraption into the right way up. Simply turning on a fan before opening up your Paraglider can be equally finicky when being pursued by a relentless Demon King. His Gloom attacks can also destroy Zonai devices, so you better hope you have a few to spare.
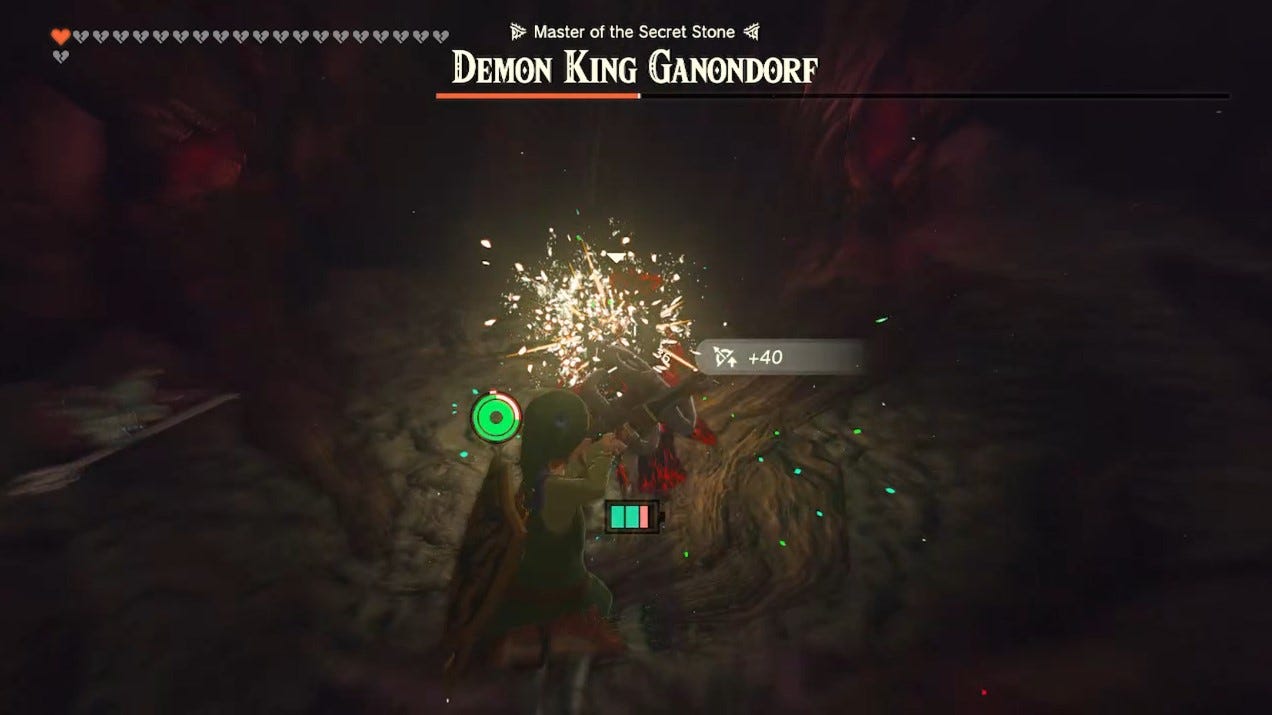
If you can get yourself in the air even just once, however, it’s quite possible to breeze through this half of the fight by using your most powerful bow then aiming for headshots with arrows fused with the most powerful materials in your inventory. If you picked up Gibdo Bones from the Demon King’s Army phase, they’ll come in very useful here since they have 40 attack power when fused but normally break easily. No point hoarding, what else are you going to use them for?
How to defeat Demon Dragon Draconified Demon King in Zelda Tears of the Kingdom
Once you’ve defeated Ganondorf in the Depths, the toughest part is over, but there’s still one more form to go. While we won’t spoil what happens, you can probably infer from the name. Compared to everything you’ve done in this final battle, this is very easy but we’ll nonetheless go through the steps of this spectacular finale.
You’re now up above in Hyrule’s sky, which most importantly means you instantly recover any Gloom-damaged hearts, so be sure to eat something to recover all of your hearts first. You’ve got a dragon to take down, but also have the help of the Light Dragon to do it. If you’ve not managed to recover the Master Sword up until this point, well, here’s where you can get it.

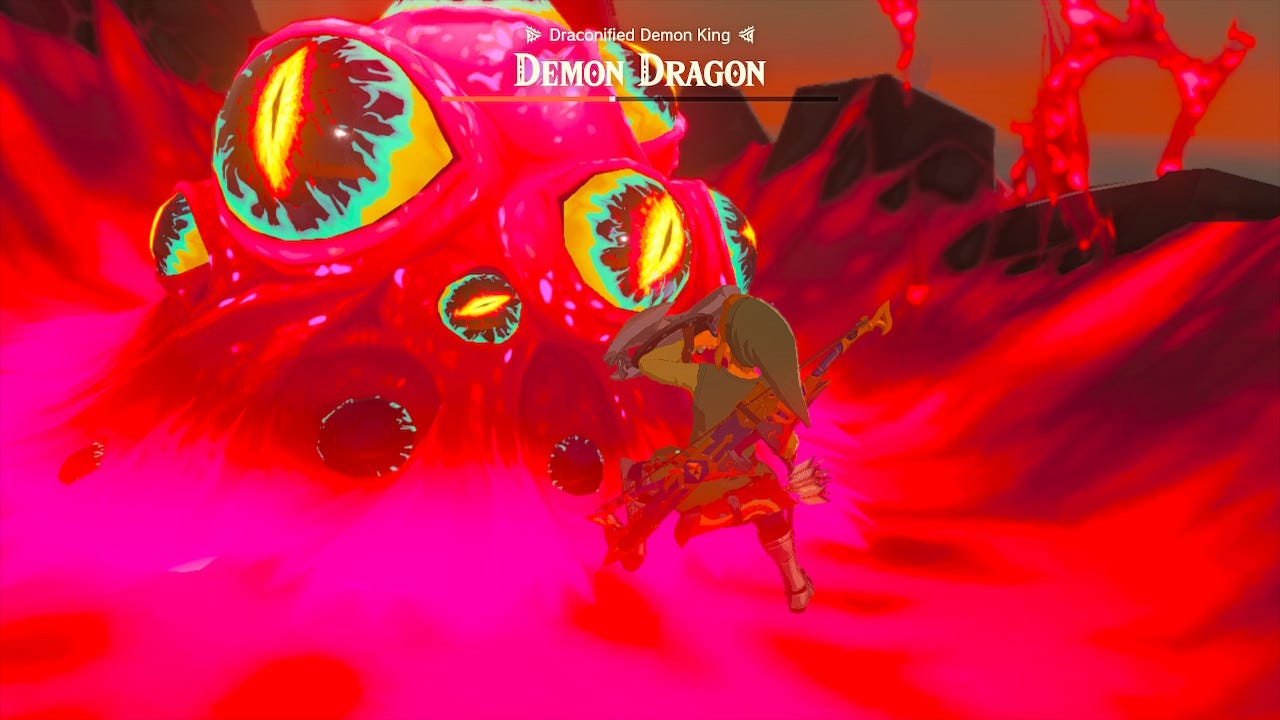
The Light Dragon carries you and soars up so you can jump off to dive down onto the Demon Dragon. He will fire Gloom projectiles at you from time to time, but these can be easily avoided by steering your Paraglider or diving past them. The only way to damage the Demon Dragon is by destroying four pinkish exposed points surrounded with eyes on his back.
Ideally you want to aim to land on these exposed points as the rest of the dragon’s body is corrupted and will inflict Gloom damage on you. Once at these weak points, just smash the attack button until it’s destroyed and repeat for the other ones. In each case, the Demon Dragon will throw you off its back and the Light Dragon will catch you, taking you back up the sky. If you miss landing on the Demon Dragon, the Light Dragon will just come and catch you, so this is pretty much foolproof.
When these four exposed points have been destroyed, you’ll see something glowing from the Demon Dragon’s forehead. Dive and glide towards it and you’ll see the Secret Stone has been exposed. Land on his head, destroy his source of power, and, with one final prompt, the fight is over.
There’s just one final thing left to do afterwards, but we’ll let you discover it for yourself because it really is a spectacular way to finish this game.
Ganondorf Reward in Zelda Tears of the Kingdom
Congratulations, you’ve completed one of the greatest games of all time with hands down one of the best final showdown sequences in the entire Zelda series. Is that not reward enough? Which is to also say there isn’t actually much in the way of in-game rewards once you’ve beaten Tears of the Kingdom, though there’s still a couple things that you may find interesting.
First, you’ll notice you’ll have a star displayed next to the save file in which you beat Ganondorf with, placing you back in the last point in Central Hyrule Depths just before the final battle. Loading up this save file you’ll also get a notification that Demon King Ganondorf has been added to the Character Profiles page.
This save file also provides an overall completion percentage that’s displayed on the map, which takes into account all quests, Shrines, and Korok Seeds.
So yes, you may have finished Tears of the Kingdom’s story but have you really finished all of Tears of the Kingdom? There’s so much more of Hyrule left to explore!