How to get Shrine Sensor, Travel Medallion and Hero's Path in Zelda Tears of the Kingdom
Upgrade the Purah Pad to unlock new features, including Sensor +.

The Shrine Sensor, Travel Medallion and Hero’s Path are features which can be added to the Purah Pad in Zelda: Tears of the Kingdom.
In Tears of the Kingdom, you’ll quickly receive the Purah Pad, a multipurpose tool similar to Breath of the Wild’s Sheikah Slate. It’s pretty useful right out of the gate, but to make the most of the Purah Pad, you’ll need to upgrade it by unlocking several more abilities.
Once you have the Shrine Sensor, you can also upgrade it to get Sensor +. The Travel Medallion can also be upgraded.
Below you’ll learn how to get the Shrine Sensor, Travel Medallion and Hero’s Path in Zelda: Tears of the Kingdom, along with how to upgrade them and get Sensor +.
On this page:
If you'd like to learn more about Link's adventure, visit our Zelda: Tears of the Kingdom walkthrough.
How to start Hateno Village Research Lab quest in Zelda Tears of the Kingdom
You won’t be able to add any upgrades to the Purah Pad until you have progressed somewhat in the main story of Zelda: Tears of the Kingdom.
You’ll need to have completed the quest A Mystery of the Depths first, which involves going down into the depths beneath Hyrule for Josha and will unlock a new ability. Also note that before you can complete Mystery of the Depths, you will need to have completed Camera Work in the Depths and one part of the main quest Regional Phenomena. (It doesn’t matter which of the four you choose.)
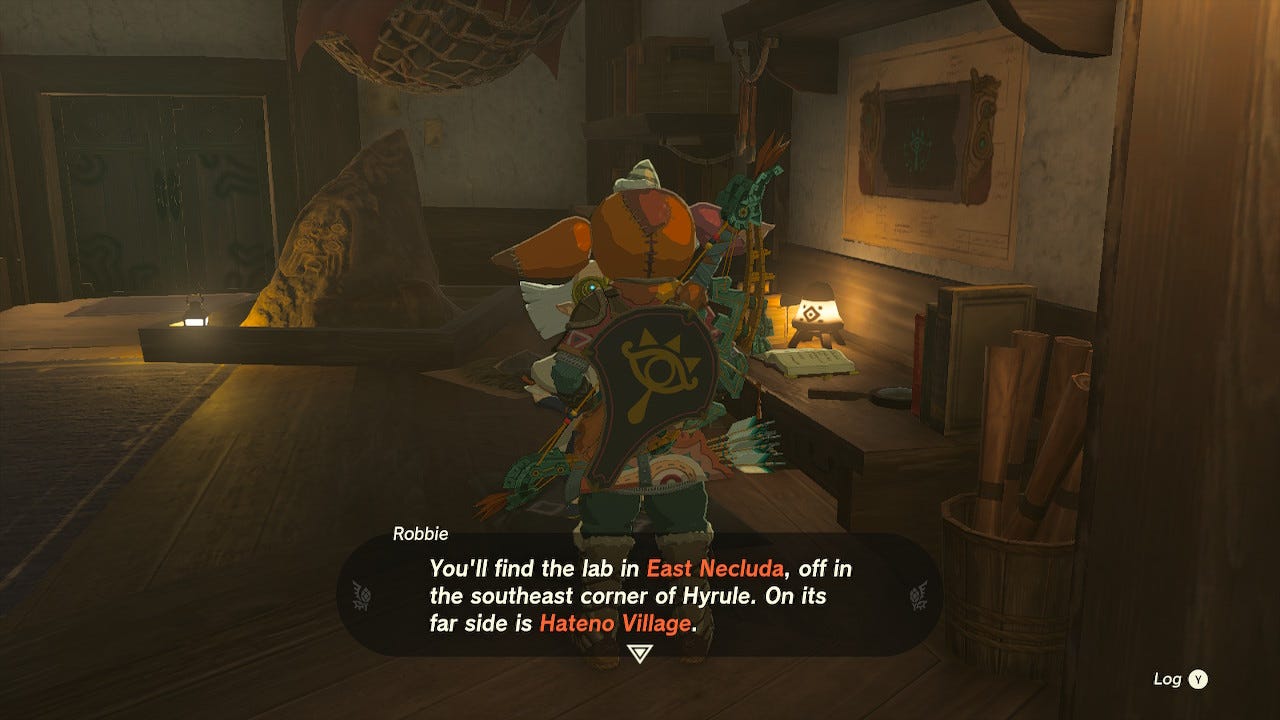
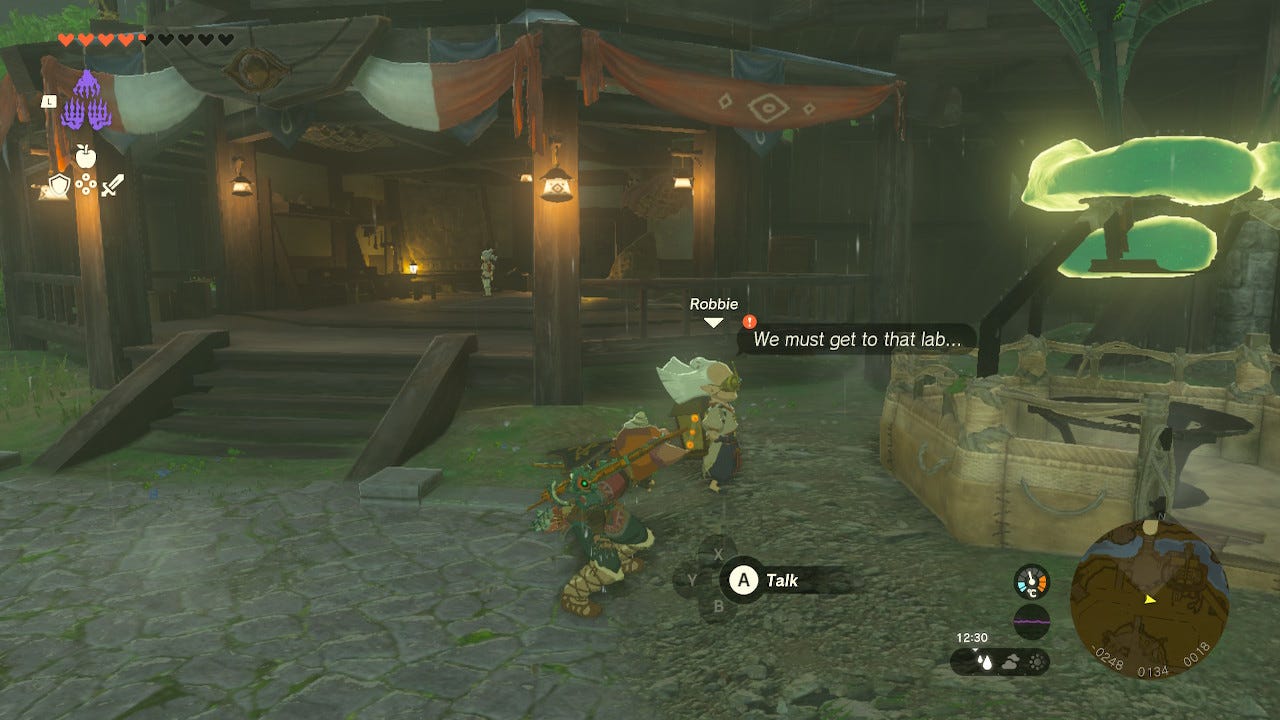
Once you have these requirements out of the way, speak to Robbie at Lookout Landing. He will be standing outside the workshop, looking at his newly fixed hot air balloon. If you speak with him before you have completed A Mystery of the Depths, he will mention the laboratory in Hateno Village, but he won’t go there until you have completed that quest. Once you have, speak to him and he will move there.
You’ll find Hateno Village in East Necluda, in the south east. Head up the hill to the east to find the laboratory. The coordinates for the laboratory are (3776, -2126, 0260).
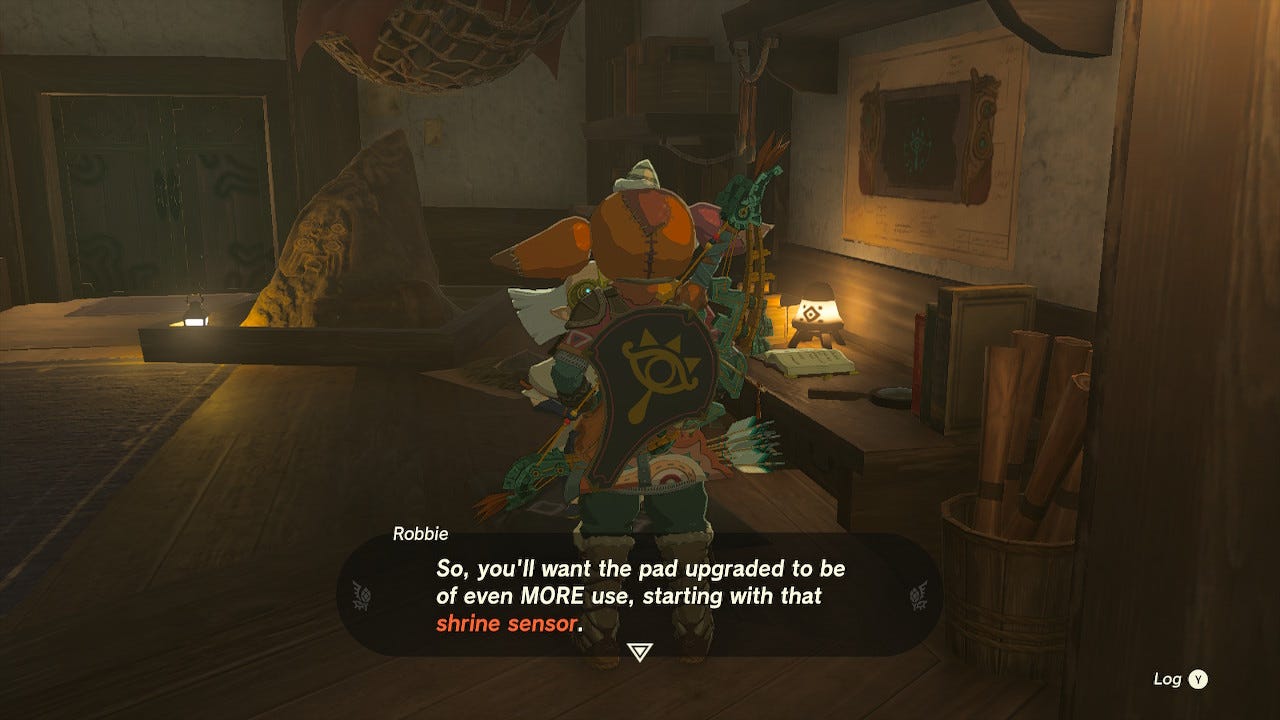
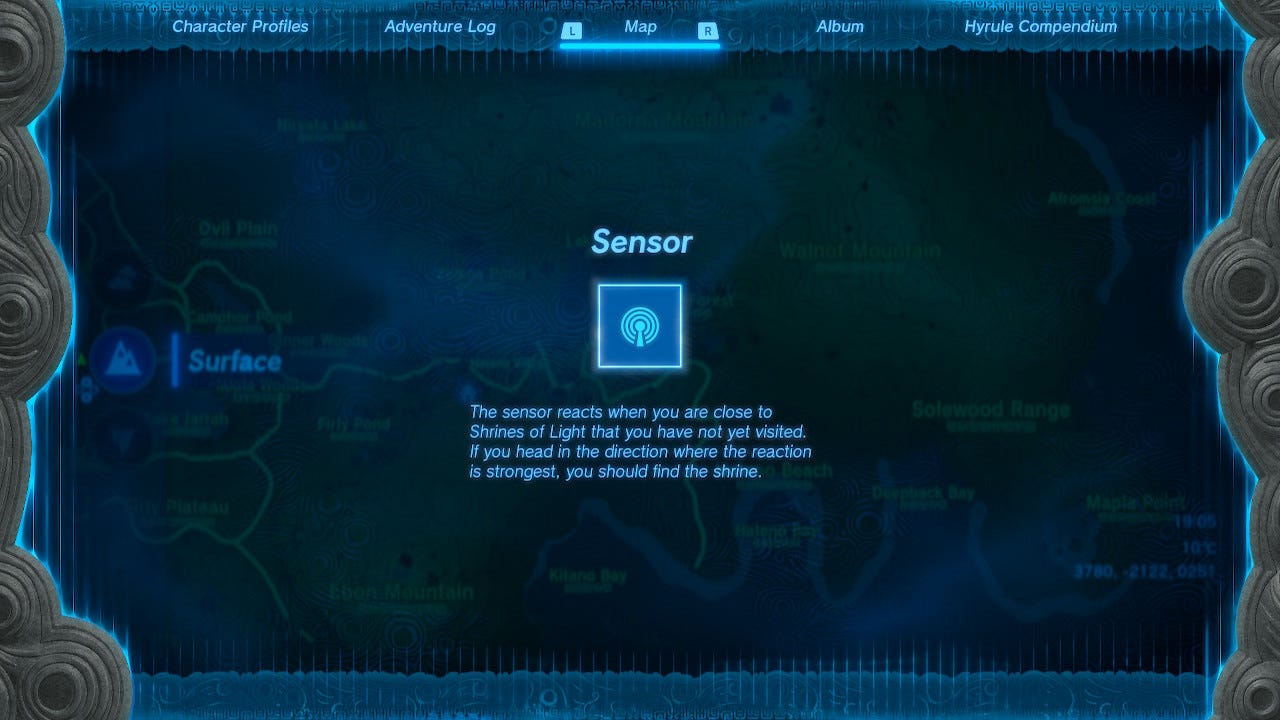
How to get the Shrine Sensor in Zelda Tears of the Kingdom
As soon as you speak to Robbie in the Hateno Village laboratory, you’ll receive the Shrine Sensor in Zelda: Tears of the Kingdom.
Robbie will want to test out how it works, and this can be a bit strangely finicky. Walk away from Robbie, with the door to the laboratory on your right and a recess with shelves in it to your left. Walk slowly, don’t run. If you do it right, Robbie will be happy that the sensor is going off. (If you move too quickly, this won’t trigger.)
Robbie will then send you outside to find the shrine. Head down the slope to where there are several trees together and find the debris covered cave entrance at the back. The coordinates are (3755, -2076, 0212).
Destroy the debris, either with a bomb arrow or a hammer-type weapon. Inside the cave, you’ll find a Bubbulfrog on the left and Mayahisik Shrine on the right.
Mayahisik Shrine is also known as Rauru’s Blessing, and, unlike most the TOTK shrines, doesn’t require you to do any puzzle-solving or combat. You’ll just find a chest containing a Magic Scepter. When you’re done, you can use Ascend to return to Robbie and speak to him to complete the Hateno Village Research Lab quest.

After completing the quest for the Shrine Sensor, you can add any of the other upgrades in any order.
Robbie will offer them to you now:
- Travel Medallion - Allows you to set up fast travel points anywhere in the world.
- Hero’s Path - Shows where you’ve travelled on the map.
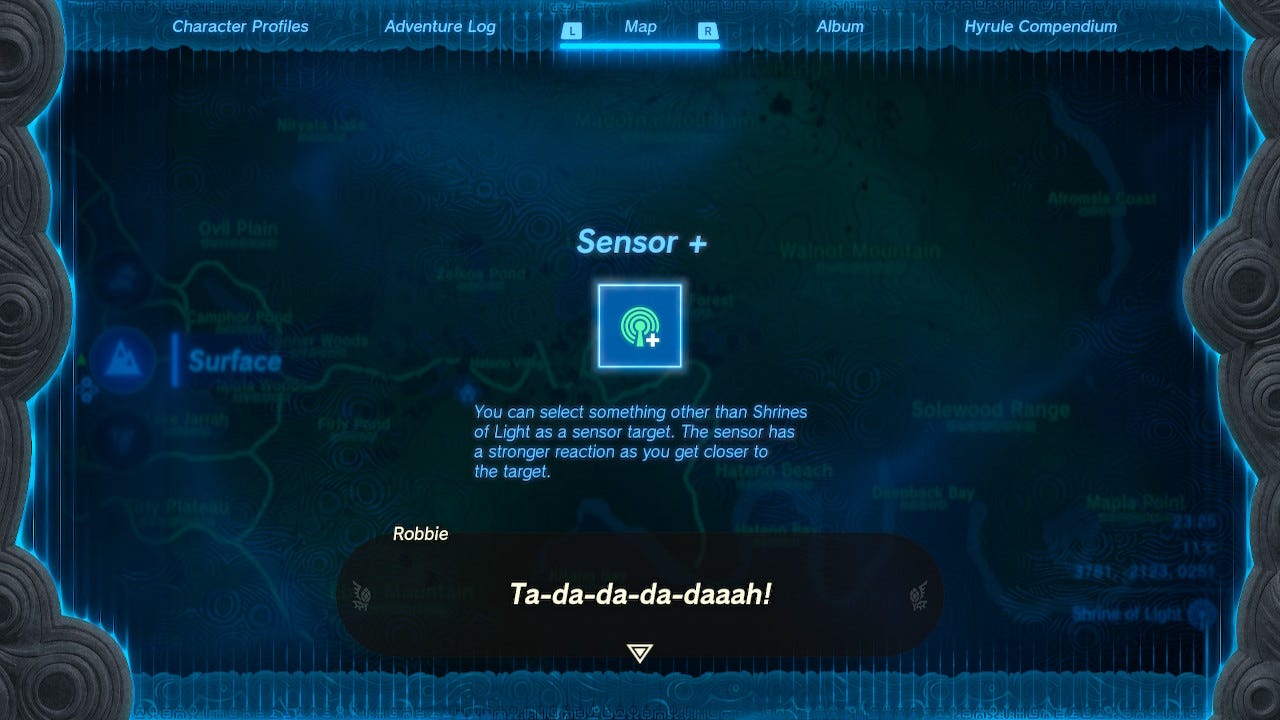
- Sensor + - Lets you select what you want to search for from the compendium.
How to get the Sensor + in Zelda Tears of the Kingdom
Speaking to Robbie about the Sensor + will begin the Presenting: Sensor +! questline in Zelda: Tears of the Kingdom. In order to get the Sensor +, you will need to have five monsters registered in your Hyrule compendium.
To register a monster, take a photograph of it using the ability on the L menu. Don’t forget that you can zoom in, allowing you to stay out of danger while you fill out the compendium.
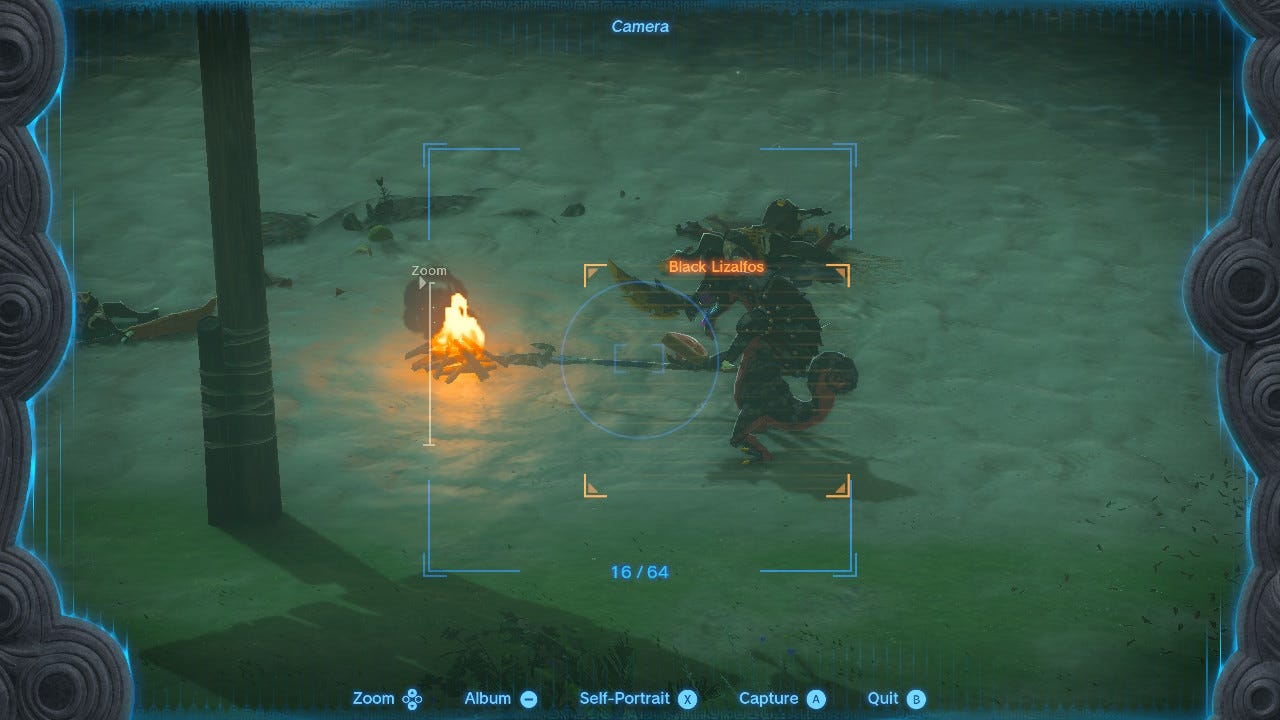
Any of the monsters found around the map qualify for this upgrade requirement, so it shouldn’t take too long. You can check your progress from the Hyrule compendium in the main menu.
Once you return to Robbie with five monsters logged, he will give you the Sensor +, which allows you to search for anything you have logged in the compendium. It will beep when you are heading in the right direction, just like it does for shrines.
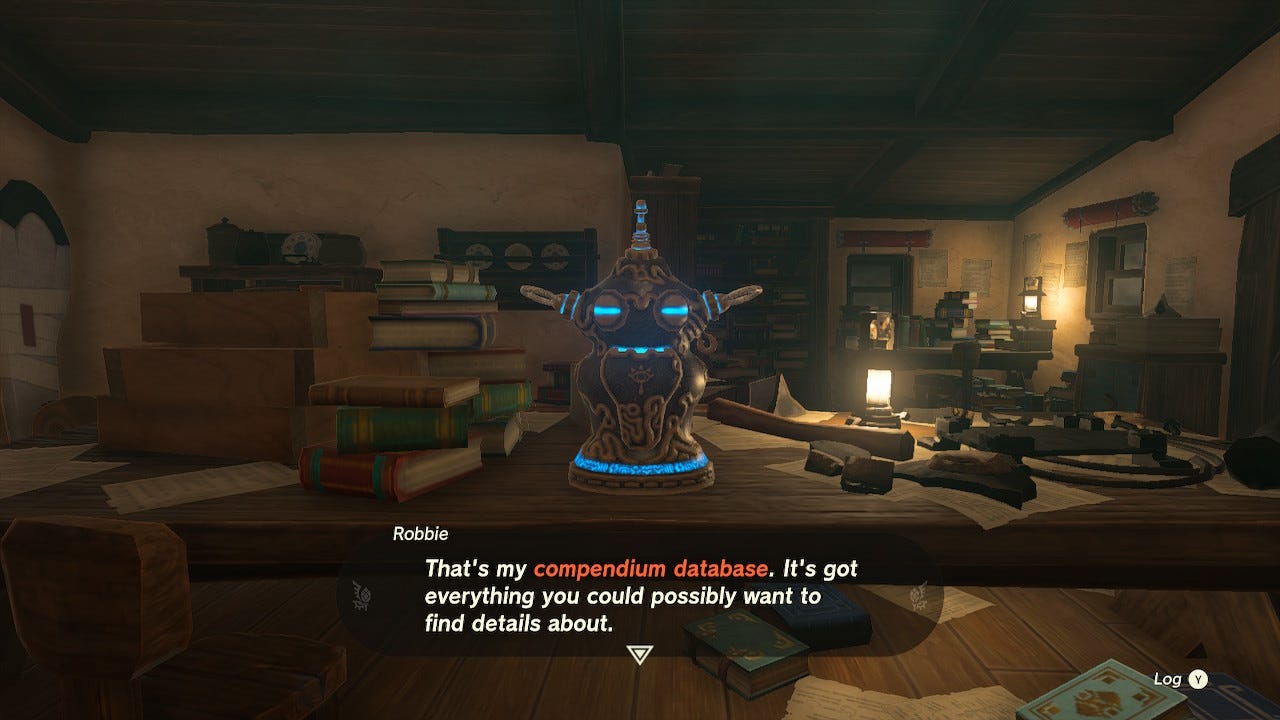
Robbie will also tell you about his compendium database which allows you to learn about anything that could be added to the compendium without actually having to find and register it first. Find it on his table.
How to get the Travel Medallion in Zelda Tears of the Kingdom
When you’re ready to start the quest for the Travel Medallion, talk to Robbie. This will begin the Presenting: The Travel Medallion! questline in Zelda: Tears of the Kingdom.
Robbie will tell you to head all the way to the northeast of the map, where Akkala Ancient Tech Lab can be found. He’ll set up a fast travel point so you can get back quickly, but you’ll have to make your way there yourself.
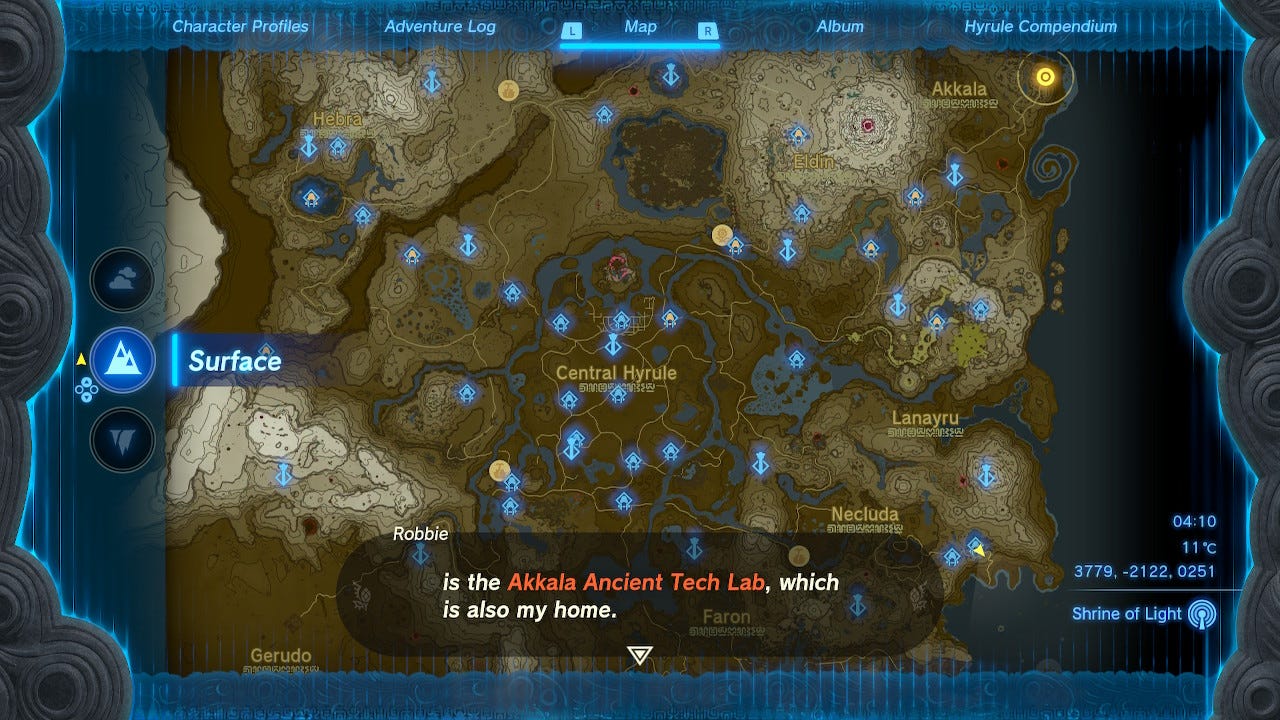
The Akkala Ancient Tech Lab will be marked on your map as this quest’s marker, but the coordinates are (4510, 3152, 0247).
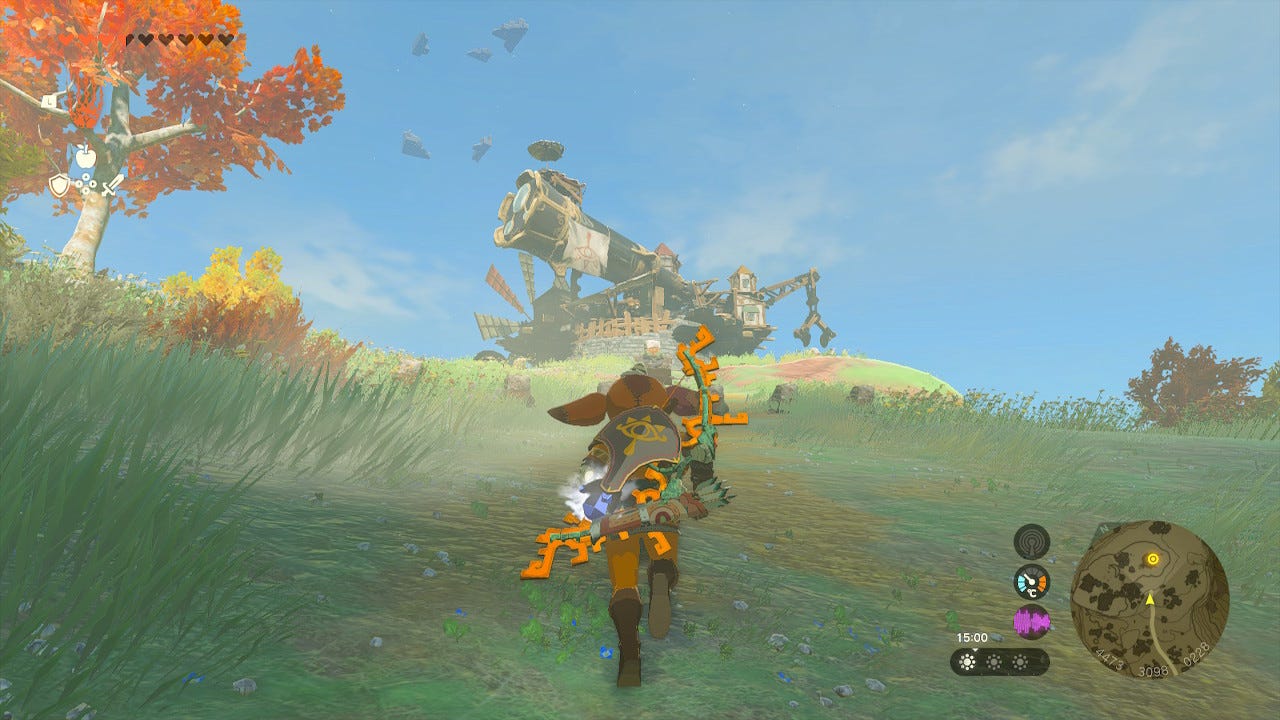
Once you reach the lab and interact with the door, you’ll immediately have to fight two Yiga clan members. They deal a whole lot of hearts in a single hit, so this may be somewhere to return to later on in the game.
If you are ready to fight, be aware that the larger Yiga clan member has a projectile wind attack, as well as another that chases you along the ground, spitting steam and eventually shooting up as a sharp rock. Use your paraglider to get away from this second attack. The other is a more traditional Yiga you may have encountered disguised as a traveller on the roads.
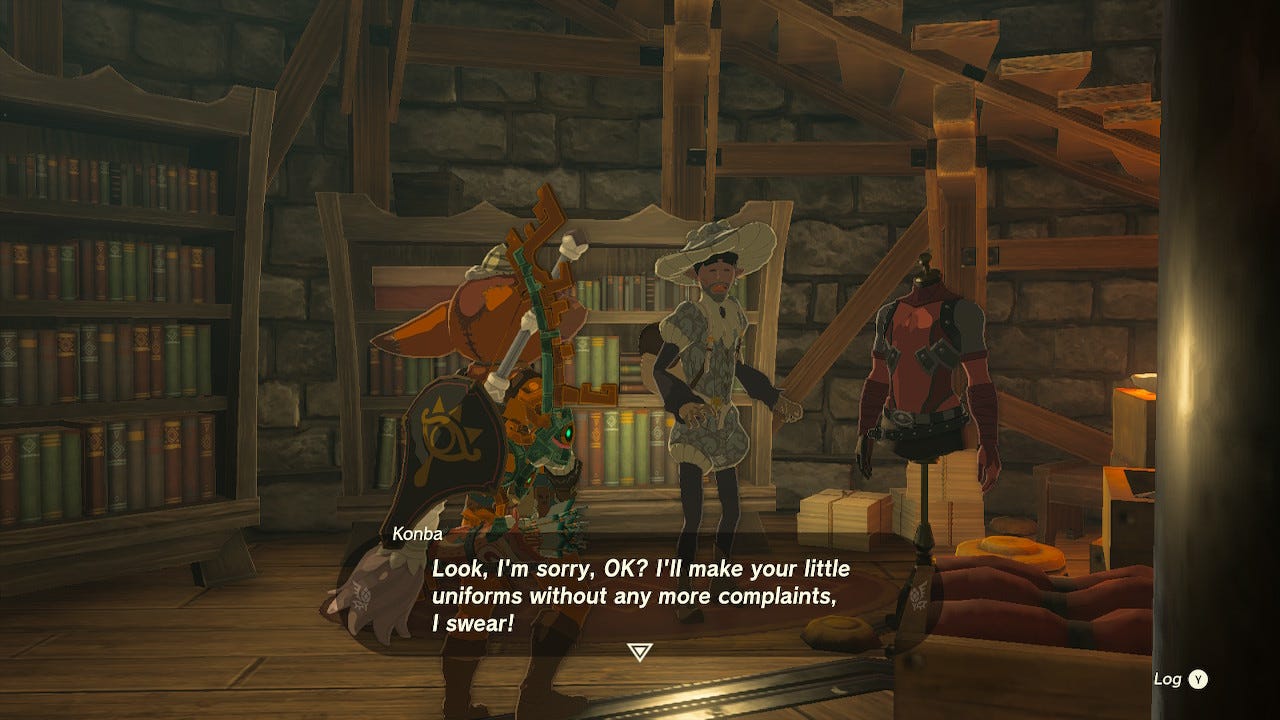
Once you’ve defeated the two Yiga, head inside. There you’ll find Konba, a fashion designer who had been kidnapped. Talk to them to get the Yiga armor. This only provides a single point of protection, but it will give you a stealth boost.
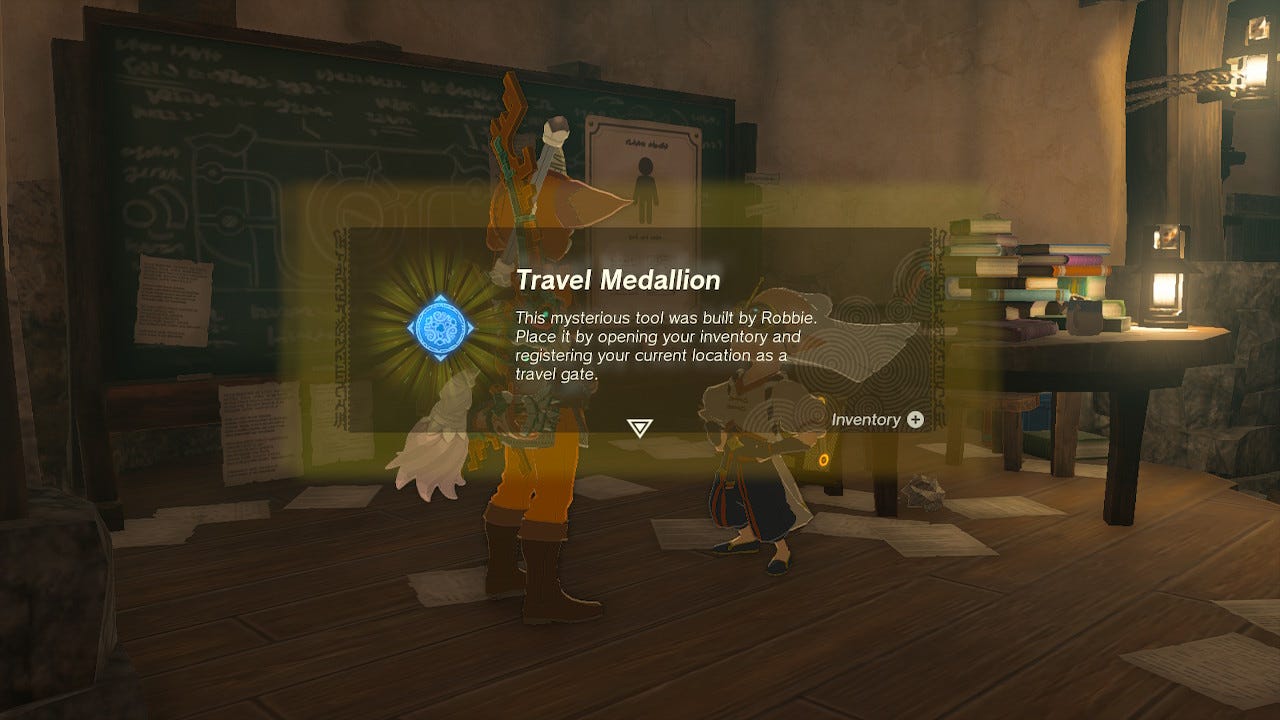
The desk here will have a note from the Yiga, which warns not to pick up any bananas you find lying around - they’re traps. Open the chest to the right of the diary to get the Travel Medallion Prototype. It’s time to head back to Robbie. Don’t forget there’s a fast travel point at Hateno village lab now.
Speaking to Robbie will unlock the Travel Medallion feature. Robbie will also let you know that he can upgrade it to allow you to place two, and then three fast travel points.
You will need 10 locations registered in your map to upgrade it to allow you to place two fast travel points and 15 if you want to be able to place three. If you already have 15 points registered when you speak to Robbie you will get both upgrades at once.
How to get the Hero’s Path mode in Zelda Tears of the Kingdom
Speaking to Robbie about the Hero’s Path mode will begin the Presenting: Hero’s Path Mode! quest in Zelda: Tears of the Kingdom. Don’t worry, this one is a lot more straightforward than the Travel Medallion quest.
To install the Hero’s Path mode, Robbie simply wants data from 15 shrines.
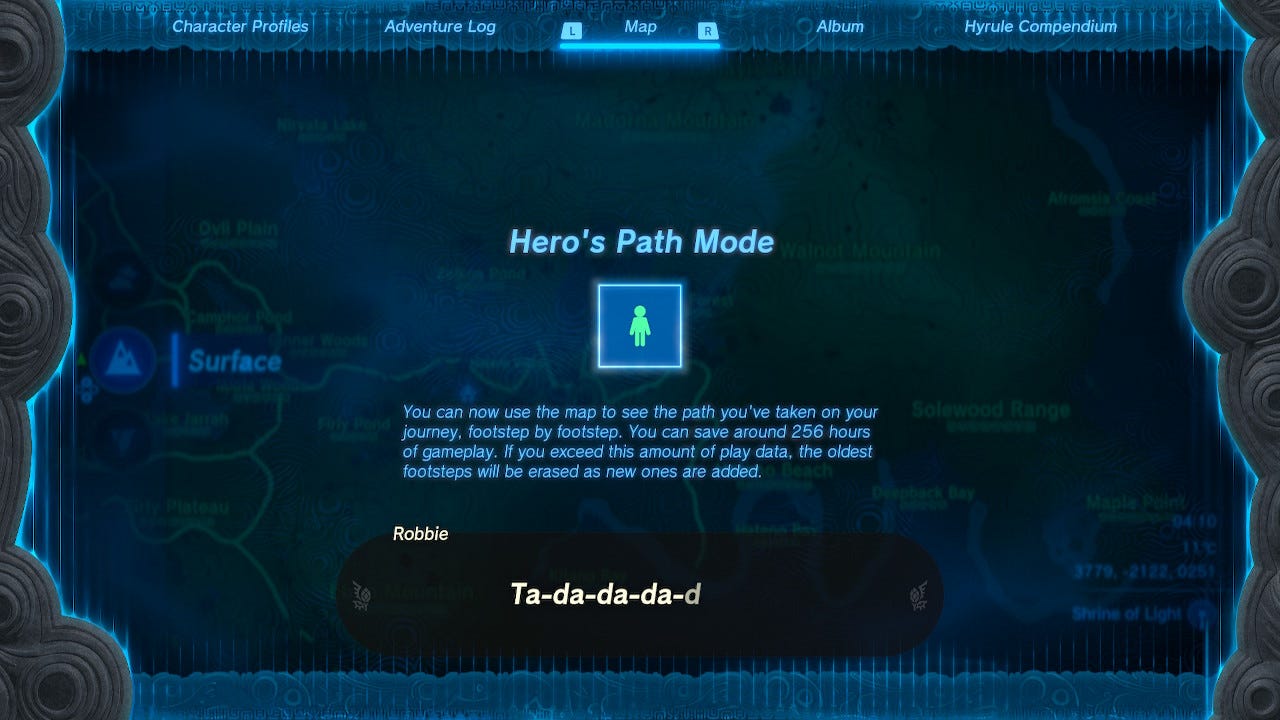
The Hero’s Path mode allows you to watch your trip so far on the main map screen. Press X to activate, then again to begin. You can change the speed using L and R and scrub backwards and forwards in your adventure with the left and right arrow buttons.
That's it for the Purah Pad, but do check-out our Tears of the Kingdom walkthrough if you need any more help.