Animal Crossing Terraforming: How to create paths, rivers and cliffs using the Island Designer app in New Horizons
How to bend your island to your will in New Horizons.

Terraforming in Animal Crossing: New Horizons allows you to turn your island into a paradise or some sort of hellscape.
Using the Island Designer app you can create new pathways, rivers, waterfalls and even build cliffs.
To access these features, however, you first need to unlock the Island Designer app.
On this page:
- How to unlock terraforming in Animal Crossing: New Horizons explained
- Island Designer app in Animal Crossing: New Horizons explained
- How to buy new paths in Animal Crossing: New Horizons
- How to place paths using terraforming in Animal Crossing: New Horizons explained
- How to create rivers using the Waterscaping permit in Animal Crossing: New Horizons explained
- How to build cliffs using the Cliff construction permit in Animal Crossing: New Horizons explained
How to unlock terraforming in Animal Crossing: New Horizons explained
If you want to terraform your island in New Horizons, then you must fulfil Tom Nook's dream of having KK Slider play a concert on your island. To do this you must attract KK's attention by raising your island to a 3-star rating.
The day after you achieve this goal, KK Slider will come and play a concert on your island. This concert will be the first thing you experience that day on your island and, once it's over, Tom Nook will visit you.
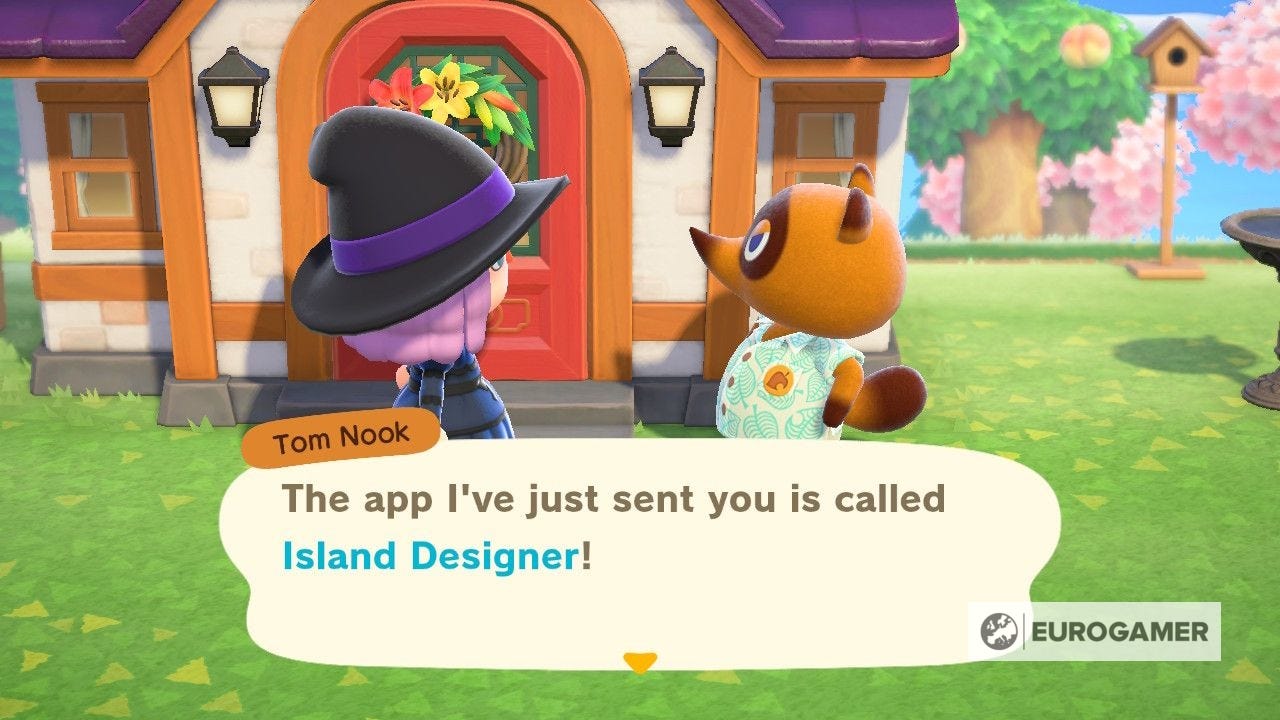
In thanks for all the hard work you've done on the island, he will give you the Island Designer app for your Nook Phone.
Finally you have the ability to craft your perfect island!

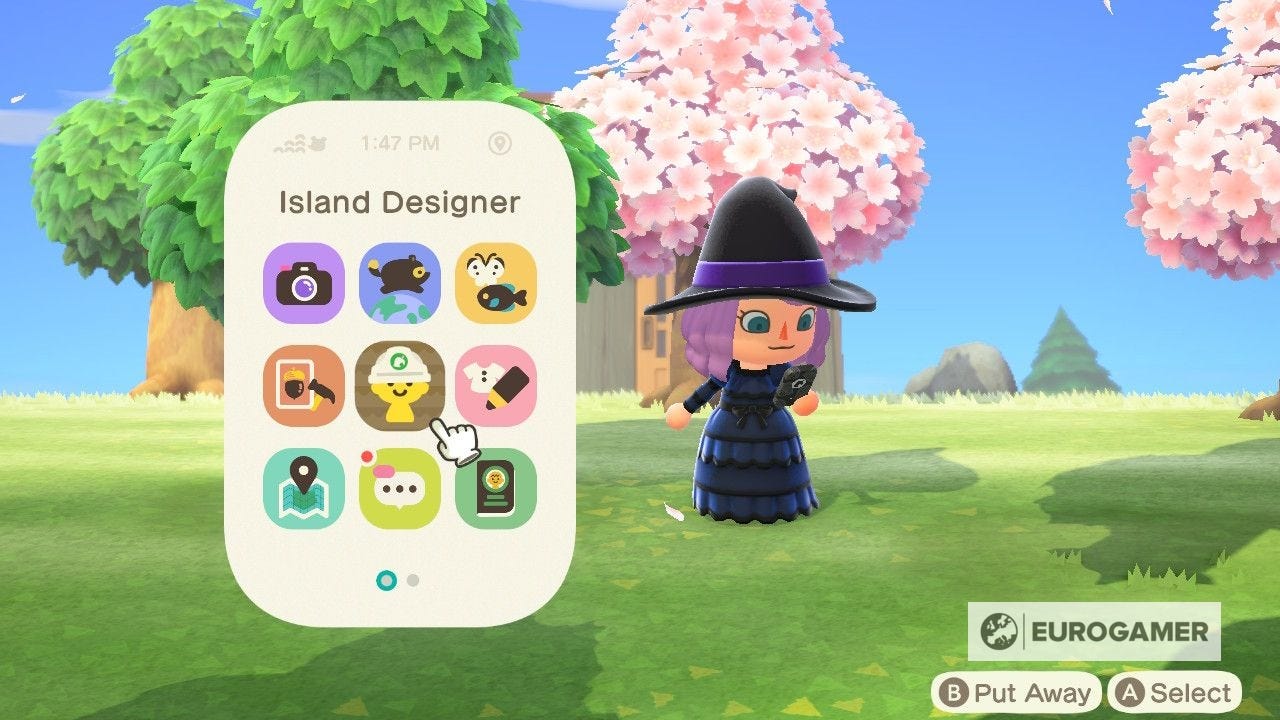
Island Designer app in Animal Crossing: New Horizons explained
The Island Designer app is the home of all things terraforming in New Horizons.
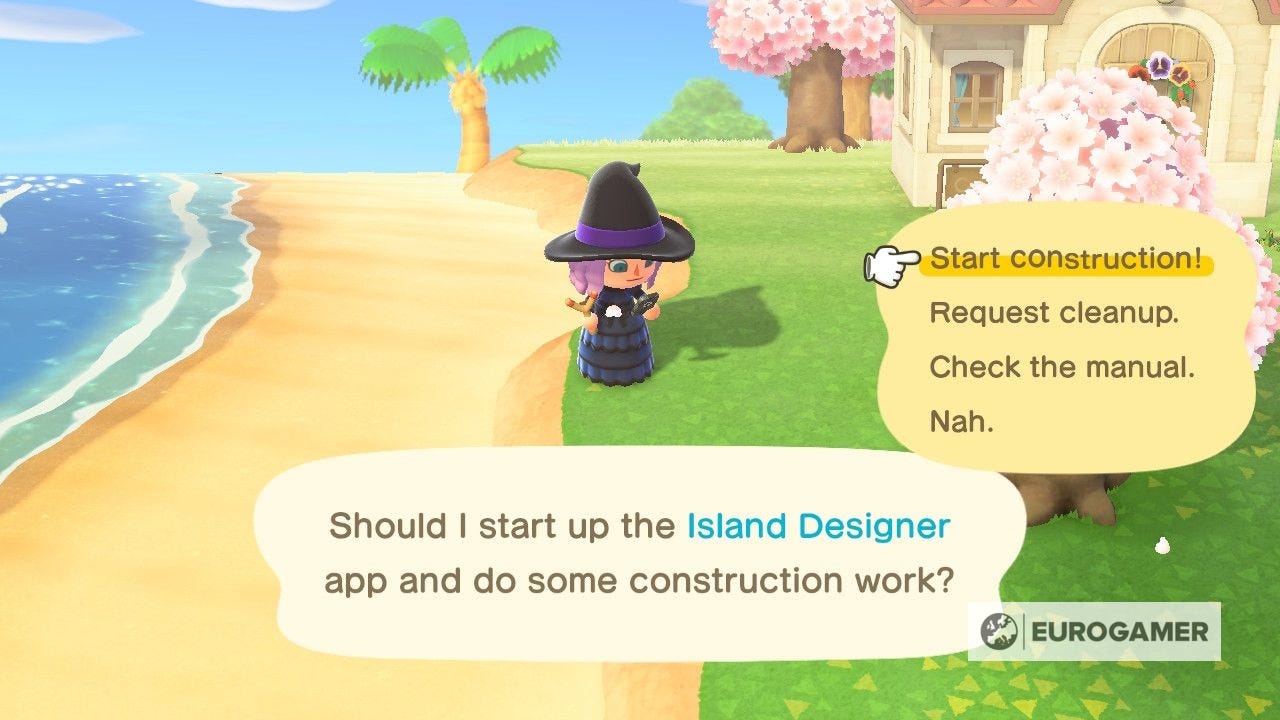
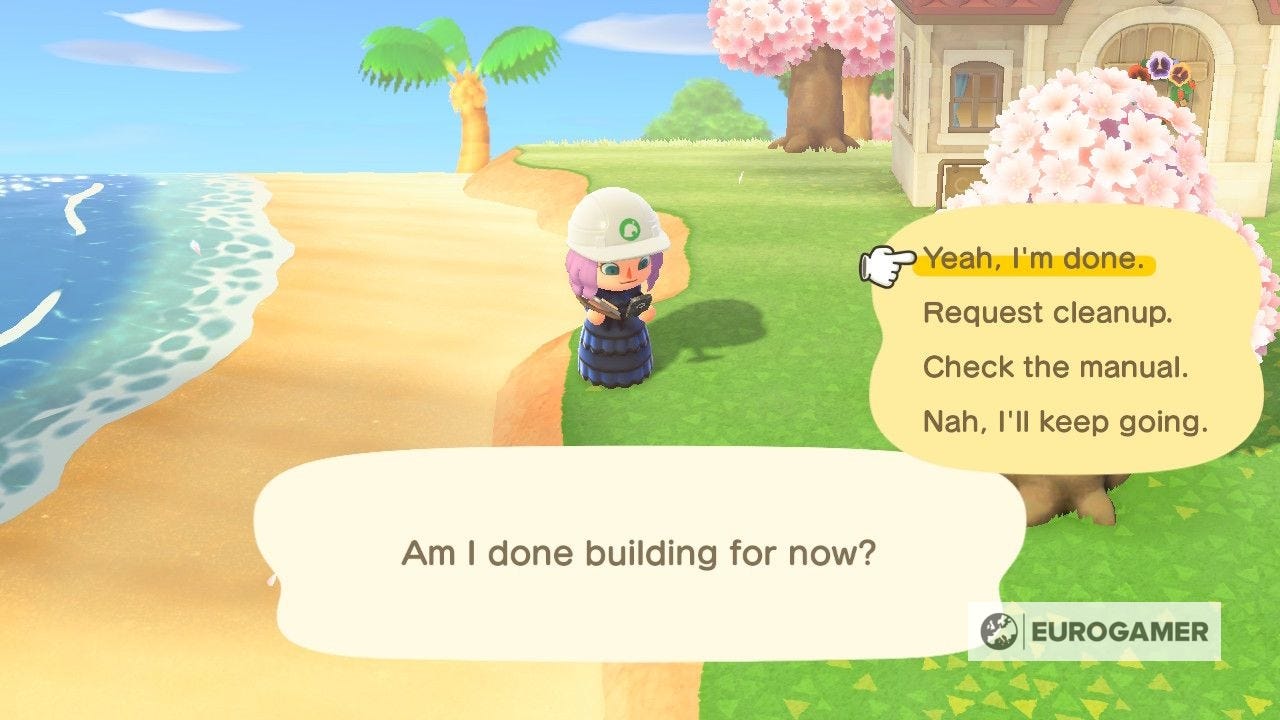
Opening the Island Designer app will give you a number of options, which are:
- Start construction!
- Request cleanup.
- Check the manual.
- Nah.
'Start construction!' will allow you to begin terraforming your island, while 'Nah' will close the app. These options will change to 'Yeah, I'm done' and 'Nah, I'll keep going' once you're using the Island Designer app, but still serve the same purpose.
'Request cleanup.' will remove any nearby furniture or items that you might have left on the ground nearby and place them in the Recycling Box located in Residential Services. This means that you continue terraforming, without having to stop to pick up all the items that you've placed on your island.
'Check the manual.' will open up the in-game manual for terraforming in New Horizons, which run you through the basics of using this feature.
Before you get started, however, you should purchase some features for your new app.
How to buy new paths in Animal Crossing: New Horizons
When you first receive the Island Designer app in New Horizons, it will only allow you to make pathways on your island. The app comes with two types of path permits, which are:
- Grass
- Dirt path
If you want to purchase the other eight types of path permits, which includes the ability to place custom designed paths, the ability to craft rivers and build cliffs, then you need to visit the Nook Stop in Residential Services.
Once you're using the Nook Stop, visit the Nook Miles store to discover that it has been updated to sell all the upgrades for the Island Designer app.
Below you'll find all the Island Designer features that are purchasable through the Nook Miles store and how much each one costs:
| Island Designer Feature | None | Nook Mile Price |
|---|---|---|
| Arched tile path permit | 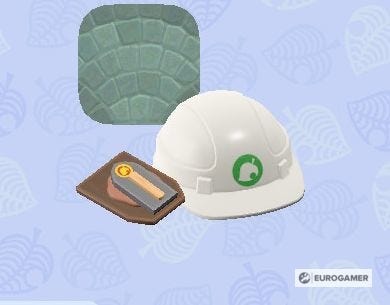
| 2,000 Nook Miles |
| Brick path permit | 
| 2,000 Nook Miles |
| Cliff construction permit | 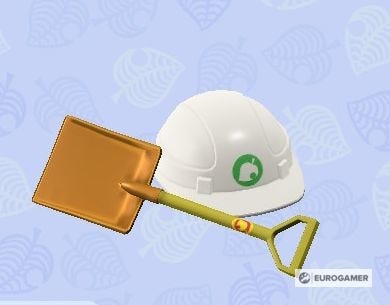
| 6,000 Nook Miles |
| Custom design path permit | 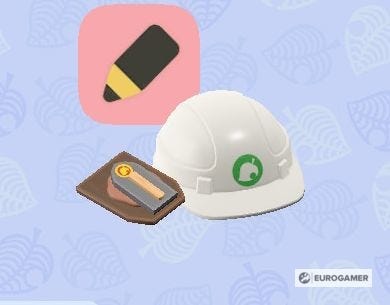
| 2,300 Nook Miles |
| Dark dirt path permit | 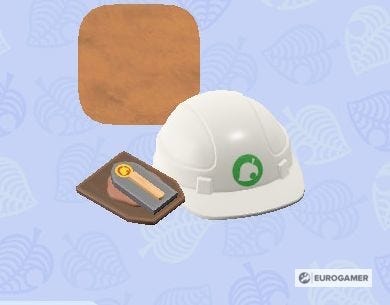
| 2,000 Nook Miles |
| Sand path permit | 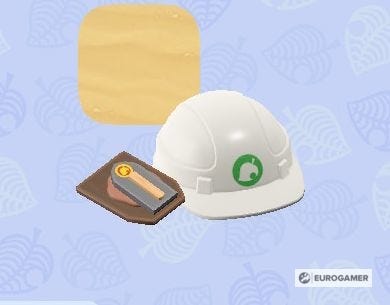
| 2,000 Nook Miles |
| Stone path permit | 
| 2,000 Nook Miles |
| Terra-cotta tile permit | 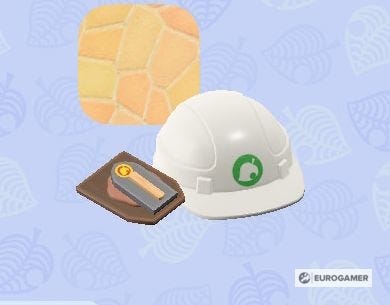
| 2,000 Nook Miles |
| Waterscaping permit | 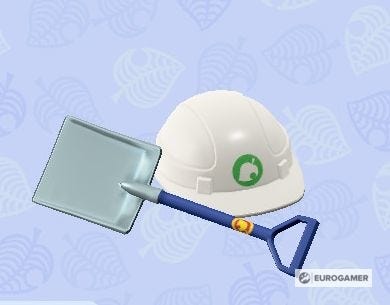
| 6,000 Nook Miles |
| Wooden path permit | 
| 2,000 Nook Miles |
How to place paths using terraforming in Animal Crossing: New Horizons explained
Once you've brought the path permits that catch your eye, it's time to place some new paths around your island in New Horizons.
After you've decided where to place your path, open up the Island Designer app in your Nook Phone and select 'Start construction!'
Pressing the + button when you're wearing the hard hat will open the permit menu, allowing you to select which path permit you want to place.

Now all you have to do is press A to place the path on the ground tile you're standing in front of.
If the tile you've placed is a connecting piece of the path, on the edge of a pathway or part of a block of four or more path tiles, then pressing A again will allow you to give it a rounded edge.
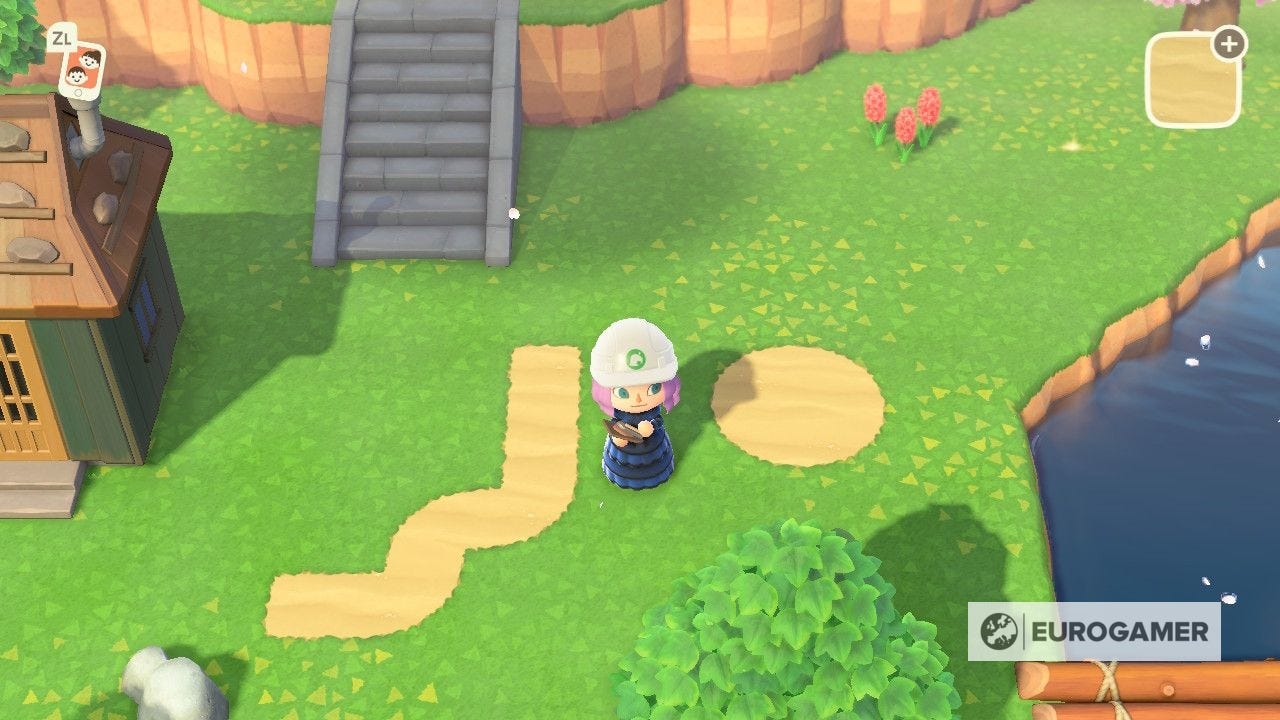
Pressing A again or for a second time if the edge of the path tile can't be rounded, will erase the tile, returning the ground to its grassy origins.
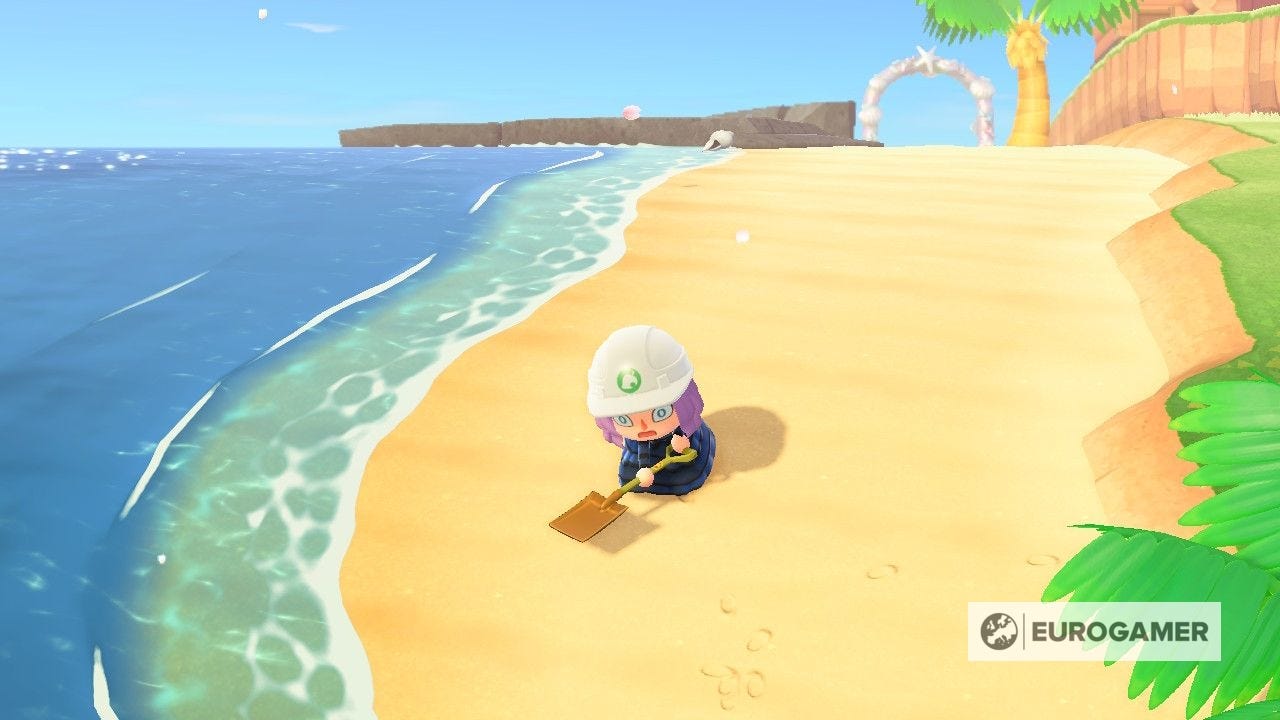
The only places where you can place paths is the beach, the rock areas lining the shore and the plaza in front of Residential Services.
How to create rivers using the Waterscaping permit in Animal Crossing: New Horizons explained
One of the major highlights of terraforming and the Island Designer app in New Horizons is that it gives you the ability to create rivers, ponds and lakes using the Waterscaping permit. This means you can transform portions of your island into impressive lakes or nearly remove water completely.
Before you begin experimenting with terraforming water, there are two important things you should know about the capabilities of the Waterscaping tool.
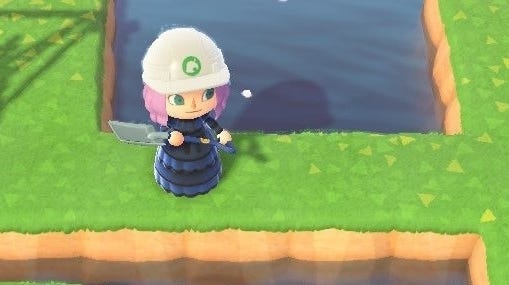
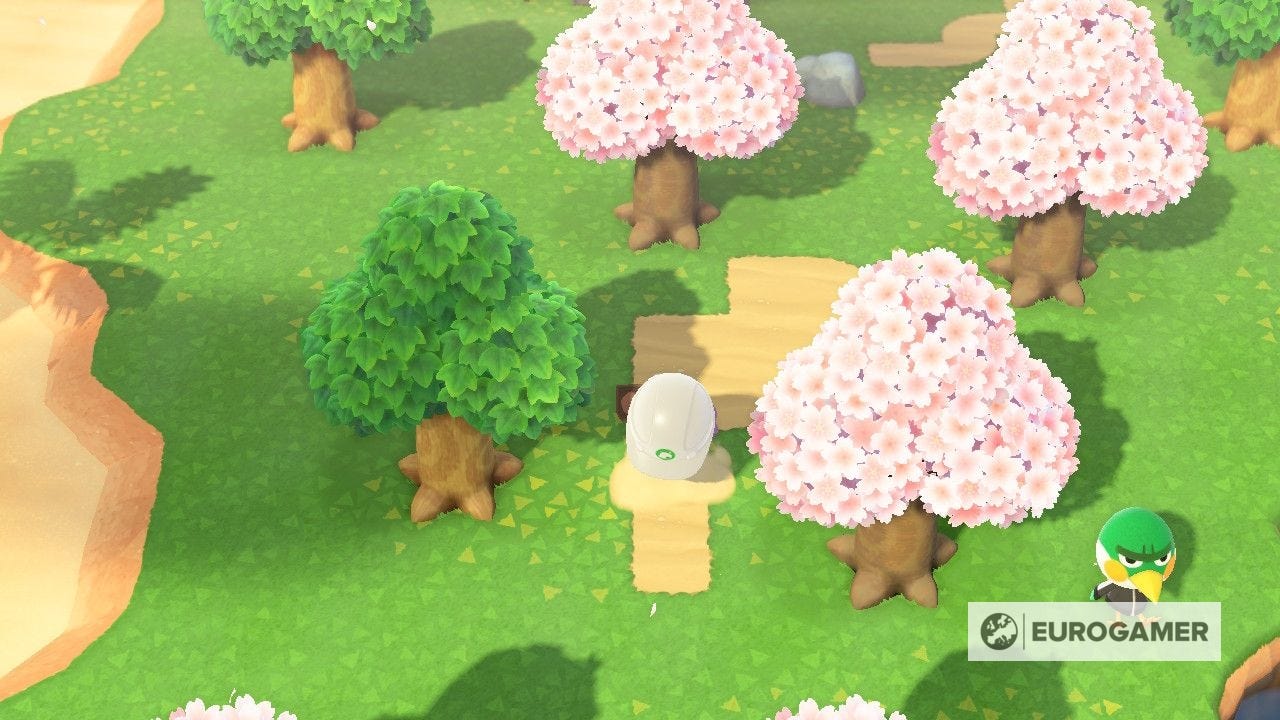
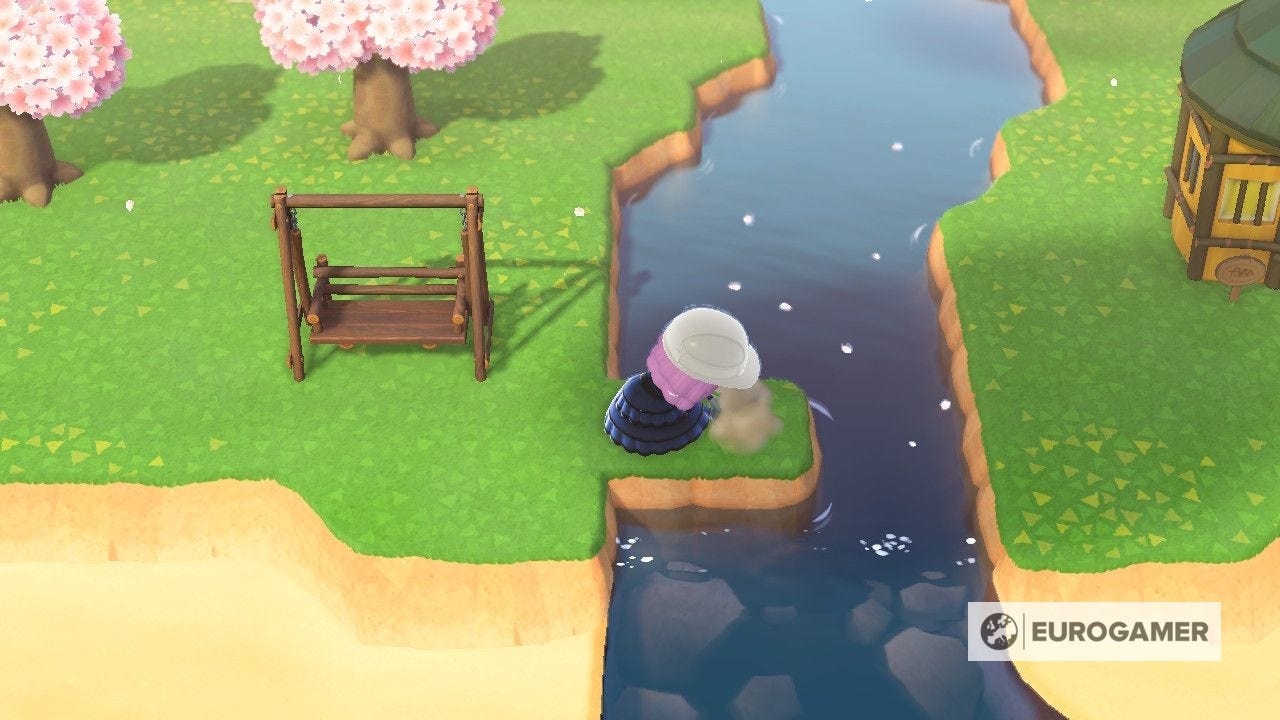
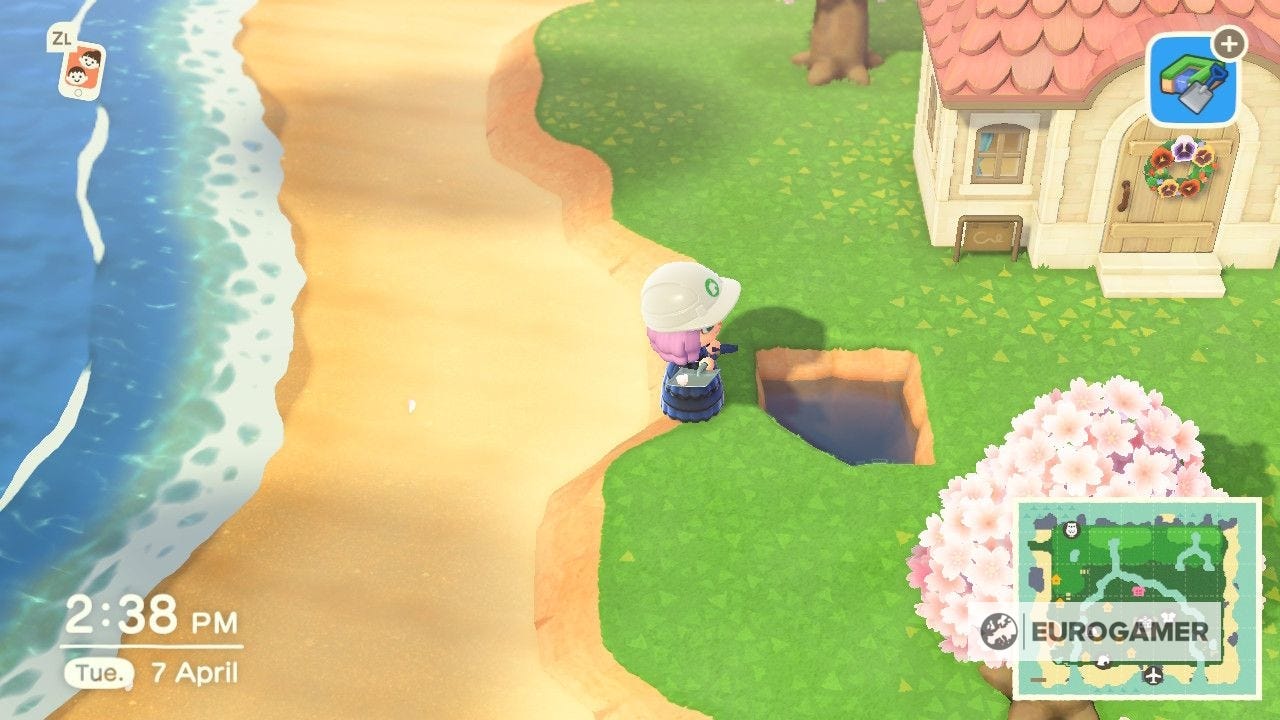
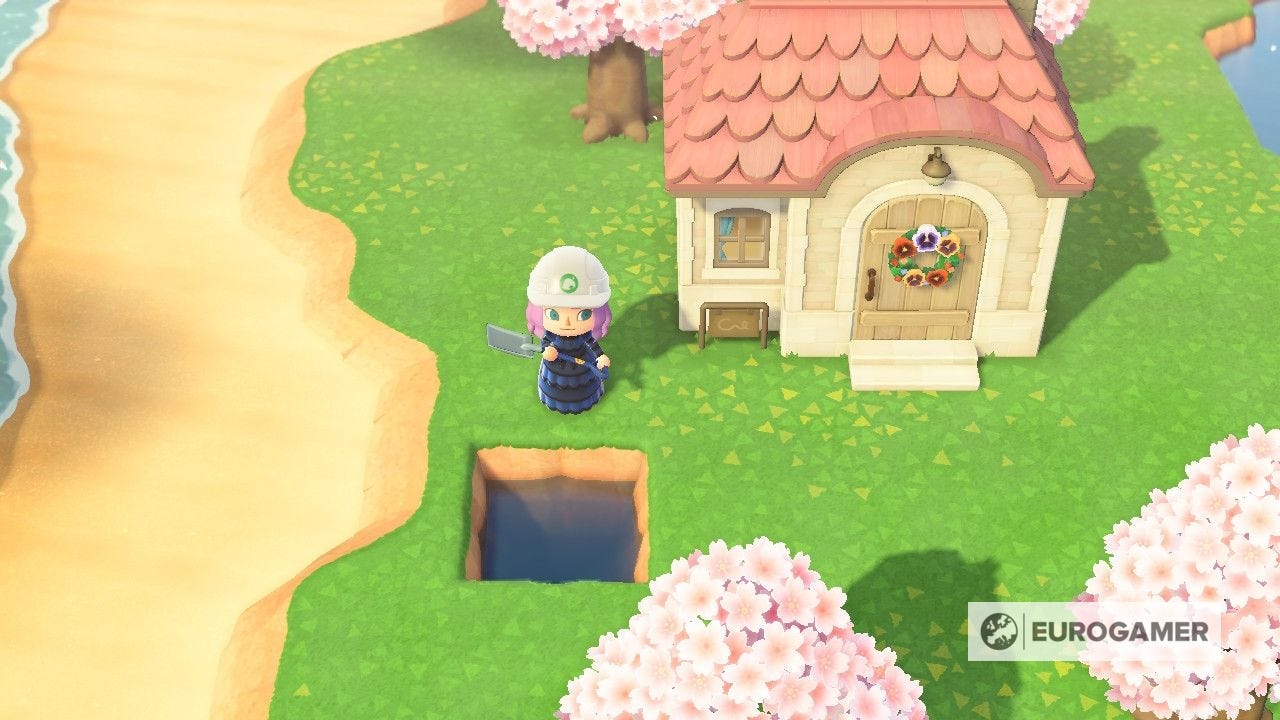
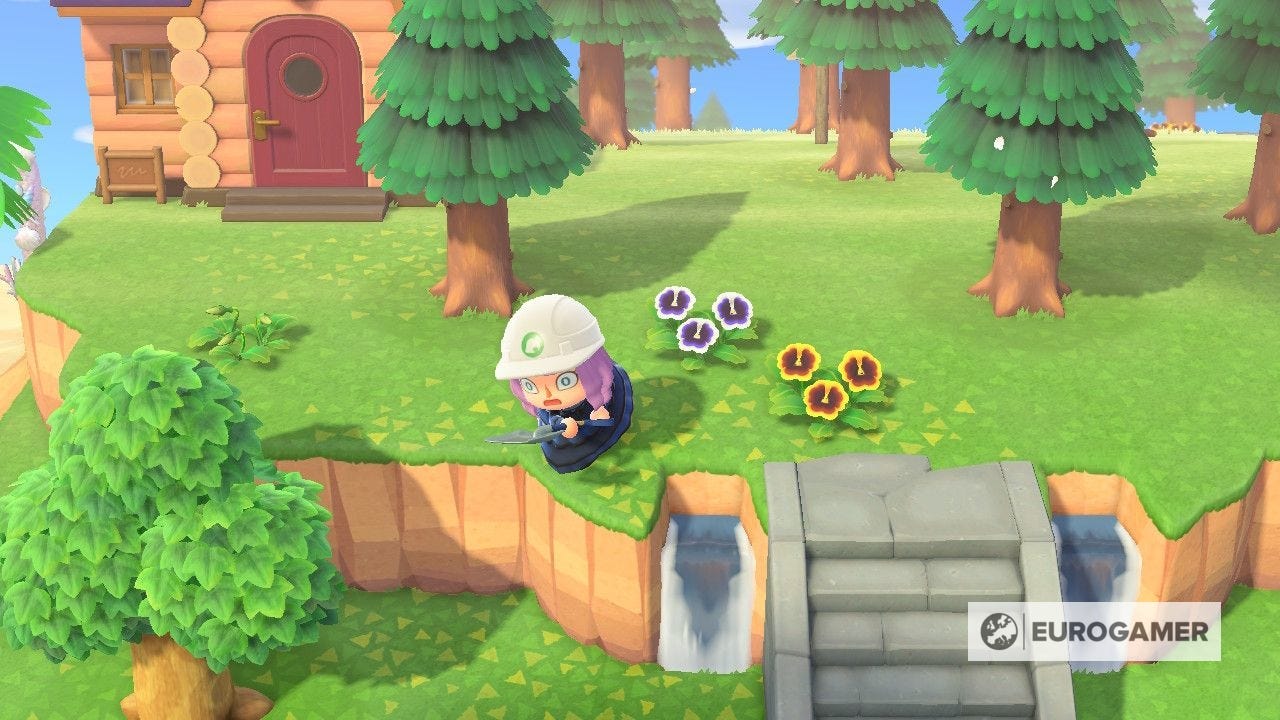
The first is that you can't remove either of the two river mouths on your island. You can place ground tiles in front of them like I've done in the screenshot below, but you'll never be able to delete them.
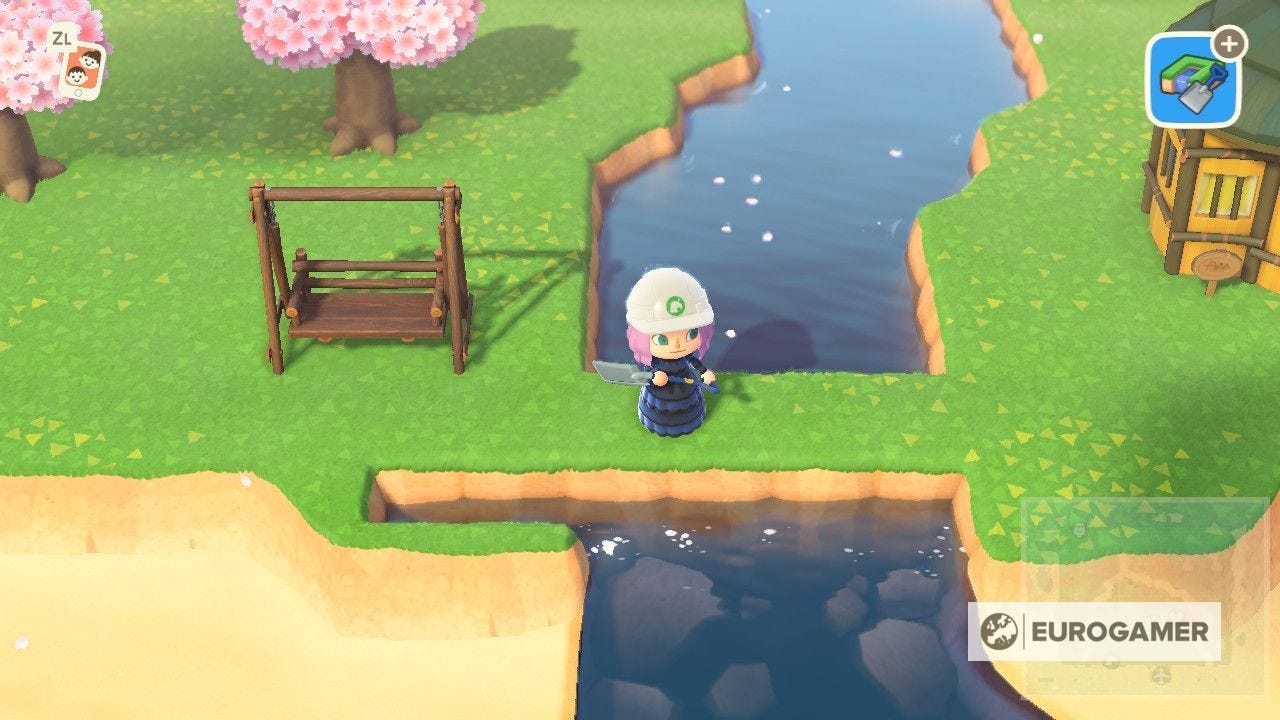
Secondly, you can't create your own river mouths. Instead, the Waterscaping tool will refuse to cut into the shoreline between the beach and the ground. This means that if you want to have a river that ends in the sea, it must be connected to one of the two river mouths on your island.
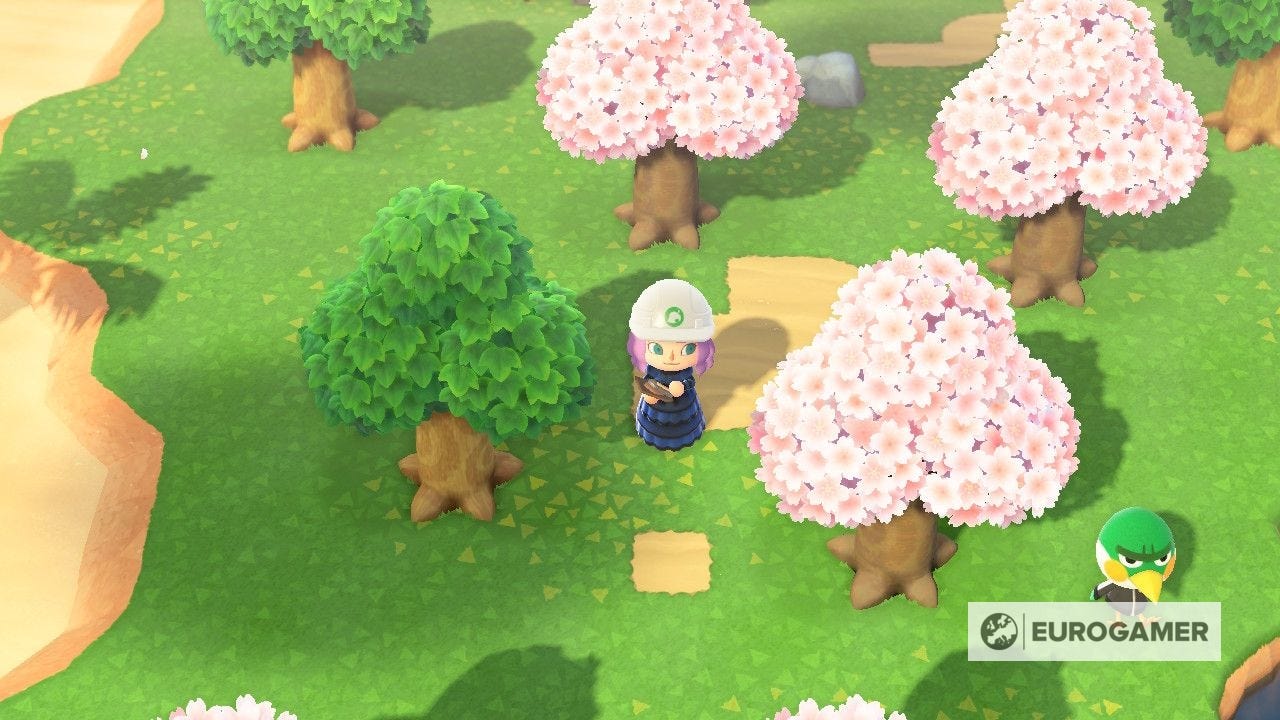
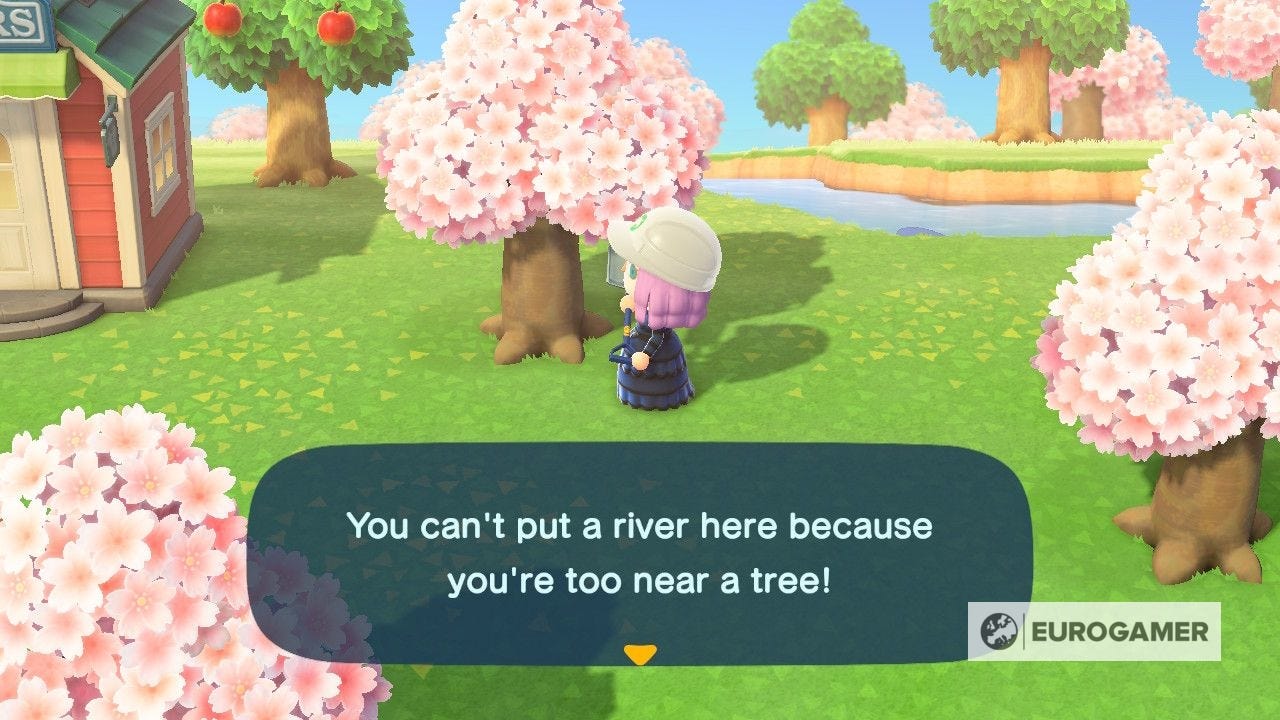
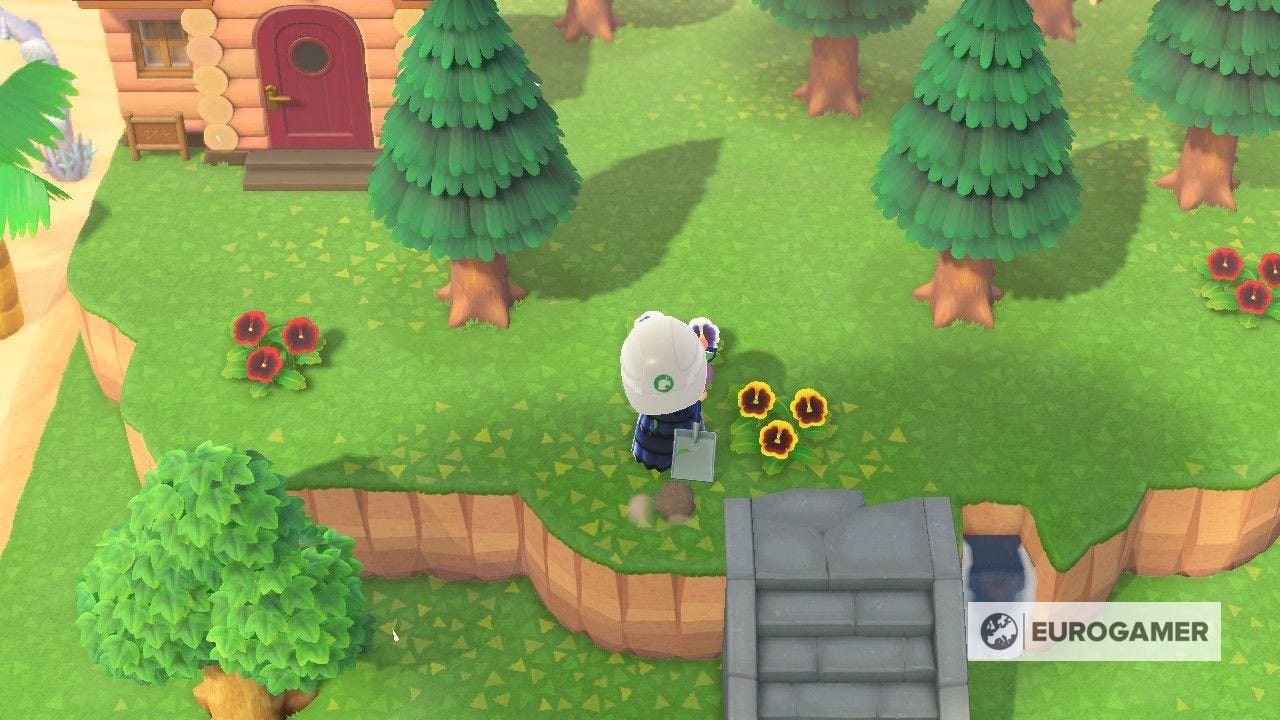
Third and finally, you can't place a river in front of a tree, so ones in your way either chop it down or eat a piece of fruit and scope it up into your inventory.
With these three rules in mind, it's time to start crafting some rivers!
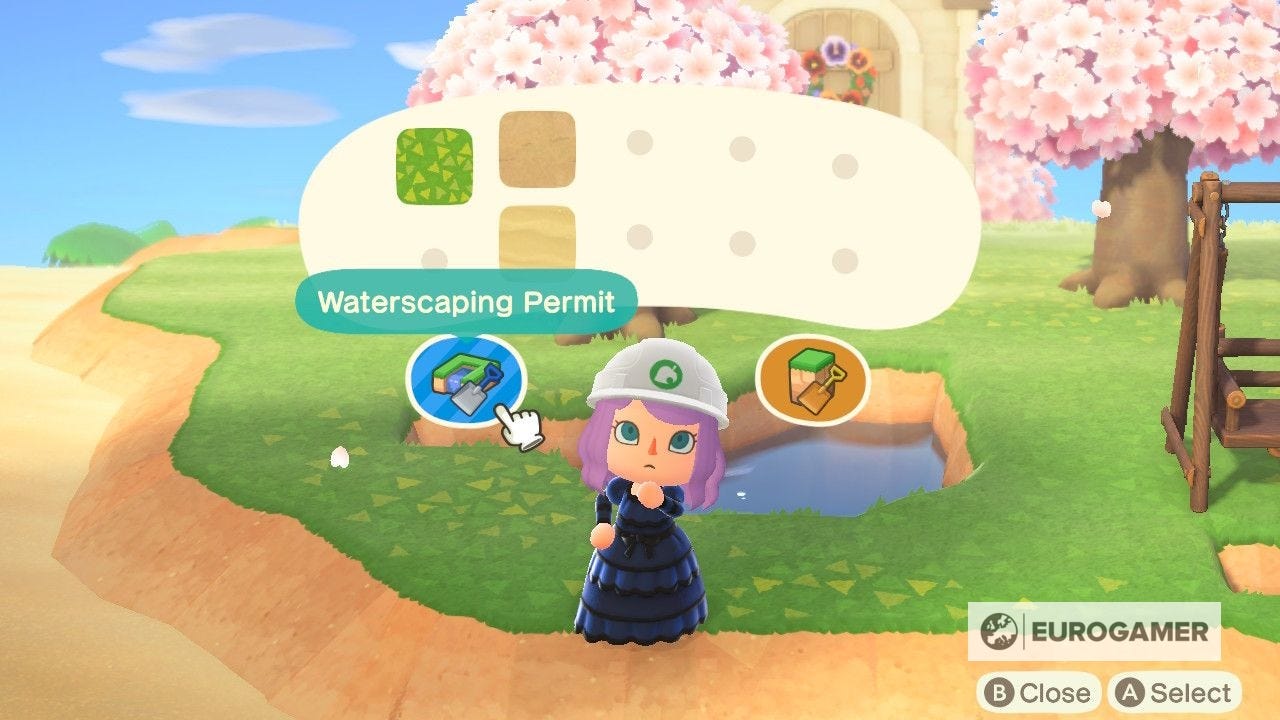
To begin building rivers select the Island Designer app from your Nook Phone and pick the 'Start construction!' option. Next, open the permit menu by pressing + and select the option entitled Waterscaping Permit.
Special water-creating-shovel in hand, you now just have to press A near the piece of land you want to transform into water to start creating a river.
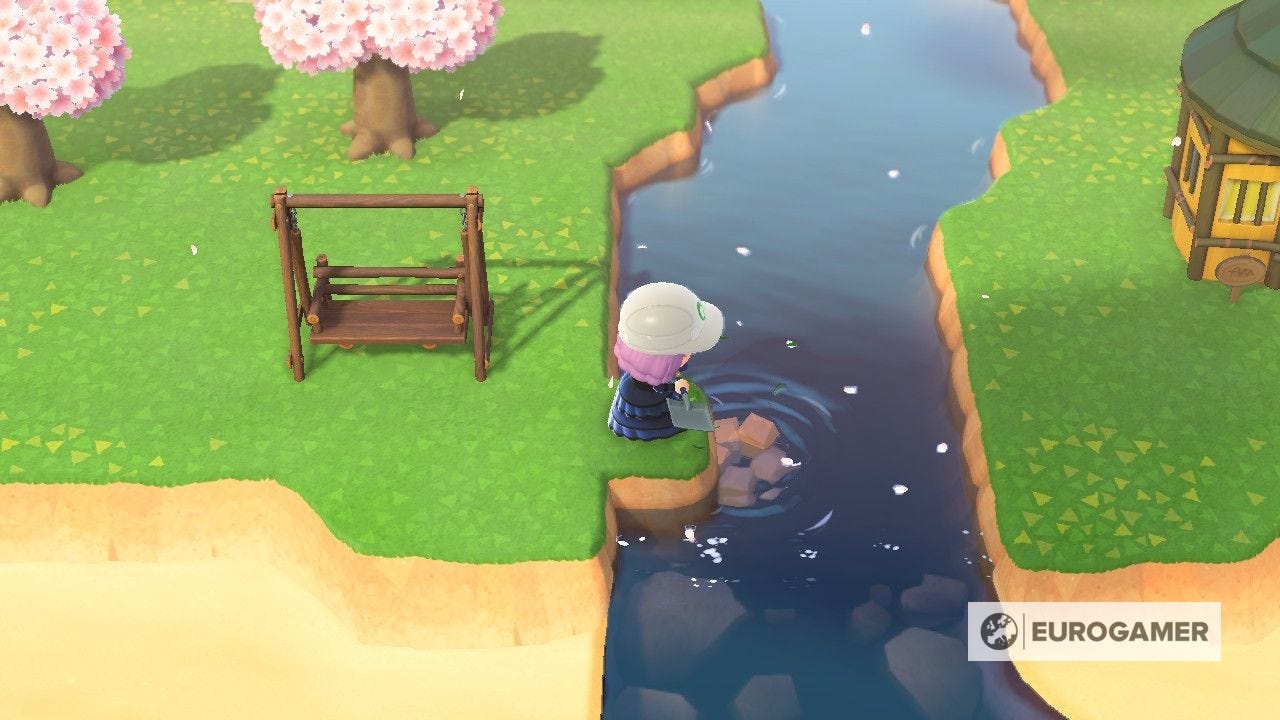
The river edge will naturally curve and change as you add more water tiles. If you'd prefer to have a right angle edge to a river corner, however, then simply press A when standing next to that tile. Doing so should rework this tile into your desired style.
To create a waterfall you need to climb you to the top of the cliff from which you want the waterfall to stem. From there you simply have to press A in front of the piece of cliff where you want the waterfall to sit.
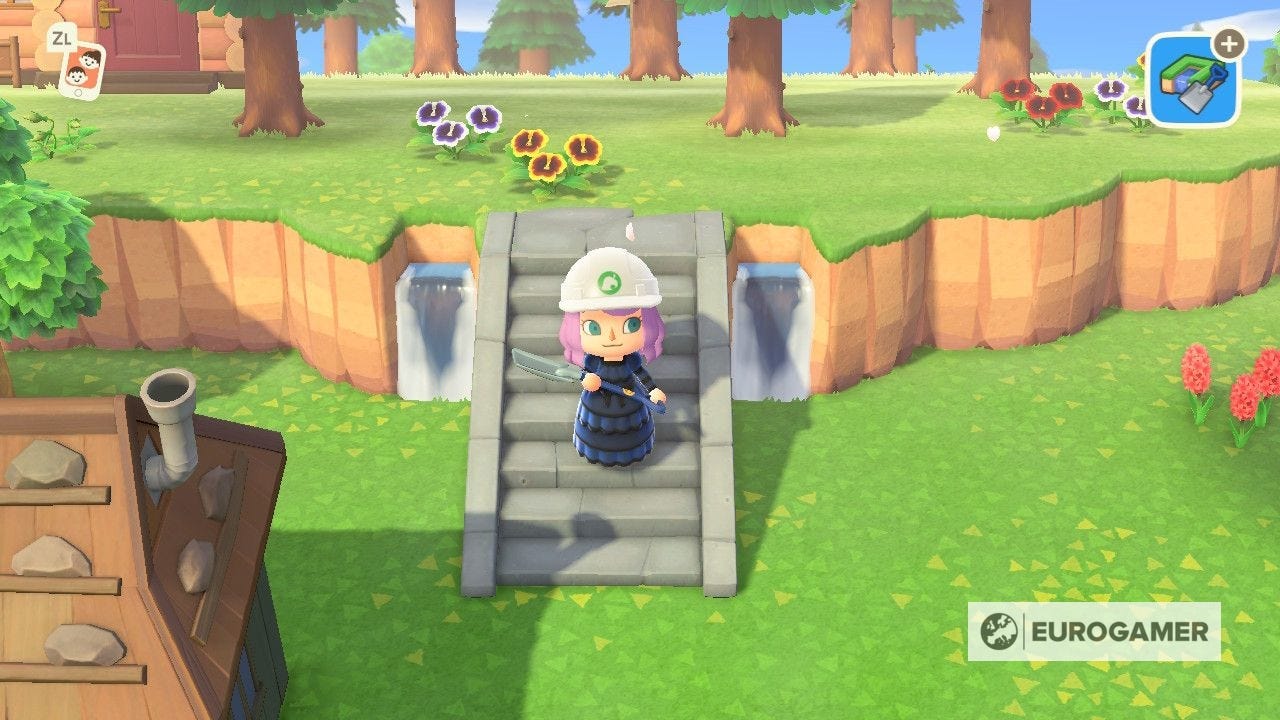
It should be noted that while you don't need a water tile at the bottom of the cliff to create a waterfall, you can't build them on curved pieces of cliff.
If you don't like where you've placed a water tile or want to completely remove the original rivers in your town, then simply press A in front of that water tile to delete it.
The Animal Crossing 2.0 update and Happy Home Paradise is here! We can help you with the new additions - including where to find Brewster, Gyroids, new villagers, ordinances, new fences, storage shed, new hairstyles, Froggy Chair, group stretching and Kapp'n boat tours. Cooking is now unlockable, so you need to know how to make both flour and sugar, as well as how to grow carrots, potatoes and tomatoes. Meanwhile, if you're new to Animal Crossing, our New Horizons tips can help with the basics. From the off, there's fish and bugs to catch, flowers and fruit to grow with. One long term goal is building your Happy Home Academy score. Finally, you need tools such as the new ladder and vaulting pole to fully explore.
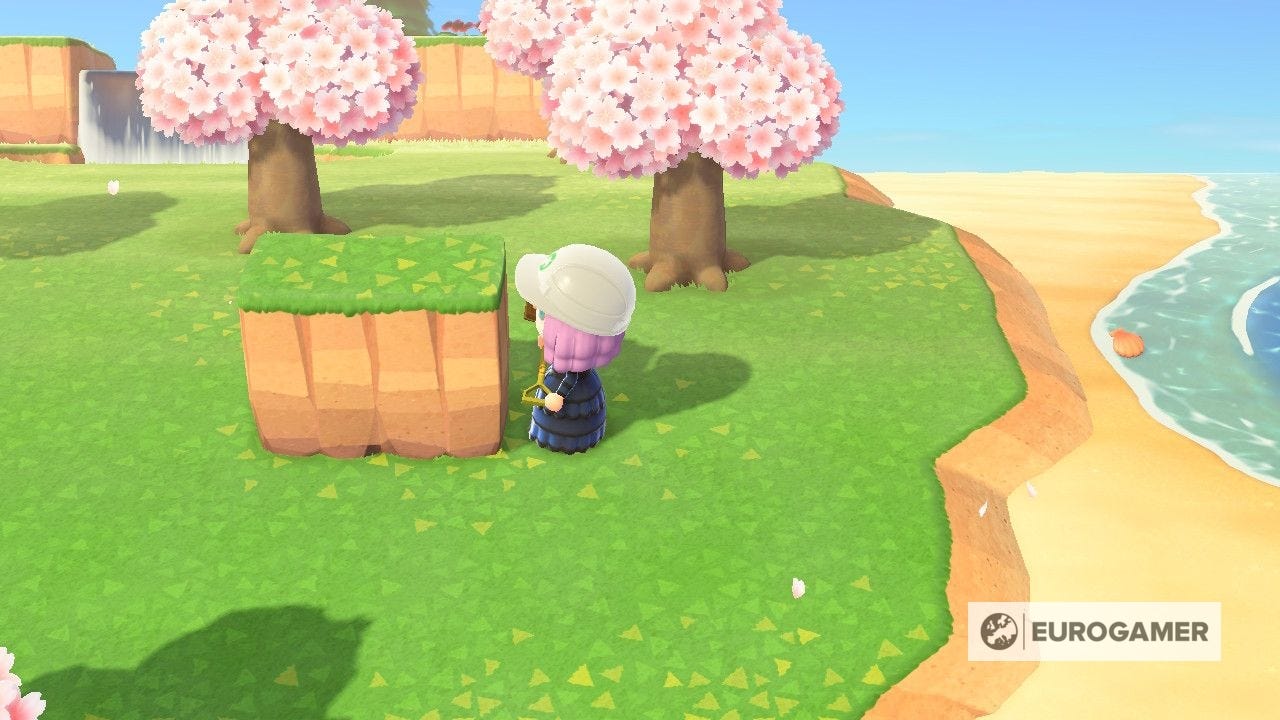
How to build cliffs using the Cliff construction permit in Animal Crossing: New Horizons explained
Being able to build cliffs and platforms is the second highlight that terraforming brings to New Horizons. Maybe you want to build a mountainous terrain on your island or simply flatten the entire island; whatever you want to do, the Cliff construction permit is here to help you achieve this dream.
Like with crafting rivers, there are a couple of rules you should know before you begin building your own cliffs.
The first is that you can't build any cliff line on the beach, rocky areas along the shore or where you've placed a water tile. If you want to build a cliff where a body of water lies, then you must fill in the dirt.
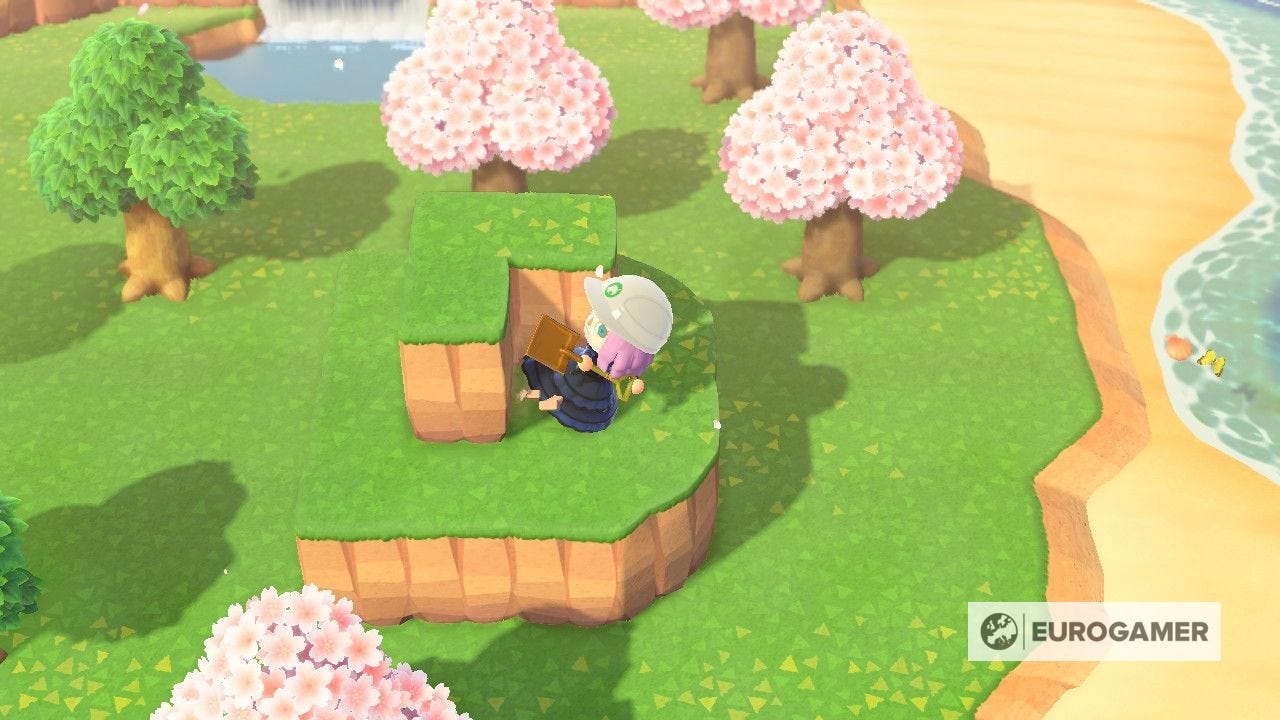
Secondly, a second or third cliff layer must be one tile away from the edge of the cliff you're currently building on.
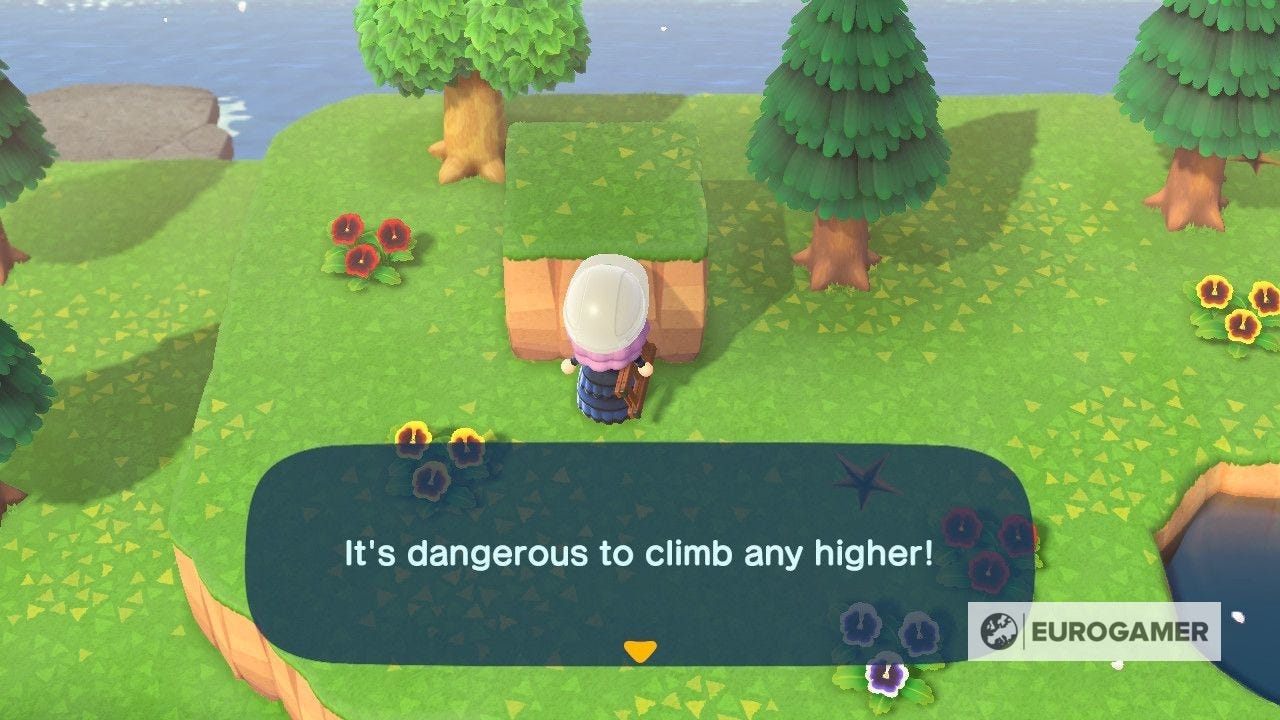
The third rule is that while you can build a third layer of cliff, you can't climb up onto this layer, making it completely inaccessible.
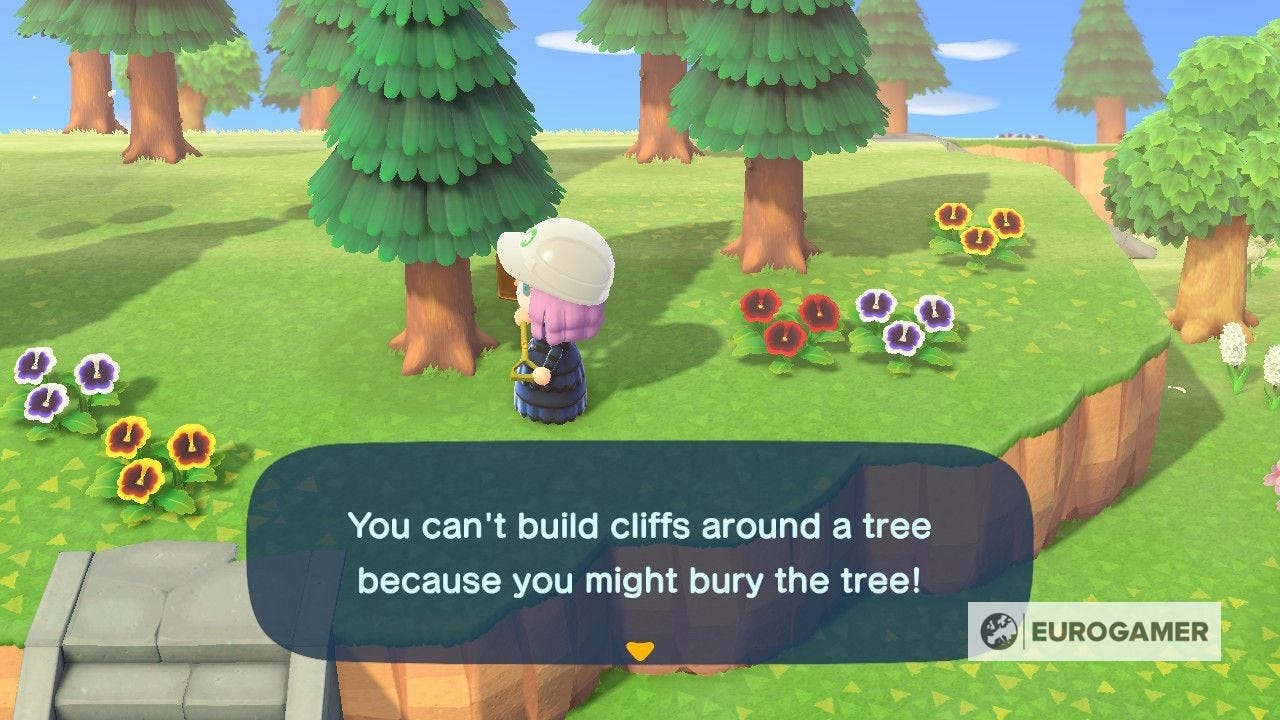
Finally, you can't build a cliff around a tree, because, as the game states, you might bury it. Instead you need to chop that tree down or shovel it up into your inventory.
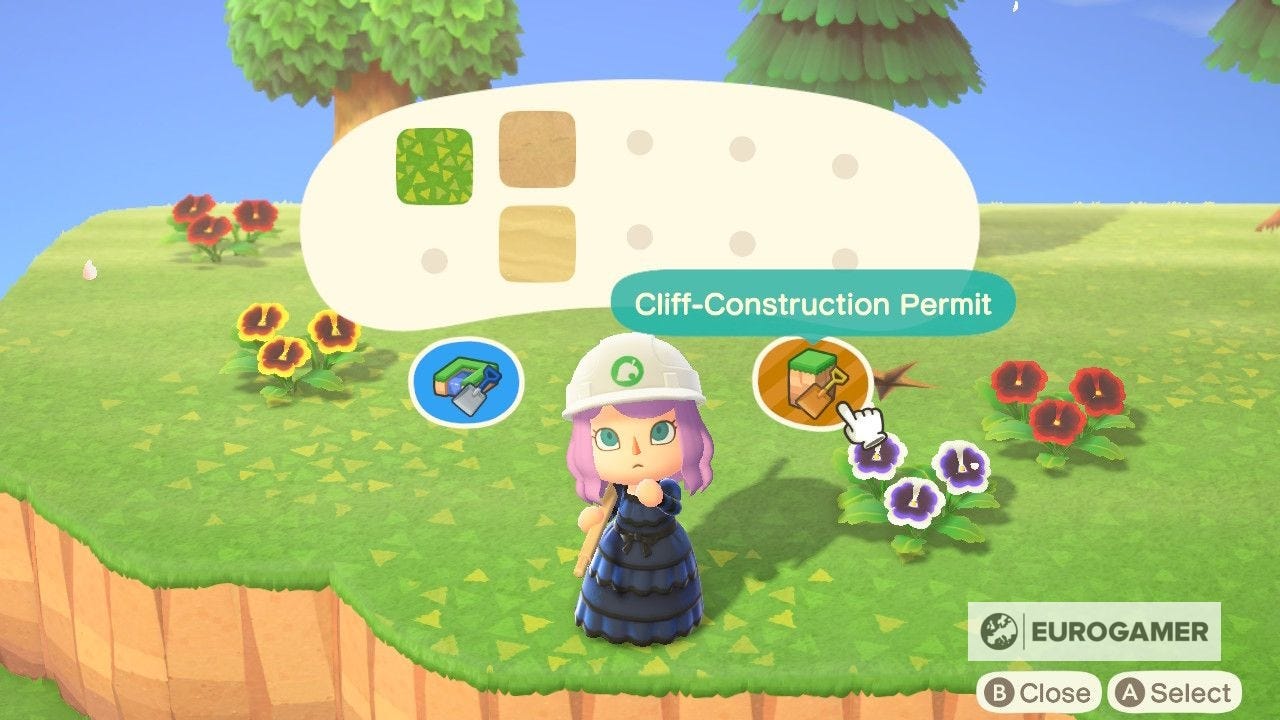
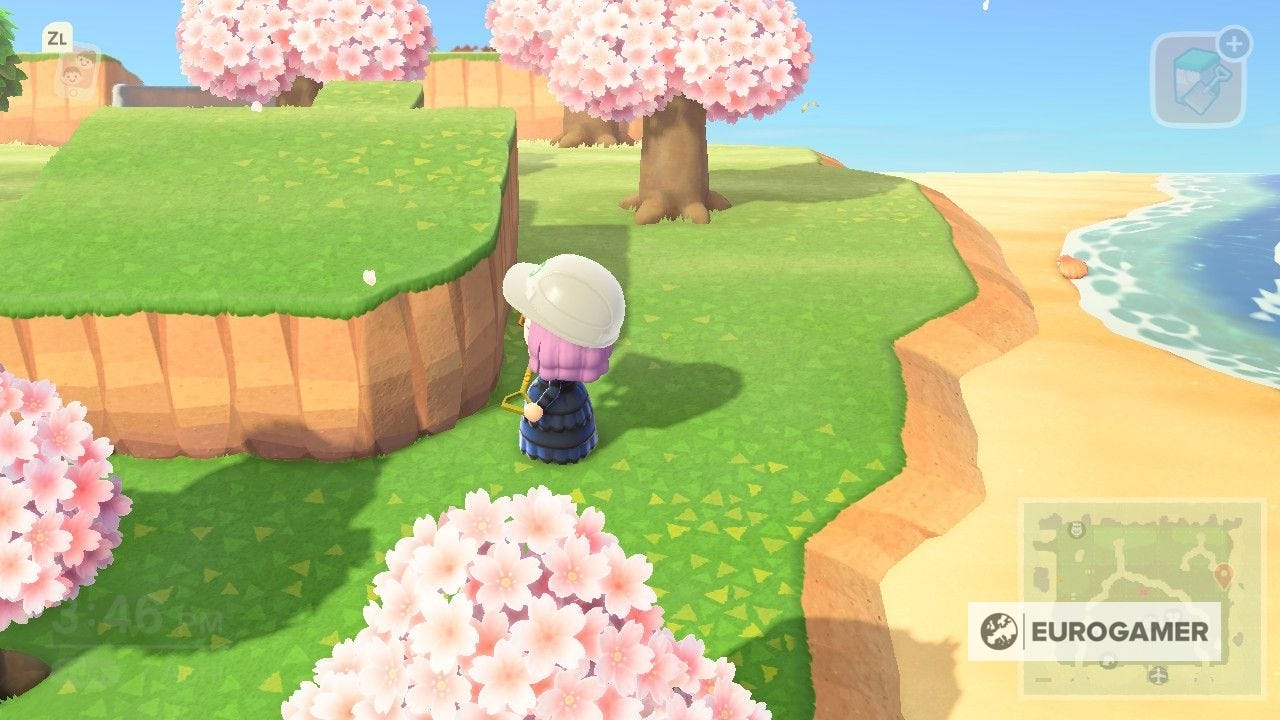
When you're ready to start carving out cliffs, open the Island Designer app and select 'Start construction!' Next, open the permit menu by pressing + and choose the option called Cliff Construction Permit.
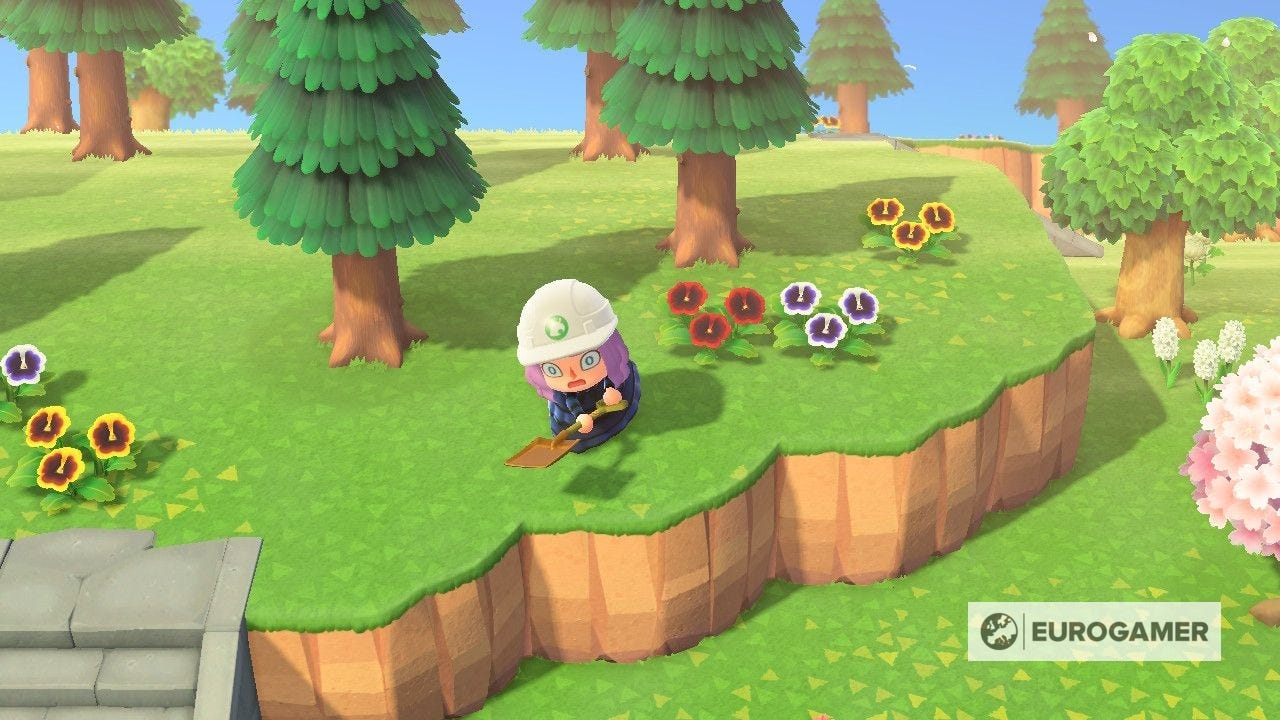
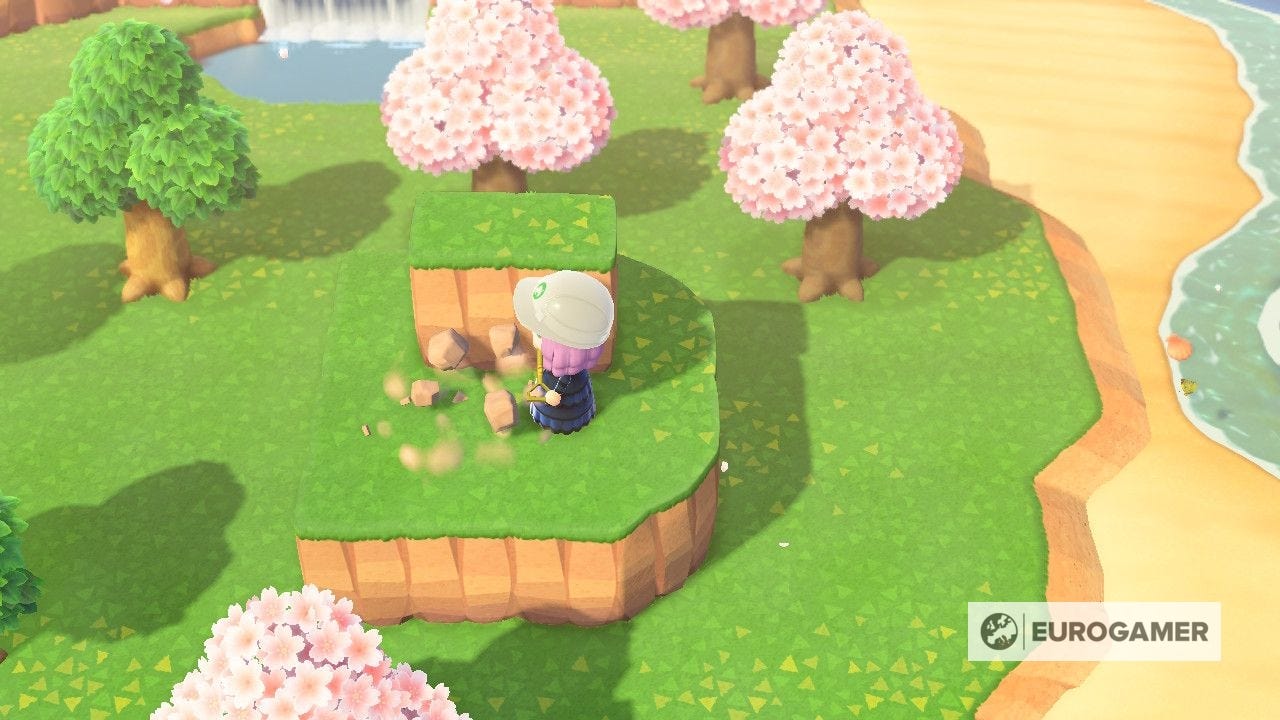
All you have to do now is find the right plot of land and press A to start building cliffs. Remember, if you want to make your hill even higher, then you need to climb atop of it using the ladder first.
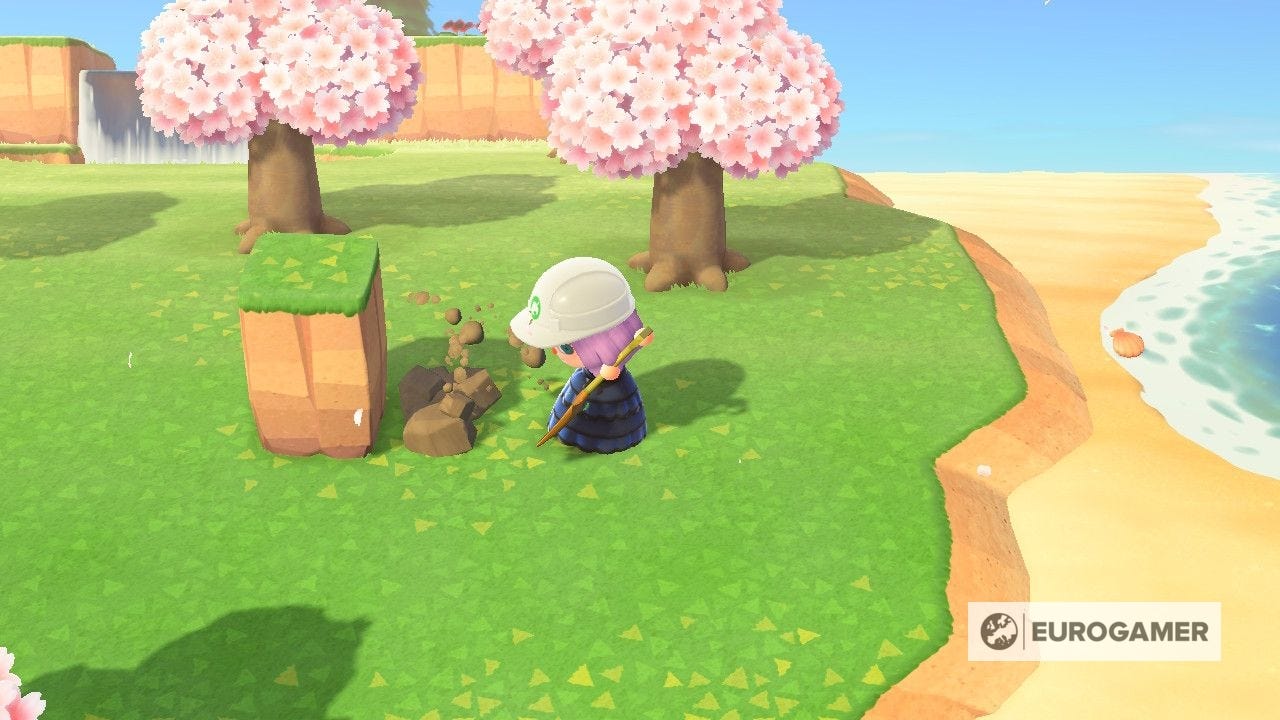
If you want to give part of your cliff face a rounded edge, then, at its feet, press A in front of the section that you want rounded.
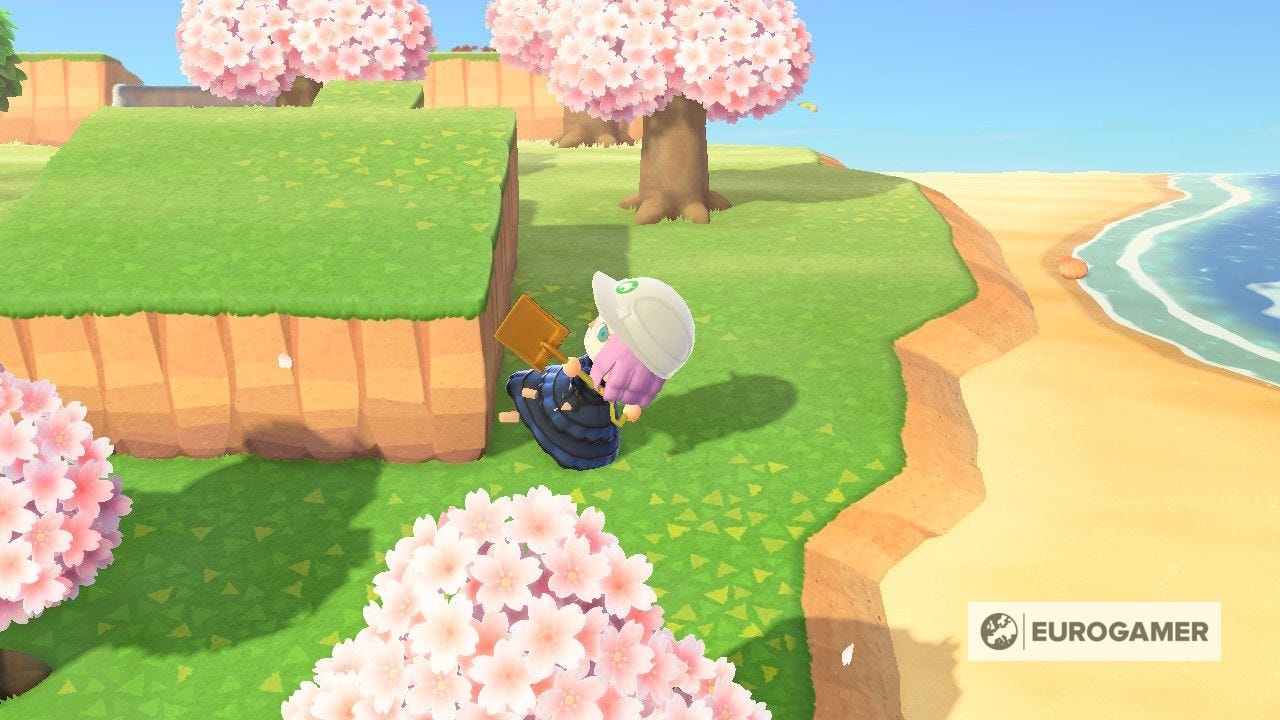
If, however, you're more in the mood for demolition, then simply press A in front of any cliff that you want destroyed. If you want to lower a second or third layer of cliff to the ground, then you will have to do this multiple times.
Have fun being creative with your island in New Horizons!