Animal Crossing River crossing: How to get a Bridge and Vaulting Pole in New Horizons explained
How to explore more of the island around you.

Crossing the river in Animal Crossing usually isn't an issue - but New Horizons has you explore your island at a much difference pace.
To begin with, you can only explore a small section of the island, which is blocked off by a river. To go further, you need a Vaulting Pole - a temporary solution until you can get a Bridge.
Both are unlocked with progression through expanding the island - in other words, keep unlocking new buildings and you'll get both eventually. But if you want to know the exact steps, this page covers how to get there.
On this page:
How to cross a River using a Vaulting Pole in Animal Crossing: New Horizons
When you first arrive on your island in Animal Crossing: New Horizons, you'll find your exploration cut short by the fact that you're unable to cross any of the rivers. If you want to fully explore your island, you'll need to craft a Vaulting Pole.
Unlike most other Tools, if you want to craft a Vaulting Pole you must first attract Blathers to live on your island.
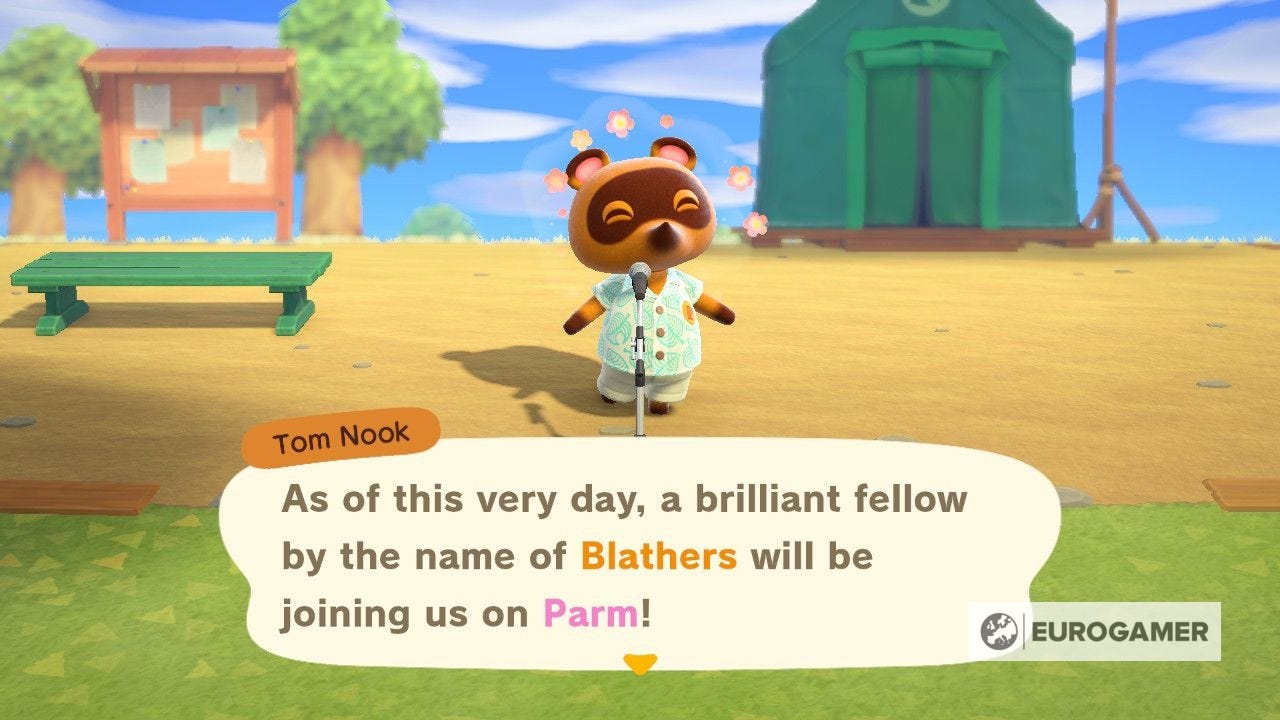
You can do this as soon as the second day, by donating five different insect or fish species to Tom Nook within resident services.
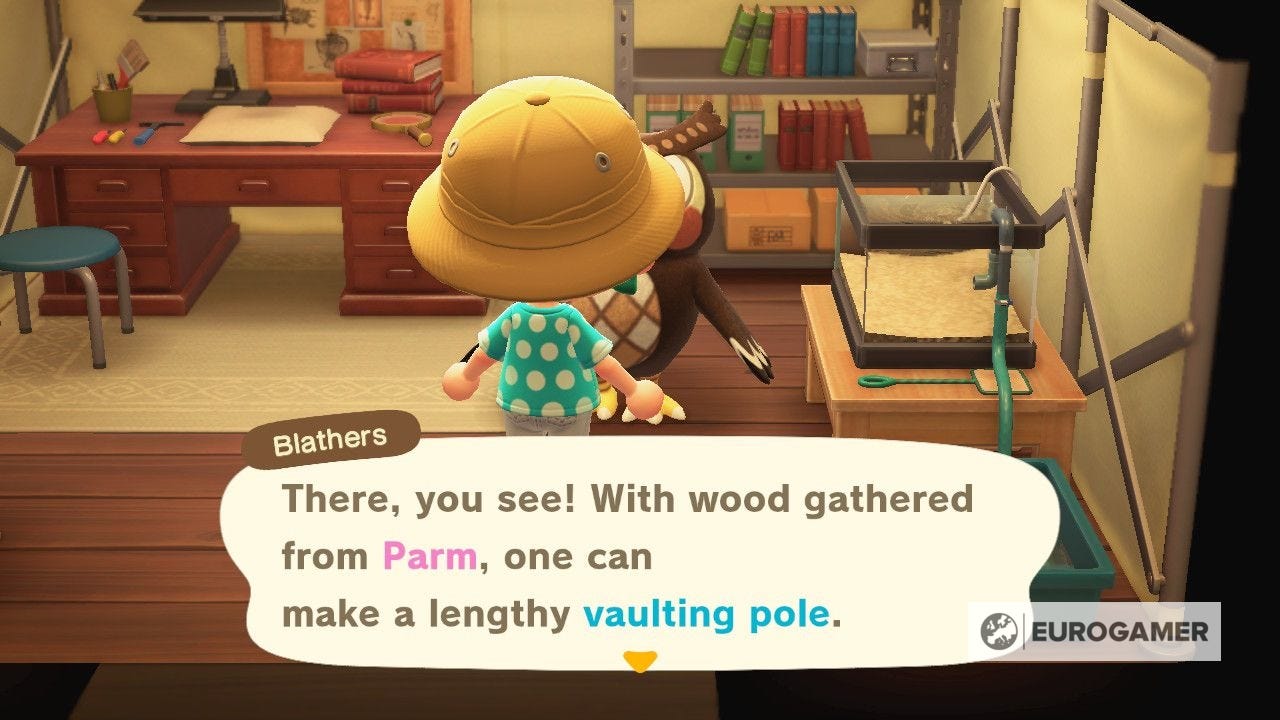
Once Blathers has arrived in his makeshift museum - this will happen the next day - pay a visit and he will give you the DIY recipe for the Vaulting Pole.
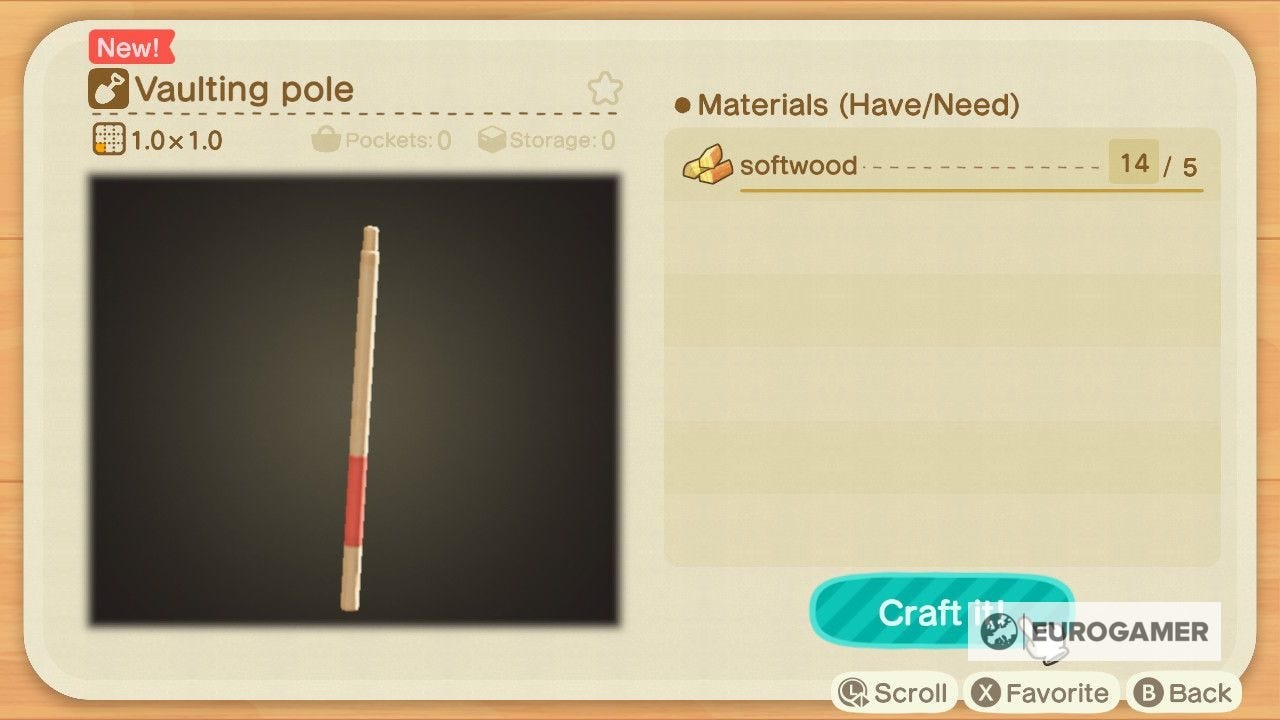
To craft it, you need:
- 5x Softwood
To use the Vaulting Pole, select it from your inventory and then press A at the edge of the river, springing you across.
Remember it will only work on a 'standard' river width - so if the pole doesn't work, it's possible you are at a wider section, so head further along to give it a go.
The Animal Crossing 2.0 update and Happy Home Paradise is here! We can help you with the new additions - including where to find Brewster, Gyroids, new villagers, ordinances, new fences, storage shed, new hairstyles, Froggy Chair, group stretching and Kapp'n boat tours. Cooking is now unlockable, so you need to know how to make both flour and sugar, as well as how to grow carrots, potatoes and tomatoes. Meanwhile, if you're new to Animal Crossing, our New Horizons tips can help with the basics. From the off, there's fish and bugs to catch, flowers and fruit to grow with. One long term goal is building your Happy Home Academy score. Finally, you need tools such as the new ladder and vaulting pole to fully explore.
How to get a bridge in Animal Crossing: New Horizons
Crossing the river now allows you to collect fossils and explore more of the island - but you'll soon grow tired of having to use the Vaulting Pole every time you want to explore these later regions. For this, we need to build a bridge.
Building a bridge in Animal Crossing: New Horizons takes a little more work, and requires you unlock Nook's Cranny and start the process of placing new Villager houses around the island.
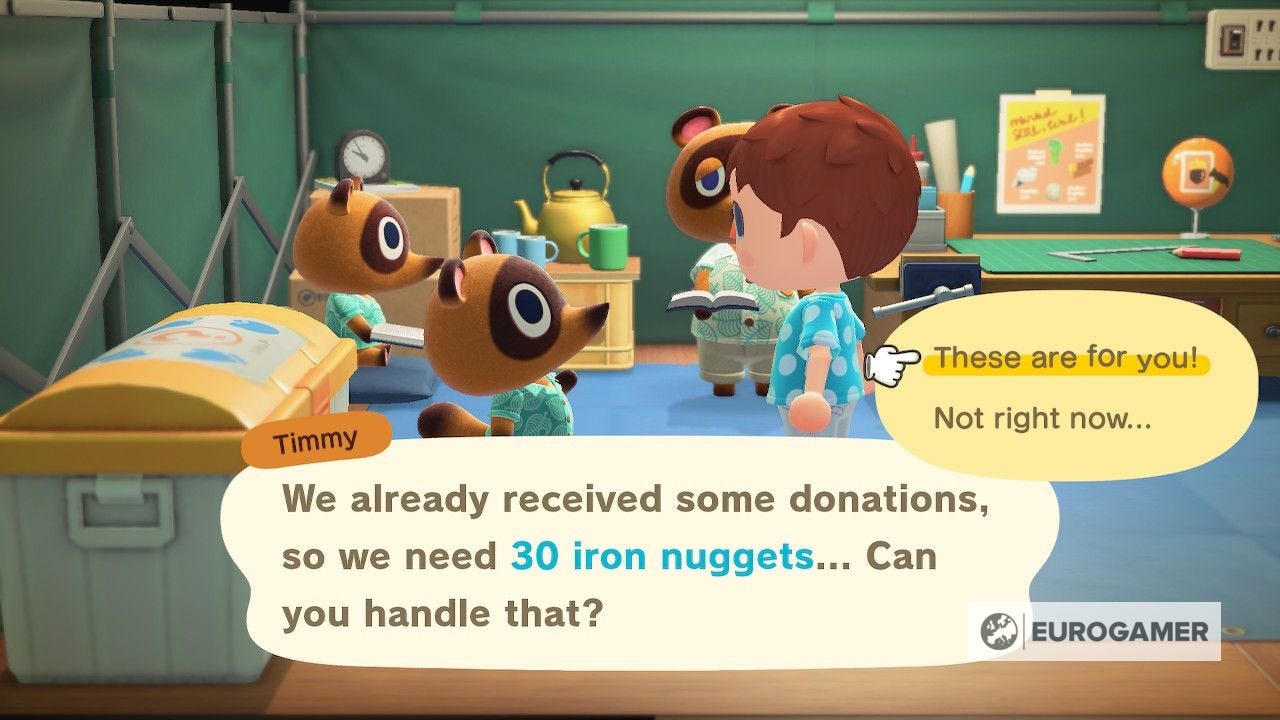
If you're not there yet, the steps are as follows. Talk to Timmy and Tommy in Residential Services, who want to build a shop but need various resources first - 30 pieces of each type of Wood Material, as well as 30 Iron Nuggets. (Our Iron Nuggets farm advice can help speed this more laborious step up.)
Settle on where to build the shop, and the next day, it will be open for business. On the same day, Nook will then have a phone call about new people interested in the island relocation programme during his usual daily briefing. (If you don't have this, it's possible you might also need the fully constructed Museum on your island as well.)
Once he has the call, pay Nook a visit in Residential Services. Talk to him about the new Villagers arriving, and when ready, choose 'What should I do?' from the menu.

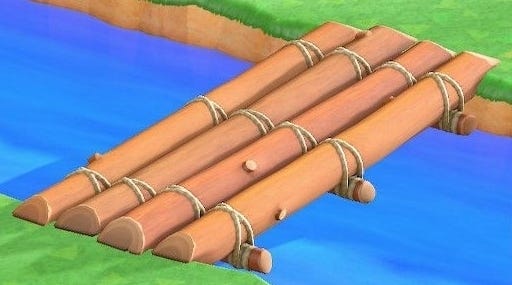
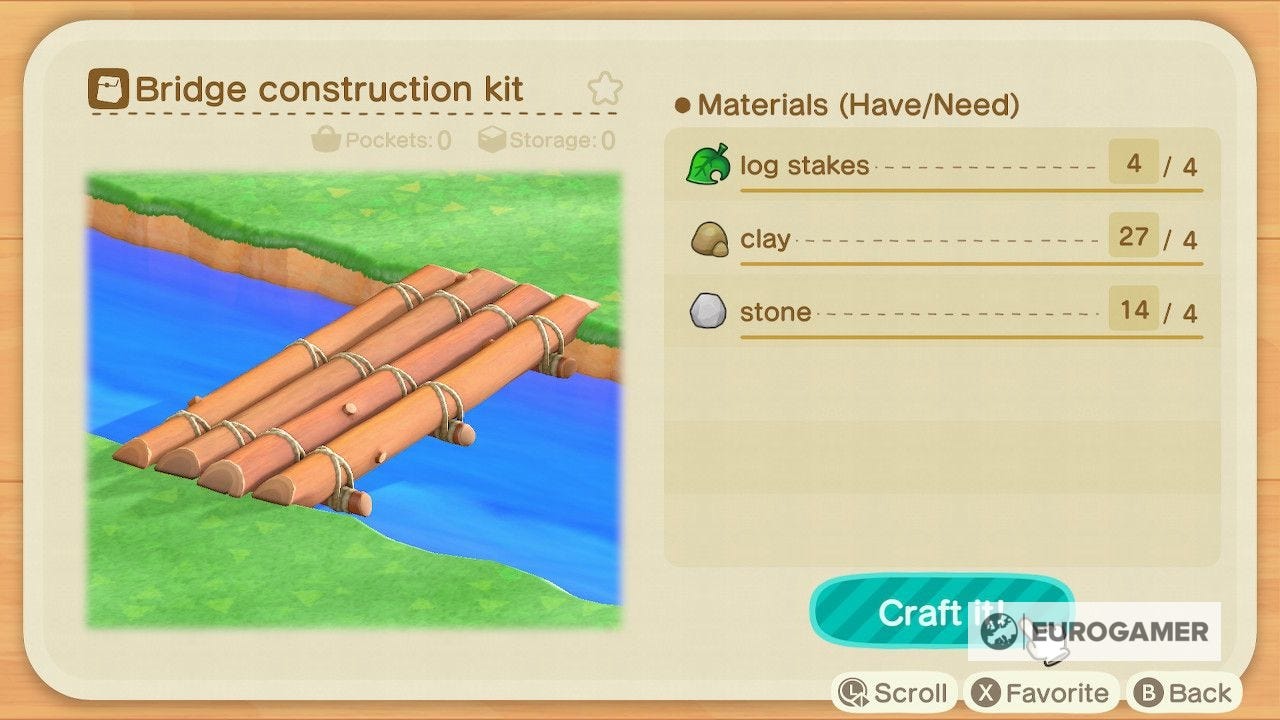
It's at this point the Bridge unlocks - as before the Villagers can arrive, they need a way to get around the island. You'll receive the Bridge Construction Kit, which requires the following materials:
- 4x Log Stakes
- 4x Clay
- 4x Stone
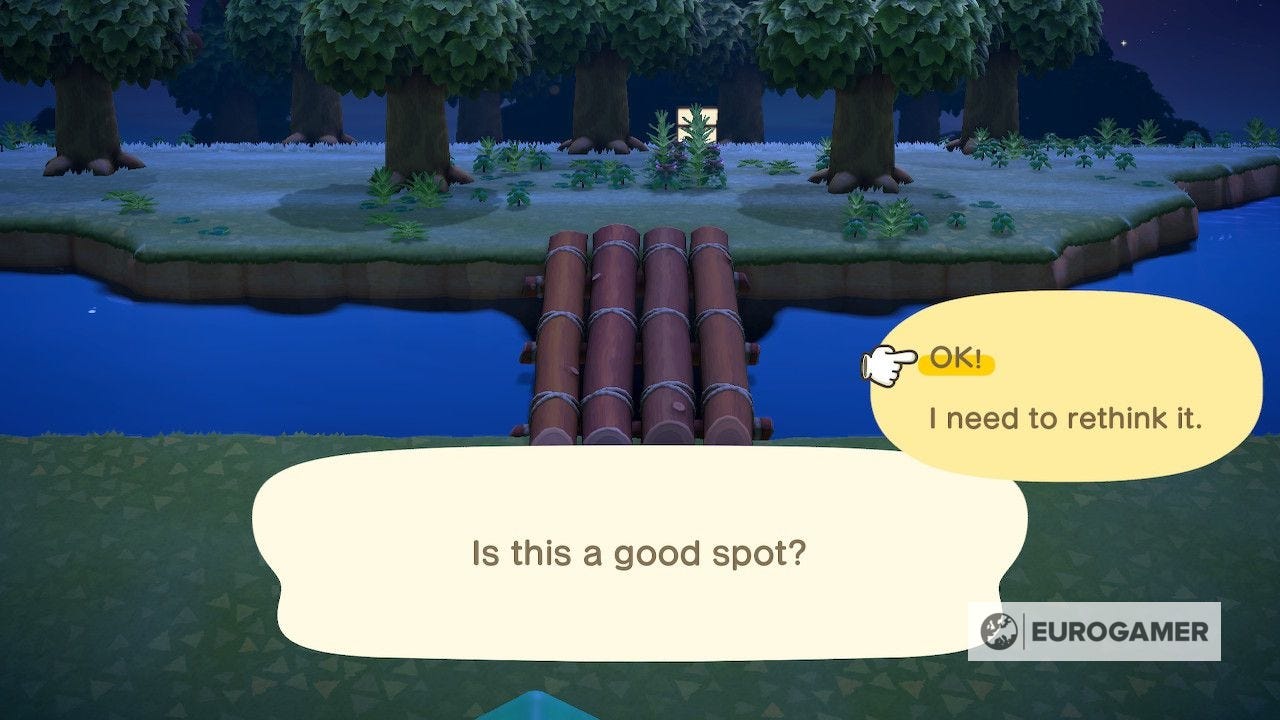
Once crafted, place this first bridge where you think is best suited for you. Once it's down, like any construction project, it'll be available to use the following day.
With the bridge in place, you can now cross rivers much easier. It's worth noting you are just minutes away from also unlocking the Ladder, which allows you to explore the island even further.
How do you build a second bridge and more in Animal Crossing: New Horizons?
The bridge construction kit Nook gives you is single use - meaning you cannot get a second bridge from him until later in the game.
Specifically, to construct more bridges, you must unlock the Town Hall - which is just after you have helped construct those three Villager lots.

Once you have - enjoy the new services available to you!