North Lomei Labyrinth walkthrough for Zelda Tears of the Kingdom
How to solve the North Lomei Labyrinths.
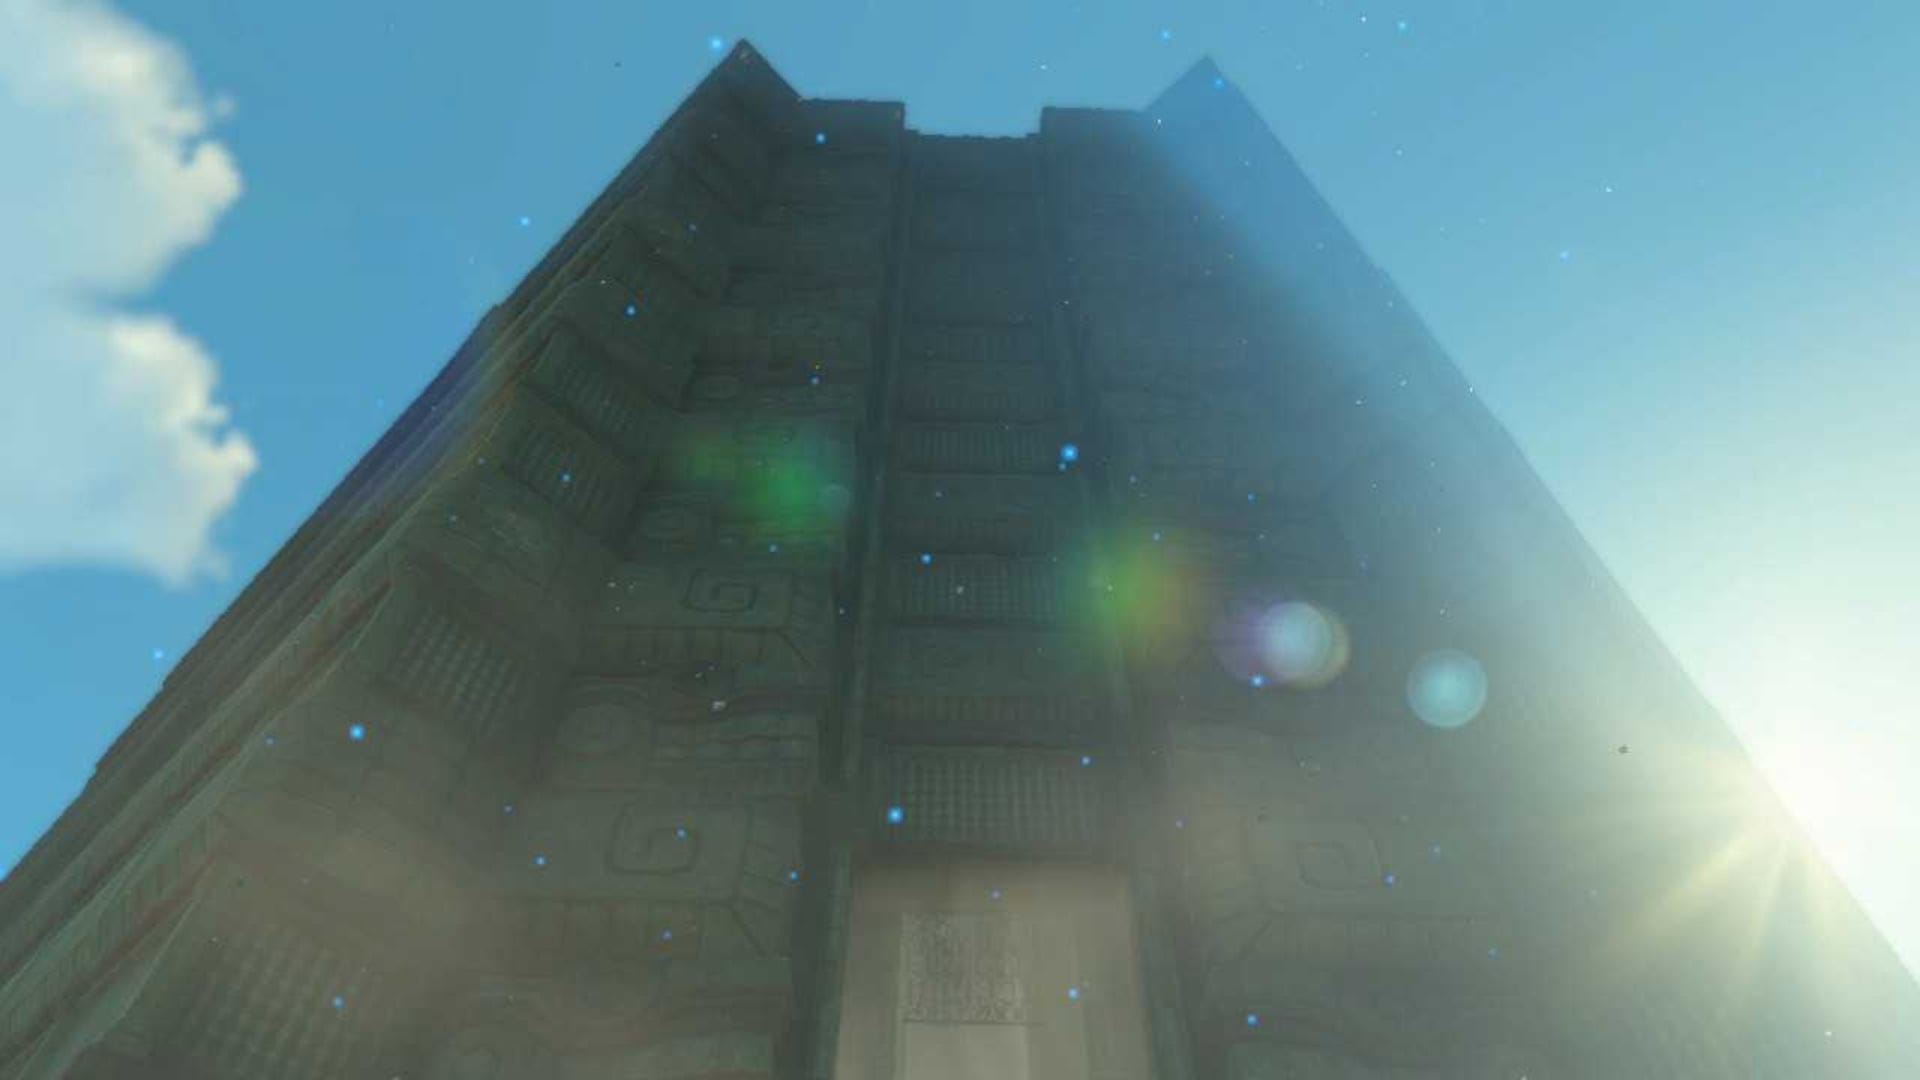

The North Lomei Labyrinth is part of a side quest in Zelda: Tears of the Kingdom that takes Link deep into three separate Labyrinths. The first one is on the surface, the next one in the sky, and the final one is in the depths below Hyrule.
Each Labyrinth presents its own set of challenges and puzzles, with two of them also containing Shrines. The Mayaotaki Shrine is part of the surface labyrinth and the Tenbez Shrine is part of the North Lomei Sky Labyrinth, but we'll talk more about those later. The first thing you need to do, before anything else, is to start the quest!
Without further ado, we're going to show you how to complete the North Lomei Prophecy quest in Zelda: Tears of the Kingdom.
On this page:
- North Lomei Labyrinth location
- How to start the North Lomei Prophecy quest
- How to solve the North Lomei Surface Labyrinth
- Mayaotaki Shrine puzzle solution
- How to get to the North Lomei Sky Labyrinth
- How to solve the North Lomei Sky Labyrinth
- How to solve the North Lomei Depths Labyrinth

If you'd like to learn more about Link's adventure, visit our Zelda: Tears of the Kingdom walkthrough.
North Lomei Labyrinth location in Zelda Tears of the Kingdom
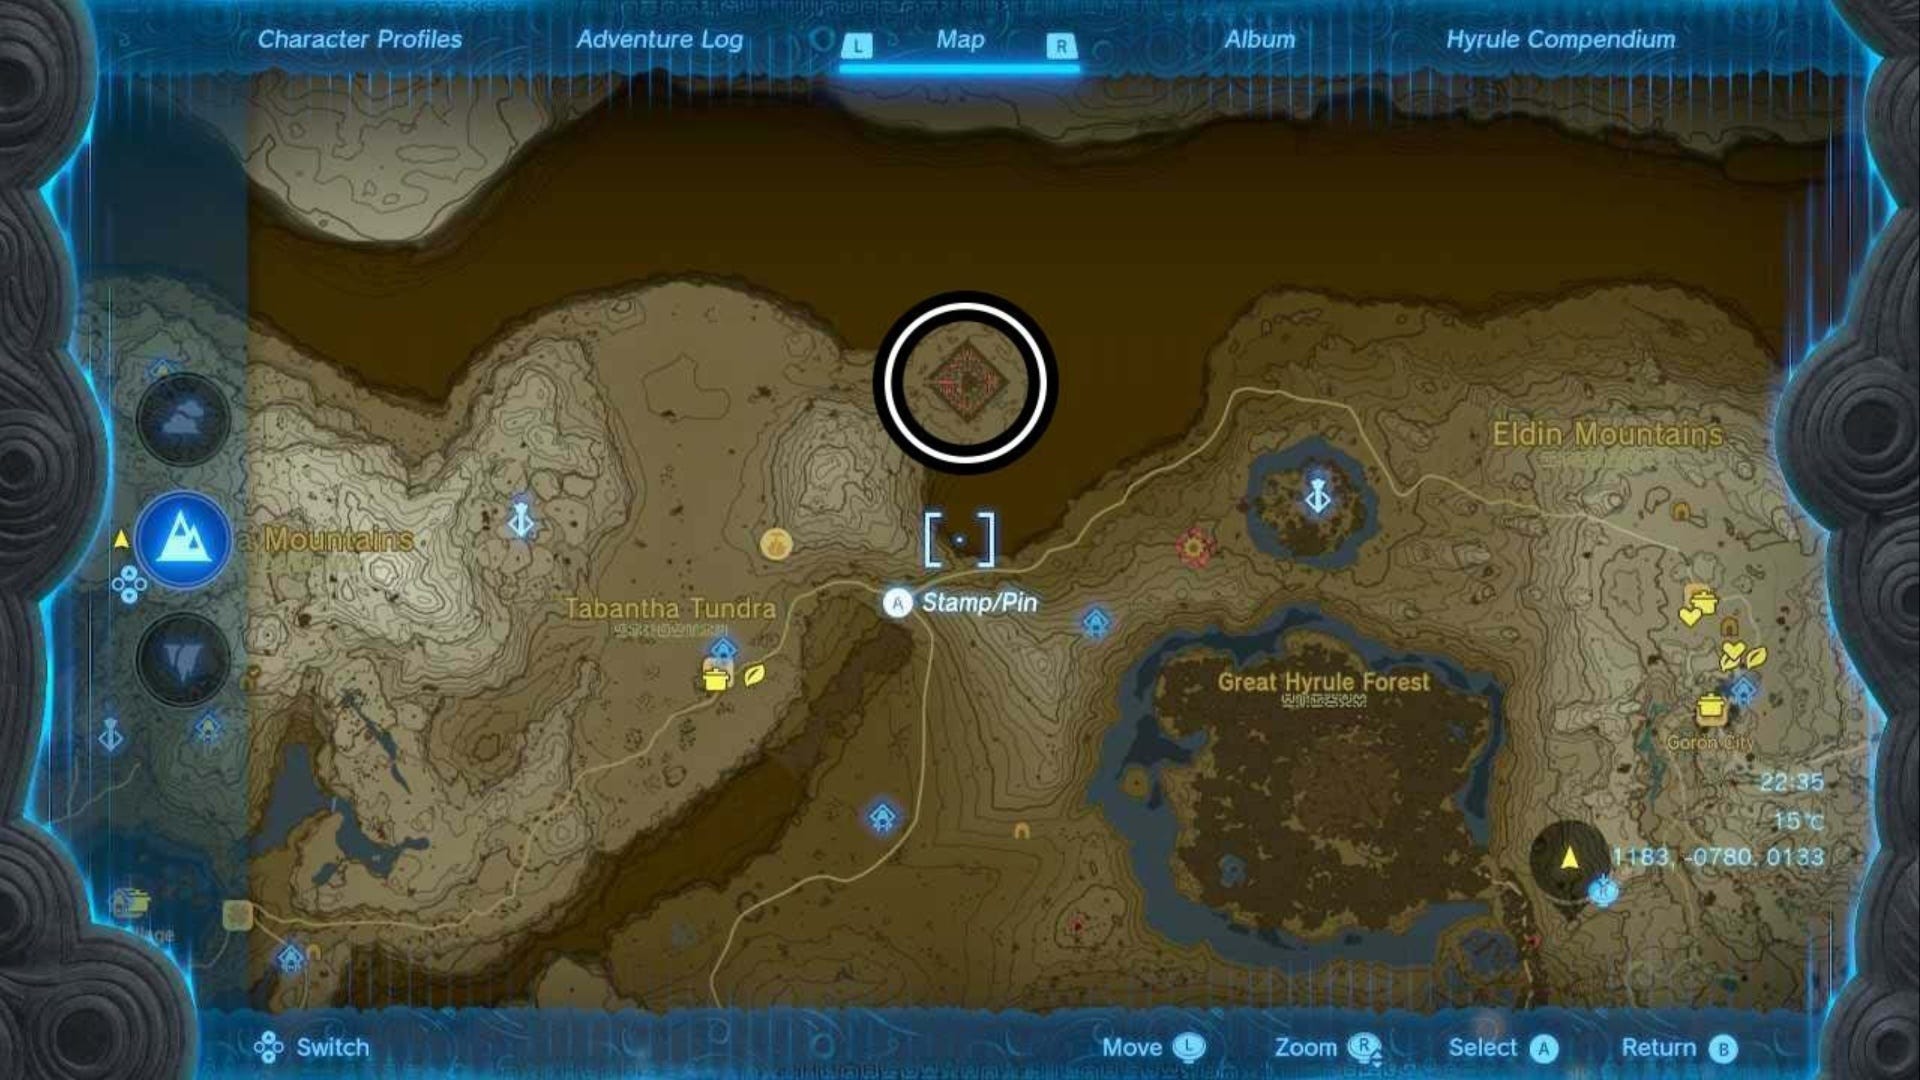
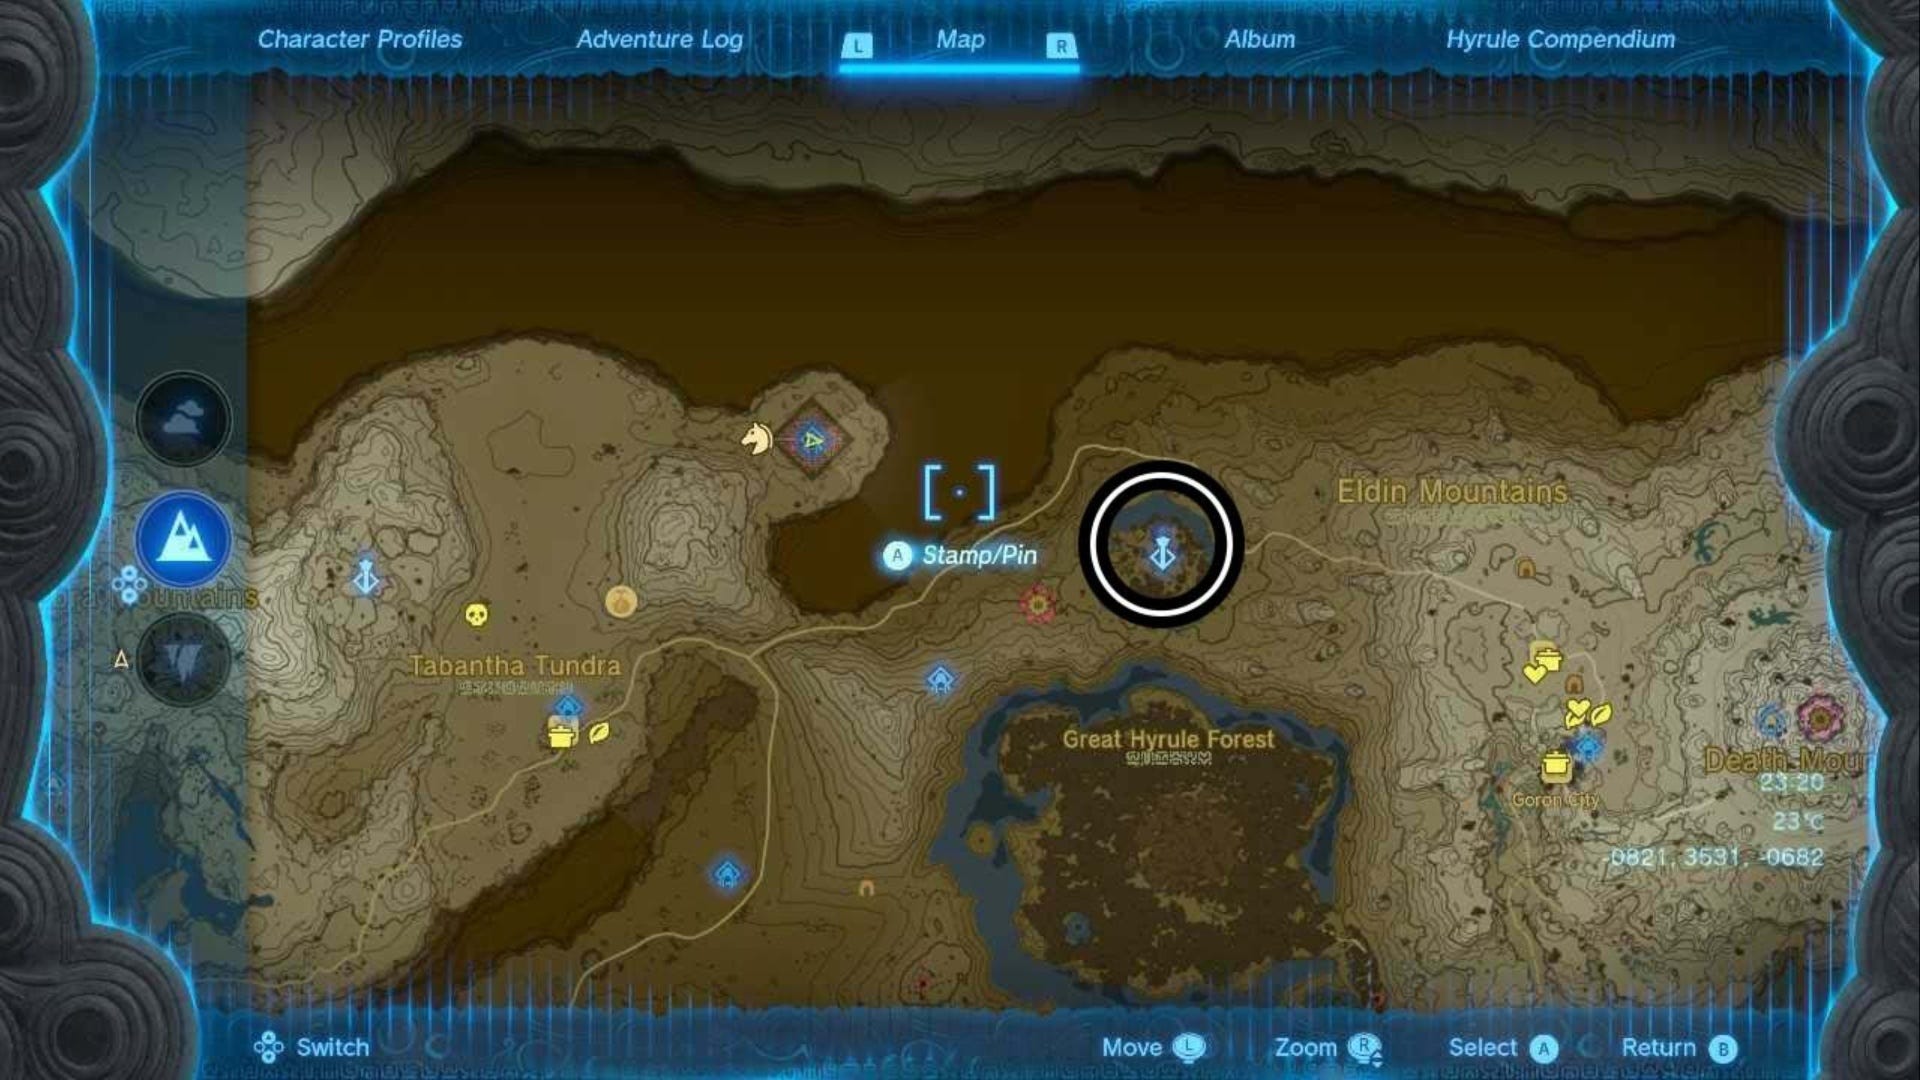
The North Lomei Labyrinth can be found in the north east corner of Tabantha Tundra in Zelda: Tears of the Kingdom. It's east of Hebra Mountains and Pikida Skyview Tower, north east of Snowfield Stable, and slightly north west of Thyphlo Ruins Skyview Tower.
We've marked its exact location on the map below, and the North Lomei Labyrinth coordinates are (-0956, 3534, 0234). This is the surface labyrinth, but this is the first place you need to go for this quest. The other two labyrinths you encounter are directly above and below this location.
How to start the North Lomei Prophecy quest in Zelda Tears of the Kingdom
To start the North Lomei Prophecy in Zelda: Tears of the Kingdom, you need to find the surface labyrinth of the North Lomei labyrinths.
Once you find the surface labyrinth, walk up to the front entrance and you will see a large stone slab with Zonai writing on it. You can't understand this, so turn to the left of the slab and read the research log here in the notebook.
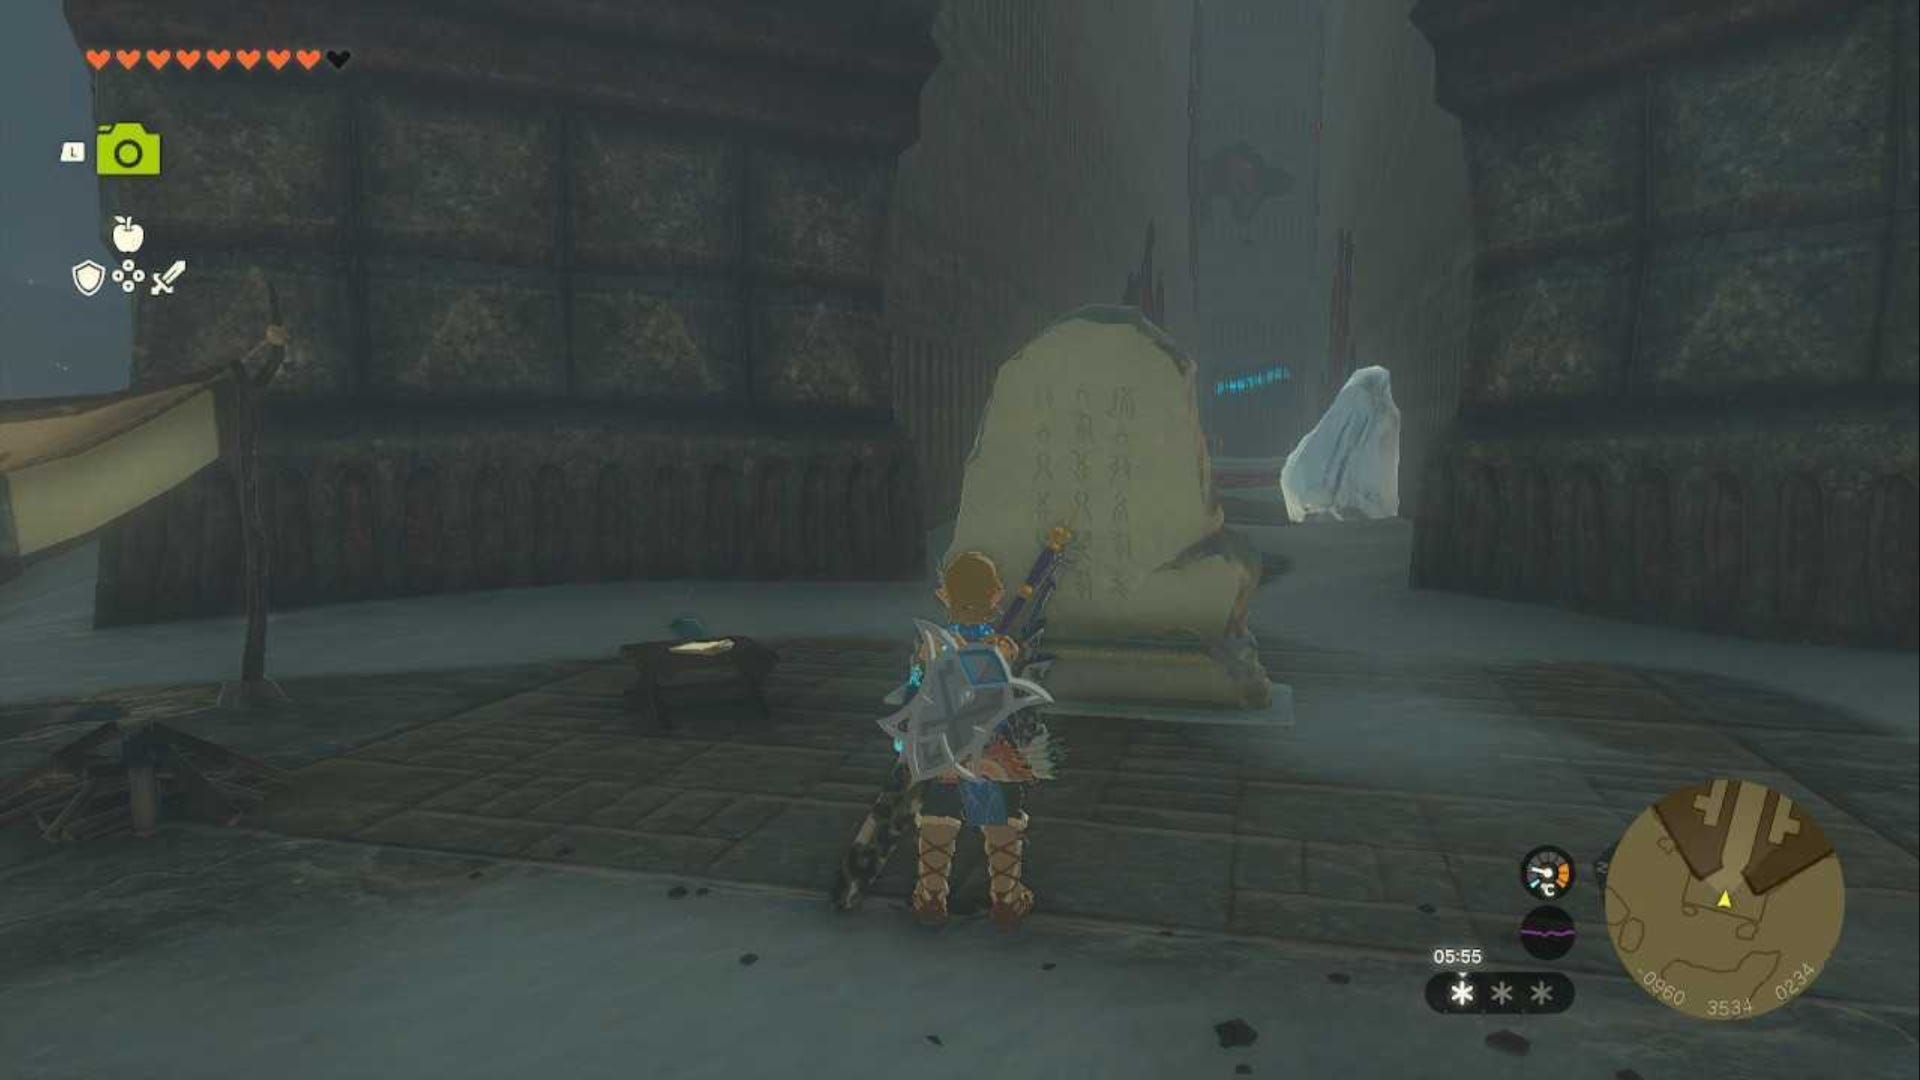
Read the notebook to find that the researcher has left Hylian Pine Cones in a trail through the labyrinth to help you find their 'discovery'. Once you walk into the labyrinth, the quest will technically start but the notification will not appear until later on.
Your first job is to get to the center of this labyrinth.
How to solve the North Lomei Surface Labyrinth in Zelda Tears of the Kingdom
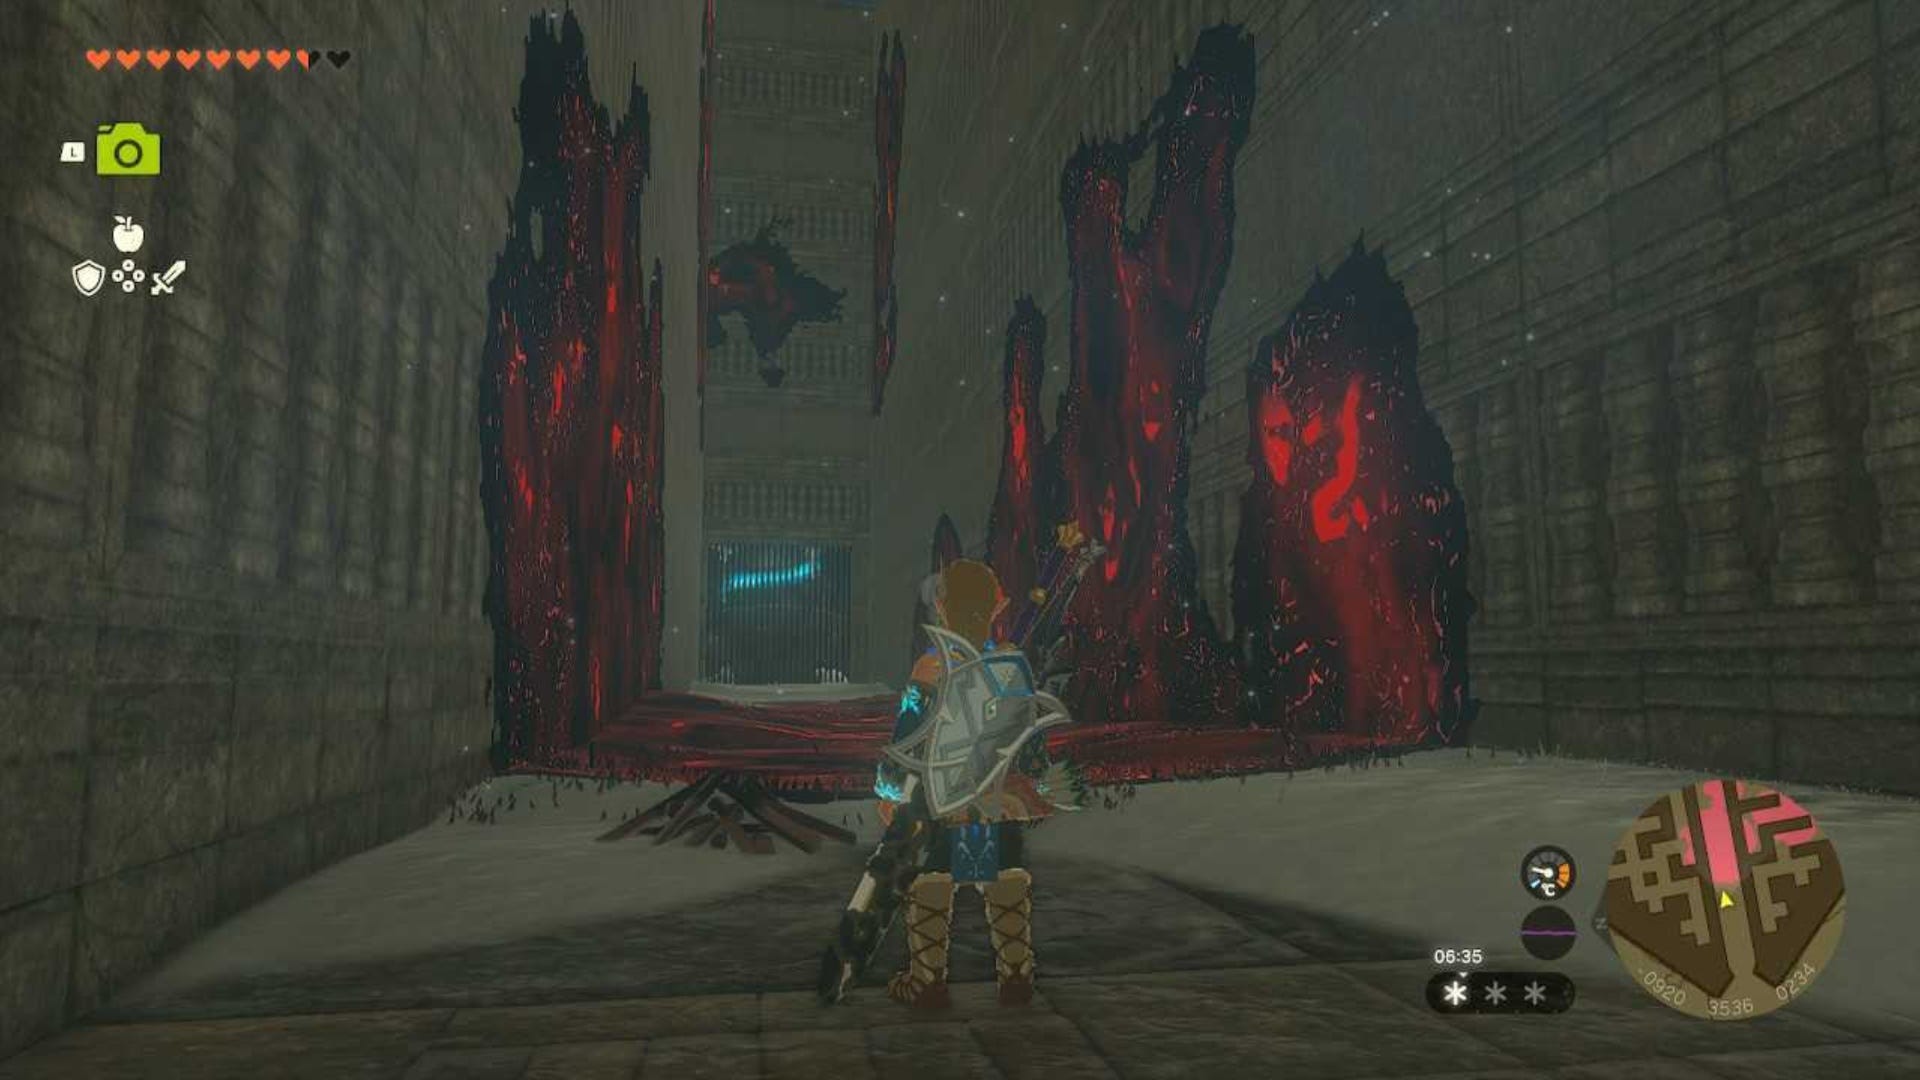
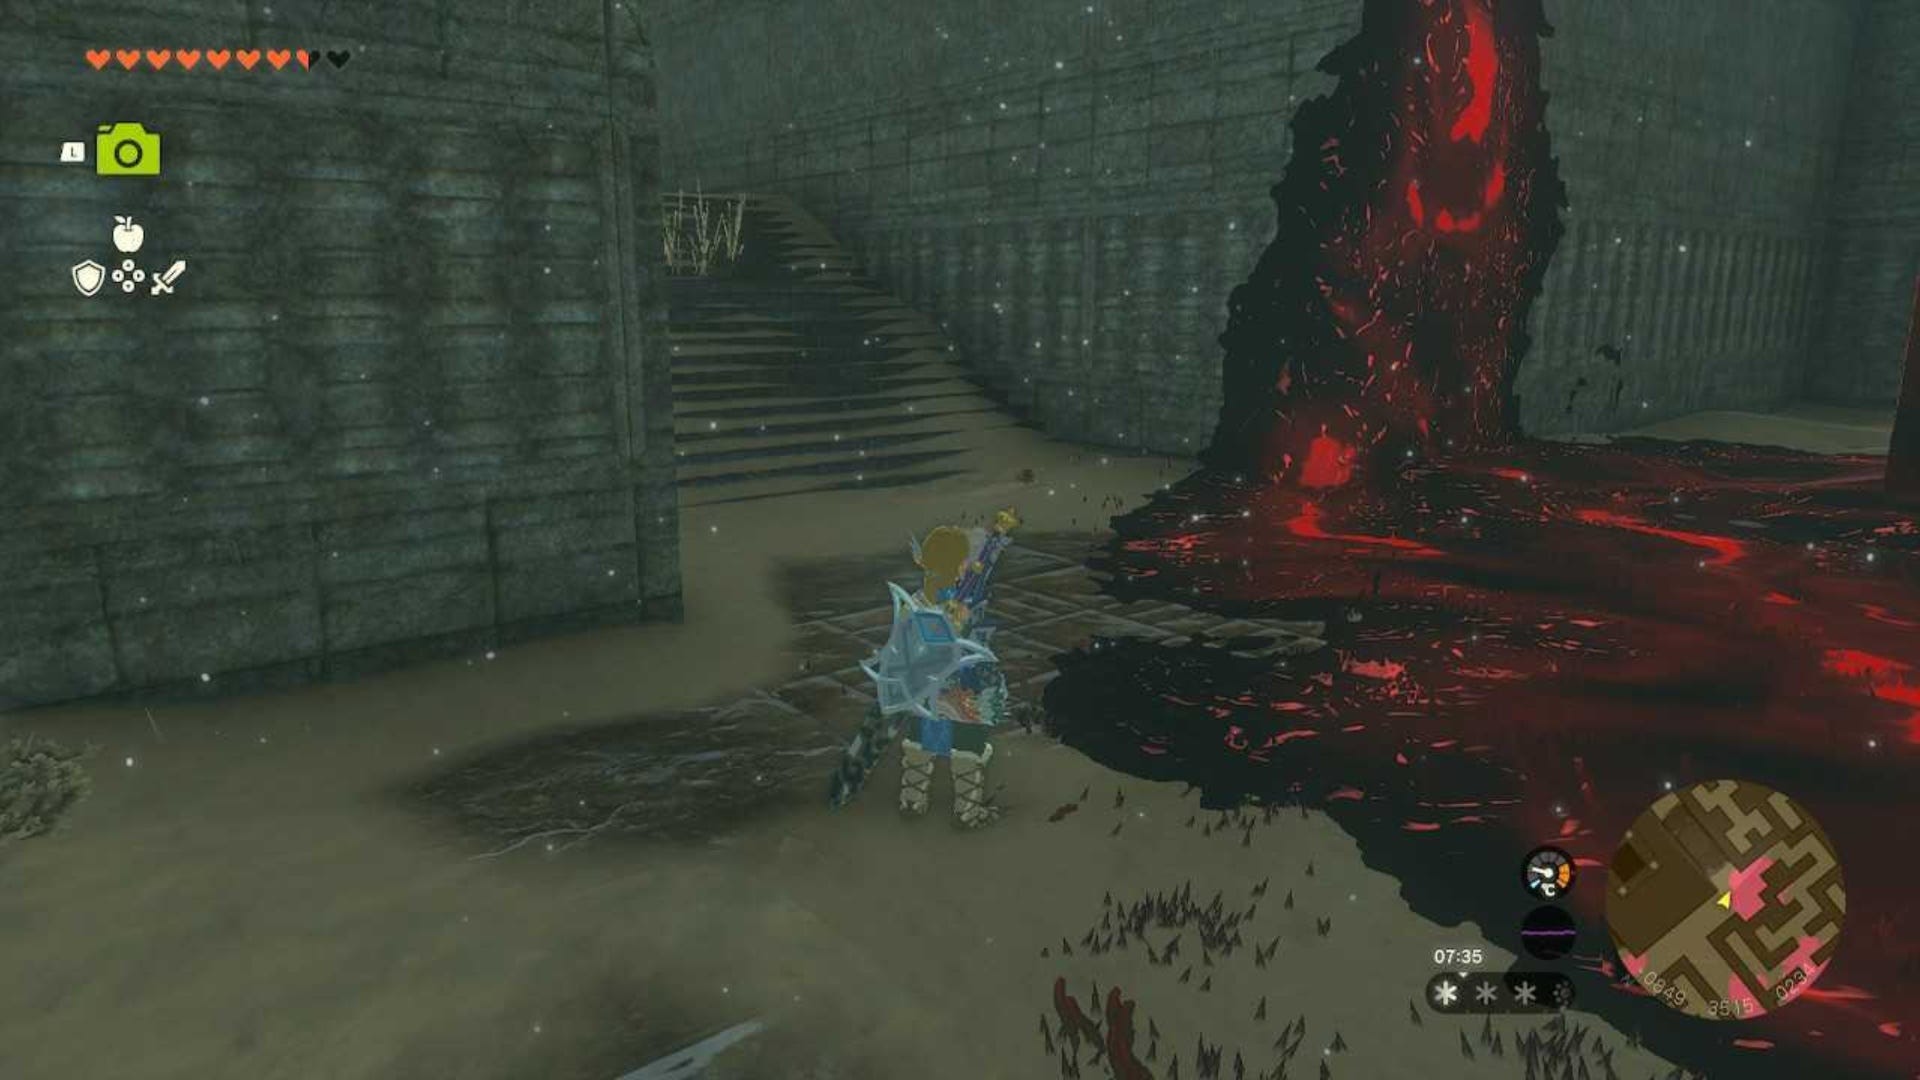
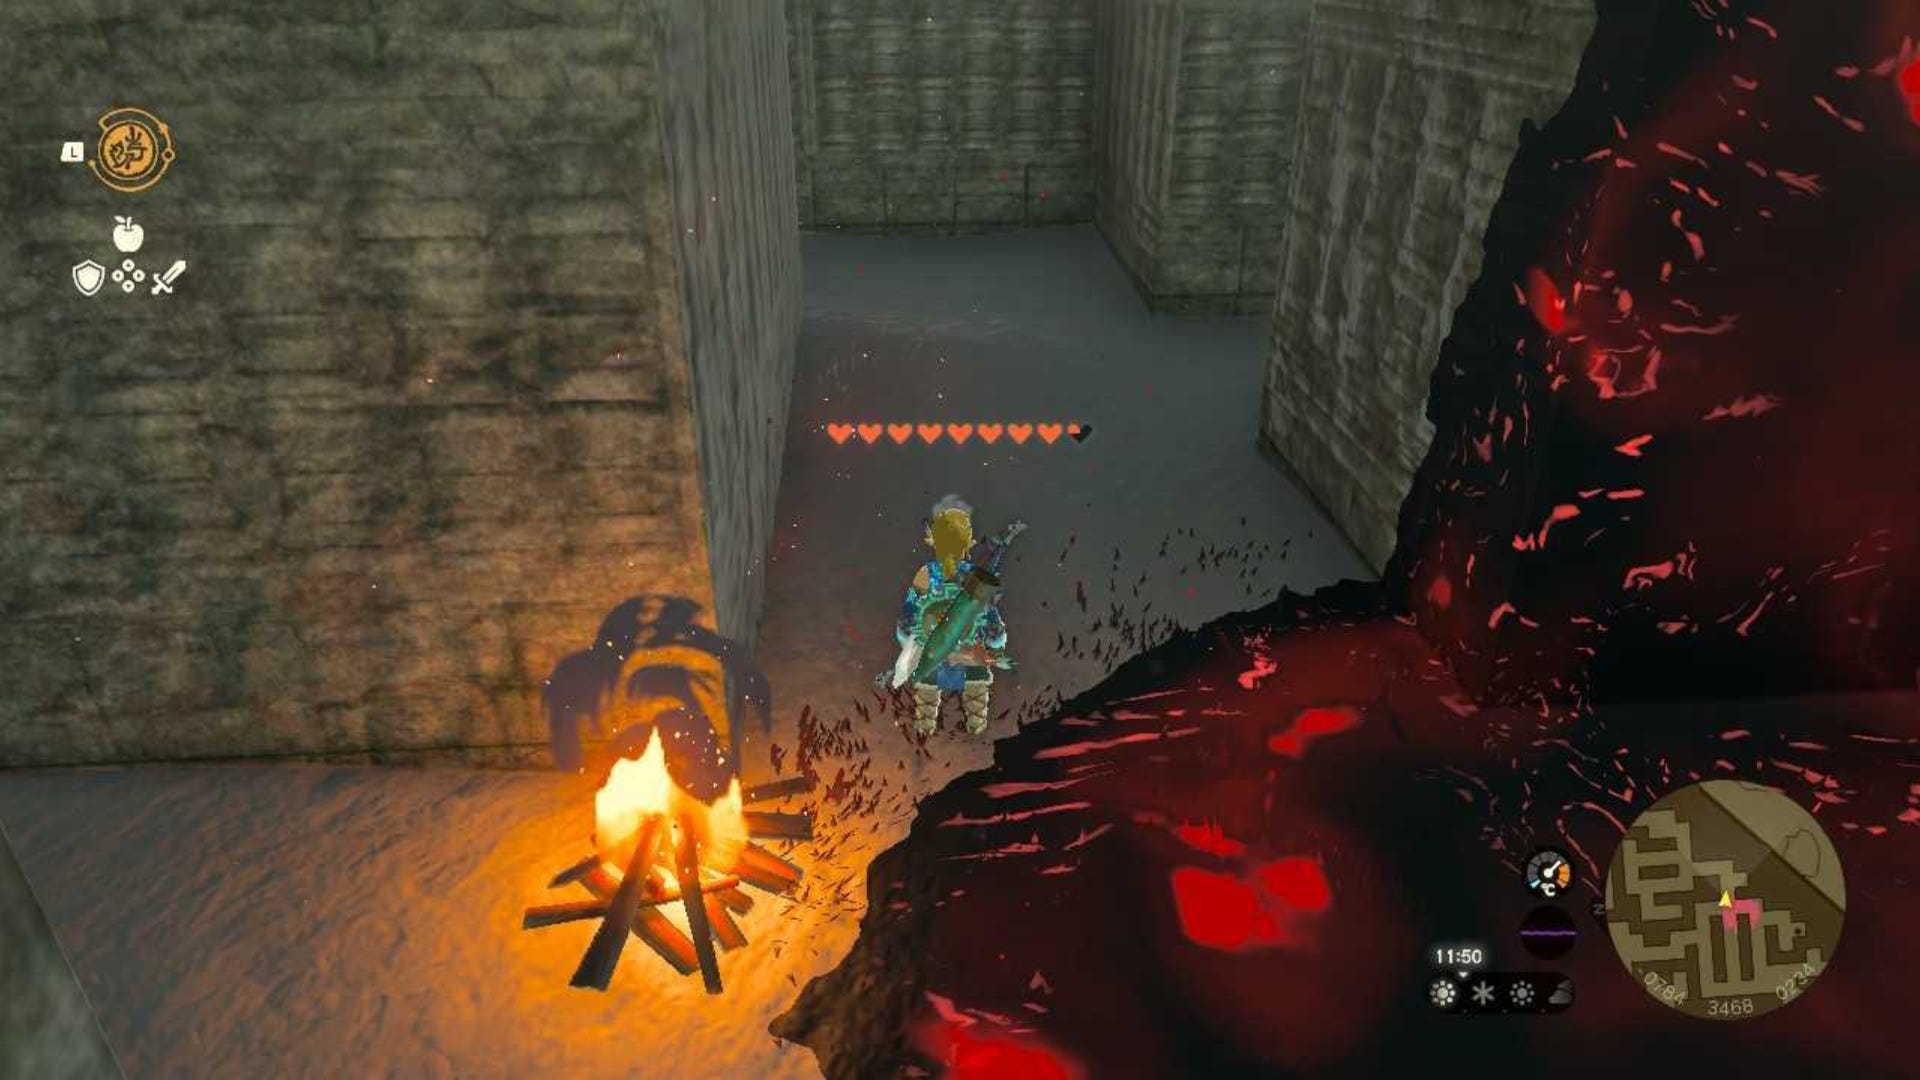
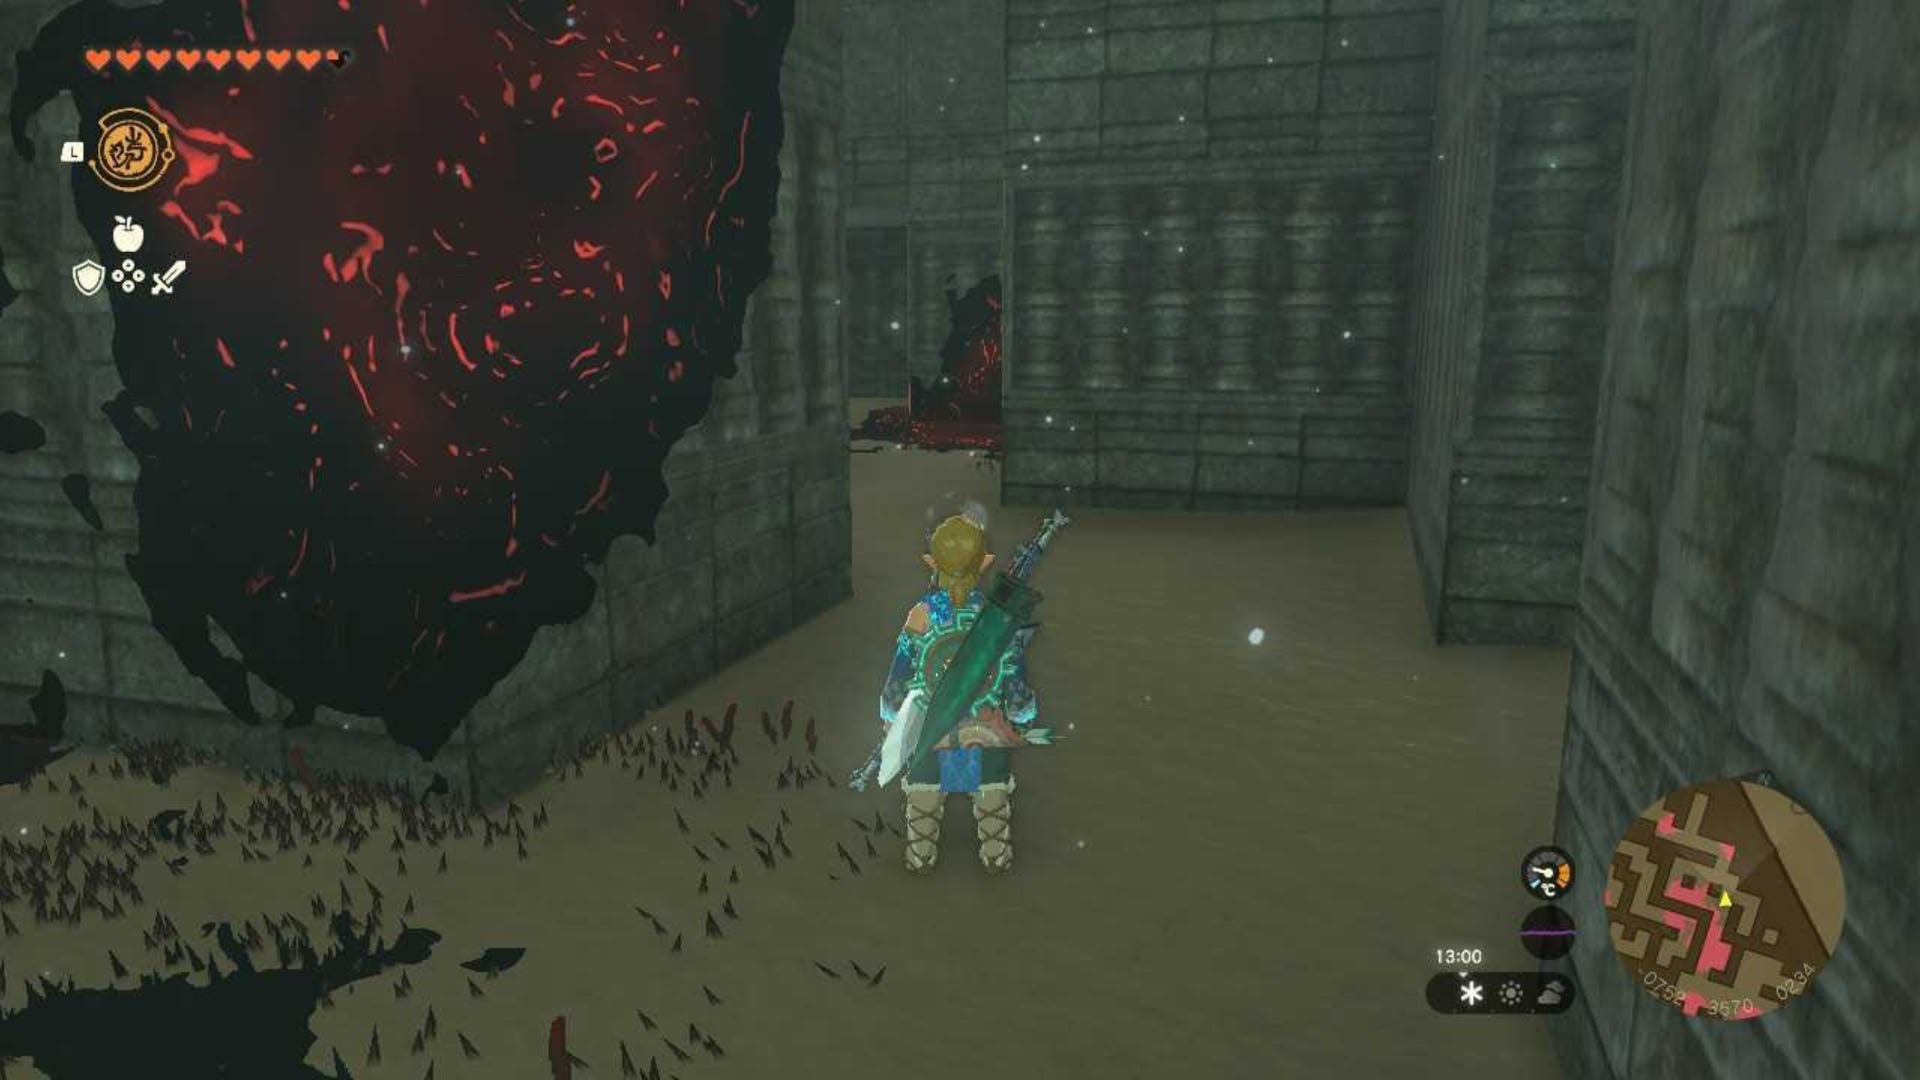
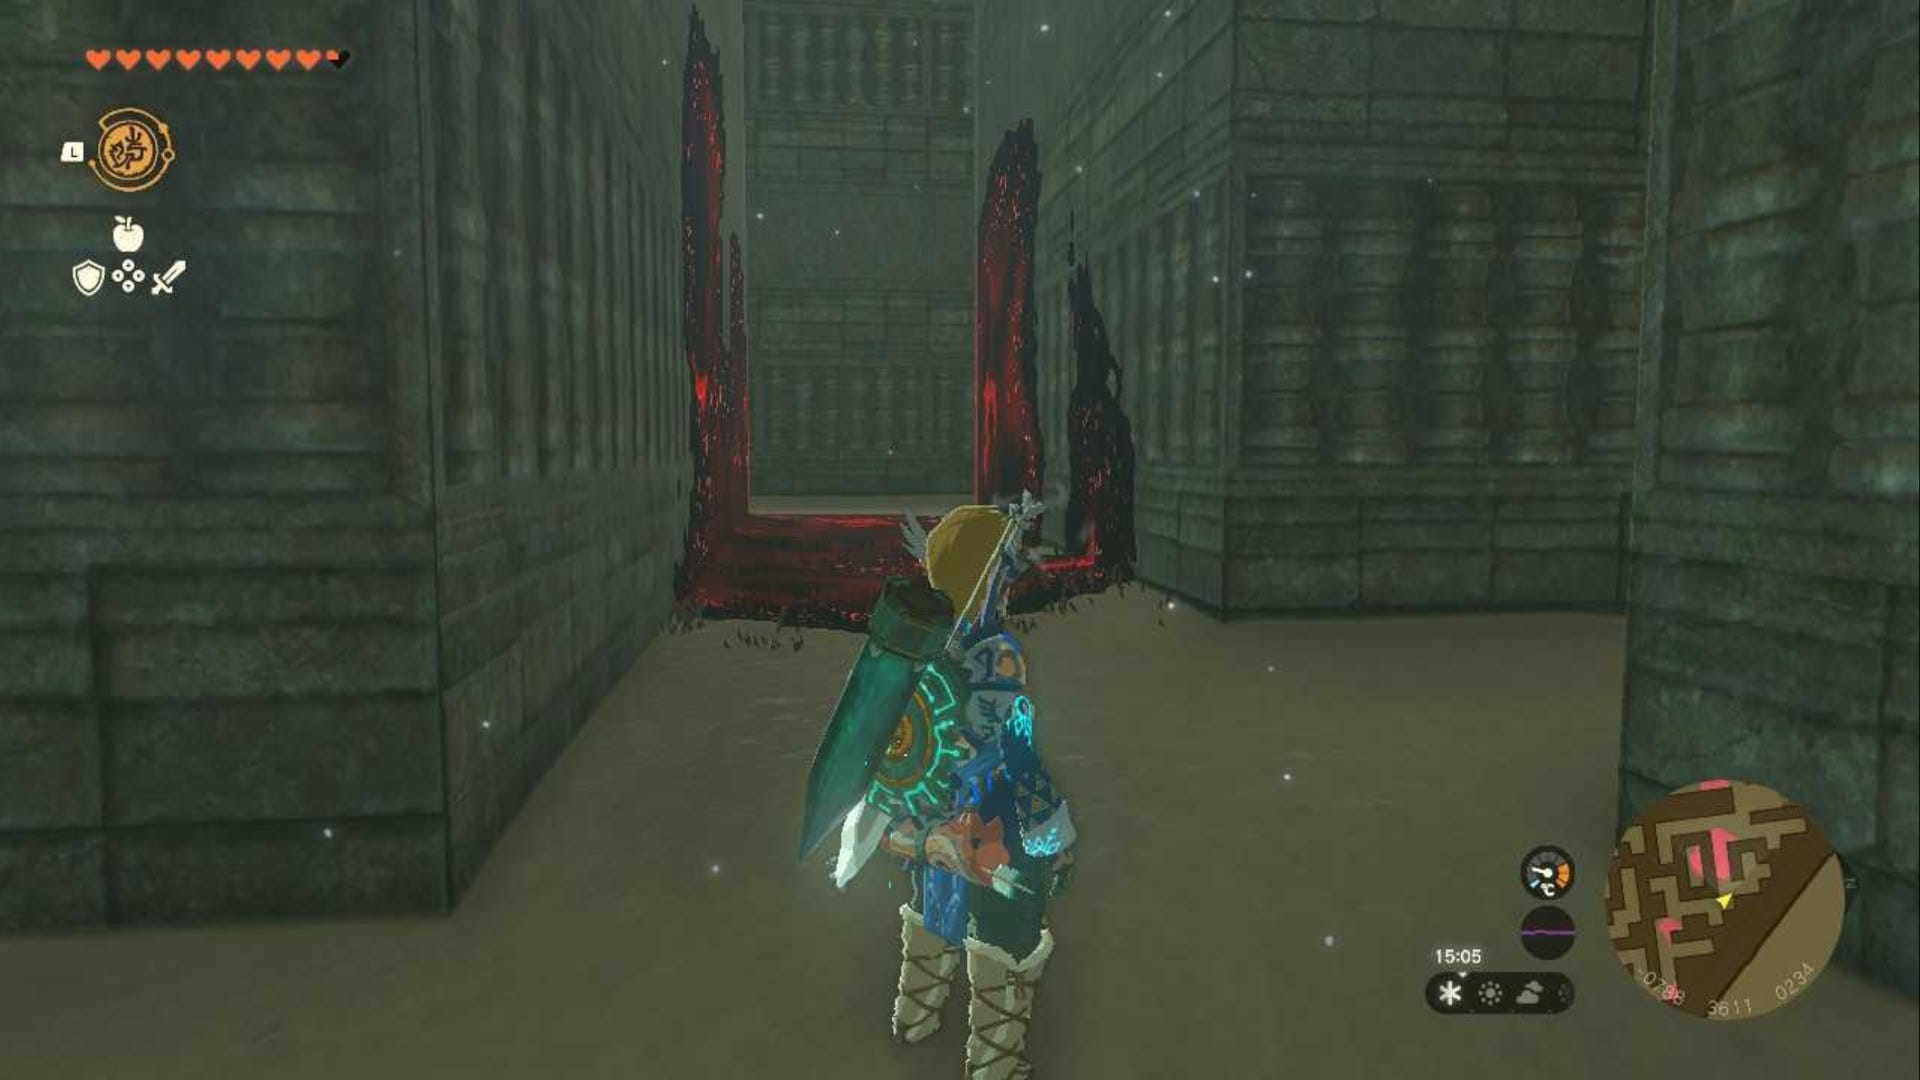
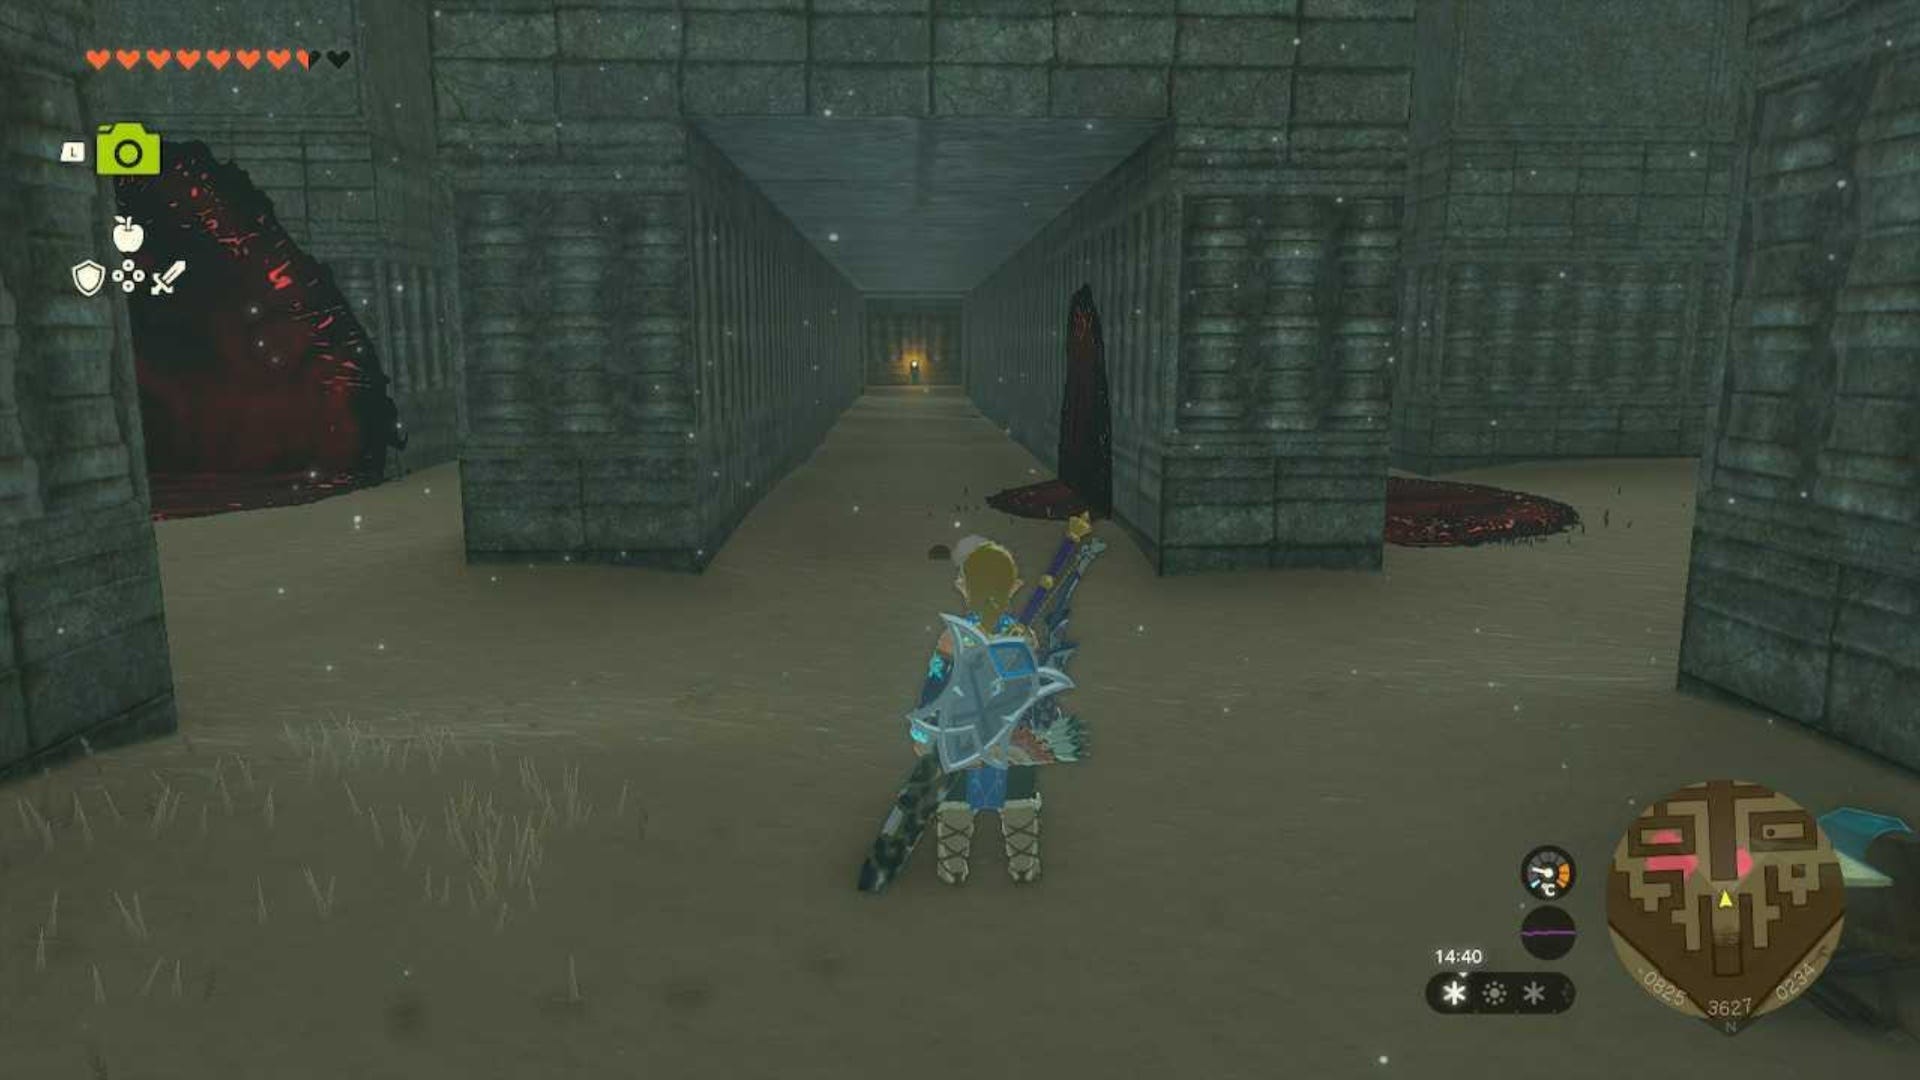
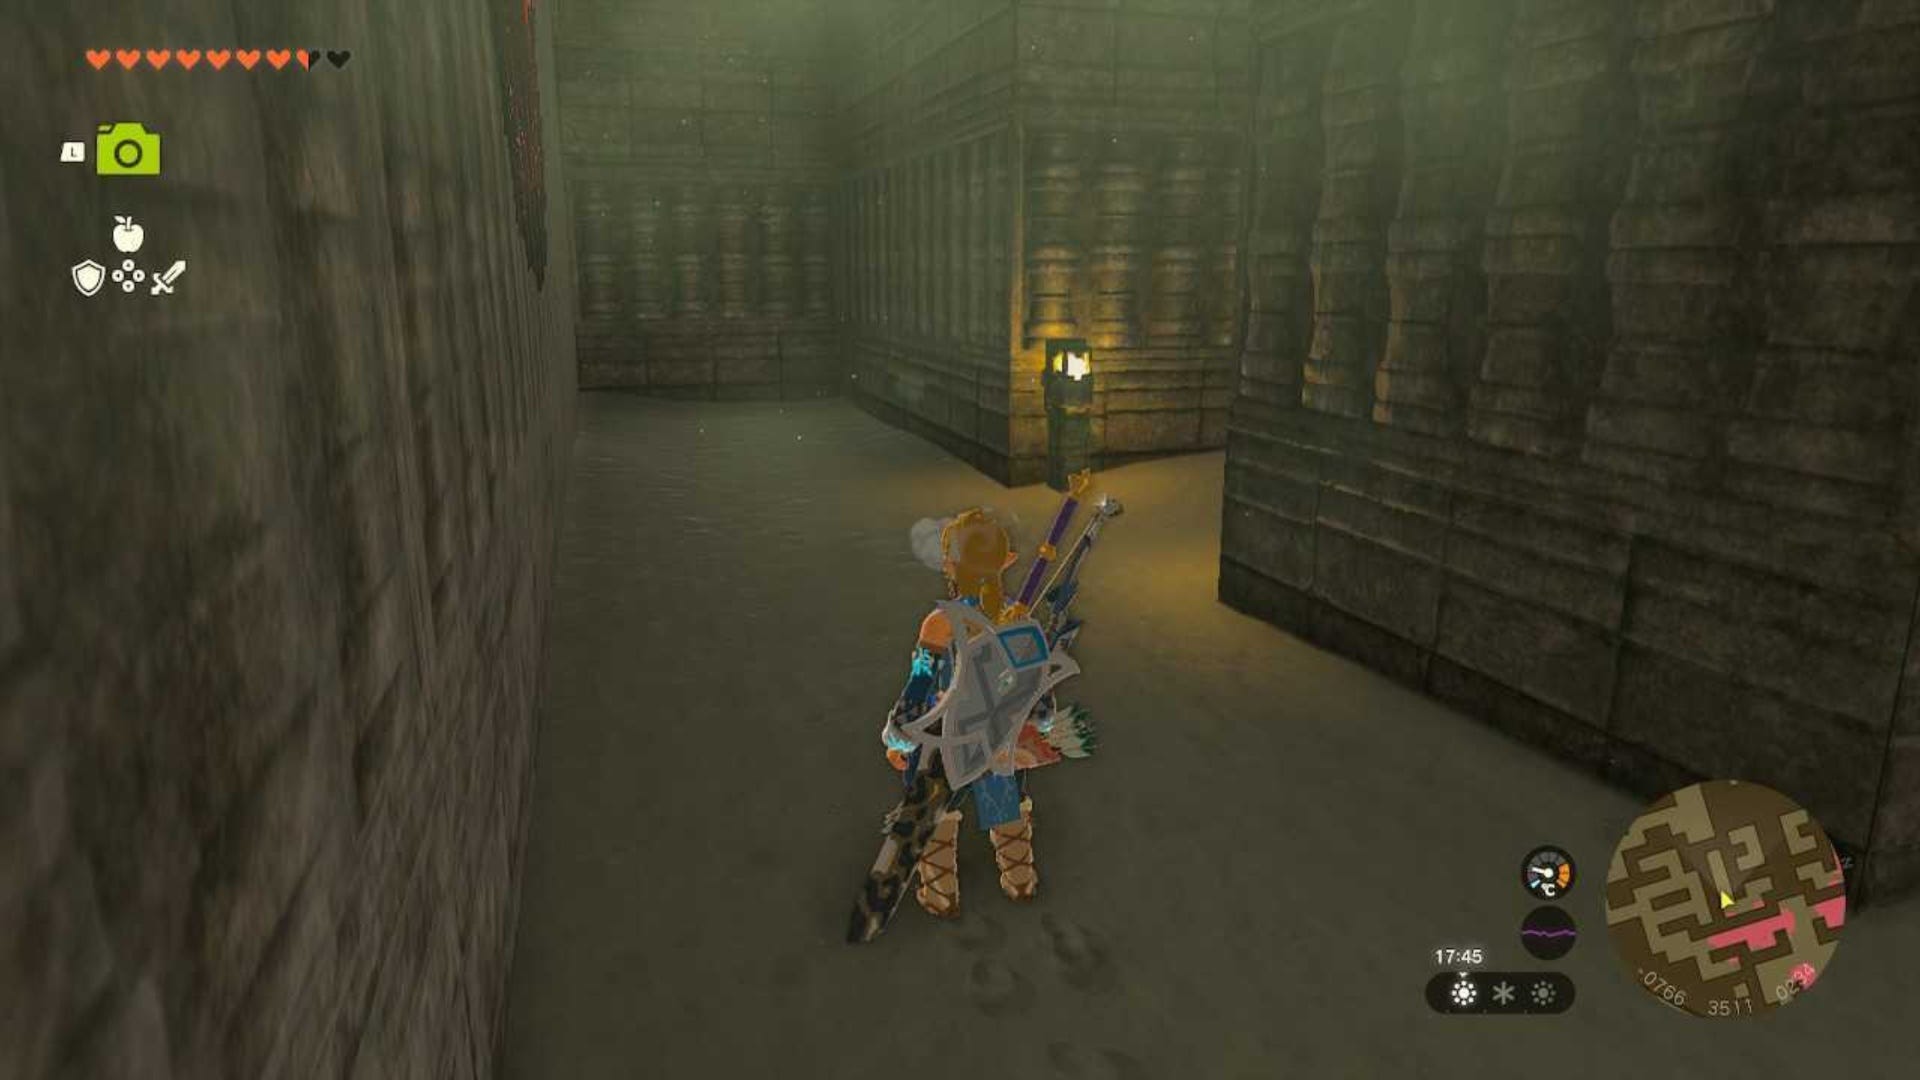
To solve the North Lomei surface labyrinth, you need to get to the center of the maze. To do this, head into the maze behind the slab with the Zonai writing on it and follow the trail of Pine Cones forward until you reach a large patch of Gloom.
To the left of the beginning of the patch of Gloom will be an unlit fire with a Pine Cone and a piece of Flint on it. All you need to do is strike the Flint with something metal to ignite the fire. Ride the updraft that's created with your Paraglider and glide over the patch of Gloom to land safely on the other side of it.
From here, keep following the Pine Cones forward and then to the right. Here, you'll see more Gloom. Walk to the edge of the Gloom patch here and carefully head to the left of it.
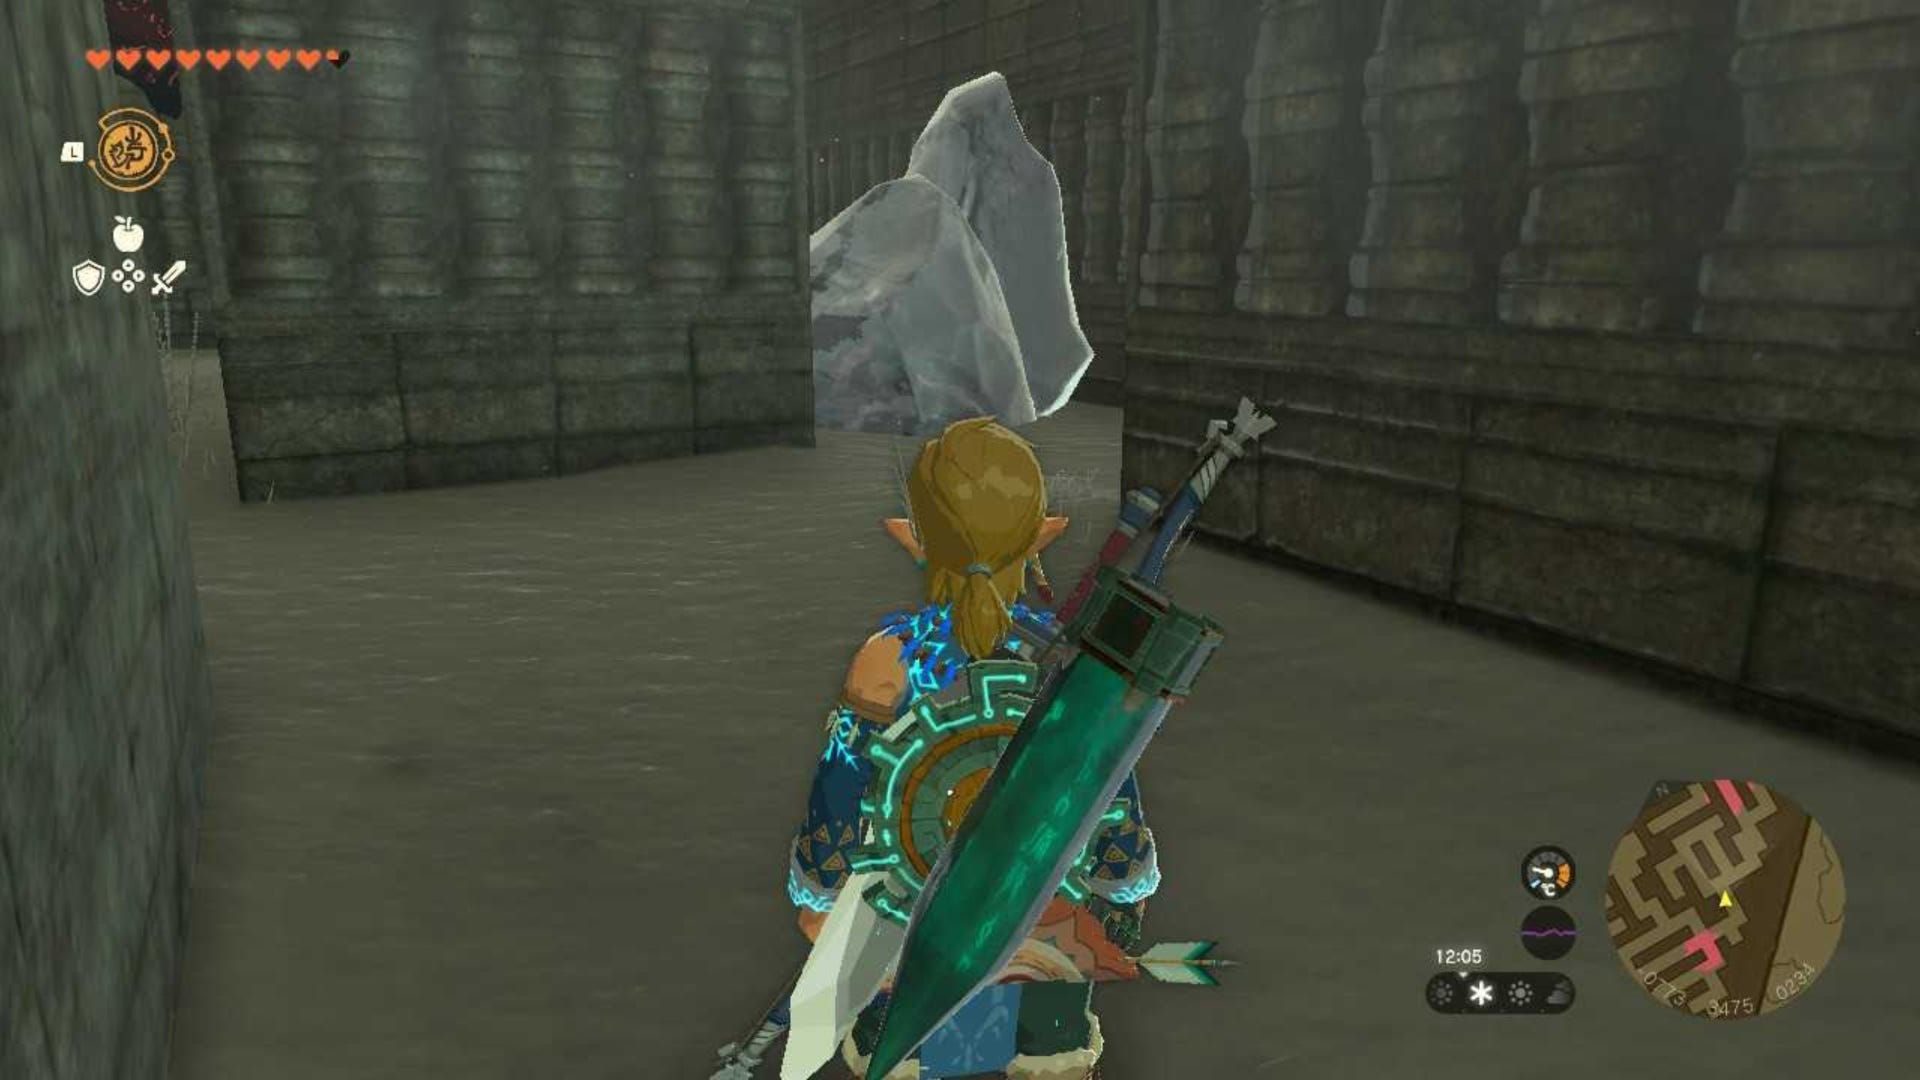
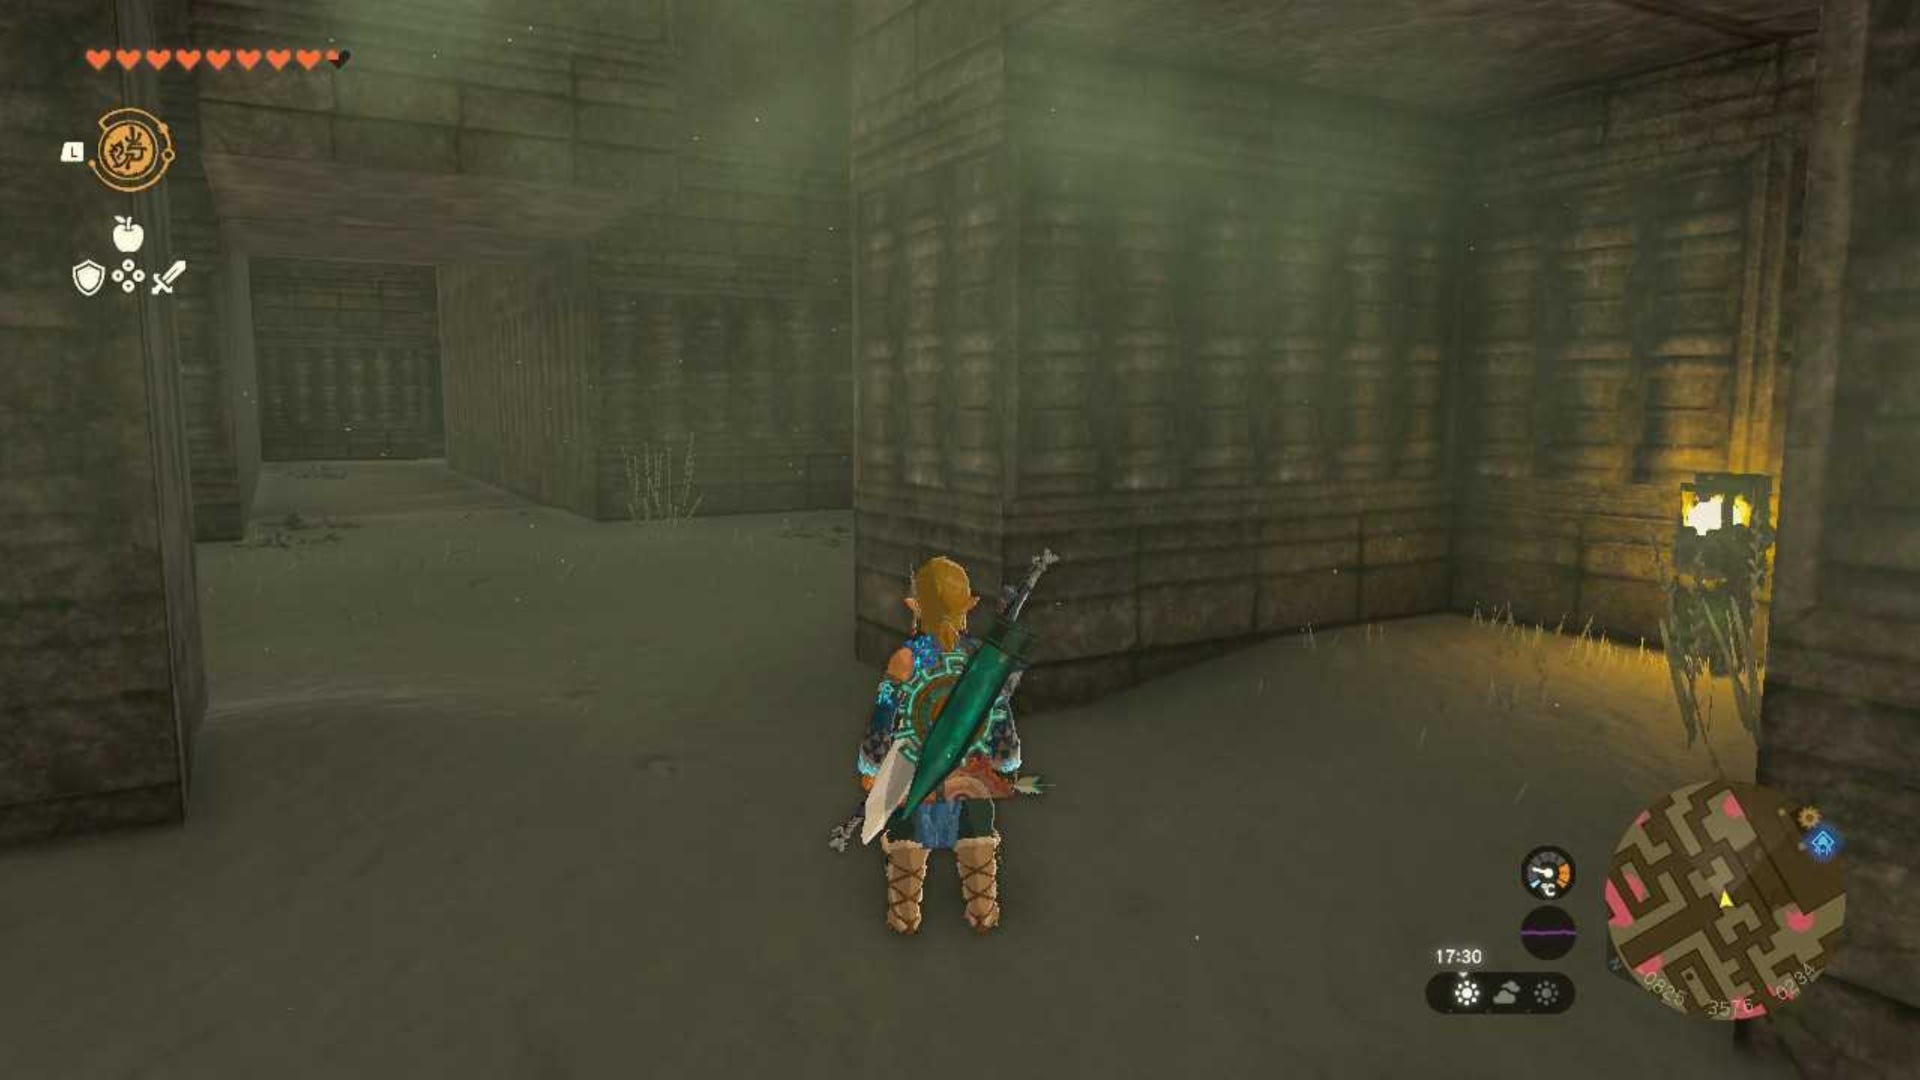
Follow the path here until you come across a camp, an unlit fire and another research log. Read it if you want to, if not then turn right. You'll see some ice clumps blocking your path here.
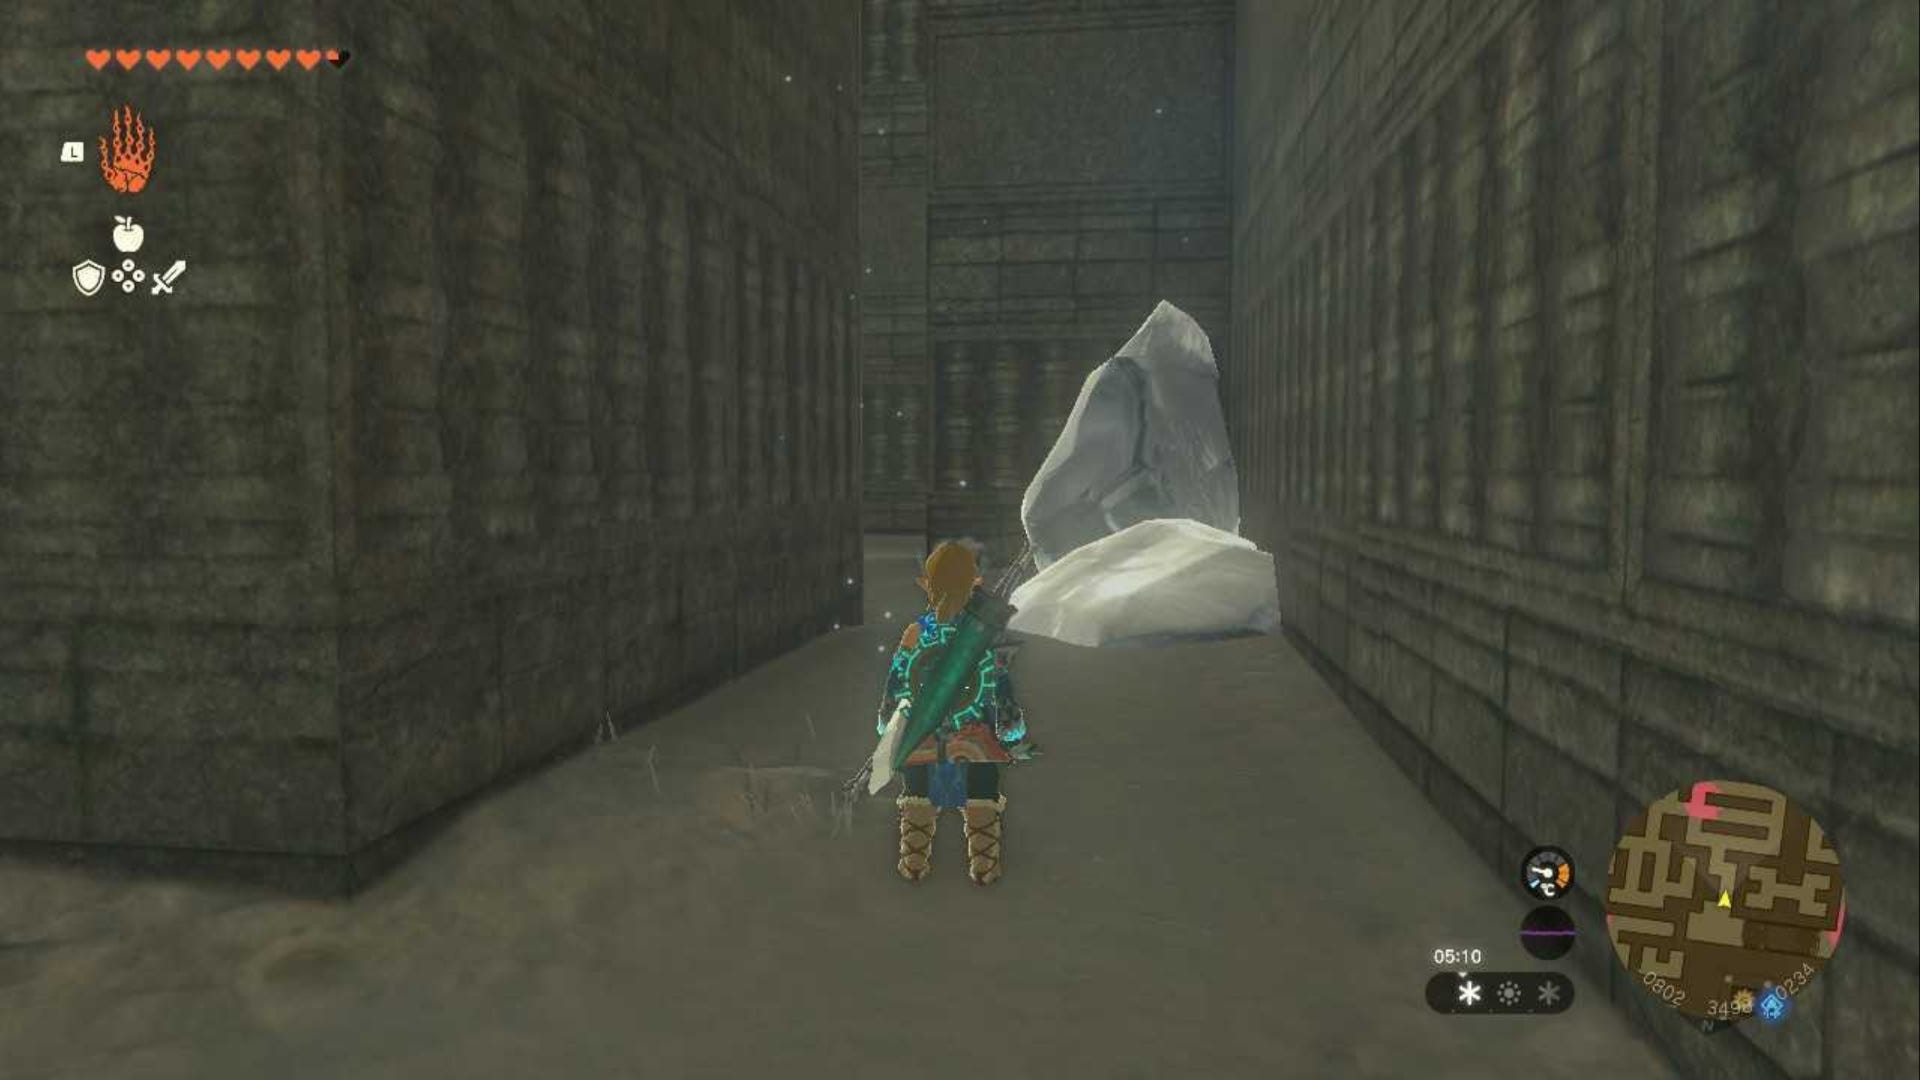
Walk up to them and turn left then almost instantly turn right. When you see a wall opposite you, head to your left.
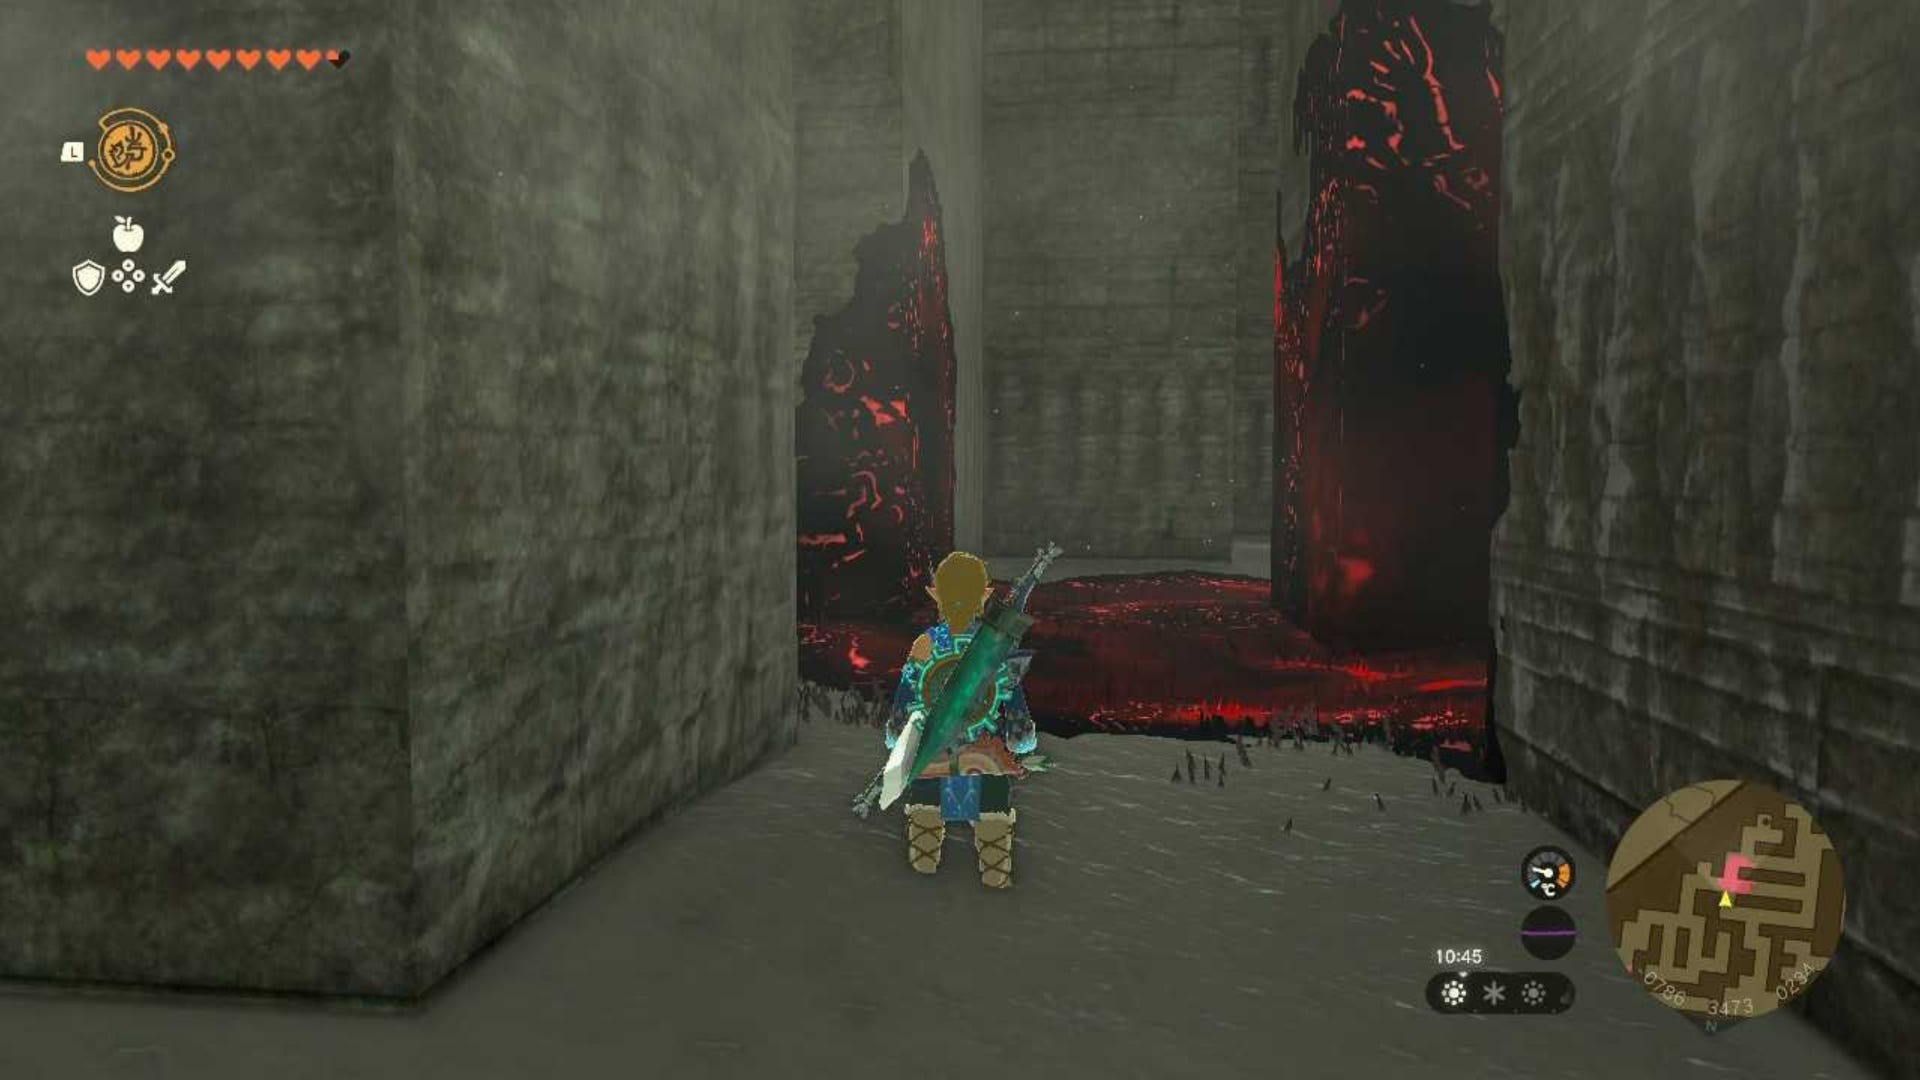
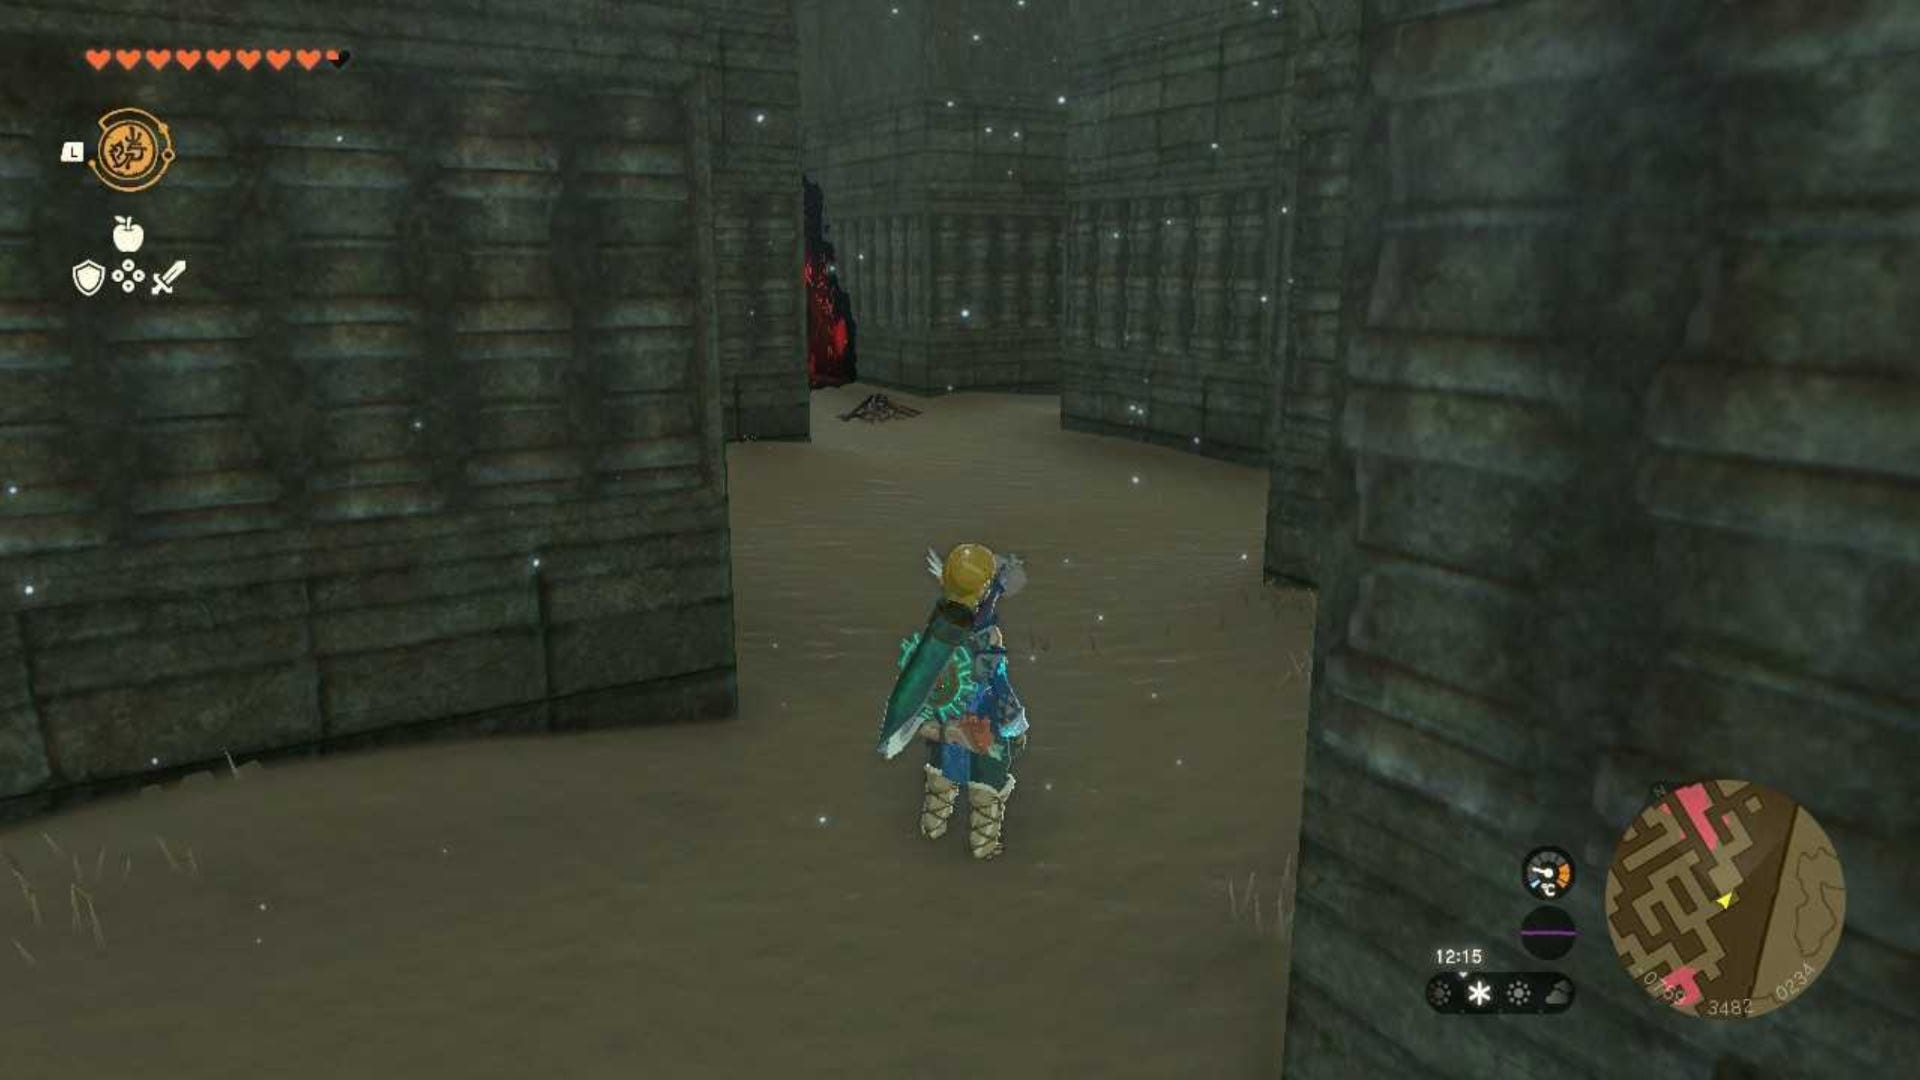
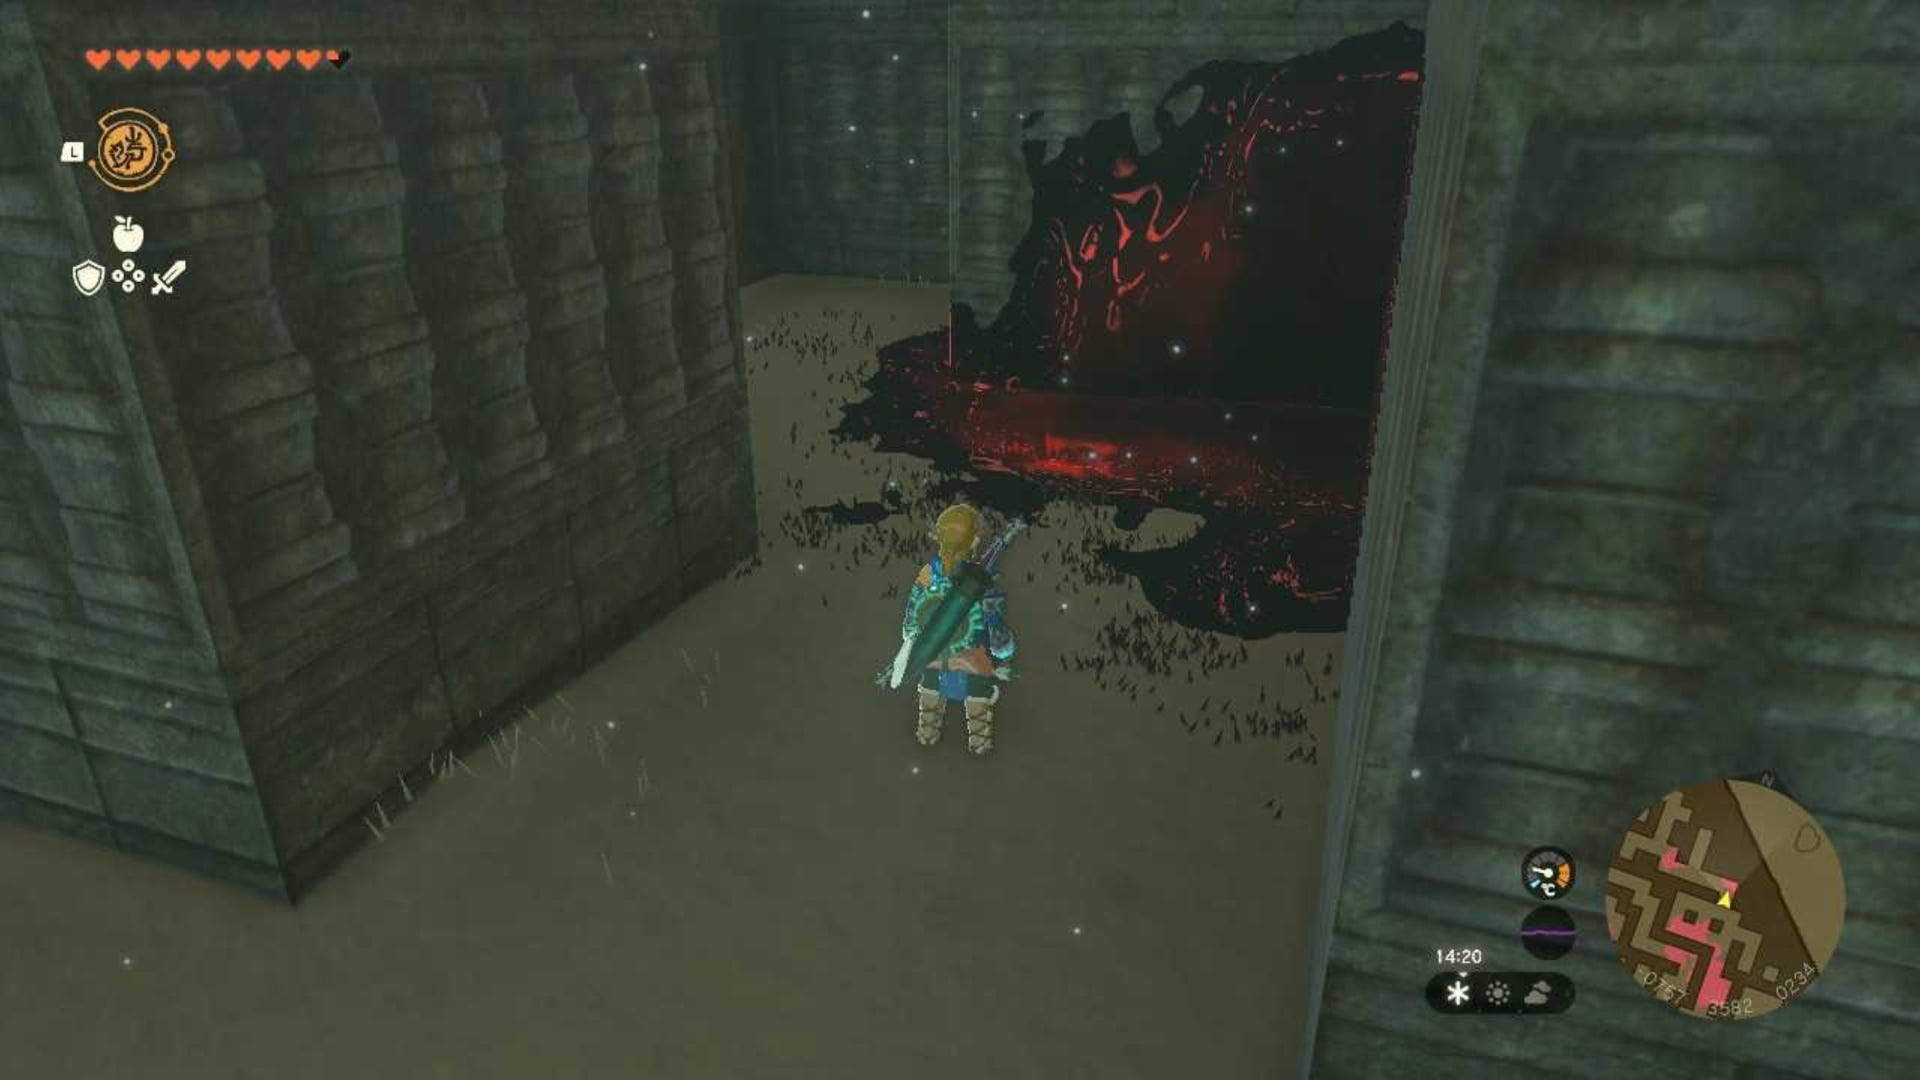
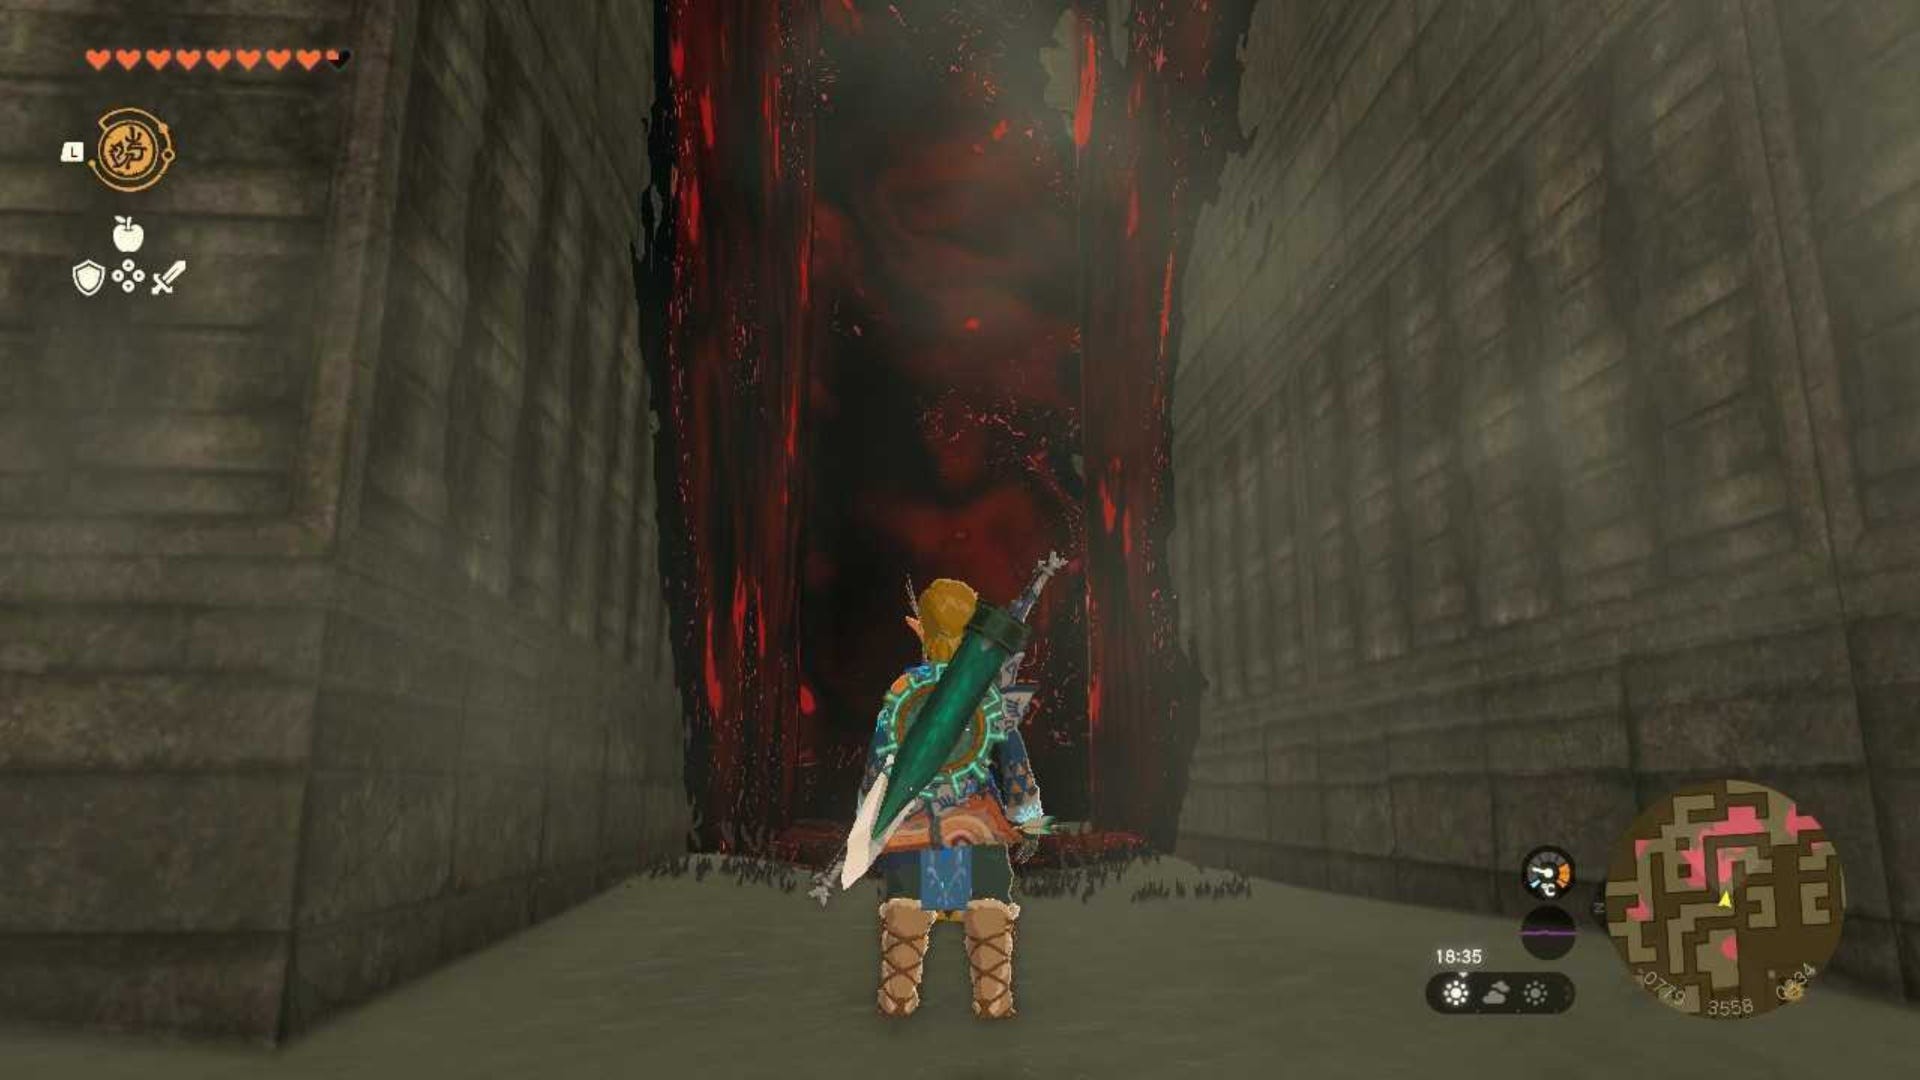
Walk down the corridor and turn right, you should see another Gloom Patch here. Go to the edge of the Gloom again and carefully head to the left of it.
Then, go forwards and left again. Go down a small corridor and you should see this:
When you see the ice blocking the path, turn right and walk down the corridor take the left at the end of it. You should see an unlit fire in front of Gloom Patch (yes, another one).
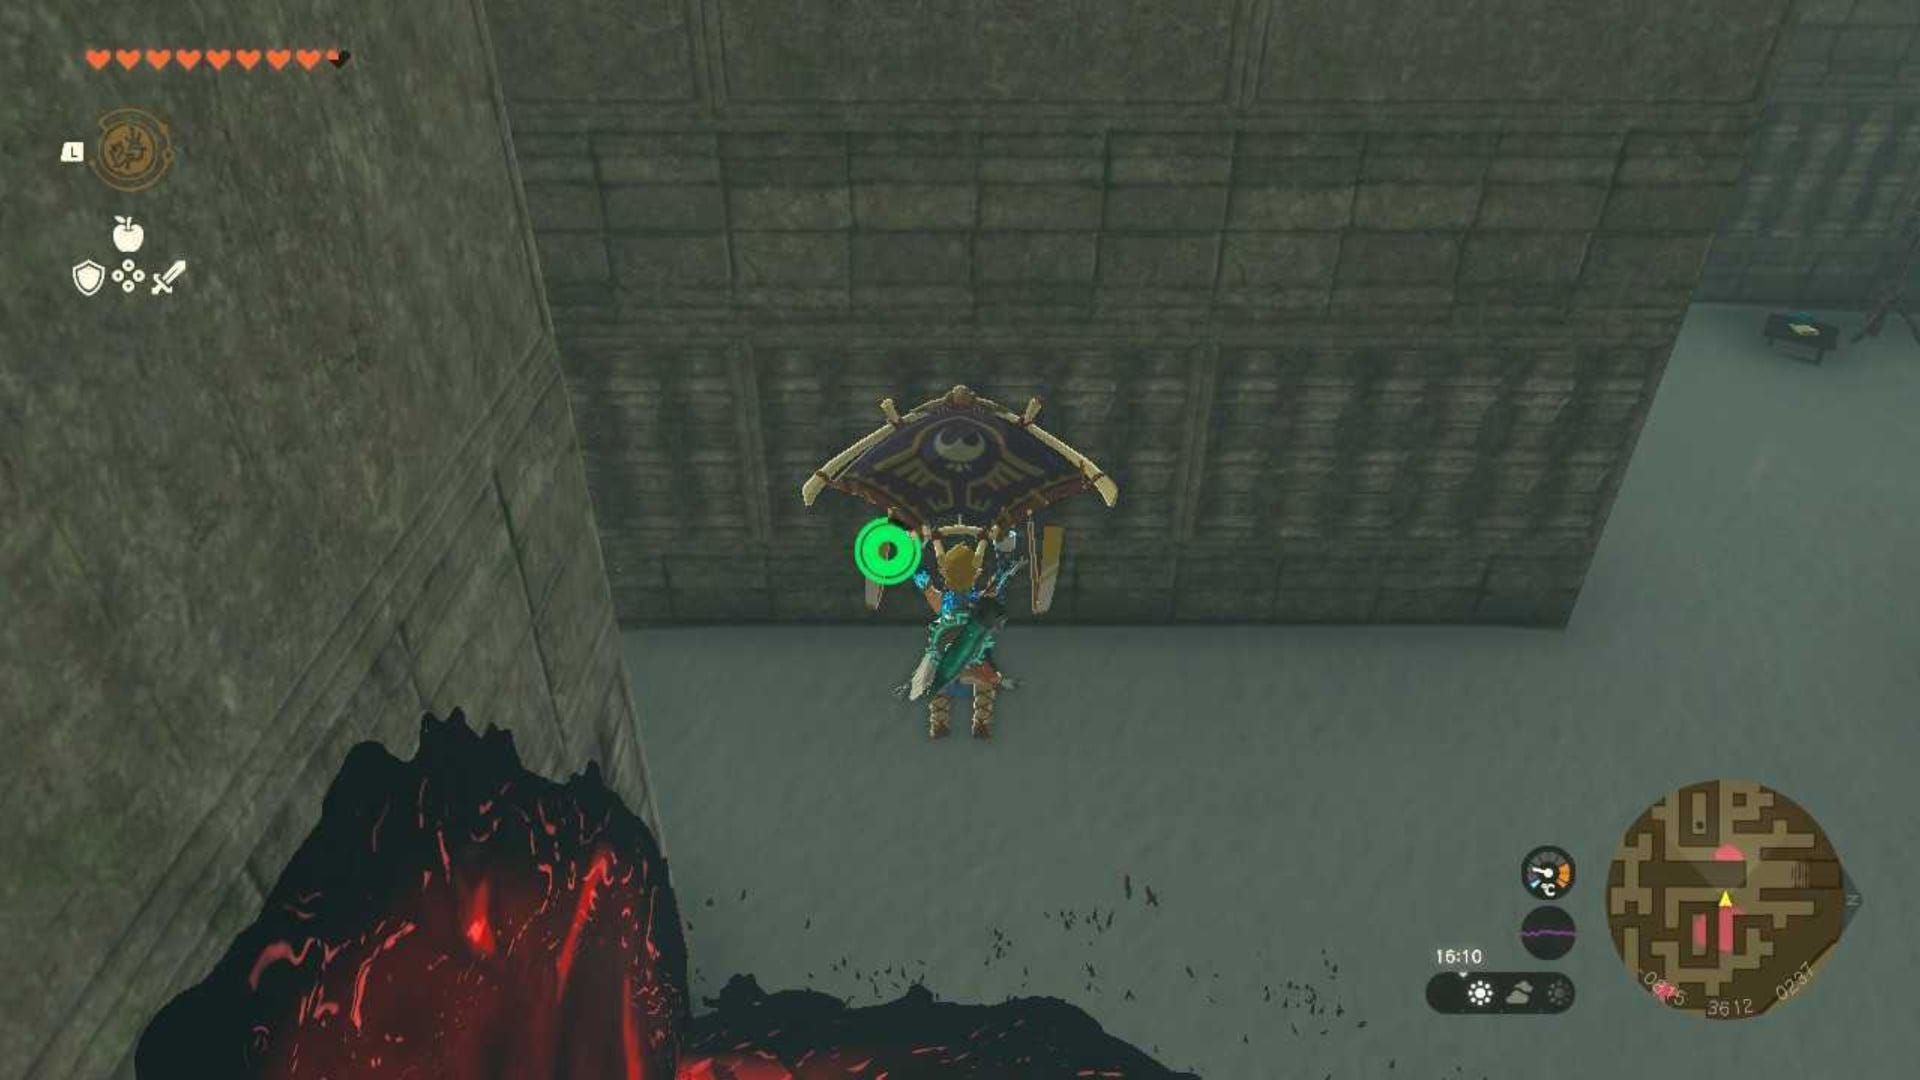
As you did earlier, use some Wood, a Hylian Pine Cone, and Flint to light the fire. Ride the updraft up and glide across the Gloom patch until you reach the far side of the corridor you're in.
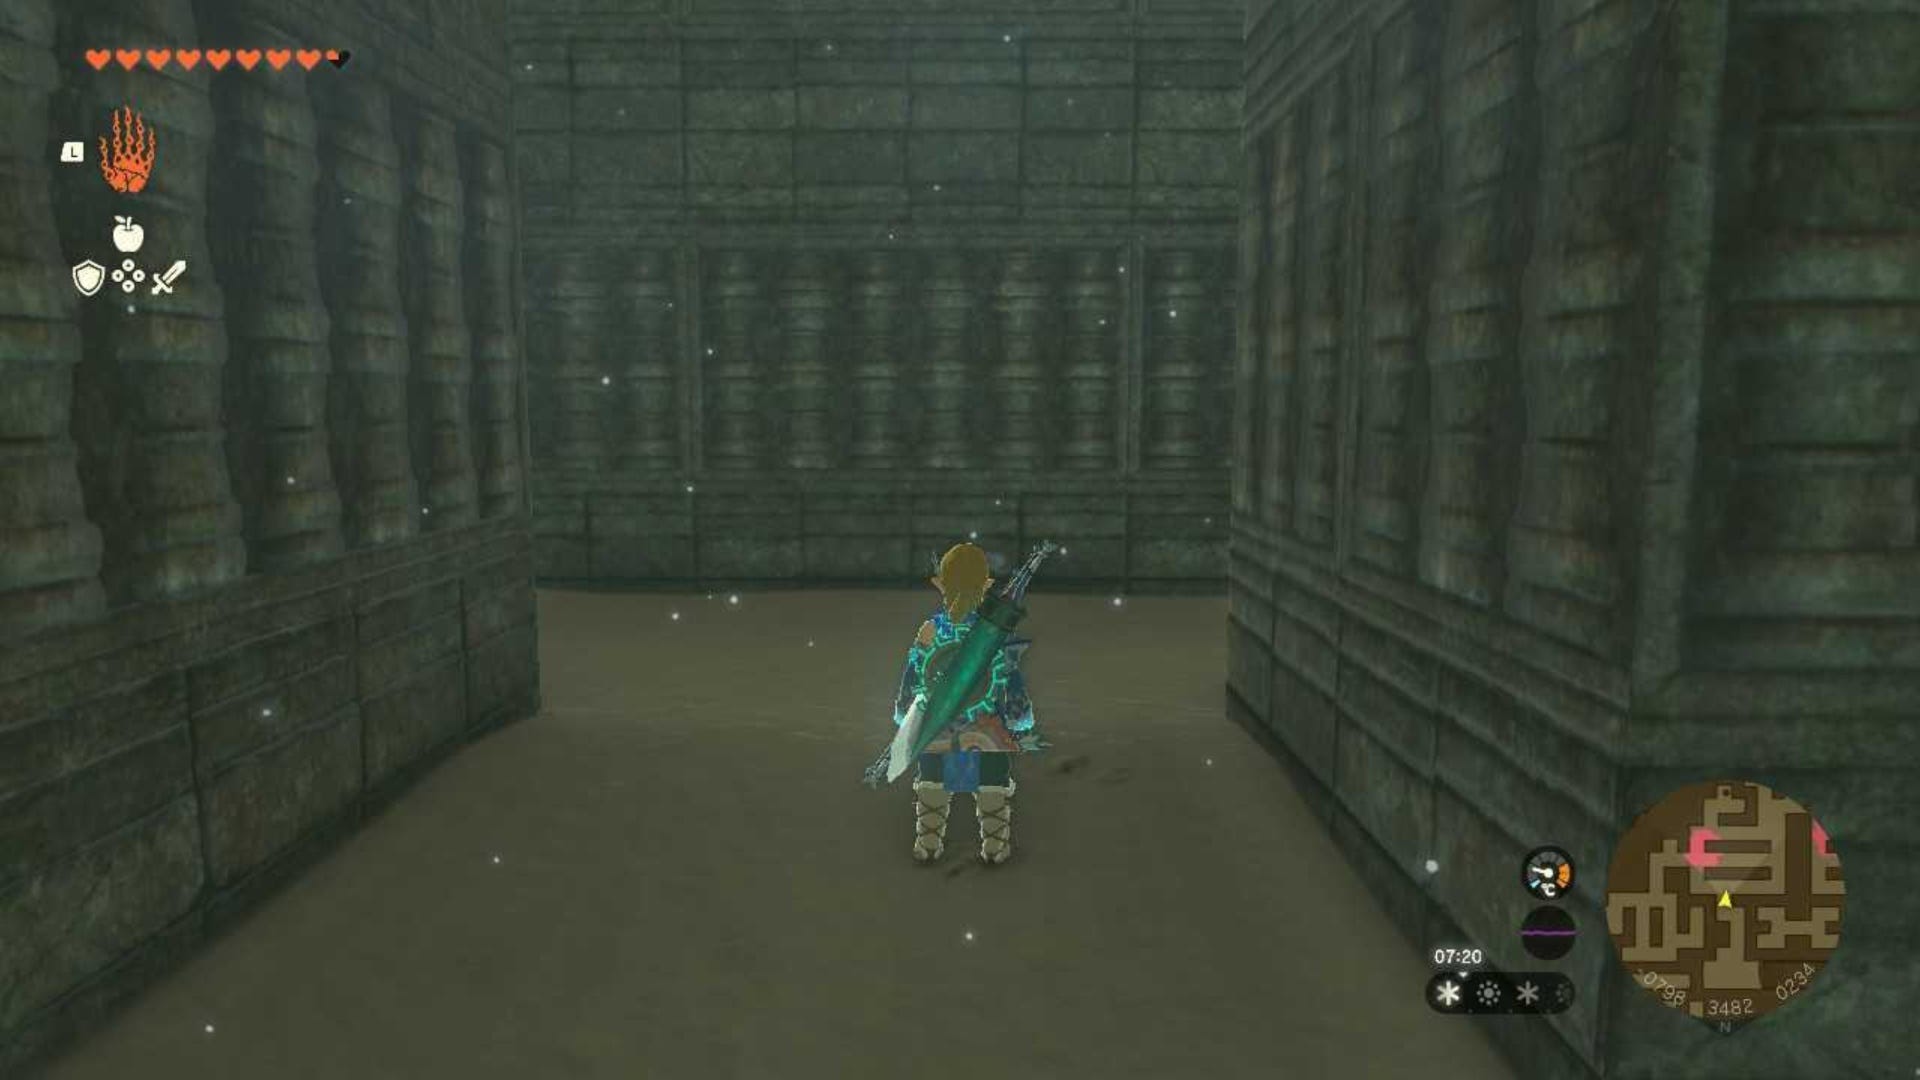
From here, keep following the path forward. Take a left at the end of the corridor then almost instantly turn right.
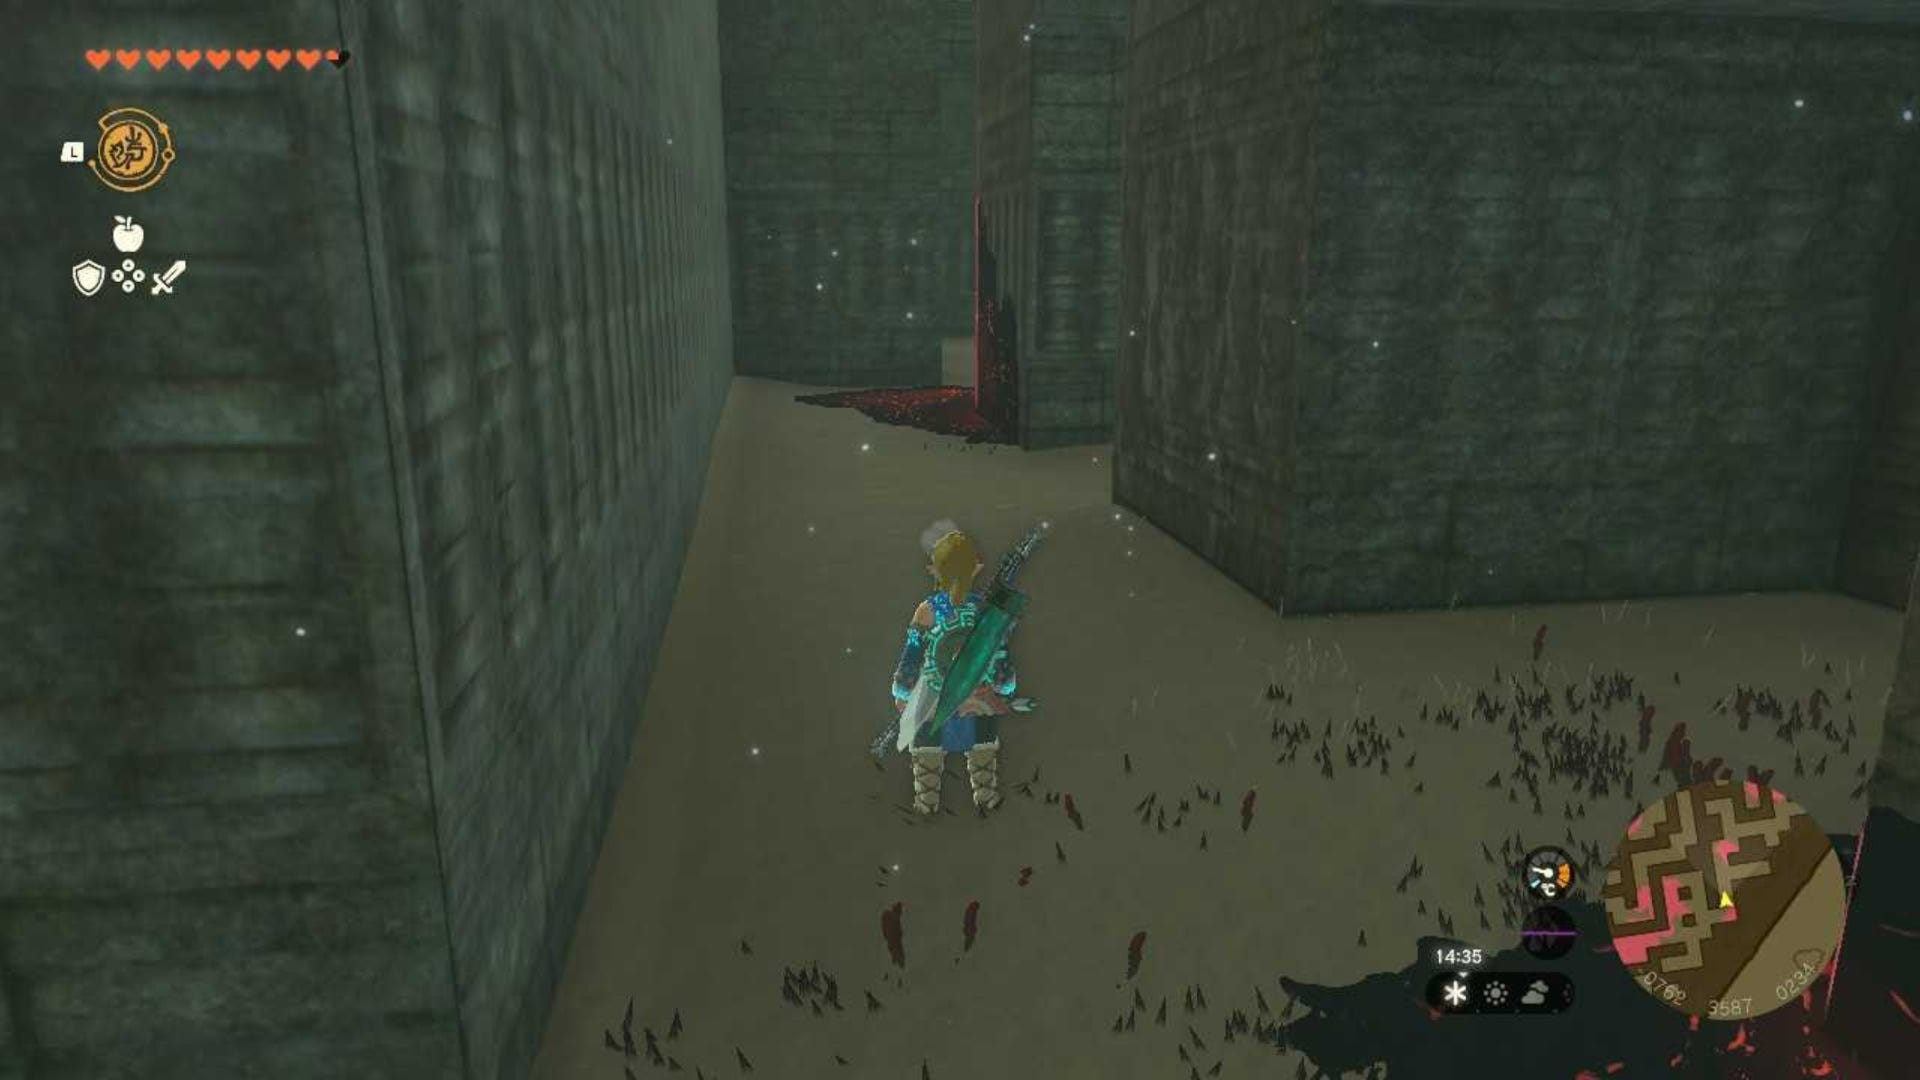
There will be a small patch of Gloom in the corner here, you can easily walk past this.
Turn left at the Gloom patch in the corner and keep walking straight.
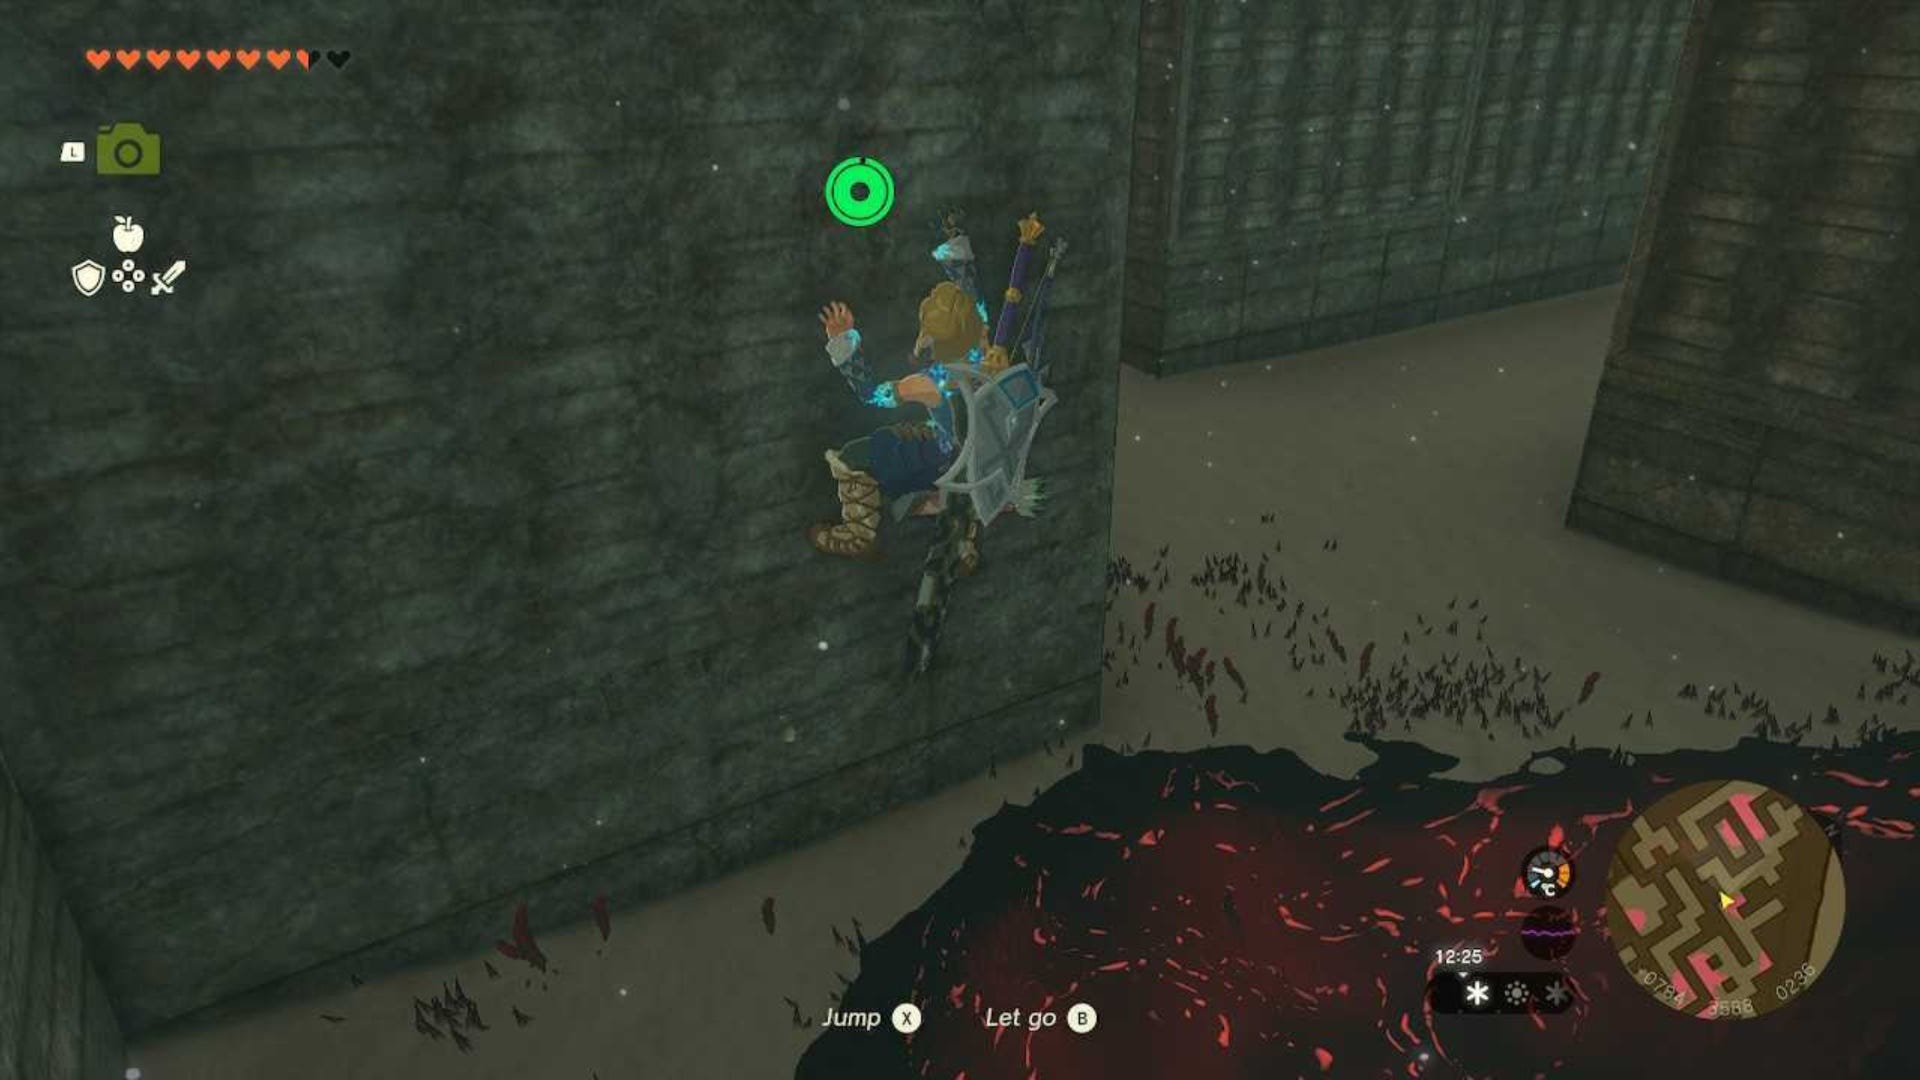
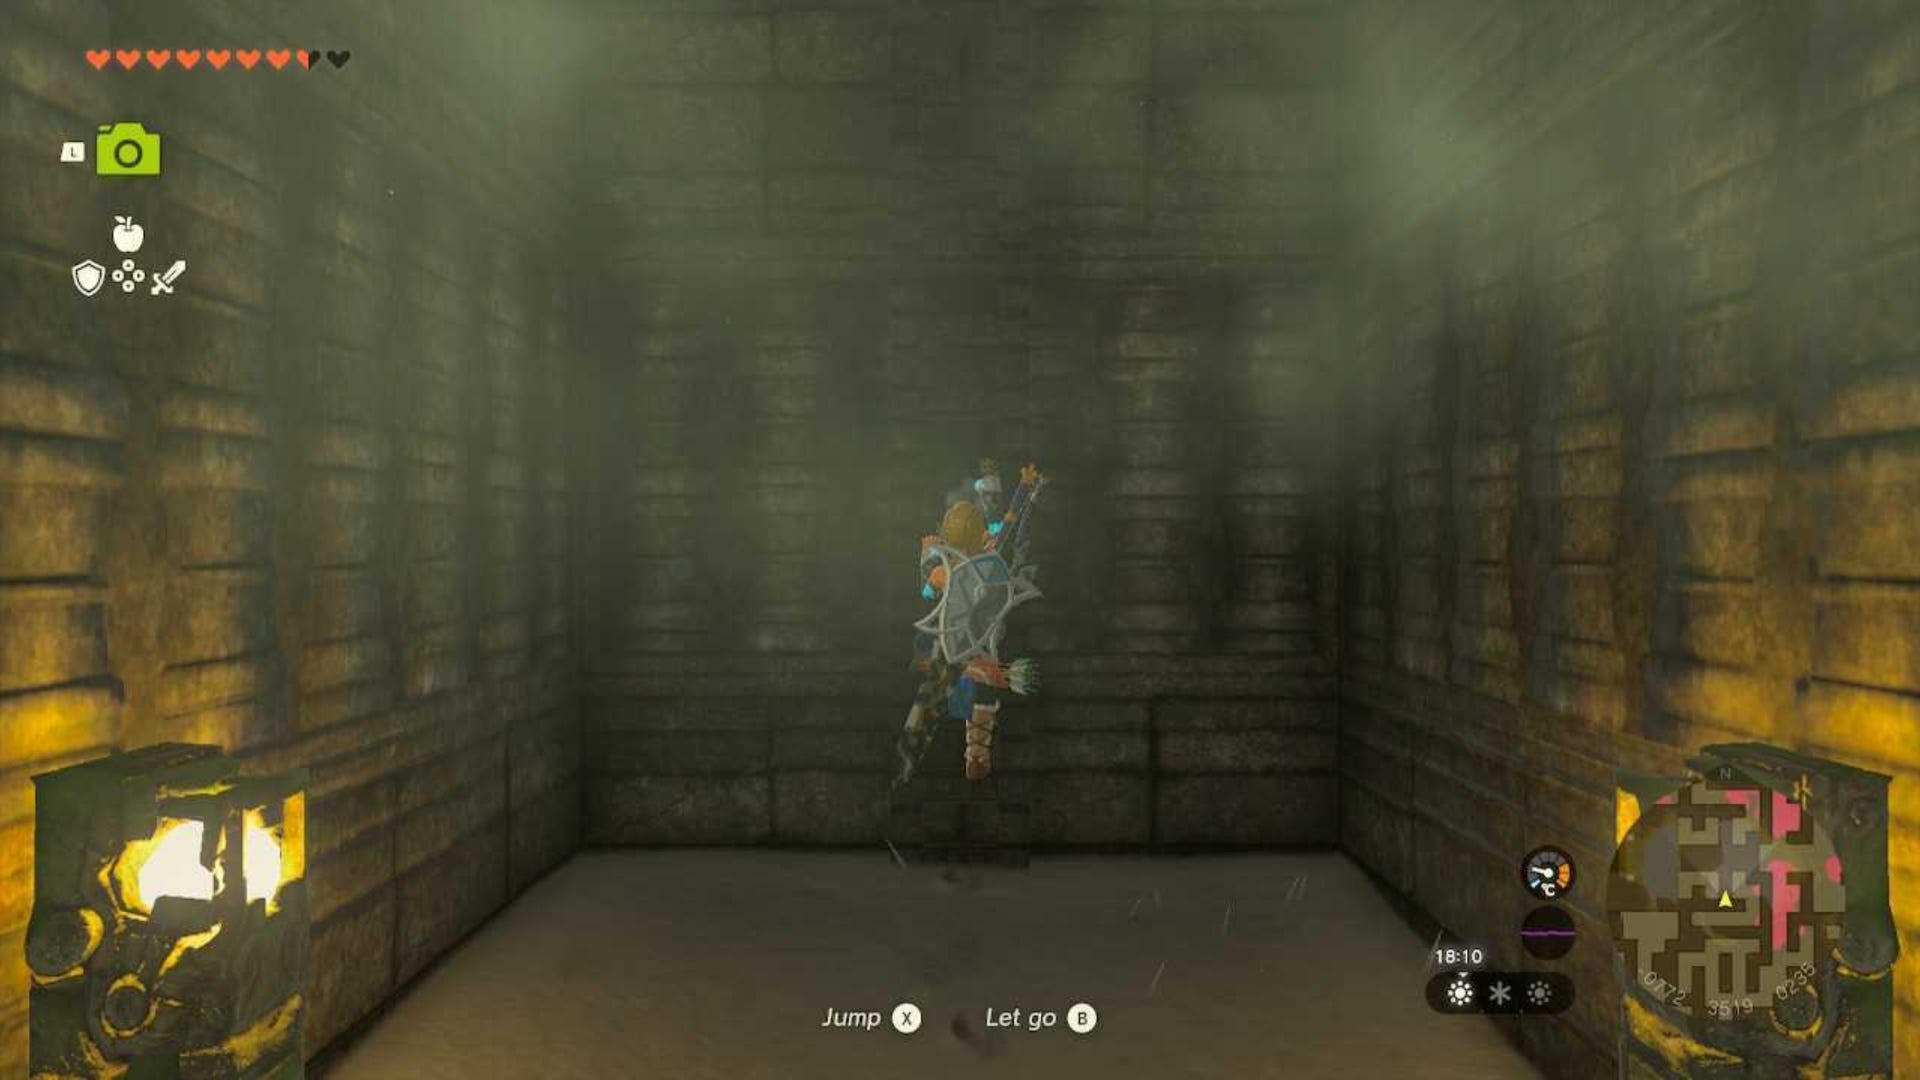
Eventually, you will reach another Gloom patch. You can try to carefully walk around this, but we found it easier to just climb along the side of the wall and drop down once we passed the patch.
Once you've gotten past the Gloom, take the first right and then left to find... any guesses?
Another Gloom patch! As you did earlier, make a fire and glide over this patch to get to the other side.
Then, once on the other side of the Gloom head right, then instantly left and you should see another unlit fire next to a research log.
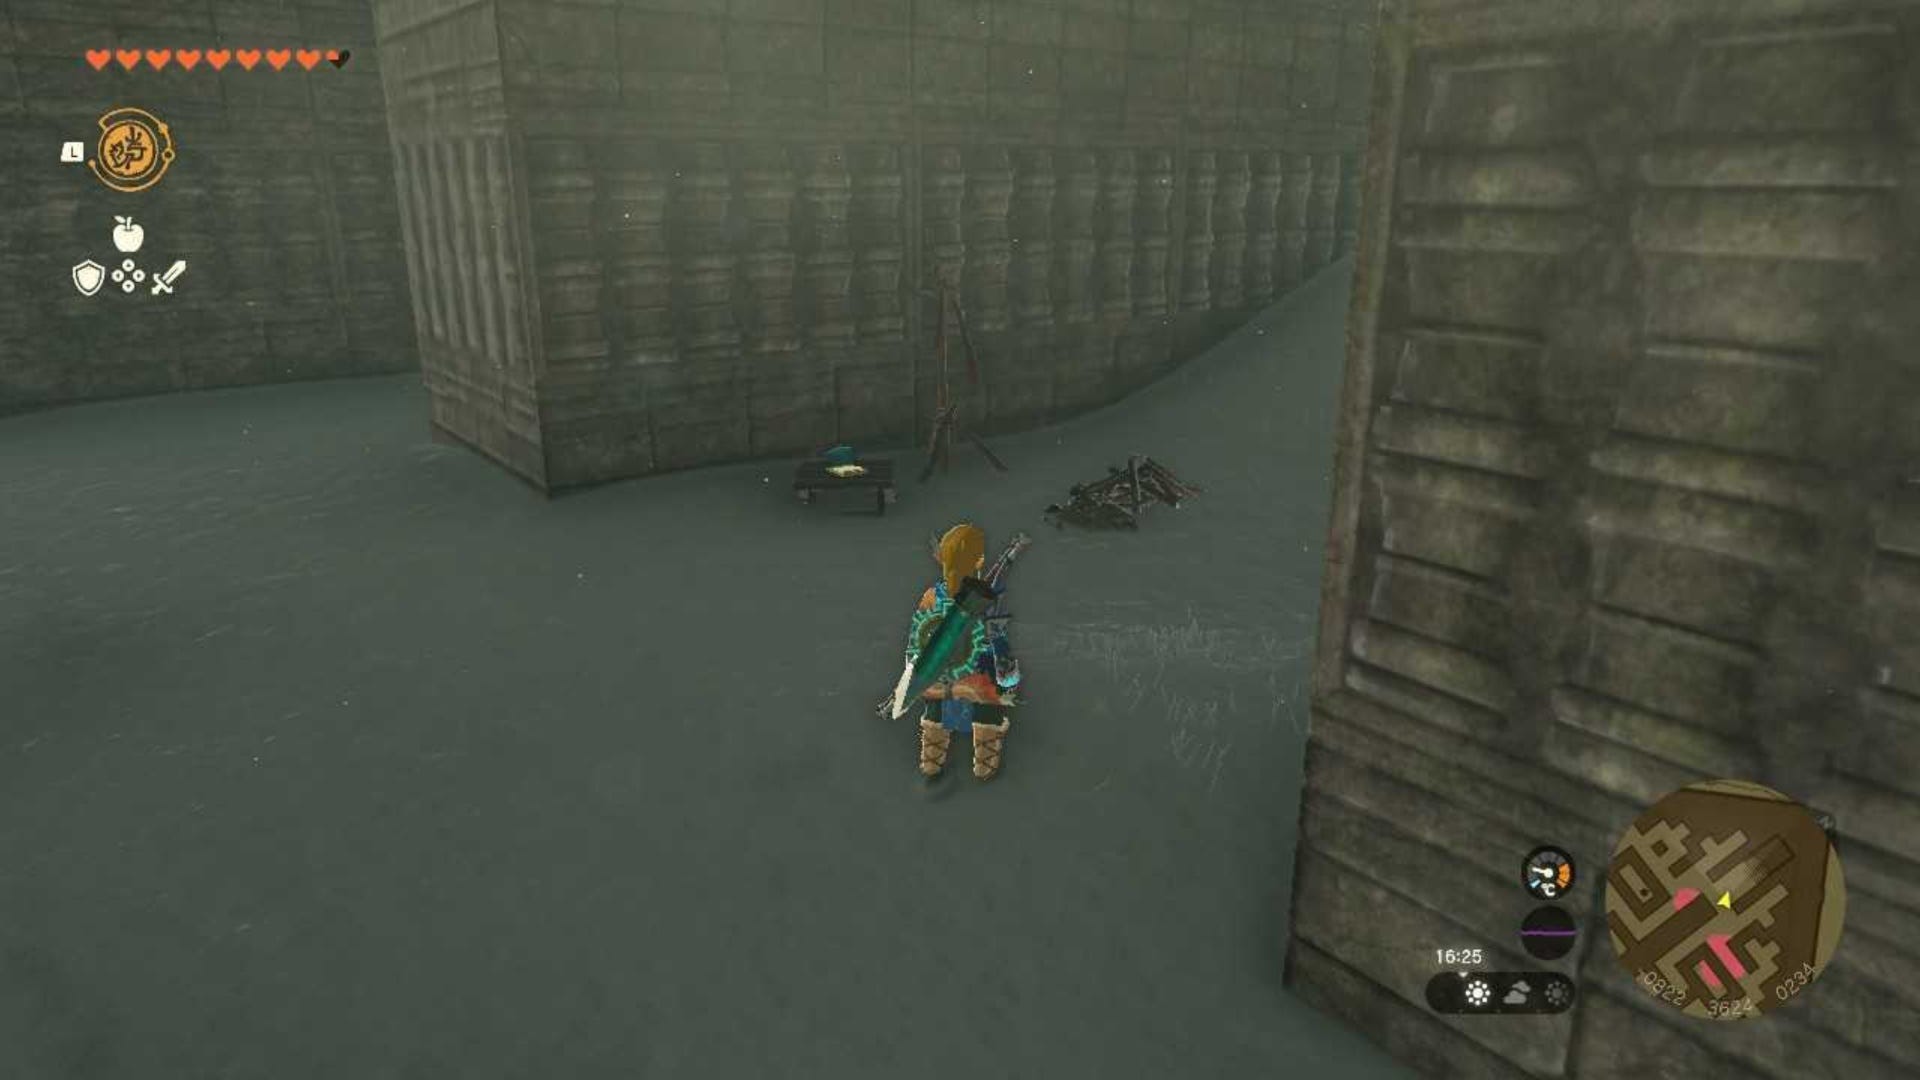
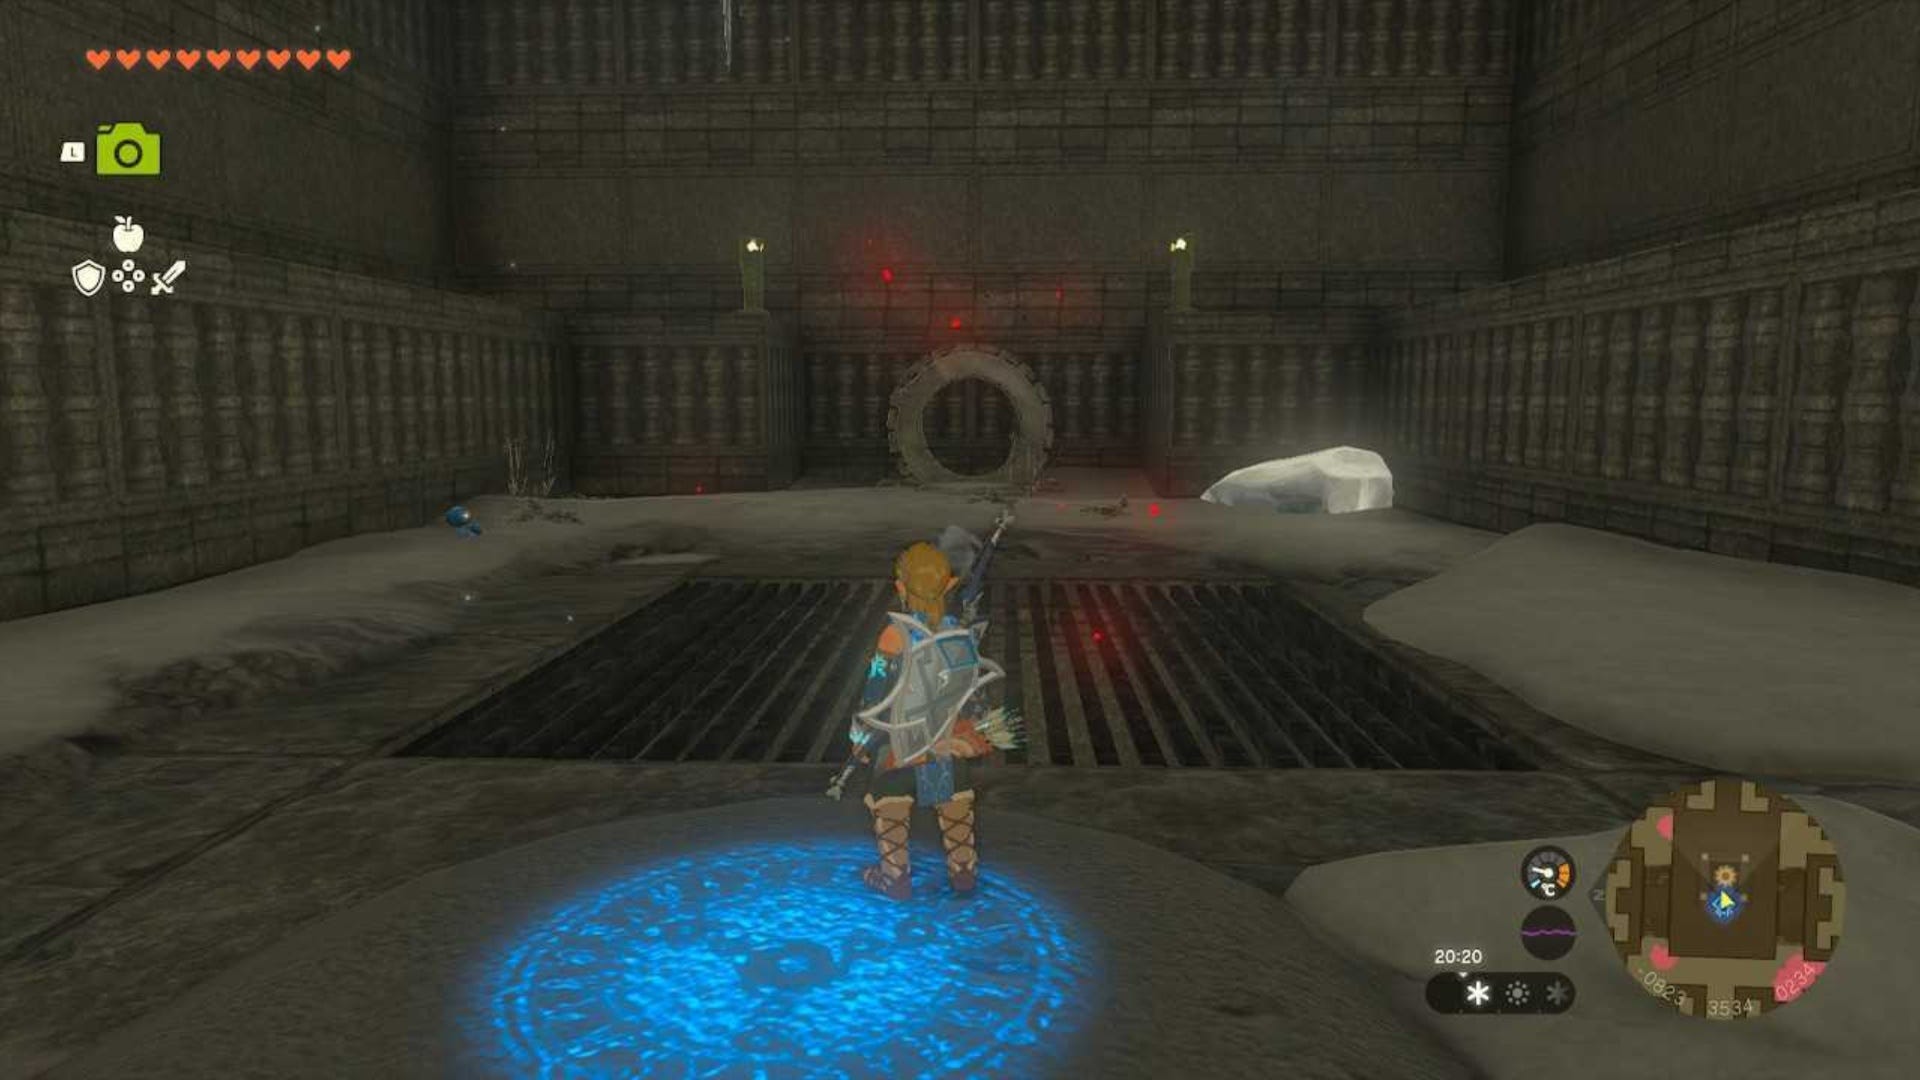
To the right of this research log is a big ice clump. If you melt it, you can get a Mighty Zonaite Shield (which may come in handy later on).
Stand at the research log and turn around until you are facing a single lamp at the end of a long corridor.
Walk down the corridor towards the light. When you reach the light, head to the left.
Walk down to the end of the corridor here then turn right, then instantly left, and right again (essentially following the path laid for you here).
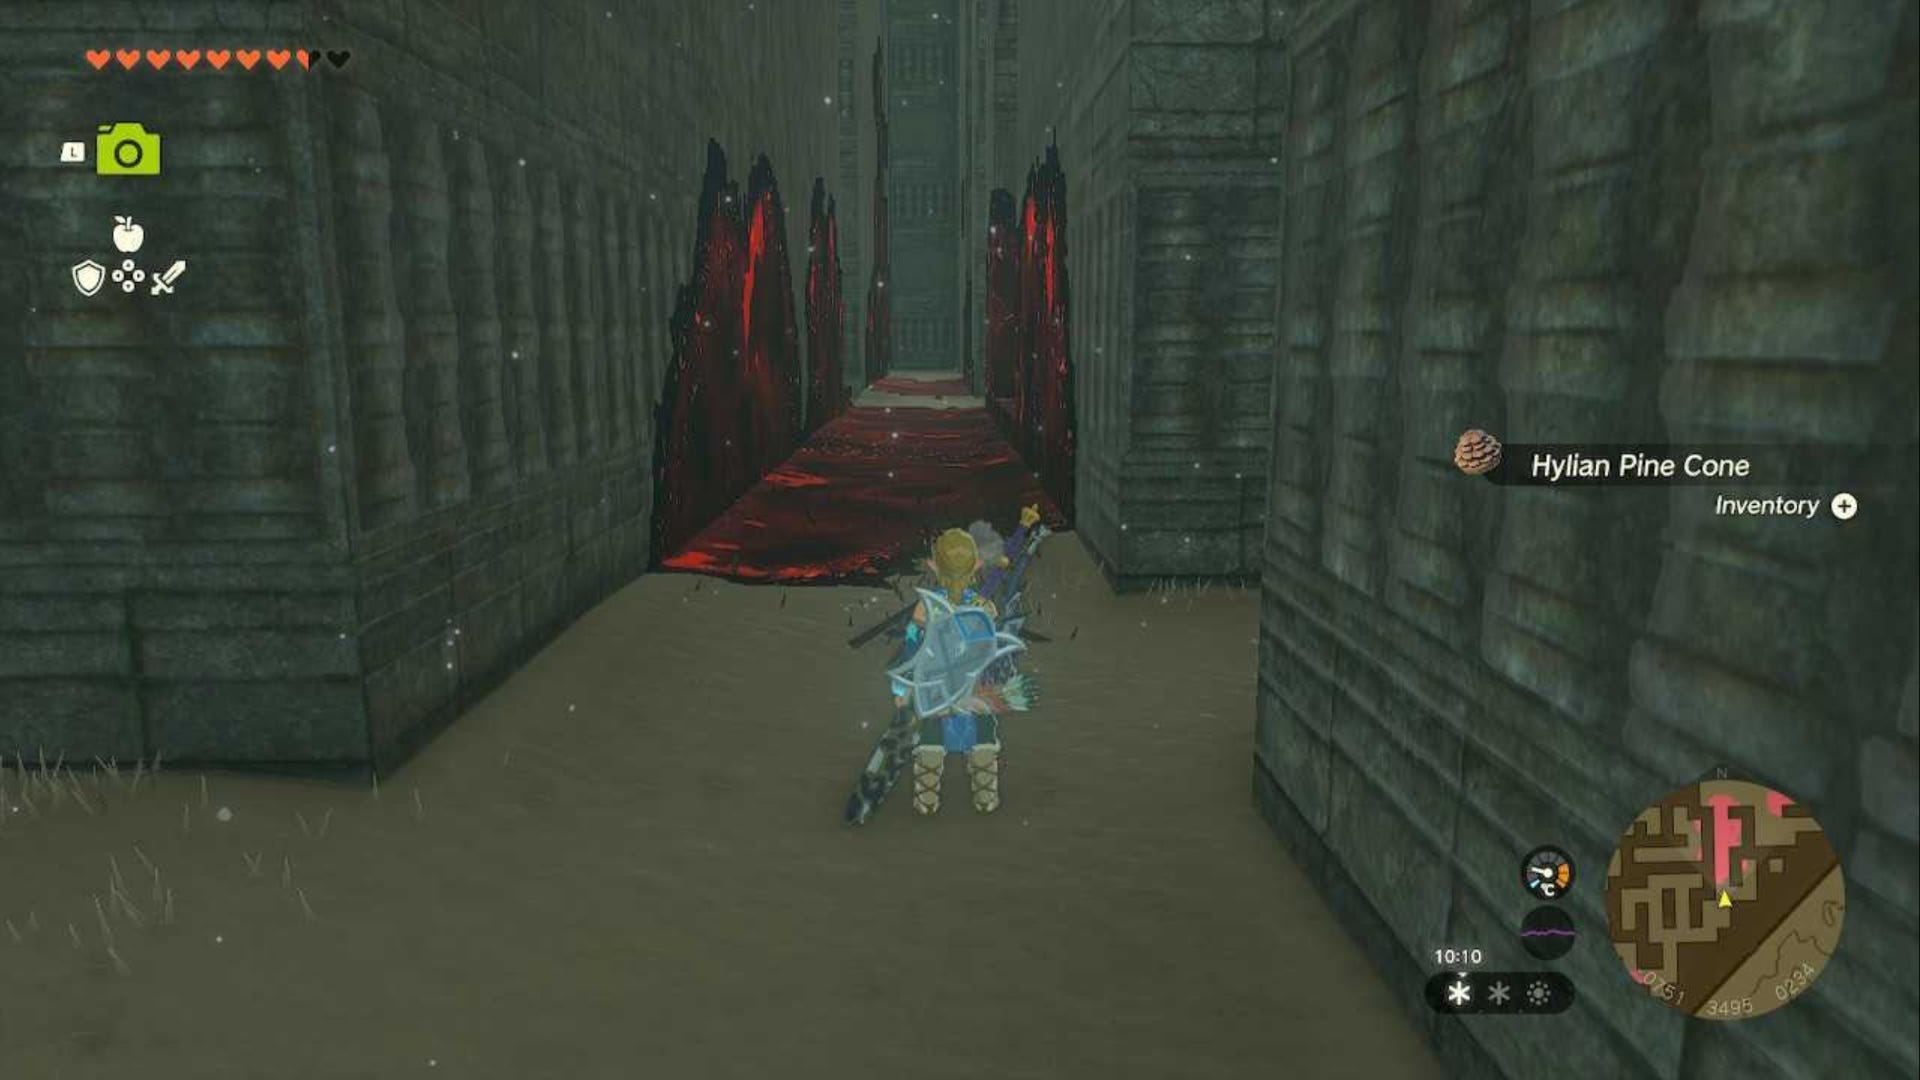
At the end of this corridor, follow the path left until you hit another Gloom patch (should we start a reward system for spotting Gloom? One point per patch.)
You know the drill, build a fire and glide over the patch. Once you are over this patch of Gloom, follow the path around to the right and you'll encounter a chunk of ice that's blocking your path.
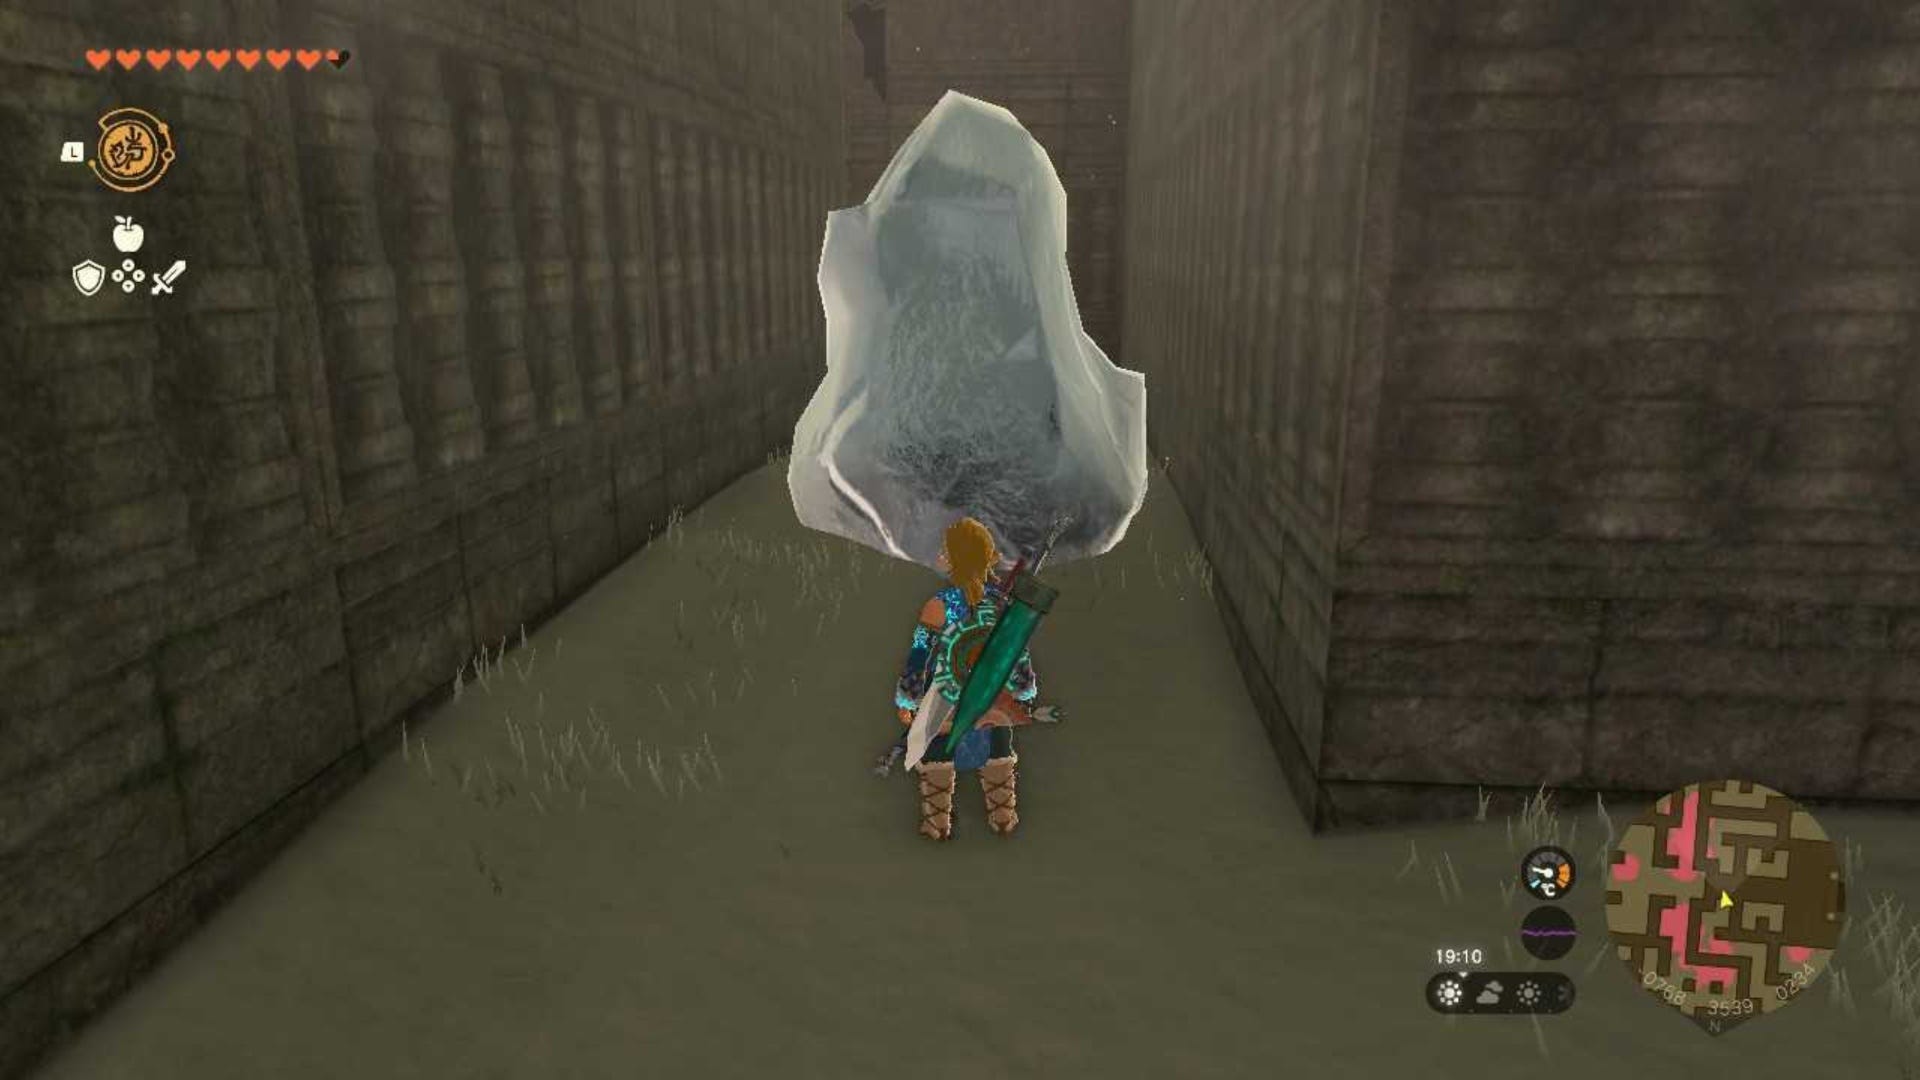
Melt the ice block to be able to walk around it. Then, walk forwards and to the left.
Then turn right and right again until you come to another lamp. Well, more accurately, there are two here but the angle initially only makes it seem like one.
When you find the lamp, face it so that you can see both lamps and then a slightly set back area. At the rear of this area is a ladder against the wall, it blends in so walk up to the middle of the wall and Link should automatically grab onto the ladder.
Use the ladder to climb up to a slightly raised walkway and follow the path foward then to the left, where you should see some steps.
Climb up the steps to find the final research log, then jump down here and glide to the entrance of the Mayaotaki Shrine.
Mayaotaki Shrine puzzle solution in Zelda Tears of the Kingdom
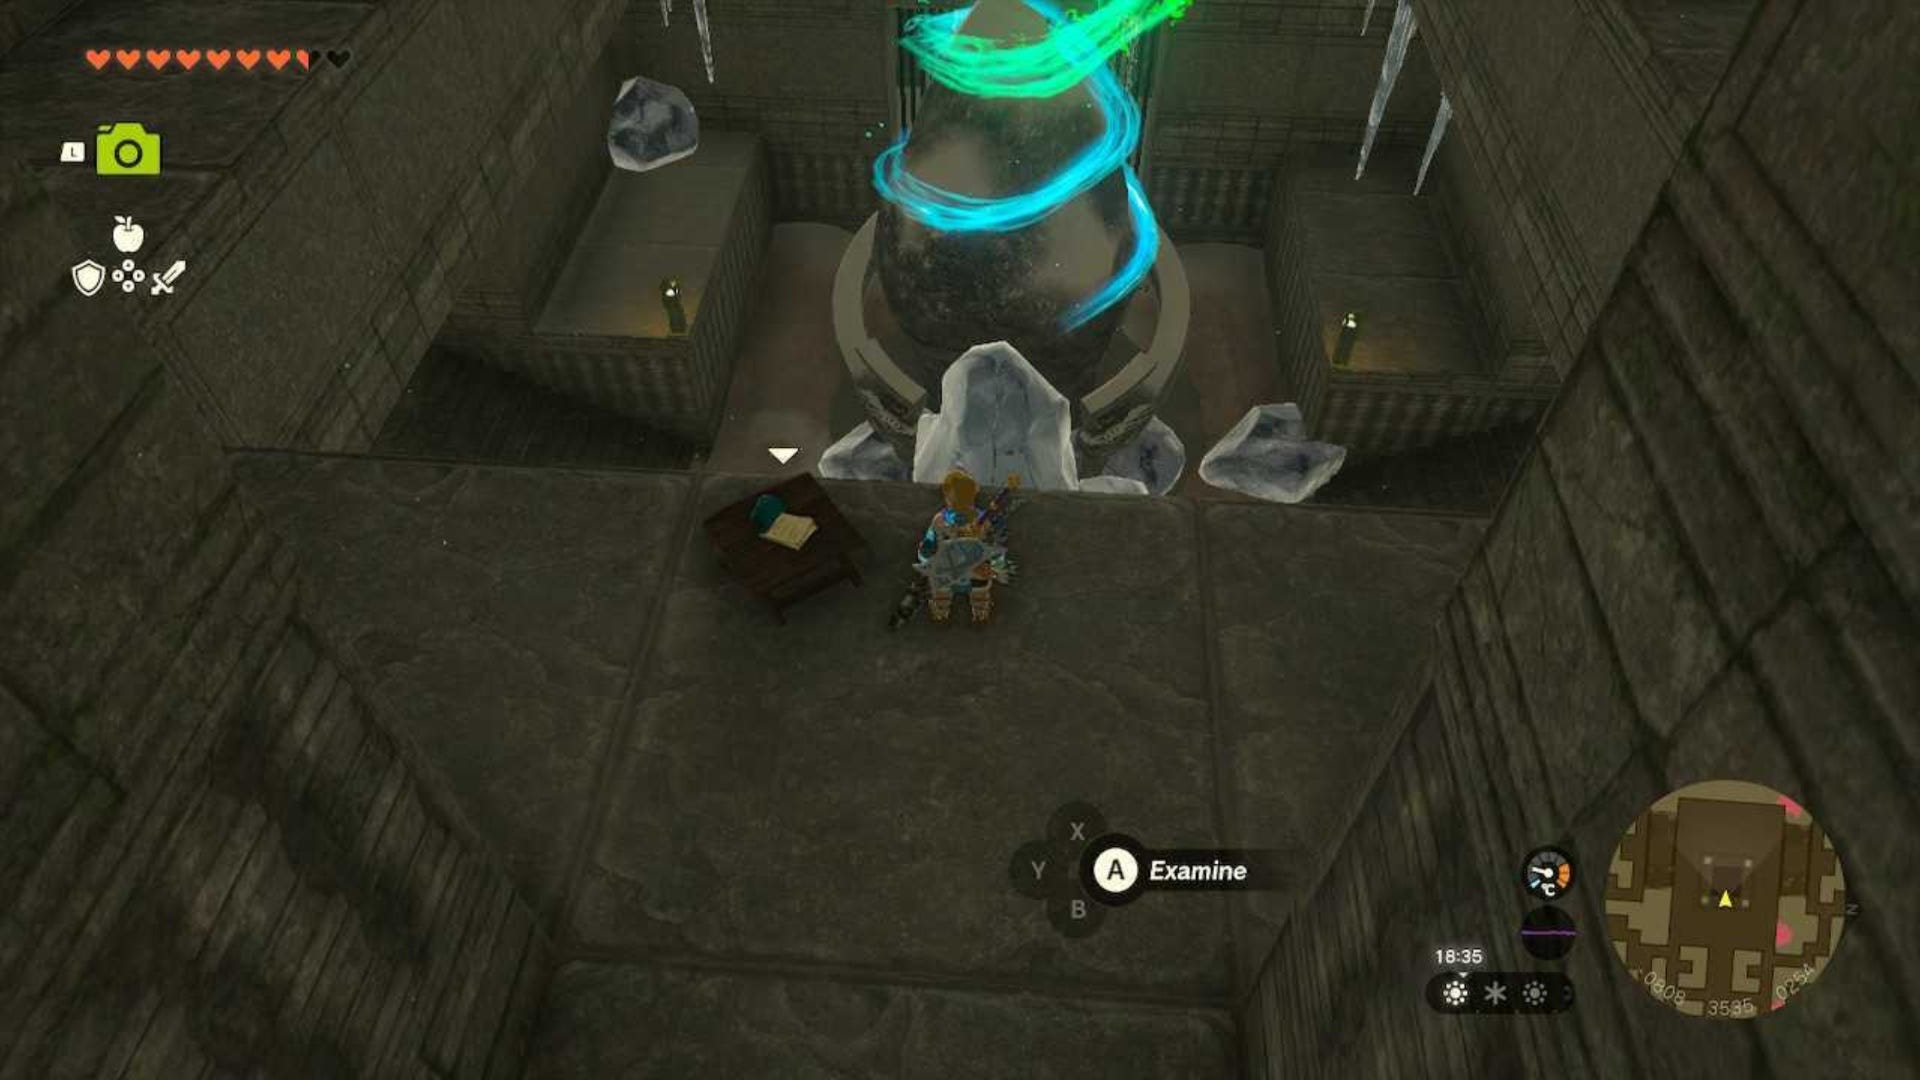
The entrance to the Mayaotaki Shrine is covered in ice. Melt the ice to be able to gain entry to the Shrine. As we already had a bunch of materials, we found it easiest to just make yet another fire and that melted the blocks enough to get in.
To solve the Mayaotaki Shrine you need to...do nothing! The shrine puzzle was making it through the Surface Labyrinth to the Shrine itself! All you need to do now is collect the Diamond in the chest here and then collect your Light of Blessing.
How to get to the North Lomei Sky Labyrinth in Zelda Tears of the Kingdom
Leave the Mayaotaki Shrine and head directly opposite its entrance, you should see a Zonai Gate (stone circle) in front of you.
Interact with it to start the next part of this quest. You now need to go to the Sky Labyrinth and the easiest way of doing that is to fast travel to the Thyphlo Ruins Skyview Tower.
Once at the Skyview Tower, launch Link from it and then you can glide across to the North Lomei Sky Labyrinth. However, this will take at least two and a half wheels of stamina, or a lot of stamina-boosting meals. We also recommend completing the Wind Temple to get a helpful ally for gliding.
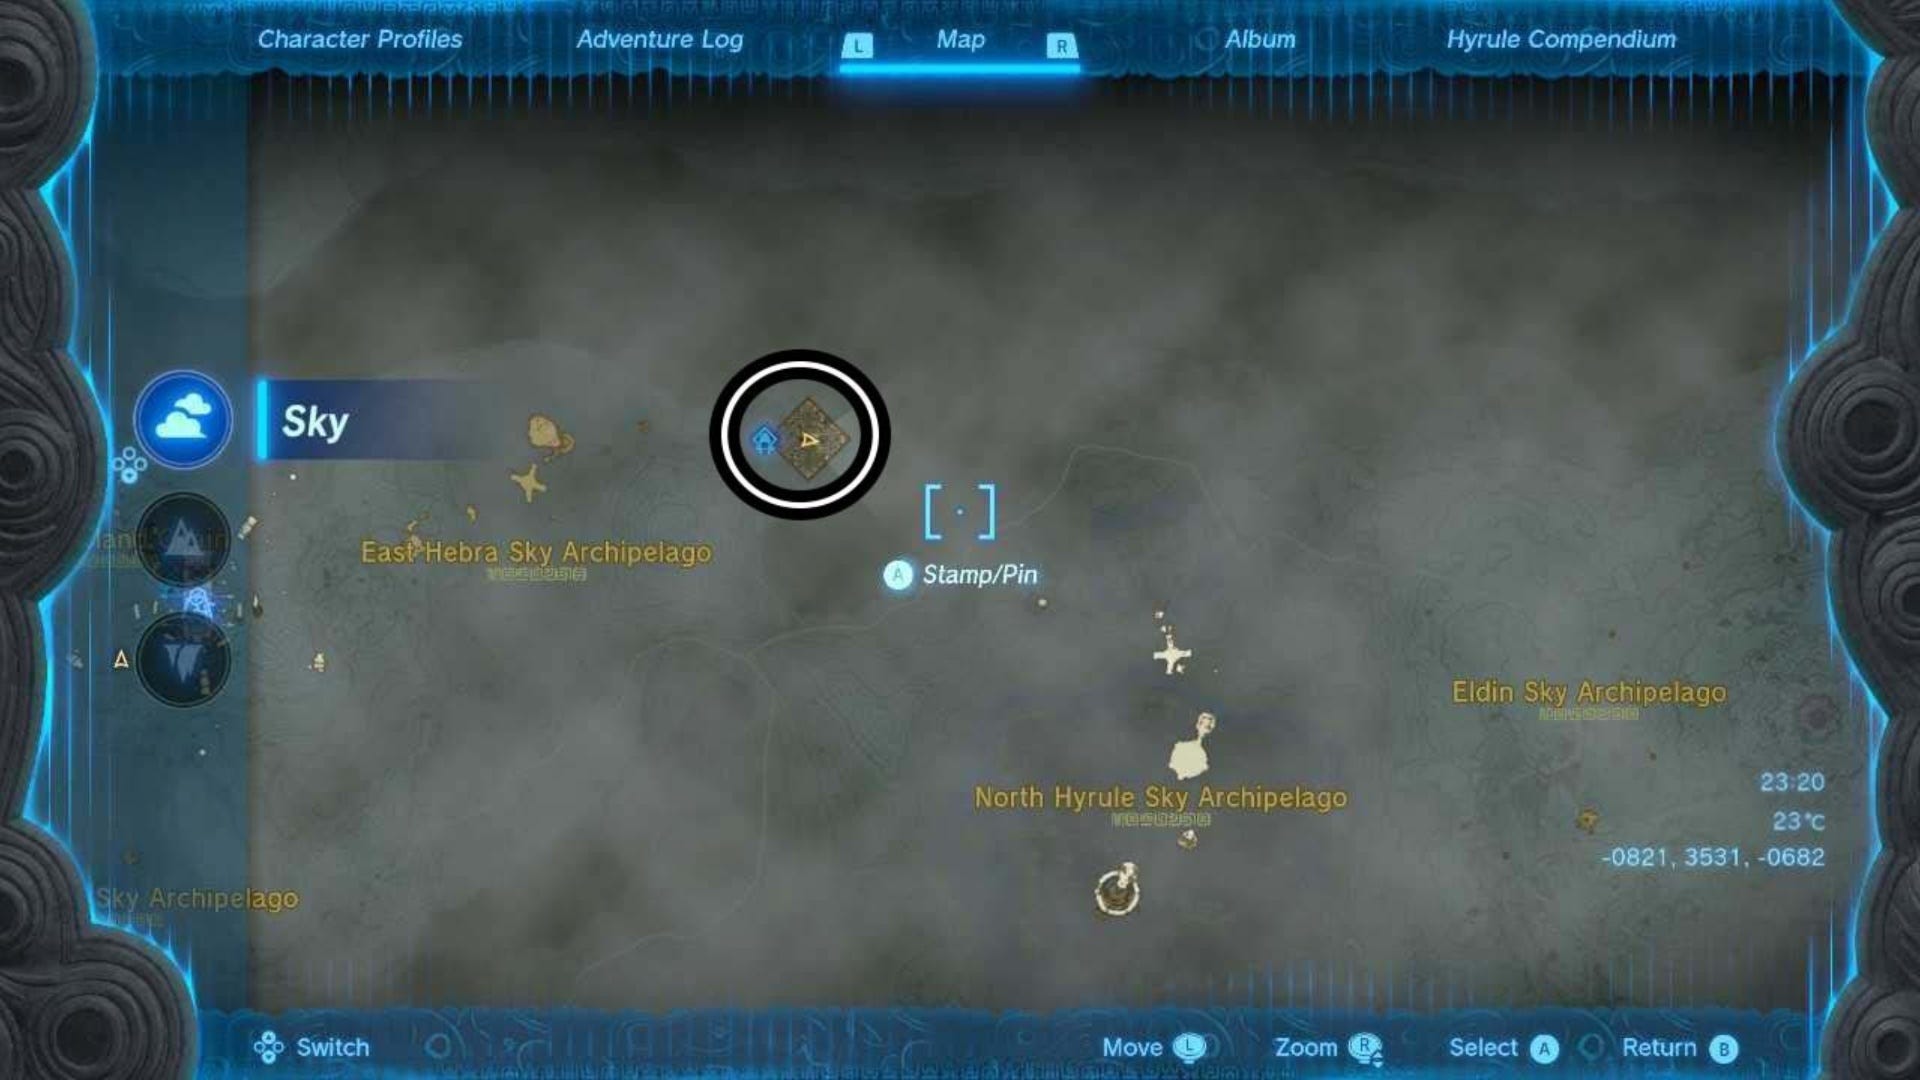
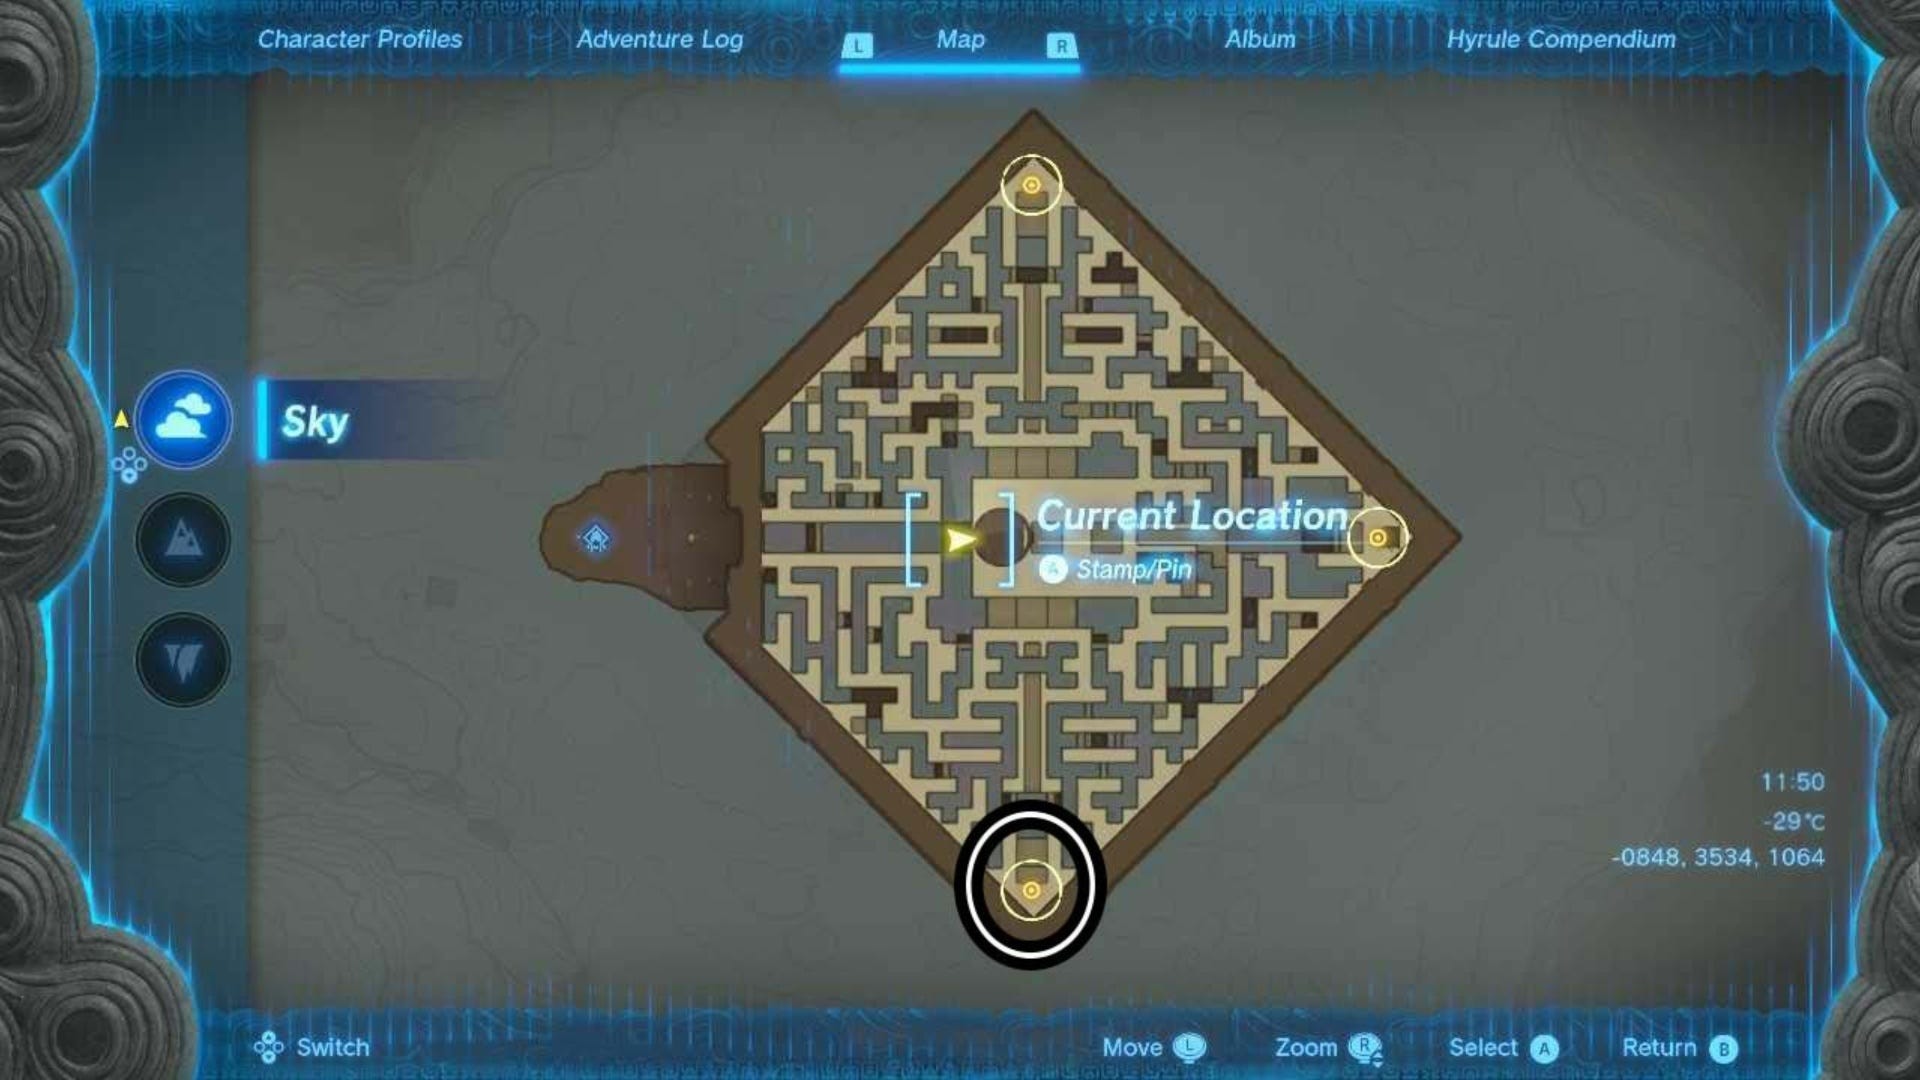
Once you get to the Labyrinth, you need to head to the West side of it (the side facing Pikida Stonegrove Skyview Tower.) This side is also marked on your mini-map if you're struggling to find it, and it's also where you'll find the Tenbez Shrine at (-0969, 3535, 1011).
You need to complete the Tenbez Shrine before you can enter the Sky Labyrinth.
How to solve the North Lomei Sky Labyrinth in Zelda Tears of the Kingdom
Once you've completed the Tenbez Shrine, you can get into the North Lomei Sky Labyrinth. Walk up to the Zonai Gate just outside of it at (-0937, 3534, 1015) and interact with it.
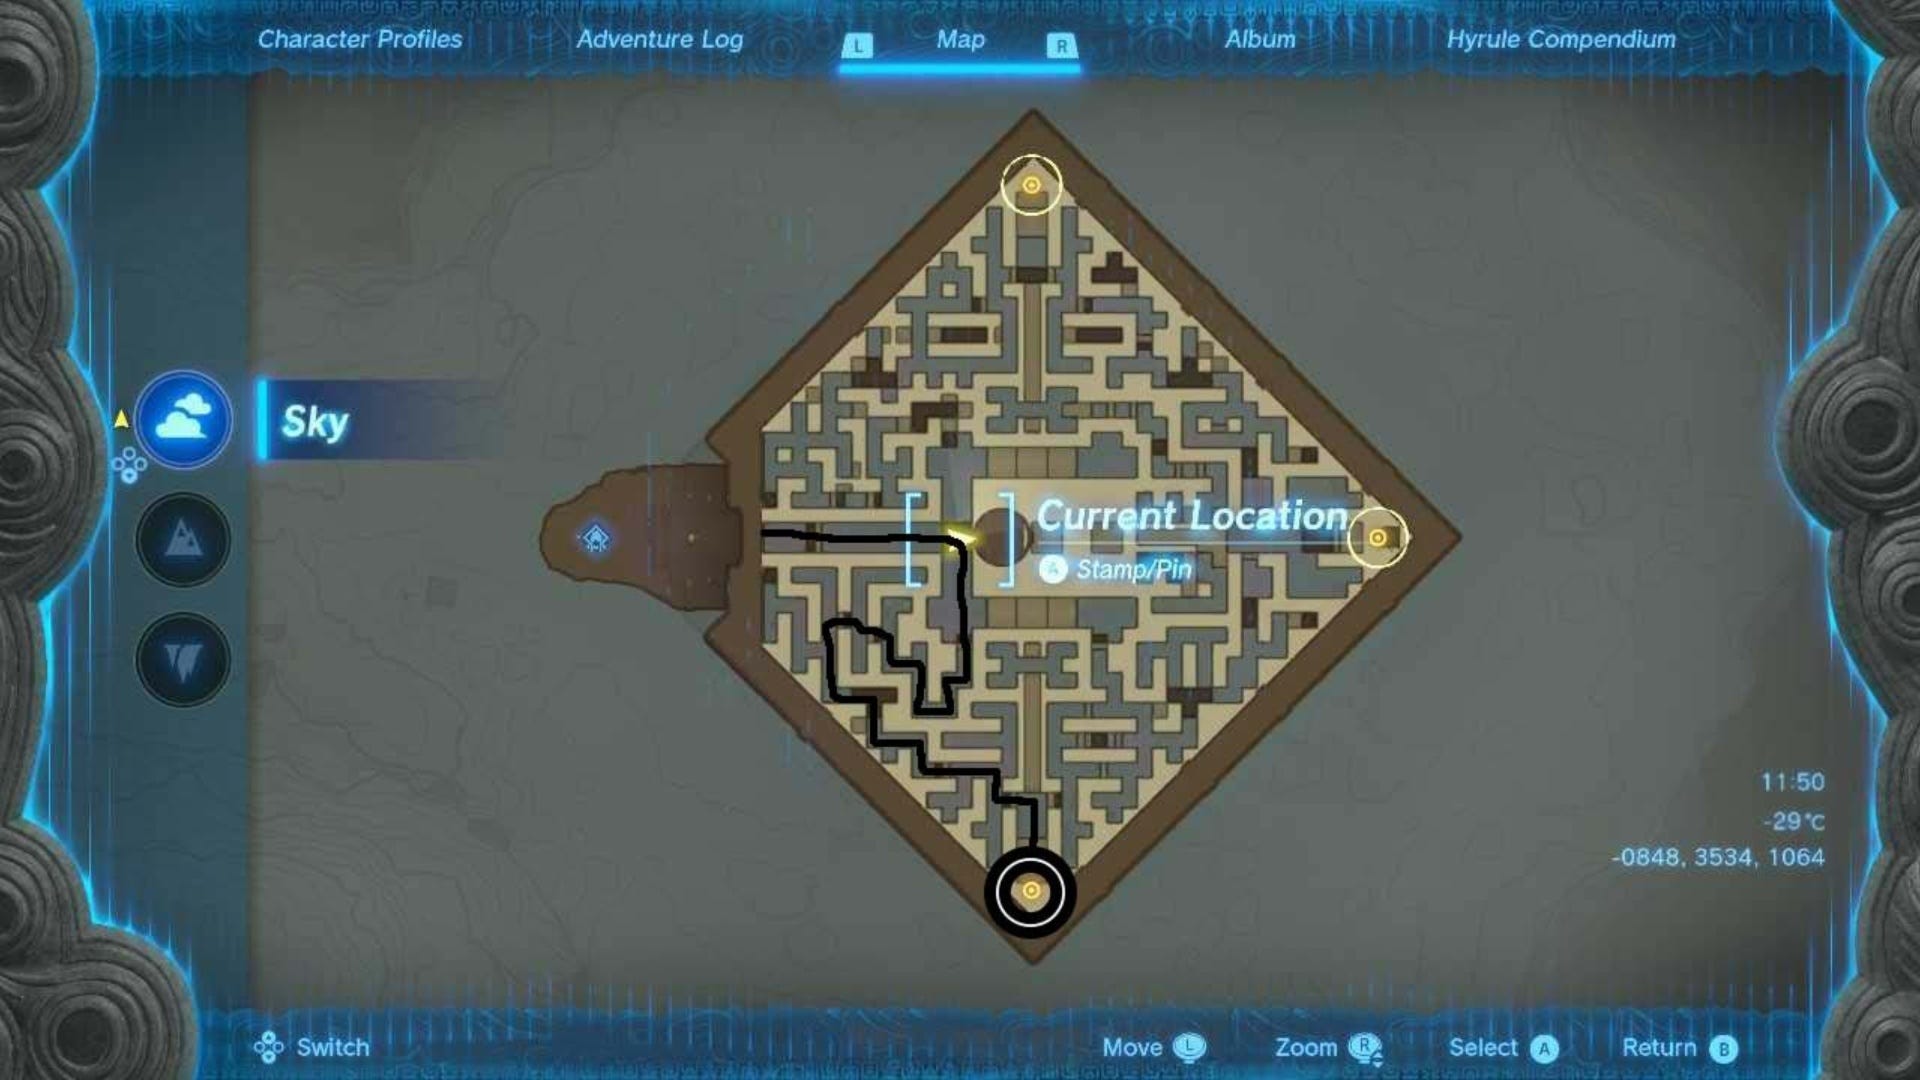
Then, walk behind the gate to the entrance of the Labyrinth. Jump off into the updraft and use your Paraglider to glide across towards the large mesh gate. Here, while still gliding, take a right, then a left, and another left.
Here's how this route looks on the map:
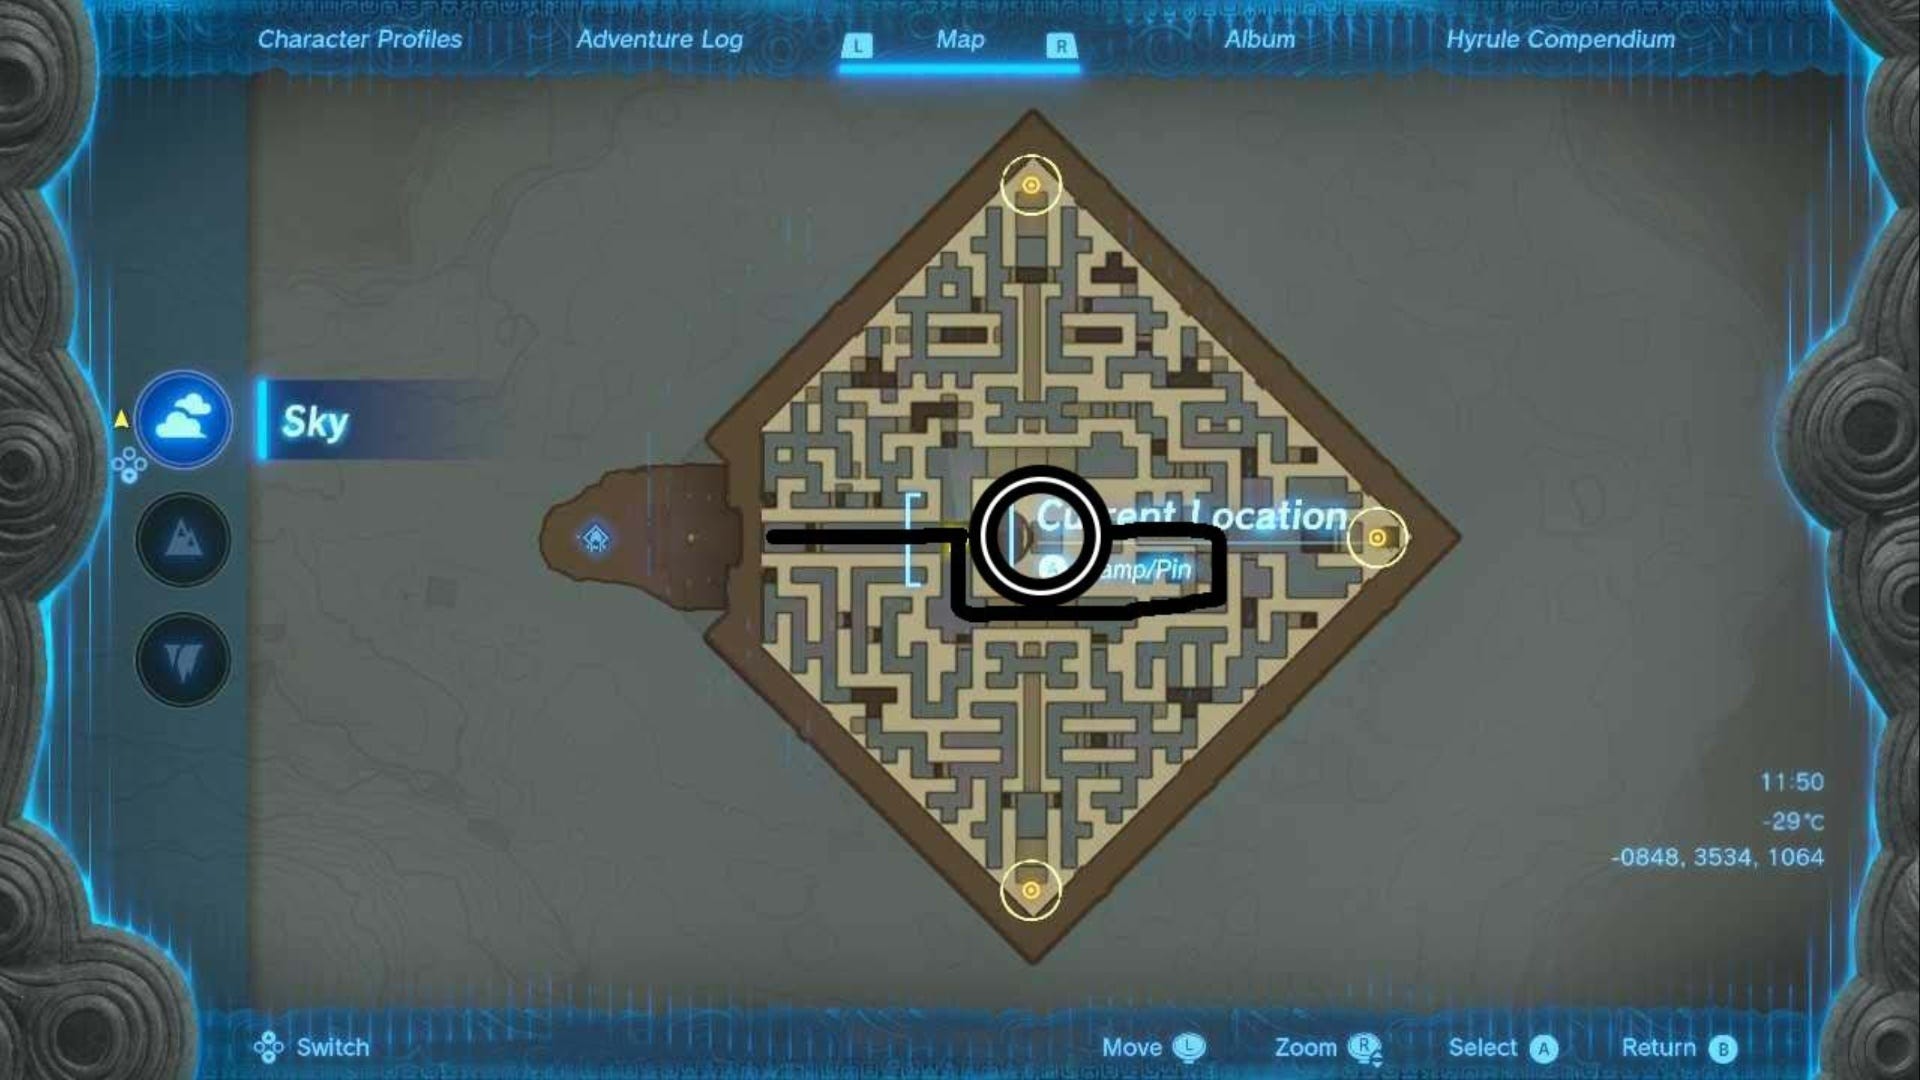
Once you have taken that last turning, look to your left and you should see a large opening that leads into the room where the quest marker is. Land here and interact with the Zonai Gate in the middle of the room.
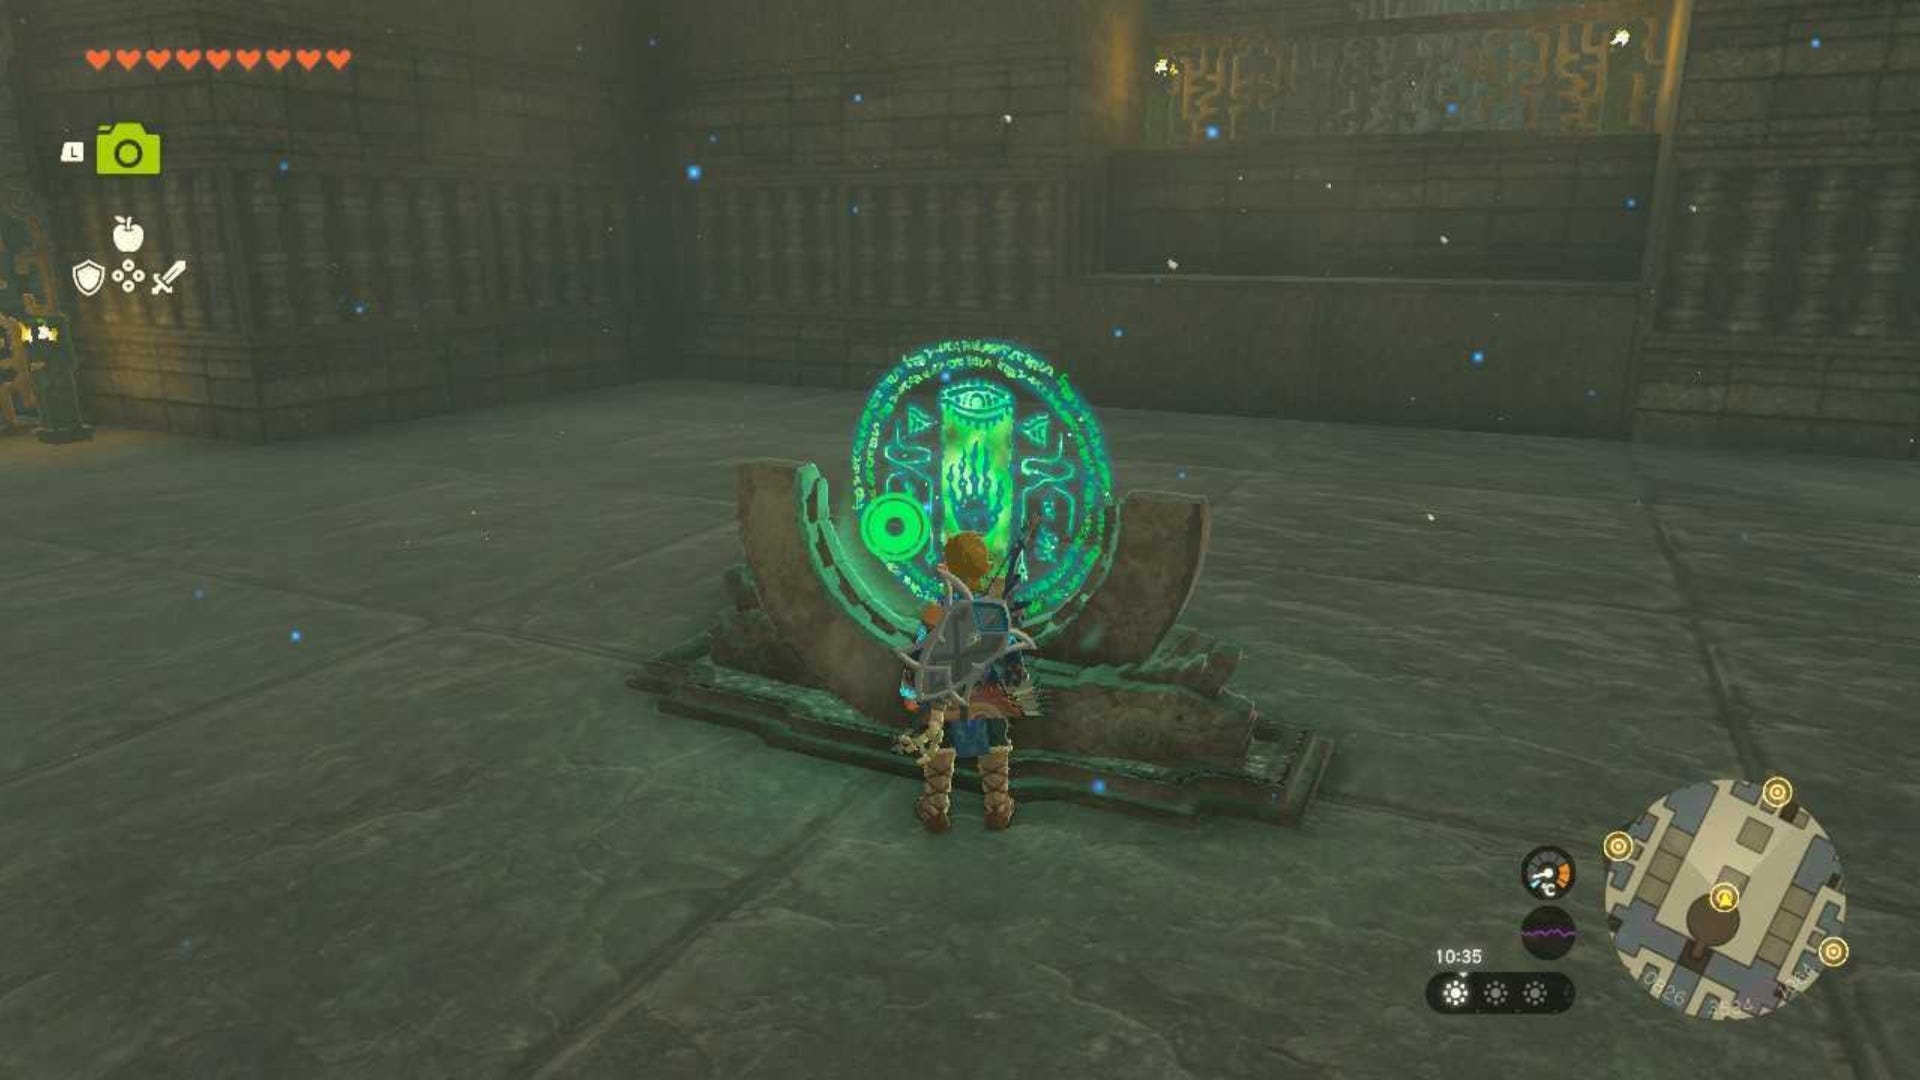
There are now only three quest markers in total, you need to find your way through the maze to each one and activate the Zonai Gates at each marker to complete this puzzle. You'll be gliding for most of this, so make sure you're happy with the amount of stamina or stamina-boosting meals you have on hand.
Sky Labyrinth Gate - North
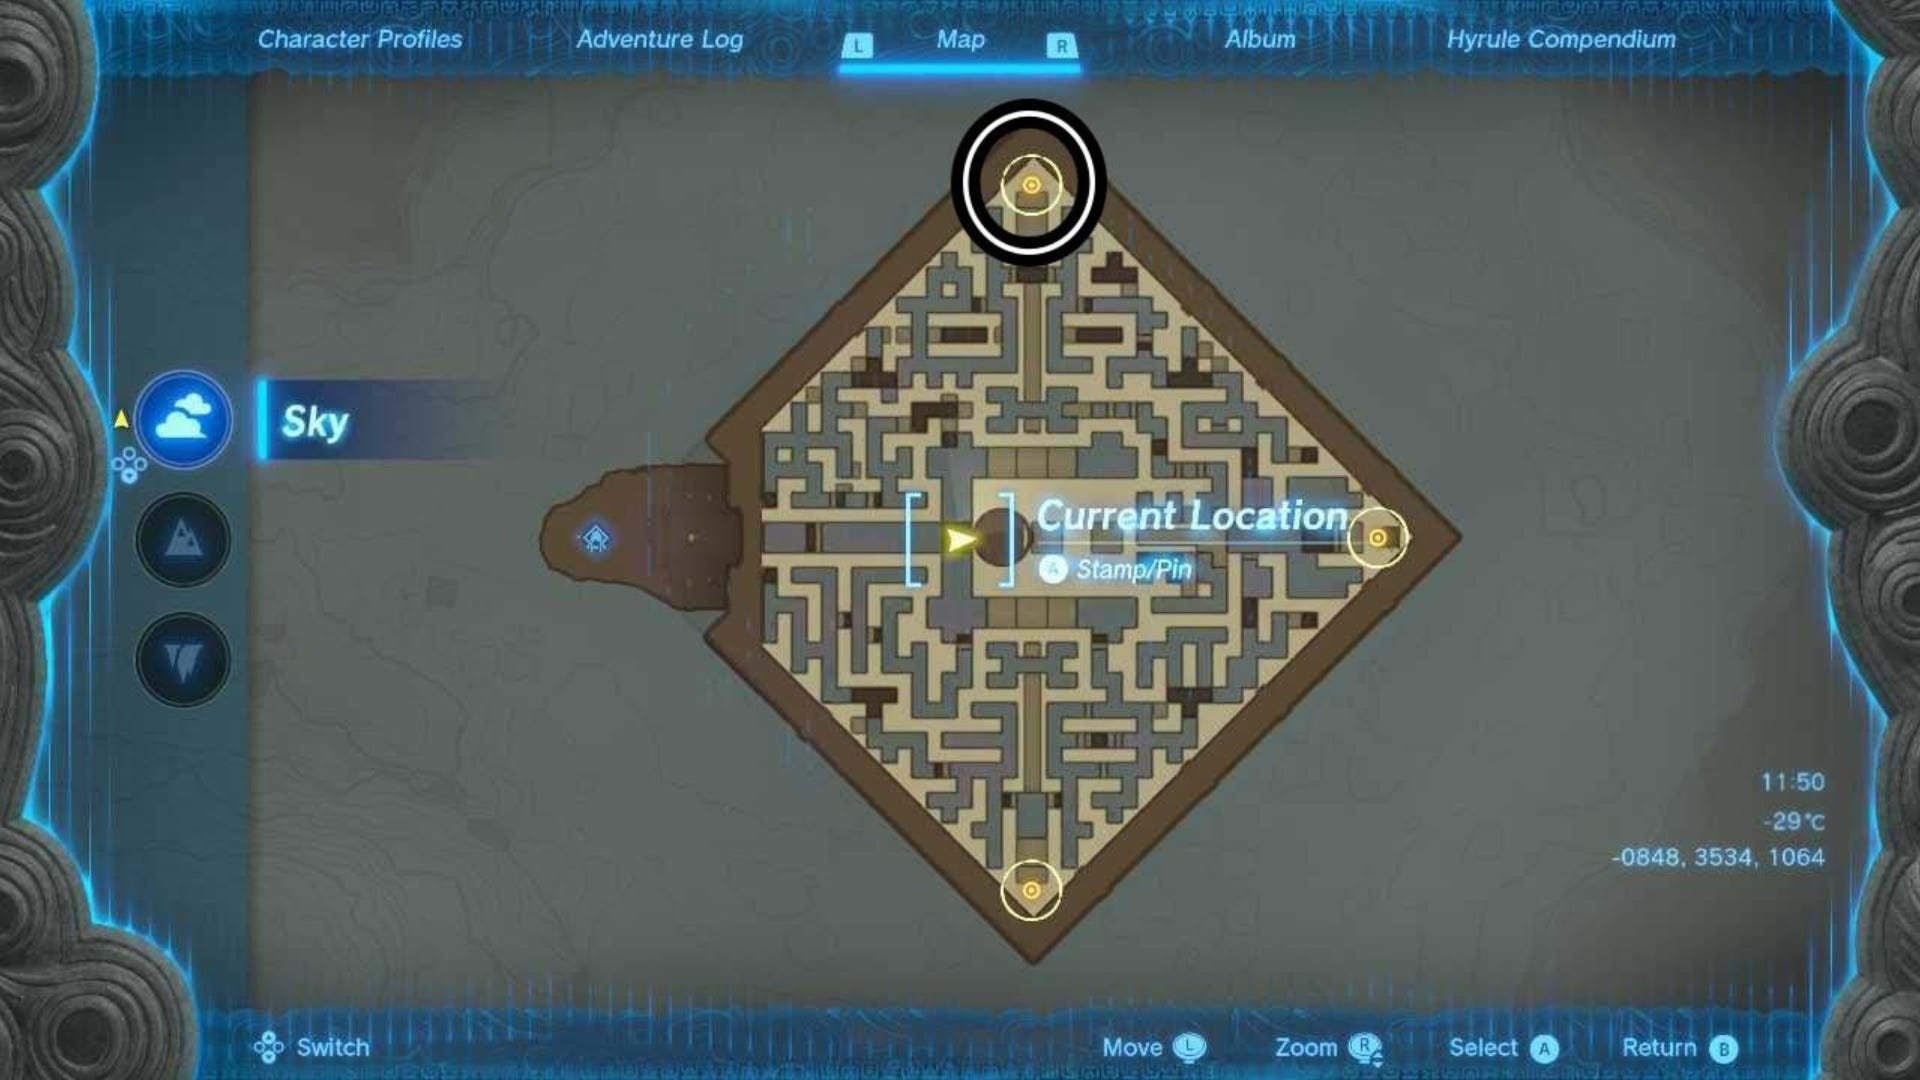
For the northern marker, head back to the beginning of the Labyrinth by Tenbez Shrine. Then, as you did before, use the updrafts and your paraglider here to glide towards the mesh wall but turn left this time. You should see a large long opening in the wall here.
Land here and look right, you should instantly see a chest. This chest contains a Zonai Big Battery.
Then follow the path to your left and all the way around until it comes to a drop-off point. Here, jump and ride the updraft with your paraglider again, then follow these turnings:
- First Left
- First Left
- First Right
Then, look down and you should see two split square mesh platforms below you. Drop down to the furthest one from you for a break to recharge your stamina. If you're not sure which one this is, it's the platform with these coordinates (-0891, 3546, 1032).
From this platform, face the direction of the Tenbez Shrine then use the updraft and your Paraglider to get into the air again. Once in the air, follow these turnings:
- First Right
- First Left
- First Right
- First Right
- First Left
- Second Right
- Second Left
- Second Left
- First Left
- First Right
After taking that last turning, look beneath you and you should see more mesh platforms. Precisely, two stuck together. Land here and look around until you see a platform area opposite you that's slightly raised (also, use your map to face the quest marker).
Once you've done this, ride the updraft here to reach the first of the three Zonai Gates.
Here's the route marked down on the map from overhead if you're struggling:
Once you've interacted with the Zonai Gate here, let your stamina reset before moving on.
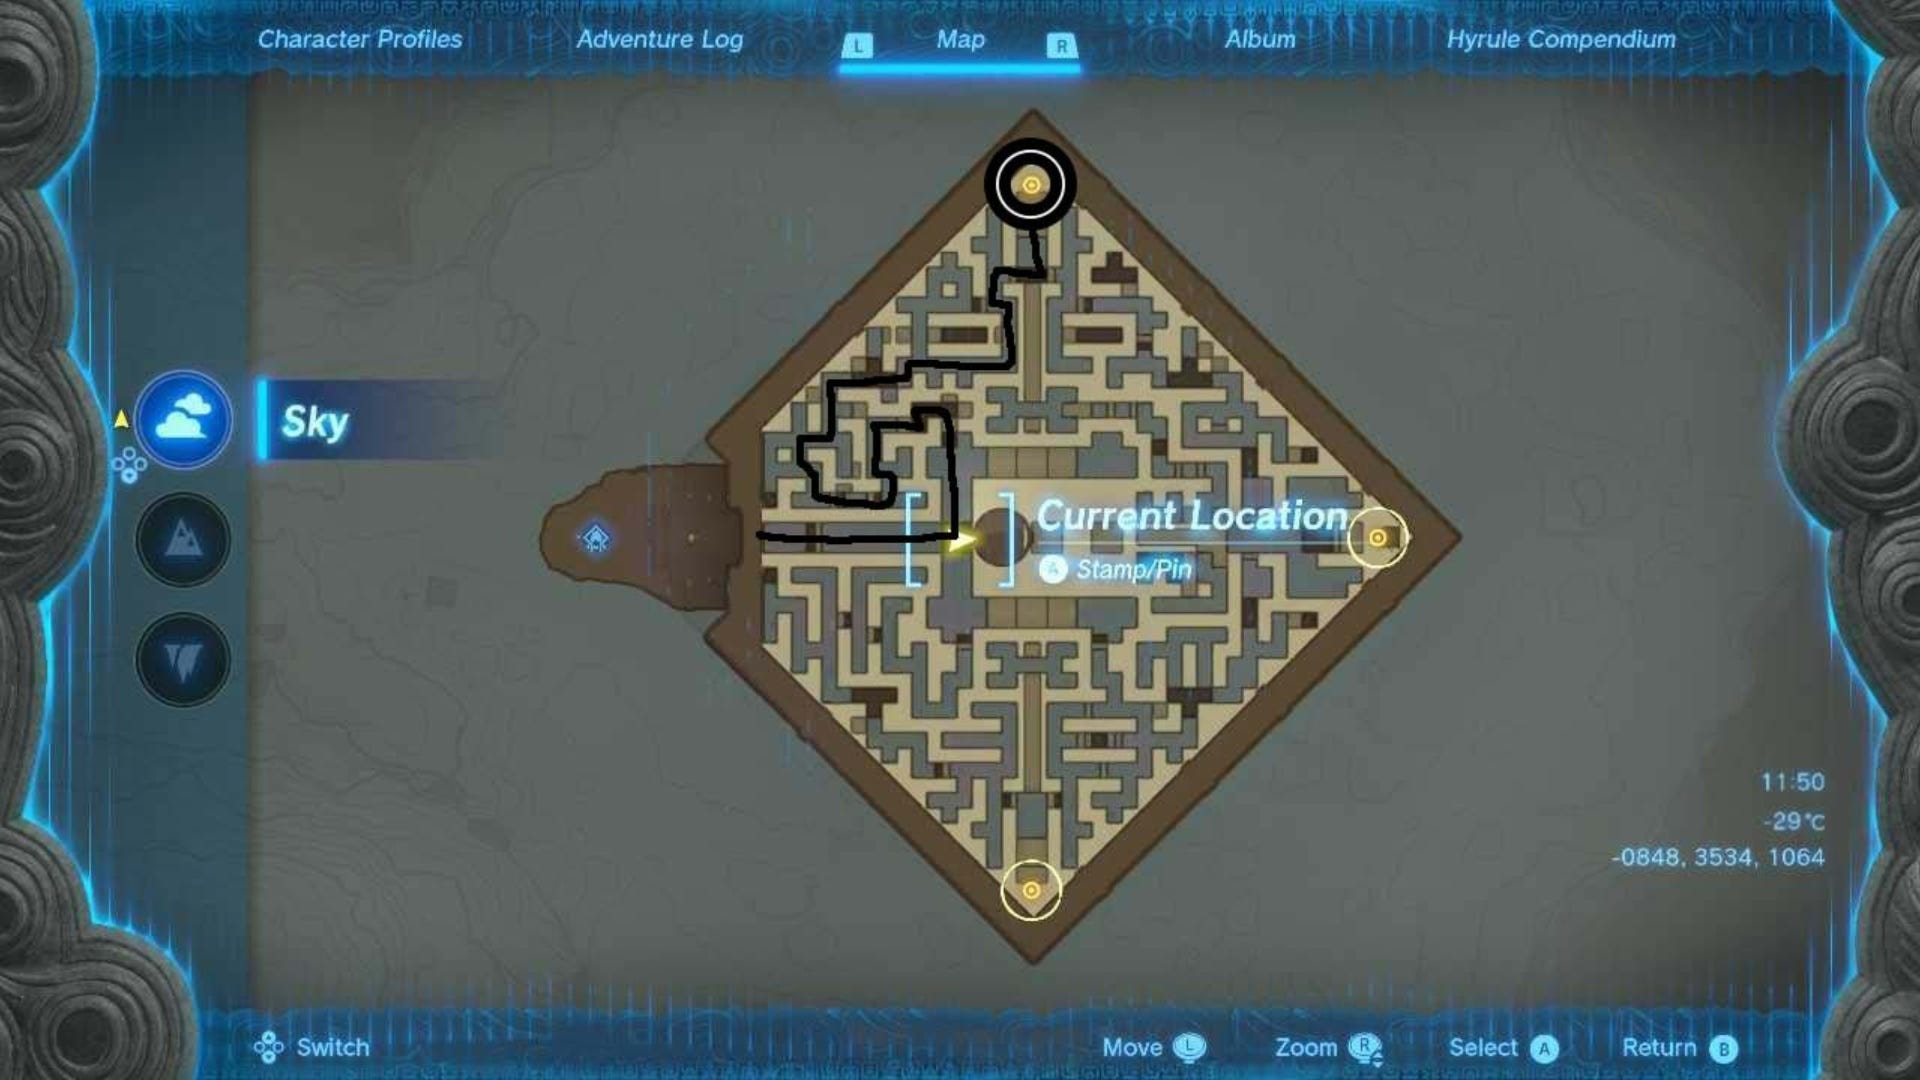
Sky Labyrinth Gate - East
To reach the east marker in the North Lomei Sky Labyrinth, stand with your back to the northern marker (the one you just activated) and face opposite you. You should see a raised area here. Jump and glide across to this area, then walk down the path here until you come to a gap.
From this gap, jump and glide to the left and land on the stone platform here. Wait for your stamina to reset and then face the mesh grate so that it's opposite you.
When you're ready, follow these turnings to find the Gate:
- First Right
- First Left
- First Right
- First Left
- First Right
- First Left
You should then see the Zonai Gate, and all you need to do is glide to it and interact with it.
Here's the route to this gate on the map from overhead if you're struggling:

Again, let your stamina reset before moving on and gather more stamina-boosting supplies if you need to.
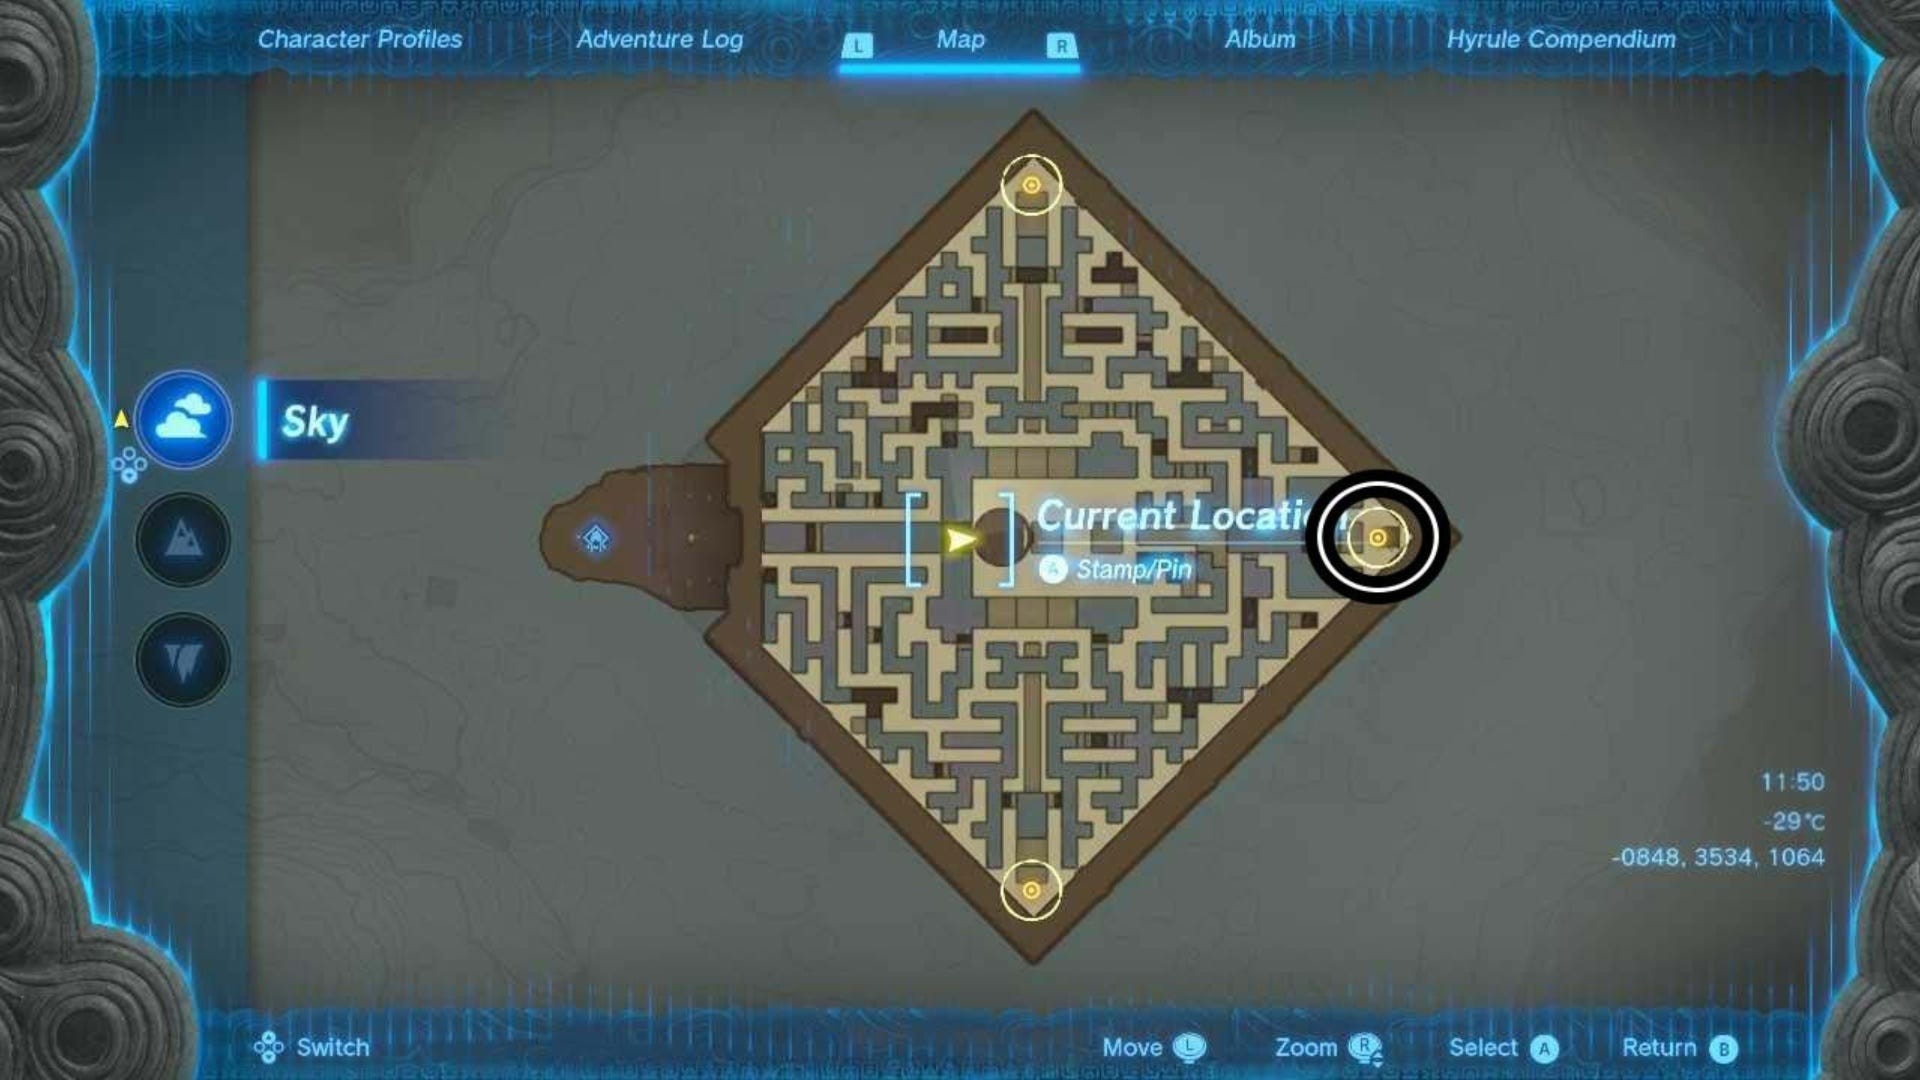
Sky Labyrinth Gate - South
To get to the southern marker in the North Lomei Sky Labyrinth, we found it easiest to head back to the beginning of the Labyrinth at Tenbez Shrine one more time.
Ride the updraft and glide towards the mesh grate as you did for the first two markers, then follow these turnings to get to the next Gate:
- First Right
- Second Right
- First Left
- First Right
- First Right
- First Left
- First Right
Then, you should see a platform below you here. Land on it and let your stamina reset, then hop across to the platform opposite you. From this platform, ride the updraft again and follow the next few turnings to fet to the southern marker:
- First Left
- First Left
- First Right
- First Left
- Second Right
- First Left
- Second Right
- First Left
- First Right
As you follow the final turning, the Zonai Gate should come into view. Simply glide to it and interact with it.
Here's the route to this gate on the map from overhead if you're struggling:
Sky Labyrinth - Roof Gate
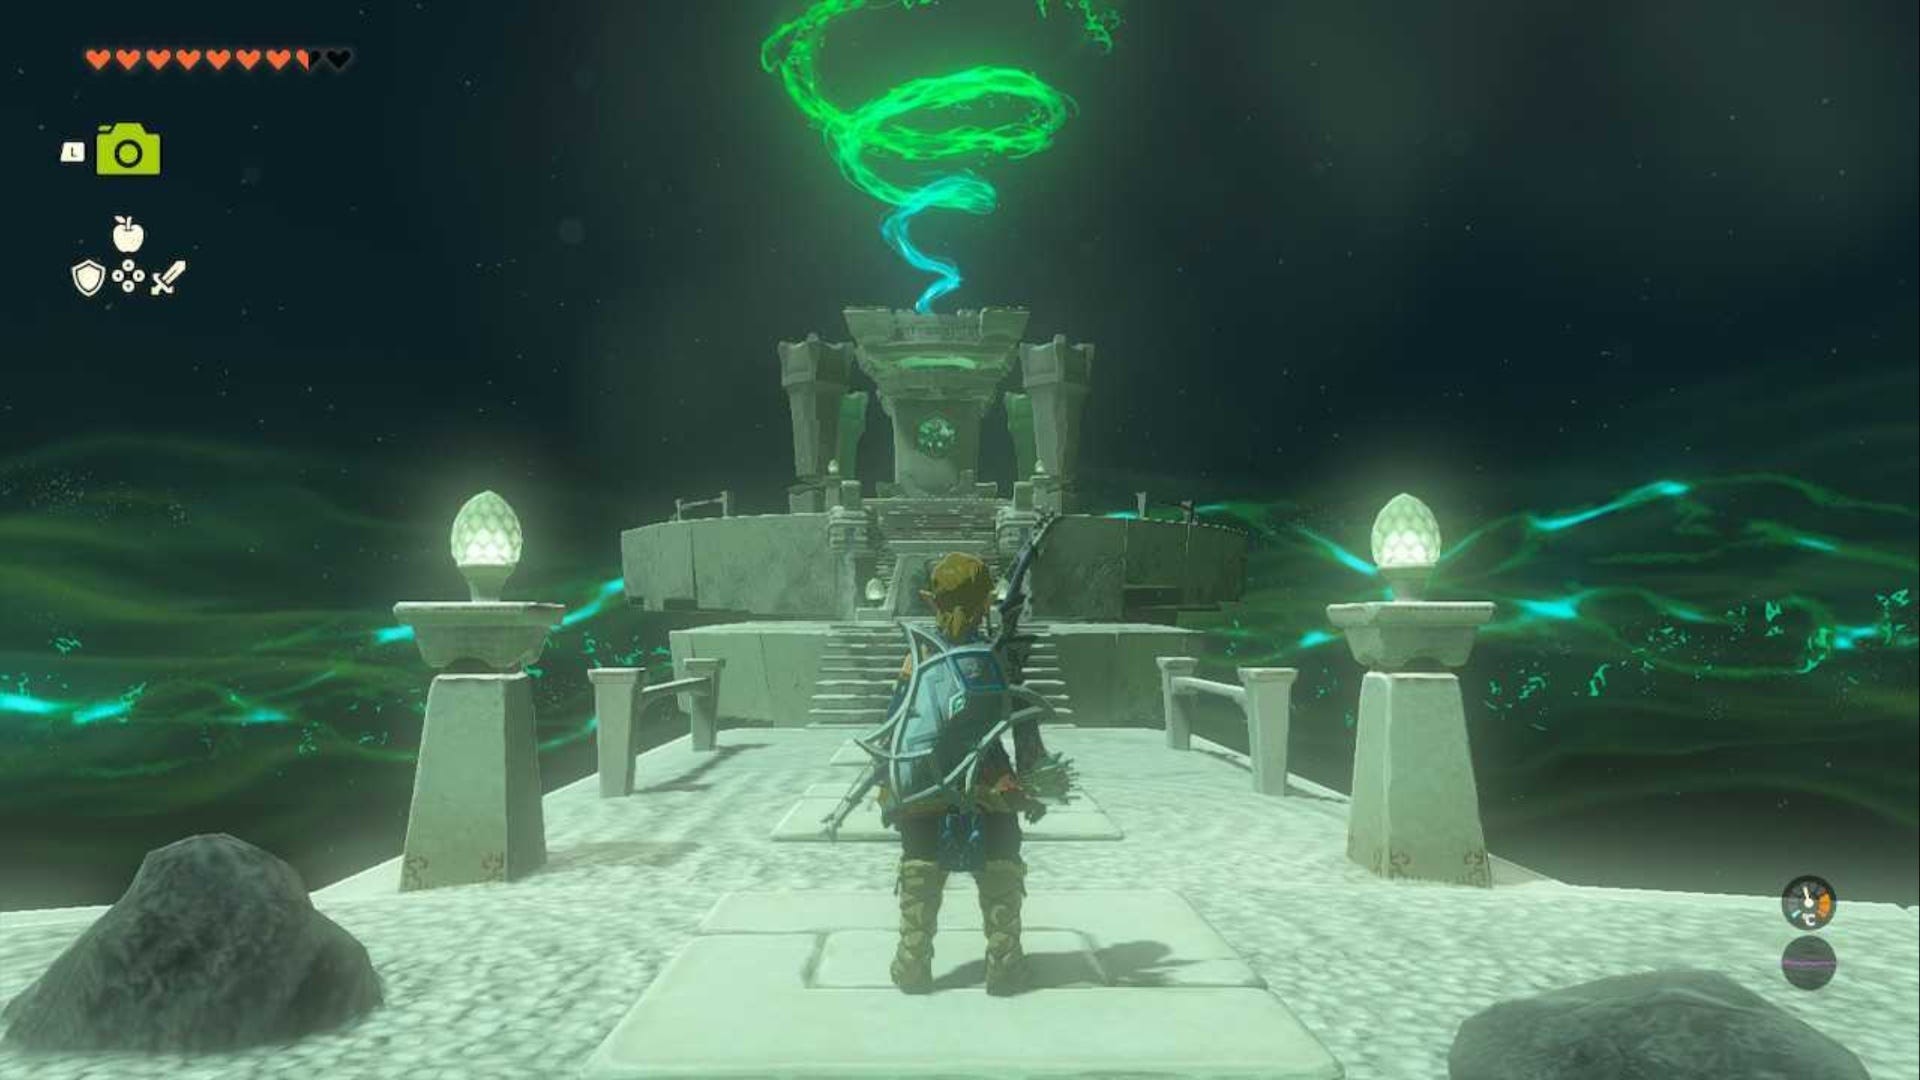
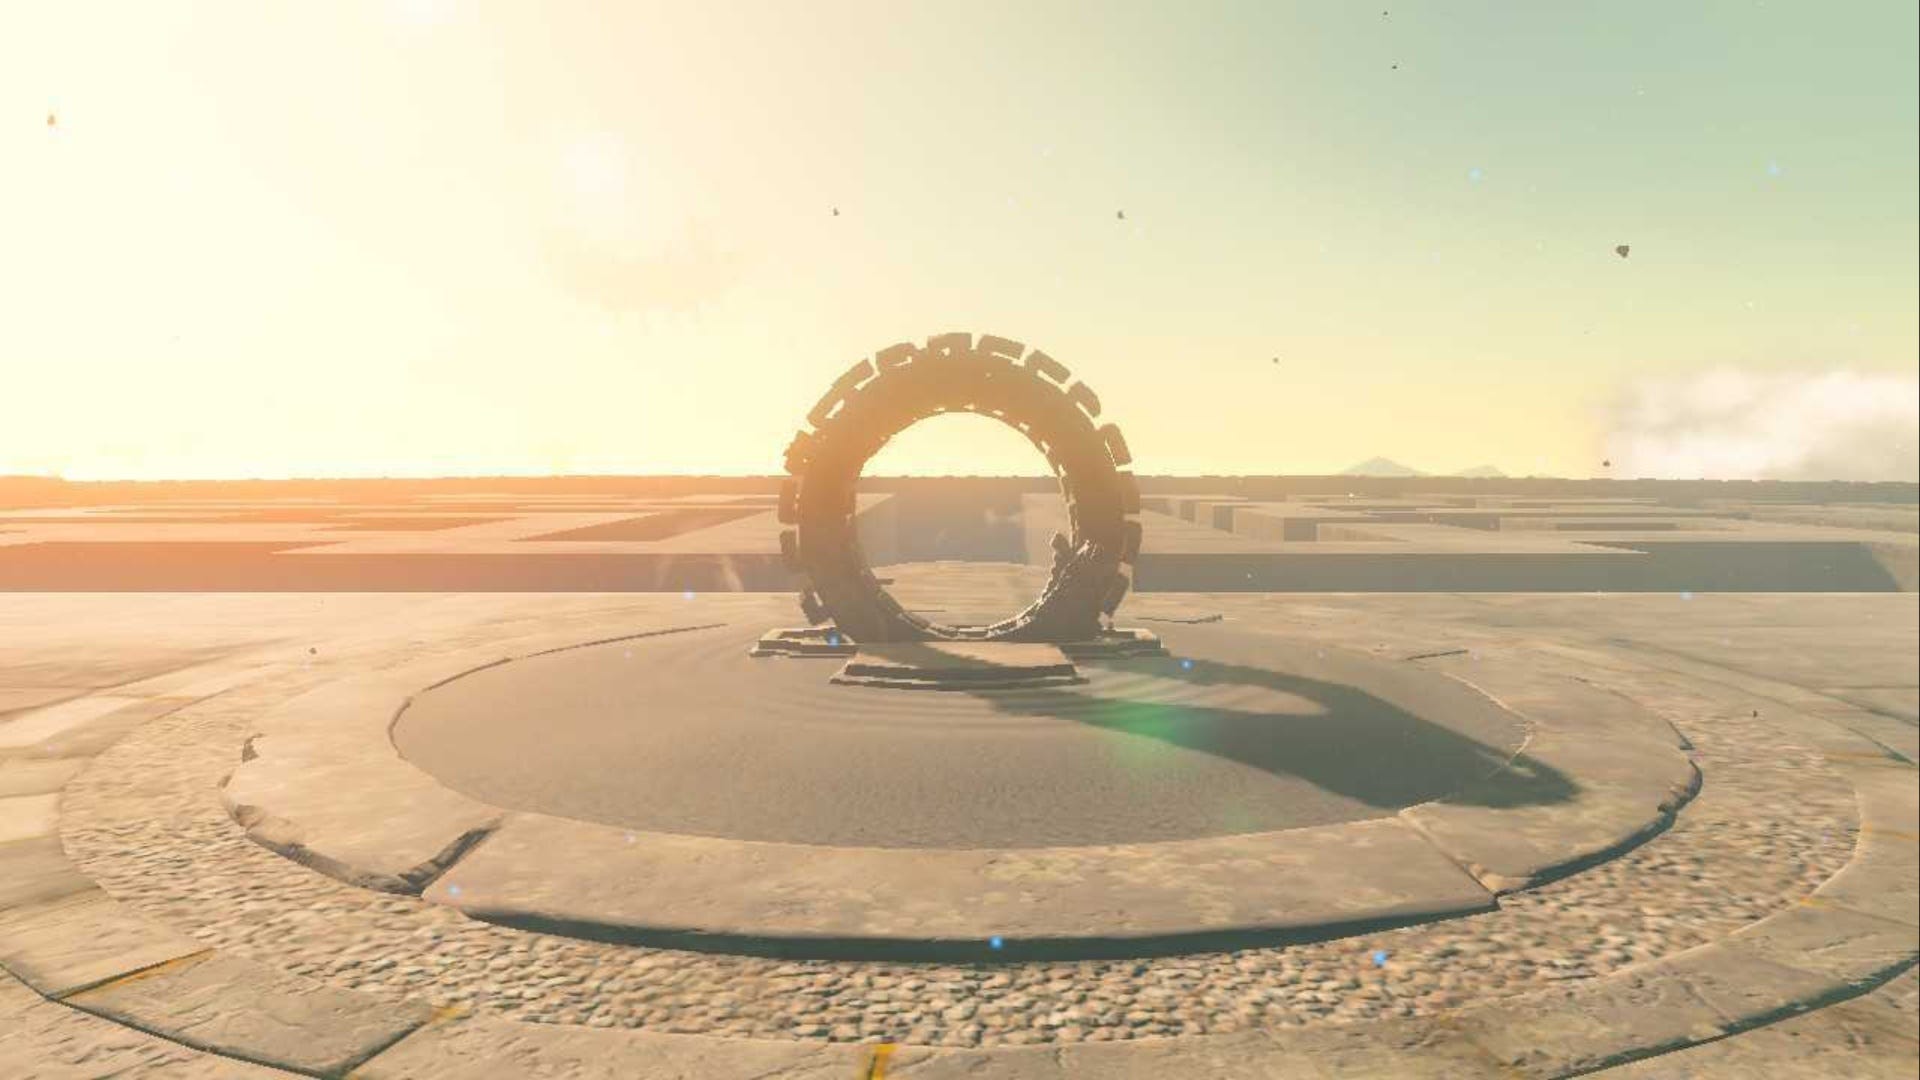
After you've interacted with all of the markers in the Labyrinth, a final Zonai Gate will appear at the very top of the Labyrinth. A strong updraft will now have also appeared in the Labyrinth, and all you need to do is jump then activate your Paraglider to ride it up out of the maze.
Then, once you're in the air, simply glide across to the Zonai Gate on the roof and interact with it to bring this part of the quest to a close.
Don't worry, you're almost at the end now, just one more place to explore - The Depths.
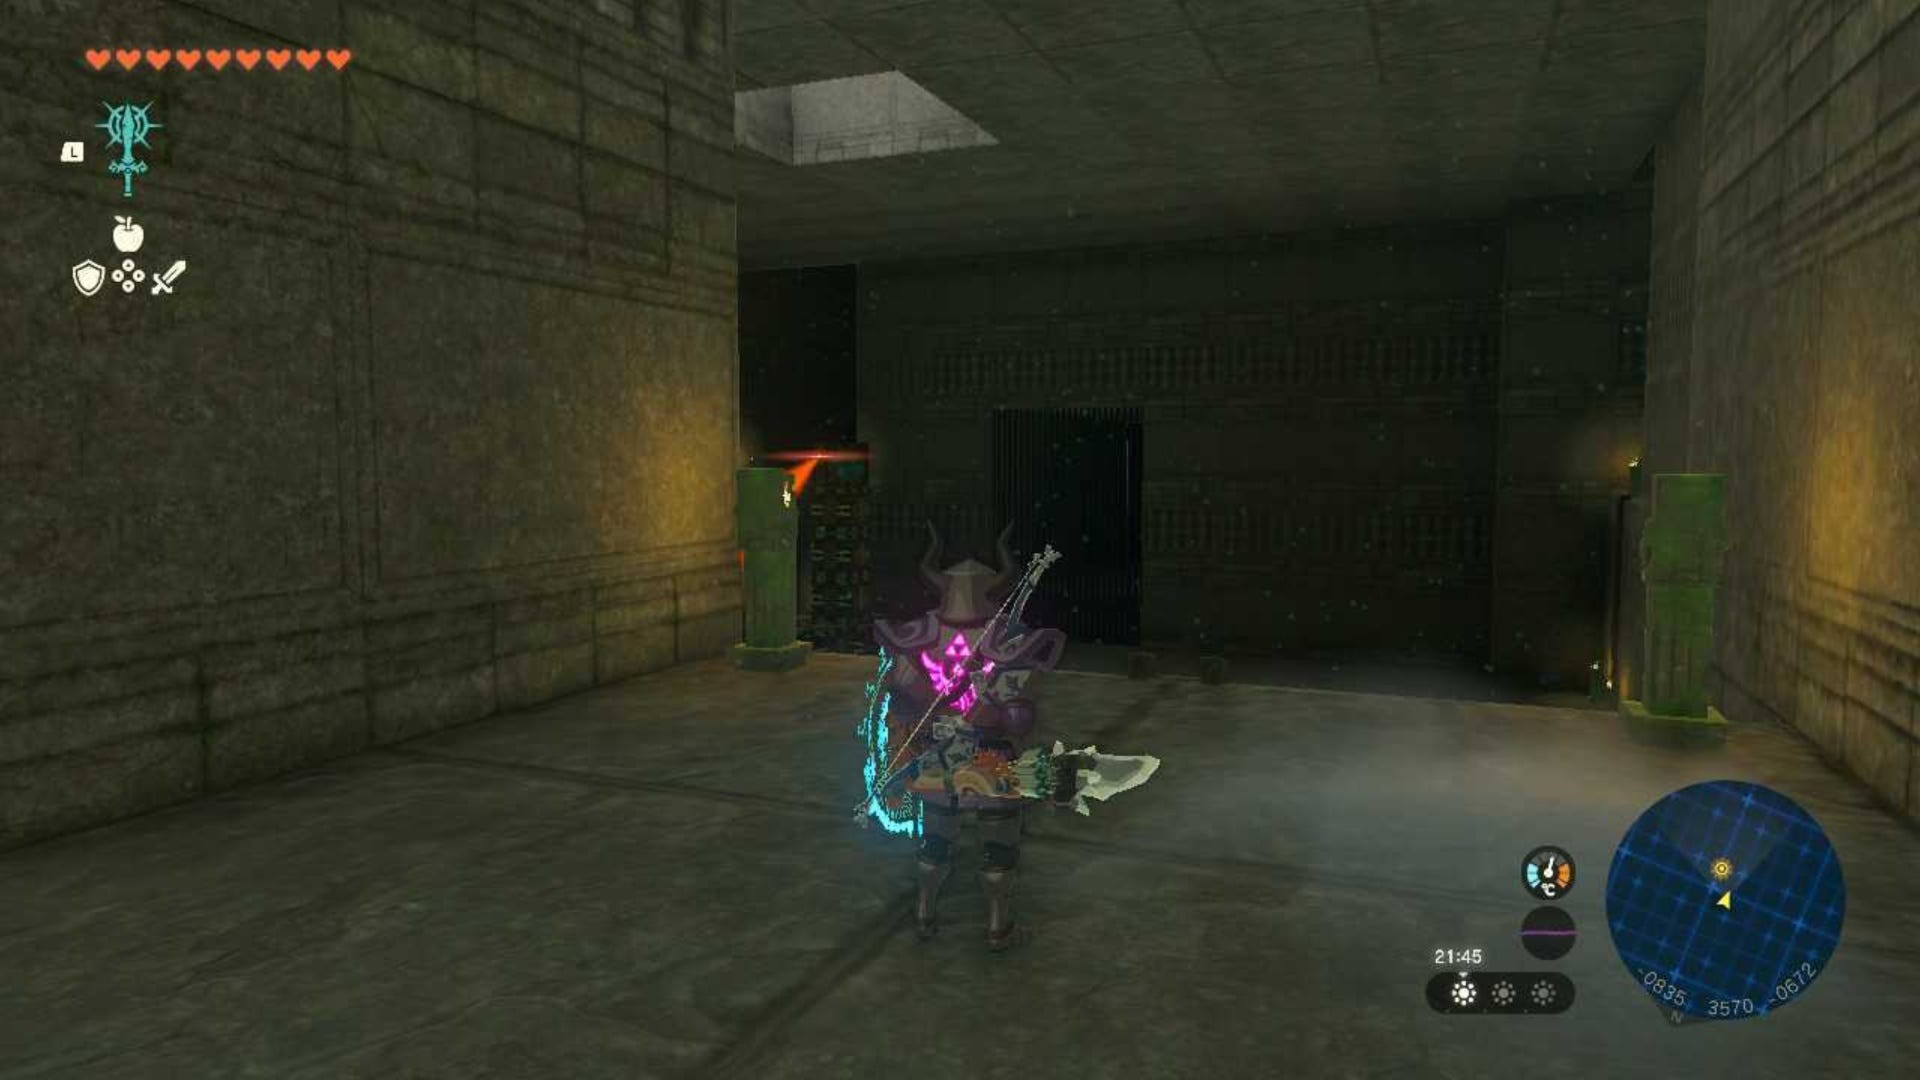
How to solve the North Lomei Depths Labyrinth in Zelda Tears of the Kingdom
To get to the North Lomei Depths Labyrinth, walk to the 'diving board' platform behind the Zonai Gate you have just activated on the roof of the Sky Labyrinth.
Dive off of this and down into the Depths. As you get closer to the bottom, don't forget to use a Brightbloom Seed to light the way so you Link doesn't faceplant into the ground.
Once you've landed, we recommend using one or a few more Brightbloom Seeds to light up the area around you. You should see a few different pathways and you can take whatever one you feel like taking as they all lead down to the same spot.
Once you've reached the end of your chosen path, you'll come face to face with a Flux Construct III. You need to defeat them.
Now, if you've fought one of these constructs before then you know how this goes. Use Ultrahand to grab the glowing cube on its body, yank the cube away and beat it to a pulp with your chosen weapon to gradually wear down the Construct's health until it's defeated.
We put on our Phantom Armor here to increase our attack power and we called in all of our Sage's for a little extra help. Also, when the Flux Construct III turns into its cube form, we like to use Rewind on it to make it easier to grab the glowing cube.
Once you've defeated it, grab all of the supplies that the Flux Construct III drops and then head to the Zonai Gate in the corner of the room at (-0839, 3553, -0682).

Once you've done this, you've completed The North Lomei Prophecy quest and you can collect your hard-earned reward!
That's it for this quest! If you want to take on more adventures in Hyrule, check out our The Beast and The Princess guide to chase a rumour about Zelda. Alternatively, if you want more armor, check out our guide on how to get the Yiga Armor as you never know when it will come in handy.