Zelda Tears of the Kingdom Tenbez Shrine solution
How to find and solve the Gravity and Velocity Shrine.


The Tenbez Shrine in Zelda: Tears of the Kingdom is all about learning how changing an area's gravity can be used to solve problems and obstacles that are currently blocking your path.
Unlike other Shrines in Zelda: Tears of the Kingdom, you will not need to rely on any of Link's abilities to complete this one. What you will need, however, is one melee weapon or a bow and some arrows to be able to trigger a few switches.
Without further ado, we're going to show you how to complete the Tenbez Shrine in Zelda: Tears of the Kingdom.
On this page:
If you'd like to learn more about Link's adventure, visit our Zelda: Tears of the Kingdom walkthrough.
Tenbez Shrine location in Zelda Tears of the Kingdom
The Tenbez Shrine in Zelda: Tears of the Kingdom can be found on the edge of the North Lomei Sky Labyrinth just east of East Hebra Sky Archipelago.
We've marked its exact location on the map below and the Tenbez Shrine coordinates are (-0969, 3534, 1011).
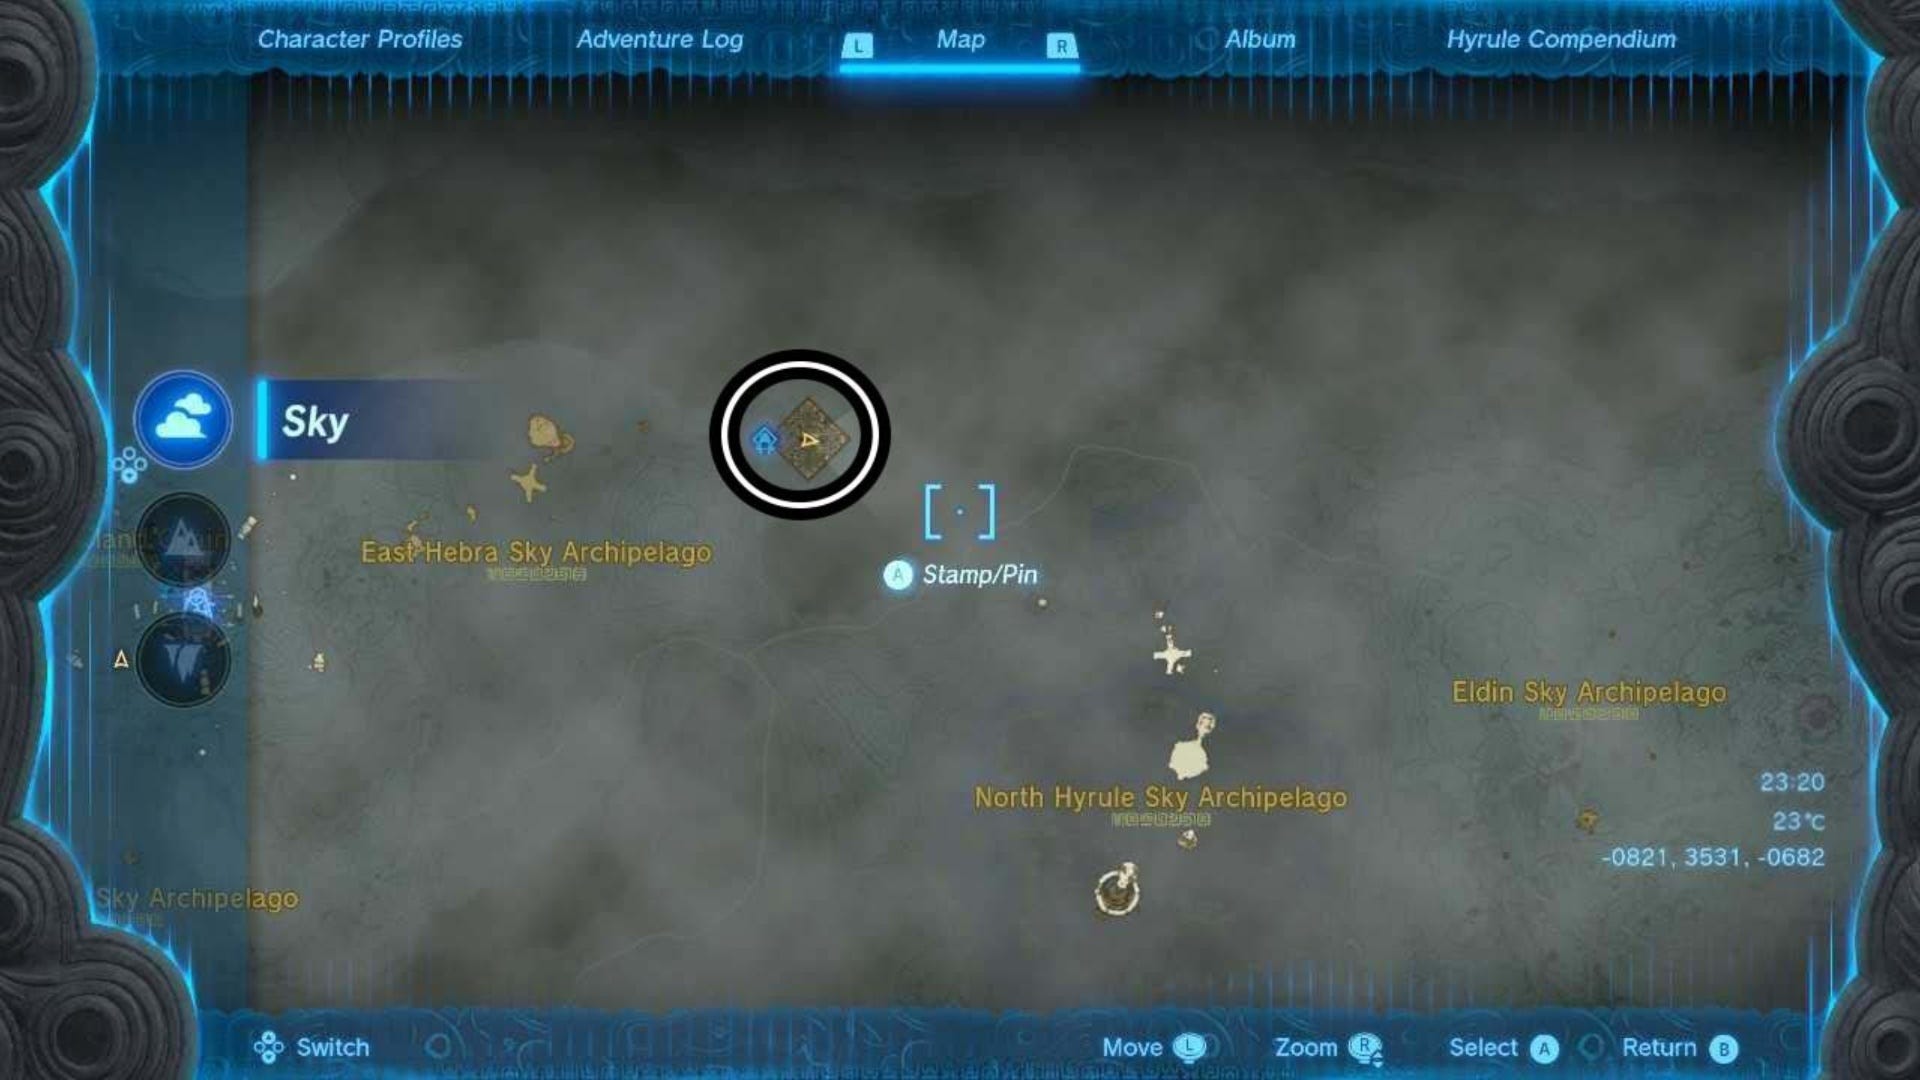
You will naturally come across this Shrine while you are trying to complete the North Lomei Prophecy side quest as you need to complete it to get into the Sky Labyrinth.
Tenbez Shrine puzzle solution in Zelda Tears of the Kingdom
When you enter the Tenbez Shrine, walk up the main stairs in front of you until you come to an area where a large Orb is being tossed between two launchers. In the middle of this room there is also a switch that will be yellow when you first enter.
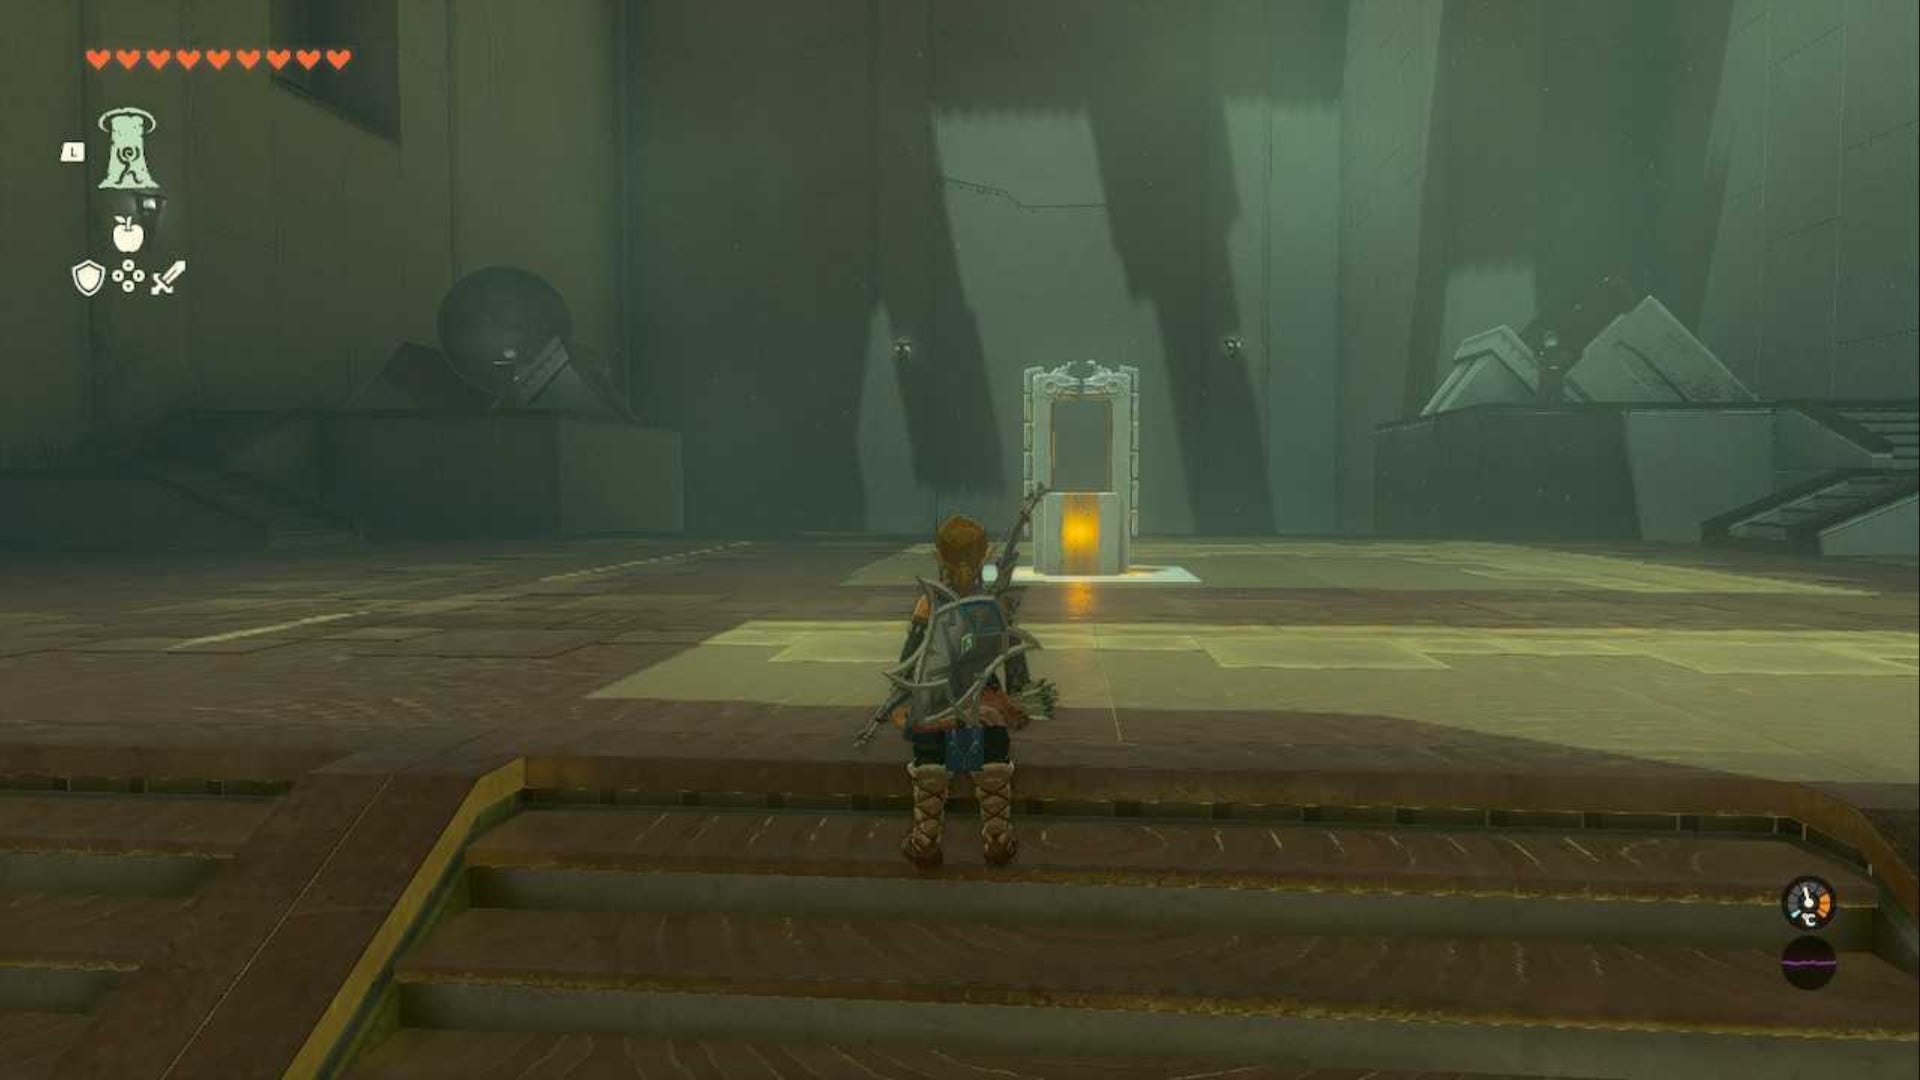
Face the switch and wait for the Orb to be on the launcher to the right of it. Then, quickly hit the switch to turn it green.
This will alter the gravity in the Shrine, and the launcher should now push the orb high enough so it hits a target on the opposite wall.
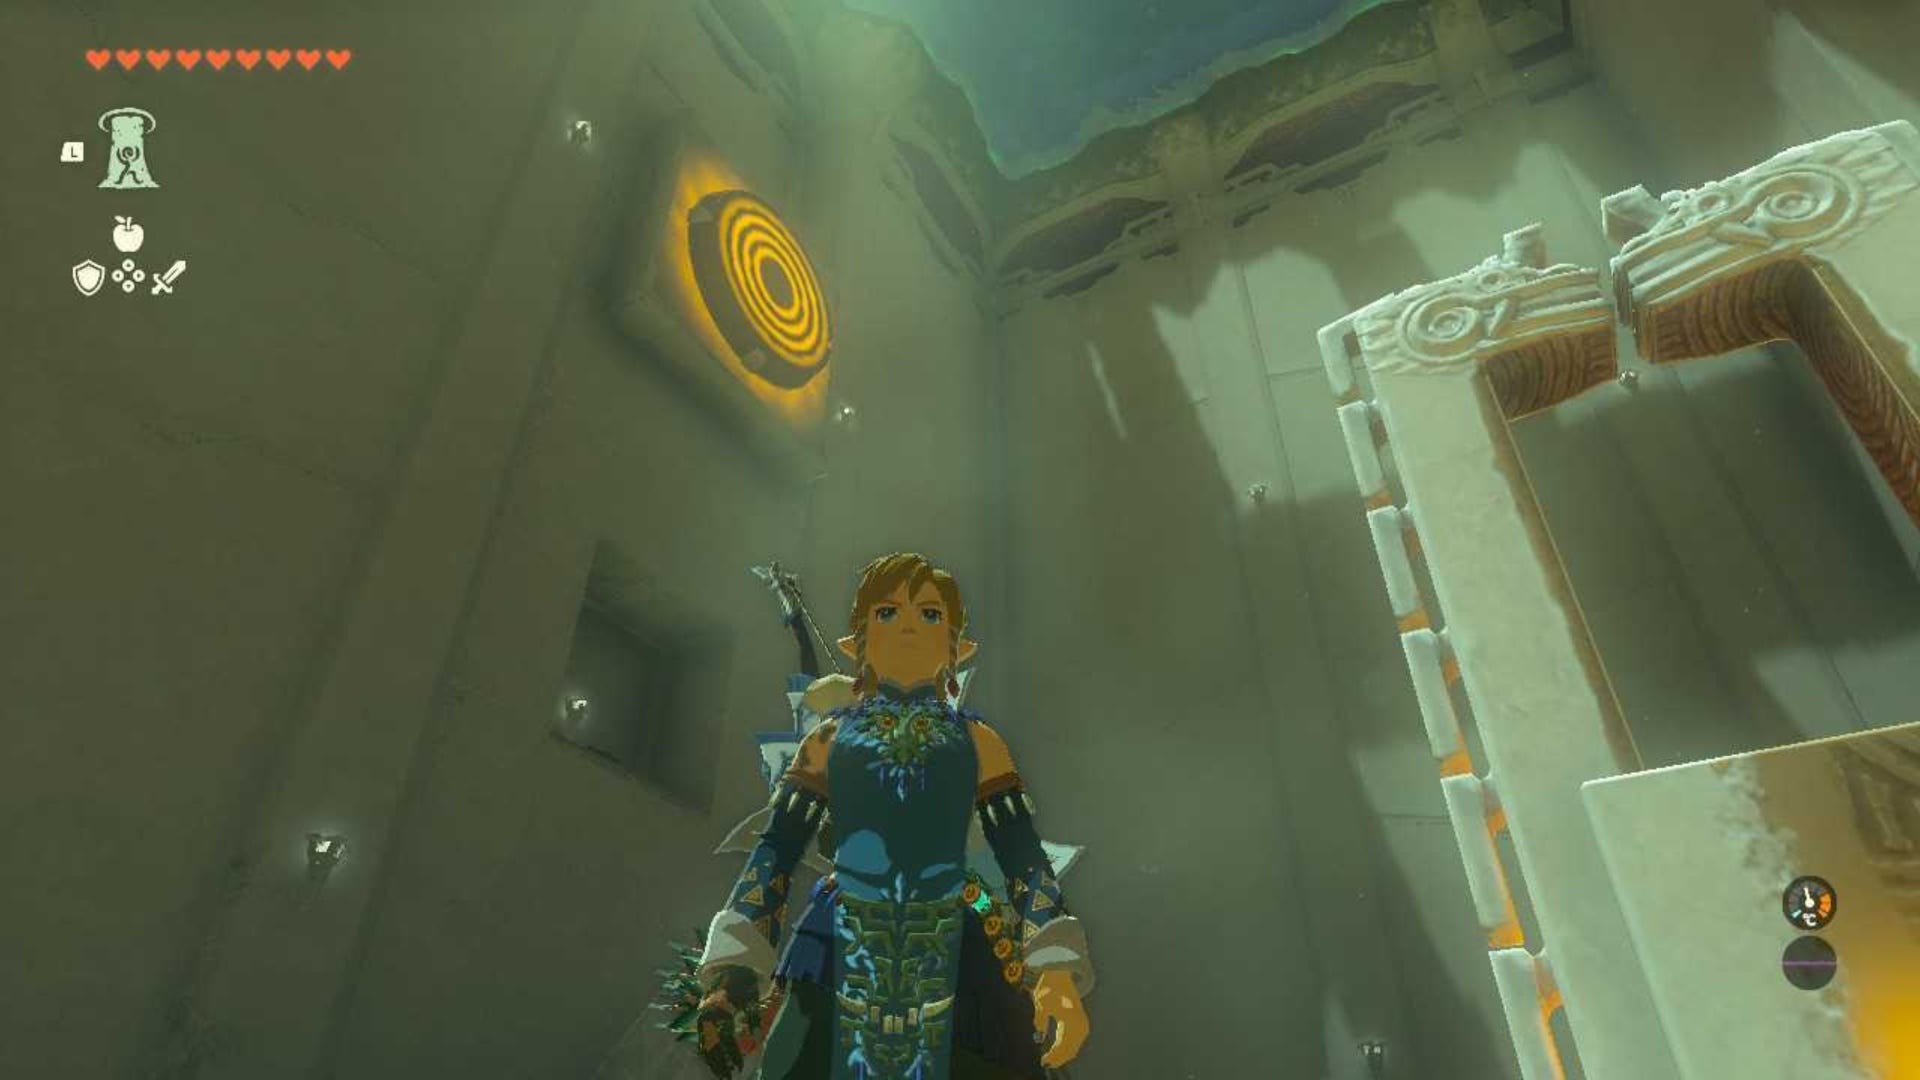
When the orb hits the target, the gateway to the next area will open, but you might want to grab the chest here first.
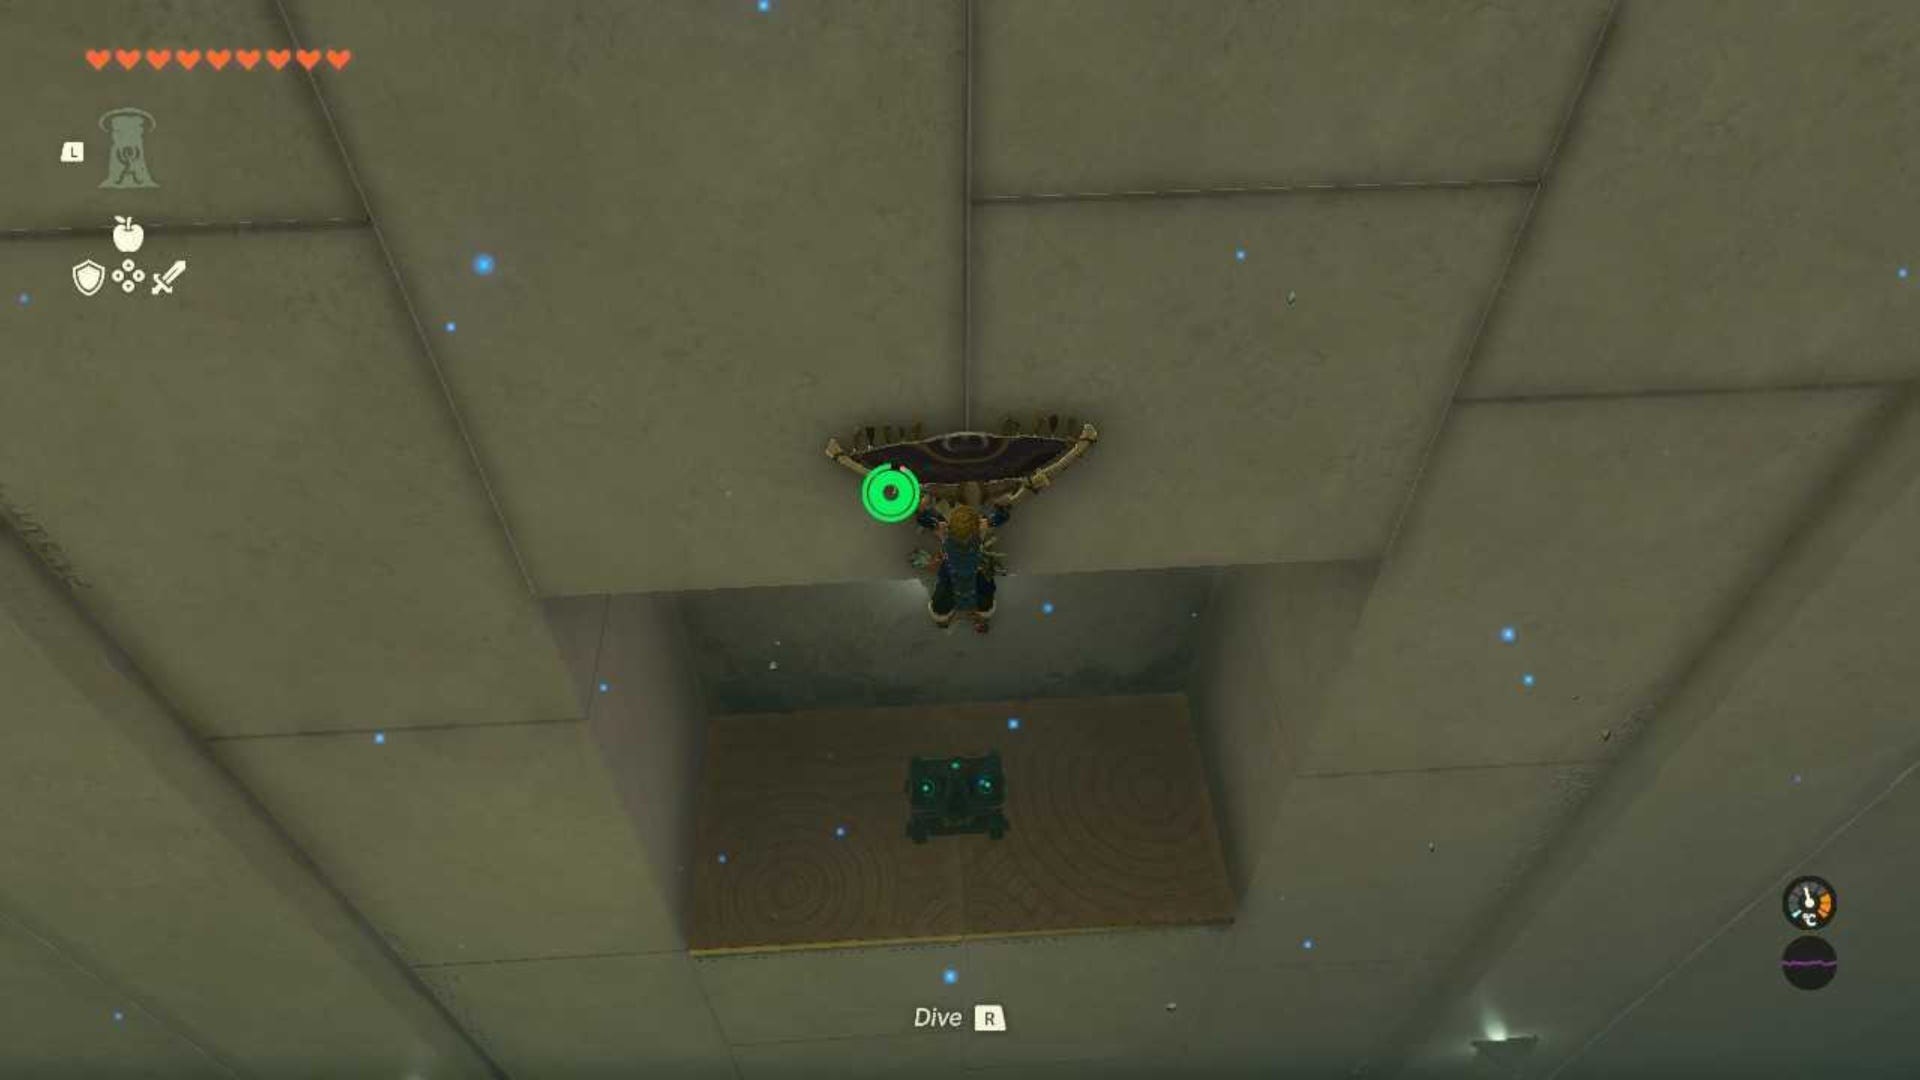
To get the chest, stand in front of the launcher that you used to push the Orb onto the switch and wait for it to launch Link into the air.
When it does, look directly opposite you and you should see the chest in a small platform in the wall. Simply glide over and collect the chest. The Tenbez Shrine chest contains a Large Zonaite Charge.
Then, face the switch in the room again so the launchers are either side of it. Place Link in front of the launcher on the left this time and this will launch him through the newly opened gate into the next room.
Now, this is the last part of the Shrine. Look around you in this room until you see another Switch. Walk up to it and then face the direction of the Light of Blessing behind the locked gate.
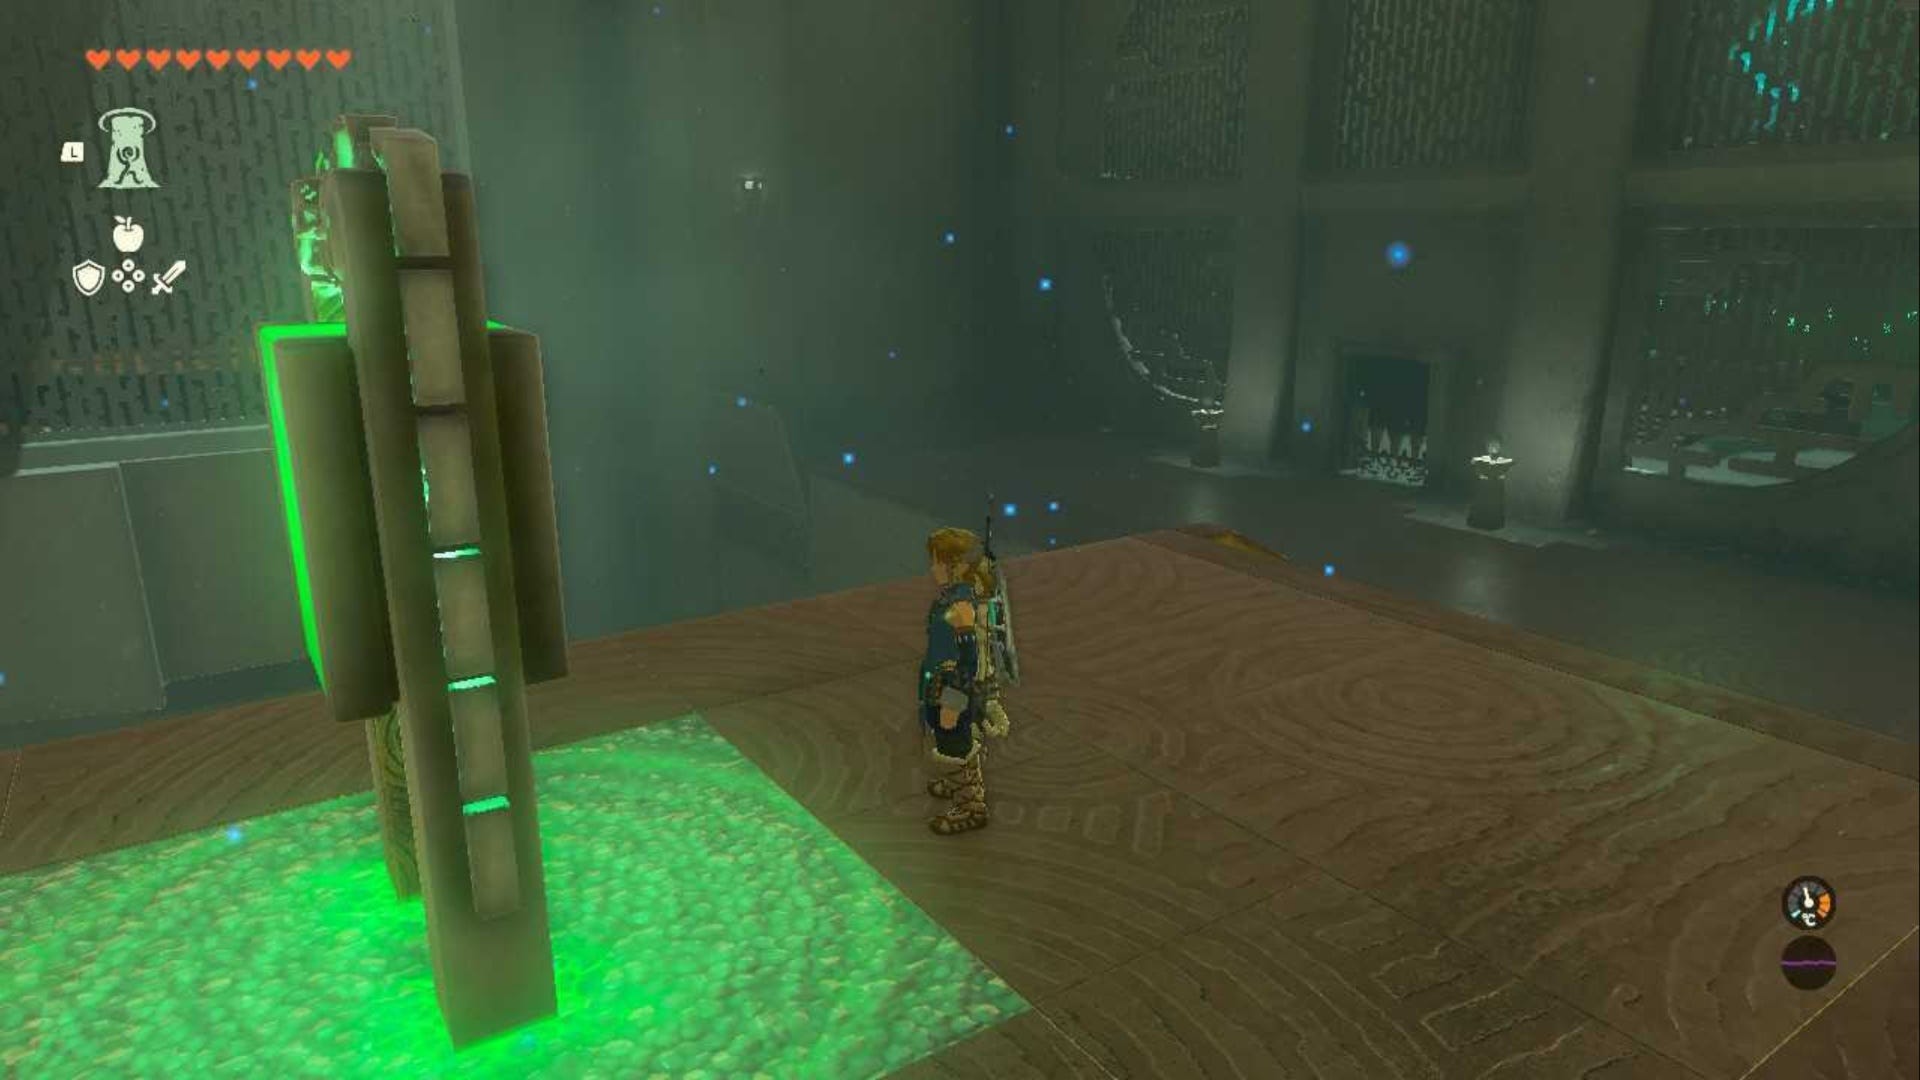
Wait, and you should see an Orb land against the far wall here.
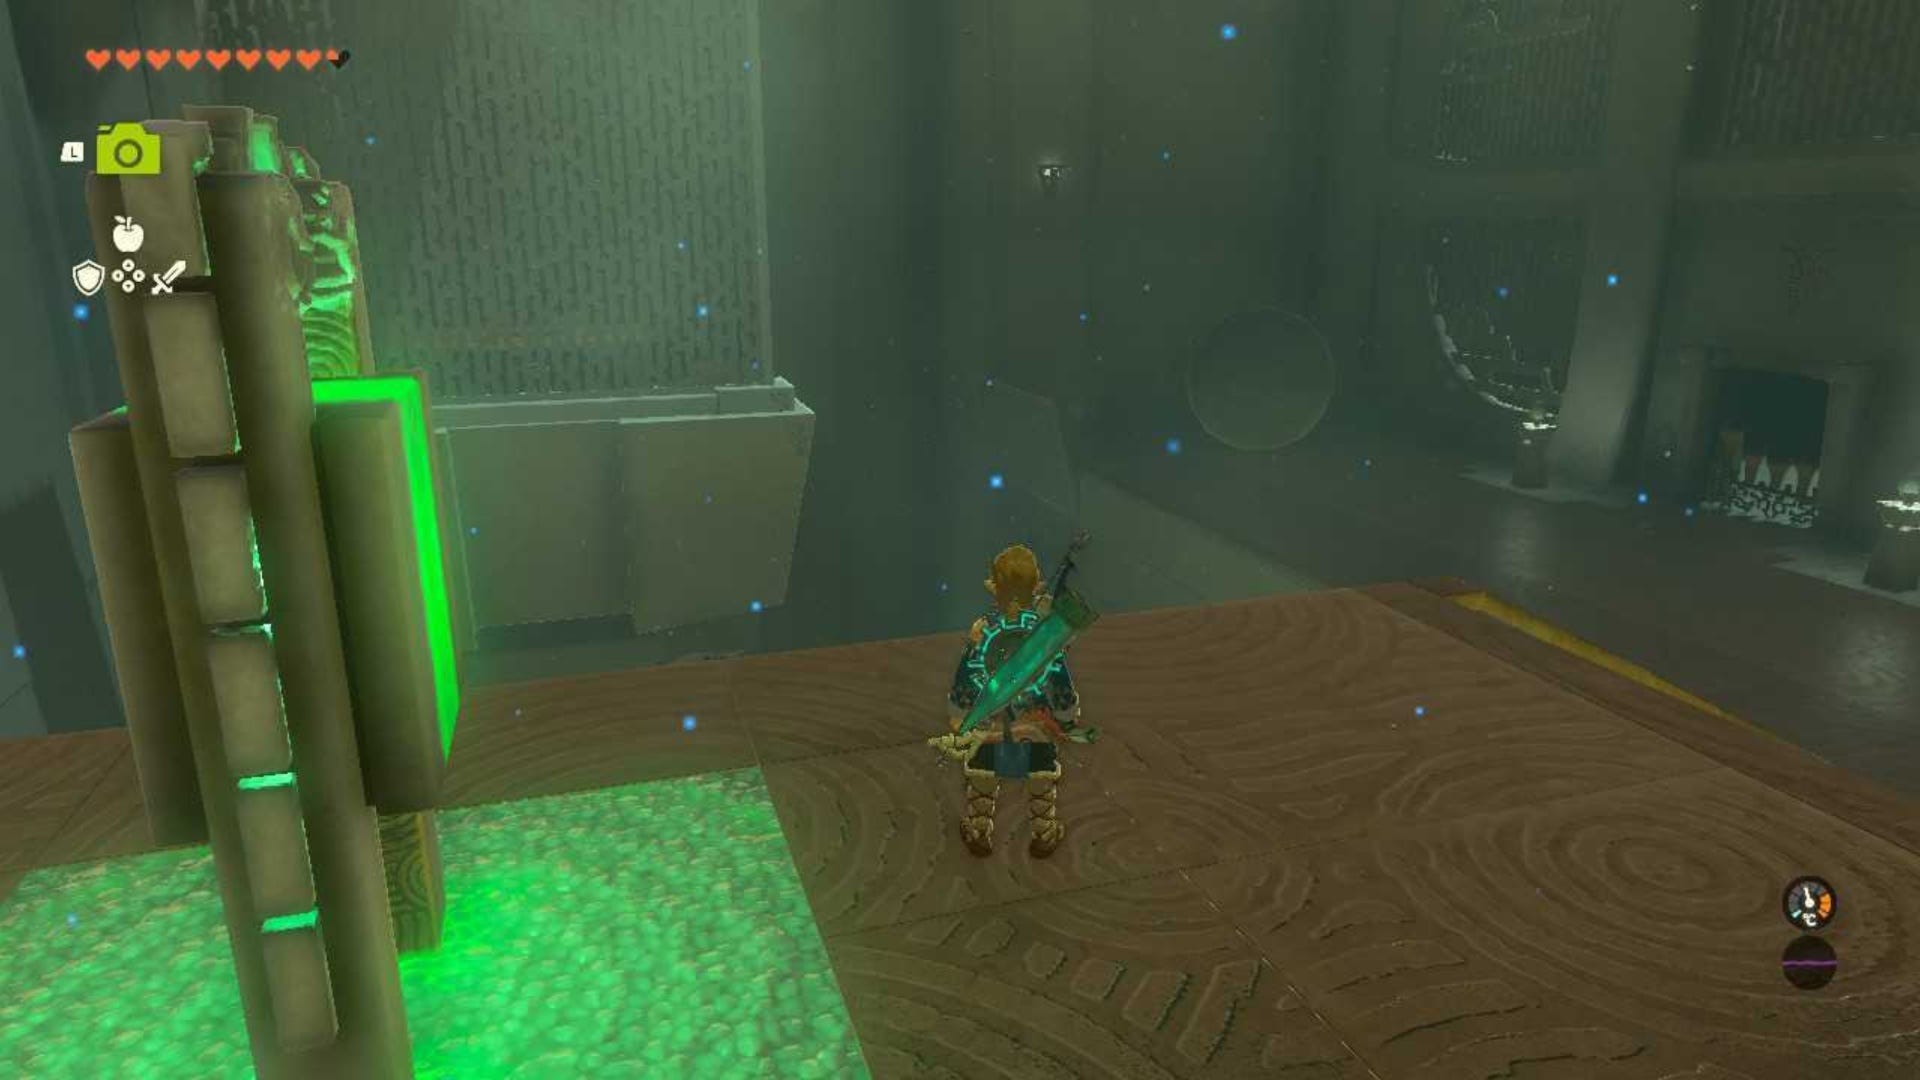
Wait for the Orb to be launched into the air towards the large cube in this area, and just as the Orb floats over the top of the cube, hit the switch to turn gravity back to normal.
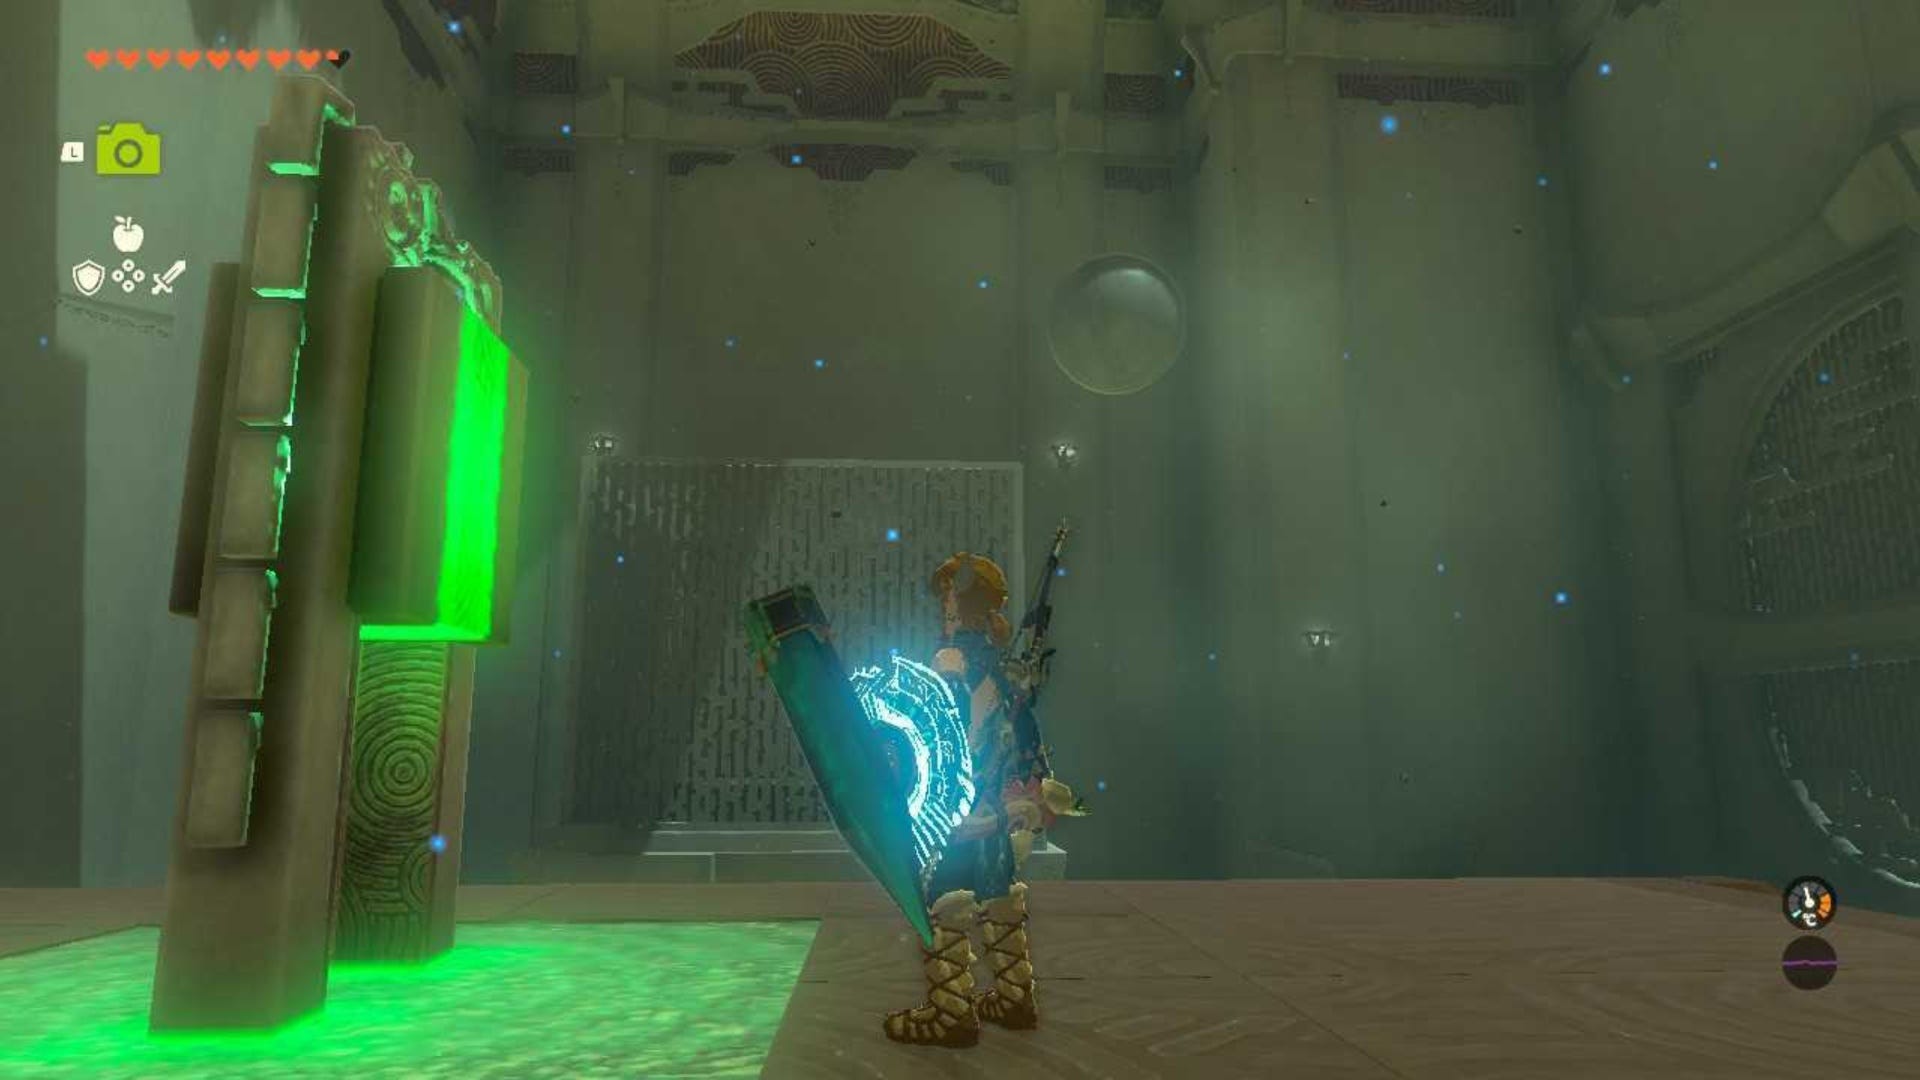
If timed right, you'll drop the Orb into the cube and into the switch which opens the gate to the Light of Blessing.
Collect your Light of Blessing and then you will be back at the beginning of the North Lomei Sky Labyrinth.
Well done on completing the Tenbez Shrine! If you want to try another one out, check out our Kyokugon Shrine solution guide. However, if you want a complete change of pace and outfit, take a look at our Phantom Armor set locations.