Wind Temple walkthrough for Zelda Tears of the Kingdom
How to activate all five locks, and how to get the B1 chest.
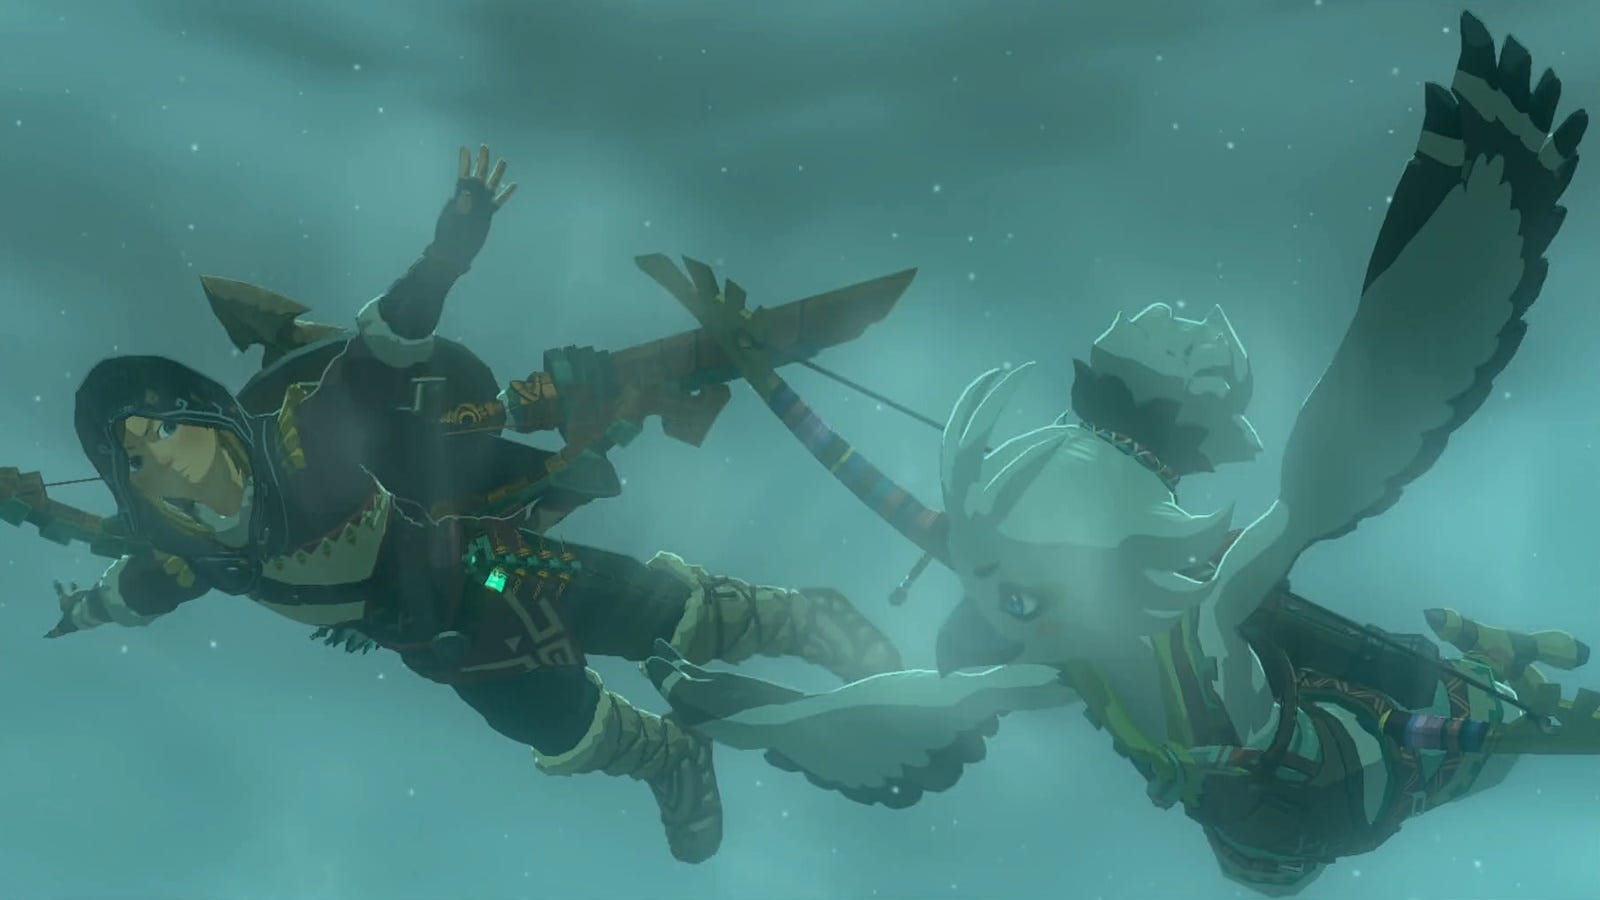

The Wind Temple in Zelda Tears of the Kingdom is high above the skies of Hebra Mountains and contains five Wind Locks to activate by solving puzzles and using Tulin's gust ability.
Once you find and activate all of the locks, you'll also have to beat the Wind Temple boss Colgera, and we have a separate Colgera boss strategy page if you need help with that.
Although not as big as previous temples in the Zelda series, the Wind Temple can be tricky to navigate due to all of the locked doors, and cannons firing at Link. We've got a full Wind Temple walkthrough for Zelda: Tears of the Kingdom below for you, which includes Wind Lock locations and solutions, and how to get the chest on B1.
On this page:
If you'd like to learn more about Link's adventure, visit our Zelda: Tears of the Kingdom walkthrough.
Zelda Tears of the Kingdom Wind Lock locations and solutions
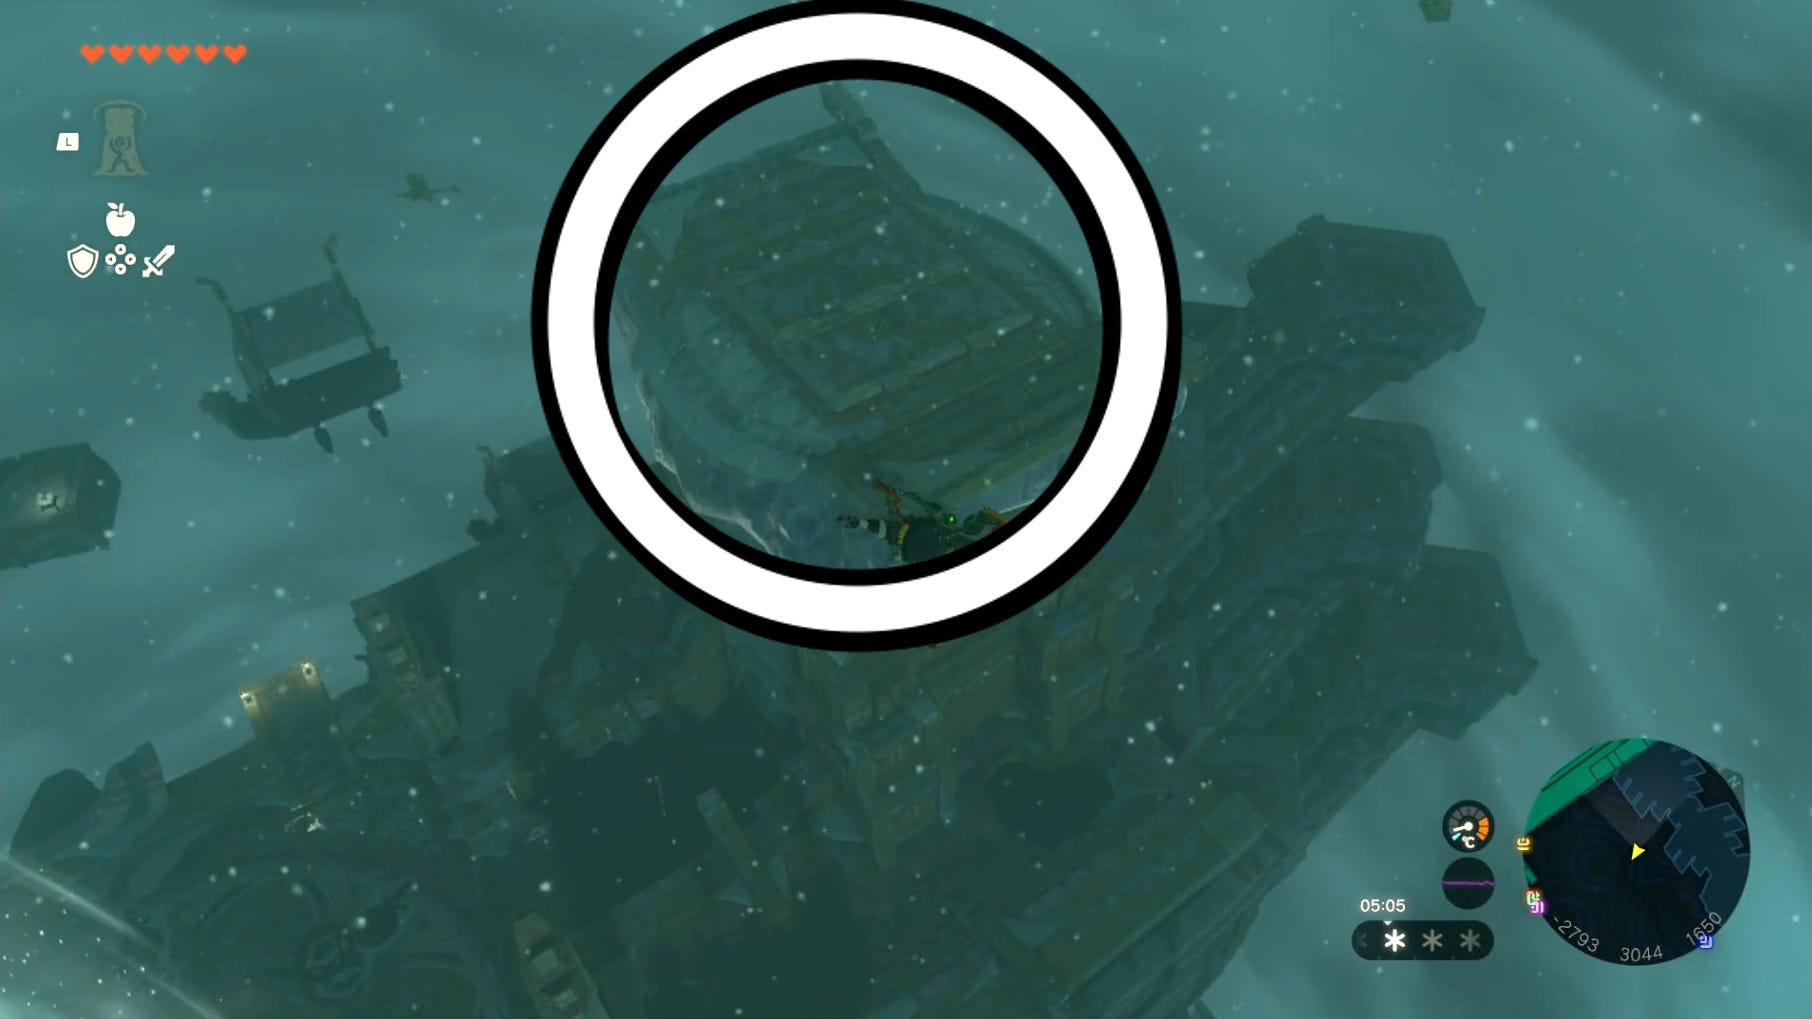
The first thing you should do after reaching the Wind Temple is examine the green circle in the middle, near Tulin and the massive wind current. This will mark five Wind Lock locations on your temple map across its three floors, and allows you to start solving the puzzles.
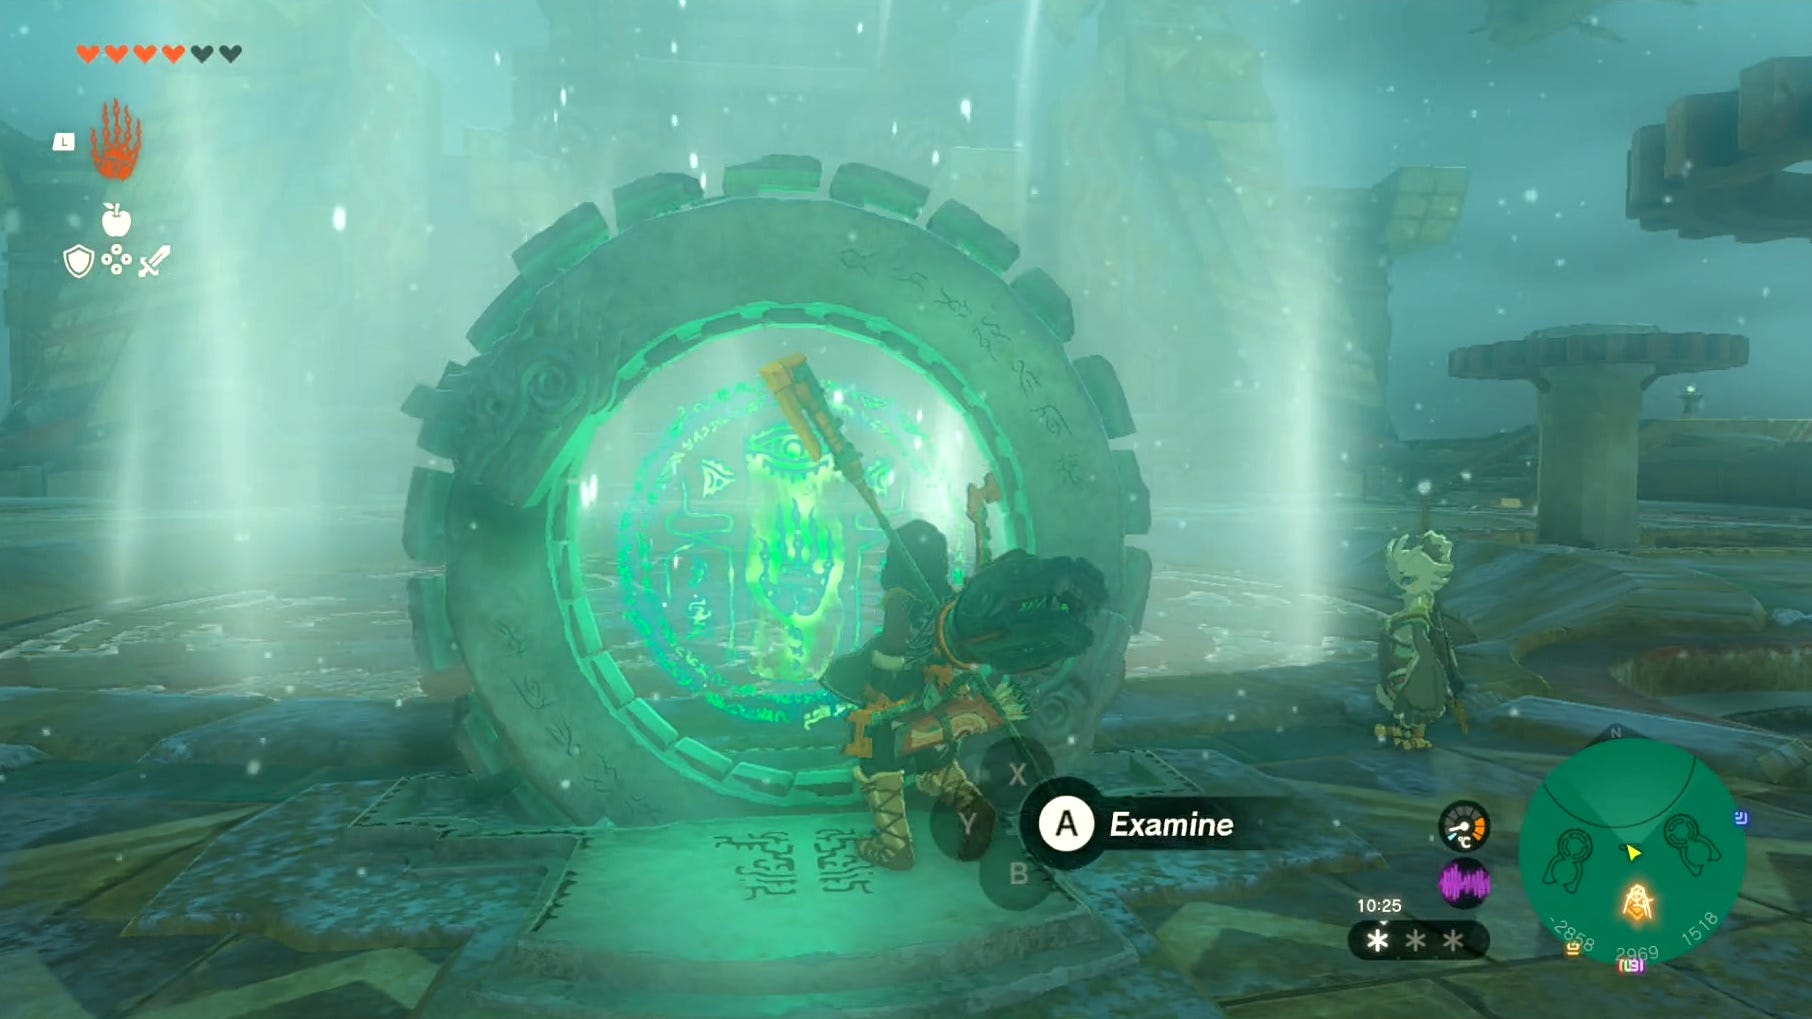
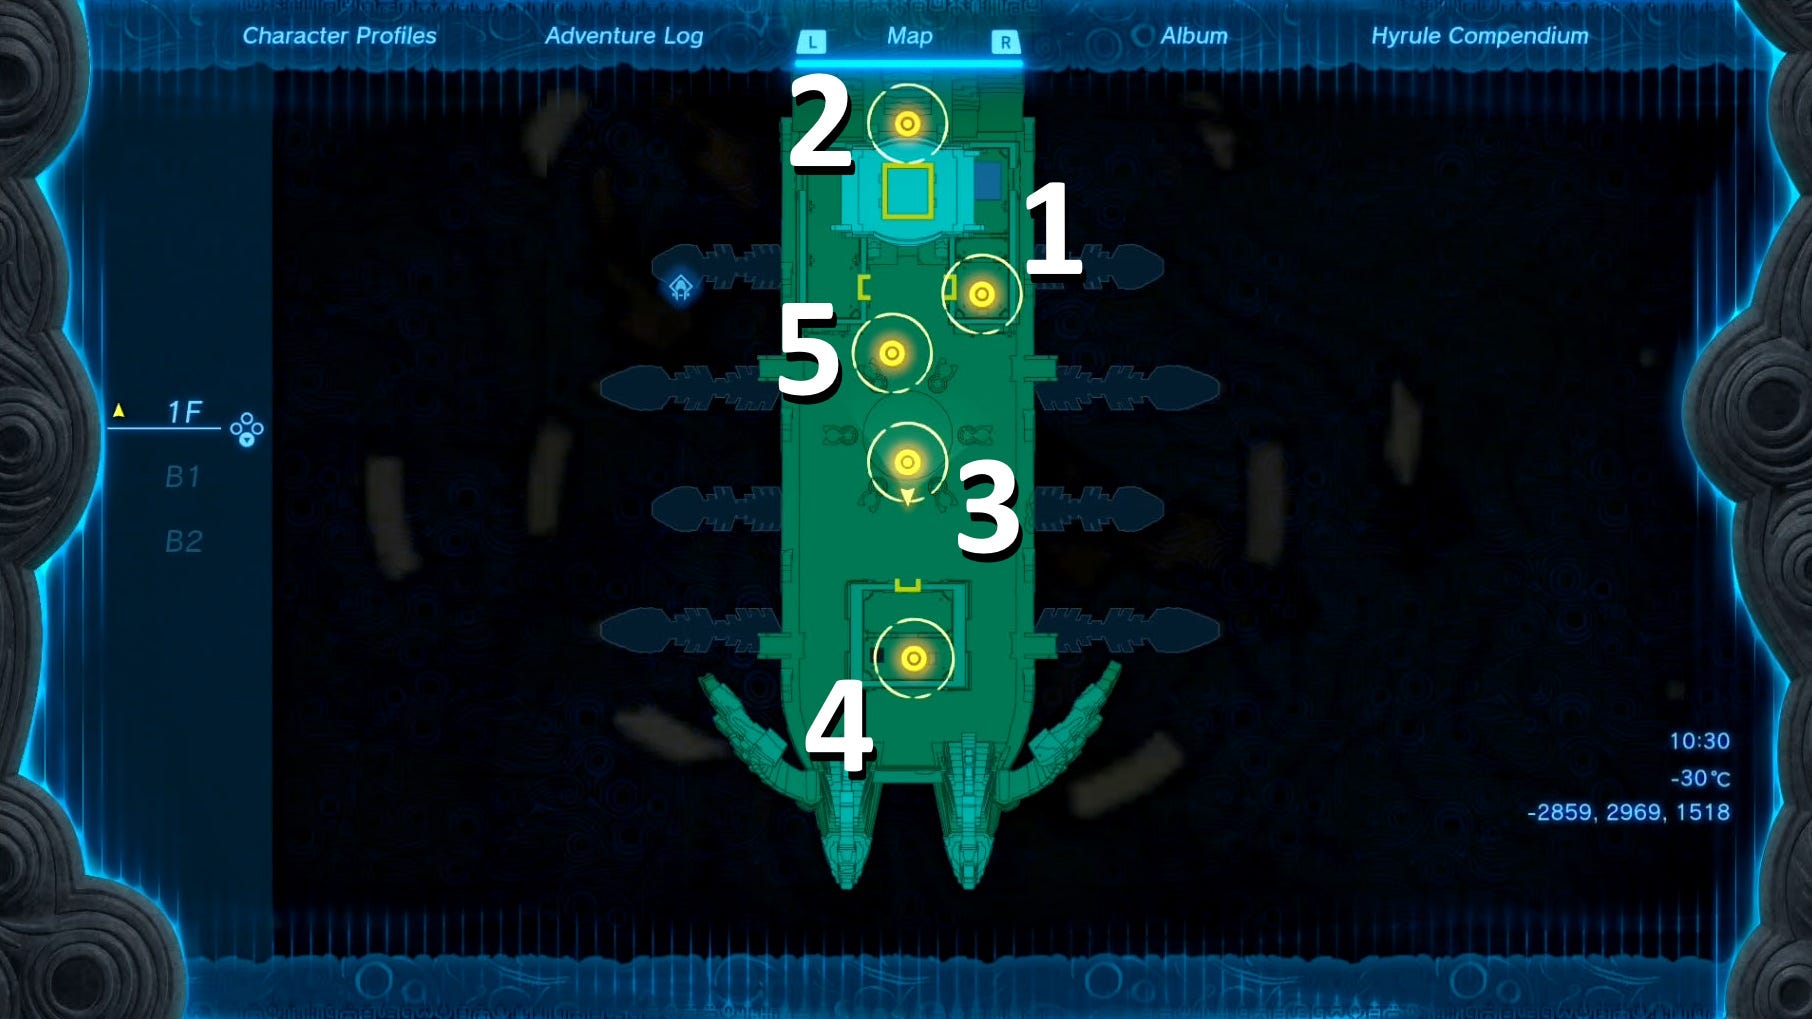
There are five Wind Locks to find and activate, and most of their locations are tricky to isolate because of all the locked doors. To help you along the way, here's every Wind Lock location and solution in TOTK:
Wind Lock location and solution 1
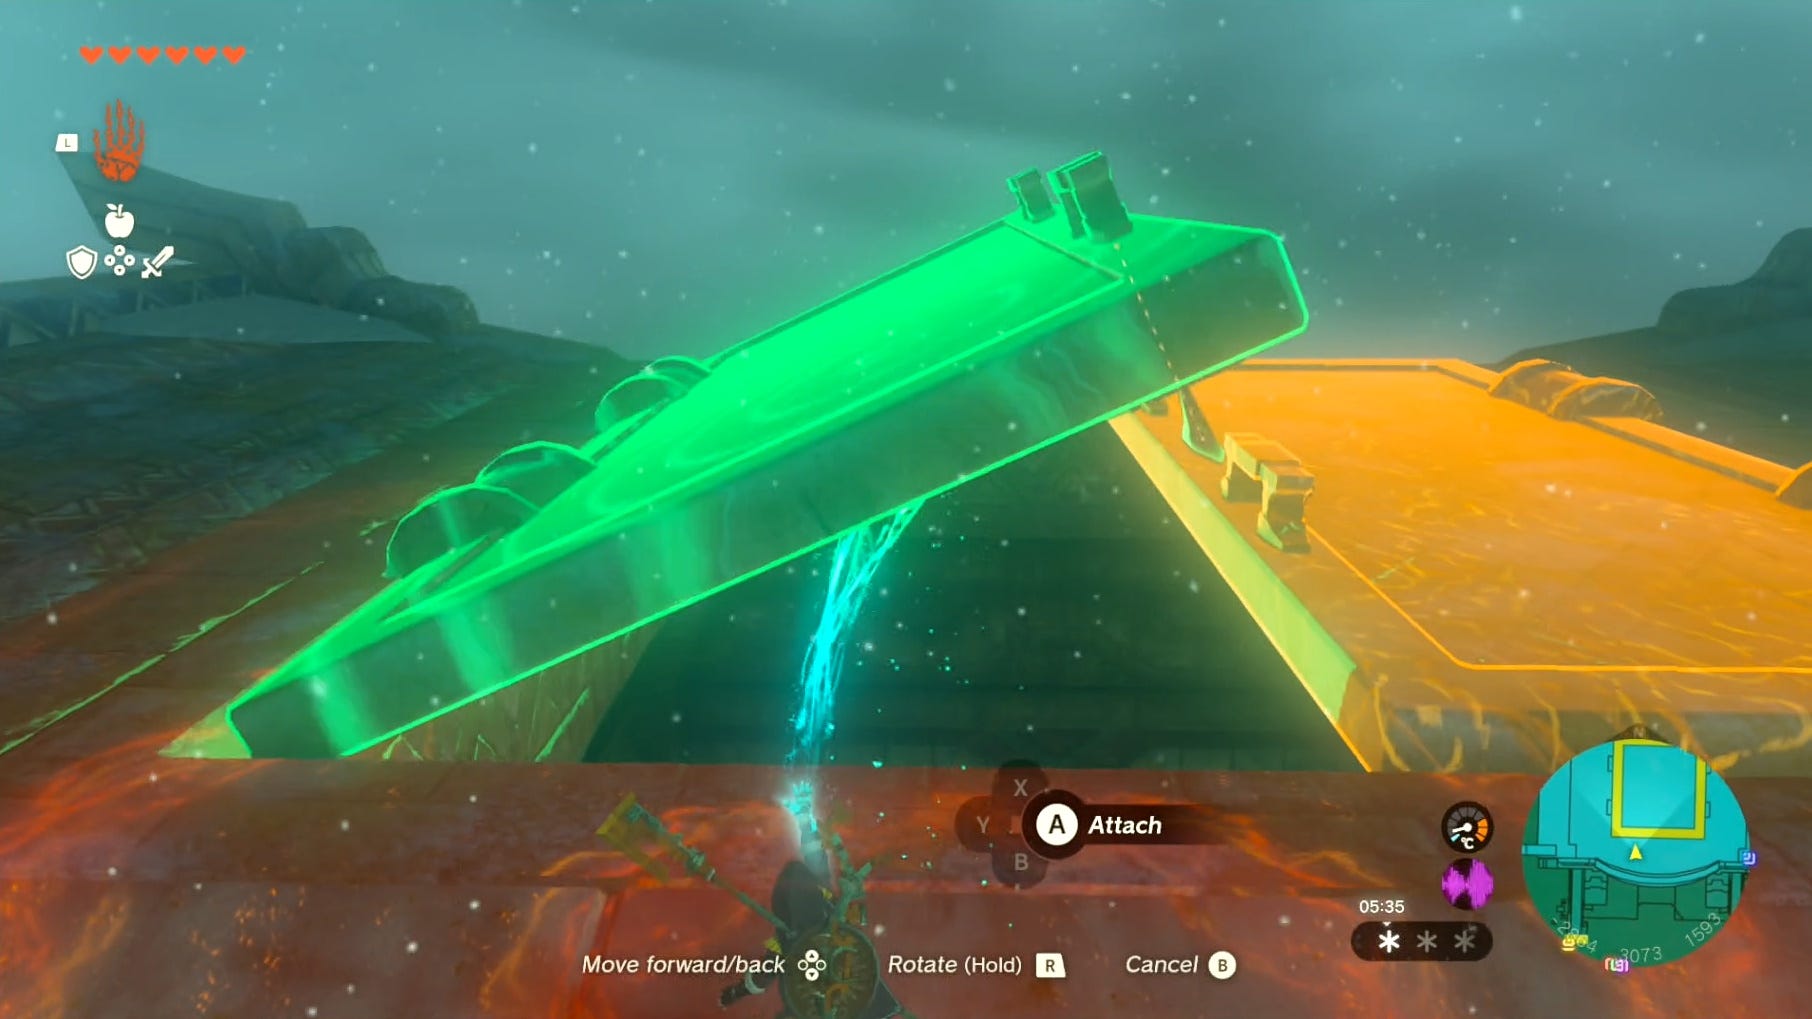
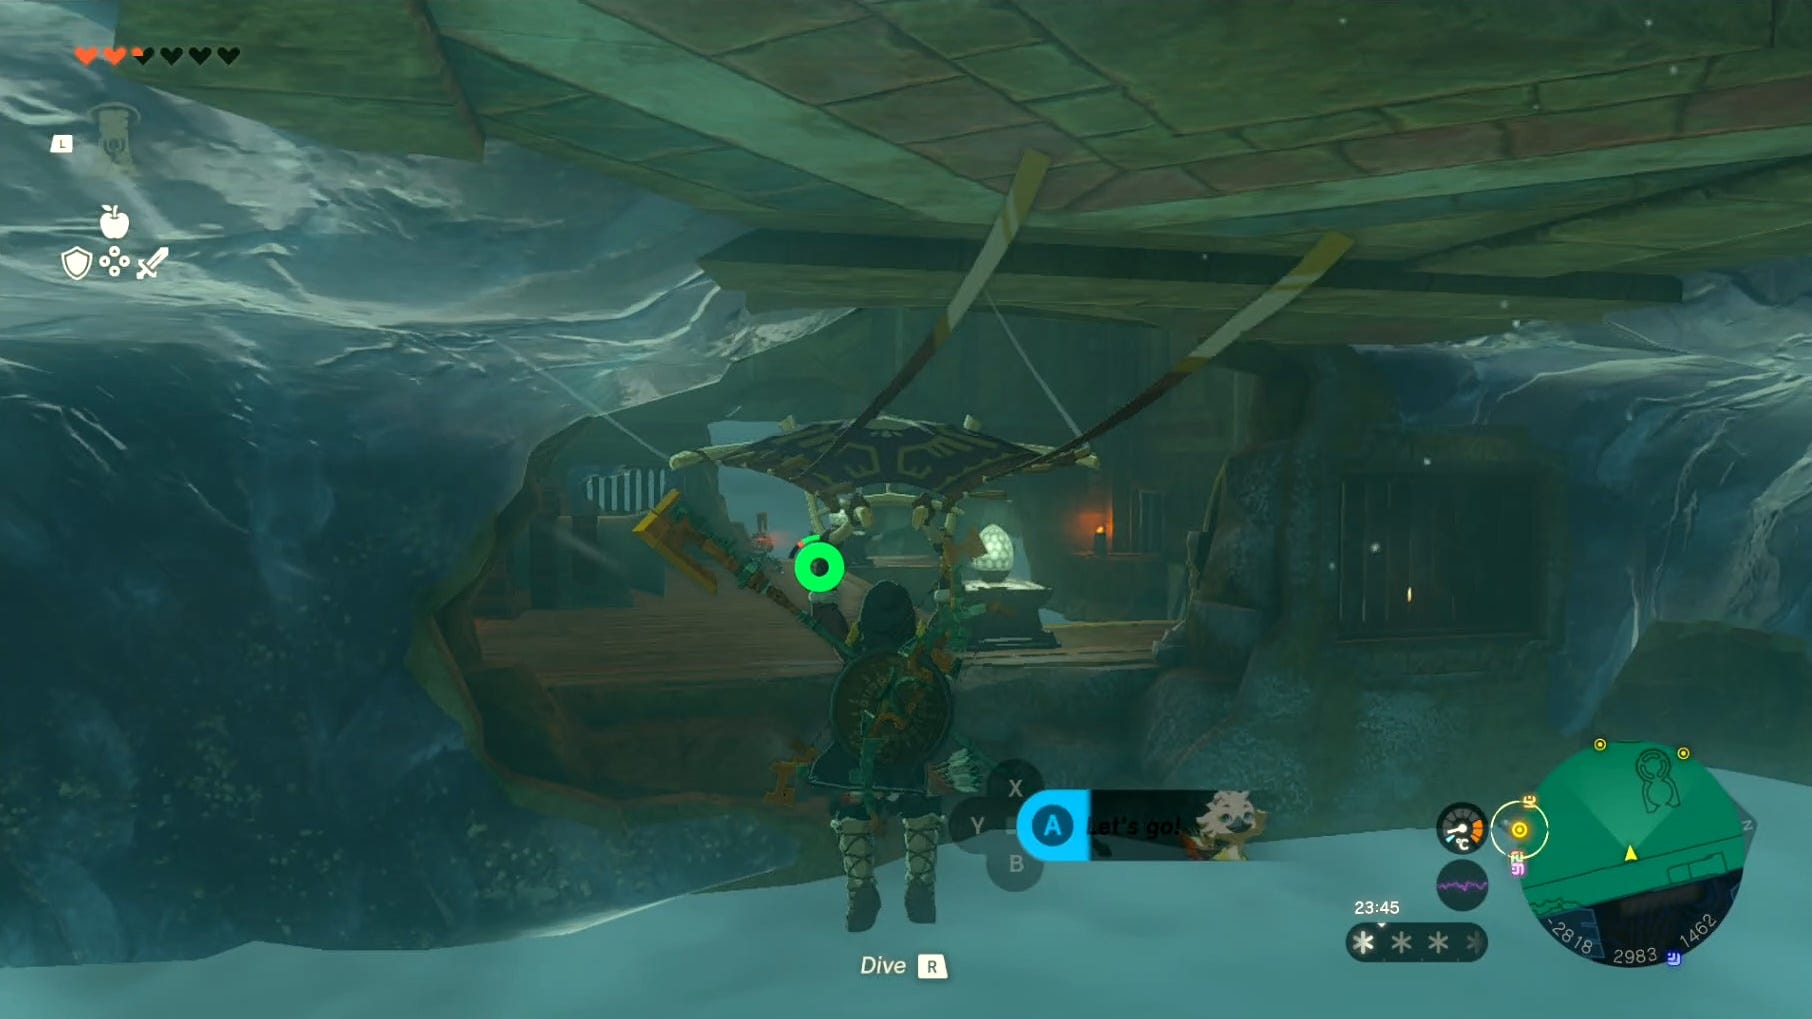
The first Wind Lock at the Wind Temple is on the same floor you start on, 1F, behind the locked door on the northeastern side.
To access the lock within, you need to pull the lever outside the door, but there currently is no lever. So, to open the door, you have to attach one of the nearby icicles to the broken lever, then use Ultrahand to move it.

If for some reason you can't find any icicles, you can also drop one of your weapons and Fuse it to the broken lever, then take your weapon back when you're done.
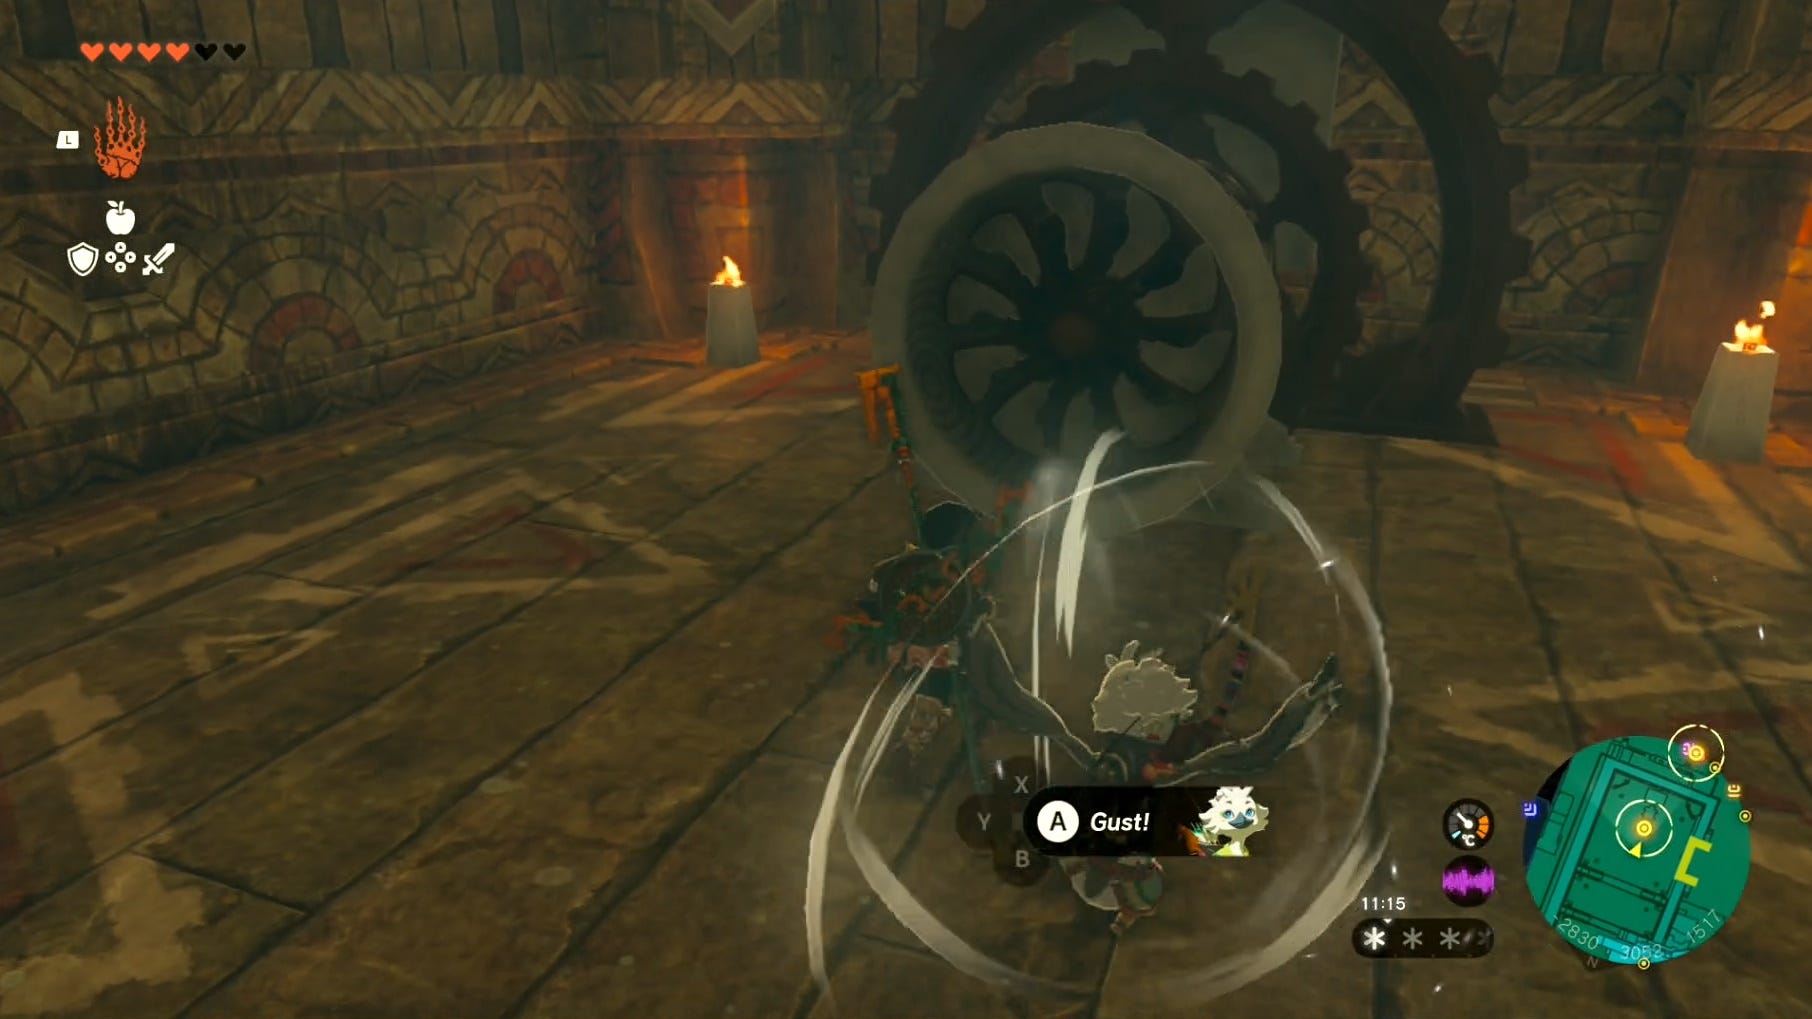
Now that you have access to the first Wind Lock, get Tulin to use his gust ability on it, which unlocks the first big cog in the middle of the temple.
It's not required, but before moving on to the next lock location, you can pull the lever opposite this room, in the northwestern side of 1F to open up a hallway containing an Opal at the end.

Additionally, if you want a Zonaite Shield before moving on, you can:
- Use Ascend in the room with the first Wind Lock
- Walk on the ice above to break it and fall below
- Use a fire source on the ice chunk to access the lever
- Use Ultrahand to pull the lever and access the chest
Wind Lock location and solution 2
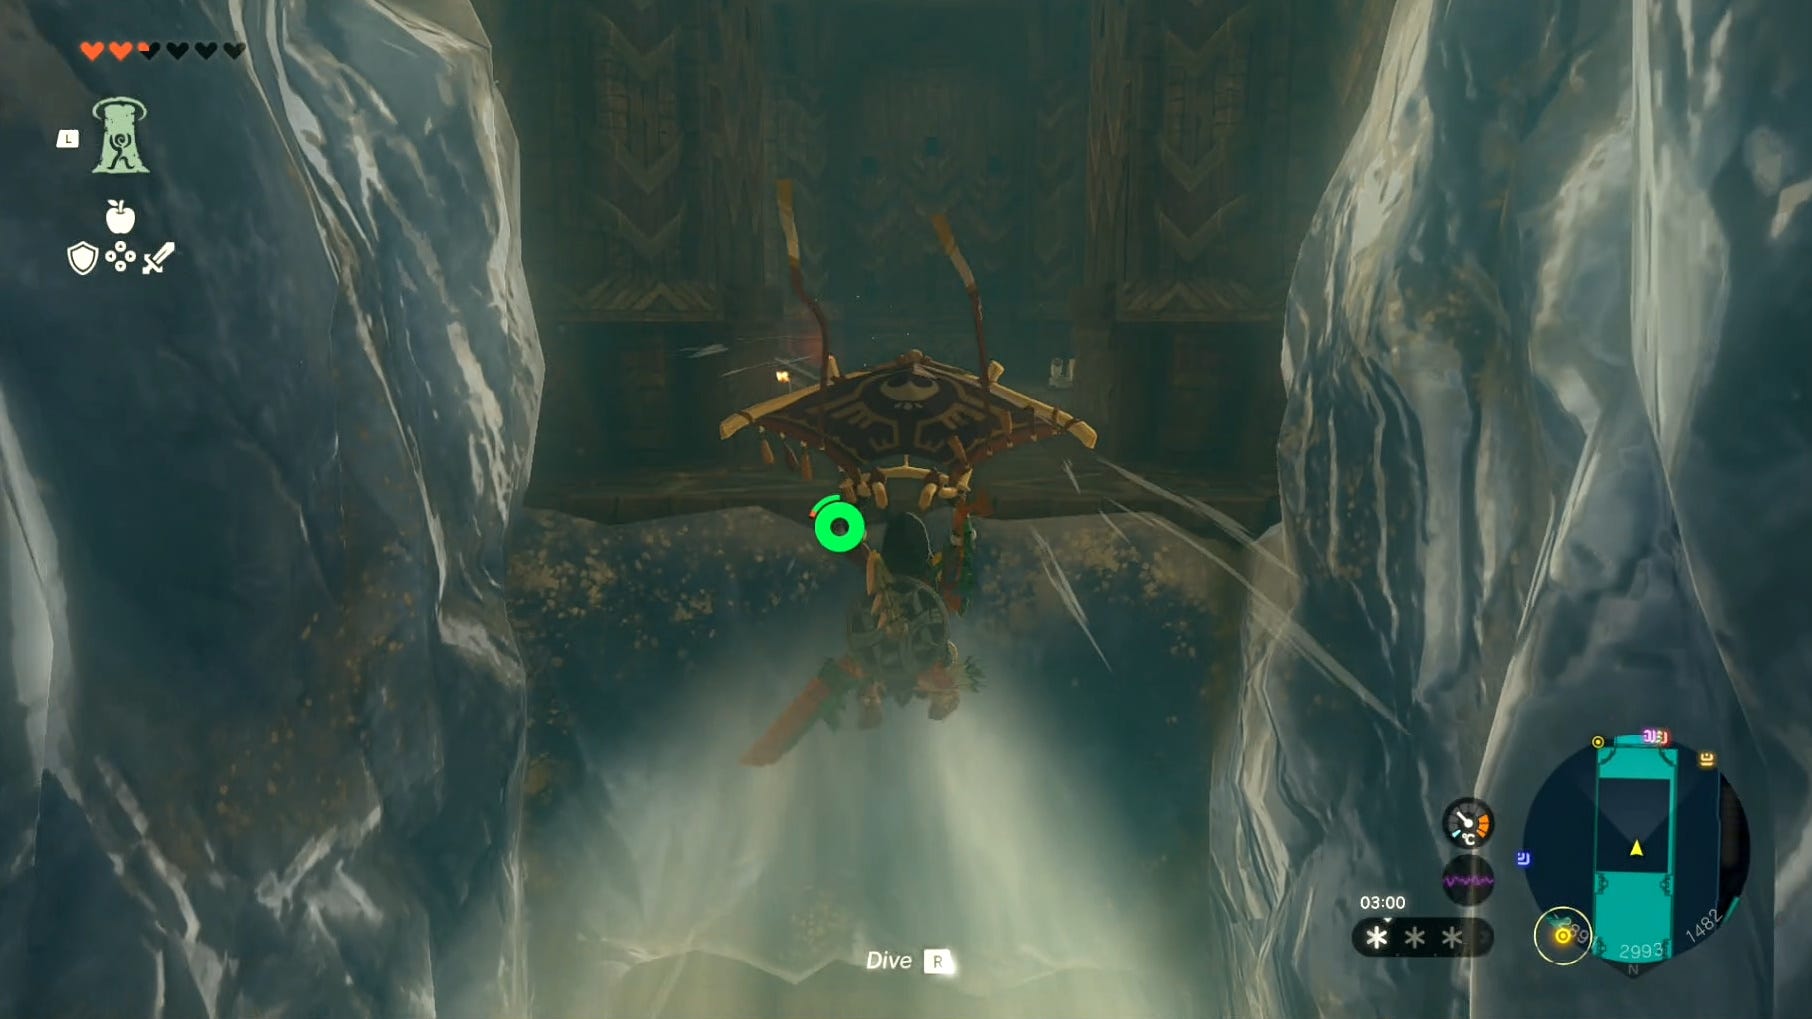
Go back to the huge wind current in the middle of the Wind Temple 1F then jump and glide into the current, facing north, and make your way over to the roof of the northern area.
There might be an enemy flying about here, but you can easily kill it by attaching a Keese eyeball to your arrow, as your arrow will then automatically target nearby enemies. Once you're safe, use Ultrahand on the huge doors in the middle of the roof to gain access to the lasers below. We recommend opening both doors to make your exit safer.
Jump down to the laser area and make your way further down to B1 of the Wind Temple. Sticking to the southern side helped us avoid the lasers on the way down.
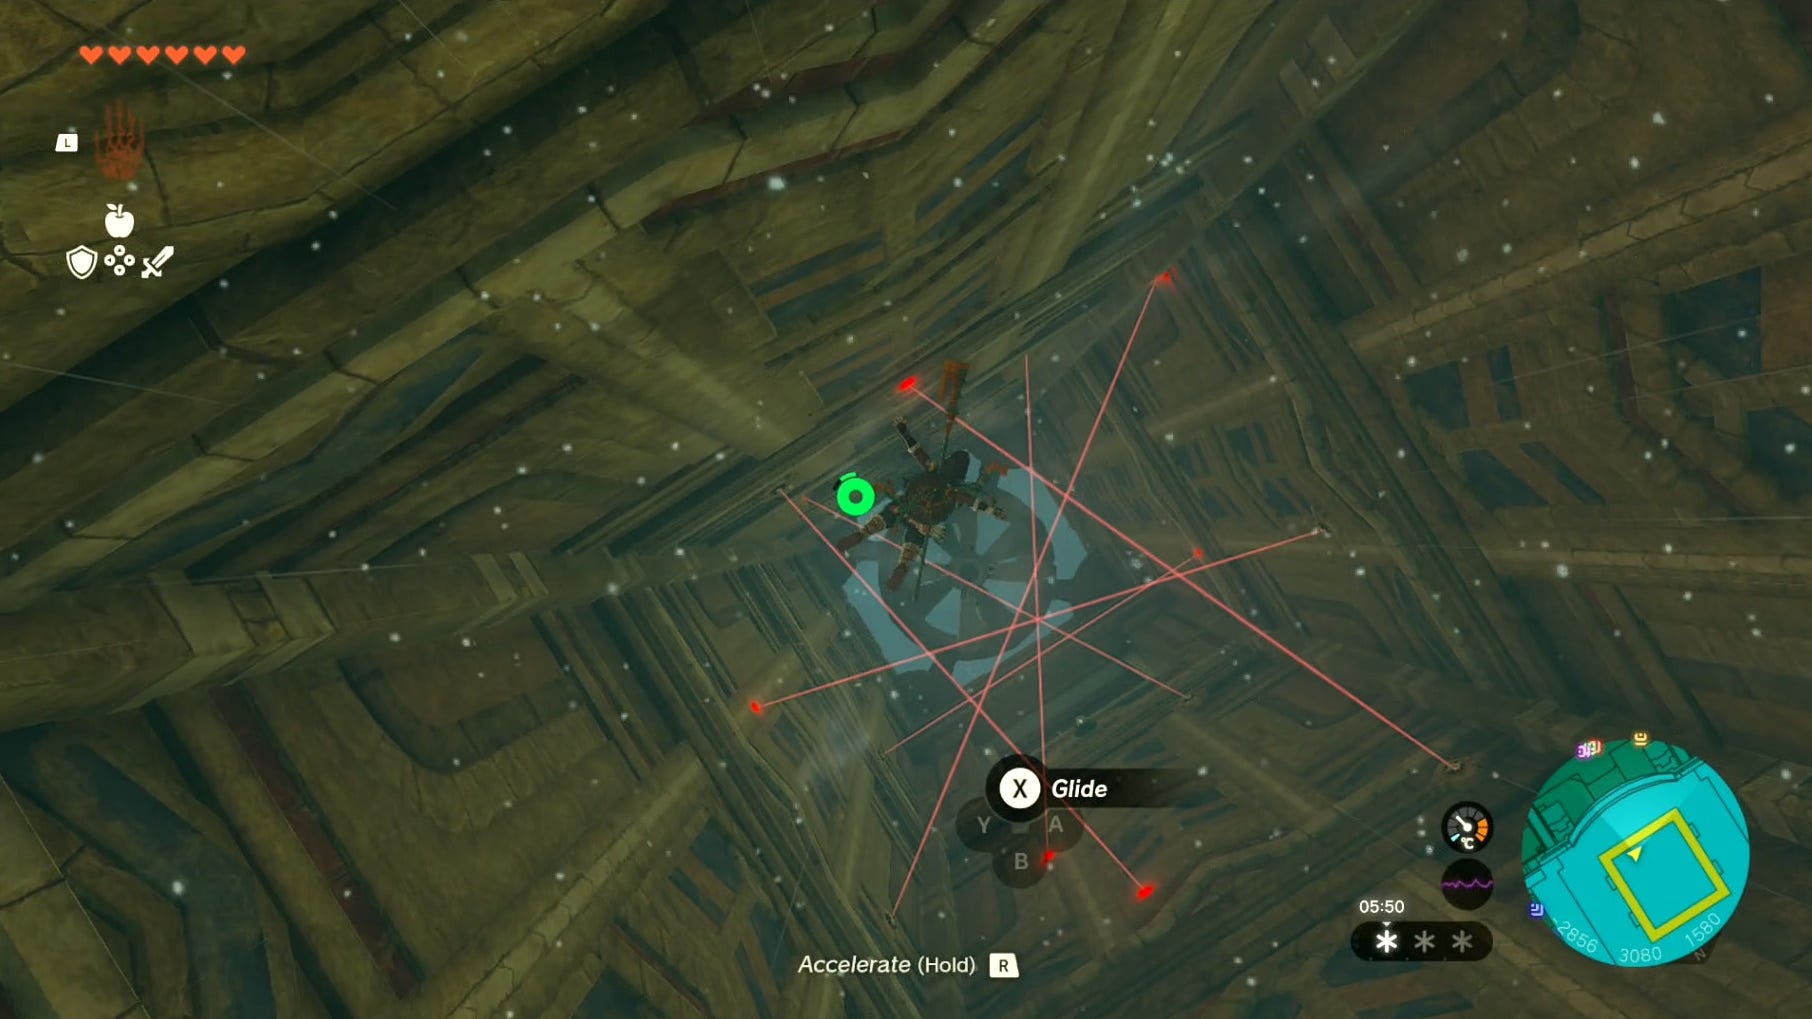
You'll find the second Wind Lock close to the large fan at the bottom, on the northern side. Glide over to it and use Tulin's gust ability to activate the second cog.

To get out of this area, jump and glide back up through the lasers and out of the roof.
Wind Lock location and solution 3
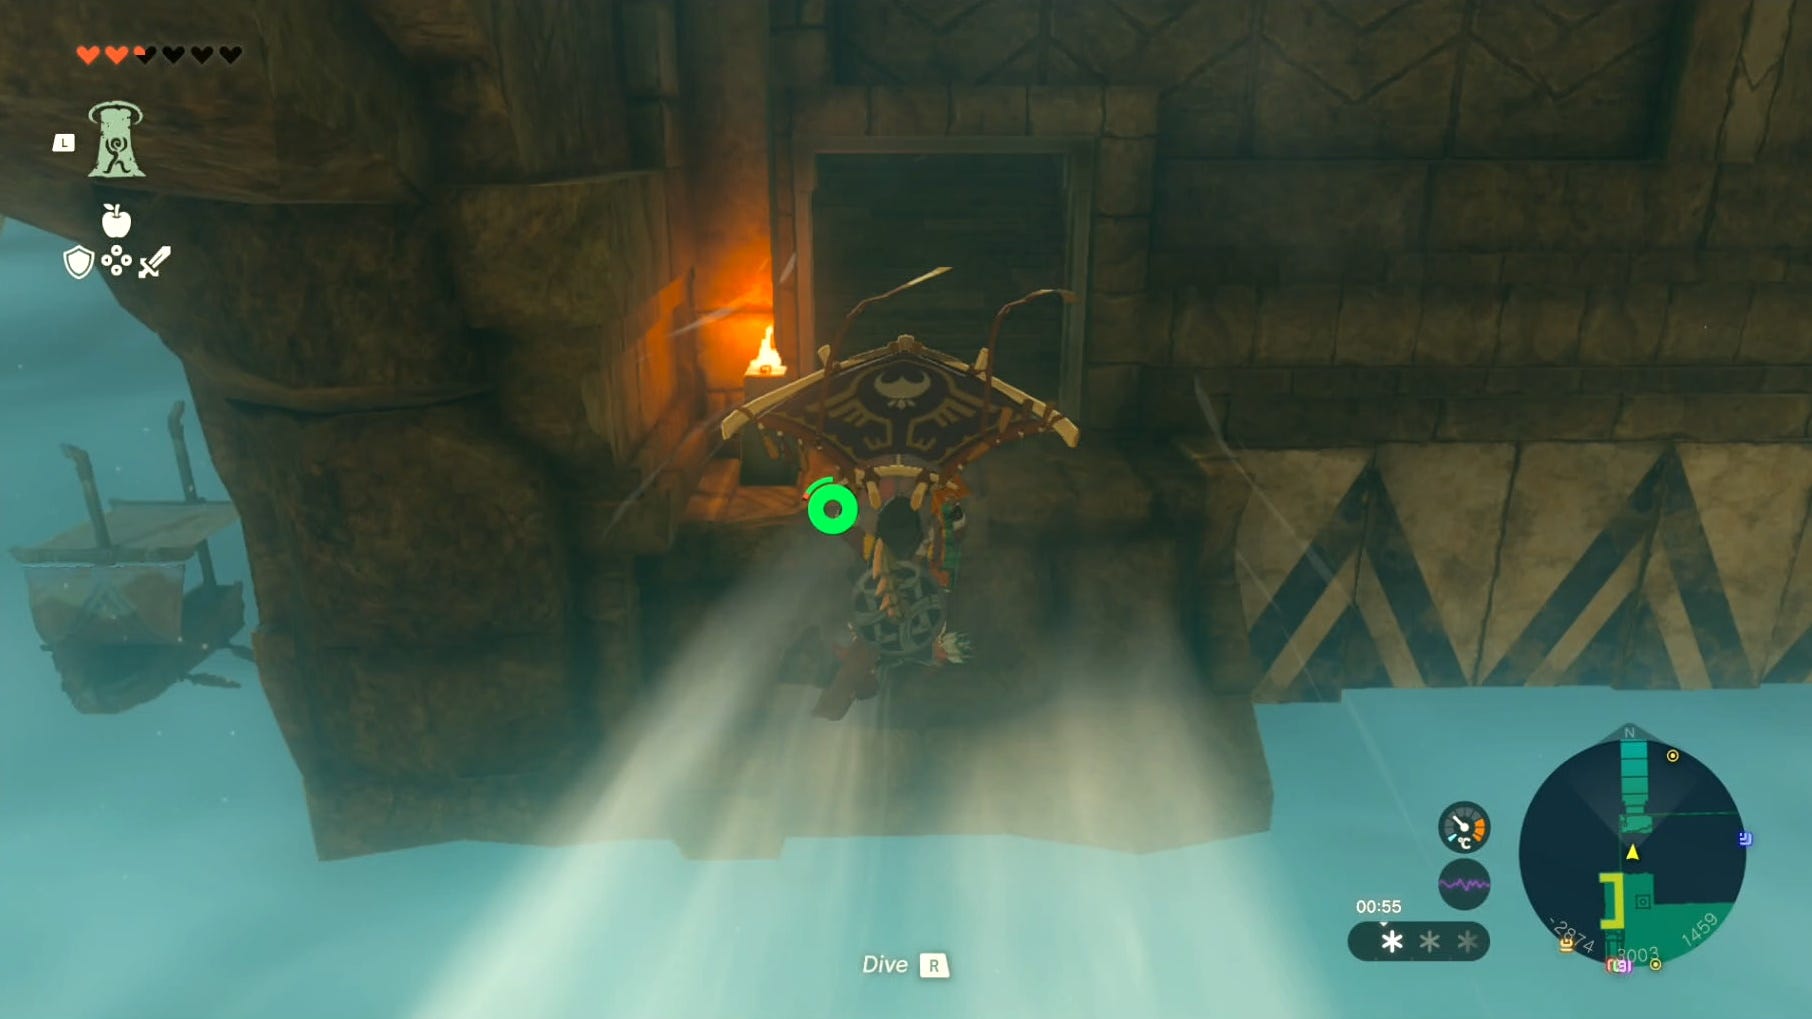
The third Wind Lock is located on B2 of the Wind Temple, but to access it you have to find its hidden entrance beneath the temple's wings on the eastern side.
To get to this hidden area, use the large wind current in the middle of the temple, or the surrounding ship sails, to glide over to the floating surfaces on the eastern side. You can then look west to spot the gap below the temple that acts as the entrance to B2.
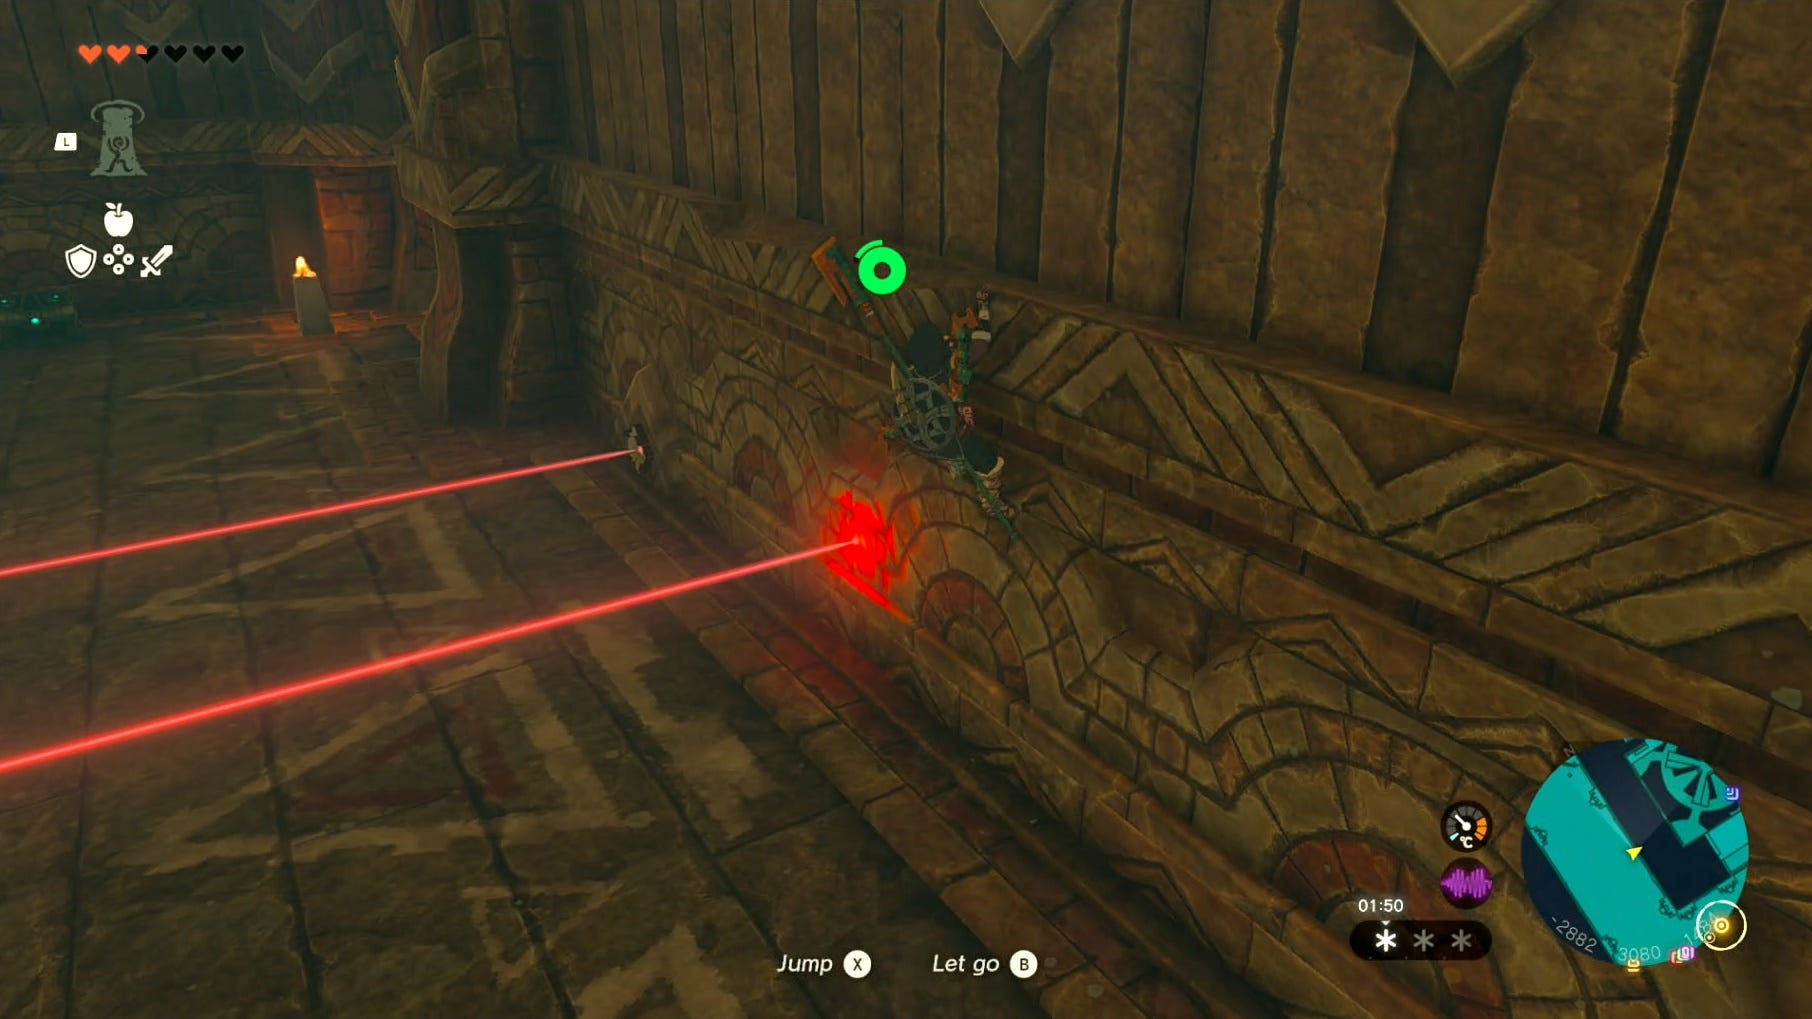
Use the ships, wings, and Tulin's ability to jump and glide under the huge temple wing on the right-hand side to gain access to B2 - but be careful! There's a cannon that targets Link, so don't stay still for too long.
All you have to do when you access B2 is kill the enemy then use Tulin's gust ability on the third Wind Lock.

Wind Lock location and solution 4
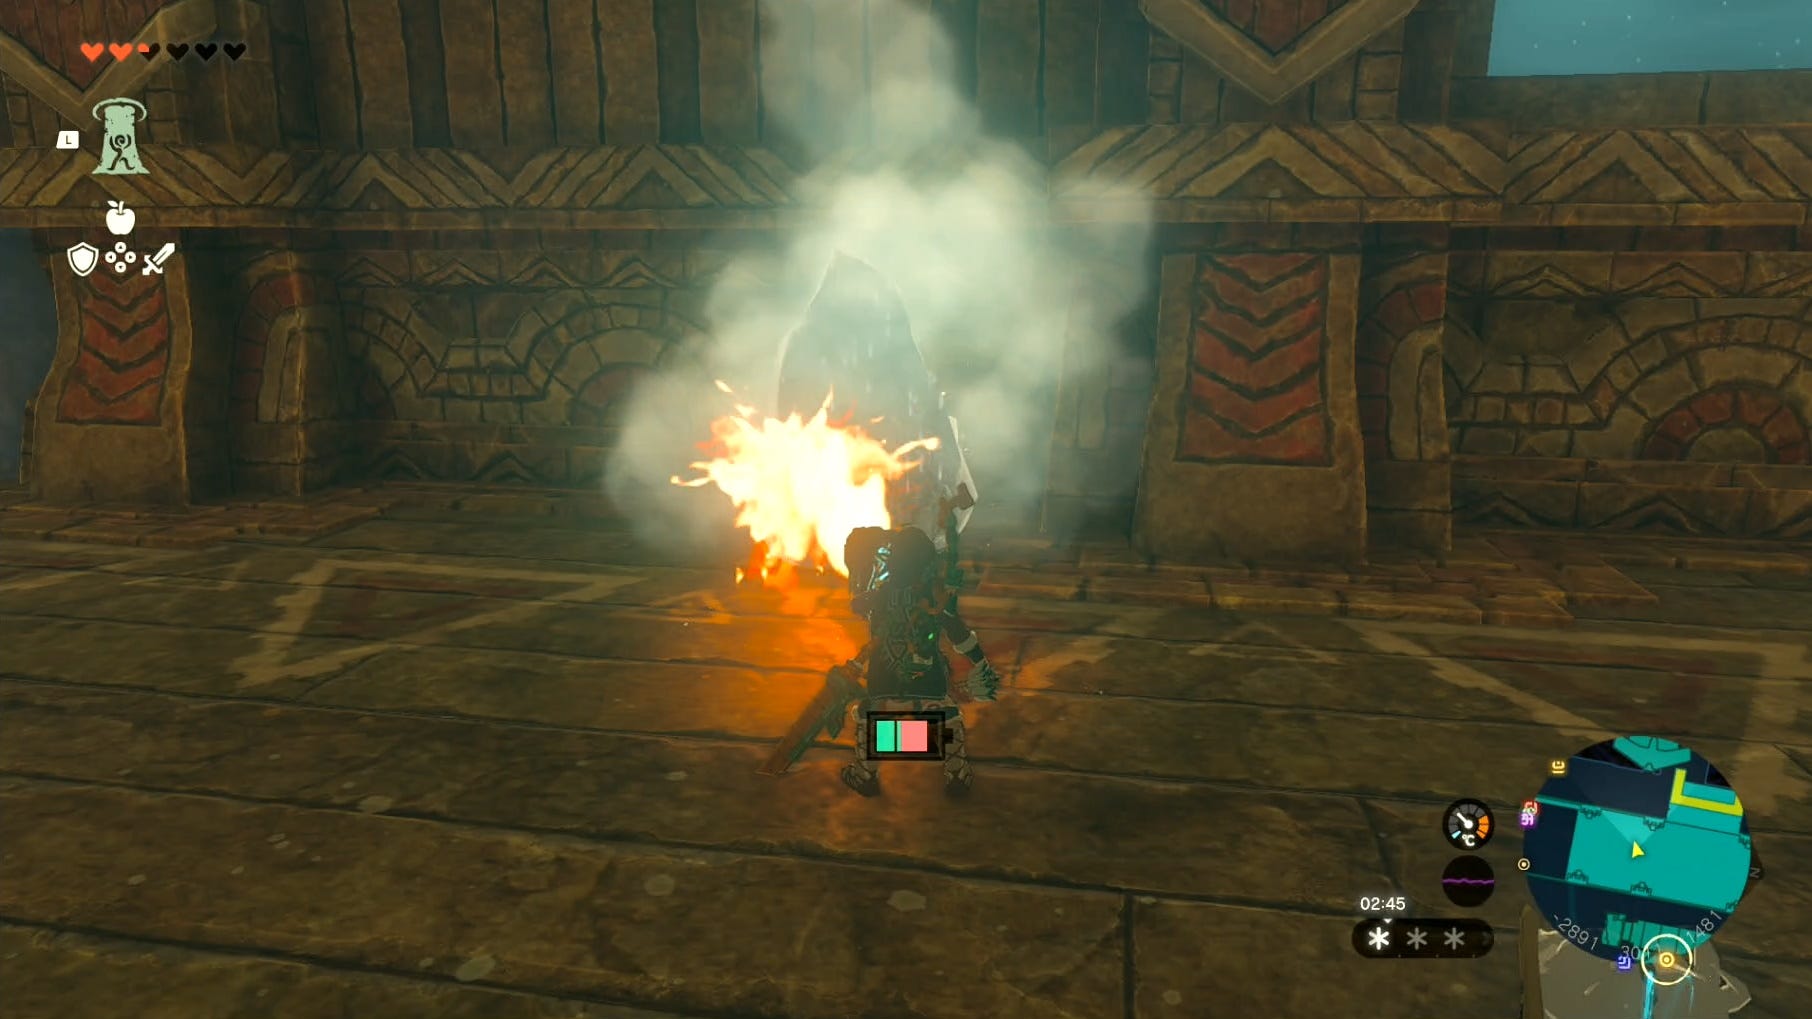
From the third Wind Lock's location, jump over to the door opposite it and climb up the ladder. There will be a Zonaite enemy waiting for you outside the next door, so be careful Link doesn't get ambushed if you're low on hearts.
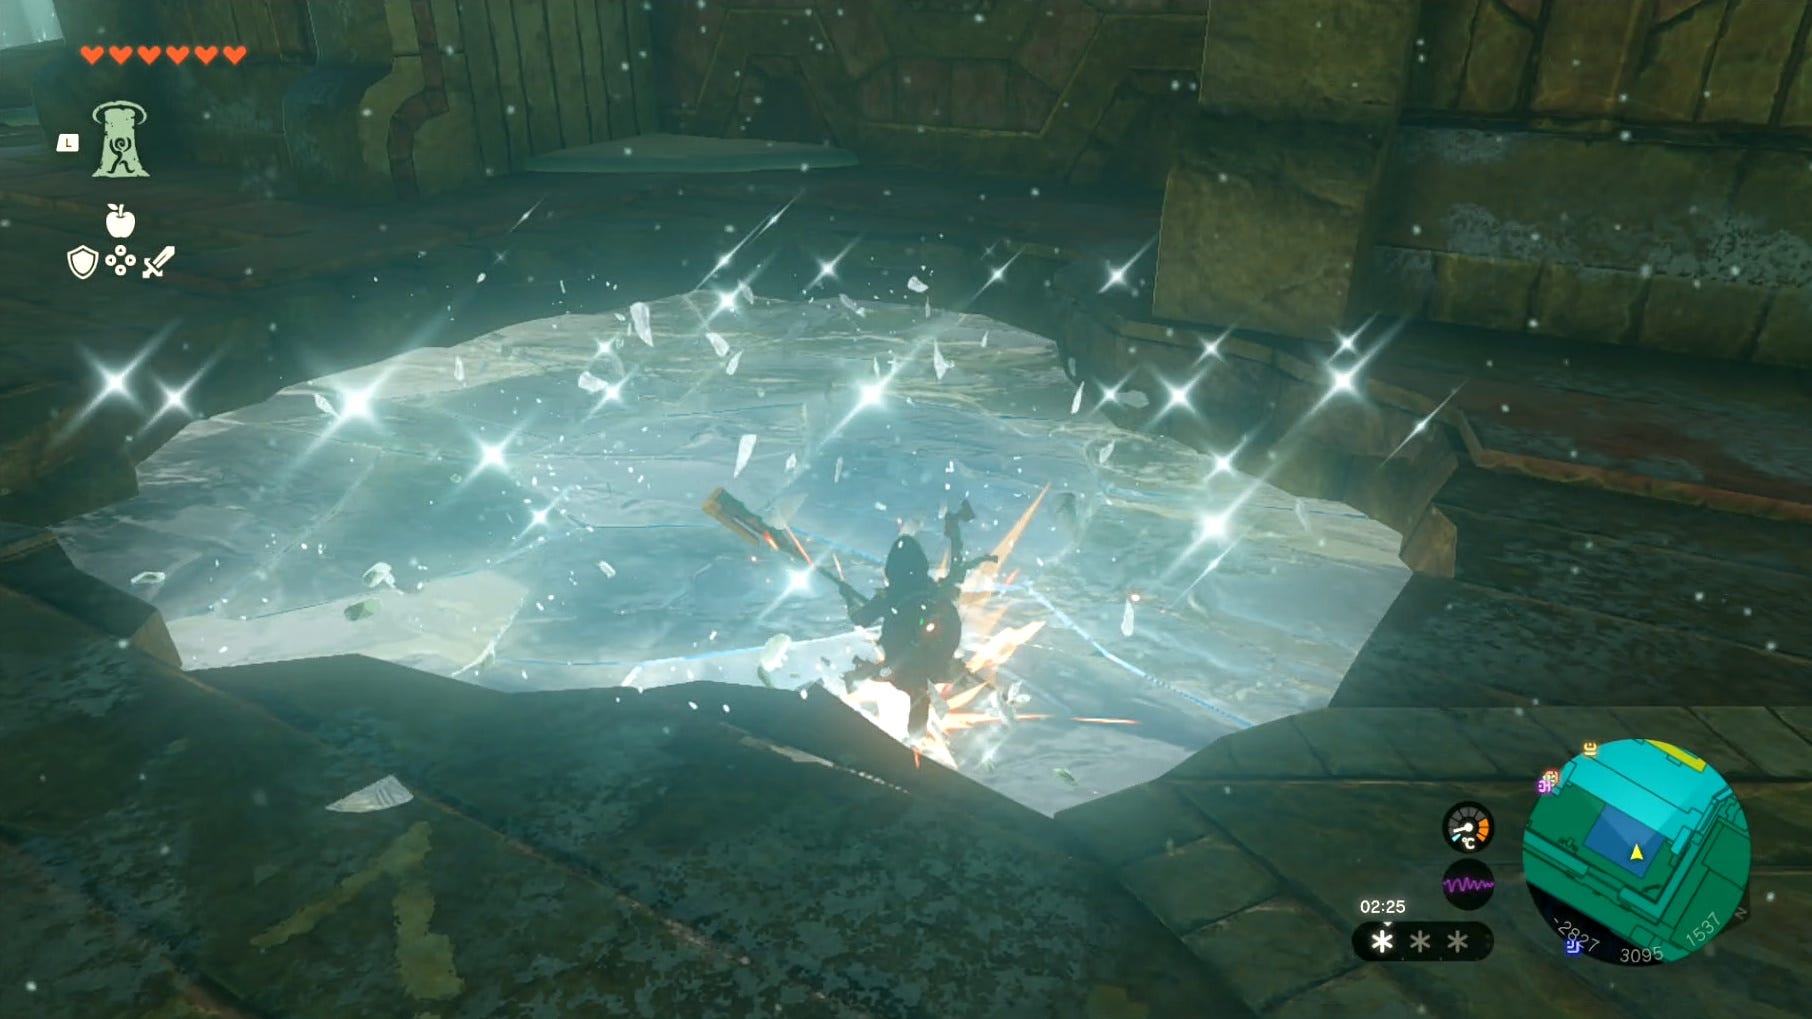
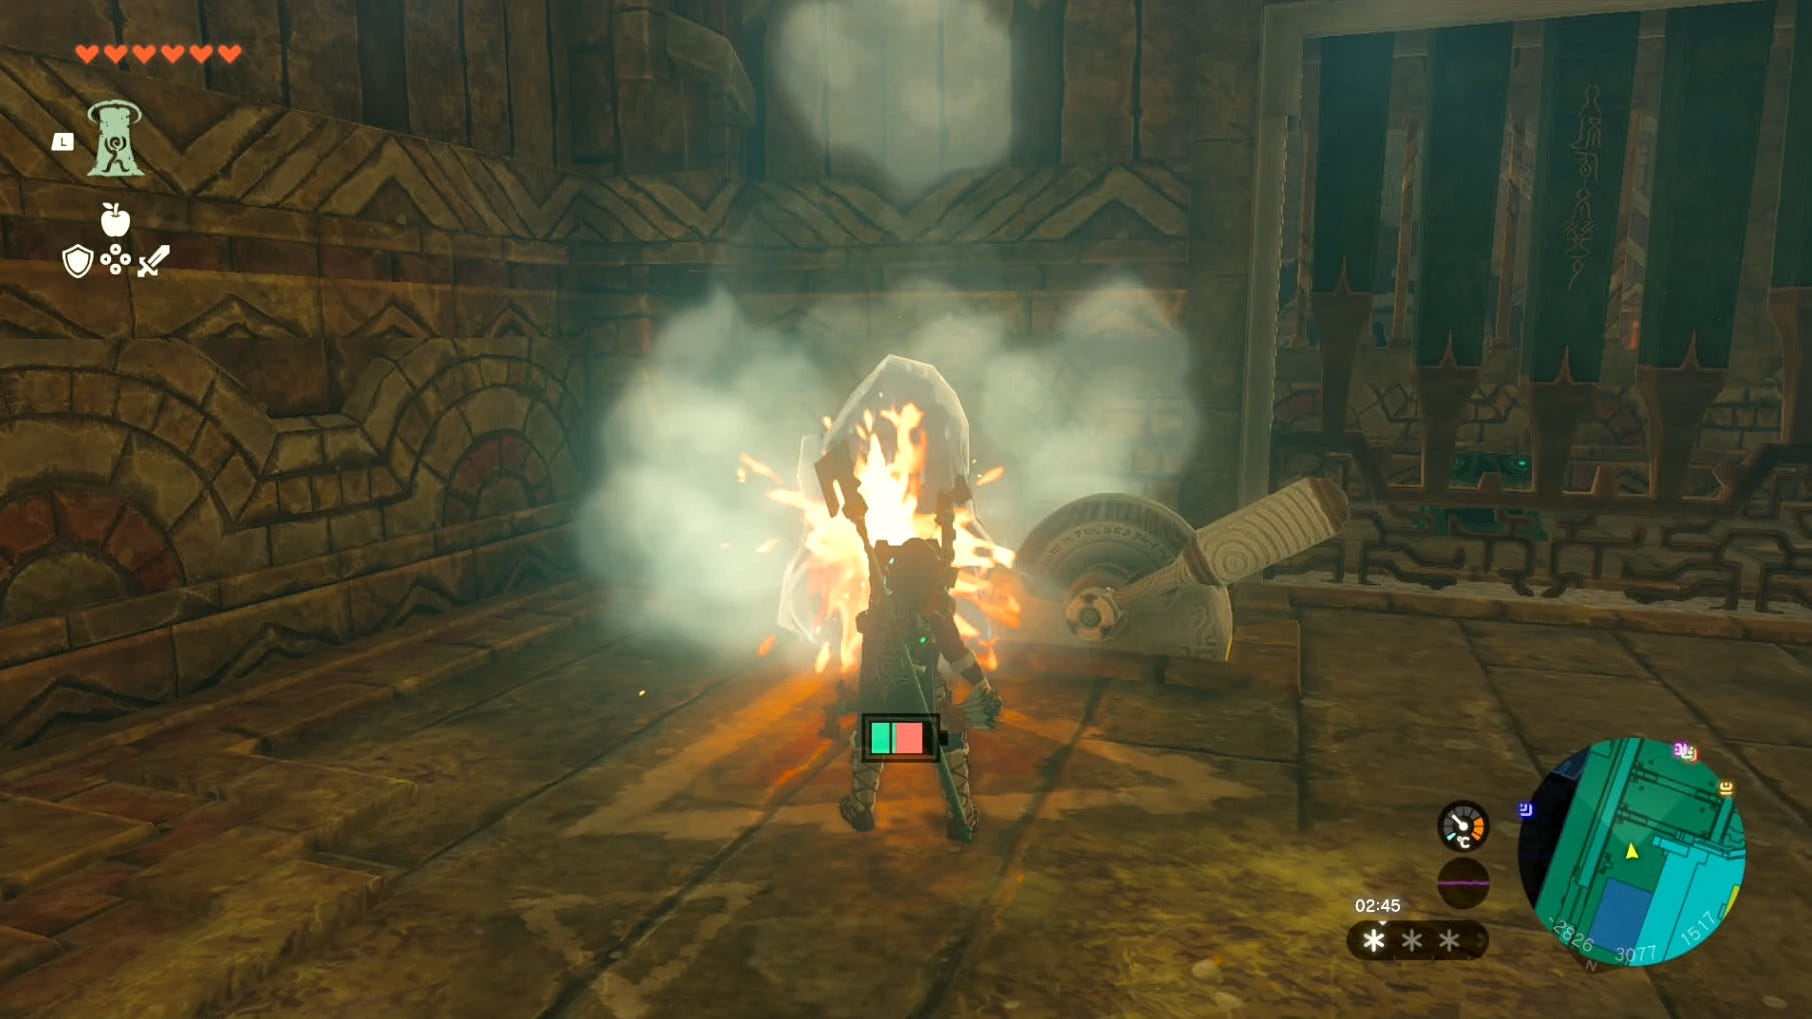
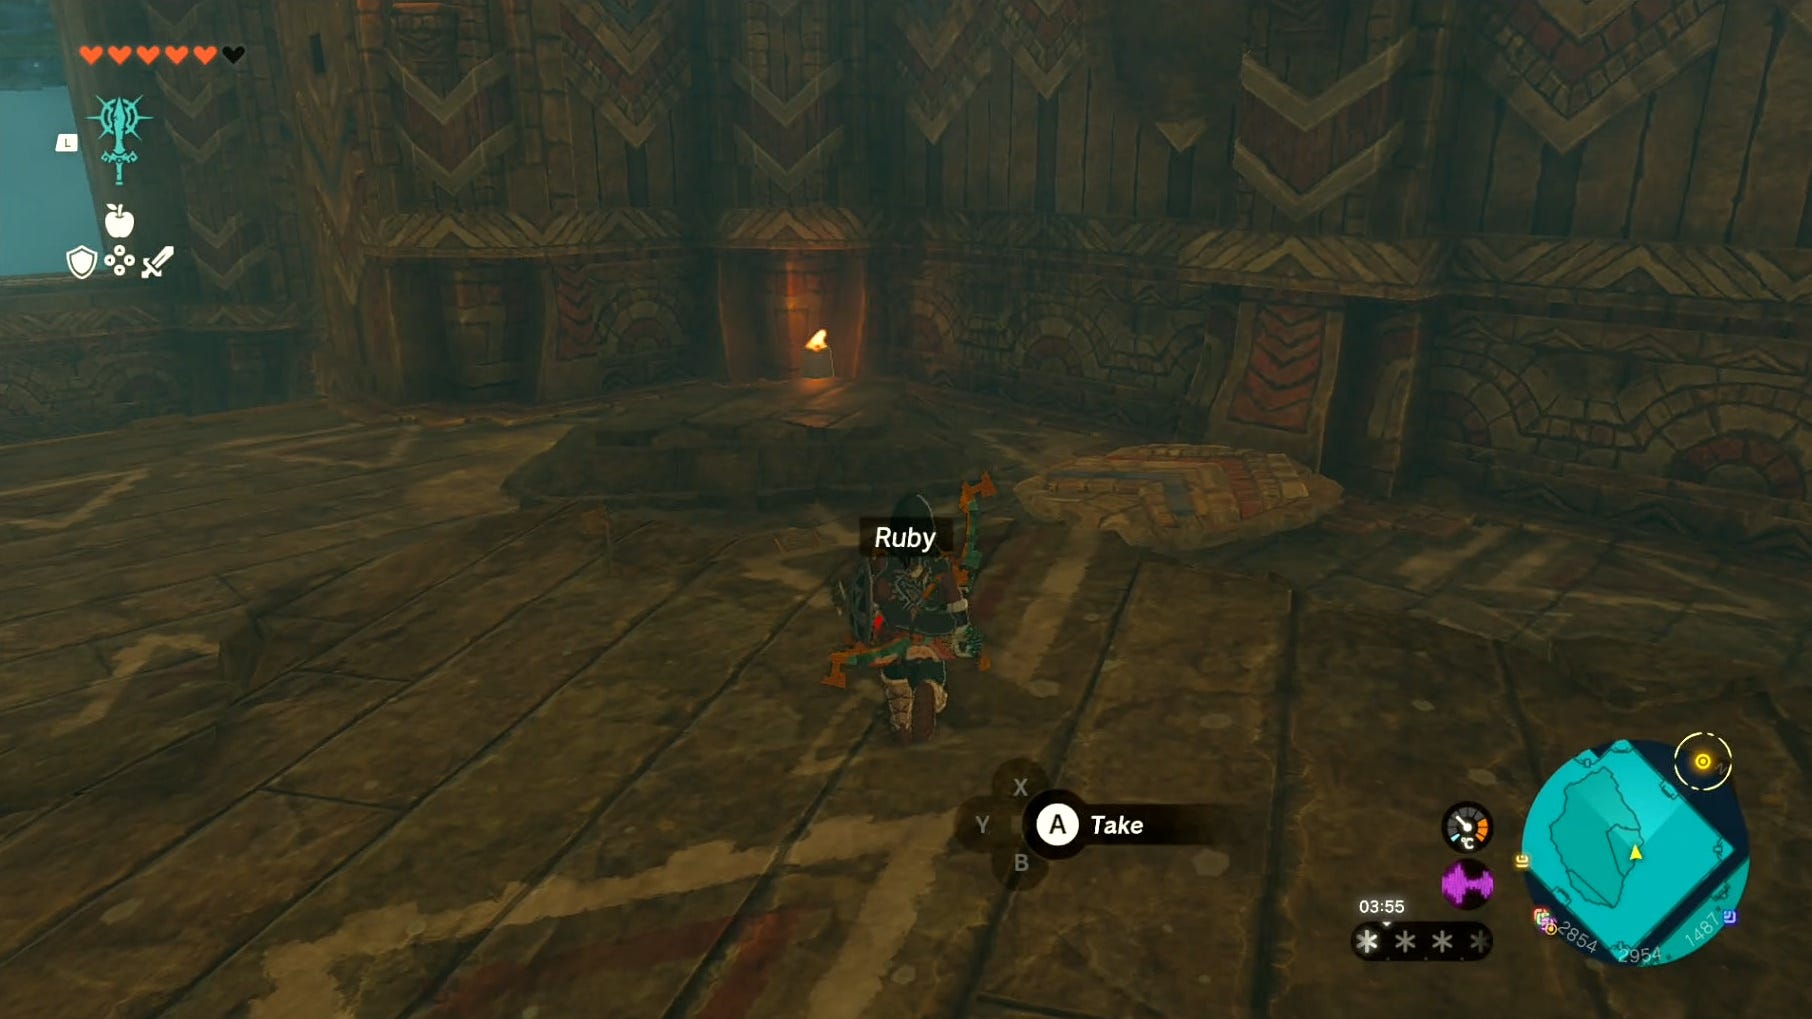
It's not required, but before finding the fourth Wind Lock, you can jump and climb around the nearby lasers to get Ruby from a chest, and use a fire item or weapon to melt a large chunk of ice before the ice walls area to get a Time Bomb and Portable Pot.
To access the fourth Wind Lock from this area, use Tulin's gust ability to jump and glide across the gap, through the middle of the ice walls.
Use Ultrahand on the lever on the right-hand side of this area across the gap if you want an easy way out - or in - of this place. Next, you need to use Ascend under the crumbling ledges above Link when you're across the gap to get to the next Wind Lock, but don't forget to pick up the Ruby beside the nearby enemy first!
After Link has Ascended to the room above, keep walking until you come across a cog hanging from the ceiling. This cog opens the locked door above the nearby ladder, but to turn it, you first have to attach a stone slab to the cog. There's one nearby Link can use, on the right-hand side of the ladder.
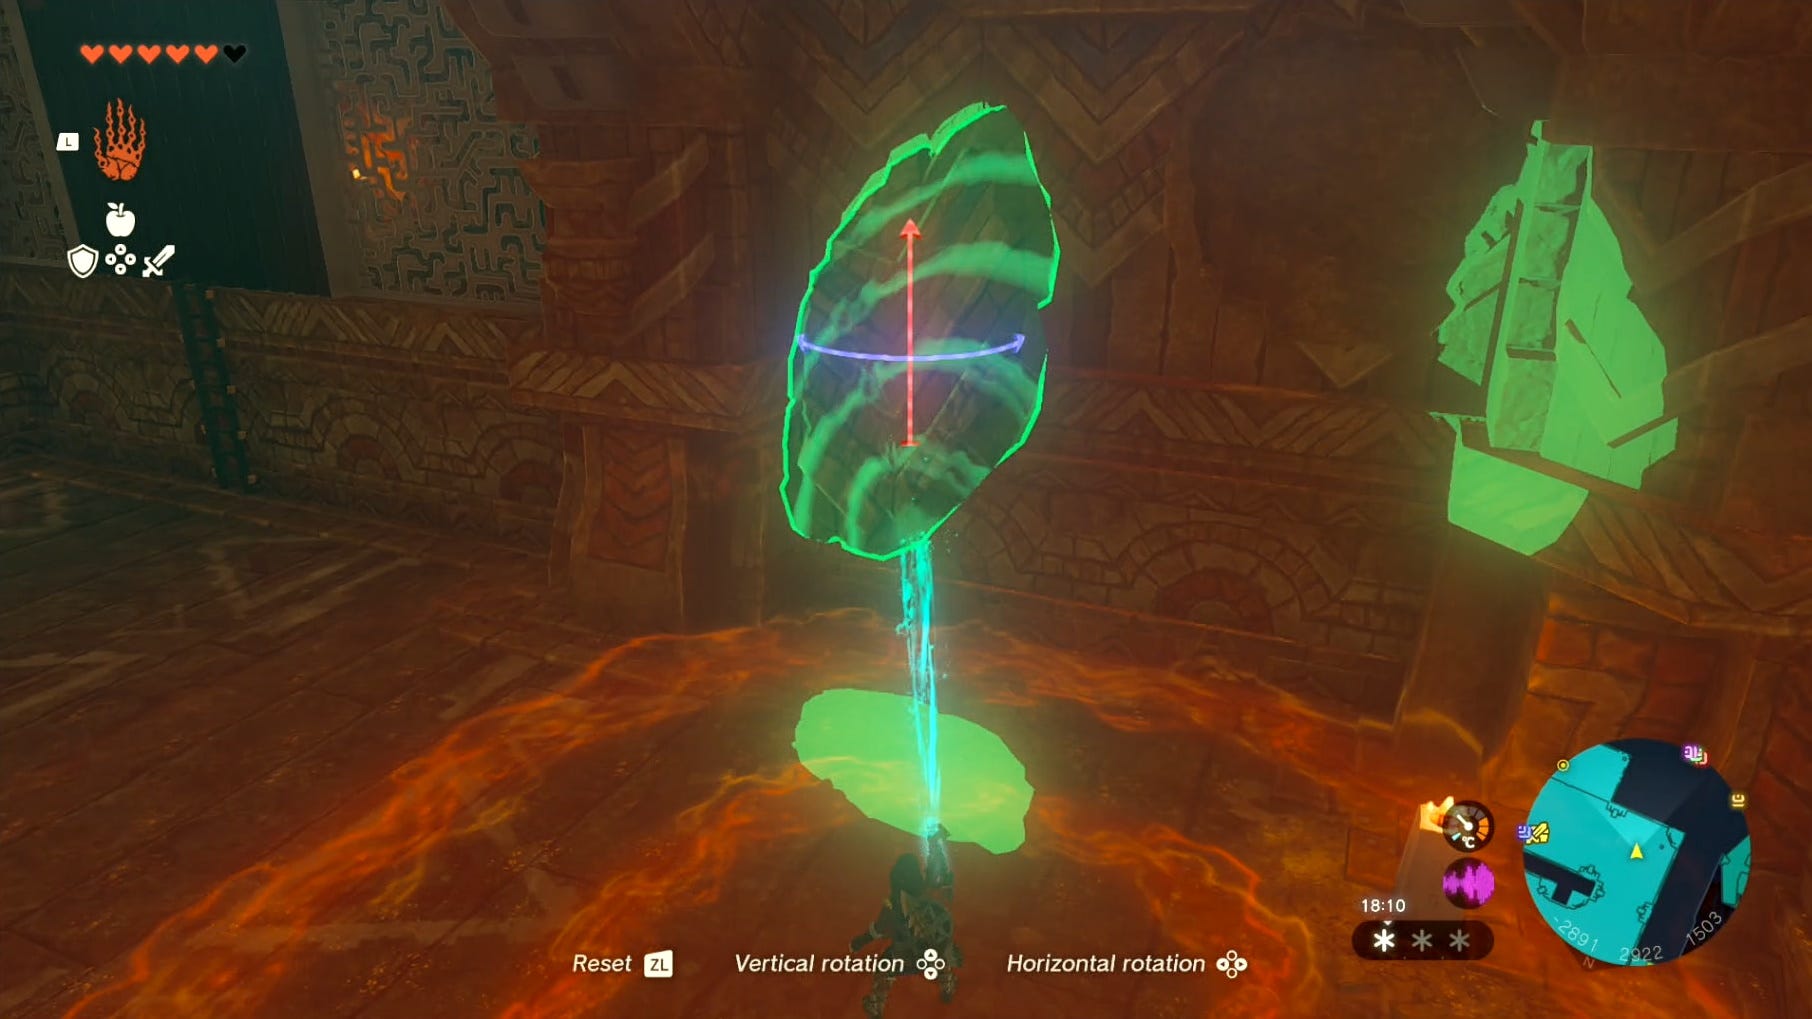

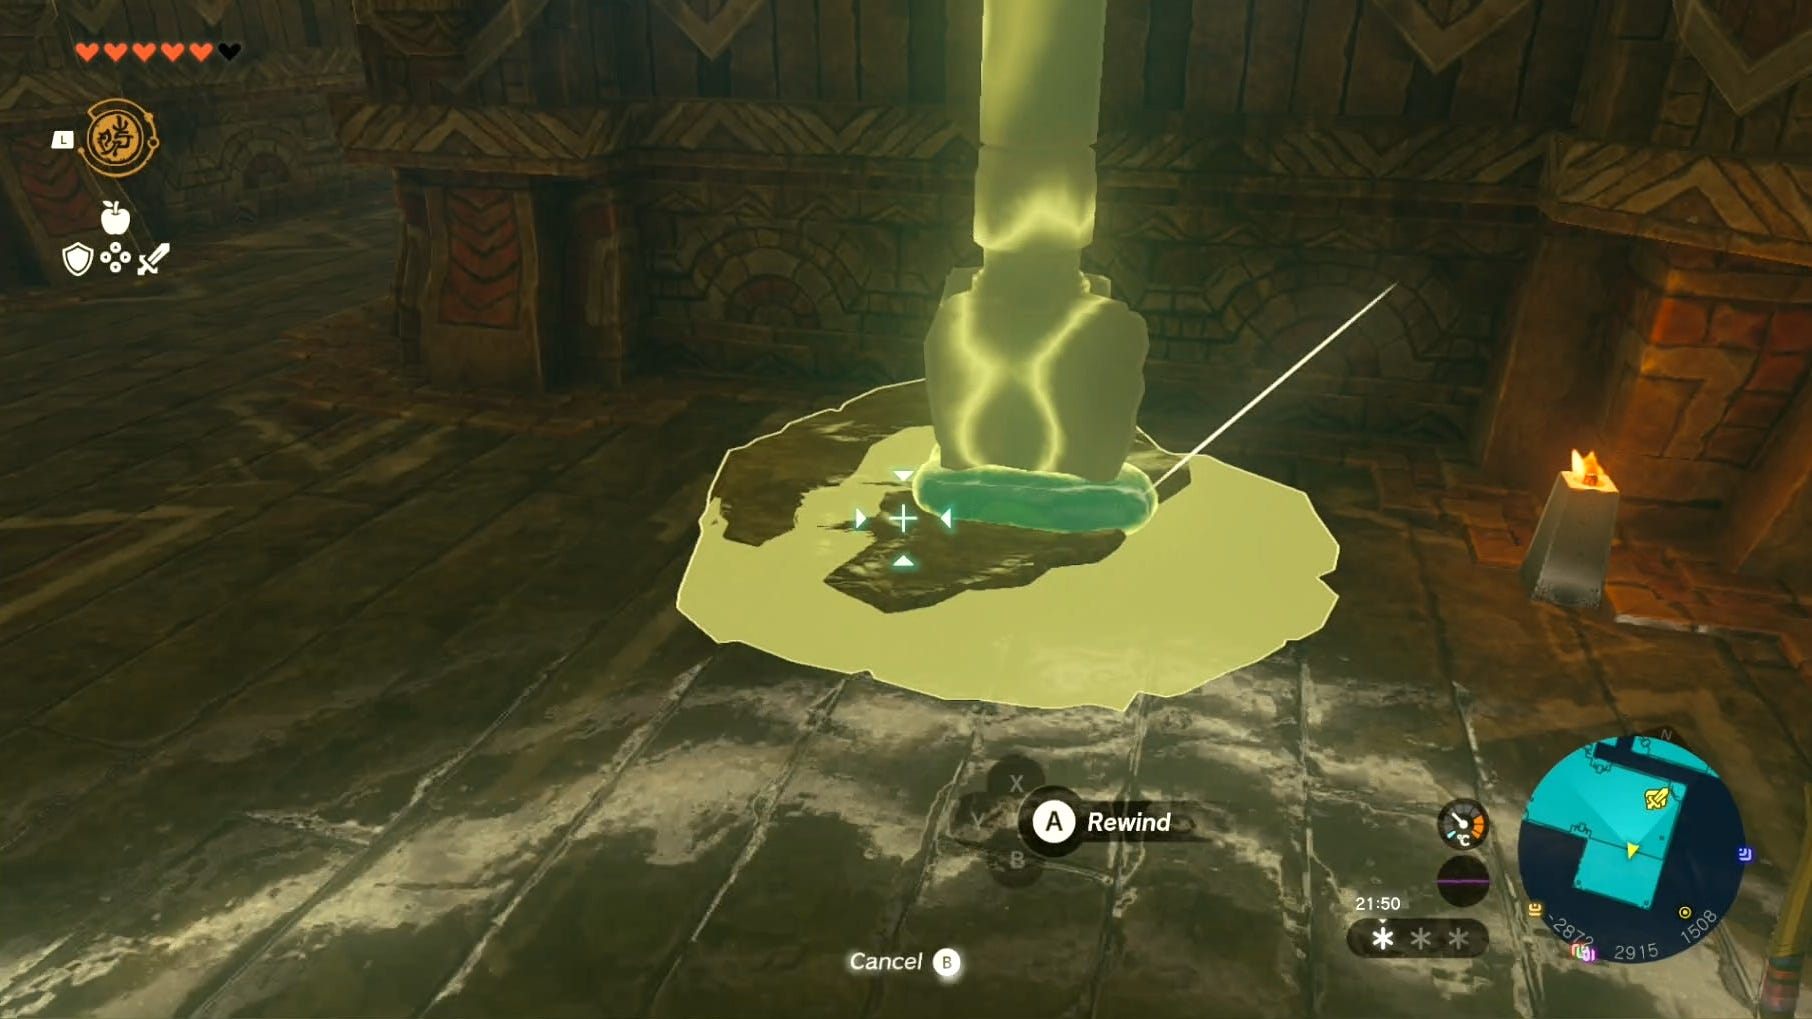
Attach the stone slab to the bottom of the cog with Ultrahand, then move the slab with the right thumbstick while in Ultrahand mode until the door above the ladder opens. It won't stay open for very long, but that's okay, as using recall will open the door again for longer.
The best way we found to do this was spin the slab until the gate opened, run over and climb the ladder, then use Recall while standing above the ladder until the door opens. Quickly walk into this next chamber to permanently keep the door open.
All you have to do now is climb the next ladder, kill the enemy above, then use Tulin's gust ability on the Wind Lock.
Wind Lock location and solution 5
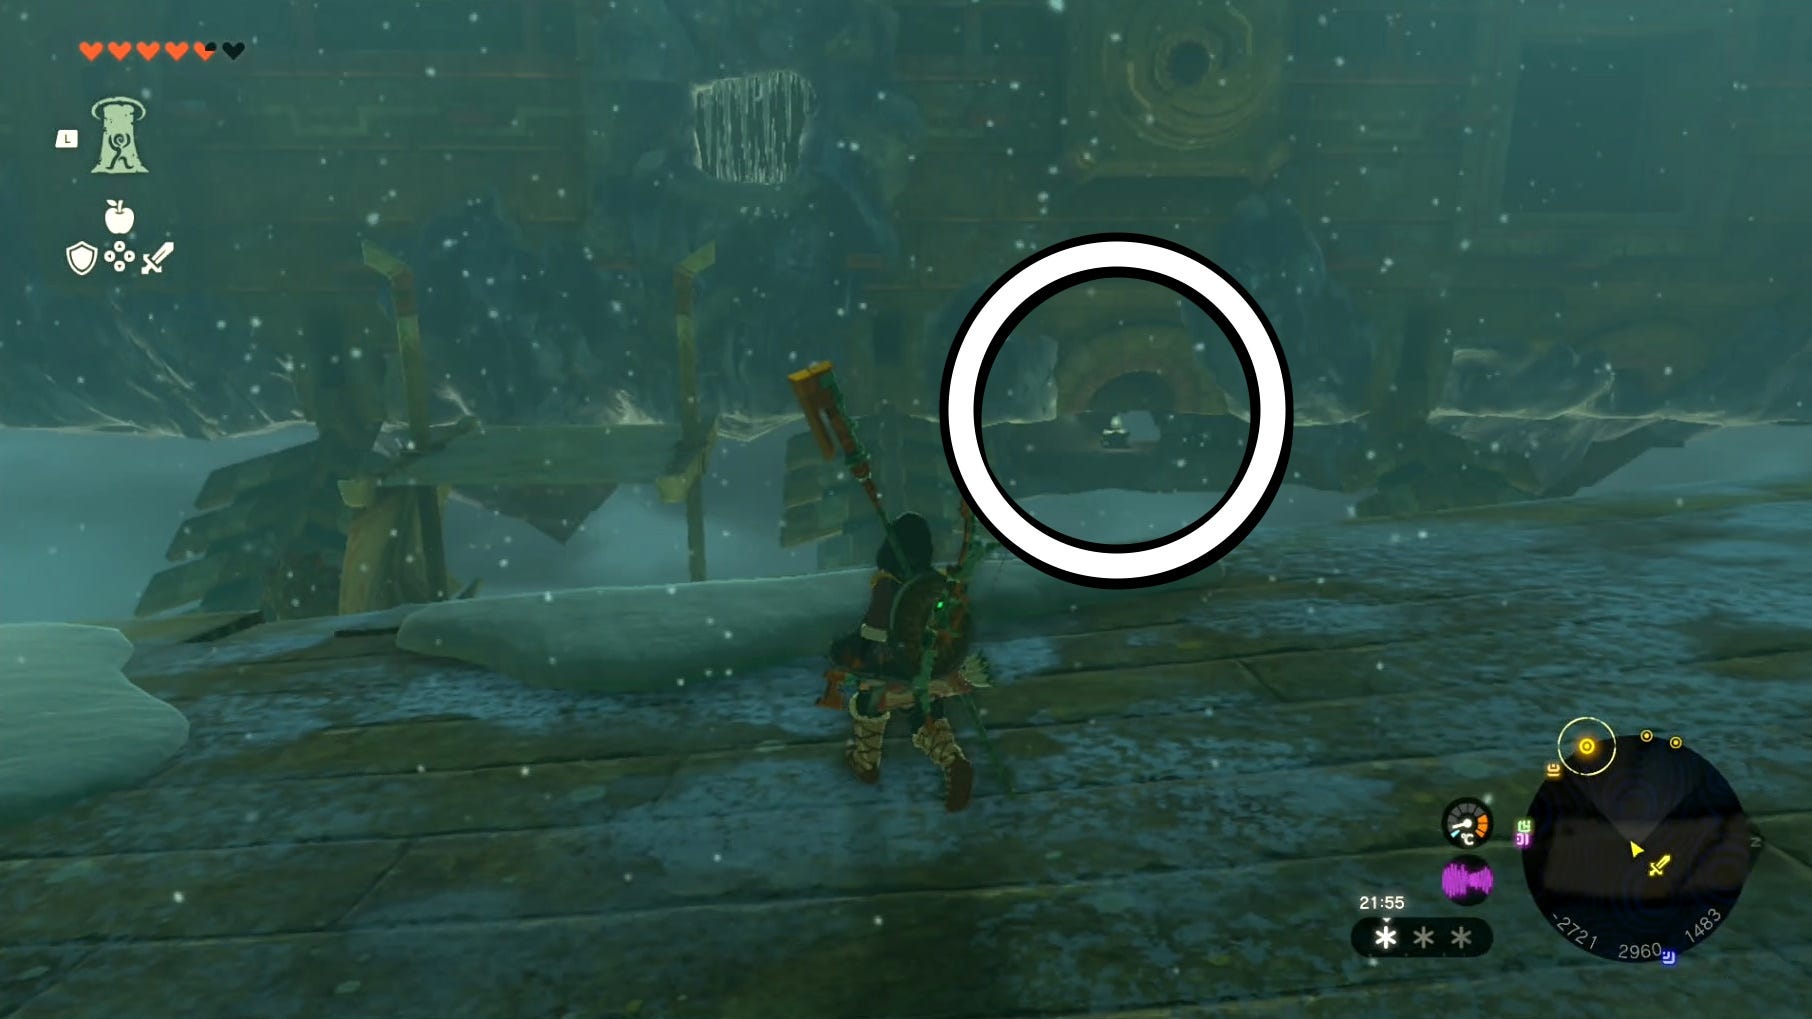
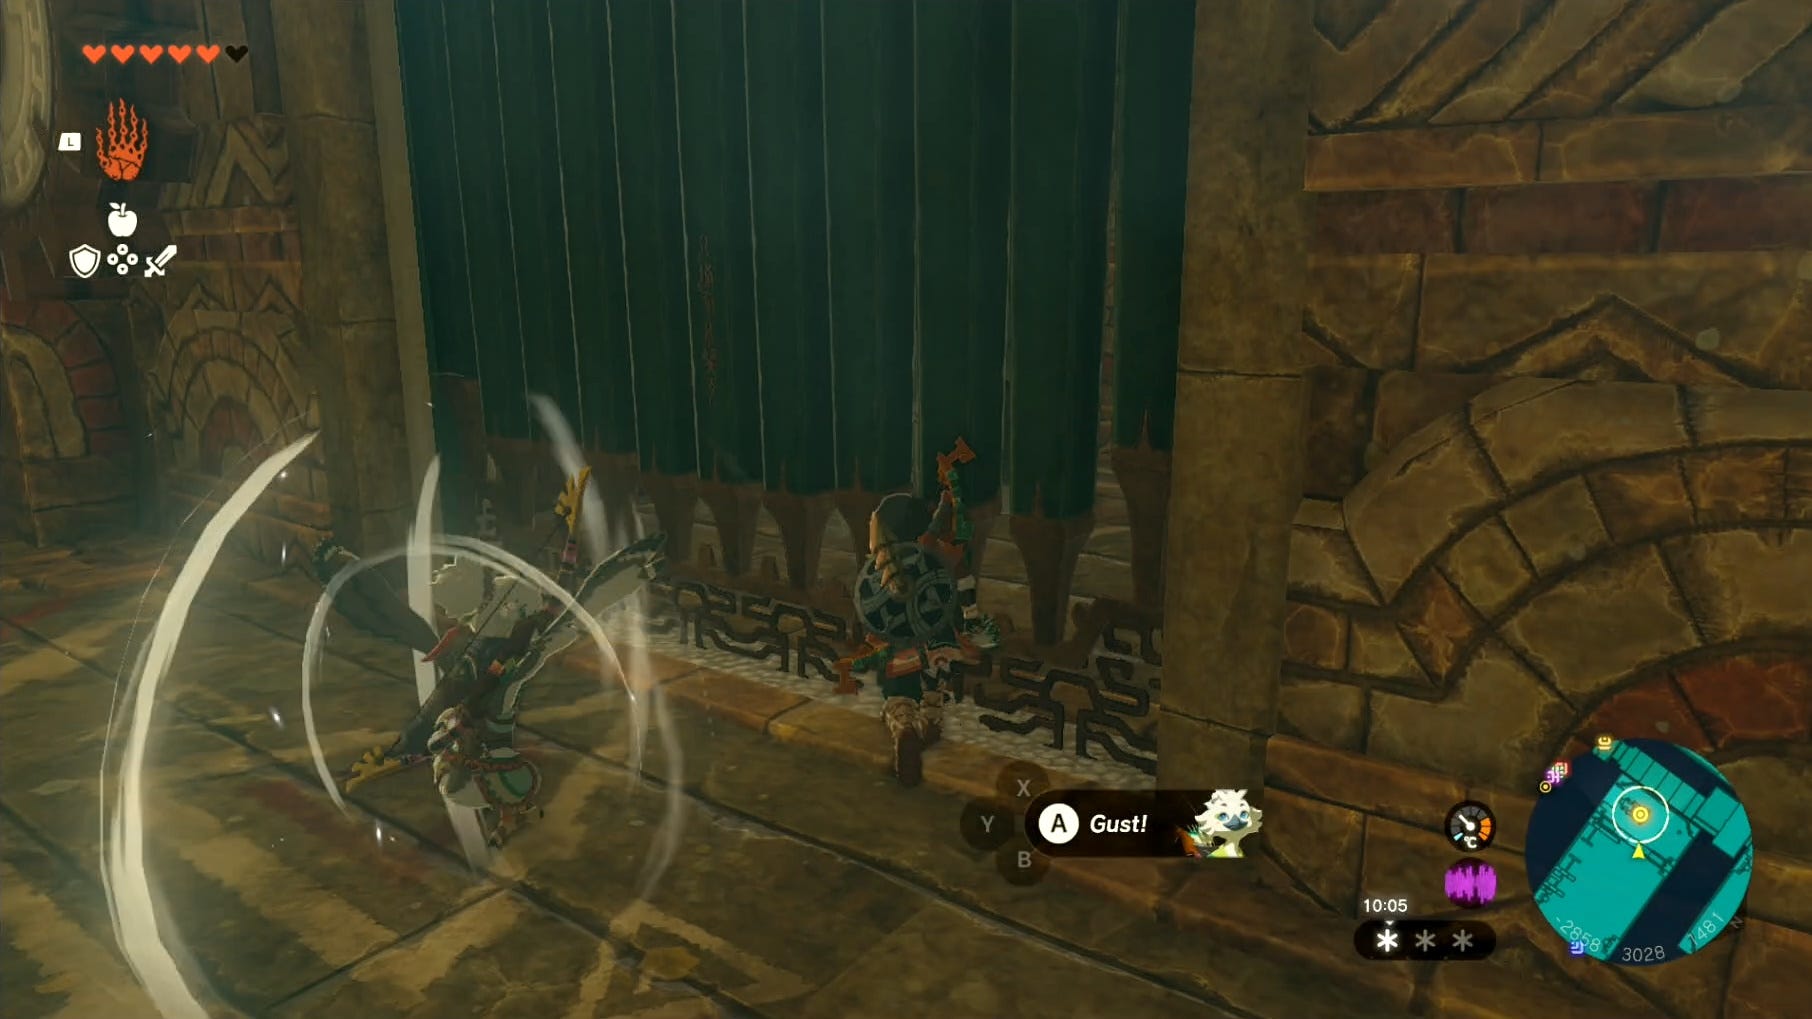
To access the fifth and final Wind Lock in Tears of the Kingdom, you need to go back to the eastern side of the ship (the same side you accessed B2 through the gap from), then jump and glide over to the entrance with the icicles, near the cannon. To get in, just whack the icicles to break them off.

Inside, turn right and use Recall on the moving structure. Hop on the rewinding structure to access the other side of the room, where you'll find the last Wind Lock behind a locked door.
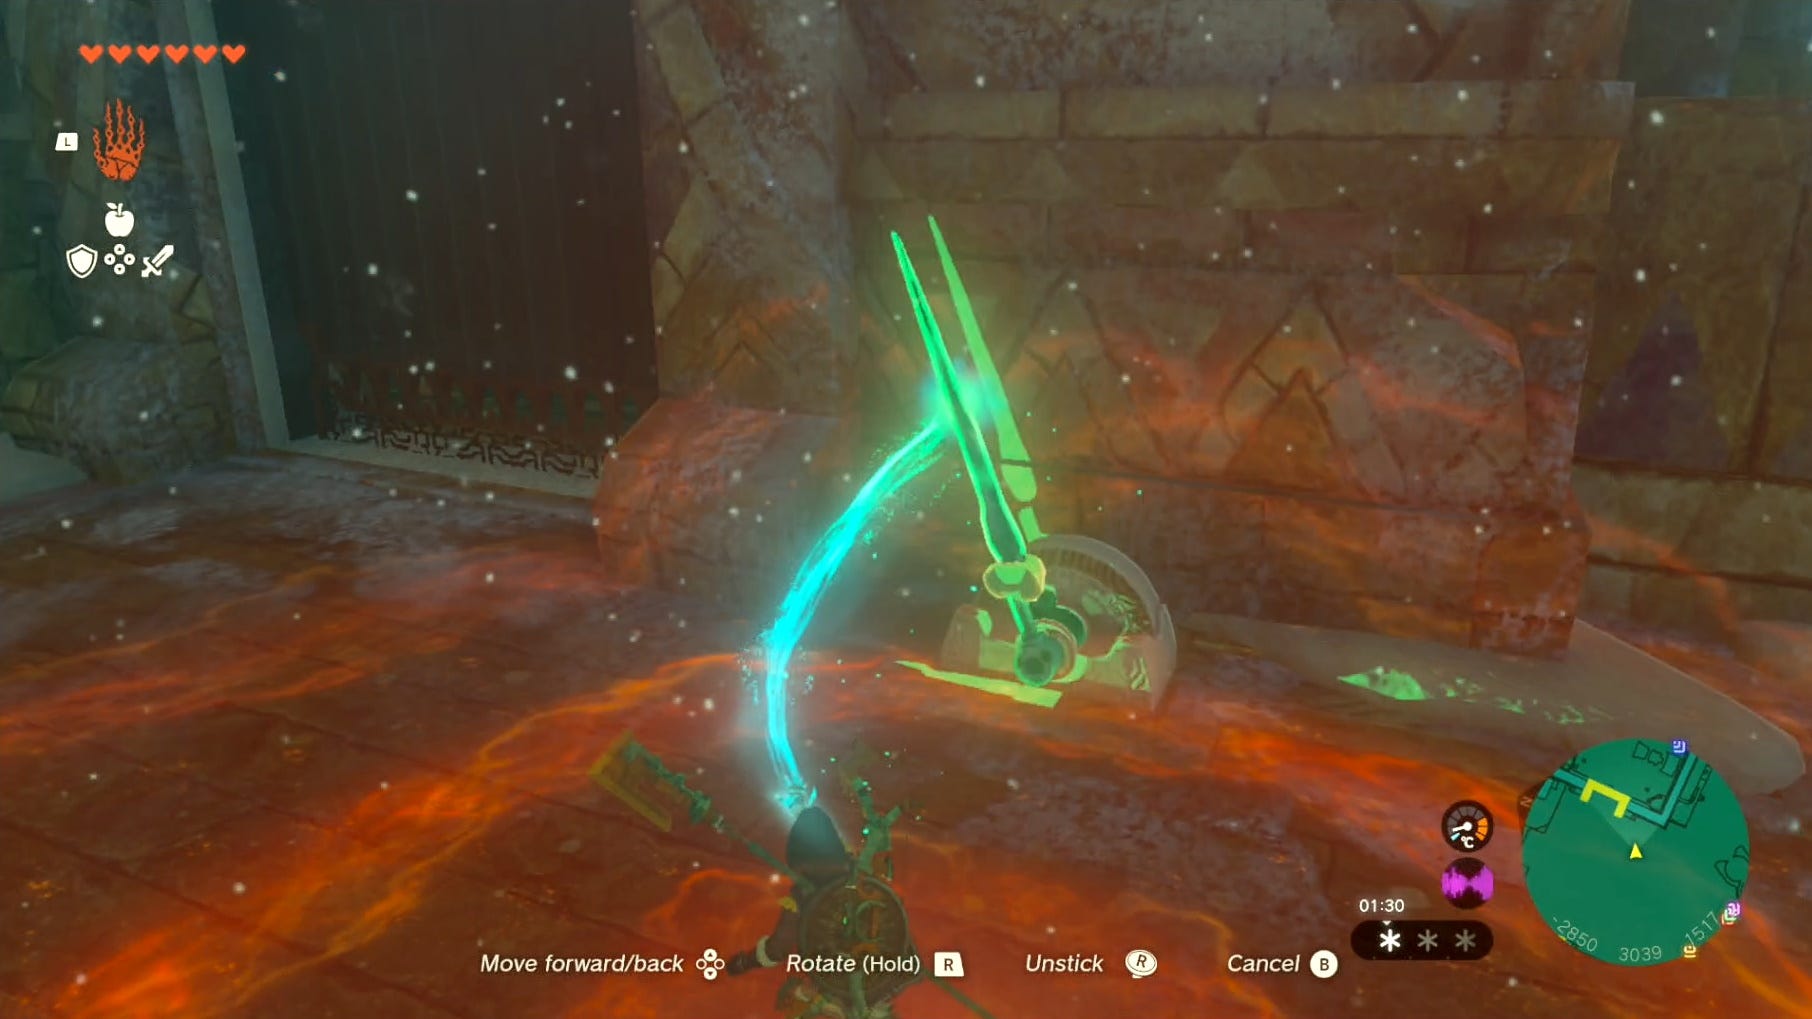
To access the Wind Lock, you're supposed to link up the cogs to the left of the door with an icicle obtained by firing at ice shards on the ceiling, but we were able to just use Tulin's gust ability from the position shown in the picture below to power the lock.
Whatever method you use, once Tulin uses his ability on this lock, go back to the middle of the temple where the huge wind current is, then activate the green circle again to start the Wind Temple Colgera boss battle. Make sure you have lots of arrows going into the battle.
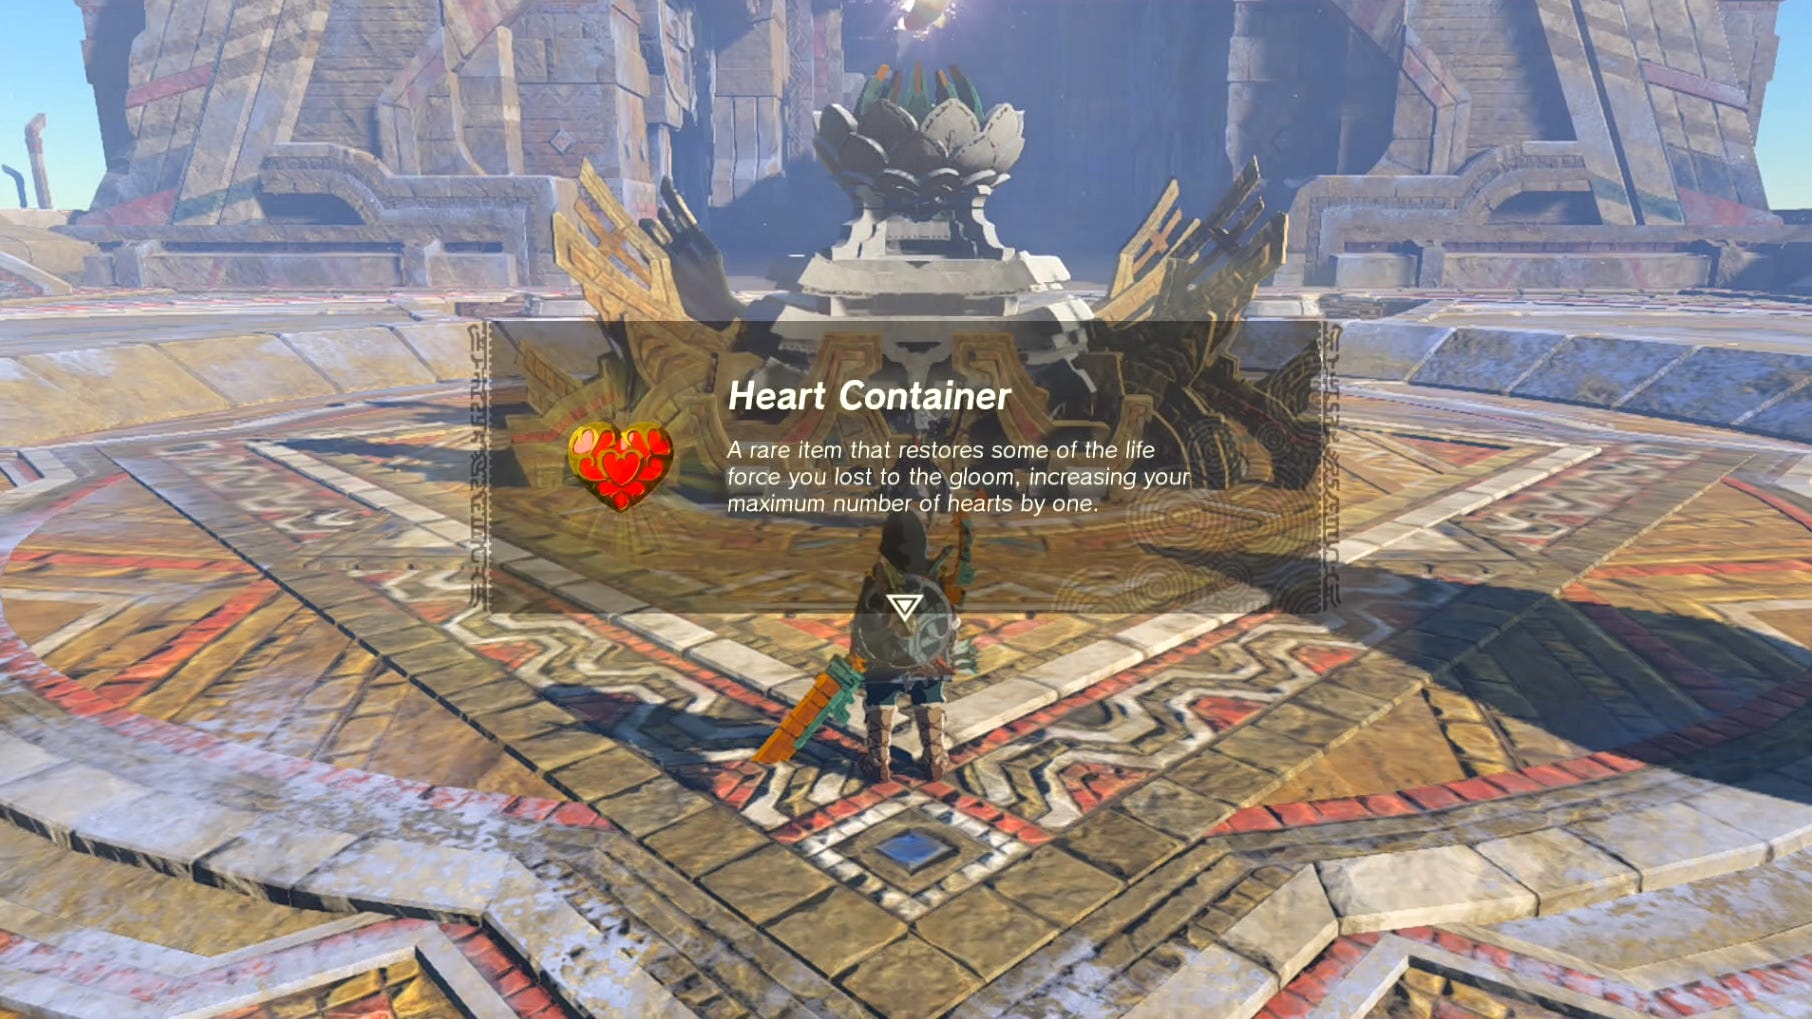
Once Colgera is defeated, you will be finished with the Wind Temple! You'll get a lengthy story cutscene, heart container, and the Vow of Tulin as part of your Wind Temple rewards.
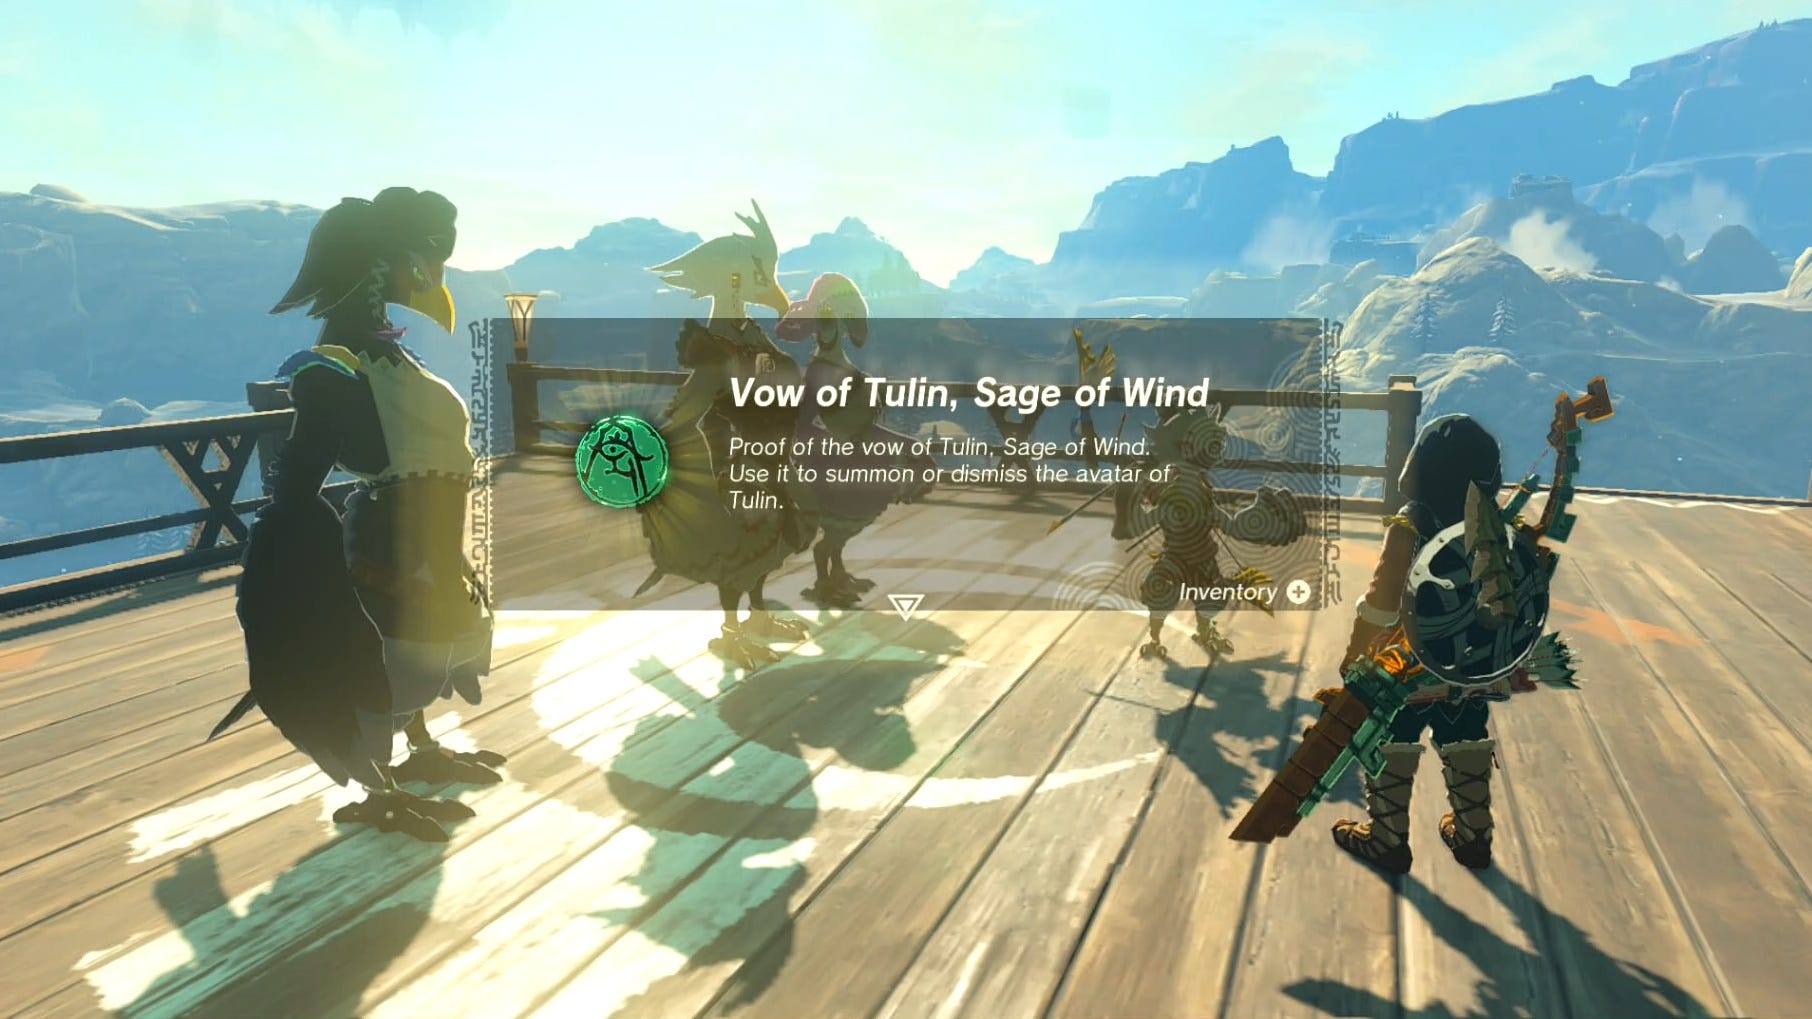
Vow of Tulin can be equipped from the 'Key Items' menu to summon an avatar of Tulin while Link's exploring, allowing you to use his gust ability whenever you want, except in places like Shrines.
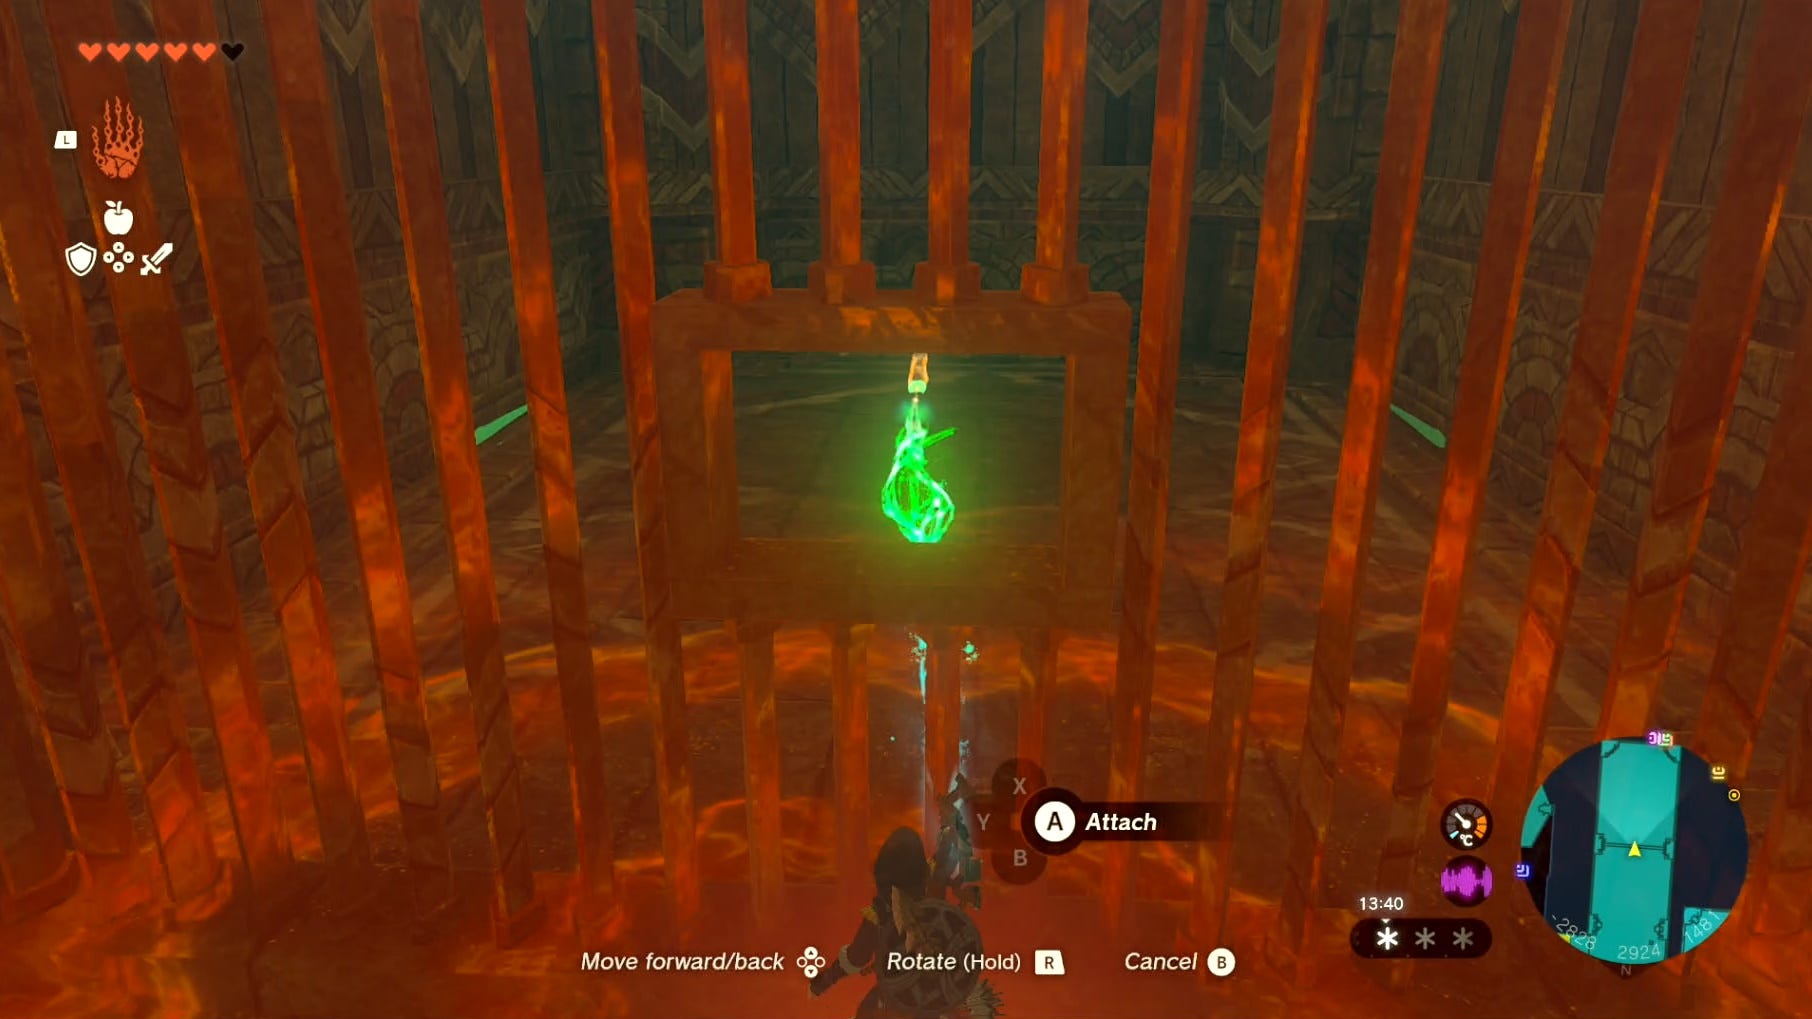
If you want to get a Sapphire before taking in the boss though, then from the last Wind Lock location, hop on the moving structure again - back to the room you came from - to solve the B1 chest puzzle.
How to get the Wind Temple B1 chest in Zelda Tears of the Kindom
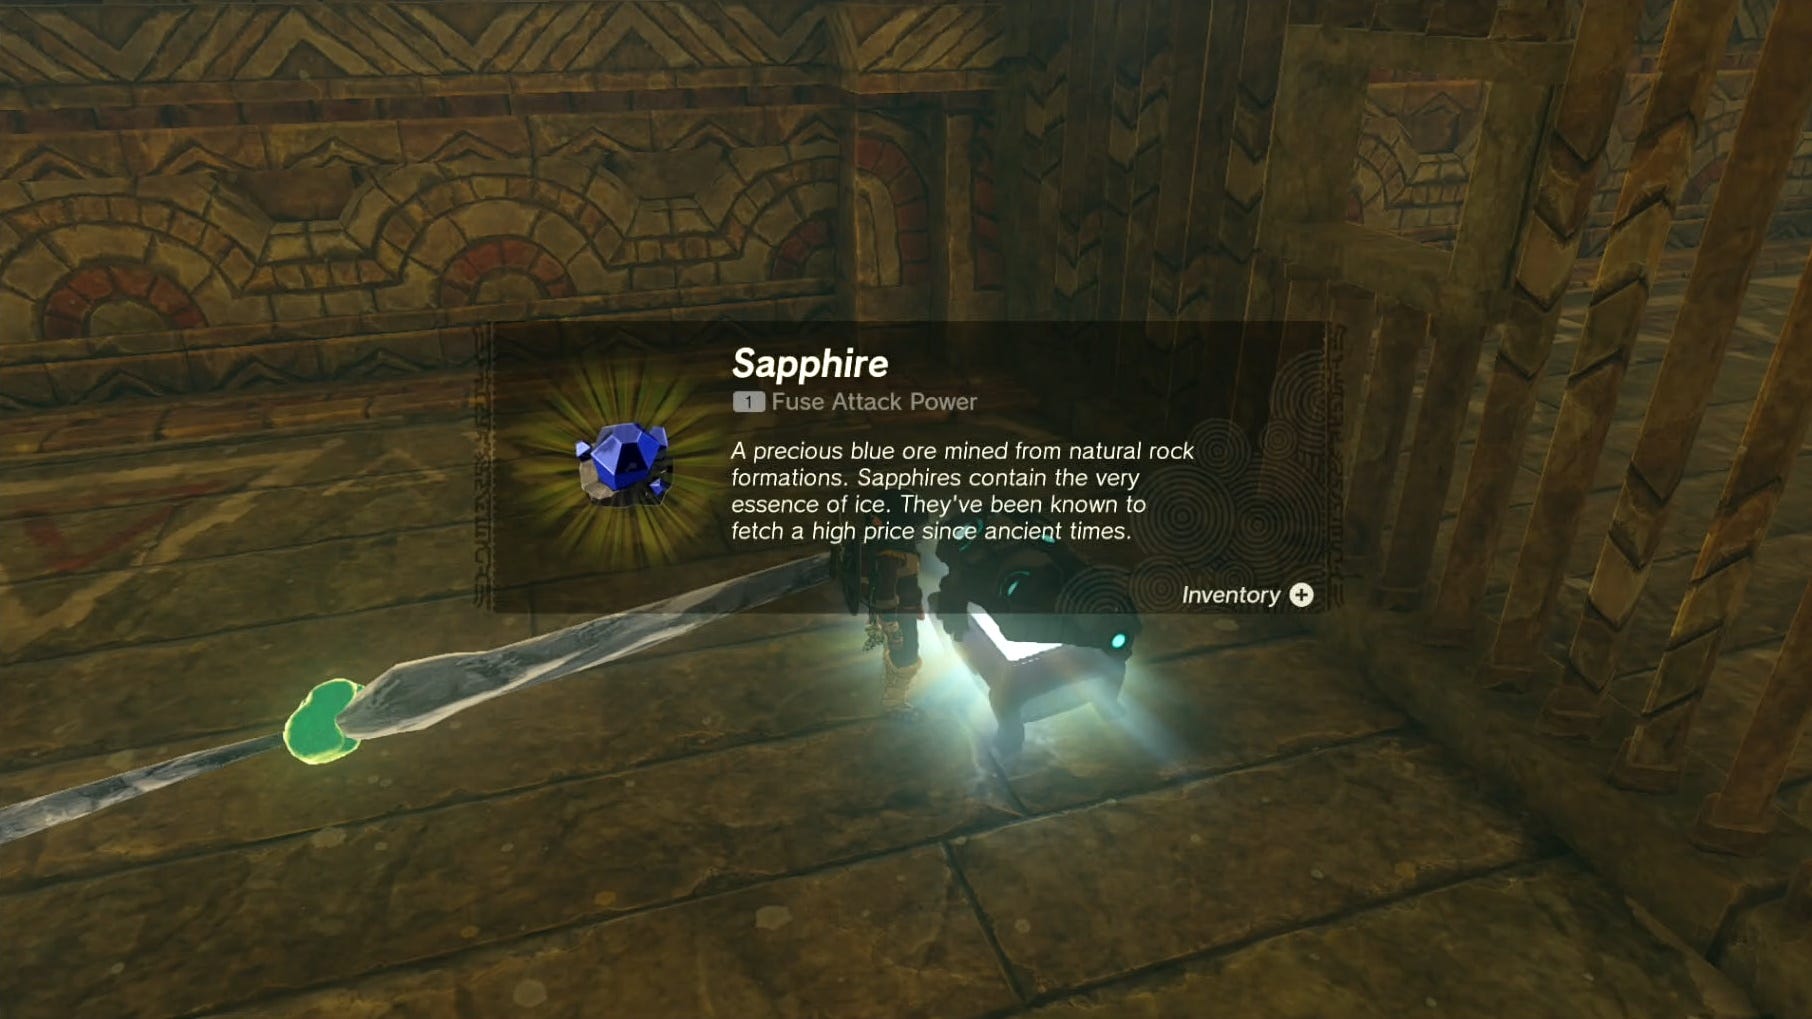
The chest on B1 of the Wind Temple contains a Sapphire, which sells for a high price, so it's best to grab it while Link's here!
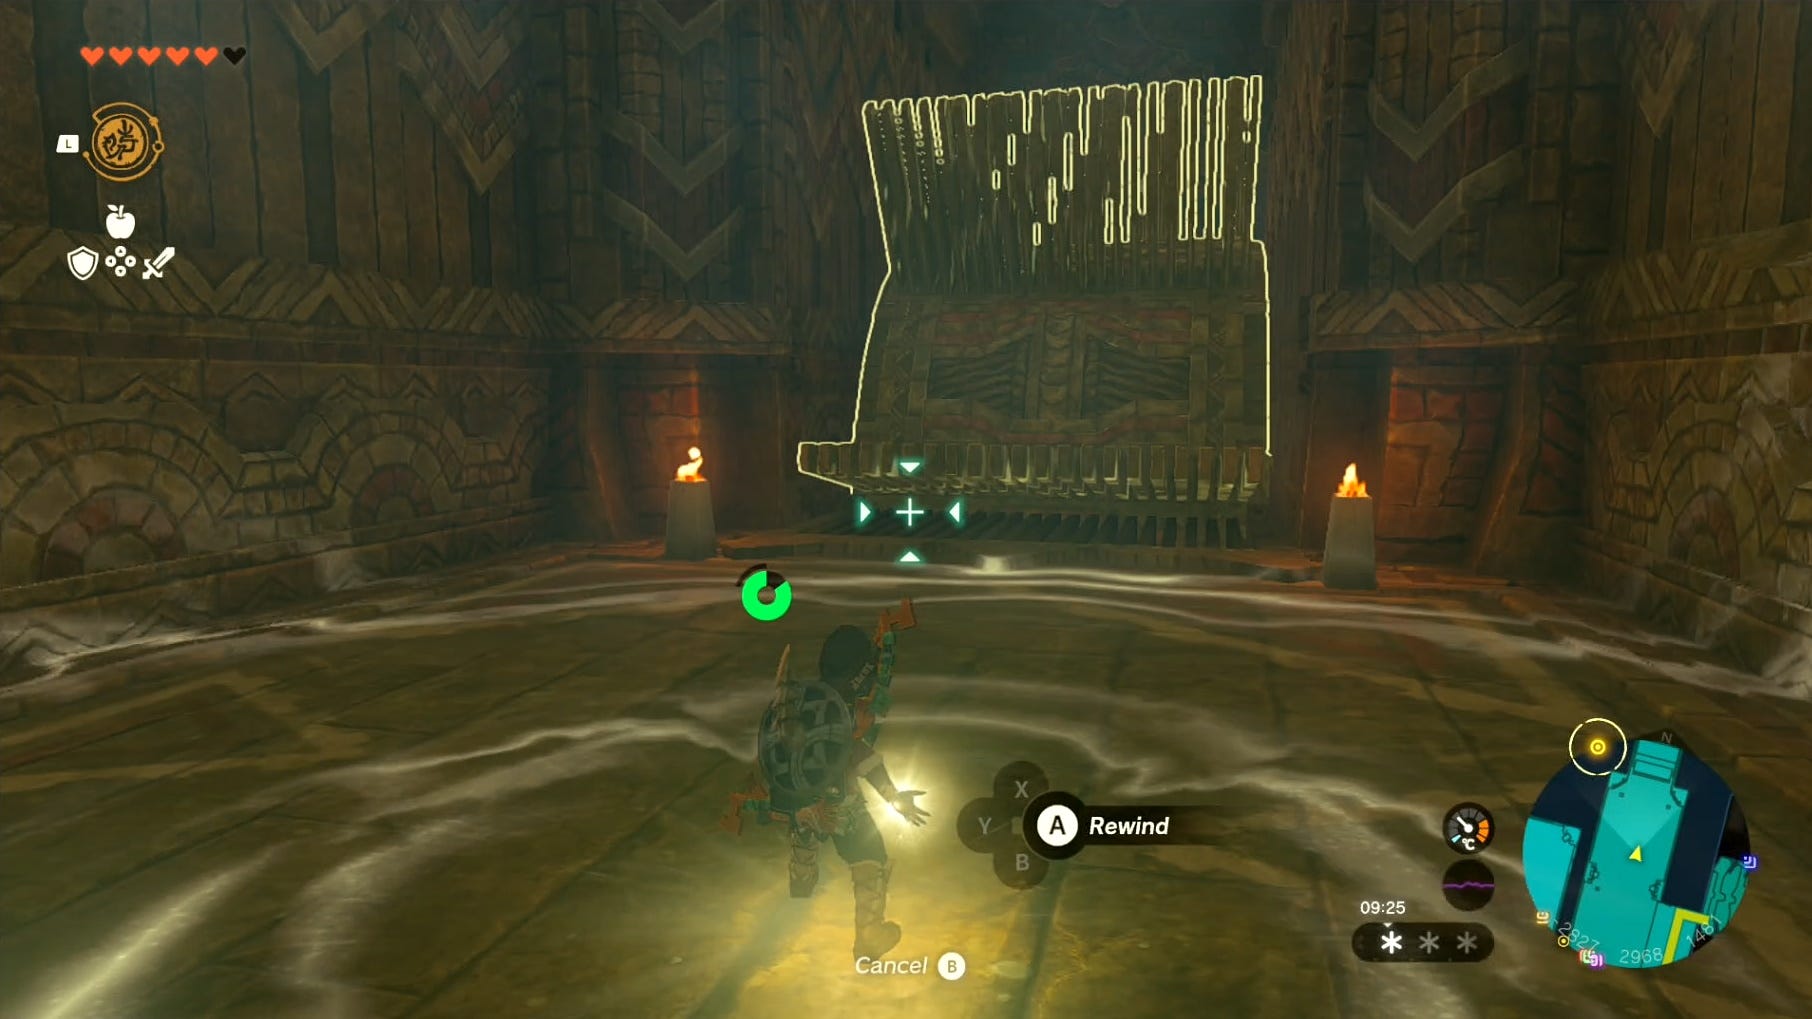
To solve the puzzle and get the chest on B1 of the Wind Temple, you have to use Ultrahand to attach two icicles together, then attach this larger icicle creation to the chest, through the small gap in the bars.
Use Ultrahand to then bring the icicle and chest back through the gap, to open it from the other side. You might have to jiggle the positioning up and down to get the chest to fit through.
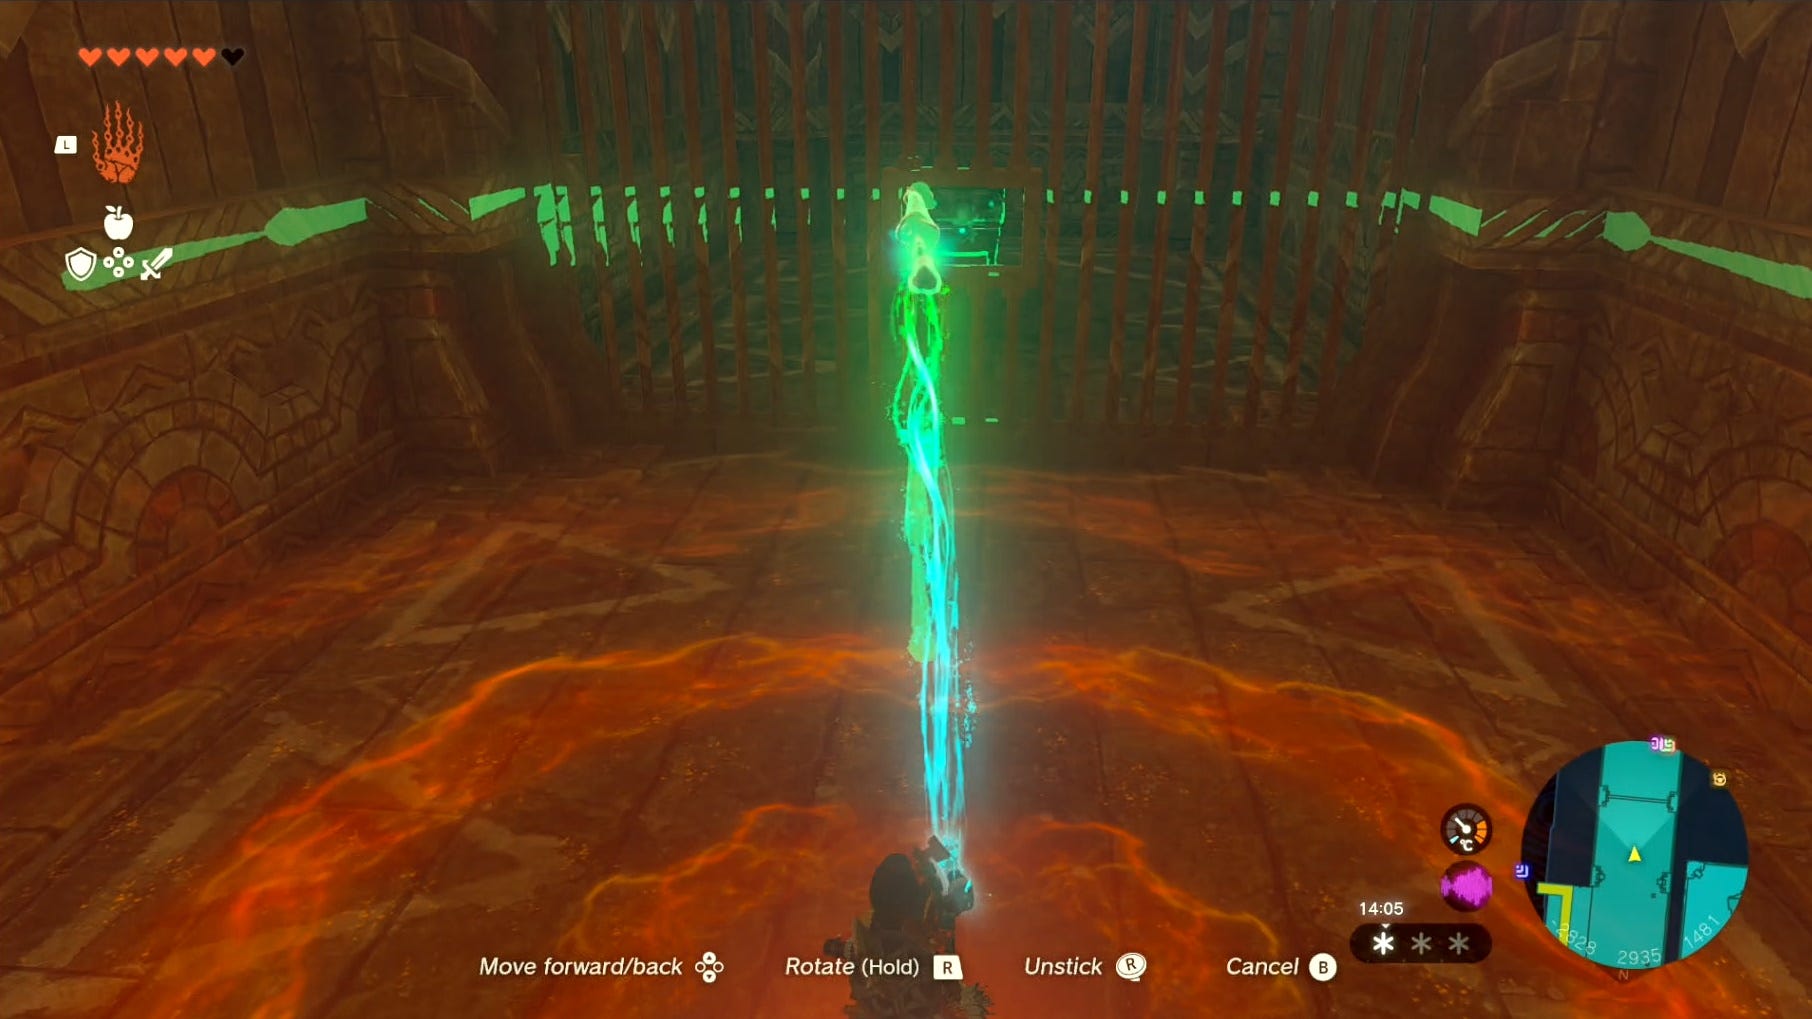
If there aren't any icicles on the ground or ceiling for some reason, then you can try dropping weapons and attaching them to the chest instead, then pick them back up when you're done.
Once you've completed the Wind Temple, why not take on the nearby Mayaumekis Shrine? The useful Frostbite Shirt isn't too far away either.