Animal Crossing tools: How to get an Axe, Shovel, Rod, Net, Slingshot and Watering Can in New Horizons
How to get all the important equipment need to set your island straight.


Without a good set of tools in Animal Crossing: New Horizons you're quickly going to find yourself Bell-less and with a very empty museum.
Each tool, from the shovel to the watering can, allows you to complete important tasks on your island. This can be anything from gathering materials with the axe to collecting bugs to sell with the net.
If you want any of these tools, however, then you'll need to find the DIY recipe for each one, so you can build it. Eventually you might even earn DIY recipes for Golden Tools.
On this page:
How to get tools:
- Axes in Animal Crossing explained, and how to get an Axe in New Horizons
- Fishing Rods in Animal Crossing explained, and how to get a Rod in New Horizons
- Nets in Animal Crossing explained, and how to get a Net in New Horizons
- Shovels in Animal Crossing explained, and how to get a Shovel in New Horizons
- Slingshots in Animal Crossing explained, and how to get a Slingshot in New Horizons
- Watering Cans in Animal Crossing explained, and how to get a Watering Can in New Horizons
How to get Tools in Animal Crossing: New Horizons
Forget about a table that looks like an orange, tools are the most important items in Animal Crossing: New Horizons. You need an axe to chop down trees, a fishing rod to catch fish and a shovel to dig up fossils, among many other important jobs.
Without the right tools you wouldn't be able to easily earn Bells or donate items to the museum either.
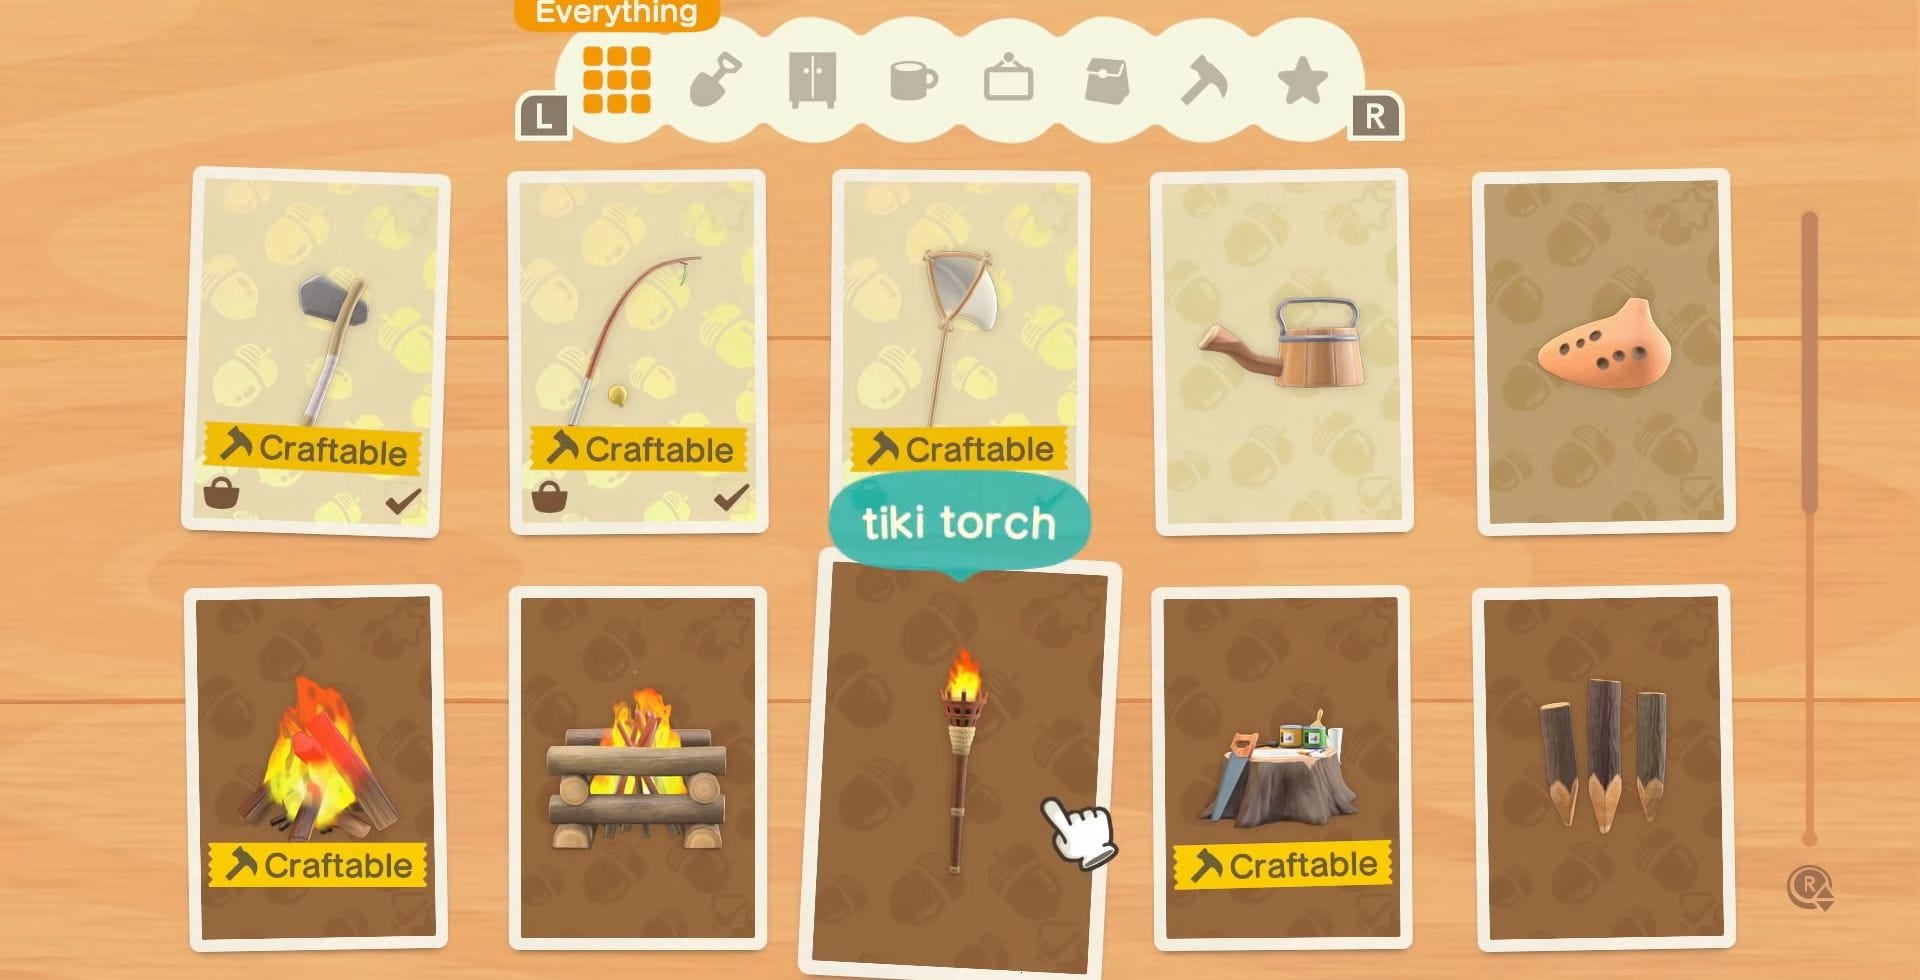
New Horizons has, however, changed how you initially find each tool. Rather than simply buying your tools from Tom Nook, you have the ability to craft each one using the materials you gather from across your island.
To create a tool you need to find its DIY recipe, which will allow you to craft it at any DIY workbench.
How to get DIY tool recipes
In the beginning, you'll only be able to craft flimsy tools. You can get these on the first day by donating insects or fish to Tom Nook, who will give them to you.
To get better tools, you need to get the 'DIY For Beginners' pack from Timmy, which costs 480 bells. It's worth noting most of these require the flimsy tool as part of its construction - we recommend buying these from Timmy to save on materials.
There are then more tools which are gated by progress. The Shovel and Vaulting Pole require Blathers and the museum to appear on the island, while the Ladder is given to you after Tom Nook asks you to help set up new Villager plots.
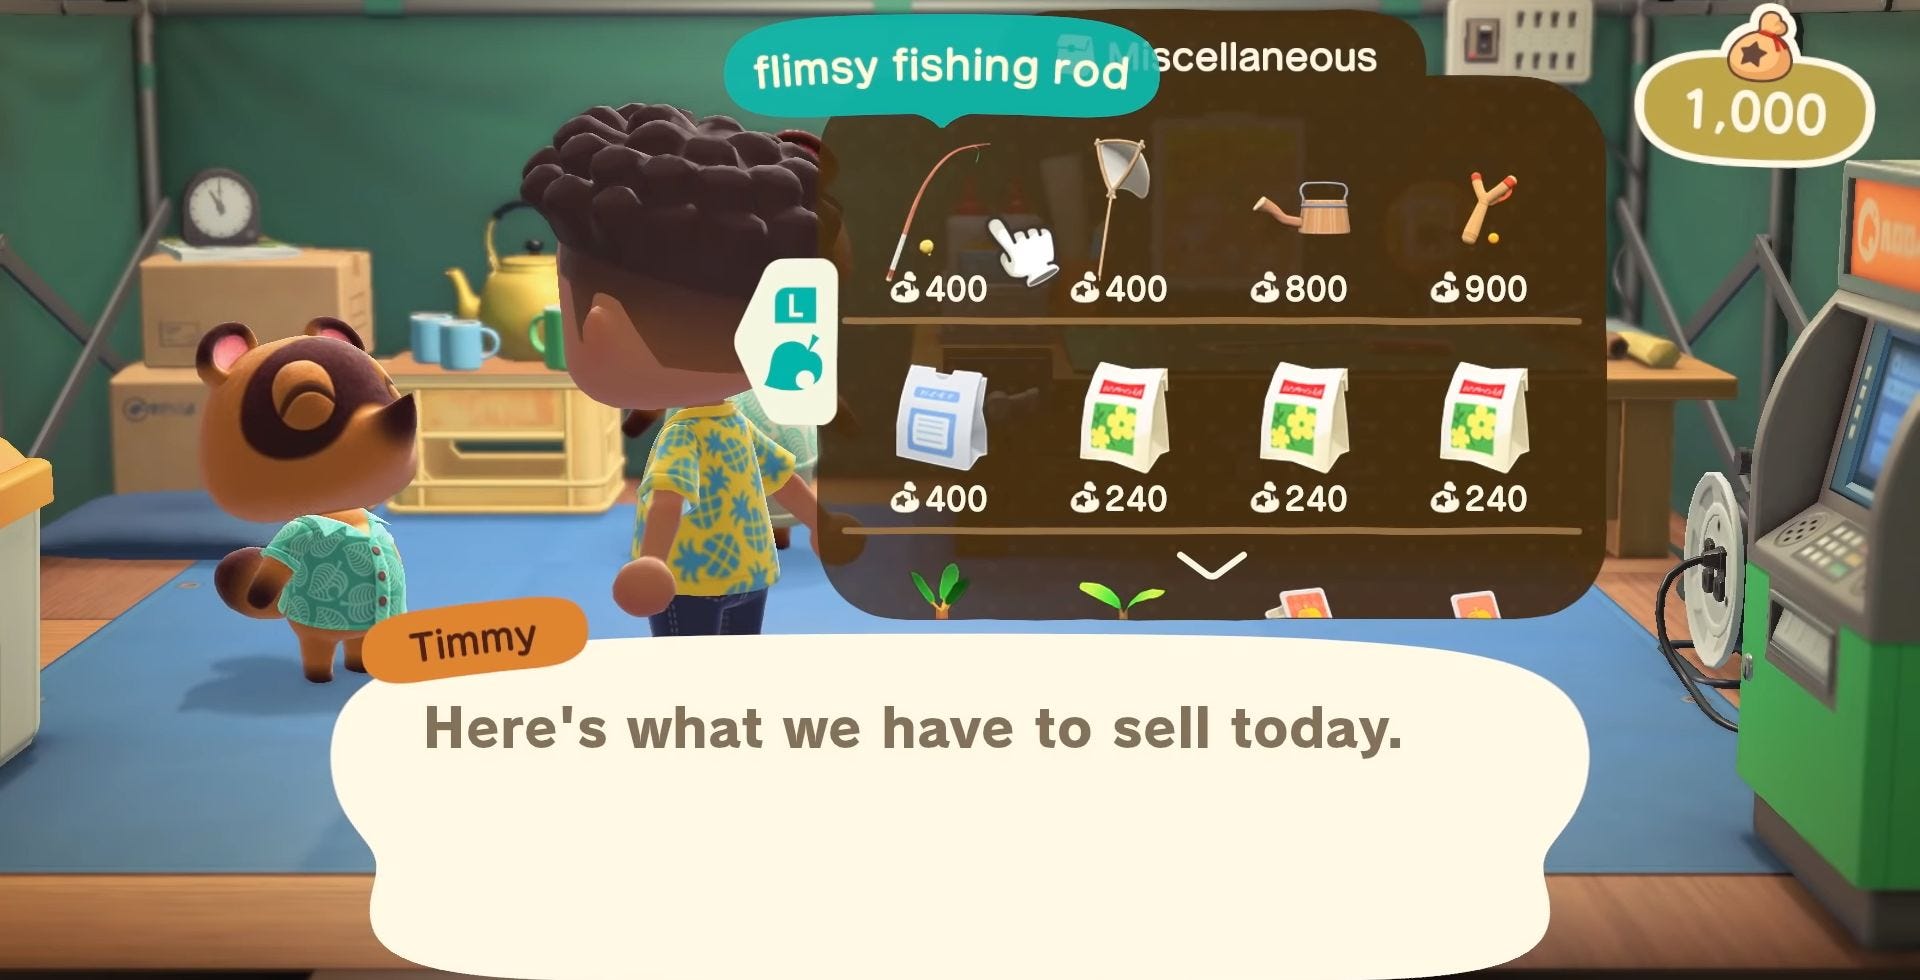
You can, however, be able to buy flimsy tools from Residential Services and Nook's Cranny once it opens.
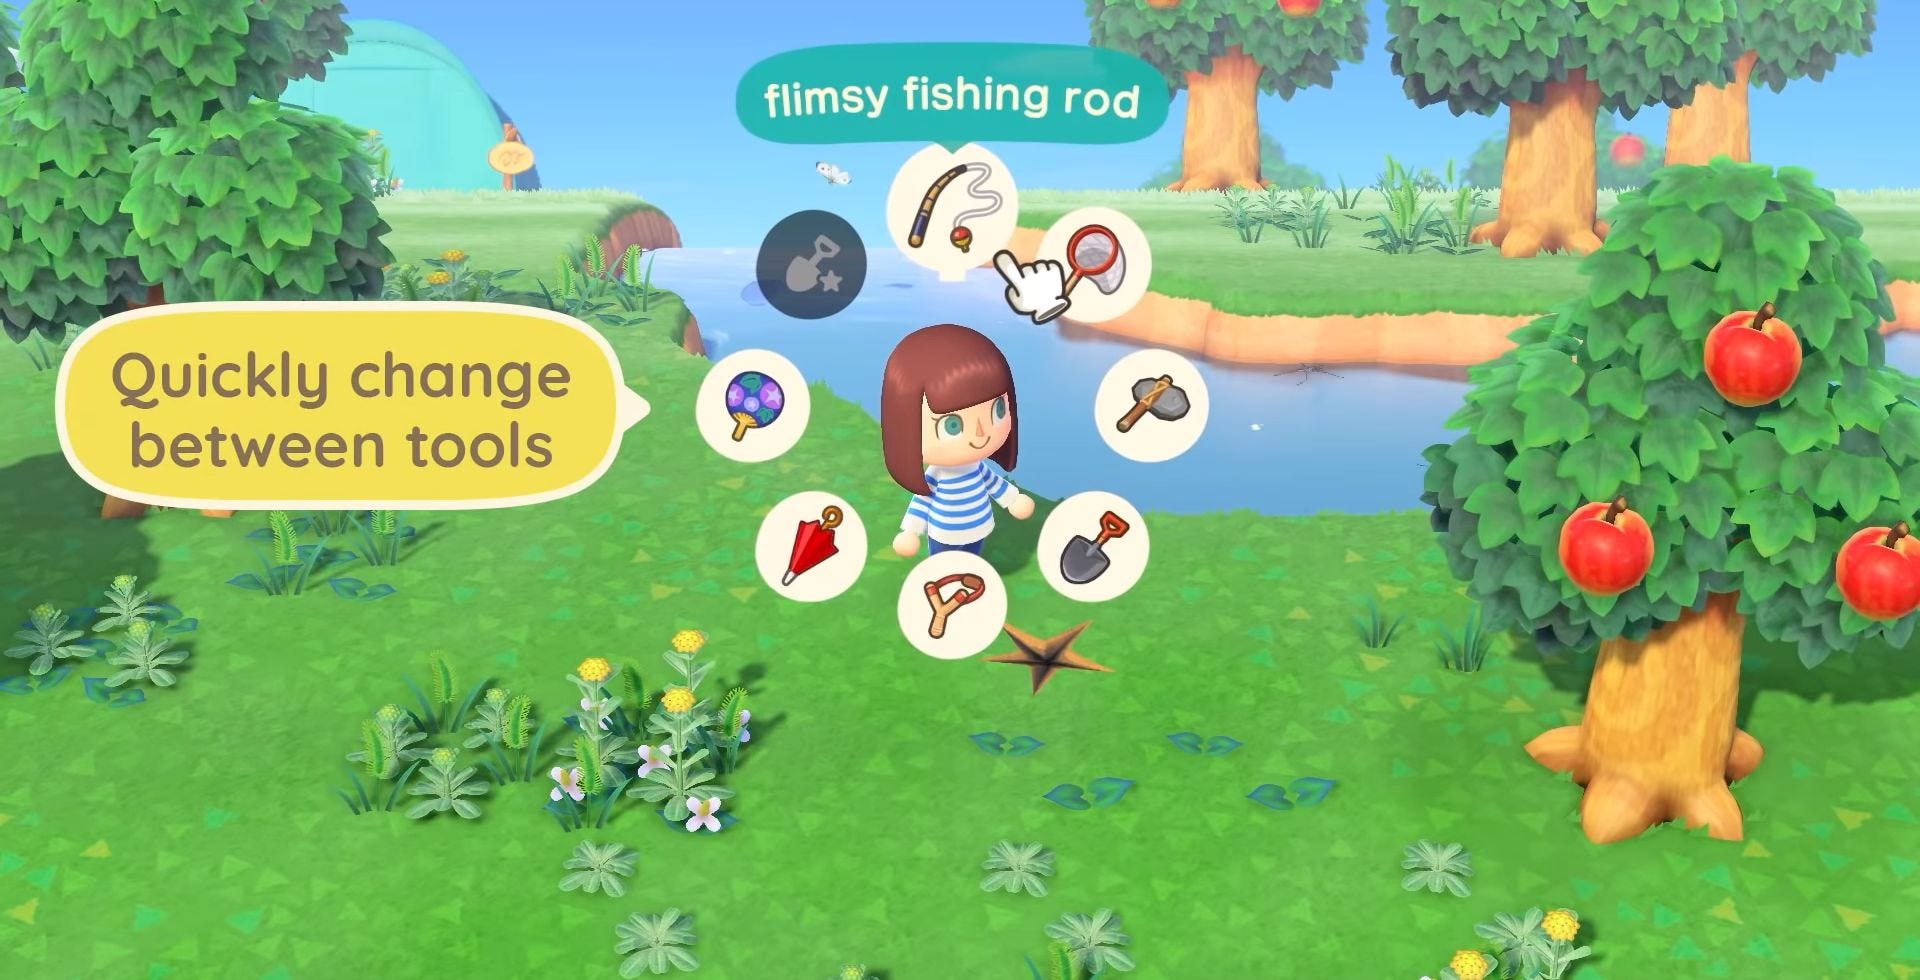
Another tip - if you want to access all of your tools quickly, without having to access your inventory, then you need to purchase the Tool Ring from the Nook Stop, which is located in Residential Services, in exchange for 800 Nook Miles.
Where to find tool recipes in Animal Crossing: New Horizons explained
If you want to craft a tool in Animal Crossing: New Horizons, then you must first find its DIY recipe.
To do this you must talk to Tom Nook in Residential Services and select the option for, 'What should I do?'
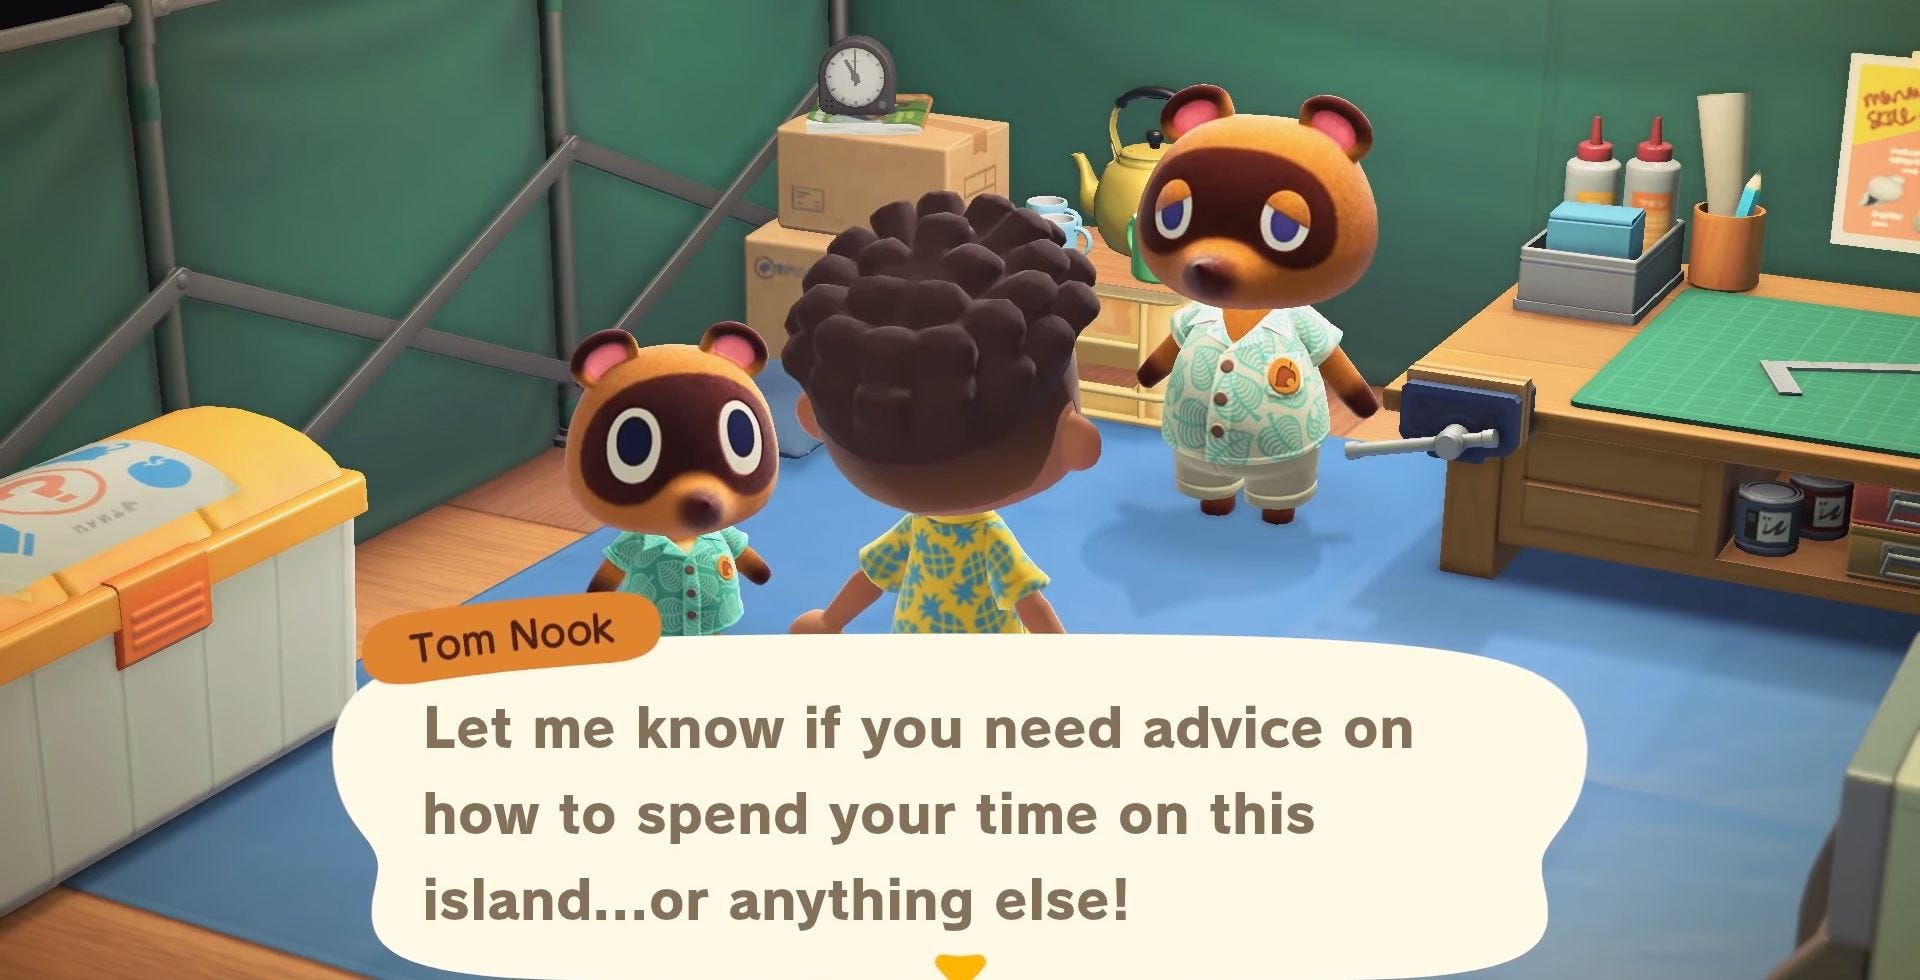
Nook will then tell you which task you should focus on next to further the development of your island. As part of these instructions he will give you the DIY recipes you need to build certain tools.
Once you have these recipes, you can collect all the materials you need and head to the nearest DIY workbench, either one you've built yourself or the one in Residential Services, to craft your new tool.
Not all tool DIY recipes, however, come from Tom Nook. Blathers, the owl who runs the museum, will give you the recipe you need to craft a Vaulting Pole and, in exchange for 3,000 Nook Miles, you can buy 'Pretty Good Tools Recipes' from the Nook Stop, which will allow you to upgrade your tools.
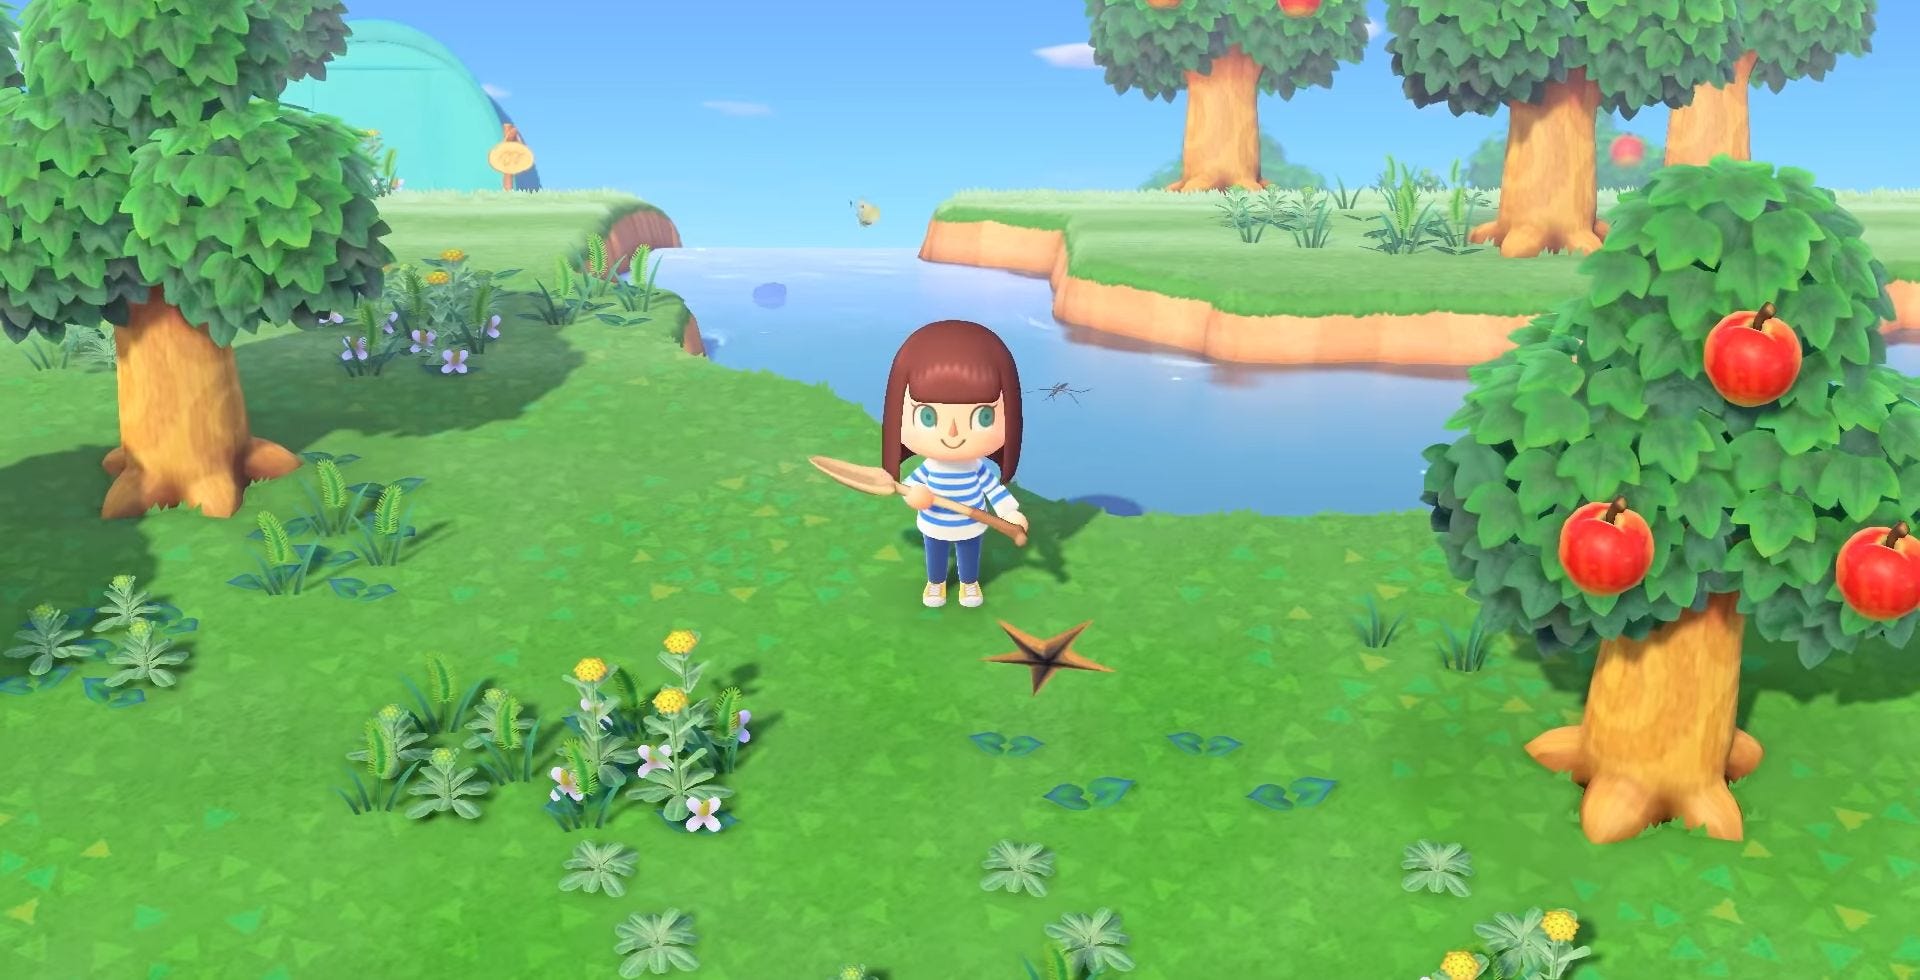
Axes in Animal Crossing explained, and how to get an Axe in New Horizons
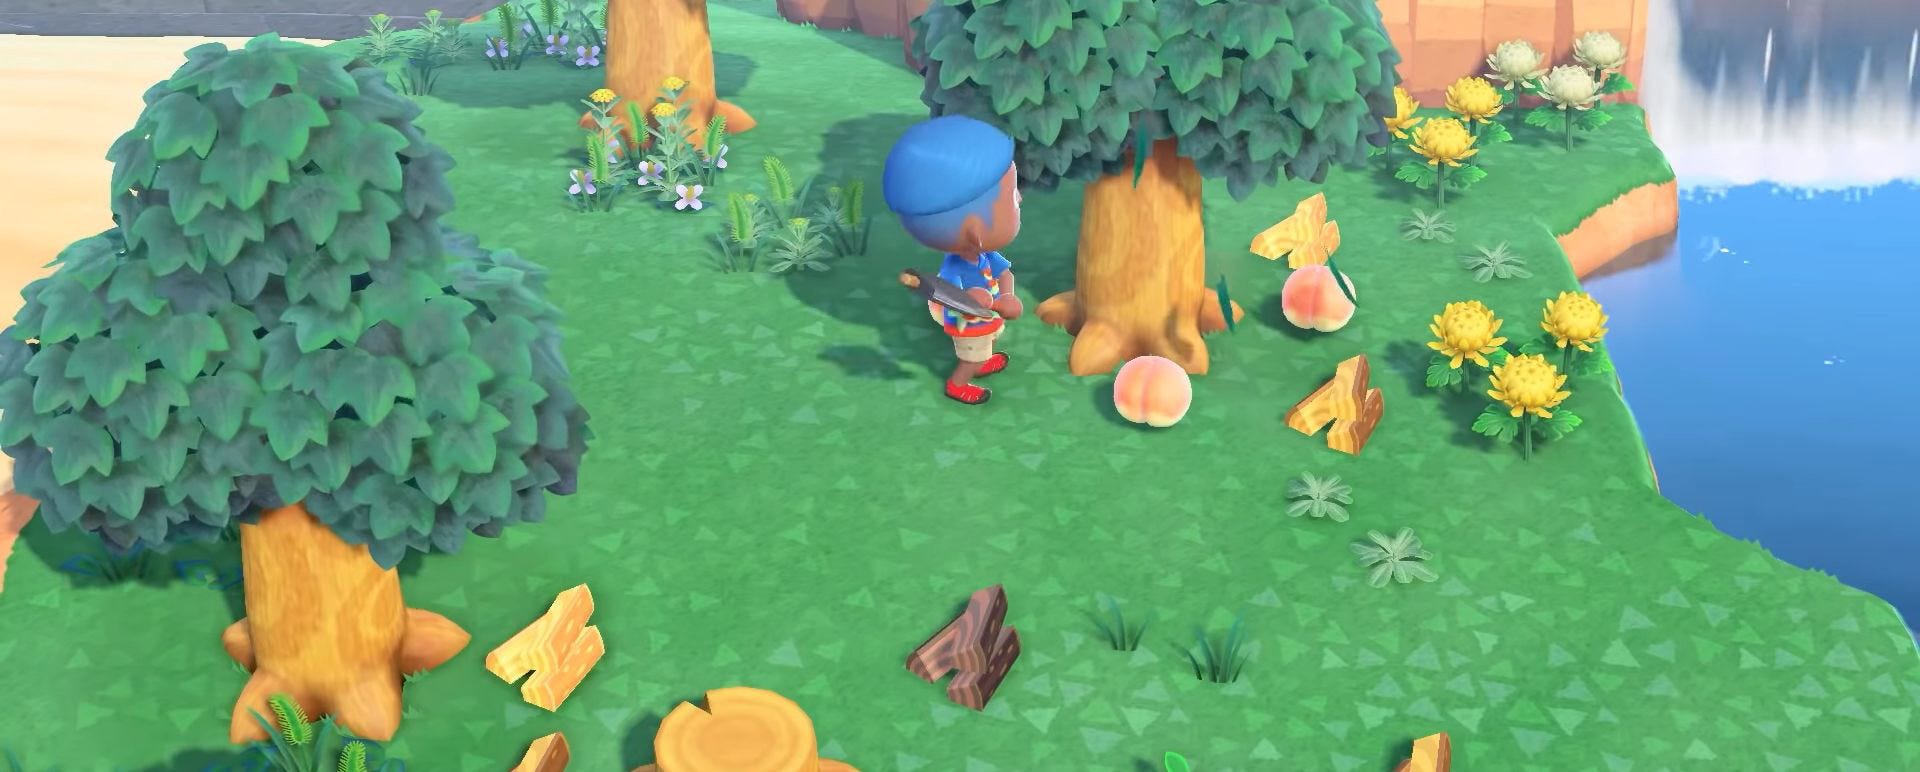
If there's one tool that you want to prioritise creating in Animal Crossing: New Horizons, then it's the axe. Not only will it chop down any meddlesome tree, but you need an axe to collect wood, softwood and hardwood, which are important crafting materials in New Horizons.
Unlike other tools, there are three types of axe for you to create - Flimsy Axe, Stone Axe and, finally, Axe.
To obtain an Axe you must first craft or buy a Flimsy Axe, then upgrade it to a Stone Axe, which itself can be upgraded to a Stone Axe.
The Flimsy Axe will break after its used 30 times, while the Stone Axe and Axe will last longer.
If you'd rather buy a Flimsy Axe than craft one, it will cost you 800 Bells.
Below you'll find a list of each type of axe in New Horizons, along with the materials required to craft them:
| Tool | Material 1 | Material 2 | Material 3 |
|---|---|---|---|
| Flimsy Axe | 5x Tree Branch | 1x Stone | |
| Stone Axe | 1x Flimsy Axe | 3x Wood | |
| Axe | 1x Stone Axe | 3x Wood | 1x Iron Nugget |
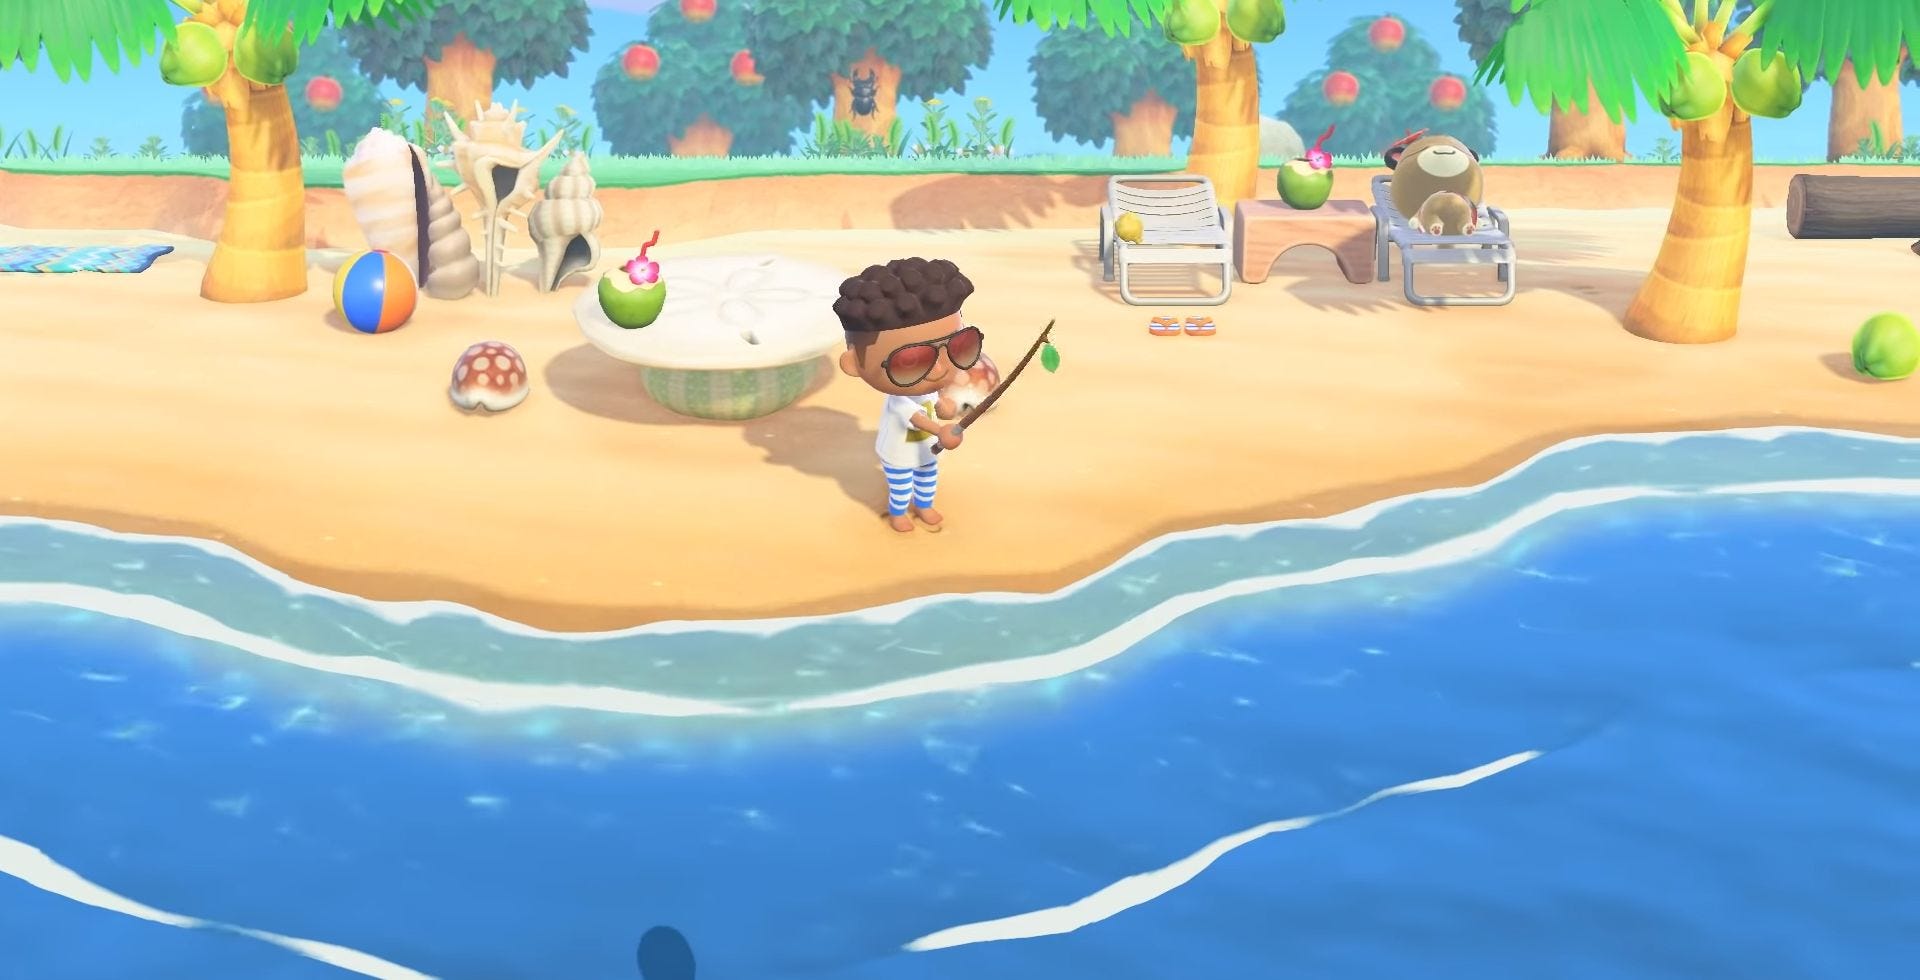
Fishing Rods in Animal Crossing explained, and how to get a Rod in New Horizons
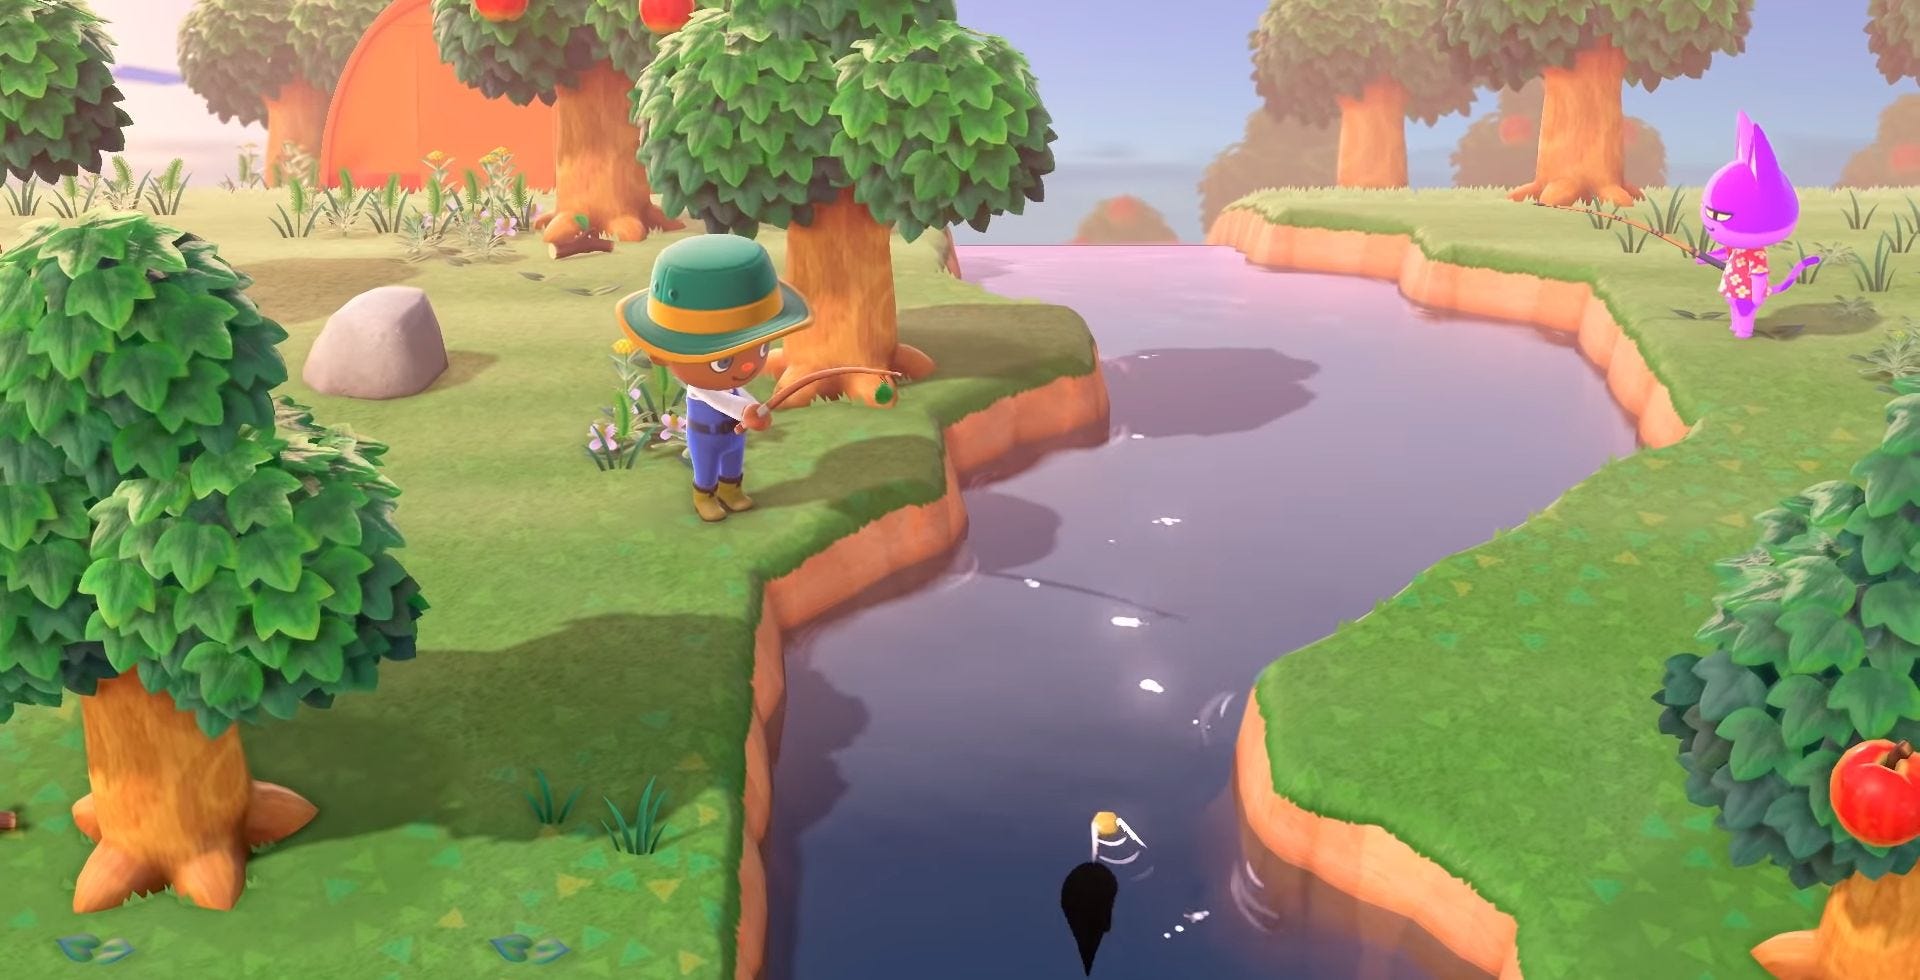
We can guarantee that you're going to spend an awful lot of your time in Animal Crossing: New Horizons fishing; especially since selling fish is a great way to earn some Bells and the Museum is always looking for new donations.
There are two types of Fishing Rod in New Horizons - the Flimsy Fishing Rod and the Fishing Rod.
The Flimsy Fishing Rod will last for 30 uses, while the Fishing Rod will last longer.
If you want to own a Fishing Rod, then you need to upgrade the Flimsy Fishing Rod.
Buying a Flimsy Fishing Rod rather than crafting one will set you back 400 Bells.
Below you'll find exactly what materials you need to craft both fishing rods:
| Tool | Material 1 | Material 2 |
|---|---|---|
| Flimsy Fishing Rod | 5x Tree Branch | |
| Fishing Rod | 1x Flimsy Fishing Rod | 1x Iron Nugget |
Nets in Animal Crossing explained, and how to get a Net in New Horizons
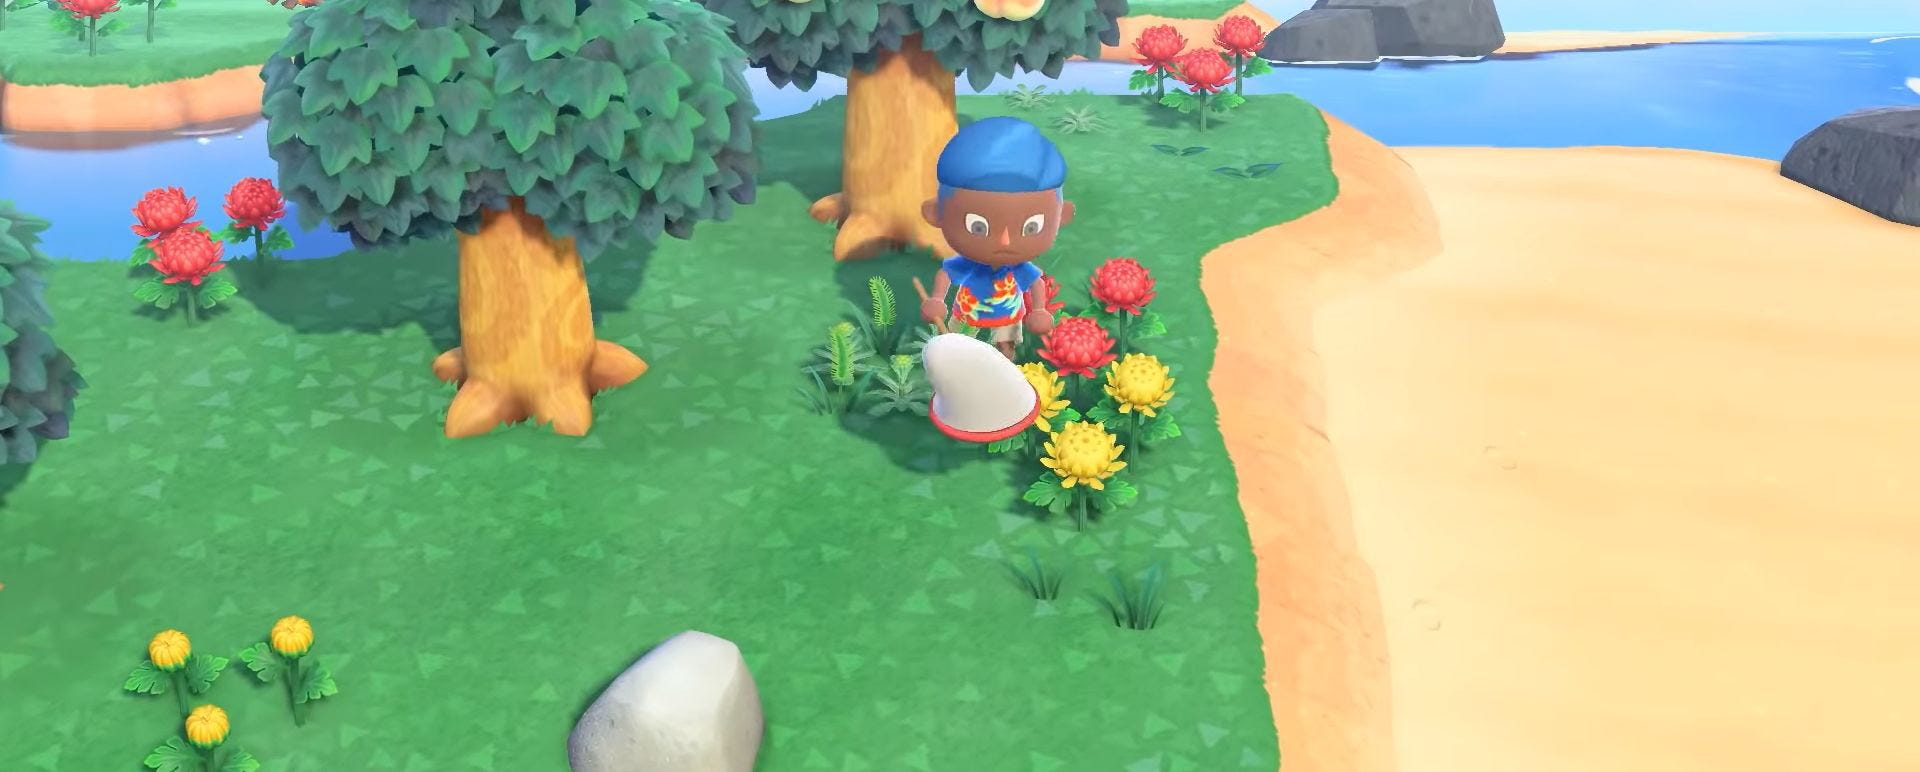
Your island in Animal Crossing: New Horizons is home to a variety of bugs, which you can catch to either donate to the Museum or sell for Bells. Before you can catch even the slowest of butterflies, however, you need to craft a net.
You have a choice of two nets in New Horizons - the Flimsy Net and the Net.
The Flimsy Net, like all flimsy tools, will last for 30 uses before it breaks and is part of the of the recipe for building the Net, which lasts longer.
You will be able to buy Flimsy Nets for 400 Bells.
Below you'll find the materials required to create both nets:
| Tool | Material 1 | Material 2 |
|---|---|---|
| Flimsy Net | 5x Tree Branch | |
| Net | 1x Flimsy Net | 1x Iron Nugget |
Shovels in Animal Crossing explained, and how to get a Shovel in New Horizons
Shovels in Animal Crossing: New Horizons have a variety of uses, including digging up fossils, removing tree stumps and, of course, burying pitfall traps.
You can craft two different kinds of shovels in New Horizons - the Flimsy Shovel and the Shovel.
Unlike most other tools, you have to wait until Blathers and the museum appears on the island, who will give you the recipe as part of finding fossils for him.
The Flimsy Shovel is the less reliable of the two and will break after 30 uses. The Shovel, meanwhile, will last longer and requires the Flimsy Shovel in its DIY recipe.
If you decide to buy a Flimsy Shovel, it will cost you 800 Bells.
Here are the material you need to collect to craft both versions of the shovel in New Horizons:
| Tool | Material 1 | Material 2 |
|---|---|---|
| Flimsy Shovel | 5x Hardwood | |
| Shovel | 1x Flimsy Shovel | 1x Iron Nugget |
Slingshots in Animal Crossing explained, and how to get a Slingshot in New Horizons
As you wander about your island you might see a present attached to a balloon float by. To make that present yours, you need to pop the balloon and, to do this, you need a Slingshot.
A single Slingshot will cost you 900 Bells, while crafting one will require:
- 5x Hardwood

The Animal Crossing 2.0 update and Happy Home Paradise is here! We can help you with the new additions - including where to find Brewster, Gyroids, new villagers, ordinances, new fences, storage shed, new hairstyles, Froggy Chair, group stretching and Kapp'n boat tours. Cooking is now unlockable, so you need to know how to make both flour and sugar, as well as how to grow carrots, potatoes and tomatoes. Meanwhile, if you're new to Animal Crossing, our New Horizons tips can help with the basics. From the off, there's fish and bugs to catch, flowers and fruit to grow with. One long term goal is building your Happy Home Academy score. Finally, you need tools such as the new ladder and vaulting pole to fully explore.
Watering Cans in Animal Crossing explained, and how to get a Watering Can in New Horizons
You can plant a variety of beautiful flowers across your island in Animal Crossing: New Horizons, but, if you want to keep them alive, you're going to need a watering can.
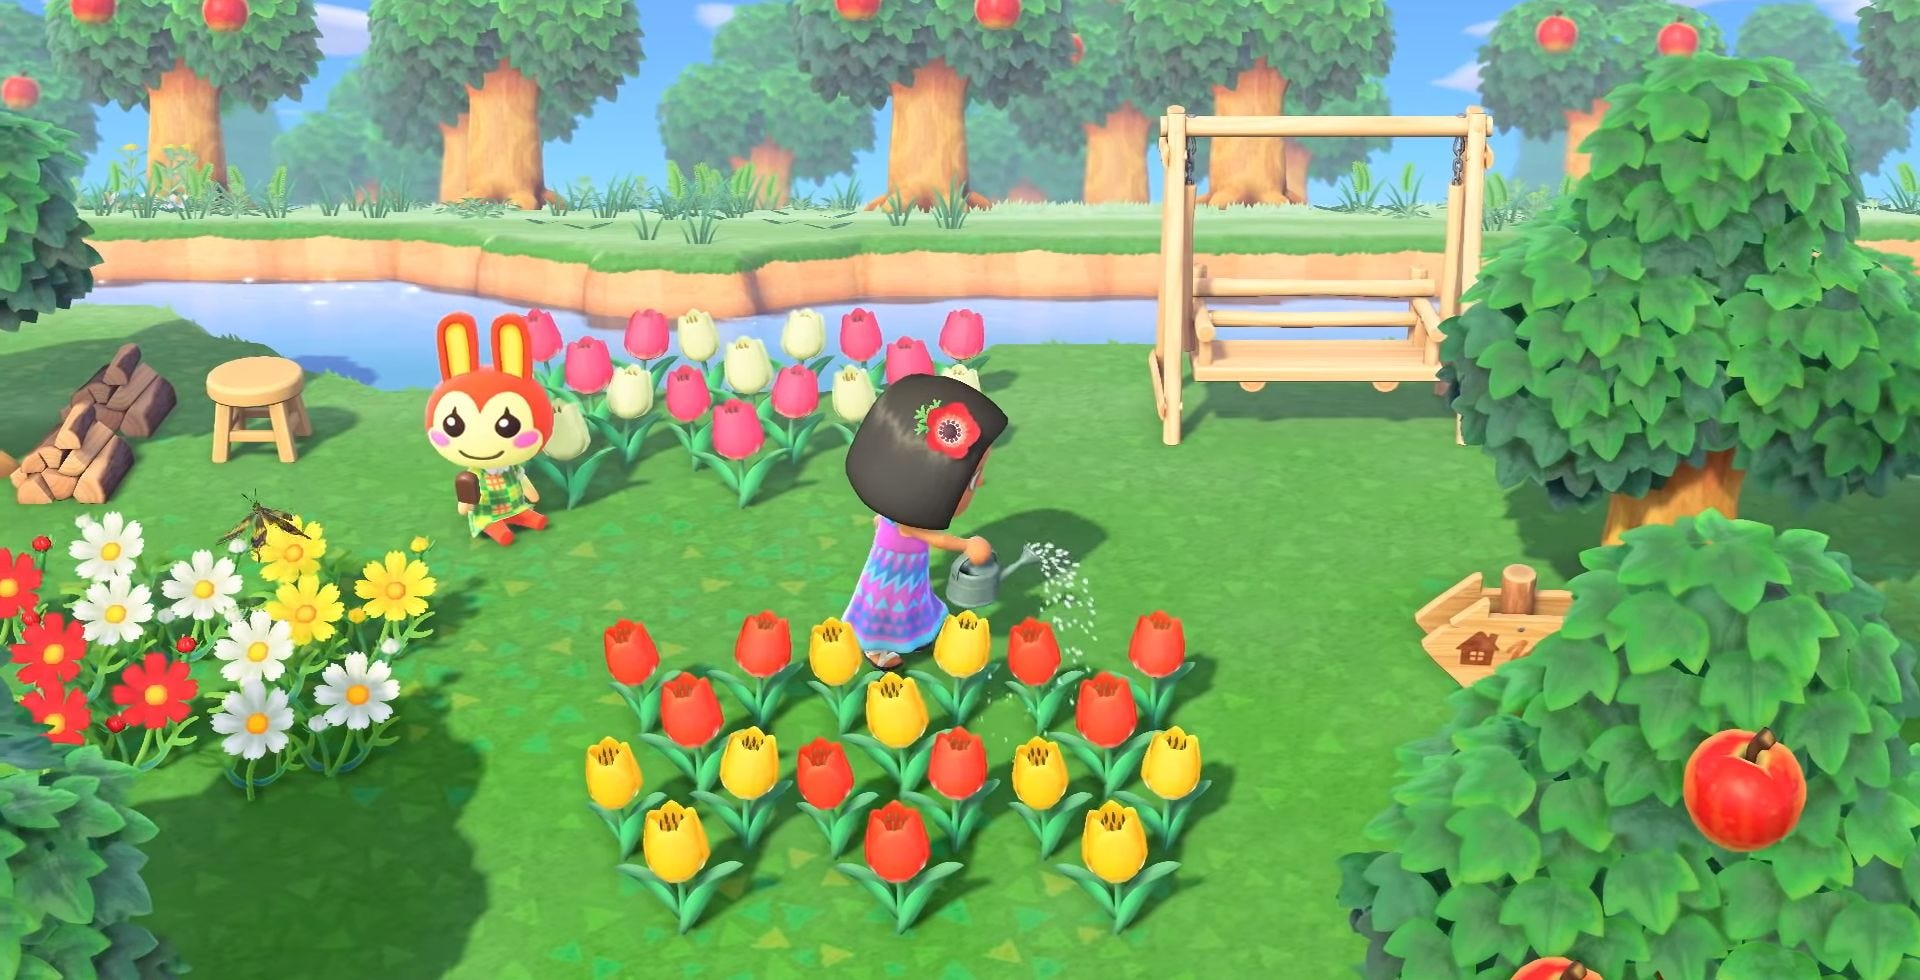
In New Horizons you can craft two different types of watering can - the Flimsy Watering Can and the Watering Can.
The Flimsy Watering Can will break after you use it 30 times and is part of the recipe for the Watering Can, which will last for longer.
It is possible to purchase Flimsy Watering Cans for 800 Bells.
Here are the materials you need in order to create both watering cans:
| Tool | Material 1 | Material 2 |
|---|---|---|
| Flimsy Watering Can | 5x Softwood | |
| Watering Can | 1x Flimsy Watering Can | 1x Iron Nugget |

Good luck on creating your perfect island!