How to reach the Wind Temple in Zelda Tears of the Kingdom
Get ready to glide and bounce off a few boats to reach the middle of the fierce storm.

Knowing how to reach the Wind Temple in Zelda: Tears of the Kingdom can save you several mishaps while traversing the Hebra sky. First of all, we recommend reading our Tulin of Rito Village guide to find out how to reach the point where you can begin to make your climb to the Wind Temple.
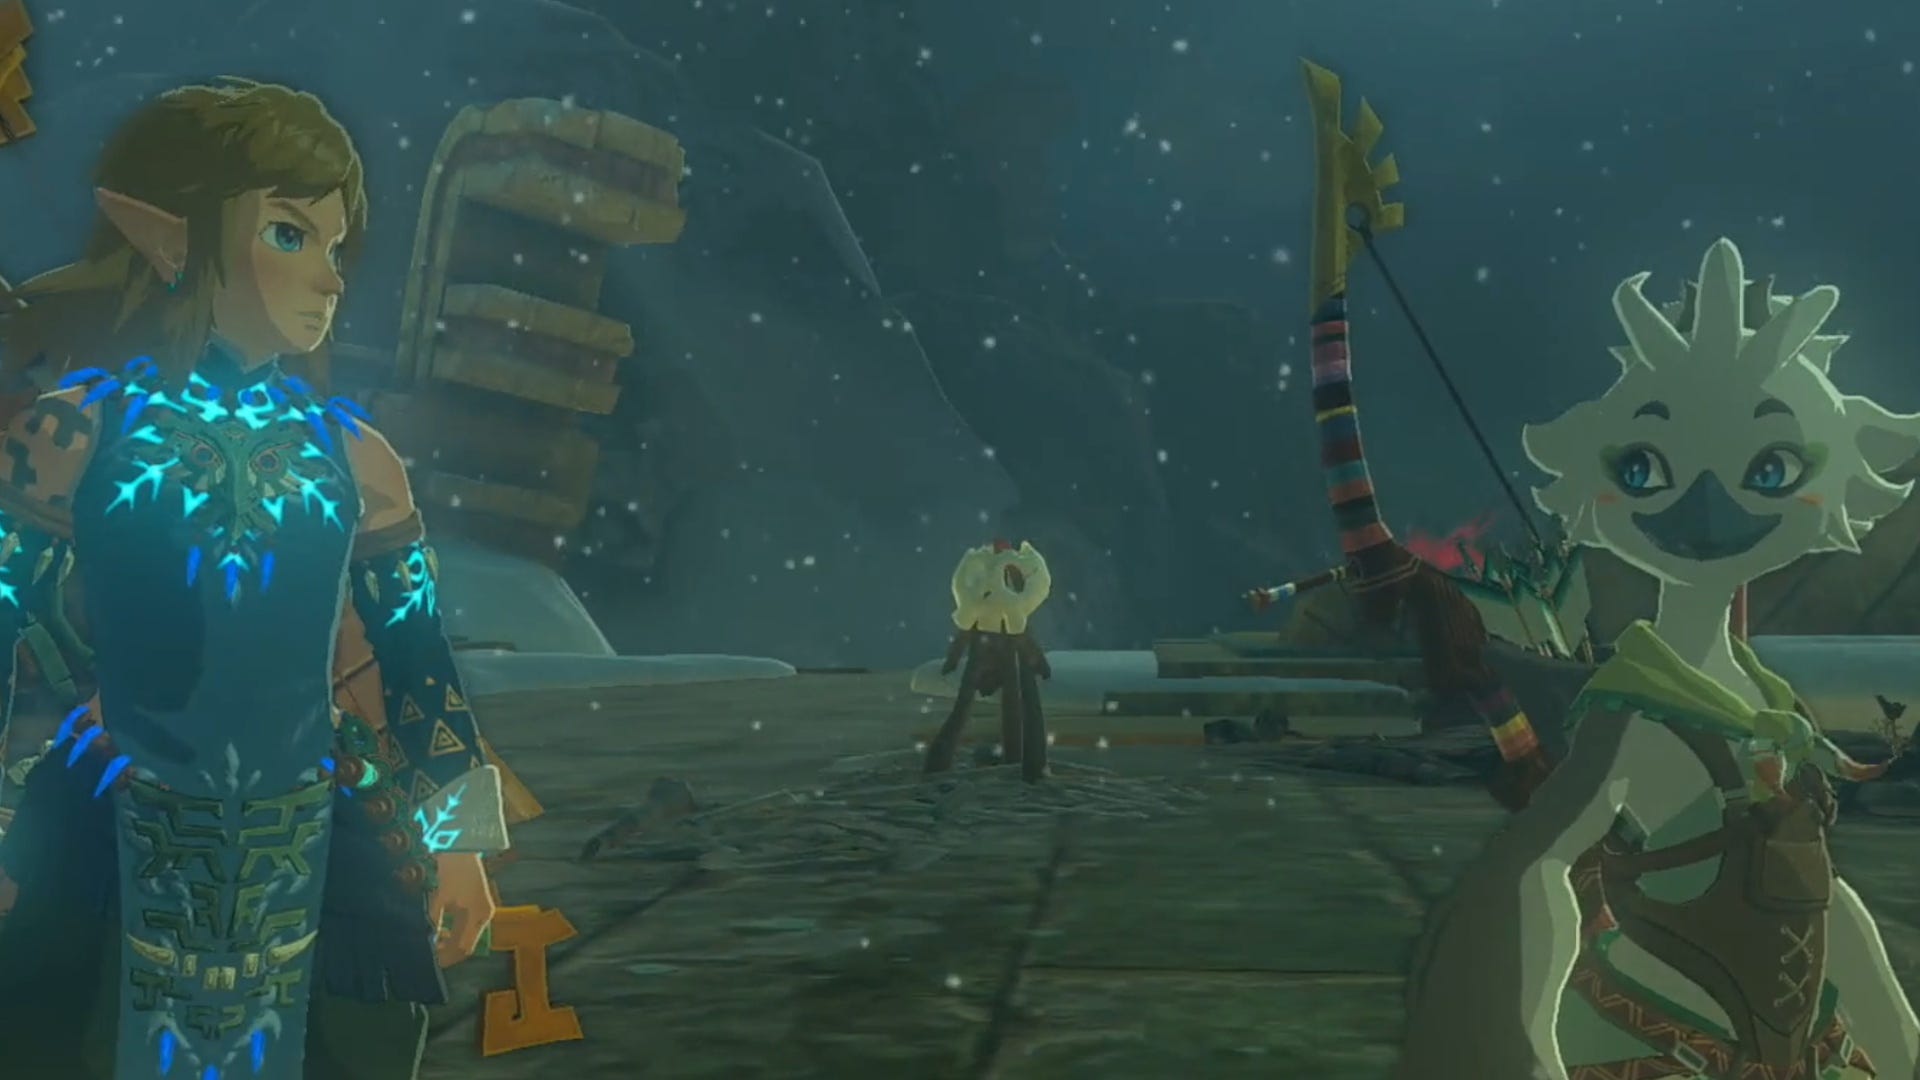
After you get Tulin's Bow back from the pesky Aerocuda in Zelda: Tears of the Kingdom, you'll be instructed to investigate the cloud thought to be causing the blizzard that's covering the Rito in snow. This is when the climb to the Wind Temple begins.
Without further ado brave hero, we're here to show you how to reach the Wind Temple in Zelda: Tears of the Kingdom.

If you'd like to learn more about Link's adventure, visit our Zelda: Tears of the Kingdom walkthrough.
How to reach the Wind Temple in Zelda Tears of the Kingdom
After getting Tulin's Bow back, Harth will instruct the two of you to investigate the cloud that's thought to be causing the blizzard. However, you can't enter the clouds through the sides, the only way to get into it is to get to the very top of it!
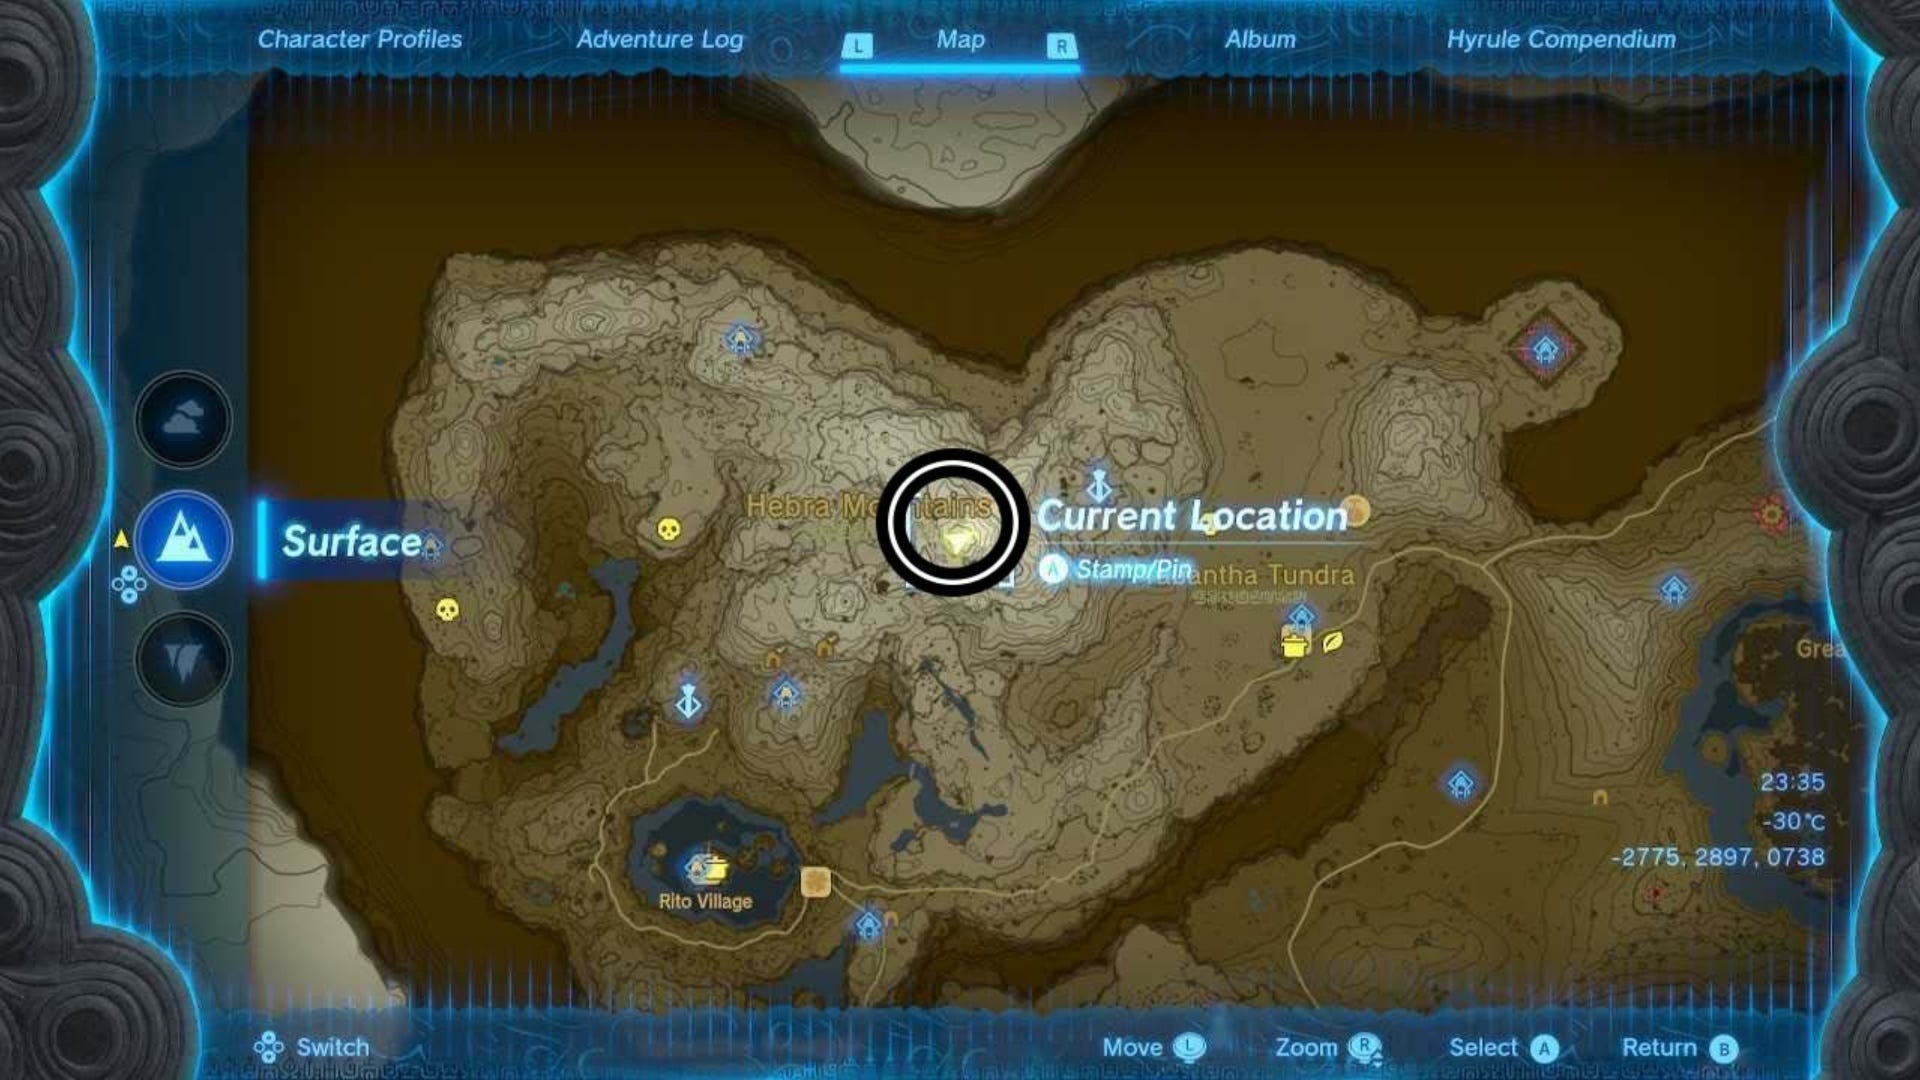
To begin to investigate the cloud, you need to head to Hebra Mountains and stand at the very peak marked on the map below. At the coordinates (-2783, 28899, 0738) you'll find a Rito called Huck. Speak with them and they'll point you in the direction you need to go.
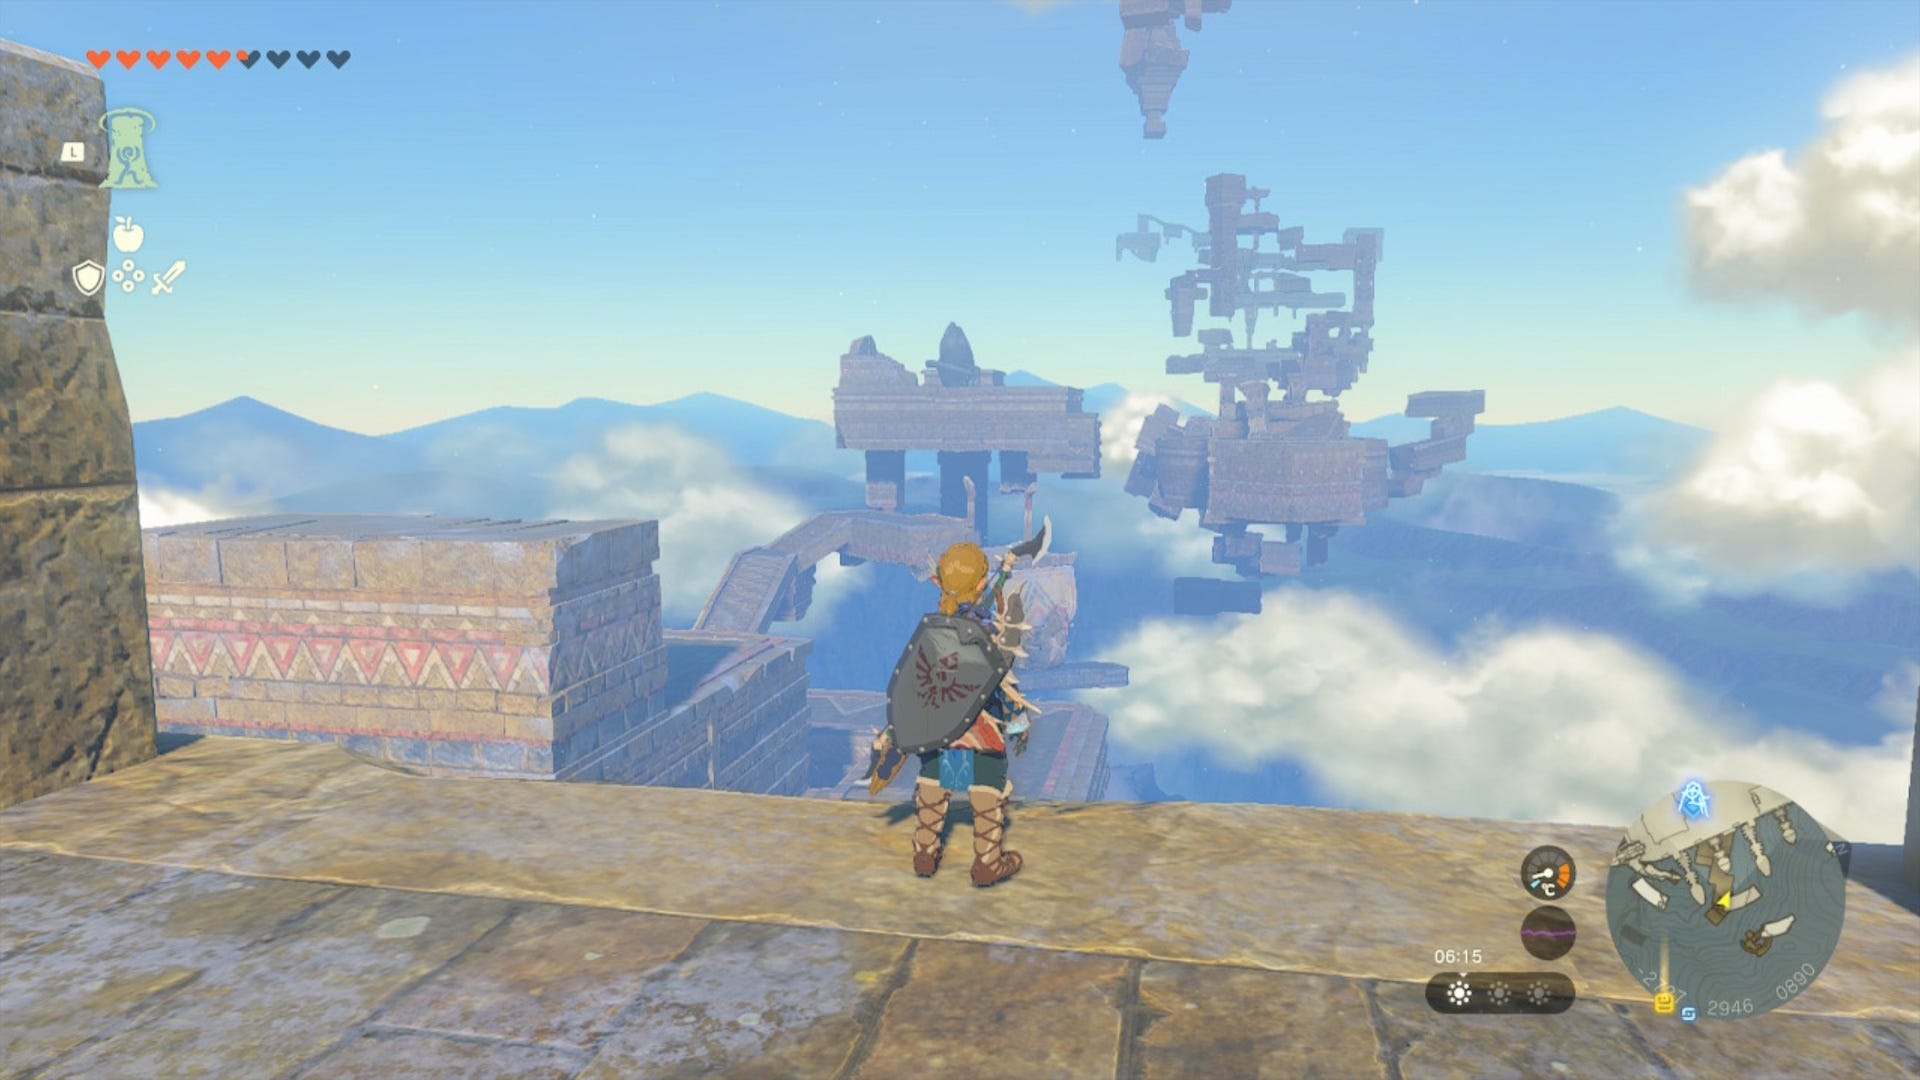
After speaking to Huck, look east to see some floating island platforms opposite you. This is the beginning of the trail you need to follow to get up above the cloud.
Once you're ready, jump and glide across to the first floating island. Remember to use Tulin's ability to help give you an extra boost while in the air!

When you land on this platform you should see two boxes on your right. Use Ultrahand to stack these boxes on top of each other and then place your creation on the side of the platform that's facing east, towards the next set of floating islands.
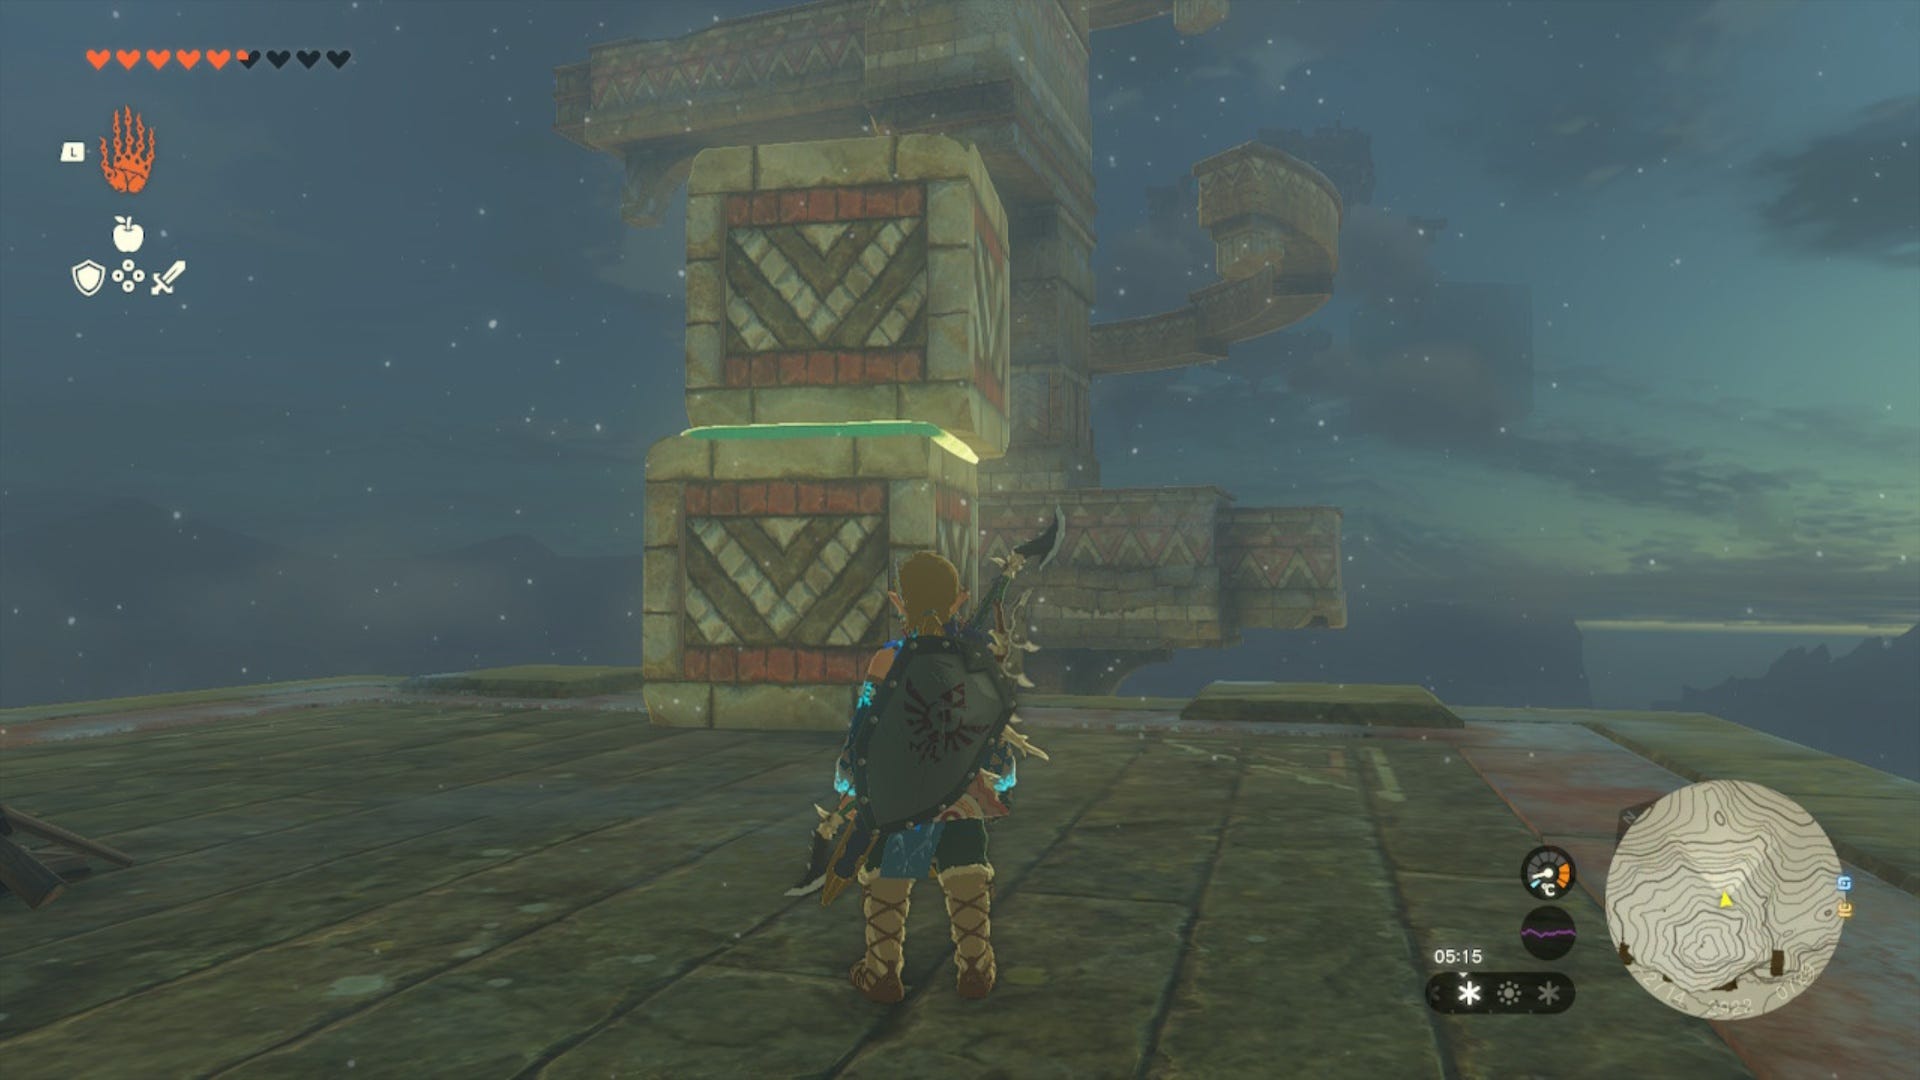
Climb up your stacked cubes then jump and glide across to the next island opposite you.
When you land here, use Ascend to make your way to the very top of is island chain and then climb up the thick pillar in the center to stand on top of it.
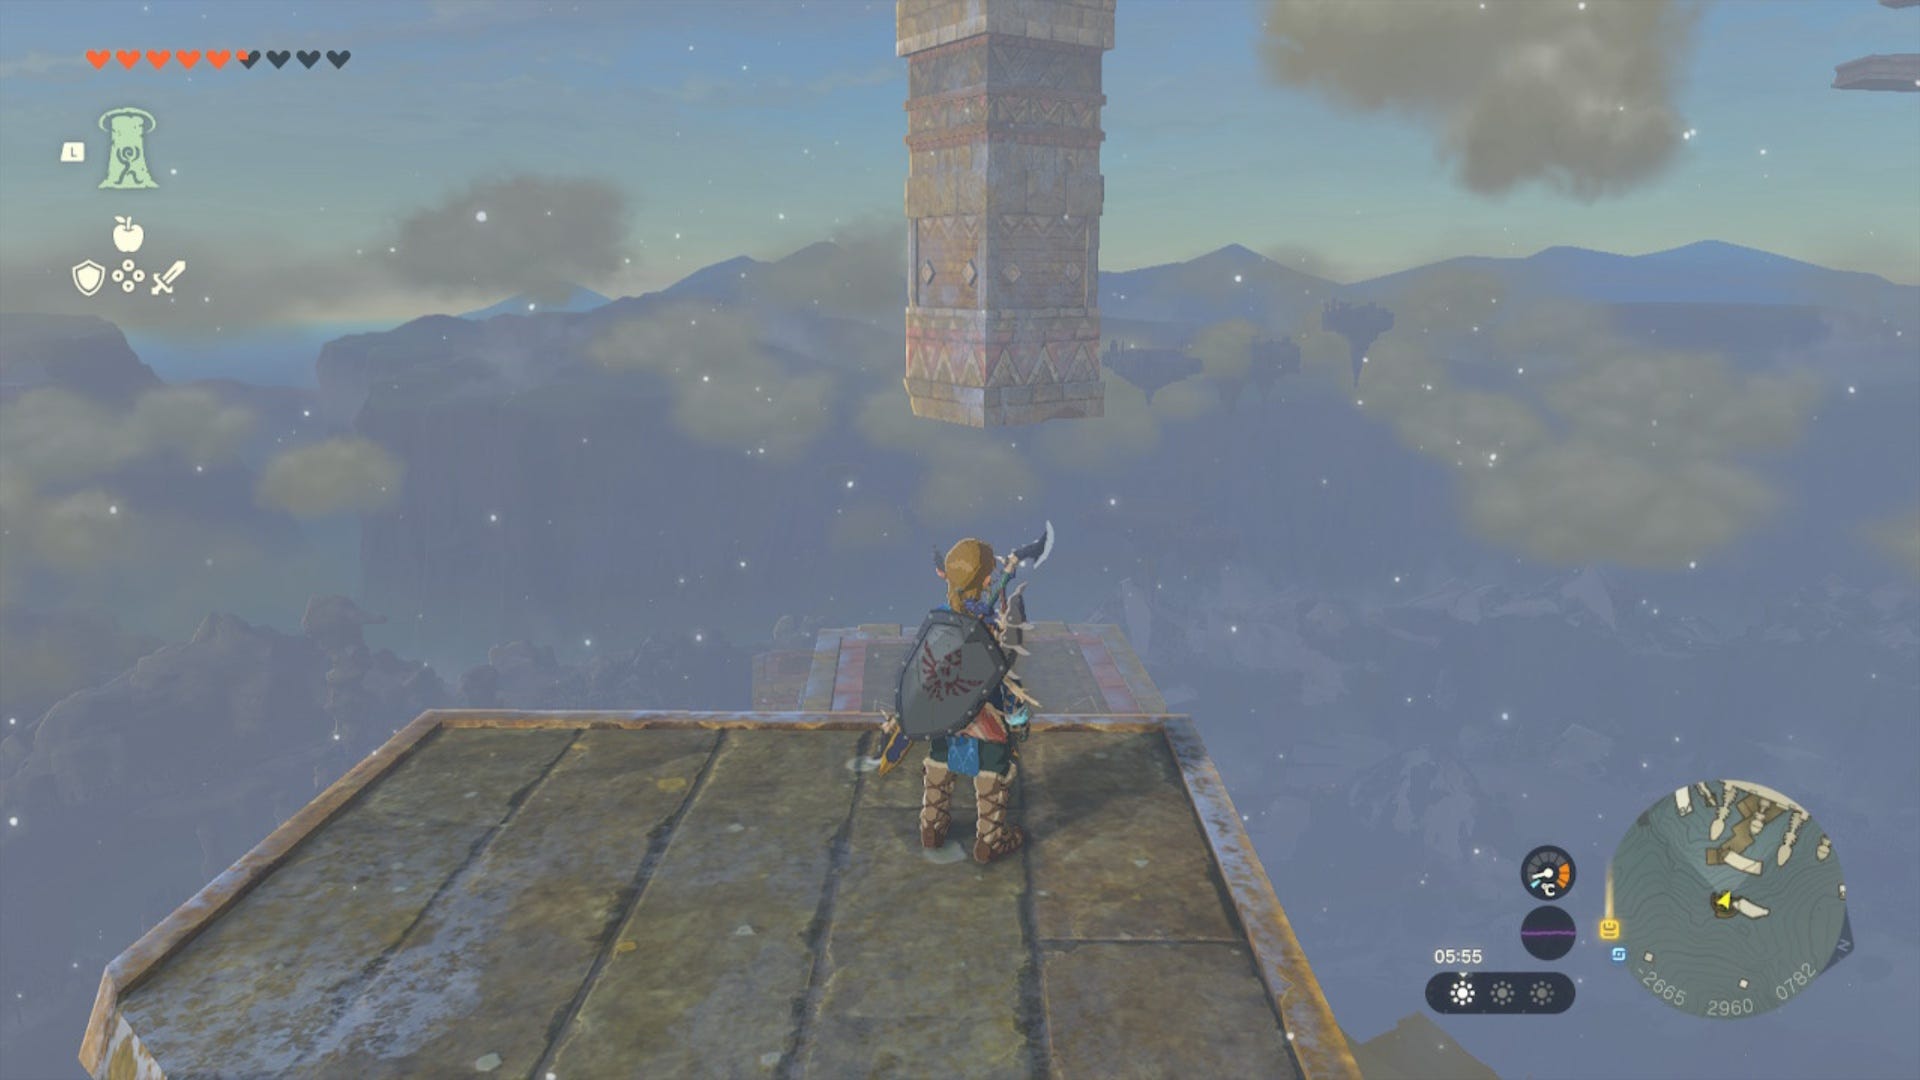
From here, look west and you should see a long pillar that's floating just above another platform. Glide over to the platform at (-2714, 2940, 0767) and stand underneath the pillar. Use Ascend to pop up on top of this pillar and you'll then be notified that you've arrived at the 'Rising Island Chain'.
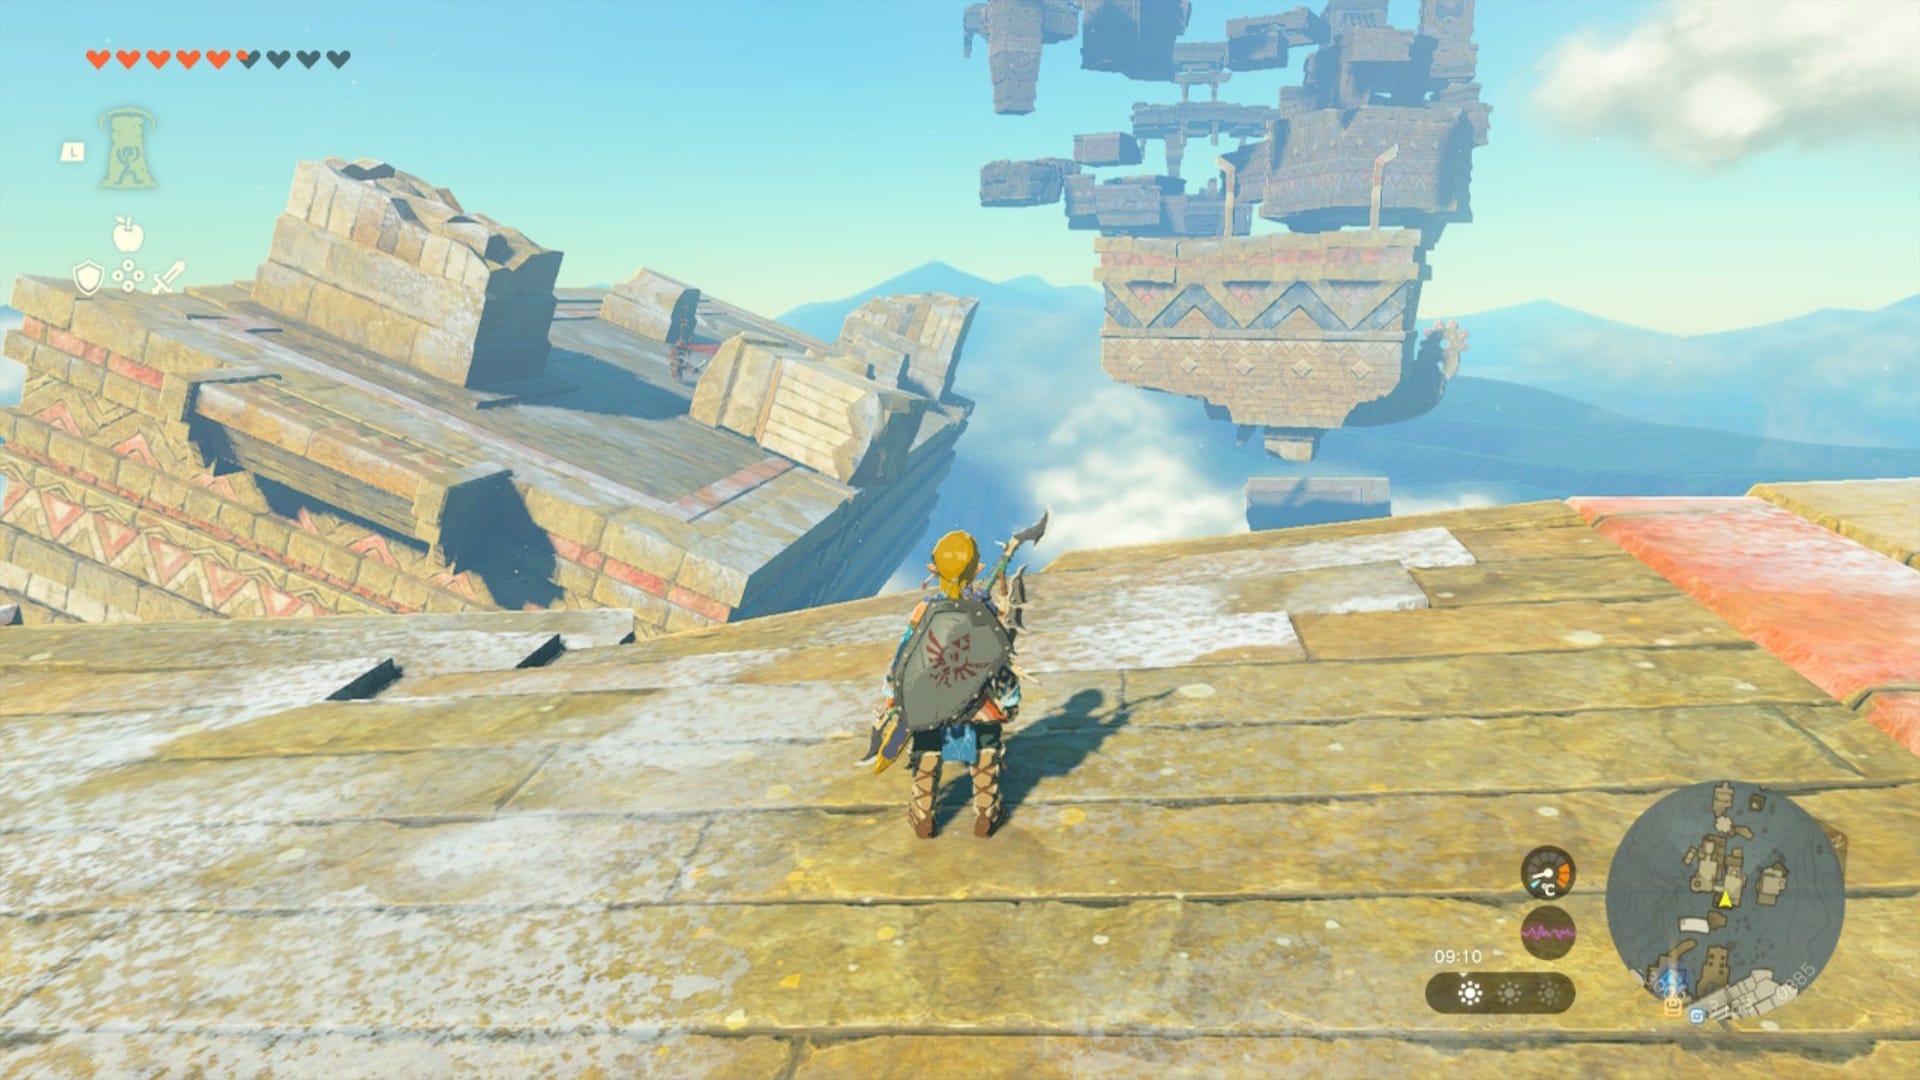
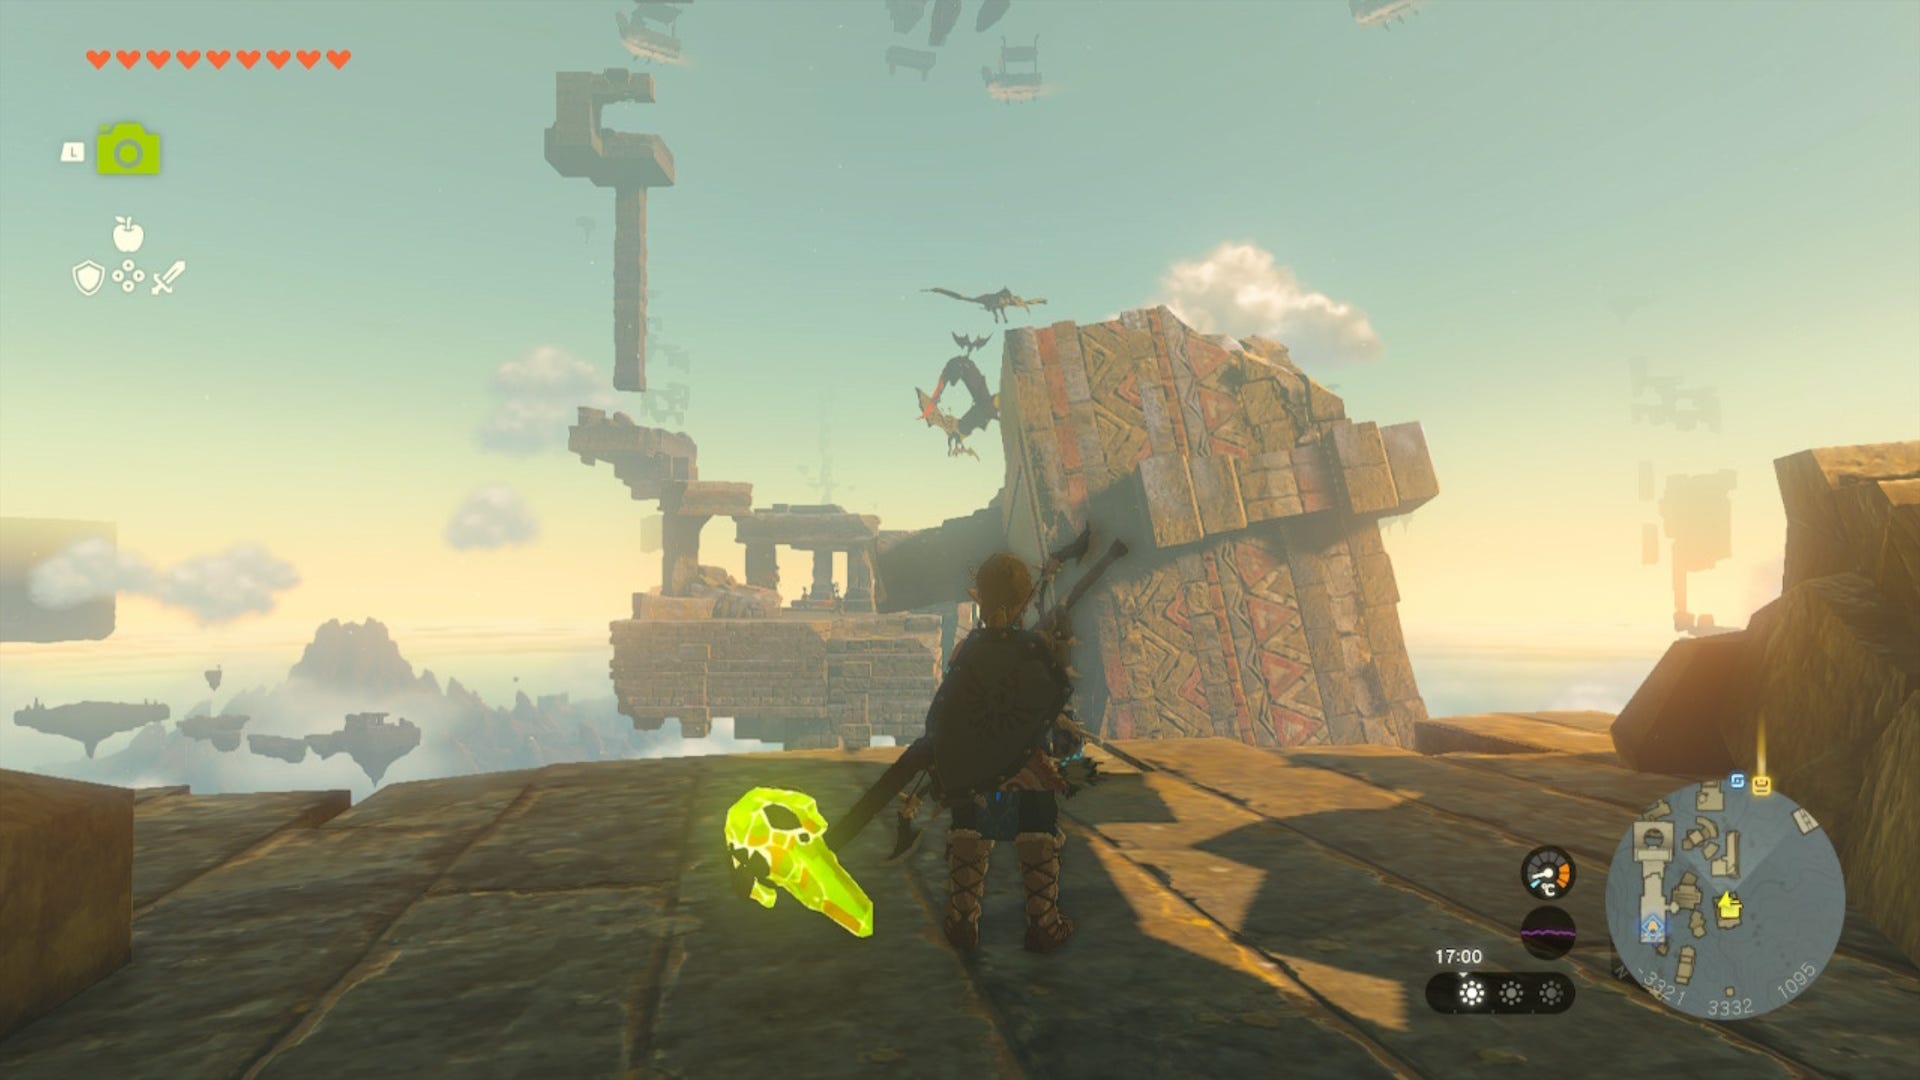
Look west to see a bunch of broken islands rising into the sky. You'll need to scale all of these to get up to the cloud.
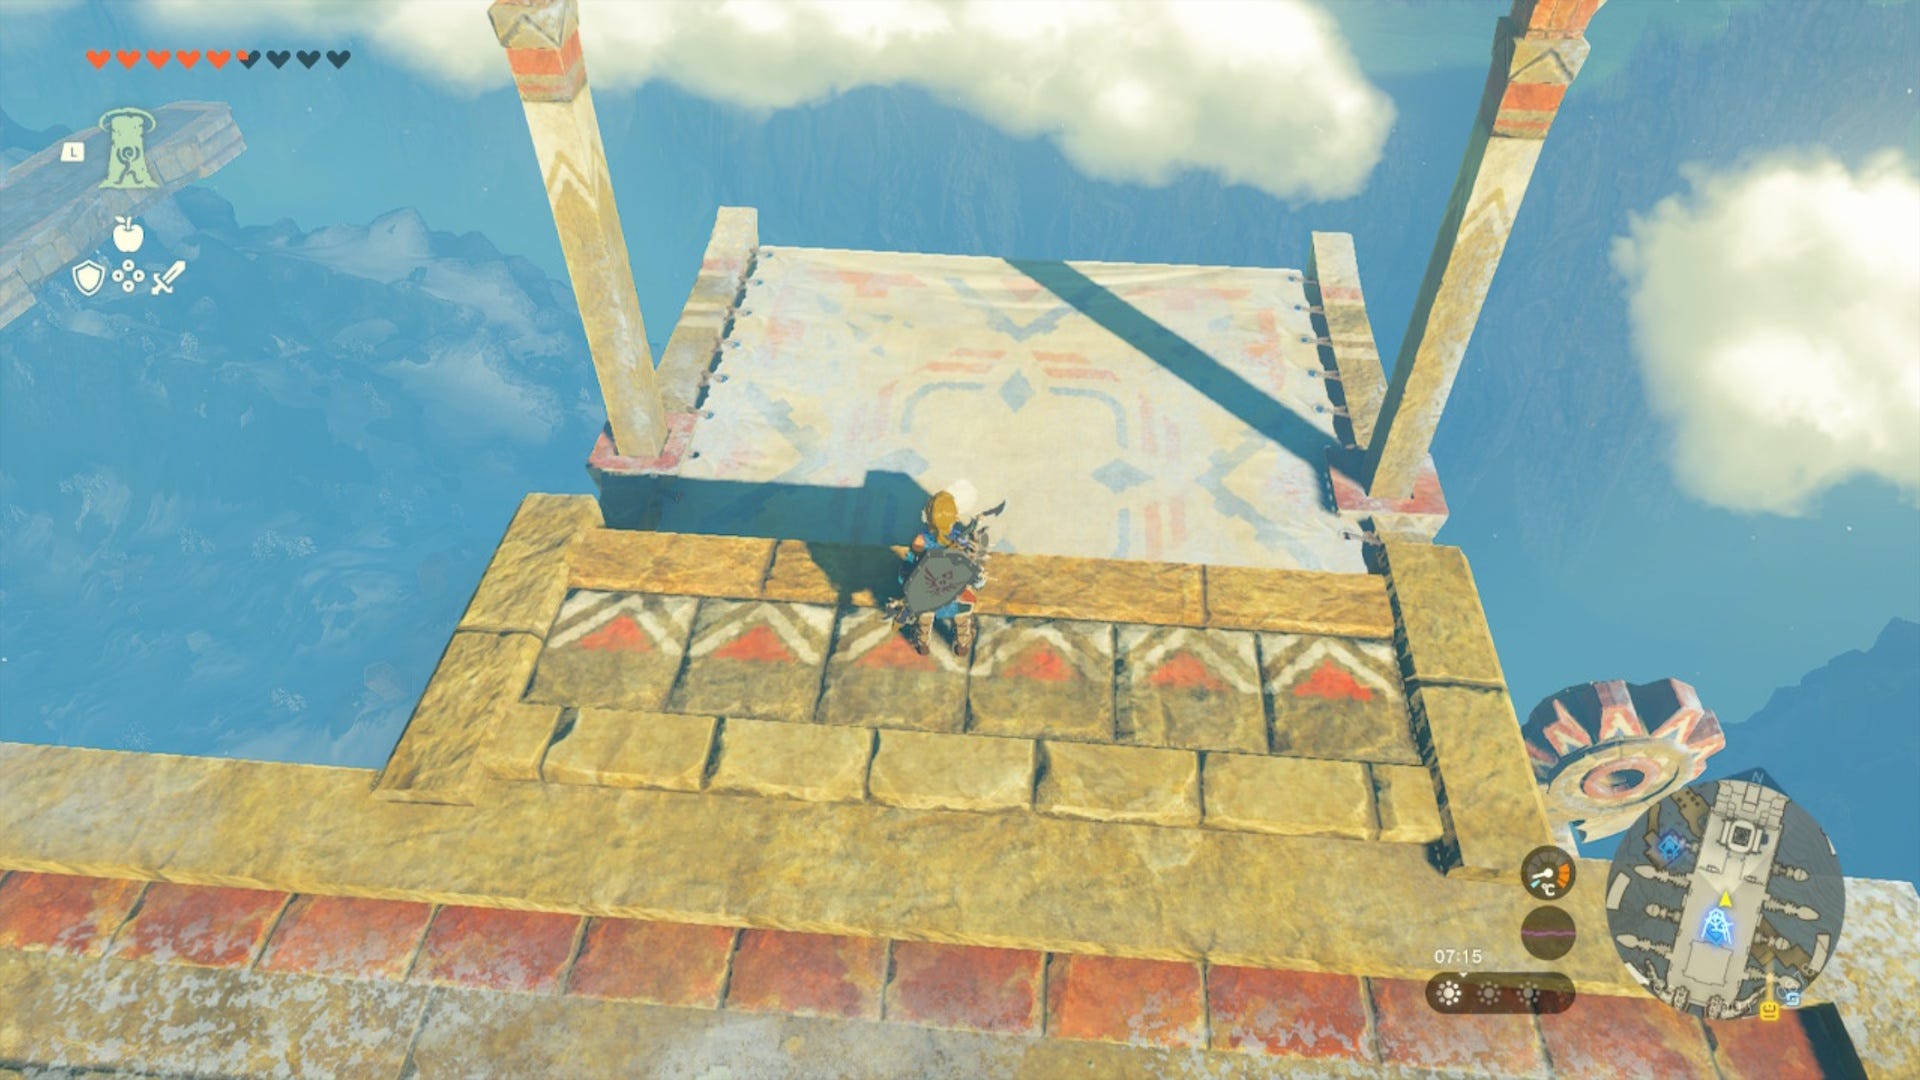
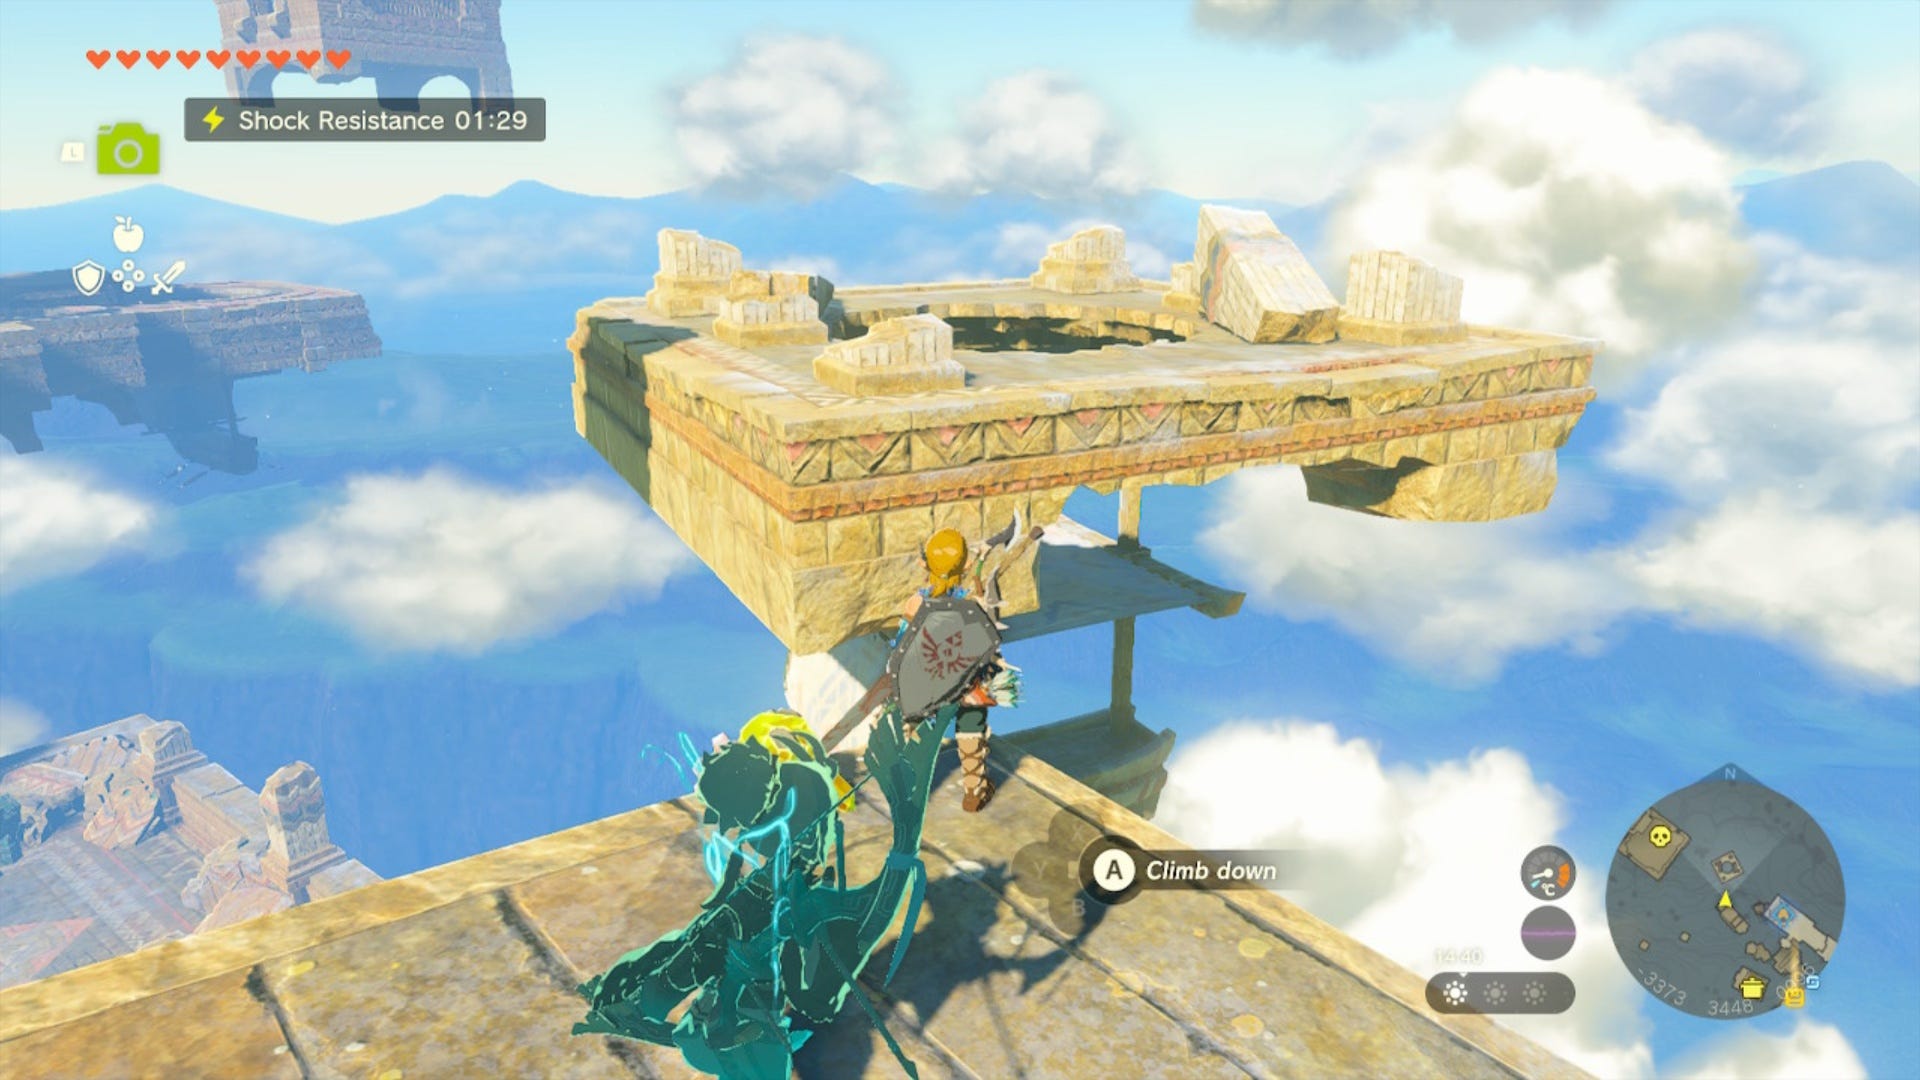
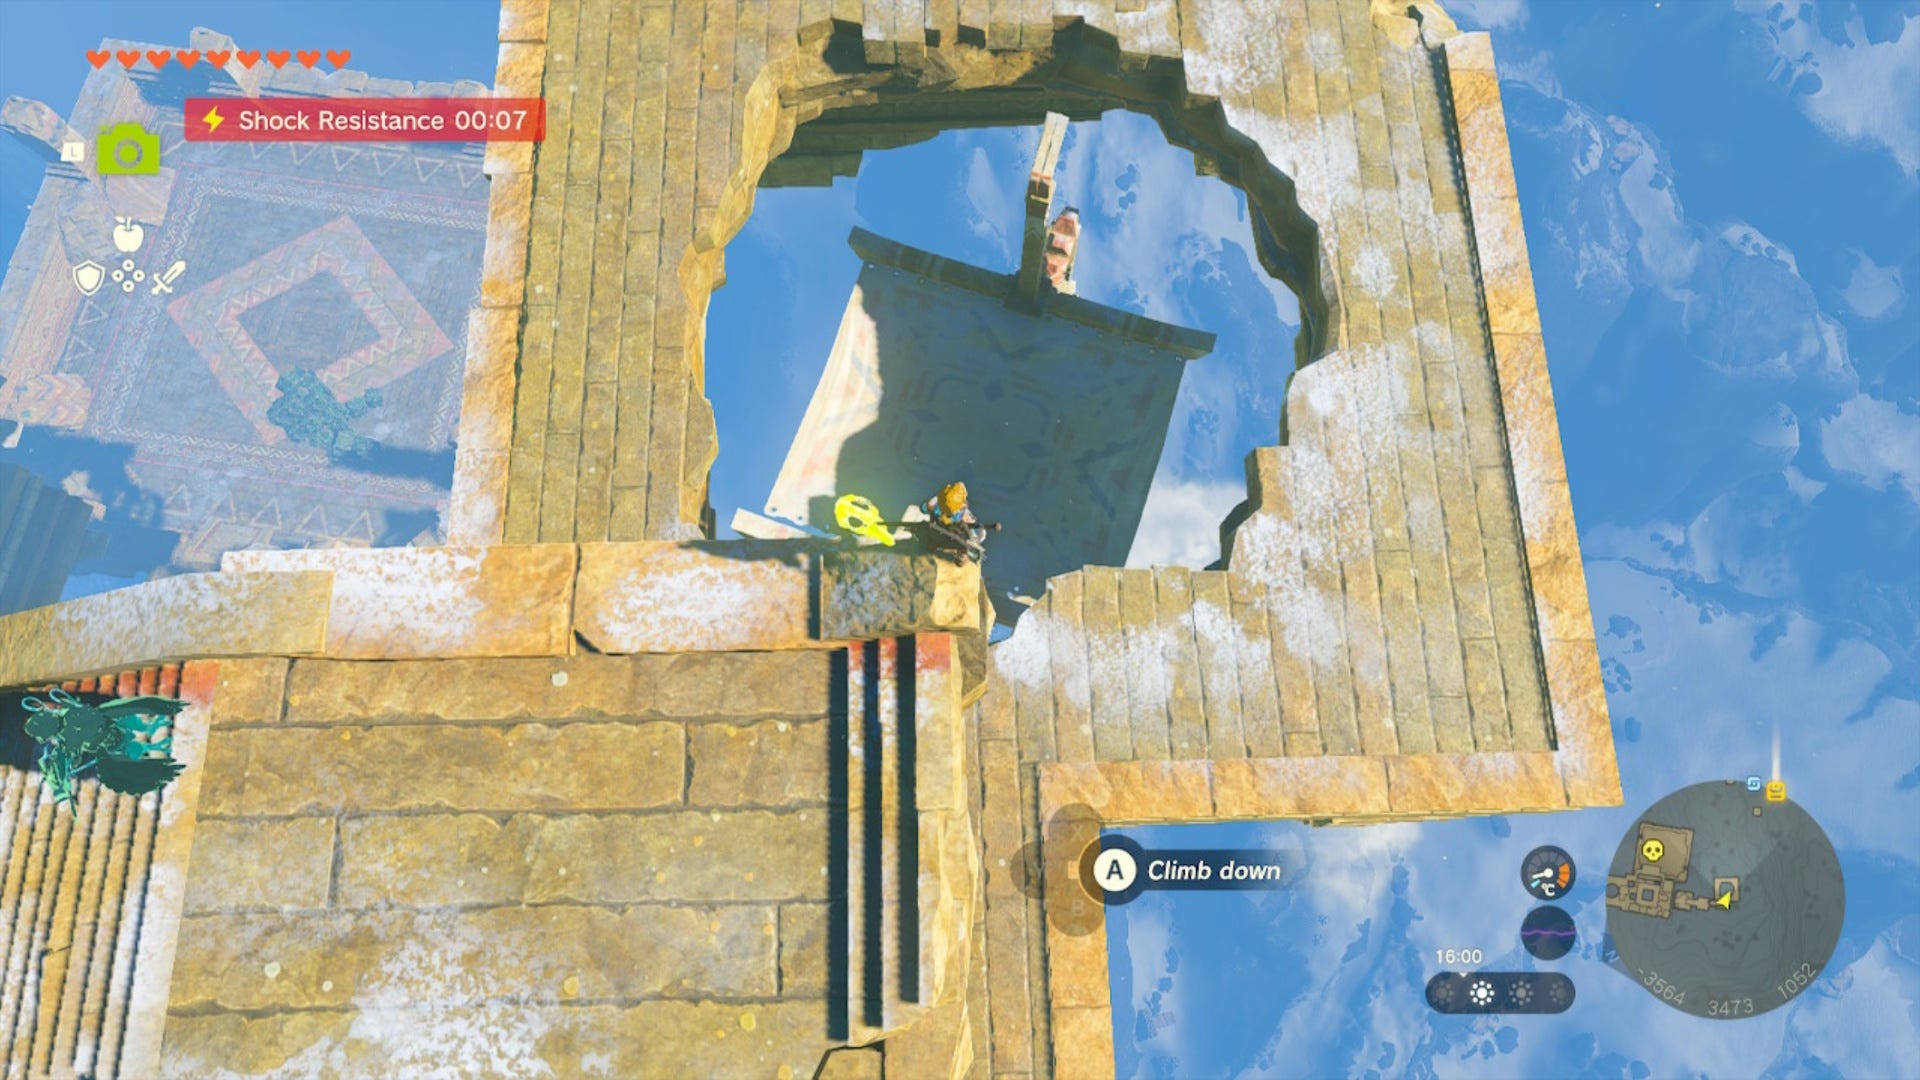
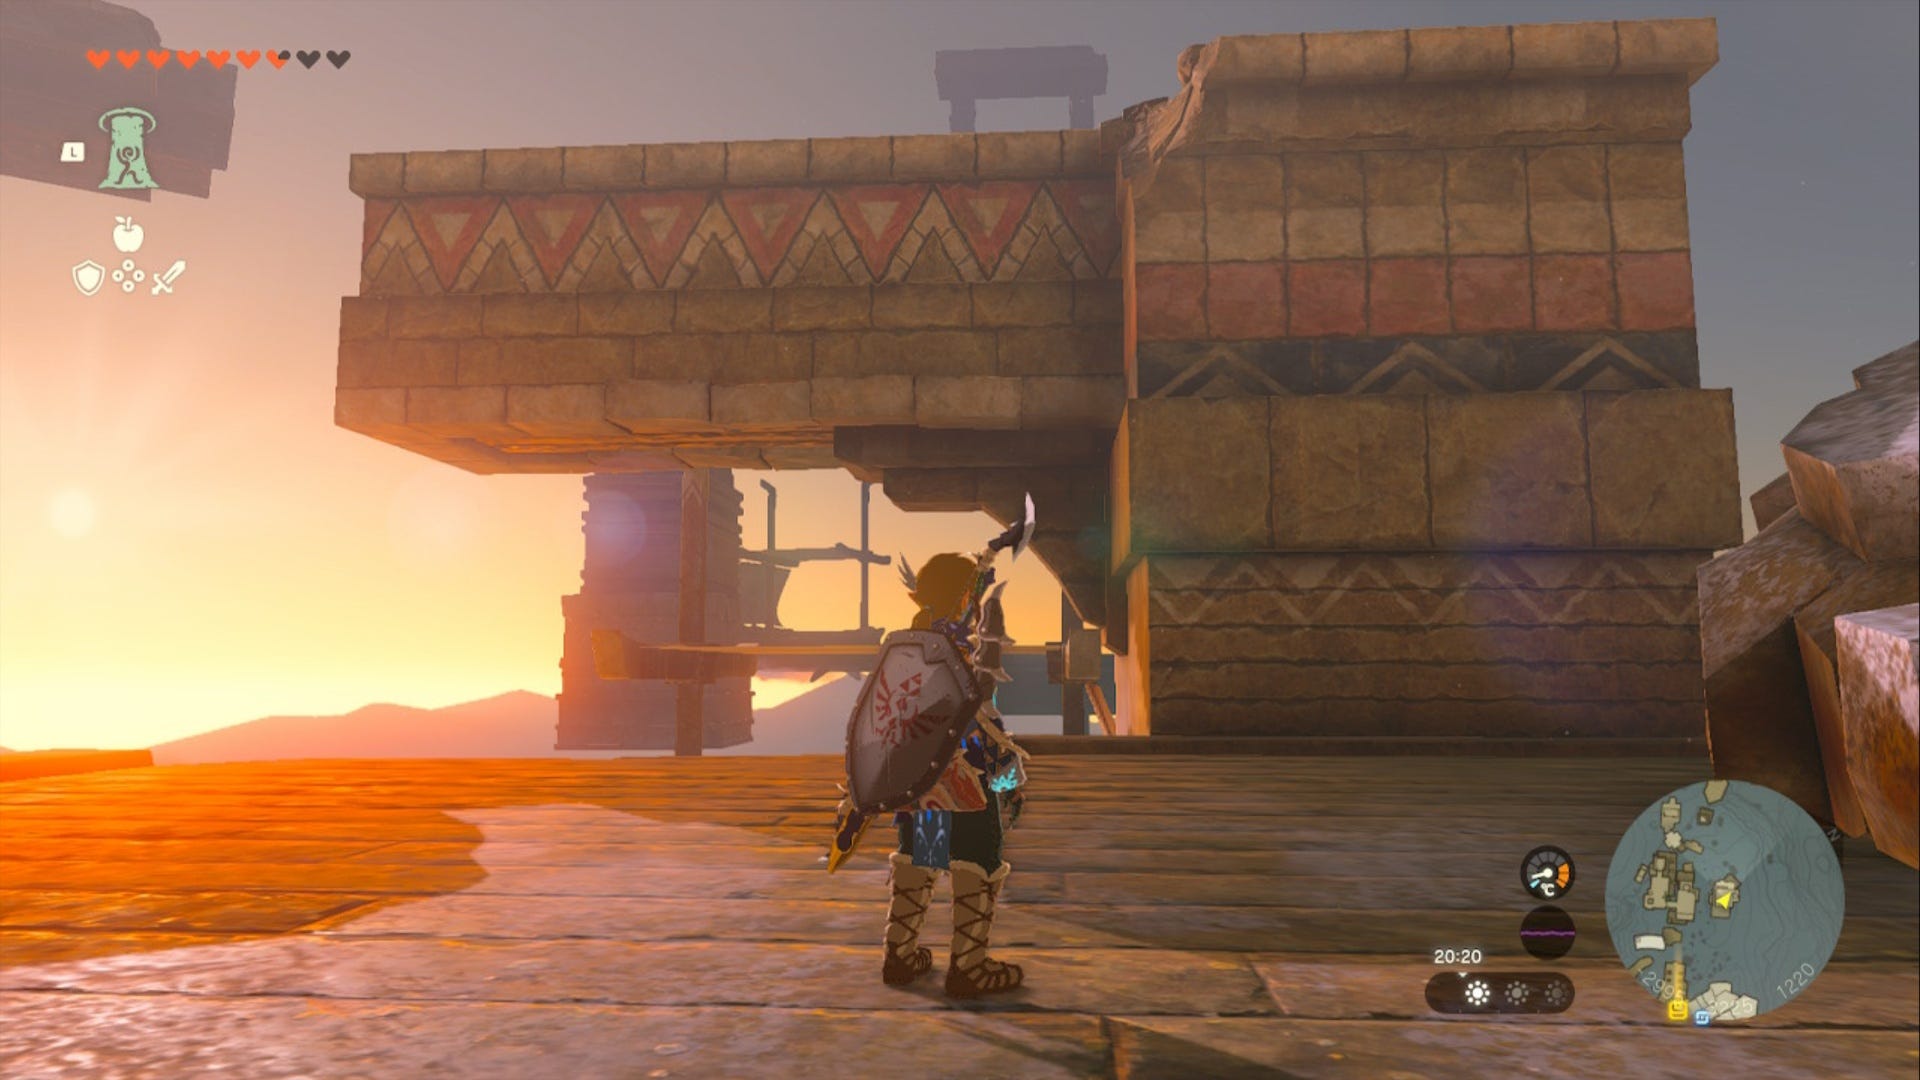
Drop down onto the path below you carefully, then follow the path forward and up a set of stairs to your left. Continue to follow more stairs up to your right to a platform and stand on the edge of the platform at (-2858, 3001, 0878).
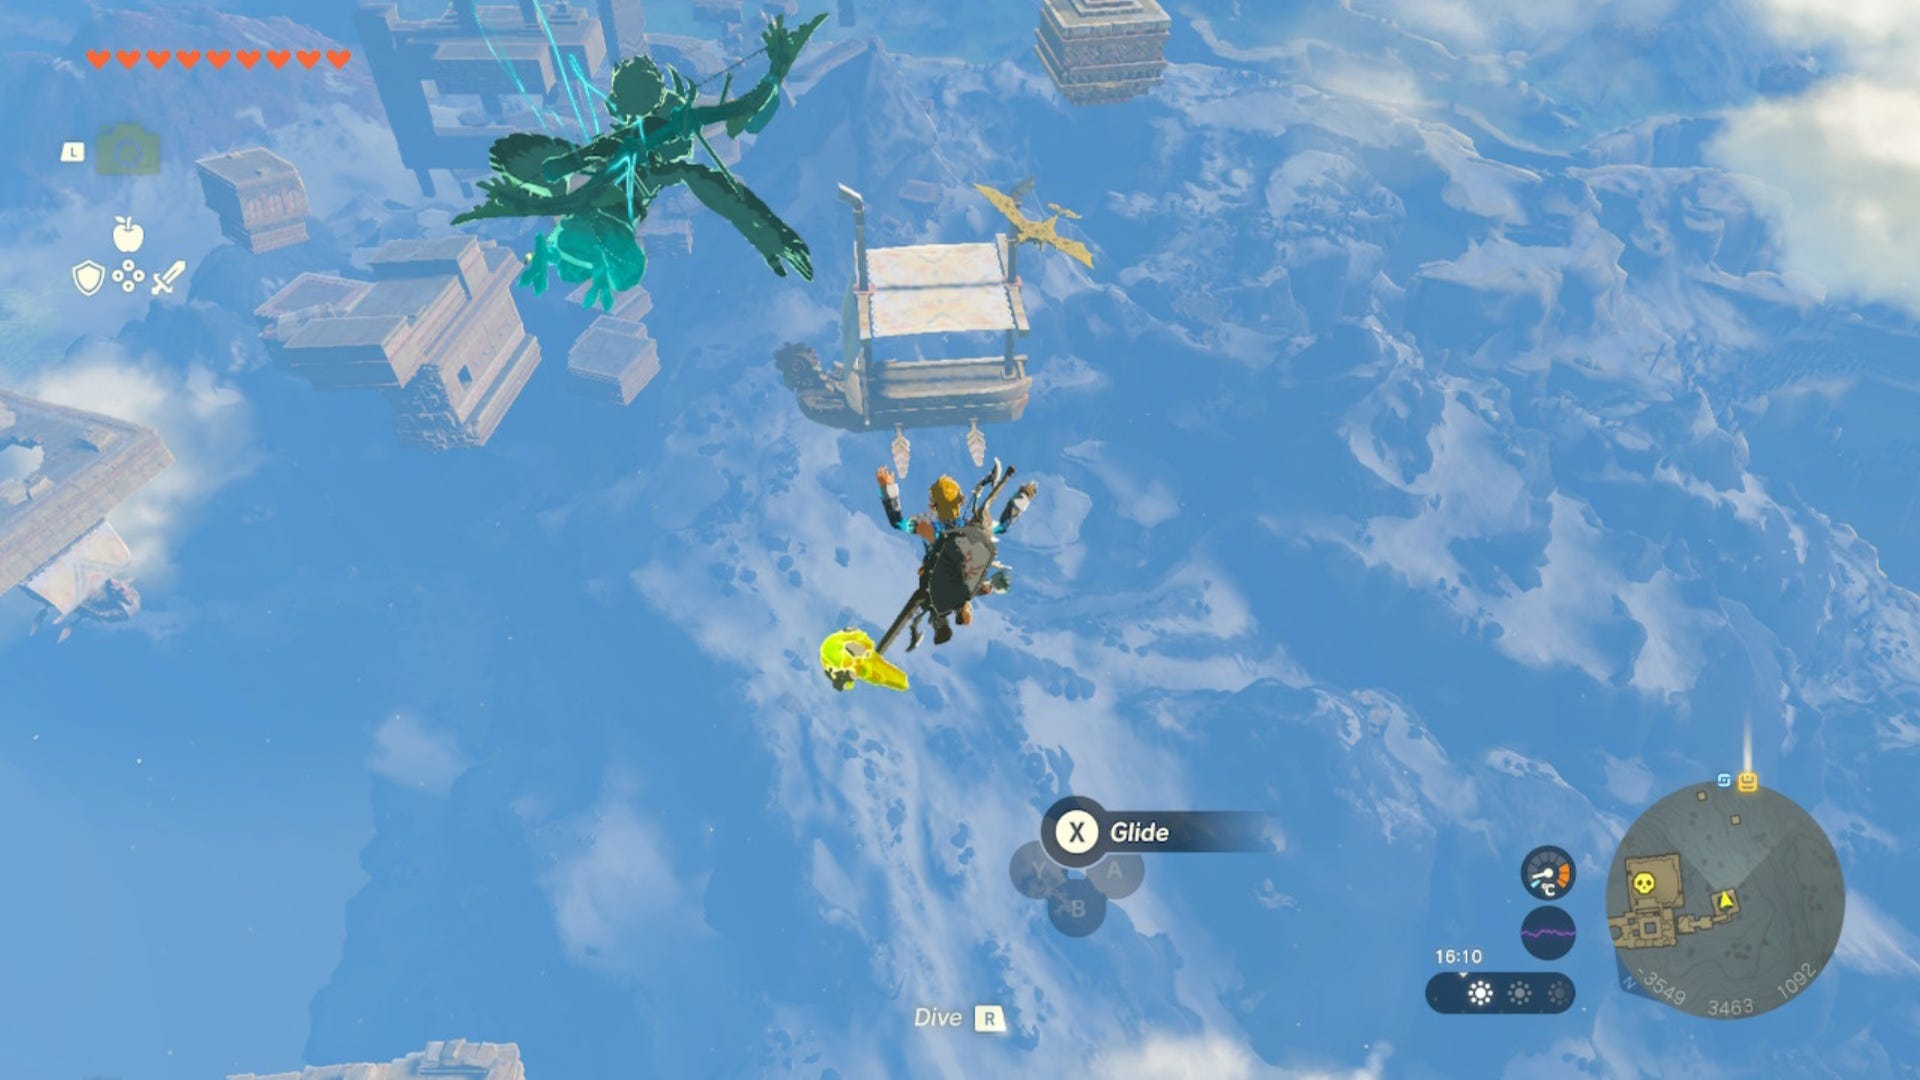
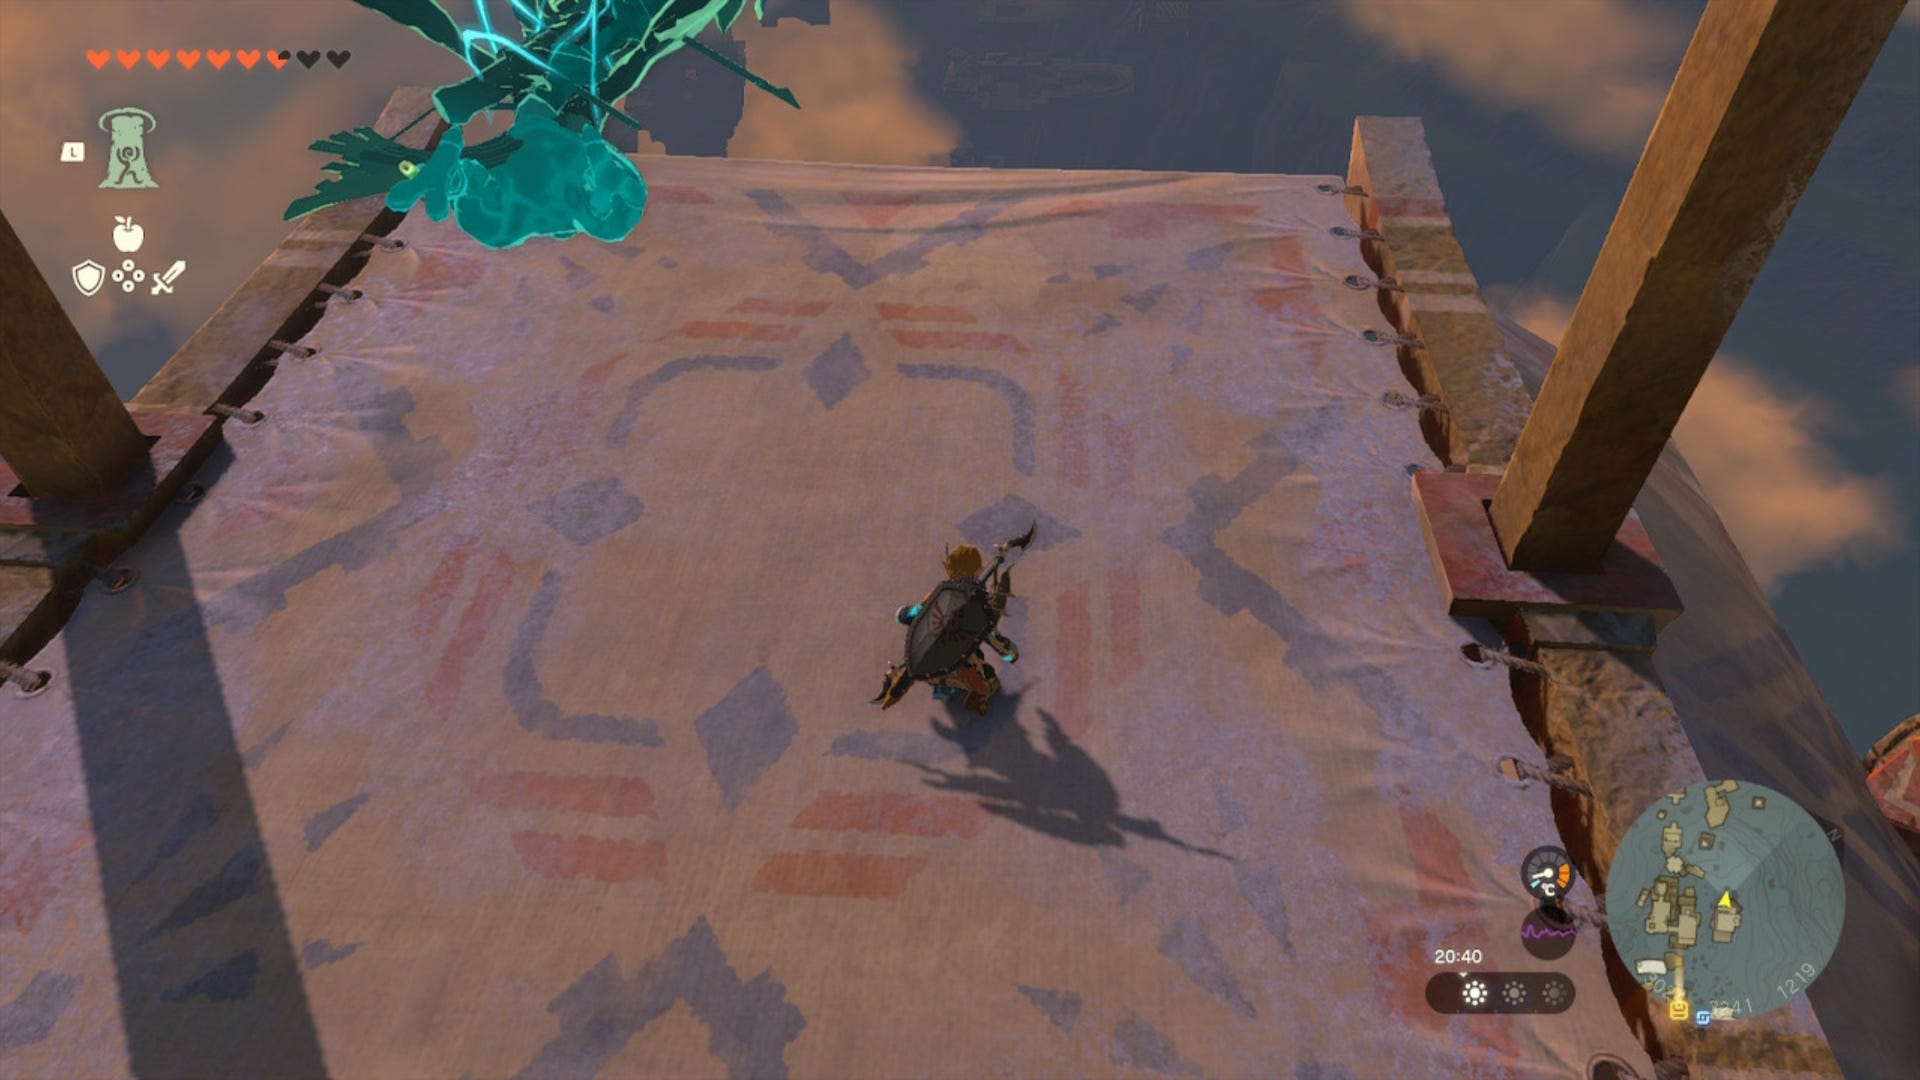
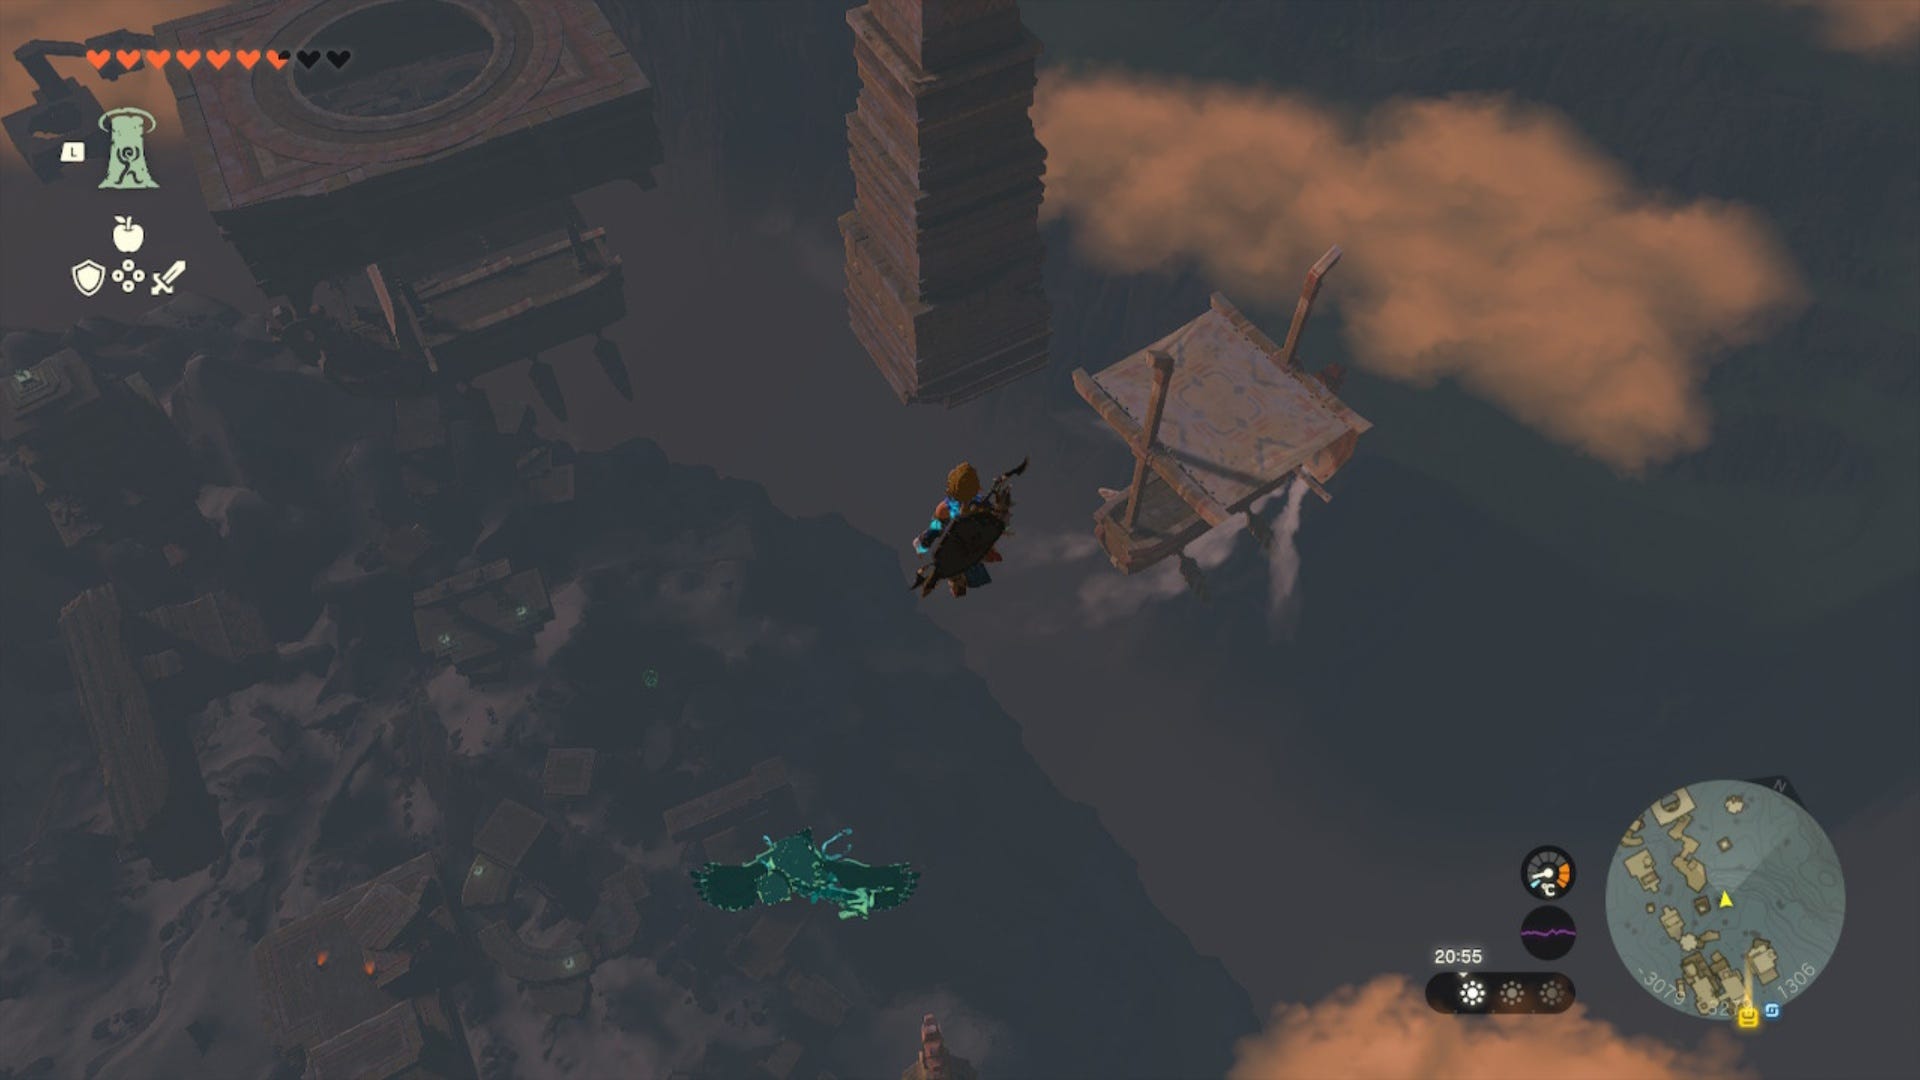
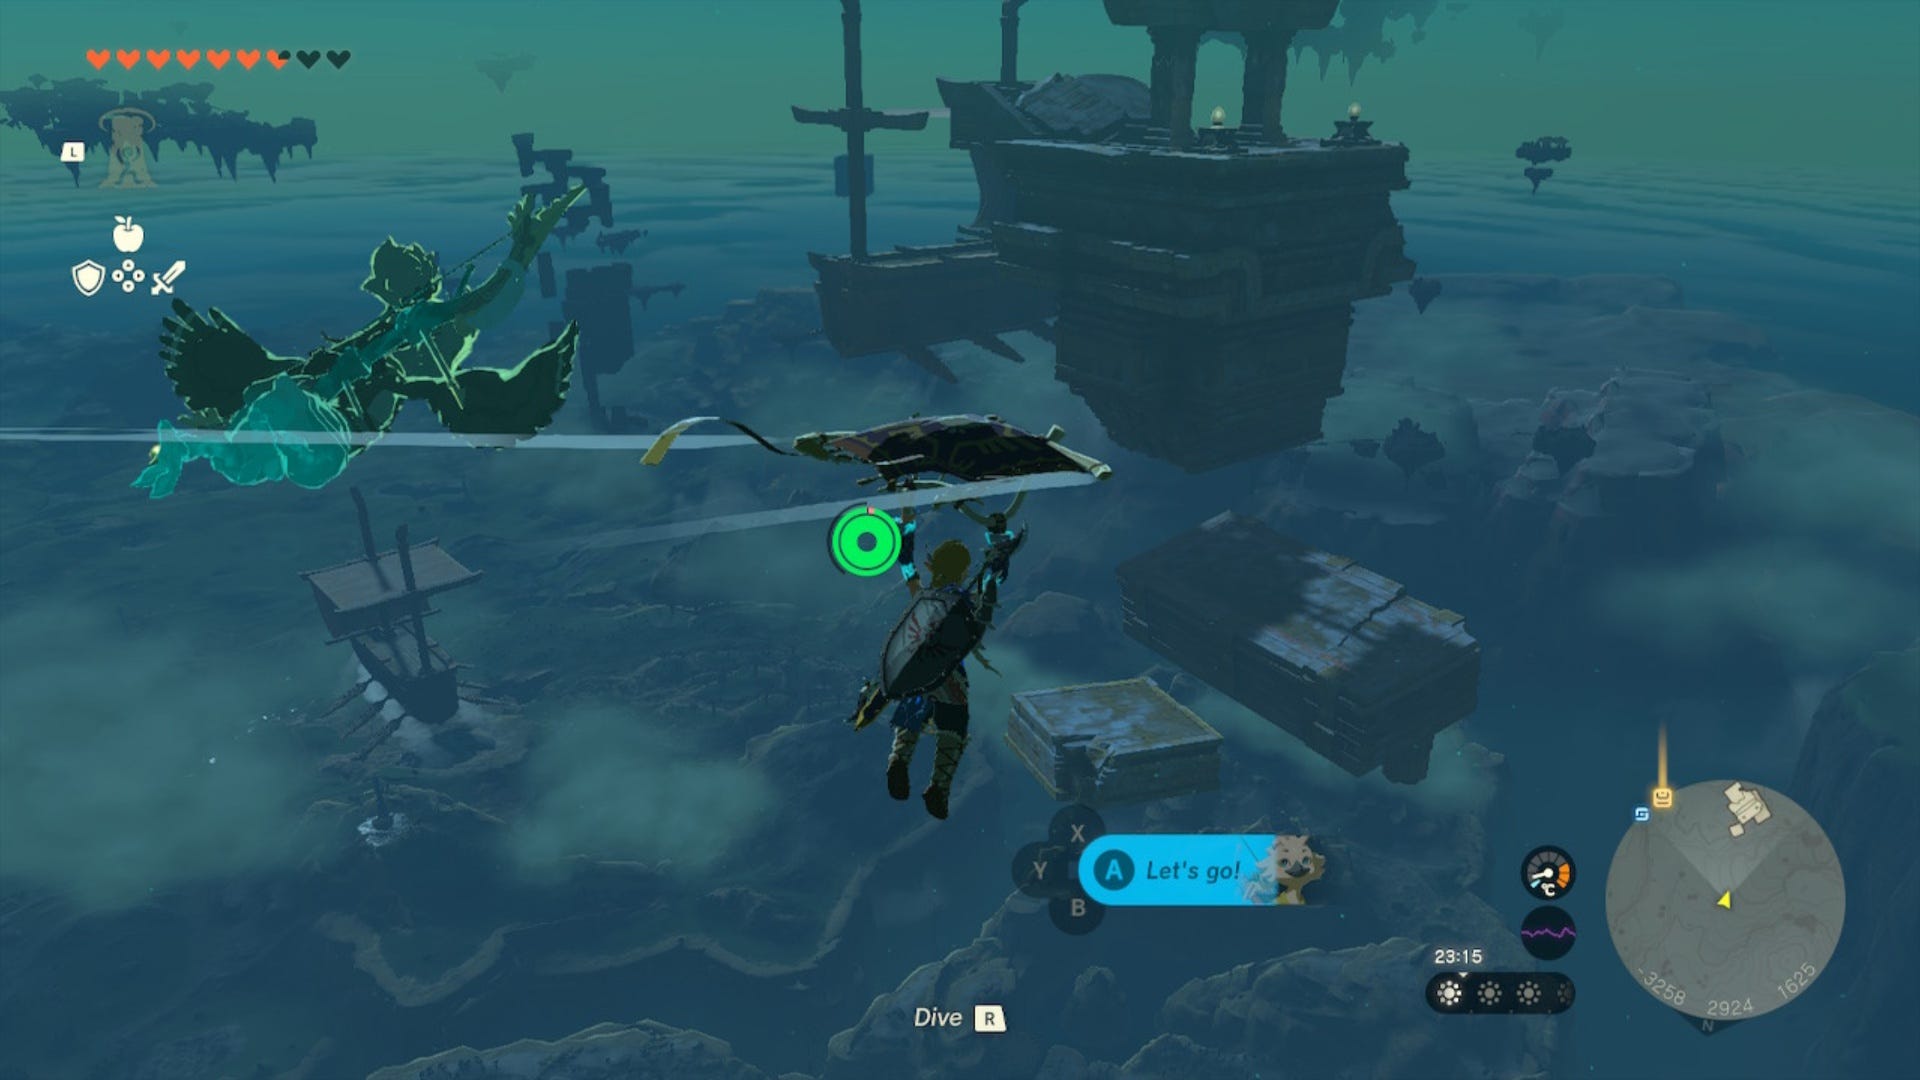
Here, look down and you should see a boat below you. Jump down onto it and its canvas will act like a strong trampoline, propelling you into the air.
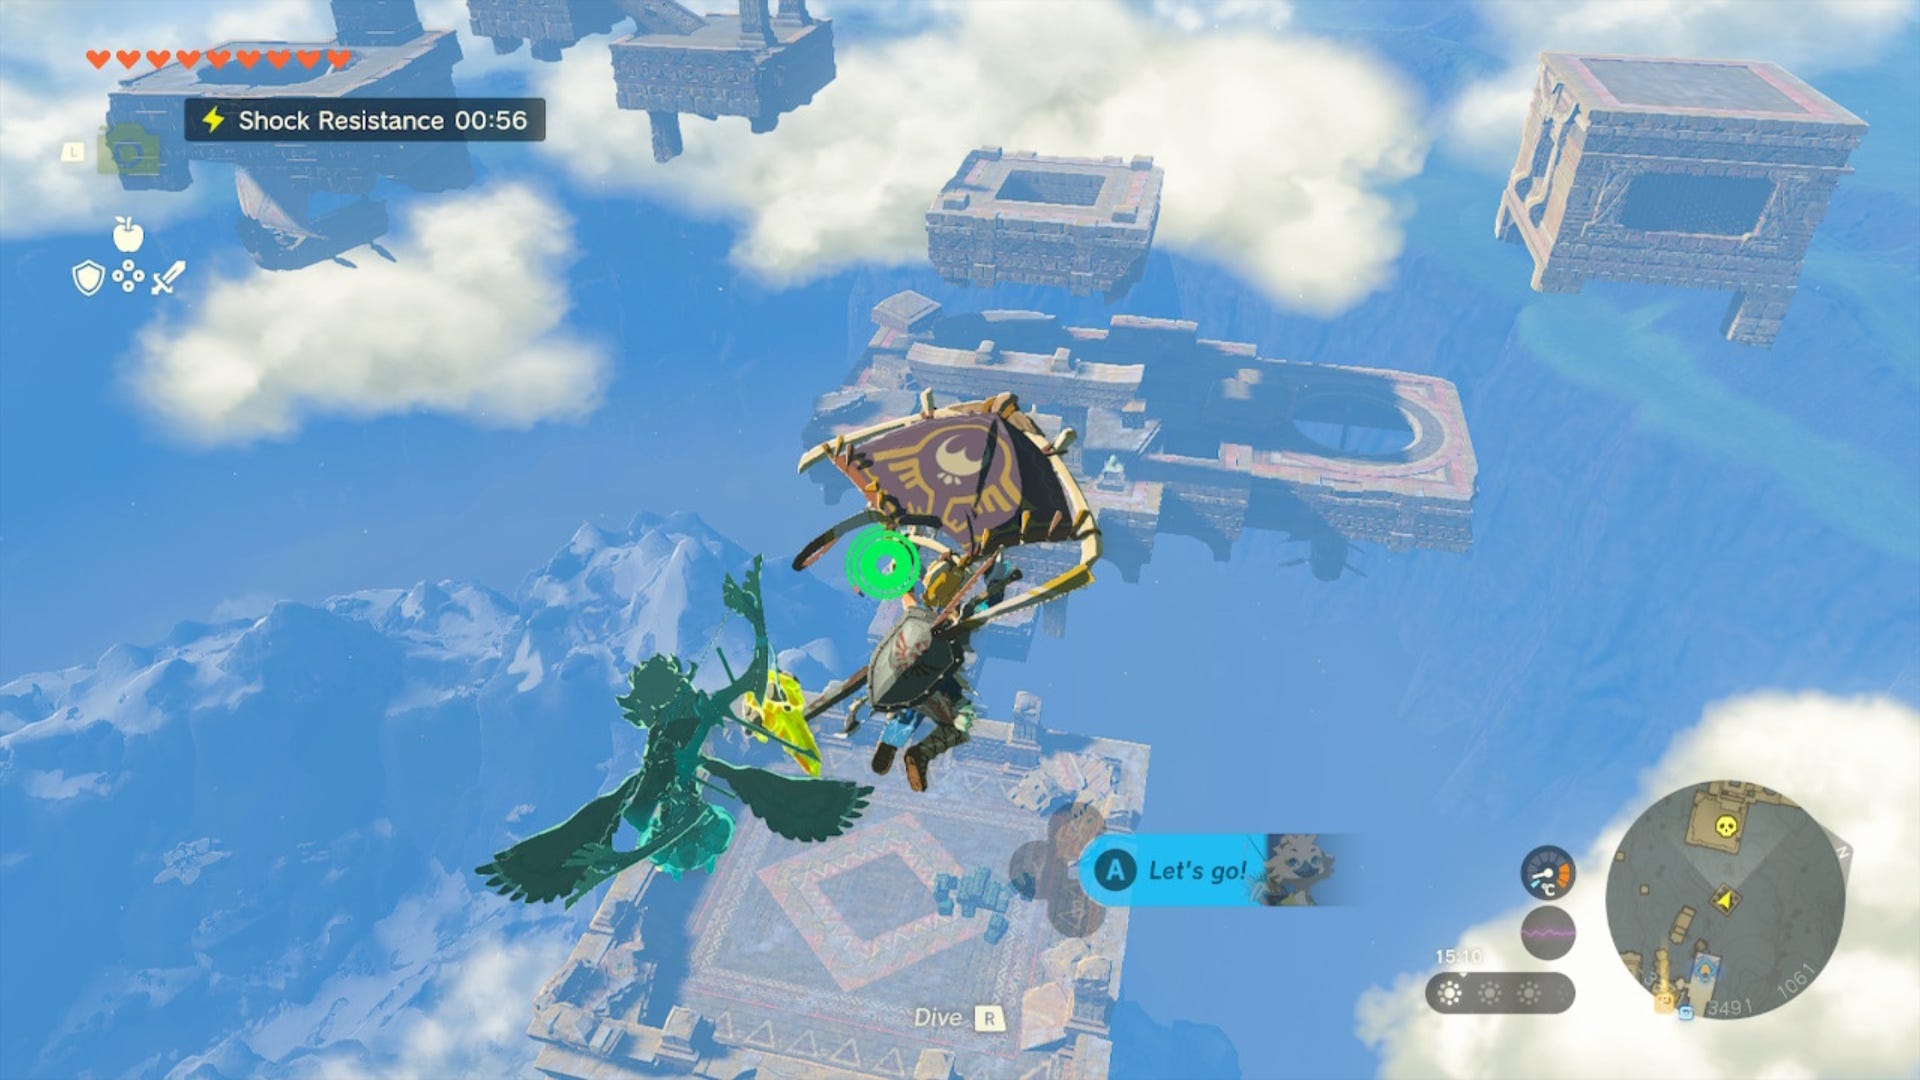
In the air, you should be able to see another set of islands slightly north of you (the Mayaumekis Shrine is here too). Land on these islands and your rough coordinates will be (-2890, 3084, 0893.)
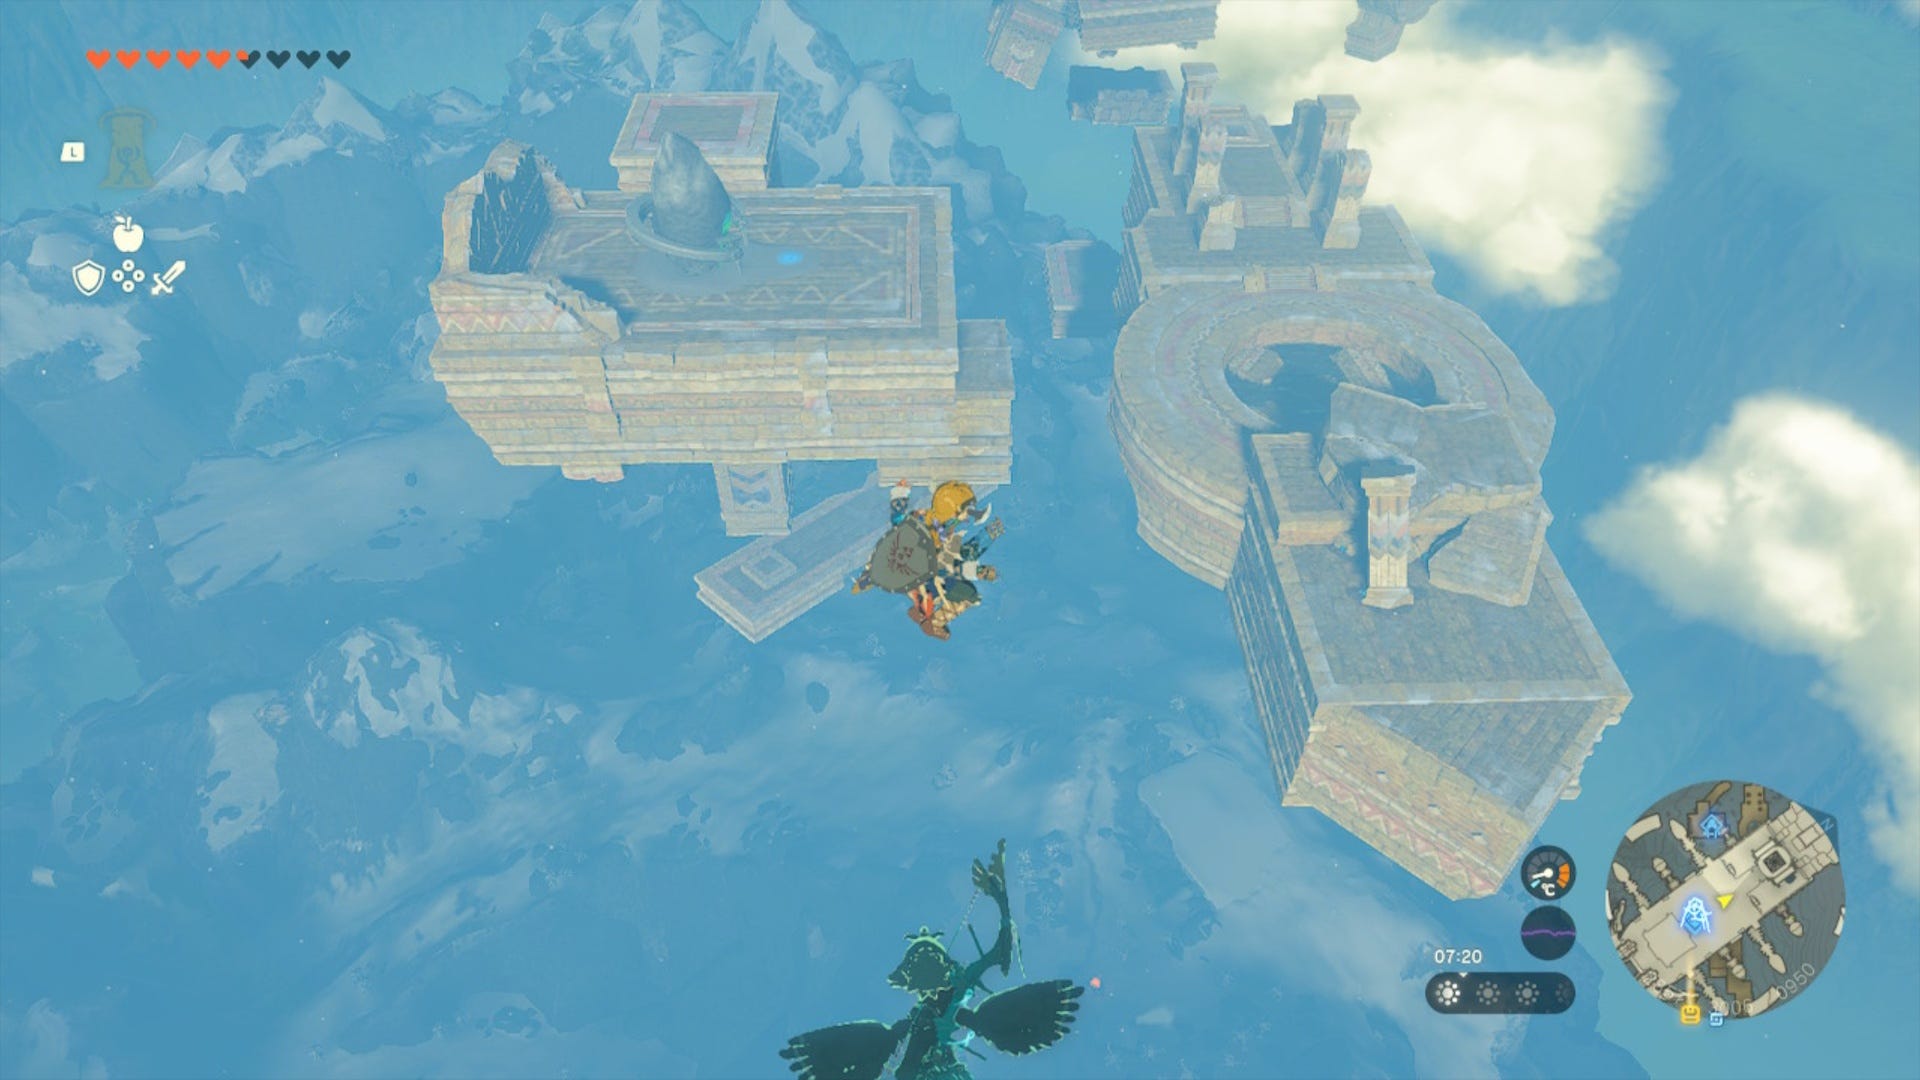
Once you've landed on this set of islands, face north west and then continue following the path forward. Then, when you reach the end of this island, jump and glide across to the next one.
Head forward and look left, you should see another slightly slanted floating island with a Soldier Construct IV on it. Now, these Constructs are quite powerful and can be a pain - so if you don't want to fight them, then simply run past them.
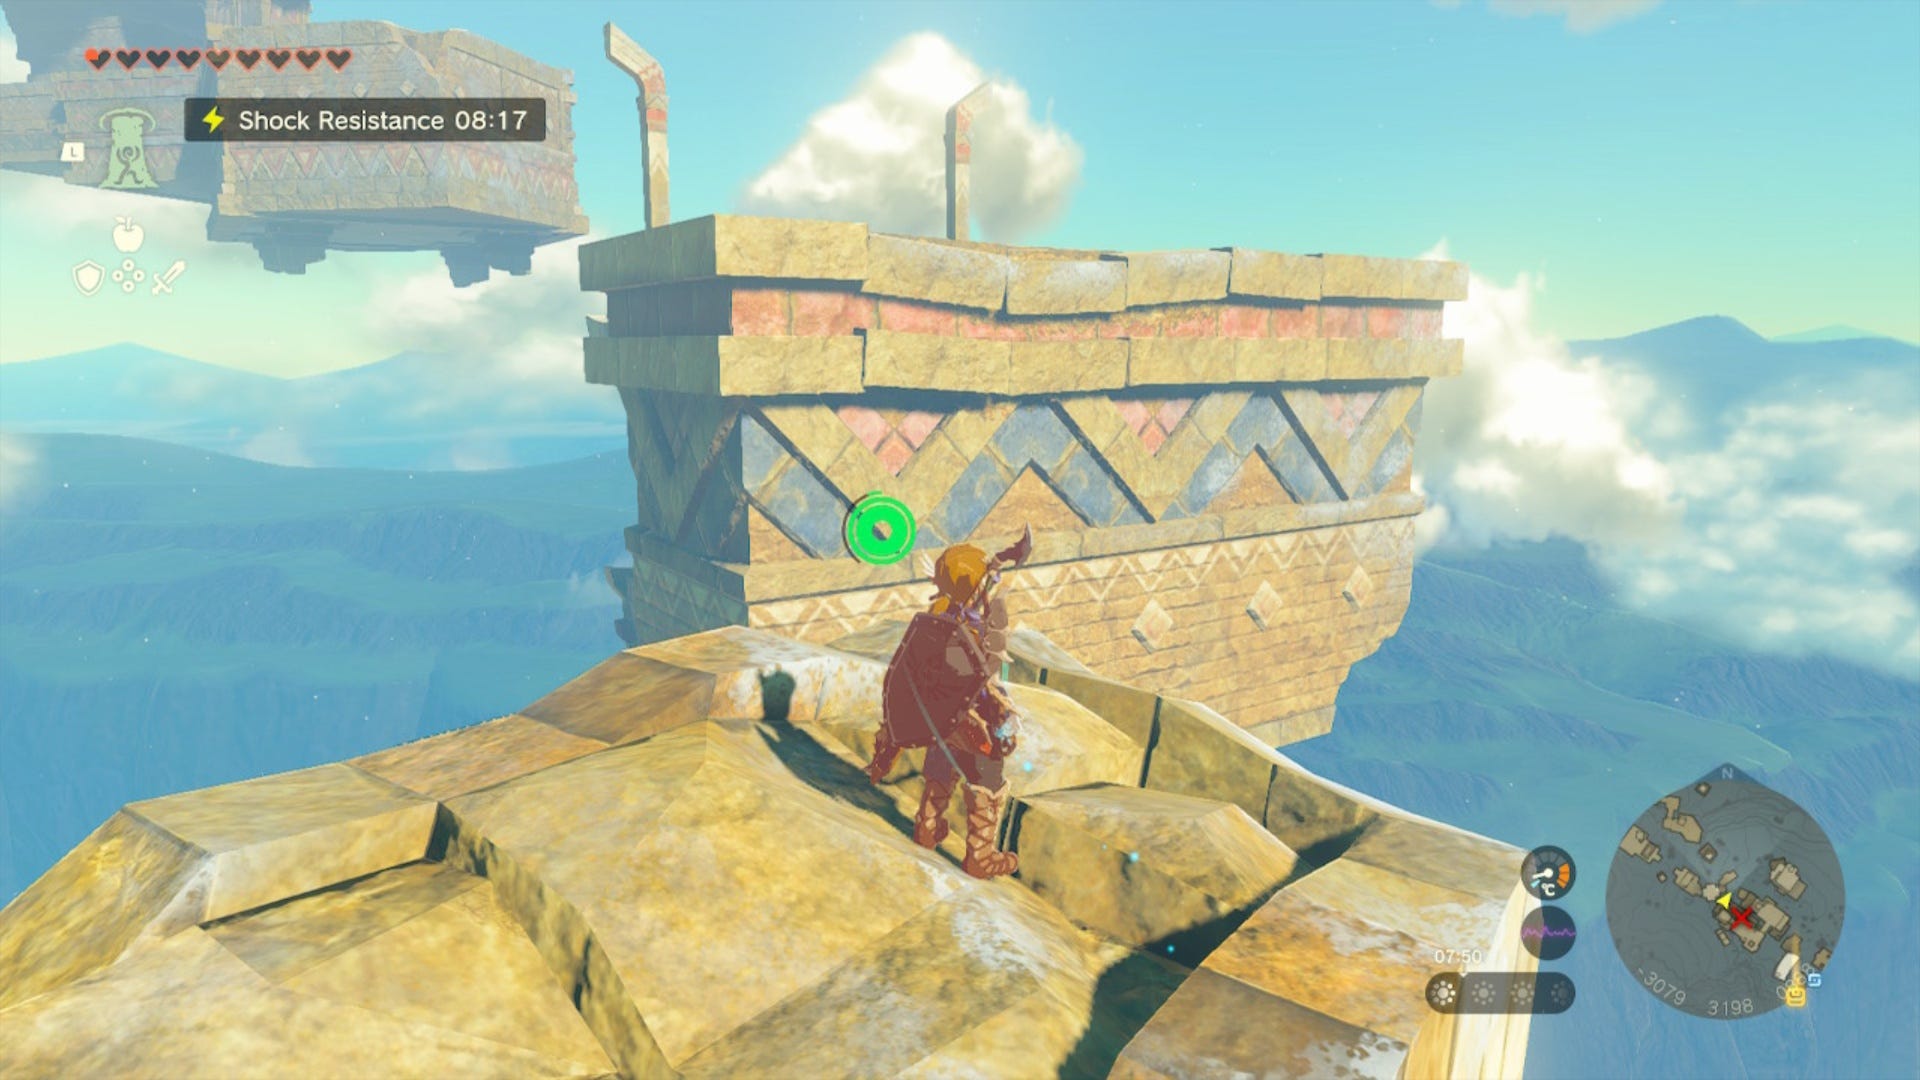
Glide to the slanted platform (deal with the construct if you want to) and then head across to the opposite side of the island to the broken pillar on the edge at (-3079, 3198, 0888.) From here, jump and glide north to the next floating island. On this island, stand on the edge at the top (-3802, 3230, 0894) and look down.
Again, you'll see another boat. Jump onto it, launch Link into the sky and then glide across to the next set of islands that are ever so slightly north west of you.
Land here and follow the stairs, you'll then encounter a Soldier Construct II. Deal with them or avoid them, again this is your choice.
Head up the stairs to the left of the Construct II and a Construct IV will be there. Deal with them or run past them, then head right and climb up the pillar here.
After climbing the pillar, head forward until you come to a platform with a couple of cubes on it.
From here, stand on the edge of the platform near the cubes and face south at (-3200, 3345, 0939.) Look down and you should see a lower platform with a trio of cubes on it.
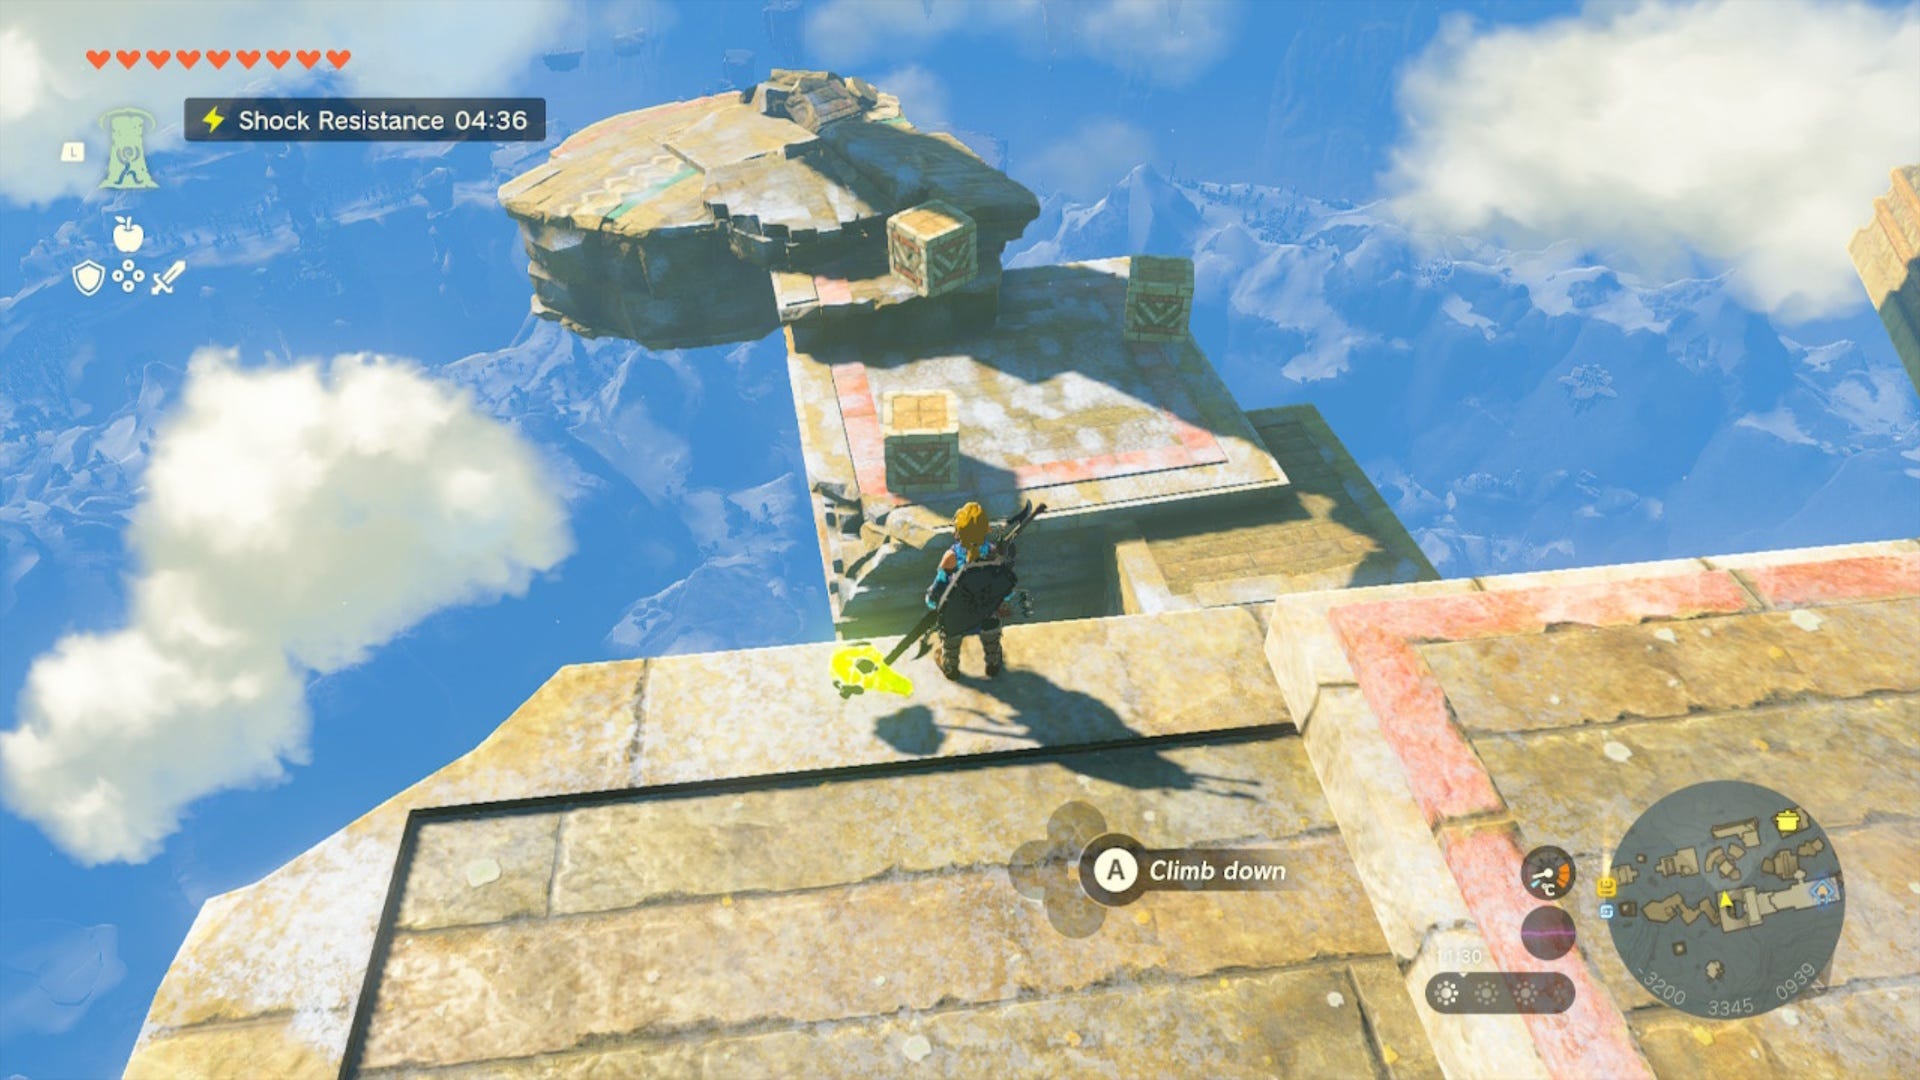
Glide down to here and then use Ultrahand to stack the three boxes on top of each other at (-3234, 3312, 0926.)
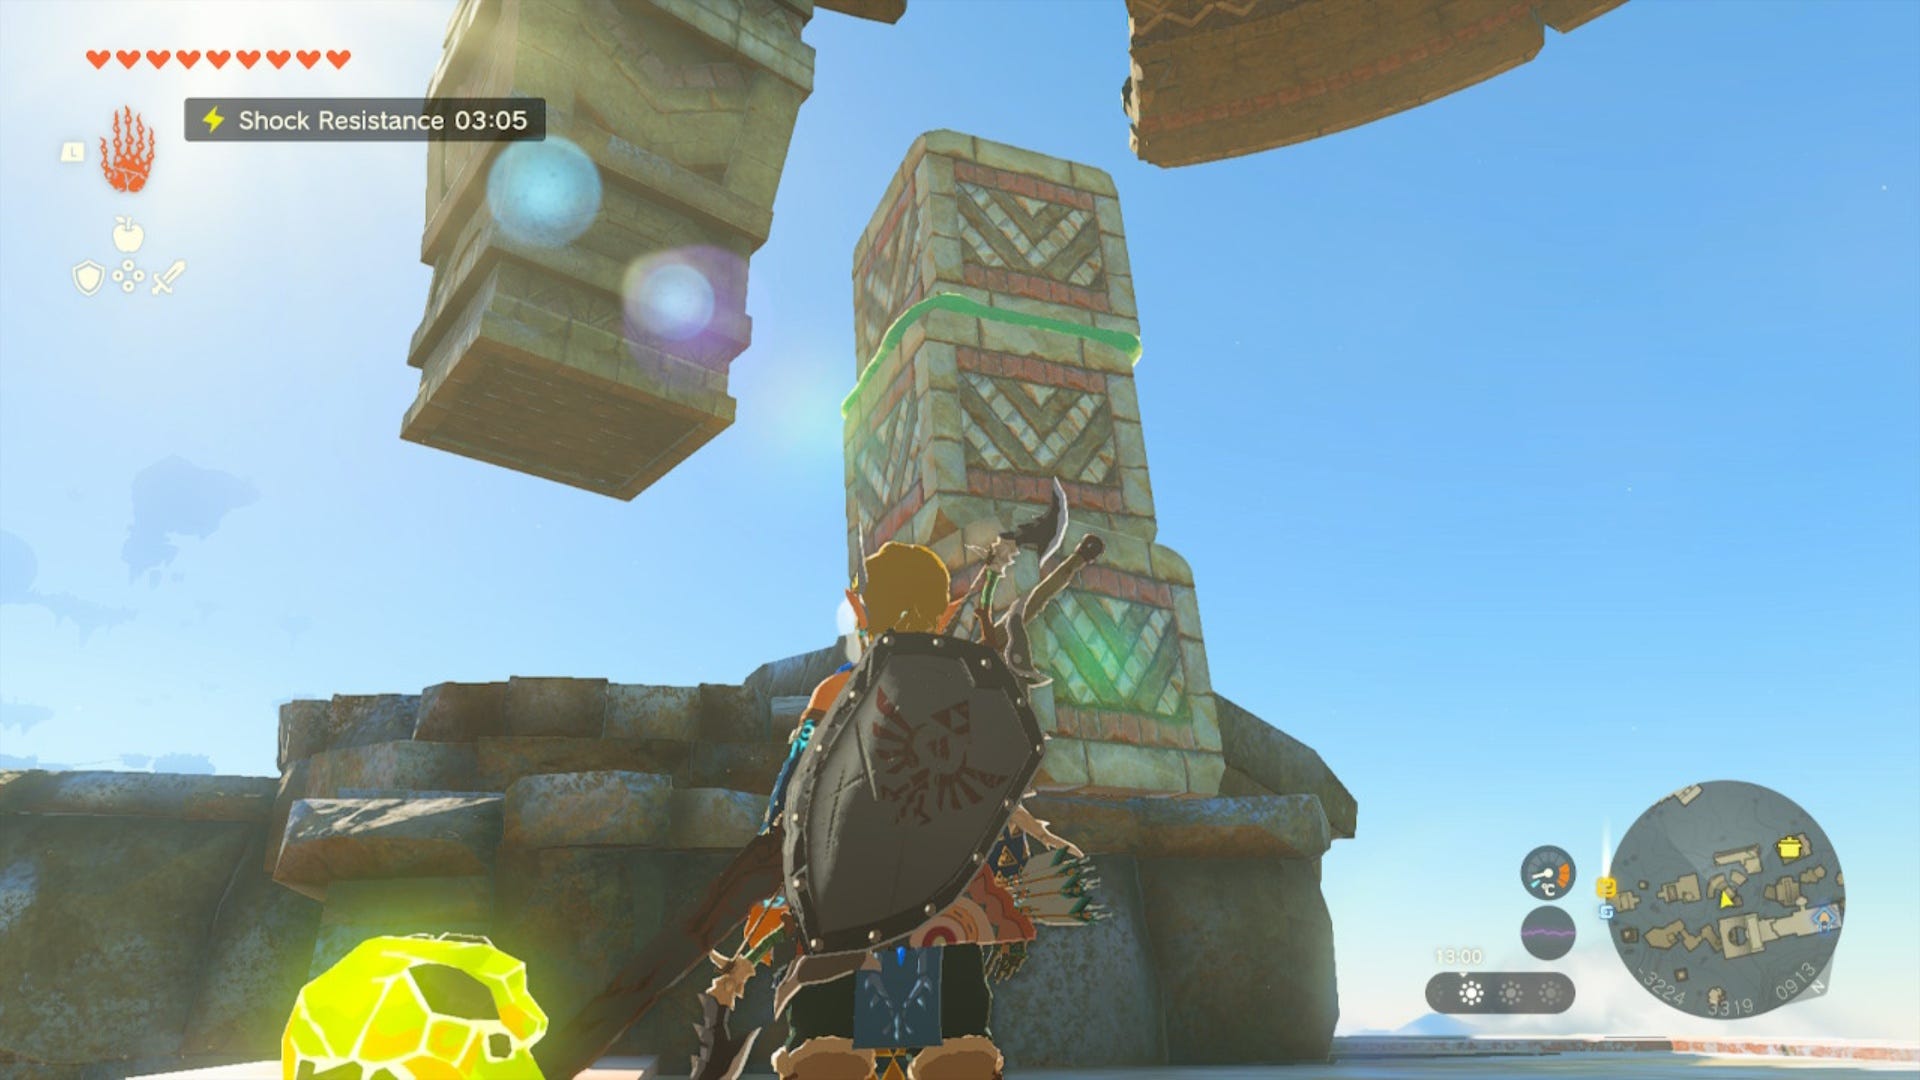
Climb up your cube creation then look up and use Ascend to go through the pillar, popping out on top of it.
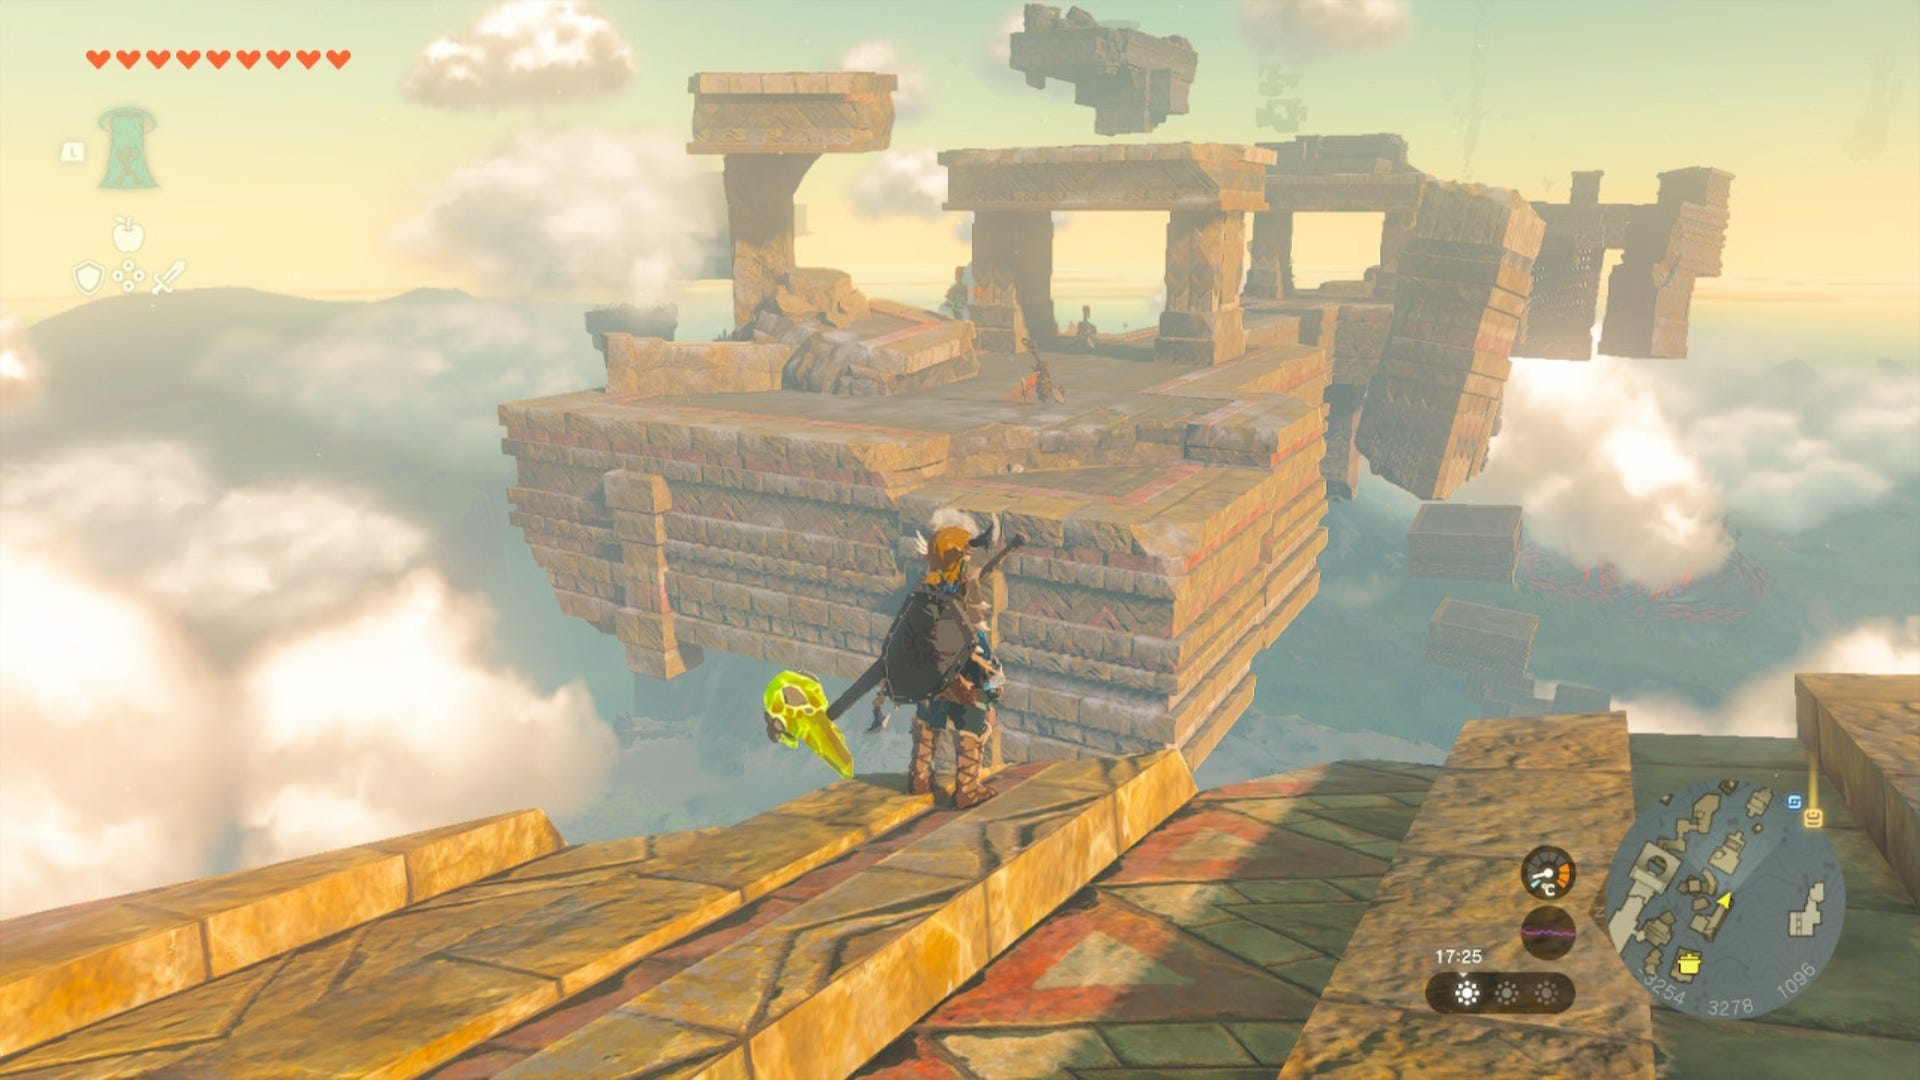
Once through the pillar, stand at the corner of it at (-3238, 3323, 1010) and you should see a floating island opposite you with stone archway on it.
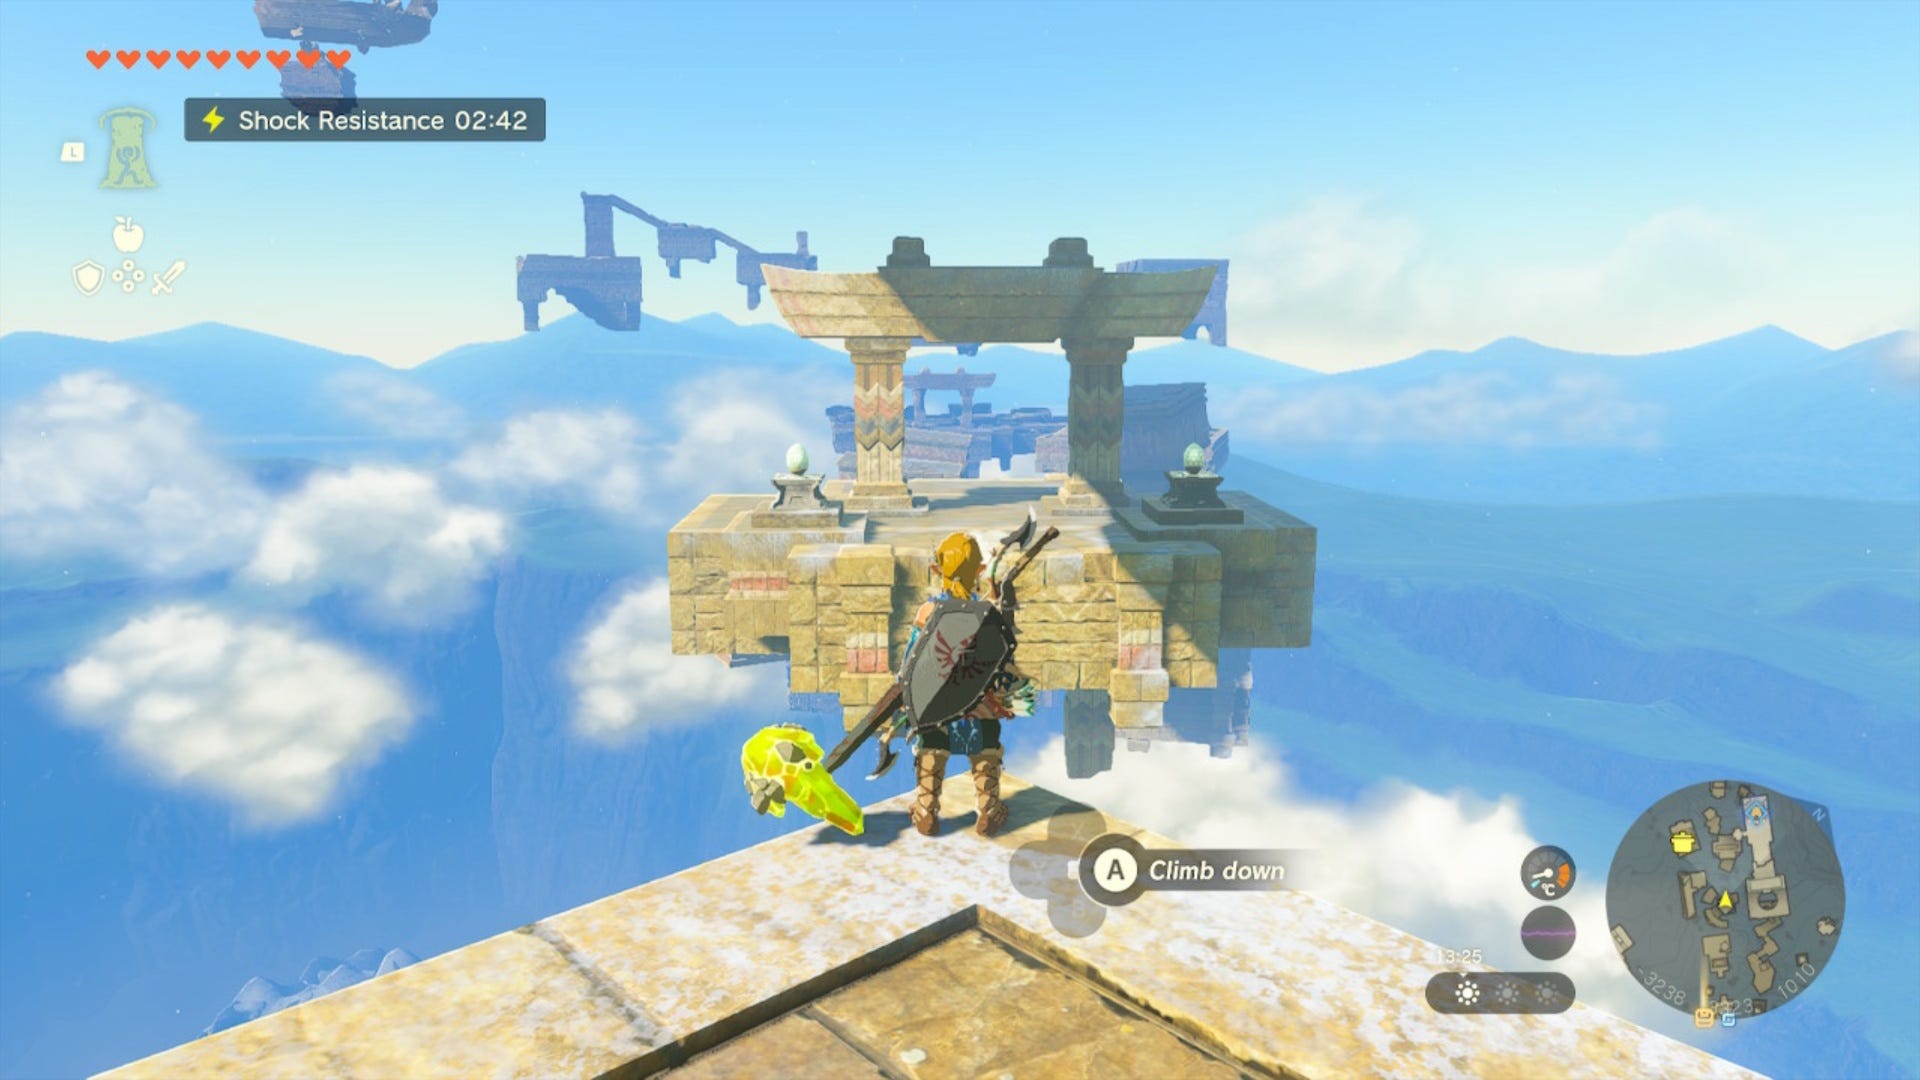
Glide over here and cross the platform so you're standing on the opposite edge. You should see a bunch more broken floating islands now.
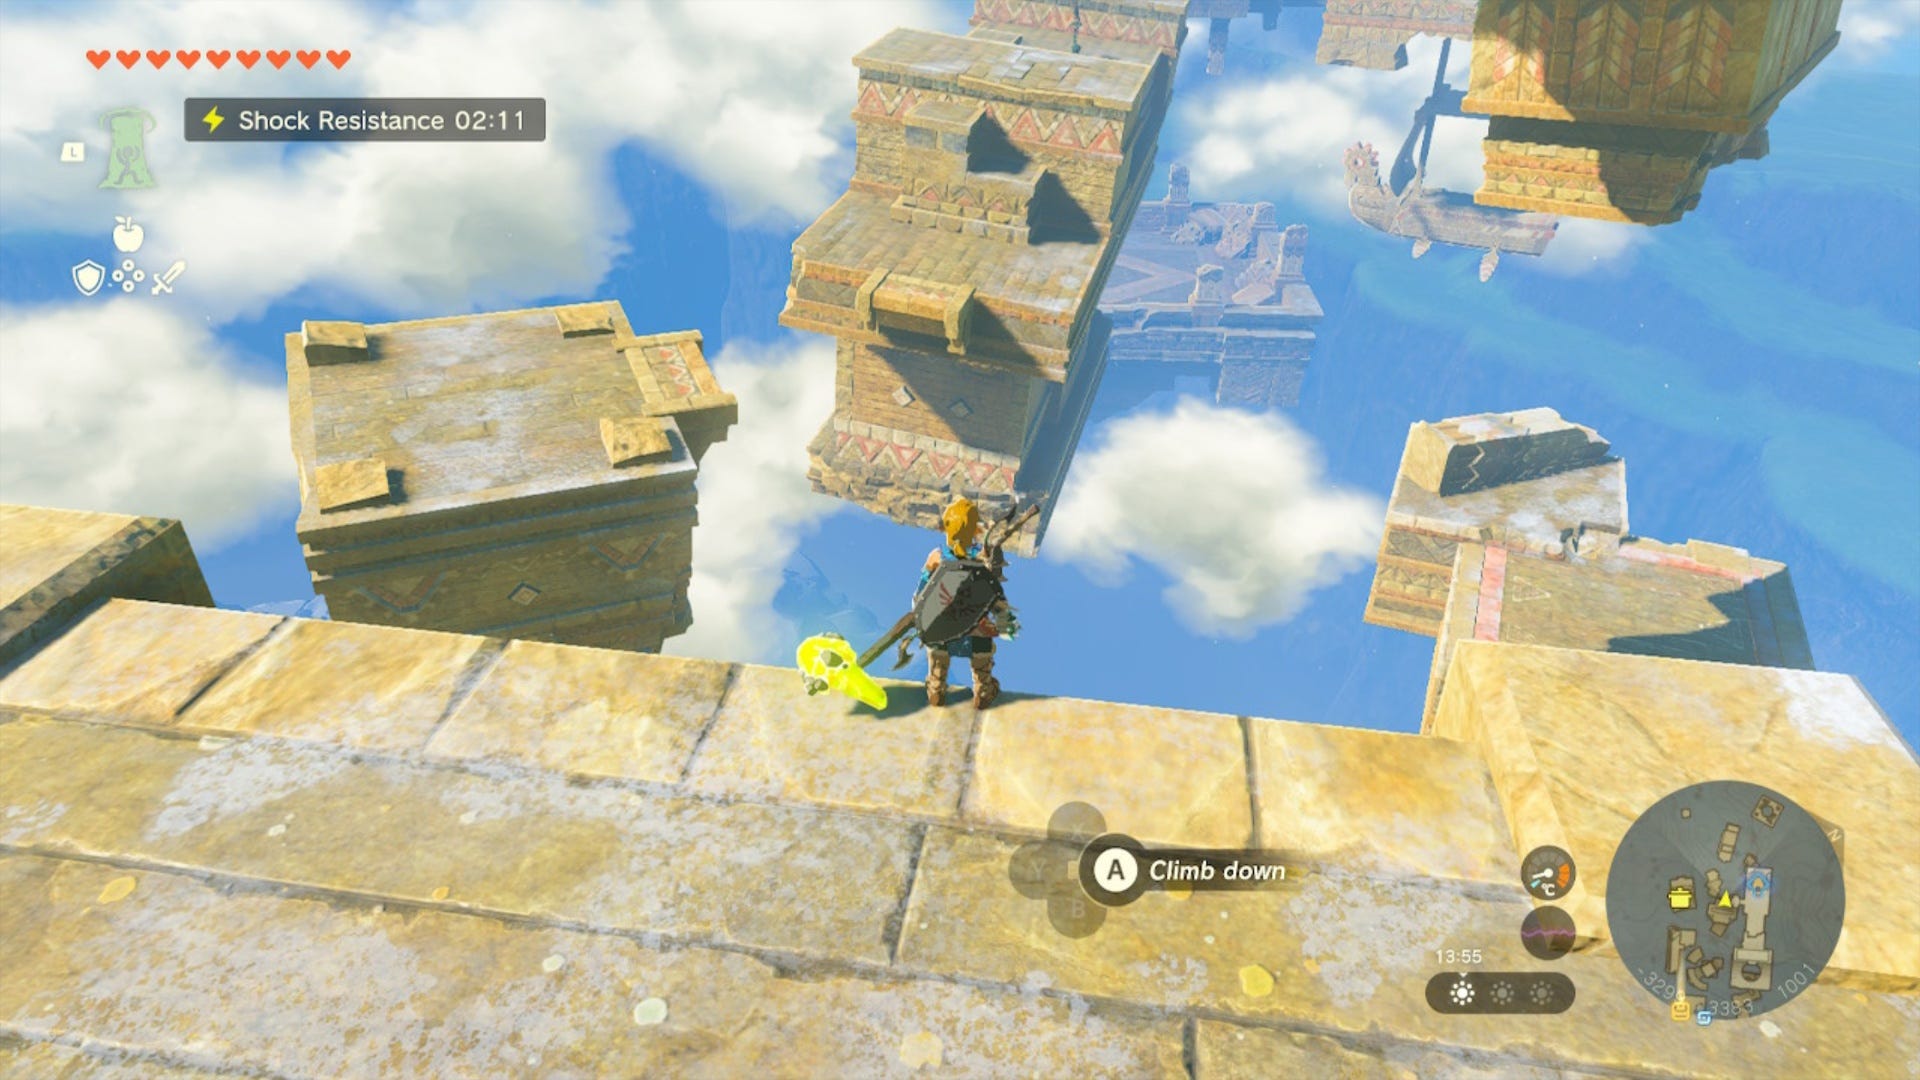
Follow the island path to the left (you'll run into a Captain Construct here) and keep following the path created by the islands until you see an island with a giant hole in the middle of it with a boat floating underneath.
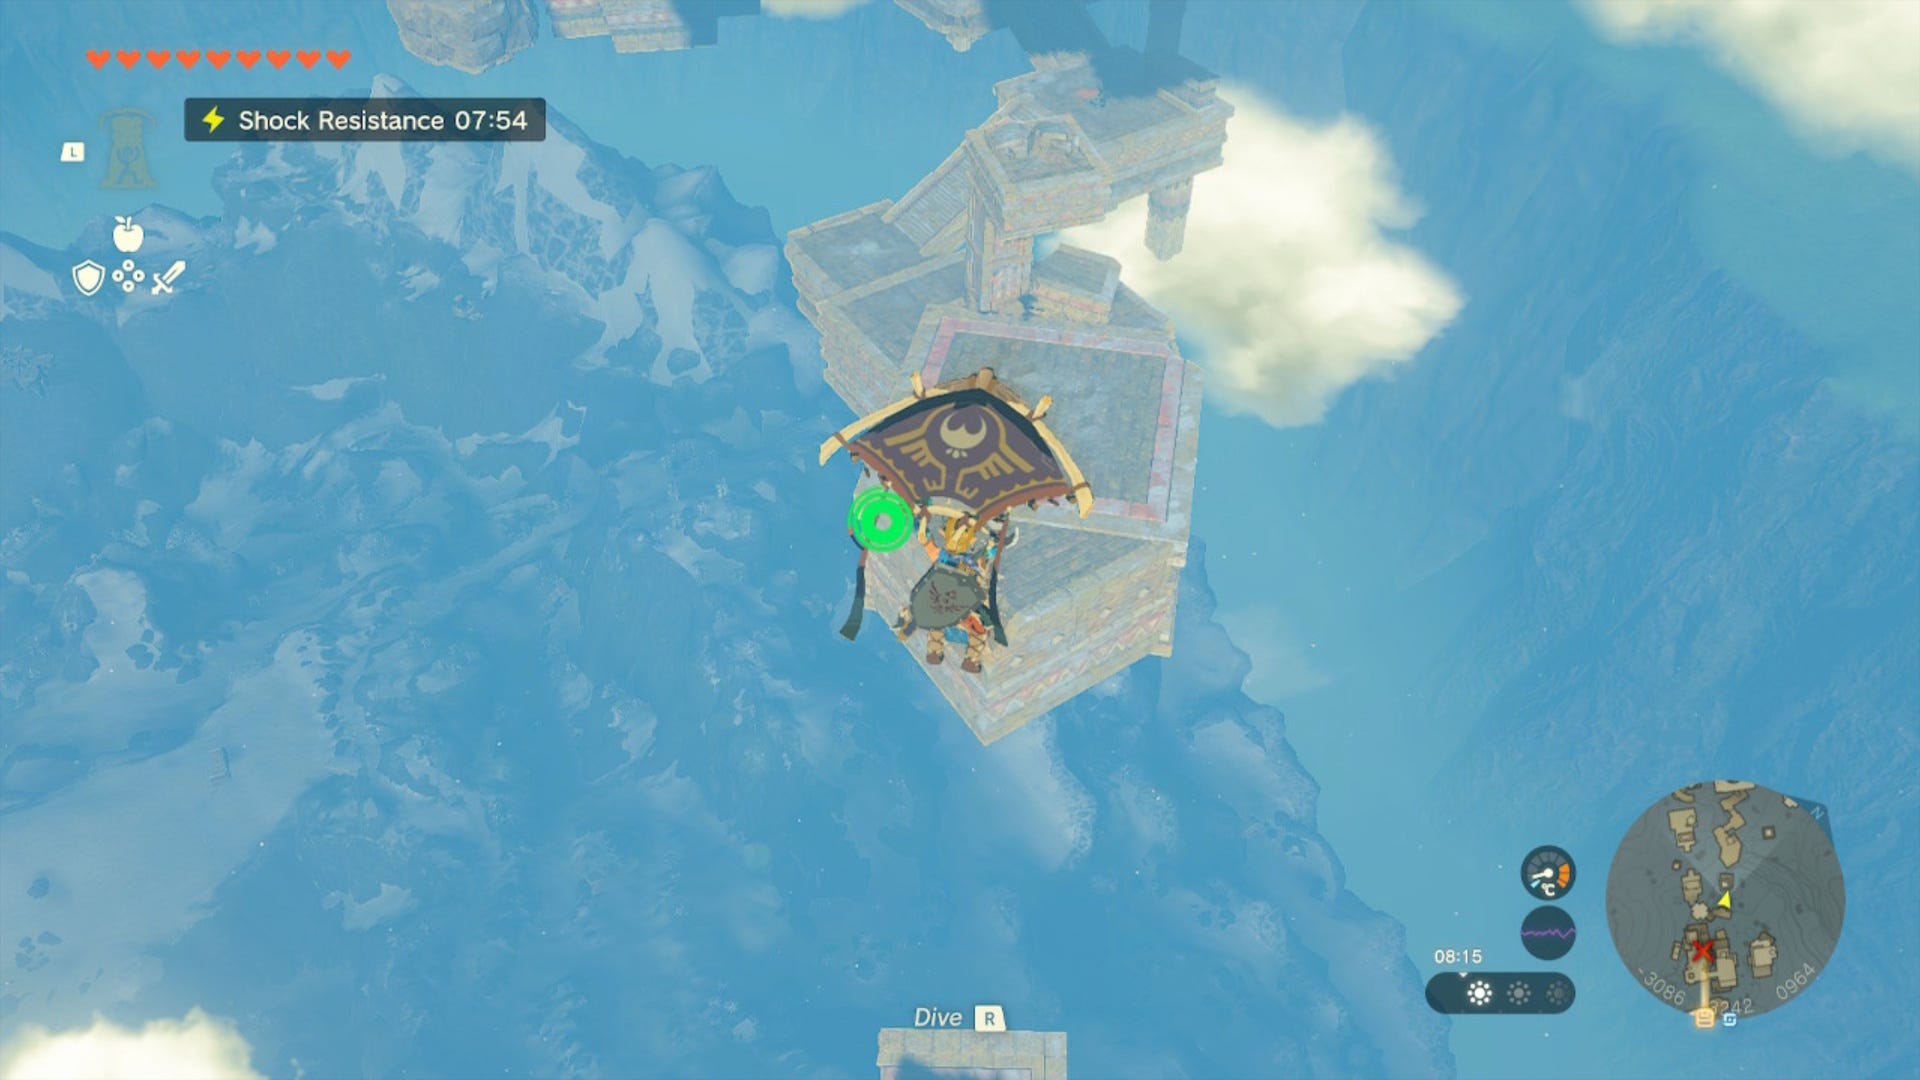
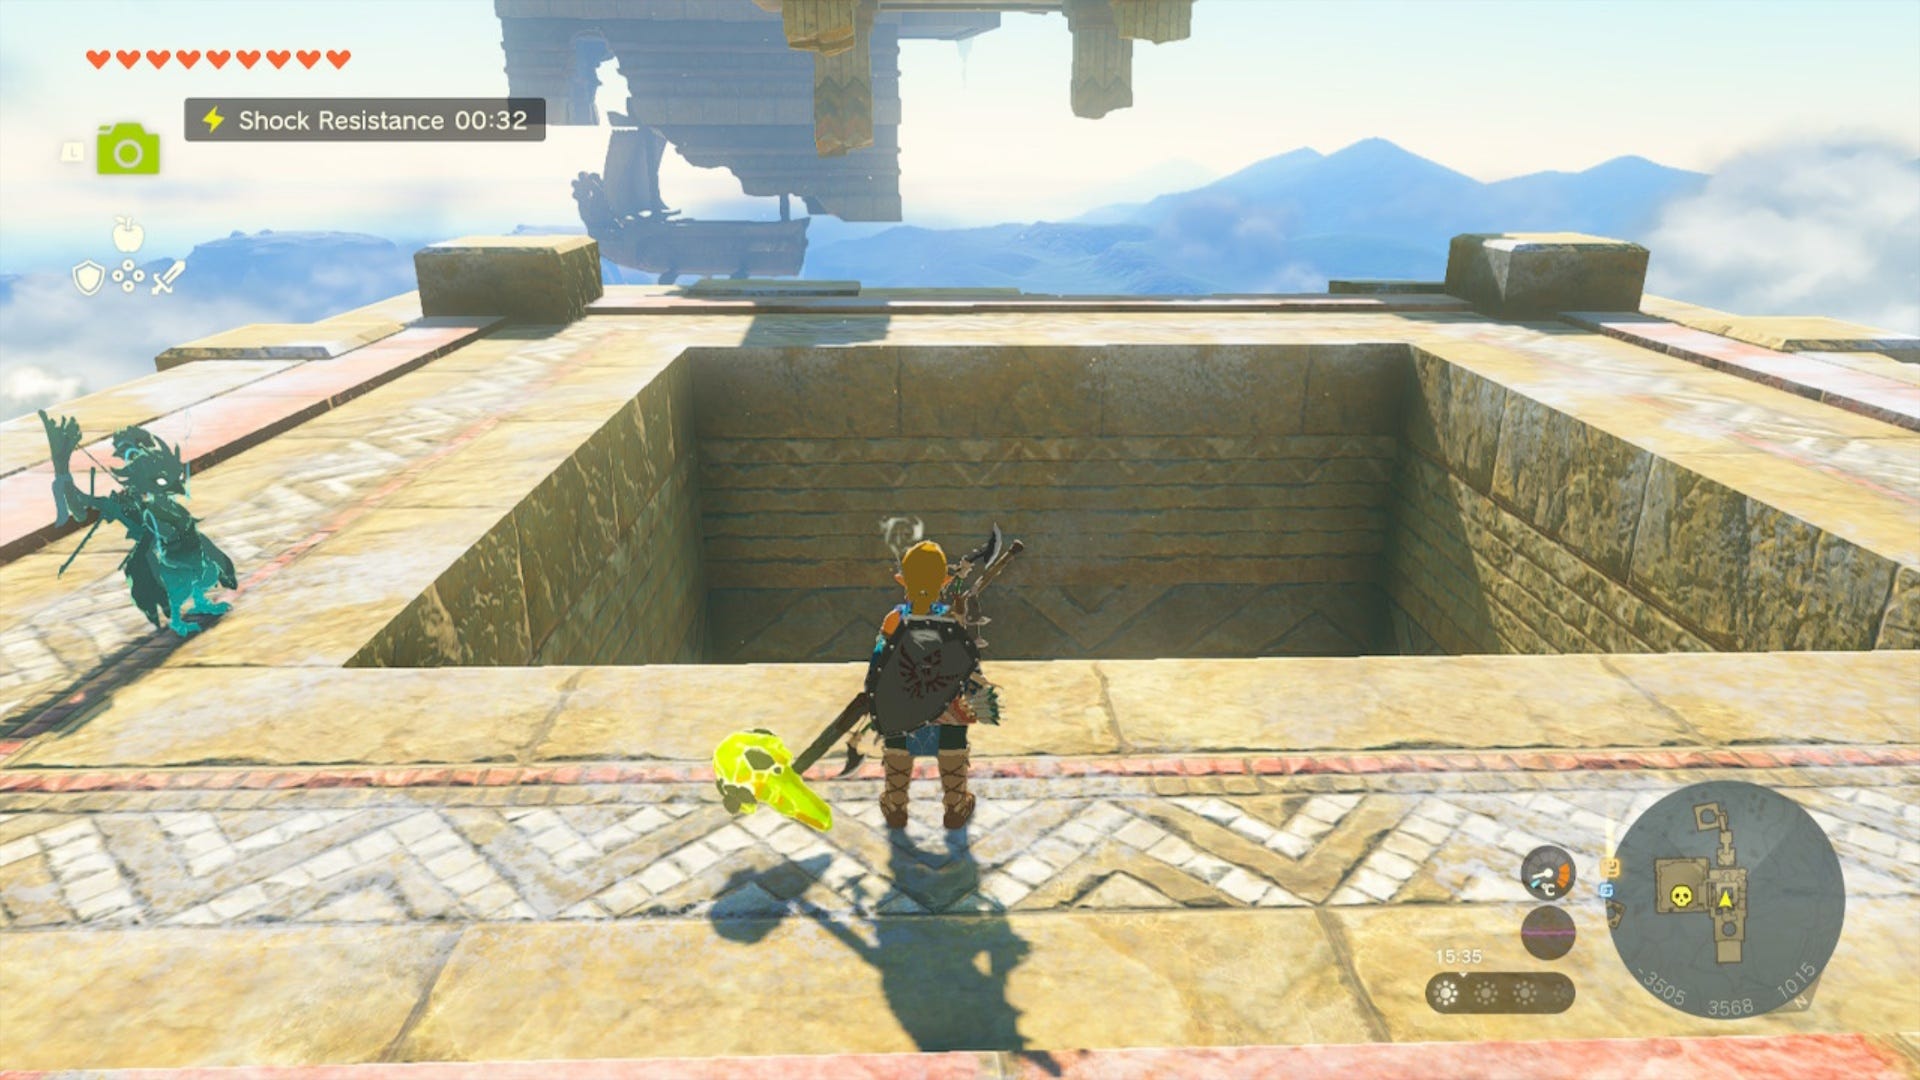
Glide over to the island then jump through the hole and launch Link from the canvas on the boat. When in the air, glide north west (you'll glide over a Flux Construct here) and try to land on the higher island at (-3505, 3568, 1015.)
The hole here is blocked by ice, use a hammer or Bomb Flower, or simply jump on it repeatedly to clear the rubble.
Once you've cleared the rocks, jump through the holes and launch Link from the boat below again.
Then, glide south to the next island at (-3537, 3528, 1034.)
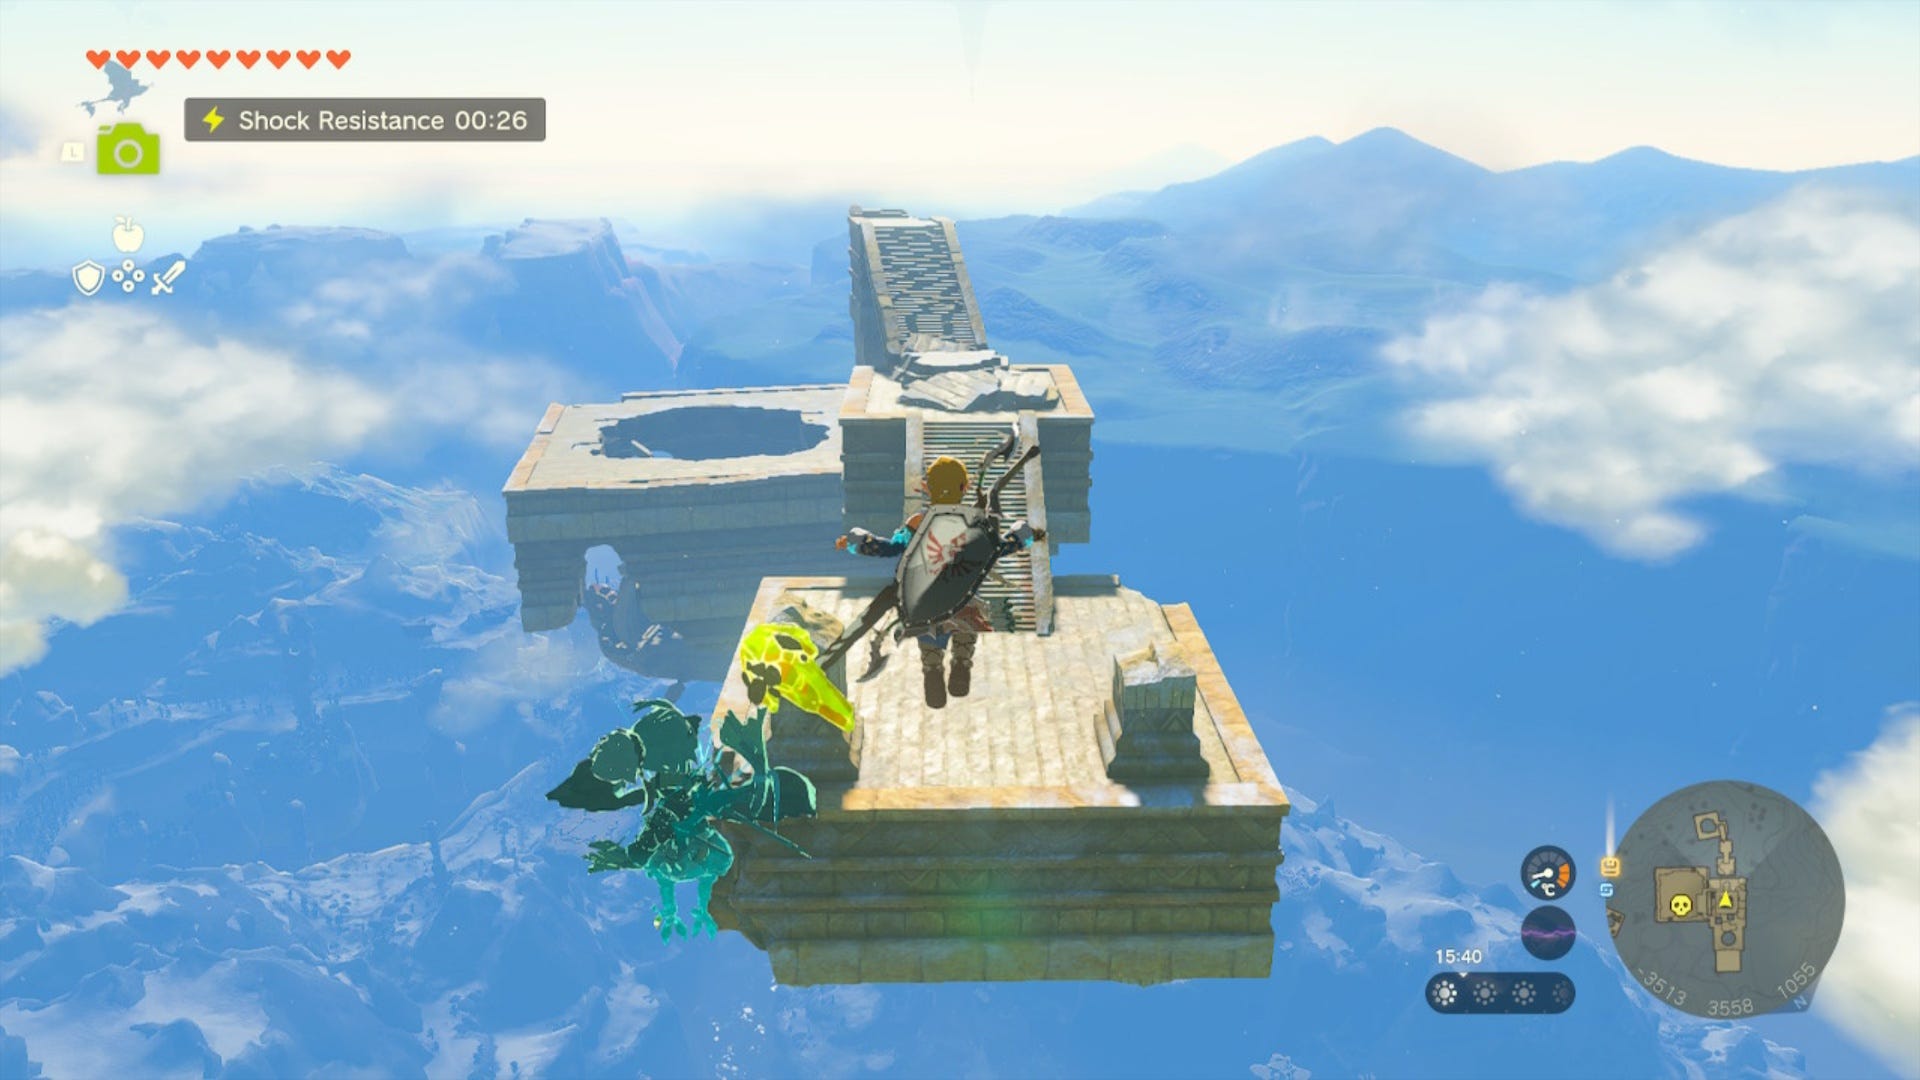
On this island, follow the two sets of stairs all the way up until they stop. When they do, stand on the edge and look down. You should see another island with a hole in it and a boat floating below the hole.
Jump down into the hole and launch Link into the air again, then look around and you should see two Aerocuda flying around above another boat.
Glide over to the boat near the Aerocuda, then launch off of it and look around for a second boat slightly to the right.
Glide over to this boat and launch Link off of it, then glide across to the next solid floating island at (-3347, 3345, 1095.)
Head through the covered area on this platform (stopping to cook at the cooking pot on your right if you want to) and you'll see a trio of Aerocuda hanging around.
Glide across to the next island in front of you and then use Ascend on the overhang at (-3280, 3304, 1088) to get on top of this platform.
Once on top, head south east and you should three constructs on the next island opposite you. Sometimes, the Aerocuda will attack the Constructs who will deal with the former for you.
Glide over to this island, but you need to be careful. You need to pass through the archway behind the constructs and rapidly run across the platform to get to the other side as three parts of the platform will begin to fall as you step on them.
Once you get past the falling platforms, another Construct IV will be waiting for you. After you deal with them, head to the edge of the platform at (-3112, 3204, 1094) and look opposite you.

You should now see another island with Constructs on it. Glide over here and deal with the Constructs (we don't recommend avoiding these ones as they'll follow you to the next part if you do.)
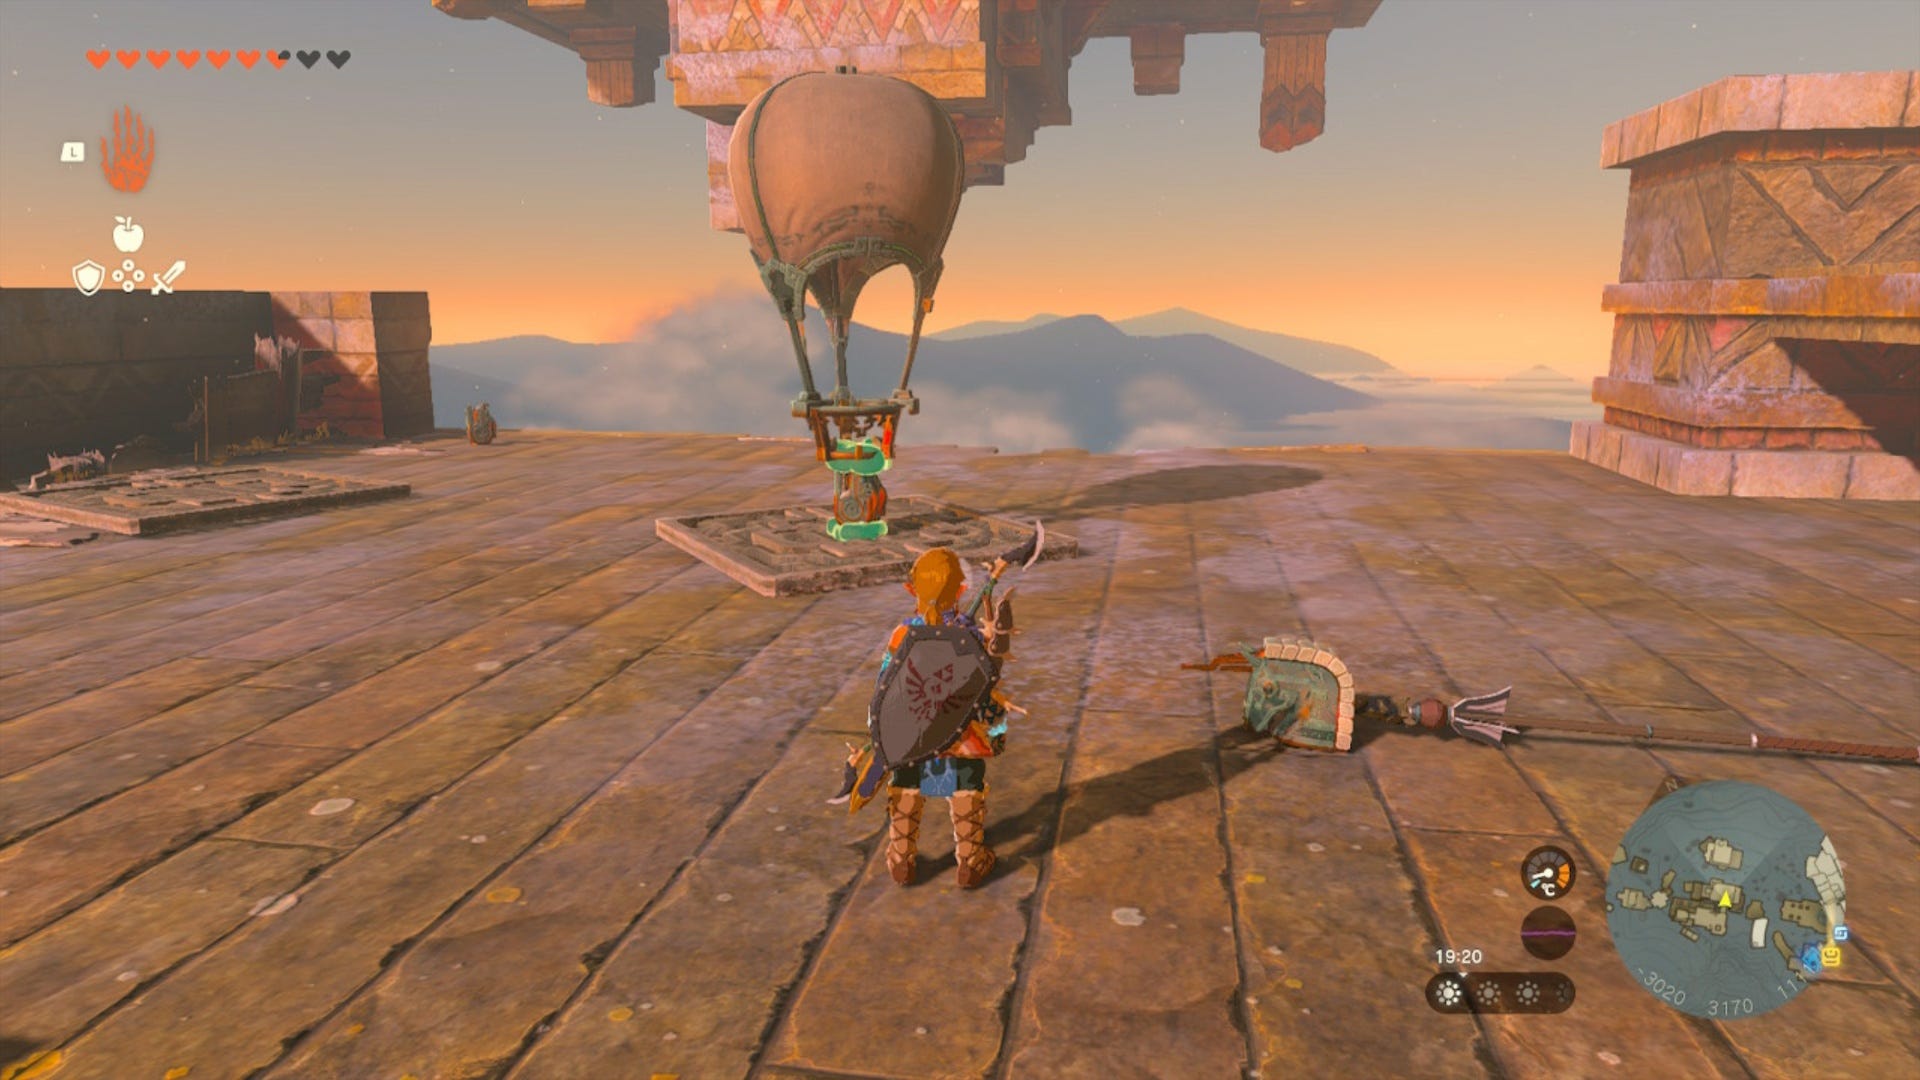
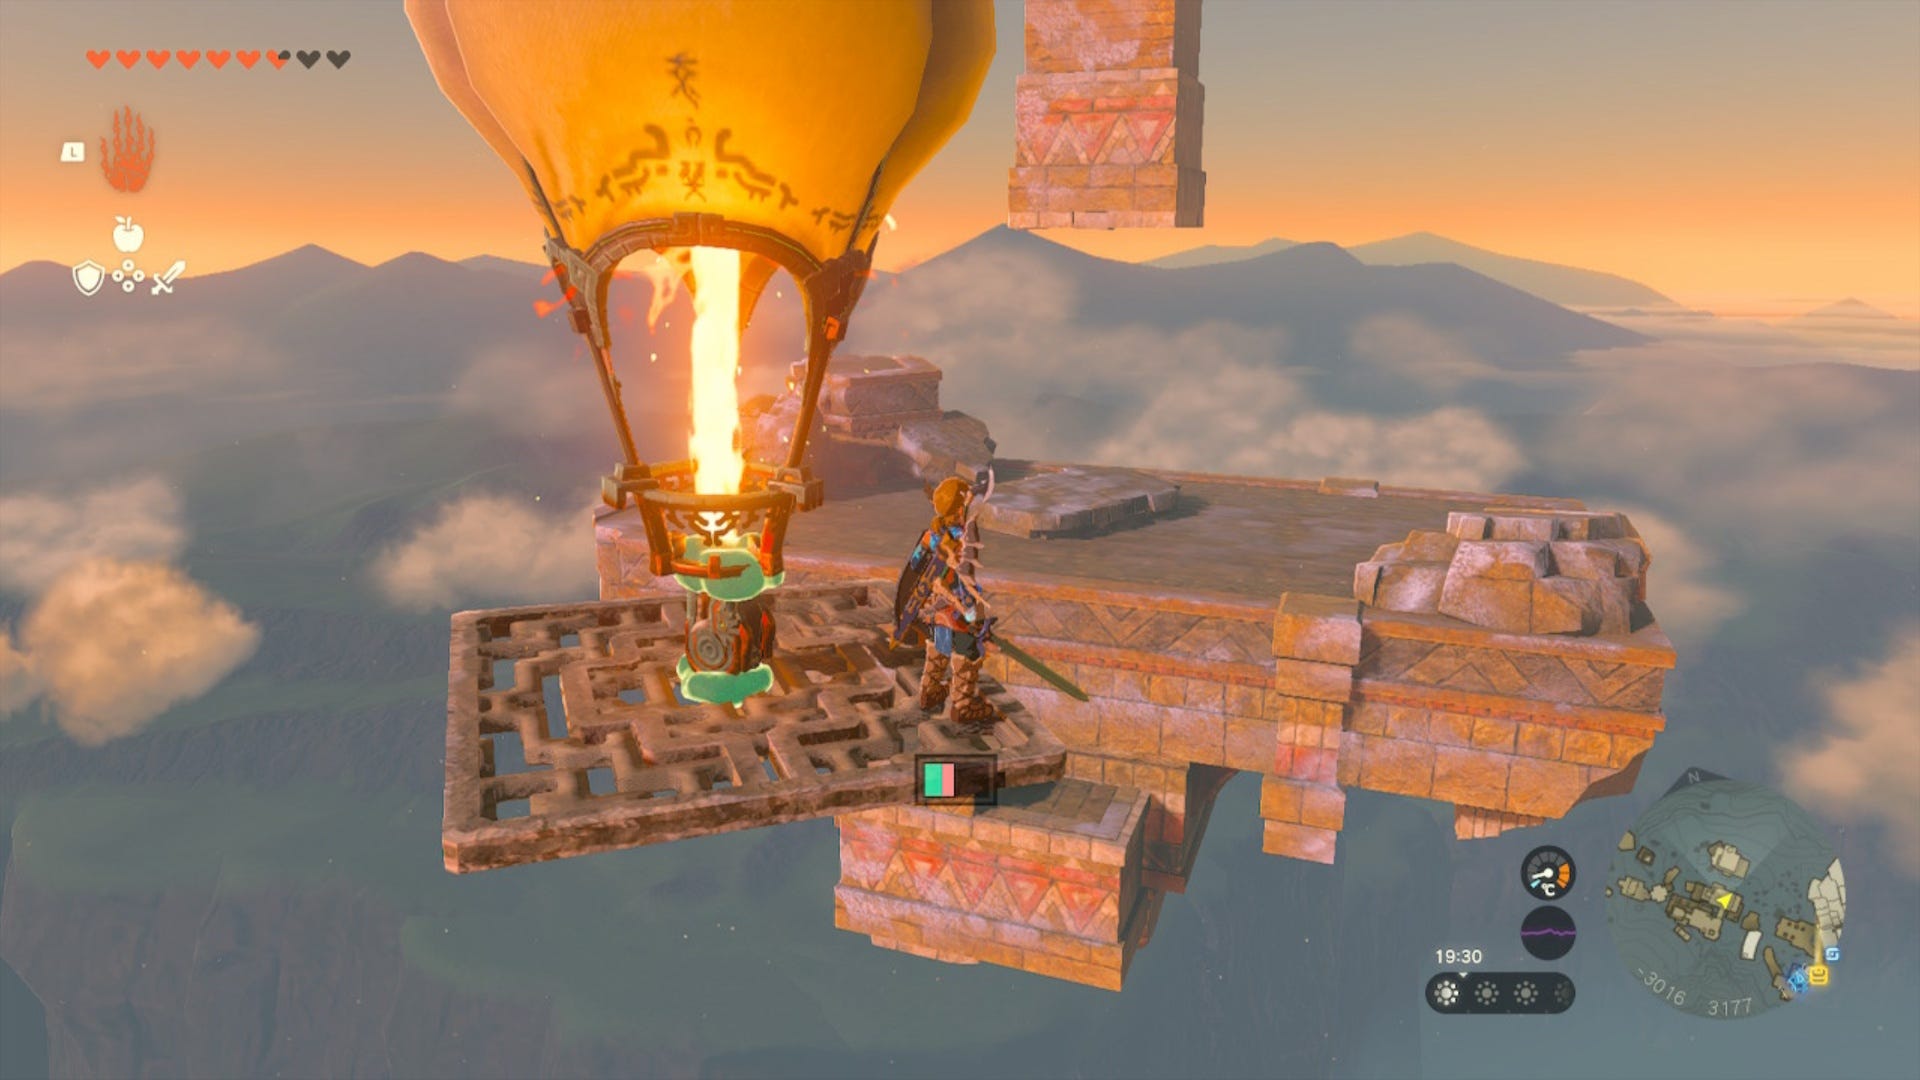
Once the Constructs have been dealt with, head up the stairs on this island until you come to an area with Zonai Devices on it. Here, you need to build a machine capable of lifting you into the air to reach the next set of islands.
There are numerous ways to build a flying machine, but here's how we built ours. You will need:
- A Metal Platform Square
- A Flame-Emitter
- A Balloon
All of the above can be found in this area. Attach the Flame-Emitter to the middle of the platform so that the Emitter will blow flames upwards. Then, carefully place the Balloon directly on top of the Emitter so that the flames will power the ballon.
If you get the wrong placement for the Emitter, it's likely you'll burn your balloon and have to start the build again.
Once happy with your creation, stand on it and activate it to ride it high enough to be able to glide across to the next set of platforms to the north east.
When on the next island, stand underneath the pillar at (-2997, 3224, 1137) and use Ascend on it then climb to the very top of this island.
Now, this is the point where crossing the Rising Island Chain gets a bit tricky - so try to stay with us, but we recommend doing a manual save at this point just in case things go awry.
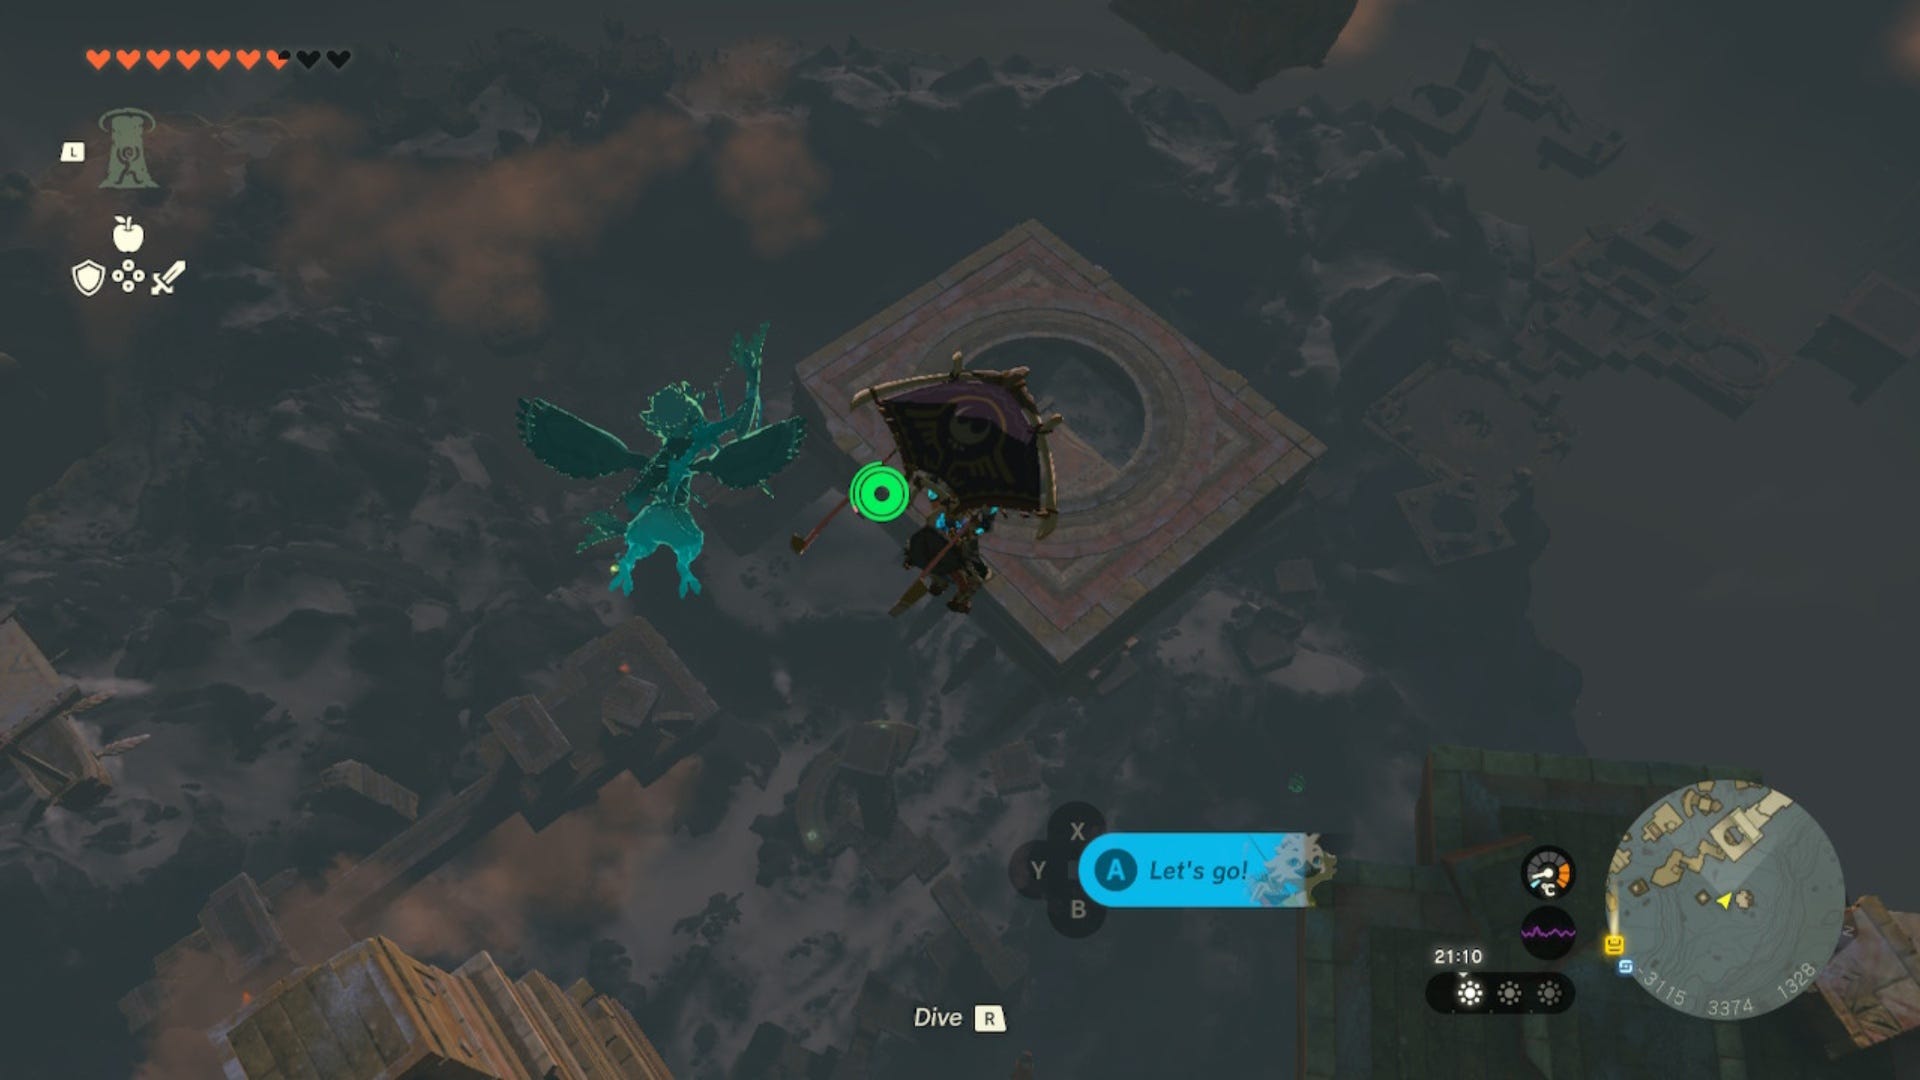
Walk to the edge of this island until you see a boat below you. Jump down onto the boat here and launch Link into the air.
Glide to the boat on the left, land on it and launch Link into the air again.
Glide to the boat on the right, land on it and launch Link into the air once more.
While in the air, glide west to a platform with a hole in the middle. Jump down into the hole to launch Link off of another boat.
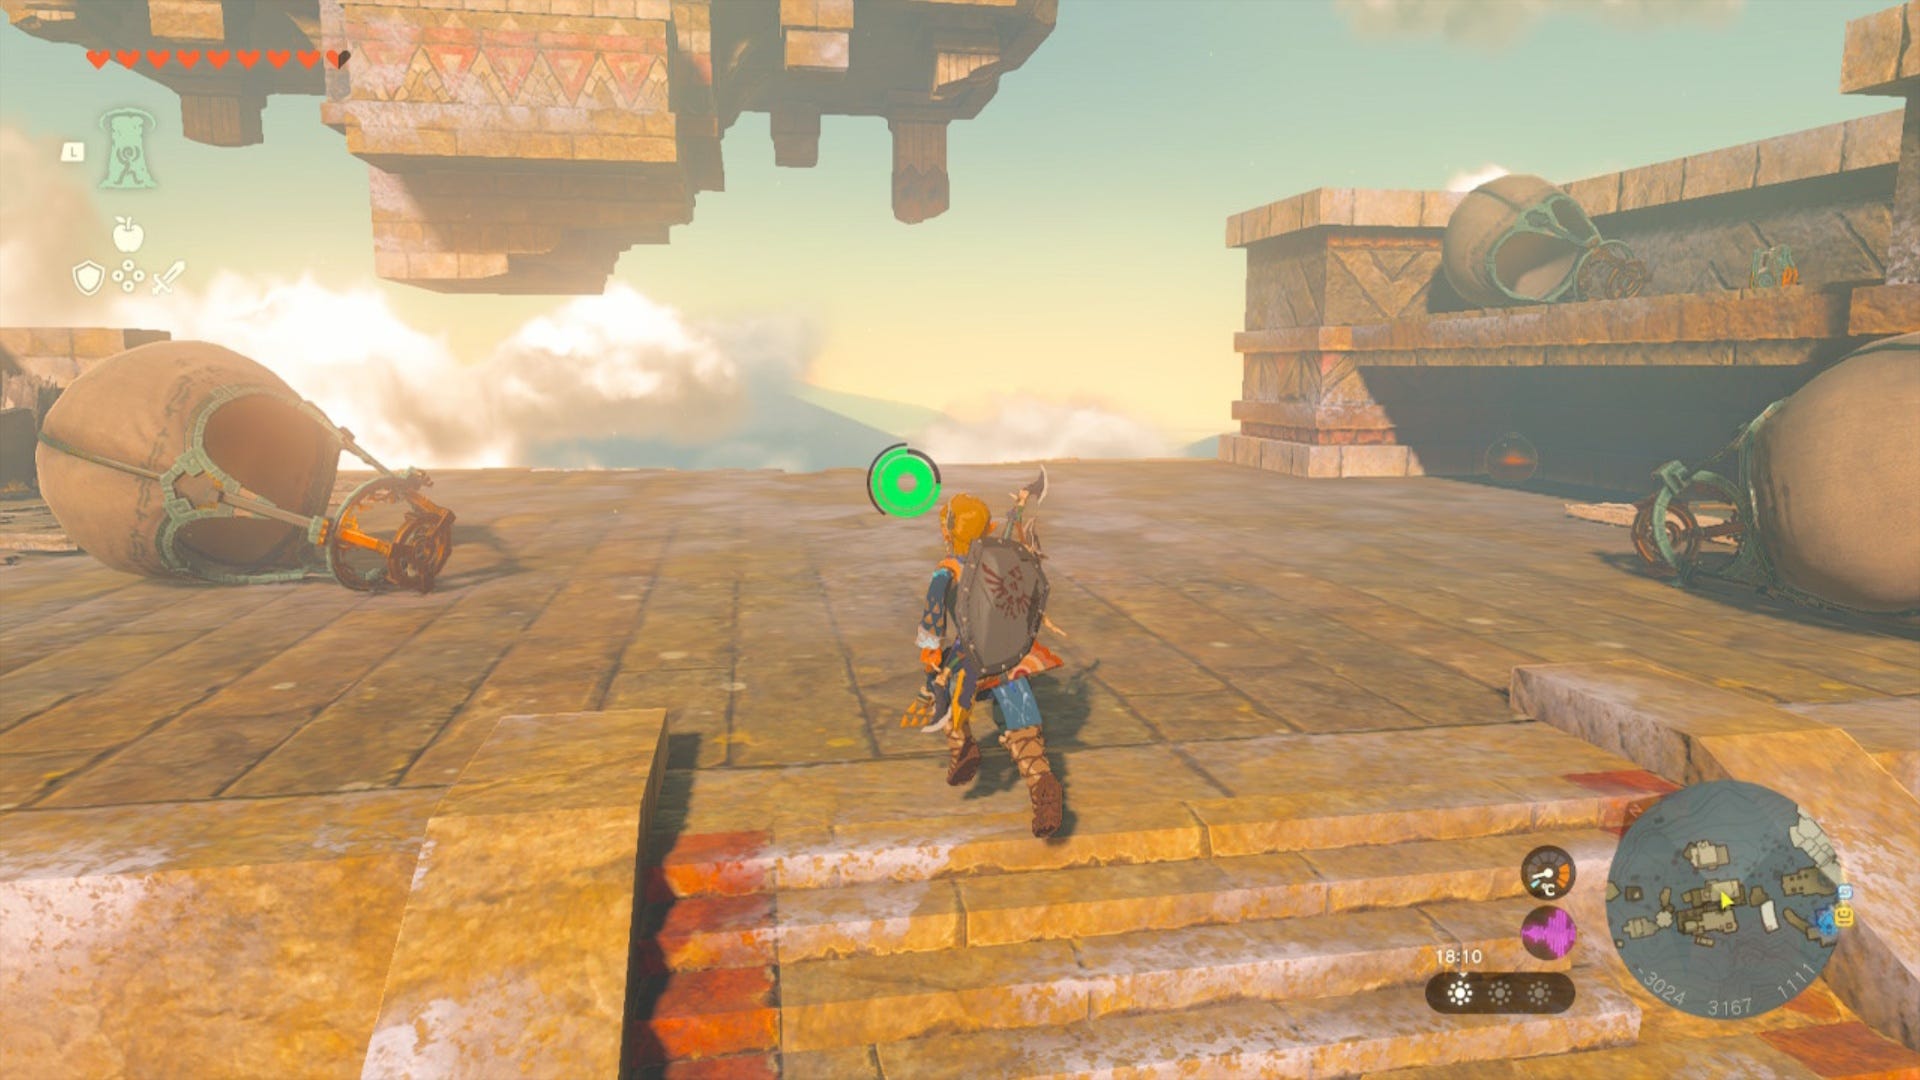
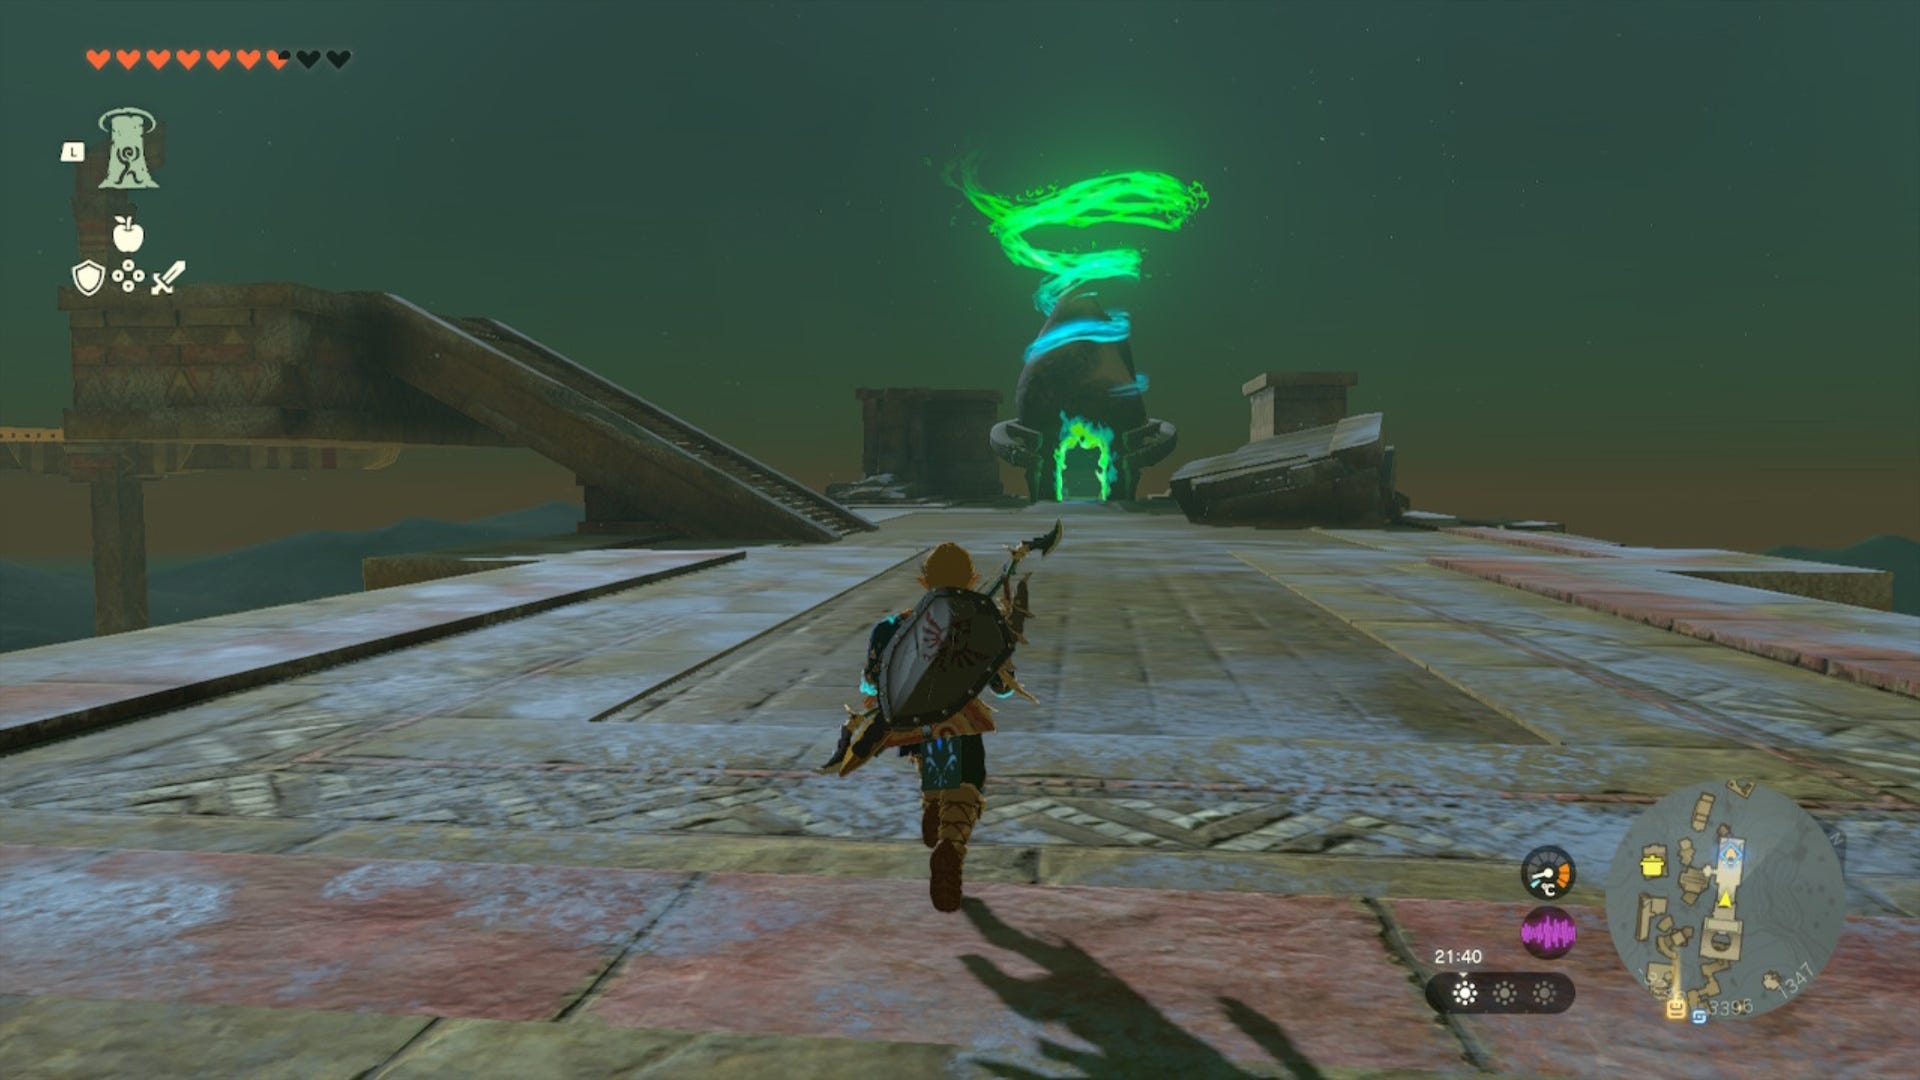
Then, land on the nearest island which is at (-3209, 3372, 1340). On here, walk up to the Kahatanaum Shrine and activate it as a Fast Travel point.
From the Shrine, head up the set of stairs on your left and launch Link from the boat here.
Use Tulin's ability to help you glide south to an island far from you. When you land on it, the rough coordinates should be (-3296, 3192, 1448.)
.jpg?width=1920&height=1920&fit=bounds&quality=80&format=jpg&auto=webp)
On this island, follow the stairs to the left until you find yet another boat. Jump onto it and launch Link from it.
While in the air, you should turn around so that the floating boats are coming towards you. Try to maintain this while you travel from boat to boat.
Land on the boat closest to you and launch again.
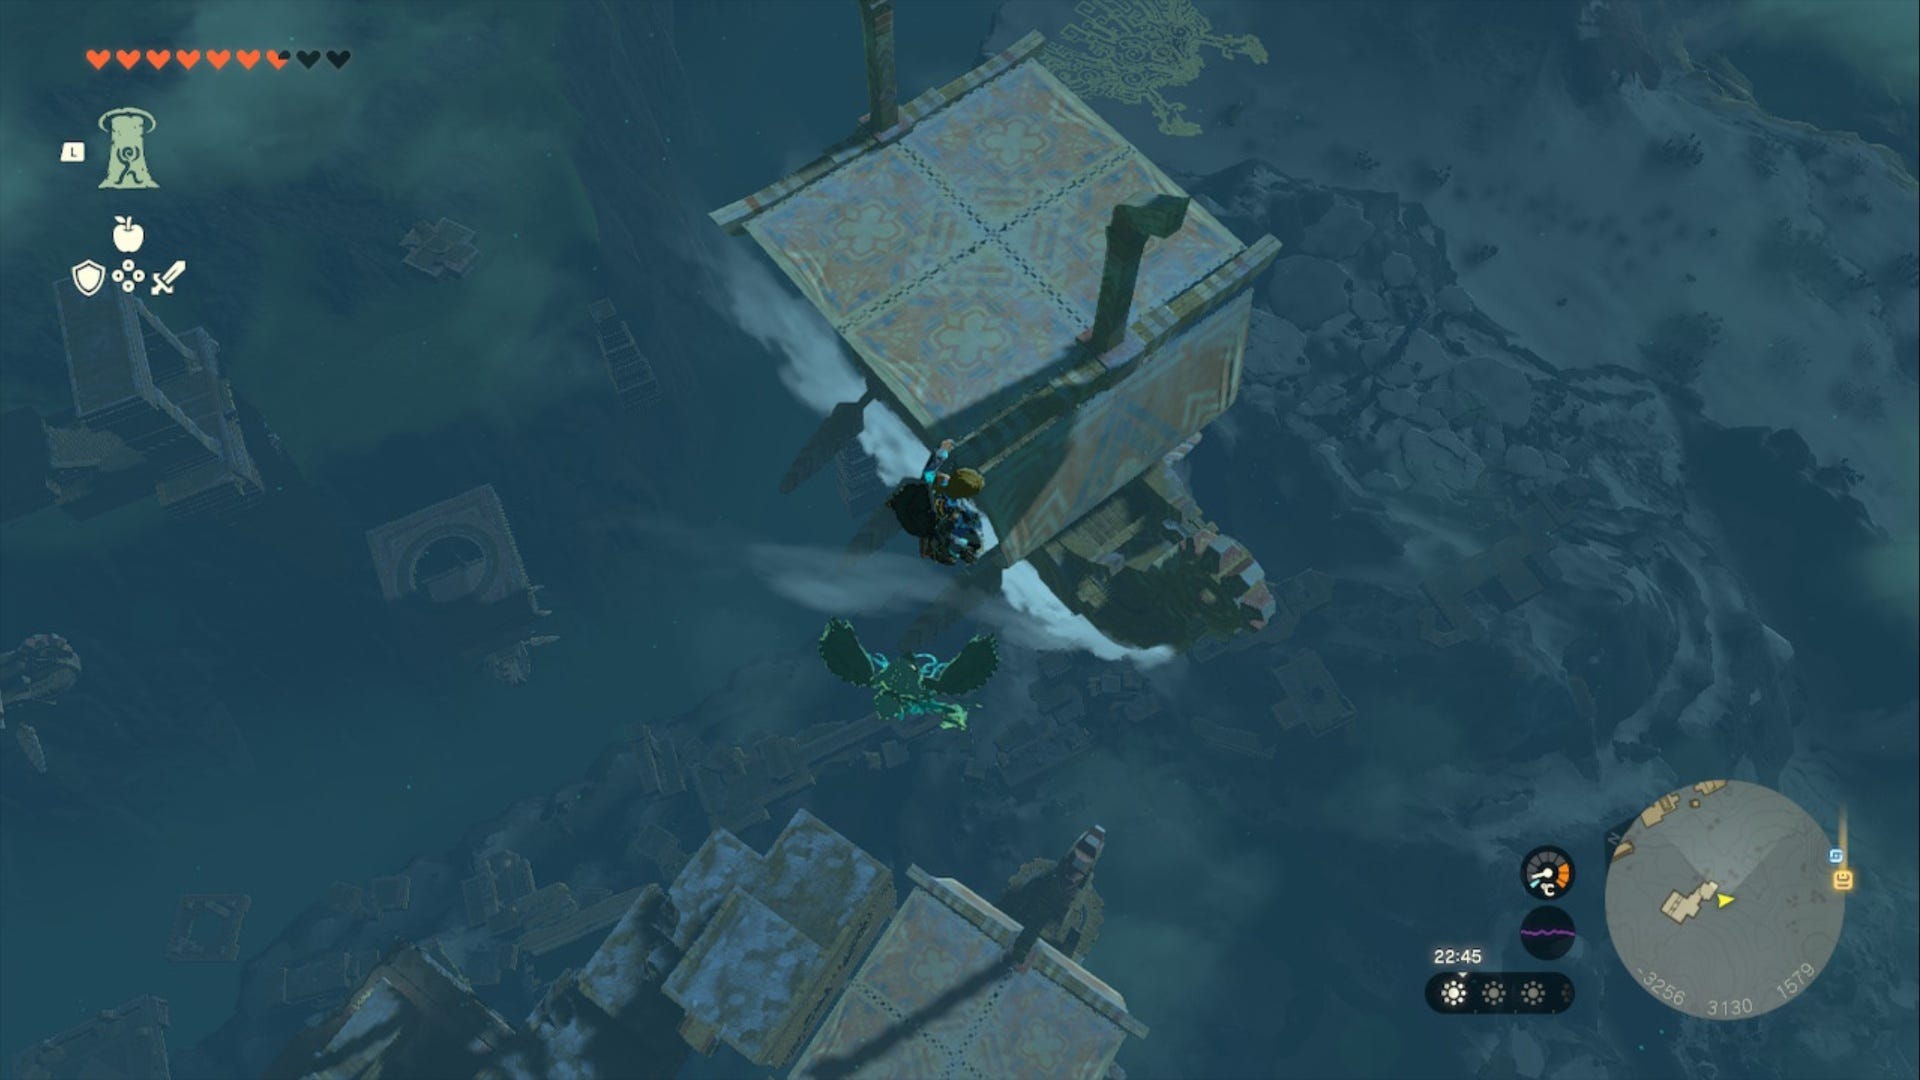
Then, glide south to a static floating island with a boat attached to the side of it (you may need to land on the lower level of this island, but don't worry, Ascend will take you where you need to be.)
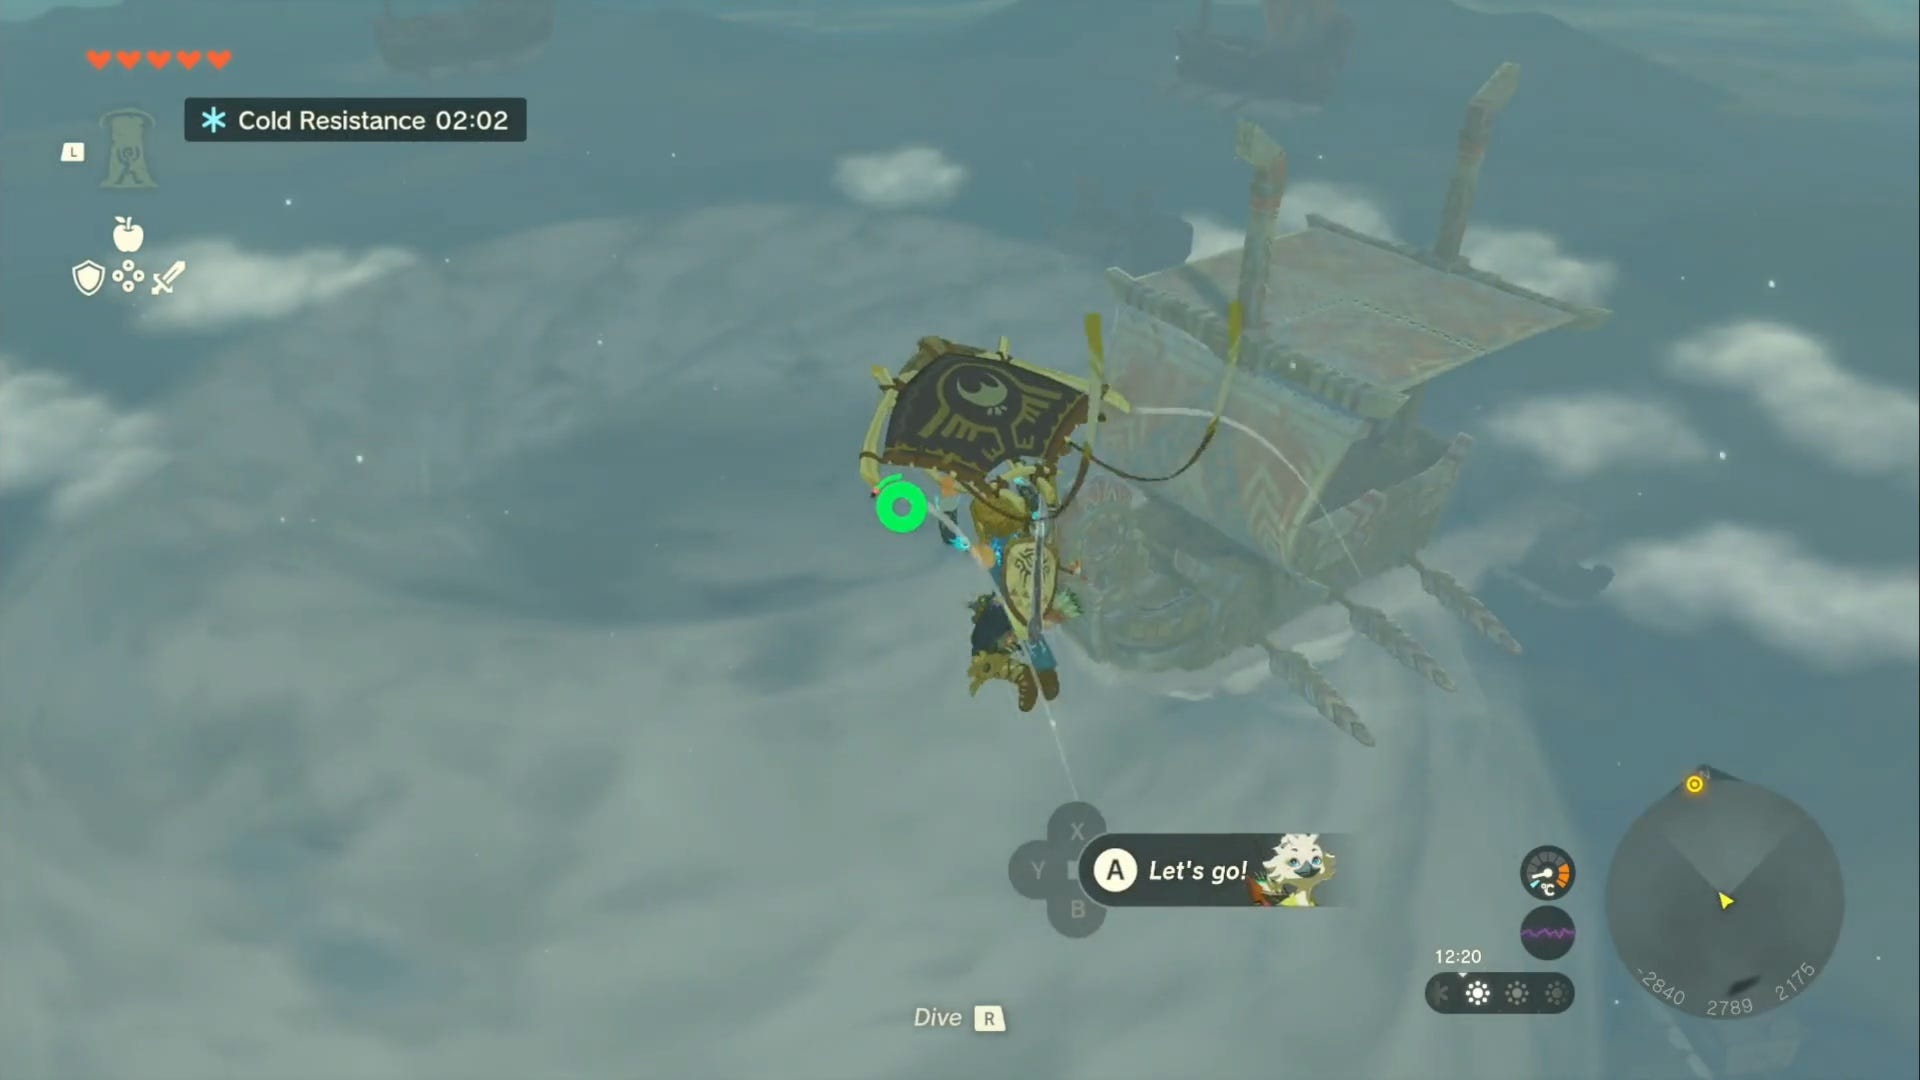
Launch off the boat here and look opposite you once in the air, you should see another ship coming towards you. Glide over to it, launch from it, and then glide to the next boat that is nearest to you and is coming towards you.
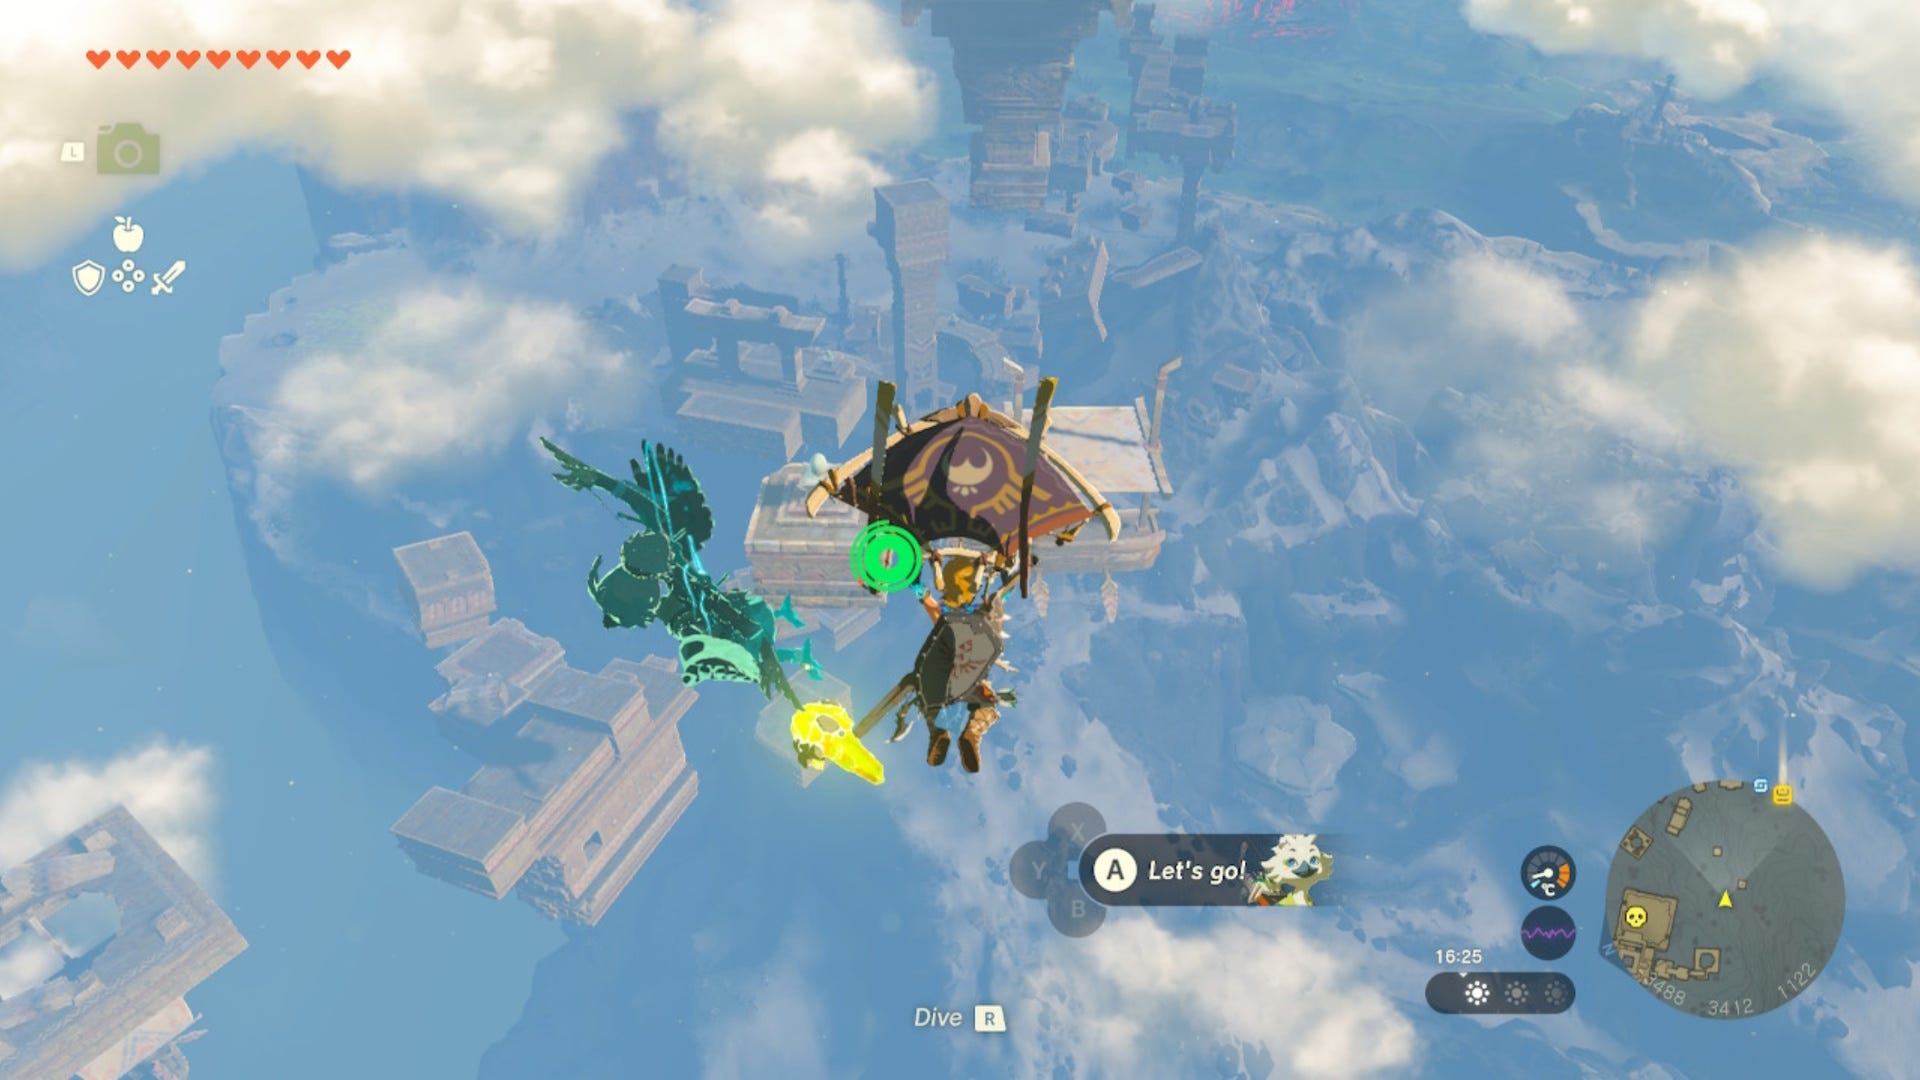
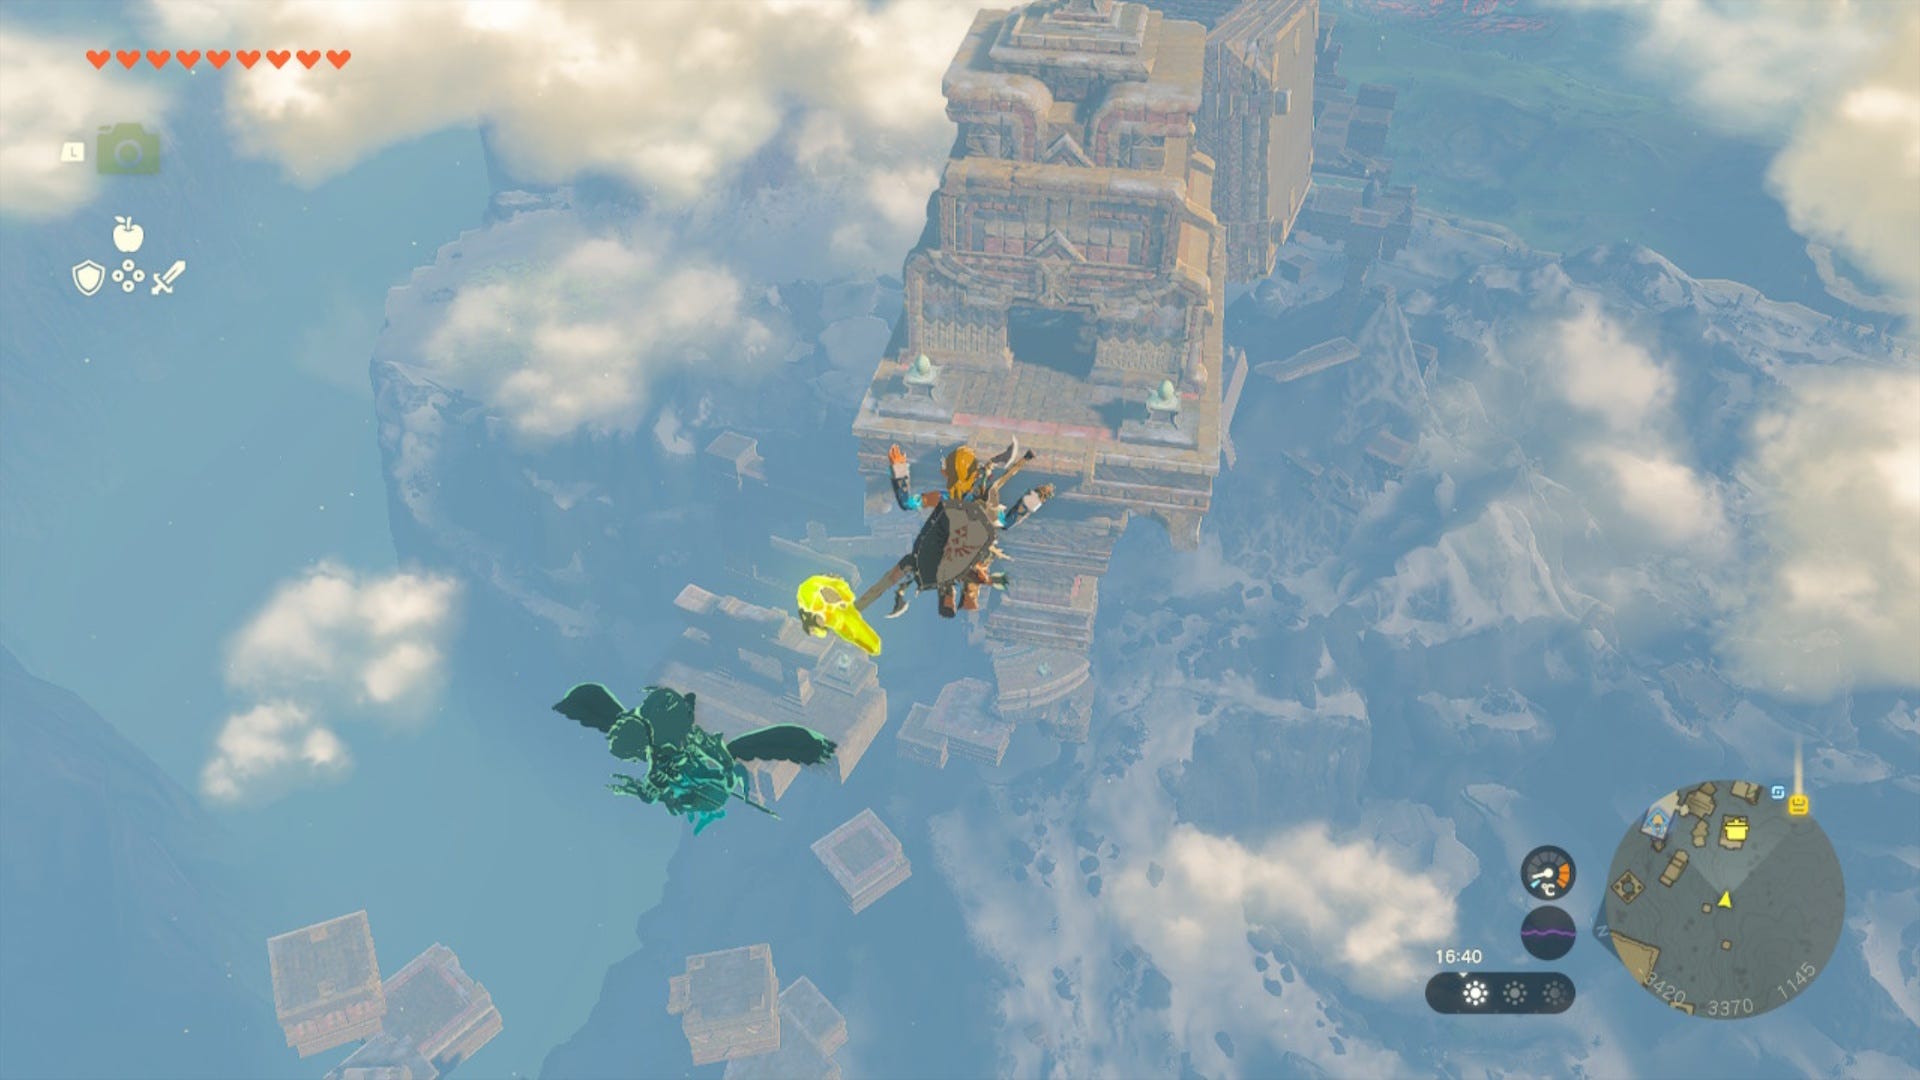
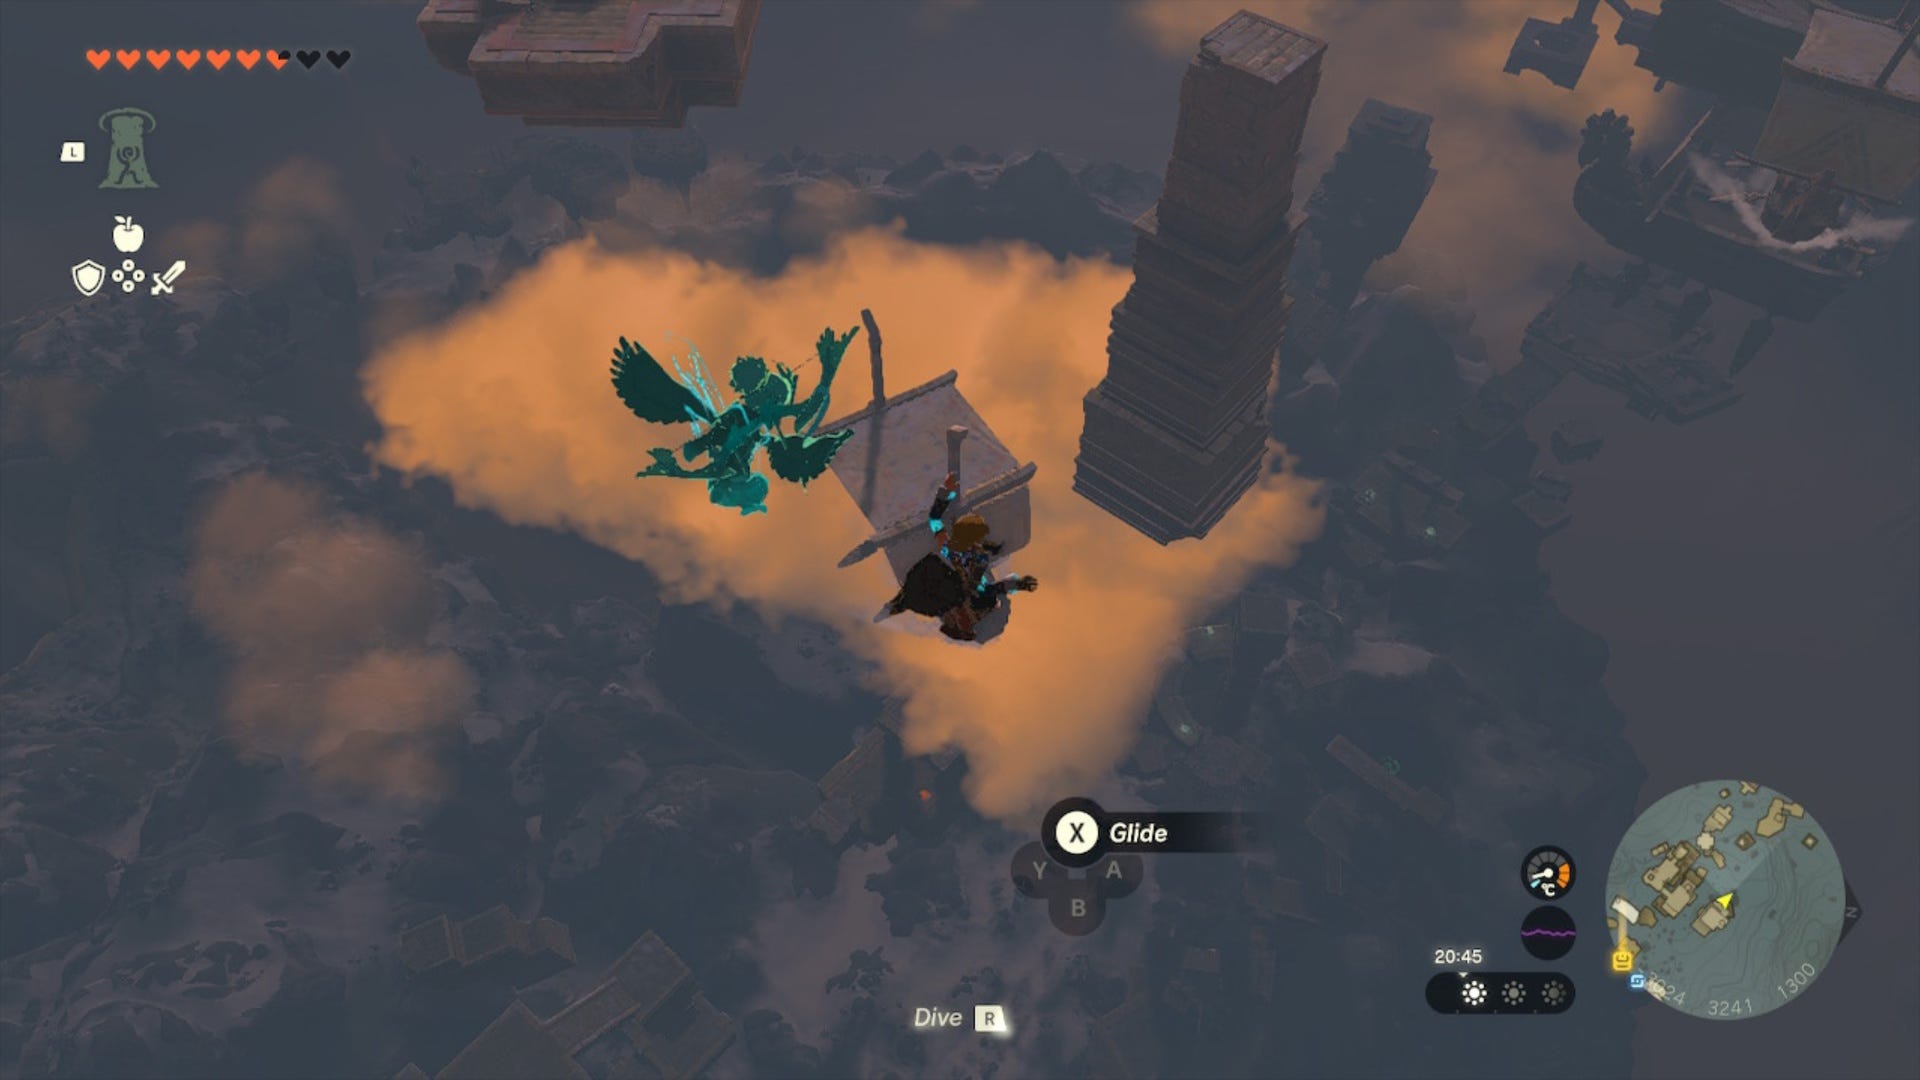
Rinse and repeat the step above until you get to the top layer of boats above the cloud. You'll know your here as there will be no more boats above you and you'll clearly be able to see above the storm.
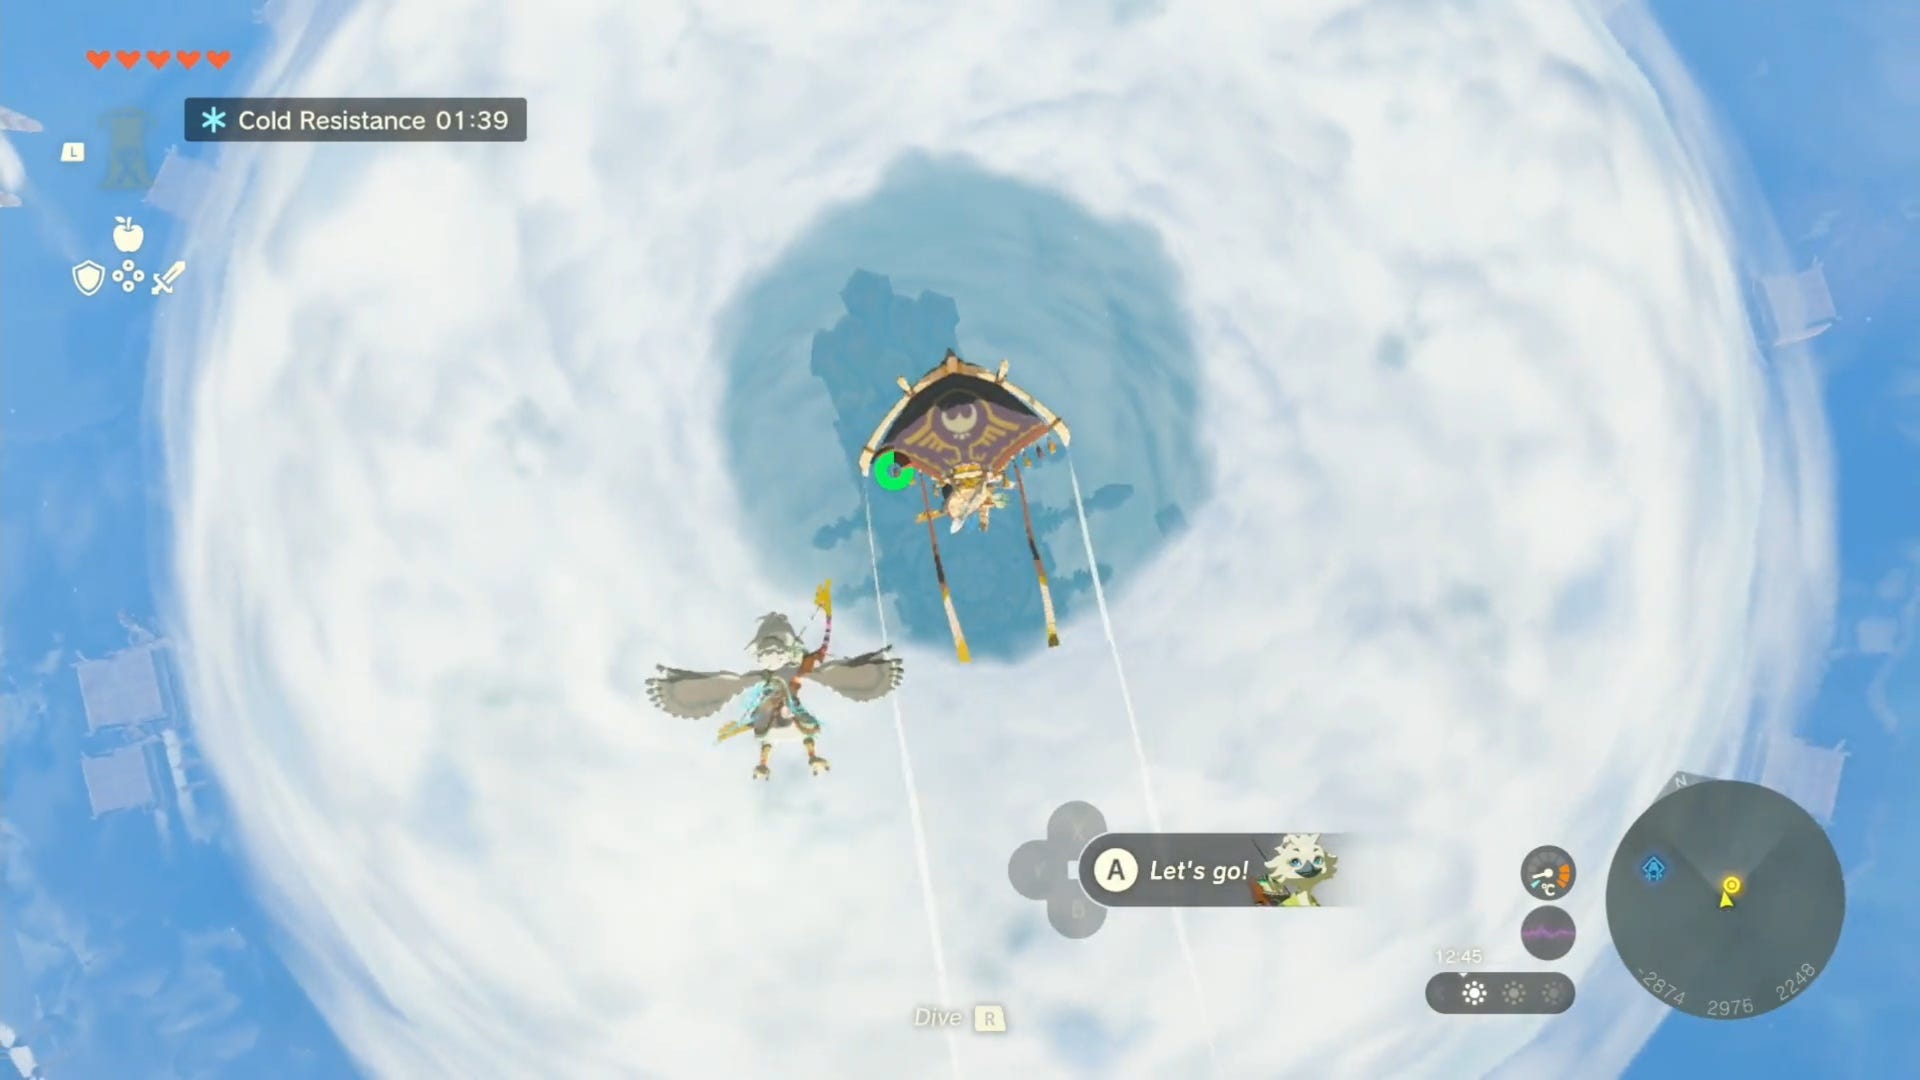
When ready, launch Link off of one of the top layer boats and then glide across to the middle of the storm, dropping into it when you're in the right place. Just, remember to pull your Paraglider in time if you're diving or you'll crash land and need to do this all again.
Congratulations! You're now in the Wind Temple and you've still got a few challenges to face before you can save the Rito. Once you've helped them, perhaps you'll want a change of pace. Check out our guides on how to get a golden horse, how to get a giant white stallion, or how to get the Yiga armor if this is the case.