Animal Crossing Island Transfers and Saves: Cloud Backup, transferring residents and using the Island Transfer Tool in New Horizons explained
Look after your save data or Mr. Resetti will find you.

Animal Crossing: New Horizons has introduced a range of new features to the Animal Crossing series, including cloud saves and the ability to transfer save data using the Island Transfer Tool.
Thanks to cloud storage and the ability to transfer whole islands or a single player resident, you no longer have to worry about losing a rare fish or piece of furniture. These new features give you the opportunity to recover your save file even if your console is lost, stolen, experience console failure or if you simply have a power outage while playing.
Aside from cloud saves and transferring save data, this guide also covers auto saving and manual saving for New Horizons.
On this page:
Transferring save data:
- Transferring save data for Animal Crossing: New Horizons explained
- Island Transfer Tool for Animal Crossing and how to find it explained
- Conditions for transferring an Animal Crossing island onto a new Nintendo Switch console
- How to transfer an Animal Crossing island onto a new Nintendo Switch console
- Conditions for transferring an Animal Crossing player account onto a new Nintendo Switch console
- How to transfer an Animal Crossing player account onto a new Nintendo Switch console
Cloud saves:
Autosaving and manual saving:
Transferring save data for Animal Crossing: New Horizons explained
Thanks to the free winter patch released on Thursday, 19th November, you can now transfer your Animal Crossing: New Horizons save data from one Nintendo Switch to another.

This is great for people who've bought a new Nintendo Switch or if you wish to transfer a specific player account onto a new console, so that person doesn't have to use your console anymore.
Unlike cloud saving for New Horizons, transferring your save data has a number of specific conditions that you have to meet, including downloading the Island Transfer Tool.
Island Transfer Tool for Animal Crossing and how to find it explained
Before you can start transferring Animal Crossing save data from one Nintendo Switch to another, you first need to download the Island Transfer Tool.
The Island Transfer Tool is a Nintendo Switch app which will facilitate both the transfer of full New Horizons' save files or individual player accounts from the game.
The app is downloadable from the Nintendo Switch eShop and you can easily find it by using the eShop's search function.
You will need 47MB free on either your Nintendo Switch or compatible SD card to download the Island Transfer Tool. It's download speed depends on the strength and speed of the Internet network you're using.
Once the app is downloaded, you'll be able to find it alongside the other apps and games on your Nintendo Switch.
Conditions for transferring an Animal Crossing island onto a new Nintendo Switch console
If you want to transfer your entire New Horizons island - including all progress, customisations, villagers, the island's Resident Representative and other player residents - you first need to ensure that you've met the following conditions:
- Access to both the source Nintendo Switch and the console you wish to transfer to
- Local wireless communication must be enabled on both consoles
- Downloaded the Island Transfer Tool on both consoles
- Ensure you have the latest software update for Animal Crossing: New Horizons installed on both consoles
- Player residents you wish to transfer must own a house
It's important to remember that, once the island has been transferred, you'll no longer be able to visit it on the original console. You can, however, transfer individual player residents, if you'd prefer to have two separate islands - one on each console.
How to transfer an Animal Crossing island onto a new Nintendo Switch console
Transferring an island will allow you to move an entire New Horizons' save file from one Nintendo Switch to another. This means that you'll be moving all of your New Horizons' player accounts and all the progress that you've made on that specific save file onto a new console.
It's also the only way to move your island's Resident Representative - the account for the player who originally started this New Horizons' save file - onto a different Nintendo Switch.
If you're in the process of moving all of your Nintendo Switch data onto a replacement console, then you must first transfer the user data for your old console onto your new one. Repeat this process until every user account on old Nintendo Switch has been transferred to your new one.
You don't, however, have to do this process if you're planning on keeping your old Nintendo Switch and creating separate user accounts on the new console.
Below you'll find the instructions on transferring an entire Animal Crossing island from one Nintendo Switch to another copied, with minor edits for clarification, from the Nintendo Support website for the UK:
- Open the Island Transfer Tool on each console.
- Follow the on-screen instructions and select Continue, then Let's Begin.
- On the source console (old Nintendo Switch), select Source.
- Select Yes to confirm when the name of your island on the source console is displayed.
- If Animal Crossing: New Horizons has not been updated to the latest software version, your console nickname will be displayed instead of your island name.
- On the target console (new Nintendo Switch), select Target.
- On the source console, select Continue.
- On the target console, select Proceed.
- When the target console is detected, select Transfer data on the source console.
- When the source console is detected, select Proceed on the target console. The transfer will begin.
- When the transfer is complete, a message will appear on both consoles. The save data is now deleted on the source console and present on the target console.
If you have transferred the Nintendo Switch user data:
- Launch Animal Crossing: New Horizons on the target console to continue playing on your island.
If you haven't the Nintendo Switch user data:
- Launch Animal Crossing: New Horizons on the target console using the user account you will be using for your resident.
- When prompted, select the resident name for the user account. You cannot change the resident associated with your user account later, so be sure it is the correct one.
- Repeat this step for any other user accounts and residents that will be playing the game.
Have fun when you return to your island!
Conditions for transferring an Animal Crossing player account onto a new Nintendo Switch console
If you want to transfer an individual New Horizons player account, you must first meet the following conditions:
- Downloaded the Island Transfer Tool on the Nintendo Switch you wish to transfer data from
- Access to both the source Nintendo Switch and the console you wish to transfer to
- A copy of Animal Crossing: New Horizons - physical or digital - for both consoles
- Ensure you have the latest software update for Animal Crossing: New Horizons installed on both consoles
- Player resident you wish to transfer must own a house
It's important to remember that you can not transfer the island's Resident Representative, which is the player who originally started that save on your Nintendo Switch.
If you do want to transfer the Resident Representative, then you will need to transfer the entire island.
How to transfer an Animal Crossing player account onto a new Nintendo Switch console
Transferring a New Horizons' player account will allow you to move one individual player resident from one Nintendo Switch to another. This includes the resident themselves, their house and any customisation they might have made.
This process can not be done for the Resident Representative, which is the user account of the user who originally started a specific New Horizons' save file.
If you wish to move the Resident Representative's user account onto a different Nintendo Switch, then you must transfer the entire New Horizons' save file - island and all.
If you're planning on moving the entirety of your Nintendo Switch data onto a replacement console, then you must first transfer the user data from your old console over to your new one before undertaking this process.
Though, if this is your situation, then we recommend transferring your full New Horizons' save file, rather than just an individual player account, as described in the sections. If you've been sharing a Nintendo Switch, however, and you wish to create your own island, follow the instructions below.
Here are the instructions for transferring a Animal Crossing player account from one Nintendo Switch to another copied, with minor edits for clarification, from the Nintendo Support website for the UK:
- On the source console (old Nintendo Switch), launch Animal Crossing: New Horizons using any other user (such as the island's Resident Representative) than the one you wish to transfer.
- Press the - Button on the title screen to open the Settings menu.
- Select Move to a new island.
- Select Move another resident.
- It is not possible to move the island's Resident Representative. You may wish to transfer the entire island to the new Nintendo Switch console in order to transfer the Resident Representative.
- Select the name of the resident that will be moving, then select Yes, that is correct.
- Review the details of the transfer process and select OK.
- Select Yes, I'm ready! and then Let's do it! to send a transfer request.
- On the target console (new Nintendo Switch), launch Animal Crossing: New Horizons using the user that you transferred.
- Select I'm moving when asked by Timmy and Tommy.
- Select Yes, I have! when asked if you have already sent a transfer request.
- Select Start the process to search for the transfer request sent from the source console.
- When the island name and resident's name are displayed, select Yes, that is correct.
- On the source console, select Let's do it! to confirm the target Nintendo Switch console you will be moving to. At this point, the transfer cannot be cancelled.
- After the message “Thank you so much for being patient. Everything is ready!” is displayed, you can close the game on the source console.
- On the target console, you will arrive on the island and get to choose a location to set up the same house you had on the source console.
- If you are the first user to play Animal Crossing: New Horizons on the target console, you will be the new Island's Resident Representative. Moving a house takes some time, so you will be sleeping in a tent on your first night on the island.
- If the island is already inhabited by someone on the target console, your house will be moved over immediately.
Enjoy island life once your save data is all safely transferred!
How to set up cloud saving and island recovery in Animal Crossing: New Horizons
Animal Crossing: New Horizons added a cloud saving and island recovery option as part of a July 2020 update.
This allows you to upload your island and save data to the internet at certain times, so you can later recover your progress in case your Switch console fails, is lost or stolen. (Since you might have put in hundreds of hours of work into your game, it's wise to have it enabled!)
Backing up an island
To get it set up, first you need to make sure you have a Nintendo Switch Online account.
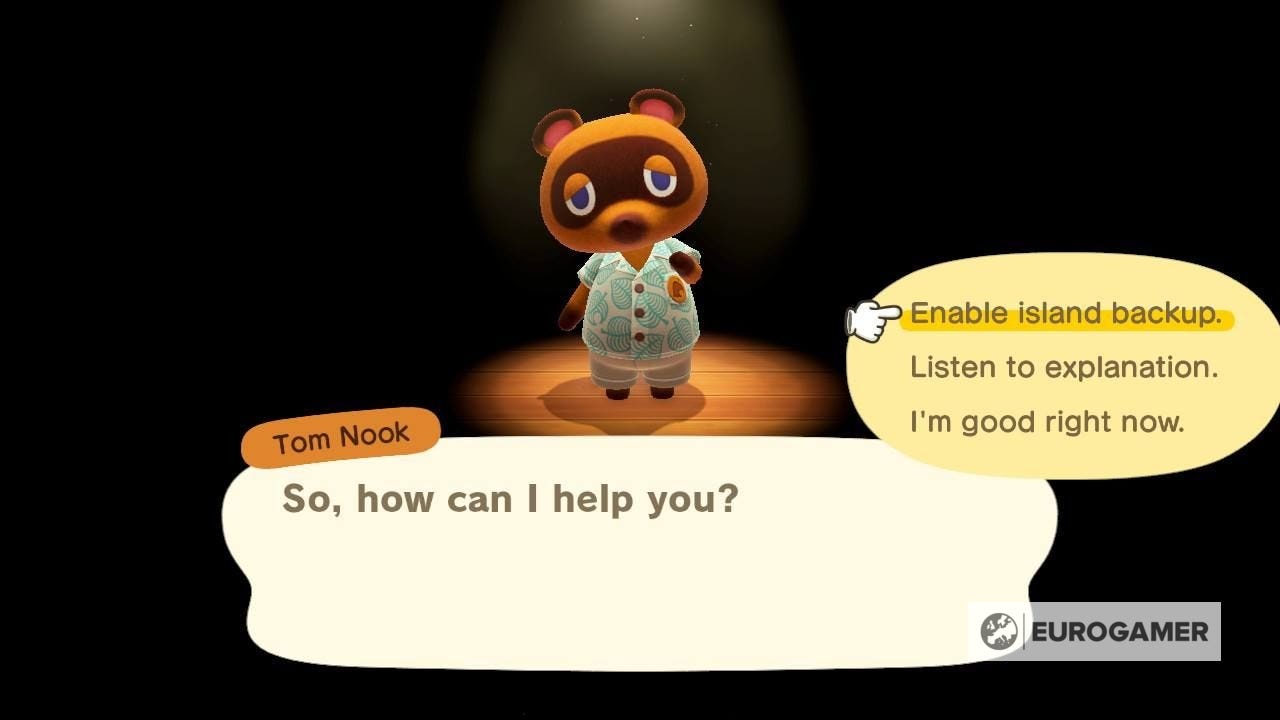
From there you must boot up New Horizons and, when you're on the title screen, press the '-' button (minus button) to open the Settings menu.
Next, you'll want to select the 'Island backup' option, followed by 'Enable island backup.'
With the island backup option enabled, your New Horizons island will be periodically backed up when you're not playing the game and your Nintendo Switch is connected to the Internet. The time and date of your last backup will be displayed in the bottom left-hand corner of the title screen.
You can disable the 'Island backup' at any time by returning to the Settings menu for New Horizons and selecting the option, 'Disable island backup,' followed by 'Yes, disable backup' to confirm your decision.
Island Recovery
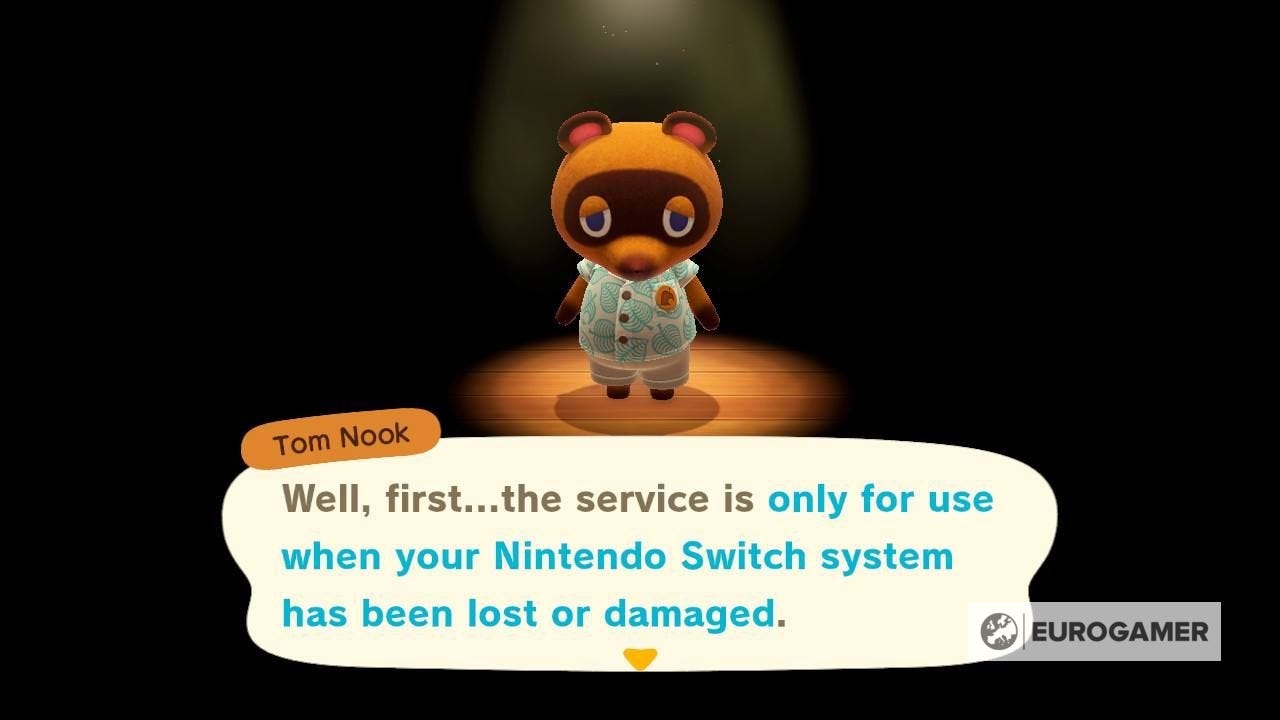
Restoring your island data depends on whether this lost has been caused by a theft or damage to your Nintendo Switch console.
If your console has been stolen, then you need to contact the Nintendo Customer Support for your country.
If your Nintendo Switch has been repaired, then you need to boot up New Horizons as the player who enabled the 'Island backup.'
Once New Horizons has loaded, check to see if the island being displayed on the title screen is your island. If it is, then you have nothing to worry about and continue playing New Horizons.
You must also ensure that you haven't started a new island on that console, otherwise you'll have to delete the new Animal Crossing: New Horizons save data on your console to recover your old island.
If you can't see your island, then you need to press and hold the '-' button (minus button) and, if you've done it correctly, a screen will appear asking if you want to check for island data to restore.
Ensure that you're connected to the Internet, before selecting 'Check' and you should be presented with a your island backup, which you can select for restoration. If you've backed up multiple islands under this user account, then you need to ensure that you select the right one.
The game will restart once the island has been restored and you'll be able to continue playing New Horizons.
Note this is different to the Save Data support as part of your Nintendo Switch Online membership - this is mostly likely due to the restriction of one island per Nintendo Switch. This means you have to enable this functionality in-game through the above steps rather than at a system level.

Autosaving and manual saving in Animal Crossing: New Horizons explained

Animal Crossing: New Horizons is the first game in the series to introduce autosaving.
This means that at anytime during your island adventures, you'll be able to turn off your Nintendo Switch without the worry of loosing any of your progress.
Autosaves seem to happen at regular (or random) intervals, with a swirling icon in the corner indicating it's just happened. You can't turn this feature off - meaning it'll keep ticking away as you play.
Either way, when you are done with a session, press the minus button to Save and Exit the game, ensuring your hard work will be kept for the next time you play.
The Animal Crossing 2.0 update and Happy Home Paradise is here! We can help you with the new additions - including where to find Brewster, Gyroids, new villagers, ordinances, new fences, storage shed, new hairstyles, Froggy Chair, group stretching and Kapp'n boat tours. Cooking is now unlockable, so you need to know how to make both flour and sugar, as well as how to grow carrots, potatoes and tomatoes. Meanwhile, if you're new to Animal Crossing, our New Horizons tips can help with the basics. From the off, there's fish and bugs to catch, flowers and fruit to grow with. One long term goal is building your Happy Home Academy score. Finally, you need tools such as the new ladder and vaulting pole to fully explore.
How many islands can you save in Animal Crossing: New Horizons?
In Animal Crossing: New Horizons, you're restricted to one island per console, which means that everyone who uses your Nintendo Switch will share the same island.
Since the maximum amount of users a Nintendo Switch can have is eight, this also means that there can be a total of eight human residents on an island in New Horizons.
If you want to start your New Horizons adventure afresh, you'll have to delete the save data from your Nintendo Switch. This should allow you to create a whole new island, but this will come at the cost of losing your original isle.
Have fun playing Animal Crossing: New Horizons!