Resident Evil 2 - Generator Room puzzle, Club Key location and Large Gear location
How to survive the powerful and relentless Mr X and find the Club Key in Resident Evil 2.

The Generator Room is a Leon-only location in Resident Evil 2, a place you'll visit after exploring the Parking Garage and Morgue.
If you're playing as Claire, there is no way you can visit it, so don't worry about trying to find access.
It's also where you'll find the Club Key location, again, an item exclusive to the Leon version of the game.
But as either character you'll find the Large Gear location in the same spot - an item essential to helping you get everything you need to reach the Clock Tower and complete the Power Parts puzzle.
Looking for something else? Visit our Resident Evil 2 walkthrough for more help.

Generator Room puzzle solution
Once you have completed the Morgue as Leon, head right and use the Square Crank to open the shutter north, providing access to the Generator Room.
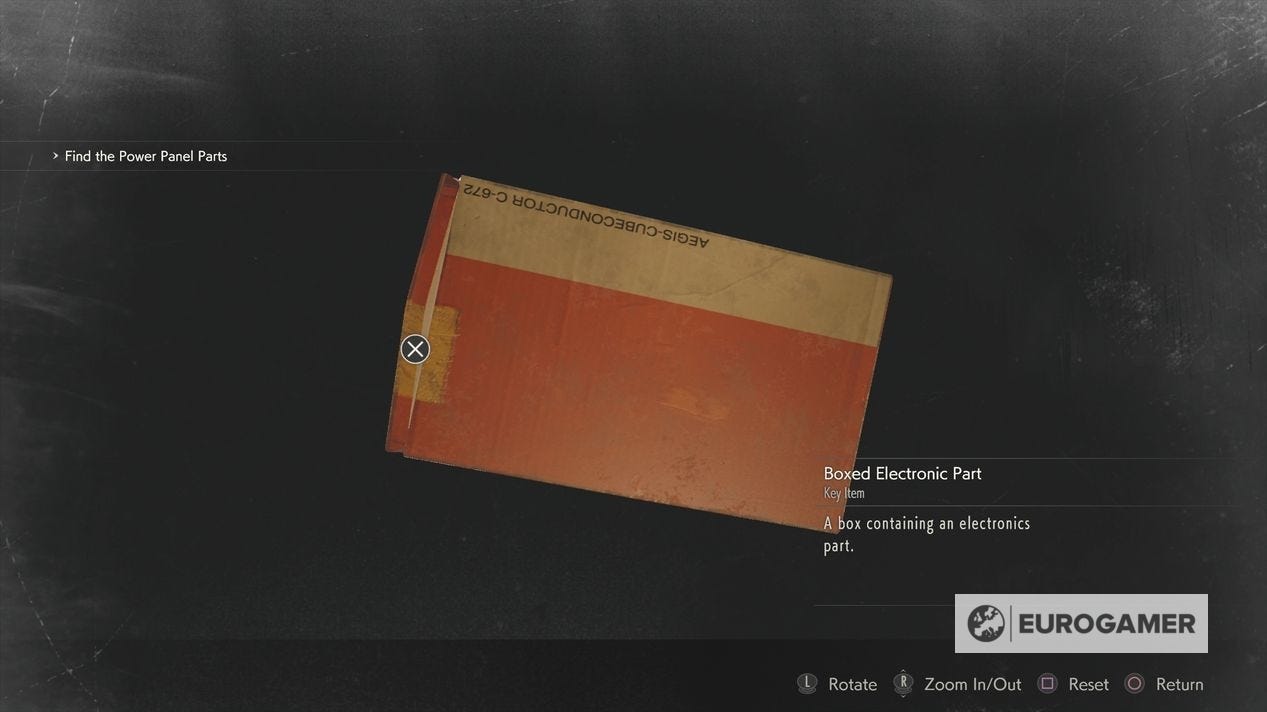
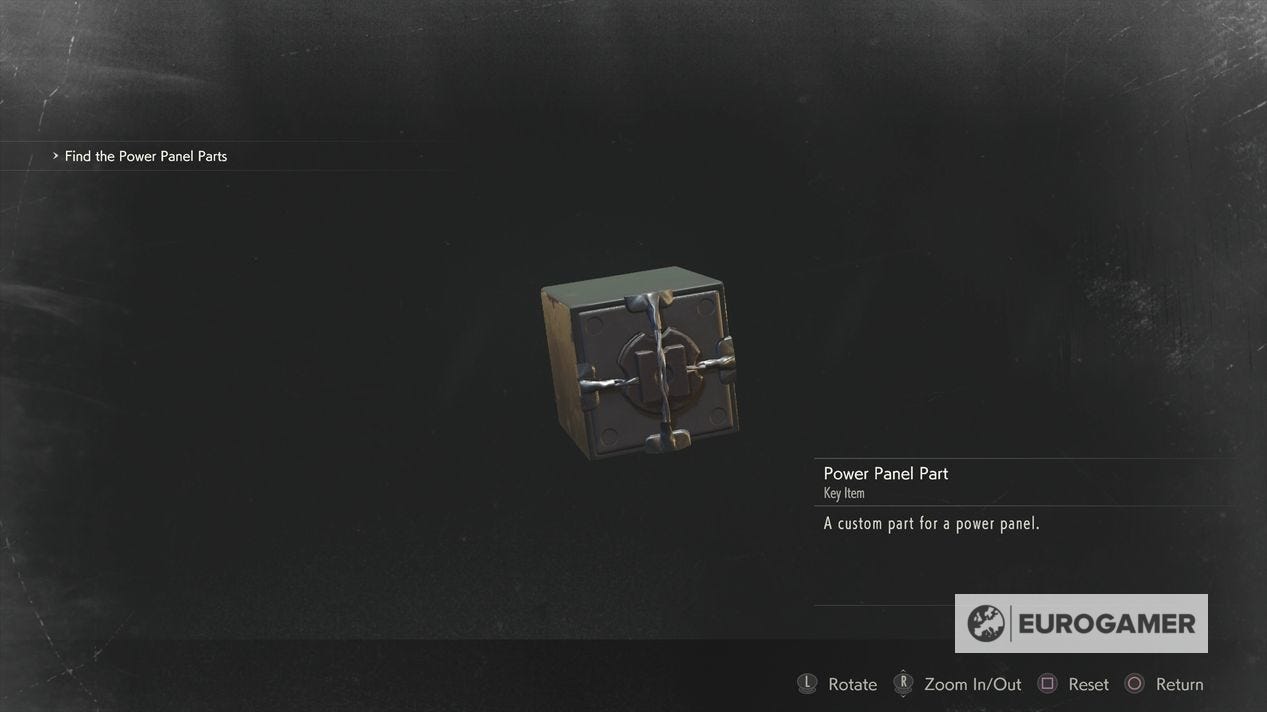
Inside, pick up the Box straight ahead of you, and inspect it in your inventory. Turn it round to open it up, giving you the Electrical Part. Investigate it again to get the first Power Panel Part.

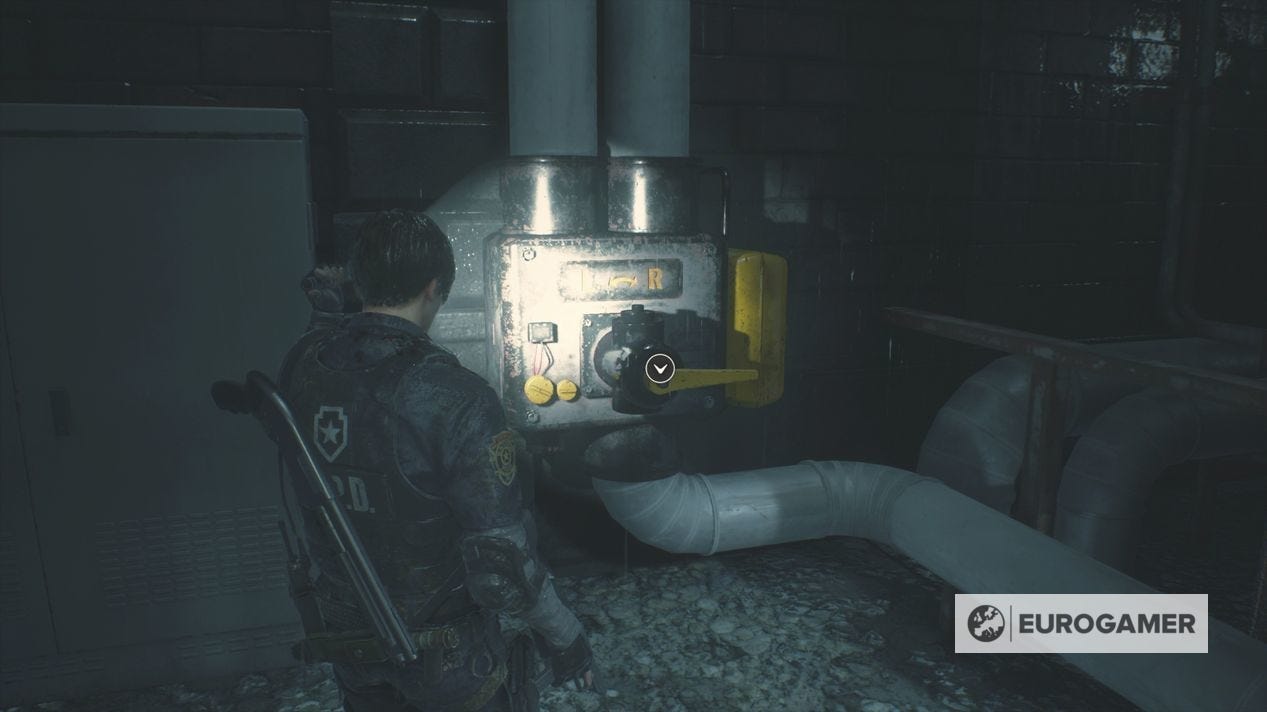
Run round the outside of the room until you reach the Generator Room puzzle.
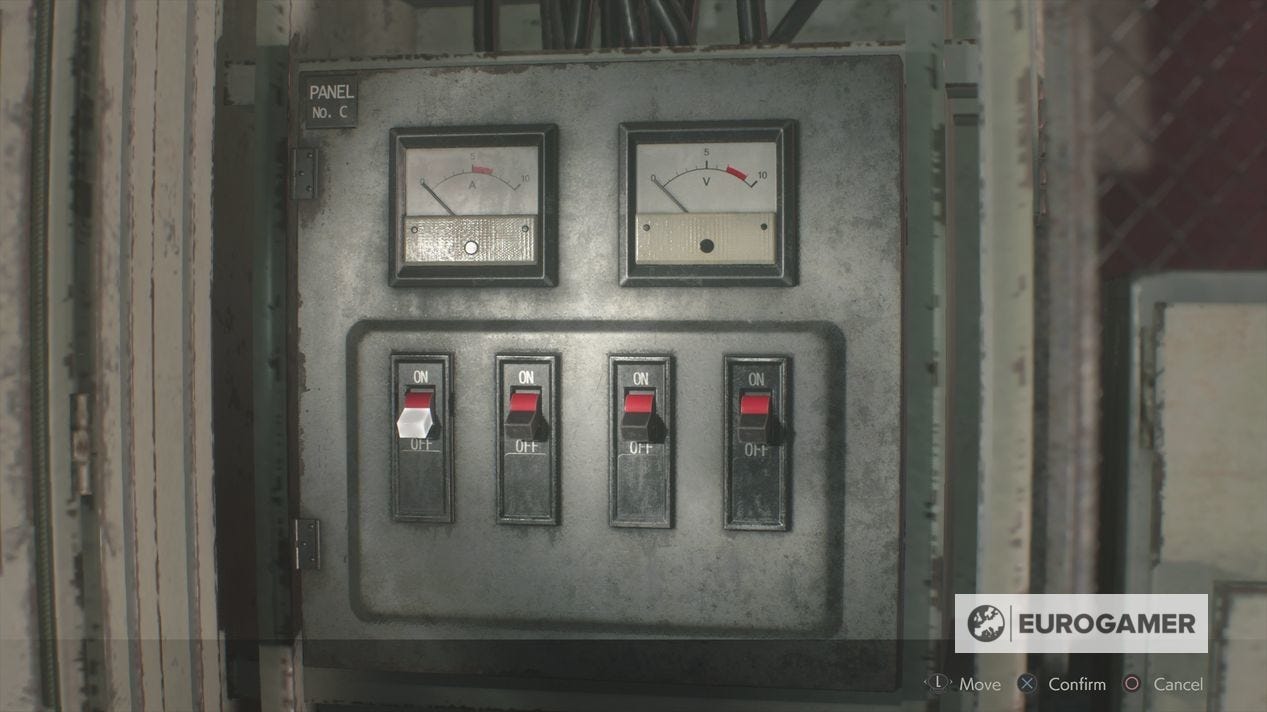
You need to get the needles to sit inside the red zones on each gauge. For us, it was keeping the left half off and the right side on that did the trick.
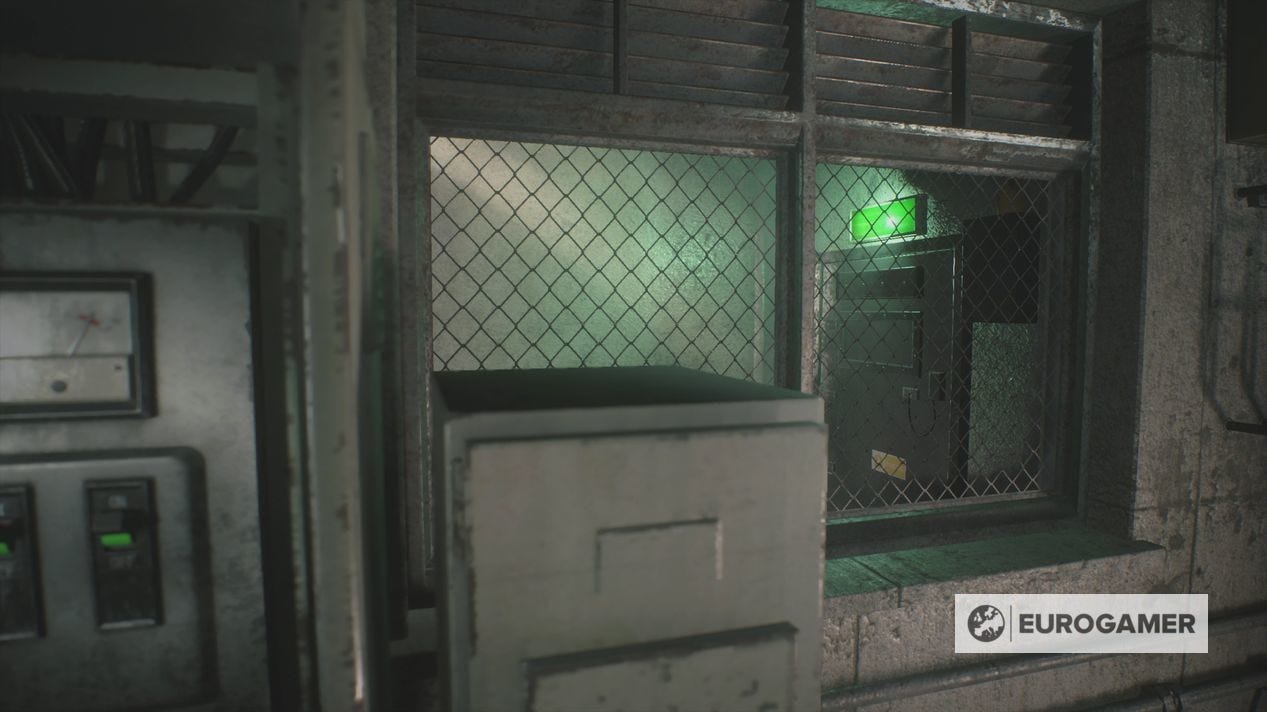
As soon as you do that, the generator comes to life, several Cerberus (zombie dogs) will flood the entirety of the B1 Police Station. If you're like us and are low on ammo and flush on health items, then we recommend simply sprinting through the corridors - running will see you evade most attacks, and even if you are hit several times, you won't need healing for a while.
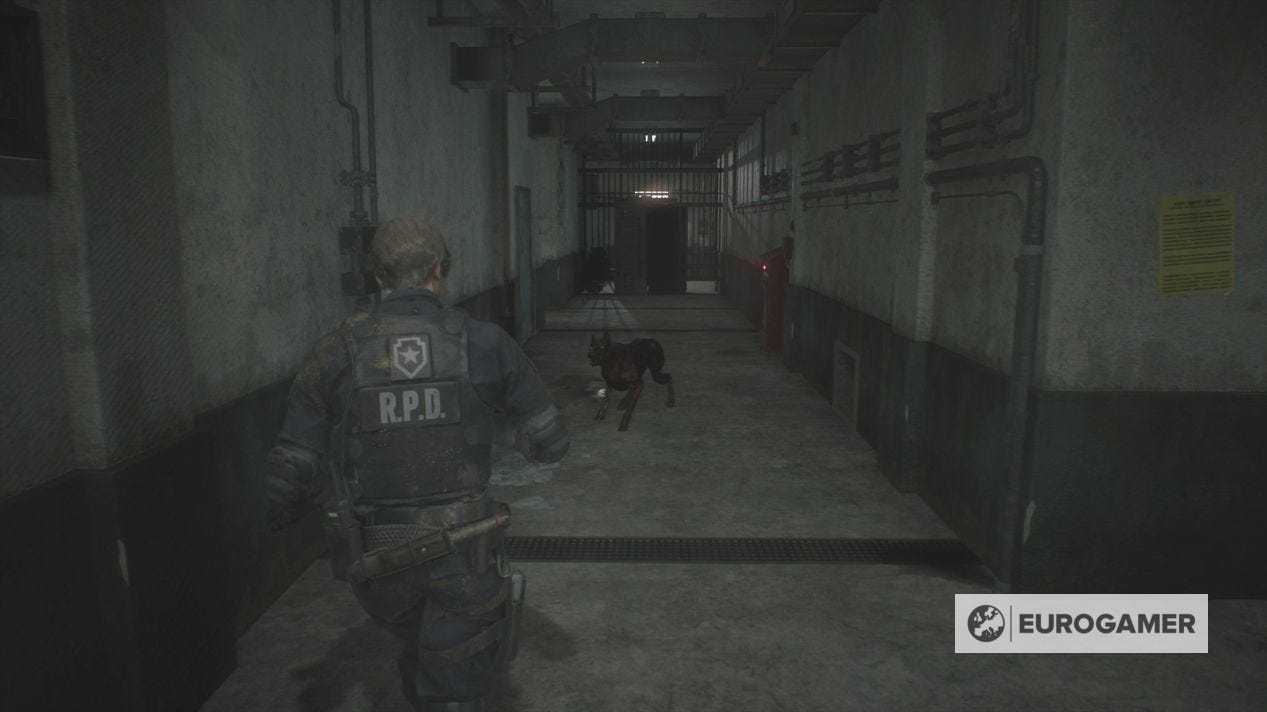
Feel free to drop the Electrical Part / Power Panel Part back at the Jail (the car park also has a Cerberus or two waiting) - or wait until you can stash it into an Item Box - and make your way to the newly opened door in-between the Firing Range and Generator Room.

Head up the stairs and you'll emerge in the north-east corner of Police Station 1F, where you'll want to find the Club Key.
Where to go from the Break Room
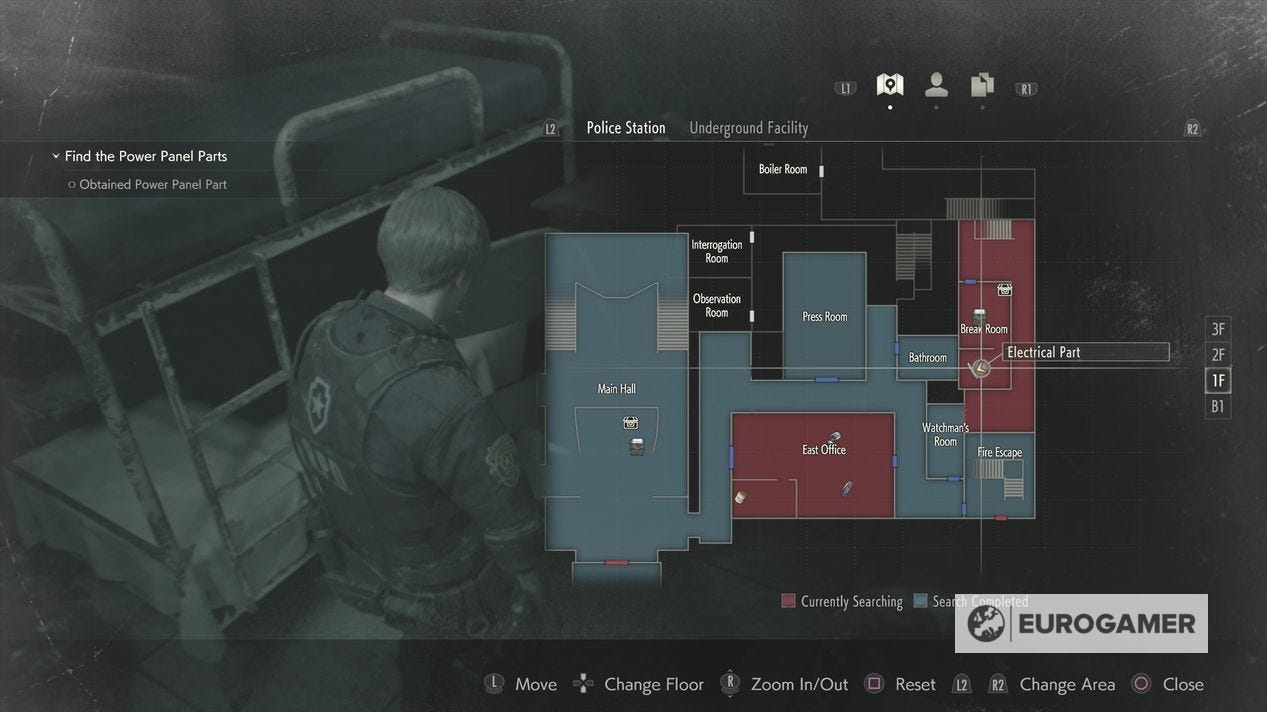
After emerging from Police Station B1, head to the Break Room to your right - a Leon-only area - where there's a Typewriter and an Item Box.
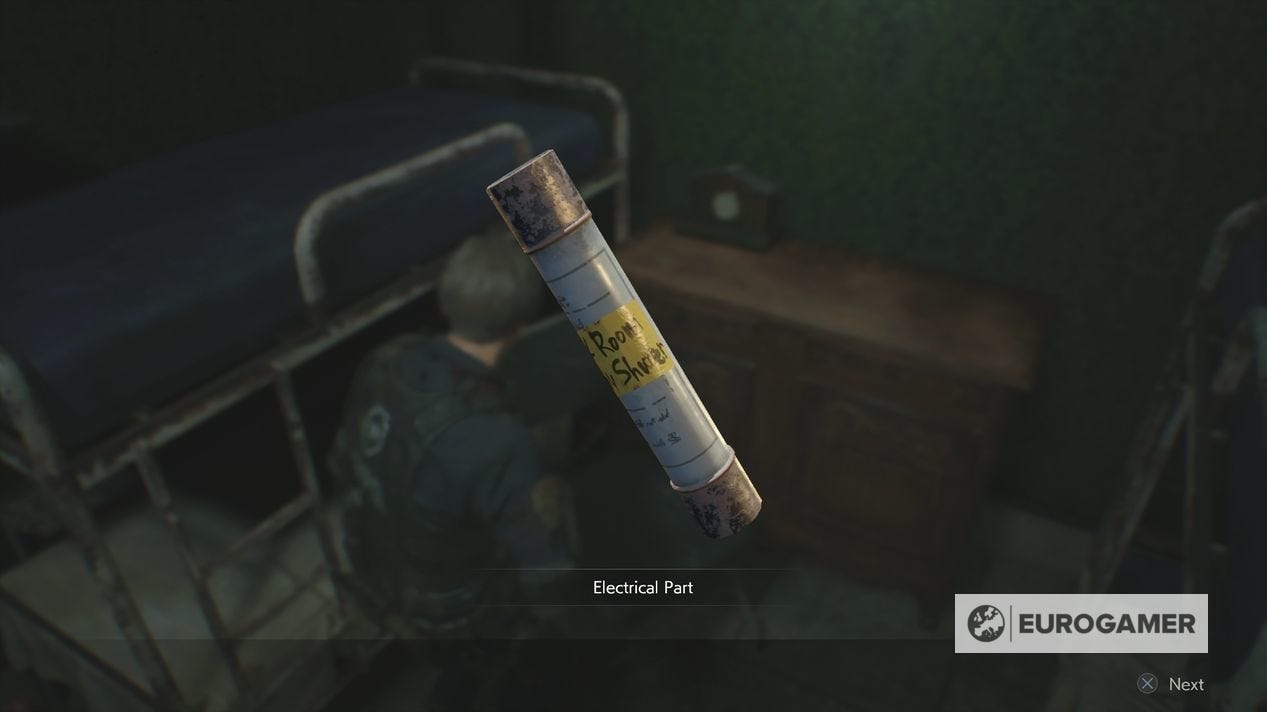
There are plenty of consumables to pick up here - including some MAG Ammo, which you'll want to store for now - as well as an Electrical Part in-between the beds.
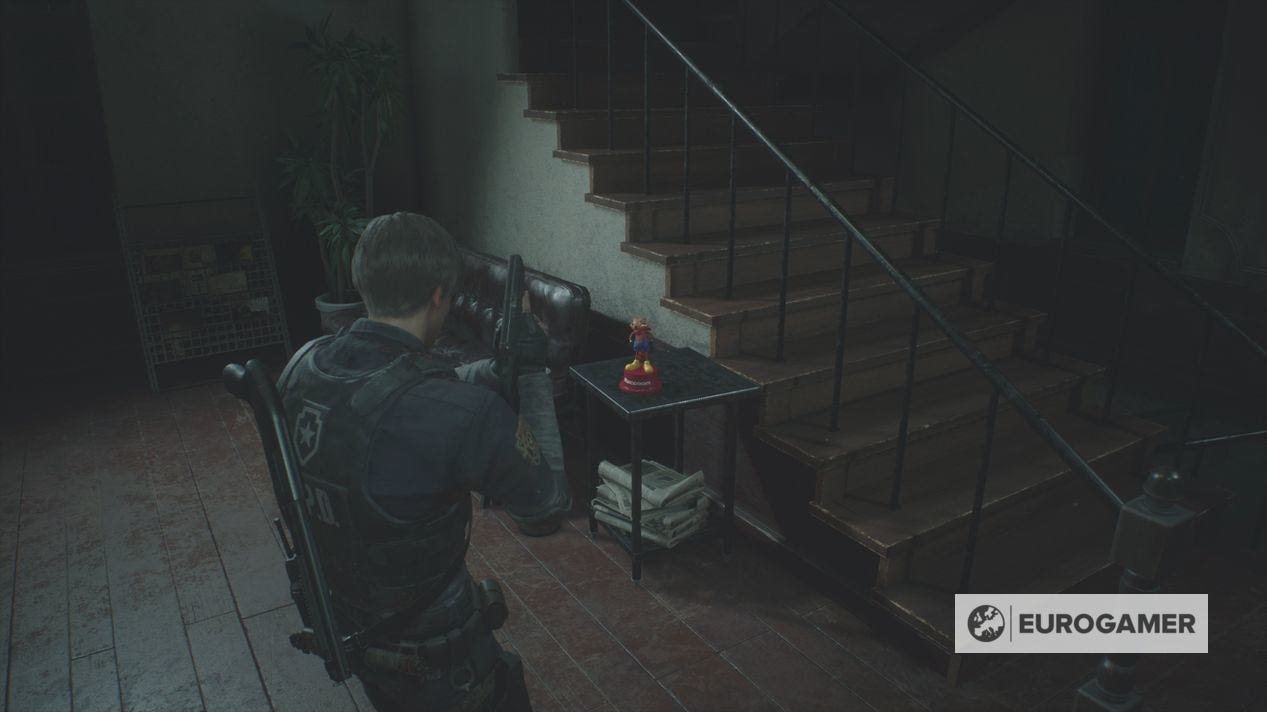
There's also a Mr Raccoon figure in here, next to the end of the bed on the far wall. Don't forgot to shoot it.
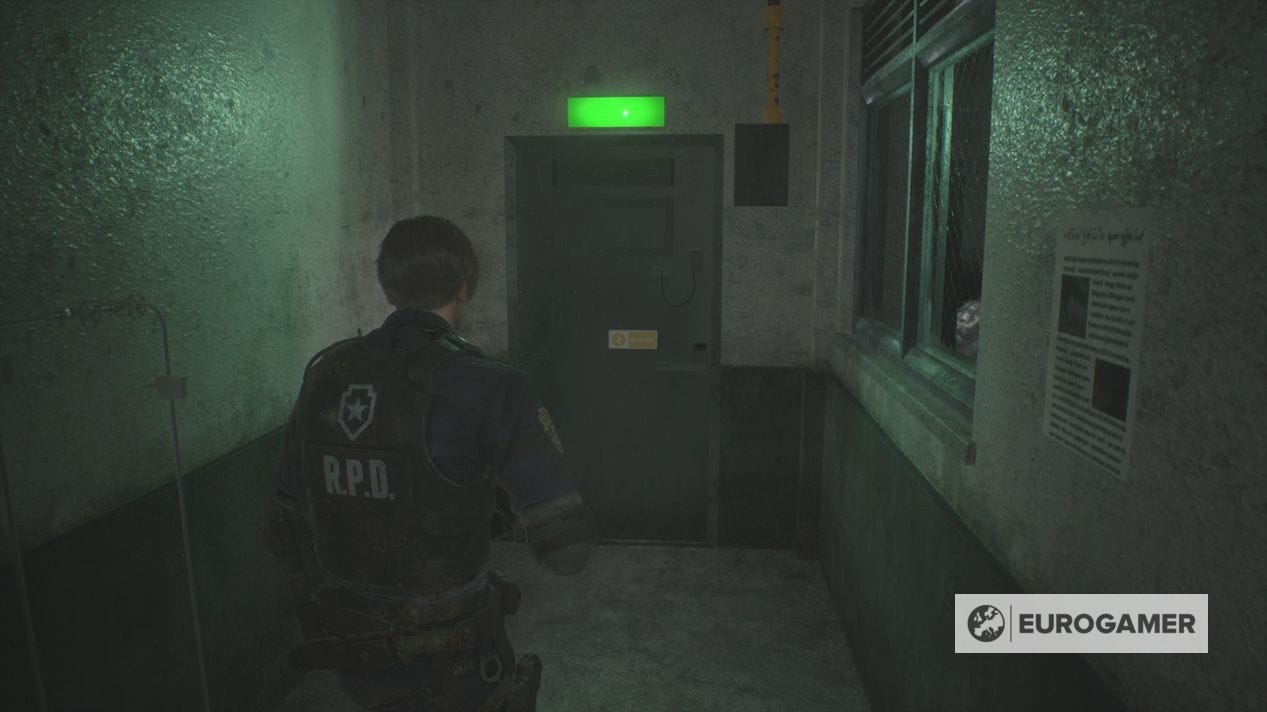
You'll now want to go south to the Watchman's Room. There is a corridor full of zombies here - it's worth taking at least the two standing around out, as the one eating the corpse will be distracted while you put the newly acquired Electrical Part in the wall, opening the shutter to the rest of the east wing, allowing you to return to the Main Hall.
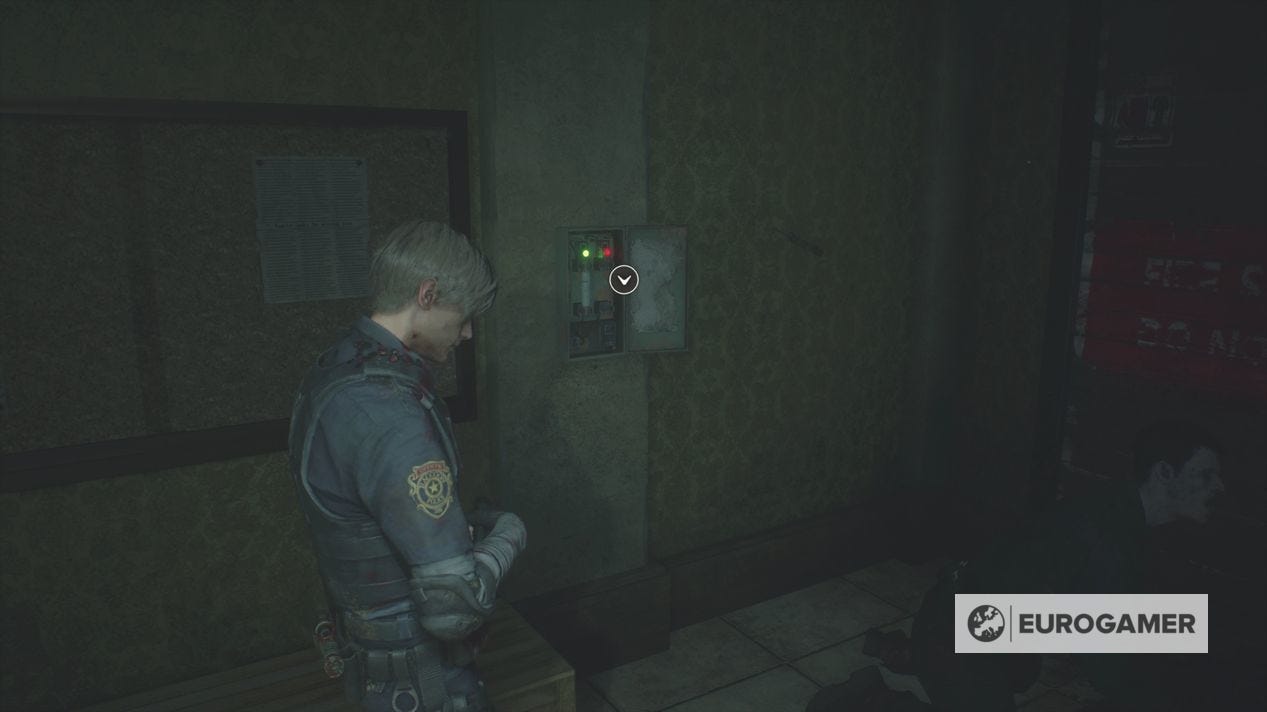
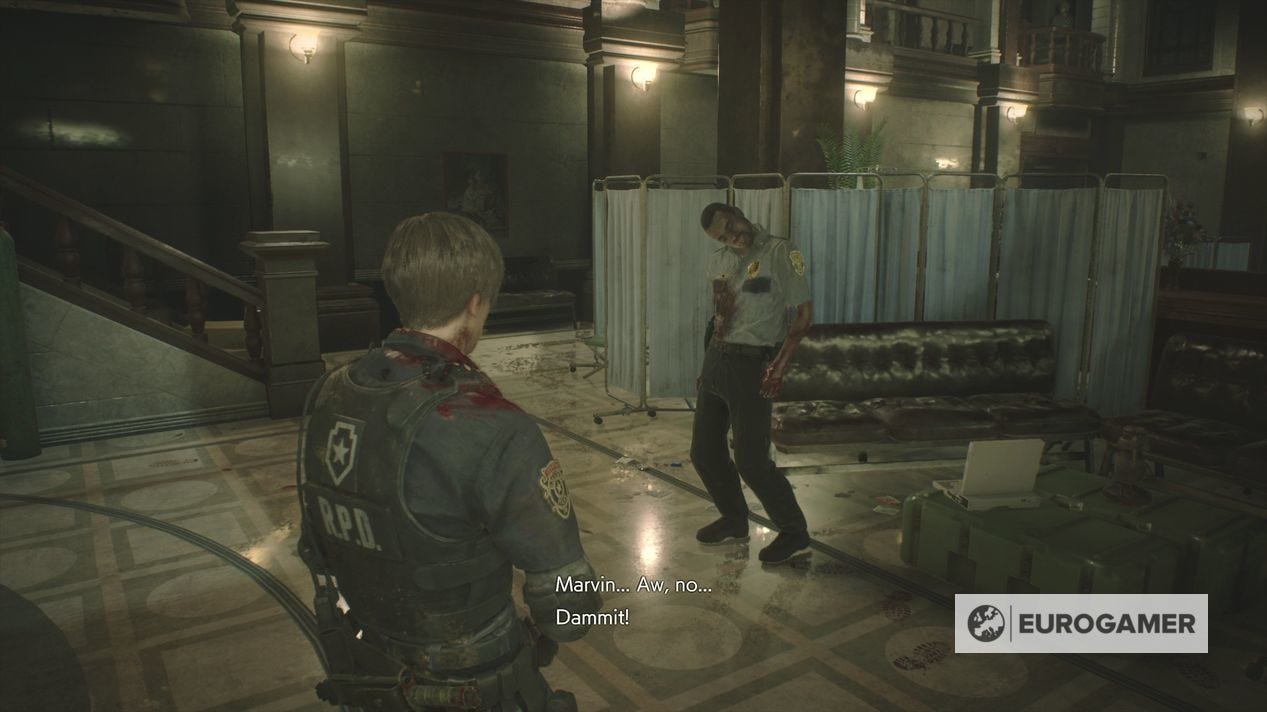
Be wary that Marvin now has succumbed to the virus and turns into a zombie at this point - so put him out of his misery while you have the chance.
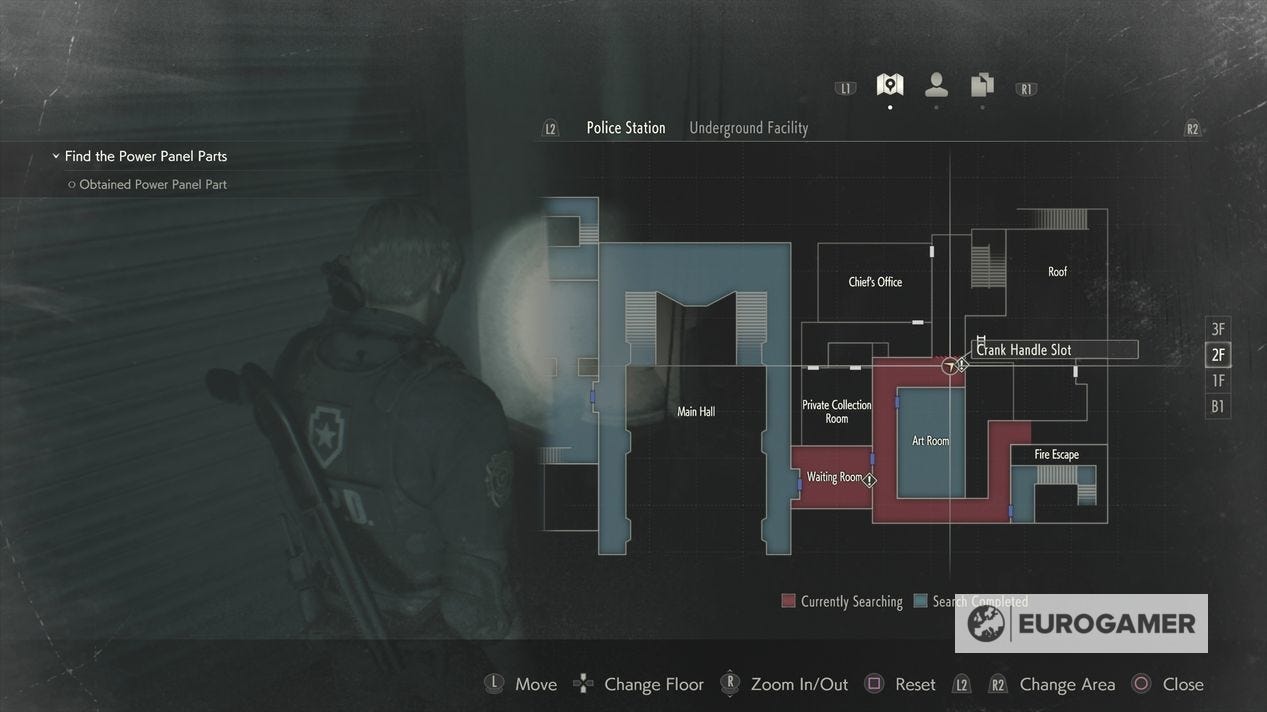
There's a few places you go, but let's head upstairs to the Main Hall 2F, going through the Waiting Room and opening the shutter north of the Art Room with the Square Crank you acquired from B1.
You cannot access the Chief's Office as Leon, but there's a Mr. Raccoon collectable to shoot by the staircase.

You have a choice of going up or down. Down has a only locked doors you cannot access yet, so go up to 3F first.

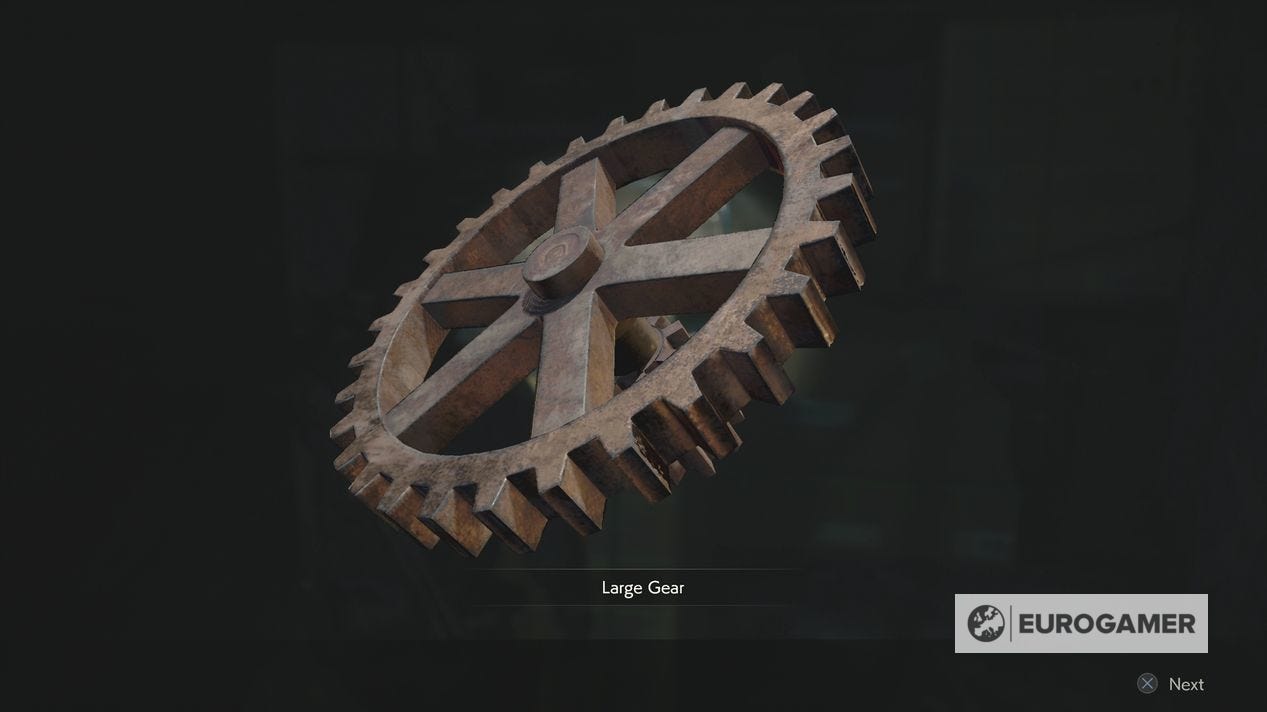
Where to find the Large Gear location
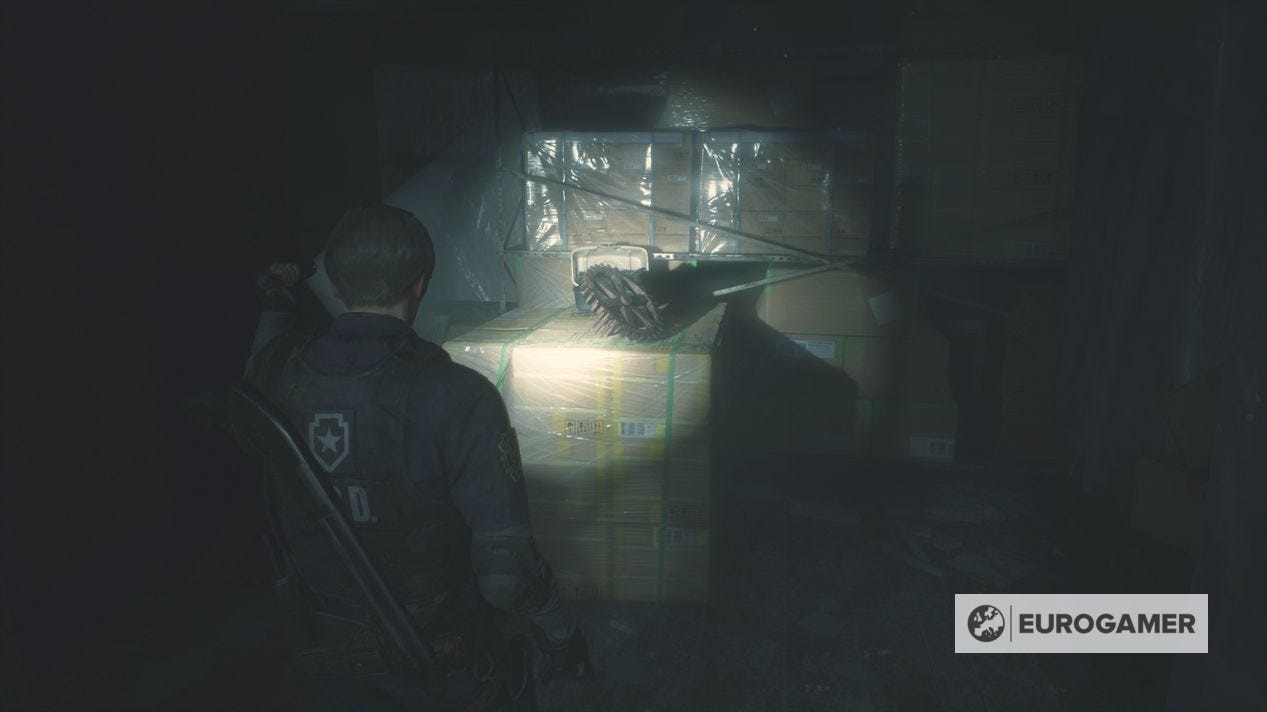
There are two doors. Going west into the East Storage Room offers a few consumables and the Large Gear, which you won't need right now, but is worth picking up if you have the inventory space to deposit in an Item Box for later.

Our full Resident Evil 2 walkthrough explains every aspect's of Leon and Claire's campaigns, including Locker Code solutions, the Leon Desk puzzle solution, all Resident Evil 2 Safe Codes and Portable Safe solutions, Hiding Place locations, how to survive Mr X fights and the Chess Plug puzzle solution.
Where to find the Club Key location
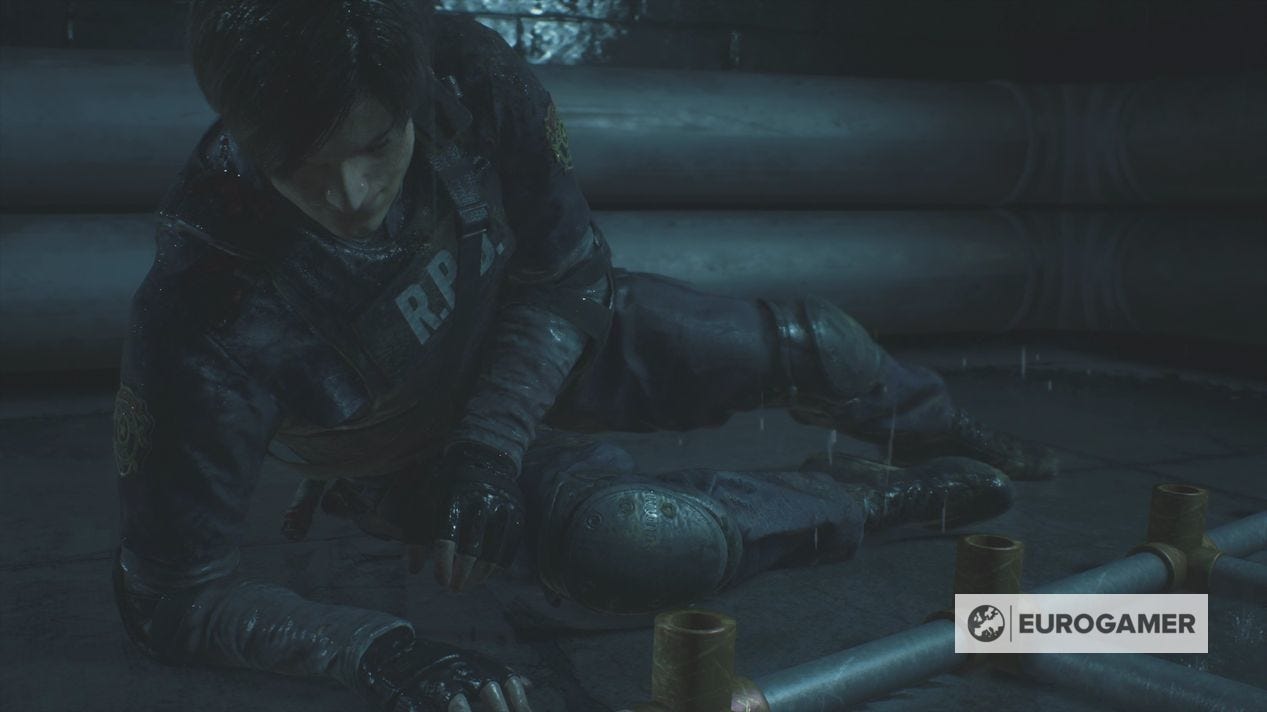
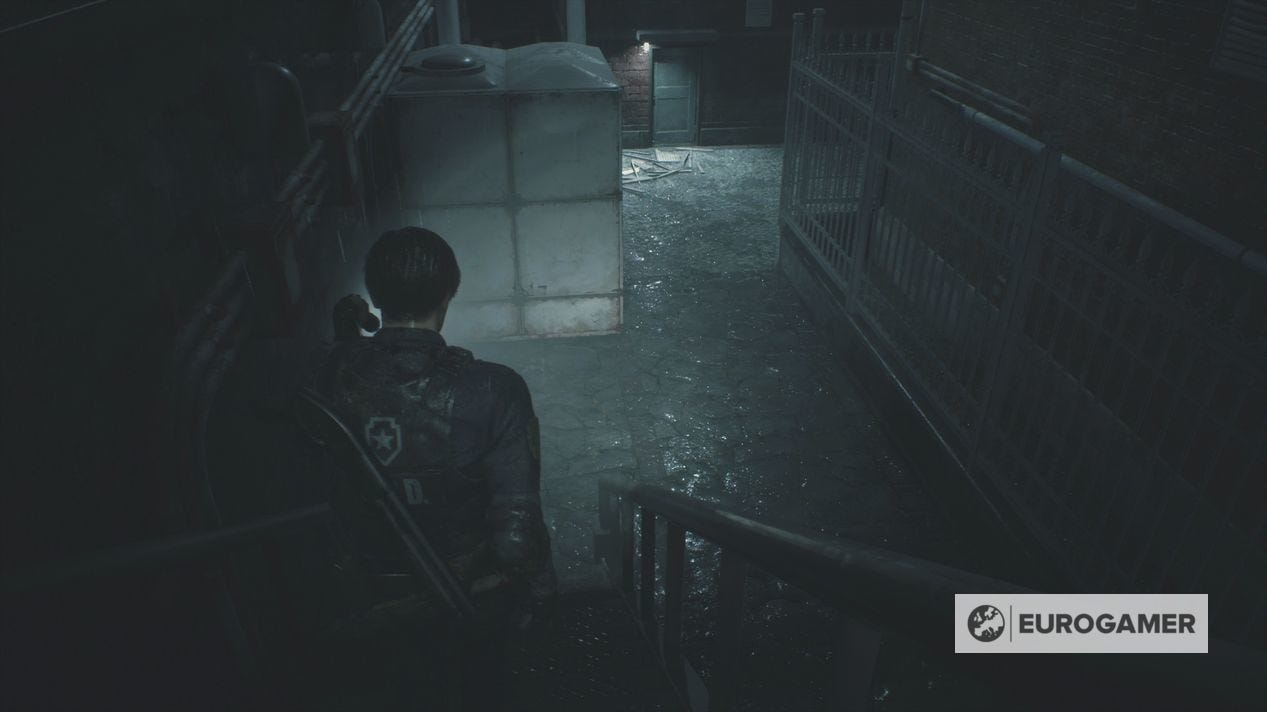
The other doors here are locked, so head back out to the top of the stairs, and go south to the Balcony and take the ladder down.
It breaks, but you'll arrive in a new location - the Roof. Ignore the switch on the right for now, and head left (north) down the stairs towards the Boiler Room.
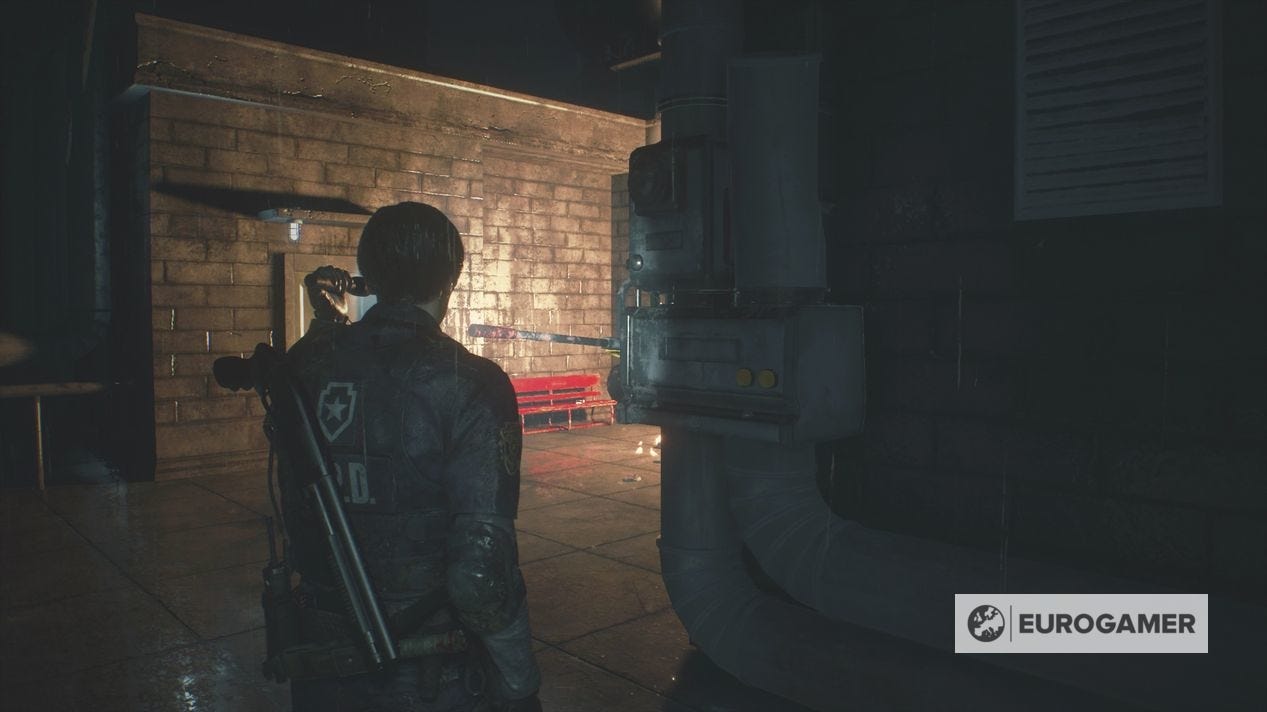
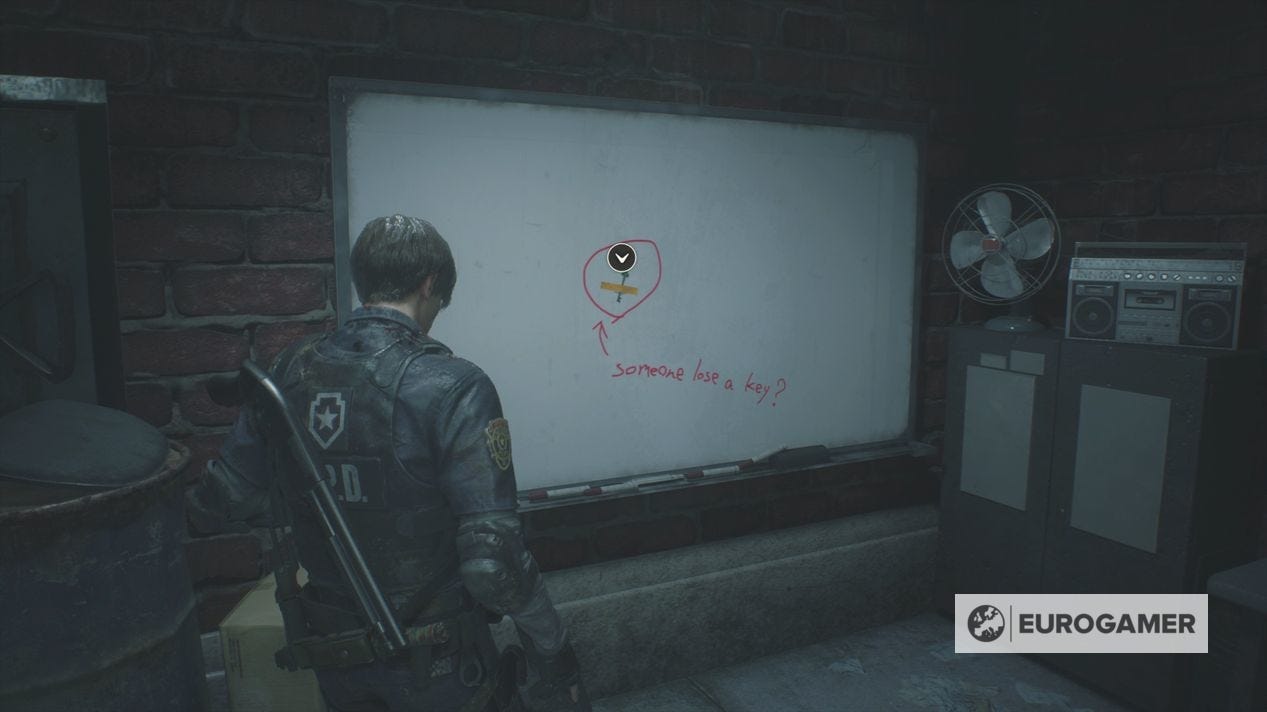
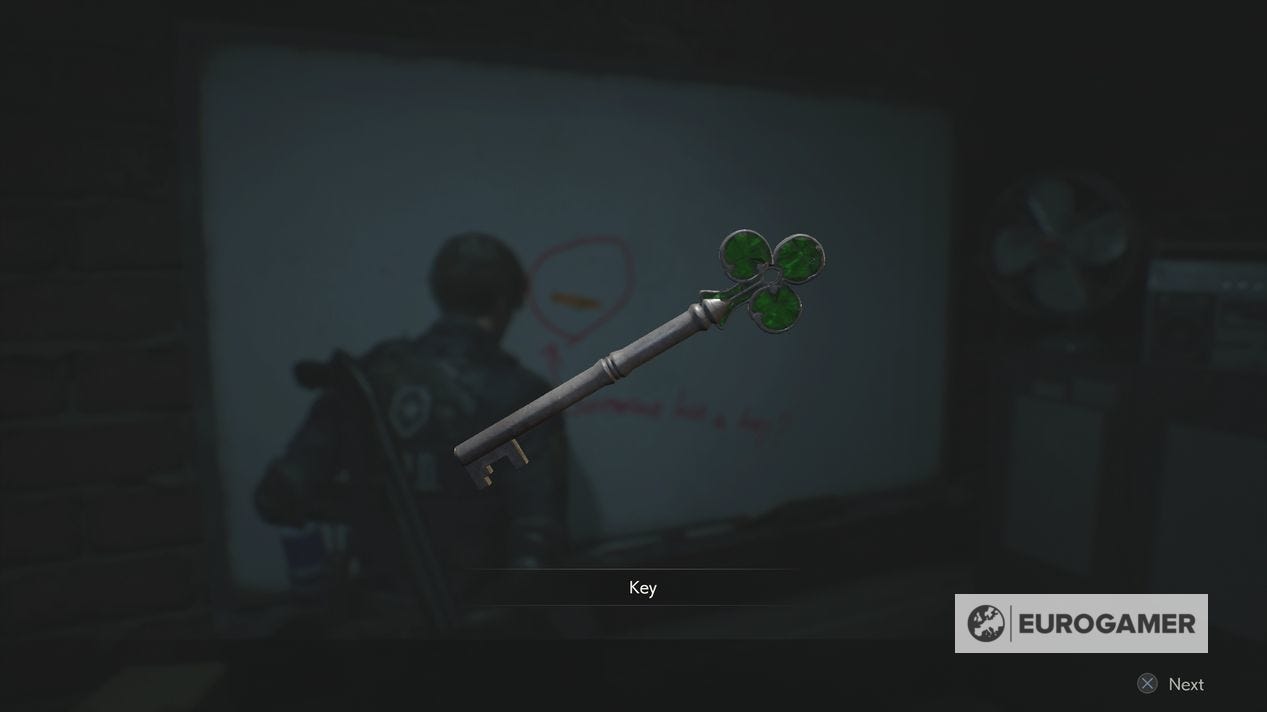
Two zombies will emerge from the door - kill them - then investigate inside into the Boiler Room - a Leon-only location As well as some consumables, you'll find the Club Key on the whiteboard, a Leon-only item. As well as a chance to use a Typewriter and Item Box.
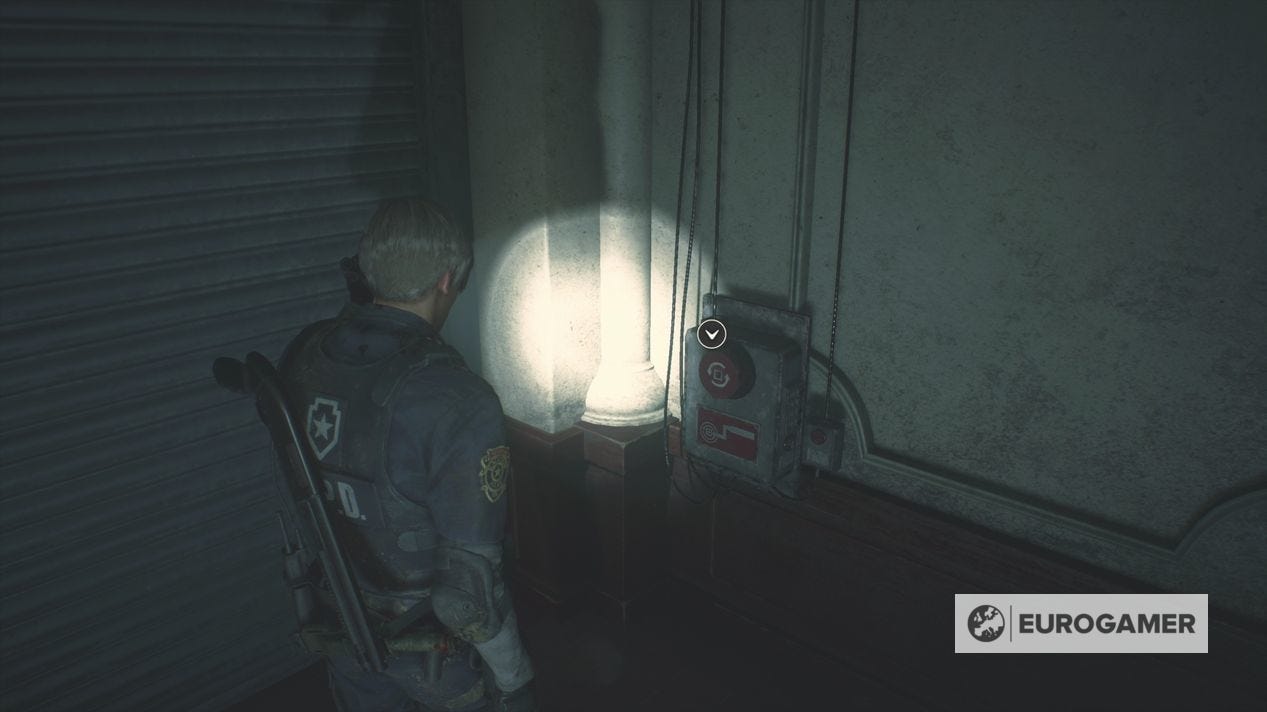
Leave the Boiler Room, but immediately turn right to see a switch. Flip it so it points left.
Head back up the stairs to the roof and use the switch by the wreckage, pouring water over it and putting out the flames.
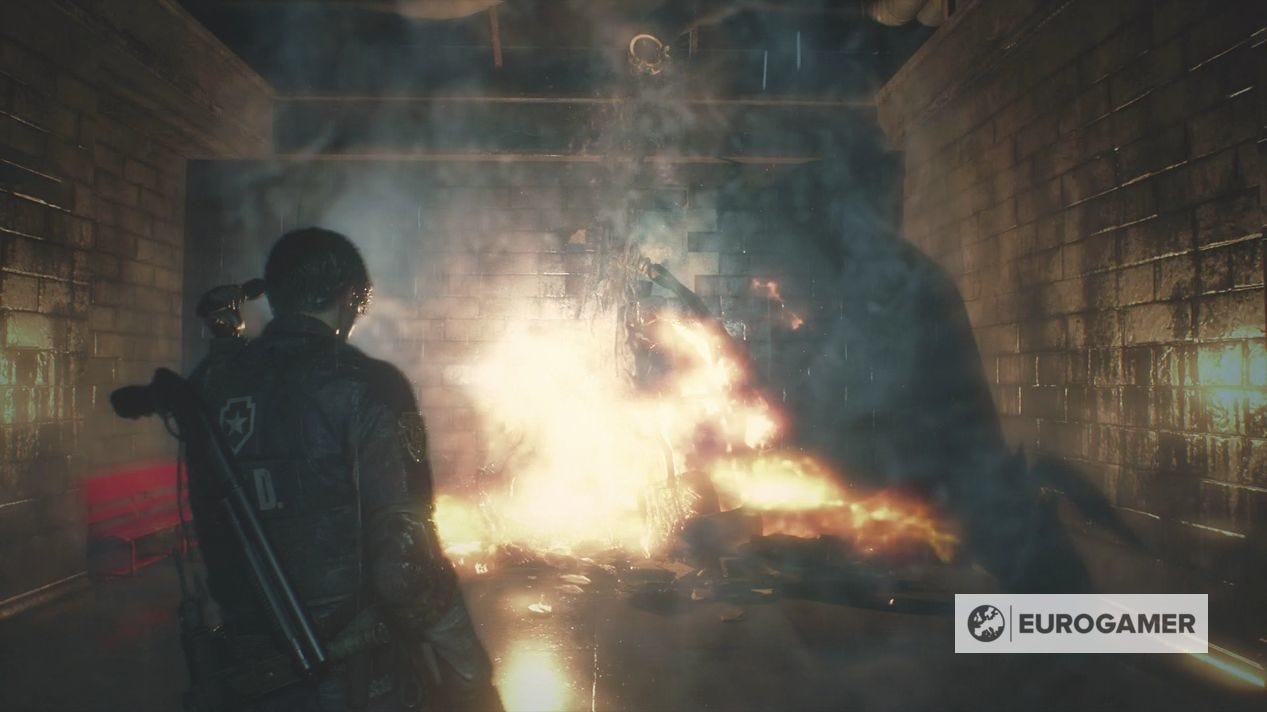
This means you can safely access the corridor leading round to the Art Room. Walk round the corner, and you get a helping hand from a towering figure who helps move the wreckage - none other than Mr X.
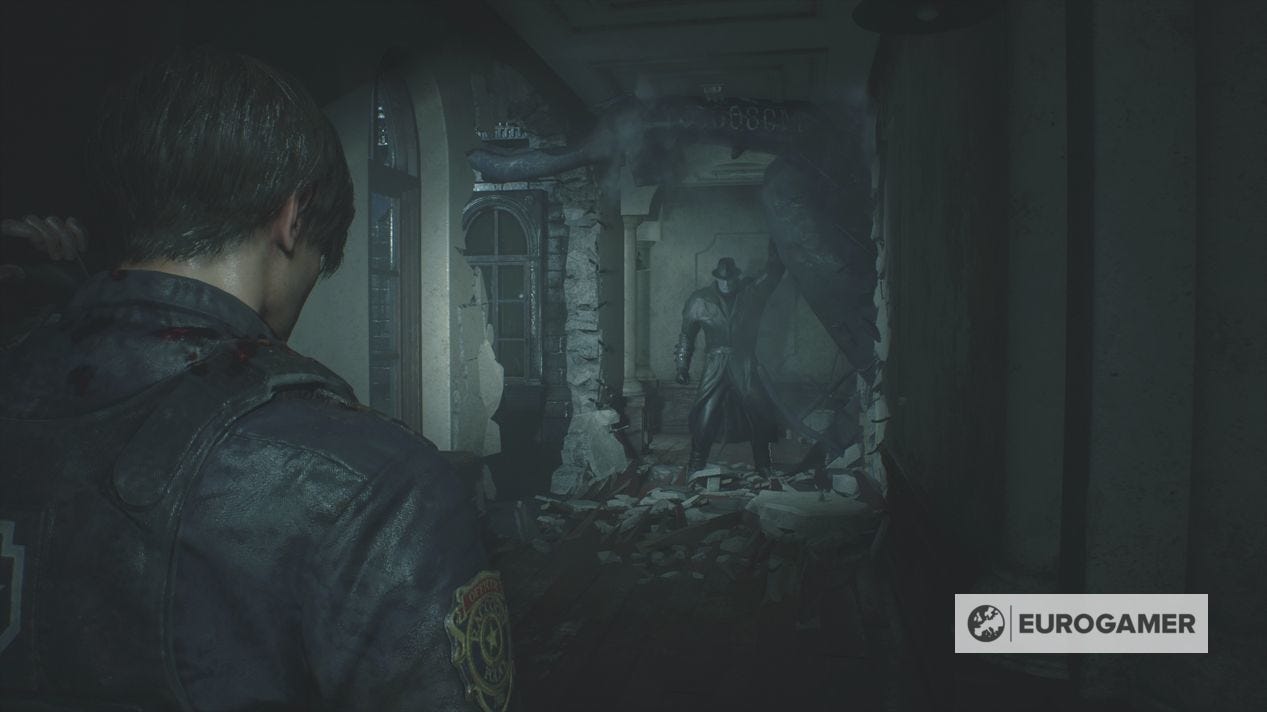
On this first encounter, turn tail and run back to the Boiler Room's safe room, where no enemies - including Mr X - can harm you.
Wait until his footsteps disappear, so you know he's gone, and go back to the corridor. From this point onward, Mr X can appear as you explore - hear out for the footsteps to know he's nearby, and if they grow loud, look at the closest door.
Our dedicated Mr X page will explain how to deal with this menace, but when you are ready, find the Bejeweled Box, USB Dongle Key, STARS Badge and Library Jack.