How to activate the Centrifuge in Dead Space by attaching Clutch Generator Modules
How to solve this puzzle in Chapter 3.

The Dead Space remake changes some gameplay, but often keeps things familiar, like the Centrifuge puzzle in Chapter 3.
If you've never attempted it, or can't remember the puzzle solution, it can be a little tricky to work out, as there is no waypoint guiding you or clear instructions on what to do.
To speed things along, we've detailed exactly how to activate the Centrifuge in Dead Space by attaching the Clutch Generator Modules. The same general method applies to the orginal, but the pictures and locations below are from the remake.

How to activate the Centrifuge in Dead Space by attaching Clutch Generator Modules
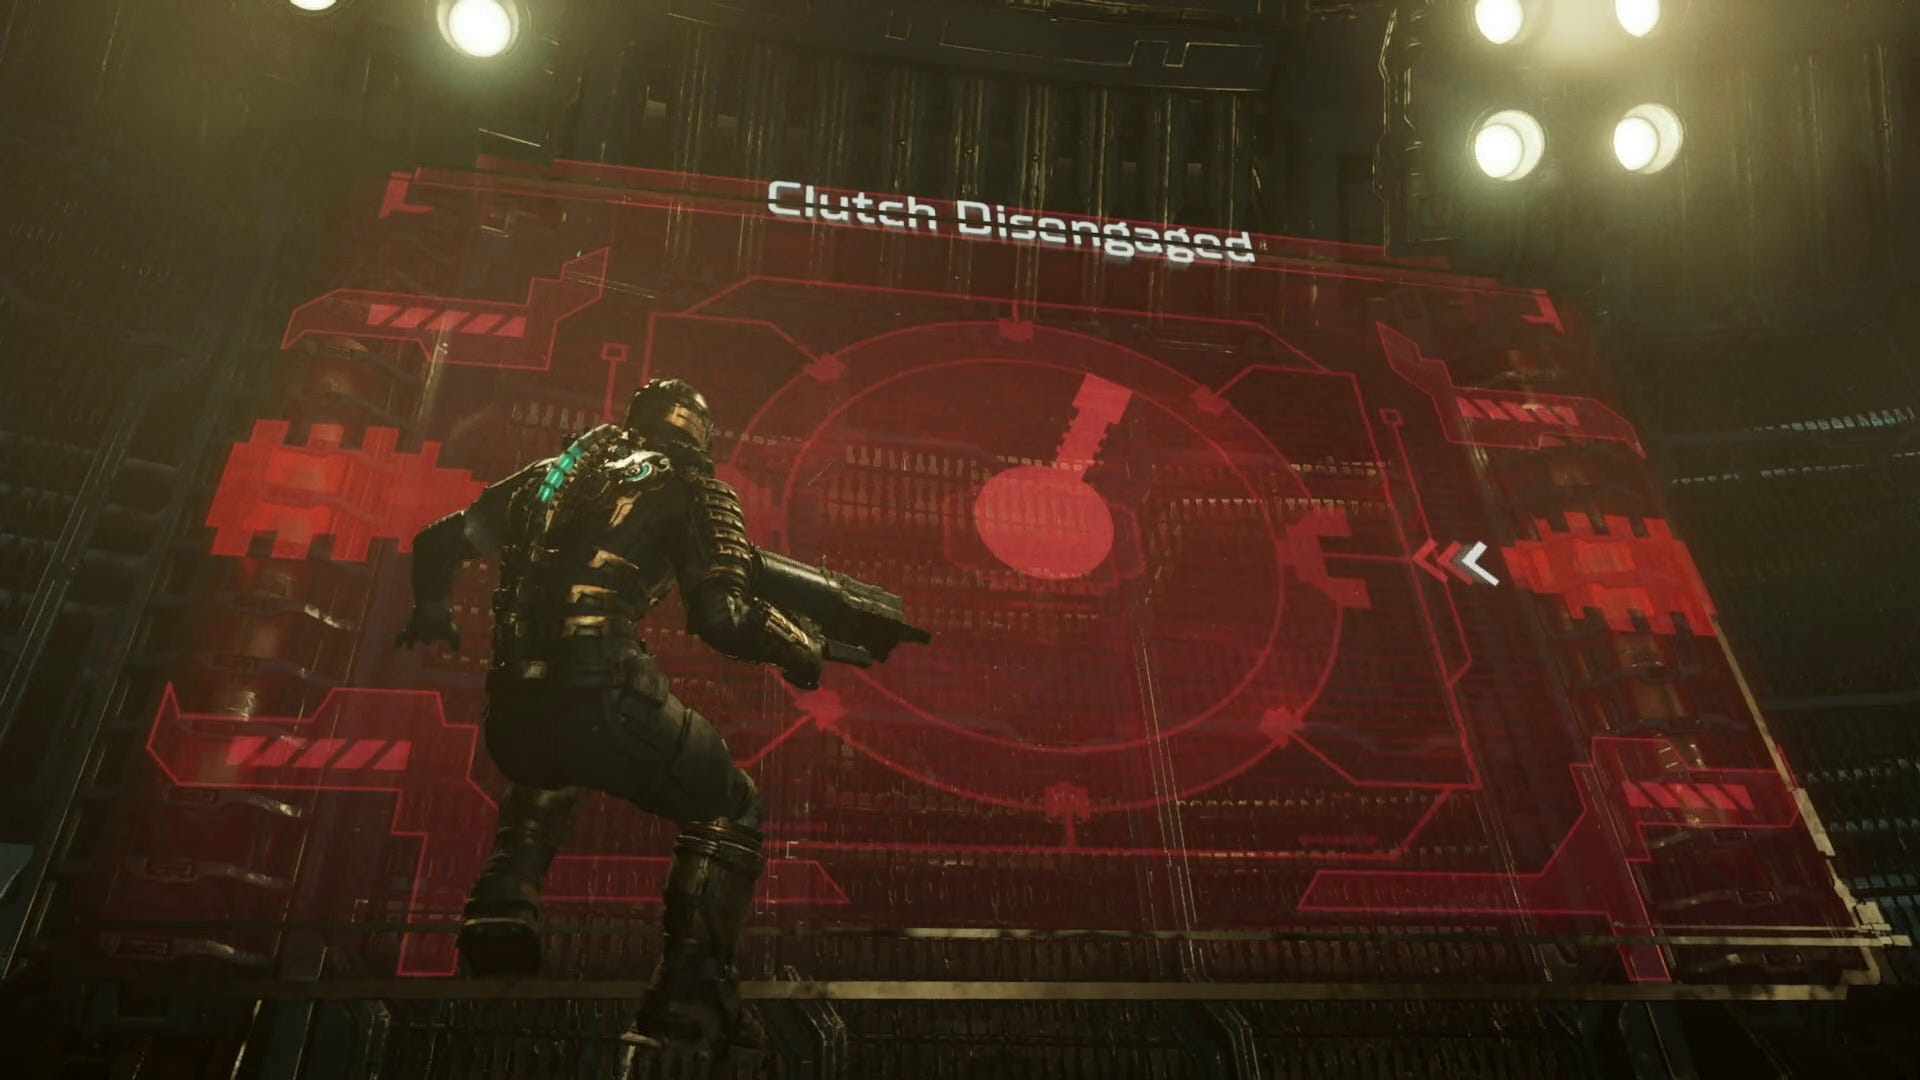
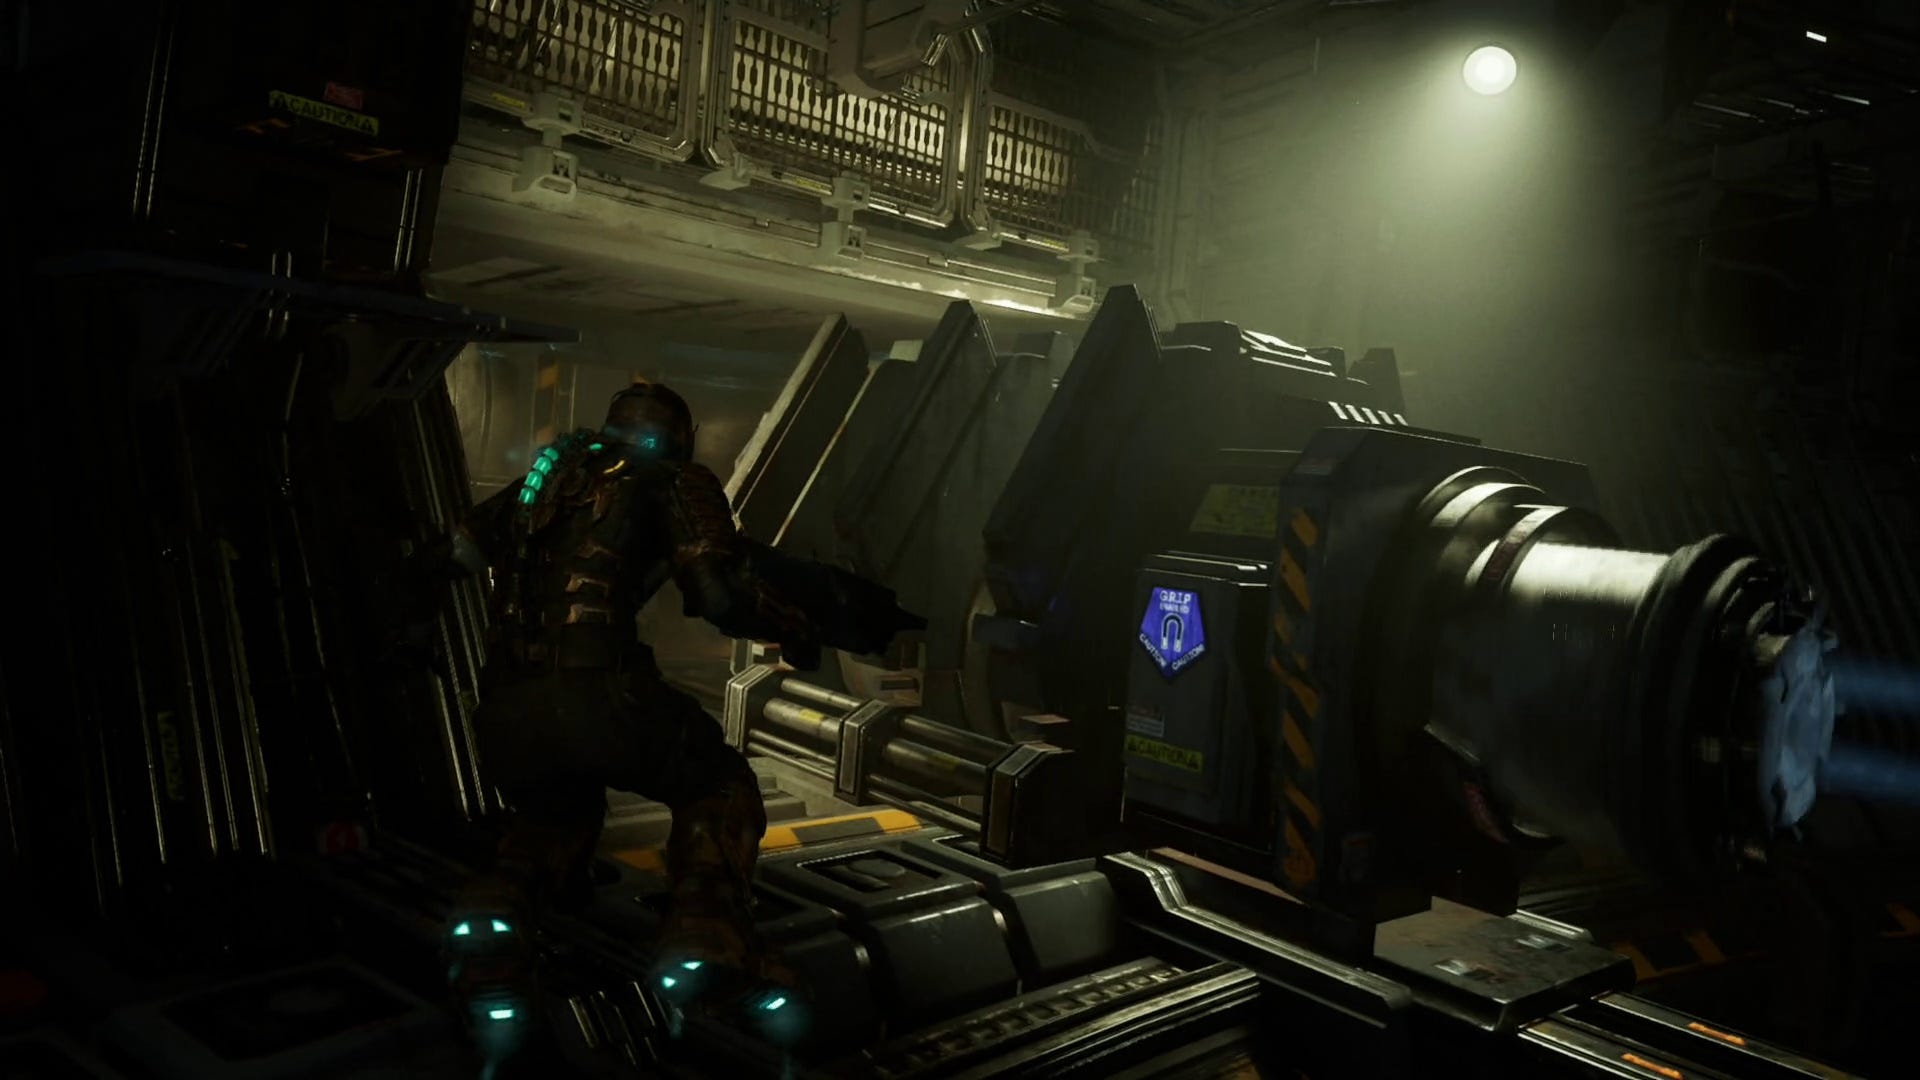
The two Clutch Generator Modules are the metallic 'arms' on top of the rails attached to the Centrifuge in the middle of the room. They are identifiable by the magnet symbol on their side, showing that you can use your Kinesis to move them.
If you try doing this on its own however, you'll only get a few sparks, and the Clutch Generator Module will fall back. It's a little harder to spot in the remake thanks to all the detail in the room, but this is because the arm is rotating.
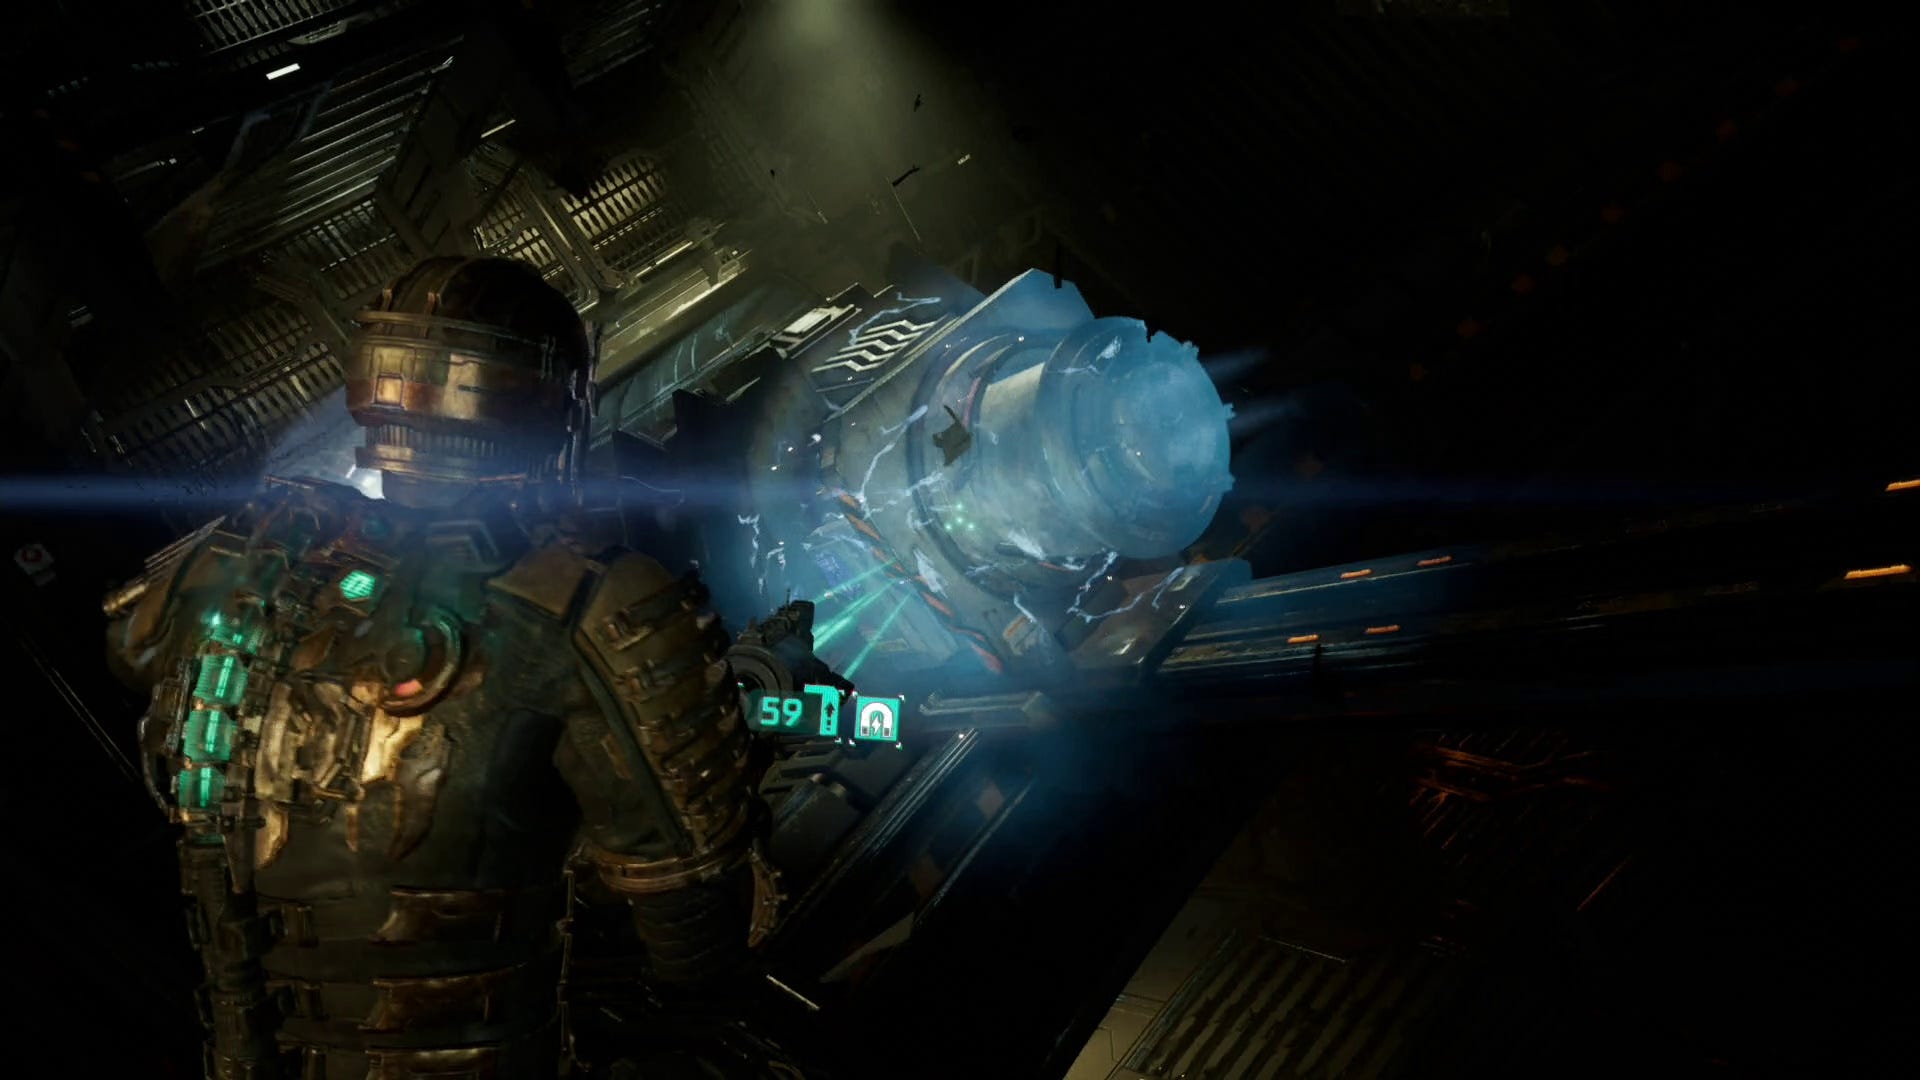
To stop the Clutch Generator Modules from rotating and activate the Centrifuge in Dead Space Remake, you need to use your other Kinesis power to slow down the arm first, then use your Kinesis to move it into the Centrifuge. It should now stay in place, unless your Kinesis ran out before placing it. If that happens, just try again.
To slow down with Kinesis, while aiming press 'Y' on Xbox controllers, or Triangle on PlayStation. To move with Kinesis, while aiming press 'B' on Xbox, or Circle on PlayStation.
You need to attach both of the Clutch Generator Modules this way.
We can help guide you through the Ishimura with our weapons and suit locations, Marker Fragment locations for the secret ending, secret break room codes, Security Clearance Levels, Master Override, the Scientific Methods side quest, and the Peng Treasure location. We've also got solutions to the comms array satellites and Centrifuge puzzles, a Trophy and Achievements list, and strategies on how to beat the Hunter, Leviathan, and Leviathan Remnant bosses.
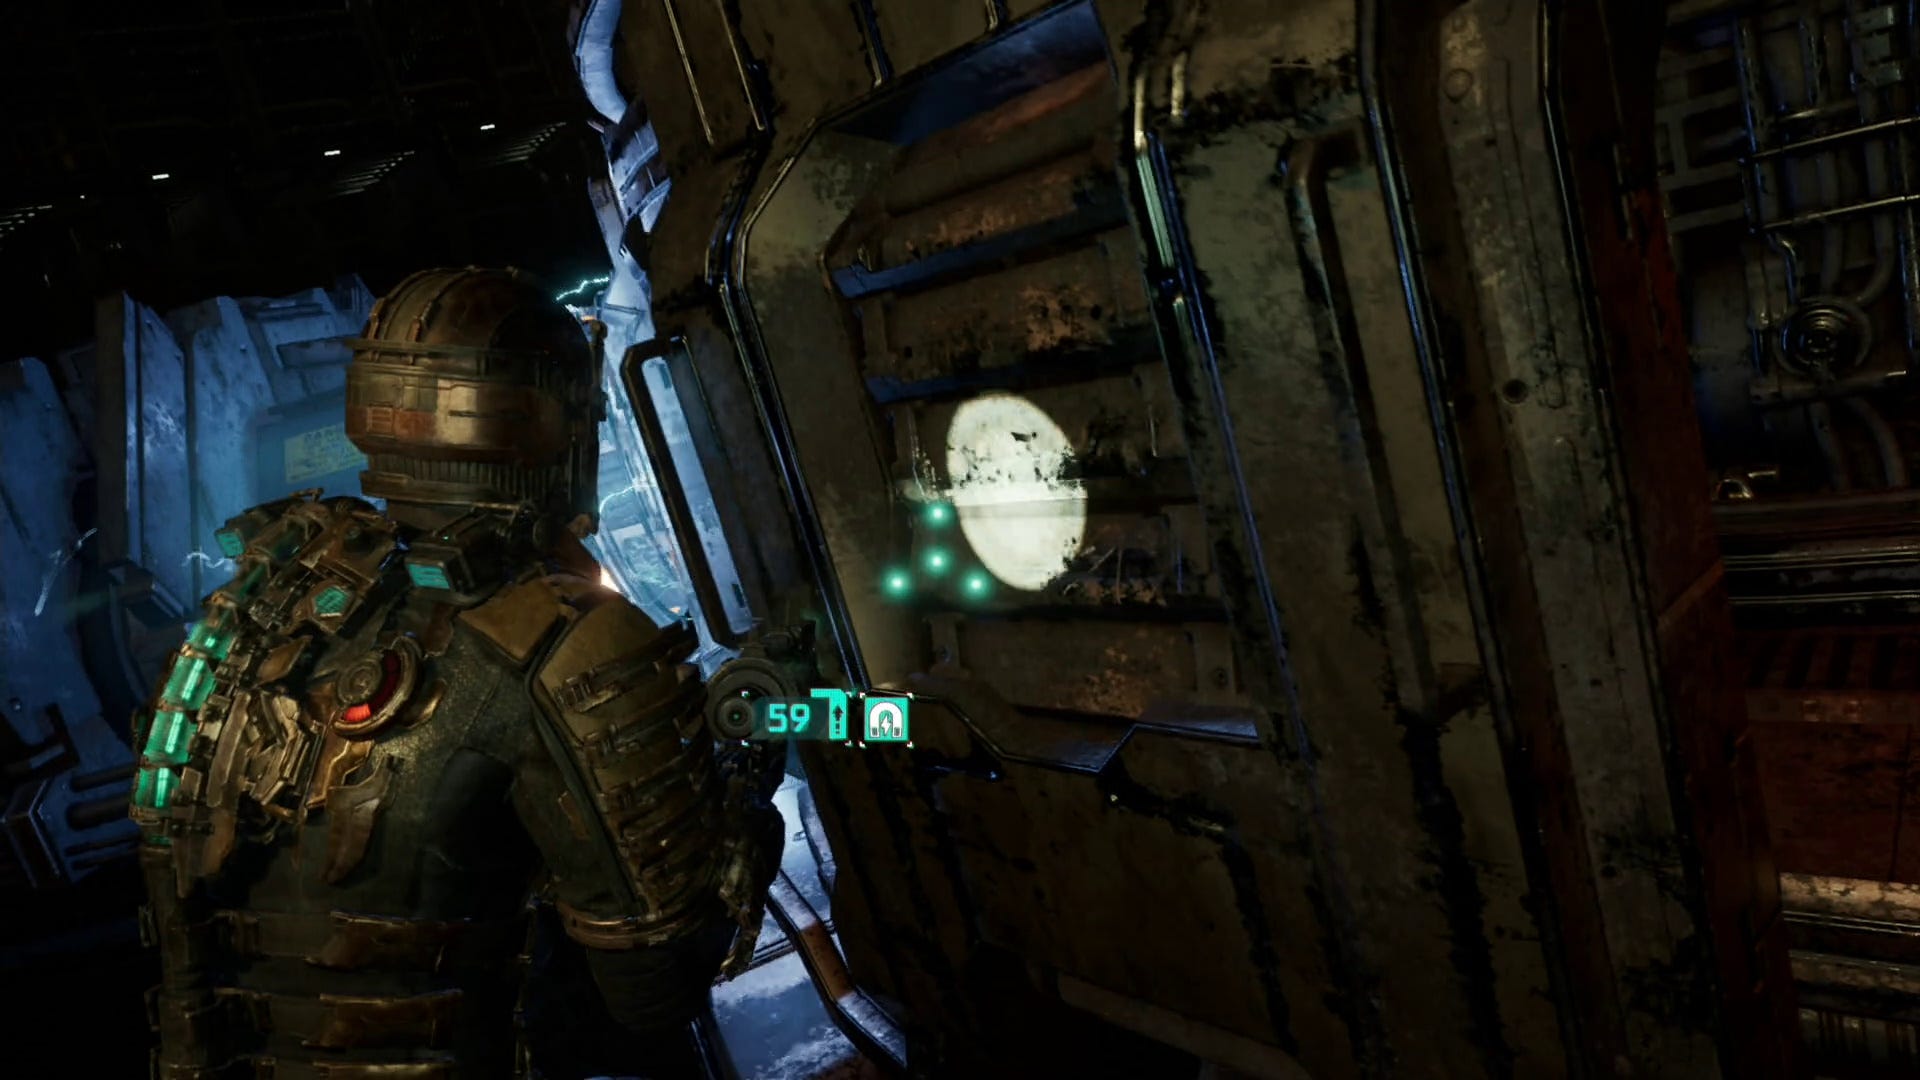
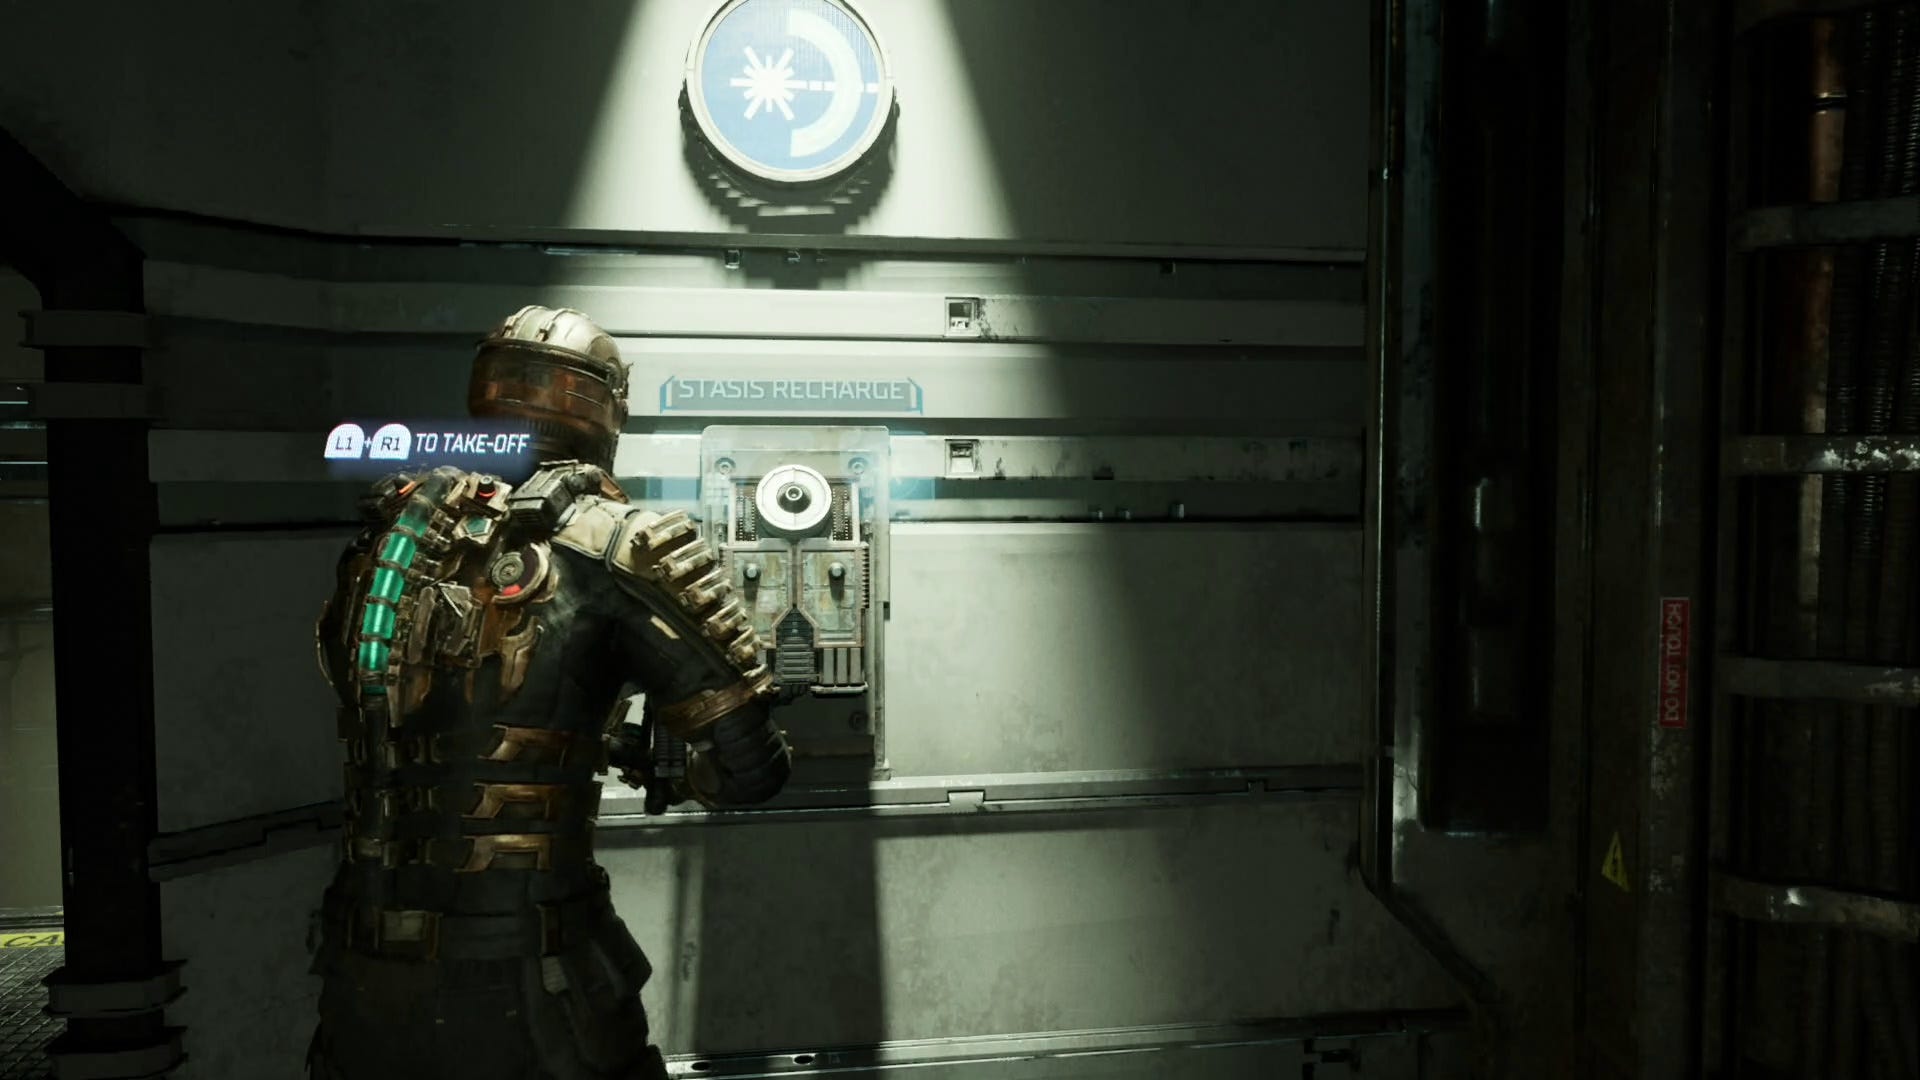
If you need to recharge your Statis, go back to the door leading to the elevator shaft, just left from where you first entered the room, near the mass of gunk blocking the walkway.
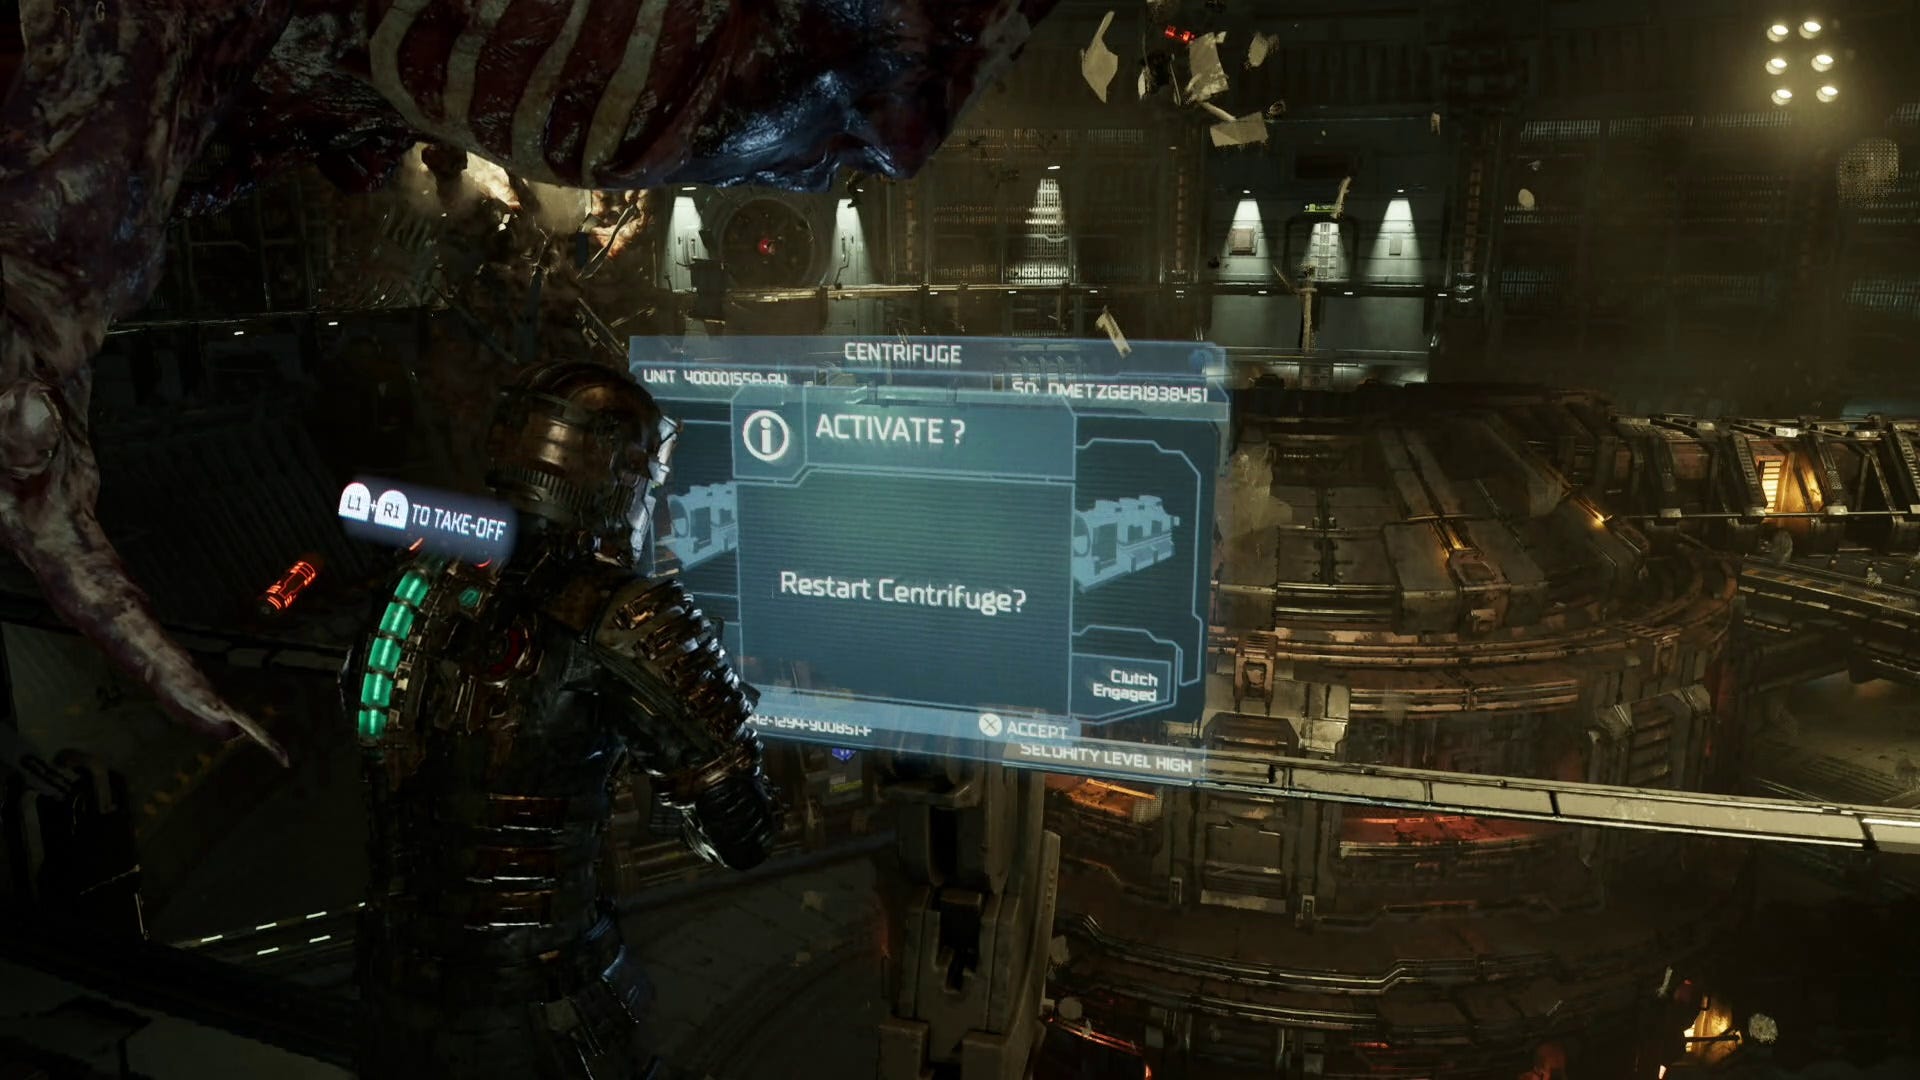
Once you've attached both Clutch Generator Modules, you can finally activate the Centrifuge by going to the blocked elevator shaft across the room from the one with the Stasis recharge, and pressing the prompt on the screen to 'Restart Centrifuge'.
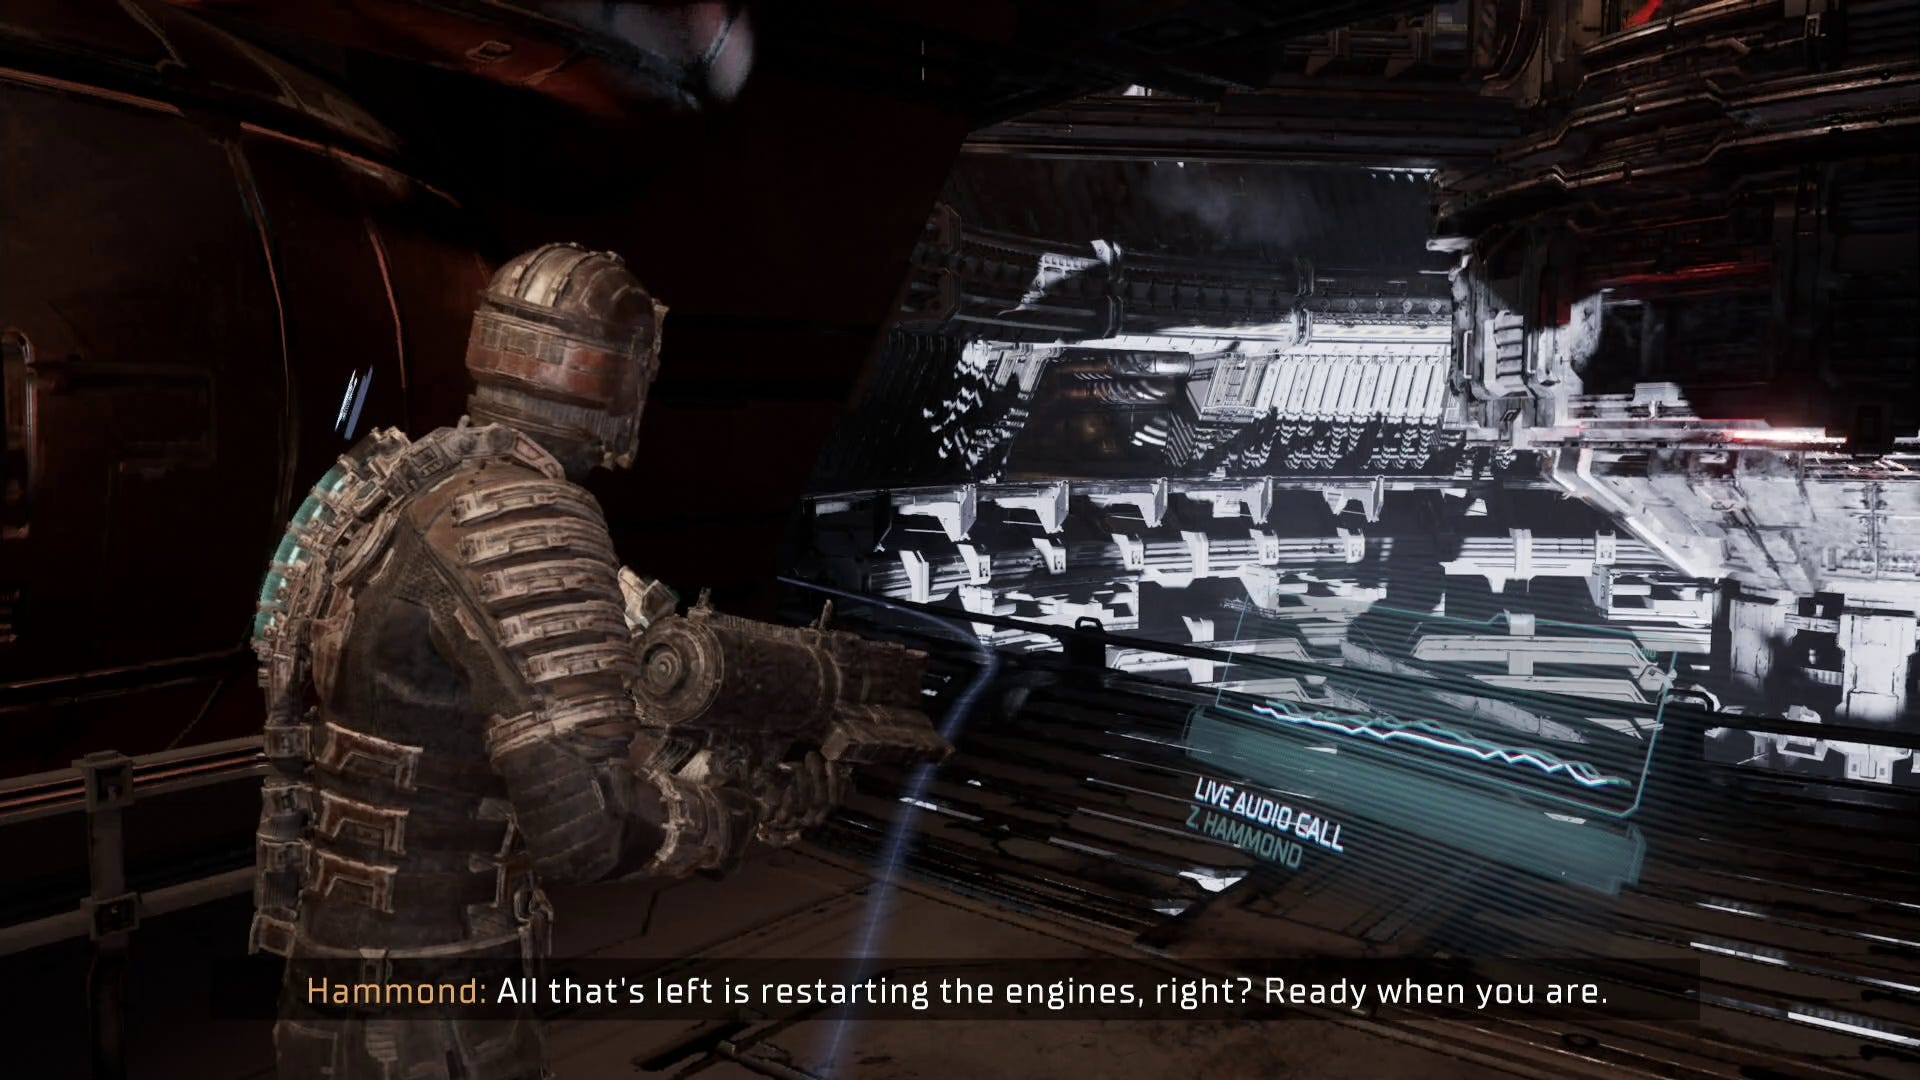
Now that you've activated the Centrifuge, your next task is to ignite the engines. To get yourself on the right path to doing this, turn around and take the elevator behind you. You'll then have to time your running to the left so you don't get hit by the newly activated machinery.
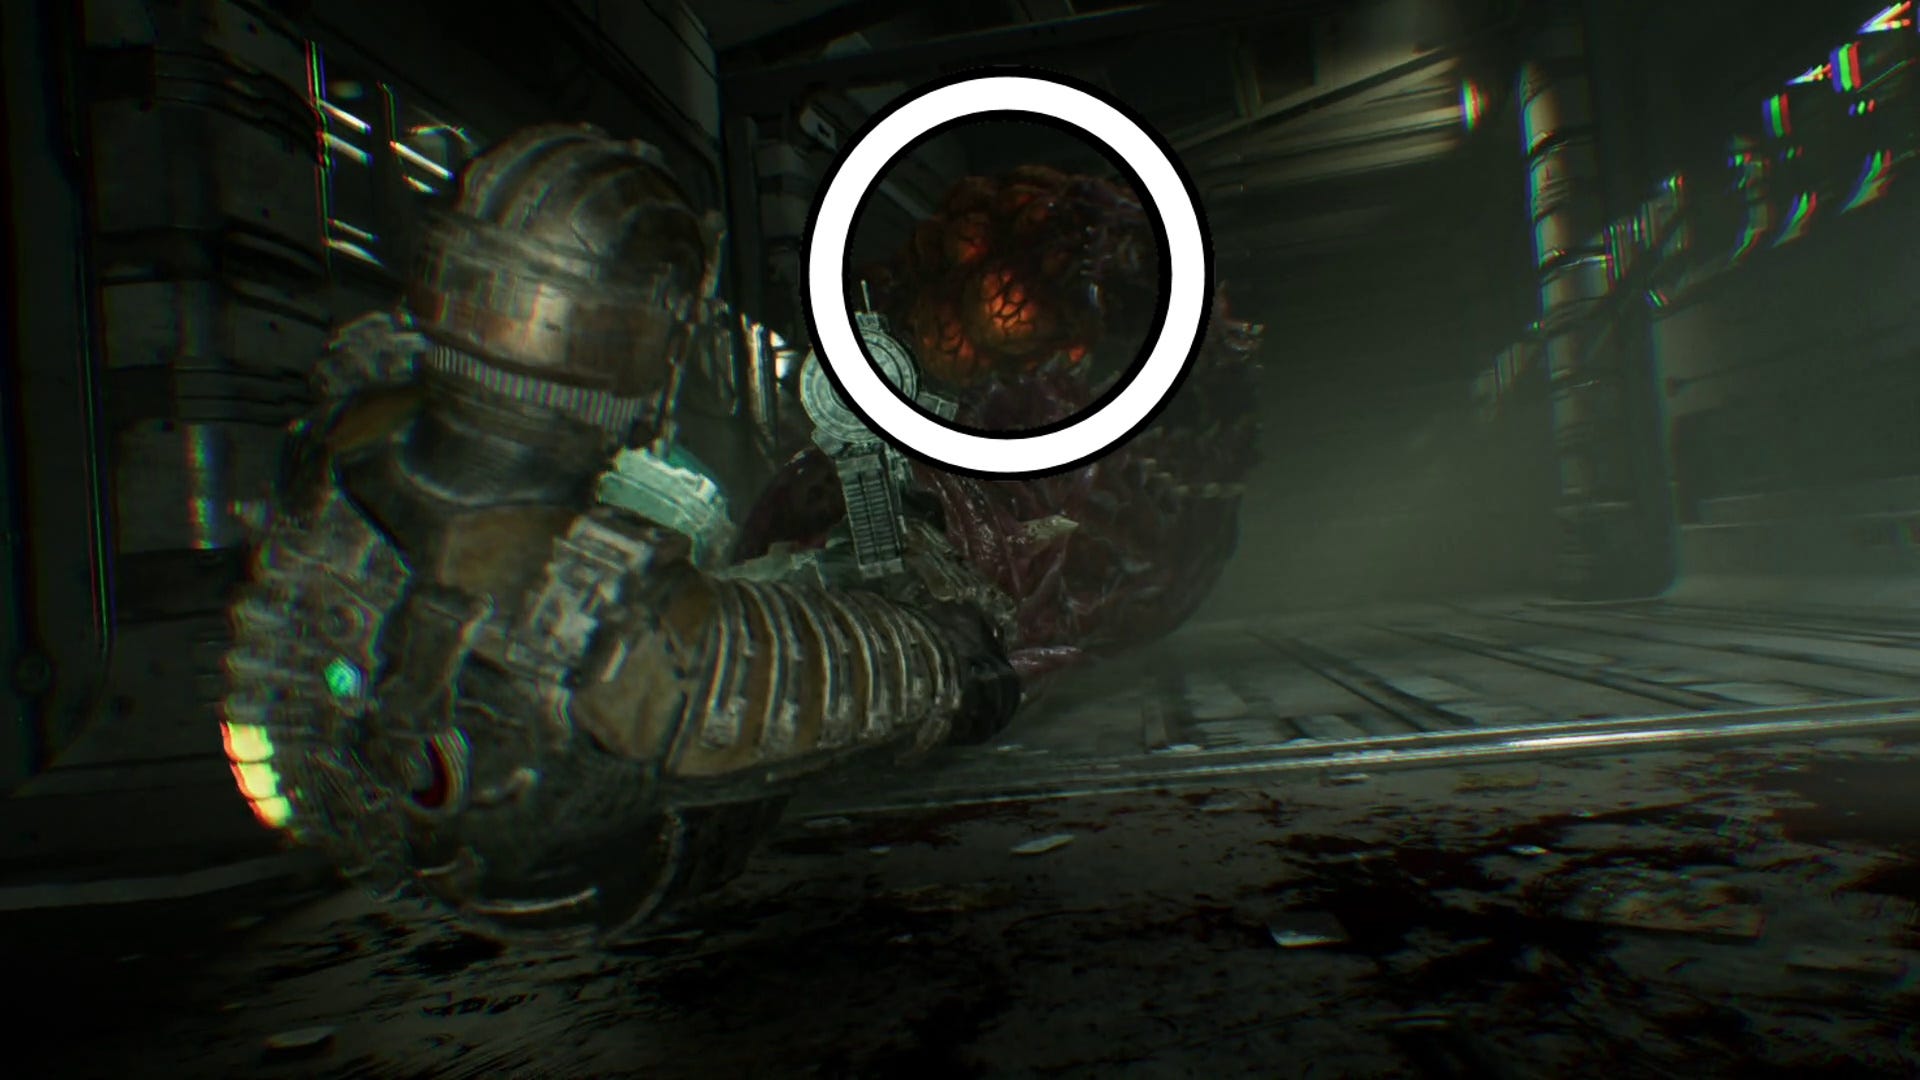
Take the Elevator back up and out of the area, but watch out for Necromorphs on your way. When you return to having oxygen again, a large enemy will grab and start dragging you. To get it to stop dragging Issac, you should shoot at its large glowing sac. We recommend using the pulse rifle for this, but any weapon should eventually get it to leave.
Follow the marker back past the decontamination room and up the cargo elevator to find your way back to the main room in Chapter 3. The door to ignite the engines will now be open.