Honkai Star Rail Sealed Sector graffiti locations
Where to find all graffiti, including 'Hacking Callcard' locations.

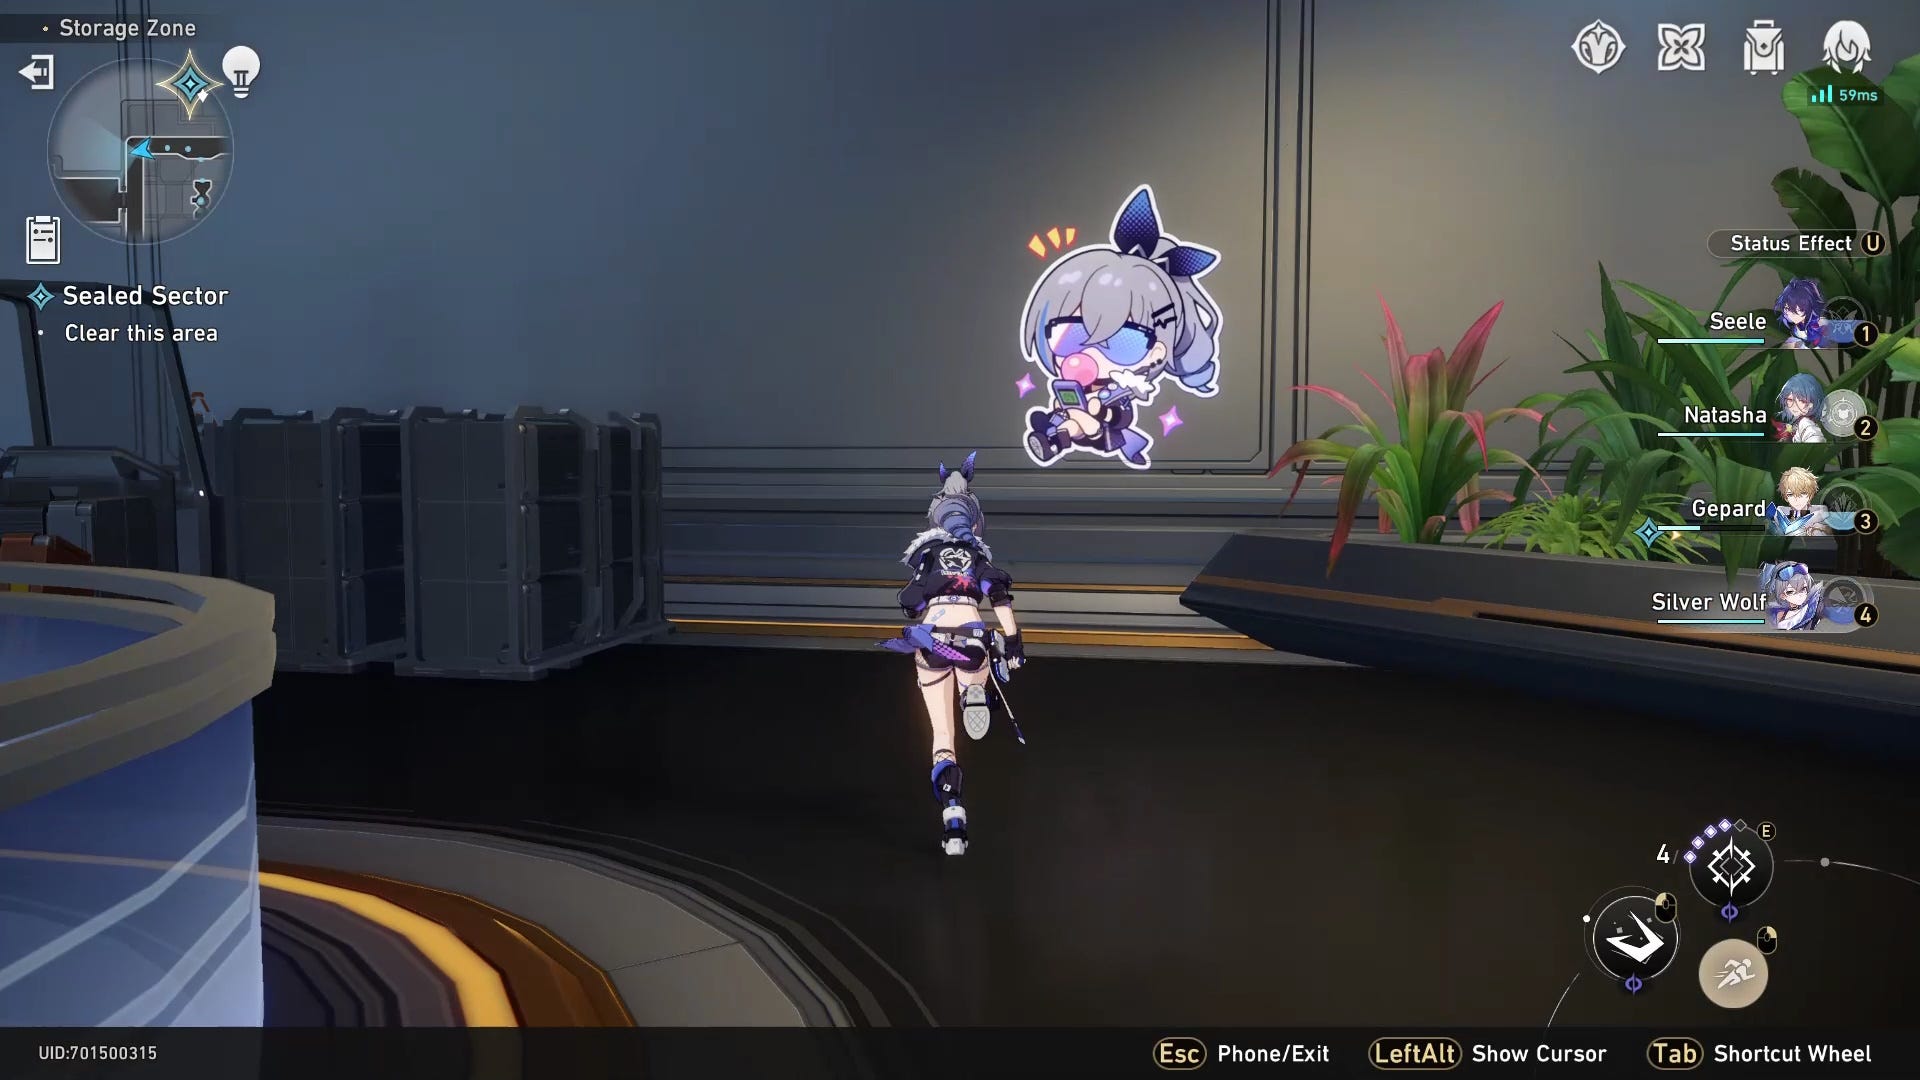
Sealed Sector is a Warring Expedition side quest in Honkai Star Rail that includes finding graffiti locations.
Added during version 1.1 as part of the 'Starhunt Game' event, Leonard wants the Trailblazer's assistance with some research inspired by Silver Wolf. To get all of the Stellar Jade on offer you have to keep your characters alive, defeat the main boss, and find every optional 'Hacking Callcard' graffiti across four maps.
To help you get all of the rewards, we've listed where to find all Sealed Sector graffiti locations in Honkai Star Rail below.
On this page:

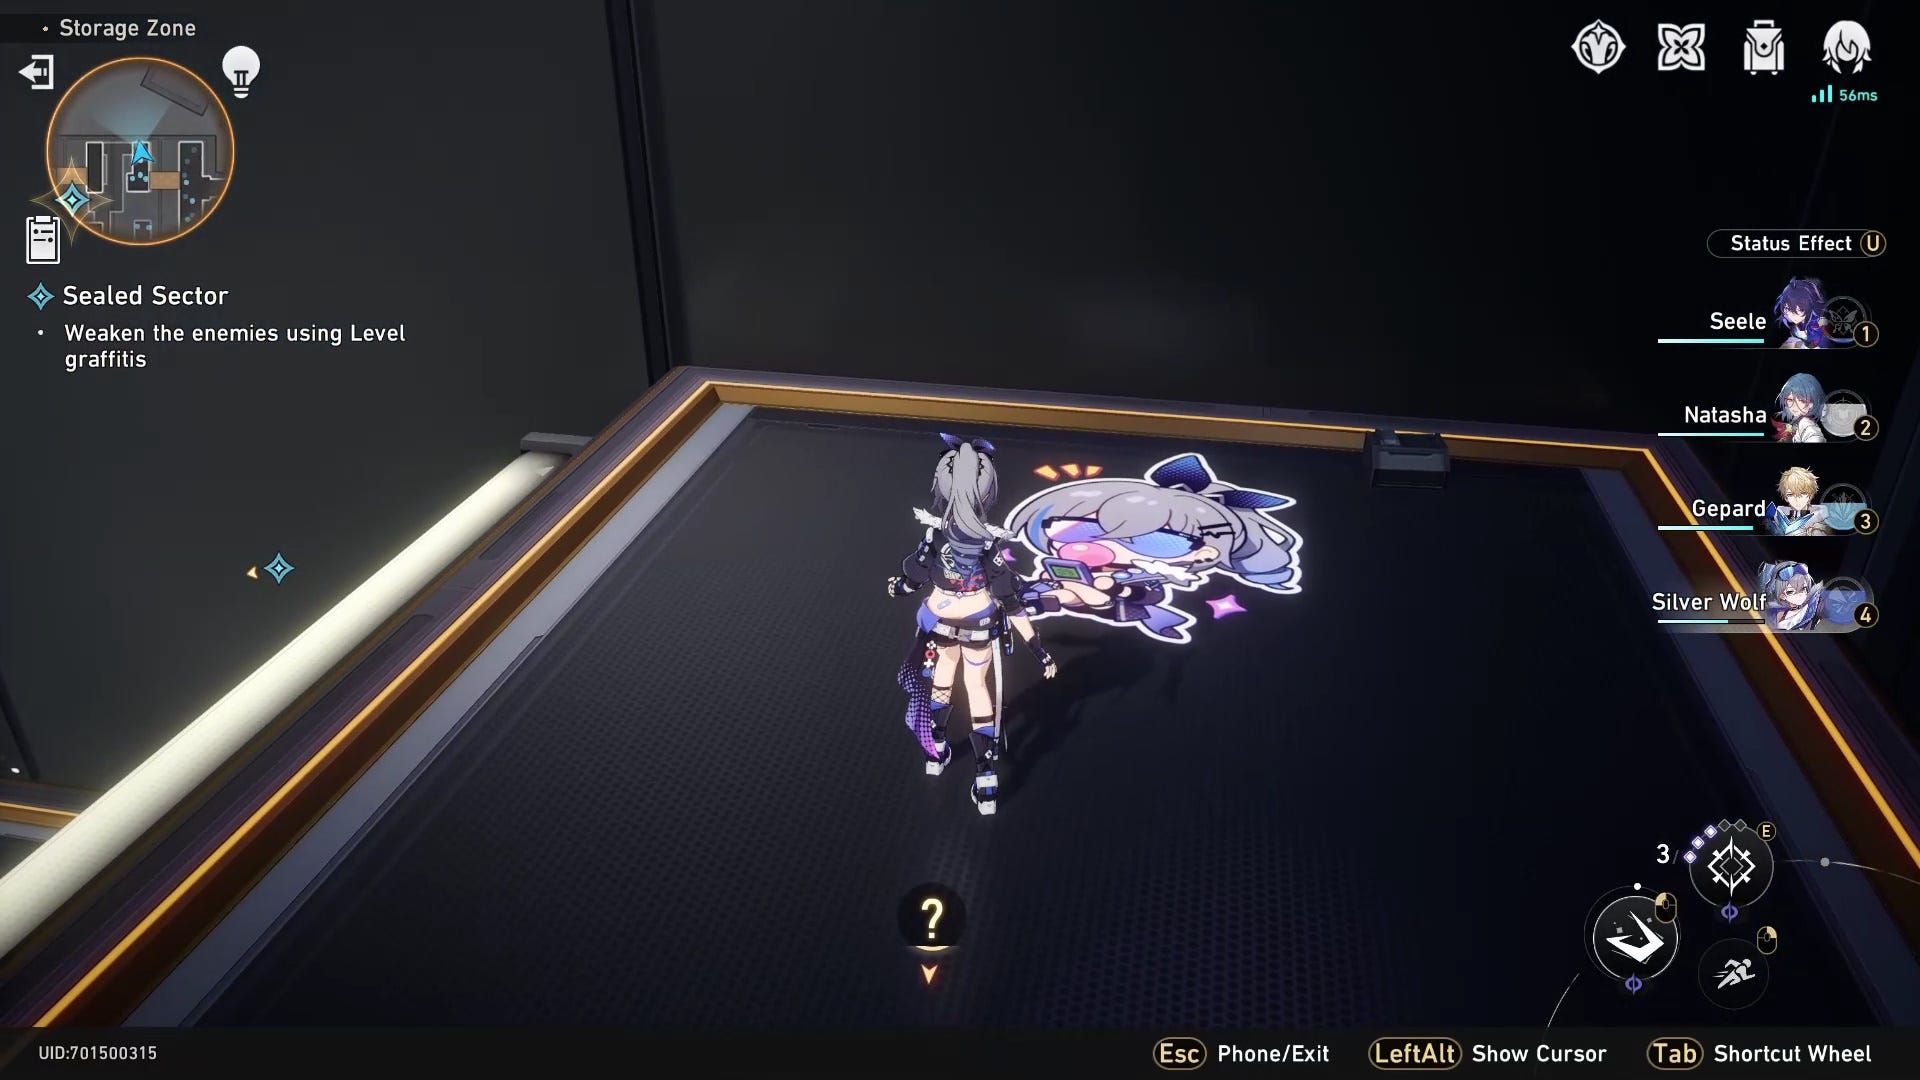
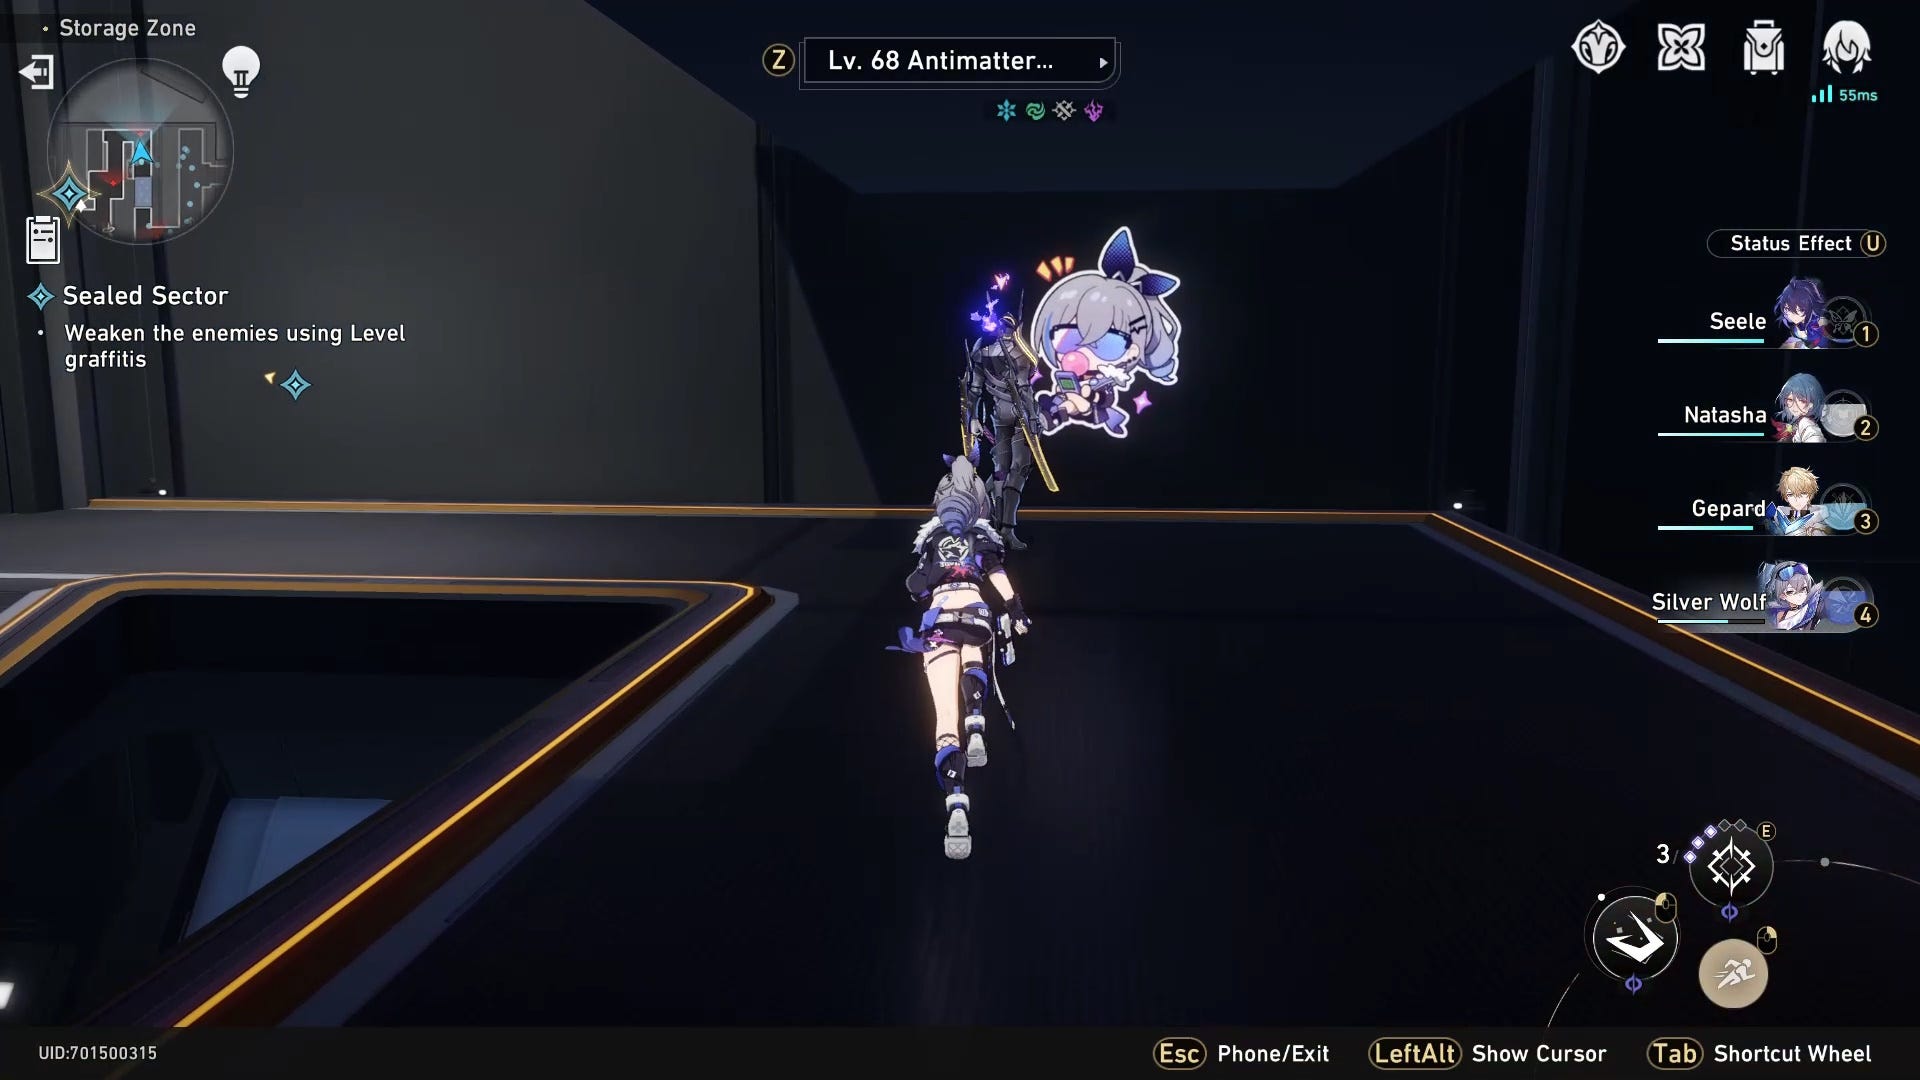
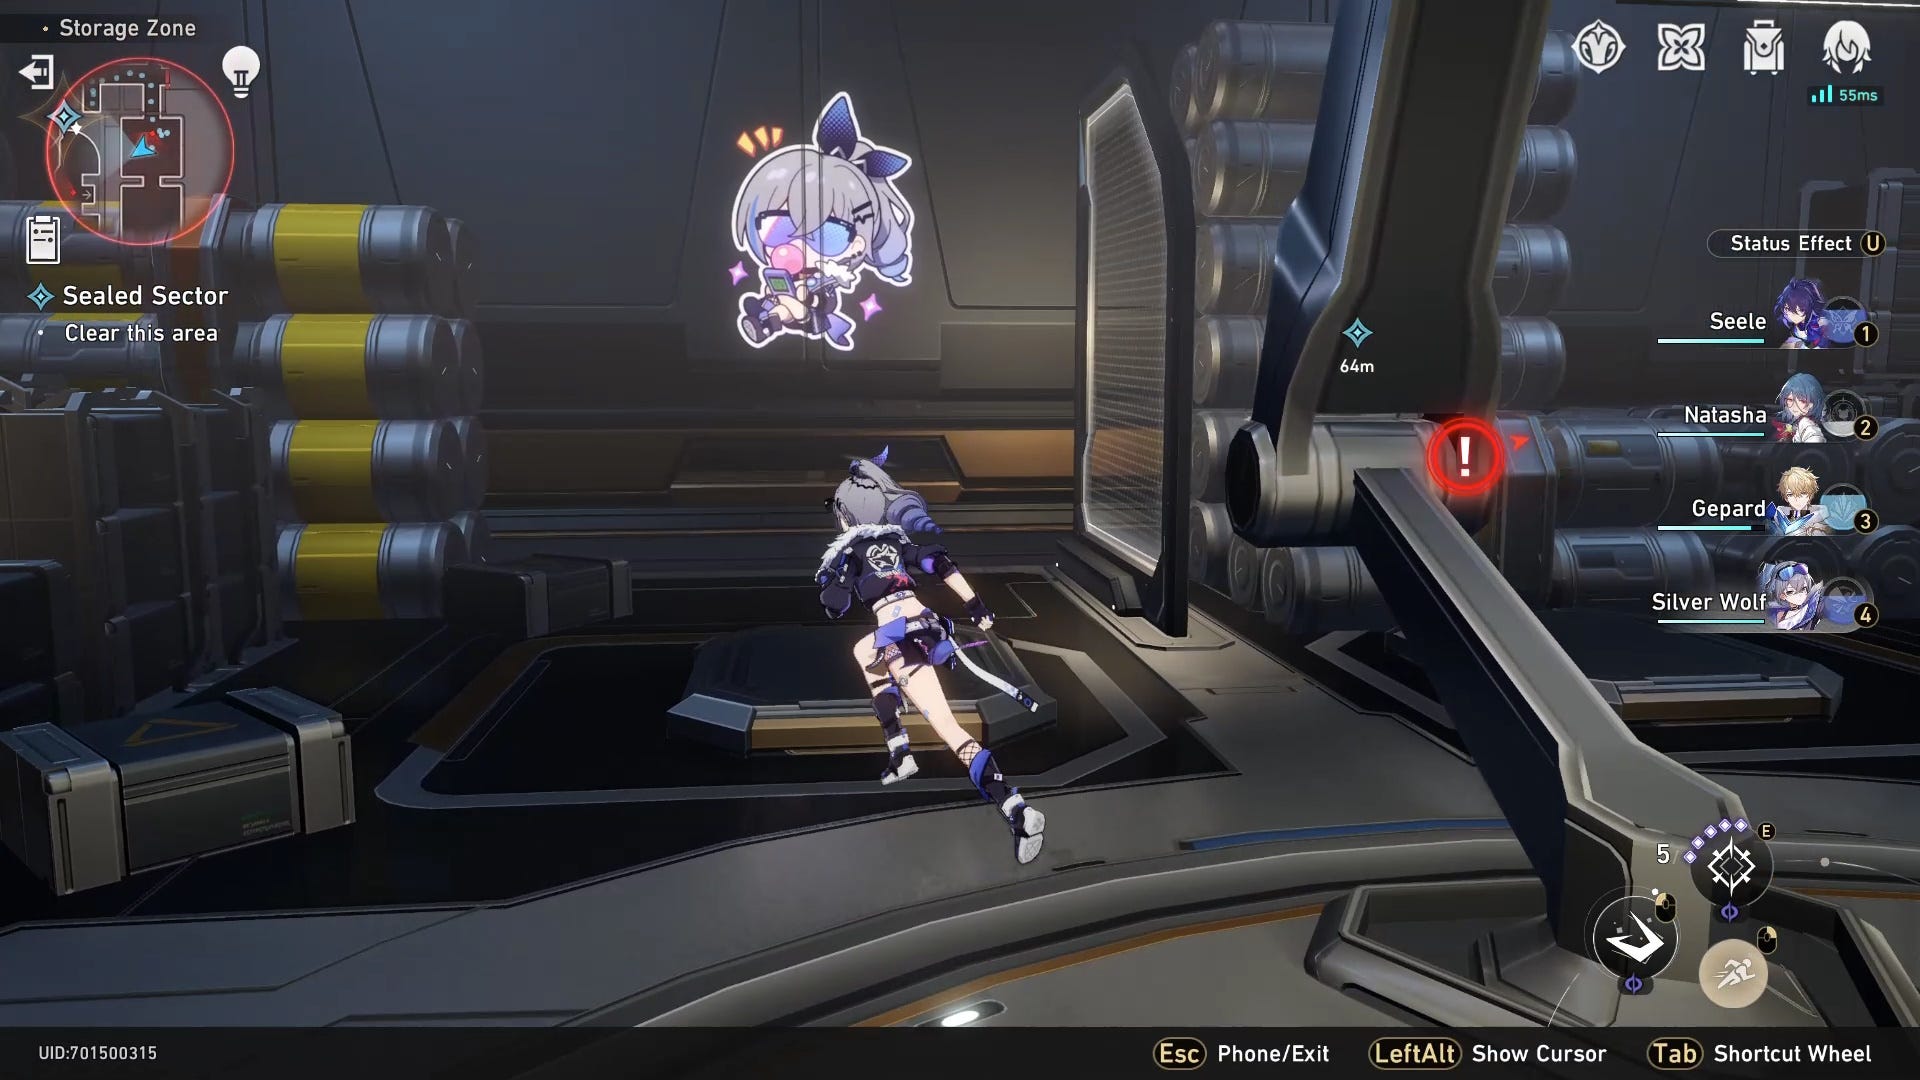
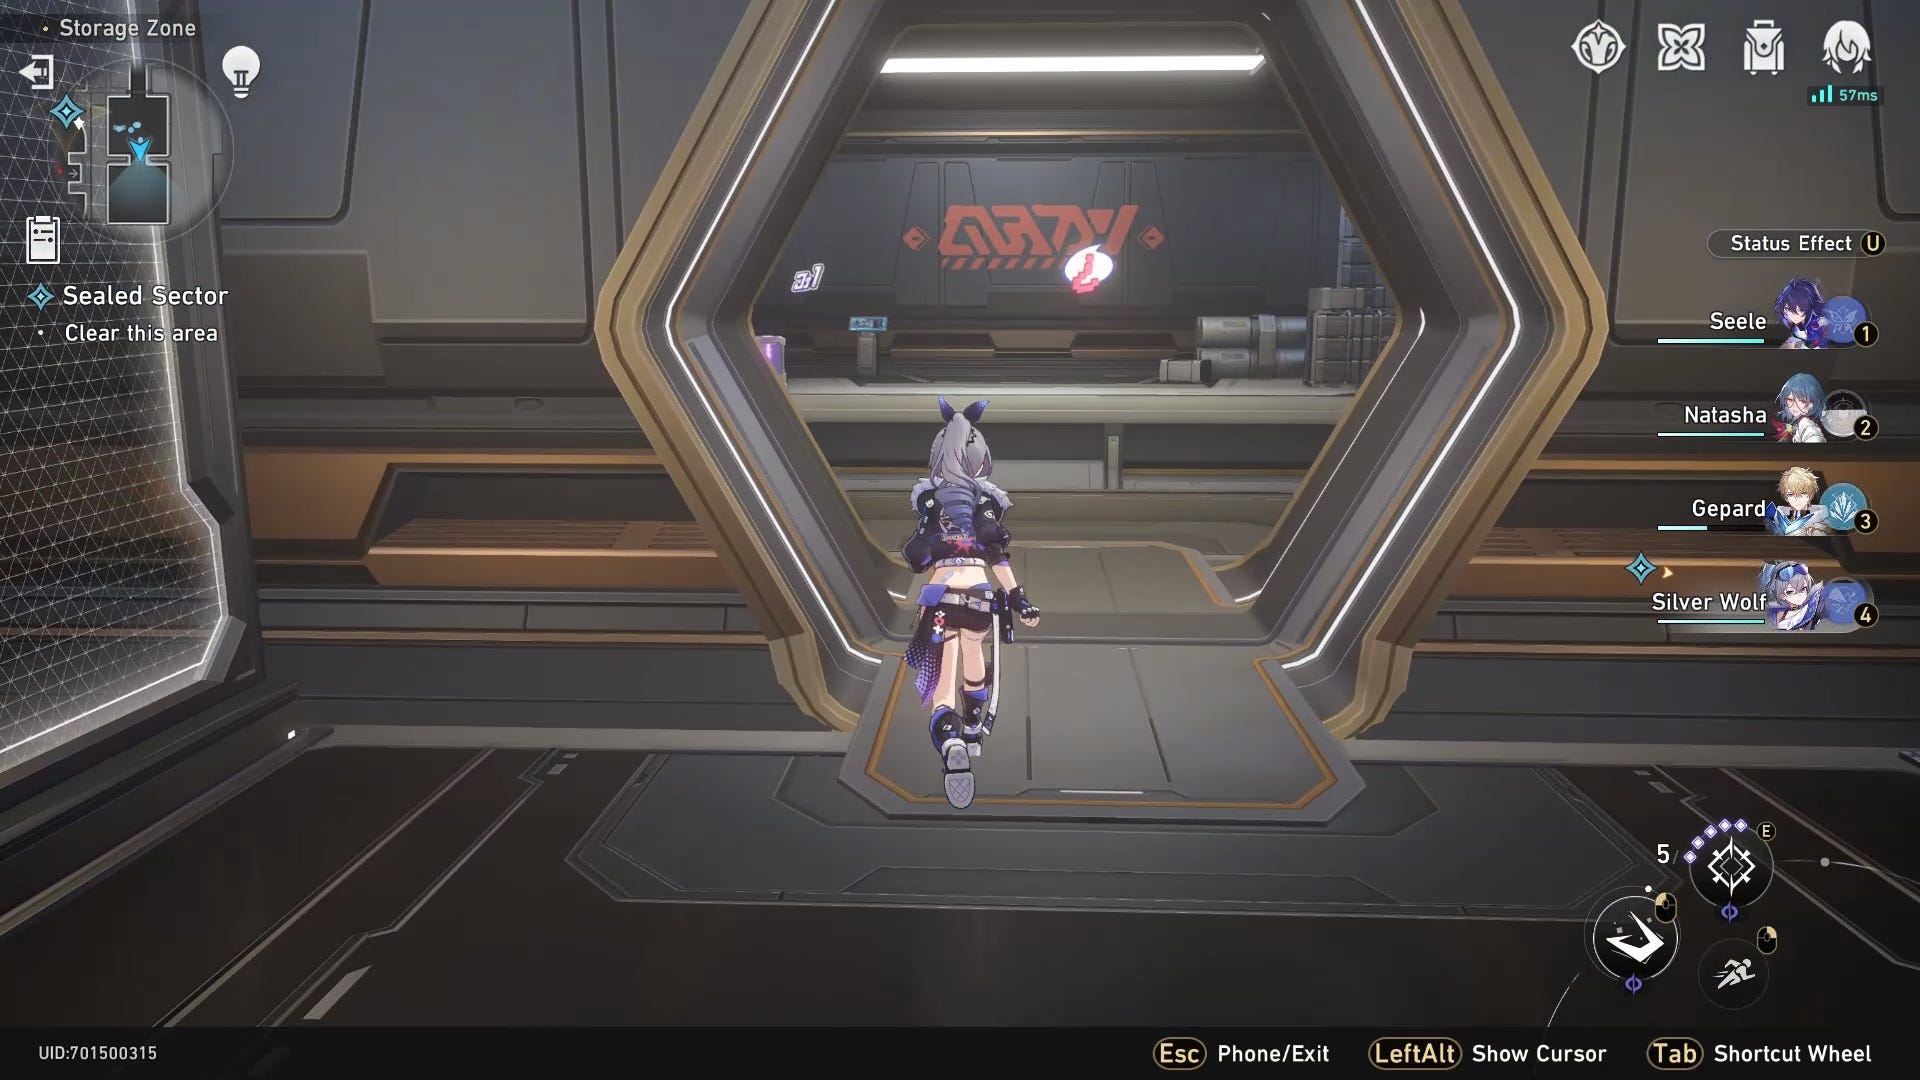
Honkai Star Rail Sealed Sector graffiti locations for Difficulty 1
Along with the three 'Hacking Callcard' graffiti locations, there are two other graffiti pictures you need to find to complete Difficulty 1.
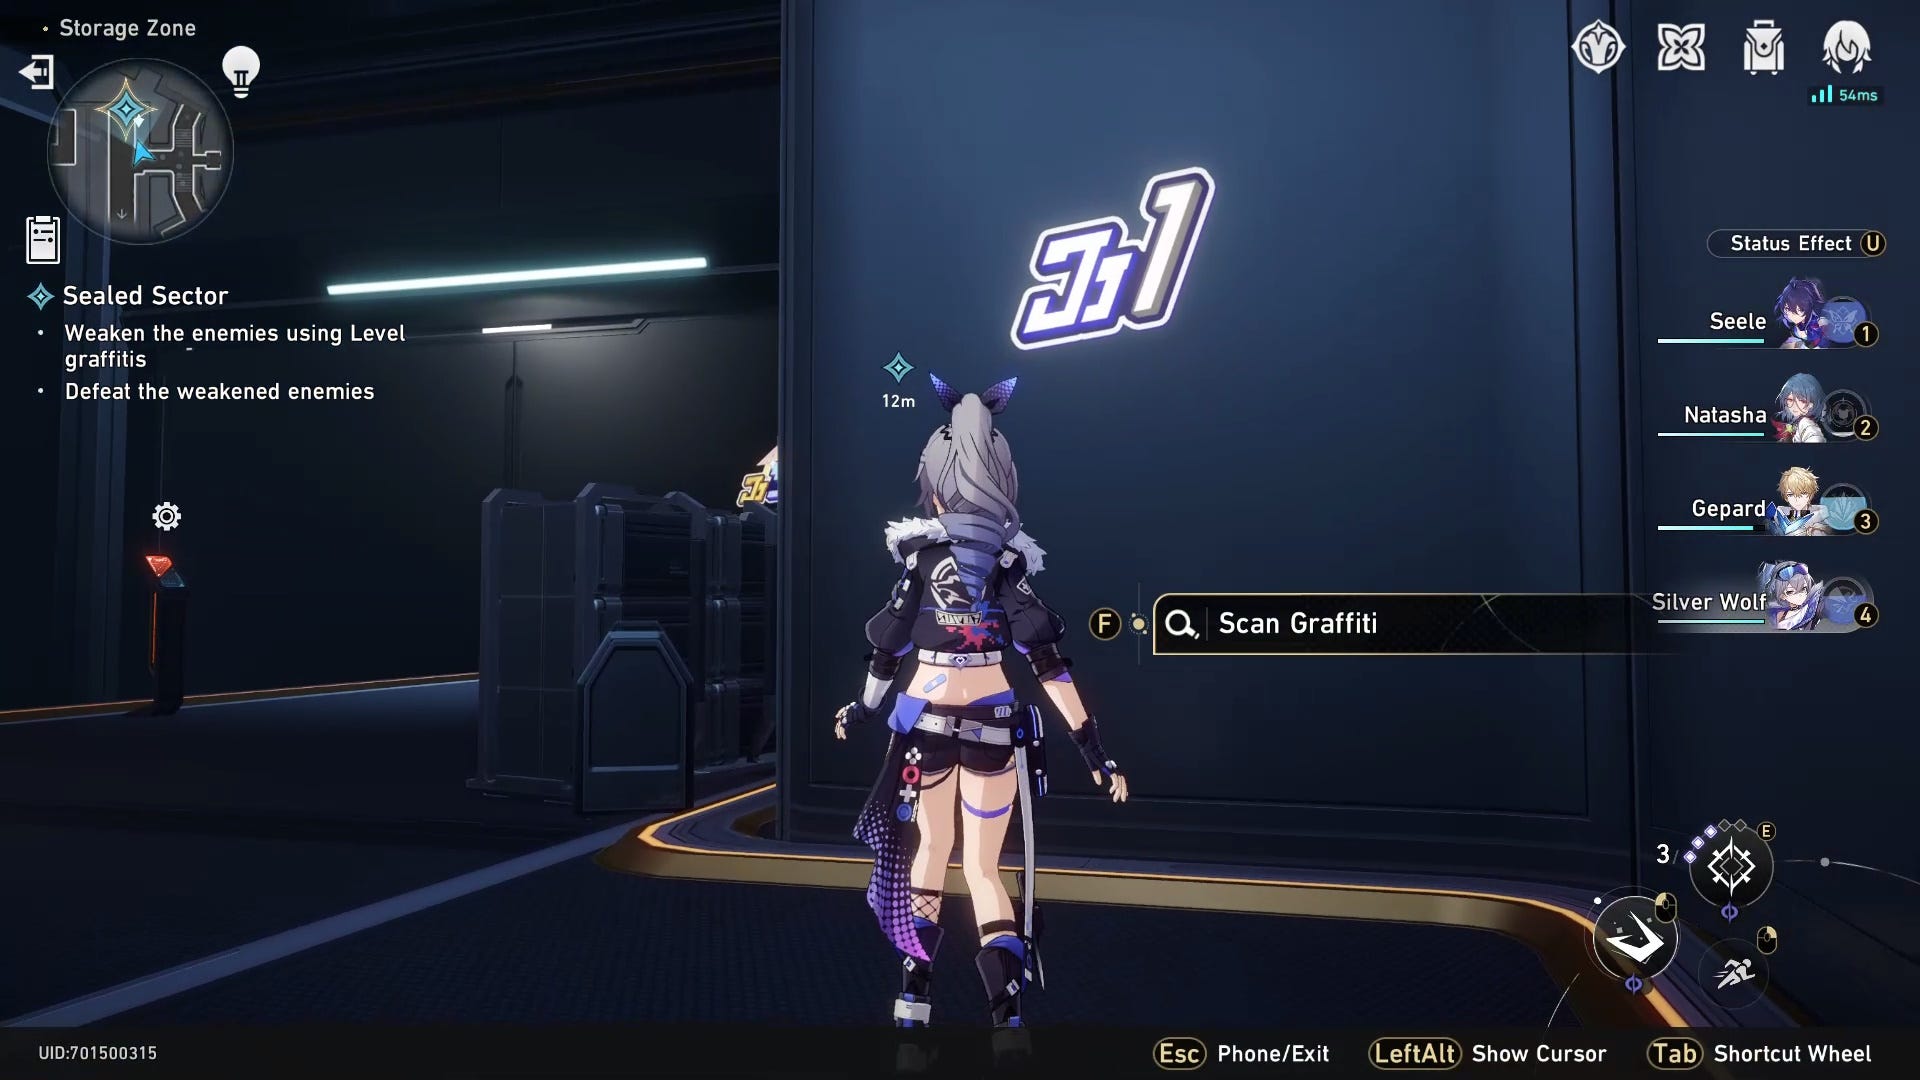
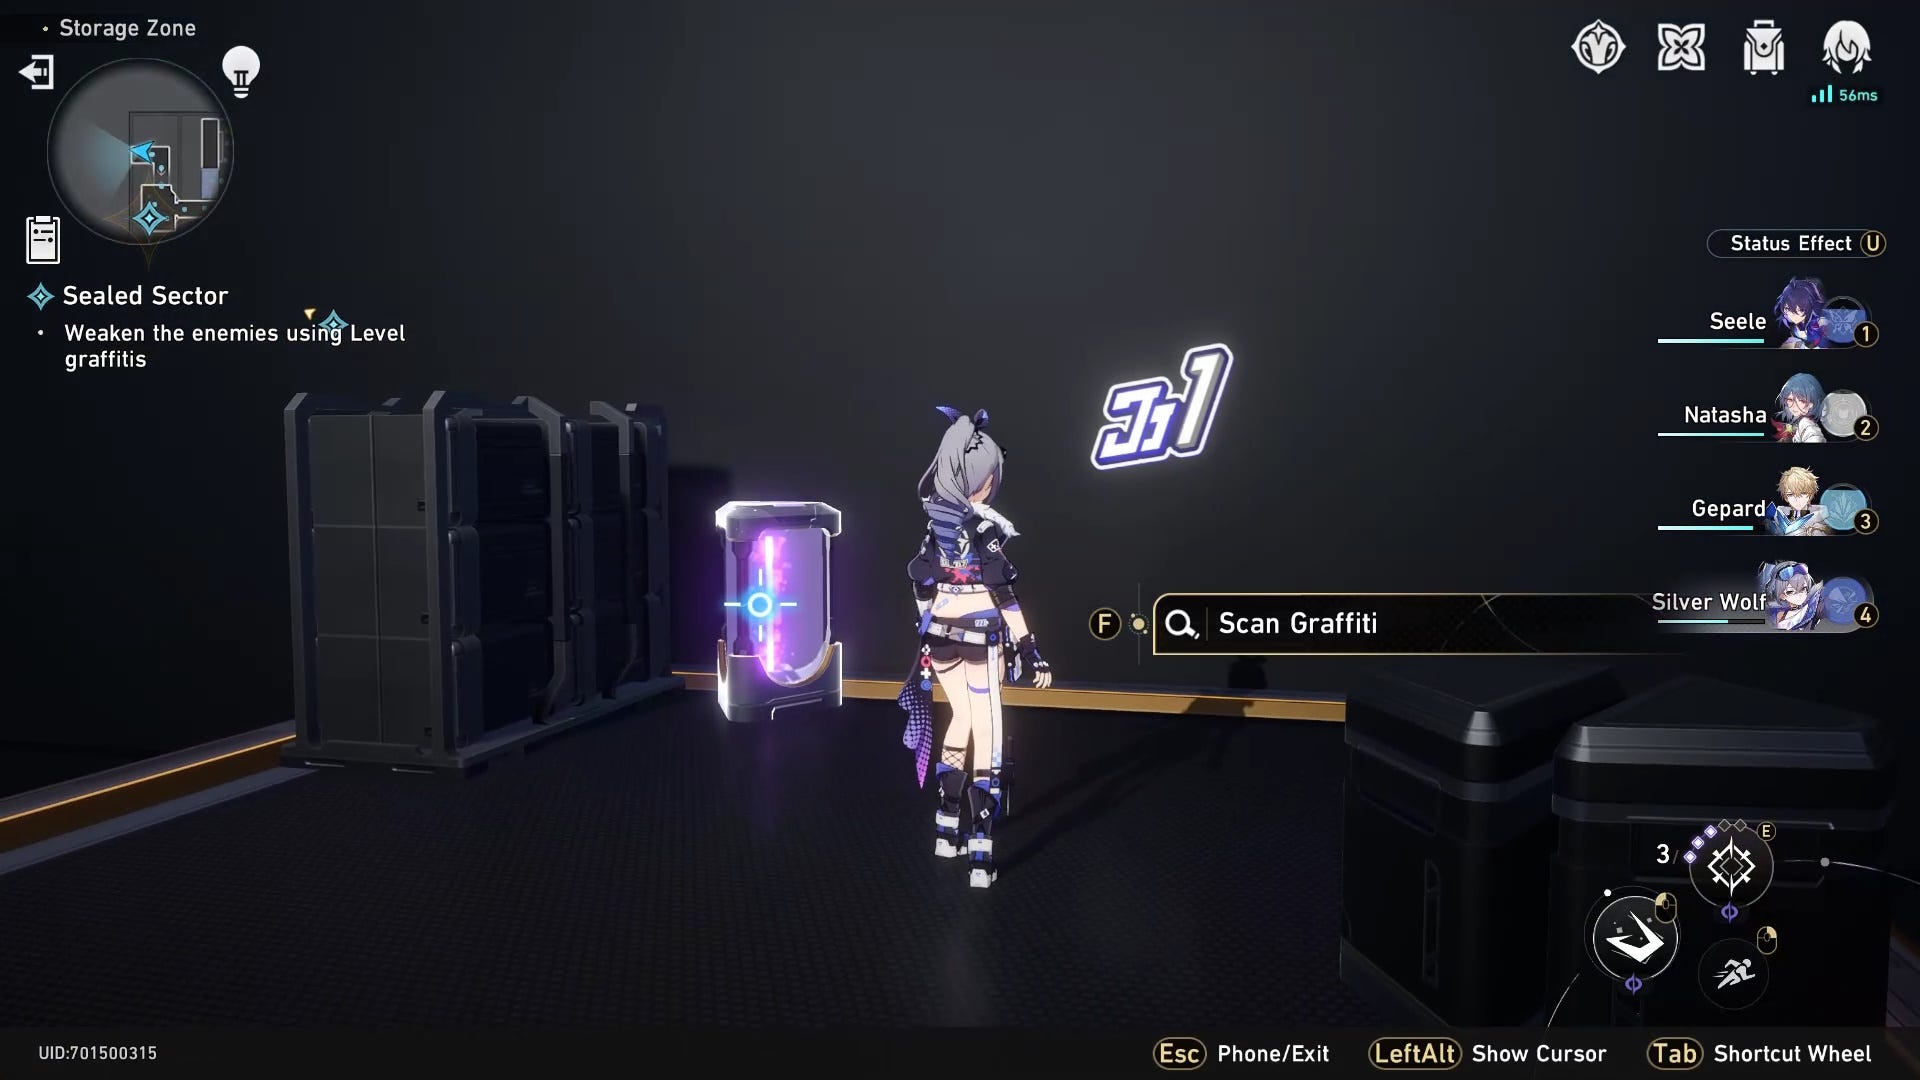
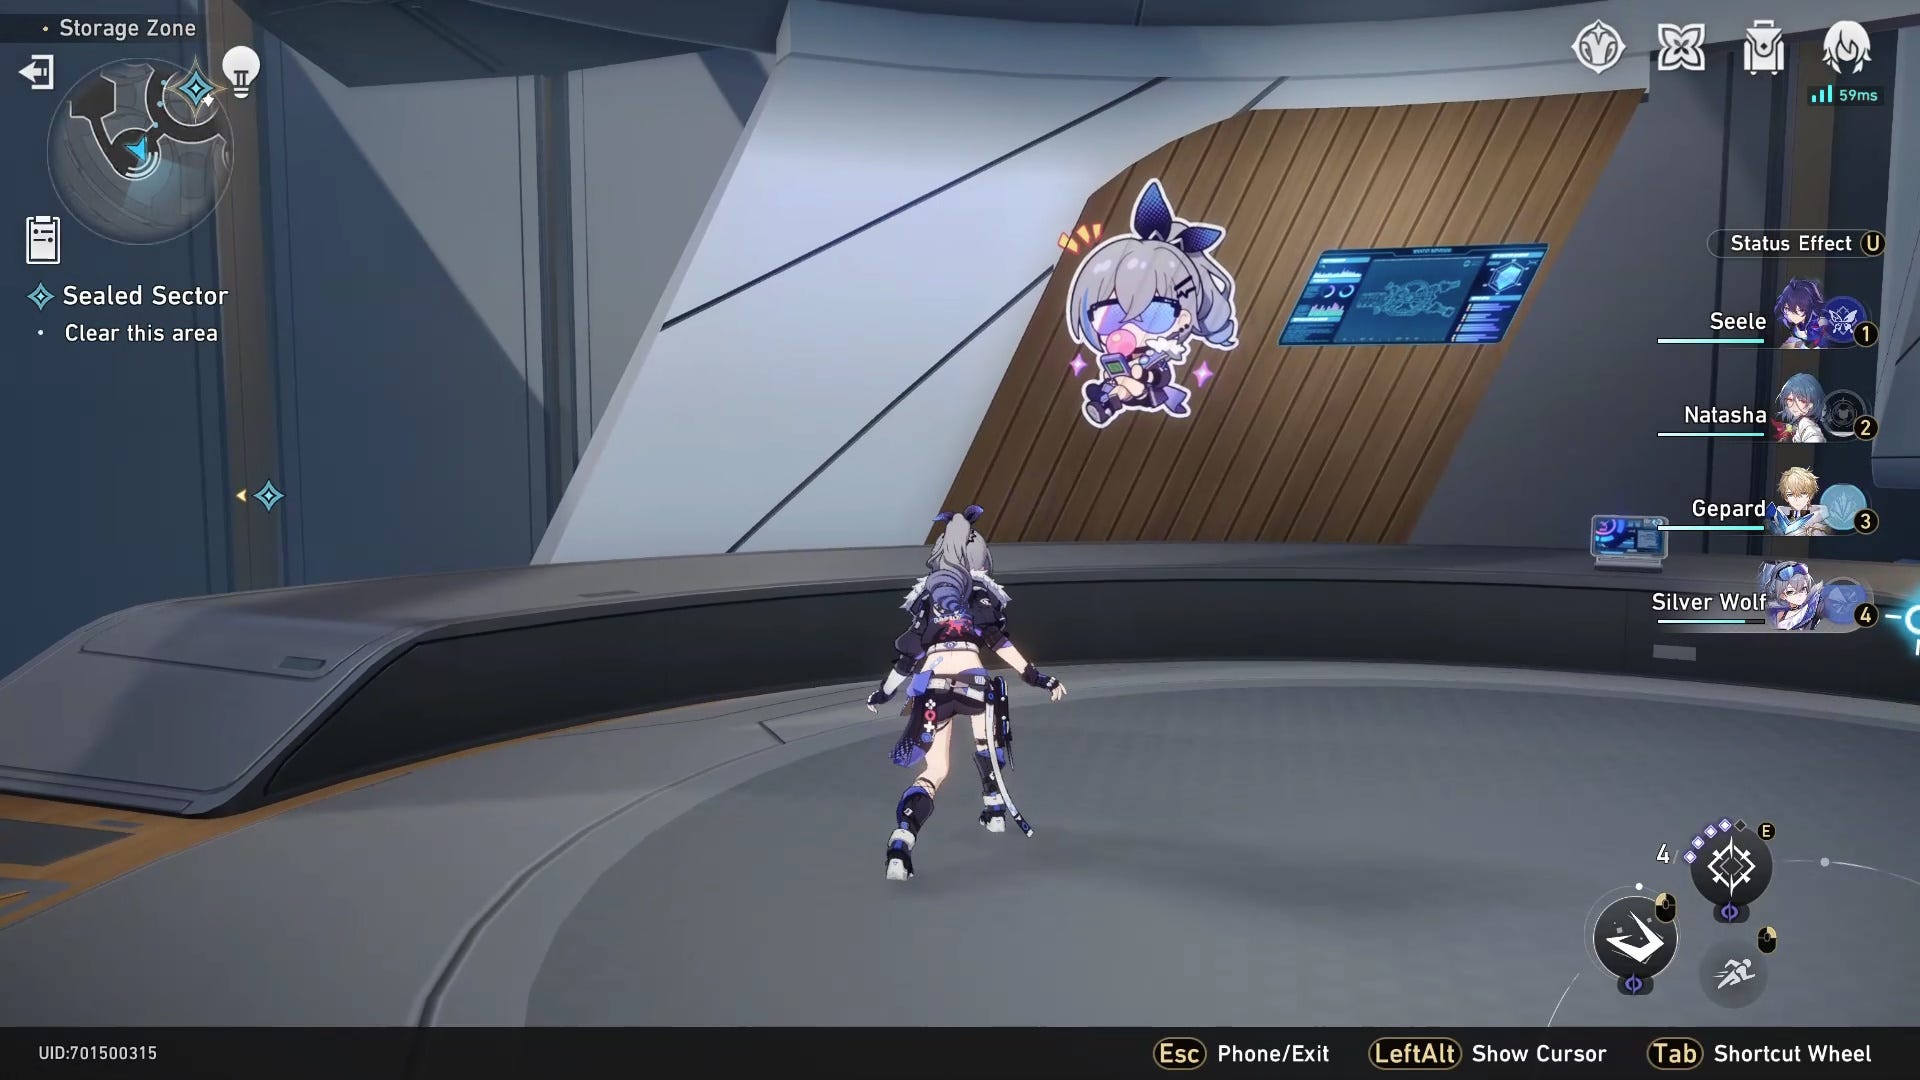
Graffiti location 1
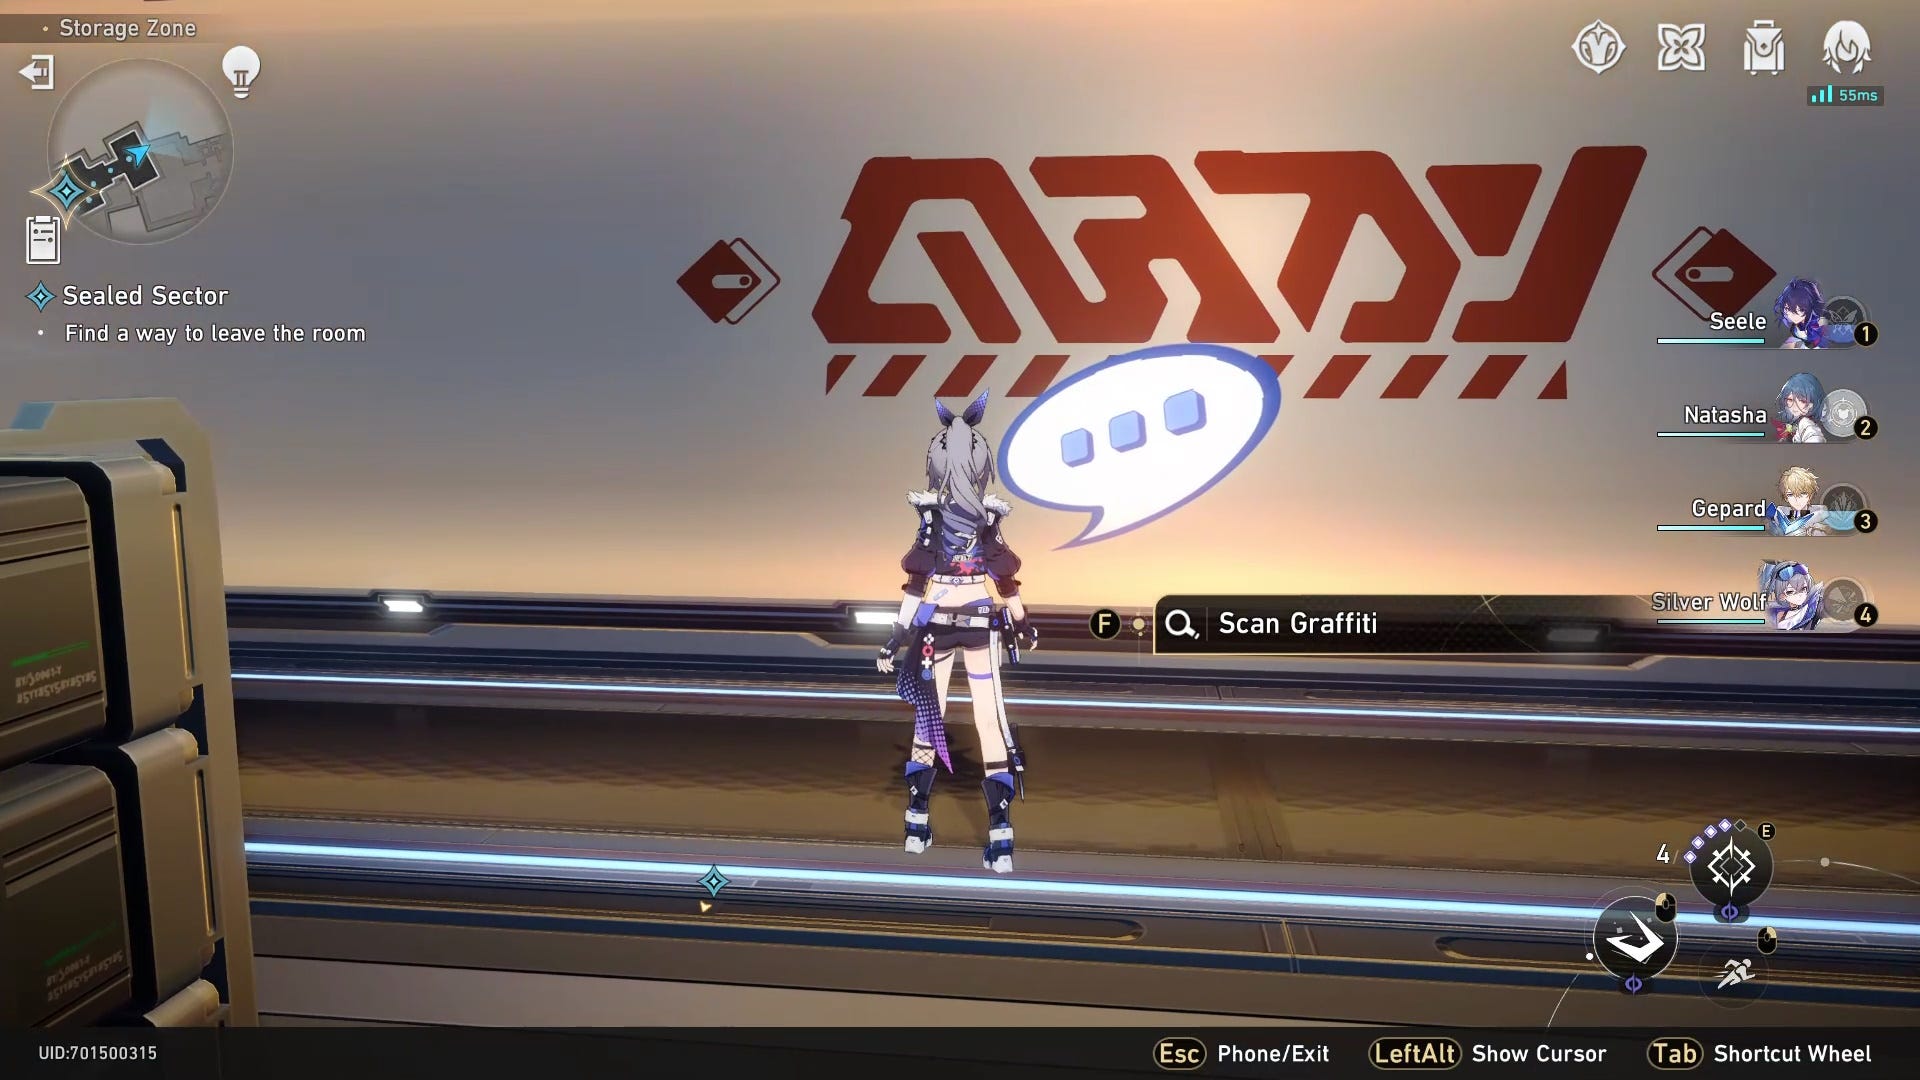
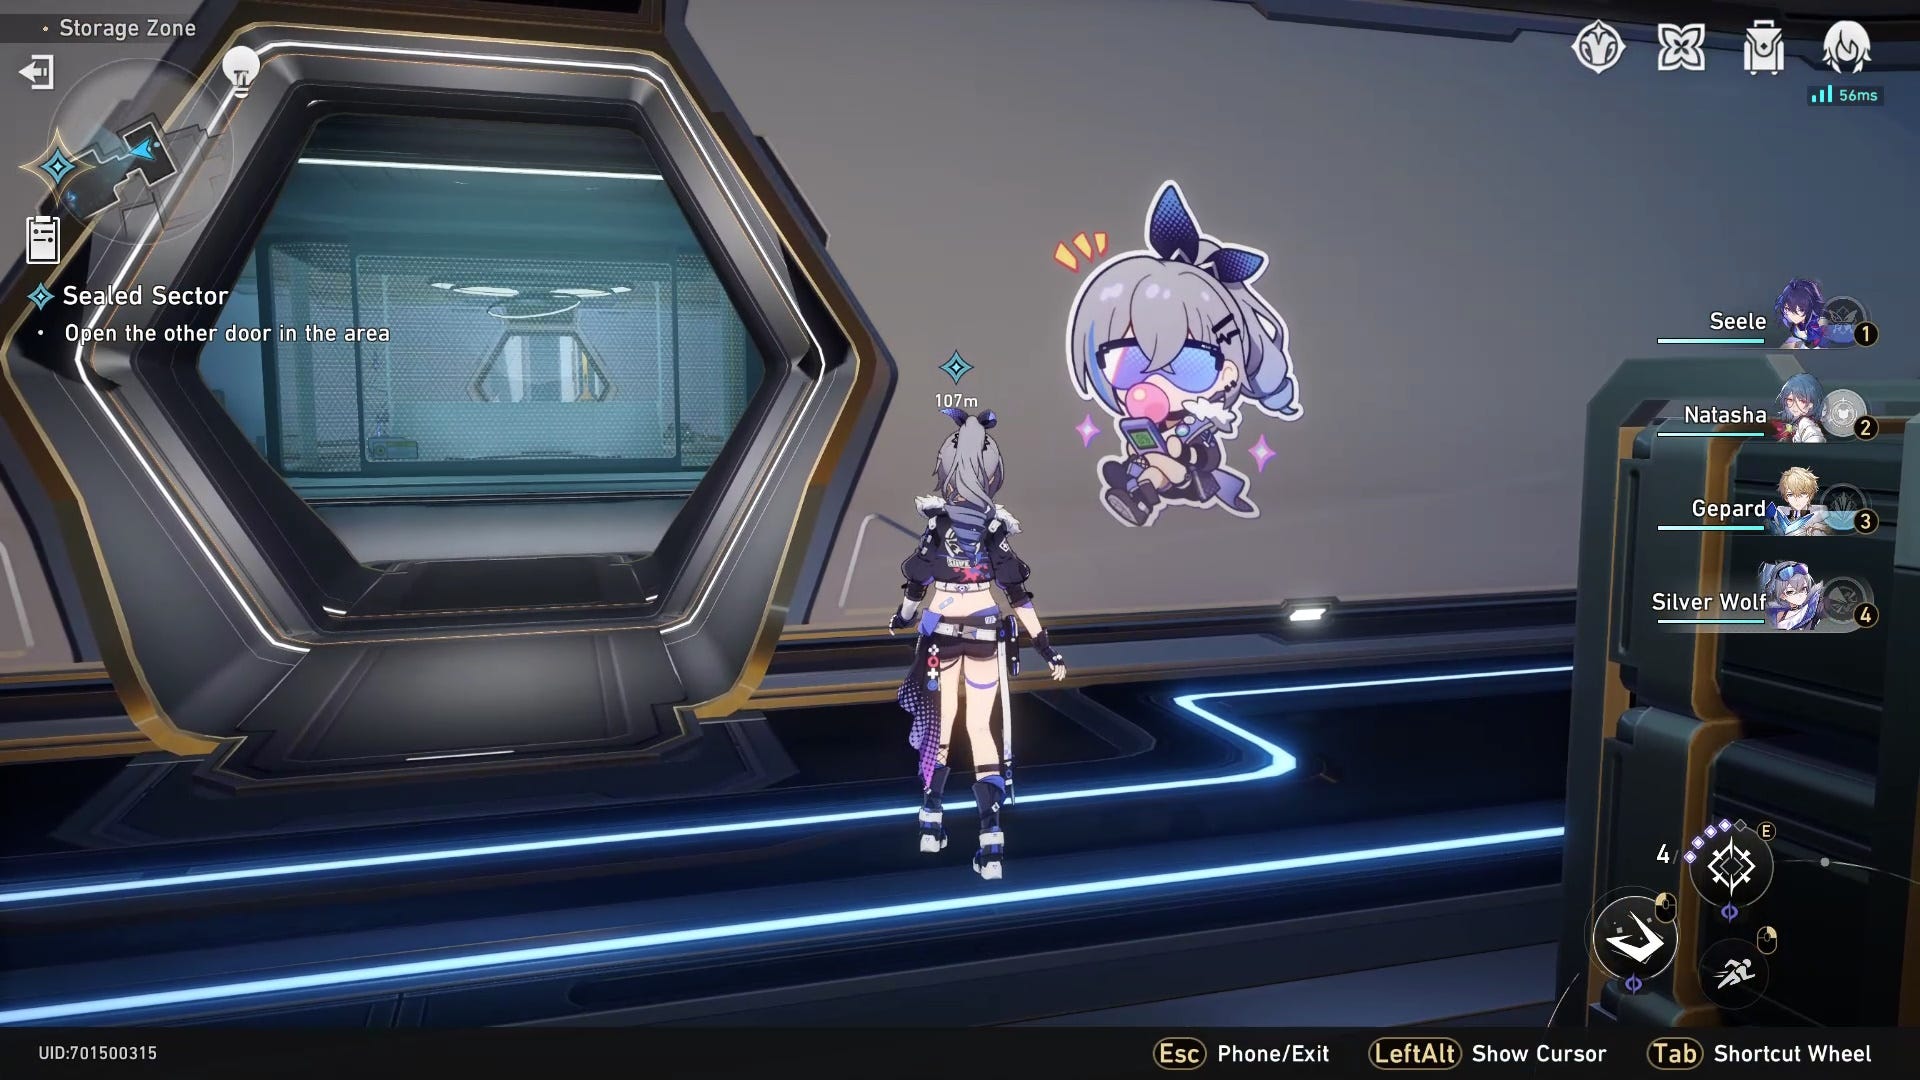
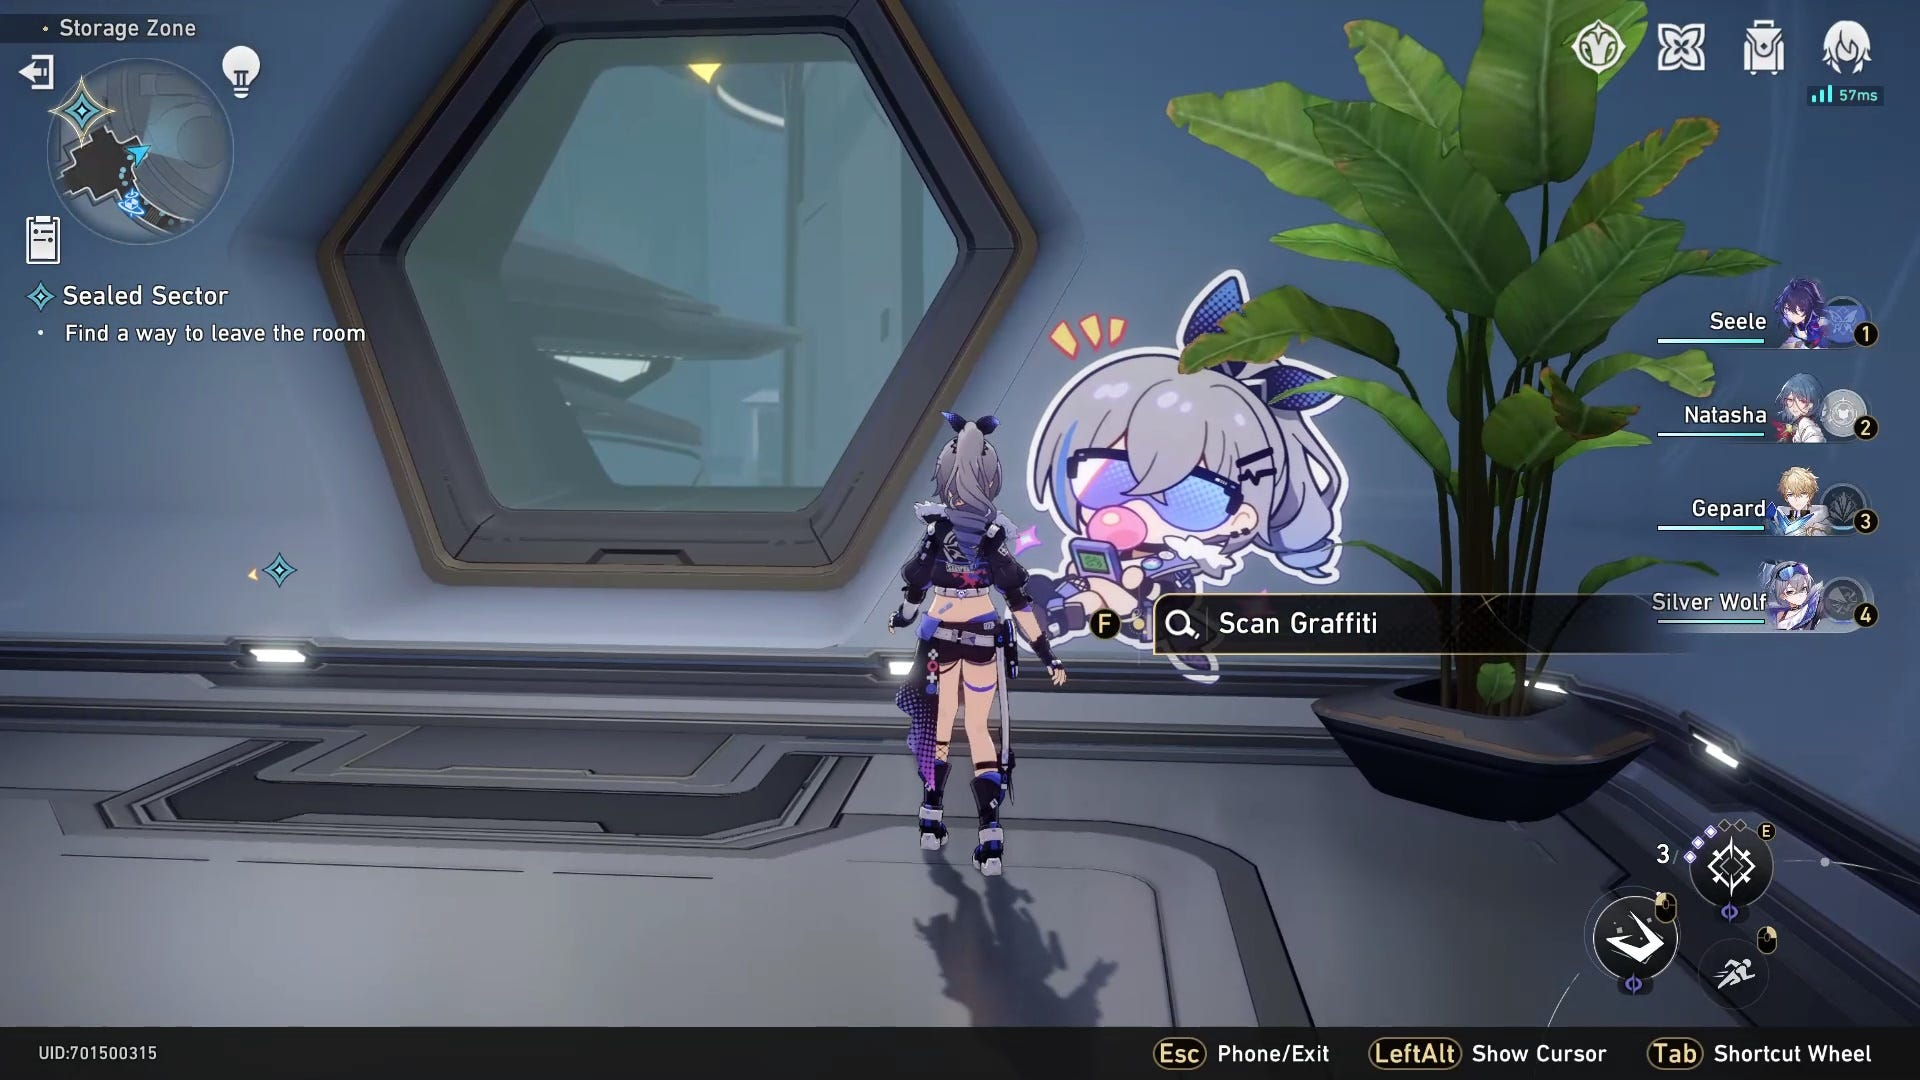
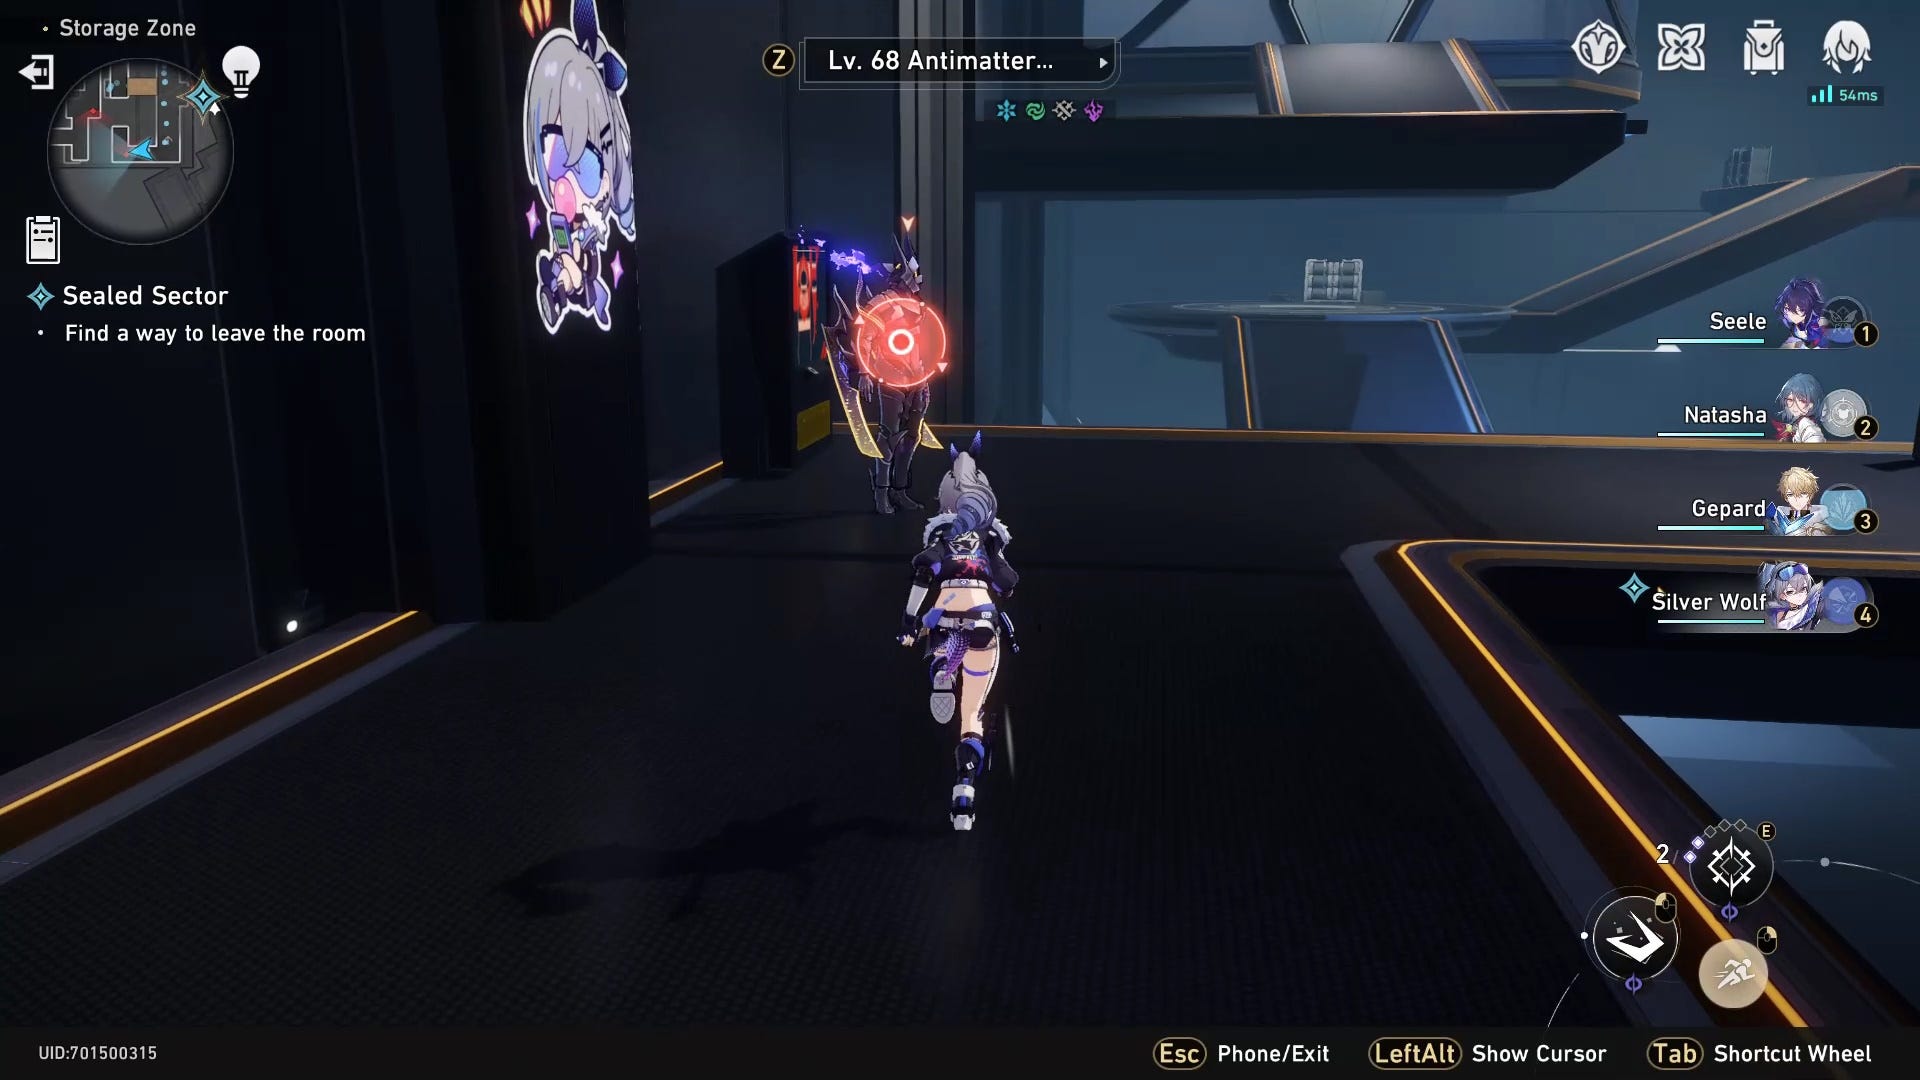
The first graffiti for Sealed Sector Difficulty 1 is located in the small room opposite the locked door. You need to find it to progress with the mission.
Graffiti location 2
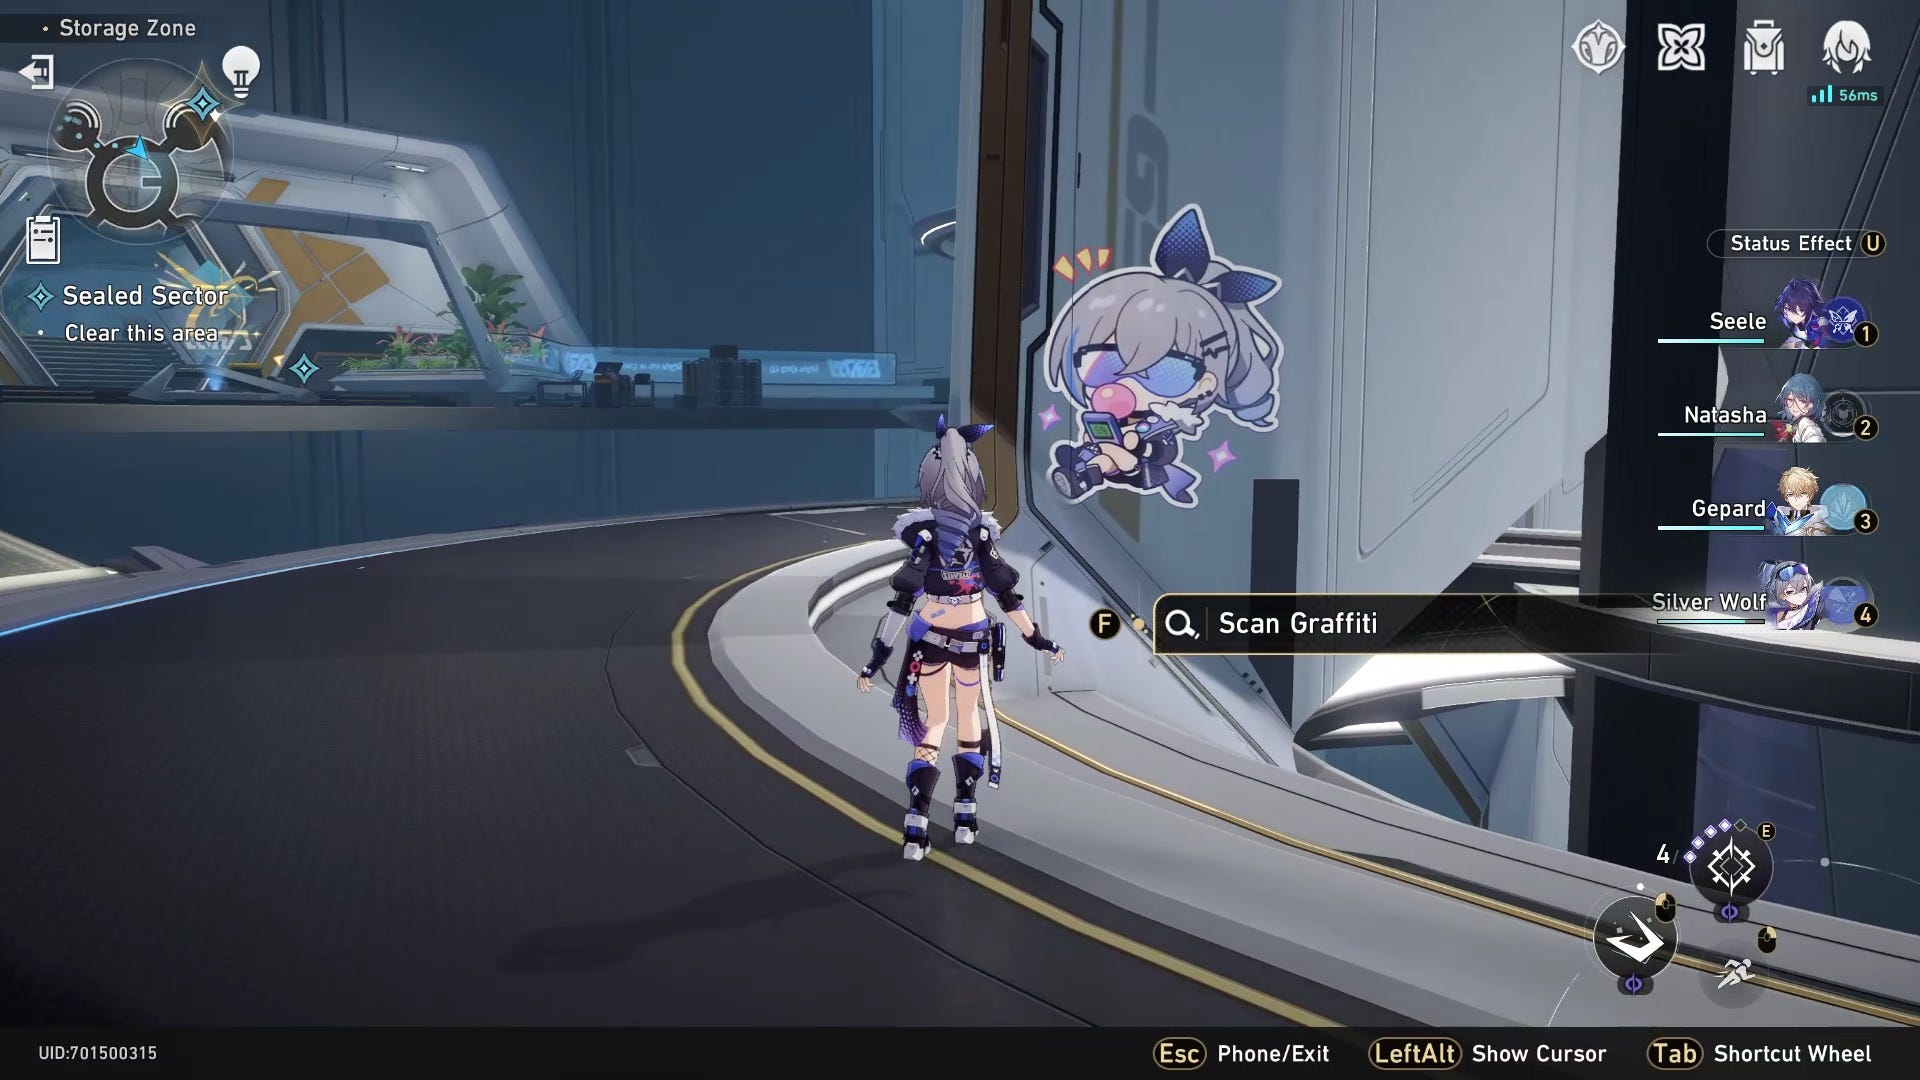
This optional Hacking Callcard graffiti is on the wall directly opposite the first graffiti's location, next to the door.
Graffiti location 3
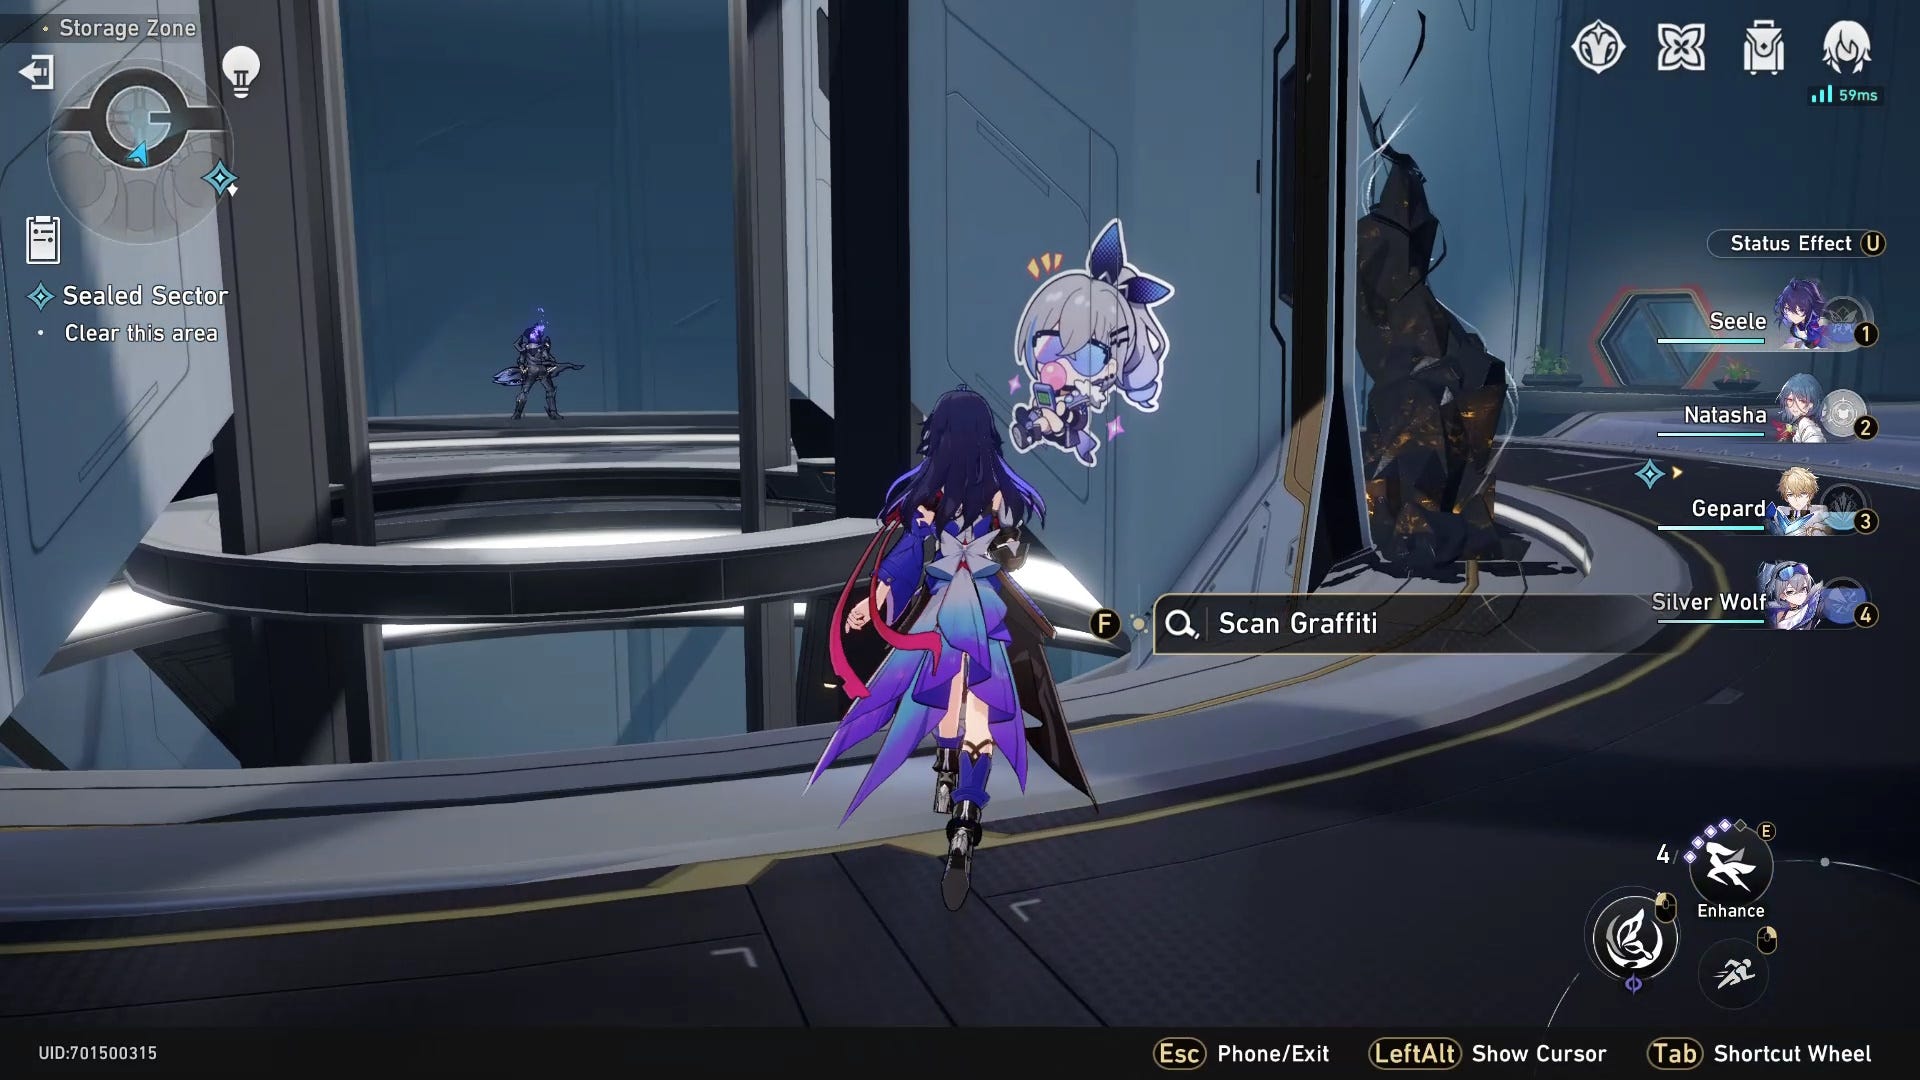
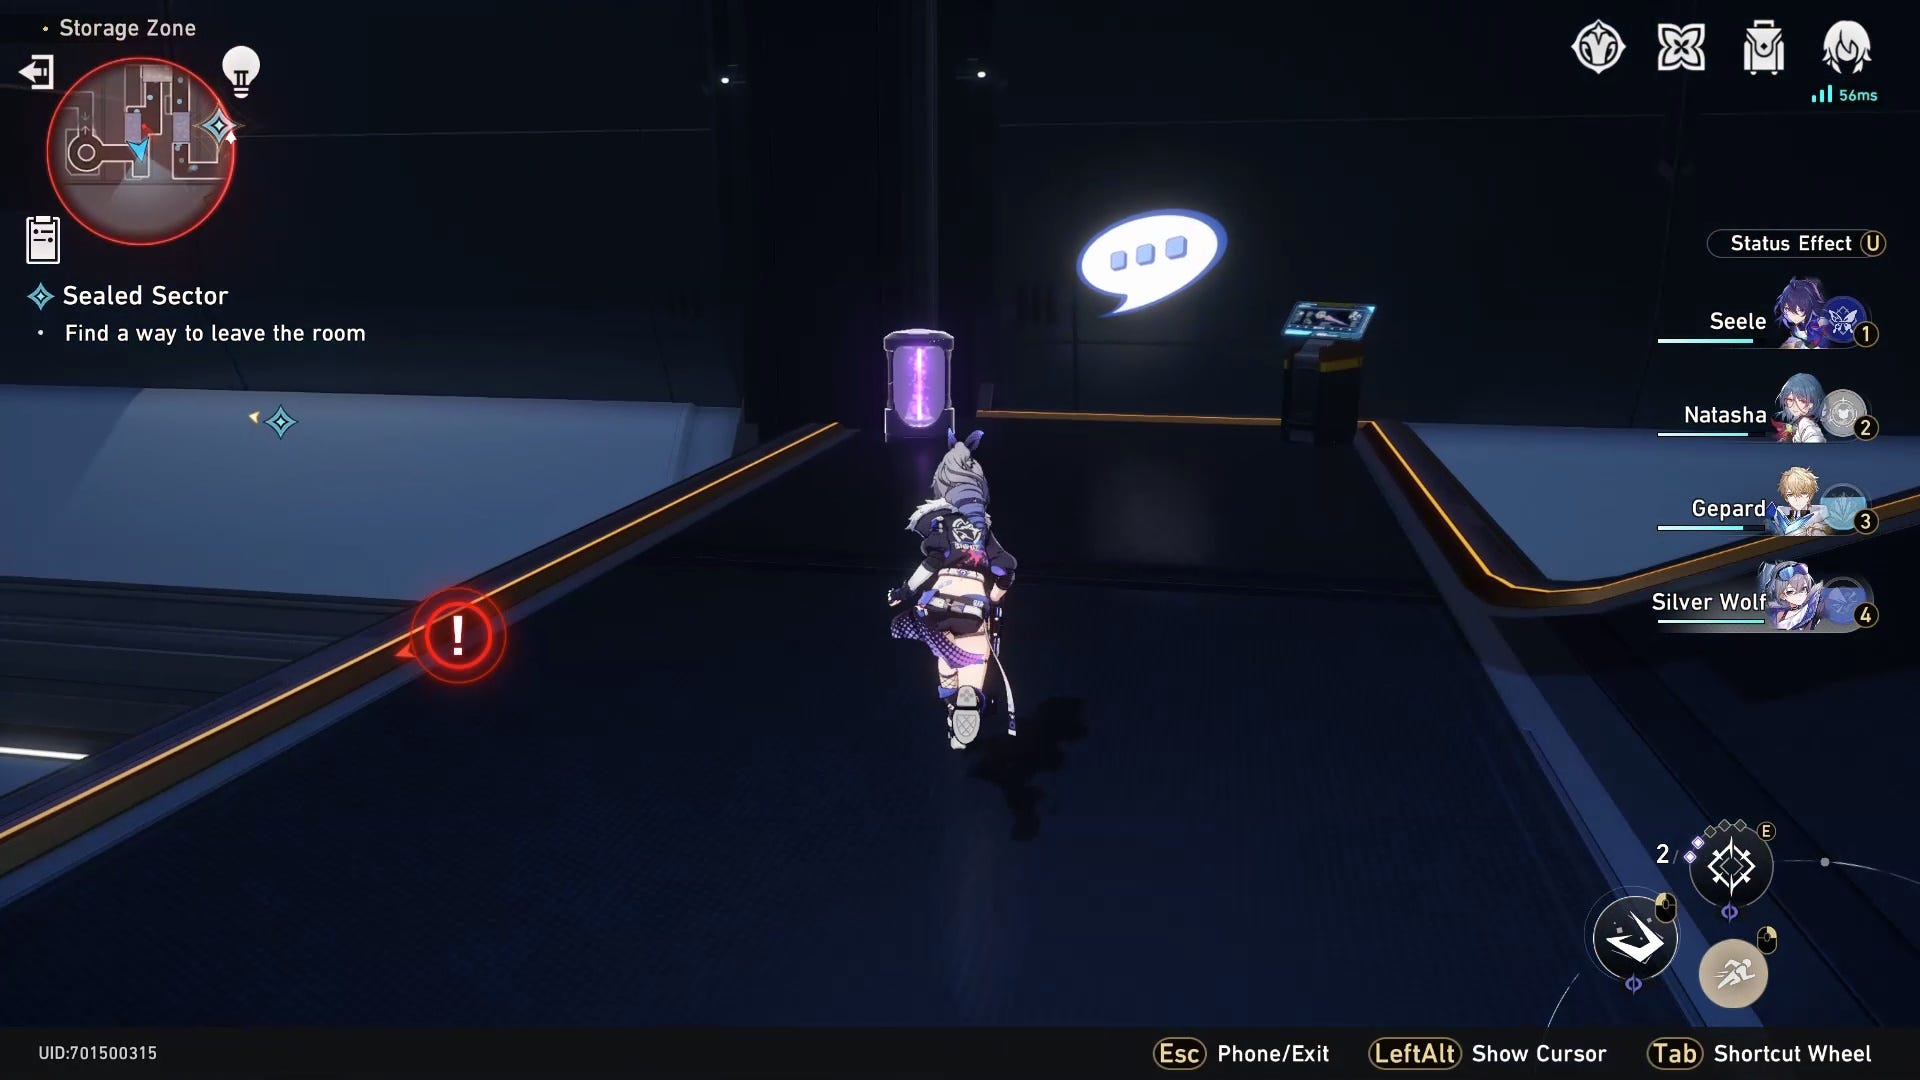
After leaving the first room, go to the circular bridge and take a left. Kill the enemy, then face the middle of the bridge to find this graffiti near the black substance.
Graffiti location 4
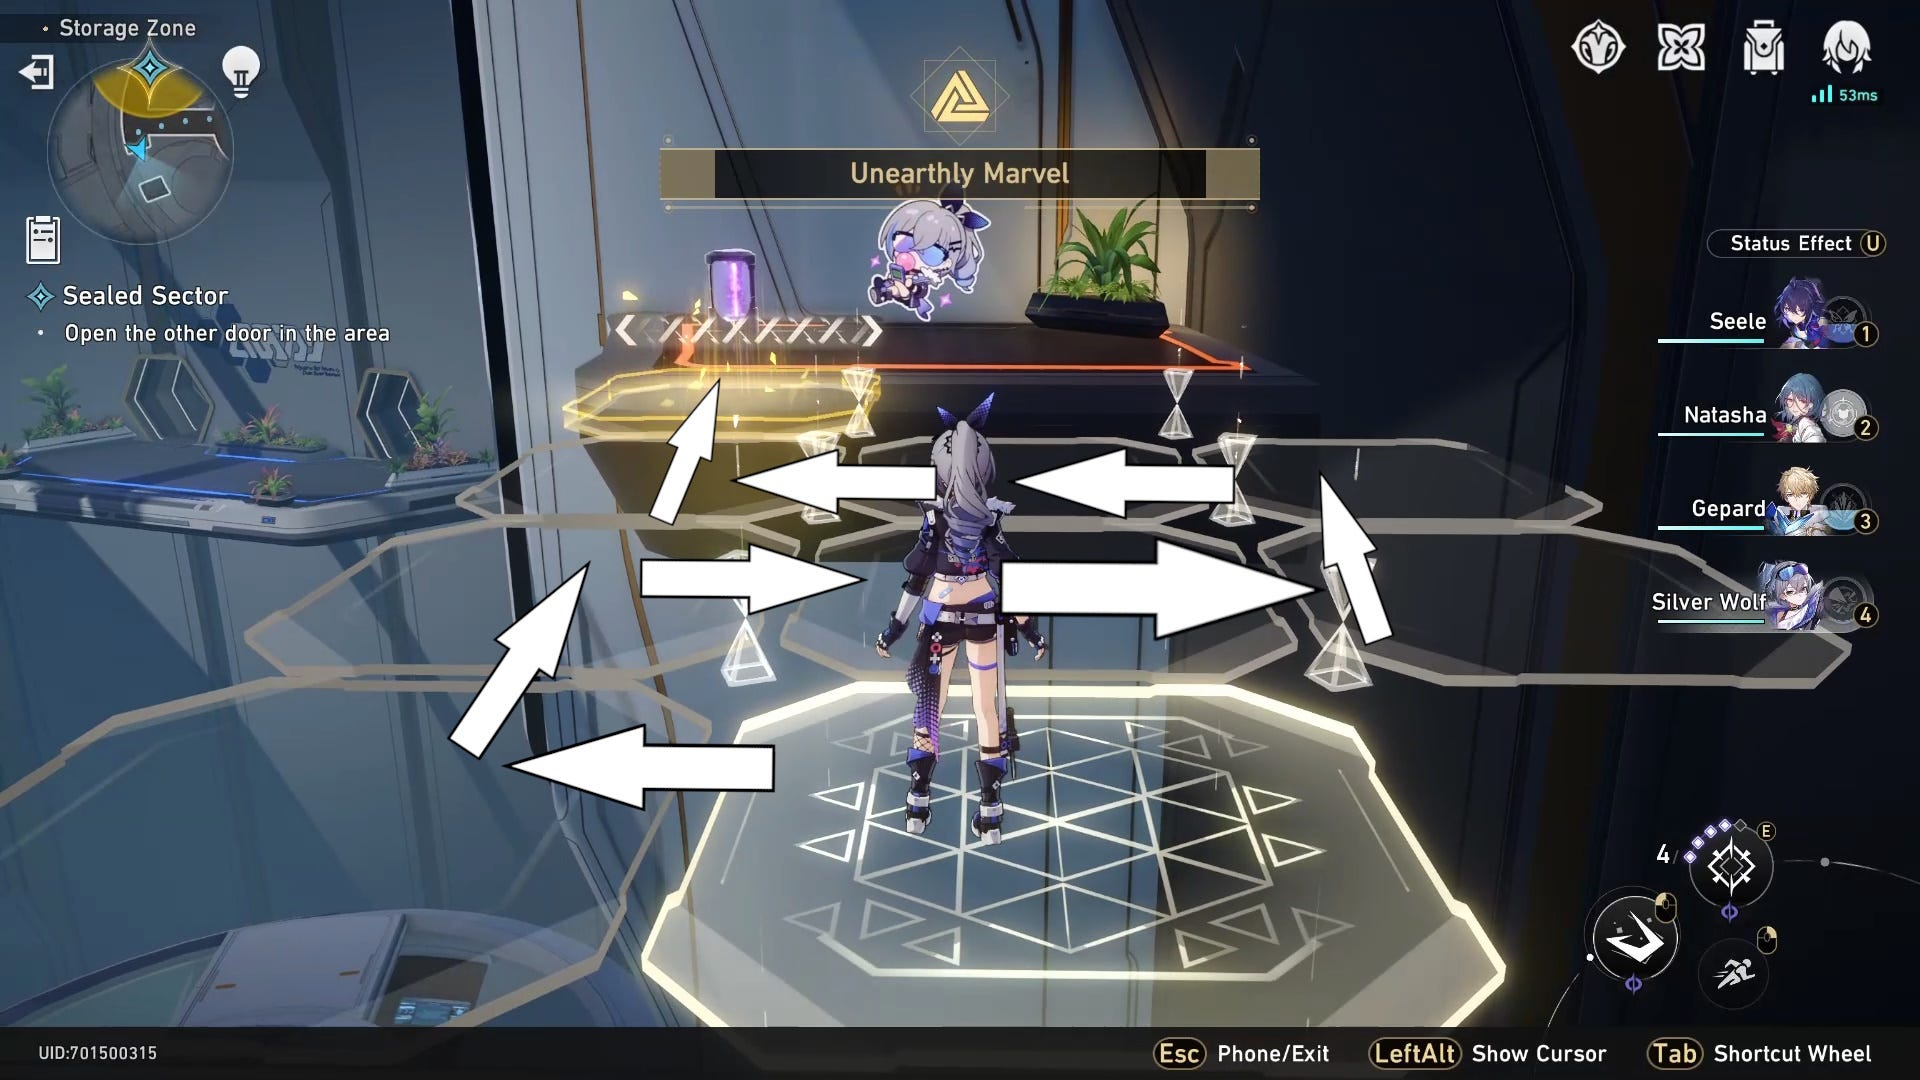
At the end of the circular bridge you'll find an Unearthly Marvel puzzle on the left, with the last Hacking Callcard graffiti location on the other side of it. To solve the puzzle, you have to walk to the left first, then weave right to left until you get to the end, like the image shows below.
Graffiti location 5
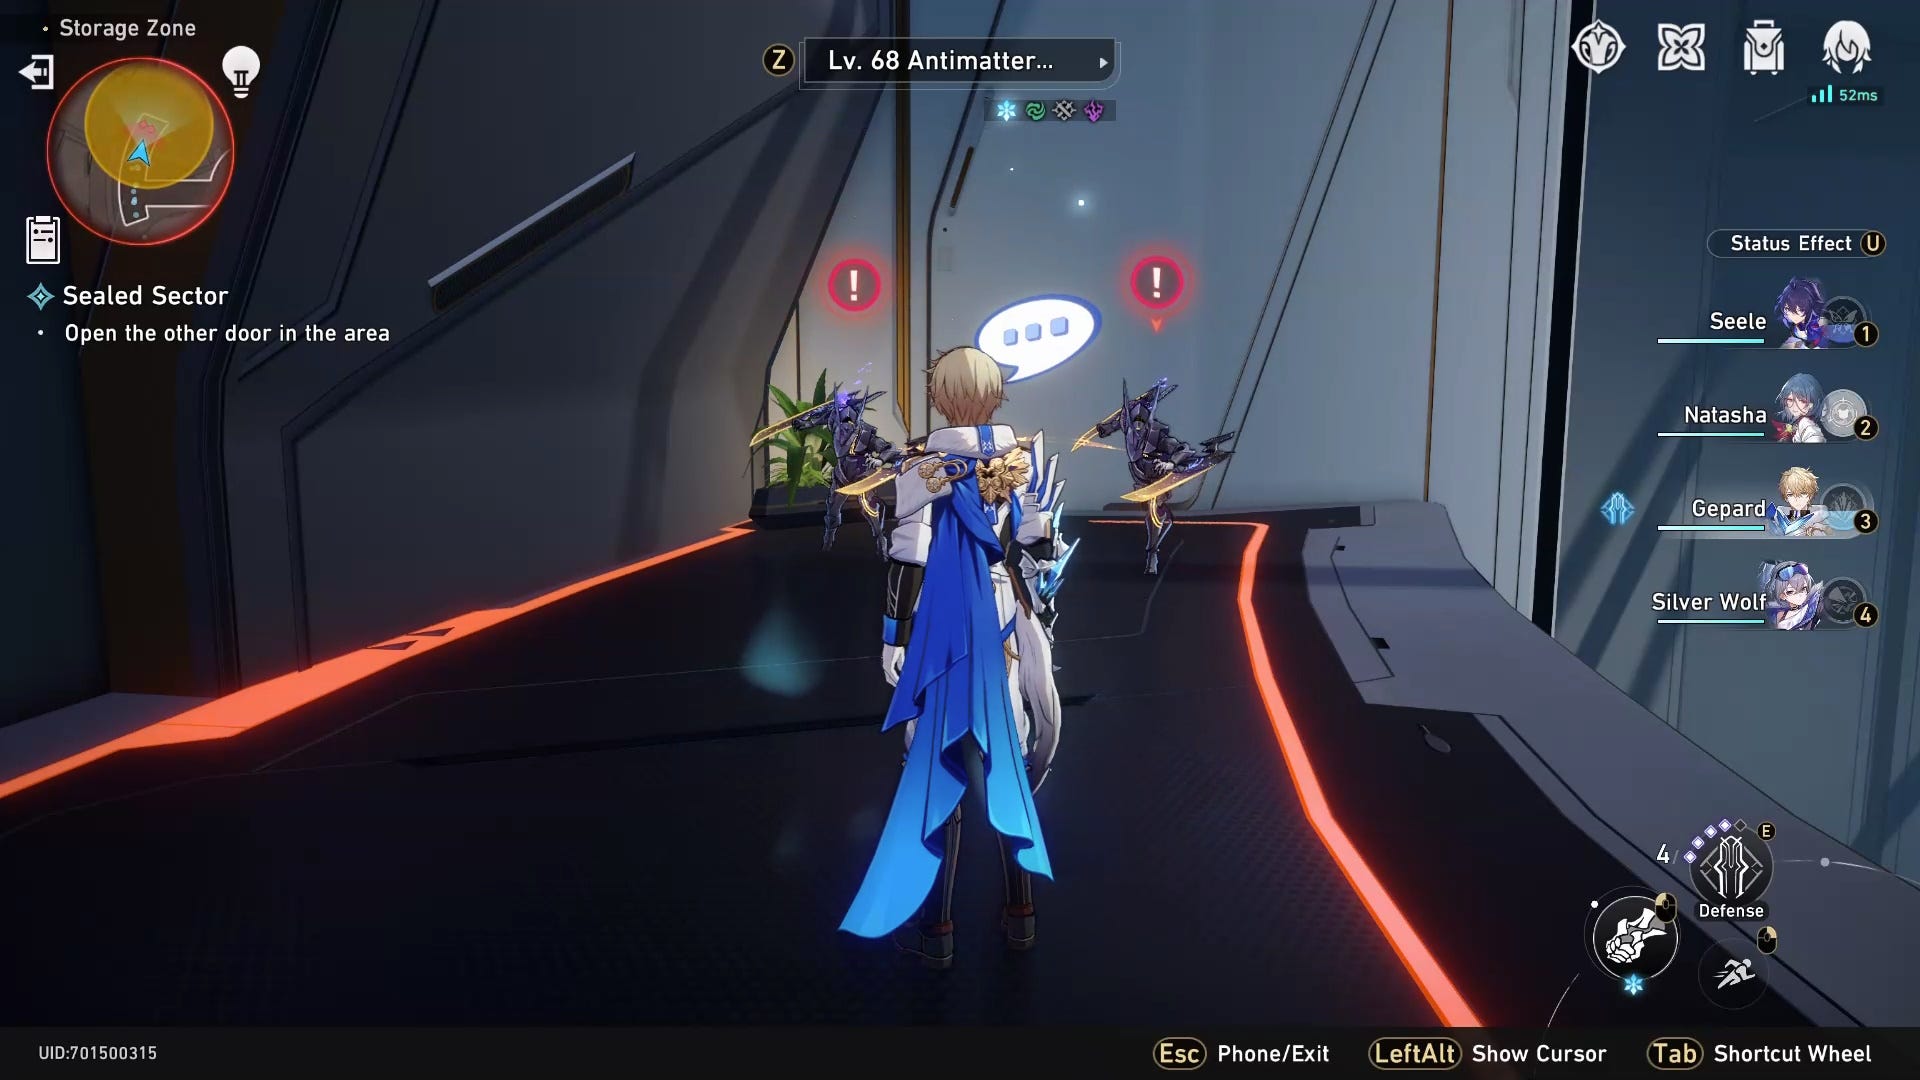
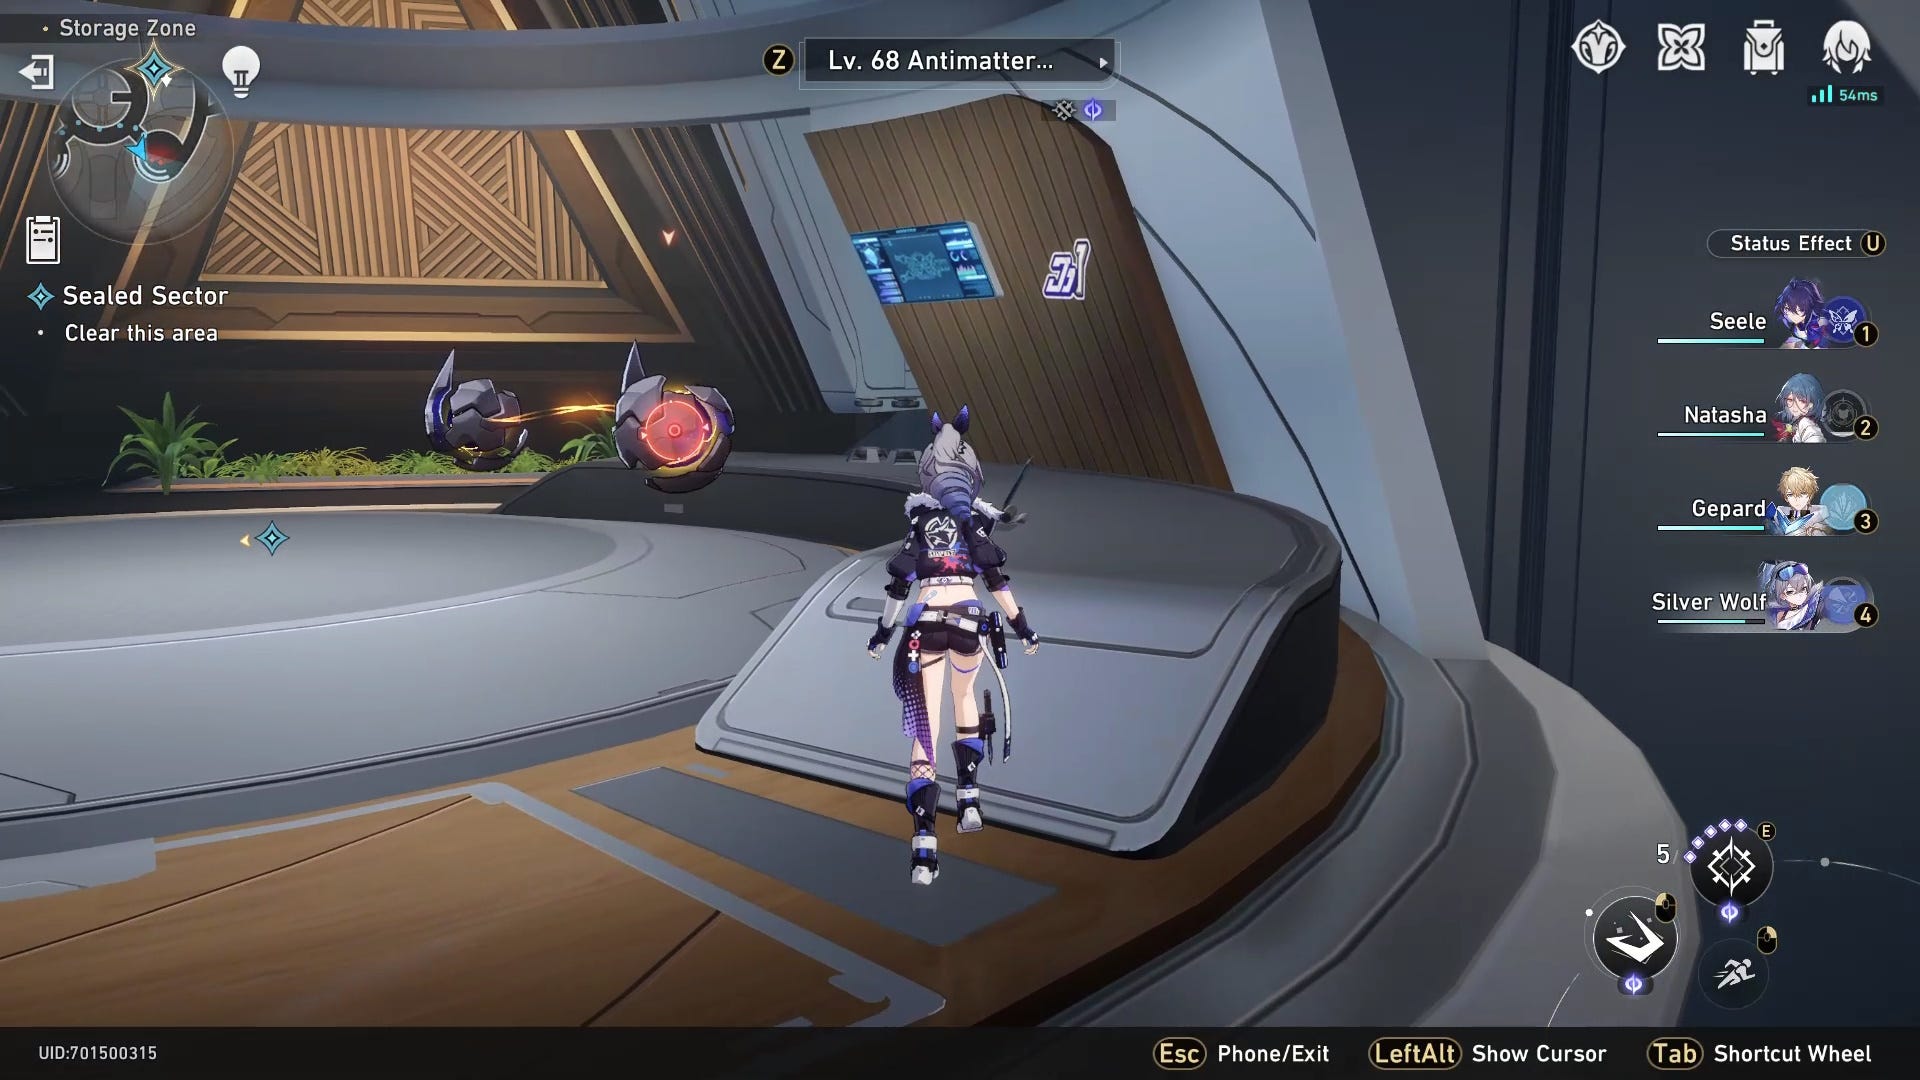
From the last location, turn around and fight the two enemies in order to gain access to the last graffiti location on the wall behind them.
You can now follow the quest marker to take on the boss, which will be a lot easier to kill if you've collected all of the optional graffiti.
Honkai Star Rail Sealed Sector graffiti locations for Difficulty 2
In addition to the three 'Hacking Callcard' graffiti locations, there are two other graffiti pictures you need to find to complete Difficulty 2.
Graffiti location 1
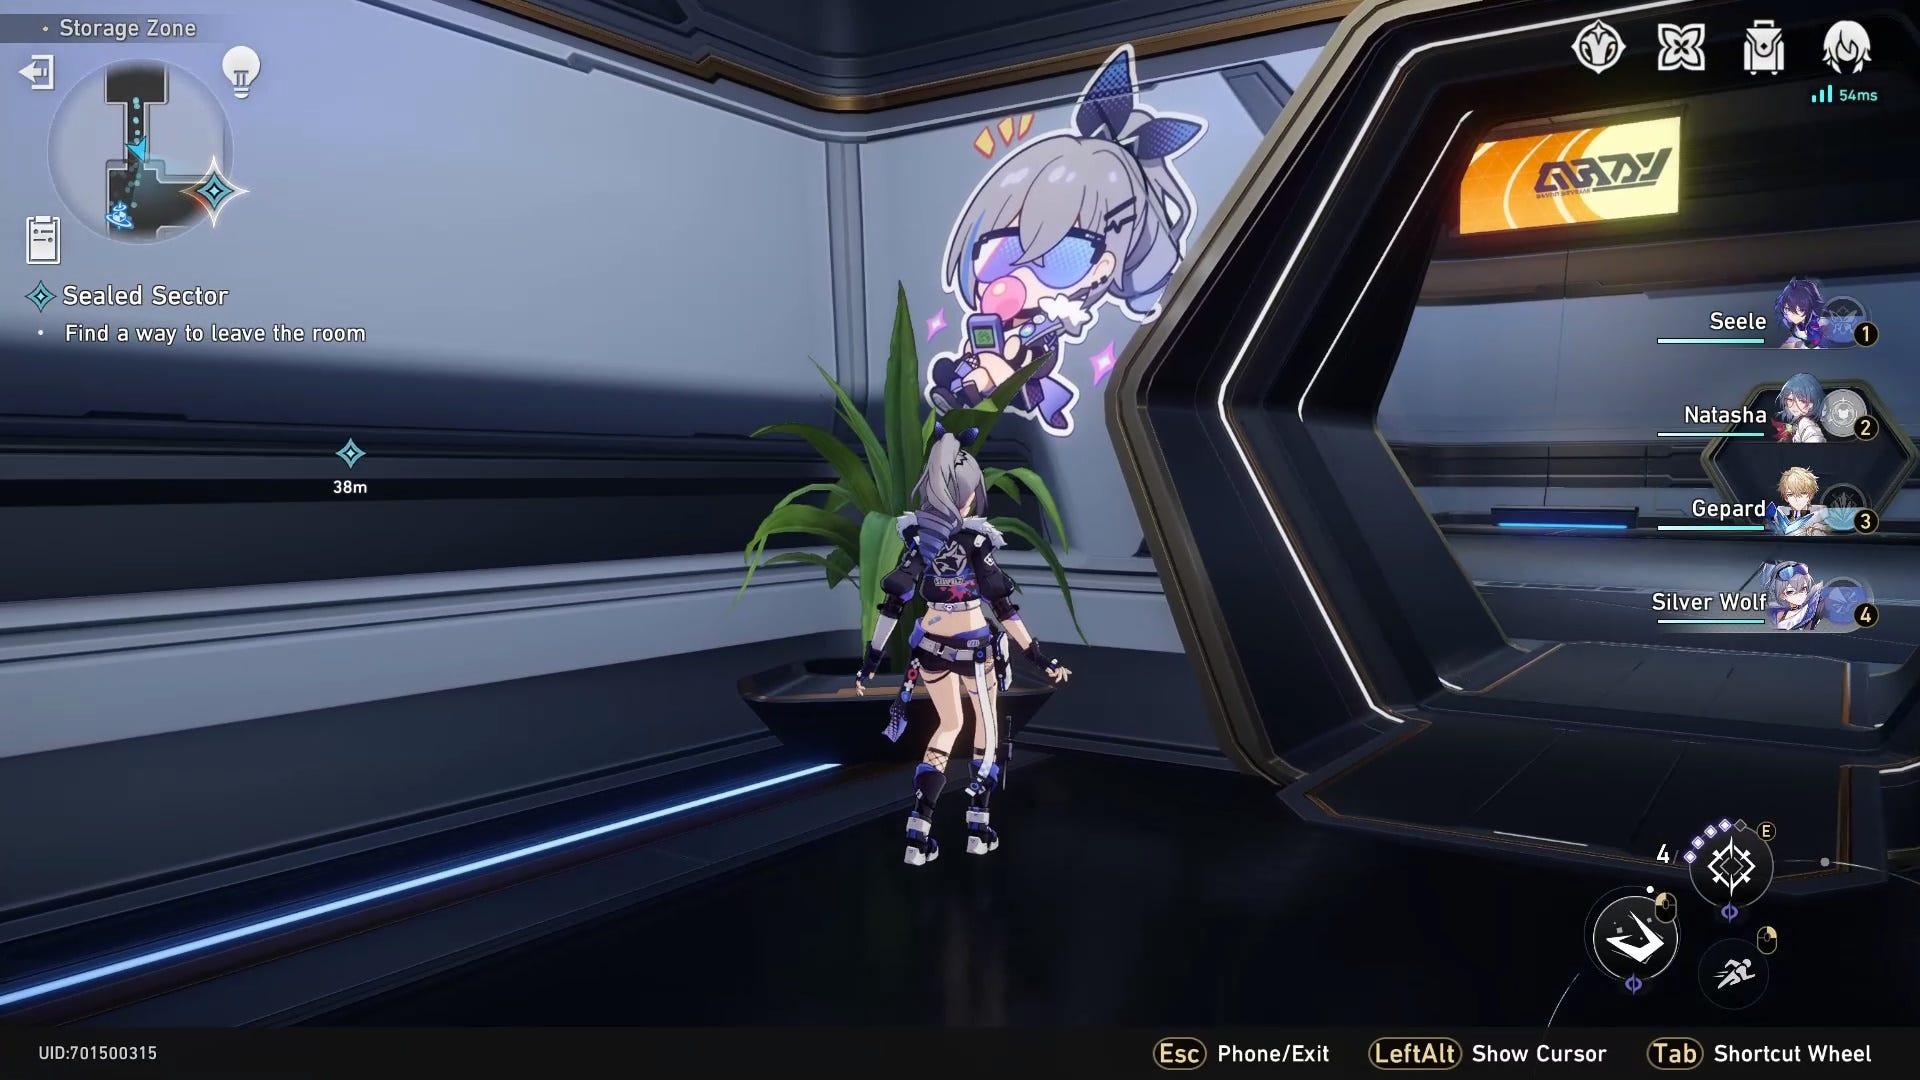
Take a right after exiting the first door to find the first graffiti location in Sealed Sector Difficulty 2 beside a plant and a window.
Graffiti location 2
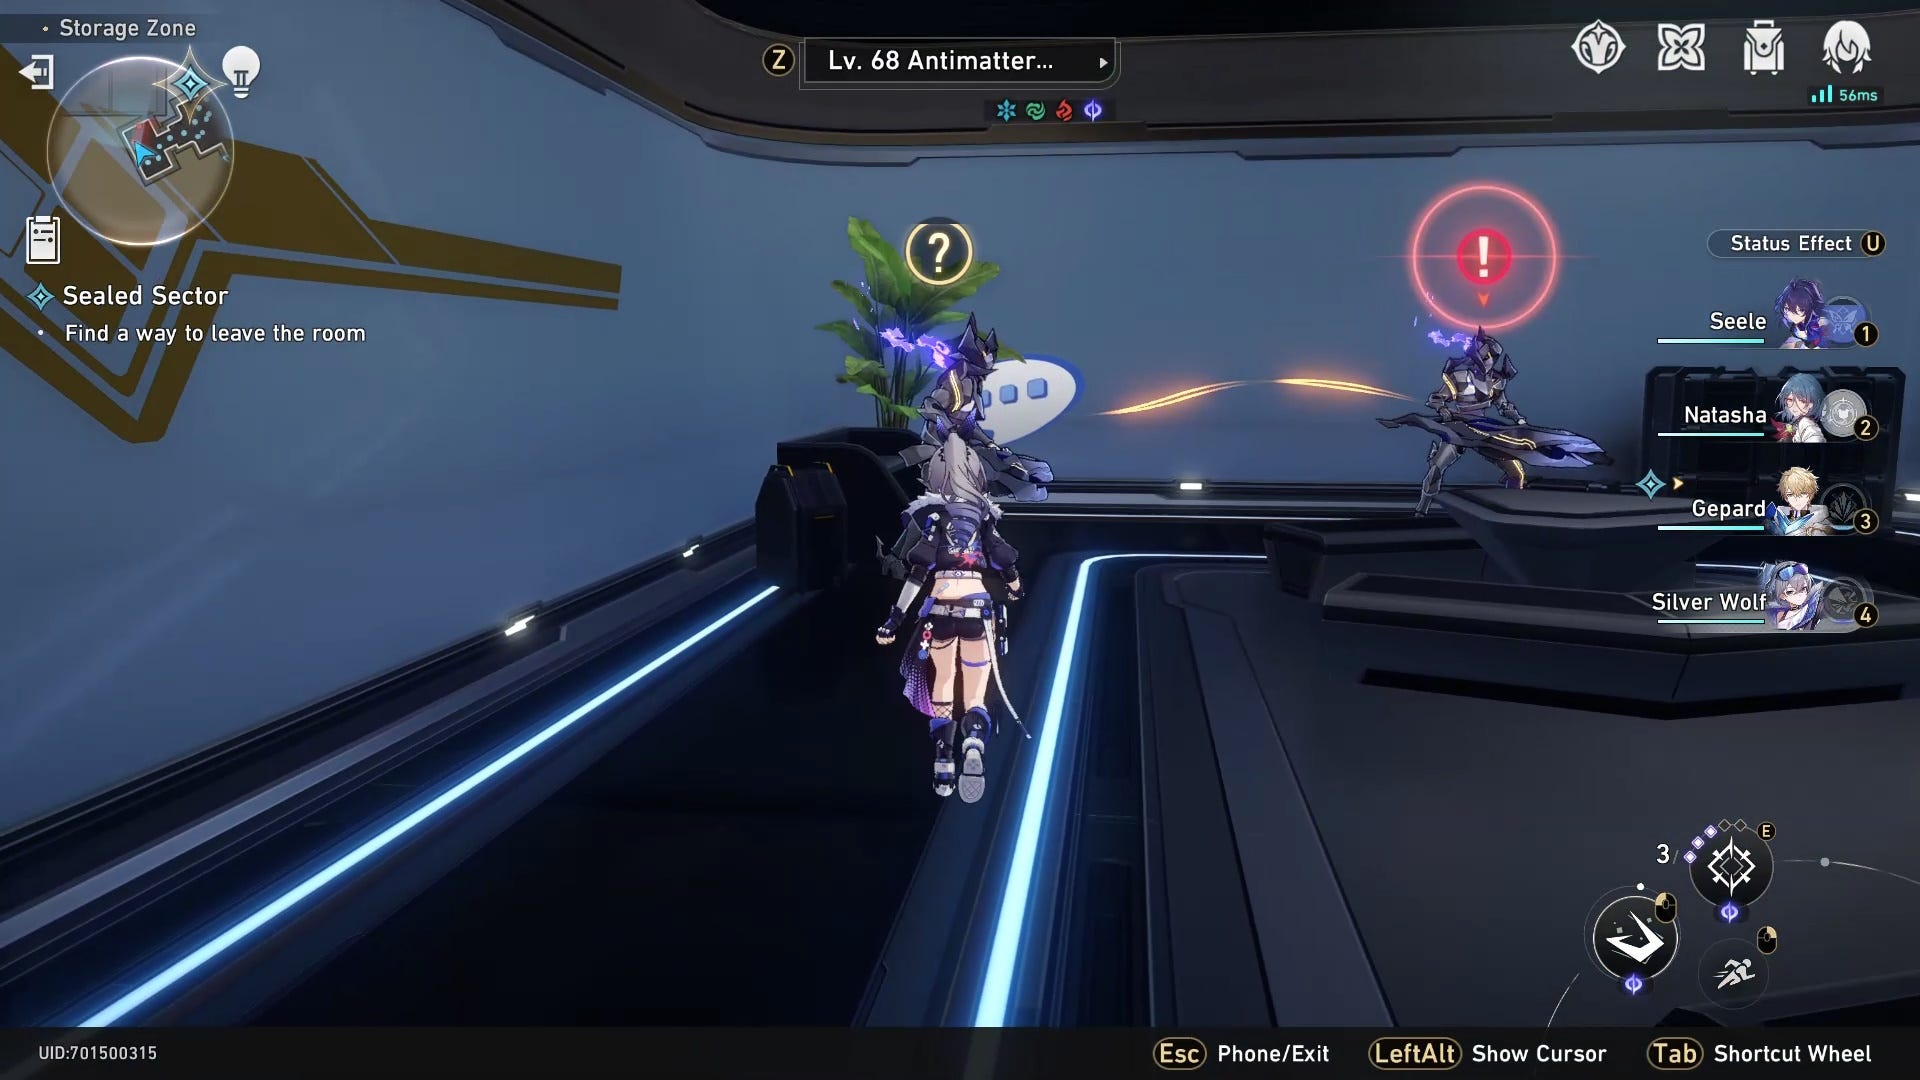
You'll find the second graffiti image in the small room directly opposite the first location, behind two enemies. You need to scan this one to progress with the mission.
Graffiti location 3
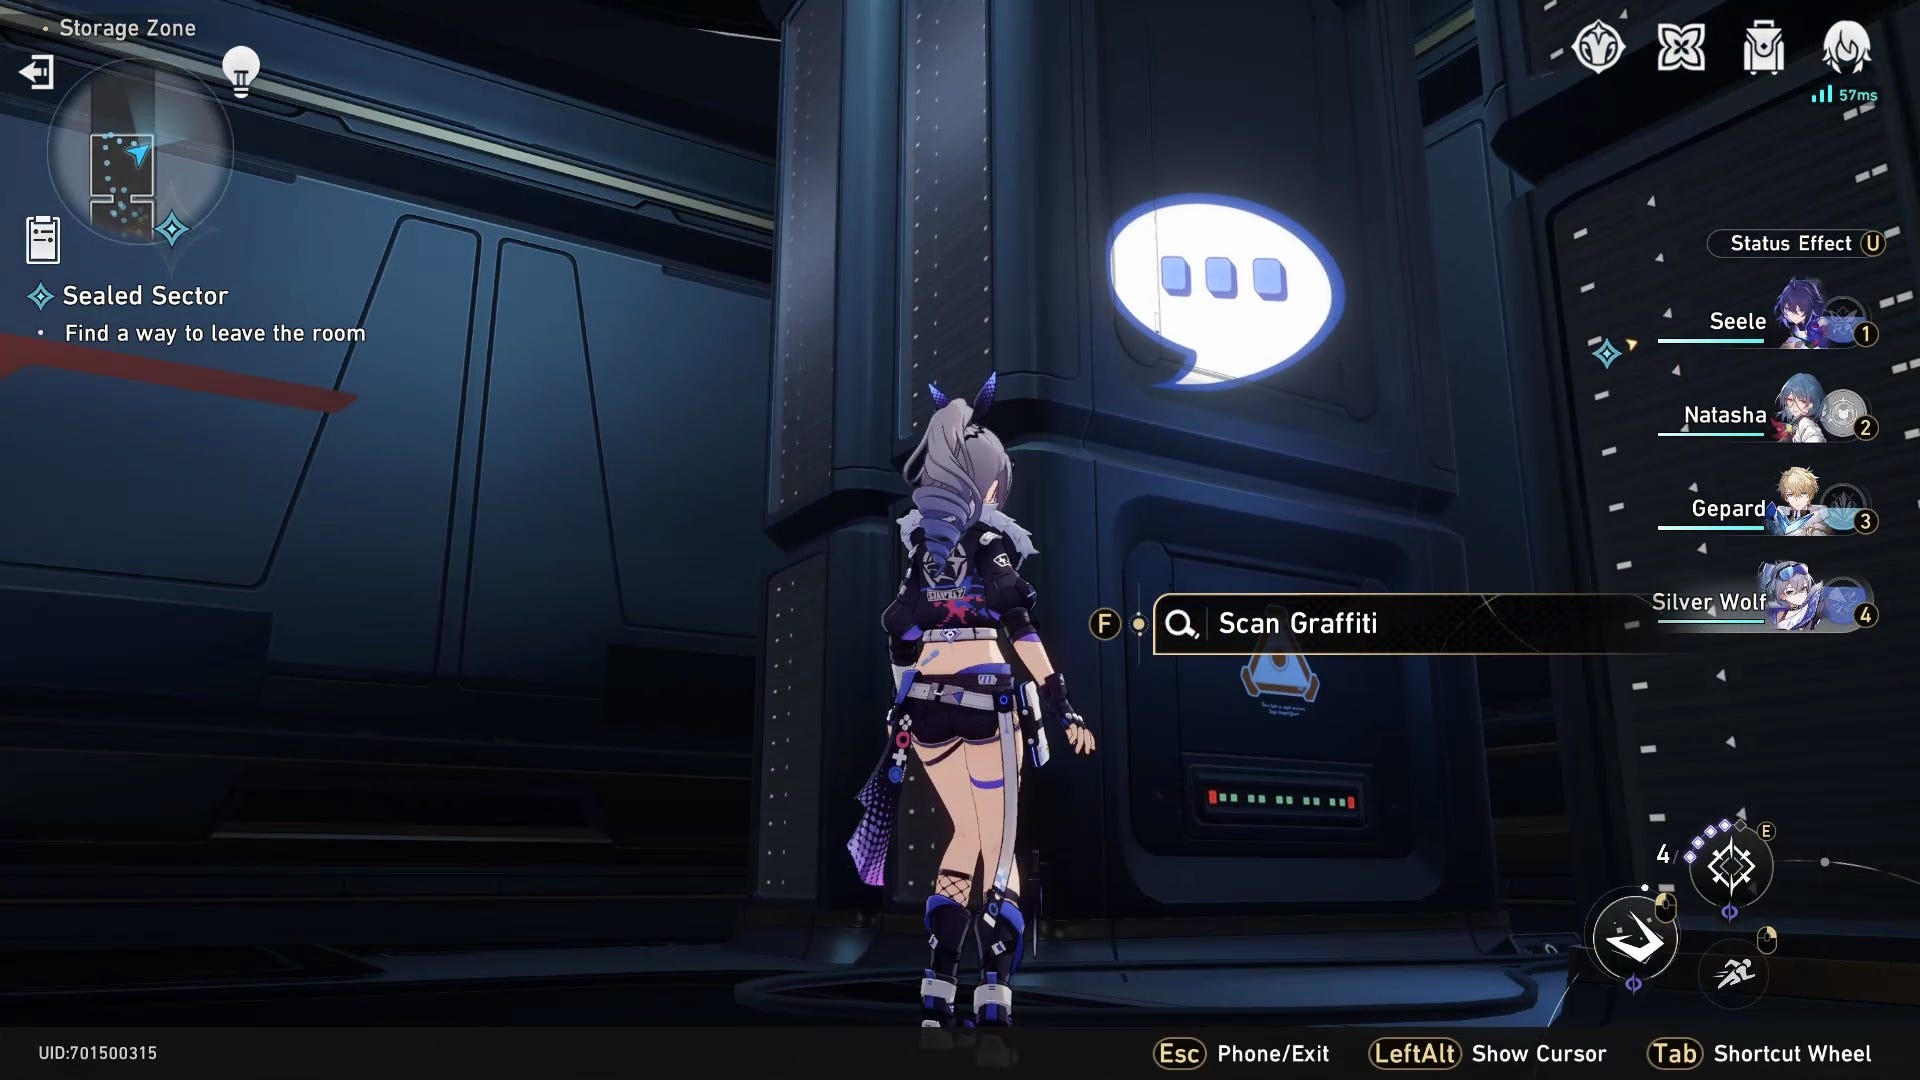
Follow the quest marker to activate a conversation with Leonard, which reveals this graffiti's location. Scanning these 'Level' symbols changes a high-levelled enemy to a lower-levelled foe, so we highly recommend scanning them even if they are technically optional.
Graffiti location 4
This graffiti is found on the other side of the first orange bridge you encounter, near the previous graffiti location.
Graffiti location 5
Use the control panels to create a blue path on the lower level to access this graffiti symbol. You'll have to fight the enemy in front of it to get the scan prompt, which is a shame, as it seemed to appreciate the artwork.
Graffiti location 6
Keep heading forward up all of the ramps to find this Level graffiti beside a purple technique point destructible.
You have to use the control panel on the ramp below to create an orange bridge to reach the other control panels that lead to the boss at the top.
Version 2.6 with Rappa is nearly here! For now, in version 2.5 we have the debut of Lingsha, so make sure to redeem those new codes for Stellar Jade if you want her or future characters - and check out our regularly updated tier list. For everything else, we have pages on the next Banner, Ministry of Education quiz answers, and how to get more Star Rail Passes.
Honkai Star Rail Sealed Sector graffiti locations for Difficulty 3
There are six graffiti locations to find in Sealed Sector Difficulty 3, including the three 'Hacking Callcard' pictures.
Graffiti location 1
Follow the path to the first control panel and use it to create an orange bridge, then head down the ramp to find the first graffiti in Sealed Sector Difficulty 3 behind the first enemy.
Graffiti location 2
Use the next control panel to create a blue bridge and follow the path past the enemy to find the next graffiti beside a purple technique point destructible. You need to scan this one to progress with the mission.
Graffiti location 3
From the last location, follow the quest marker out of the room and investigate the question mark symbol. You'll be transported to the next area, which contains a Level graffiti on the side of an empty Curio display case near the question mark.
Graffiti location 4
After killing the enemy blocking the door, leave the room and follow the path to the other side of this area - but don't go out of the door just yet! Instead, investigate the question mark, which transports you to the other side of the next room, where you can collect the rest of the graffiti before taking on the boss.
Go down the small ramp after being transported to find the next graffiti location in the middle of the circular bridge.
Graffiti location 5
From the last location, take a right and head up the next small ramp to find the last Hacking Callcard graffiti near a purple technique point destructible.
Graffiti location 6
To find this Level graffiti, take a right from the last location and kill the enemies to gain access to the symbol behind them. Once you scan it, you can now follow the quest marker and take on the boss.
Honkai Star Rail Sealed Sector graffiti locations for Difficulty 4
For the very last Sealed Sector mission, you have to find five graffiti locations to get all of the available rewards.
Graffiti location 1
At the very start, ignore the enemies for now and go through the only door that opens, then turn around to find the first Sealed Sector graffiti location beside the door.
Graffiti location 2
From the last location, follow the path all the way to the back of the area to find the next graffiti location on the side of the last data bank. You need to scan this symbol to continue with the mission.
Graffiti location 3
Go back to the start, kill the enemies, then leave the room and follow the path to the first control panel. Activate the panel, cross the bridge, then activate the next panel to make a bridge to the other side. Take a left after this orange bridge to find the next graffiti location at the end near a forklift.
Graffiti location 4
Follow the marker down the ramp then take a right, following the path away from the elite enemy for now. Go through the door at the end and look right to find this last Hacking Callcard graffiti.
Graffiti location 5
Turn around from the last location to find another question mark symbol beside the door you entered. Investigate it to travel to the other side of the impassable gap and scan the very last graffiti location for the Sealed Sector missions.
After going back and killing the elite enemy now its level has been reduced, go back to the area with the control panels and use them to cross the orange and blue bridges again. Then follow the ramp down and use the last control panel to enter the room with the last boss.
After killing this boss, as long as you didn't kill more than two allies per difficulty level and found all of the Hacking Callcard graffiti, you'll be able to claim all of the Sealed Sector rewards as part of the Starhunt Game event.
Hope you enjoy the rest of the event!