Orochium Shrine solution for Zelda Tears of the Kingdom
How to find and solve the Courage to Fall Shrine.
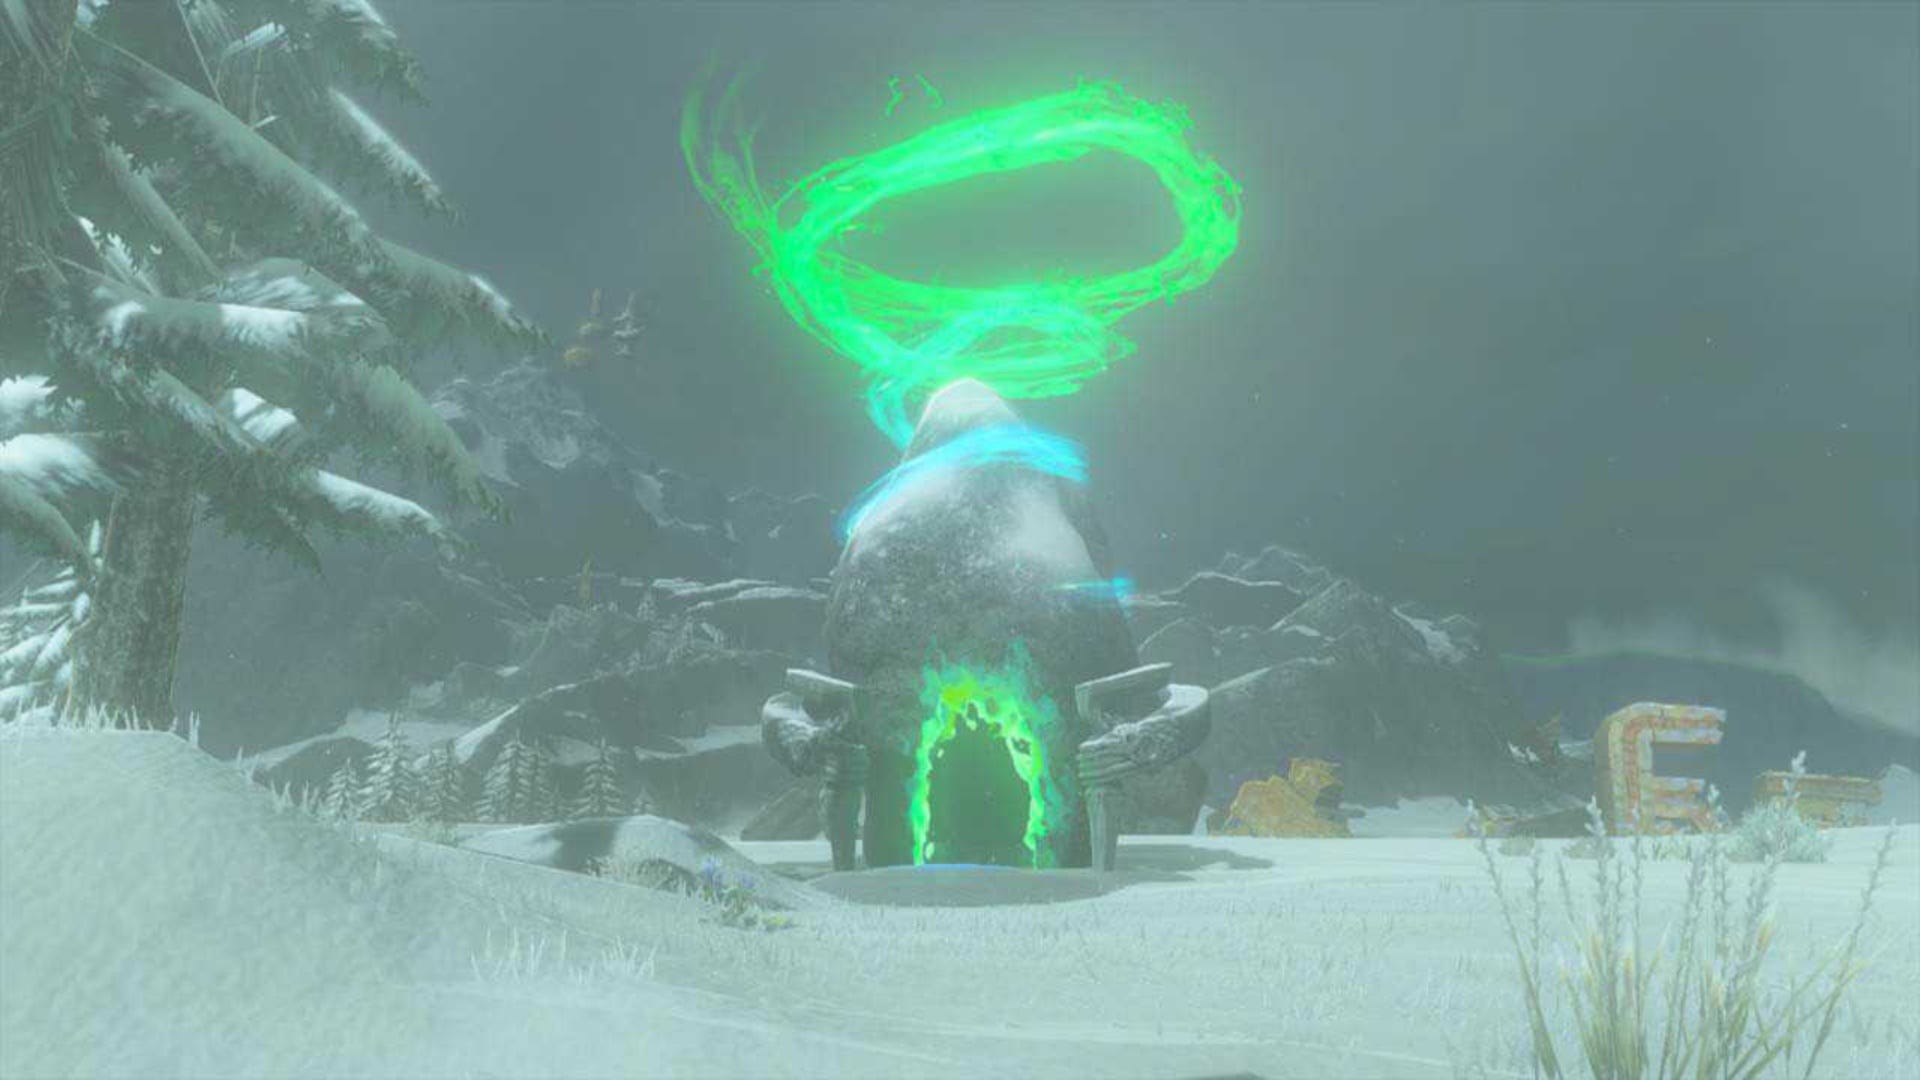

The Orochium Shrine in Zelda: Tears of the Kingdom is located in Tabantha Tundra, so wrap up warm if you're heading out to it. However, you'll be fine once you are in the Shrine itself so don't worry too much if you use all of your supplies to get there in one piece. Once you enter the Shrine, it will be nice and toasty.
Like may of the other Shrines in Zelda: Tears of the Kingdom, the Orochium Shrine will put your problem-solving skills to the test and teach you ways to use Link's abilities to get through a series of puzzles before you can collect your prize.
Without further ado, we're going to show you the Orochium Shrine solution and location.
On this page:

If you'd like to learn more about Link's adventure, visit our Zelda: Tears of the Kingdom walkthrough.
Orochium Shrine location in Zelda Tears of the Kingdom
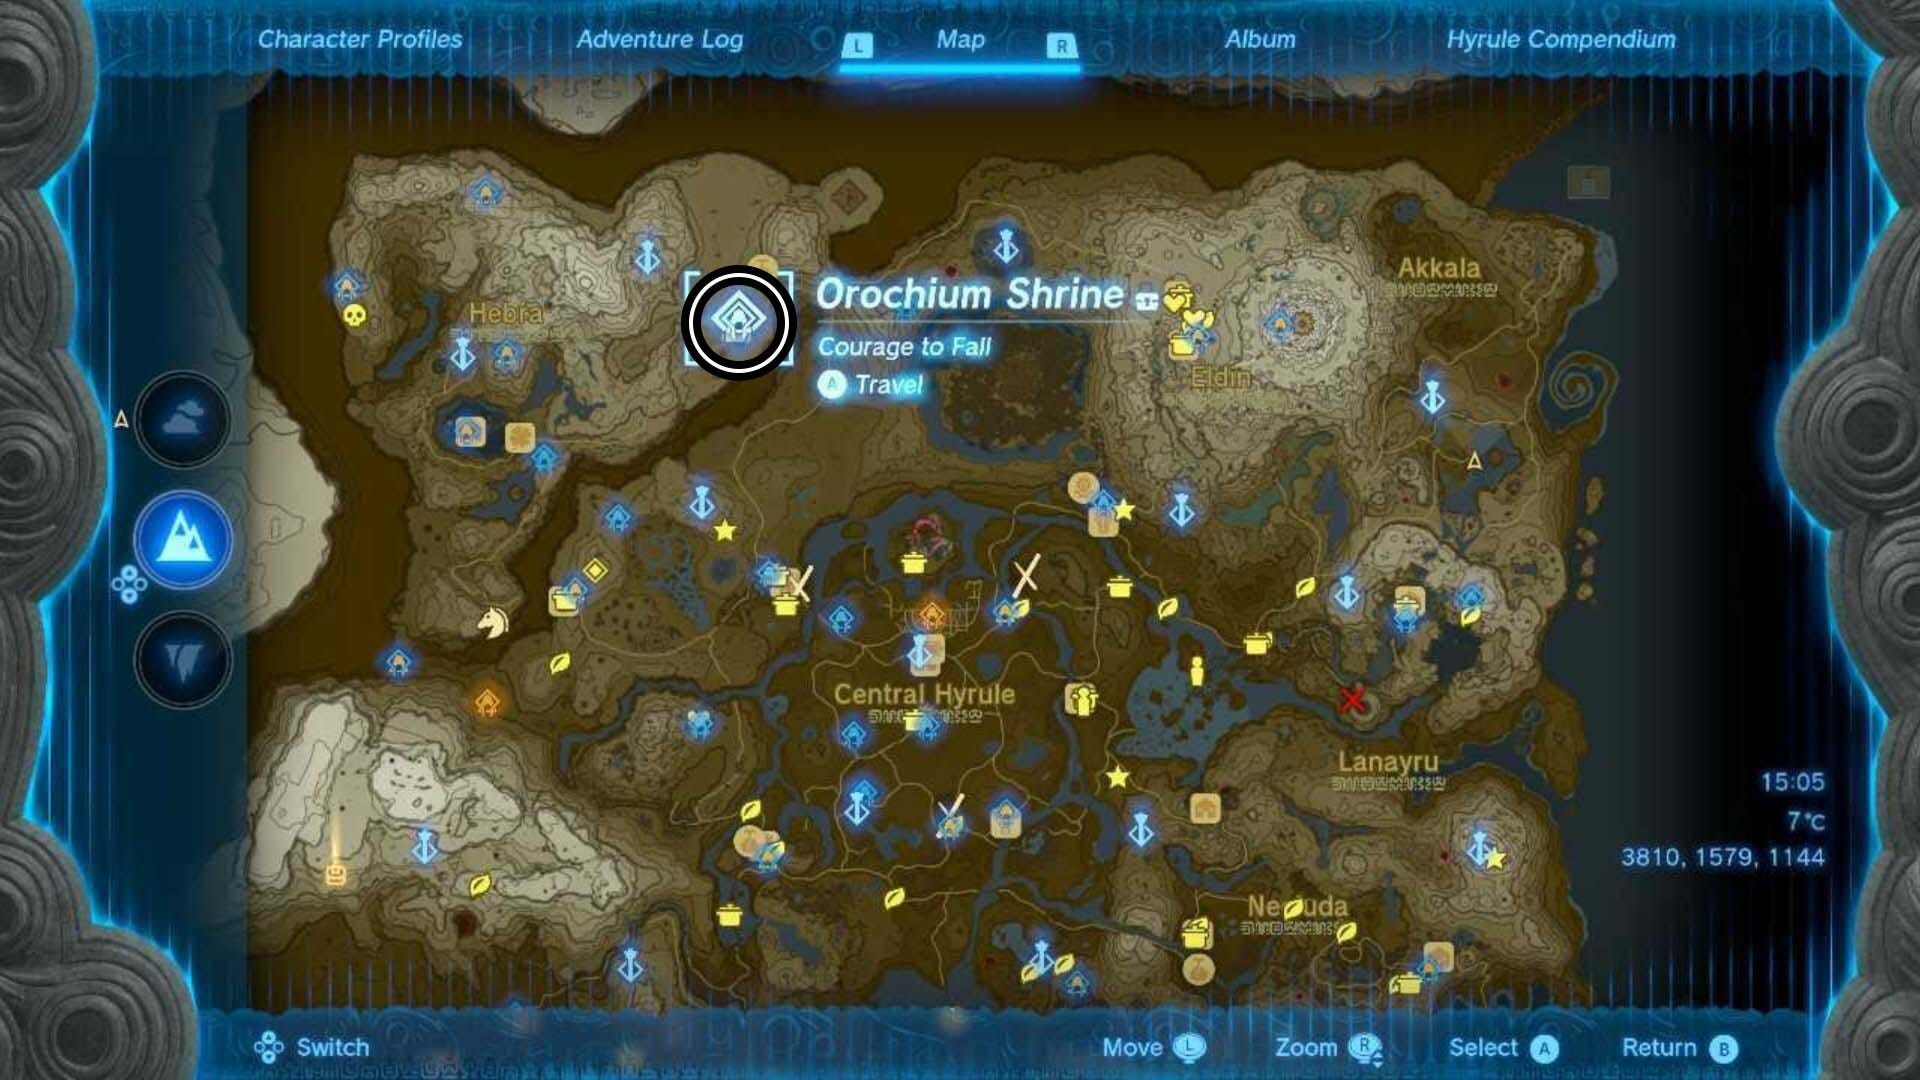
The Orochium Shrine location can be found in Tabantha Tundra in Hebra, slightly north of Snowfield Stable. The Orochium Shrine's precise coordinates are (-1635, 2640, 0239).
We've marked the shrine's location on the map below:
Orochium Shrine puzzle solution in Zelda Tears of the Kingdom
To solve the Orochium Shrine in Zelda: Tears of the Kingdom, you need to find a way around several sets of lasers and find a way to open two orb locks by using Link's abilities.
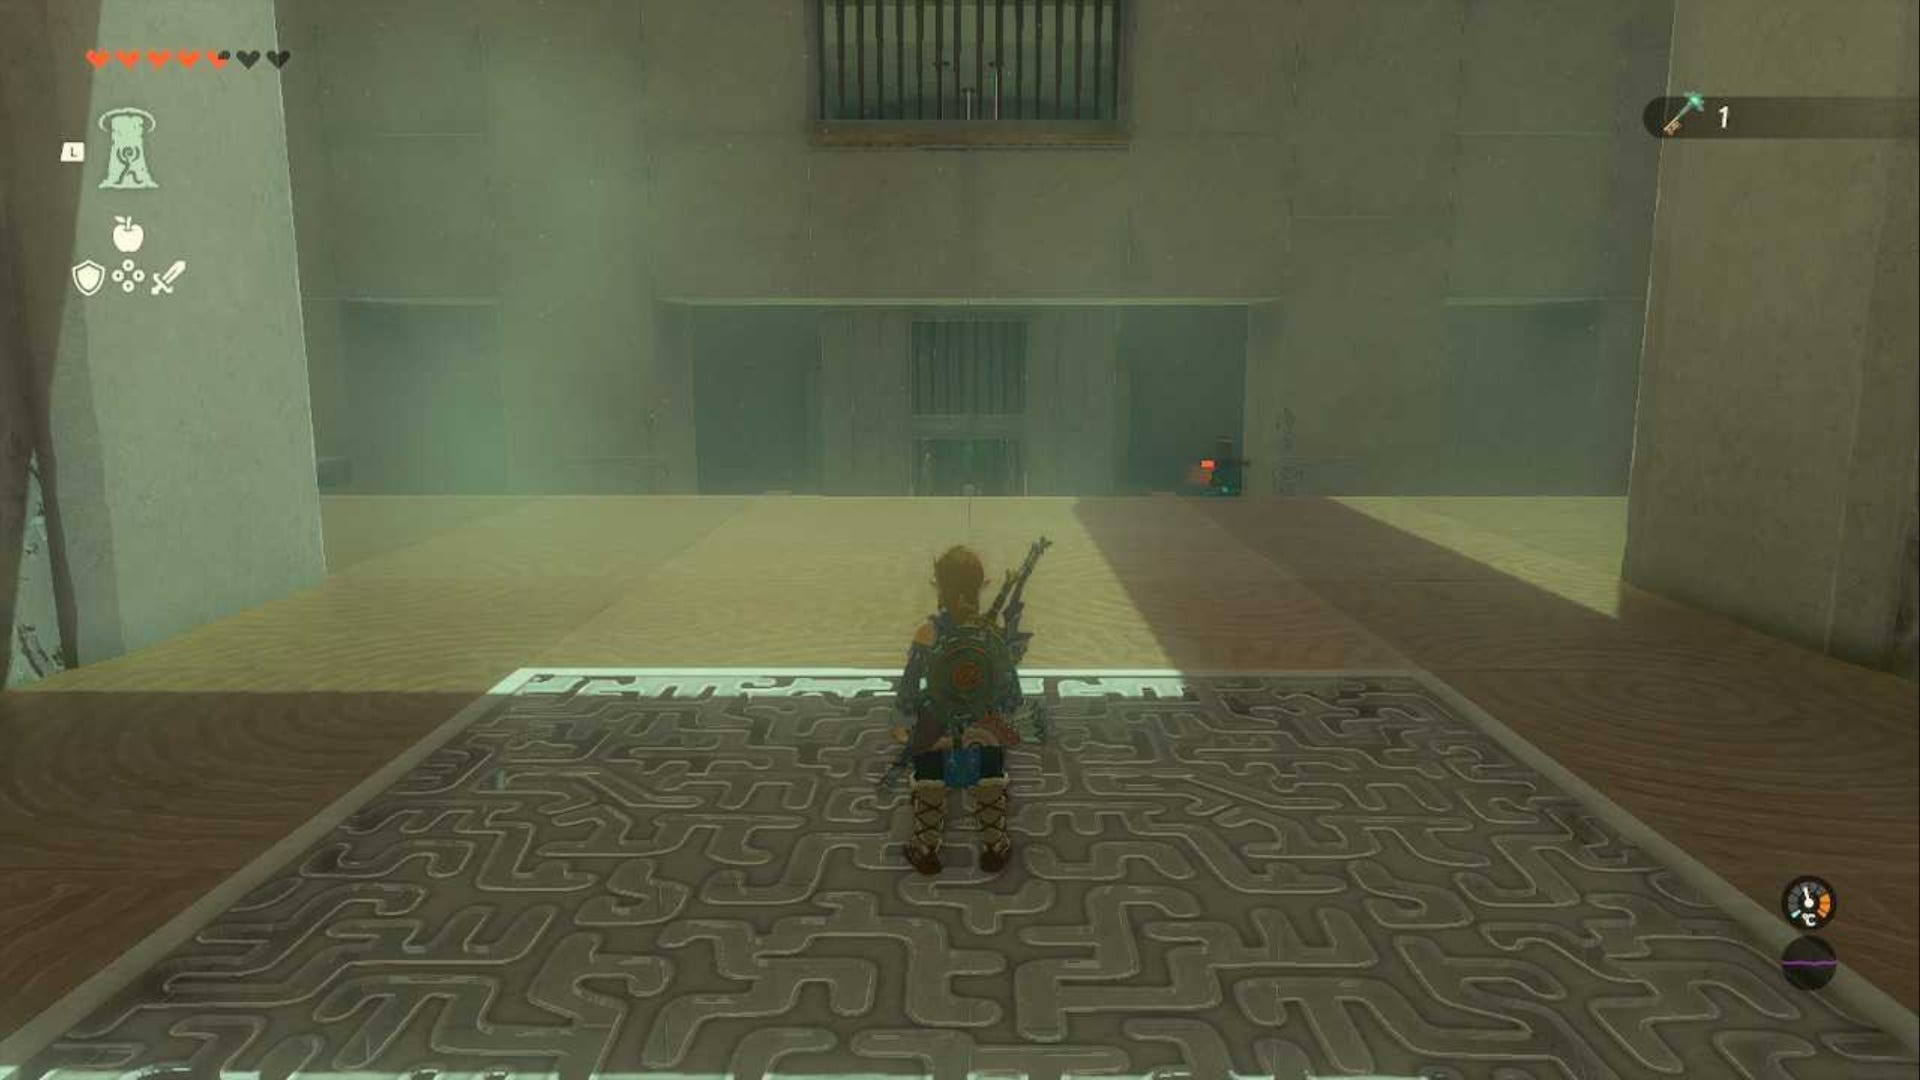
When you enter the Shrine, you'll see an orb lock in the floor on your right, a set of large doors in front of you, and a Soldier Construct II around to the left of the big doors.
You may be wondering why we're not opening the doors in front of you, but you can't go through them because of a band of lasers.
Instead, head around to the left where the Soldier Construct II is. Take them out, it makes this section a lot easier and it drops a few useful items. When you've dealt with the Construct, look up and towards the wall. You should see some rectangular blocks sticking out of the wall here.
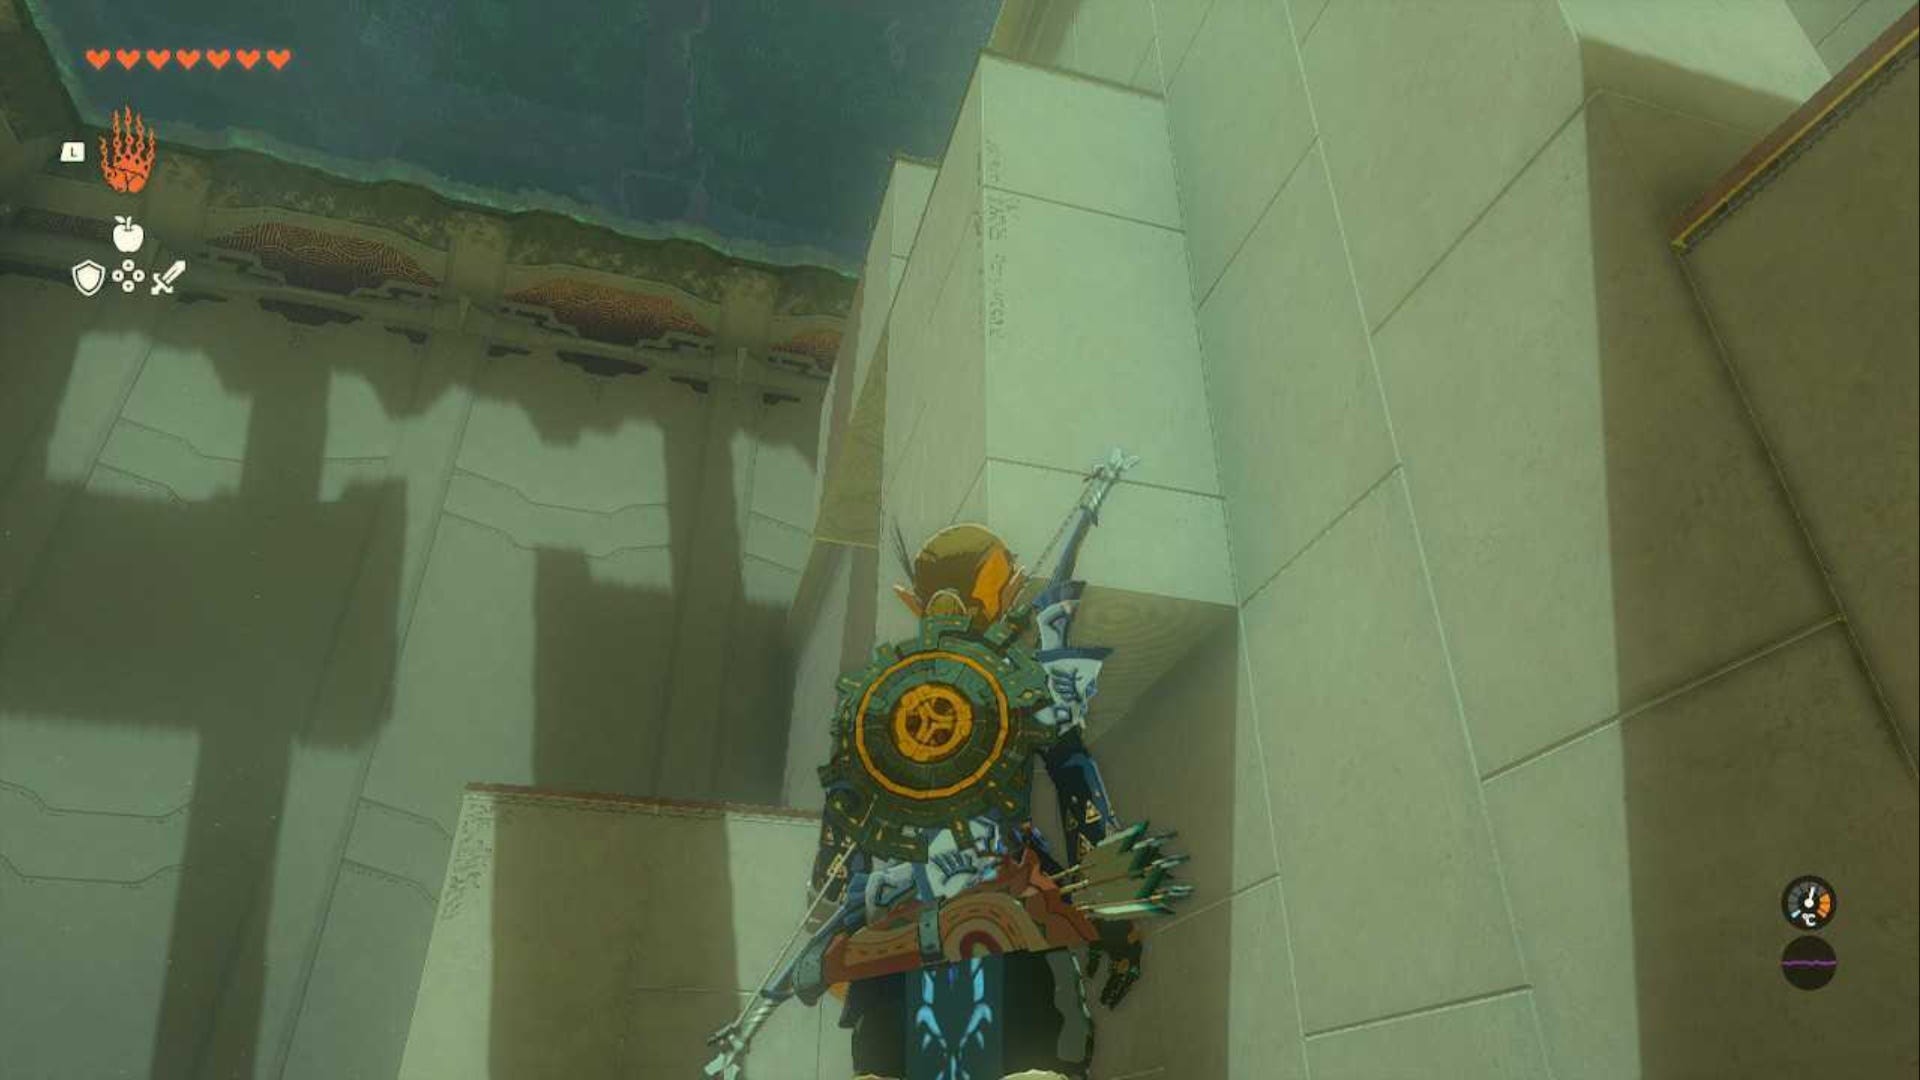
Stand underneath the lowest block and use Ascend to pop up through it, then climb up the ladder here to the next area. Once you are up the ladder, look to your right. You should see a small opening in the wall near the floor. Crouch and walk through here to the next area.
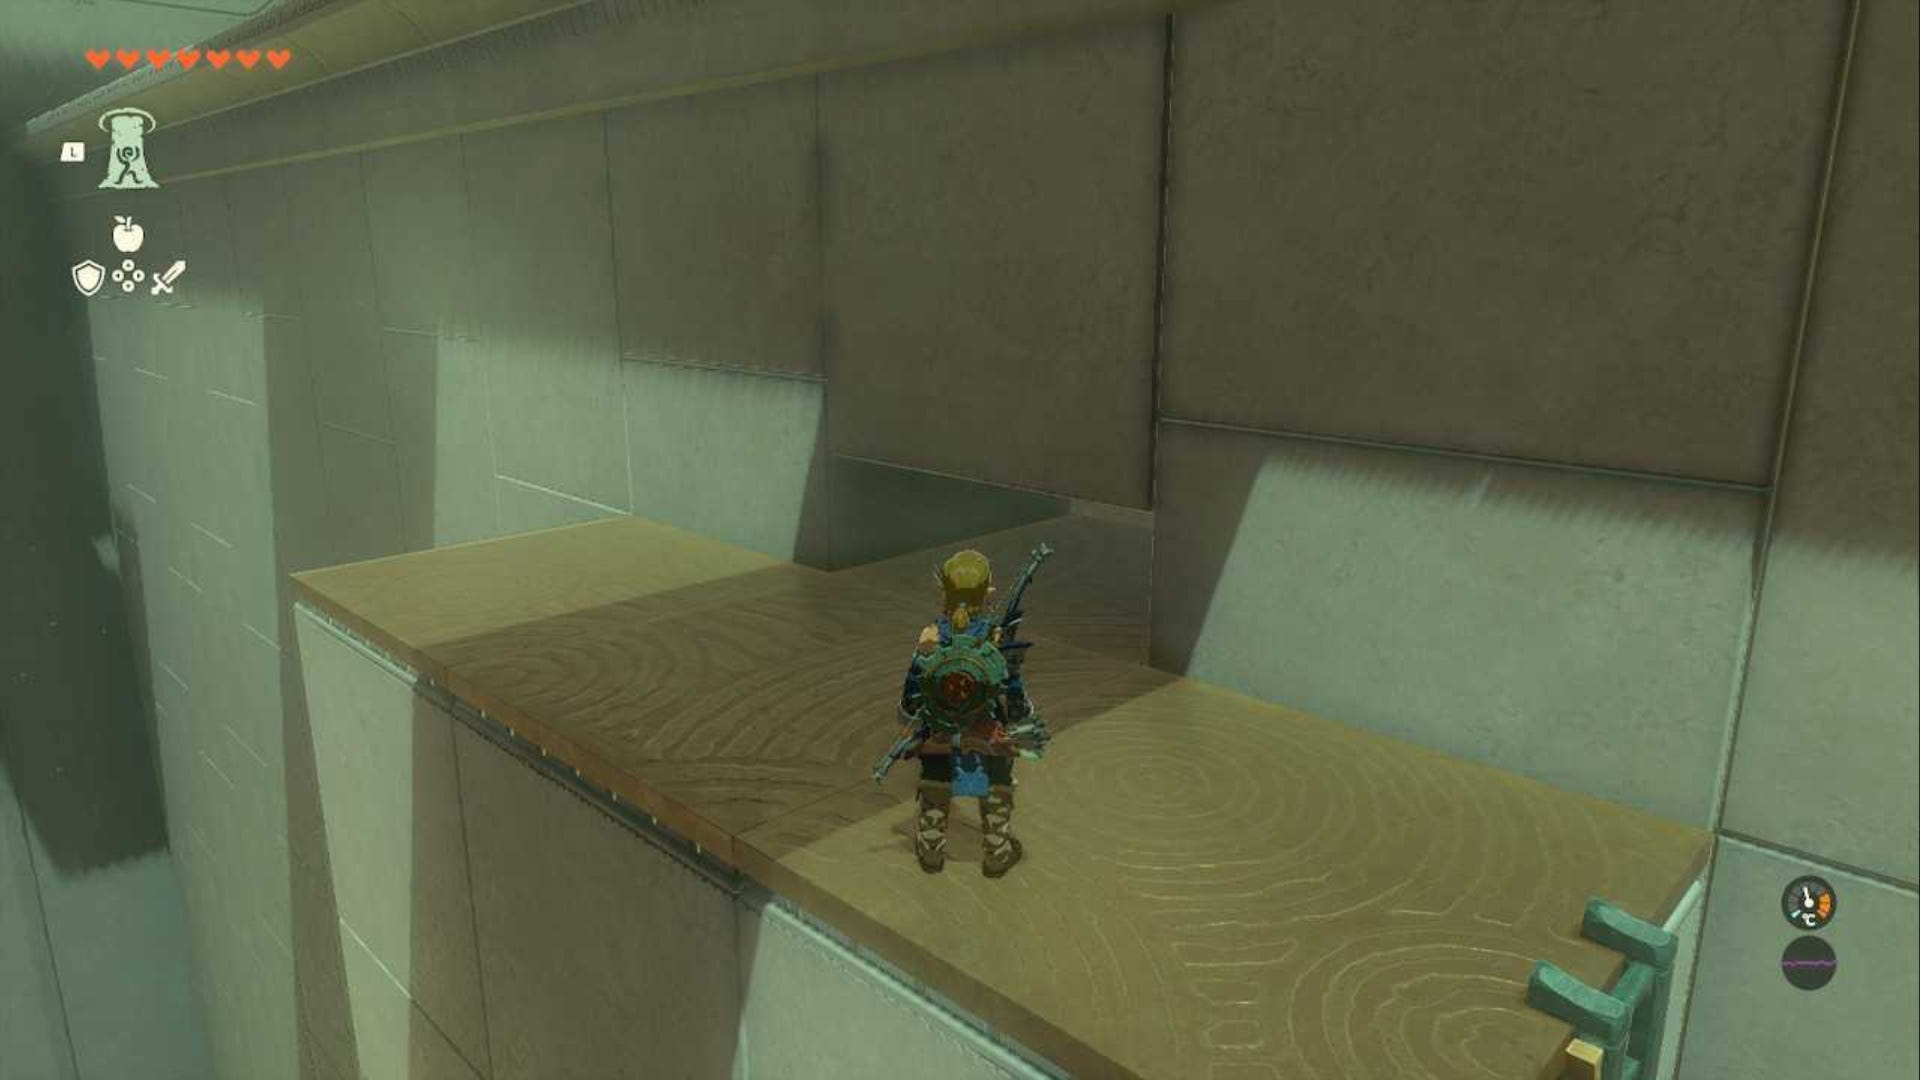
It might look like you're stuck here, but don't worry. Head to your right in this area and look down, you should see another Soldier Construct II below you.
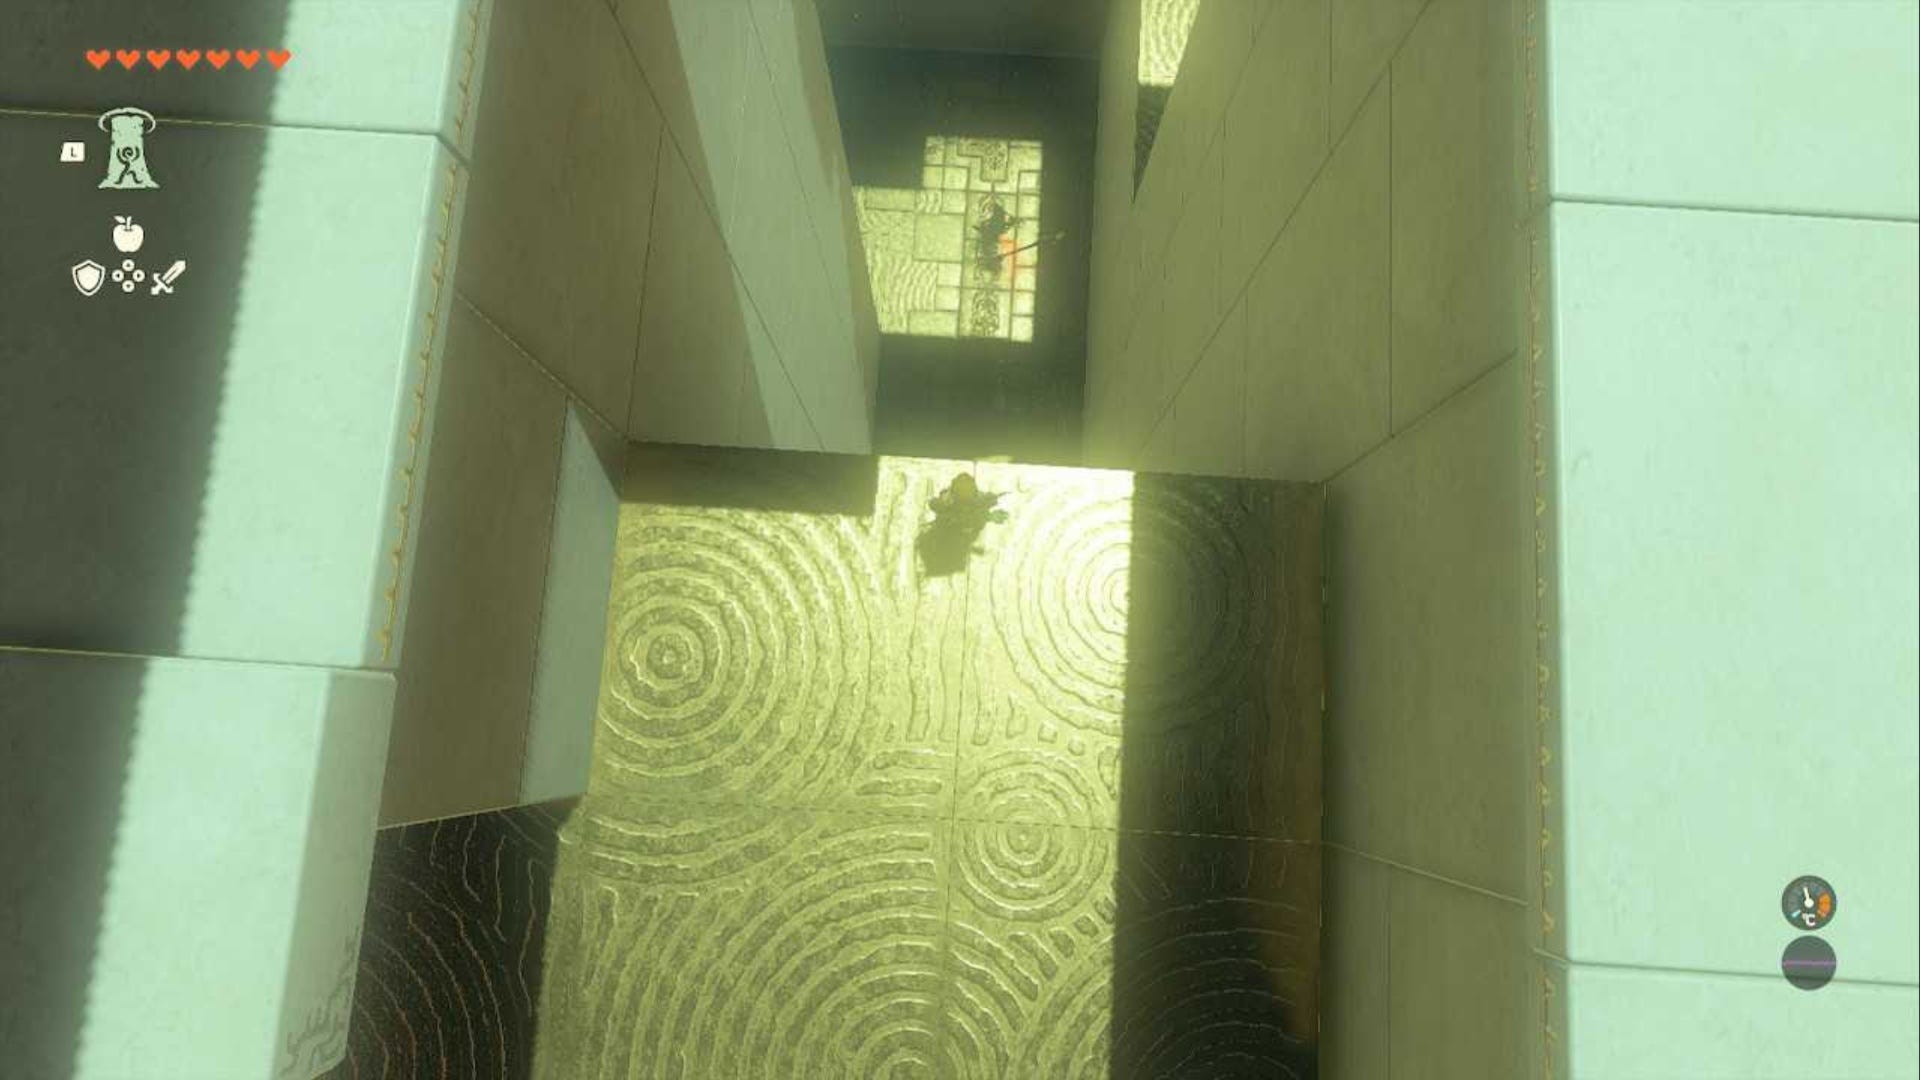
Glide down here carefully and deal with the Construct. Once they've been dealt with, you should see a set of lasers to your right and a set of steps to your left.
Walk past the steps until you reach the far side of this area and look left, you should see yet another Soldier Construct II here. Deal with them and you'll find a chest behind them. This chest contains five arrows, which doesn't seem like it's worth the effort but it's better than paying Rupees for them.
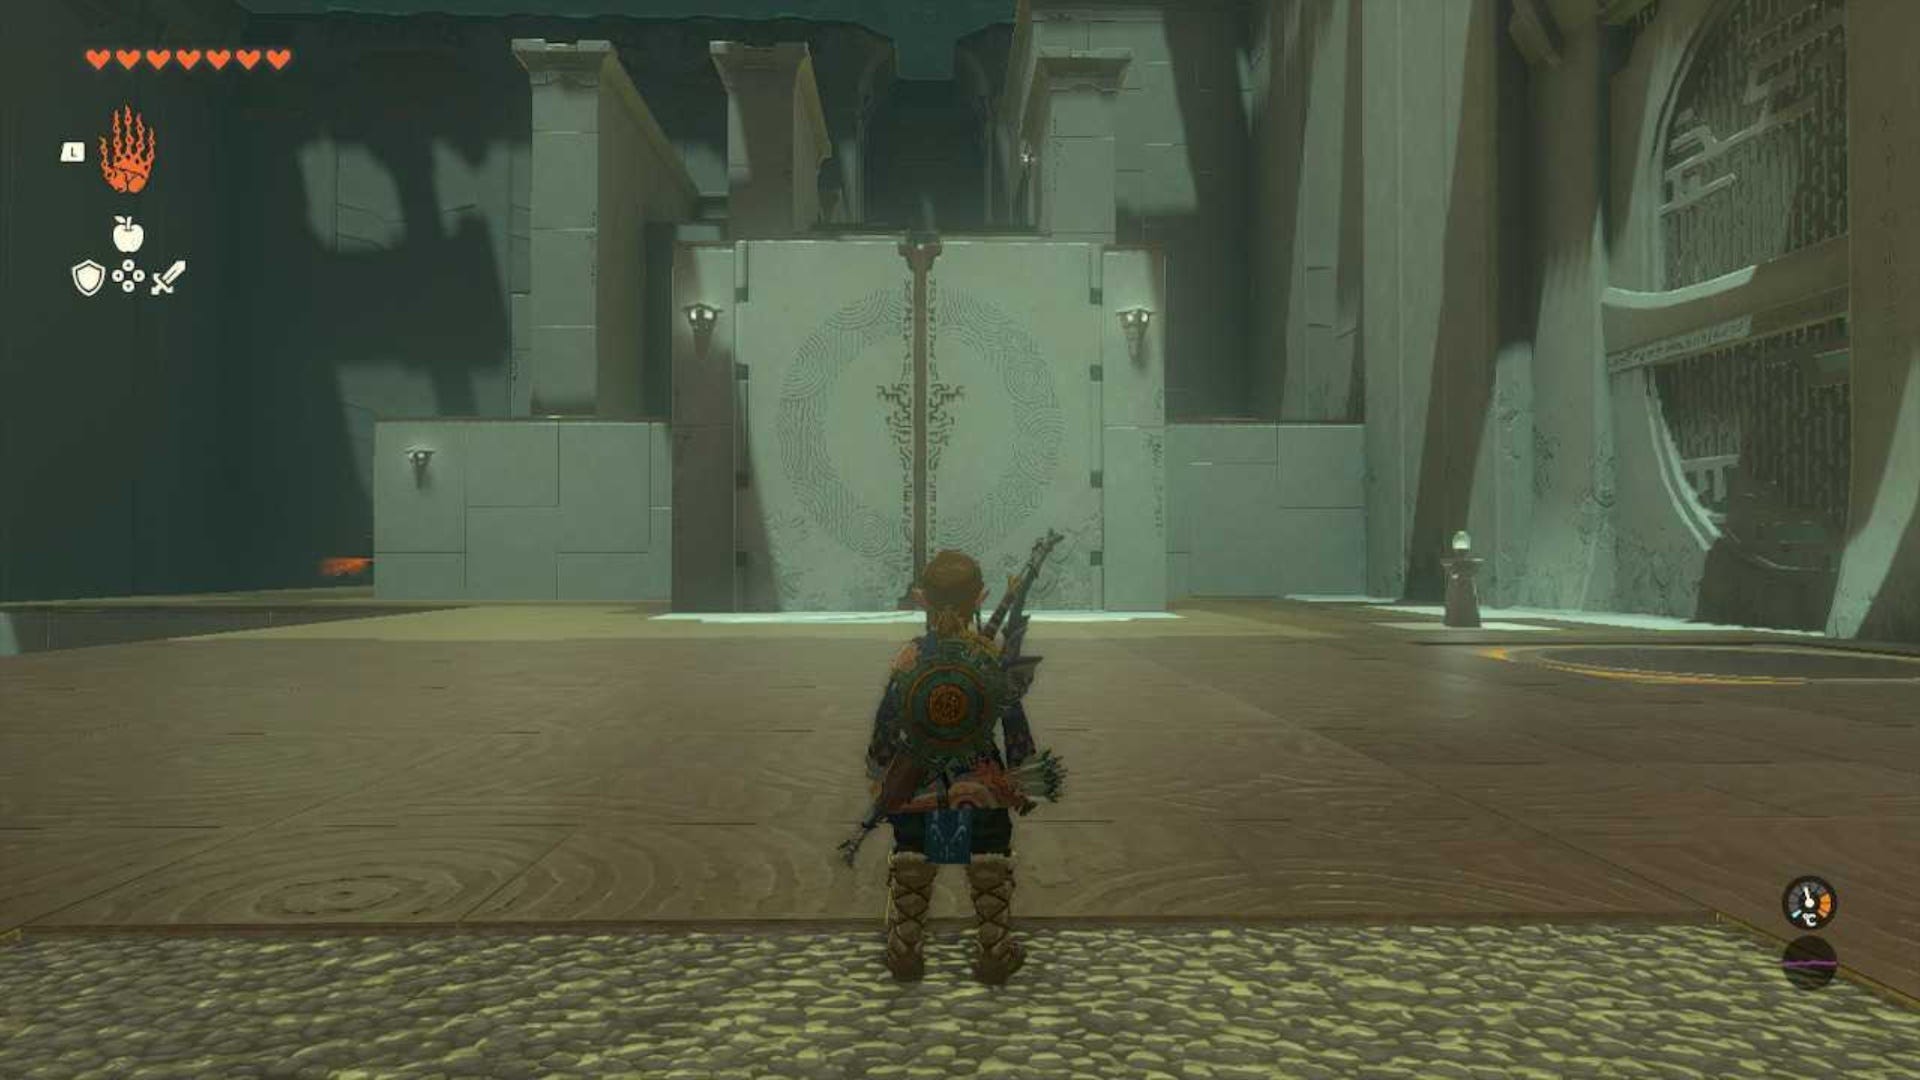
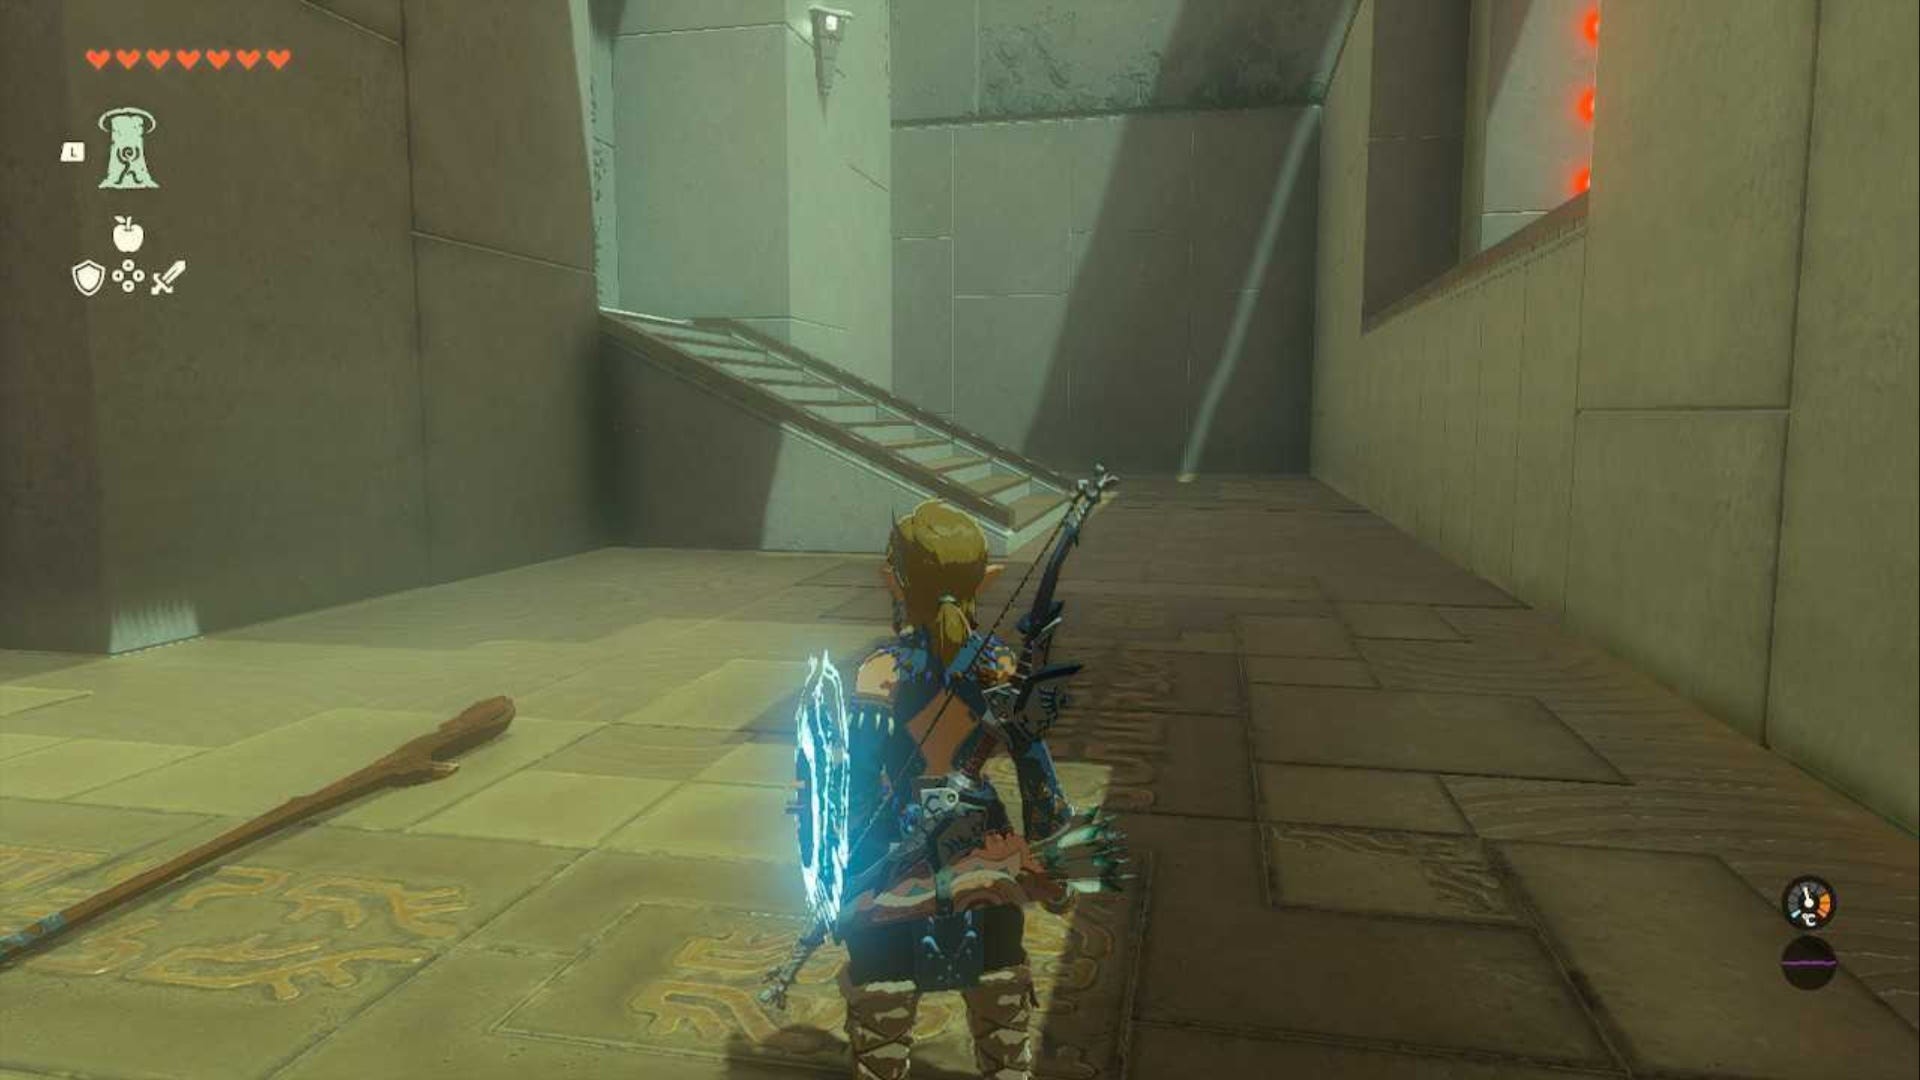
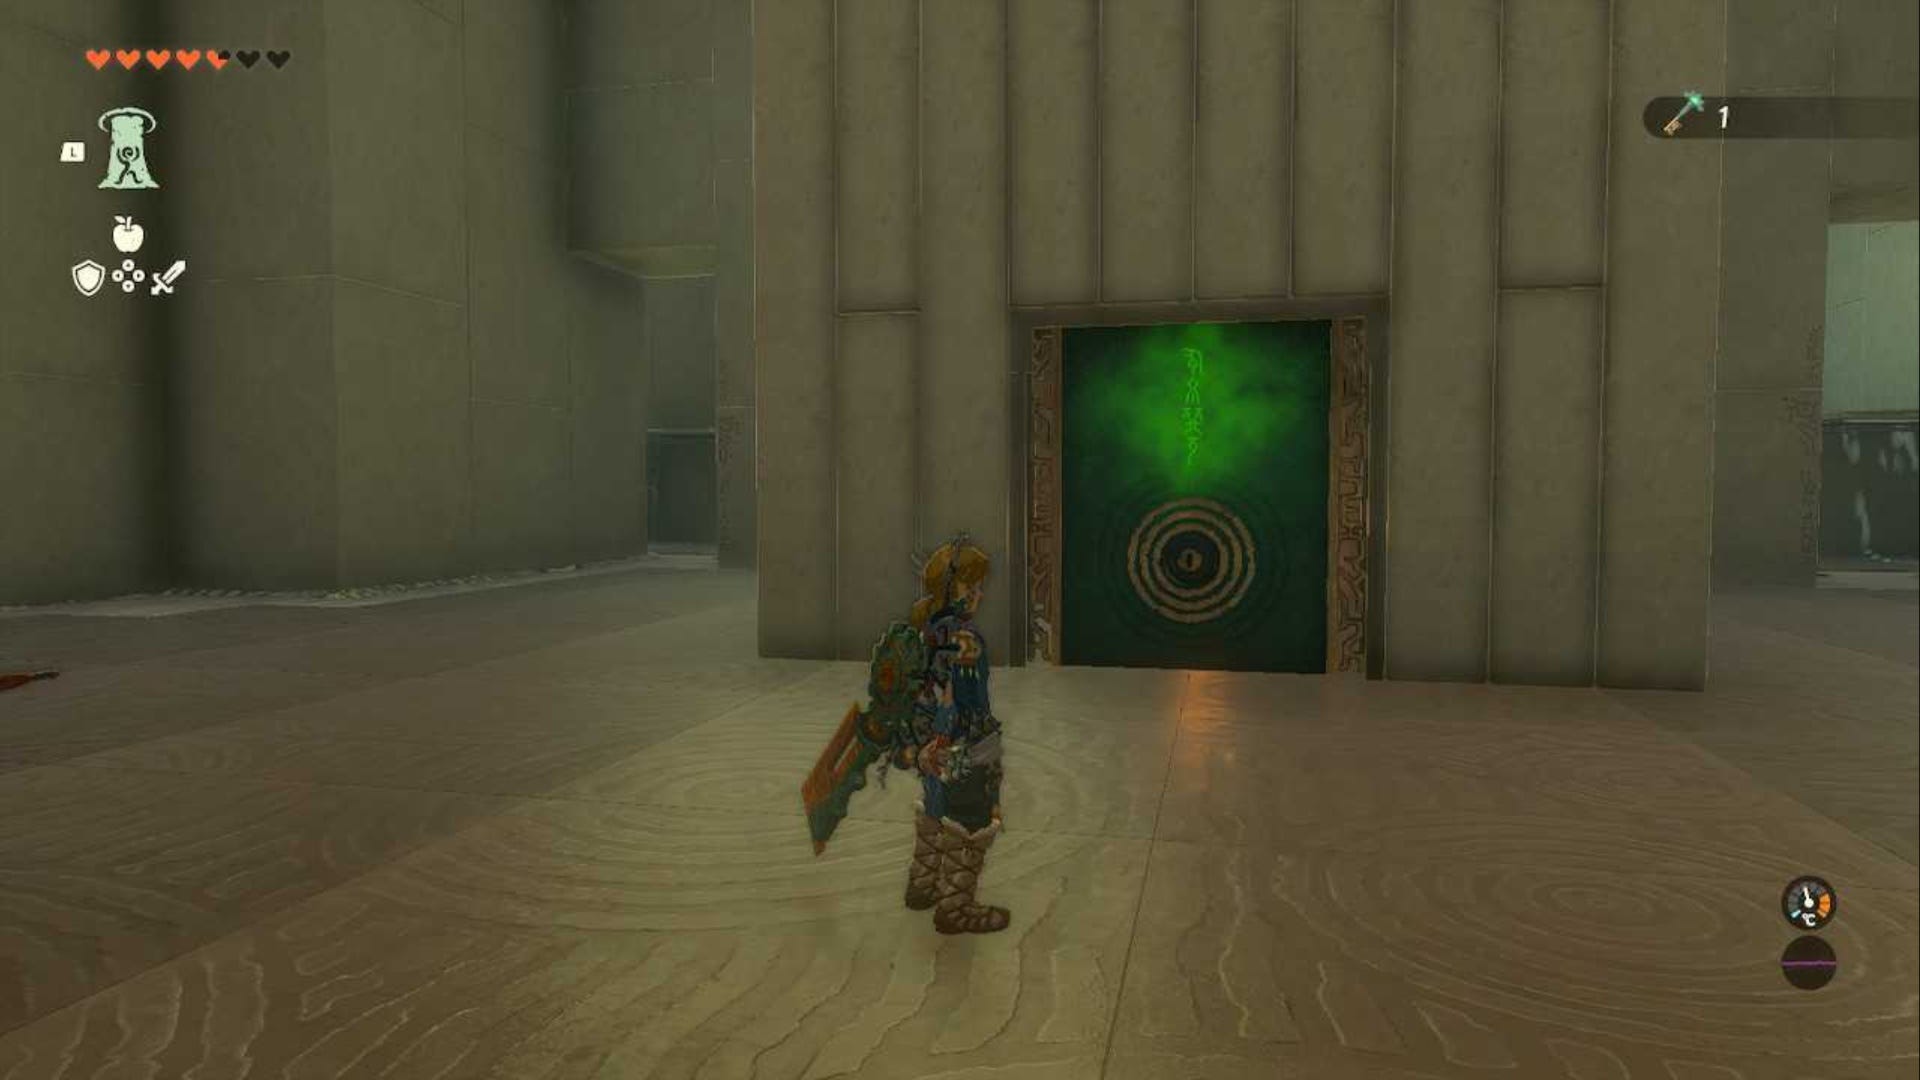
After you collect the chest, head back up the steps you saw a moment ago and use Ultrahand to open the big double doors at the top.
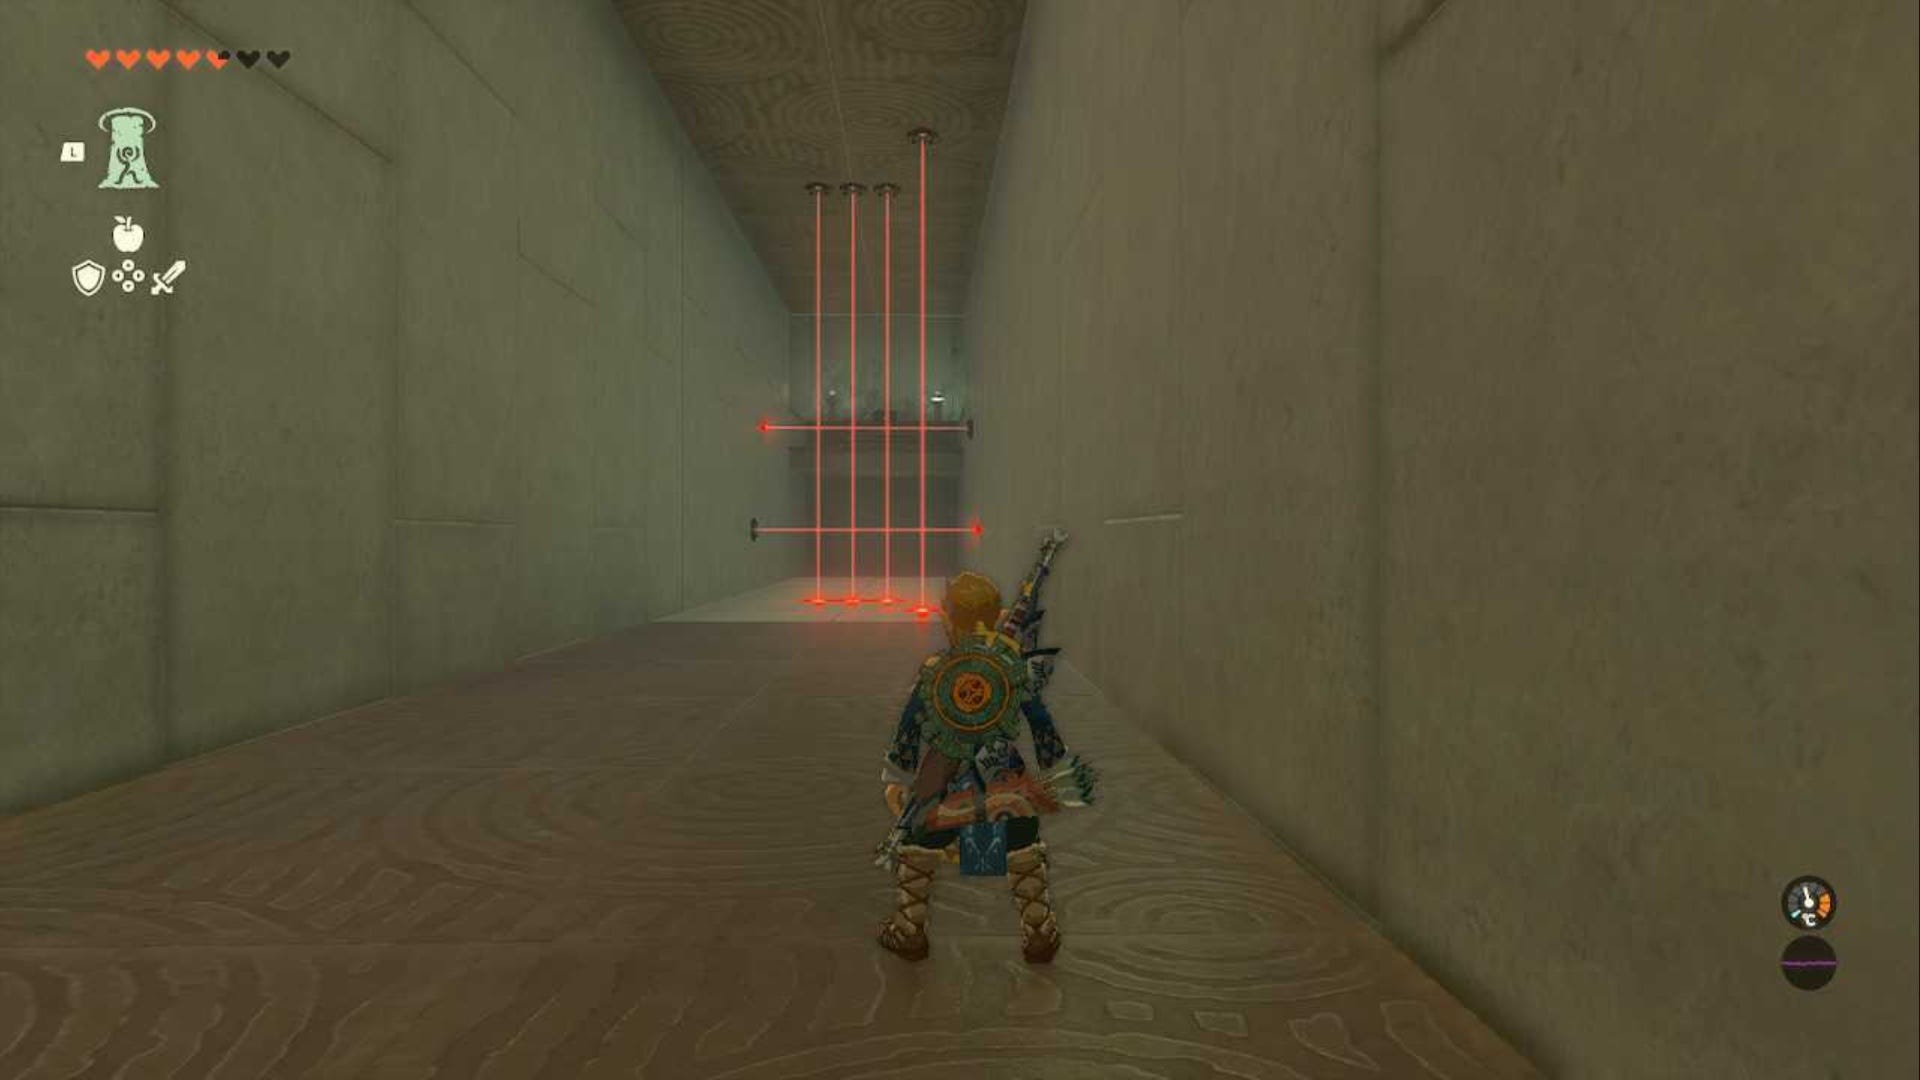
There will be more lasers in front of you, but here's where you need to trust us. You have to deliberately walk into one of these lasers. Once you do, the floor below you will open up and drop you into a lower level of the Shrine, but this is exactly where you need to be.
This area will be a long room filled with lasers. You need to navigate them to get to the far end of the room. You can't climb the walls here, so you'll need to use a mixture of crouching and running at the right times to get past all of the lasers.
When you get to the other end of the room, stand under the ledge and use Ascend to pop up through it. Here, you should see another chest. Open this and collect the key inside of it. Then, while standing at the chest, use Ascend to get back up to the main level of the shrine again.
Once up here, you should see two Soldier Construct IIs in front of you.
Deal with both of them and then walk to the center of the slightly lowered area. An orb will be locked behind two green doors here, and all you have to do is use the key you found a moment ago to open them.
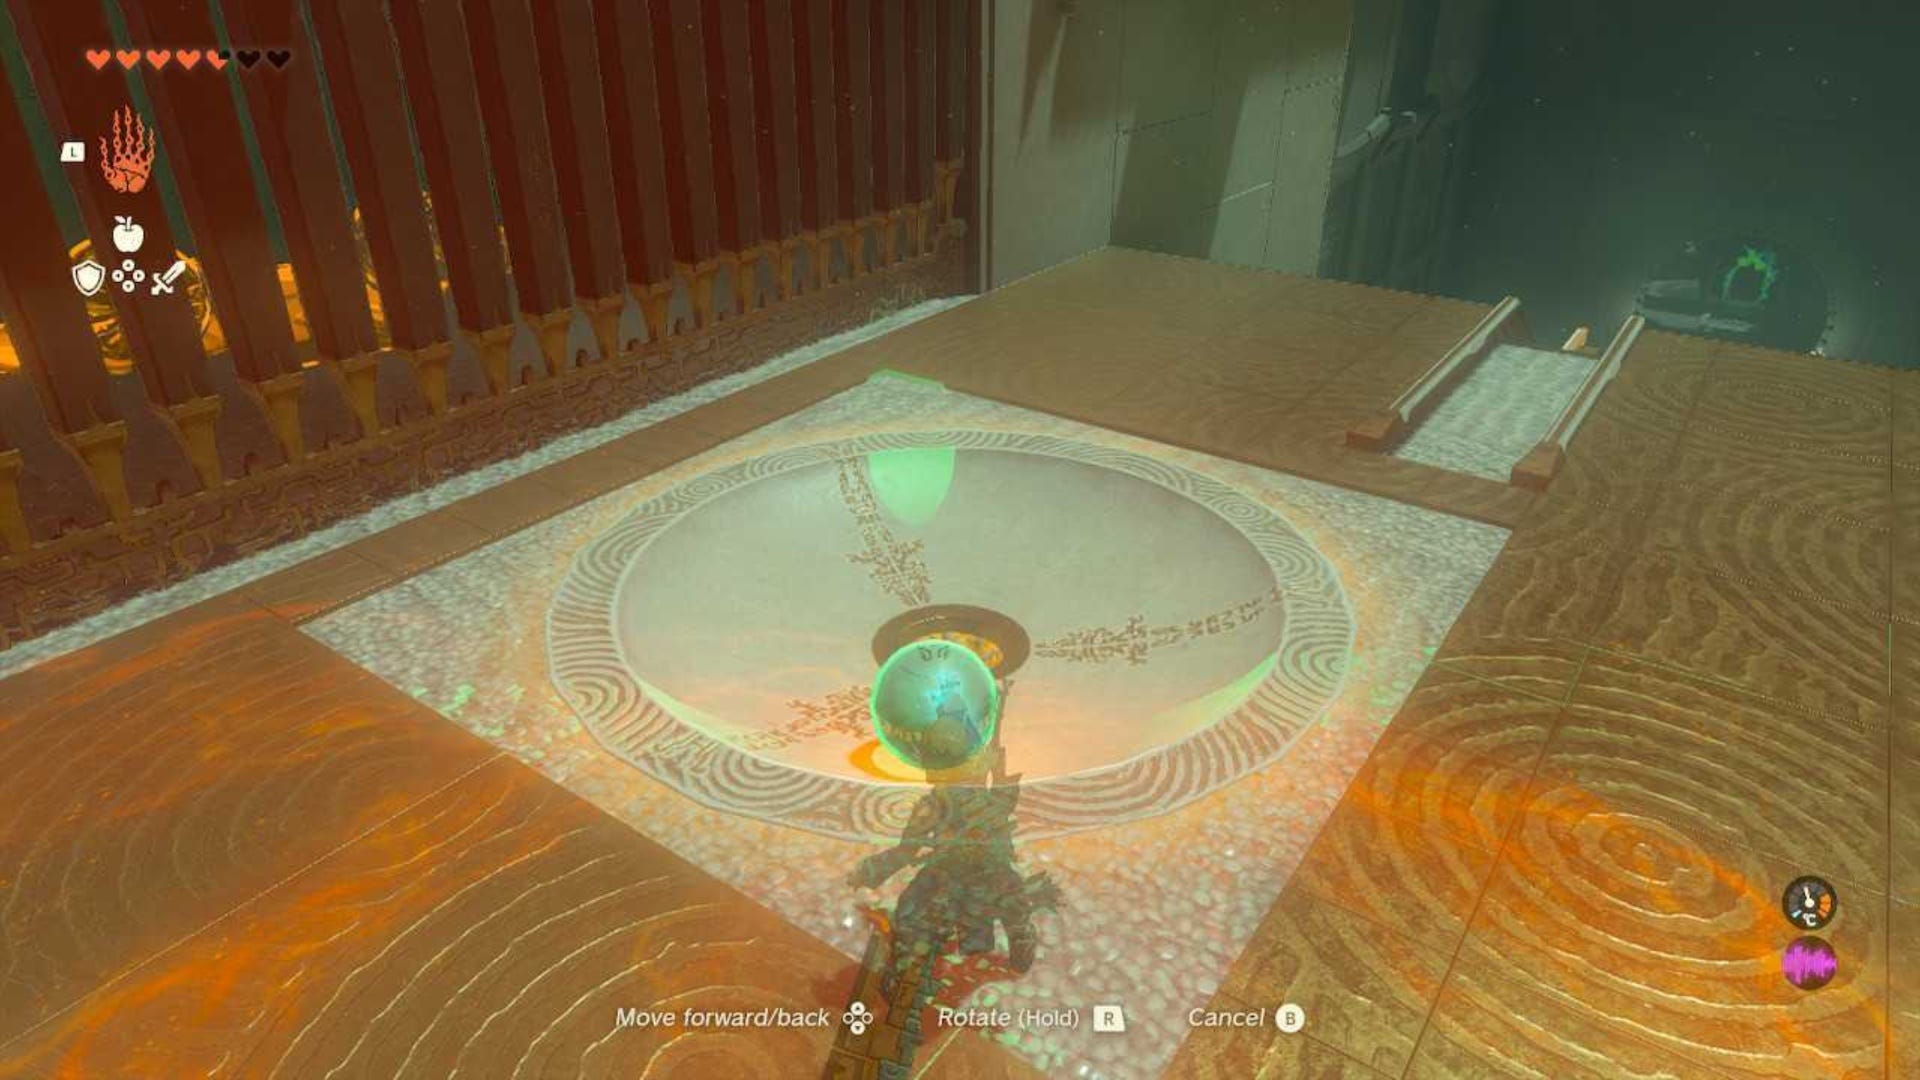
When the doors are open, pick up the orb and head back up the steps at the rear of this area (where you appeared when you used Ascend from the lower level). Then, turn and face into the room once more. There are elevators on the left and right side here, pick whatever side you want to.
Ride the elevator with your orb until you reach the next level. Get off and carry the orb up the steps in the middle before dropping it into the orb lock mechanism on the floor here.
This will open a gate near the mechanism to reveal a Zonai Wing with two fans attached to the back of it. Grab this using Ultrahand and place it on the guide rails near the orb mechanism. Then, grab the orb from the mechanism and attach it to the top of the Wing with Ultrahand.
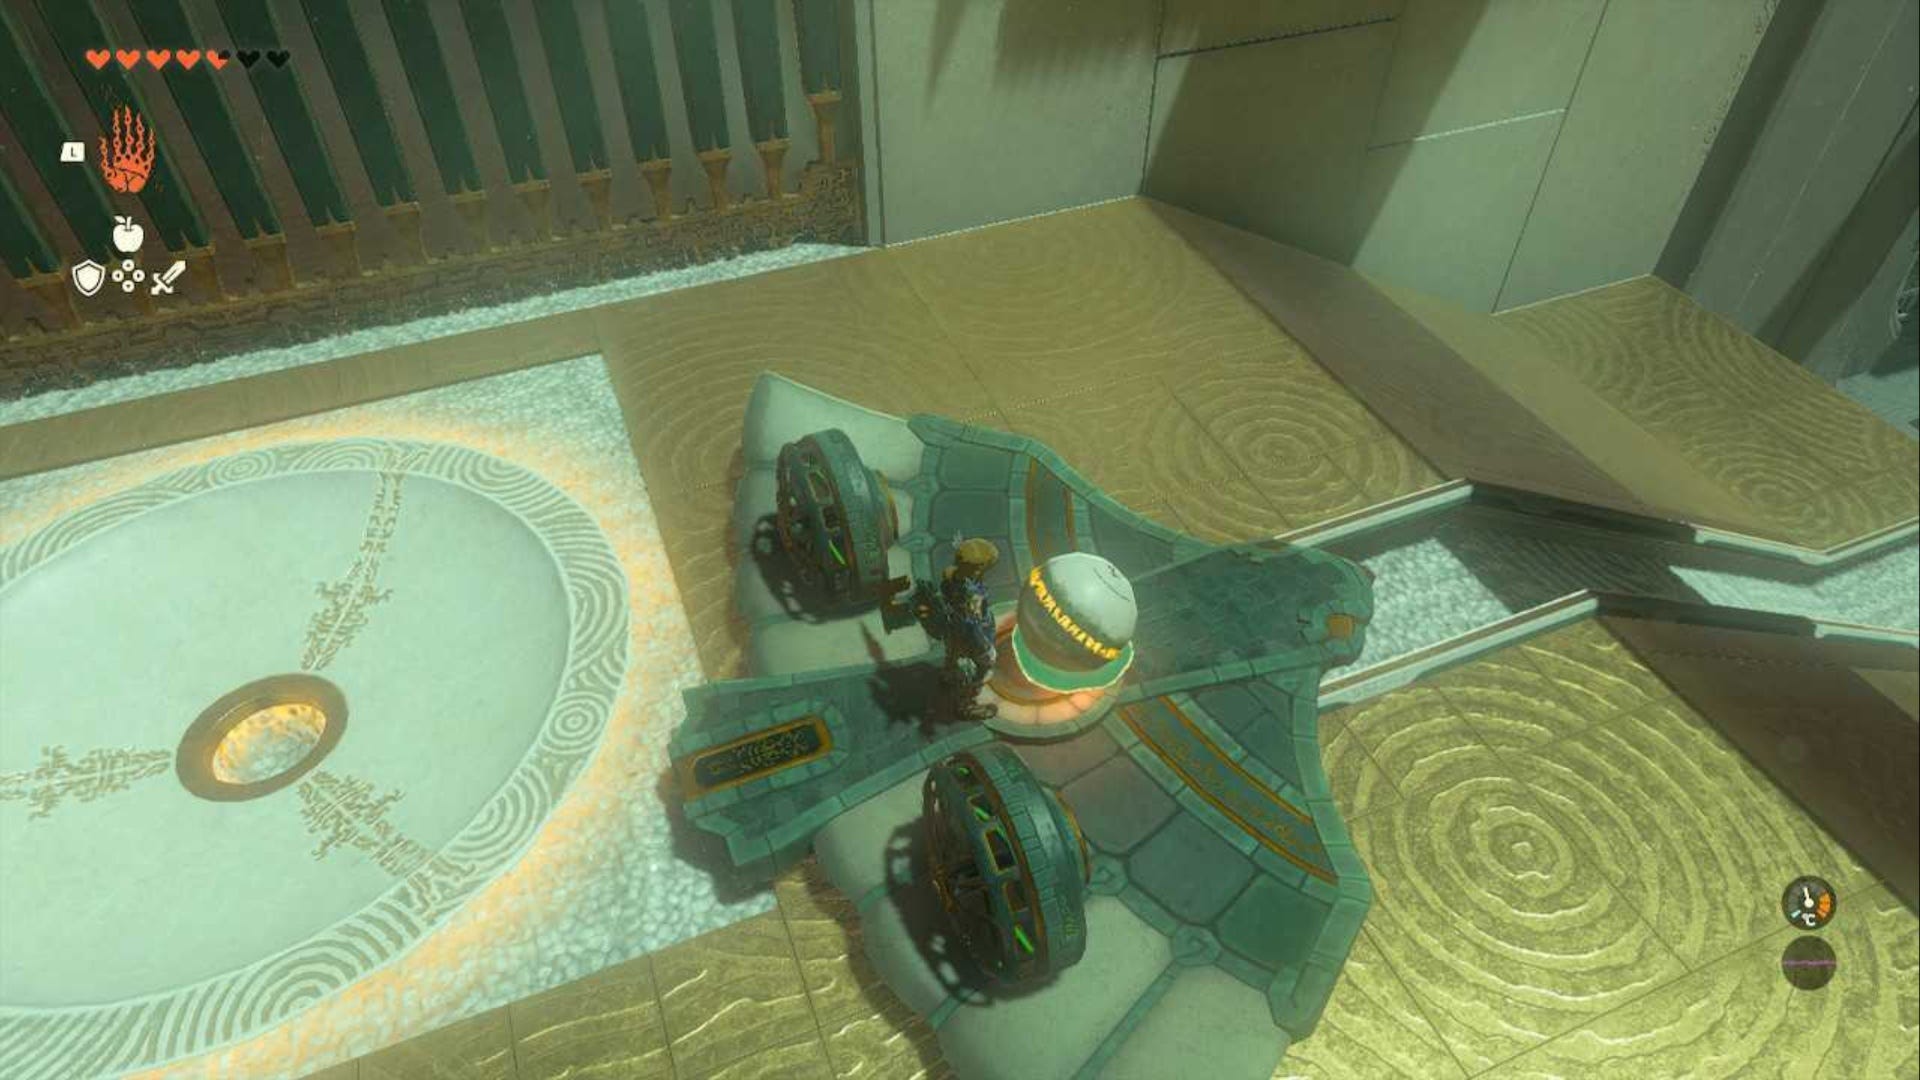
Once you've done all of this, get onto the Wing and activate it. Ride the Wing back to the entrance of the Shrine and get off once it lands.
Grab the orb from the Wing and place it in the orb lock mechanism on the ground to unlock the final area of the Shrine. Once you've done this, you can claim your Light of Blessing and the Orochium Shrine will be complete!
That's it for the Orochium Shrine! If you need more help in your adventure across Hyrule, check out our Shrine locations guide or our Skyview Tower locations guide to find your way around. You can also find out how to get the Giant White Stallion if you want a new horse.