Starfield: One Small Step walkthrough
Collecting your spaceship and levelling up for the first time.

The main quest One Small Step in Starfield is the first mission of the game. This is where the game begins.
In the role of a miner (character creation will follow shortly) you will complete your first tasks alongside the foreman Lin and her colleague Heller. Follow them to the Cutter and collect it. This depletes resources.
Begin by loosening and excavating the five marked Beryllium deposits from the cave walls (RT). Follow the colleagues and the marker further into the room with the artifact and use the cutter to split off the minerals. Touch the artifact.
After some kind of vision unexpectedly overtakes you, you briefly lose consciousness. This is followed by character creation, including the selection of your gender, appearance (which you can change later), background and traits.
Follow Lin and equip a helmet
Upon waking, complete the conversation with Supervisor Lin, then follow her to the airlock. Open the menu, then open the inventory at the bottom right at 4 o'clock and equip a helmet. The airlock will open to the planet surface, where you will meet a Constellation client, Barrett, who is interested in the artifact.
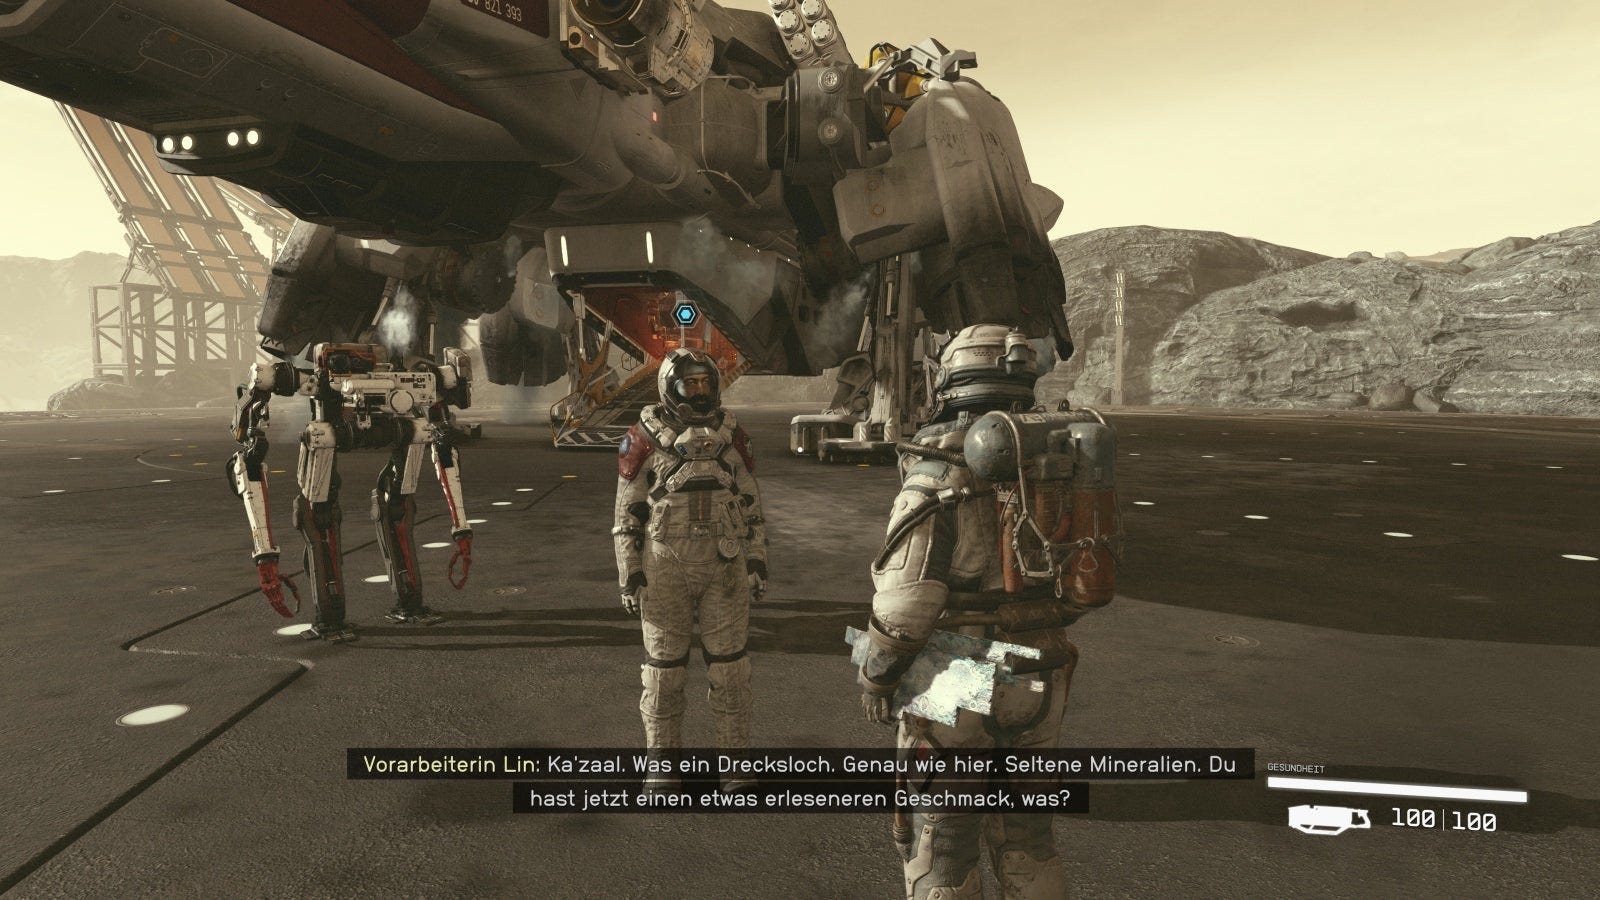
There's no time for more than a brief dialogue, as an enemy ship is approaching from orbit and all hell breaks loose here.
Stop the pirates and grab a gun
Follow the blue marker to a small gun case, from which you can take a pistol and ammo:
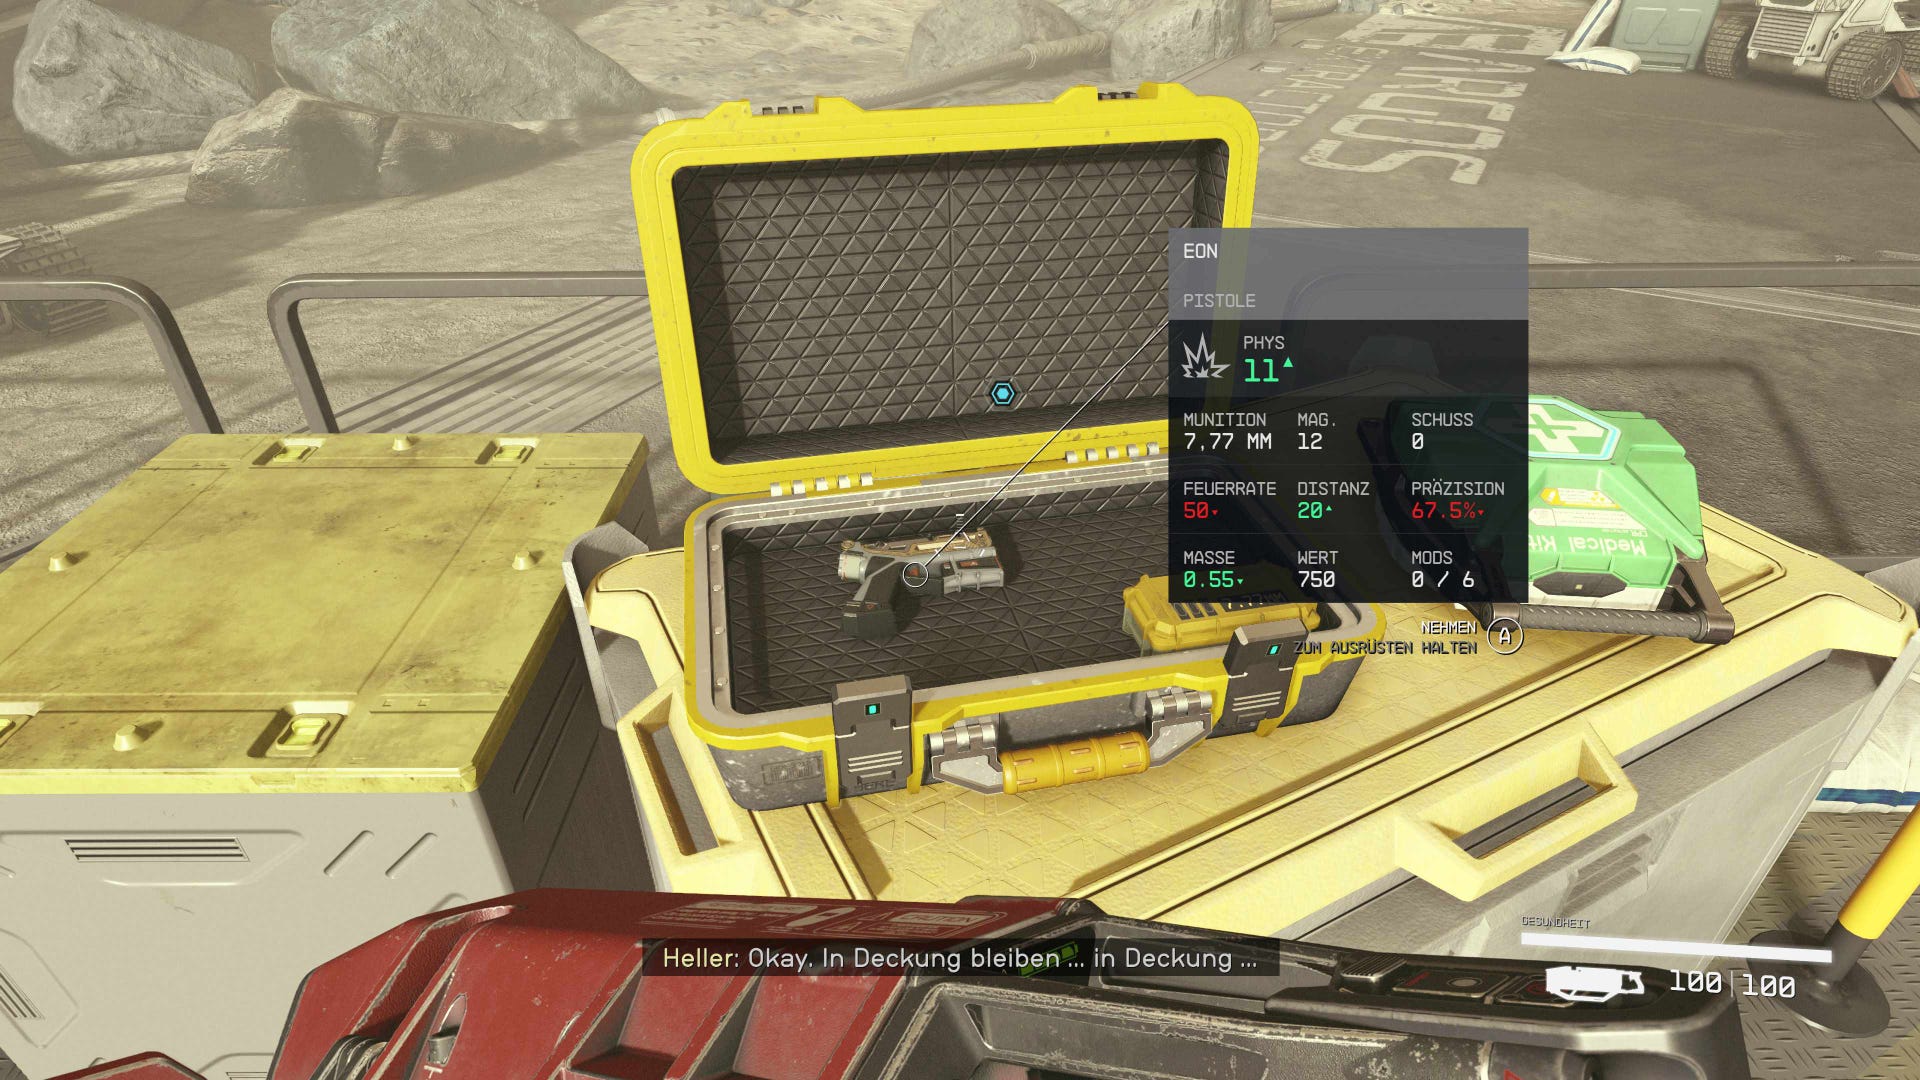
It is used for the first battles against the Crimson Fleet Pirates. Equip them in your inventory and put them in your favourites menu when you get a chance. (Press Y on a gamepad while in the inventory, then choose an arrow key). The fight is quite simple.
Board the ship
After the pirate attack, talk to Barrett, who not only gives you a watch but also his ship. Then you can go together with the robot Vasco to the ship. Enter via the ramp and take the ladder up.

In the cockpit, you click on the pilot's seat and take off for the first time (Y button). Aboard the Frontier, head out into orbit.
Learn to fly
Vasco will give you a little instruction on how to fly that should be completed if you don't have any experience with it. First we will learn how to use the engine to accelerate the ship.
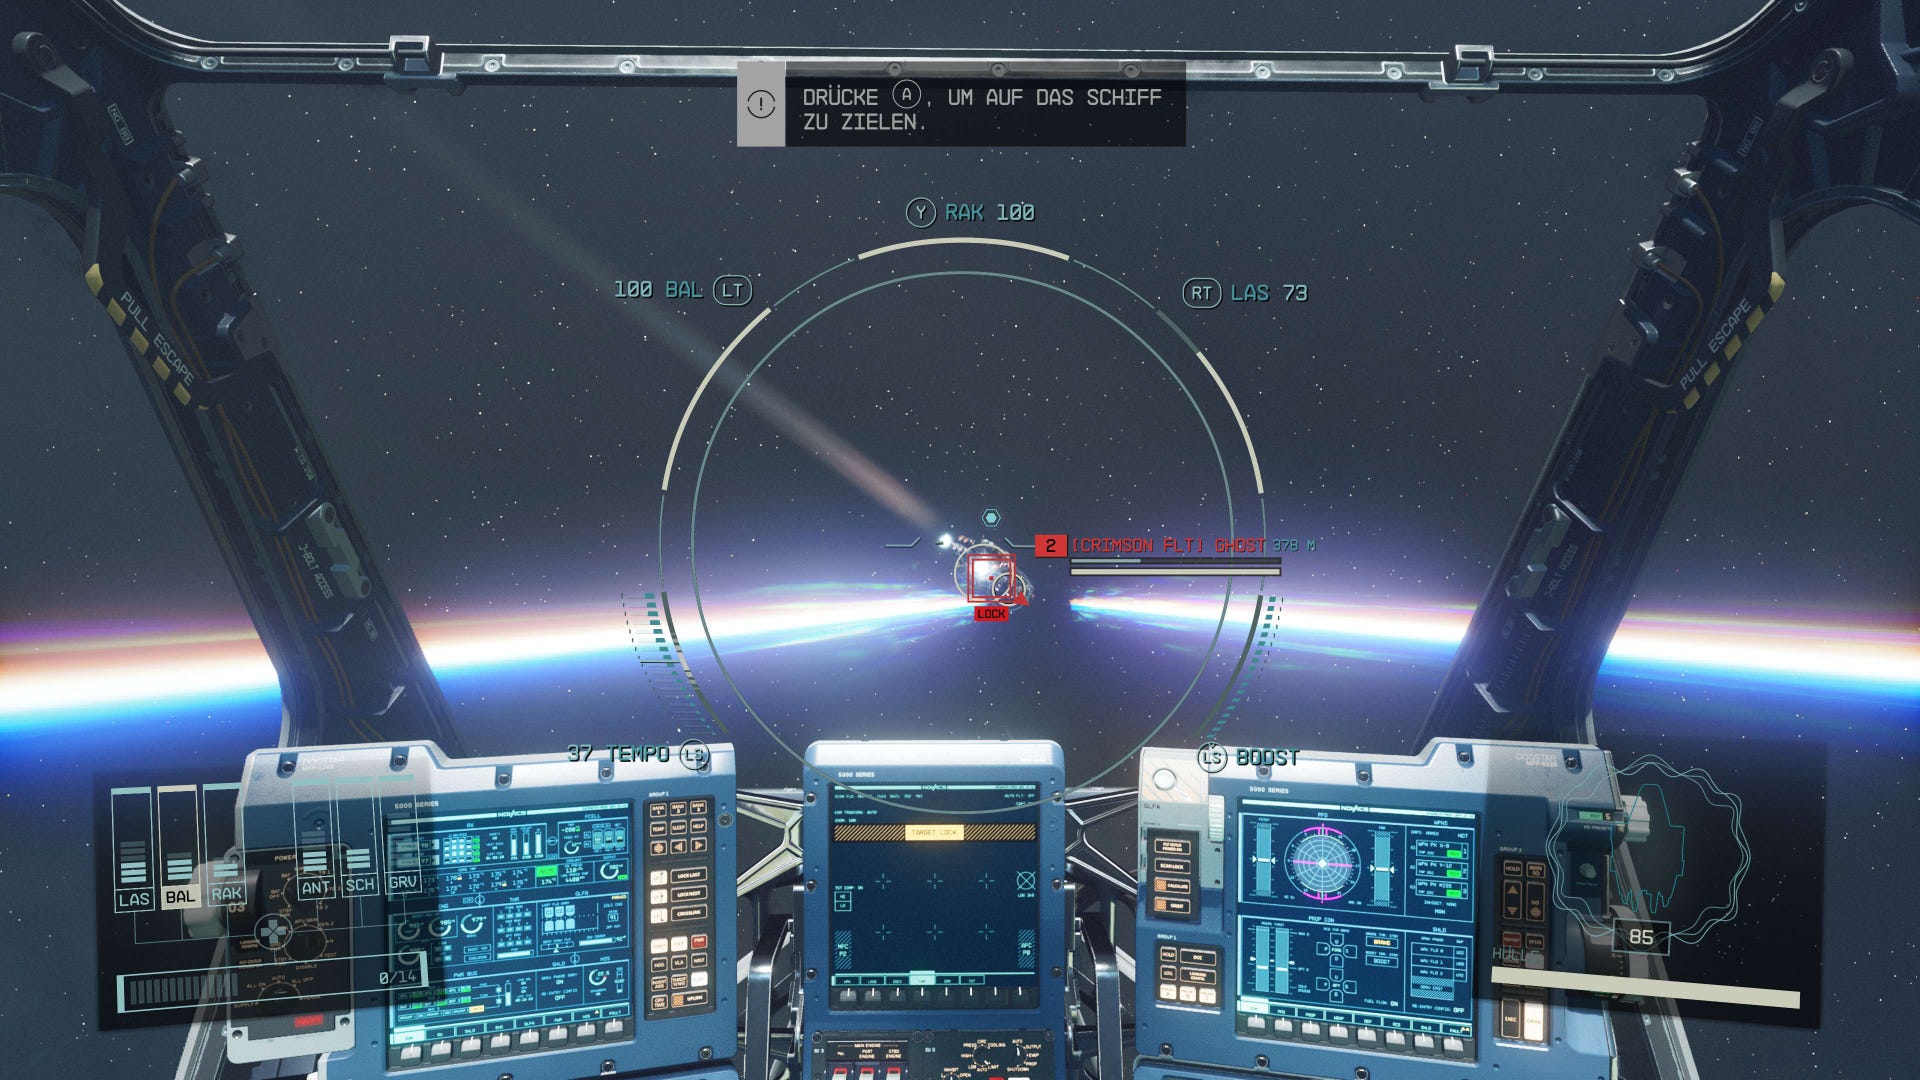
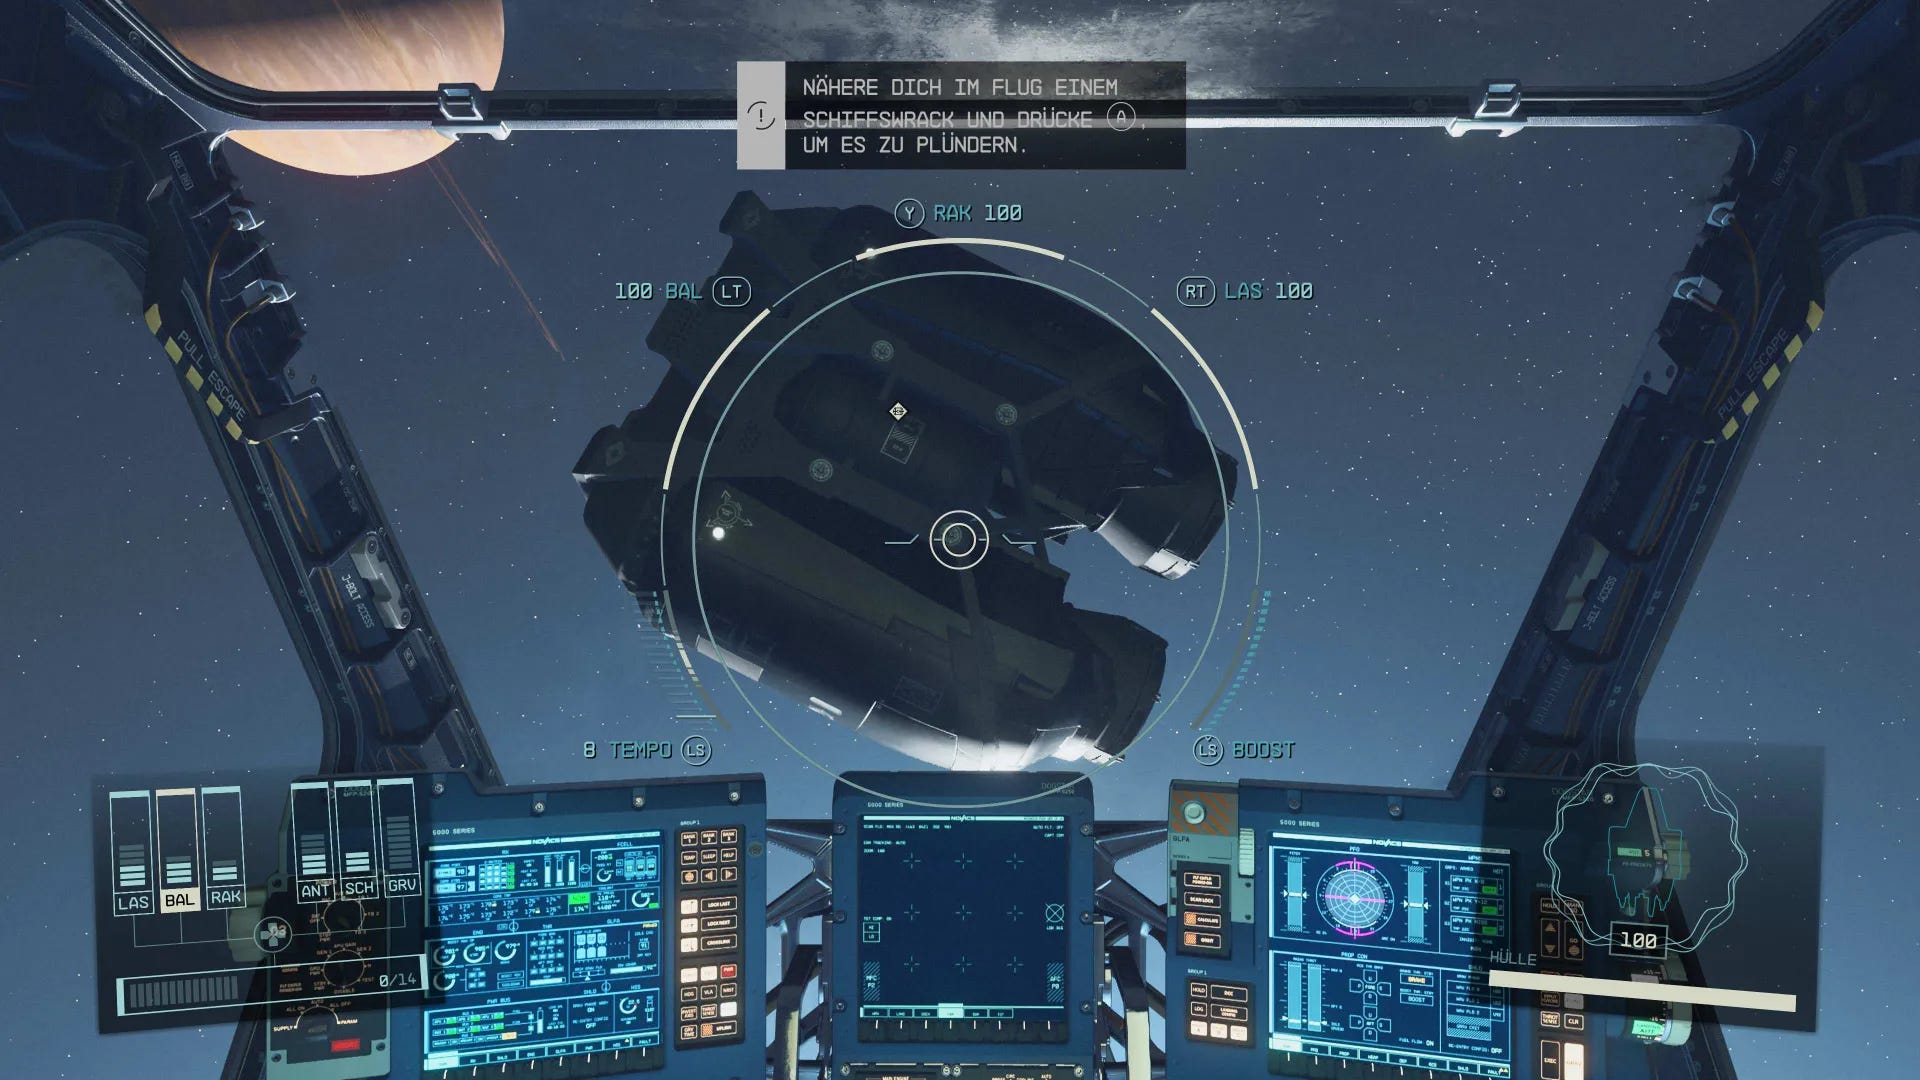
A briefing on shields and hull damage follows. It doesn't take long for the first pirate to appear. Hit him with the Gatling Laser (RT) and fire a missile (Y) once his shields are down.
Then approach the wreck and press the A button once you're close enough to loot the remains. Two more pirates follow, and you can switch targeting between them with the A key.
Kill them both in the way we've just tried and loot what they leave behind.
Journey to Kreet
Vasco directs us to the pirate leader who is taking shelter on a planet called Kreet. We're supposed to find him there and take him out.
Open the menu with the start button and the star map in the top left. Press the B button once to zoom out and you will find the small planet Kreet at this point not far from your position:

The research laboratory is already marked. Click on it to set the course, then use the unlocked fast travel to the nearby orbit (see our guide to fast travel in Starfield for more information on the system, which is a bit confusing at first).
Finally, you can land there via the map icon for the Kreet Research Laboratory. The transition is visualized by a loading screen.
Take care of the captain of the Crimson Fleet
After landing on the planet, exit the ship and follow the marker down the slope to the southeast. After a short walk you will discover the entrance to the laboratory.
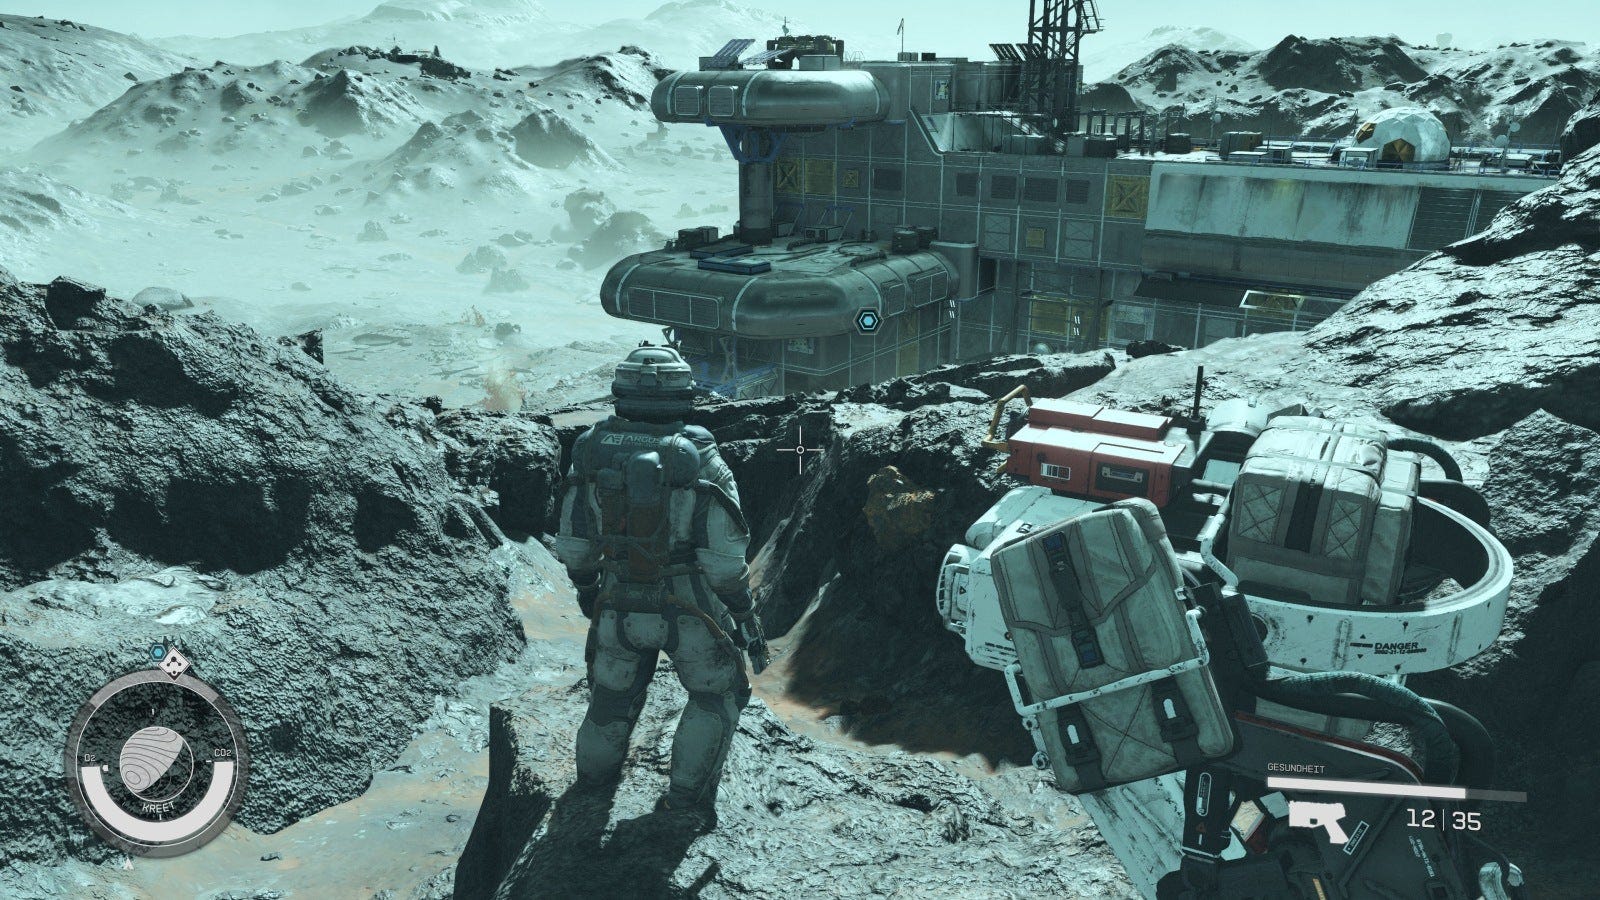
To the right of the front door you will find a medipack, then go inside the base.
There you can search the interior if necessary to be able to take one or the other item with you. As always in Bethesda games, there's plenty to see and loot.
Then go up the stairs in the direction of the marker and you will come to a storage area. Cross this in the direction of the kitchen and listen to the conversation of the pirates coming from the next room.

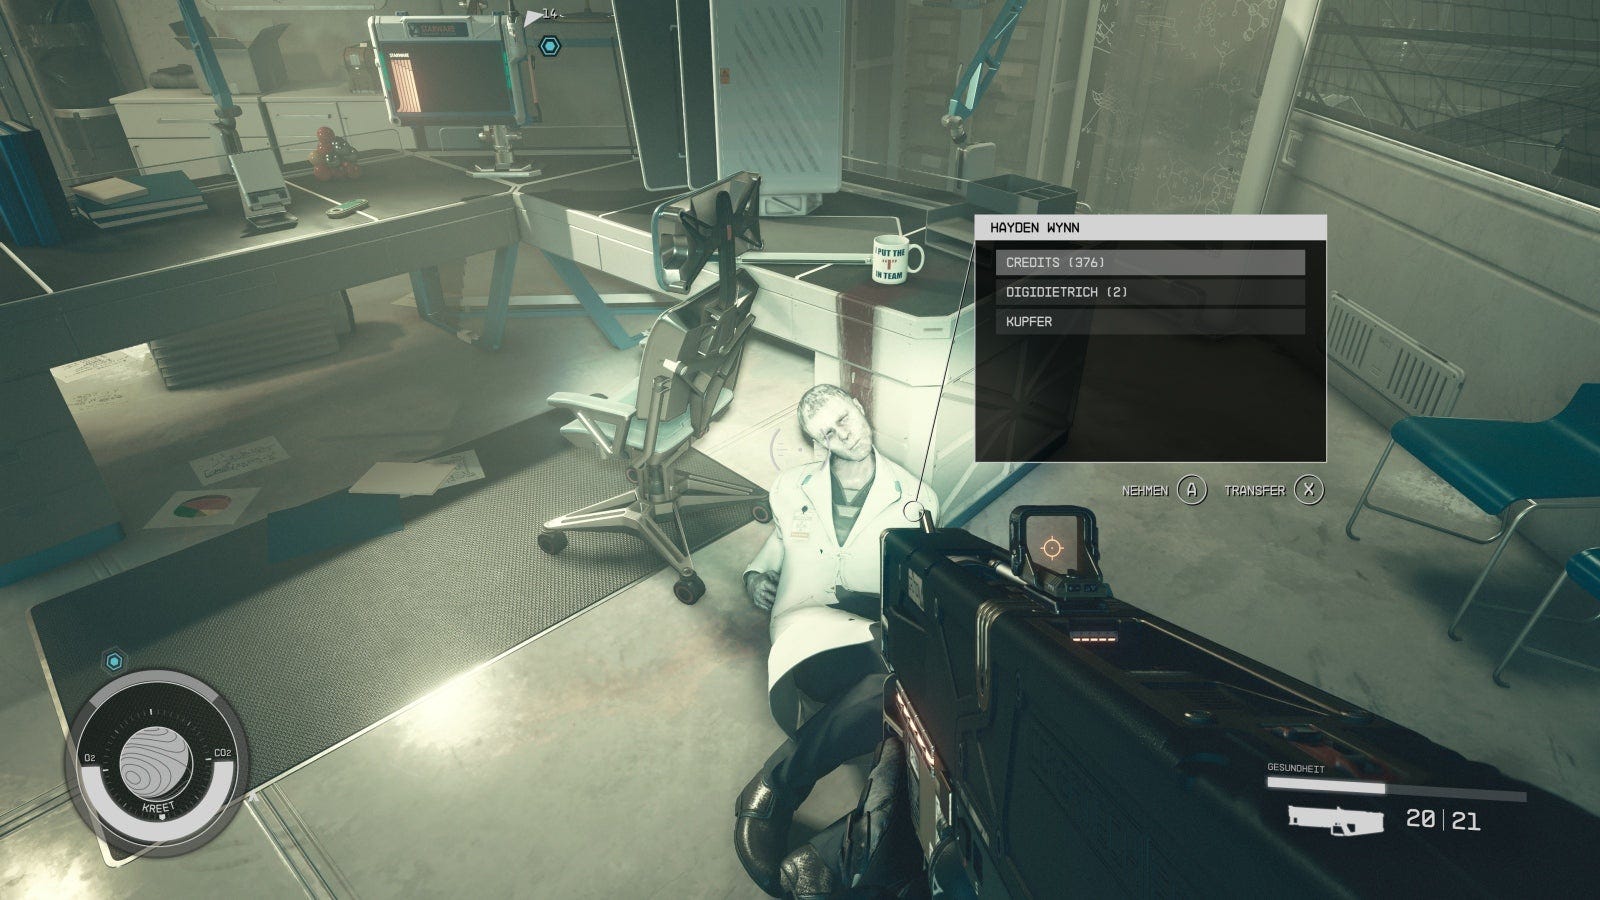
Backstab the guys and enter the hallway with the crew cabins next to it. These can be searched for something useful. You'll also find computers here, which you can use to read e-mails and learn more about the laboratory.
Once you've seen everything, go to Labor 01, where you'll surprise two pirates on the right-hand side. A fight then ensues against their colleagues in the same room, a good half dozen in total.
After this fight, you should level up for the first time. Loot the remains of the pirates and follow the blue marker to the 'Research 02' room.
There are other pirates hanging around here and they have to be taken out. Follow the stairs up, go through the office and Vasco will point you to a safe in the hallway next to it.
Optional: Unlock the safe

Kill the parasite that falls in front of the safe and you can use a Digipick to open the safe. To do this, you have to complete a simple mini-game (see lockpicking in Starfield ).
As a reward we get 1225 credits. Then we take the ladder next to it to the roof access. There is a little loot in the small storage room before we open the door and step outside.
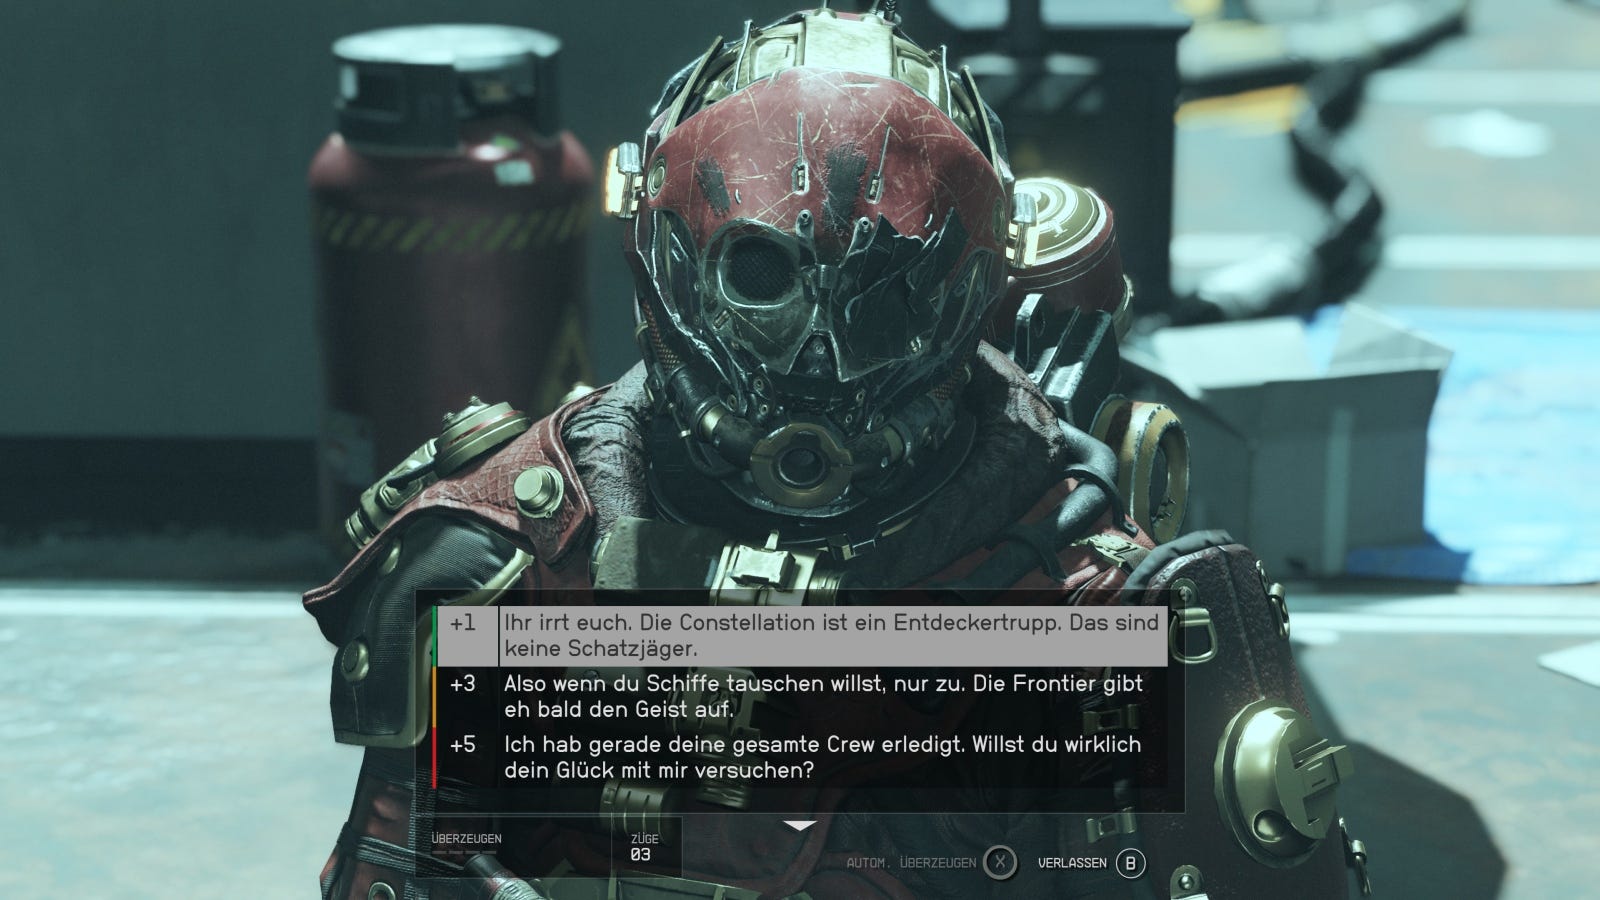
There we are met by a certain Brogan and his people. In the course of the dialogue you can start an attempt at persuasion (see persuasion in Starfield) and convince the guy that there is nothing of value on your ship. If this attempt fails, only the fight remains.
Return to the ship
Either way, the matter is settled afterwards. You can now LB open the scanner, target the ship icon, and fast travel back to it.

Once you're back behind the wheel, you'll get the next objective in this quest.
Grav jump to Jemison
Open the menu, below the mission directory and press the X button on the name of the current quest to automatically plot a course and grav jump to the next objective.
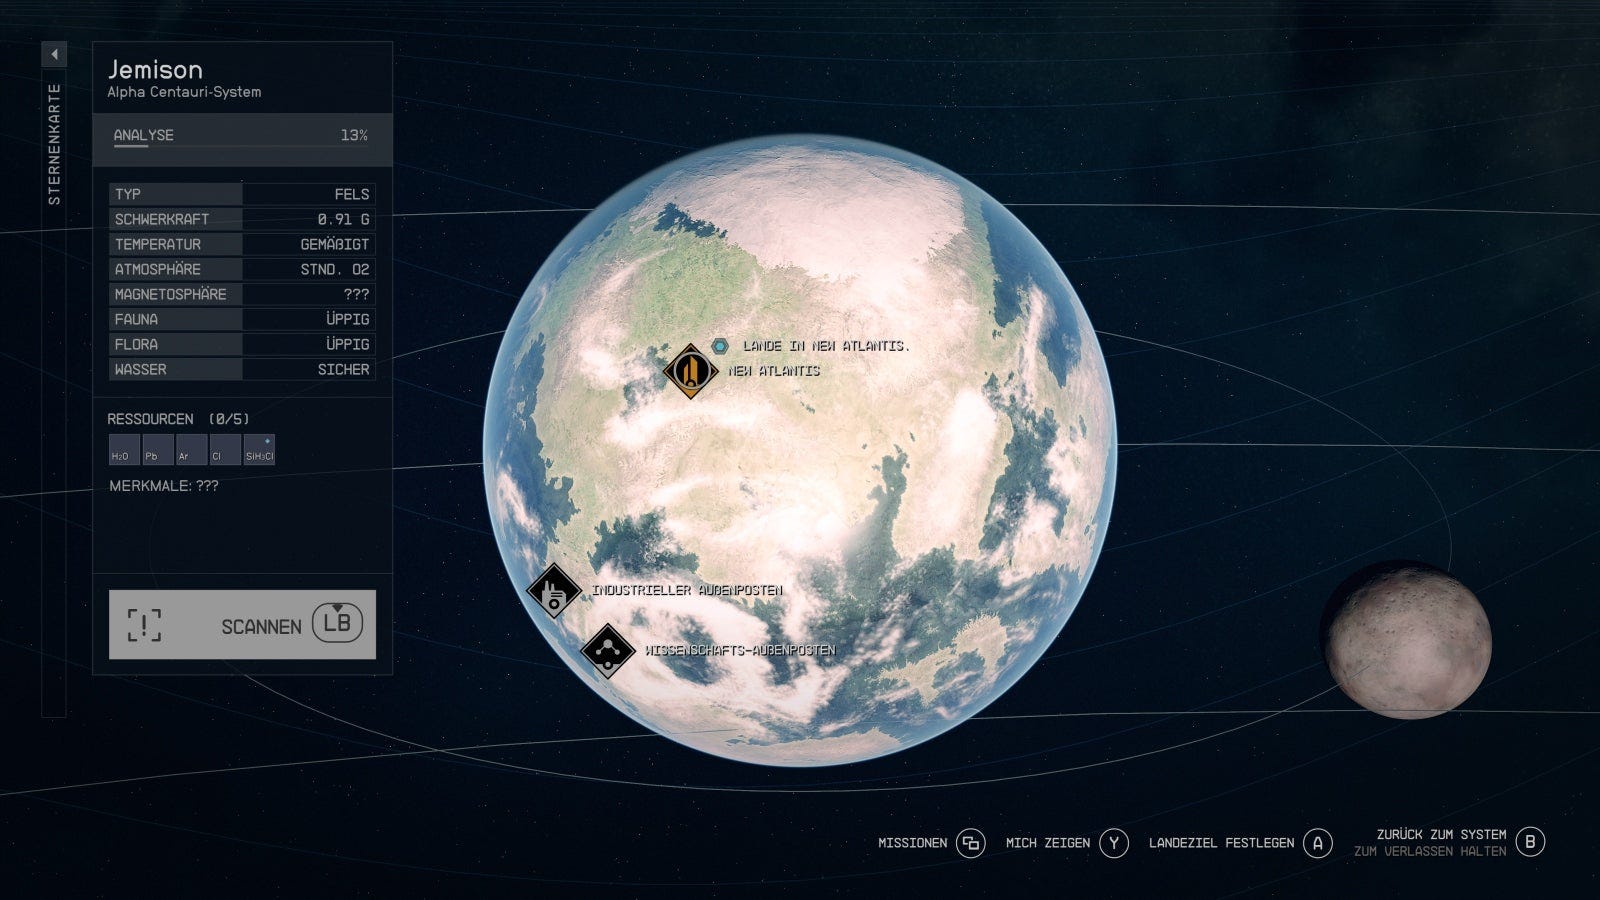
This will take you to the Alpha Centauri system in no time, right next to the planet Jemison. After receiving permission to land, you open the star map and land in New Atlantis, the capital of the United Colonies.
Go to the Lodge in New Atlantis (MAST district)
After disembarking, speak to the Ship Maintenance Technician, who will give you some introductory information. Follow the path behind the marker.
She points to a transit wagon nearby that will drive us straight to the MAST District. Walk straight ahead here, keep to the right and follow the markings to the entrance to the Lodge. It opens thanks to your watch.

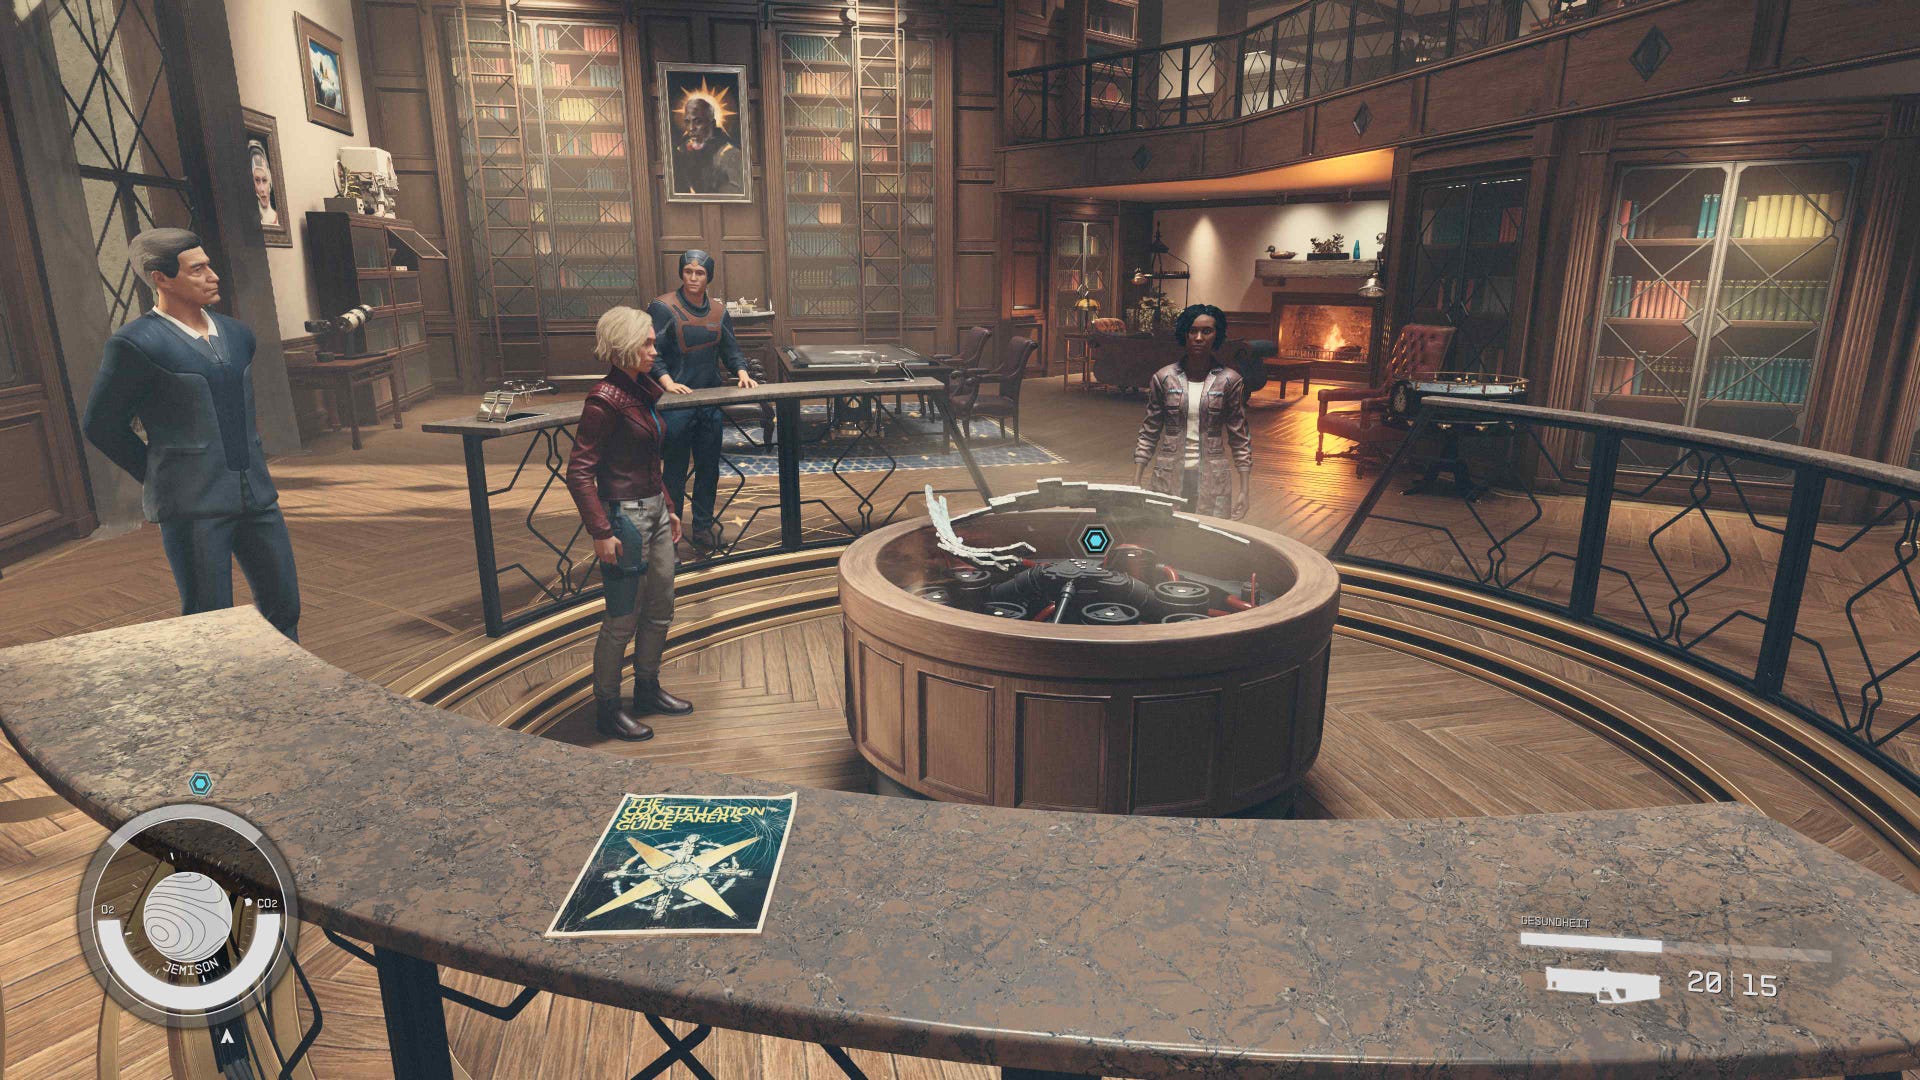
Enter the library
Behind the next door you will be greeted by a lady named Sarah Morgan, Chairwoman of the Constellation. After the round of introductions is over, follow the course of the meeting.
Then put the artifact you brought with you on the table and grab the Constellation-Guide 01 (permanently reduces fall damage by 5%).
The quest will be completed after another dialogue with Sarah. We receive a Constellation backpack and the Key of the Lodge. At this point the new main quest starts: The Old Neighborhood.
Back to the table of contents: Starfield walkthrough