Spirit Temple and Guidance from Ages Past walkthrough for Zelda Tears of the Kingdom
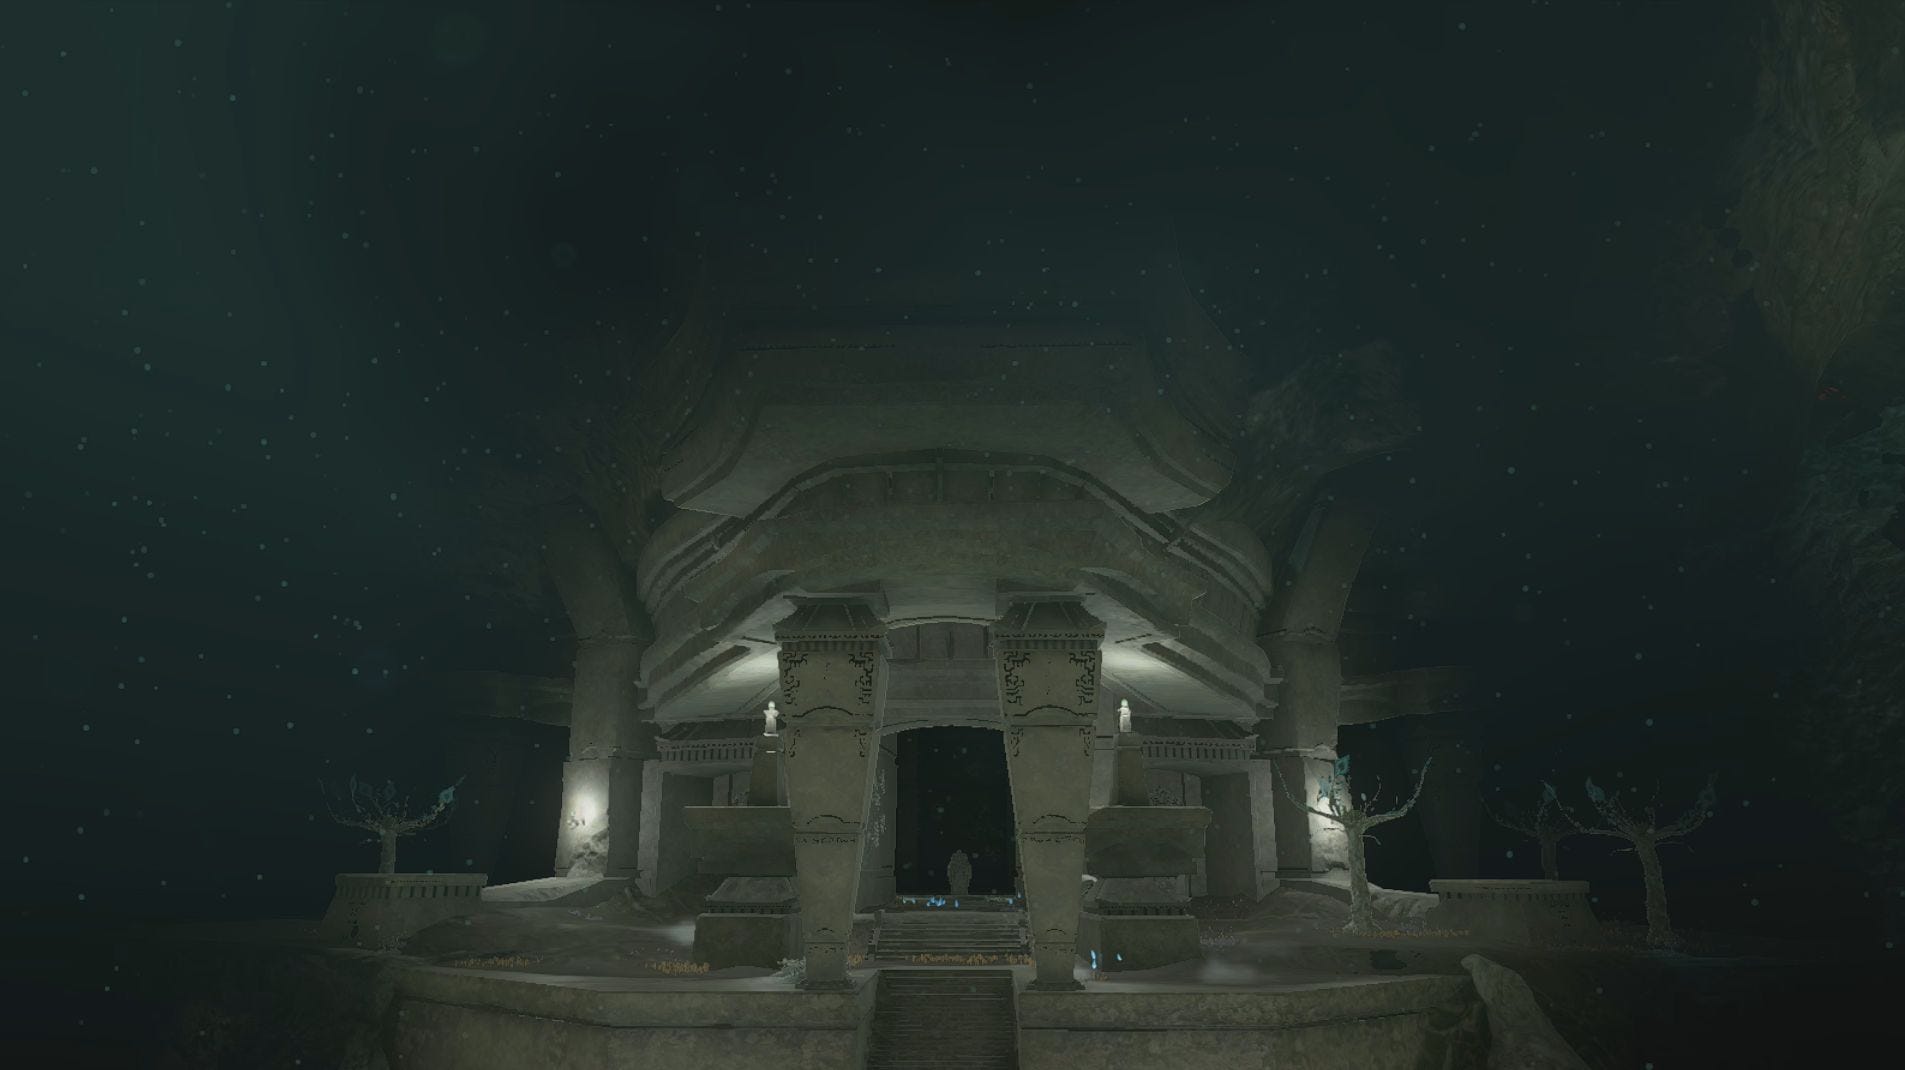
A temple hidden within The Depths.

The Spirit Temple is your ultimate destination in the Guidance from Ages Past quest in Zelda: Tears of the Kingdom.
Reaching this temple, however, isn’t an easy feat as you first have to build a Construct at the Construct Factory. Once it's built, you’ll need to journey through The Depths of Zelda: Tears of the Kingdom until you find the Spirit Temple.
In our Spirit Temple walkthrough below, you’ll learn how to start Guidance from Ages Past and the location of the Spirit Temple. We’ve also included a summary of the plot beats you need to complete to reach the Spirit Temple if you’re following the game’s storyline.
Hey! Listen! While we’ve done our best, this guide does contain some spoilers!
On this page:
If you’d like to learn more about Link’s adventure in Hyrule, visit our Zelda: Tears of the Kingdom walkthrough.
Spirit Temple walkthrough in Zelda Tears of the Kingdom
The road to the Spirit Temple is a long one if you’re following the storyline of Zelda: Tears of the Kingdom as it involves completing a main quest, solving a riddle and visiting a specific island in the sky.
Story-wise, the game wants you to visit the Spirit Temple after finding all of the Zelda locations in Crisis at Hyrule Castle, but you may have found it already simply by exploring Hyrule.
Below you’ll find a quick summary of what you have to do to complete the Spirit Temple:
- 1. Start 'Find the Fifth Sage' quest
- 2. Go to Kakariko Village
- 3. Start 'Secret of the Ring Ruins' quest
- 4. Find the Charged Armor Set
- 5. Travel across the Thunderhead Isles to Dragonhead Island
- 6. Start 'Guidance from Ages Past' quest
- 7. Rebuild the Construct in any order:
- Complete the Right-Leg Depot
- Complete the Right-Arm Depot
- Complete the Left-Leg Depot
- Complete the Left-Arm Depot
- 8. Travel to the Spirit Temple
- 9. Defeat the Seized Construct boss
It’s important to note that you can visit the Spirit Temple whenever you like, so, if you’ve been spending most of your time exploring Hyrule, you might have already found it. If this is the case for you, then you may be able to skip some of the steps outlined above.
How to start Guidance from Ages Past in Zelda Tears of the Kingdom
Before you can start Guidance from Ages Past in Zelda: Tears of the Kingdom, you must start the Find the Fifth Sage main quest and complete the Secret of Ring Ruins main quest. Finishing this quest will involve visiting Dragonhead Island and it's also where the Guidance from Ages Past main quest will begin, but it's not where the Spirit Temple is located.
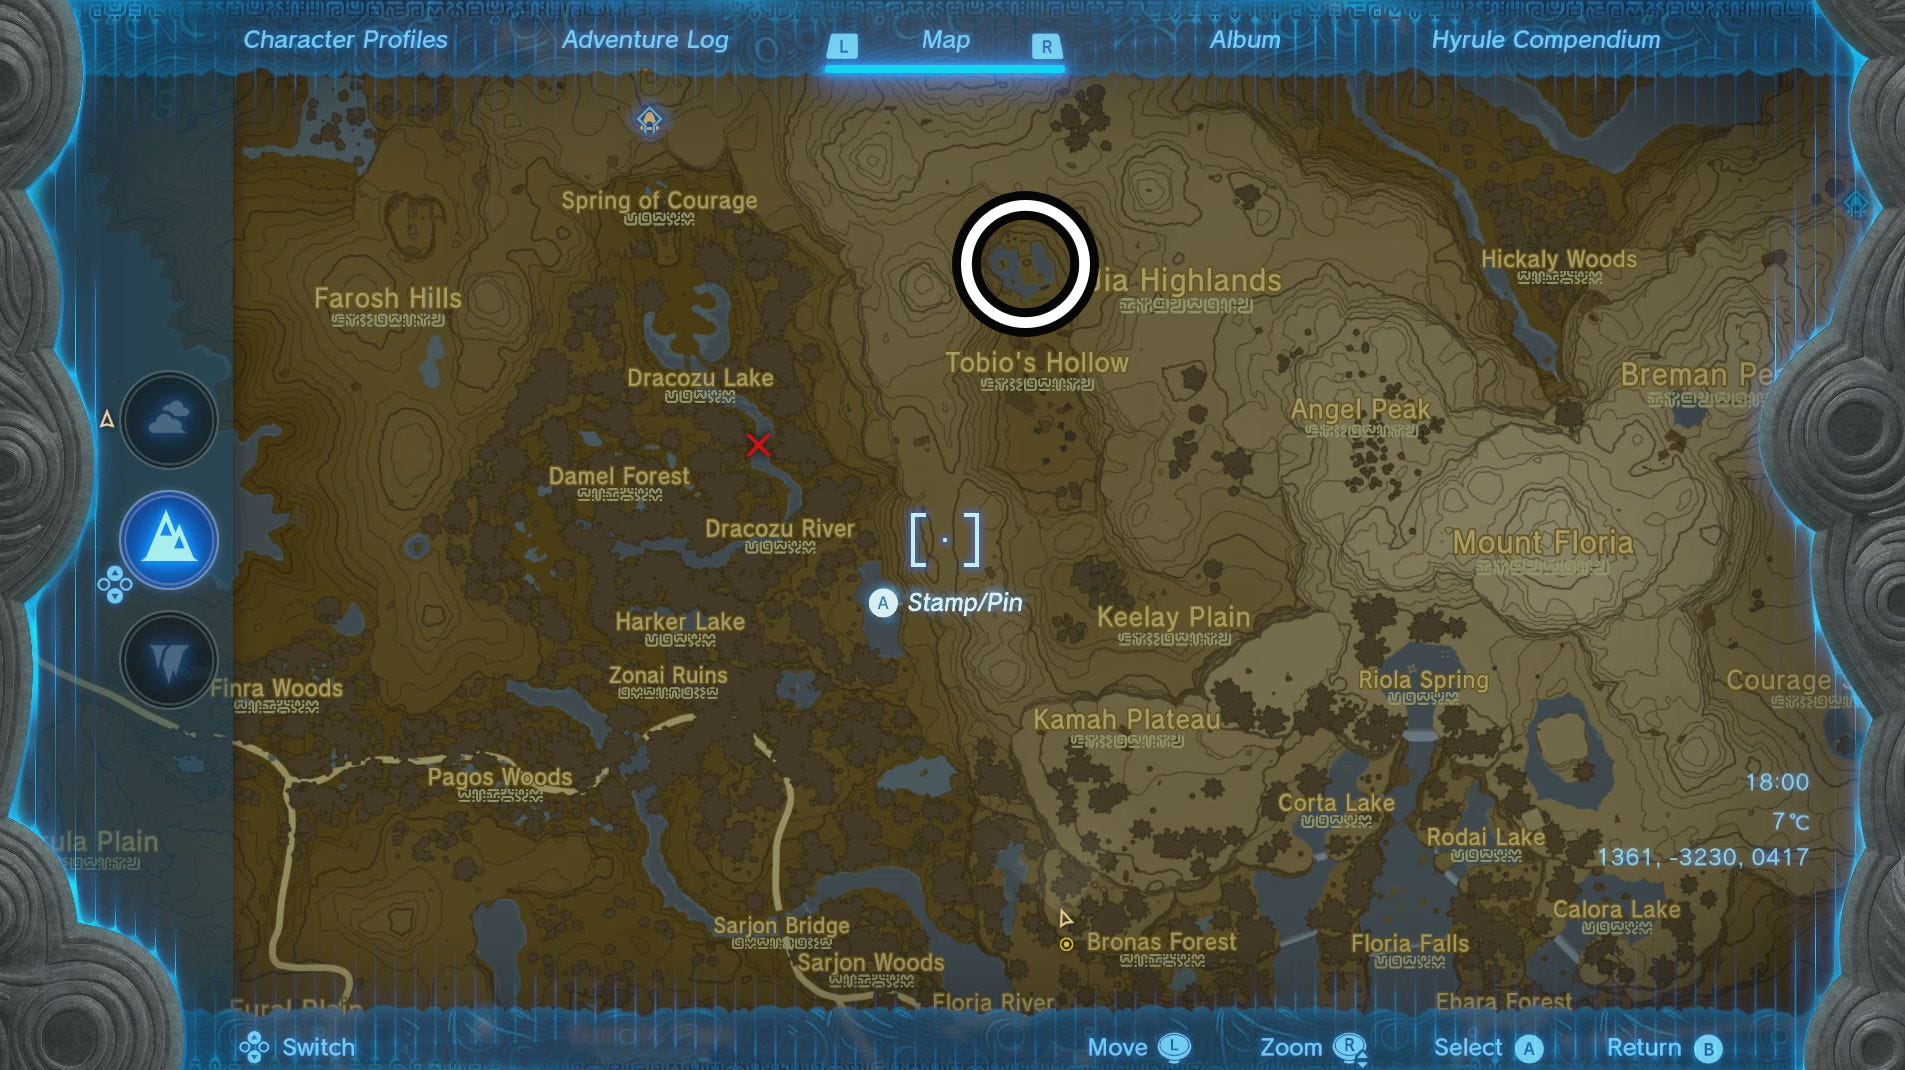
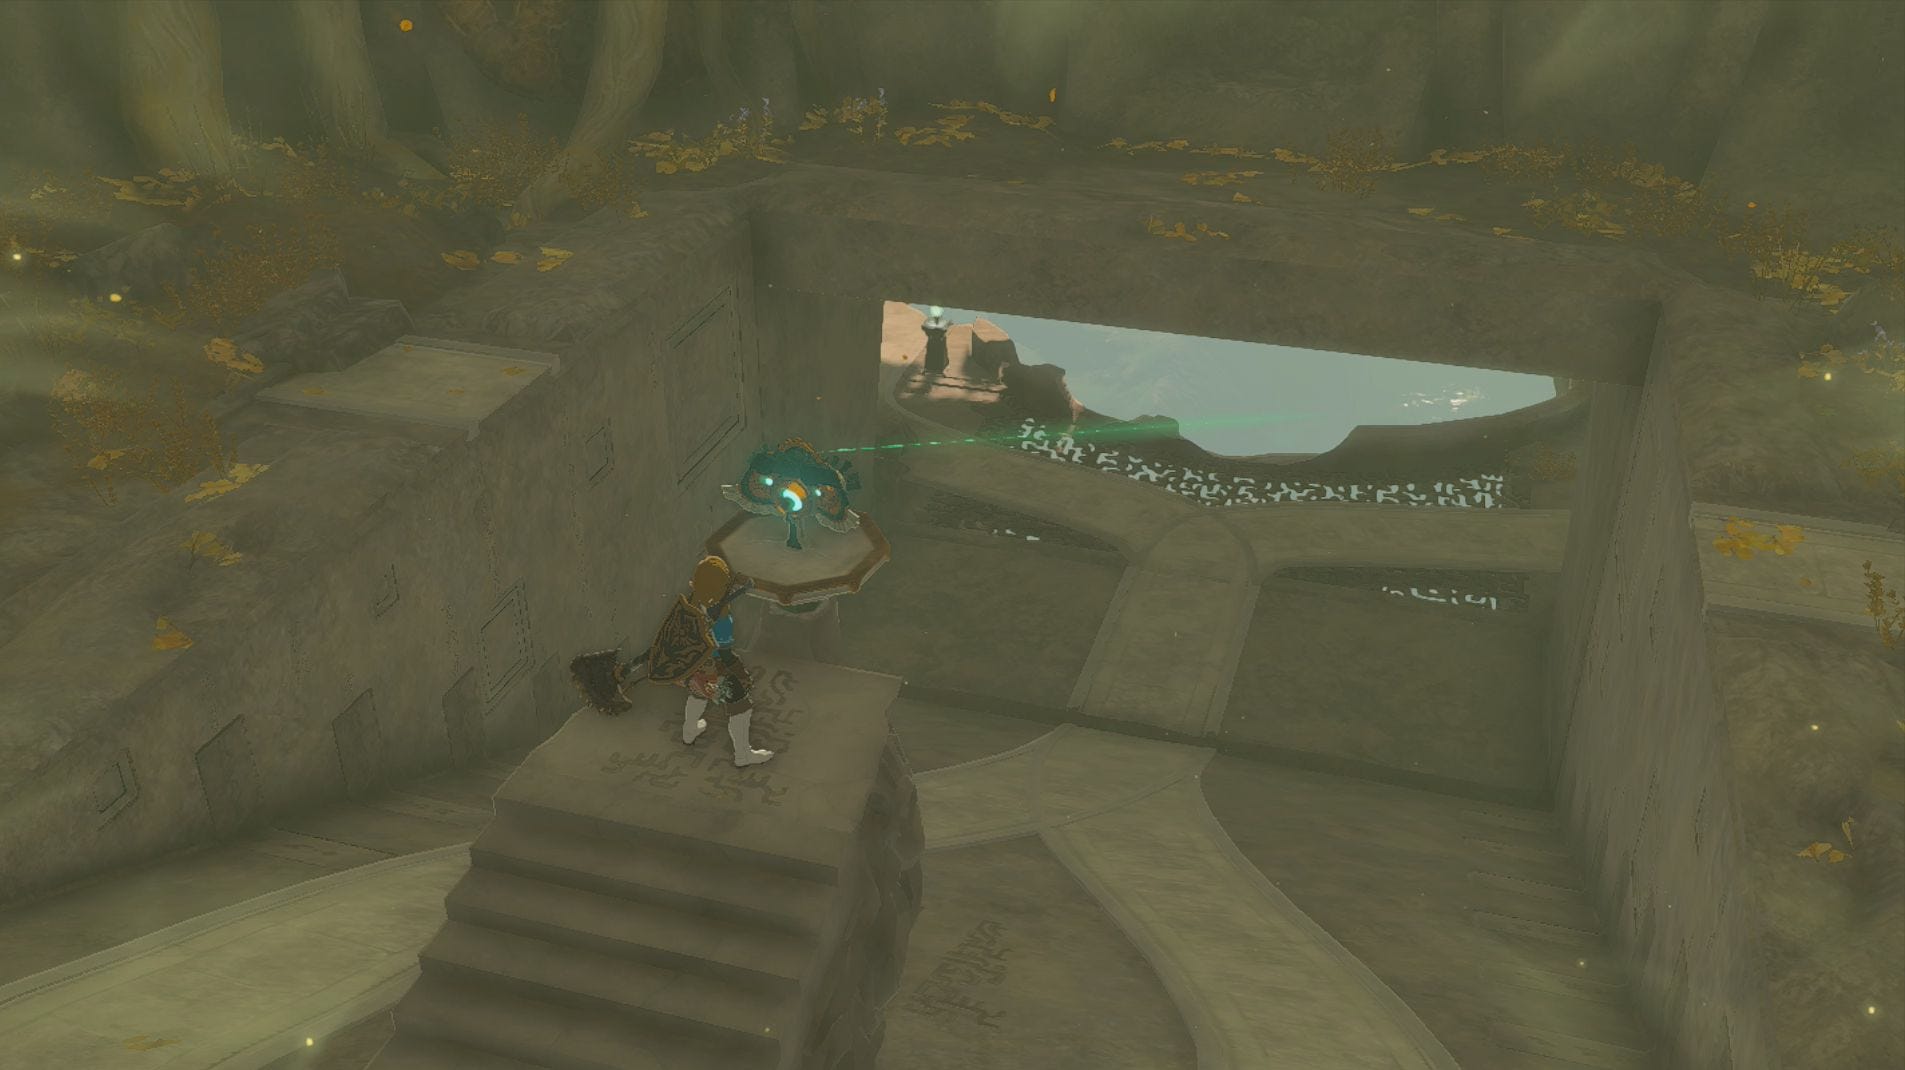
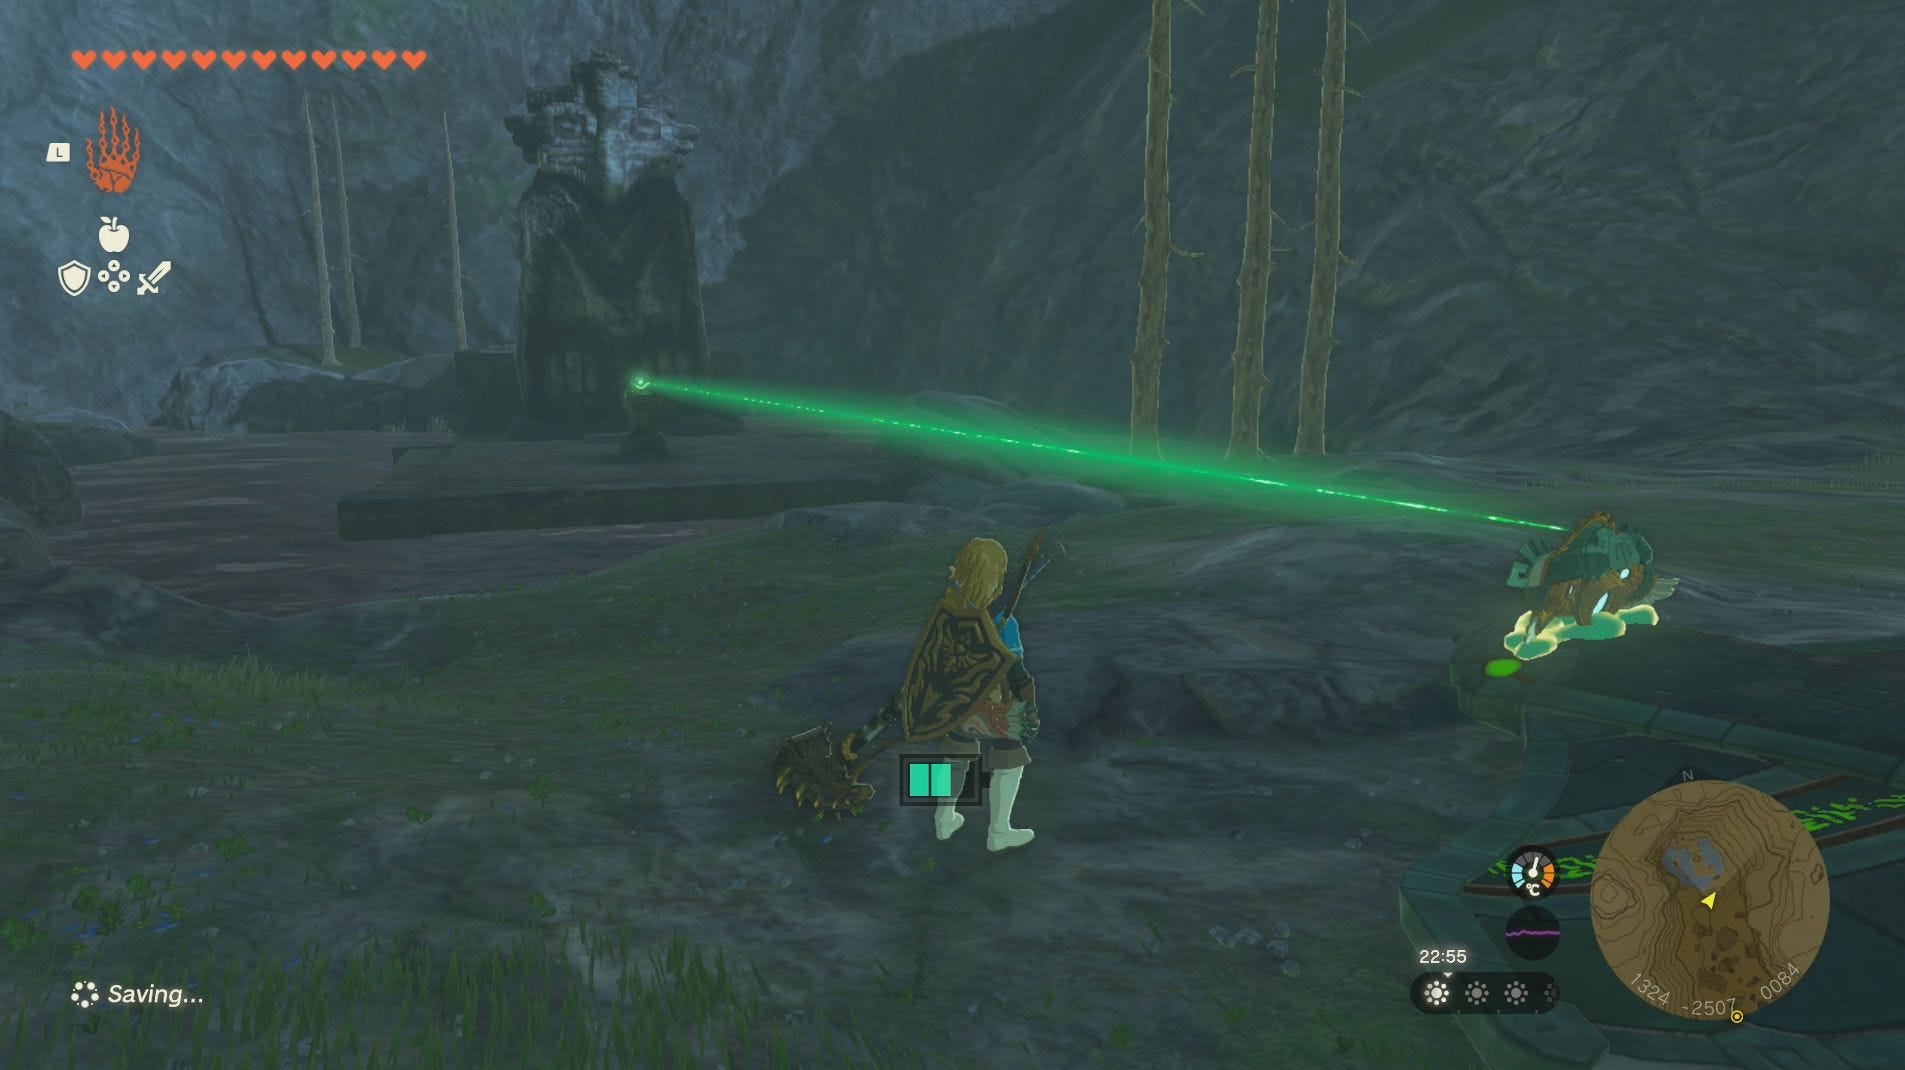
Your quest to find the Spirit Temple continues by following the light being emitted from the mask - the exact location it is pointing to is a statue in Tobio’s Hollow on the ground directly north of where you are in the sky.
The quickest way to reach is to pick up the mask and carry it down the ramp which opened after you touched said mask.
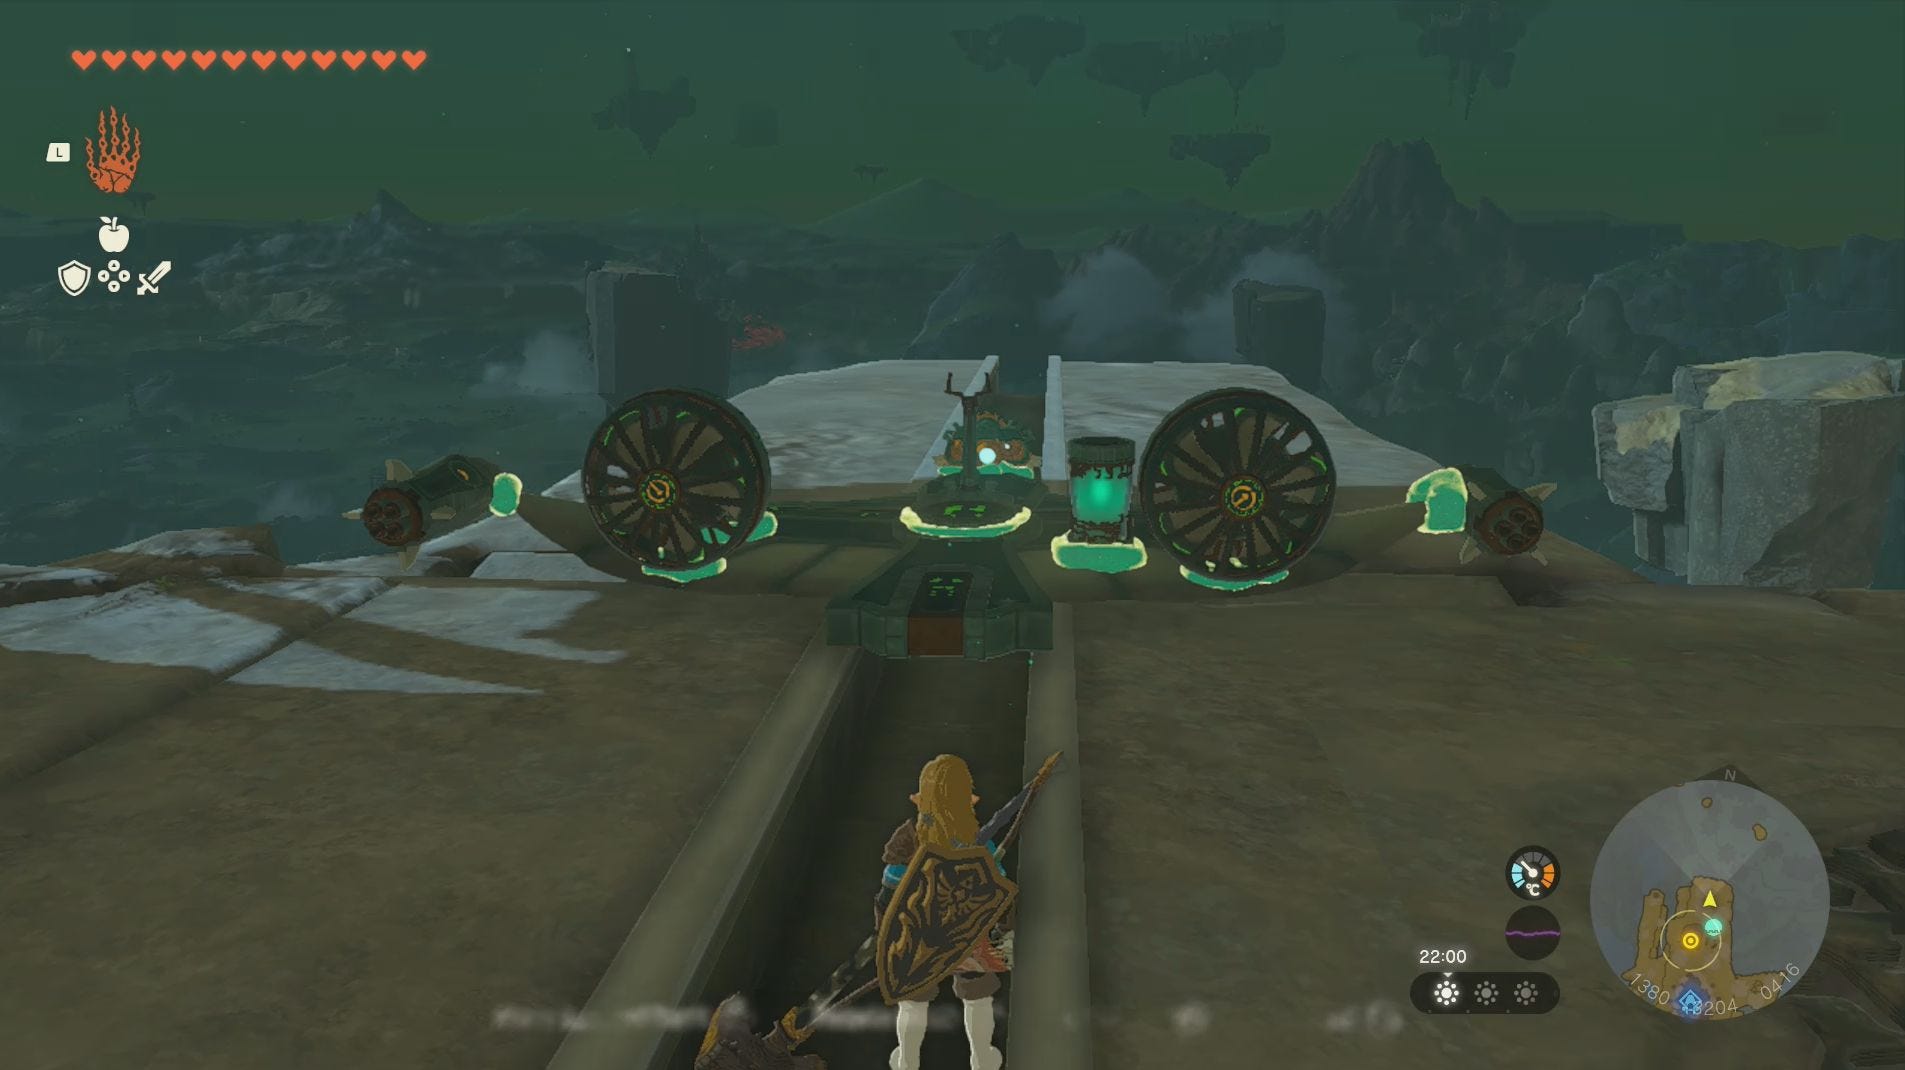
Down this ramp, you’ll find some Wing Zonai Devices, along with Fans, Rockets and Steering Sticks. There’s also a Device Dispenser, which will give you more Fans, Steering Sticks, Carts and Wings.
Use Ultrahand to create a Wing glider that will take you and the mask down to Tobio’s Hollow. We recommend attaching the mask to the front of the Wing, so you can easily follow the light, and, if you have them, using a number of Batteries to increase the length of your flight. The nearby rockets can also give you a useful boost and don’t forget that you can use Zonai Charges to extend your battery life.
When you arrive in Tobio’s Hollow, remove the mask from the Wings and take it to the plinth the light is pointing at. Now follow the light down into the ruins, also called Tobio’s Hollow Chasm, and place it on the plinth.
It’s important to note that you’re about to enter The Depths, so it’s a good idea to ensure you’ve got enough light source materials, like Brightbloom Seeds, and what you need to provide Link with Gloom resistance.
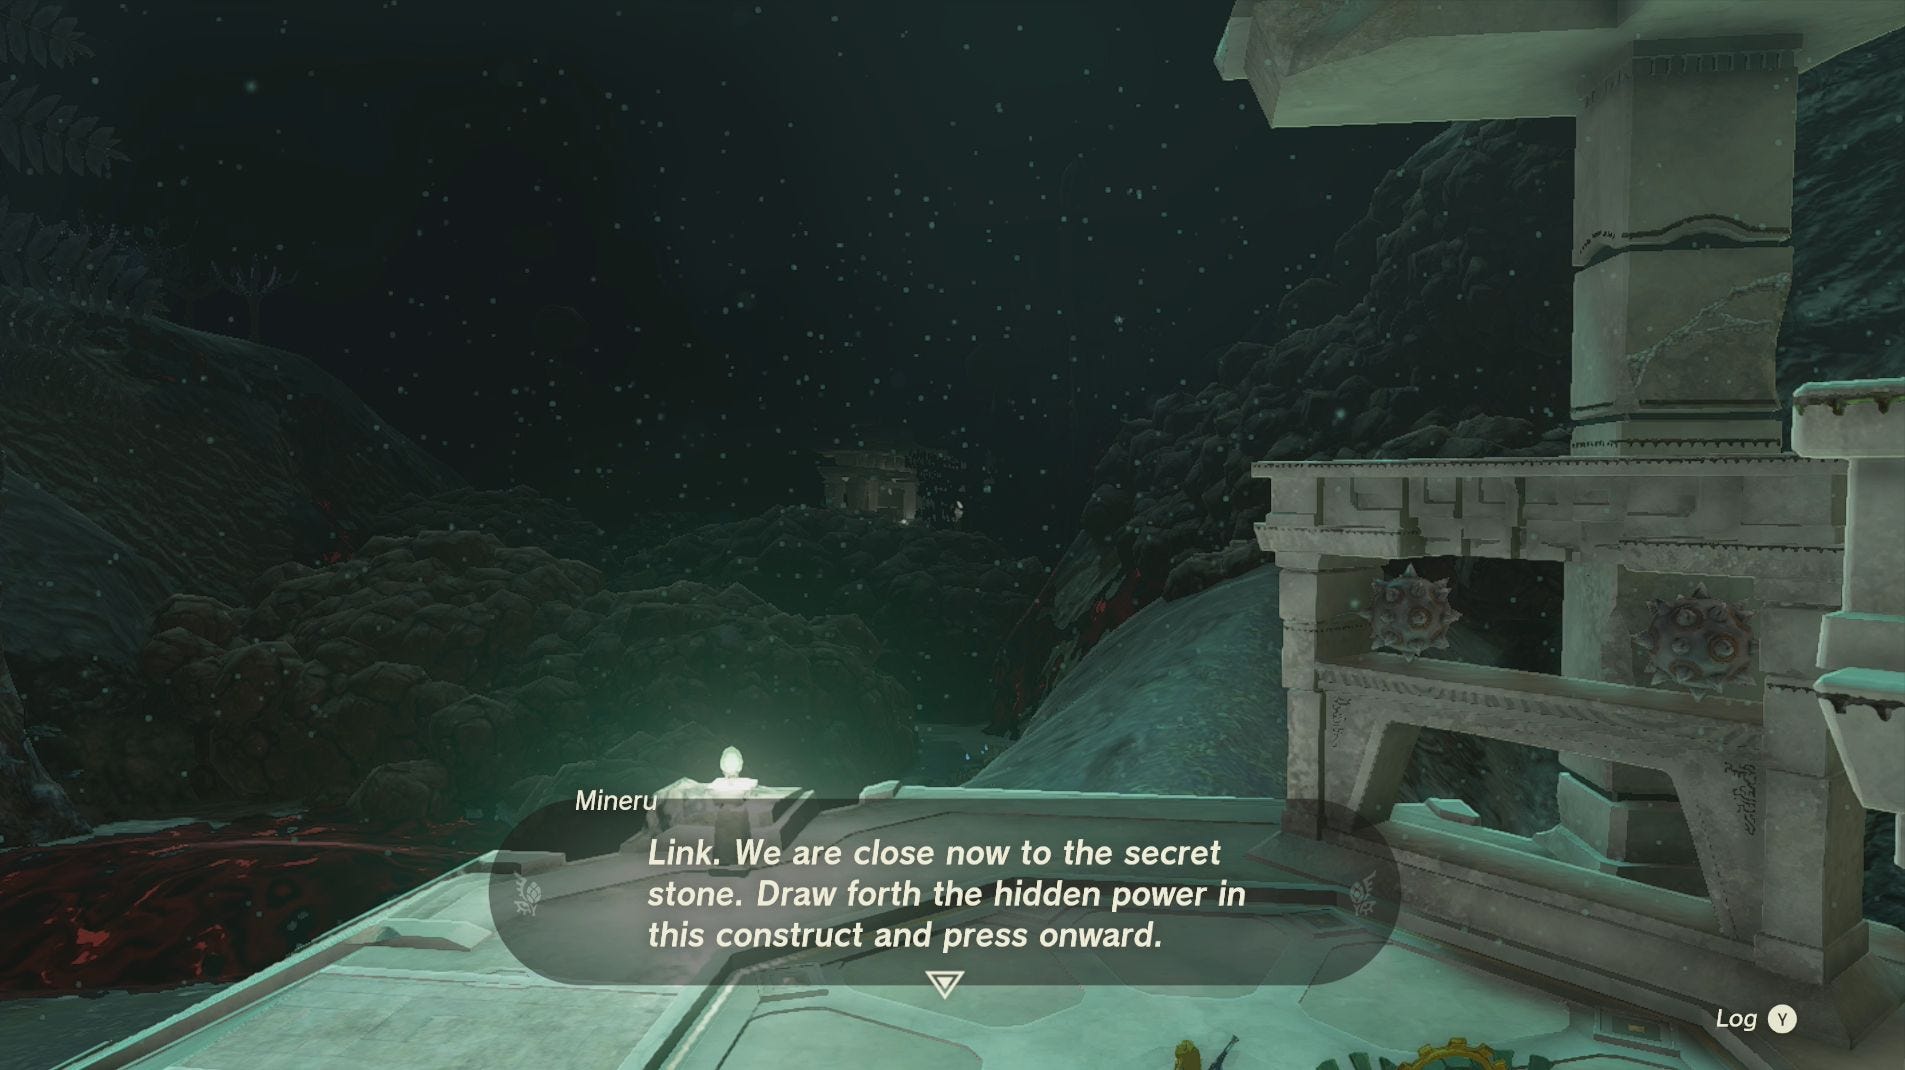
After your elevator ride, the first thing you’ll want to do is turn around and activate the Muokuij Lightroot for both a fast travel point and some light in the depths. With that down, return to the mask and take it to where it's pointing within the Construct Factory.
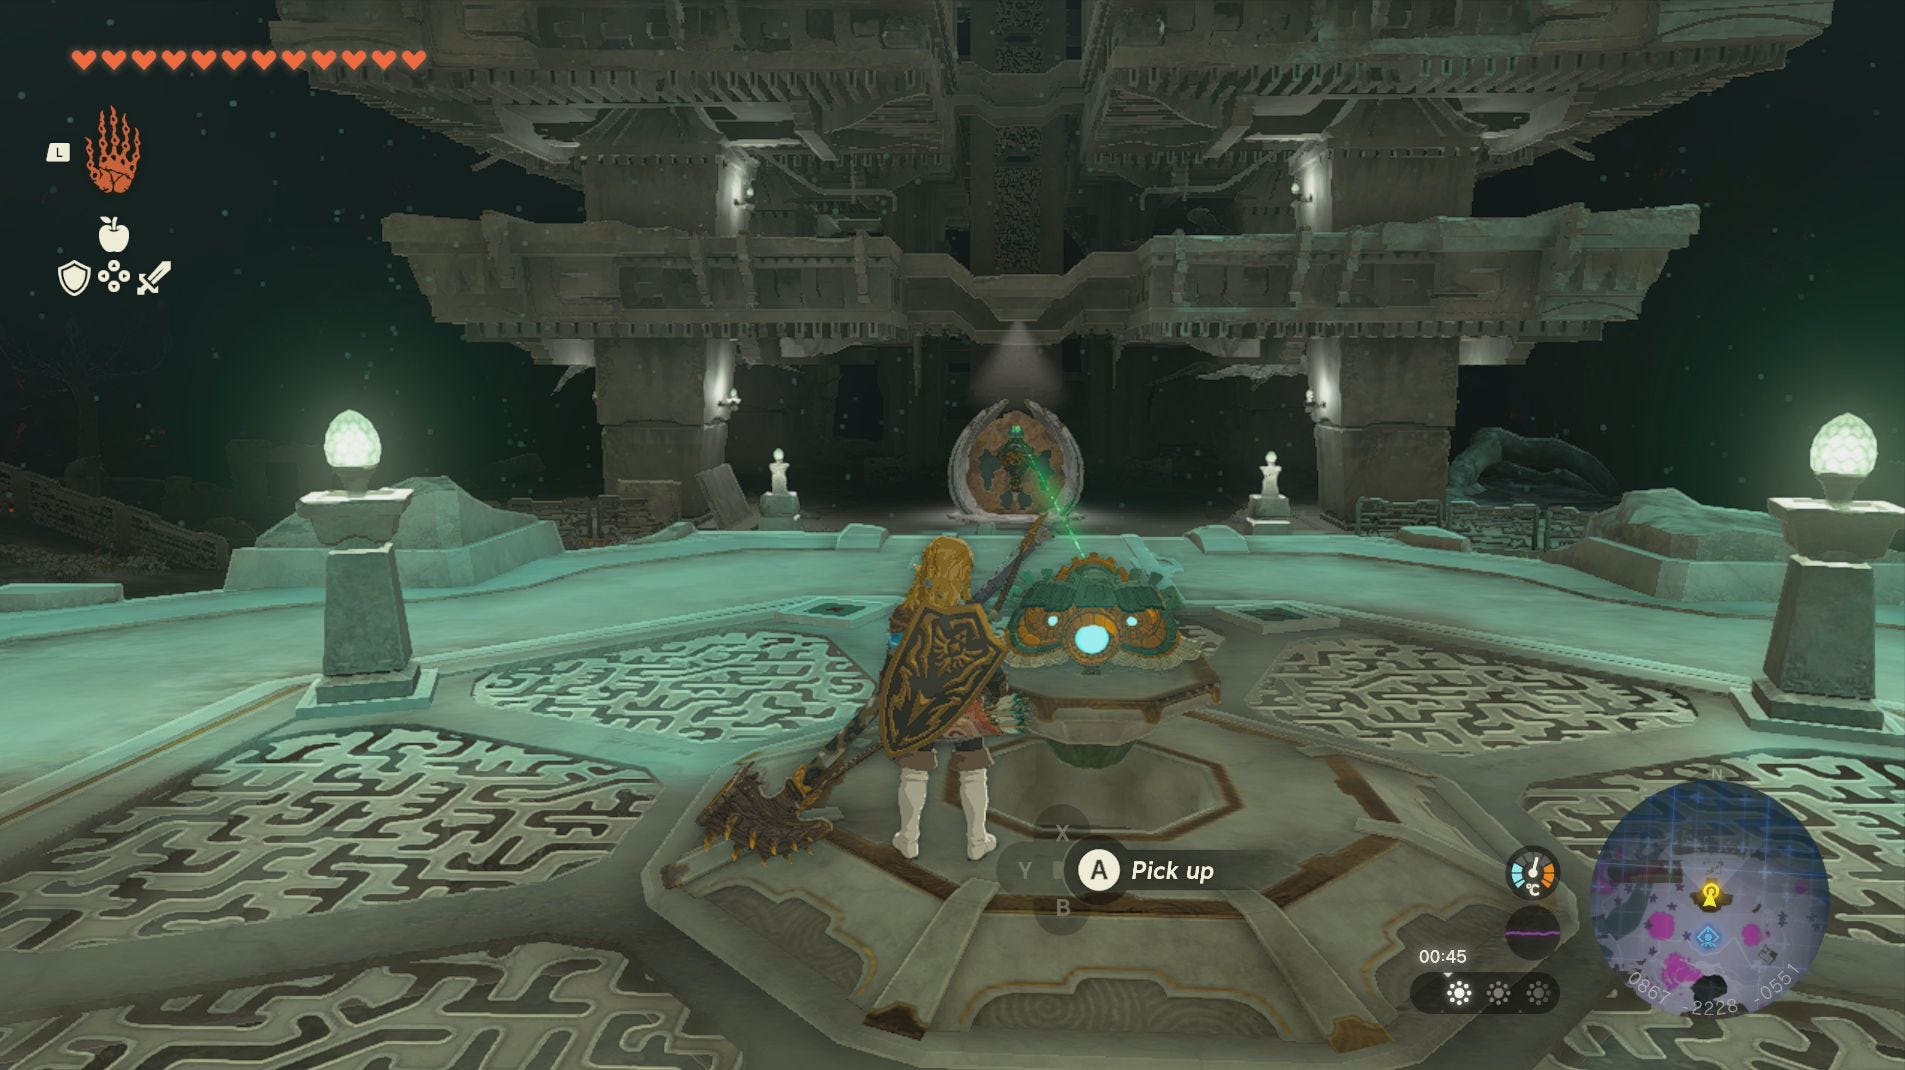
Congratulations! You've found the Sage of Spirit, but sadly she lacks a body, so we’re going to have to make them one.
Helpfully the Sage has illuminated the four depots you need to visit to collect the arms and legs needed for the Construct. The places you need to visit are:
Once you’ve gathered all four body parts, the Construct will be completed and you’ll finally be able to make your way to the Spirit Temple. But first it’s a good idea to know a little about the Construct you’ll be travelling upon…
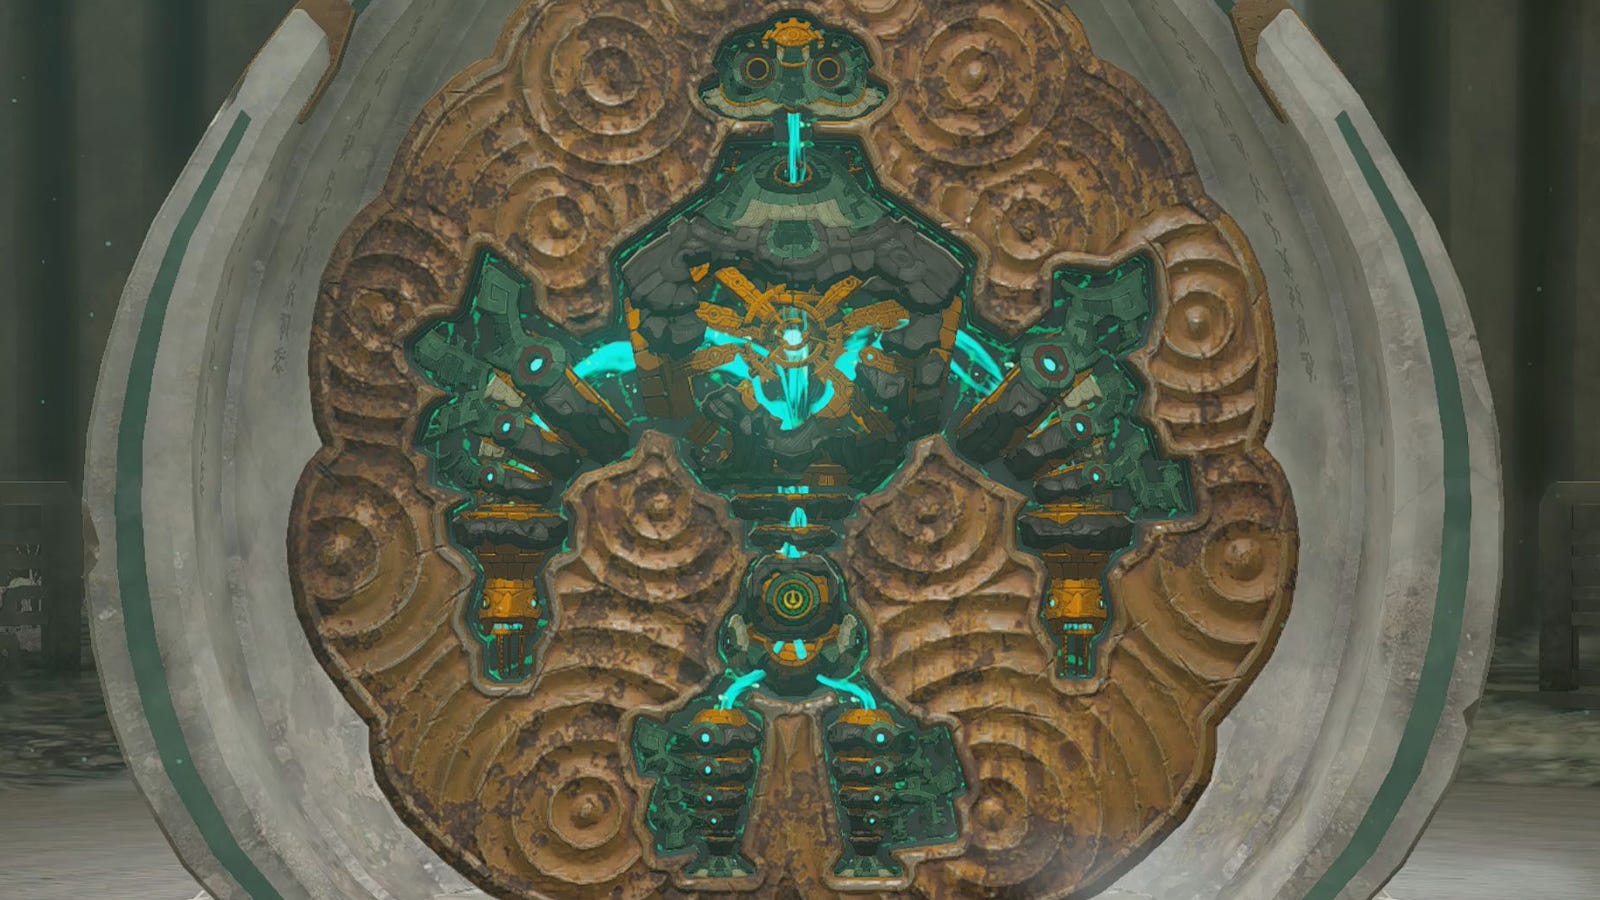
Mineru’s Construct in Zelda Tears of the Kingdom explained
Before we cover how to reach the Spirit Temple, it’s a good idea to go over the basics of how Mineru’s Construct works in Zelda: Tears of the Kingdom.
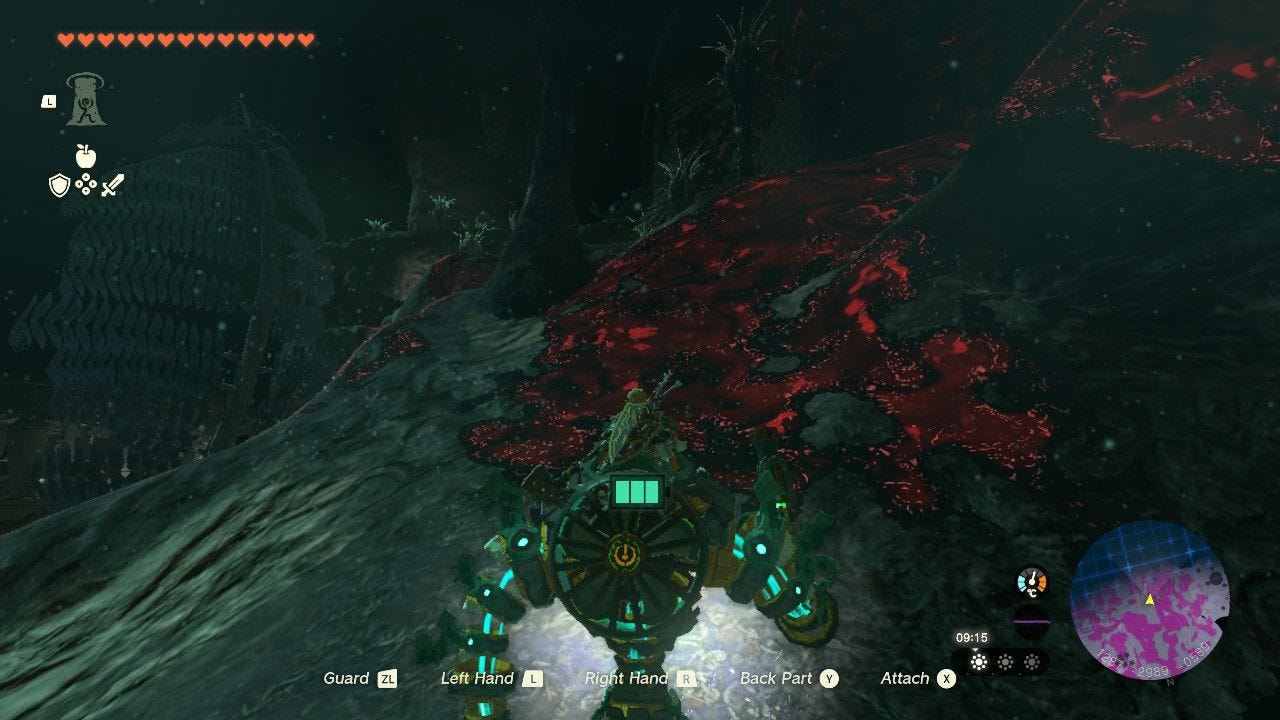
You can both ride Mineru’s Construct and have it follow you around, but keep in mind that whatever you do, be it walking or attacking, will drain some of your Energy Cell. This is the Energy Cell you use for powering all of the Zonai Devices, so you can quickly restore it by using Zonai Charges both large and small. The Energy Cell will also start recharging automatically whenever you stop walking.
The Construct can still walk when the Energy Cell is drained, but it will be far slower until it has returned to full power. It will also still be able to attack, but won’t be able to properly use any Zonai Devices attached to it. So if you have a Flame Emitter attached to the Construct, for example, it won’t be able to shoot flames until the energy cell is recharged.
Mineru’s Construct is also connected to Link’s health, so, when it takes damage, you take damage. This includes having a heart locked by a Gloom attack. The Construct can walk through Gloom though, which makes navigating The Depths a lot easier. It also has a light, which doesn’t sap the Energy Cells, which can help you see through the darkness.
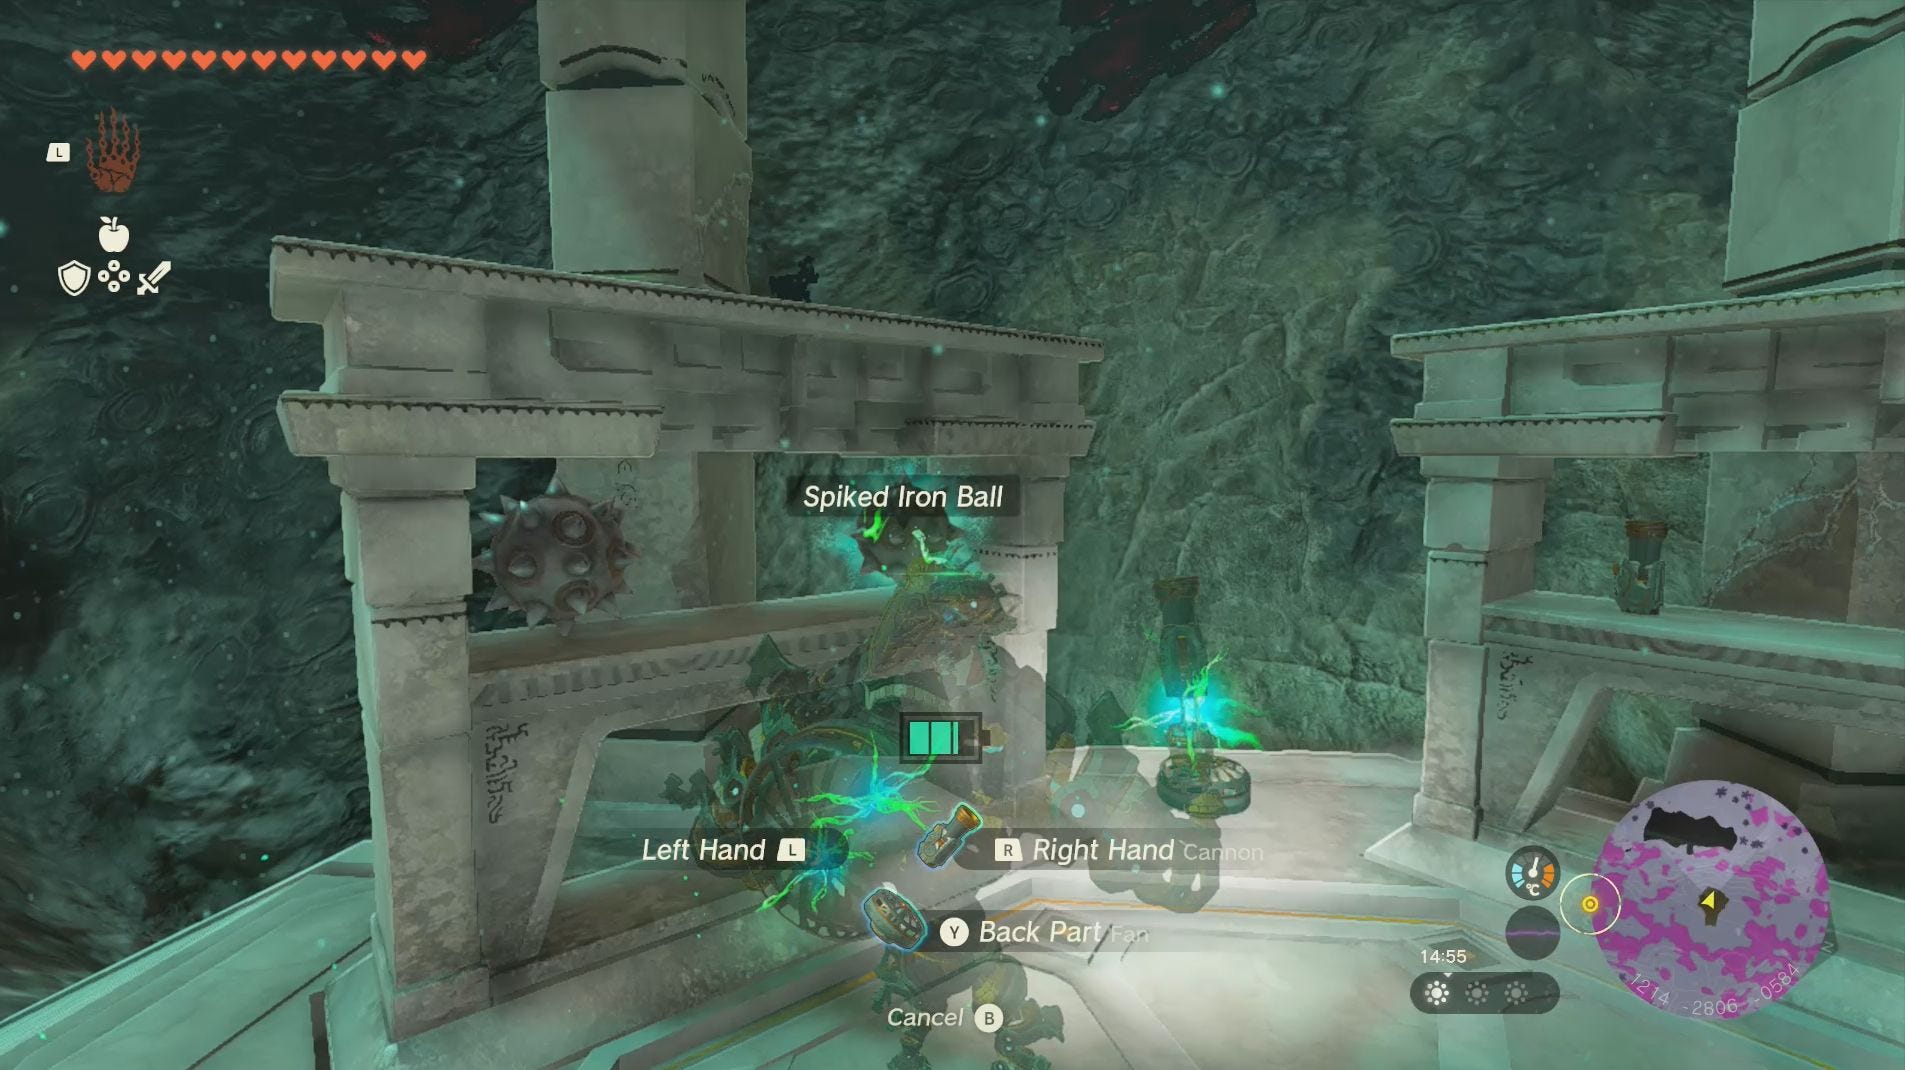
Finally, you can attach a variety of objects and Zonai Devices to both arms and the back of the Construct in a similar way to how you use Fuse. These attachments can be switched at any time, but they can also break so make sure you keep an eye on them.
You can attach an object to the Construct simply by walking up to something, like a Fan for example, pressing ‘X’ and then choosing which part of the Construct you’d like to attach it to.
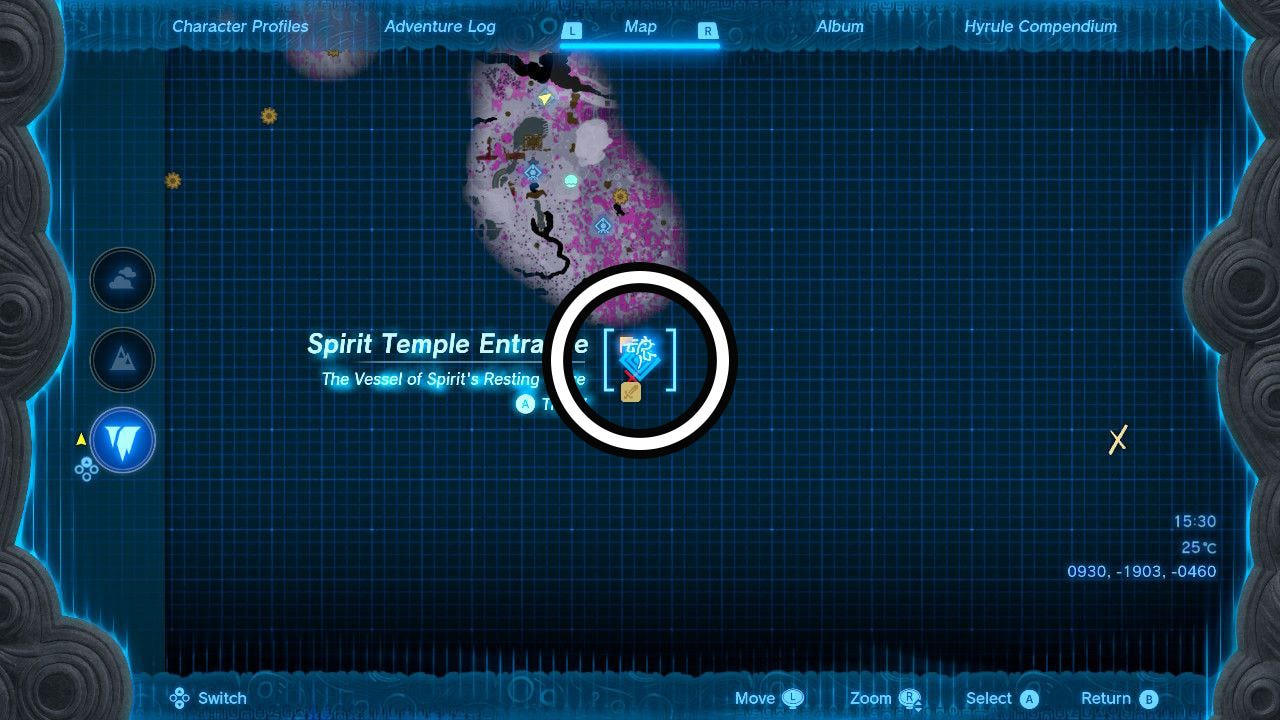
Spirit Temple location: How to reach the Spirit Temple in Zelda Tears of the Kingdom
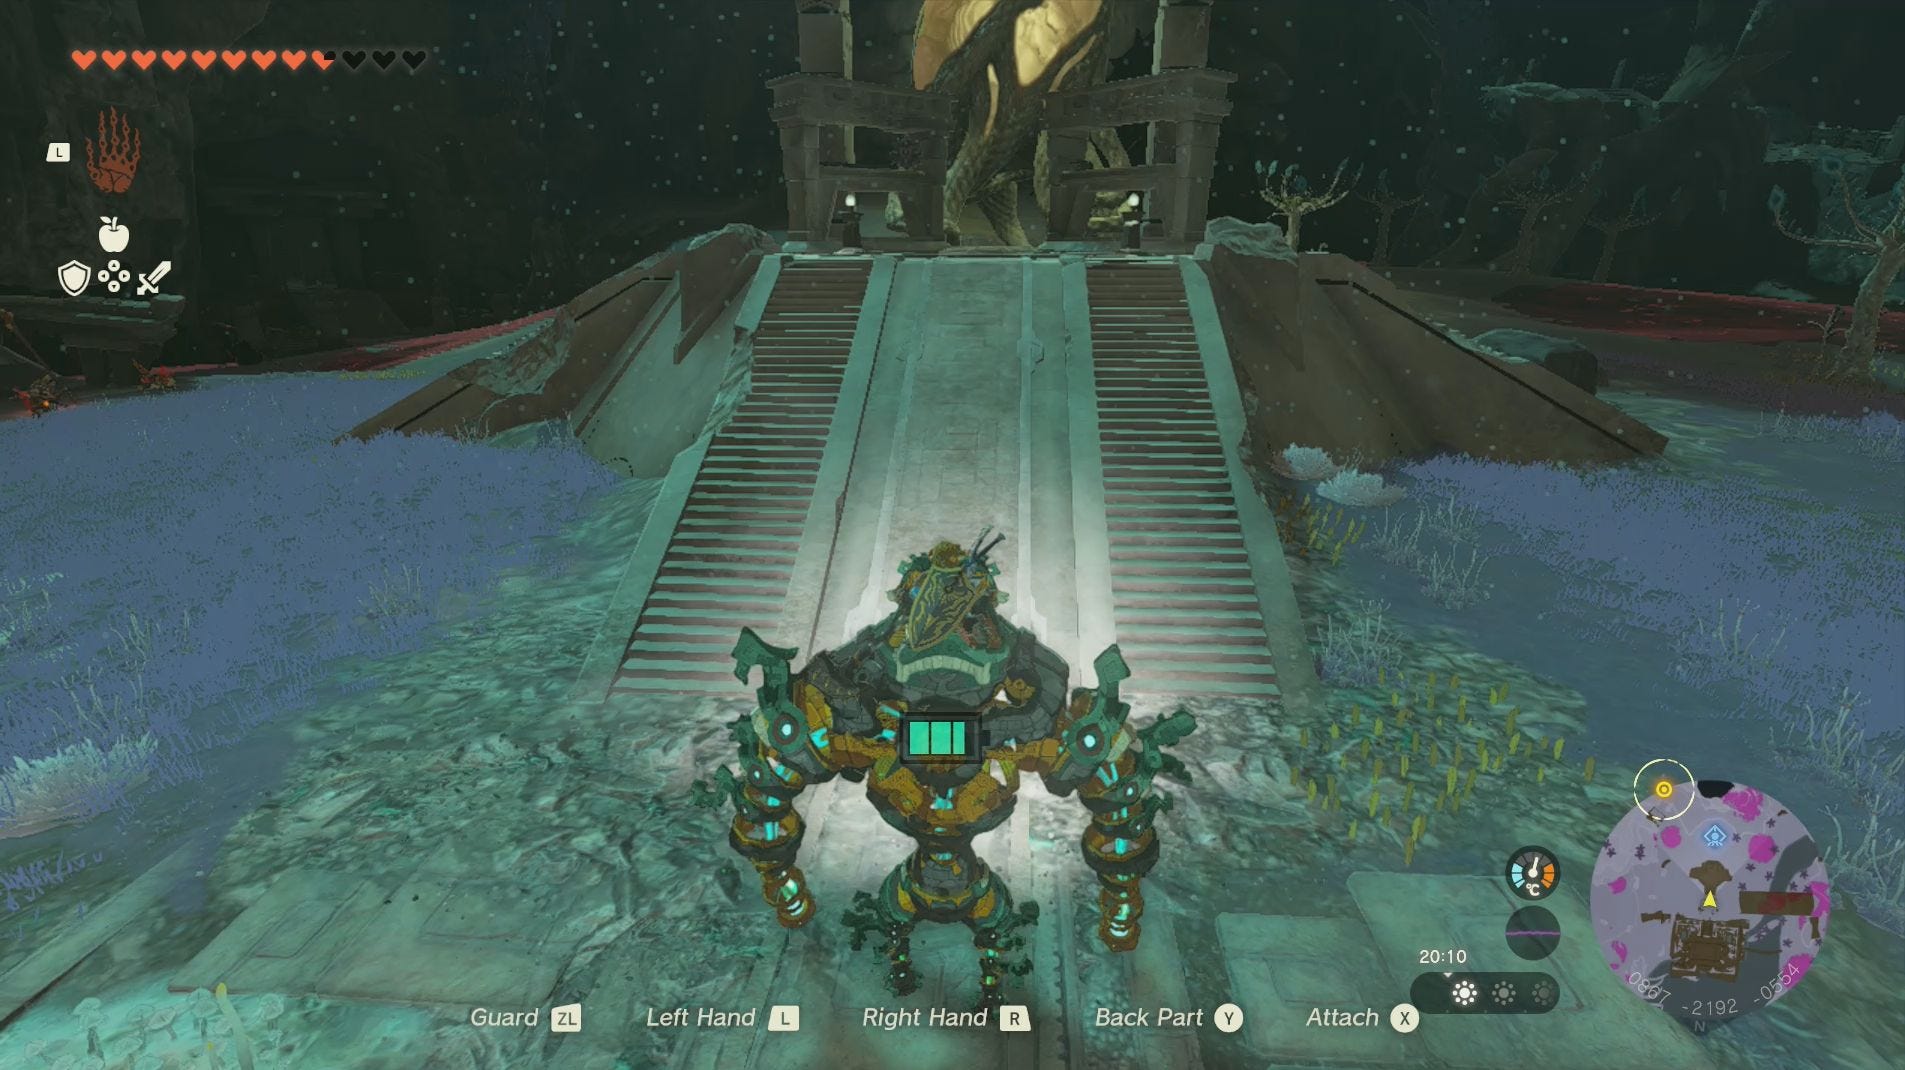
Now it’s finally time to reach the Spirit Temple in Zelda: Tears of the Kingdom, which is located south-east of the Construct Factory.
First, however, we need to add some weapons to Mineru’s Construct. Jump onto the Construct and ride it to the shelves which have appeared around the elevator that brought you to this part of The Depths.
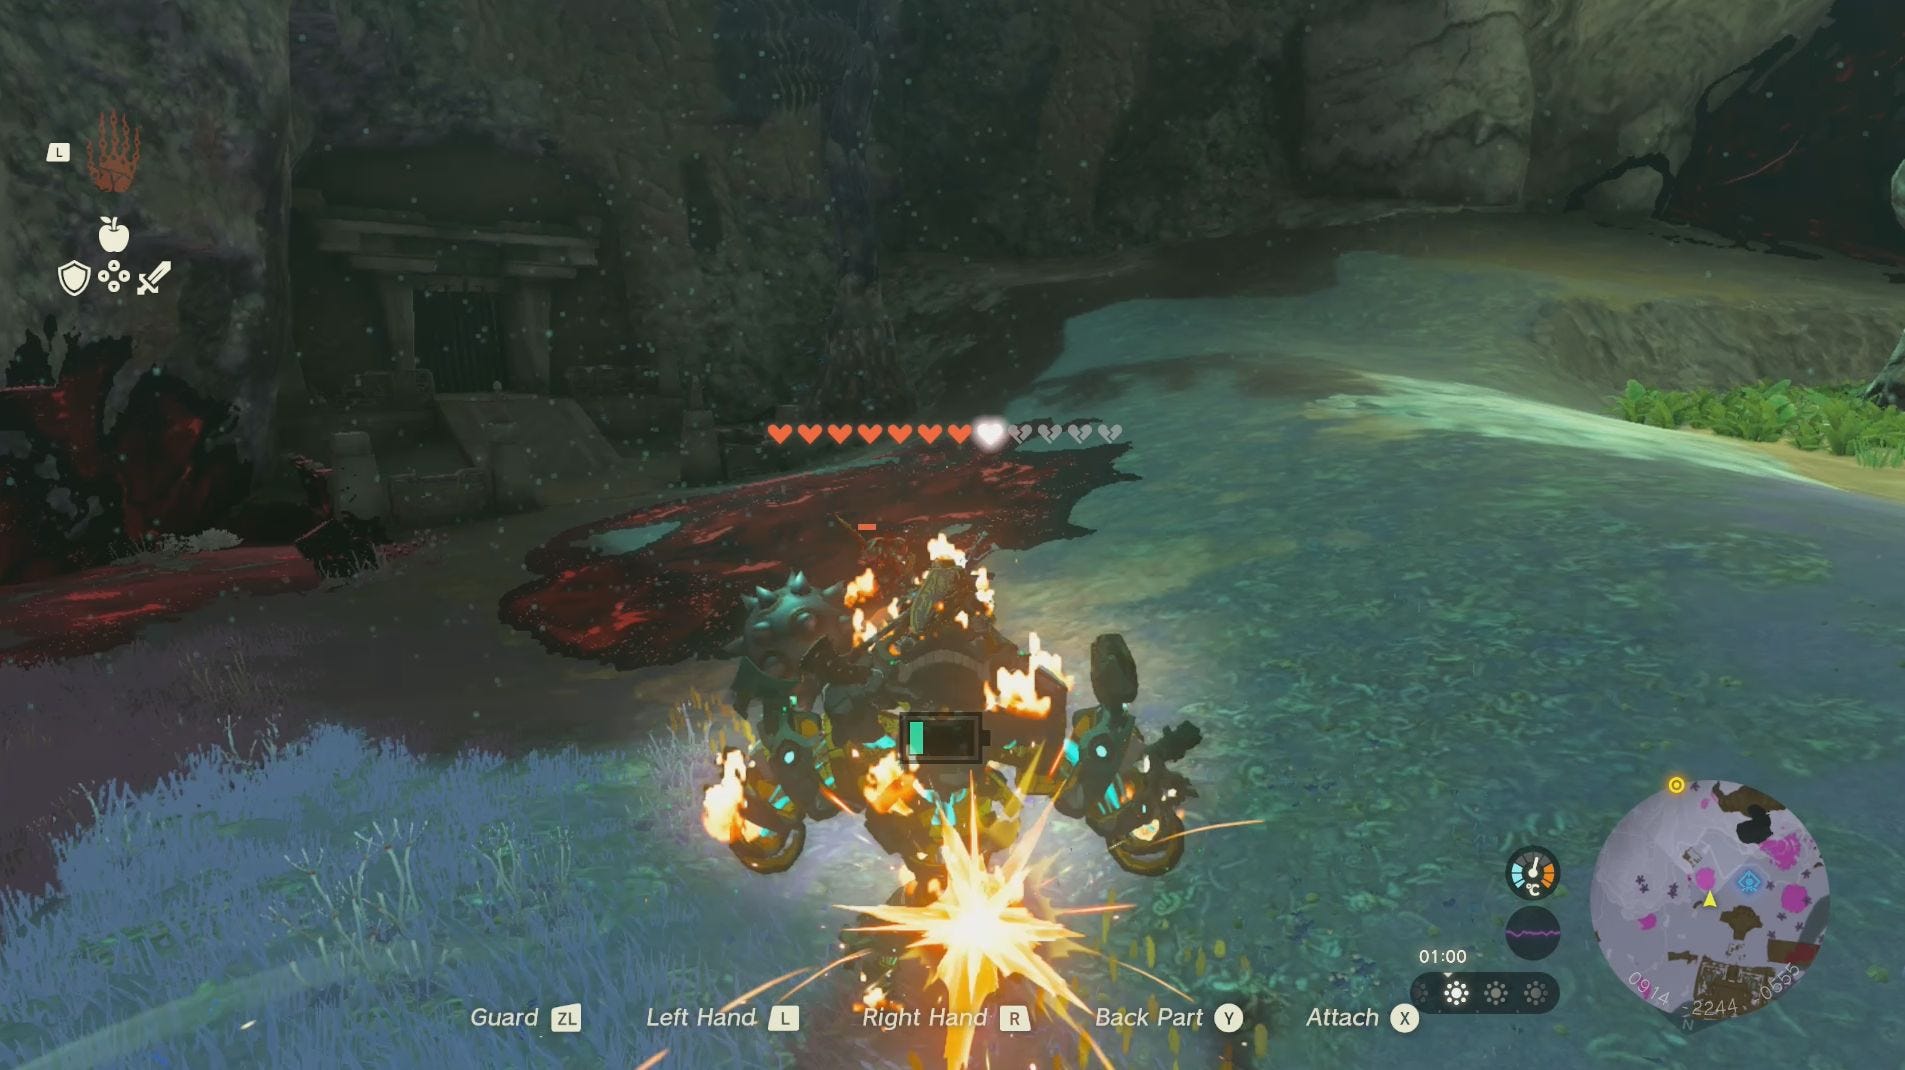
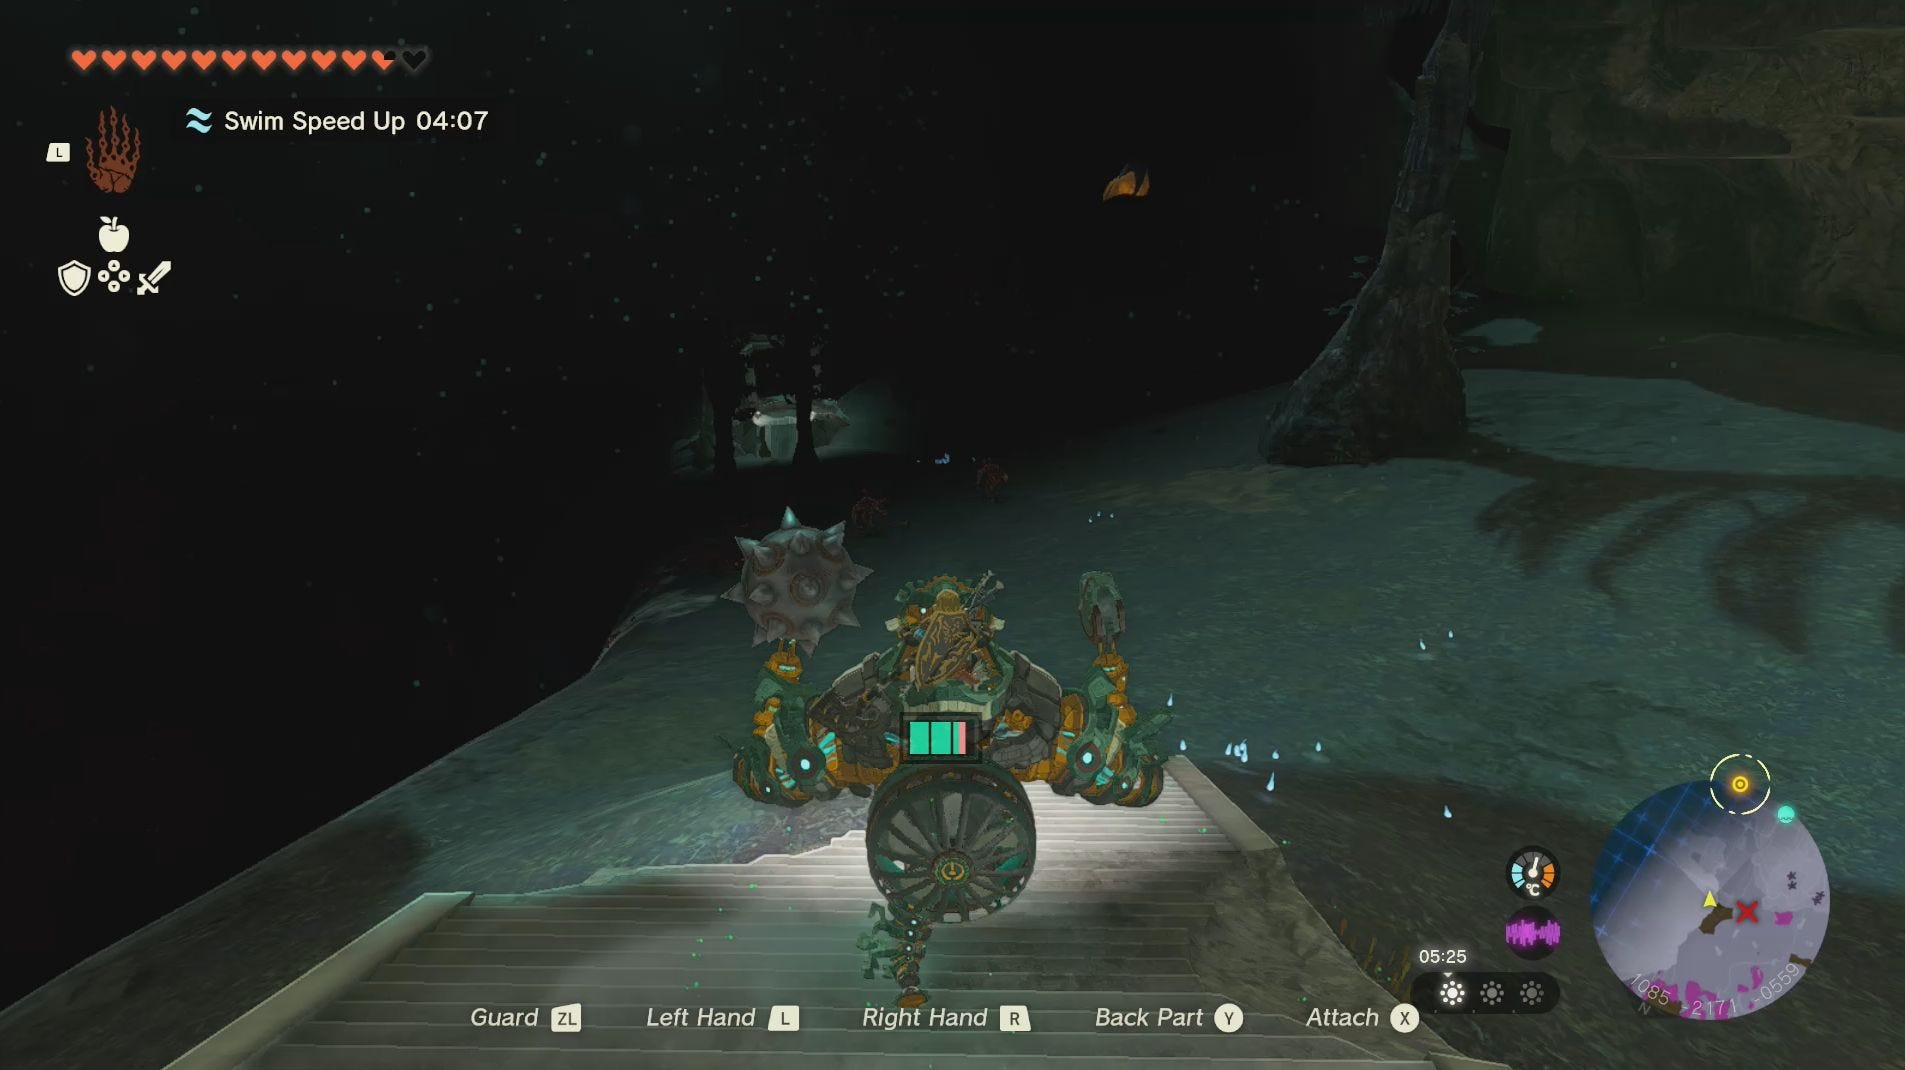
There are multiple armouries on your way to Spirit Temple, which will allow you to add various Zonai devices and weapons to the Construct. For now, it’s worth adding the Spiked Ball and either the Shock or Flame Emitter.
Once you’ve attached your chosen weapons to Mineru’s Construct, head north-east to the next armoury. Try battling some of the monsters along the way to get used to the battle controls for the Construct. Once you've reached the armoury, it’s a good idea to attach a Fan to the back of the Construct to help it move faster.

When you’re ready head towards the next armoury to the south-east. Again you’ll want to keep an eye out for monsters.
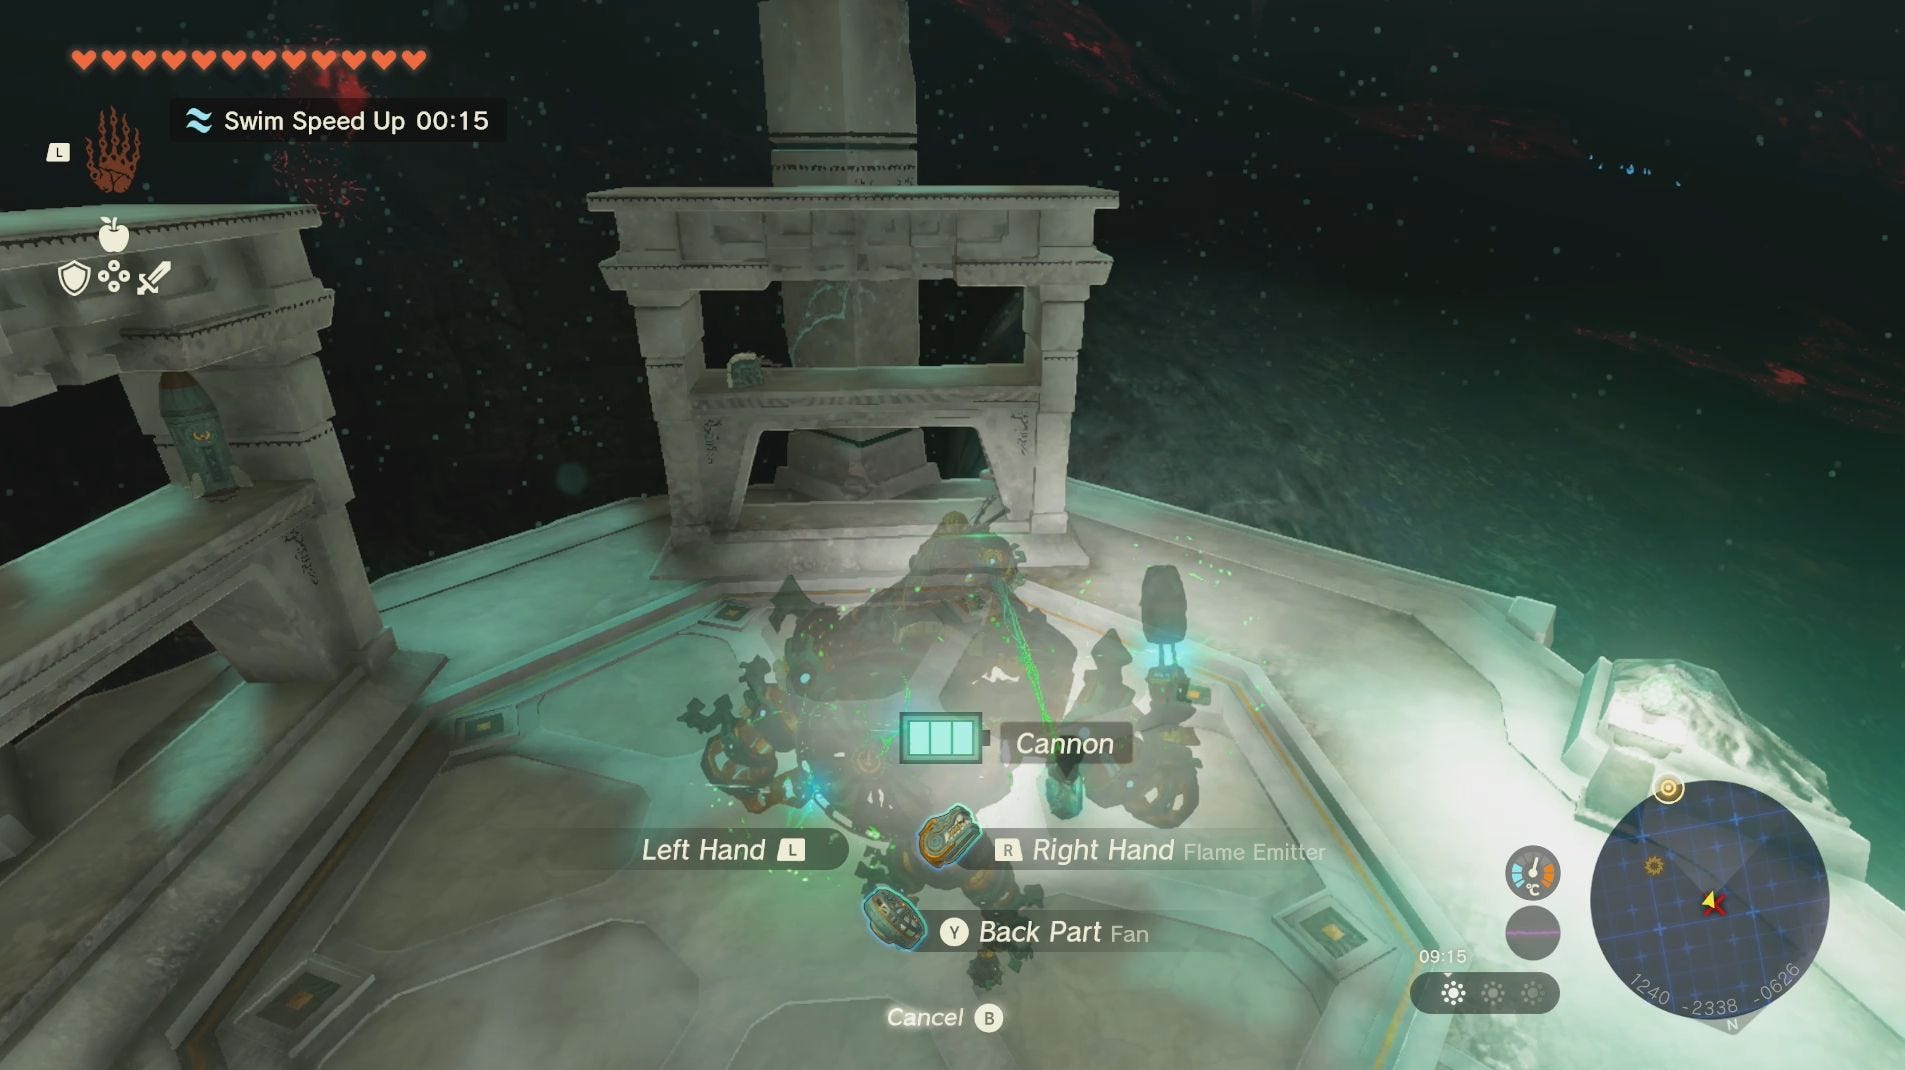
At the next armoury, we highly recommend adding the Cannon to the Construct. This weapon will be incredibly useful for the upcoming boss battle at the Spirit Temple, along with any other monsters you find yourself facing along the way. You will find other Cannons on your journey if it breaks and we recommend keeping a Spiked Ball attached as well.
With the Cannon attached, it’s time to continue heading towards the Spirit Temple. Keep an out for monsters and head towards the golden marker on your mini-map. If you’re not tracking the Guidance from Ages Past main quest, we highly recommend doing so at this point as it will make reaching the Spirit Temple far easier.
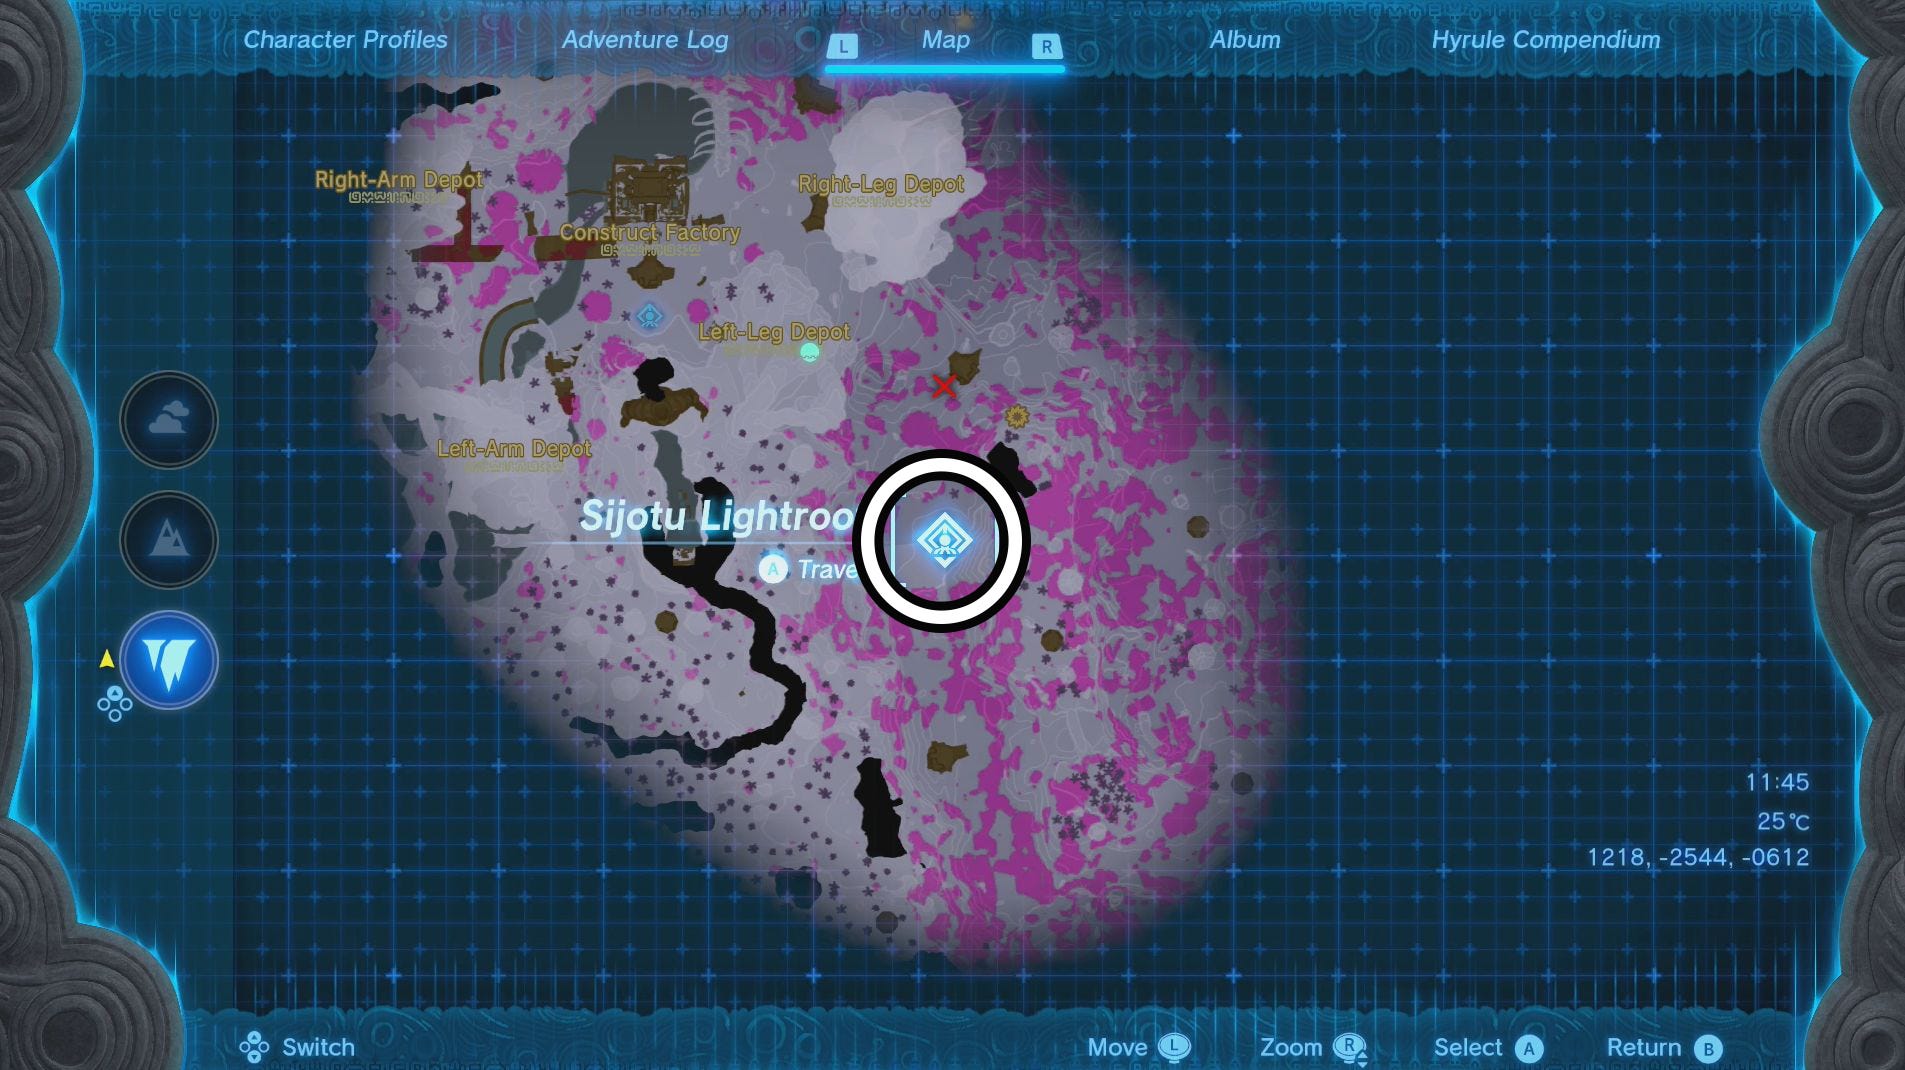
We do, however, recommend heading south to the Sijotu Lightroot if you haven’t activated it already. This will add another section of the depths to your map and light up the area making it easier to navigate.
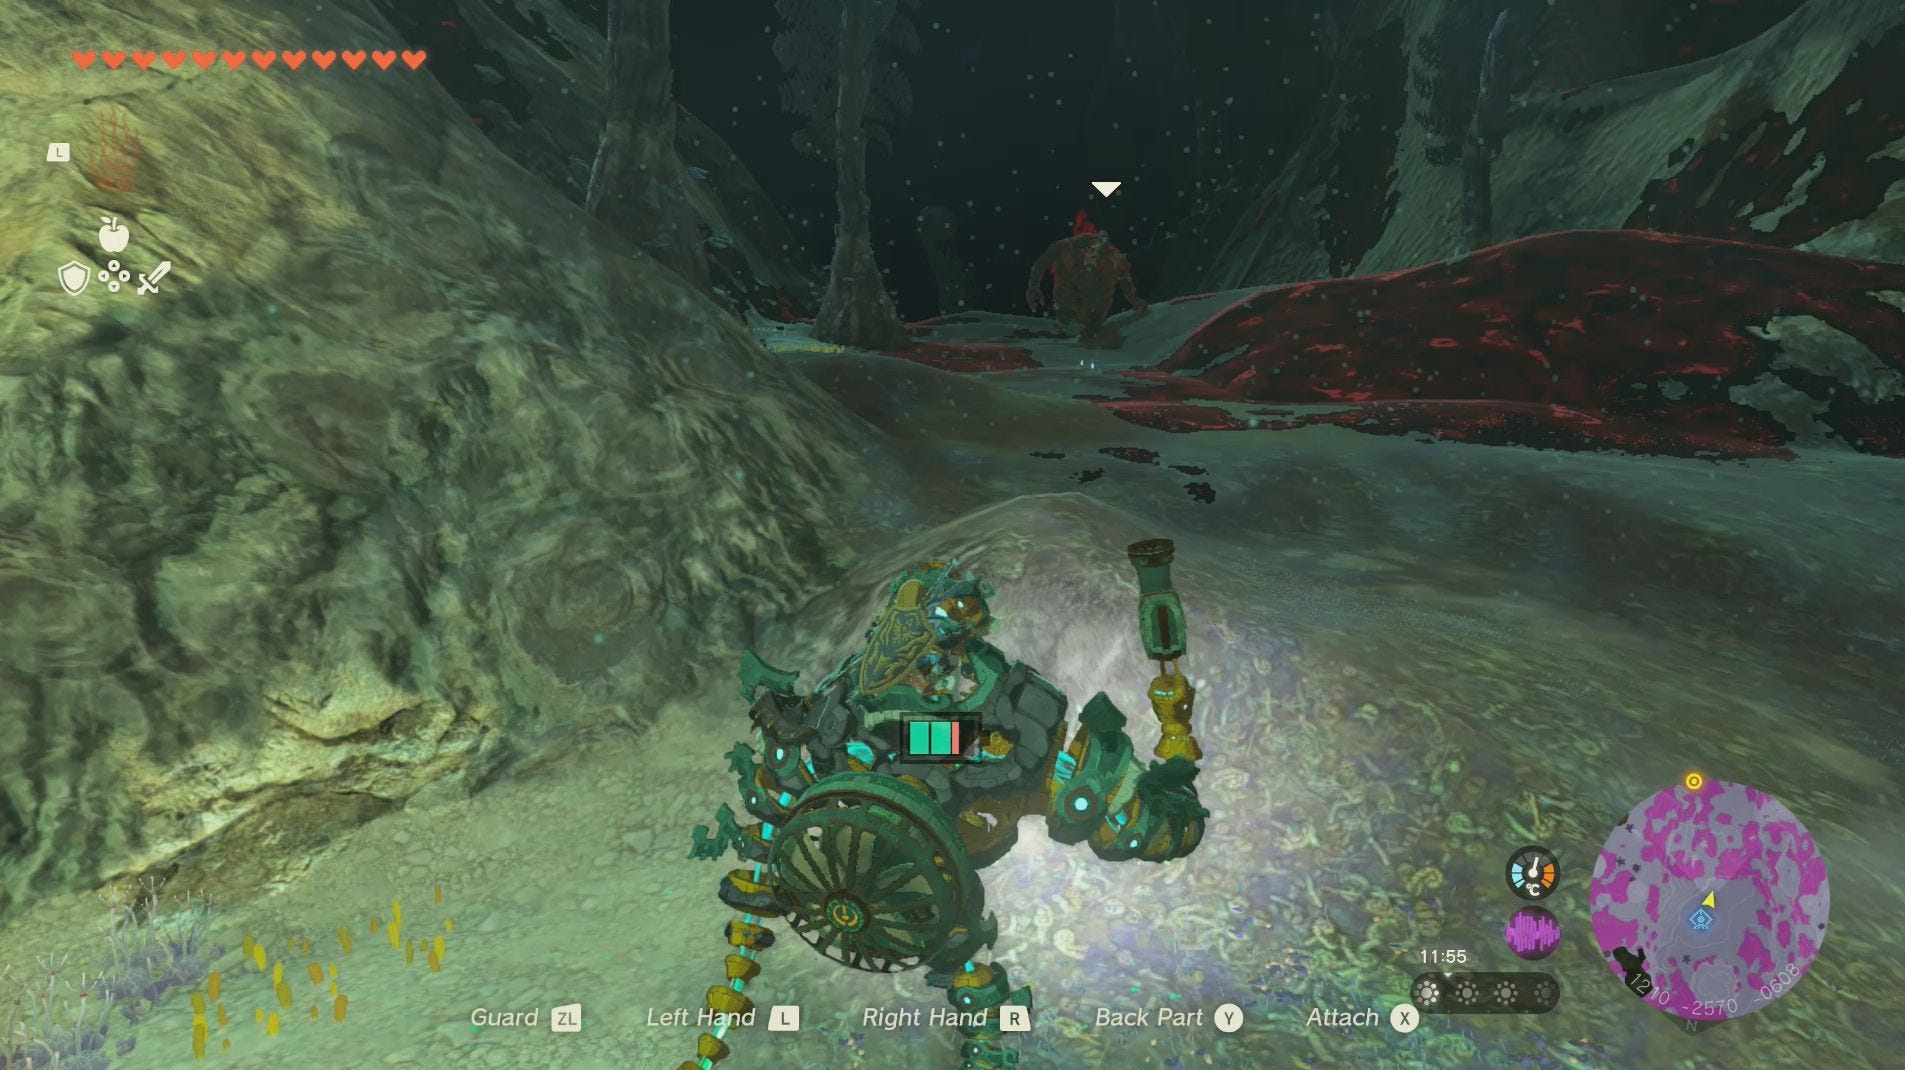
From this Lightroot, you can head south to another armoury where you’ll find more Cannons and Spiked Balls if you haven’t collected one already. You’ll also be able to see the Spirit Temple from this point. Just be wary of the Black Hinox between the Lightroot and the armoury.
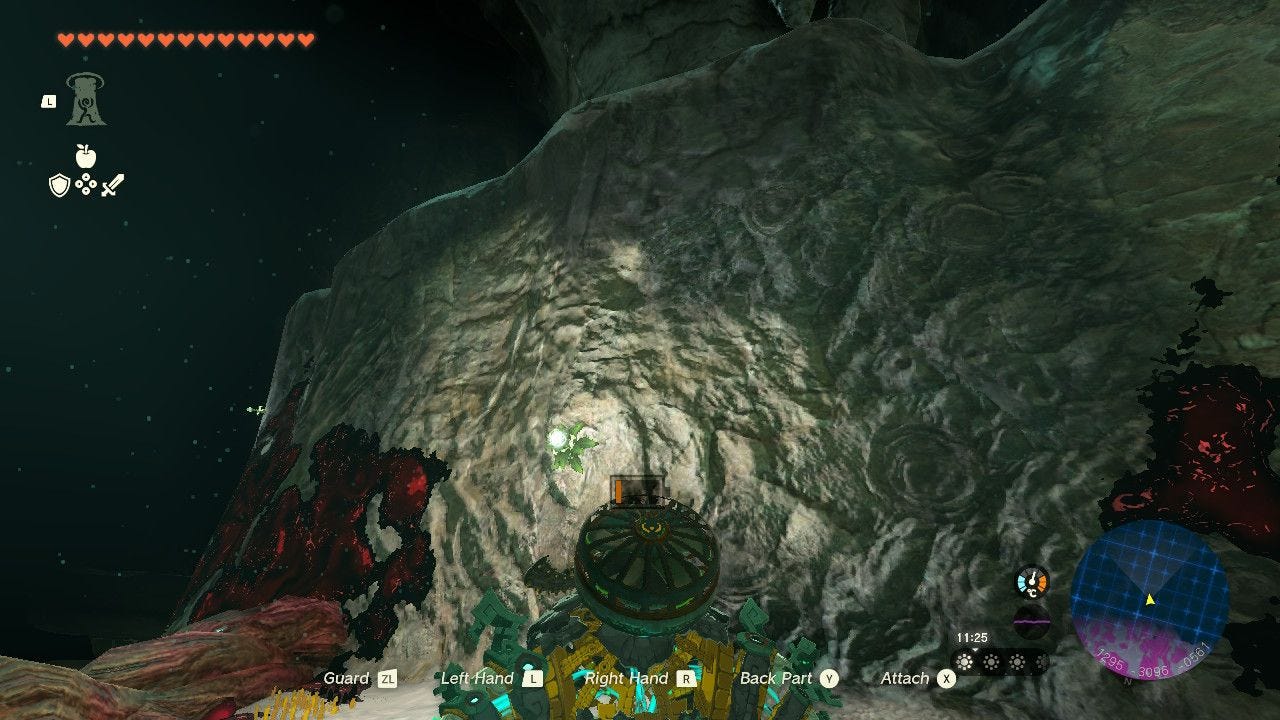
After the armoury, there will be some rocks in your way. You can, however, destroy these rocks using your trusty Cannon or Spiked Ball. You can do the same to the Zonaite deposit on the other side of the rocks.
You now have a choice - you can either go down the hill, spotting off at one last armoury, and then climbing up to the Spirit Temple, but be at risk of monster attack from a Boss Bokoblin and his crew. There is, however, a safer, yet longer, route.
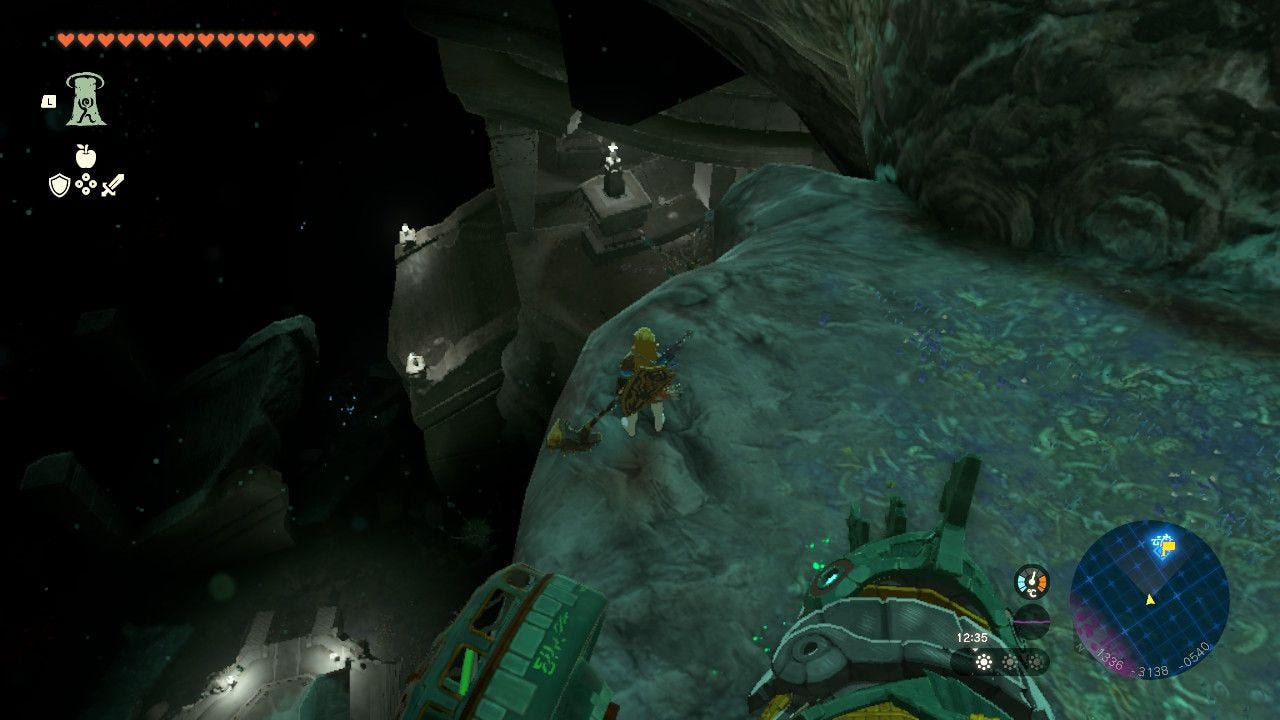
This route begins by going up the hill to the right of the slope leading to the Spirit Temple. You will need to be atop the Construct to cross the Gloom. Keep walking until you reach a cliff, which you then need to climb. Don’t worry, the Construct will follow you.
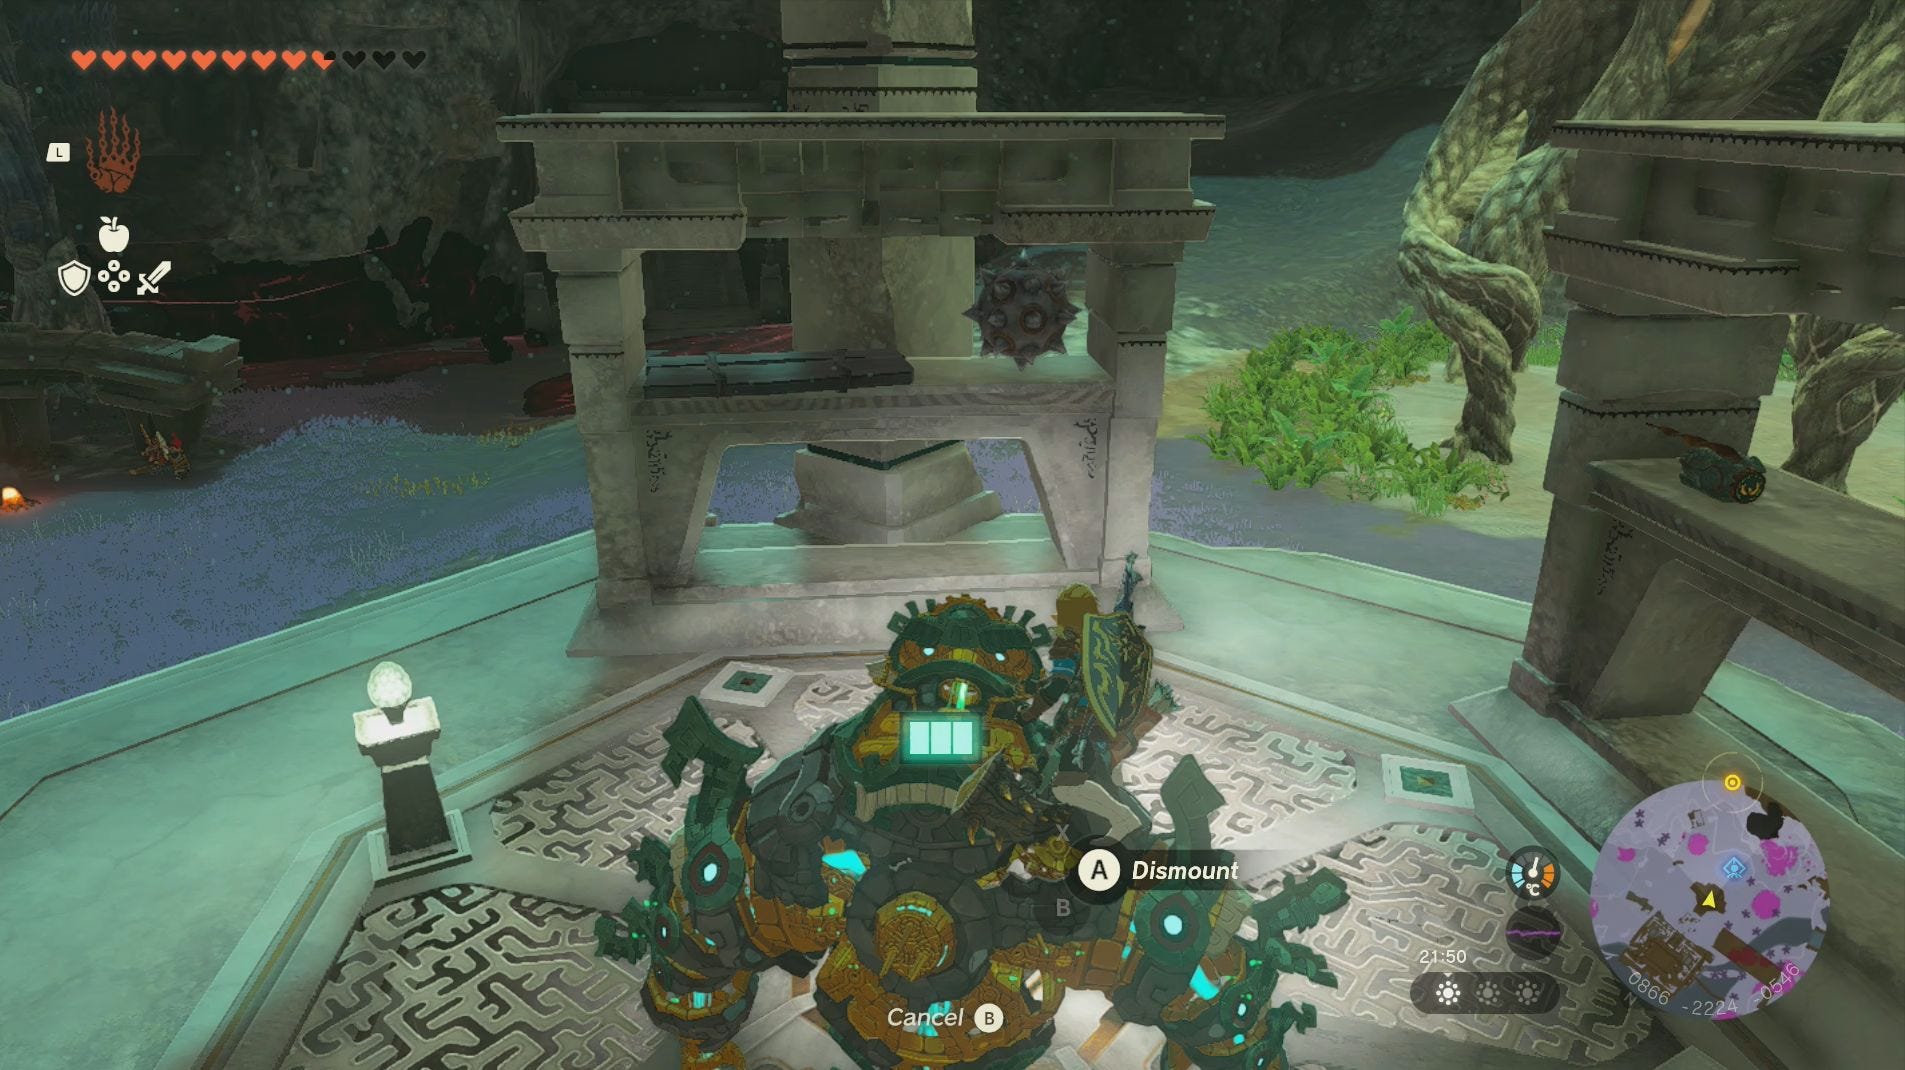
From this ledge, you can now glide over to the Spirit Temple. Don’t worry about Mineru - just wonder about the front of the Spirit Temple until the game automatically loads her in. We do recommend landing on the roof of the Spirit Temple as there is a Grand Poe, which equals 20 poes, upon it.
Once Mineru’s Construct is at the Spirit Temple, jump atop of it and head towards the statue in the middle of the temple. When prompted, examine the statue and the elevator will take you down to the Seized Construct boss battle.
If you’d like to learn more about Link’s adventure in Hyrule, visit our Zelda: Tears of the Kingdom walkthrough.