Zelda Tears of the Kingdom Yunobo of Goron City walkthrough
What is happening to the Gorons?

Yunobo of Goron City is one of the main story quests in Zelda: Tears of the Kingdom, Link heads to Goron City to investigate a Regional Phenomena caused by the Upheaval in his search to find out what happened to Princess Zelda.
As with many things in Zelda: Tears of the Kingdom, Link stumbles upon a mystery that needs solving and the Gorons really need his help. Something mysterious has happened to many Gorons and it's up to Link, alongside his friend Yunobo, to figure out how to help them and get them back to normal.
Without further ado, we're here to show you how to complete the Yunobo of Goron City quest in Zelda: Tears of the Kingdom.
On this page:
If you'd like to learn more about Link's adventure, visit our Zelda: Tears of the Kingdom walkthrough.
How to start Yunobo of Goron City quest in Zelda Tears of the Kingdom
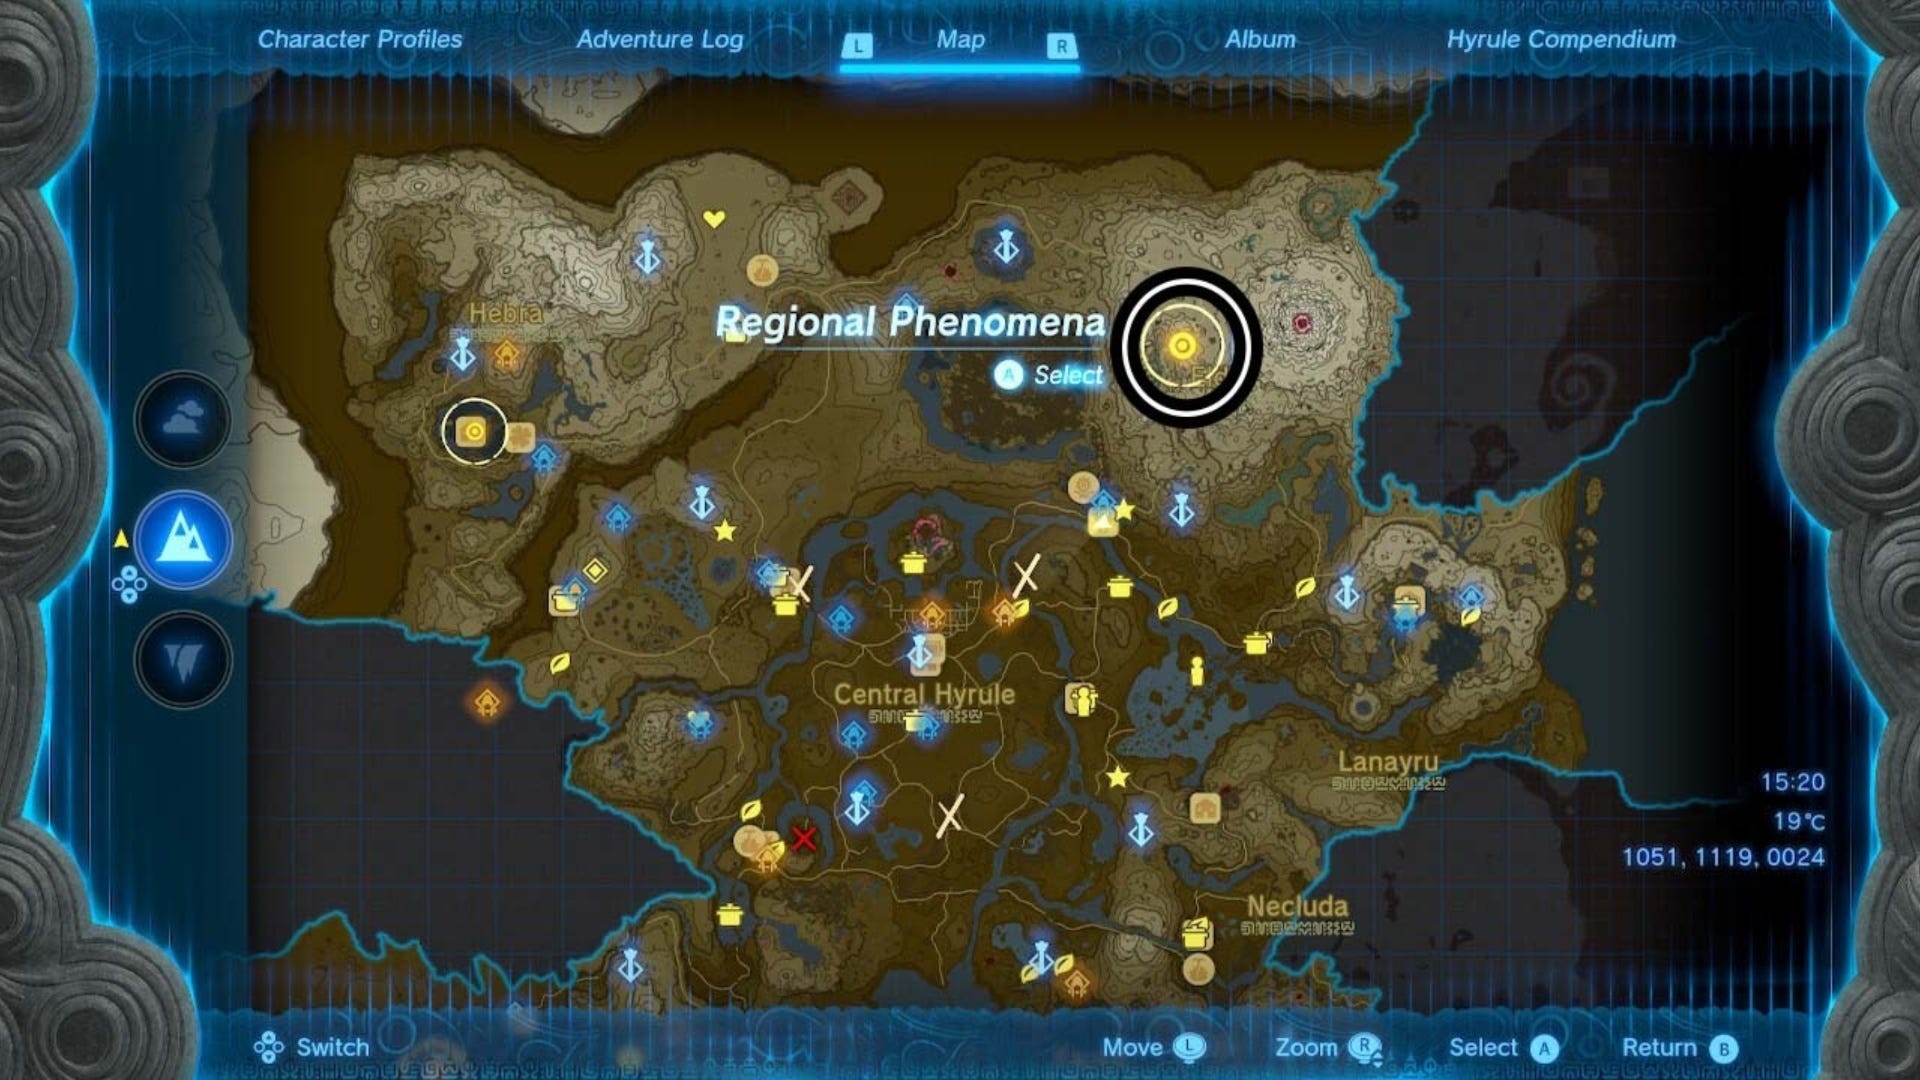
To start the Yunobo of Goron City quest in Zelda: Tears of the Kingdom, you need to head to the Regional Phenomena in the north east corner of the map.
When you get to Goron City, find and speak to a Goron called Bludo (they're the wise-looking Goron you spot when you enter the city near the spaced out Goron on the floor.)
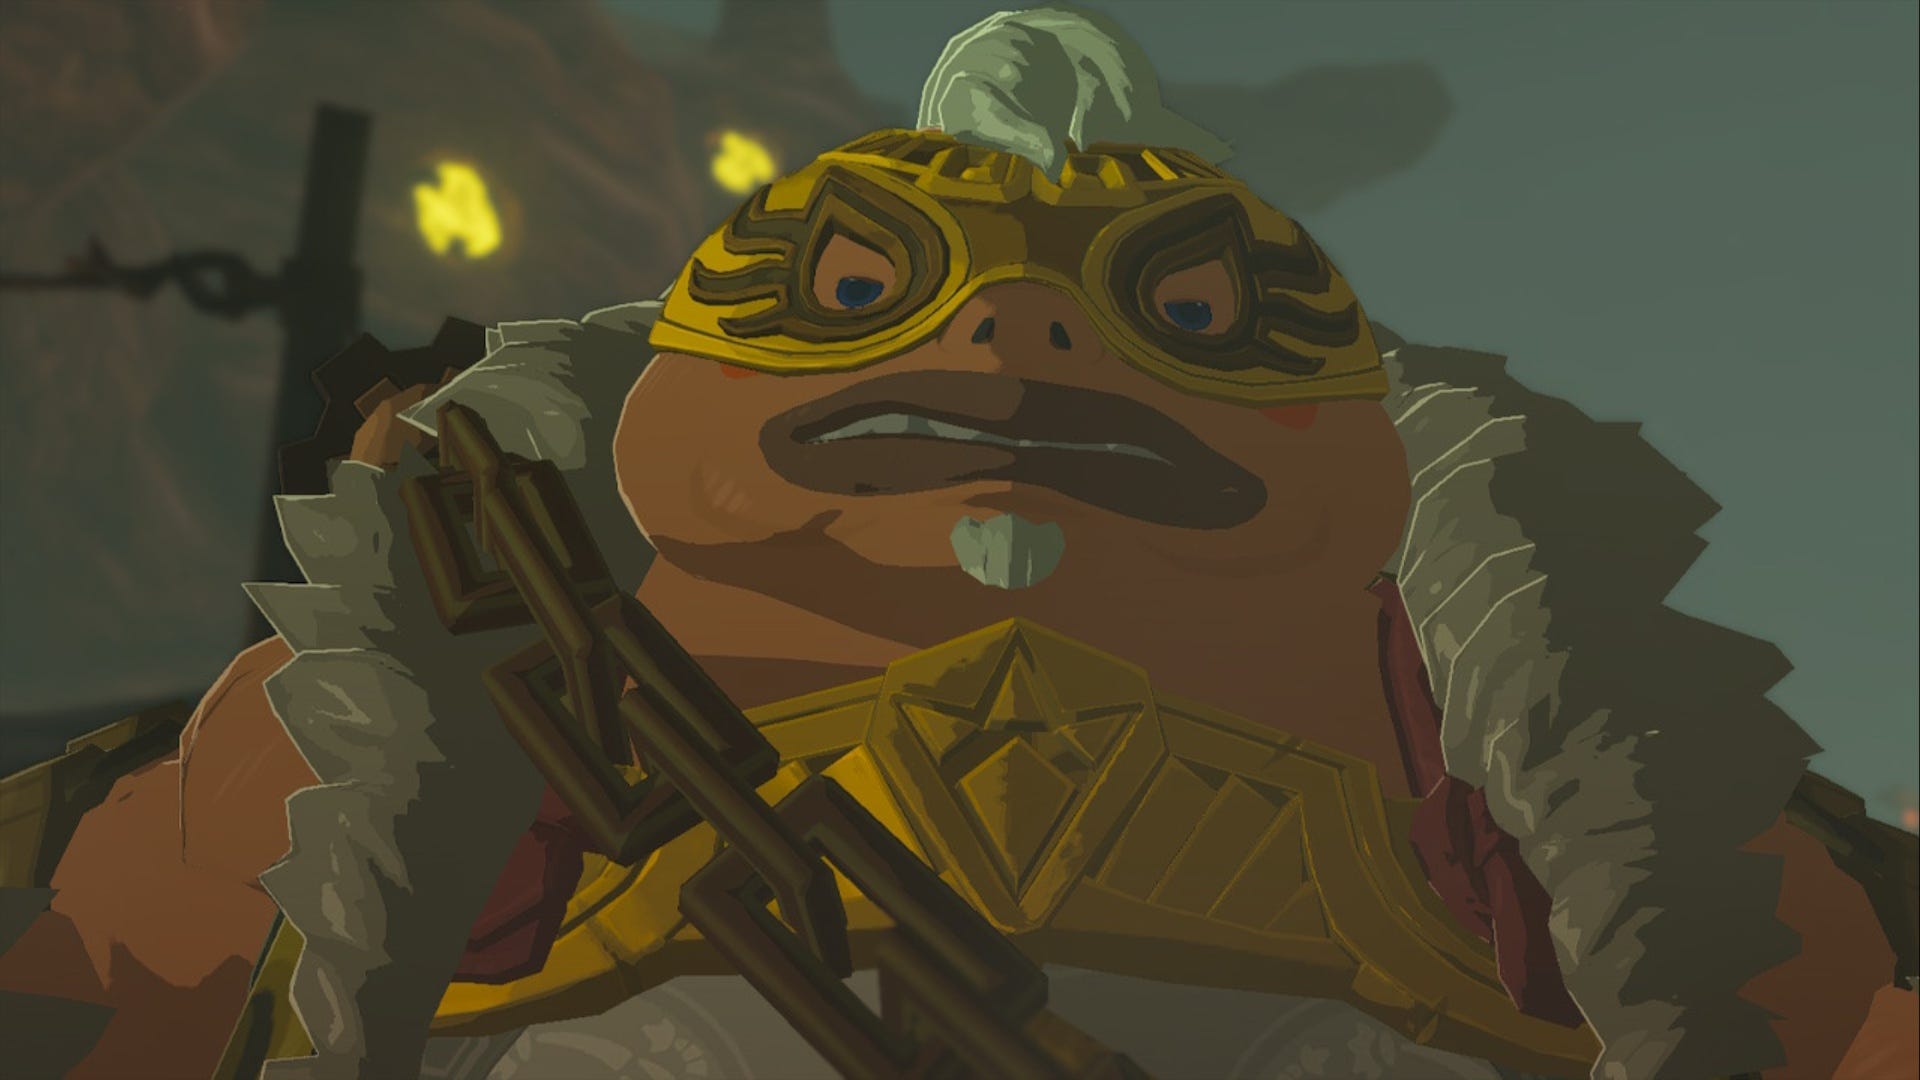
When you speak to Bludo, Yunobo will appear and the Yunobo of Goron City main story quest will begin, but it's clear that something is really wrong with Yunobo and it's now your job to figure out what that is.
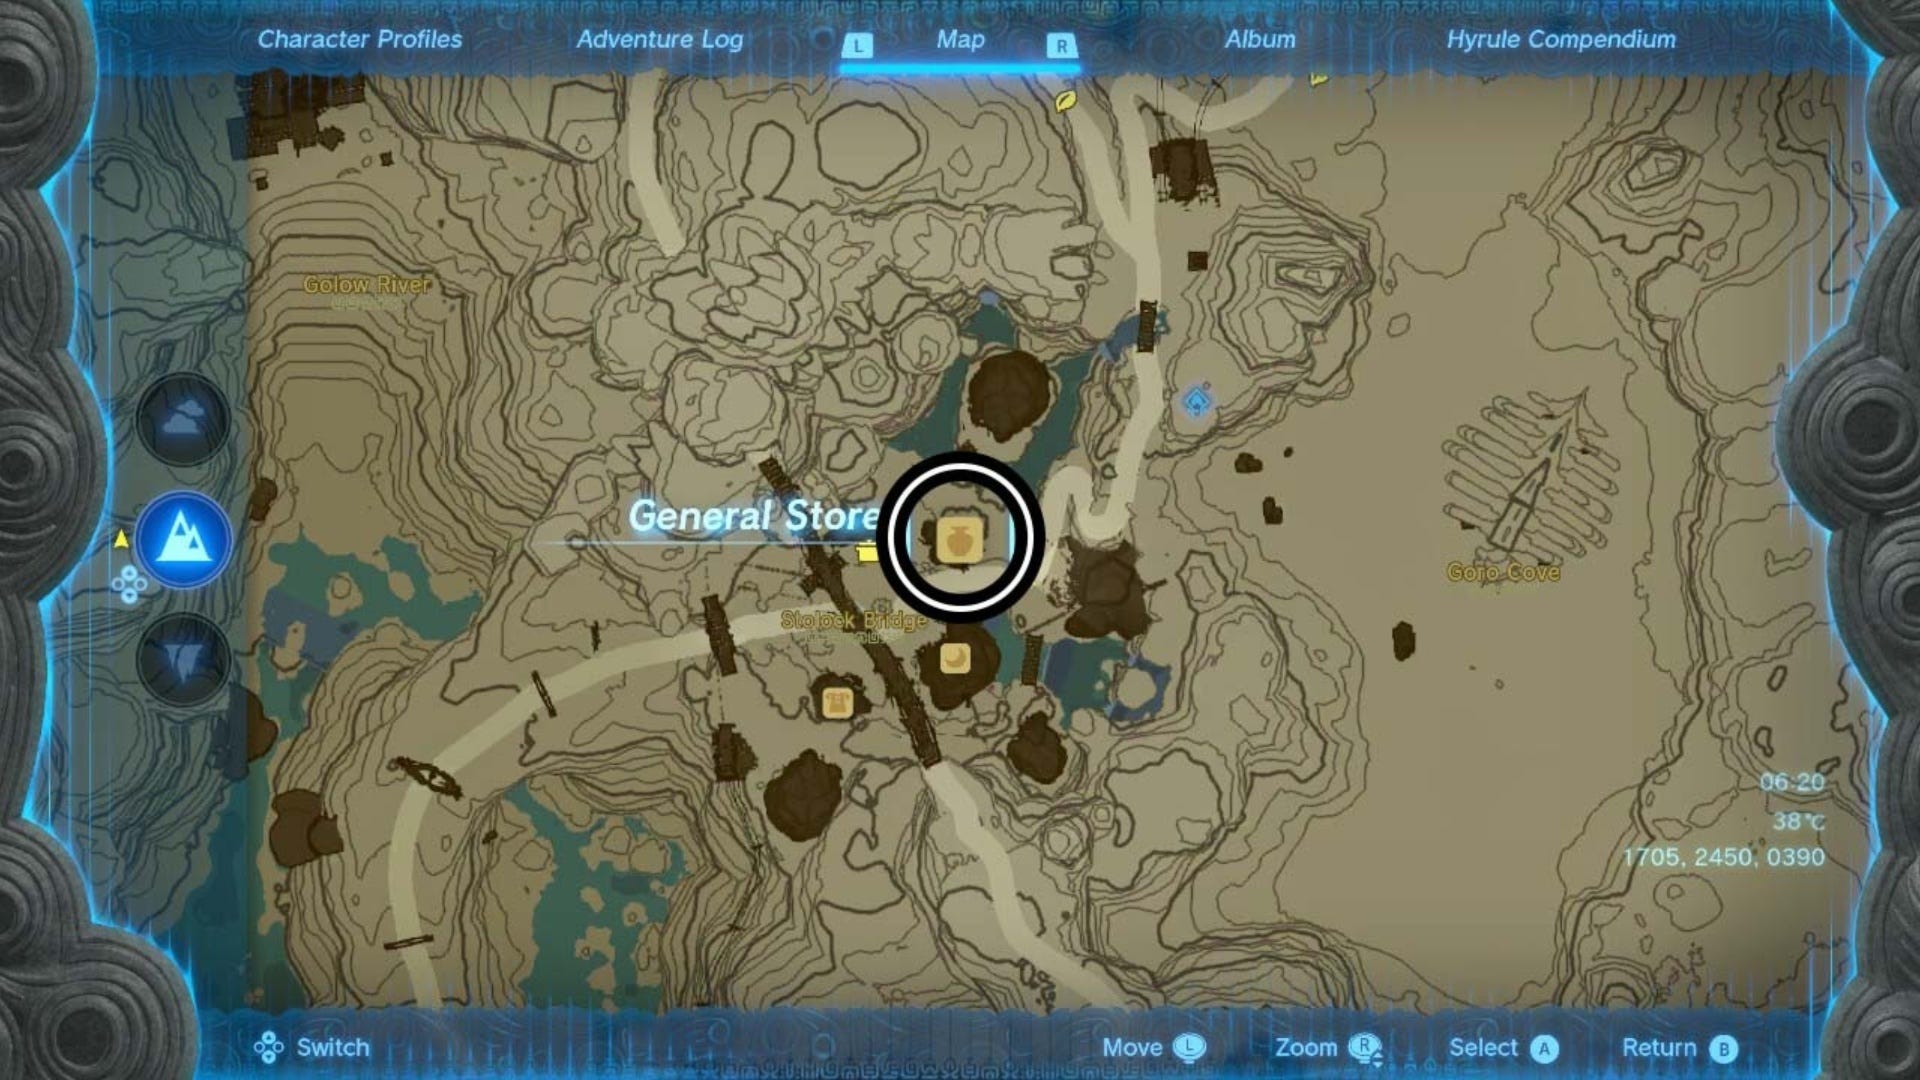
How to get to YunoboCo HQ in Zelda Tears of the Kingdom
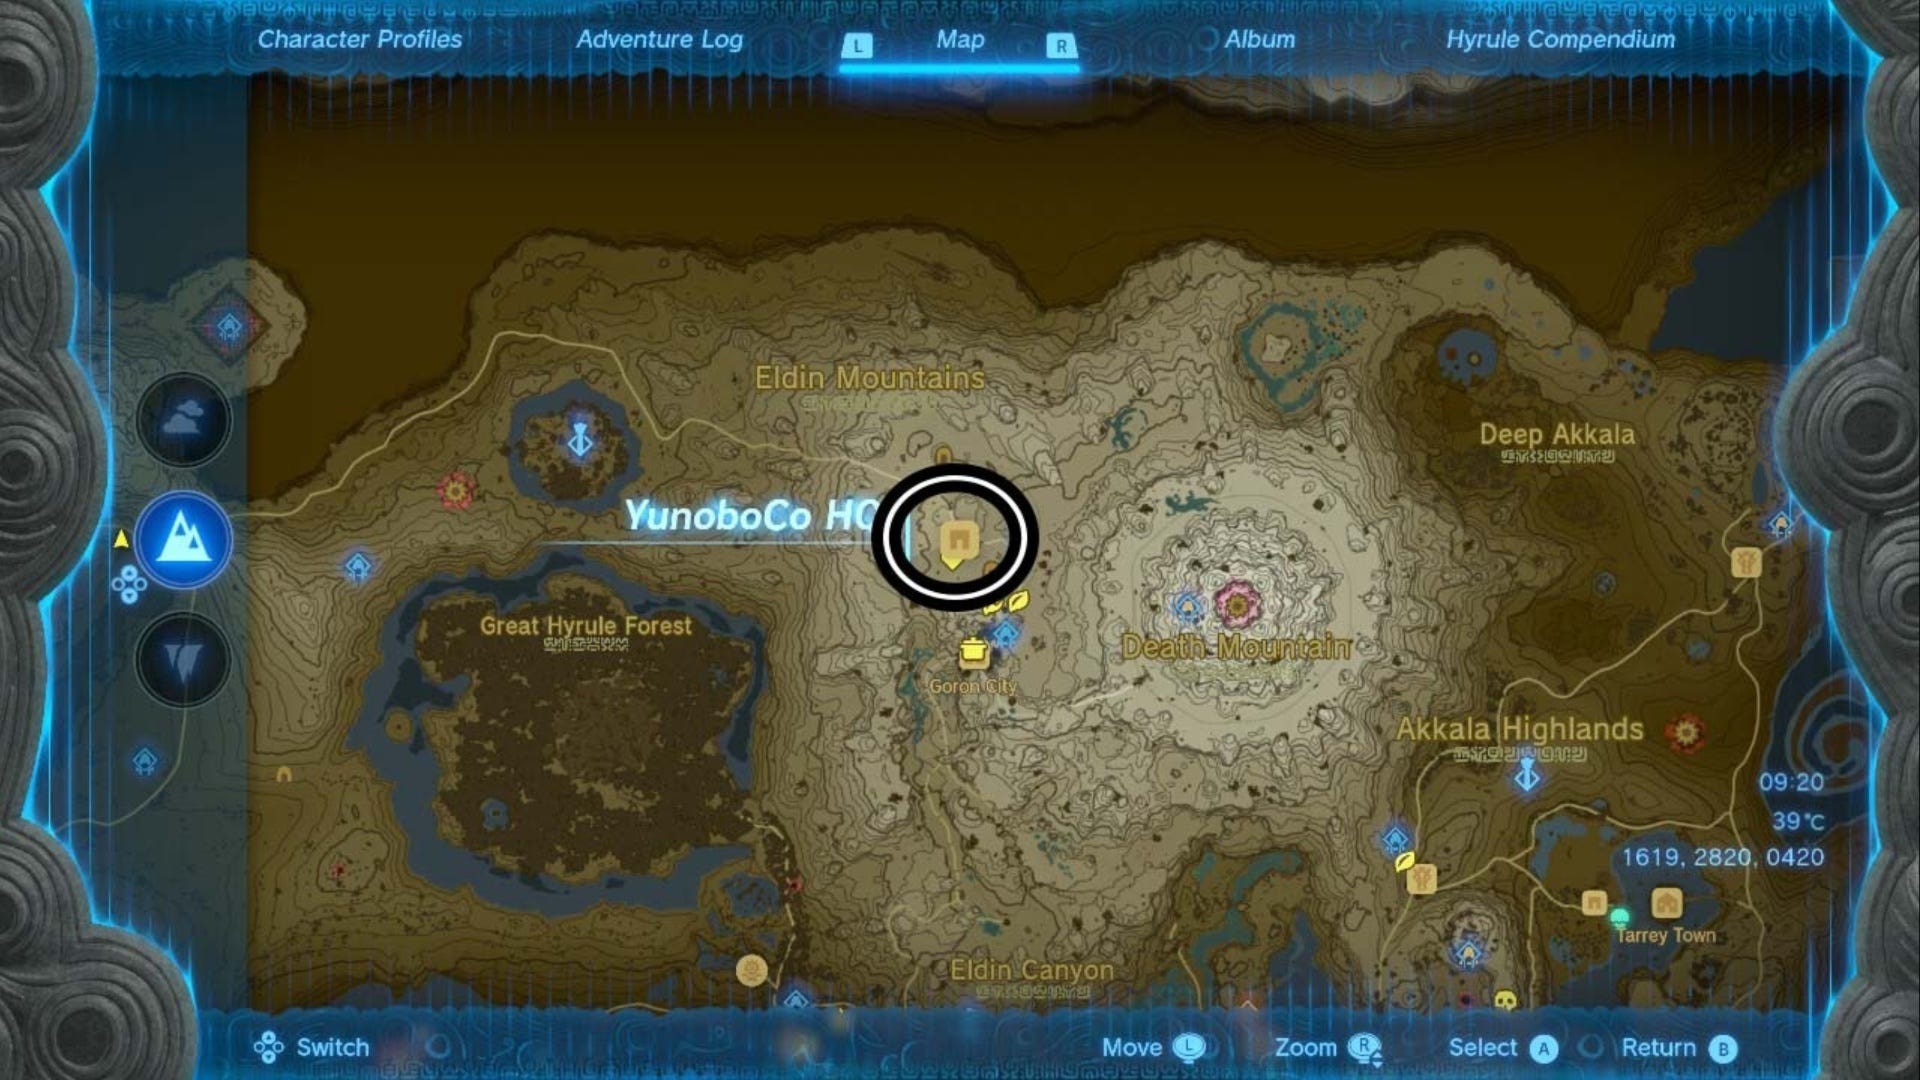
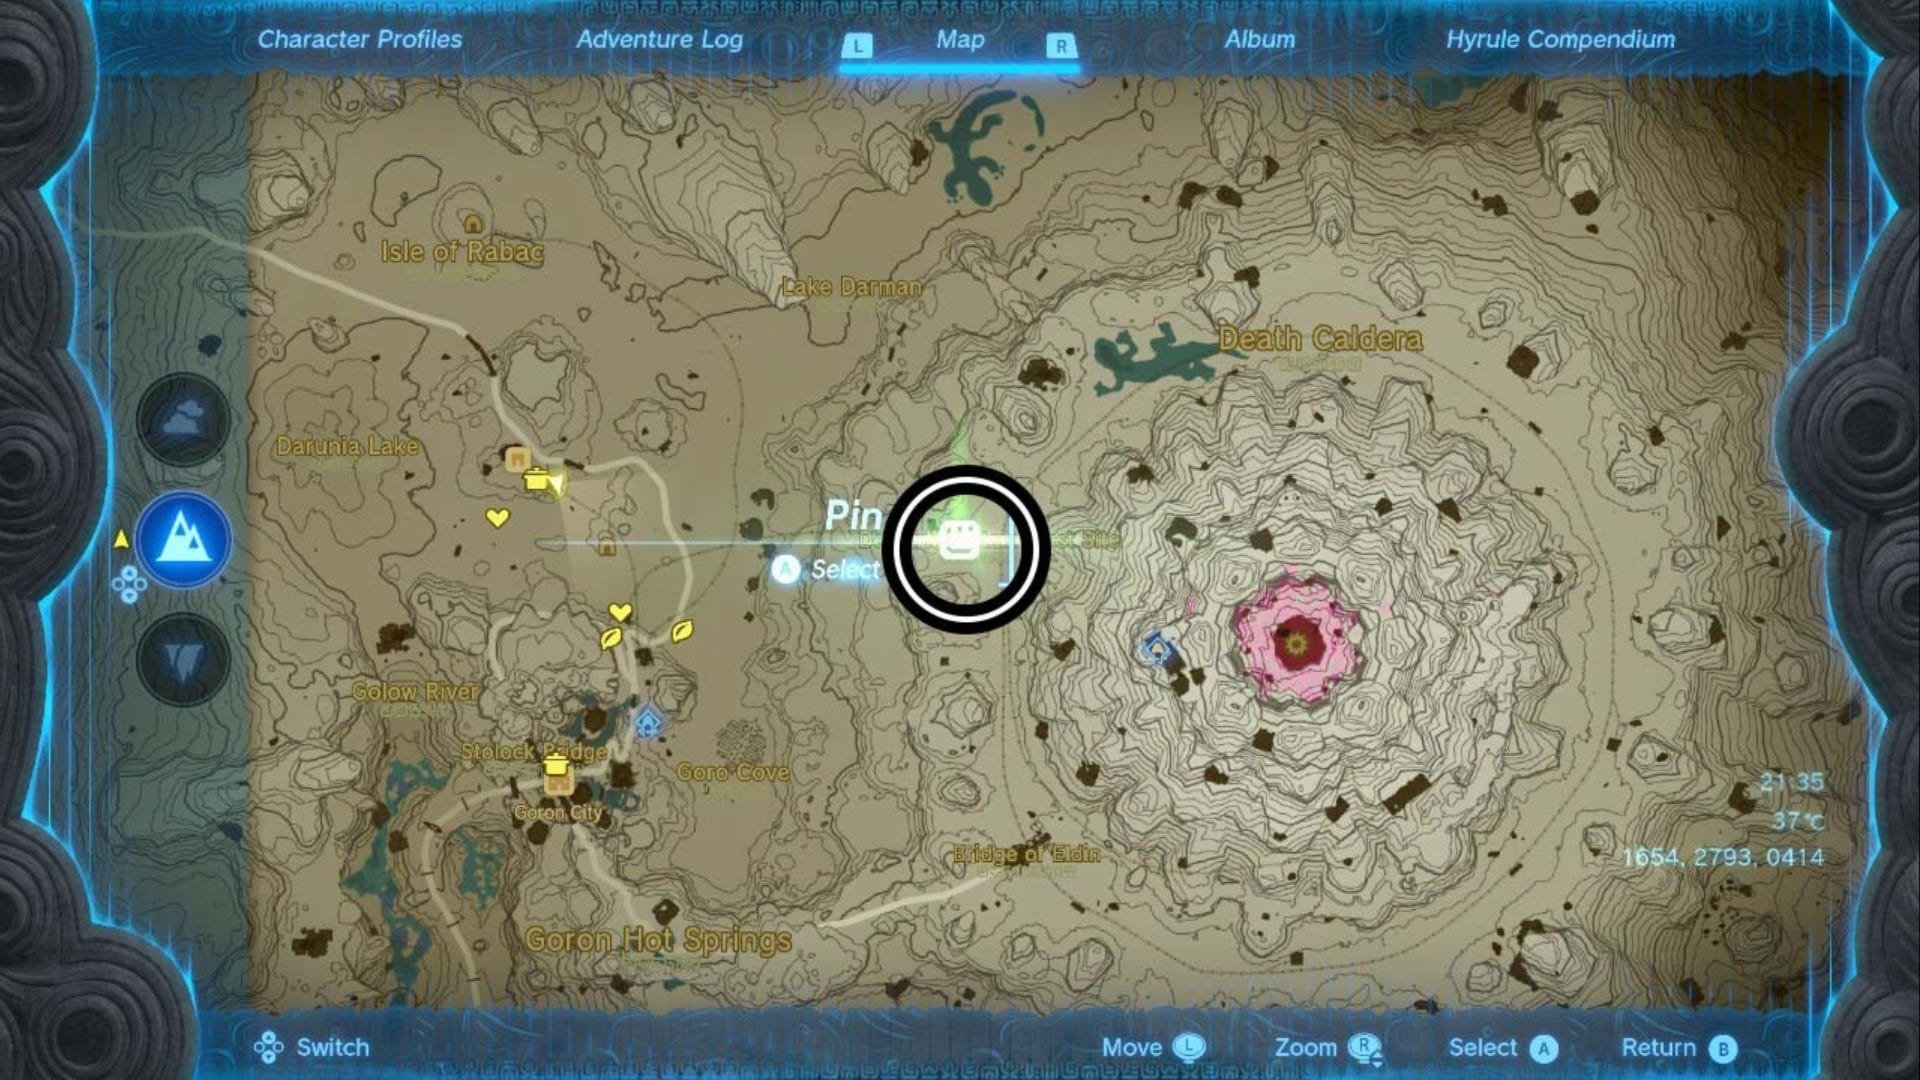
You now need to go to YunoboCo HQ, which isn't too far from Goron City luckily. You can find YunoboCo HQ directly north of Goron City, east of Darunia Lake, south of Isle of Rabac and north west of Death Mountain.
We've marked its exact location on the map below for you, and the YunoboCo HQ coordinates are (1619, 2820, 0420.)
To get there from Goron City, head to the General Store marked on the map below and follow the path leading to the right.
Follow this path east to a Goddess Statue, then turn left at the statue to continue following the path upwards.
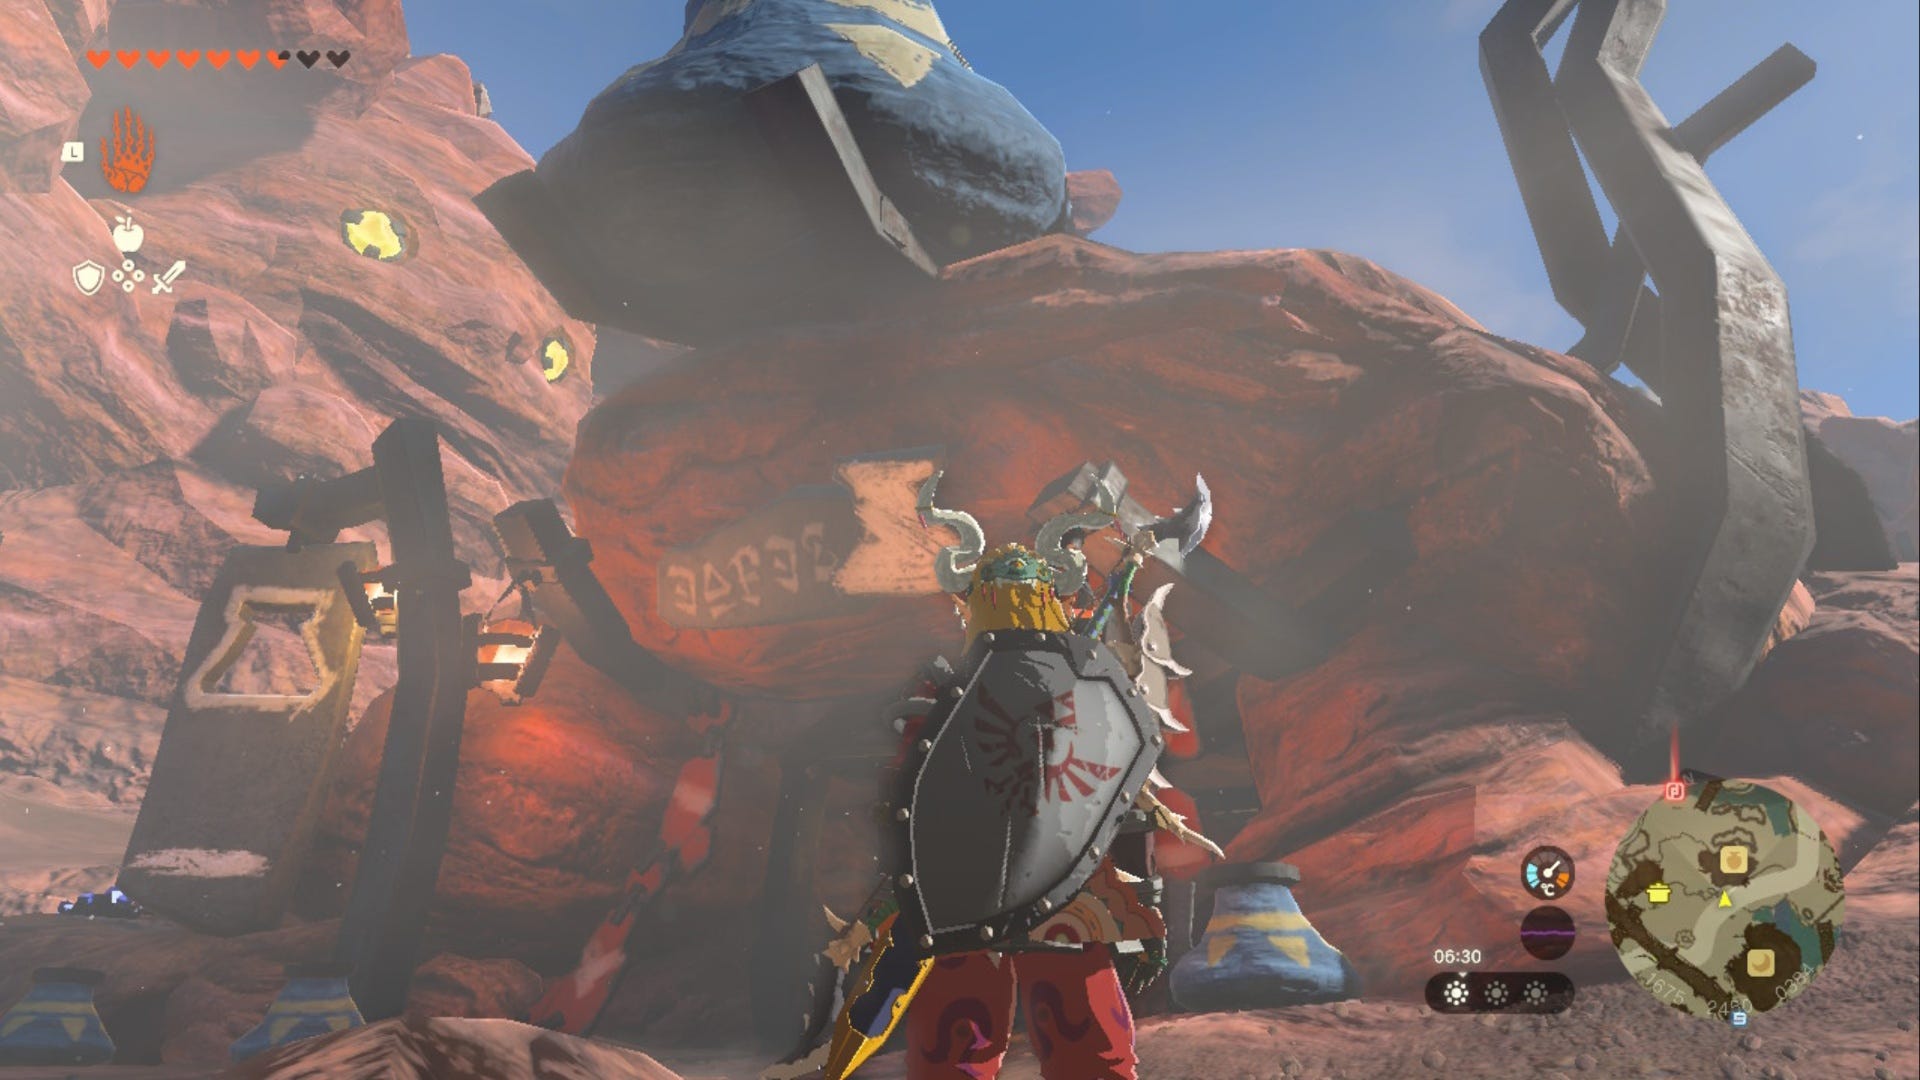
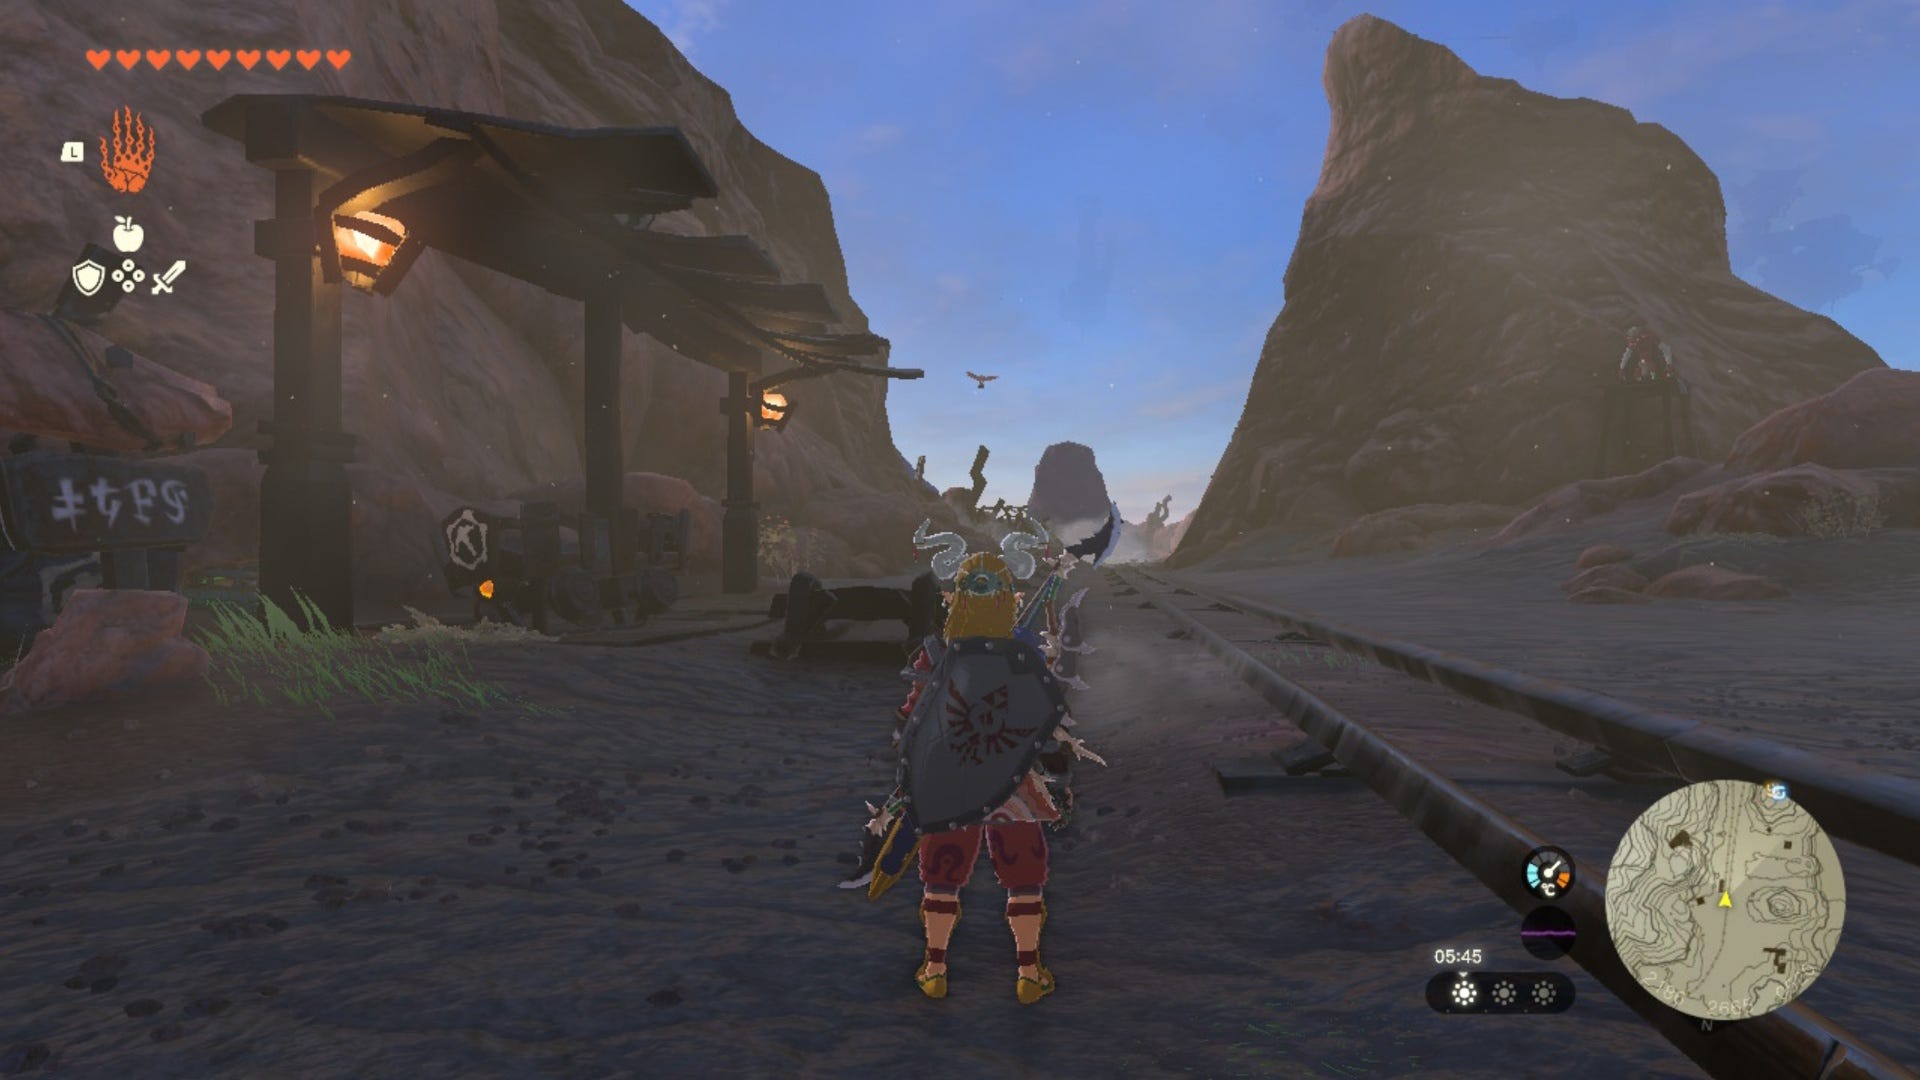
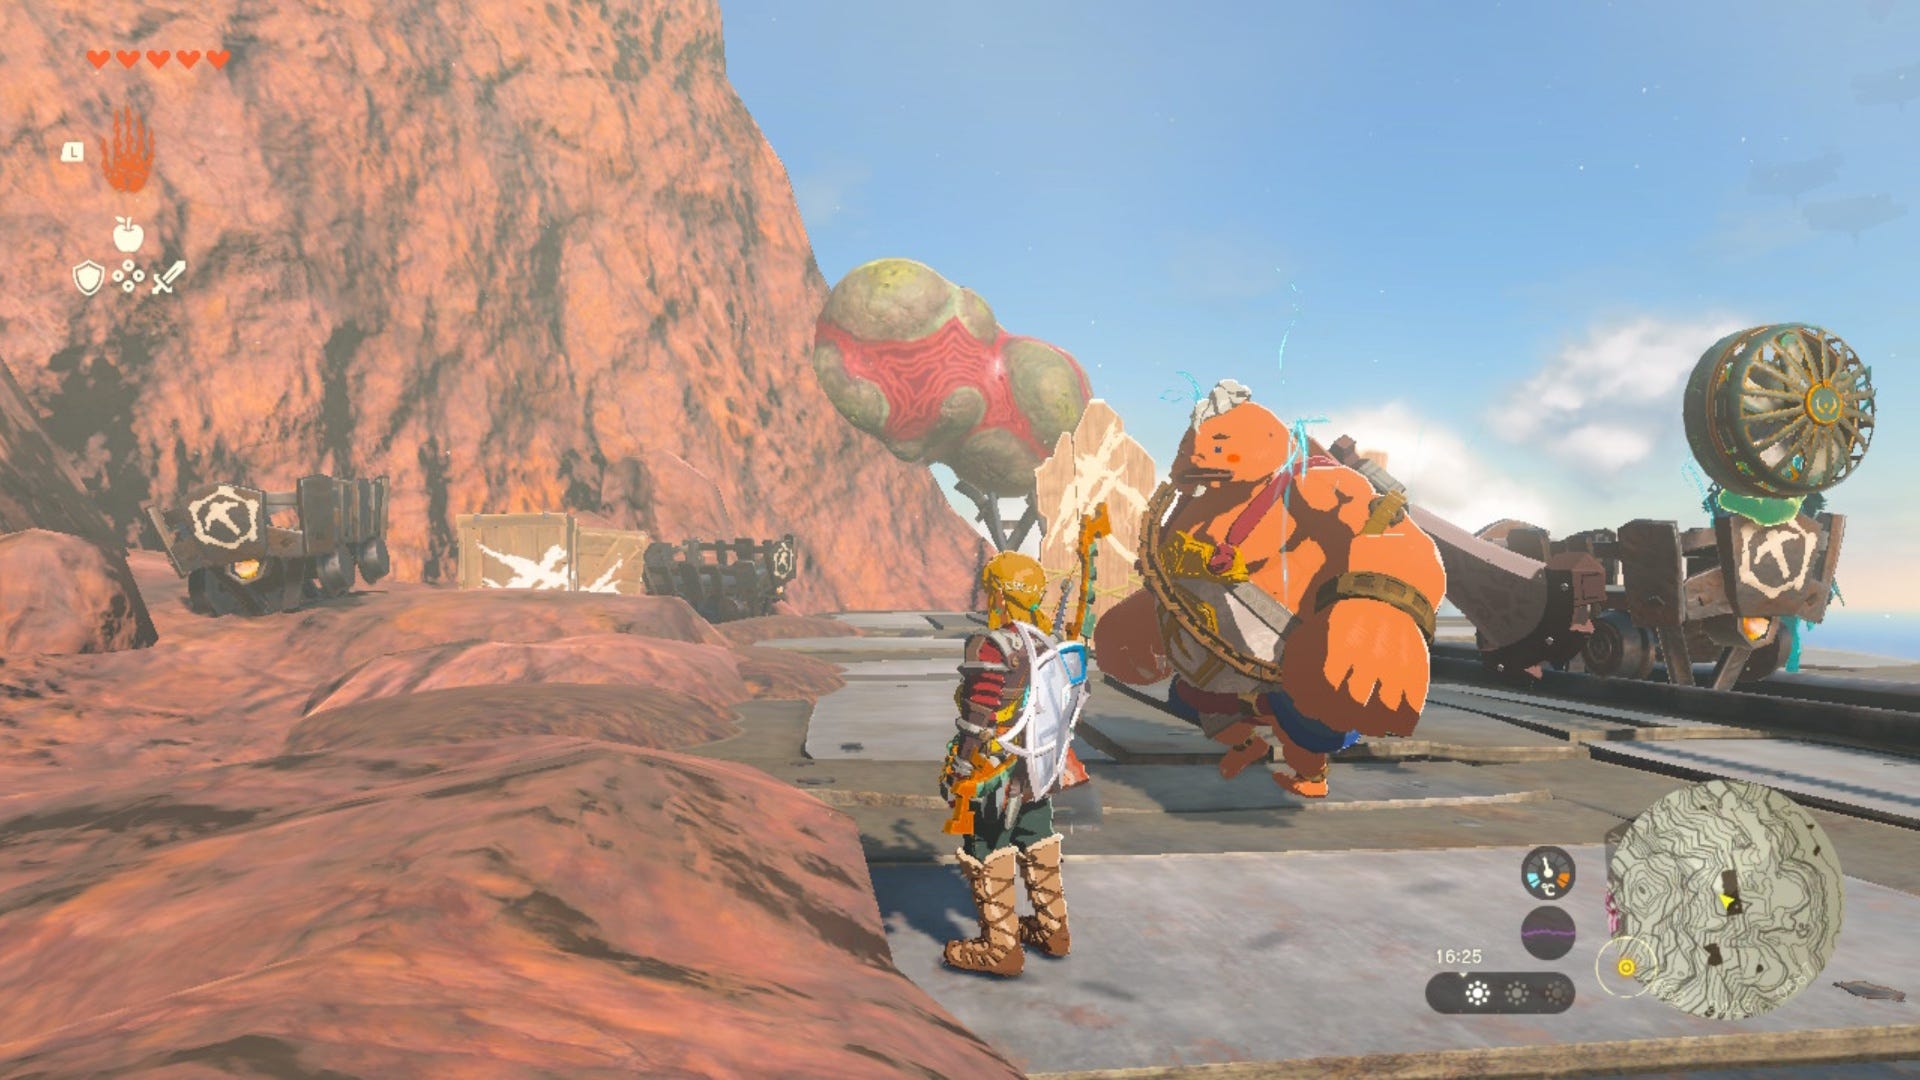
Keep following this path as it winds around and up past Marakuguc Shrine, then stop when you reach an area that looks like this:
Here, grab one of the discarded carts with Ultrahand and place it on the rails shown on the left side of the image above. Then, attach a Zonai Fan to the rear of this cart to propel it forward. Once ready, get into the cart and activate the fan to ride along the rails.
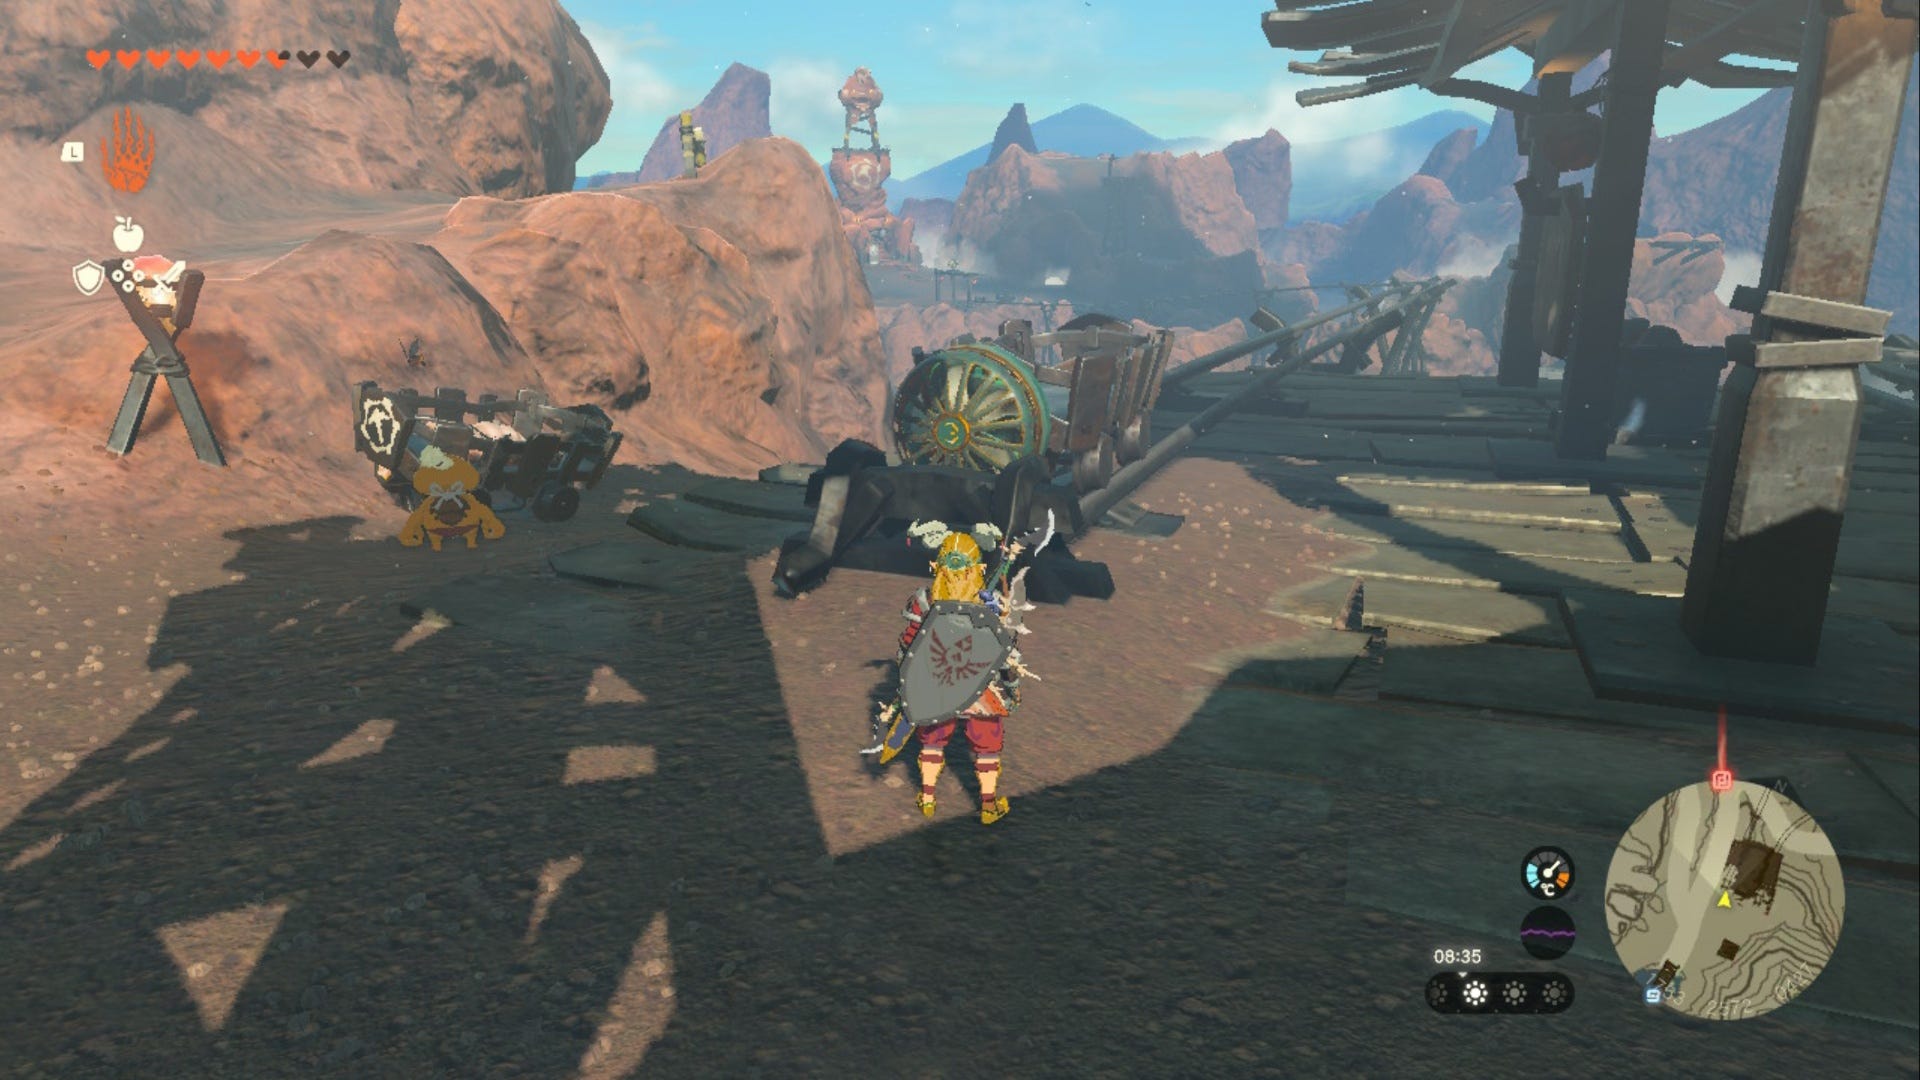
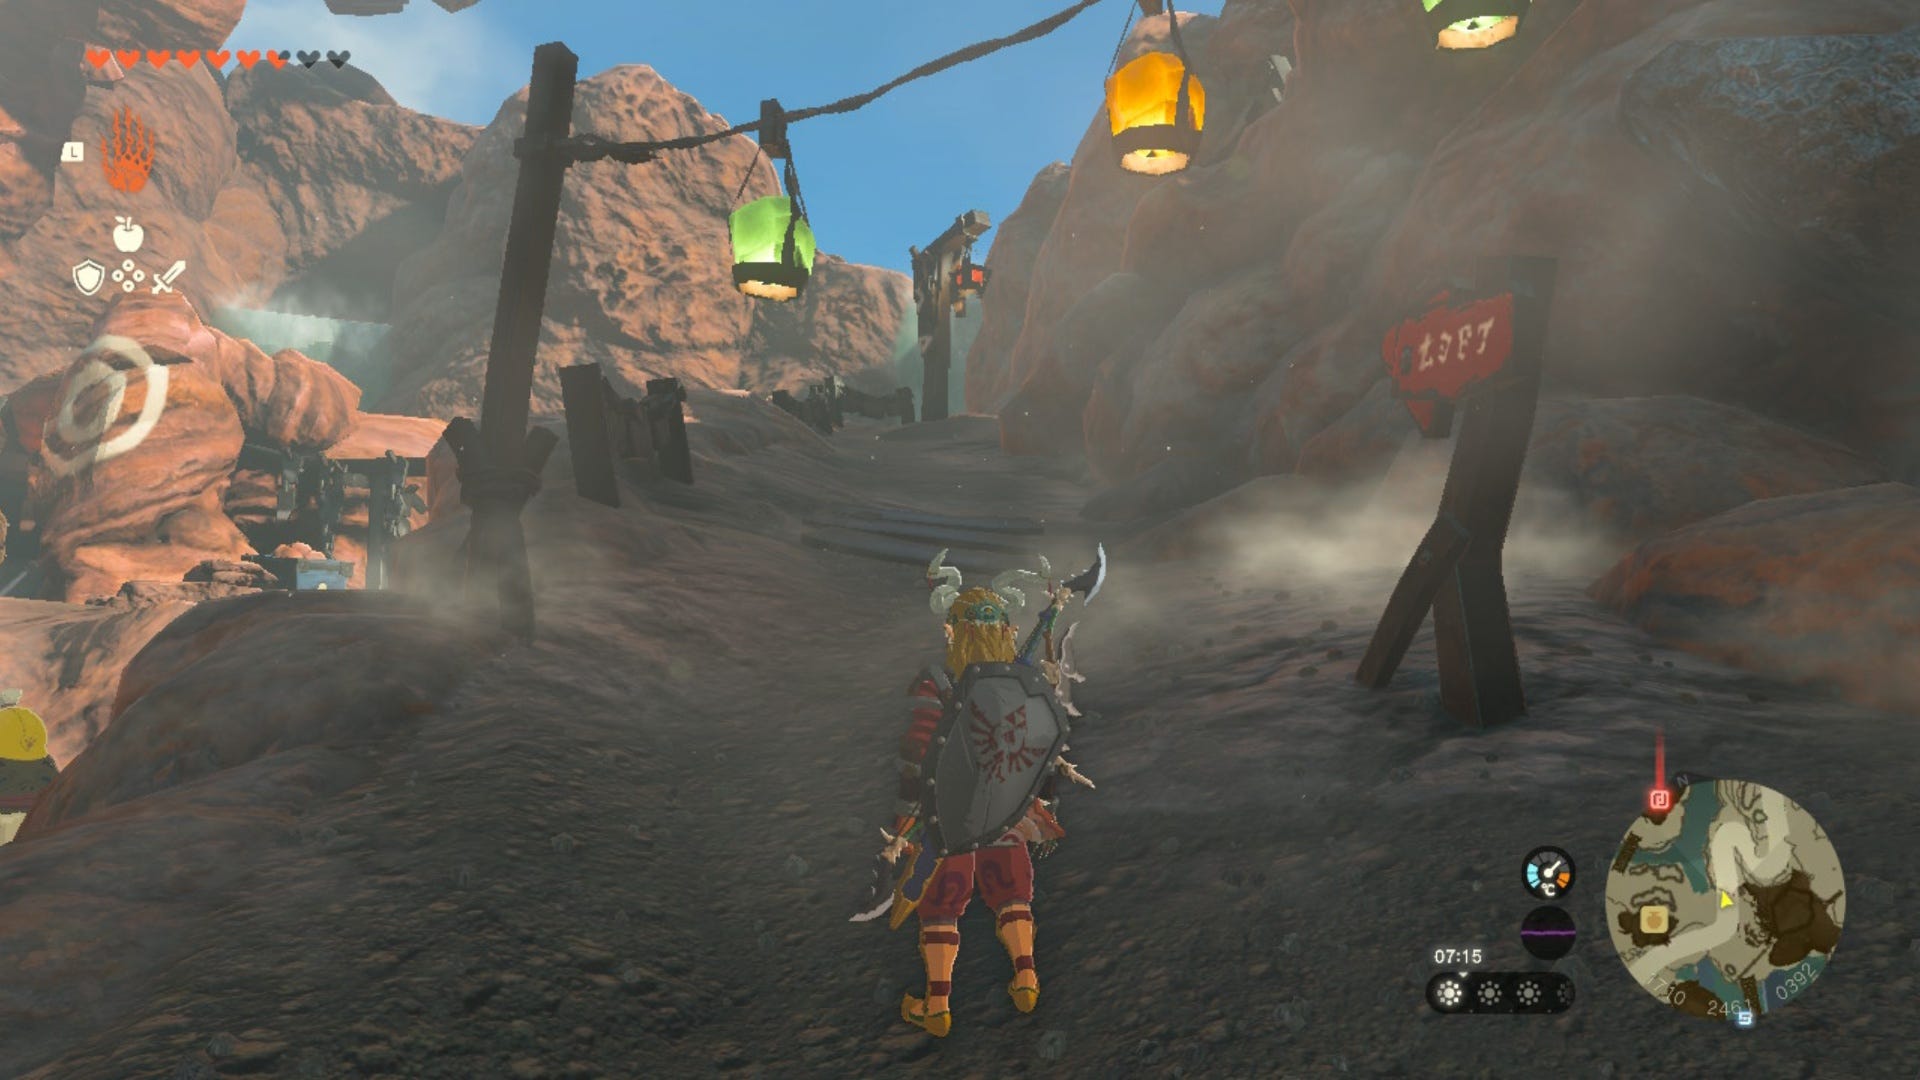
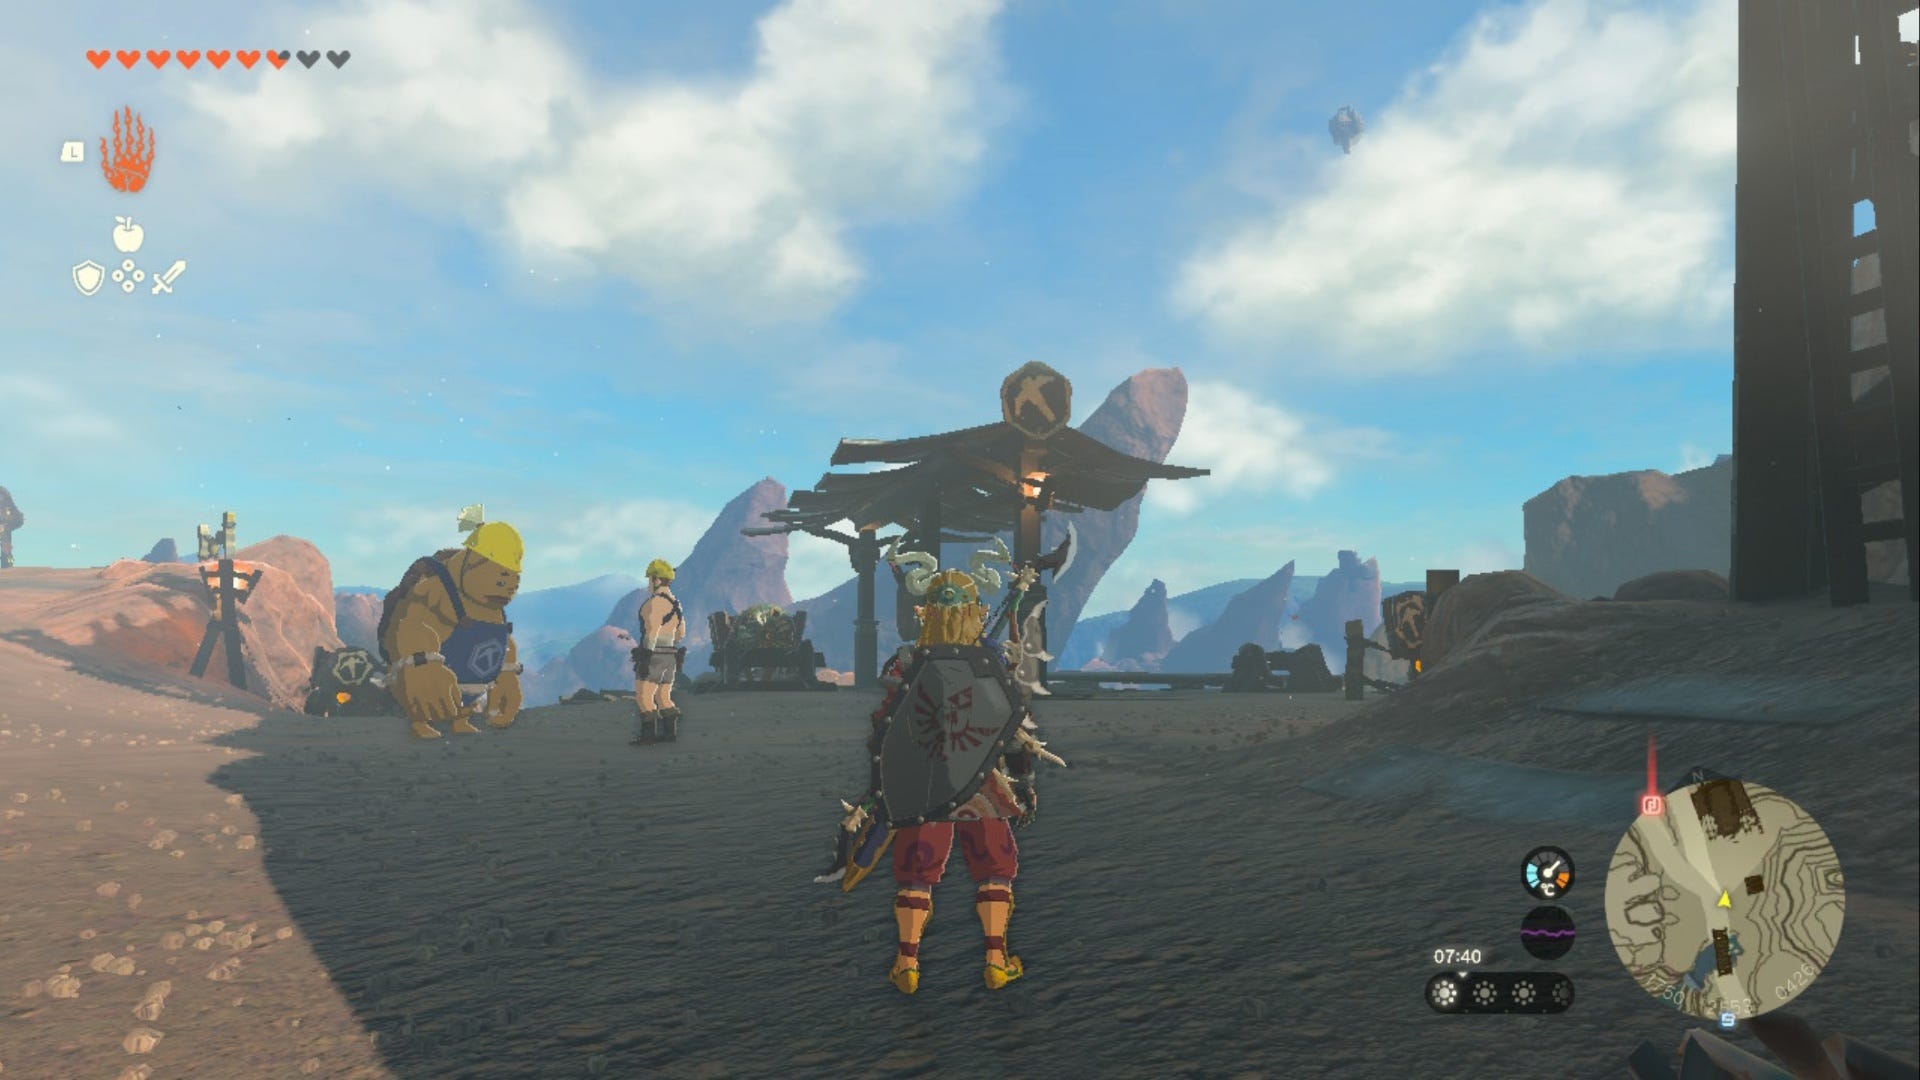
When the cart stops at the end of the rails, you'll be at YunoboCo HQ.
How to beat Yunobo in Zelda Tears of the Kingdom
Once you get to YunoboCo HQ we recommend heading inside and buying the chest piece for the Flamebreaker Armor in here. This will set you back 700 Rupees, which isn't bad when you compare it to the price of pieces of other armor sets.
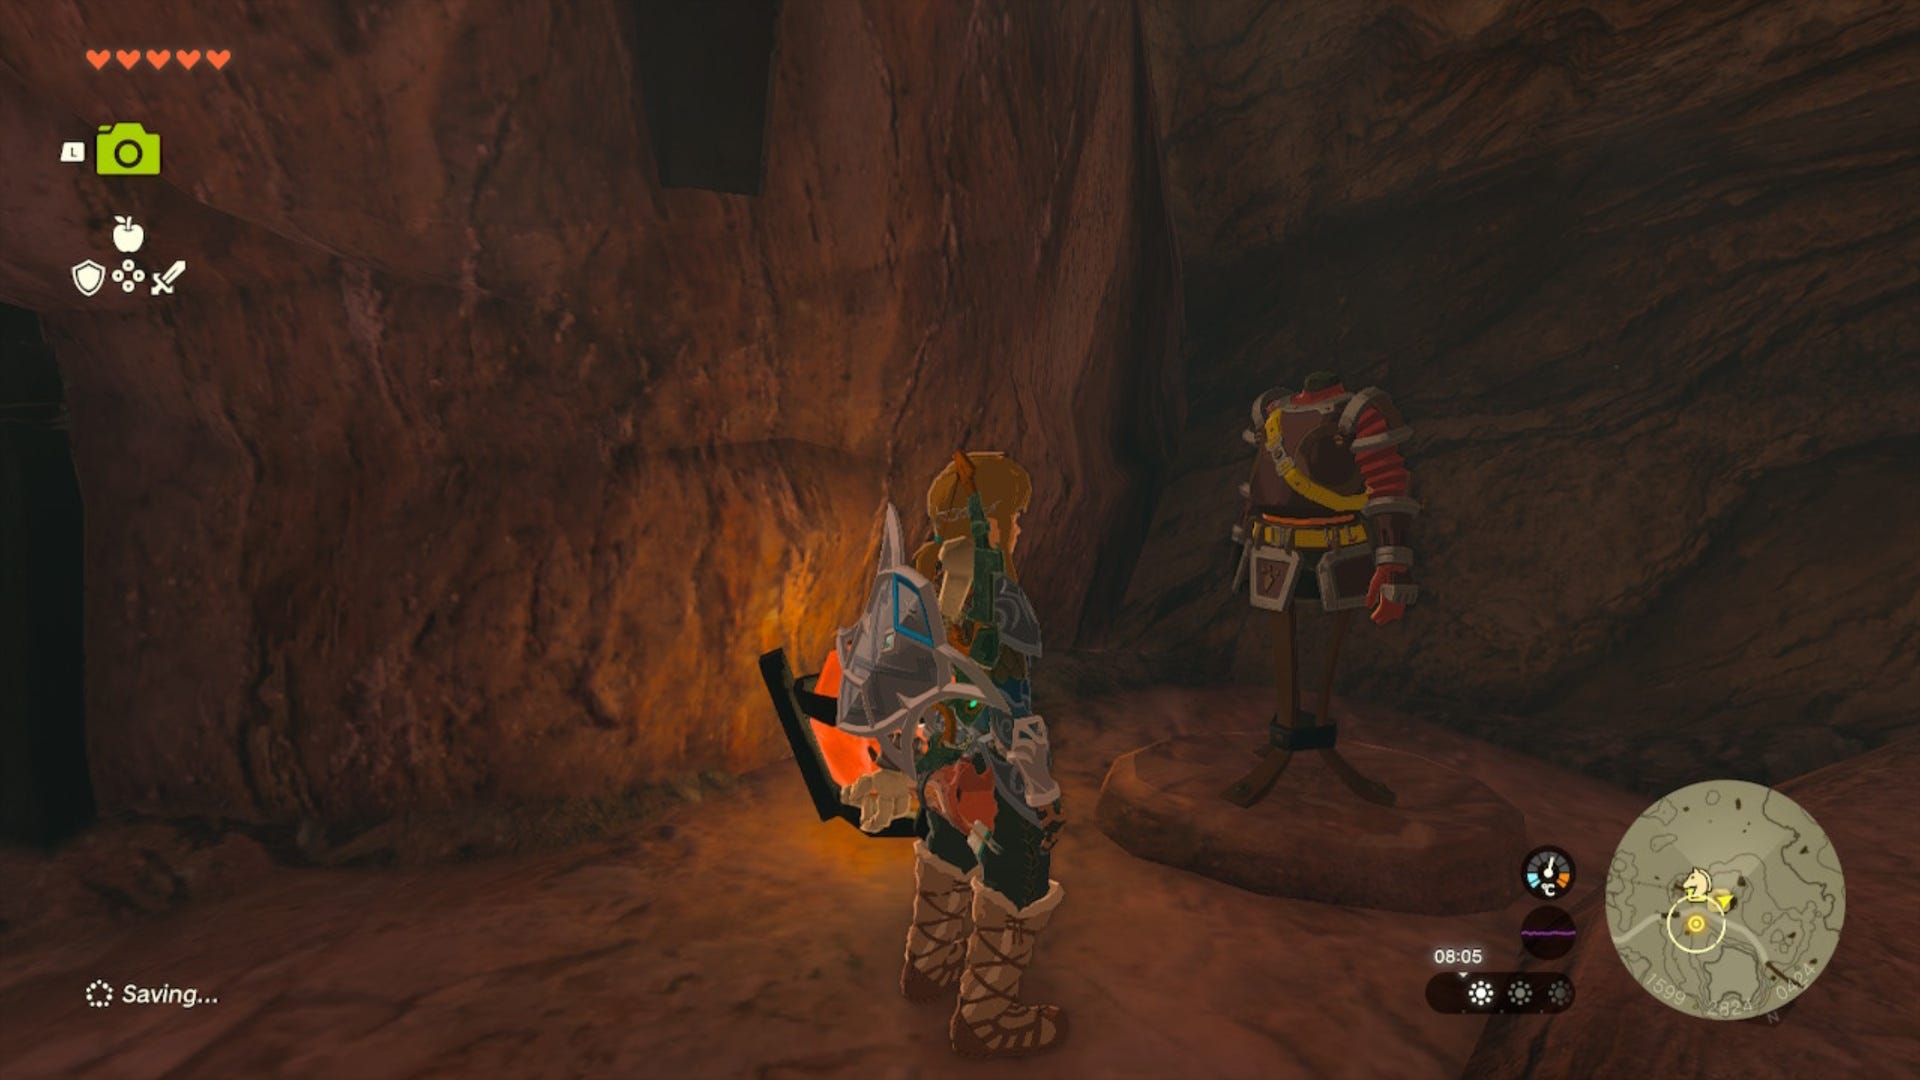
After buying the Flamebreaker Armor, head out of YunoboCo HQ and then head to your left. You should see Slergo and Offrak standing in front of a cave entrance here. Speak to them and they'll eventually let you past them into the cave.
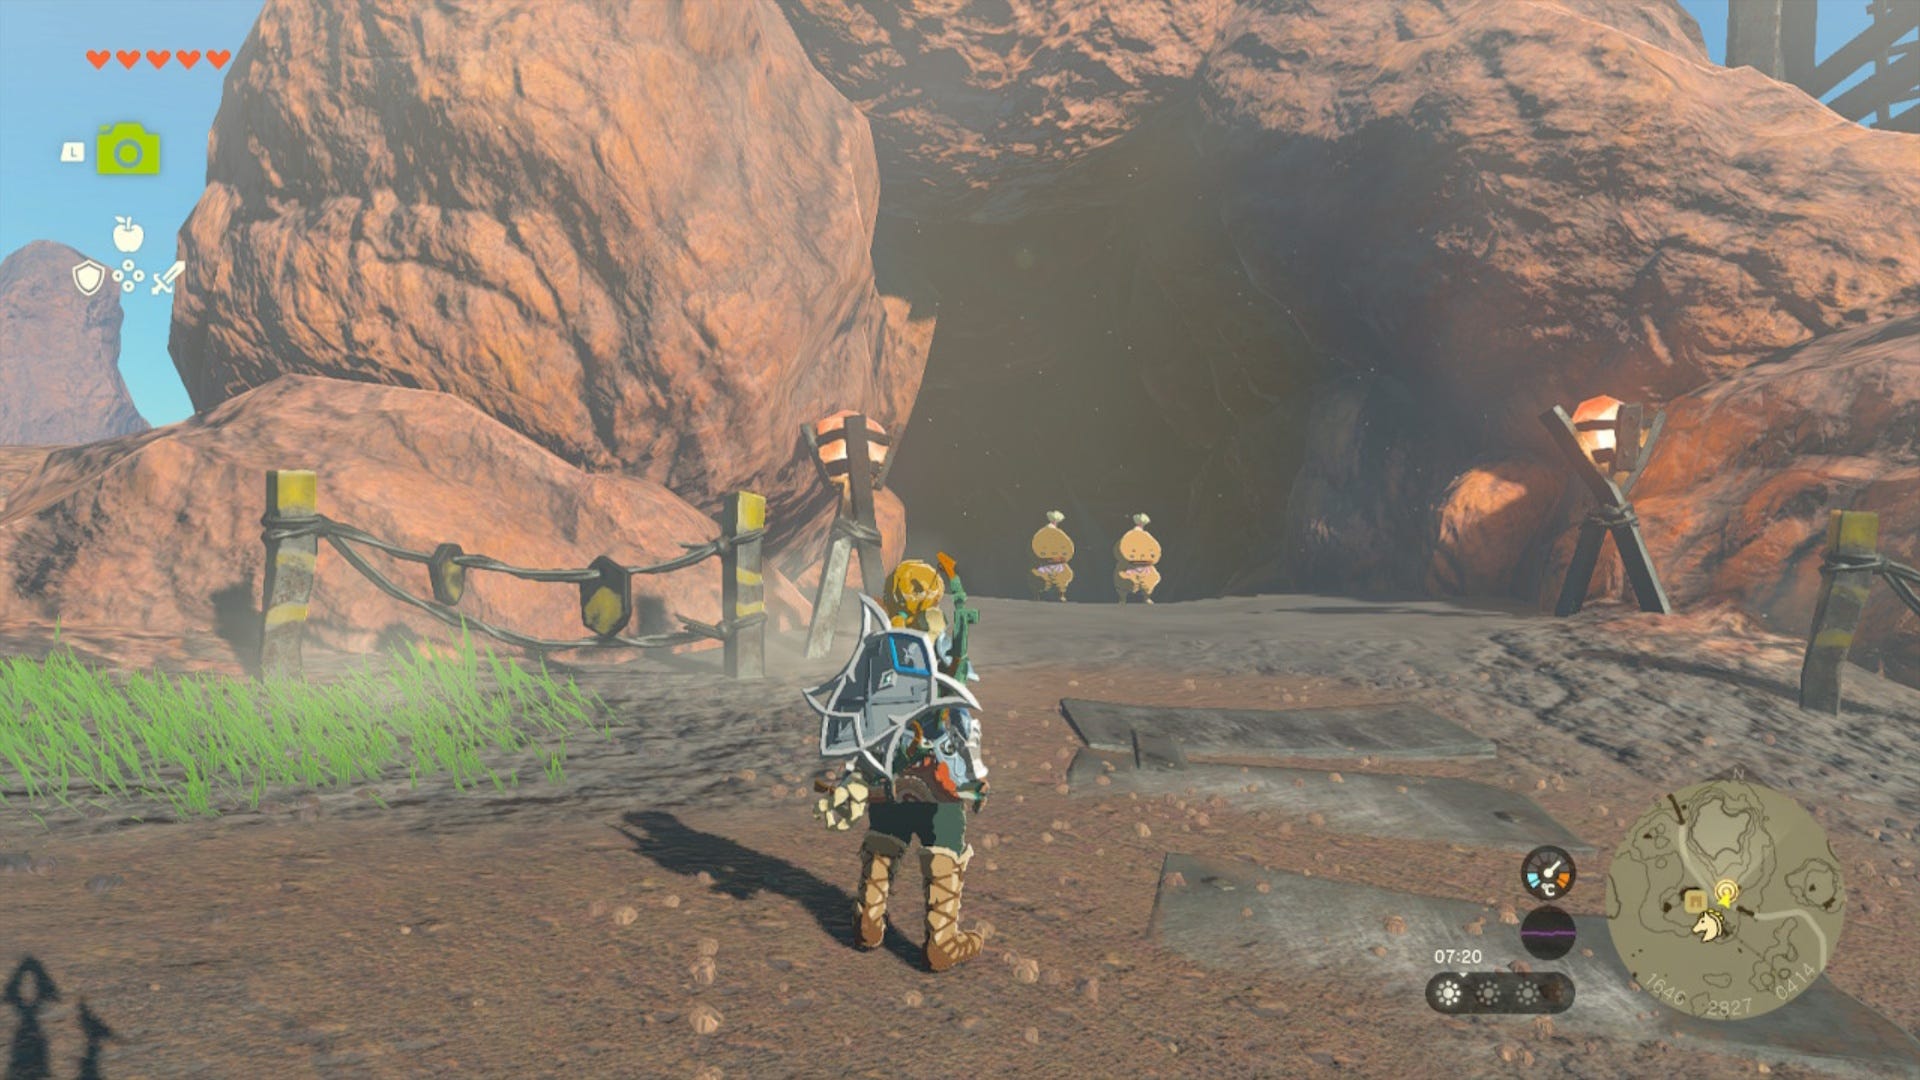
Wait! Before you enter the cave, we recommend removing any wooden or flammable armor or pieces equipment you have one. Wooden weapons and shields will definitely be set alight when you enter the cave, so try to stick to metal ones only.
Once inside, get ready for a quick fight to try to knock some sense into Yunobo.
To beat Yunobo we recommend having the following:
- Hasty Elixir - Dodging is a big part of this fight, so having an extra boost of speed from this elixir will be useful.
- Melee Weapon (12+ Damage) - Even a low rank melee weapon can help here, but having one that has an attack stat of 12 or above will speed the process along.
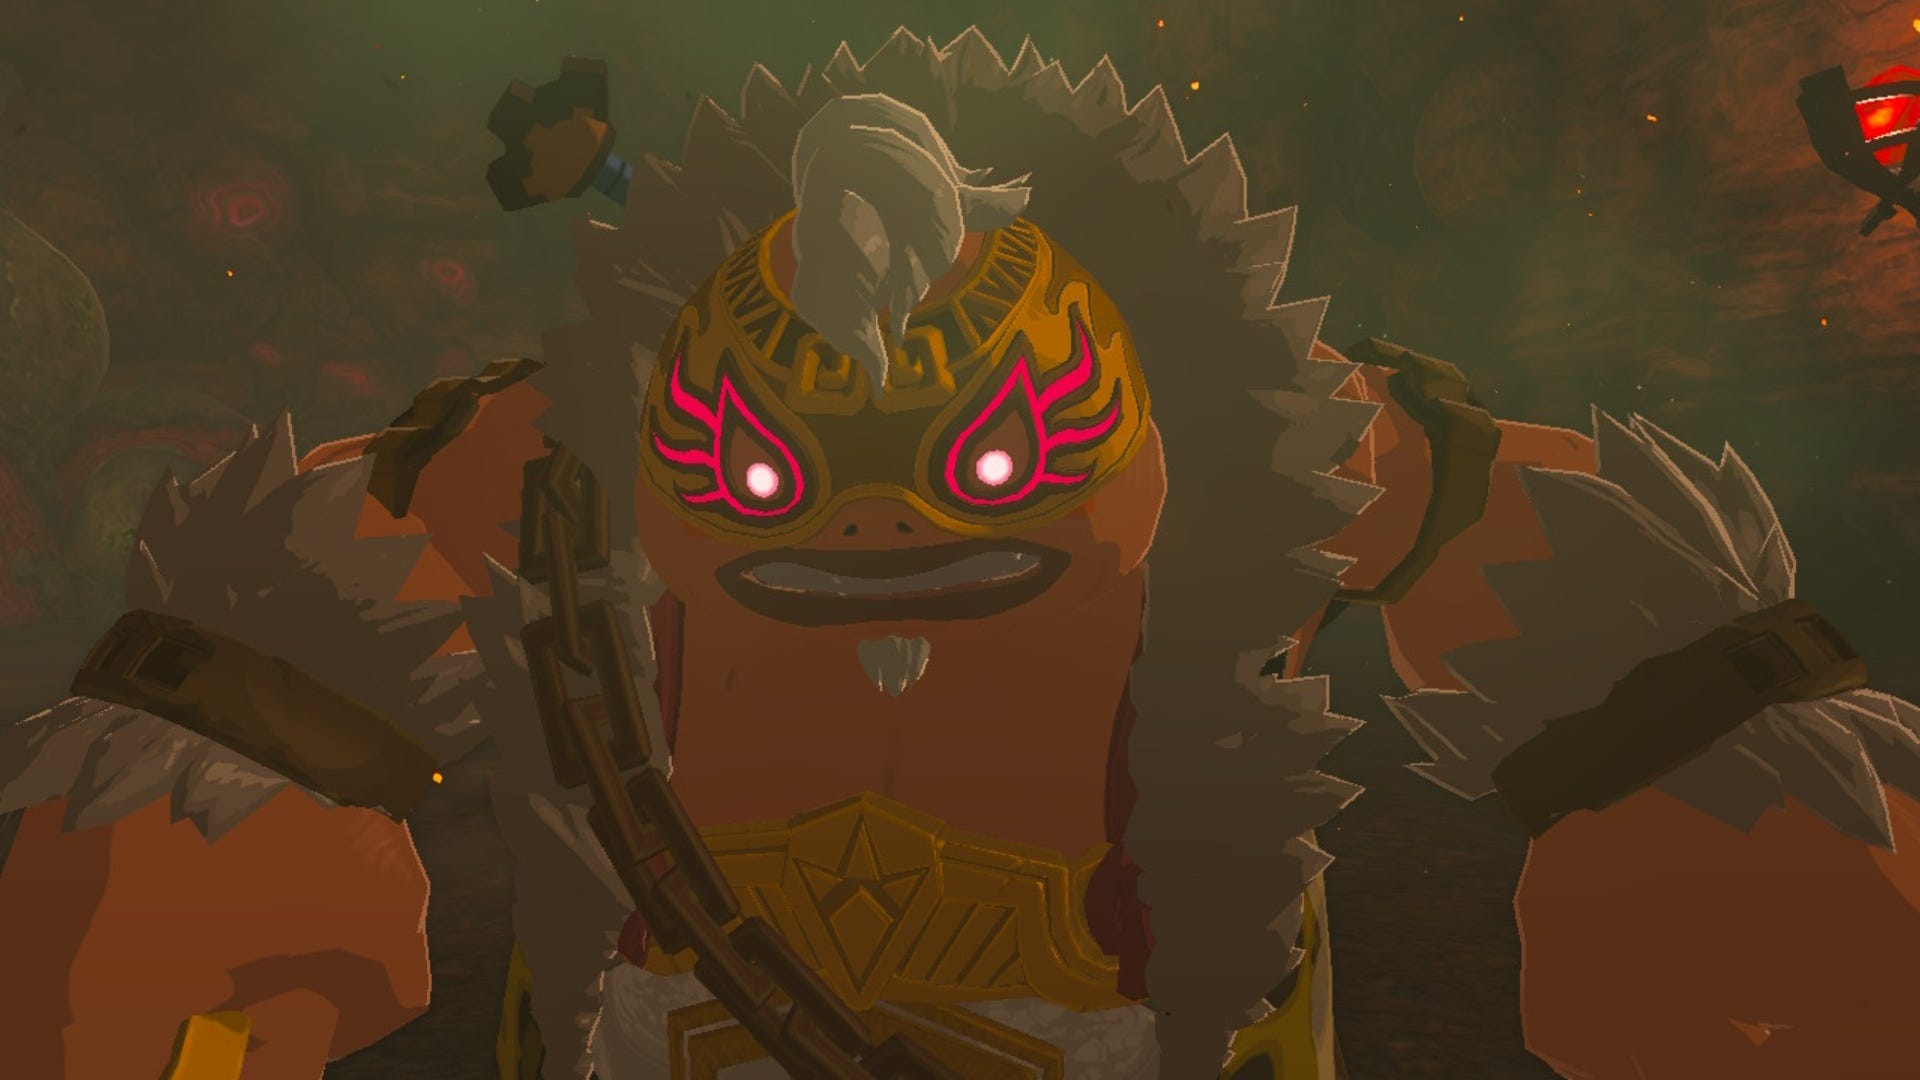
To beat Yunobo, you need to let him daze himself. To do this, wait for Yunobo to attack you with a roll attack and then jump out of the way at the last moment to dodge it - this should send Yunobo crashing into a wall. If this doesn't work the first time, you may need to stand closer to one of the walls in this area before Yunobo attacks you.
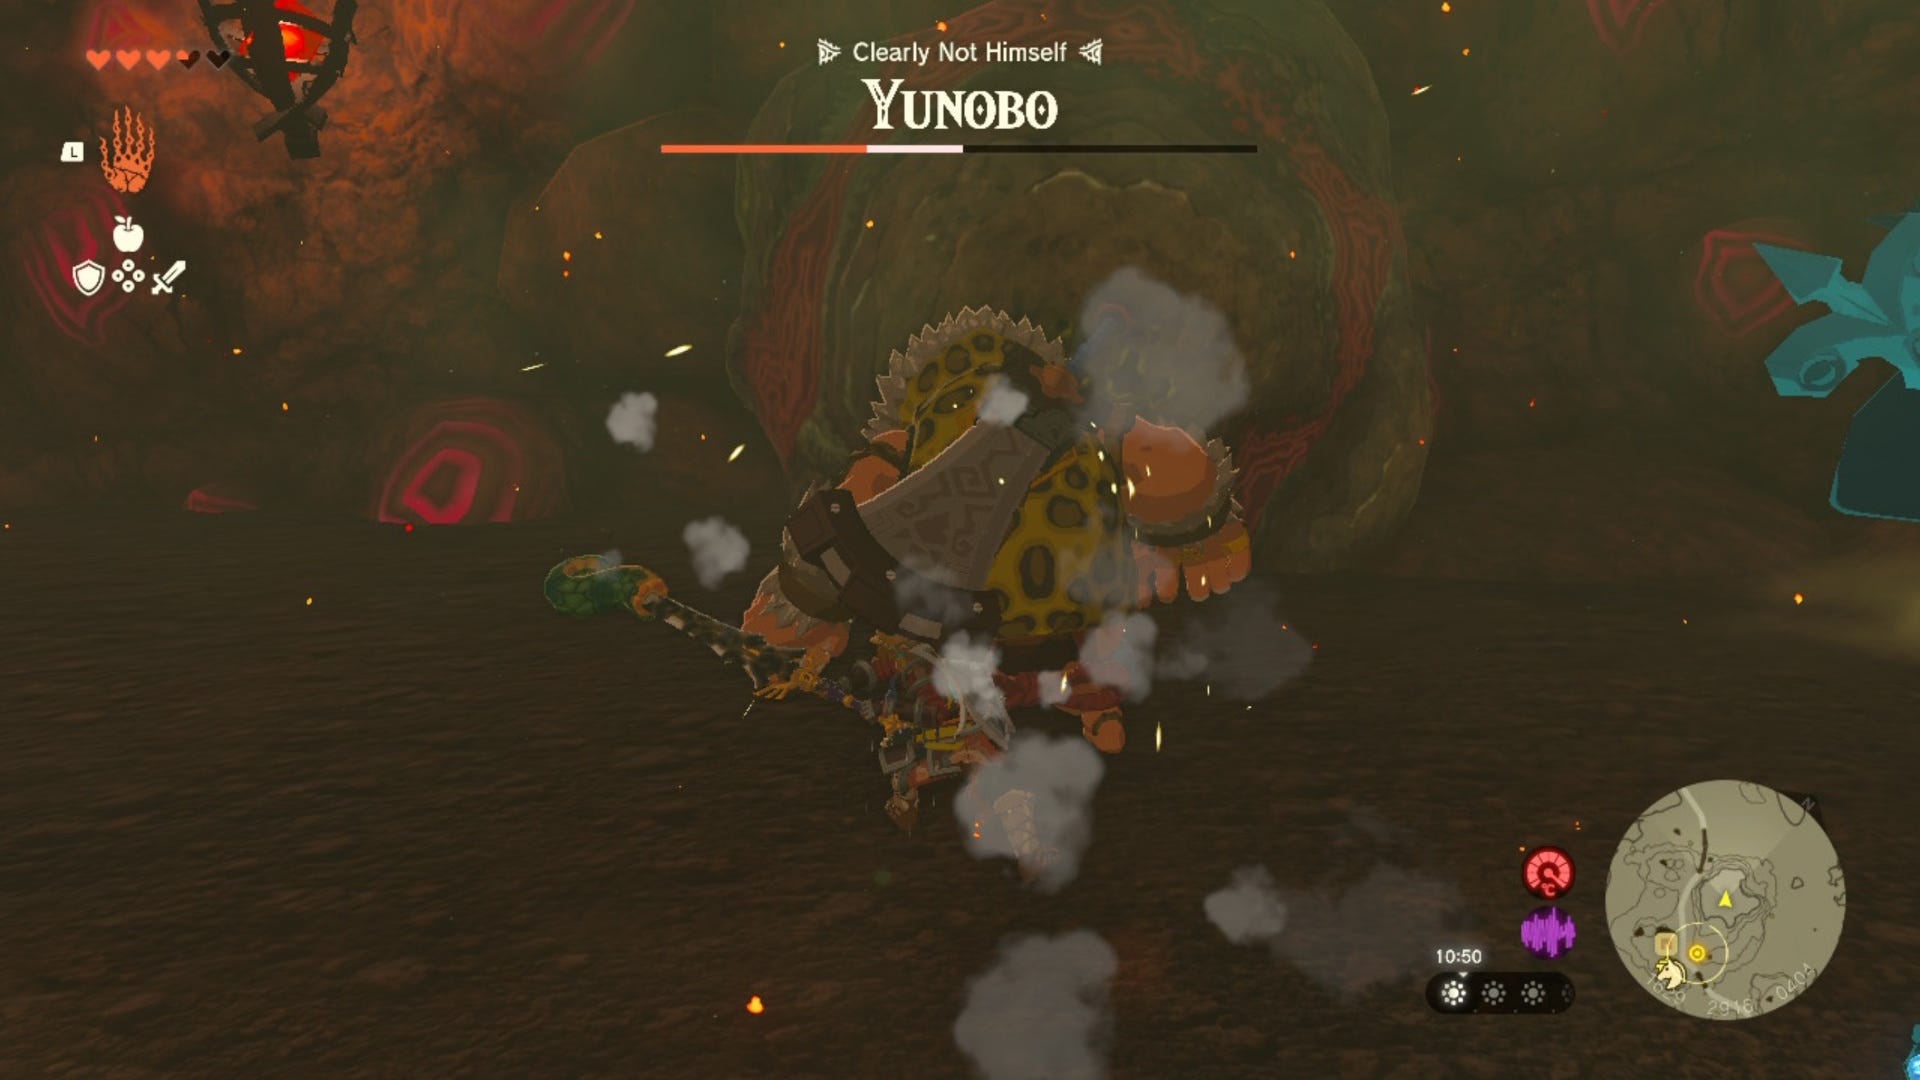
Once Yunobo crashes into a wall, he will briefly be dazed. Then, if you want to, you can attack him with a melee weapon. Do this three times and then the mask will fall off, freeing Yunobo and returning him back to his usual self.
How to climb Death Mountain in Zelda Tears of the Kingdom
After beating Yunobo, you will have unlocked his special attack. Use Yunobo's attack to break the rock blocking the exit and head out the cave.
Your next job is to reach the top of Death Mountain - which can be done in a variety of ways, but we advise riding the rails if this is your first time up Death Mountain with Yunobo during the Yunobo of Goron City quest.
To start to ride the rails up Death Mountain, you need to head to Death Mountain West Site. This is west of Death Mountain, north east of Goron City, east of YunoboCo HQ and south of Lake Darman.
We've marked its exact location on the map below and the Death Mountain West Site coordinates are (2177, 2665, 0521.)
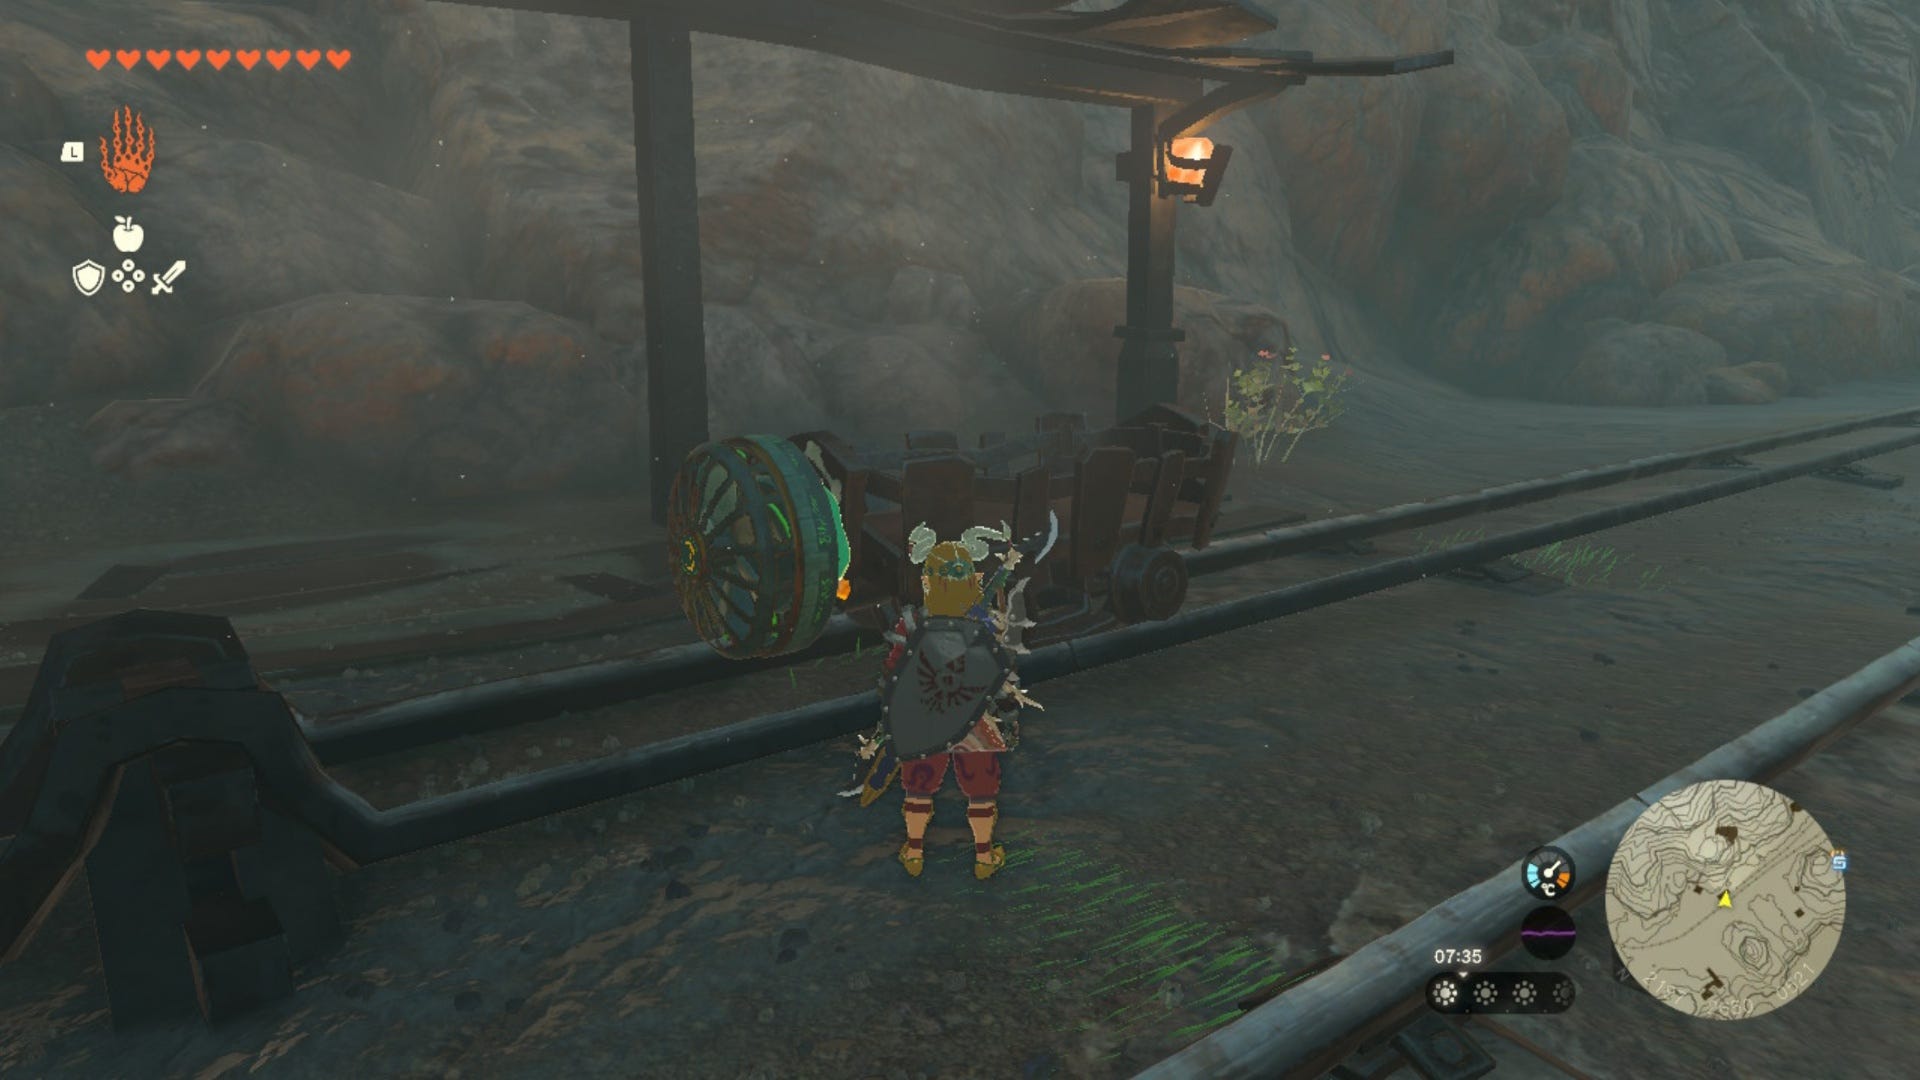
When you're at the site, head to the coordinates (2186, 2666, 0521) and you should see this. If you're not sure if you're in the right spot, there should be a sign nearby that says 'Death Mountain West Site Station'.
When you're here, you should see two sets of rails, one that's very long and the other that is just starting at the station. If you're facing the way we are in the image below, you'll want the rail on the left.
Under the cover to the left of these rails will be a cart and Zonai Fan. Place the cart on the rails and then use Ultrahand to attach the fan to the rear of the cart so that it will eventually propel the cart forward.
When you're ready, climb into the cart and activate it to start riding the rails up the mountain. Along the way you'll encounter Moblins, Fire Keese, Octoroks and Bokoblins but you can simply fire off Yunobo from the front of your cart to deal with them. You'll automatically collect the materials from the Fire Keese too which is a nice touch.
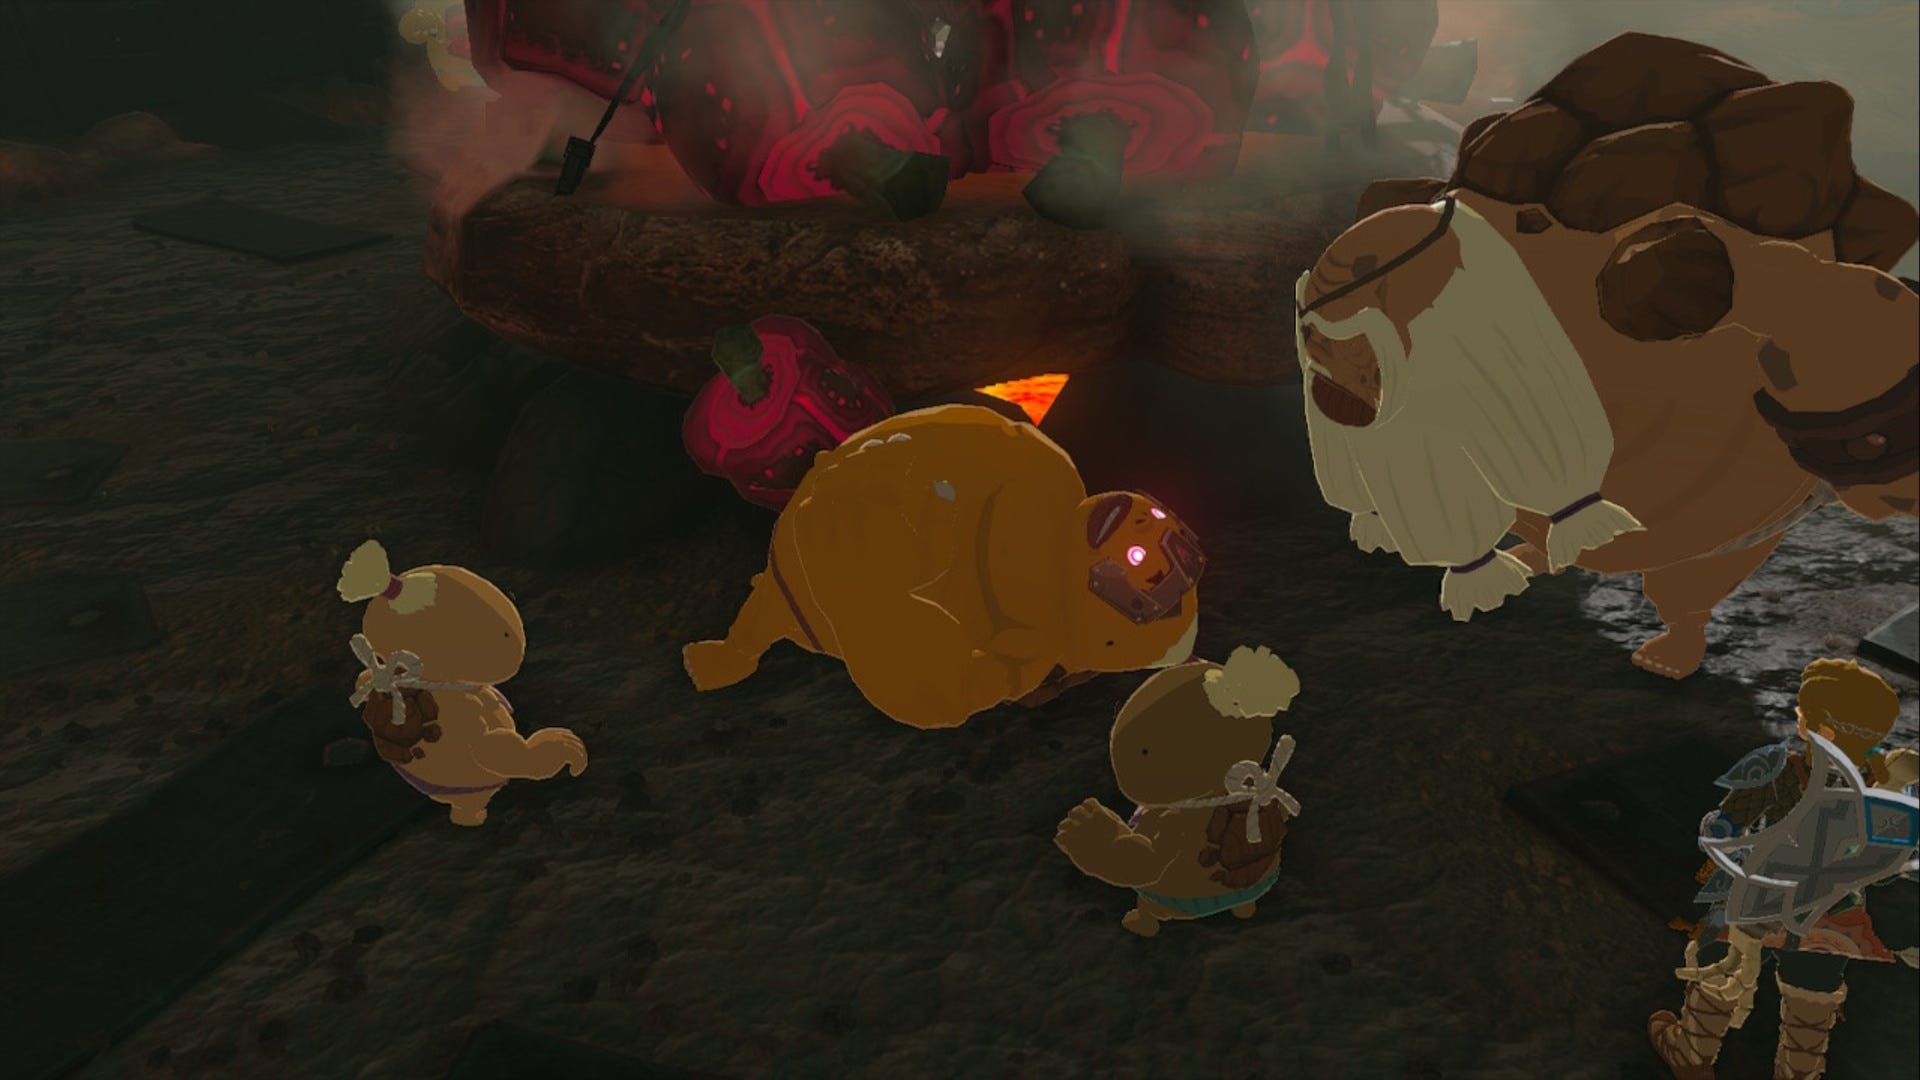
Around halfway up the mountain, you'll be blocked by some Bokoblins, a block on the tracks, and Marbled Rock Toast. Get out of your cart (deactivate it) and deal with the Bokoblins here. Then, when the platform has been cleared, use Yunobo to clear the Marbled Rock Toast blocking your path.
Move the crates blocking the rails if you haven't already, then get back into your cart. However, there is a strong chance that your cart will have vanished (ours did) but don't worry, there are spare carts and fans on the platform you're on so simply re-build your original design.
When ready, get into the cart and continue to ride the rails up the mountain. Along the way you'll encounter more Moblins, Octoroks and Fire Keese. Take them out as you did before, and eventually you'll reach the top of Death Mountain at the end of the rails.
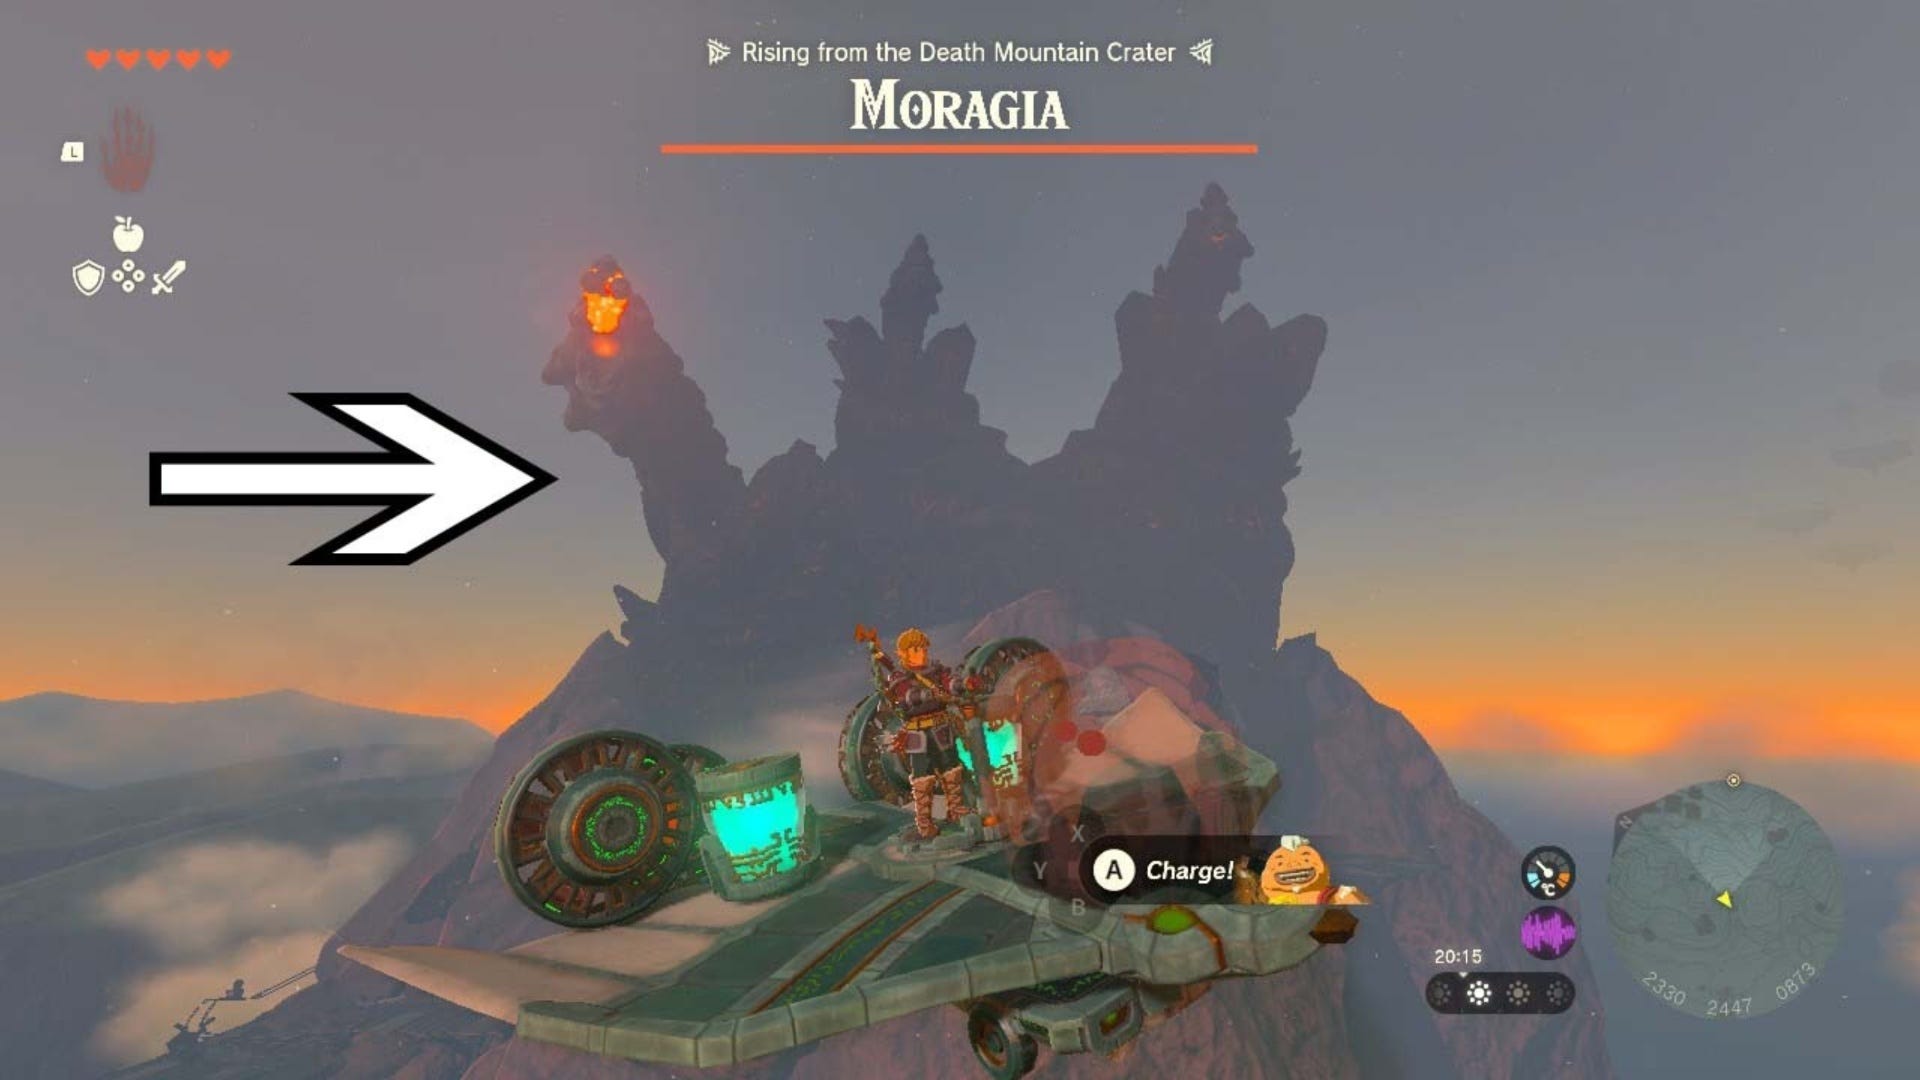
When you're at the top of the mountain, follow and speak to Yunobo again but get ready to fight but a simple melee weapon and arrows won't help you this time.
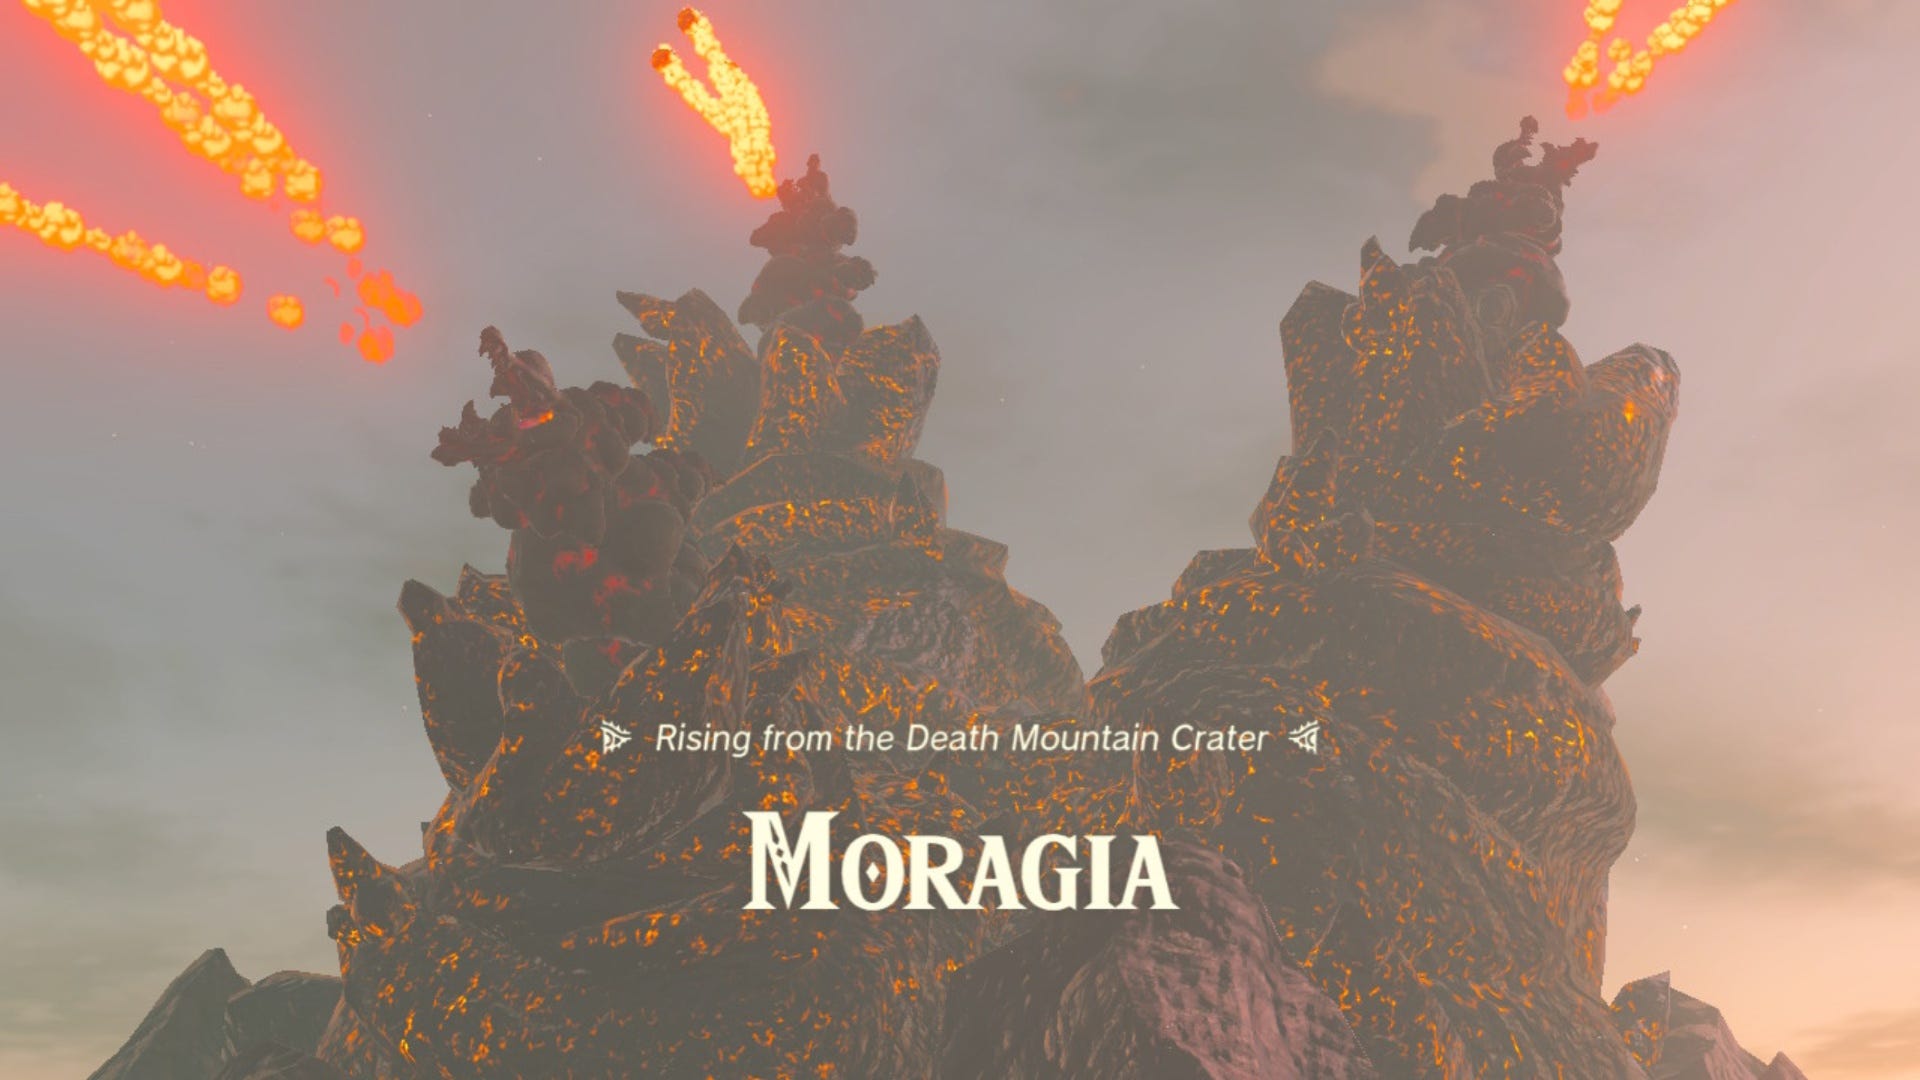
How to beat Moragia in Zelda Tears of the Kingdom
Out pops Moragia! The very large worm-like demon with three heads which means three extra dangerous parts you need to keep an eye on but, also, this gives you three targets to attack which has its own benefits.
Yunobo is the only 'weapon' you will need to beat Moragia but you need to find a way to get Yunobo close to each of Moragia's three heads. Luckily, the answer to your problem should be right in front of you at the top of Death Mountain.
When the fight with Moragia begins, you should see a Wing covered in fans and Zonai Batteries on your right. Use Ultrahand to pull the Wing out of where it is and lay it on the platform facing away from the mountain.
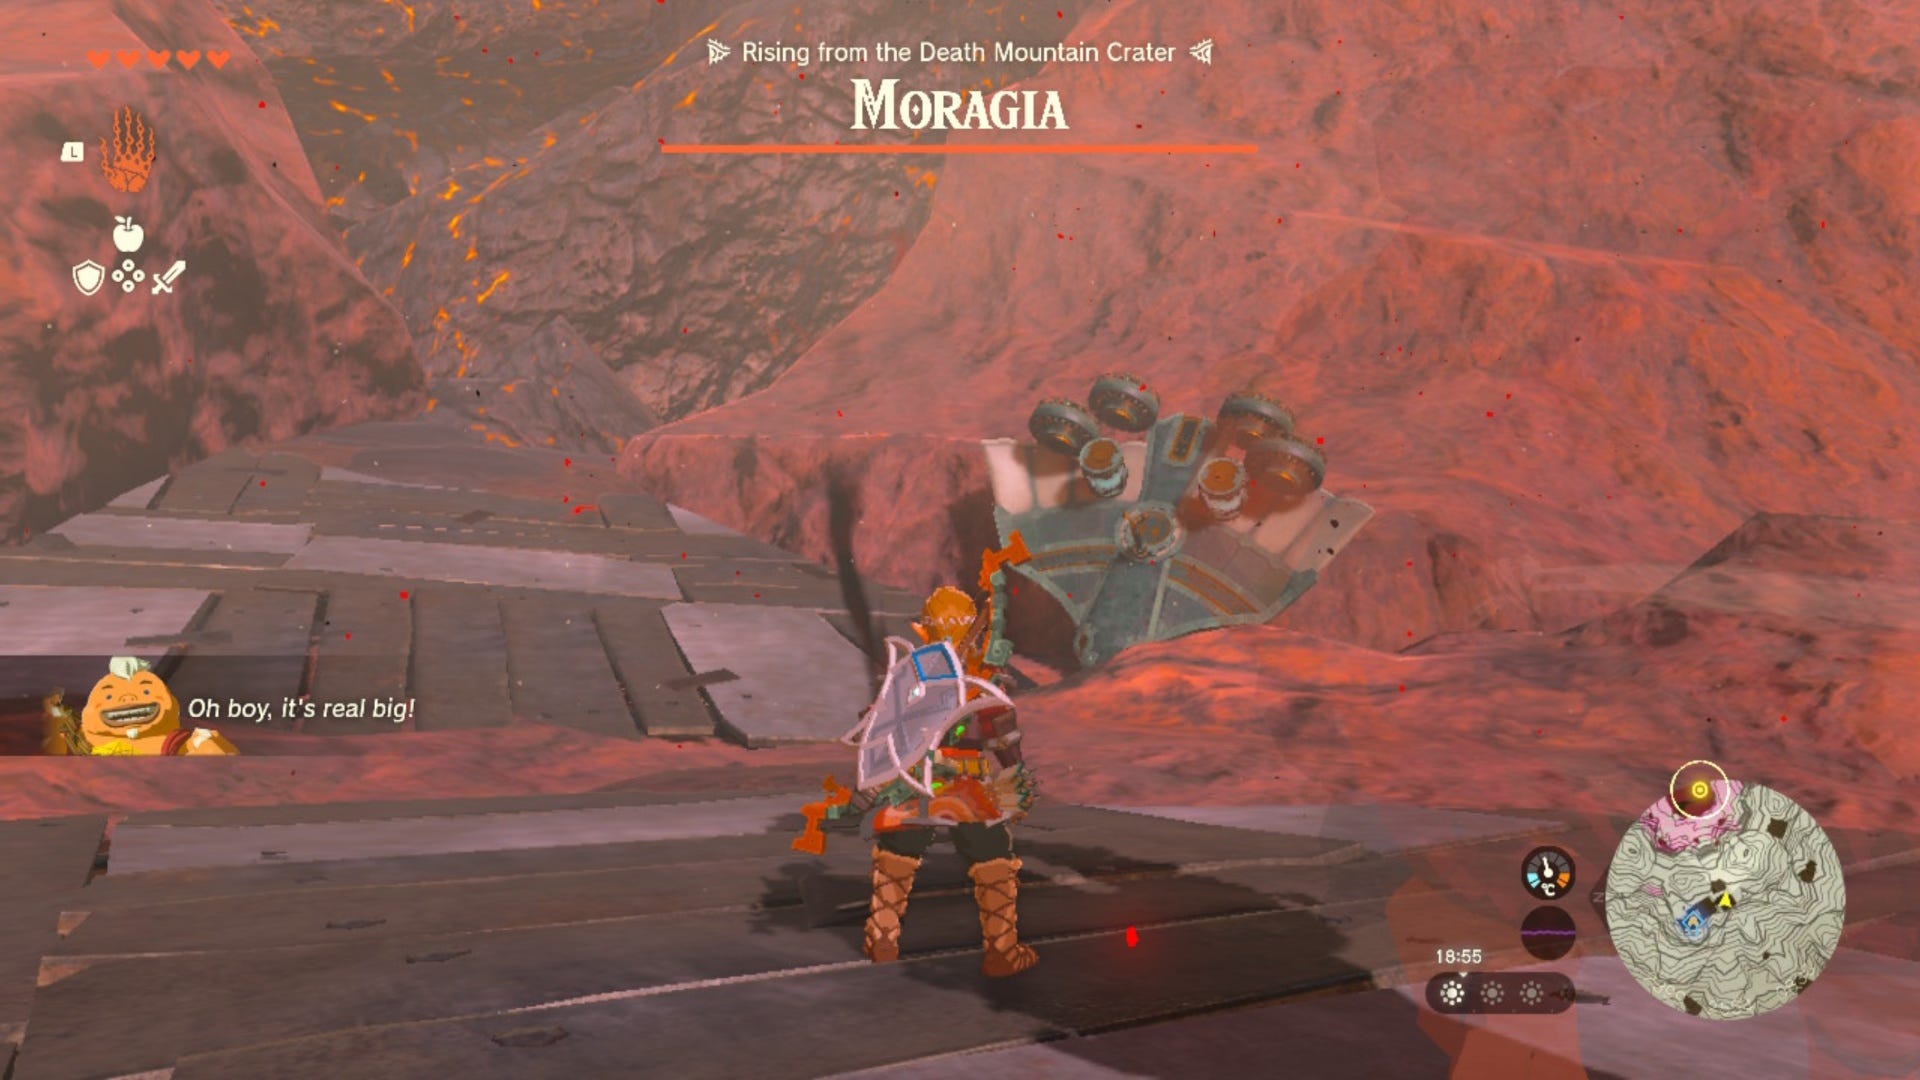
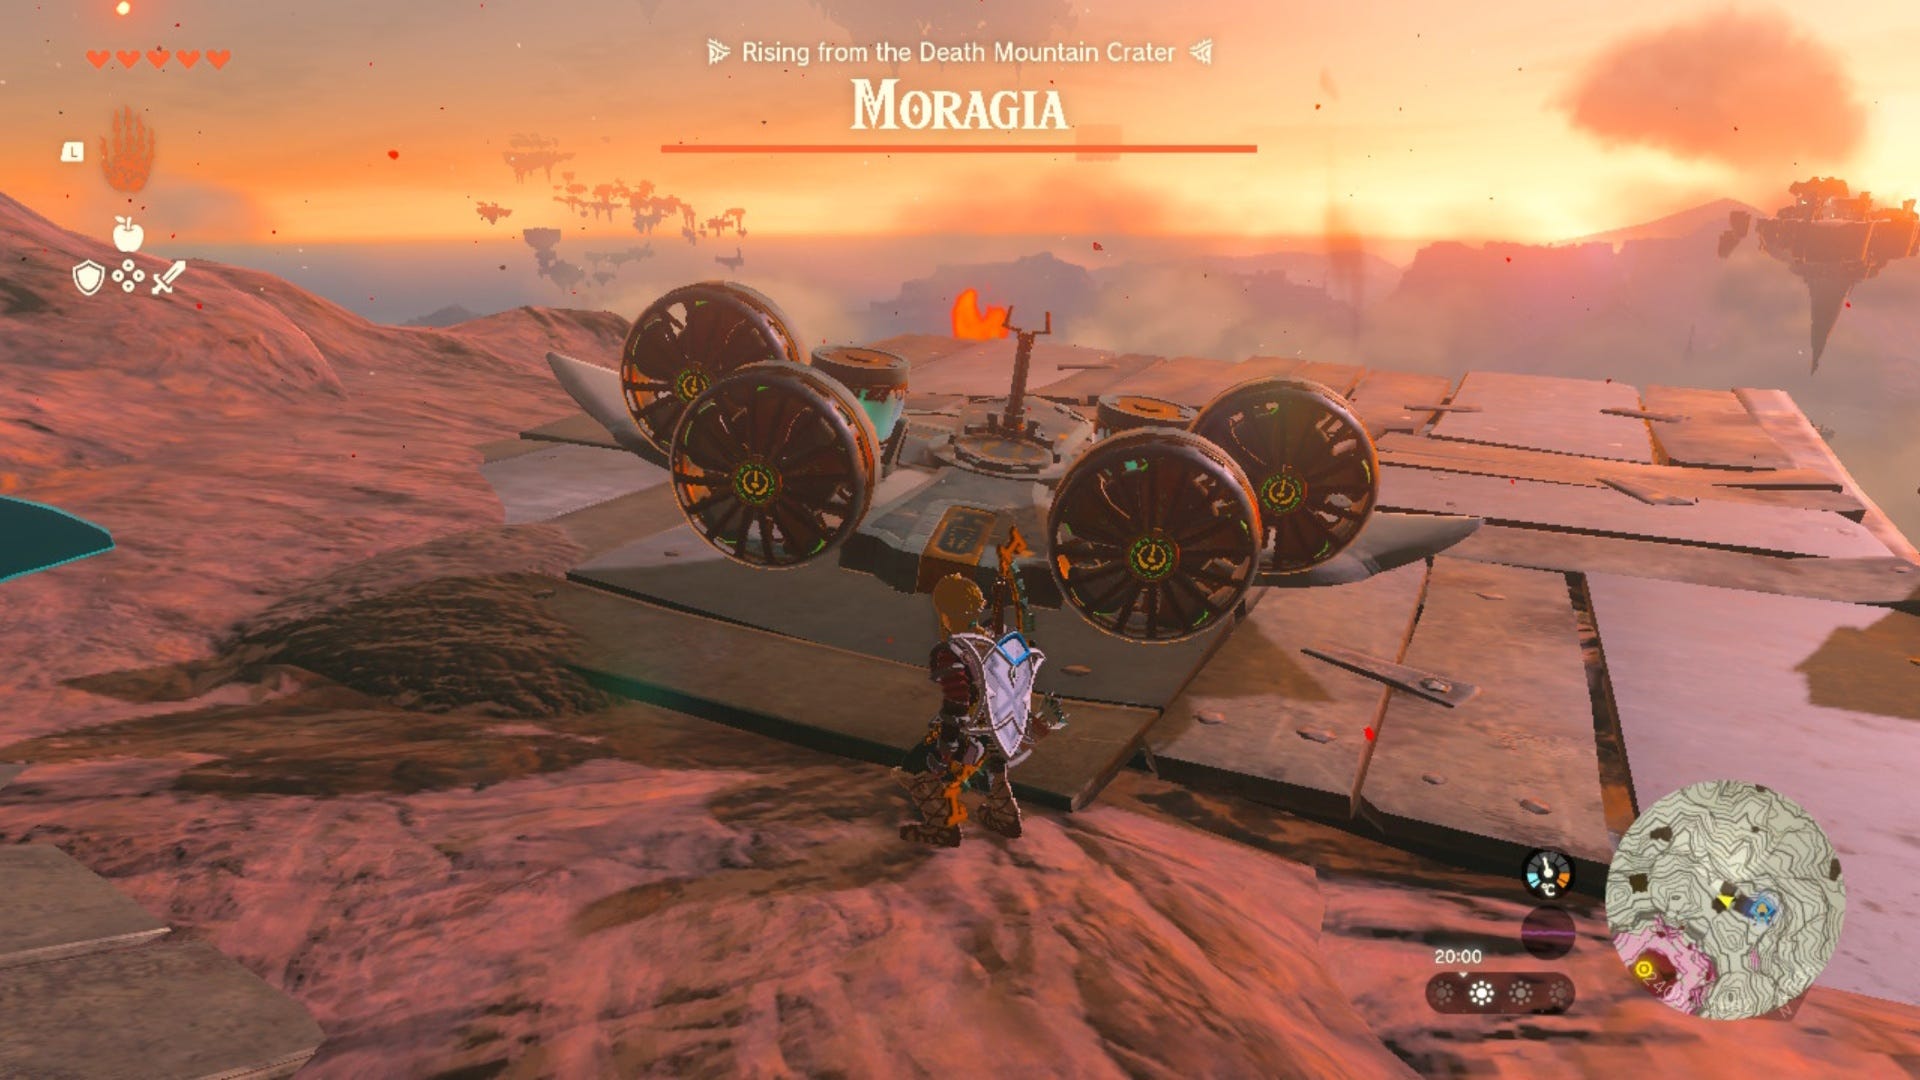
Get onto the Wing and press 'A' to interact with the Steering Stick in the middle of it. This will let you fly the Wing with more accuracy. Fly the Wing off of the edge of the mountain and then turn back around on yourself so that you're facing Moragia. Here, it's three heads should be clear to see.
You can attack the heads in any order you want to, we didn't really have an order but we did start with the head on the left.
You need to get near to one of Moragia's heads and fire off Yunobo directly at it. All you need to do is hit each head once with Yunobo.
However, while you're flying Moragia will fire flaming boulders at you. You can dodge these but if you can't get away from one in time, you can use Yunobo to shatter the incoming boulder.
Once you've hit each of Moragia's three heads once with Yunobo, the monster at the top of Death Mountain will be defeated!
How to finish Yunobo of Goron City in Zelda Tears of the Kingdom
To finish the Yunobo of Goron City quest in Zelda: Tears of the Kingdom, you need to dive down into Death Mountain through the newly opened chasm where Moragia once nested. We recommend diving down from the point where you found the Wing at the top of the mountain.
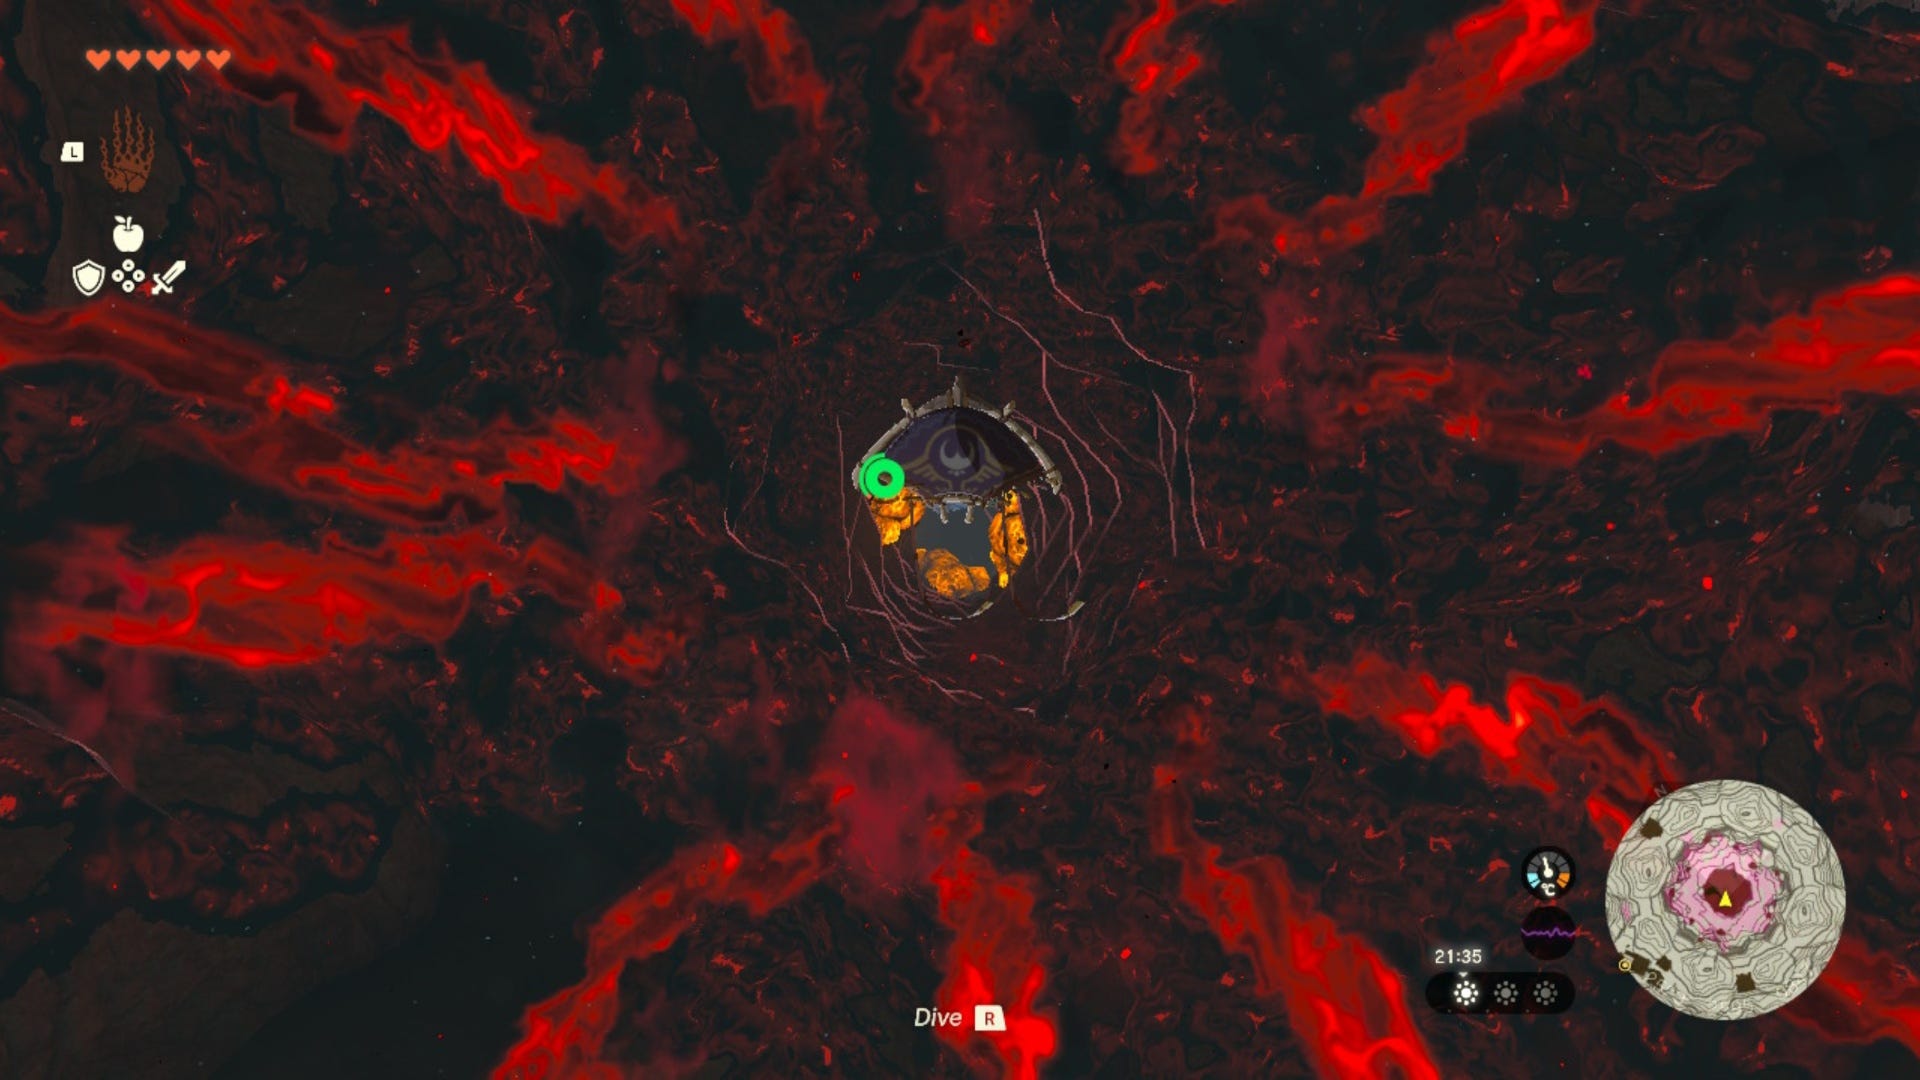
We suggest putting your Flamebreaker Armor on for this part. As you're diving aim to land on the right side and use some Brightbloom seeds attached to arrows to illuminate the area so you can see where you're going, but be careful as there's a large lava pool at the bottom.
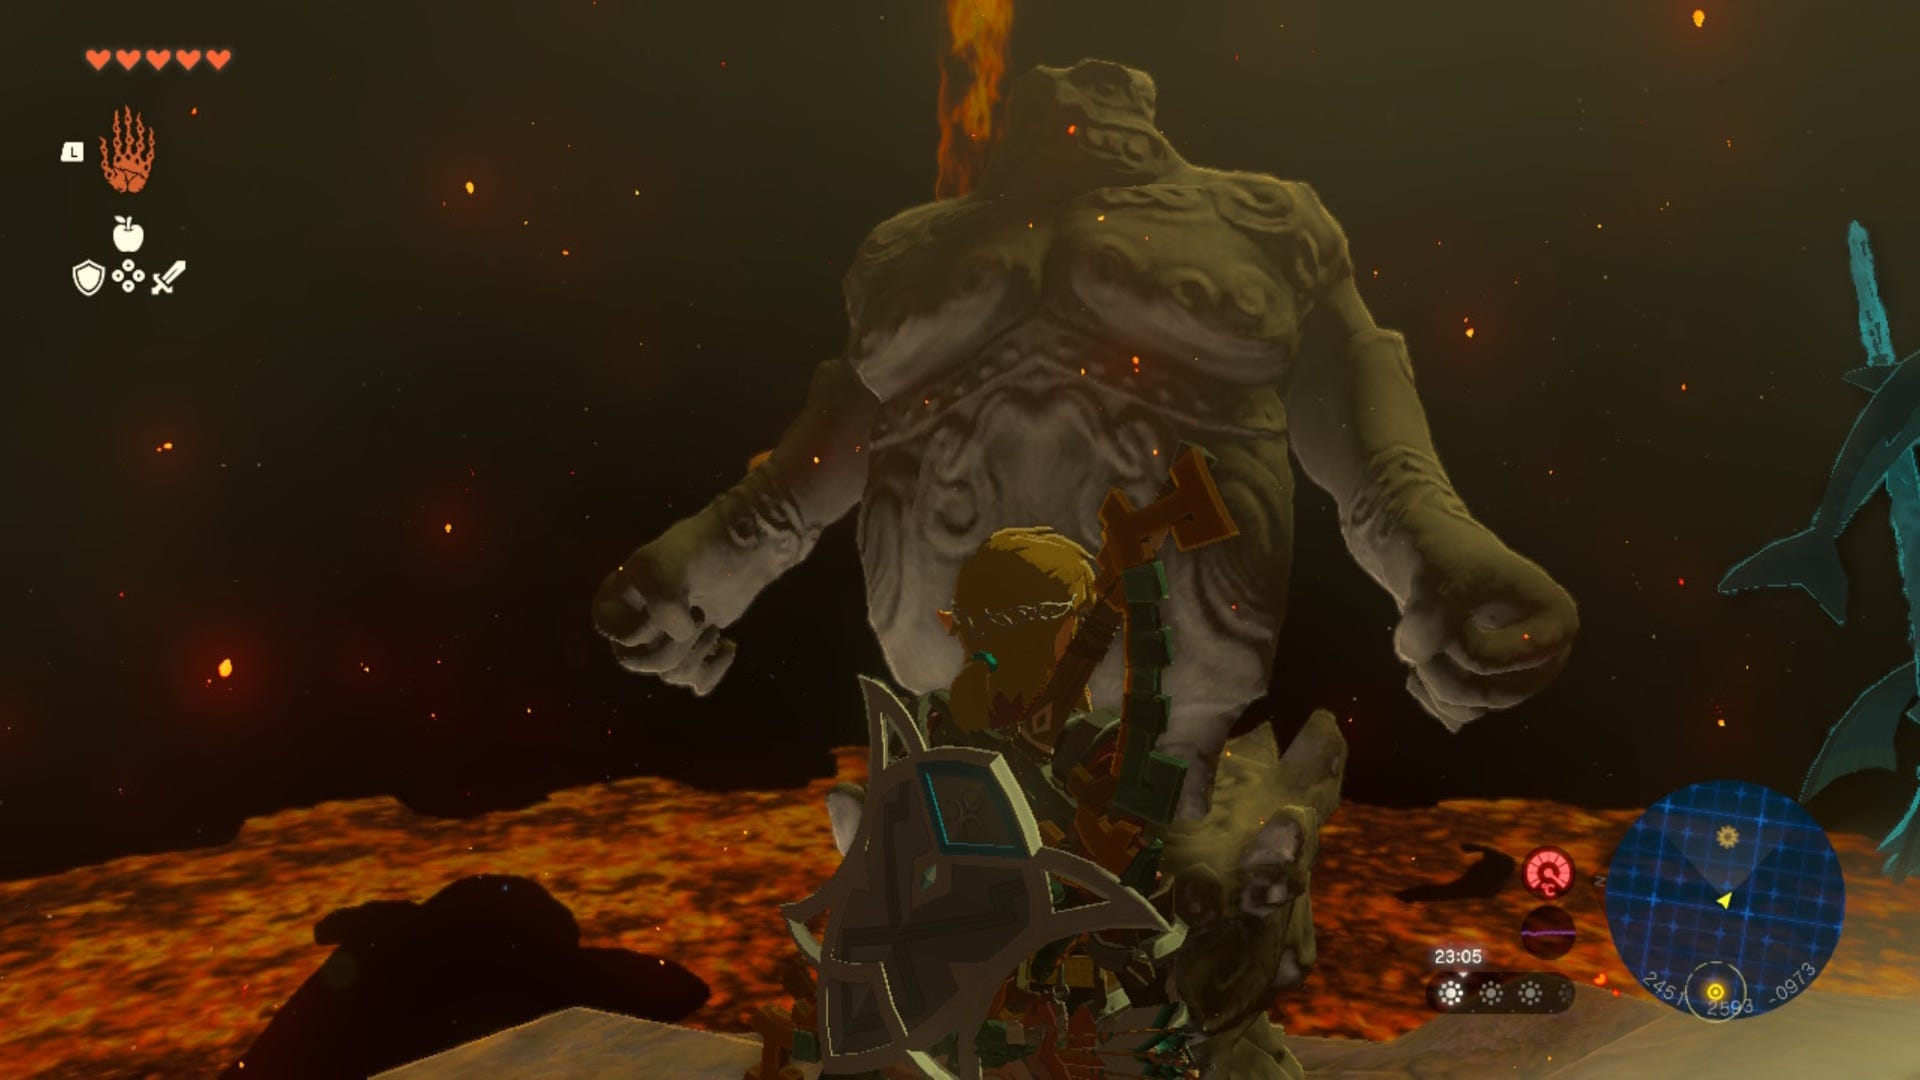
If you land on the right side of the area, you should come across a large statue.
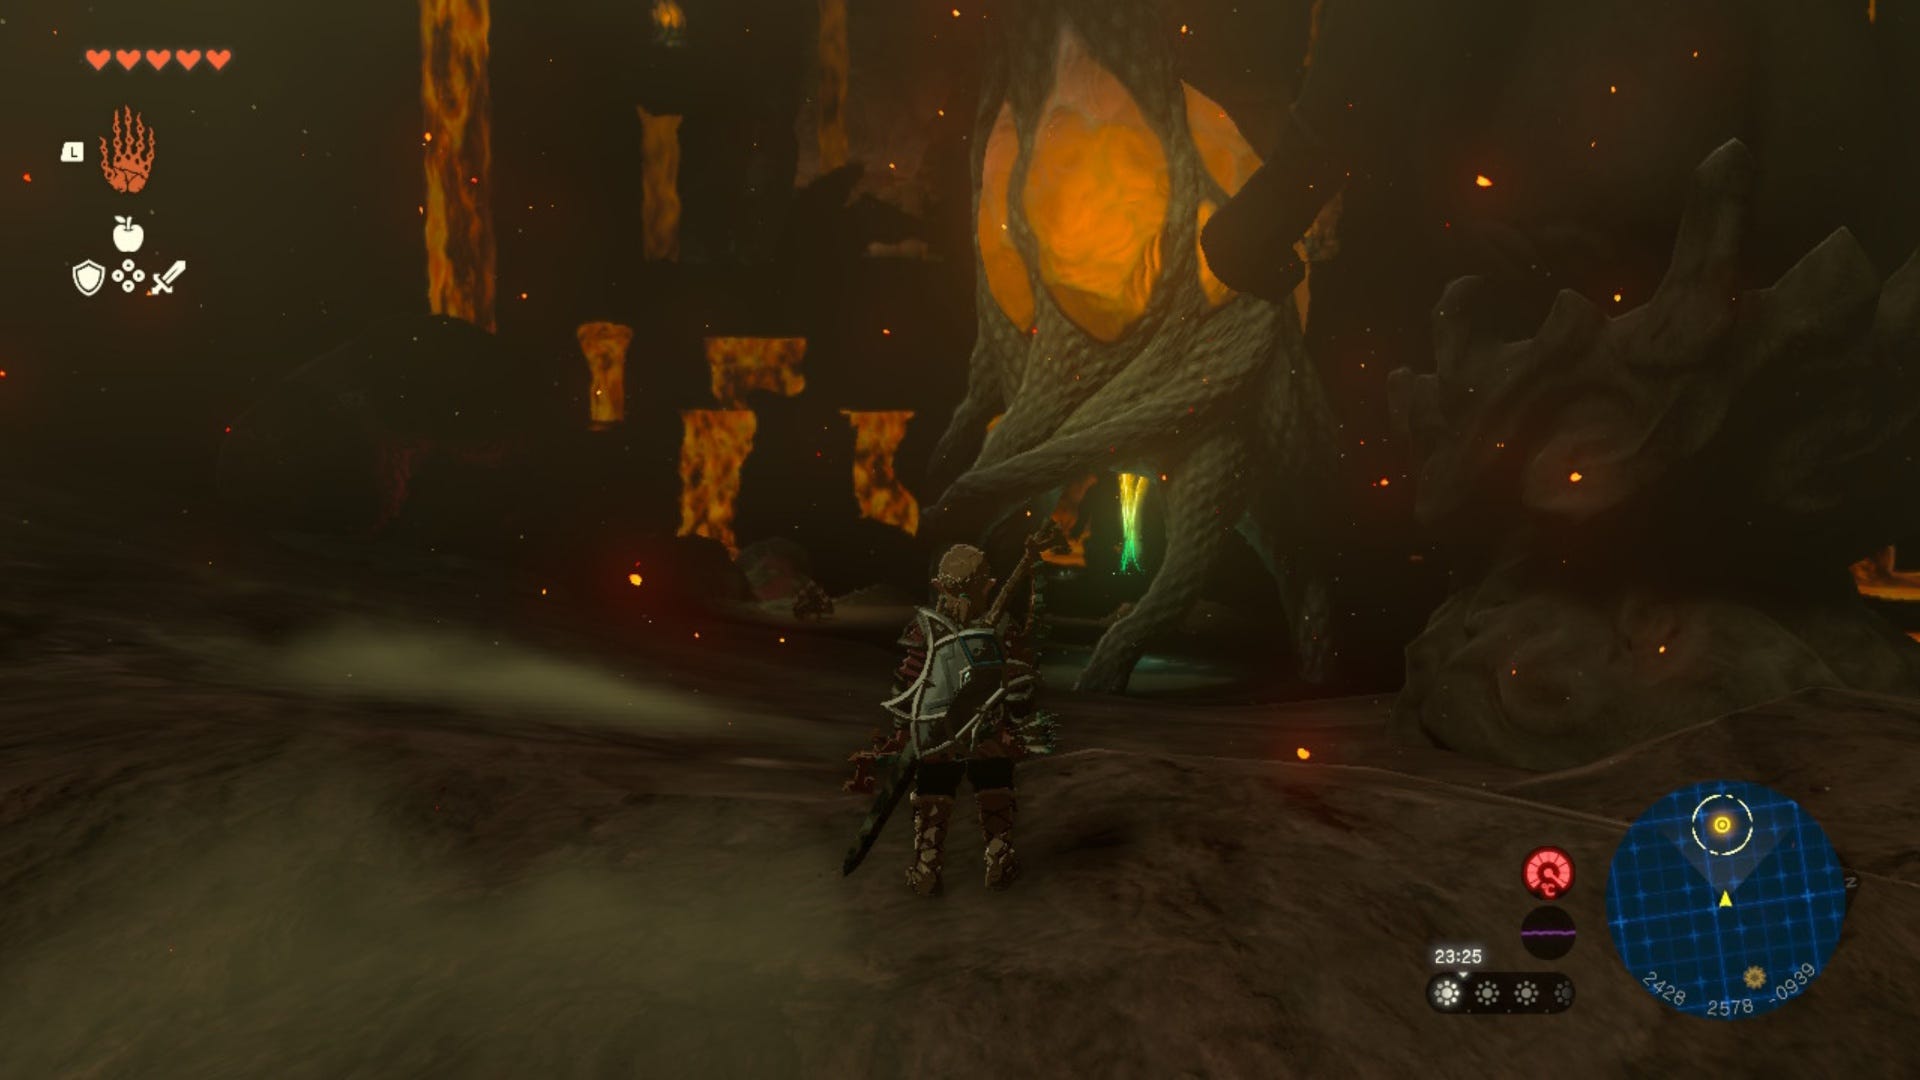
From this statue, climb up the rocks in front of it and you should see the Mustis Lightroot on your right with Yunobo standing next to it. Activate it to brighten your surroundings and create a fast travel point in case anything goes wrong and then speak to Yunobo.
Once you're done this, make your way to the new quest marker that appears on your minimap. If you're going the right way, some Marbled Rock Toast, Frox, and a few other enemies will be in your way.
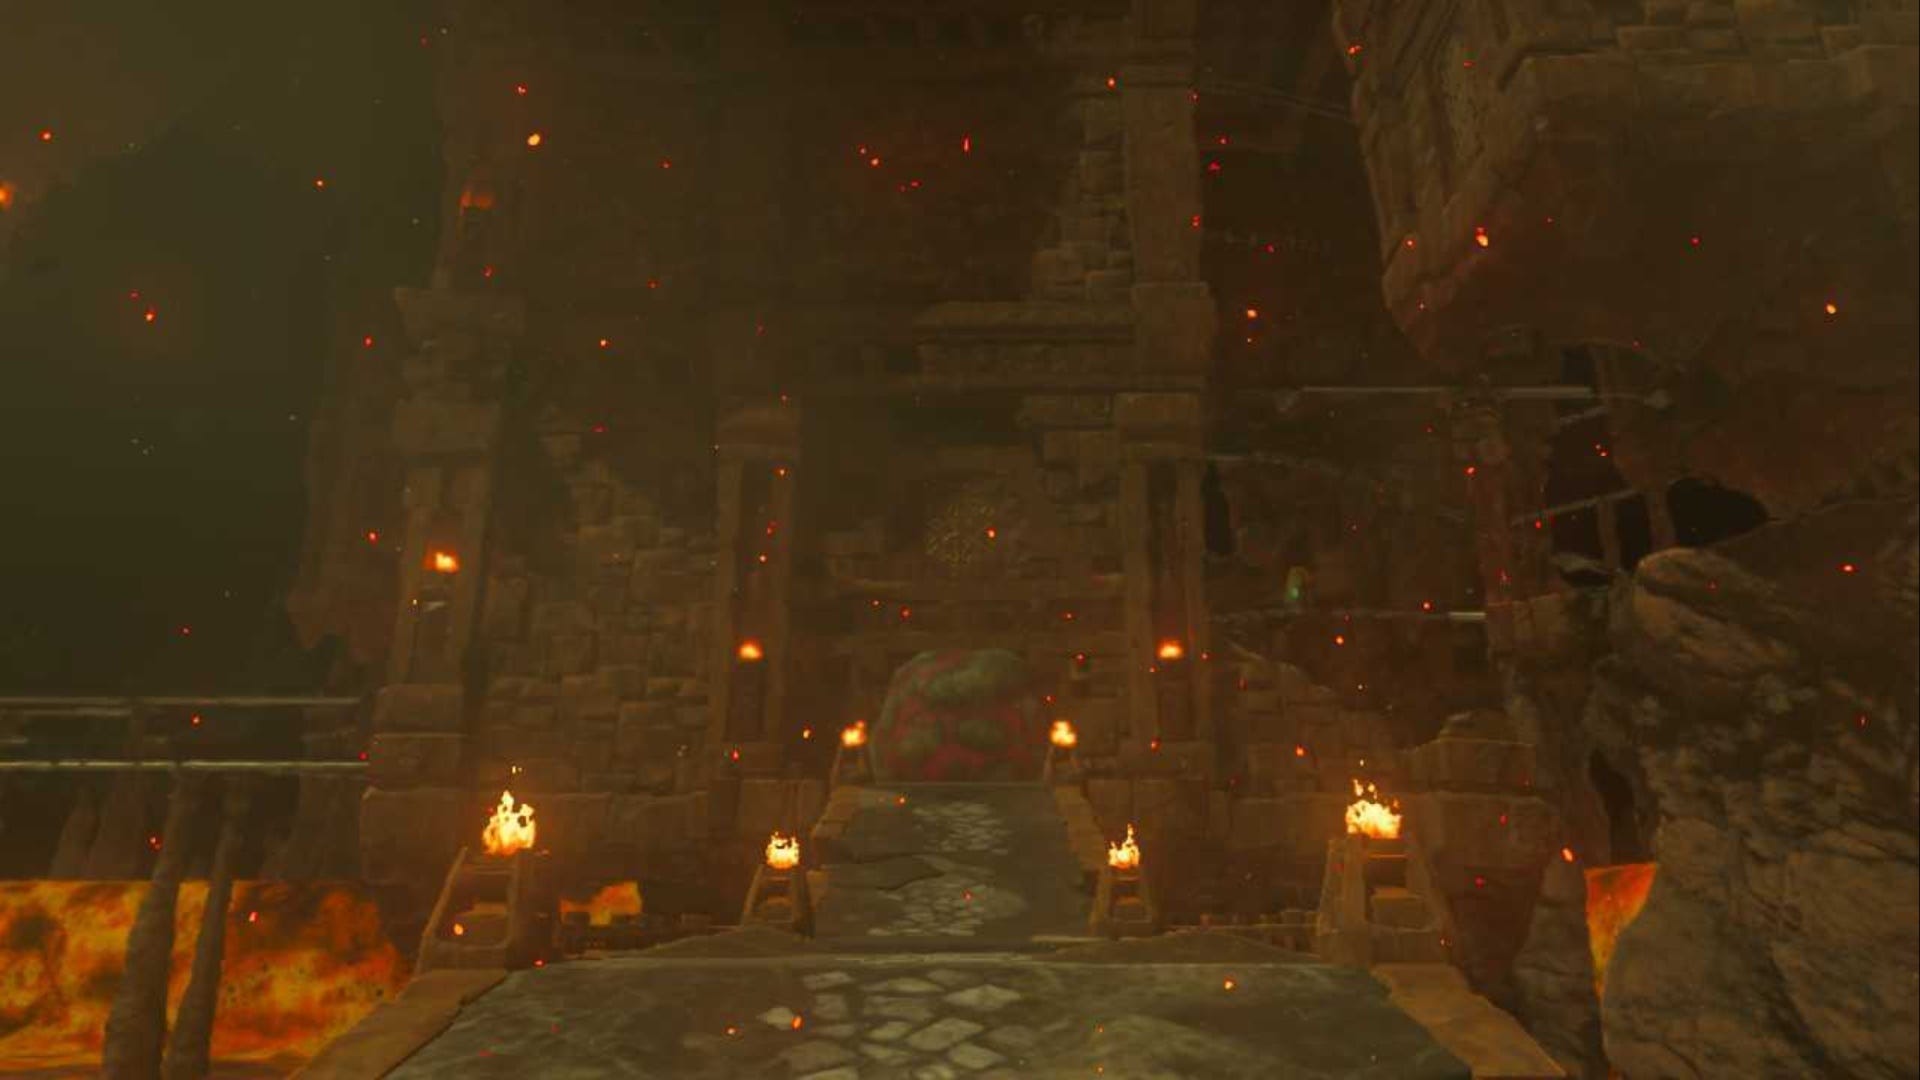
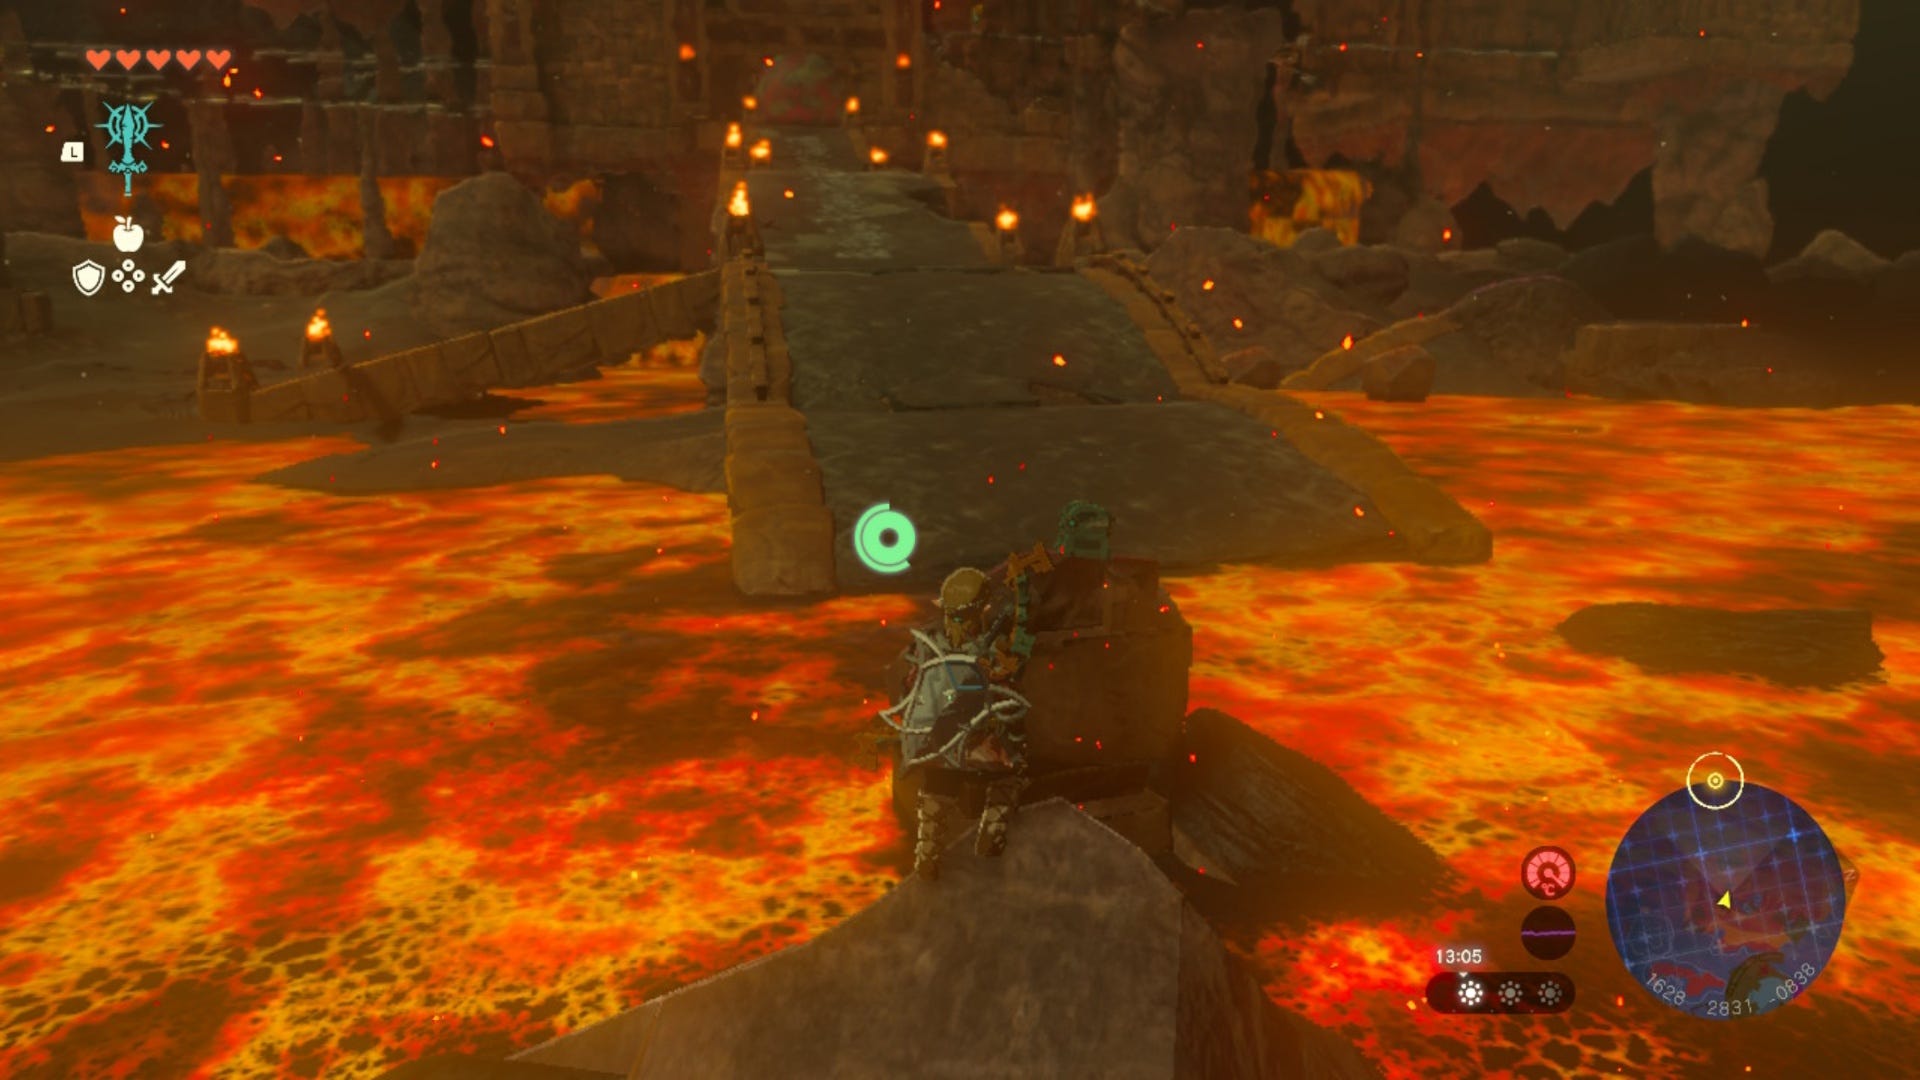
Keep following the marker and eventually you'll come to a large ancient structure in the middle of a pool of lava, surrounded by lava waterfalls.
Now, you have a couple of choices for getting across the lava to this ancient structure but we found that the easiest way was to attach a Zonai Rocket to a shield and ride the shield up, then glide across to the entrance of the structure.
If you have any Splash Fruit on hand, you could also through that into the lava to create stepping stones to help you get across.
Once you get across to the ancient structure, use Yunobo to clear the Marbled Rock Toast blocking the entrance an you will now be in the Fire Temple!
All you need to do now is complete the Fire Temple and beat the Fire Temple Boss to figure out why the Marbled Rock Toast is affecting the Gorons. Once you do this, you will have completed Yunobo of Goron City.
Congratulations! You've saved the Gorons and completed the Yunobo of Goron City quest. If you're looking for a chance of pace after that heated adventure, why not check out our guides that show you how to get the Golden Horse or the Giant White Stallion. If you're after more armor, check out our Phantom Armor Set and Zora Armor Set guides too.