Starfield: Revelation walkthrough
Head to the Buried Temple and find the last artifact.


At the start of Starfield's Revelation mission, the choice you made at the end of Unearthed will now come into play. At the end of that quest, you'll have decided whether you wanted to head to the Buried Temple on Massada III alone, with the Hunter, or with the Emissary. If you choose the Hunter, the side quest The End of Infinity also unlocks.
Head to Massada III
Either way: the temple that holds the last Artifact is in a system far away and has to be unlocked by visiting the neighbouring systems on the way. Fast Travel from one system to the next until you reach Massada III.
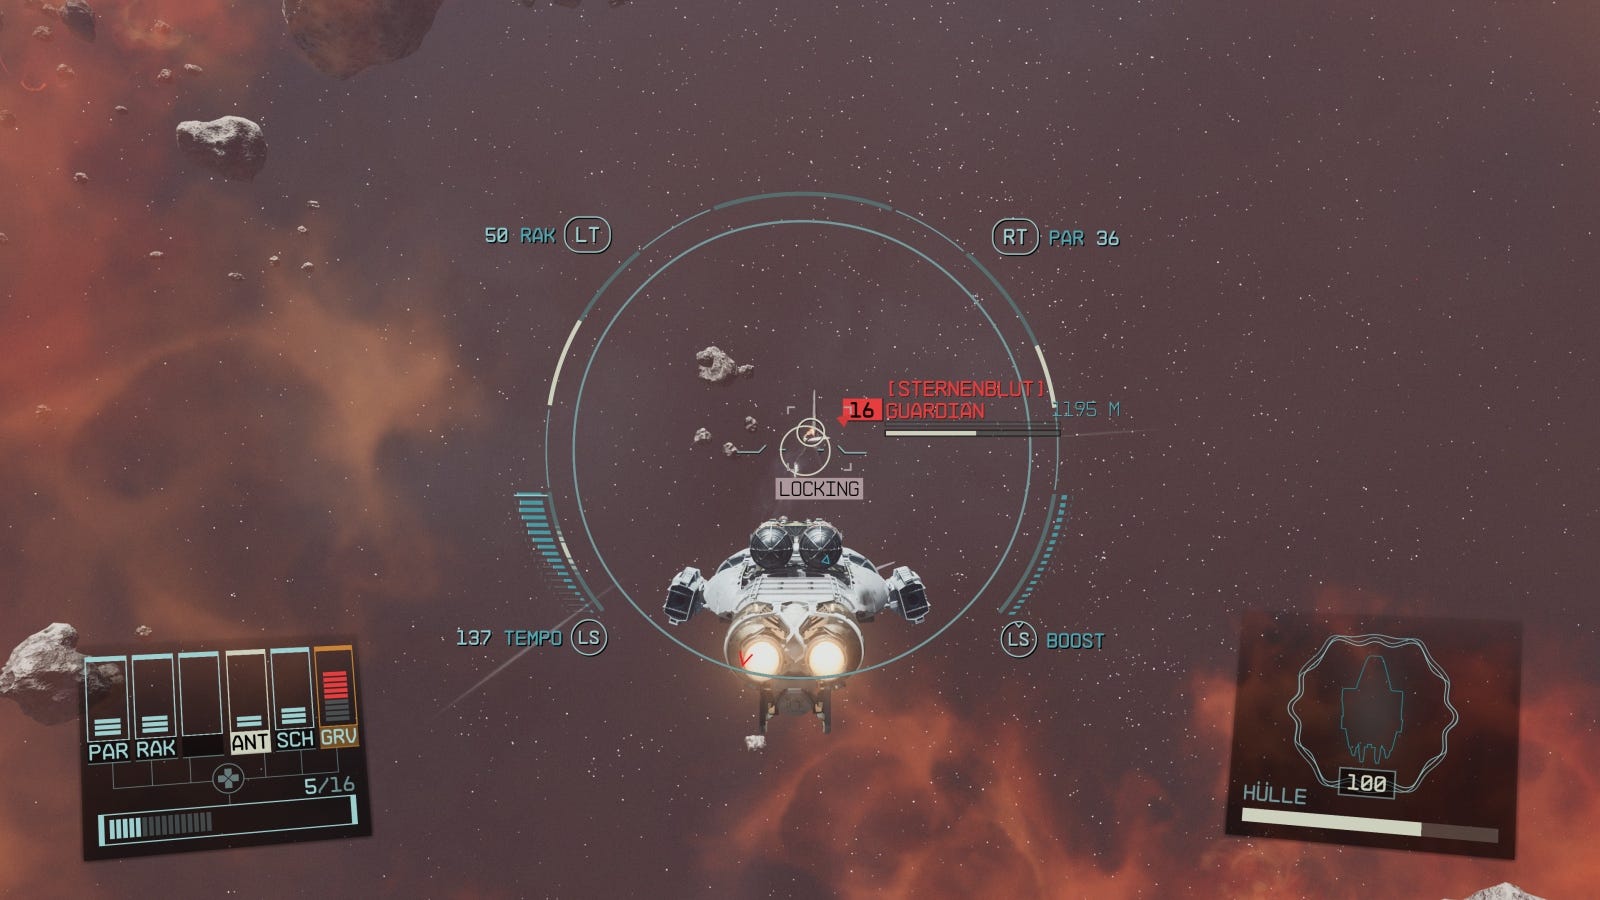
There you will be attacked by a fleet of Starborn ships. Fight the smaller ships first, saving the bigger ones until the end of the fight. Once you've beaten them all, open the map and land at the Buried Temple.
Land at the Buried Temple
After you get out of your ship, the companion you've been teamed up with will automatically join you - or not if you didn't side with either the Hunter or Emissary.
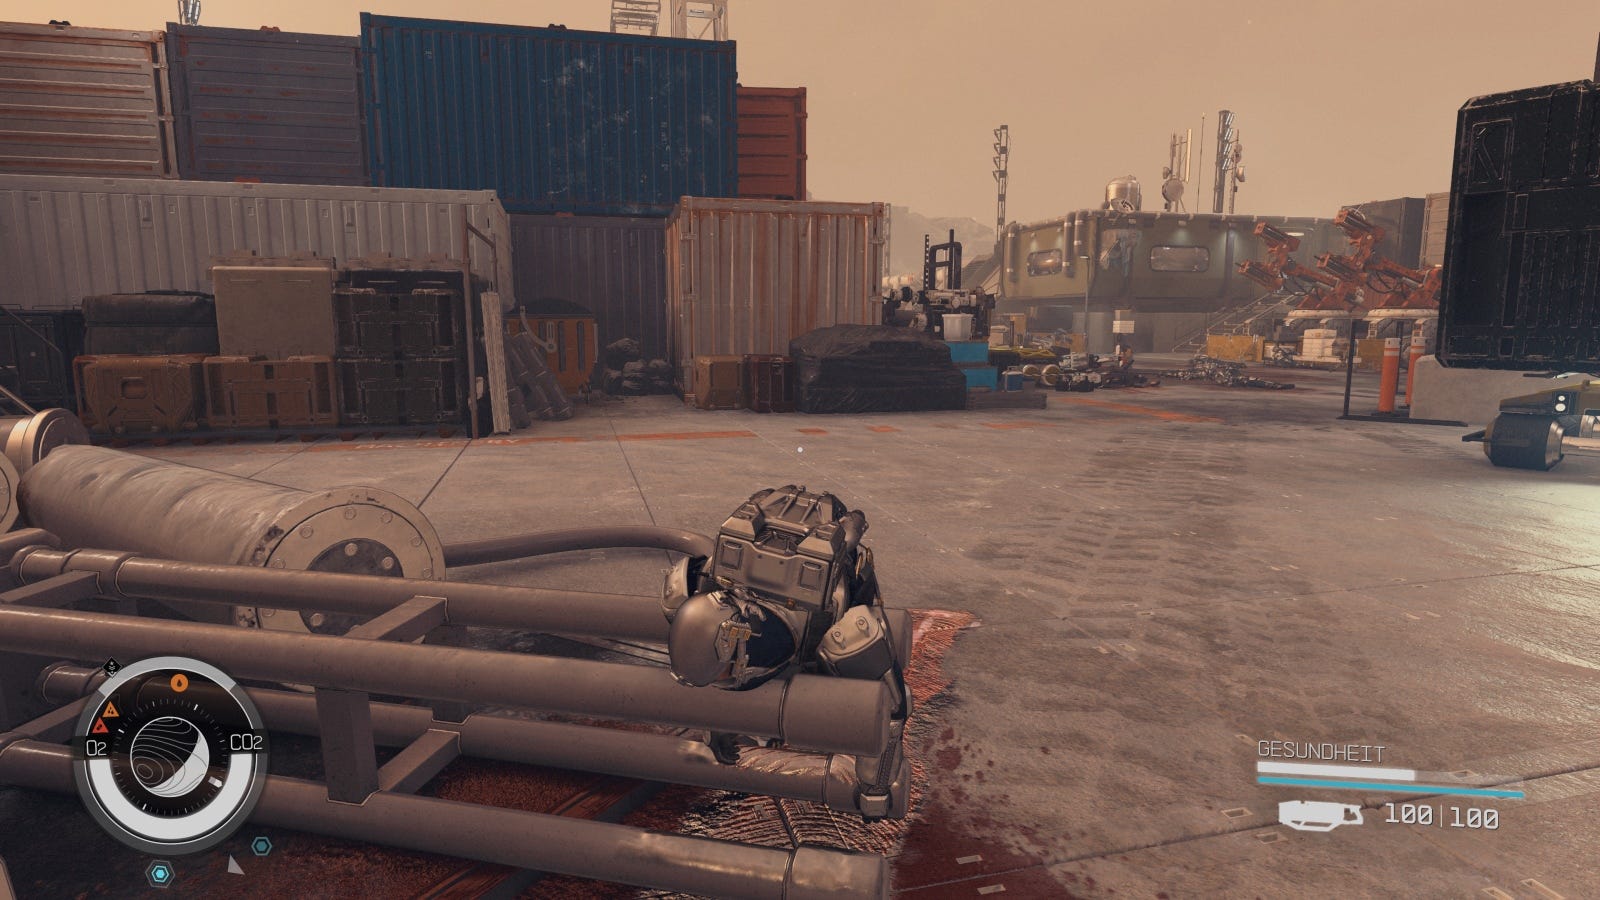
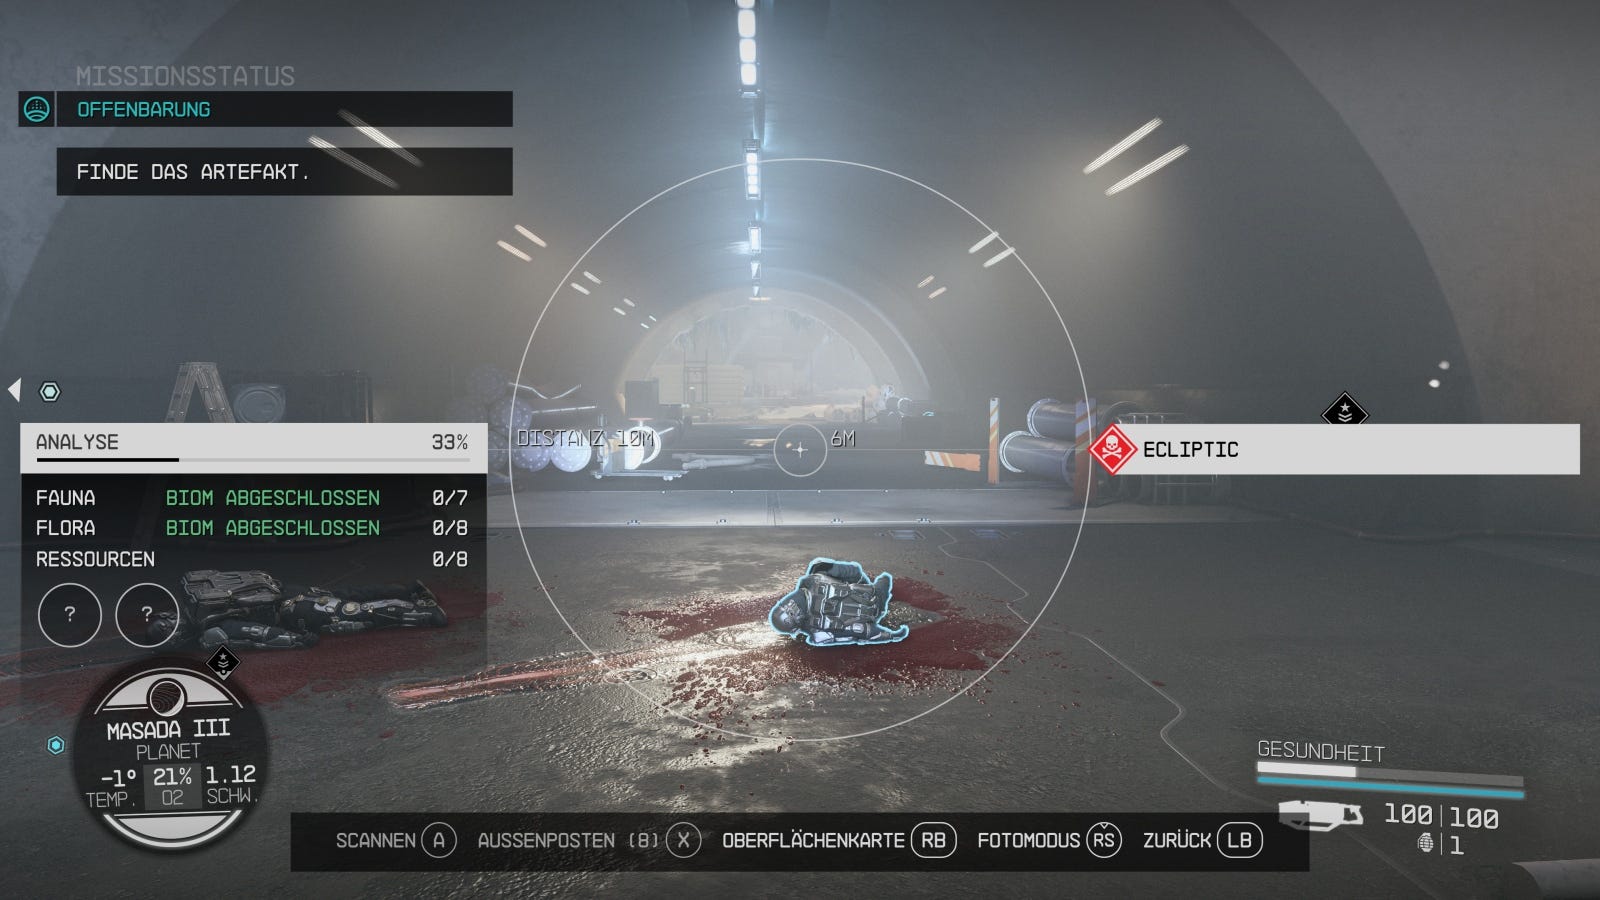
Together you'll head towards the Buried Temple - which is 400 meters away. To do this, cross the base with the many dead Ecliptic mercenaries (all of which you can and should loot).
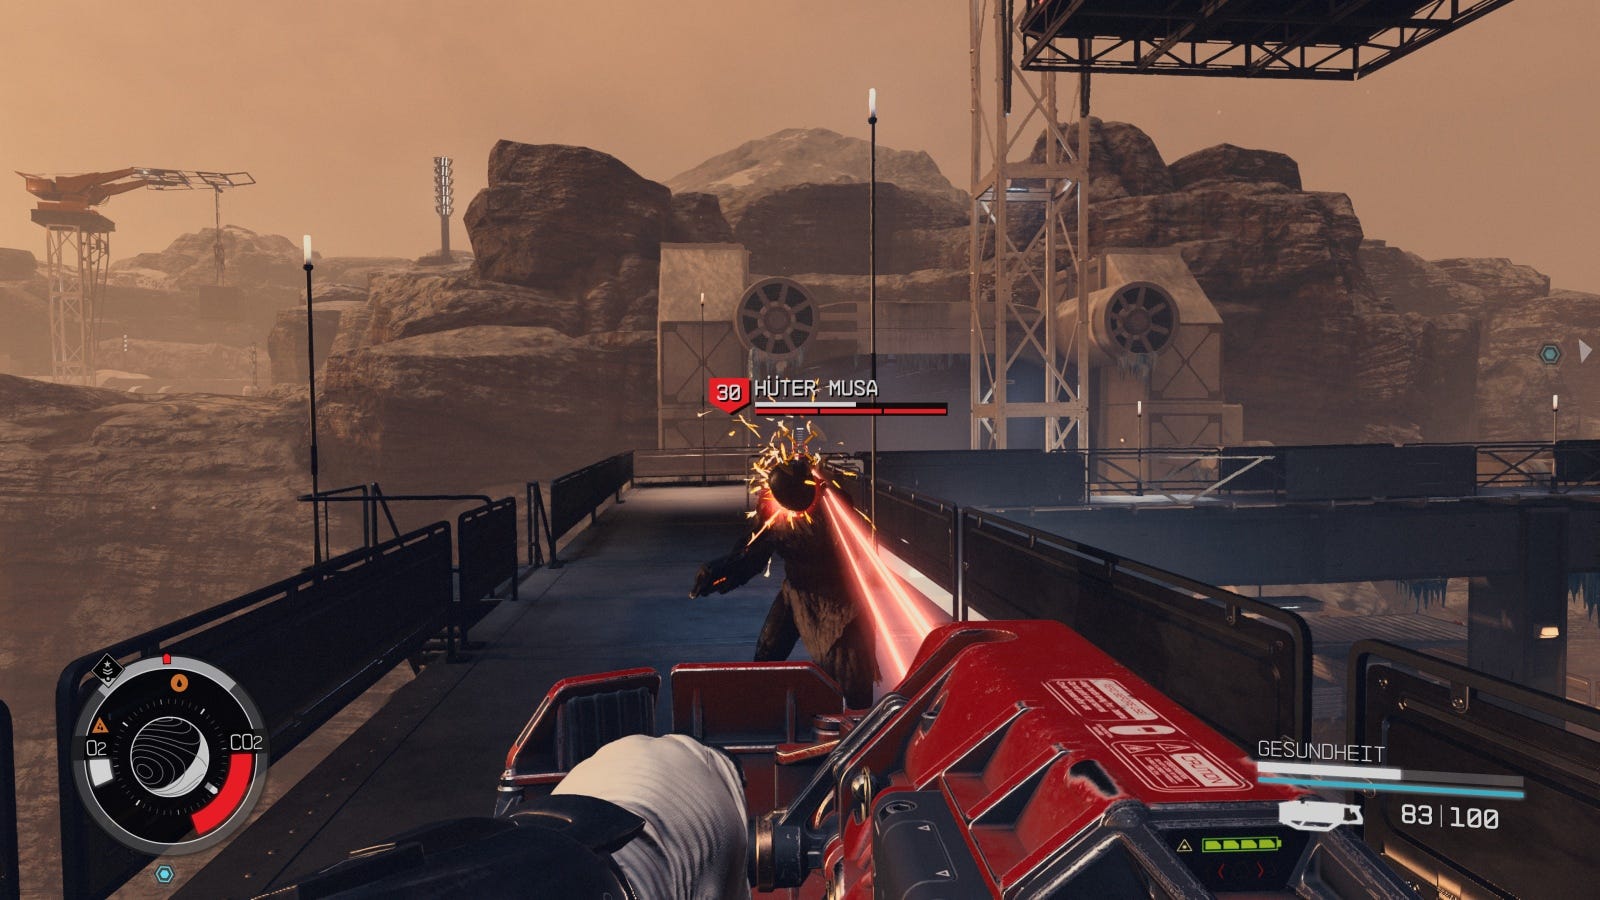
Keep going, staying quiet, and using this opportunity to grab some Credits, Med Packs and ammunition. As you move forward, you'll be attacked by more Starborn, along with a Guardian Musa who can replicate itself.
Defeat the Guardian Musa
There are a total of six enemies who'll ambush you. Watch out though, this fight is not easy, they are all level 30. Thankfully there are plenty of Med Packs to be found on the way though, and some medicine kits hanging on the walls.
Find the Artifact
After this long, tough fight, you'll want to catch your breath and search the other bodies and grab the other first aid kits in the area. Then follow the objective marker further into the facility and collect any equipment you need. There is a lot lying around that'll help you out as you continue.
The marker leads around the corner to the left, past more Ecliptic corpses that hold plenty of Credits, ammo and more
Enter the next building on the right-hand side and you'll find the temple complex
Defeat the Ecliptic Mercenaries and the Guardian Athaliah
As you enter the Buried Temple, you'll be immediately attacked by a bunch of undead Ecliptic mercenaries. They are all low level and easy to kill, but you'll then also need to take on the Guardian Athaliah controlling them.
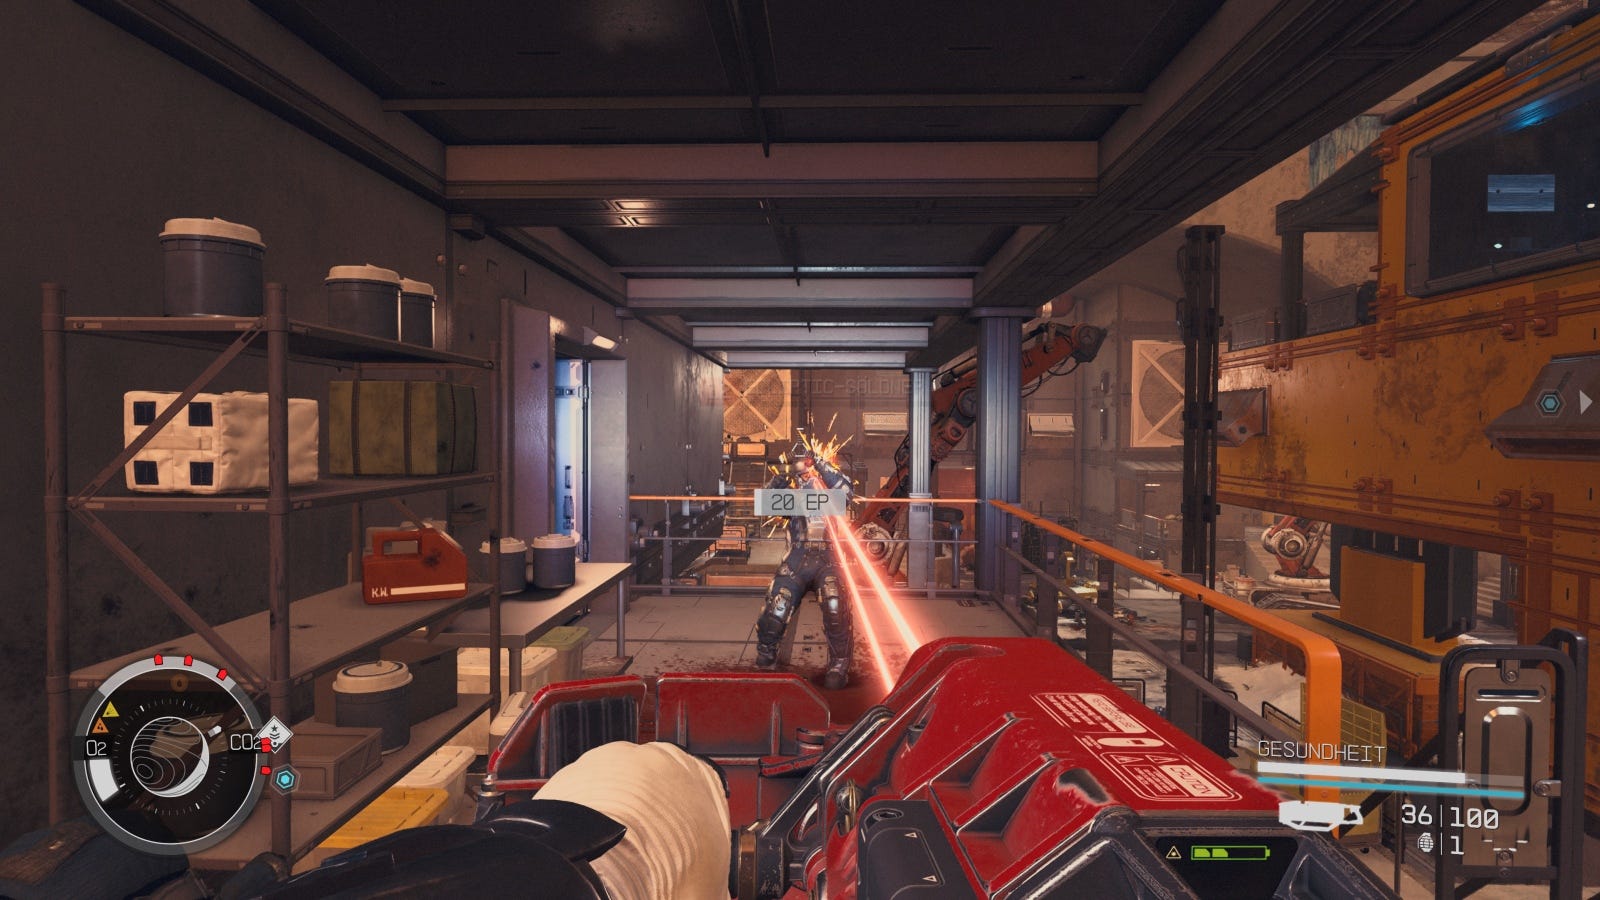
The Guardian Athaliah had significantly more health and will take a lot of fire power to beat.
Remember that there are plenty of containers in the area where you can find a Med Pack or two. In addition, the layout of the area means that there are plenty of opportunities to take cover and a quick breather.
Find a way to open the door
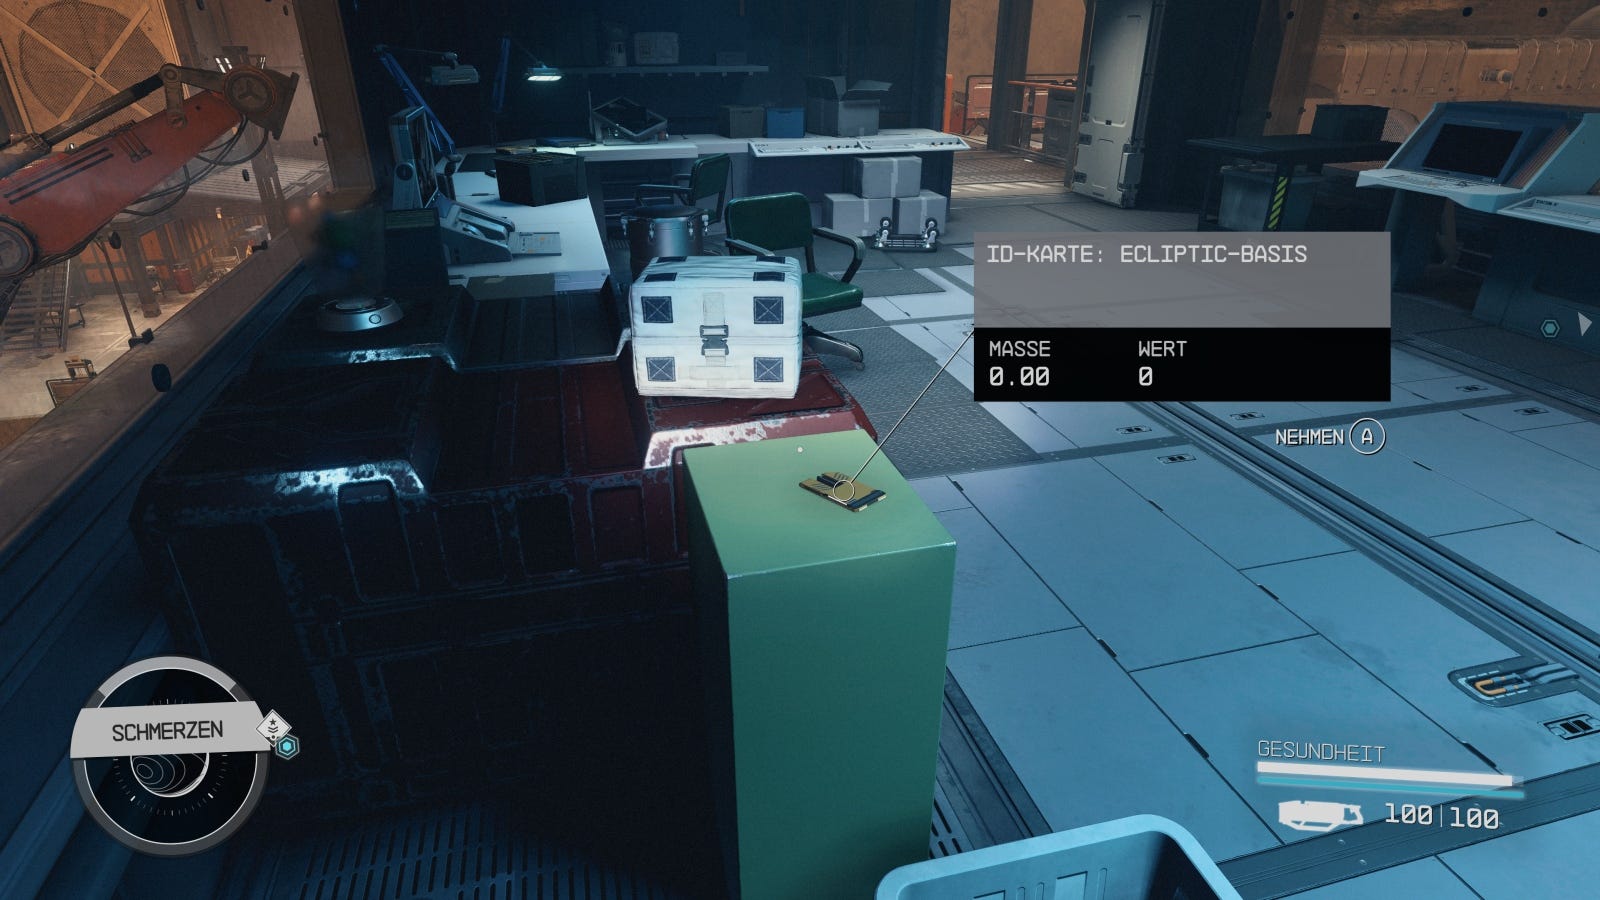
After you've beaten the Guardian Athaliah you'll have another problem to face before entering the temple, namely the locked Secure Access door.
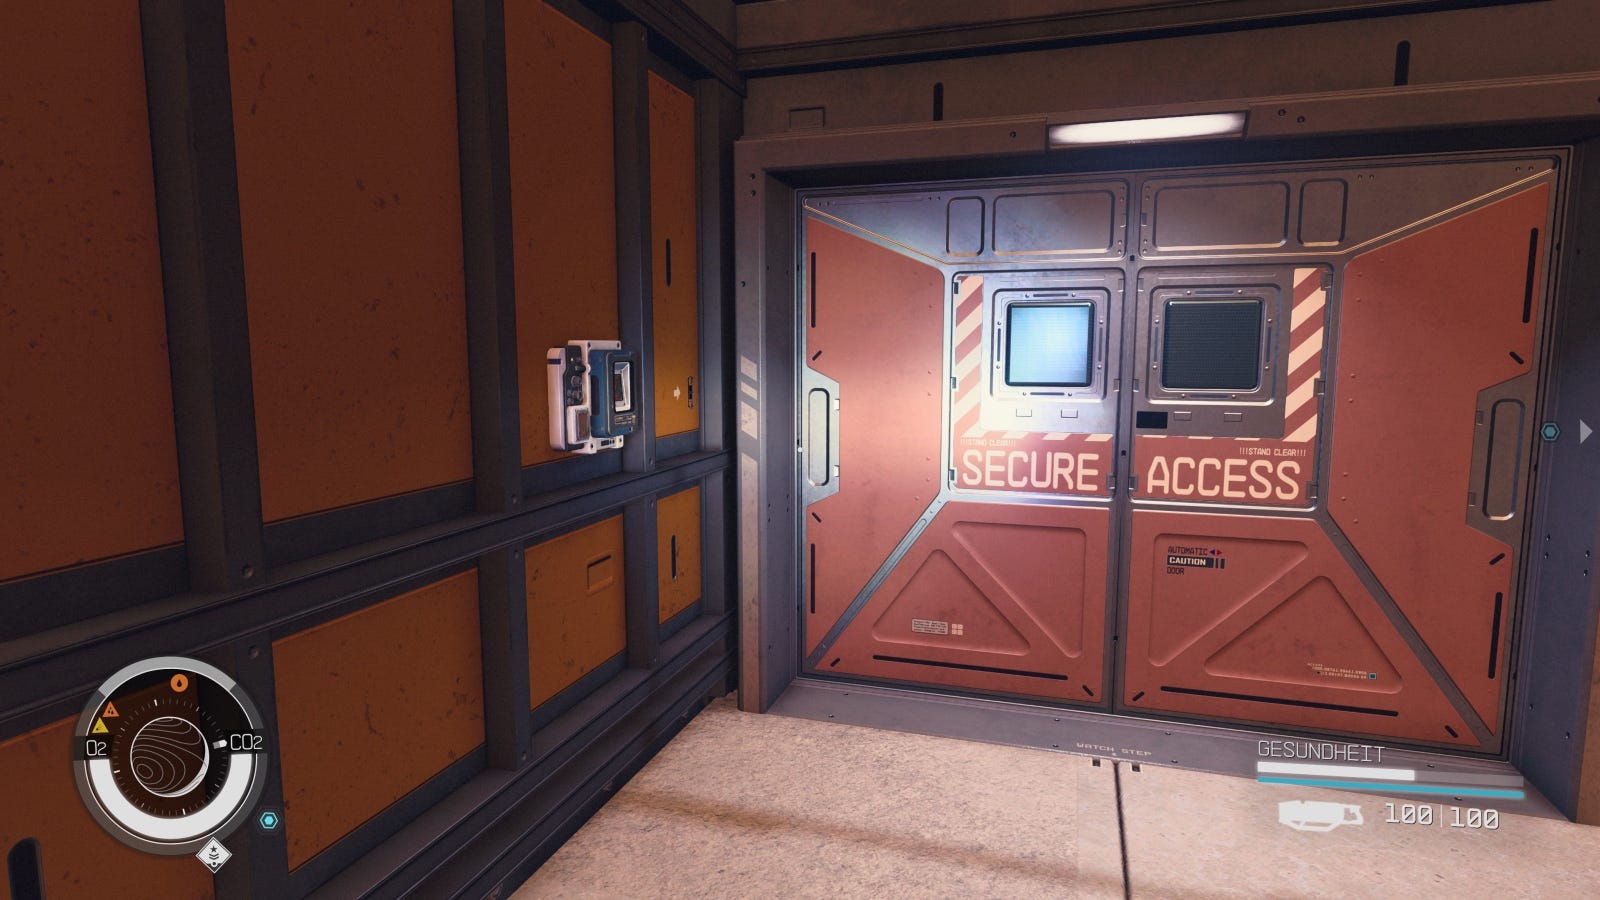
To open the door you'll need to follow the objective marker. In the room it takes you to, you'll find a safe with the Ecliptic Base ID Card you need inside it.
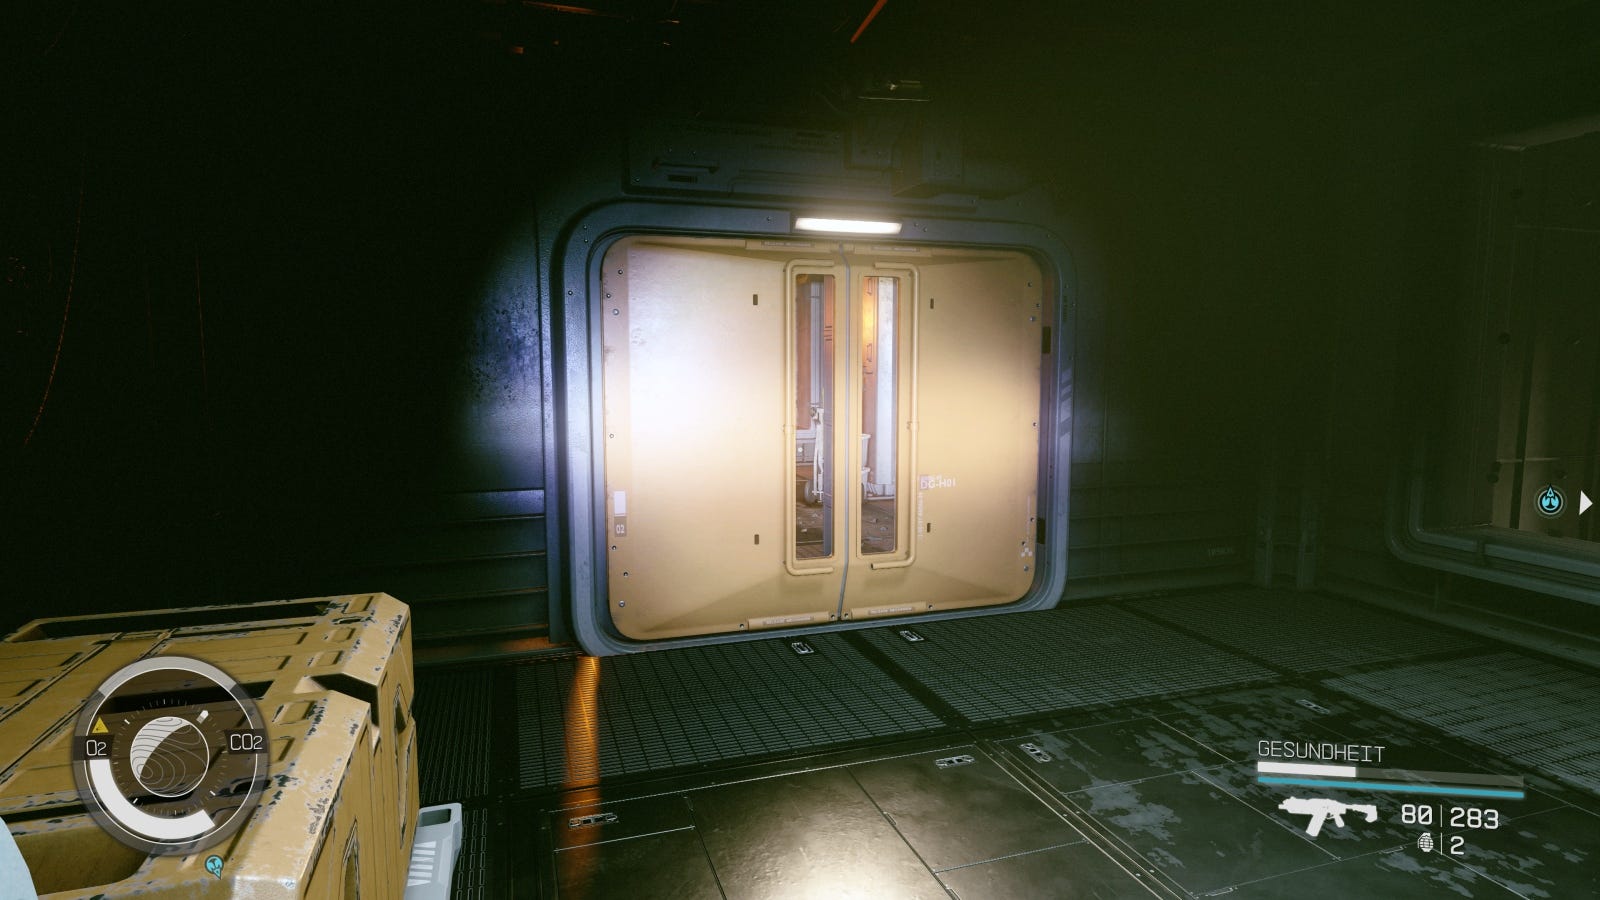
Head back to the Secure Access door and use the ID card to access the hallway beyond.
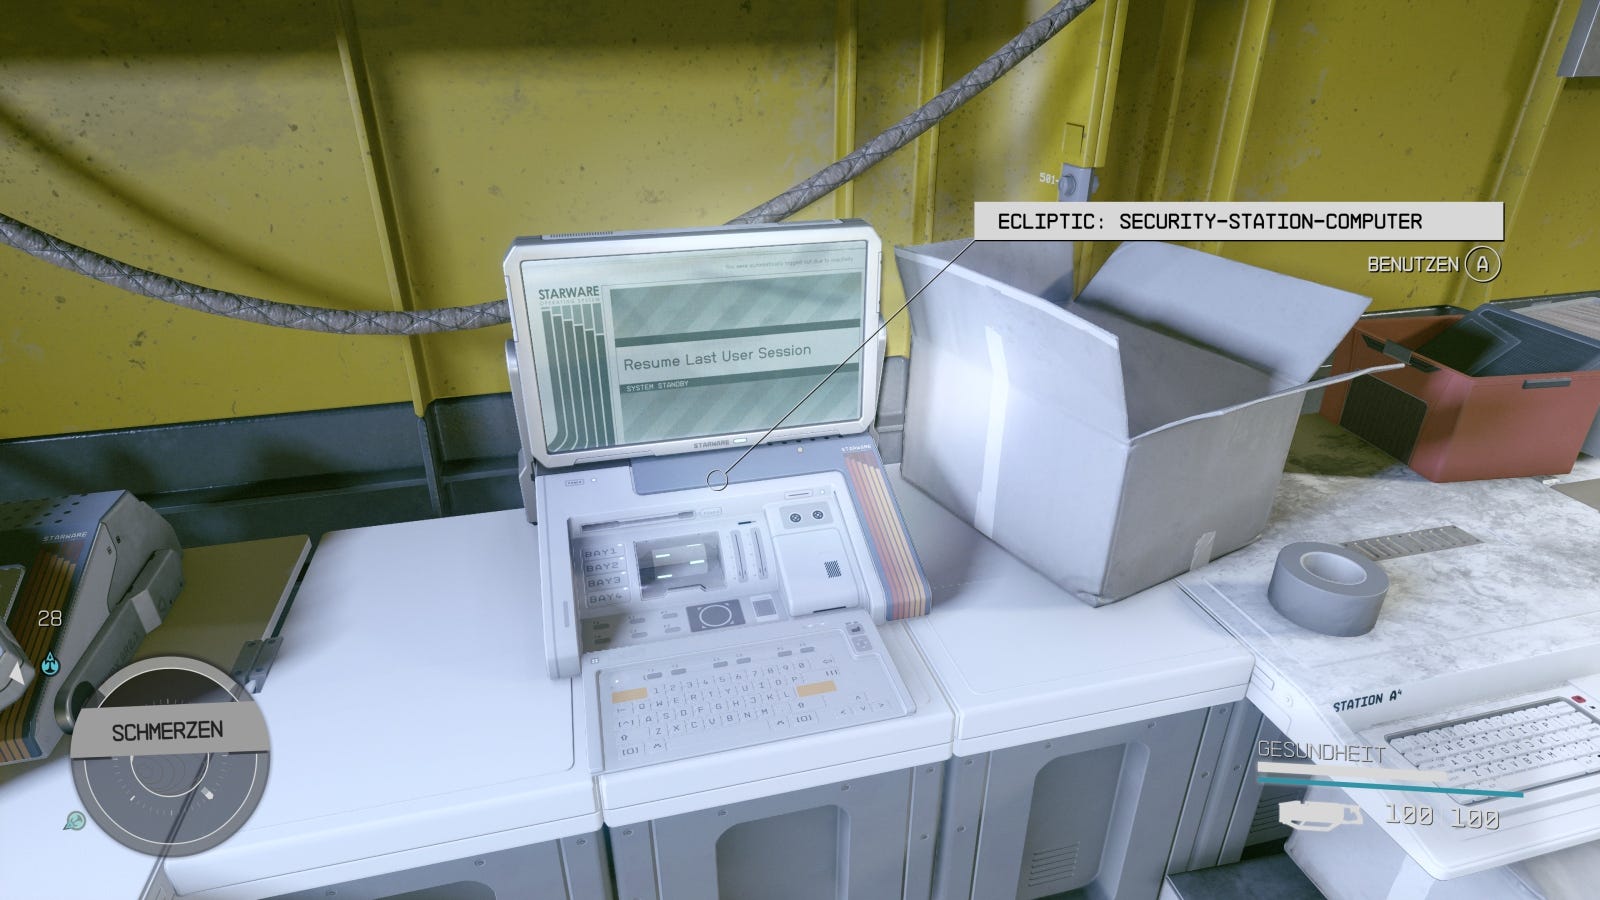
The interior of the base is almost completely destroyed - head to the Security Station computer in the first room for some backstory on what happened:
There are several locks and doors to pick, including one for the armoury which has some worthwhile items inside. Loot the surrounding area and follow the path deeper into the facility.
It doesn't take long before we encounter an anomaly (as seen in the Entangled quest).
Enter and exit the anomaly

Jump into the anomaly and get sent to the cave from the beginning of the game. Here you'll relive the start of the game, at least up to the point before you found the first Artifact.
Once you've found the Artifact, step through the anomaly again and you'll end up back at the Buried Temple. Then talk to your ally and ask any questions about what just happened. Otherwise, keep advancing.
Defeat the Starborn
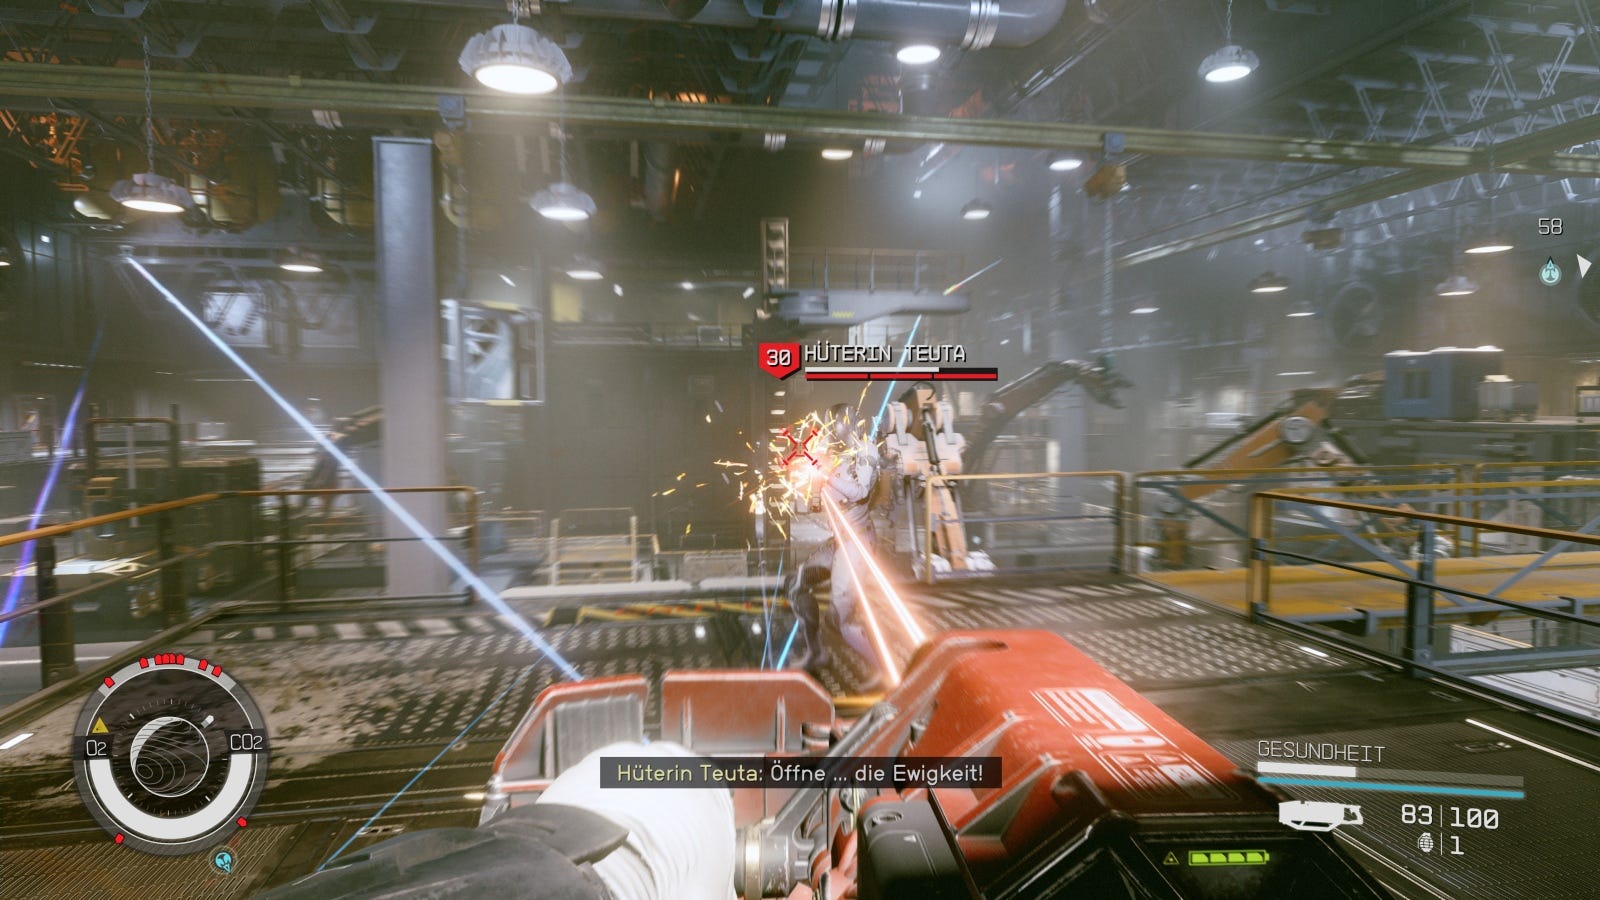
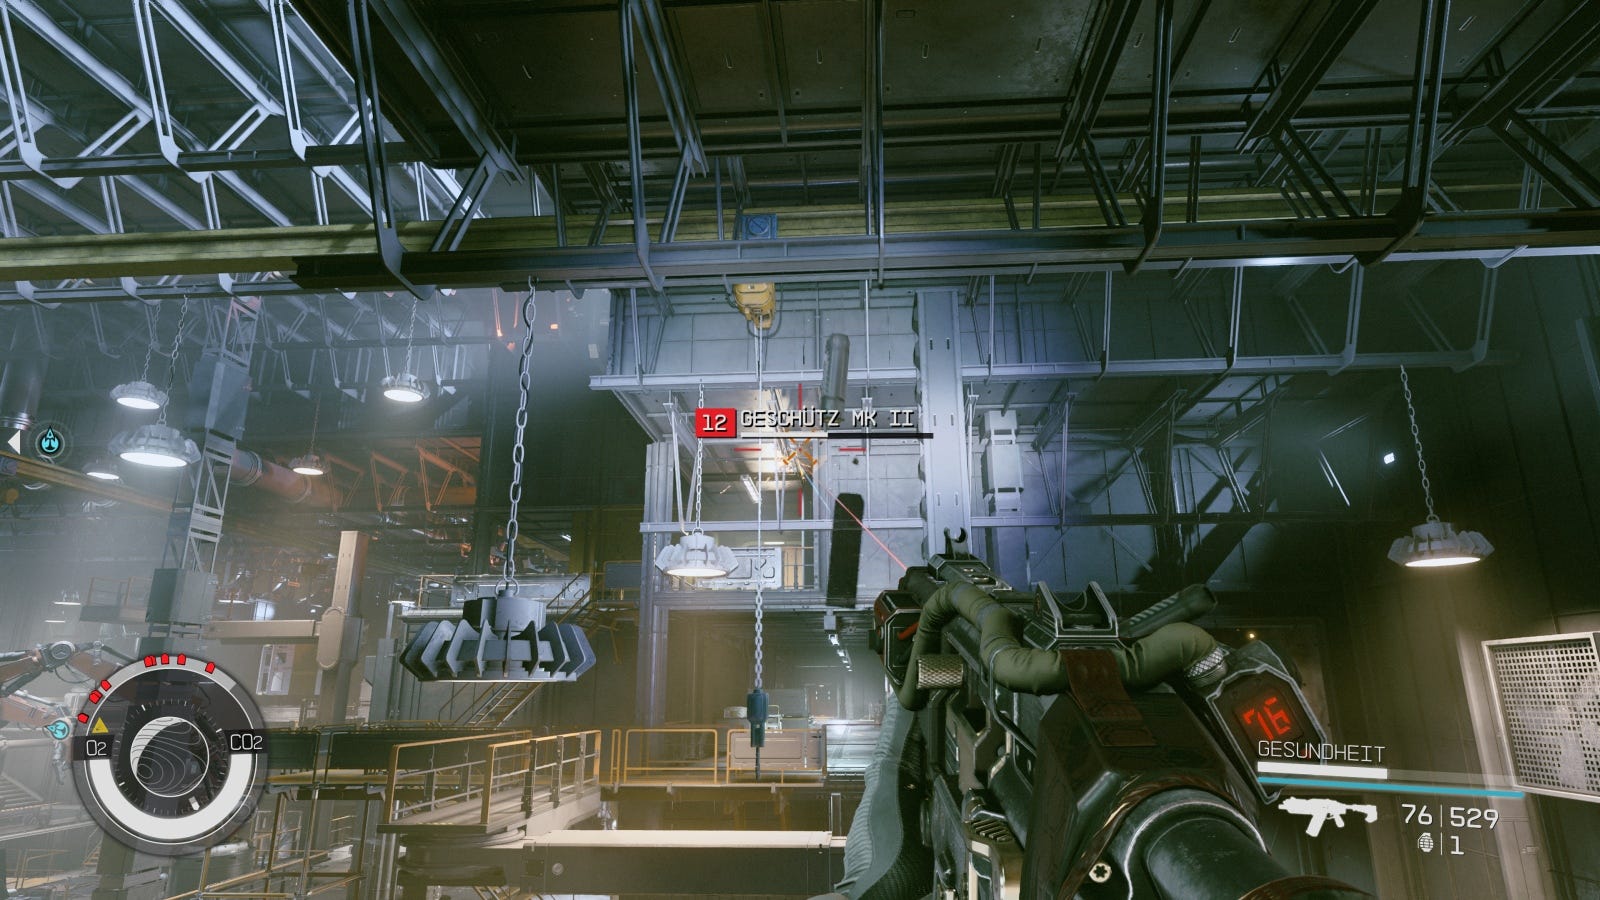
You'll now encounter more Starborn, including Guardian Teutra and Guardian Rinn. This one is even tougher, there are guns on the ceilings, locked doors and combat robots everywhere.
Carefully make your way through the room, only popping out as far as necessary for the next kill.
The fight will go for like this for a while, and use up quite a few supplies. The guardians in particular will give you a hard time.
Find the Artifact
Then head northwest and you will discover a yellow door that'll open up with your new Base Card.
Once through the door, follow the quest marker again, but take your time to look through everything, and then enter the next anomaly.
Within the anomaly, speak to Petrov (from the quest No Sudden Moves), fight him, and then jump back into the anomaly.

Now enter the small cave system behind the anomaly, and take the elevator deeper into the cave.
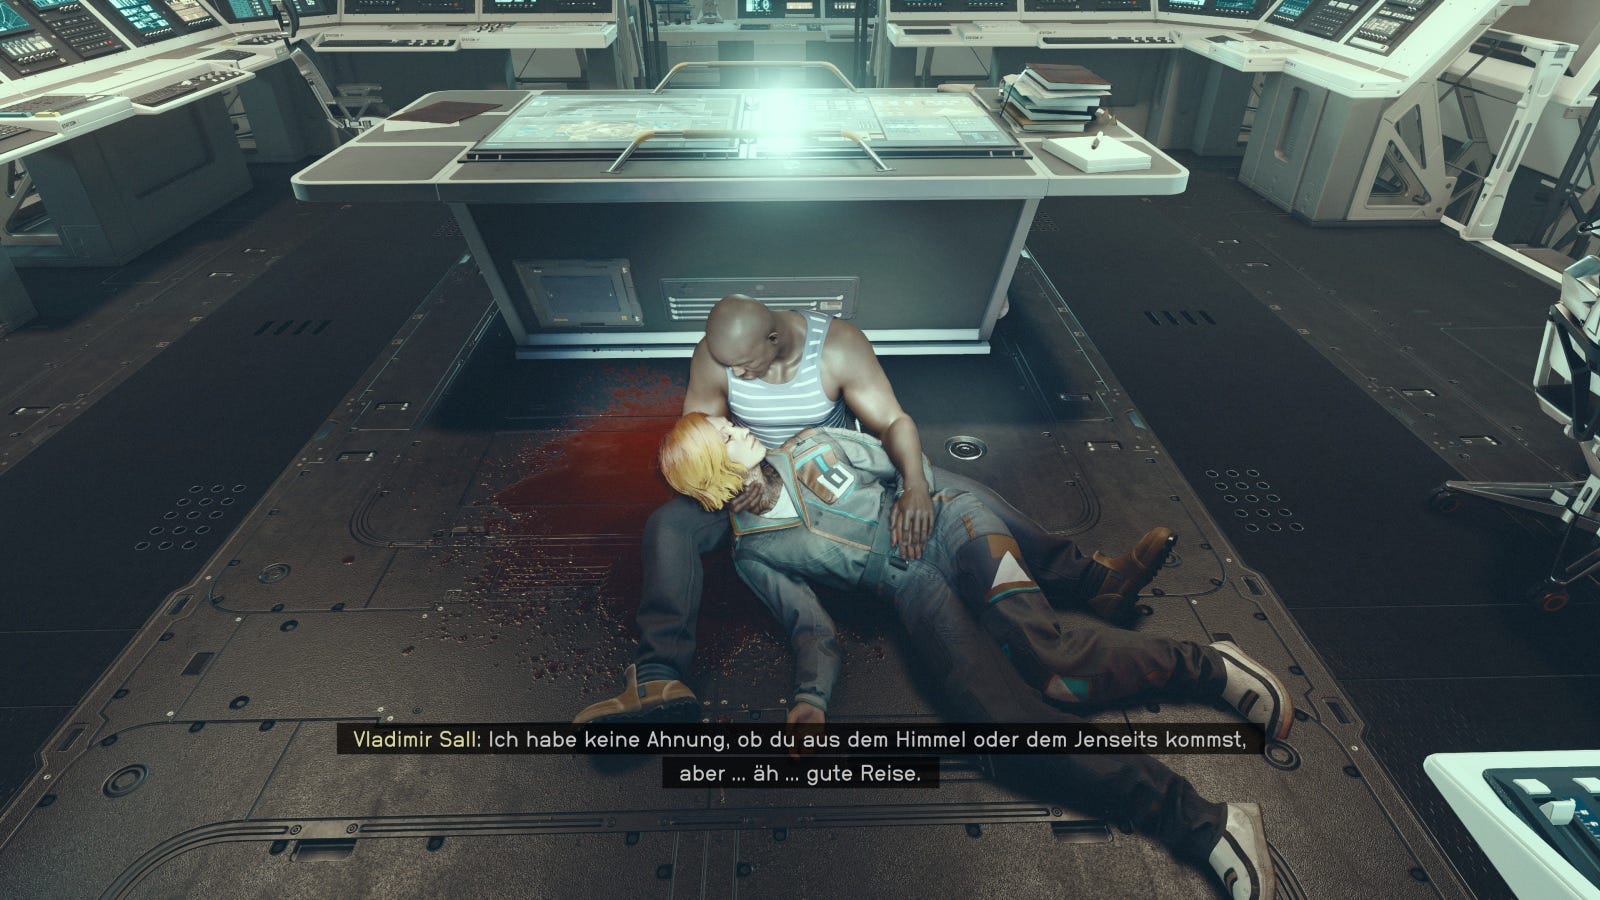
You'll then come across another anomaly and end up back on The Eye or in the Lodge. What happens next depends on the choices you made back in High Price to Pay, essentially, instead of seeing your companion die, you'll see yourself die, and that companion continue on in your place.
As soon as the elevator comes to a stop, you can loot a small equipment storage area on the side. There is a lot to pick up here - thoroughly search through all the containers and grab any ammo or Med Packs you can find.
Then follow the arrow markings in the large room and start the next fight.
Defeat the Starborn
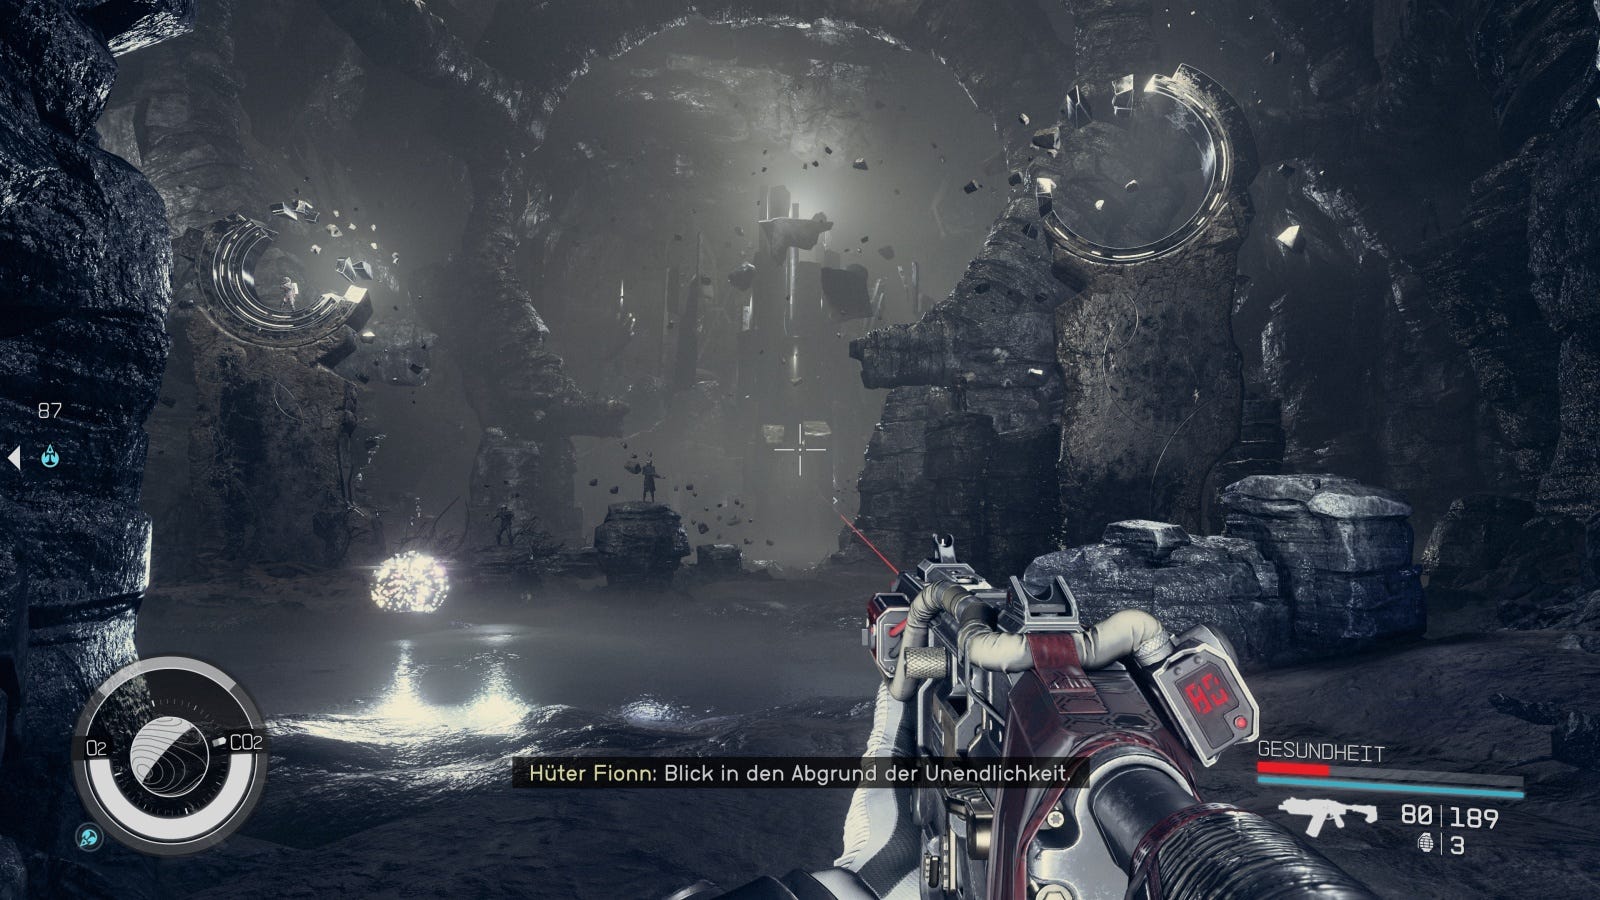
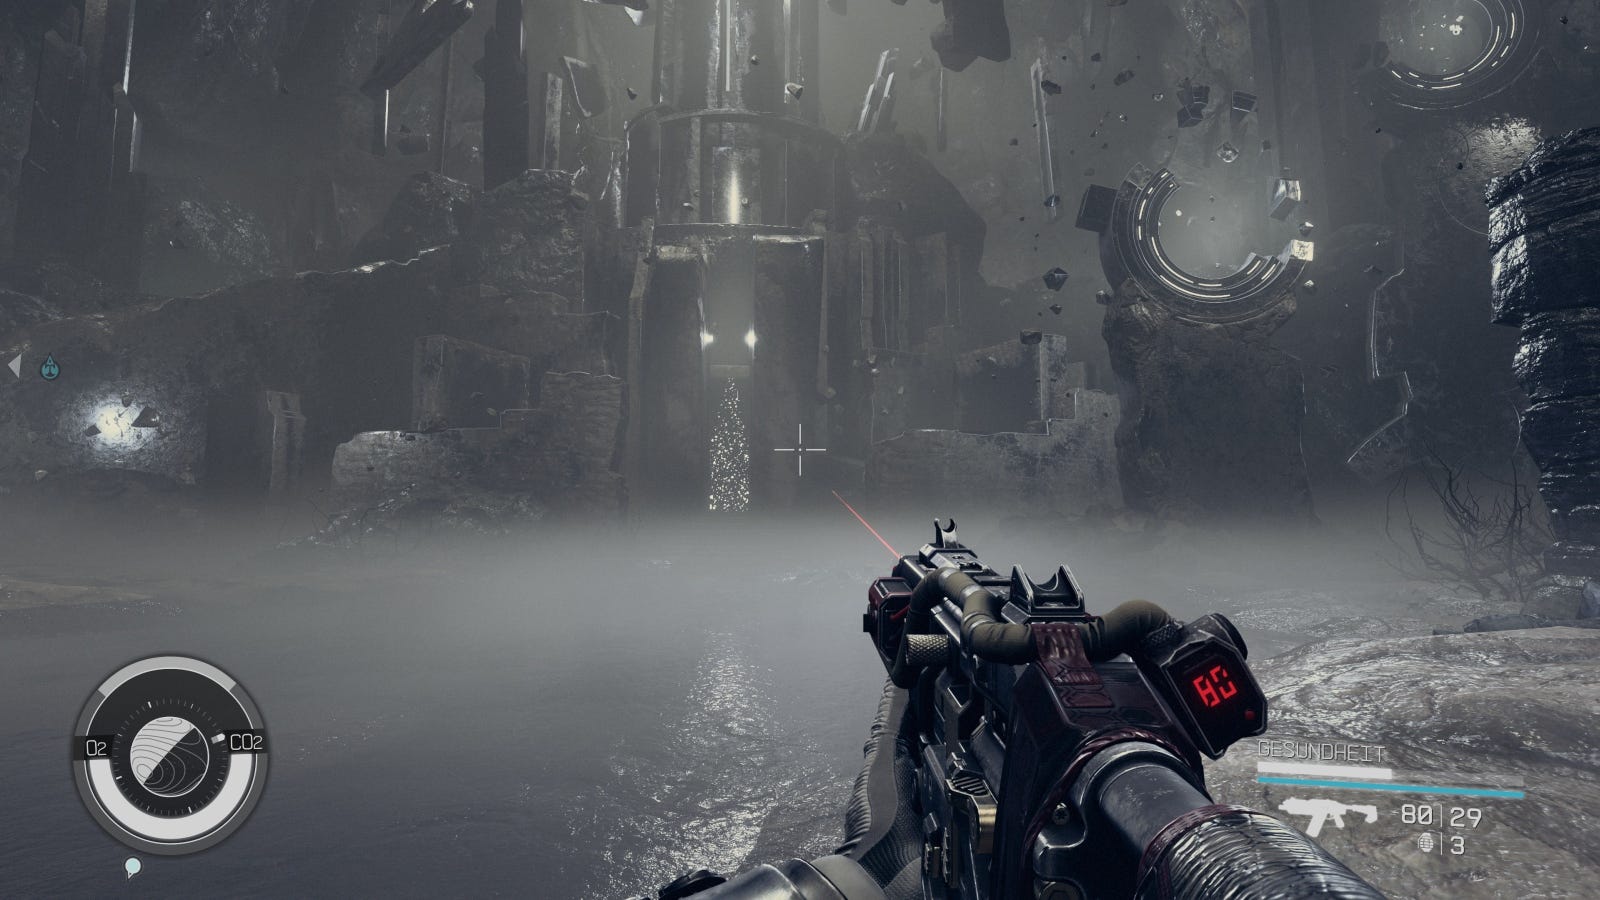
Now you'll be fighting Guardian Fionn who can also duplicate itself. Don't bother with the duplicates for long, and instead focus on the main Starborn. The fight will be over quicker than you think.
You can then return to finding the Artifact. Simply follow the marker to the northwest and you will discover the entrance to the Buried Temple.
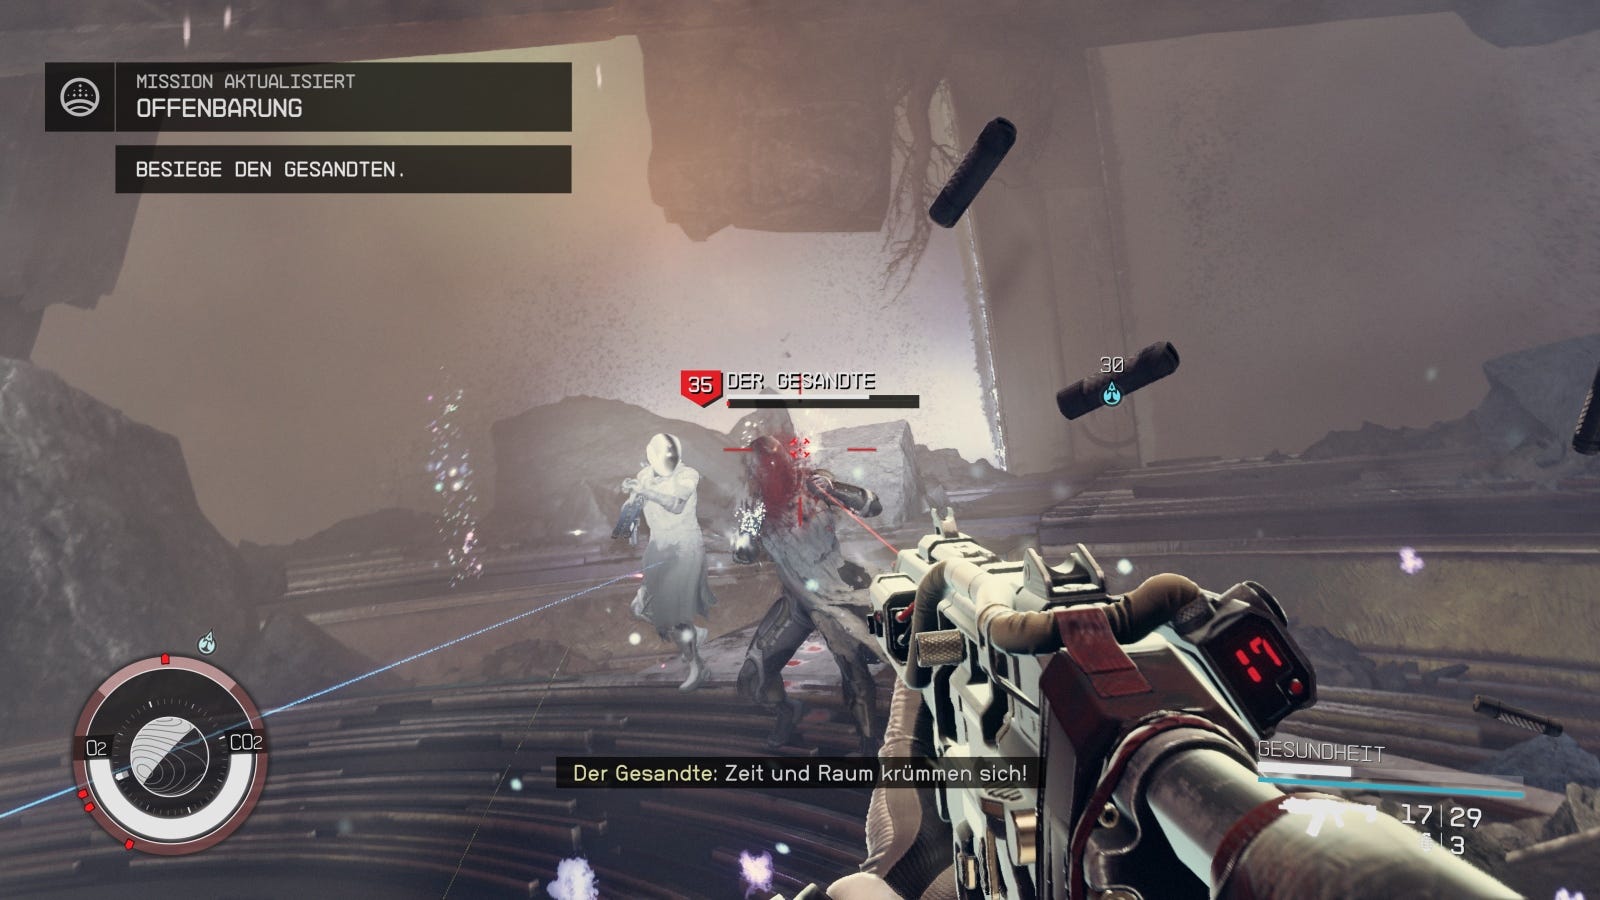
Inside we will be met by either the Emissary or the Hunter, depending on who we didn't choose earlier.
You can either attack directly or try and resolve the matter peacefully with Persuasion.
Be prepared though, if you do fight, it's a tough battle and moves through several locations in which you have to fight him again and again. It's painful...
Take the Artifact

Once you've managed to beat your companion, there's not much left to do. Go over to the Artifact and take possession of it with one click. You'll then end up back outside and the quest is complete.
Now that we have found all the Artifacts, it's time to head back to the ship and complete the final mission, One Giant Leap.
Back to the table of contents: Starfield walkthrough