Starfield: Entangled walkthrough
Every distortion location in the Research Station Nishina.

The main quest 'Entangled' in Starfield starts as part of the quest Final Glimpses.
We're looking for artifacts again. Vladimir gave us coordinates (where exactly you have to go, it depends on your score). Once we've landed in the target system where we hope to find the artifact, a distress signal should come in from a satellite station called Research Station Nishina.
Follow the distress signal
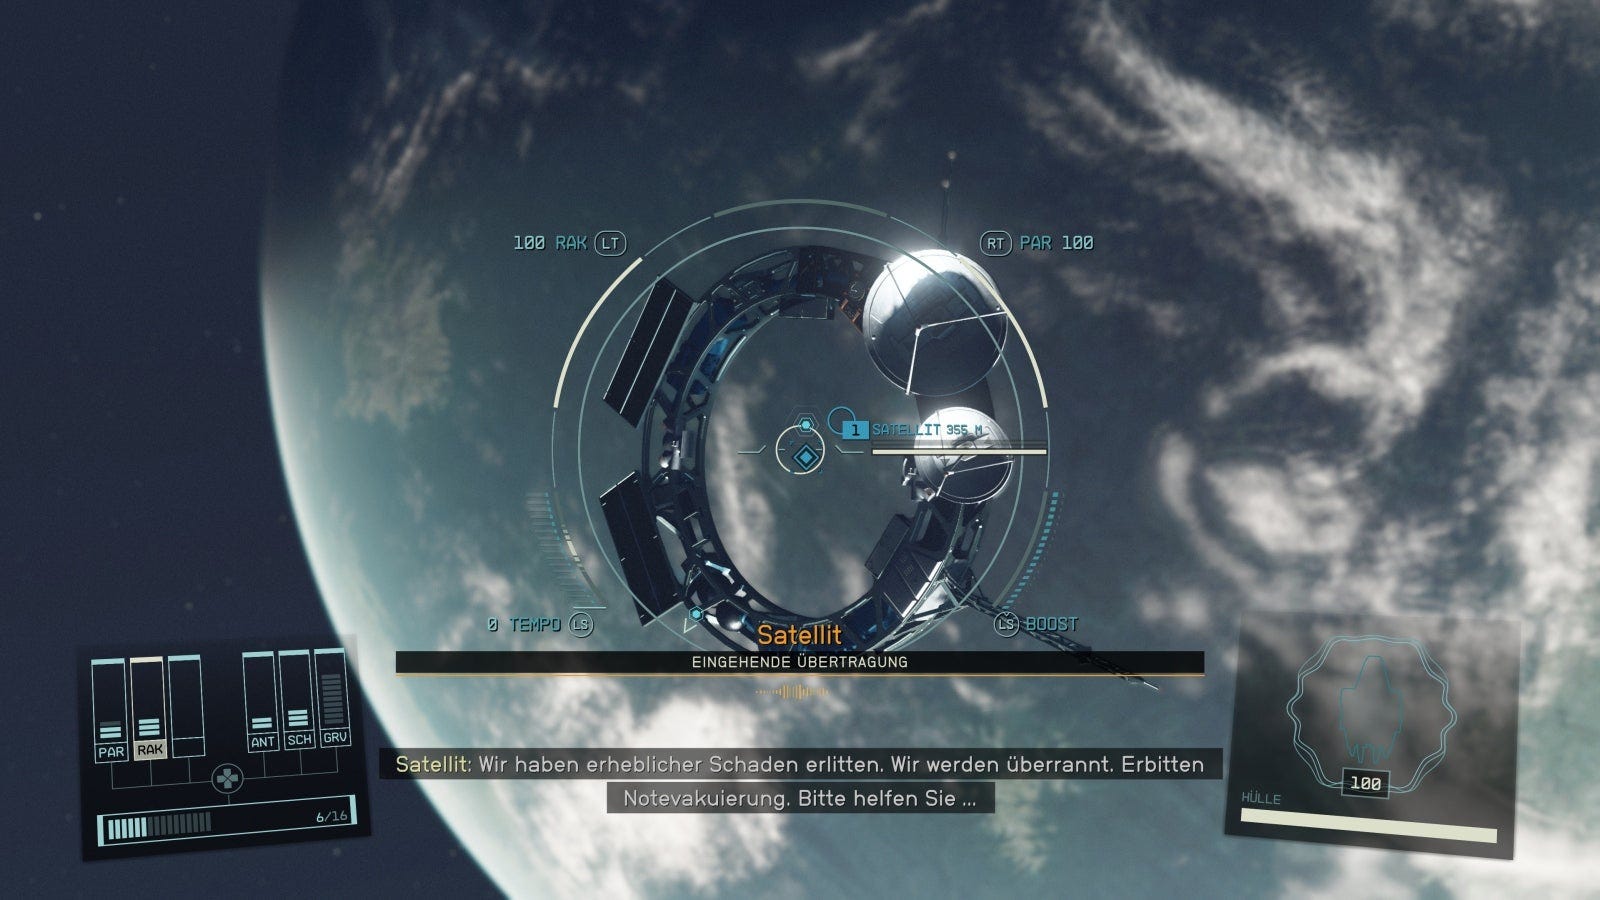
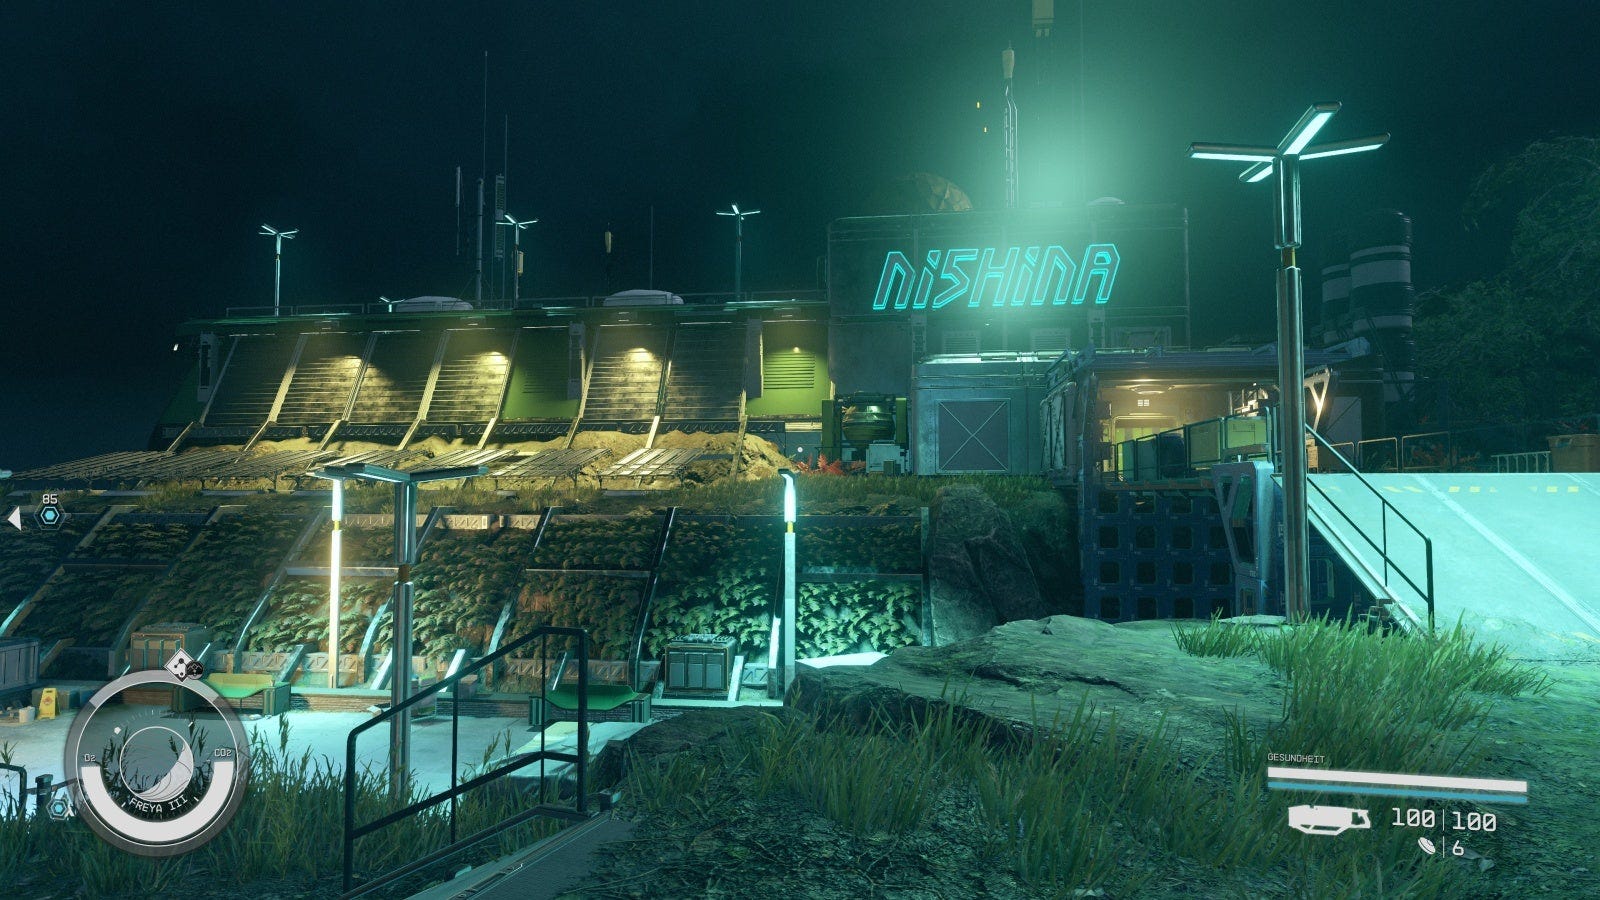
Land at the research station that is sending the distress signal. There is some loot to loot in the area. Otherwise go up to the entrance and you'll be spoken to over the Intercom by a guy named Ethan Hughes.
He doesn't know anything about an emergency signal, but he will still let you in and speak to the director. If you have someone with you, they have to wait outside.
Enter the Nishina Research Station
Go inside and let Ethan do his job. He opens the security door for you and starts a dialogue. Ask him a few questions, if desired, and then be taken to the Director.
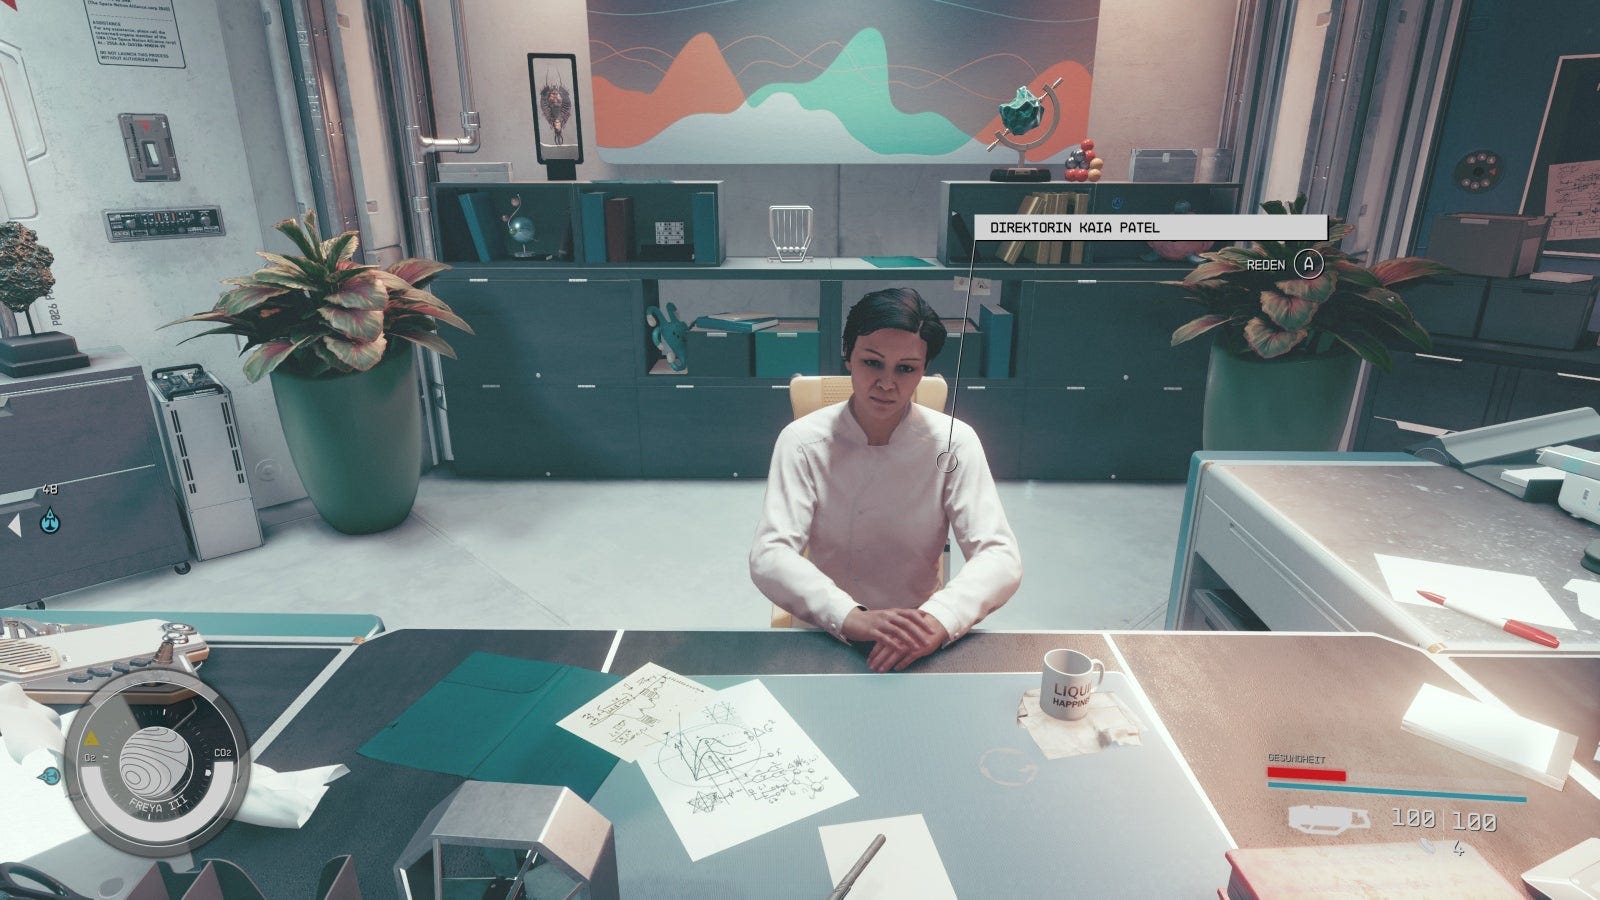
The woman goes by the name of Kaia Patel, but first we need to get to her. Some kind of... anomaly is happening in the storage room? We should find out more about it.
Explore the ruins
The vision ends once we finish off the two enemies near the back stairs. Ethan has no idea what just happened.
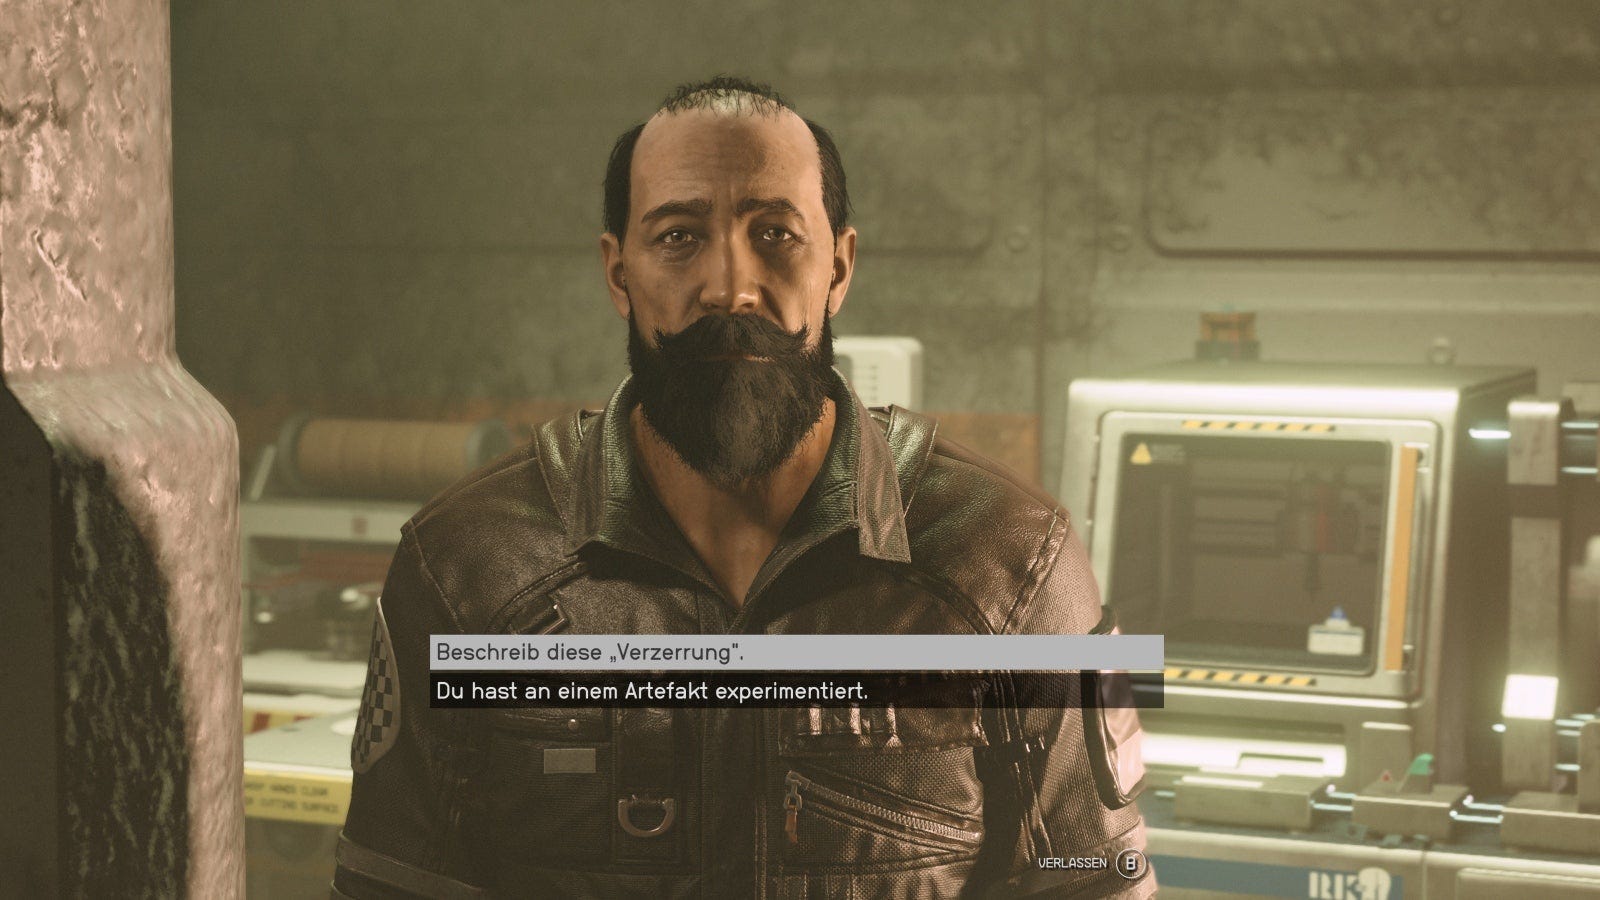
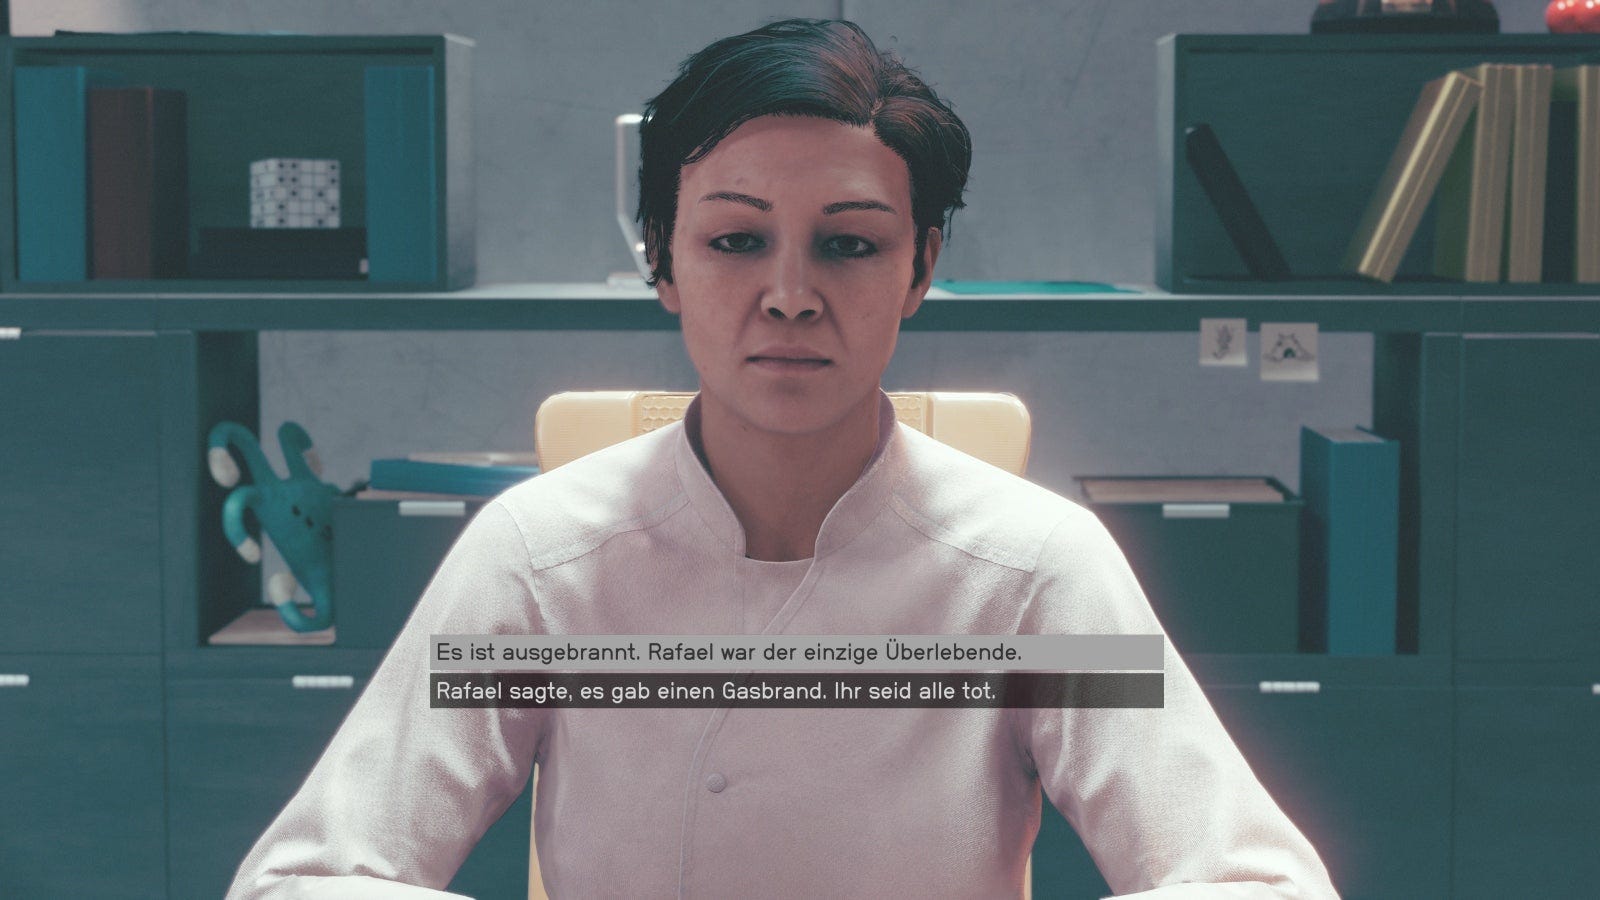
Follow him further to the next anomaly in the next room. Speak to Rafael Aguerro, the chief engineer there. He can shed some light on what's going on here.
The short version: There was an accident in the high-energy research laboratory, a 'distortion'. Just as he's about to speak up, you shift back and you're back in front of Ethan.
Find the Director's office
It doesn't take long before we shift again and end up in the ruins. The Director's office is on Level 2 at the end of the hallway.
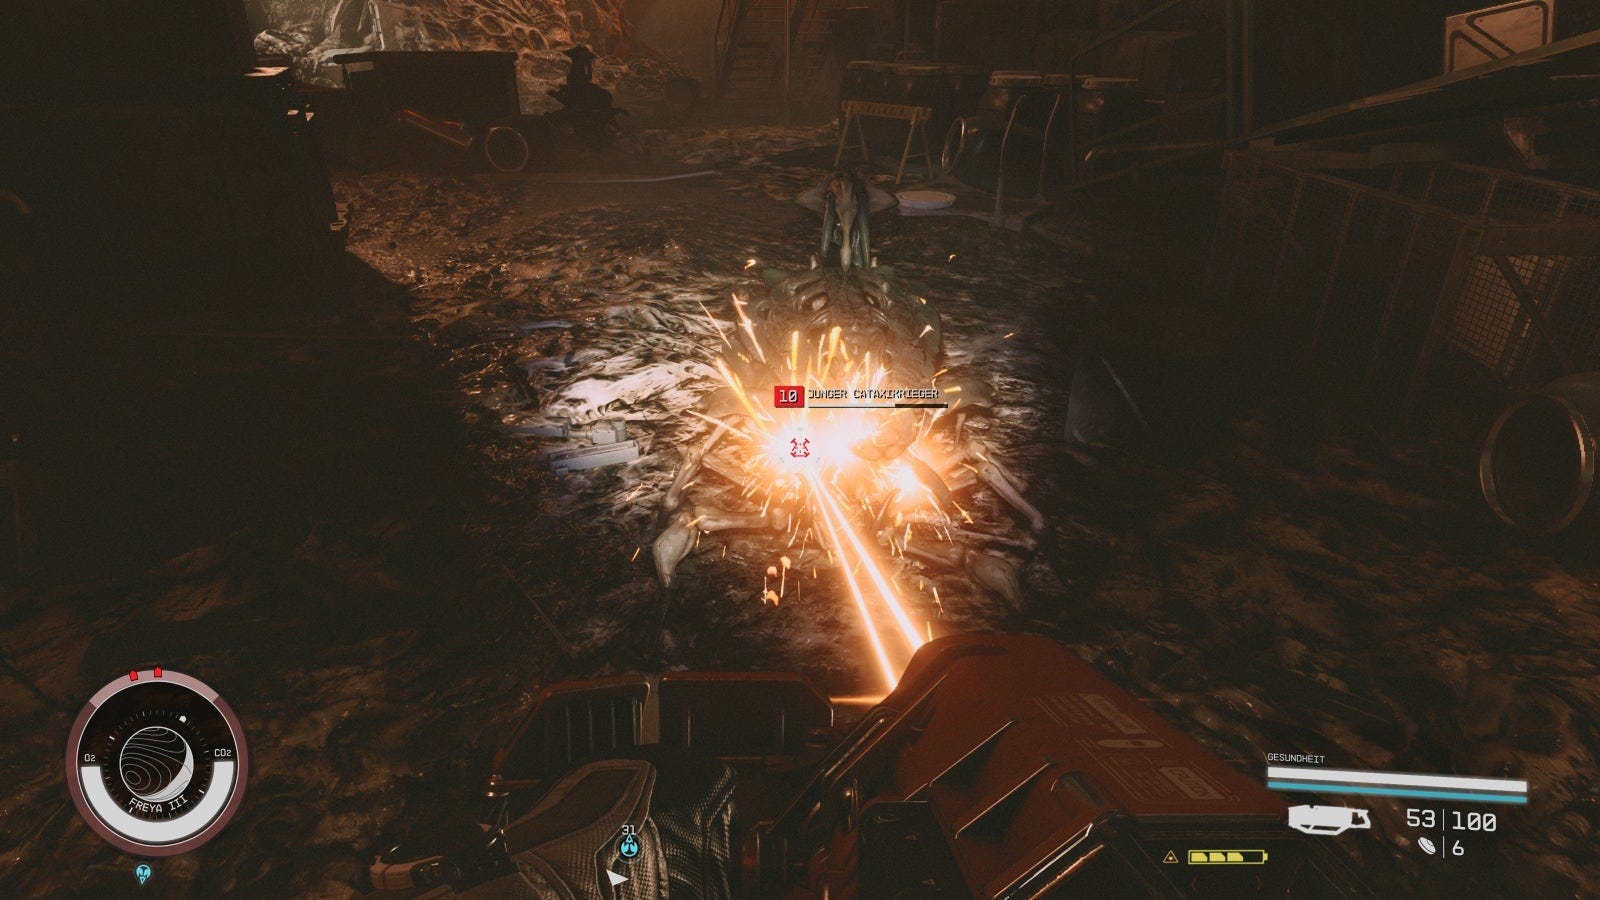
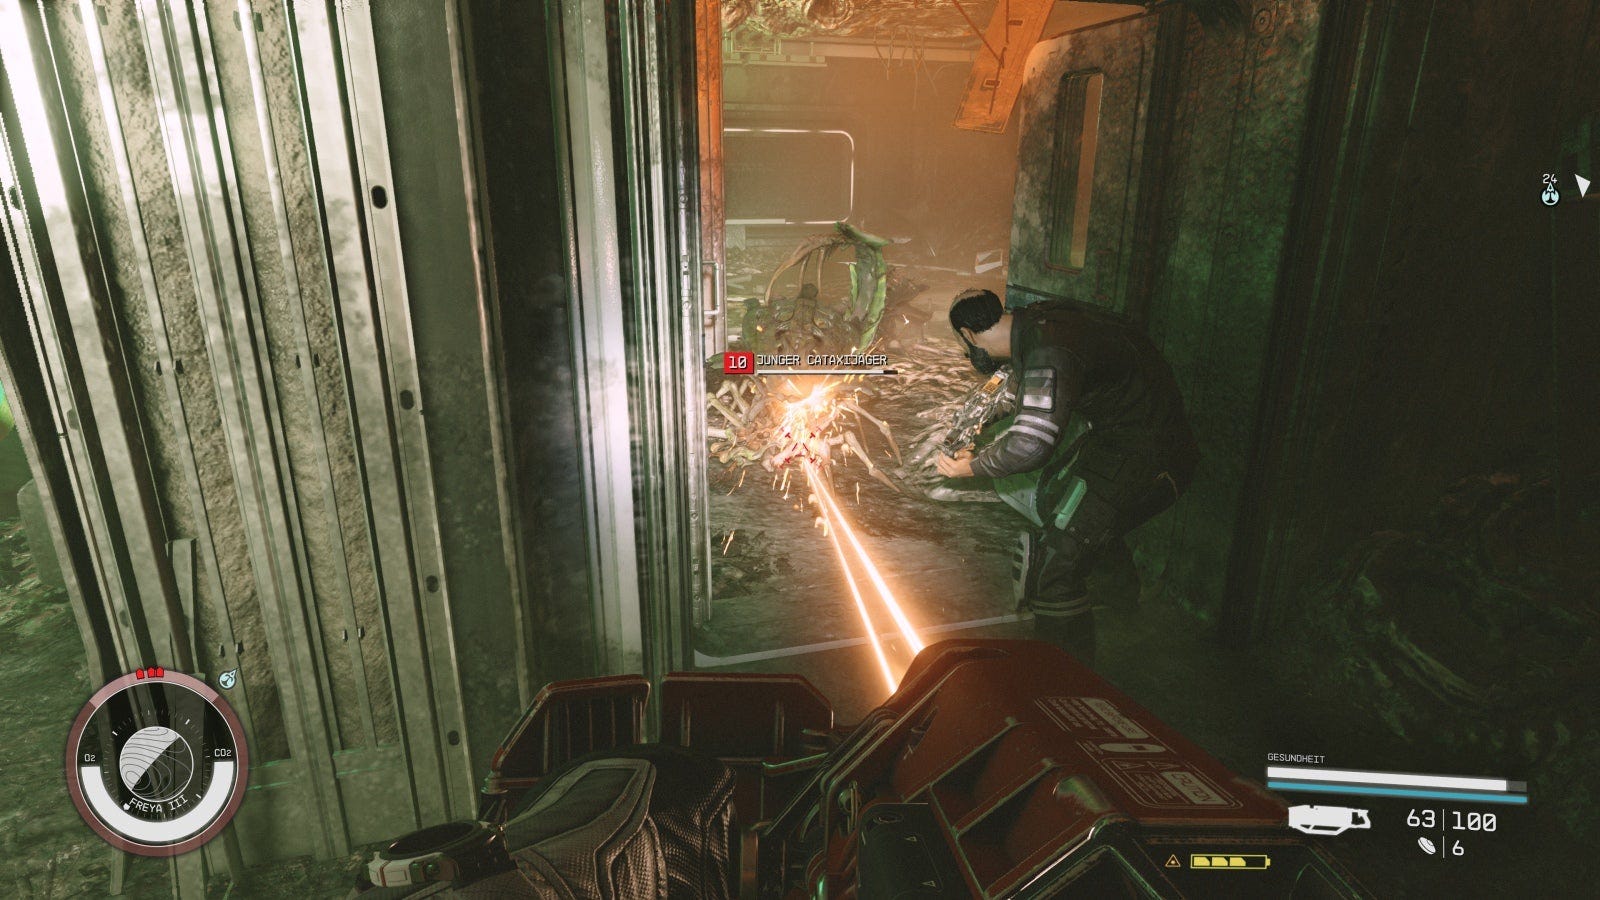
Take the right passage, kill the young Cataxi Warrior and run up the stairs. As soon as you reach the upper floor, you will face Ethan again.
Follow him to Director Patel and Maria Hughes. A lengthy dialogue follows with a bit of back and forth, but in the end everyone involved agrees to work together.
Reach the lab
Hang on to Maria as soon as she takes the lead, exit the Director's office and go straight into the hallway on the right. The shifting starts again.
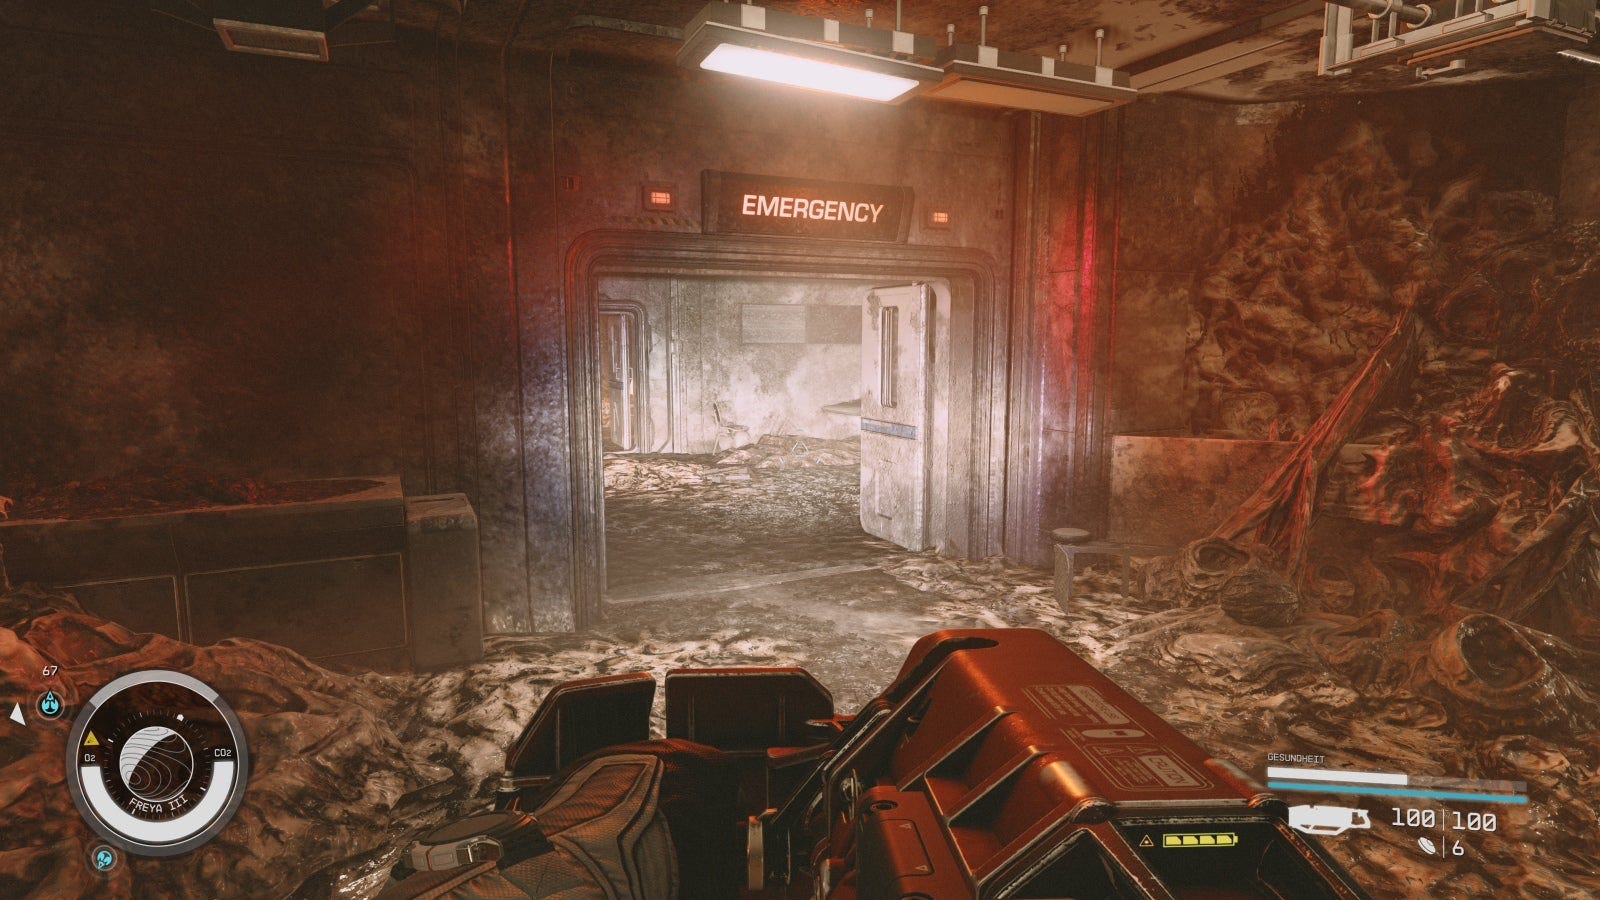
Exit the hallway behind you, continue right and left through the 'Emergency' door into the adjacent area. This is where other enemies get in your way. Kill them.
Follow the slope down and speak to Rafael again. He will give you the Nishina Pantry Key and join you for the rest of the way.
Loot the room as necessary, then use the new key. Fend off more enemies and you shift one gear further.
Go to the main hall and the shift will start again. Follow the course of the corridors to the right, kill a few enemies again and speak to Rafael.
Enter the room to the right of the cul-de-sac to come out behind Ethan in his locked office. Chat with him and let the door open.
In the further course of the dialogue you can have the computer unlocked (get the planet data) and get the 'Experiment A-7' shotgun as a gift for fighting the Cataxi.
Exit the security office and walk left through the 'Main Hall' until the next shift starts.
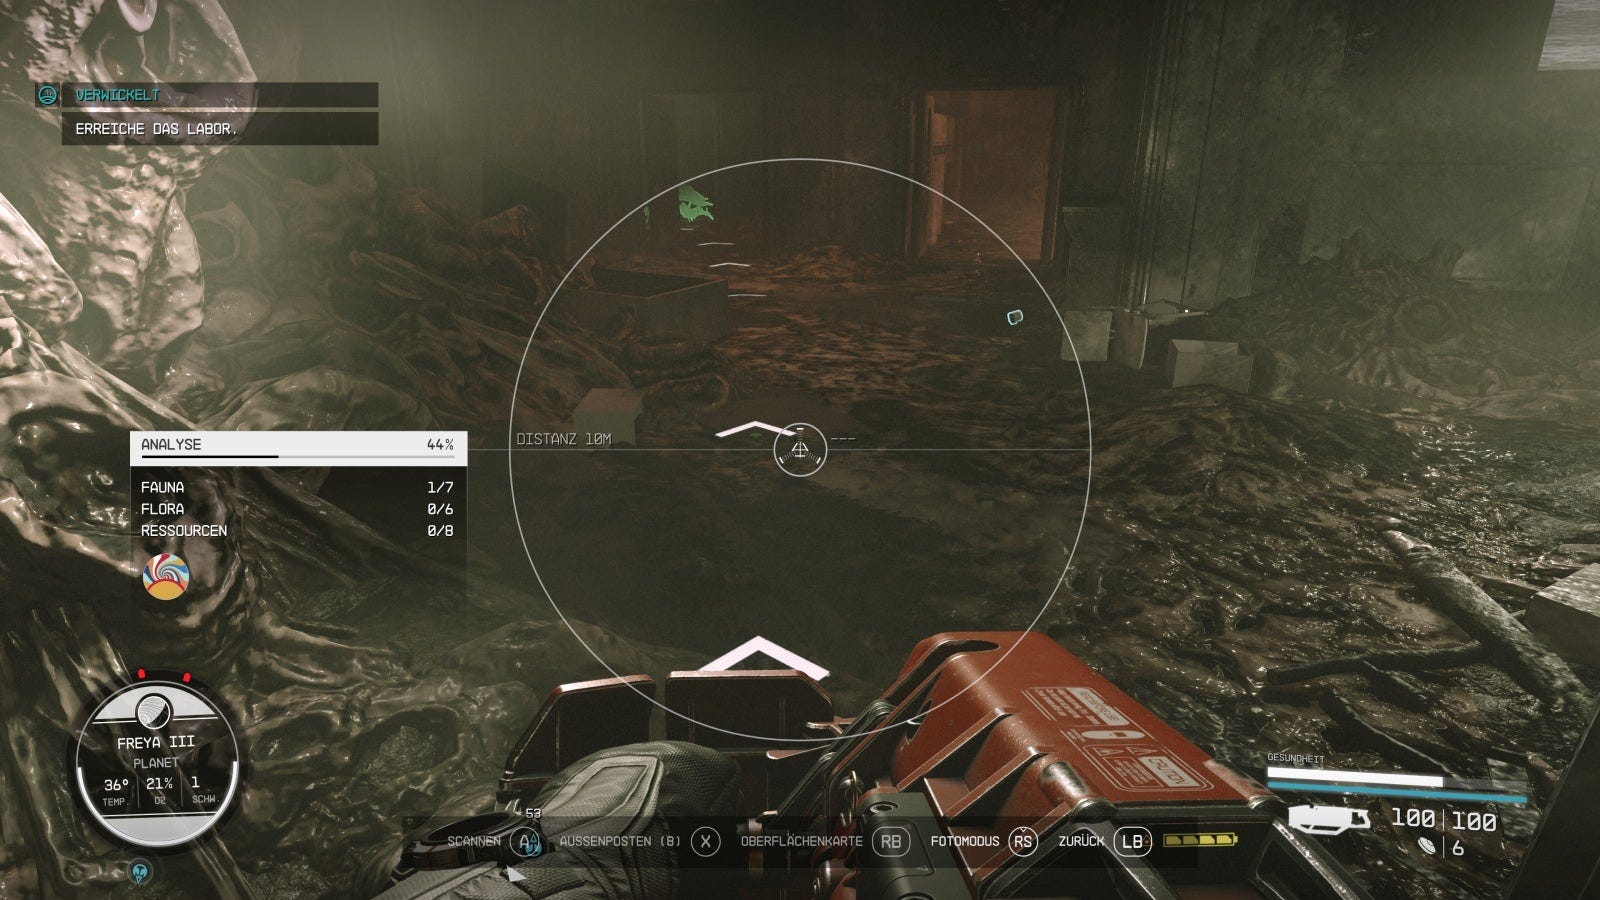
Kill more Cataxi and use the LB scan mode to be able to continue the path in a targeted manner using the arrows on the ground.
In the next large room, you'll be chasing some enemies and then through the next 'Emergency' door on the left. After the shift, follow the stairs and enter the 'Fabrication Lab' on the left.
Help Mary
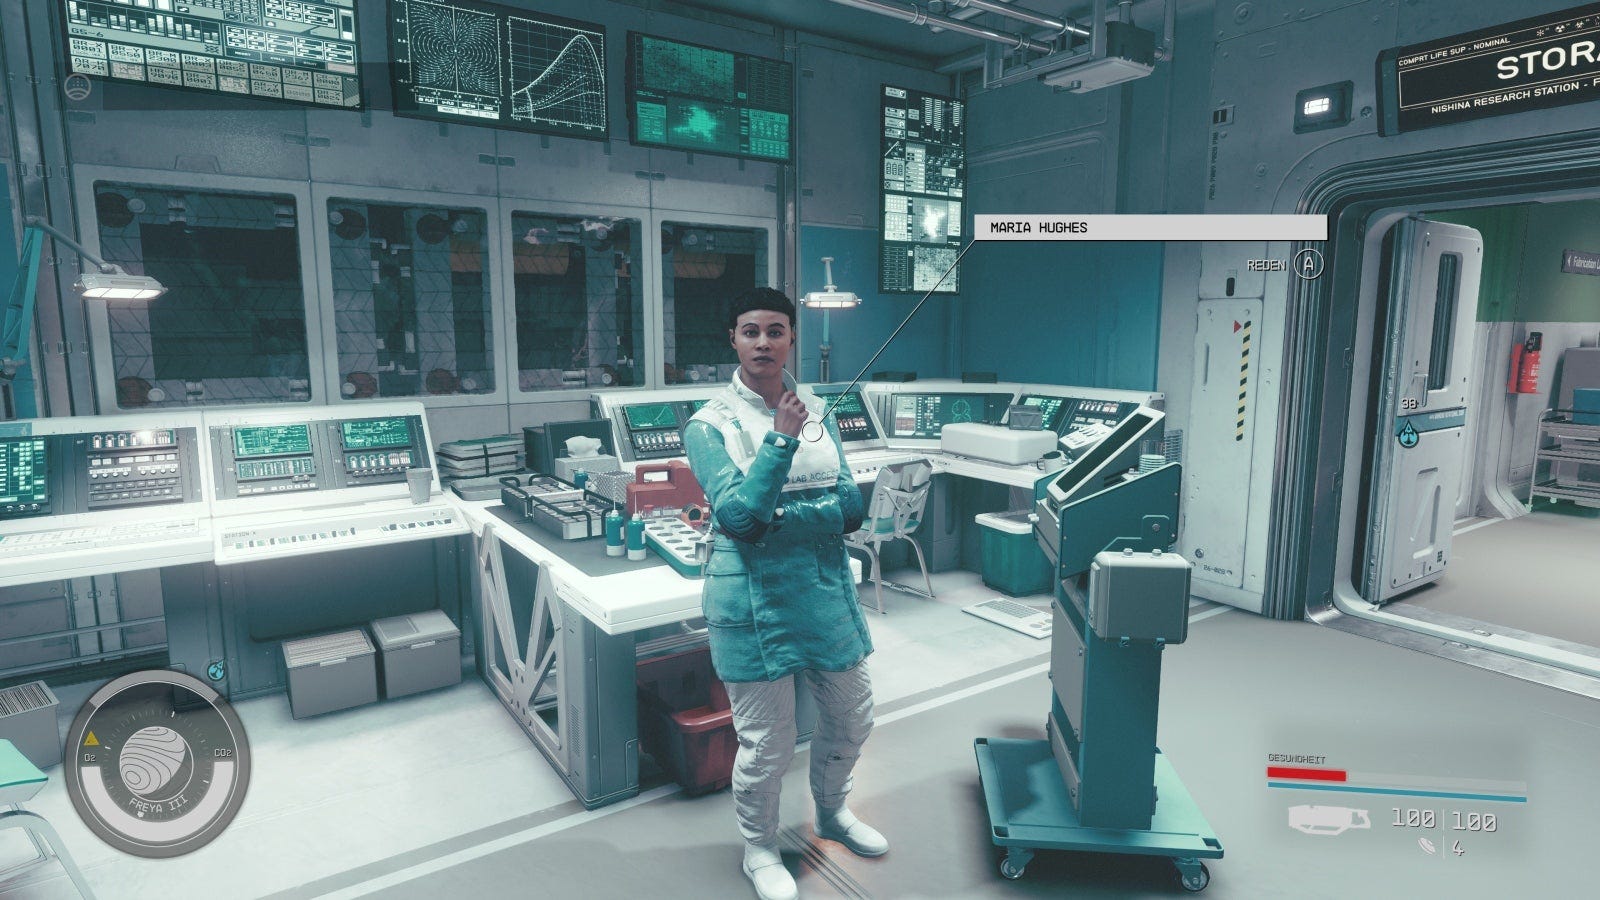
Finally we were able to catch up with Maria. According to her, a microdistortion appears in the room. Step into the distortion when prompted.
It takes a little moment, then the next shift occurs and we get a new goal.
Find a probe controller
The search ends quickly. The required unit we need next is in the same room on a shelf:
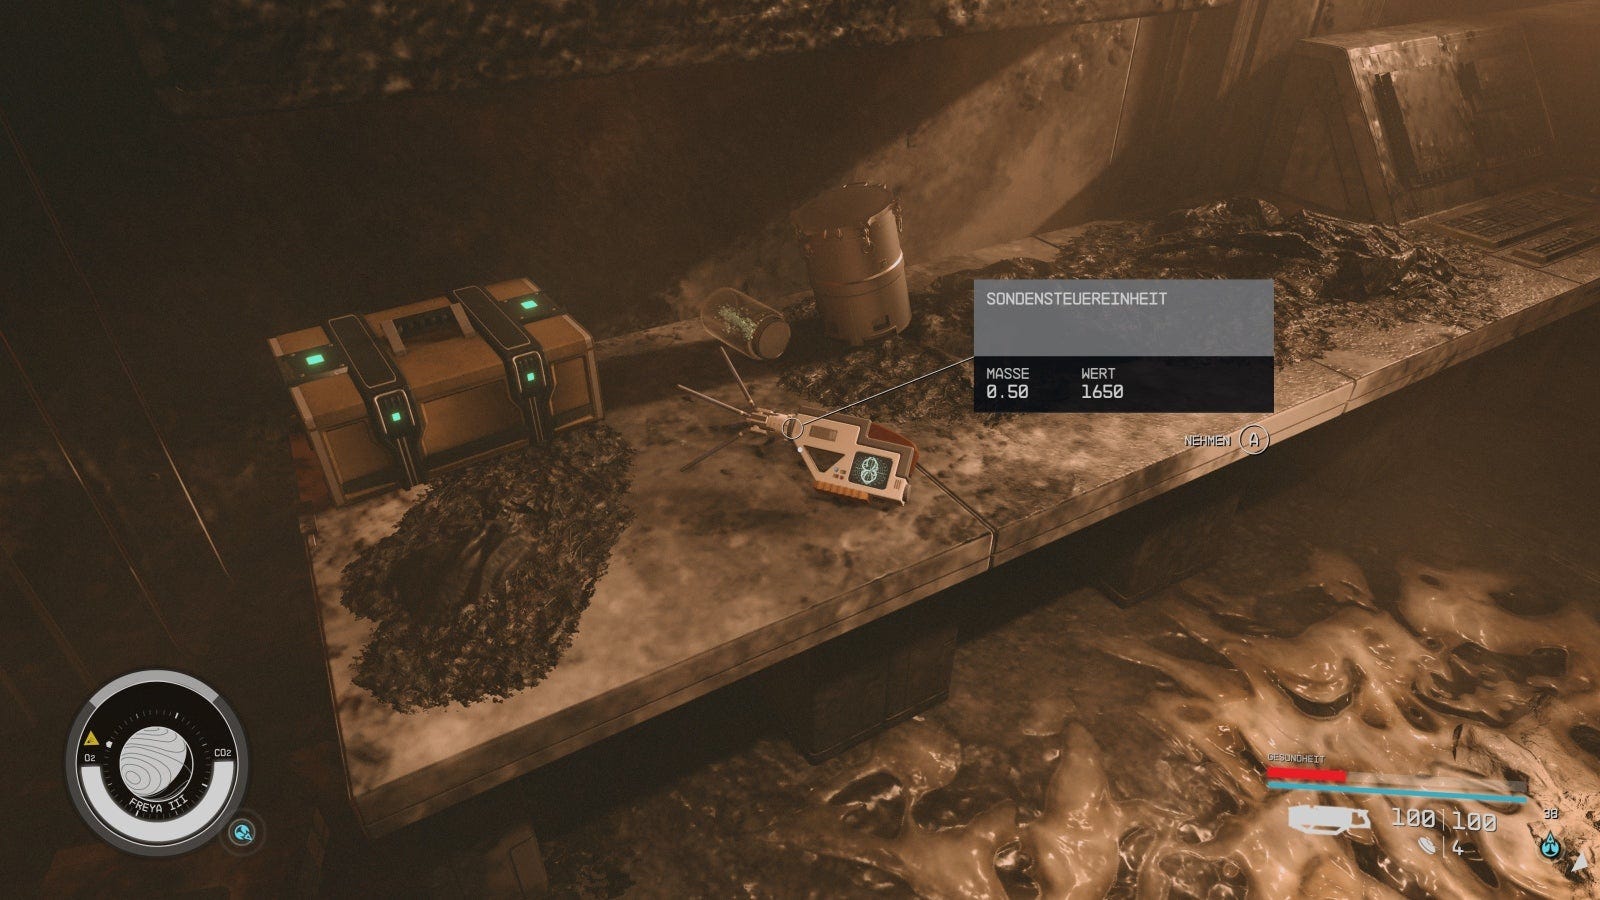
This enables us to use the distortions specifically for jumps between the time levels.
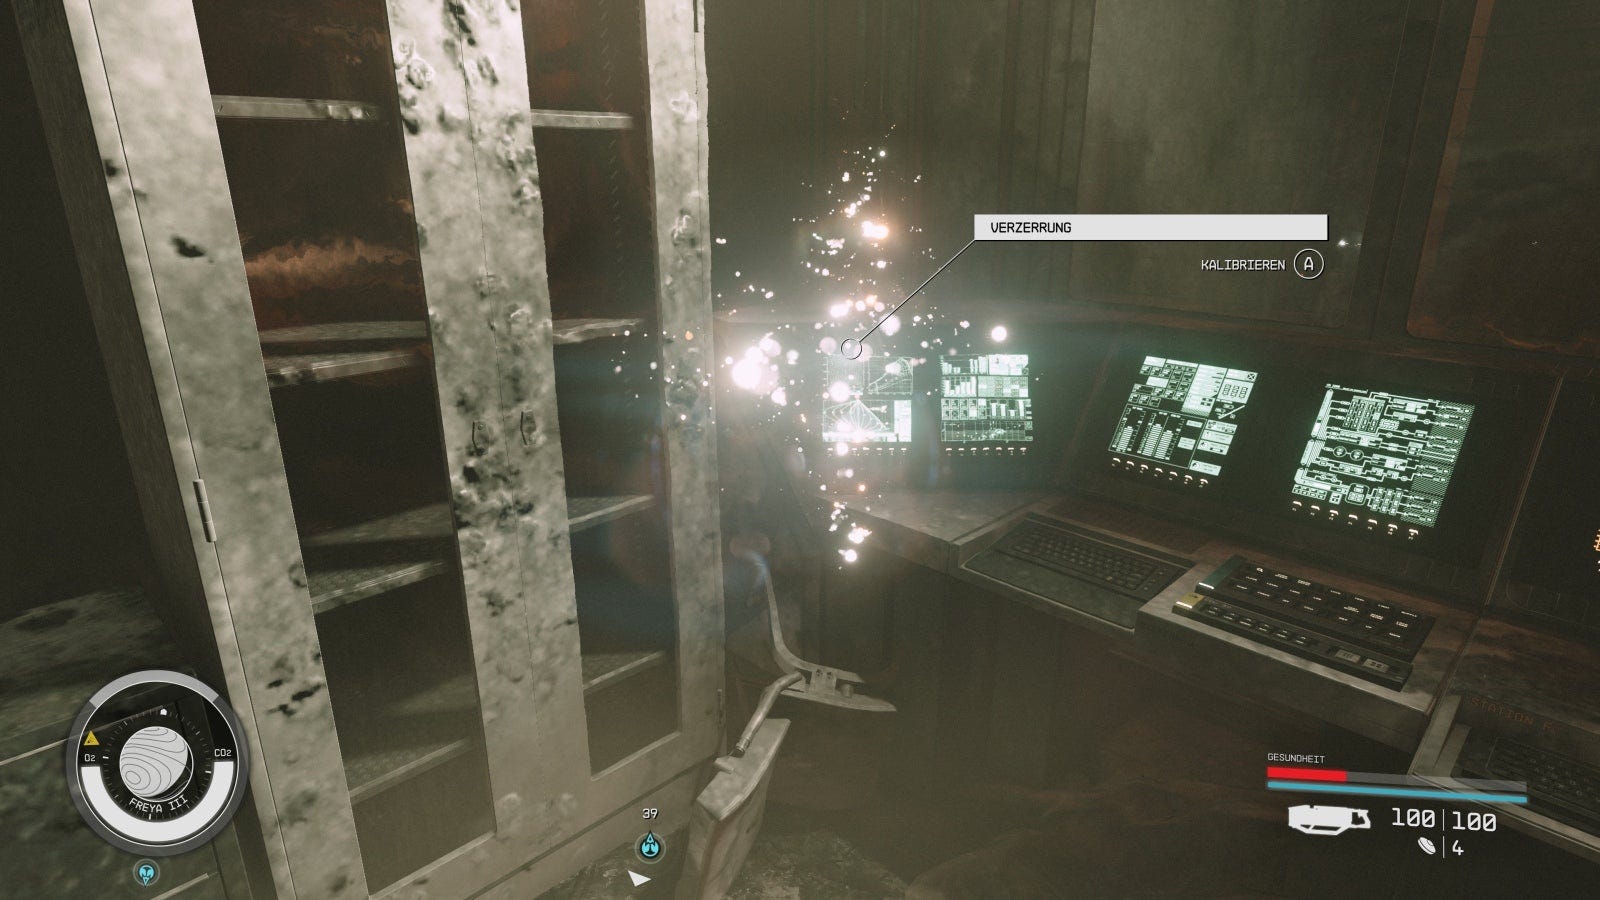
Recalibrate the distortion
Face the distortion in the corner and click Calibrate. After the shift you stand in front of Maria again and the next dialogue takes place.
We receive further instructions and the Director asks us to speak to her again.
Speak to Director Patel
Go back to her office through the adjoining hallway and ask the burning questions, if desired. You can already guess that in the end it all boils down to a difficult decision.
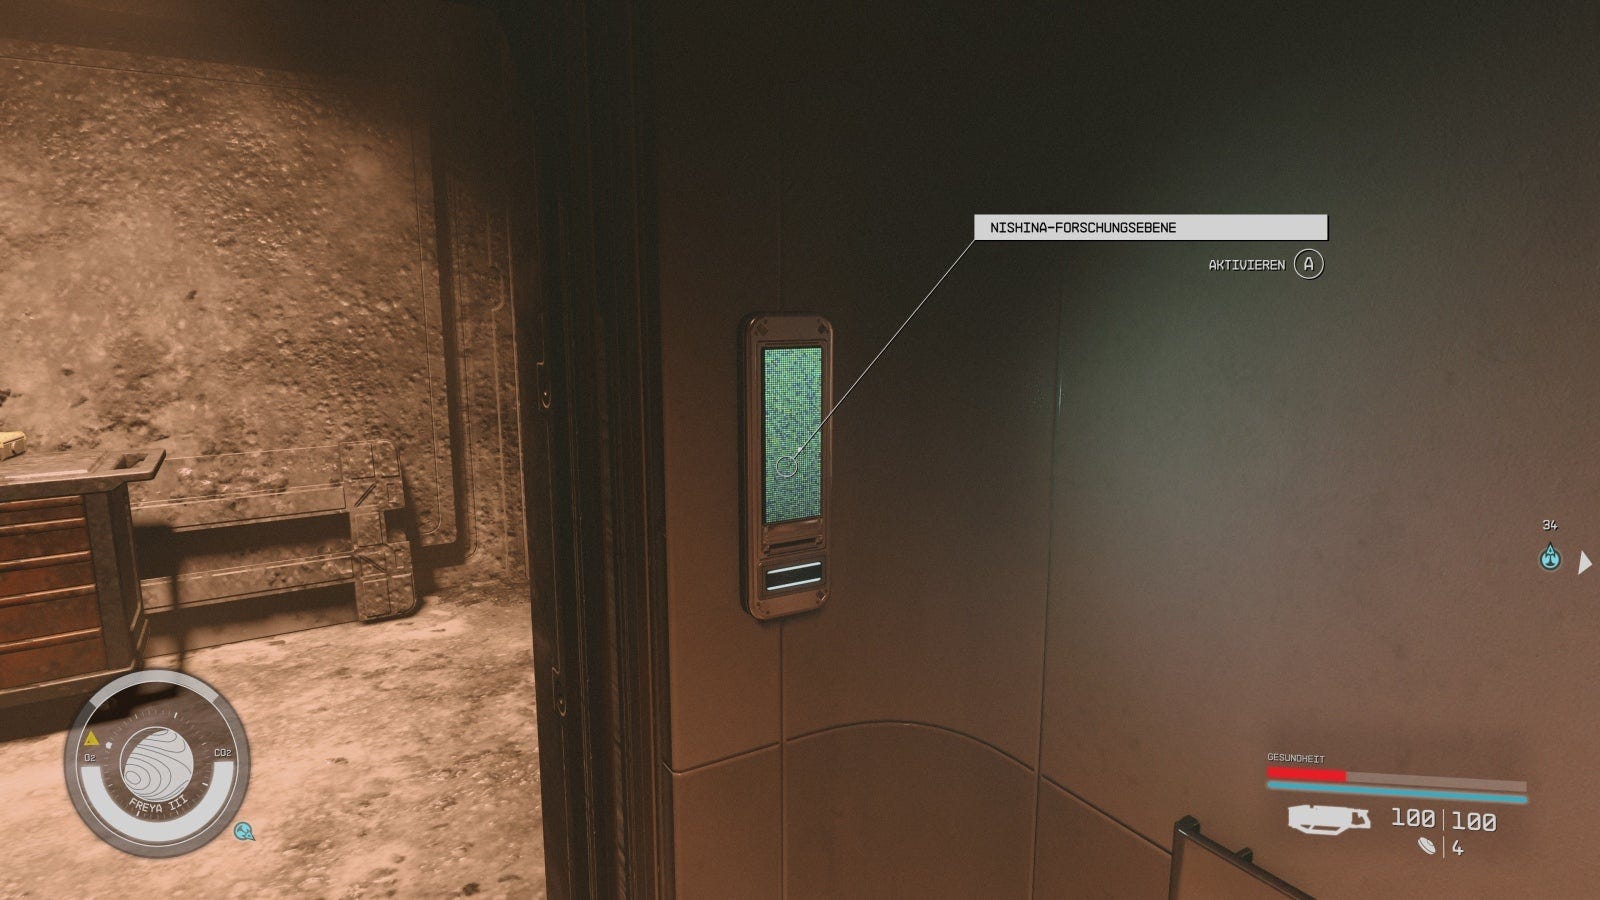
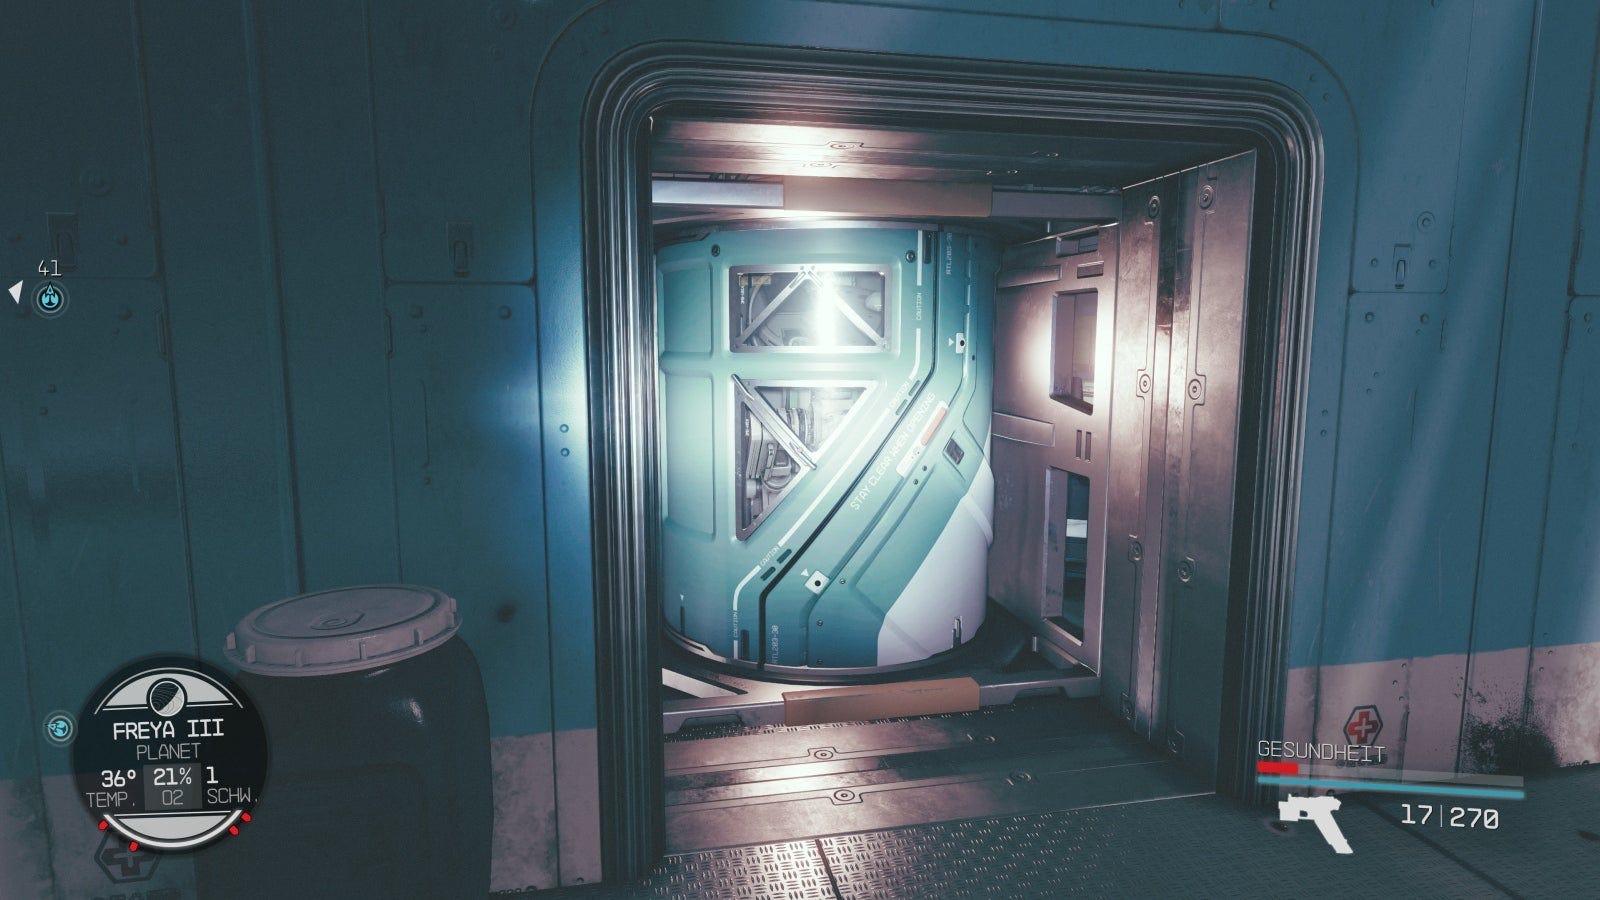
Take the elevator and reach the laboratory
Follow the arrows in LB scan mode to the elevator towards the Nishina Research Floor. Use the distortion in front of it to travel into the ruins, otherwise the elevator controls will not respond.
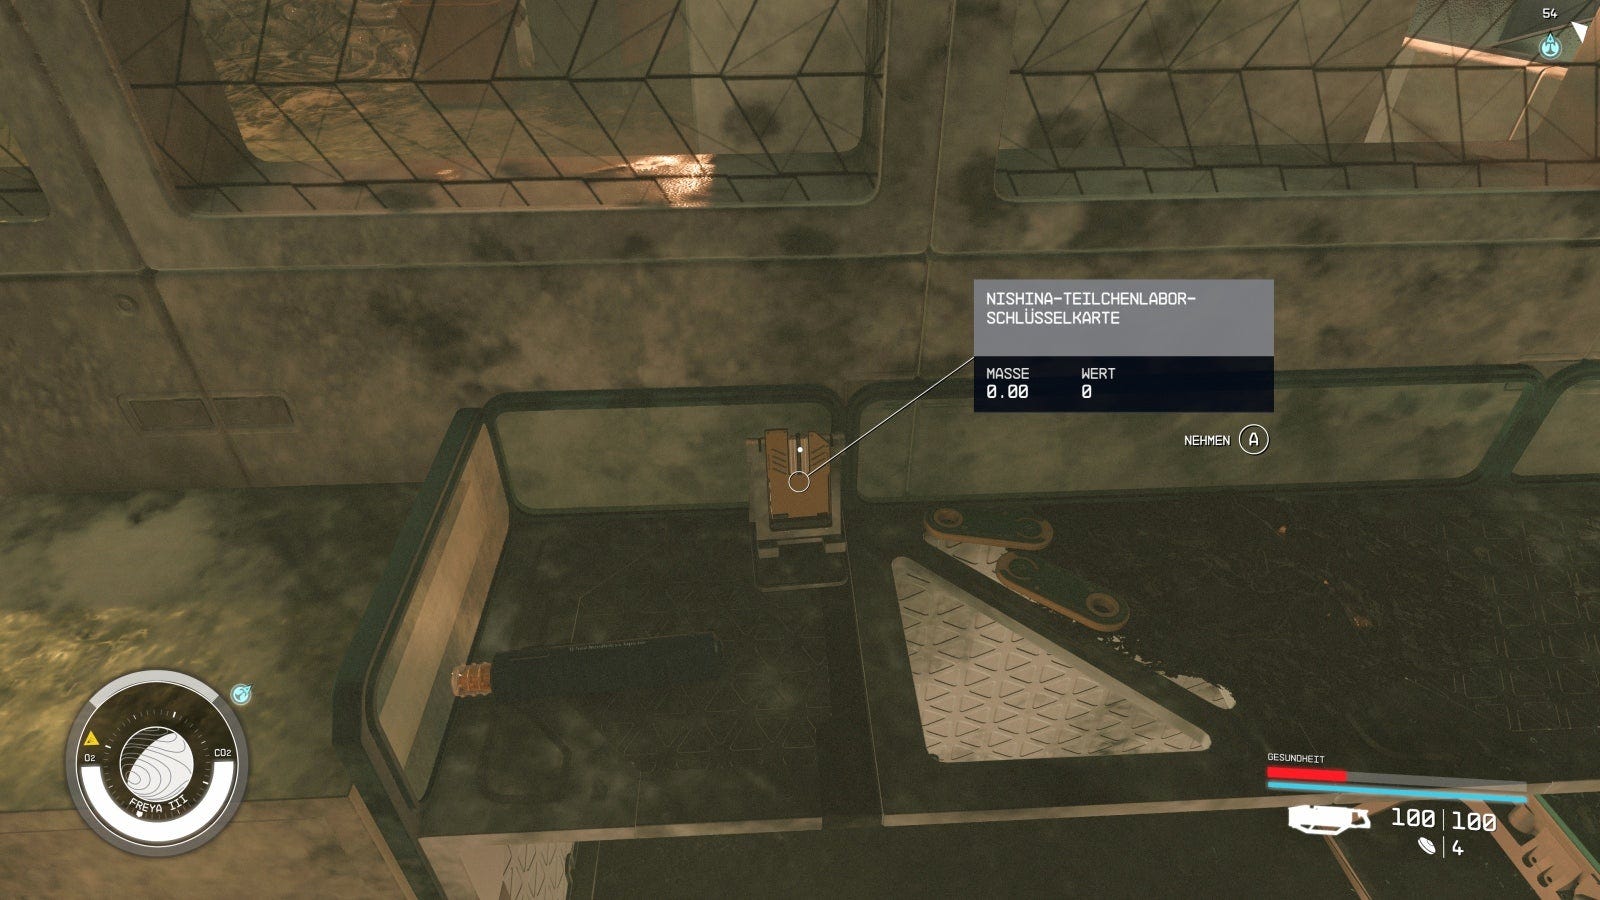
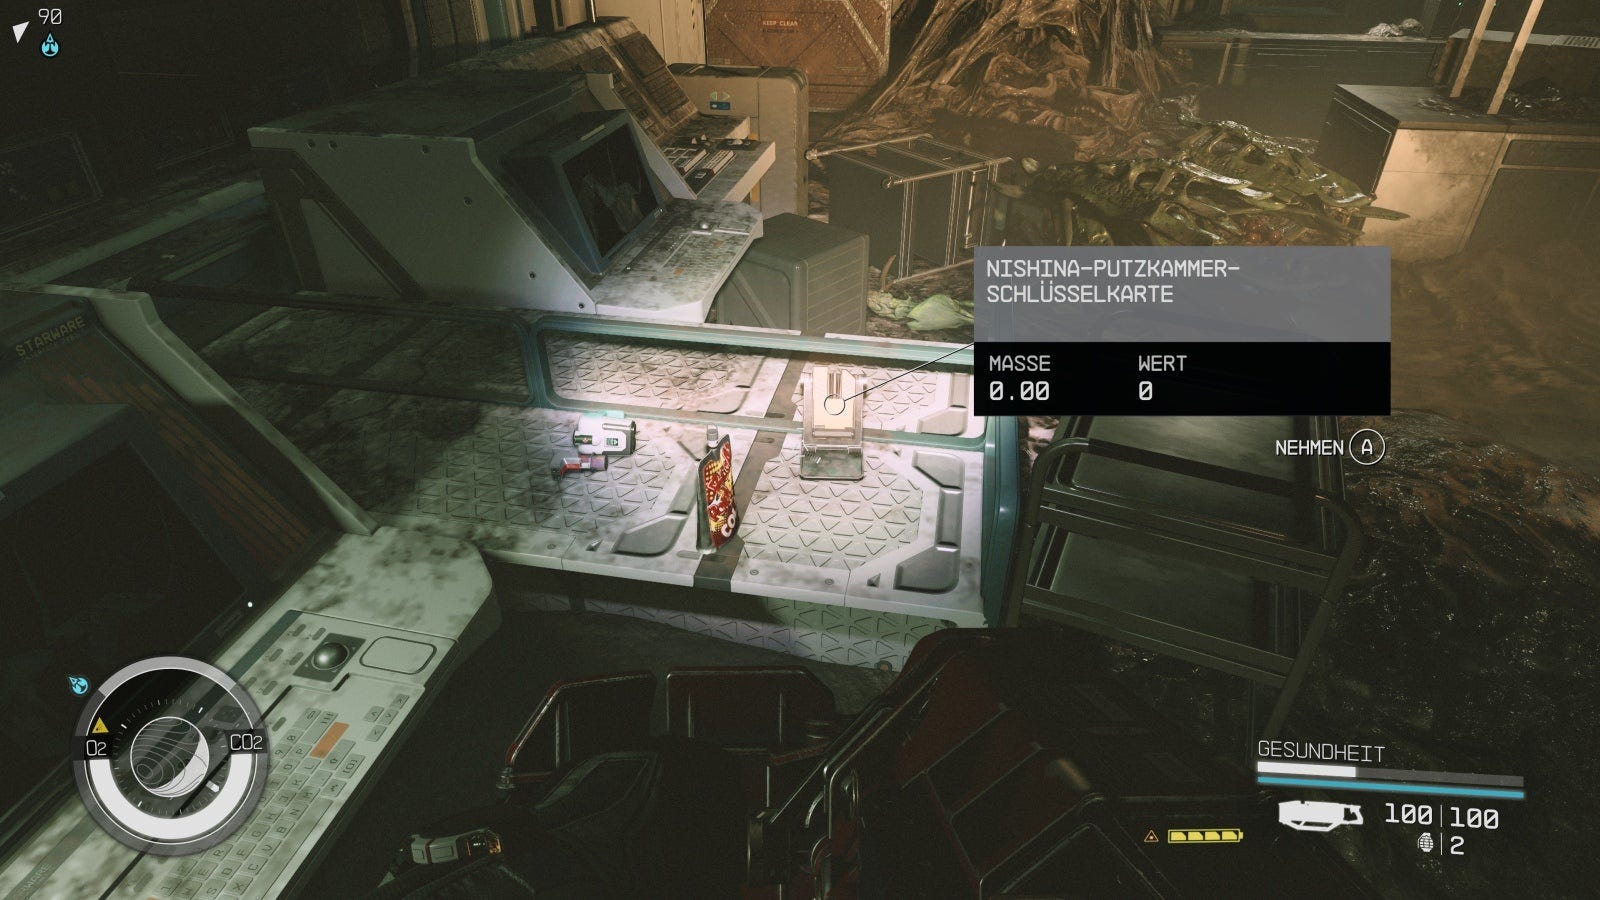
In the facility you use the distortion and then follow the course to the next one, which is beside the master level locked door. Use it, enter the room and go to the back room where you will find the Nishina Particle Lab Keycard:
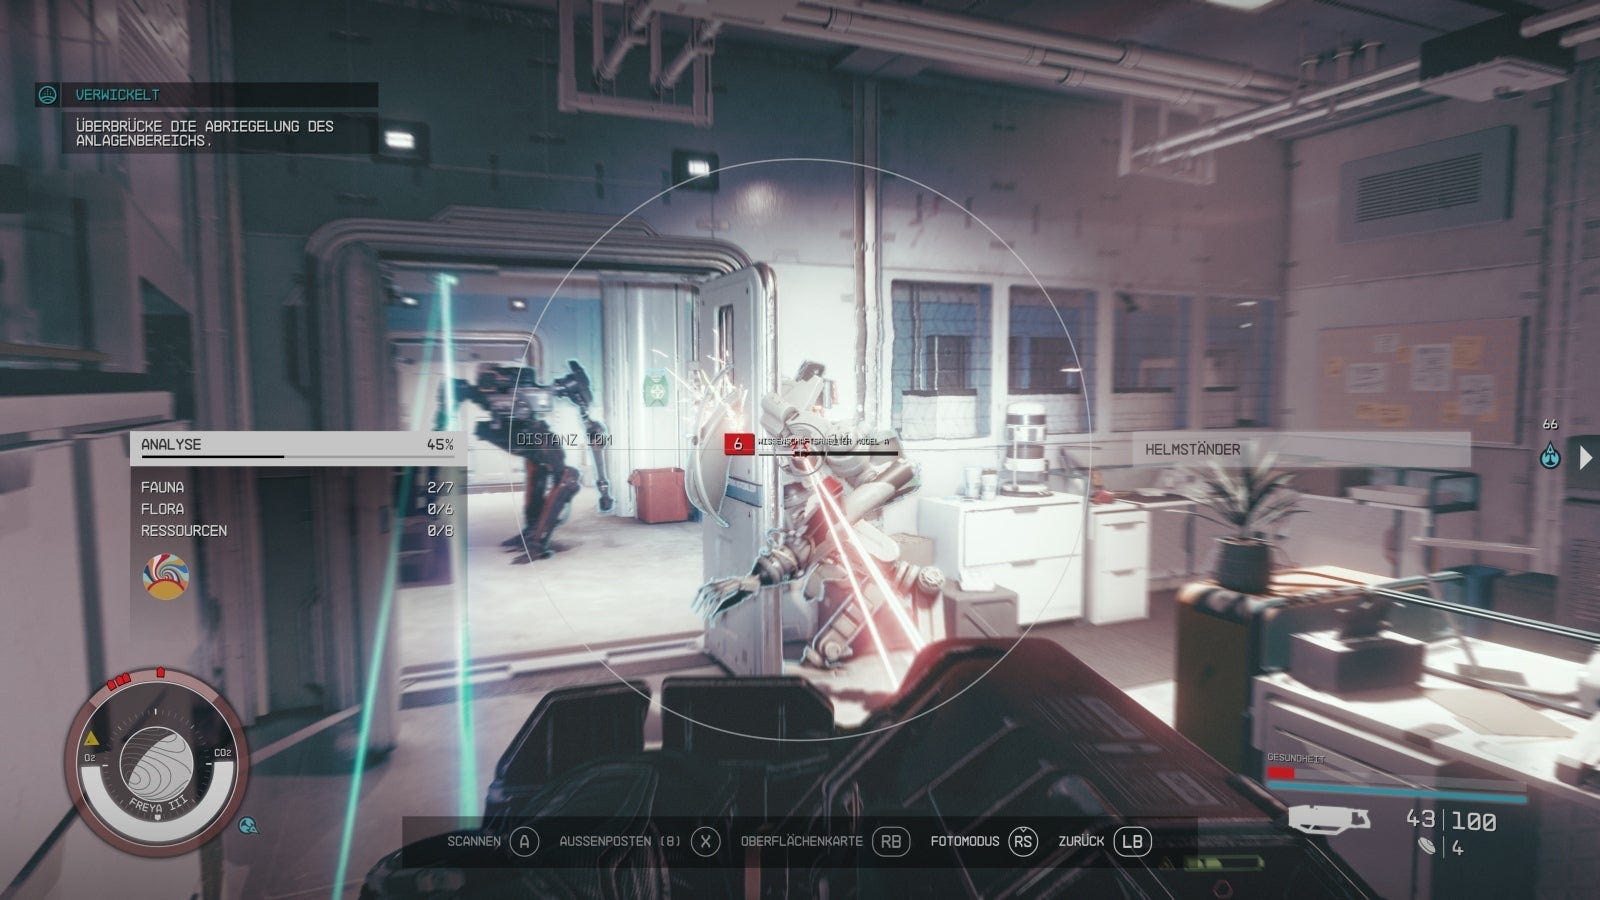
Bypass the facility area lockdown
Use the distortion next to the door and open it with the new map. Be careful, on the right side two scientific robots and a ceiling gun are waking up right in front of us.
Go through the door behind the turret, down the stairs and destroy another turret in the adjacent corridor. On the right in this room you use the distortion and get through the door with the turret from before.
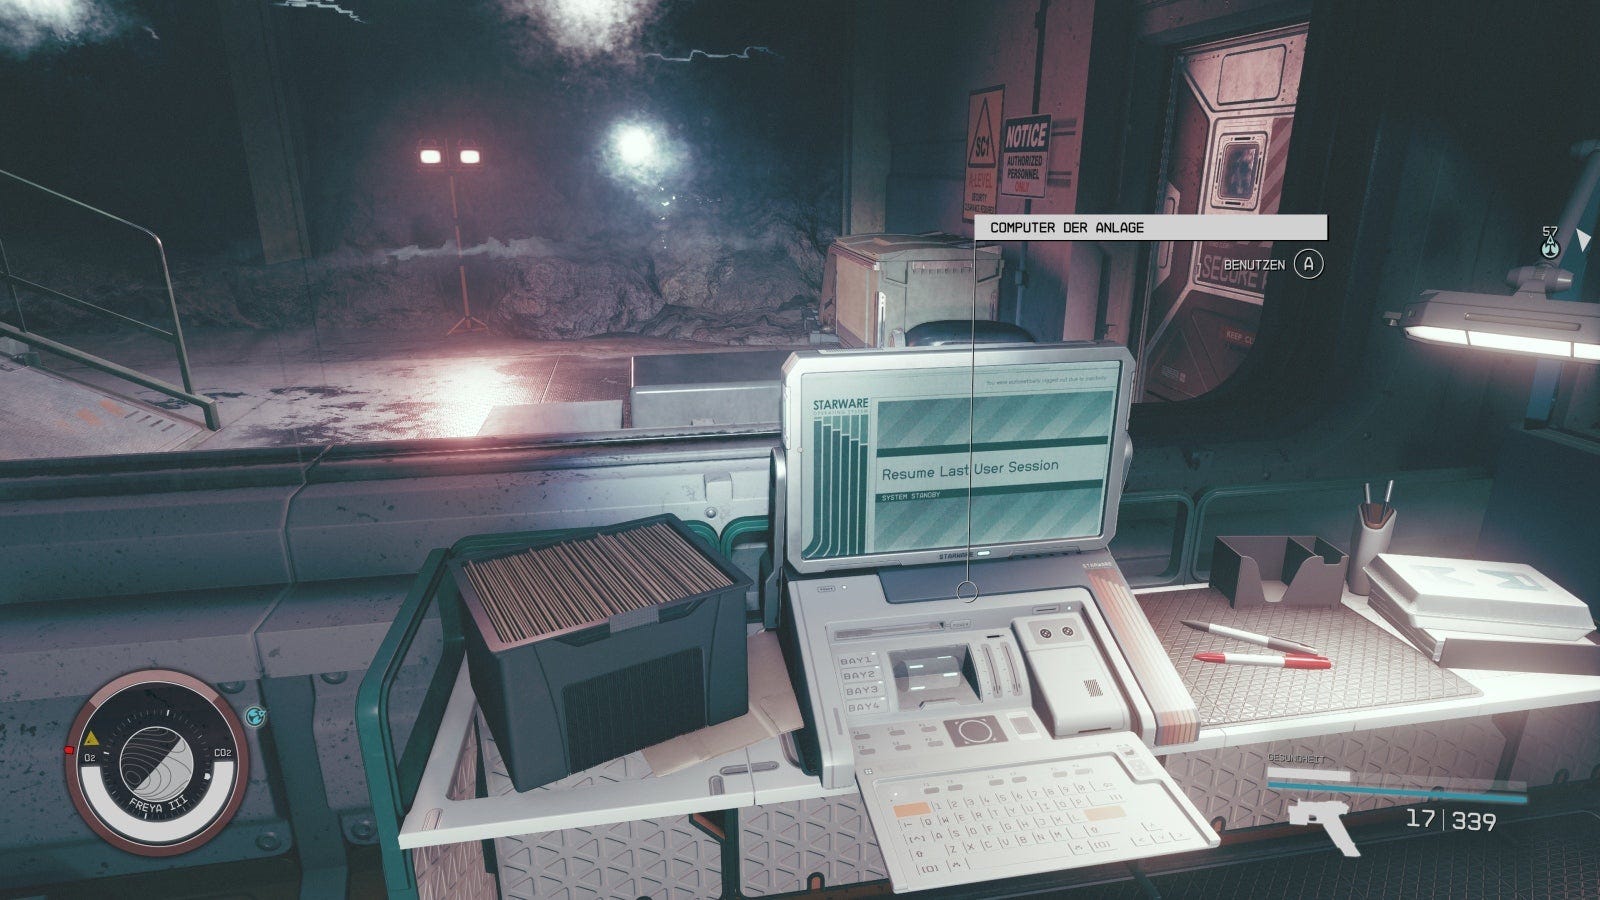
Use the next distortion (careful, robots and two turrets are waking up again) and you've finally reached the facility's computer. Use it to bypass the lockdown and clear the alarm.
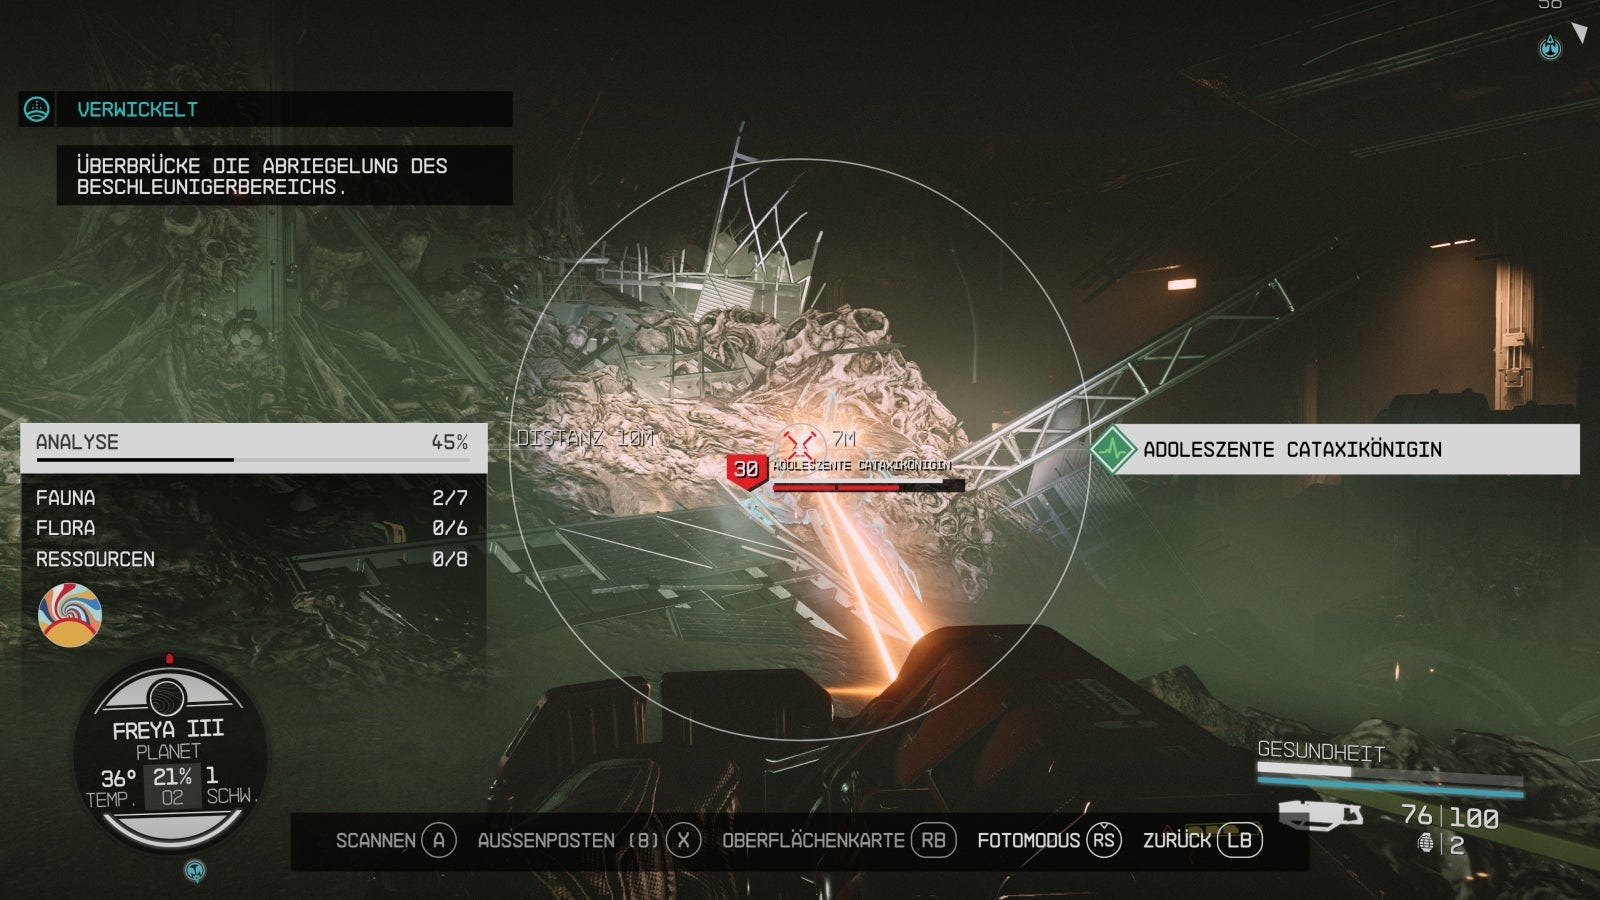
Bypass the accelerator area lockdown
The door to the Particle Accelerator is now open. Follow the hallway beyond to the next distortion, but don't use it, go down the steps into the great hall.
There are some guard robots there. Also beware of turrets on the walls. You can also destroy the cameras with a clear conscience.
The finish line in LB scan mode will eventually lead you to this pod or the space beyond without being able to open it:
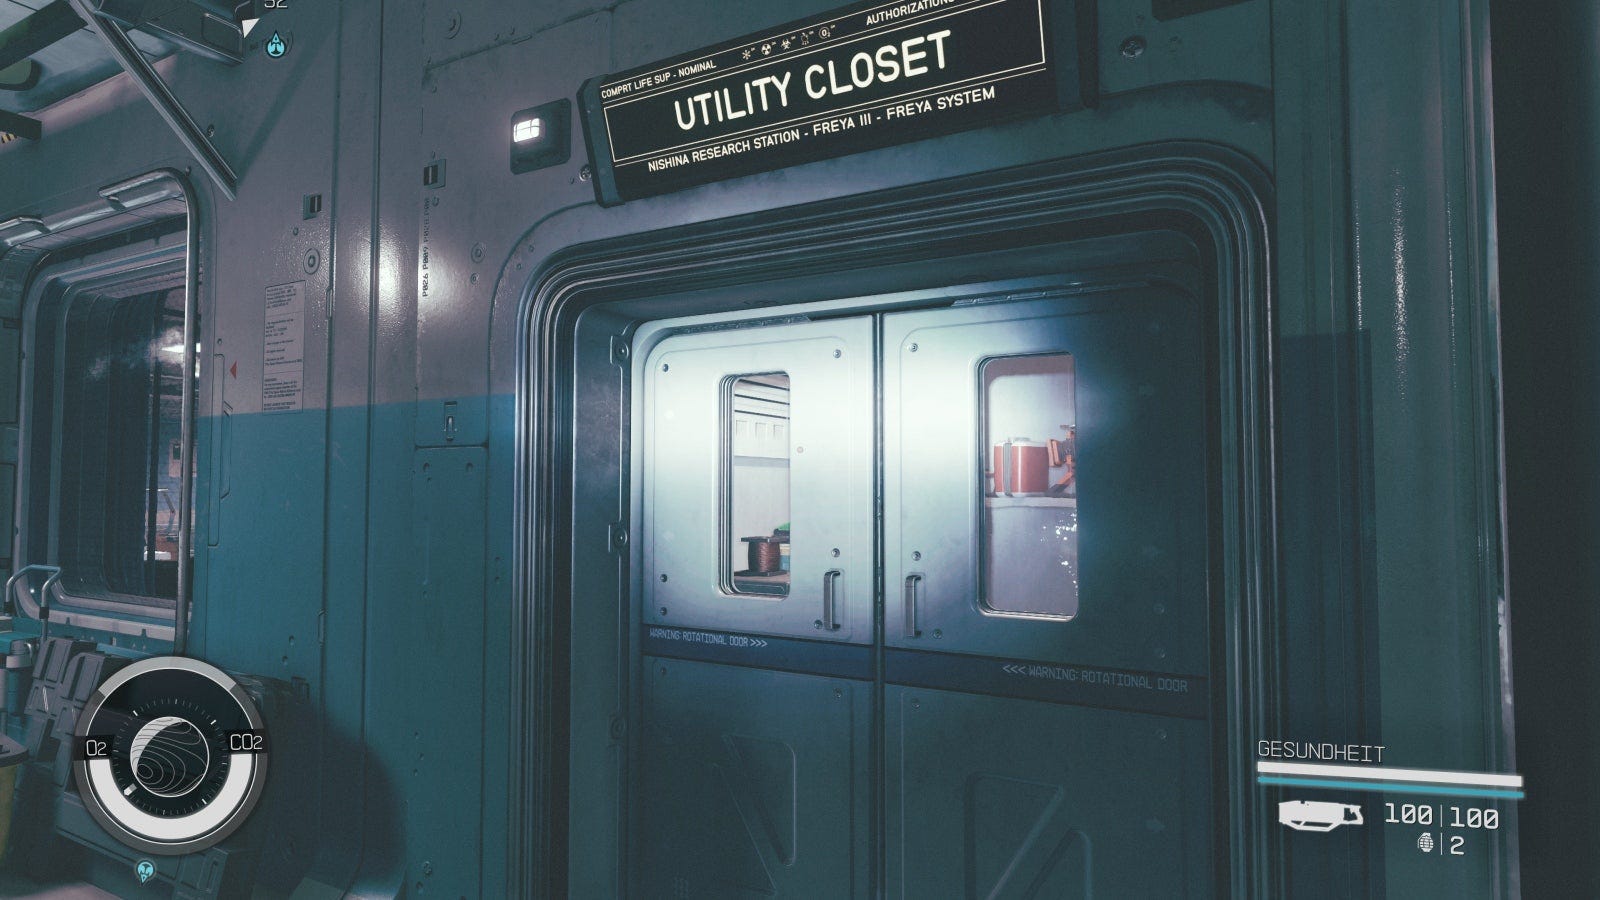
Use the distortion to the right and go through the open 'Emergency' door. Fight your way through the Cataxi here, drop down and grab the Nishina Cleaning Room Keycard:
After using the distortion next to it, you can collect the same keycard again in the other timeline (we don't have the key for the robotic laboratory computers, otherwise they can also be cracked, master level). Then go back up where you came from and use the Distortion.
In the ruins, head back to the large room we came from. Kill all the Cataxi and head south to the distortion. Use them to restore the room to its former glory.
Run along the stairs to the right and you will get to the cleaning room door, which is screaming for your new key:
Inside you will find another distortion. Activate it and go into the adjacent room as soon as it opens. The next distortion is not far and gives you access to the accelerator's mainframe:
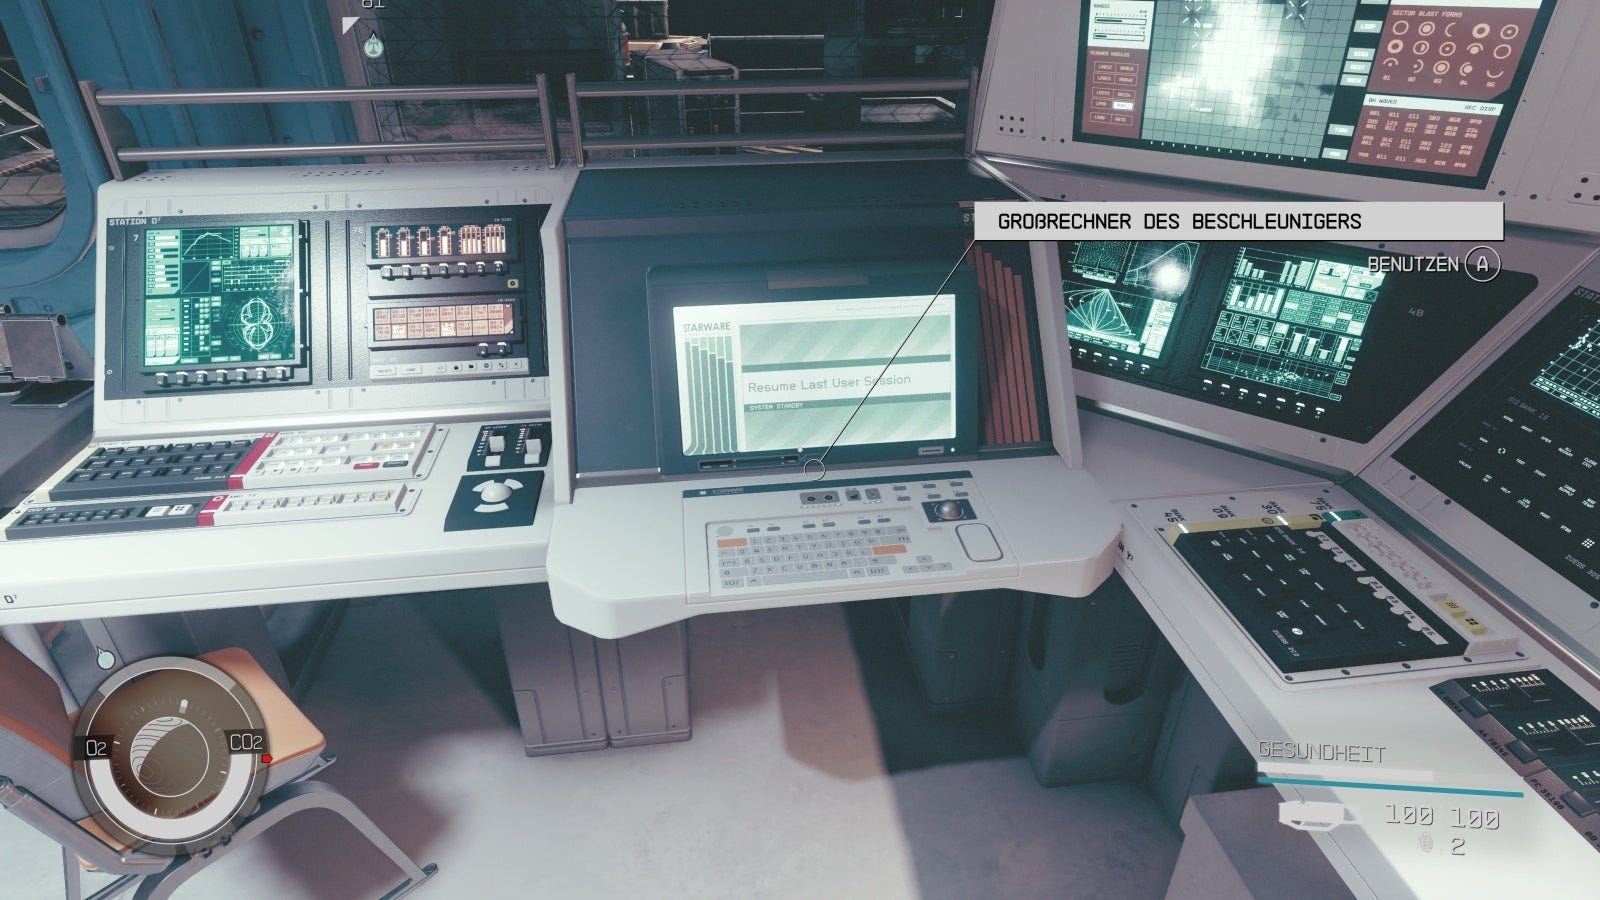
Use it to bridge the accelerator control room lockdown, use the distortion, and go back through the cleaning chamber the same way you came.
In the large room, the door to the accelerator control room is now open:
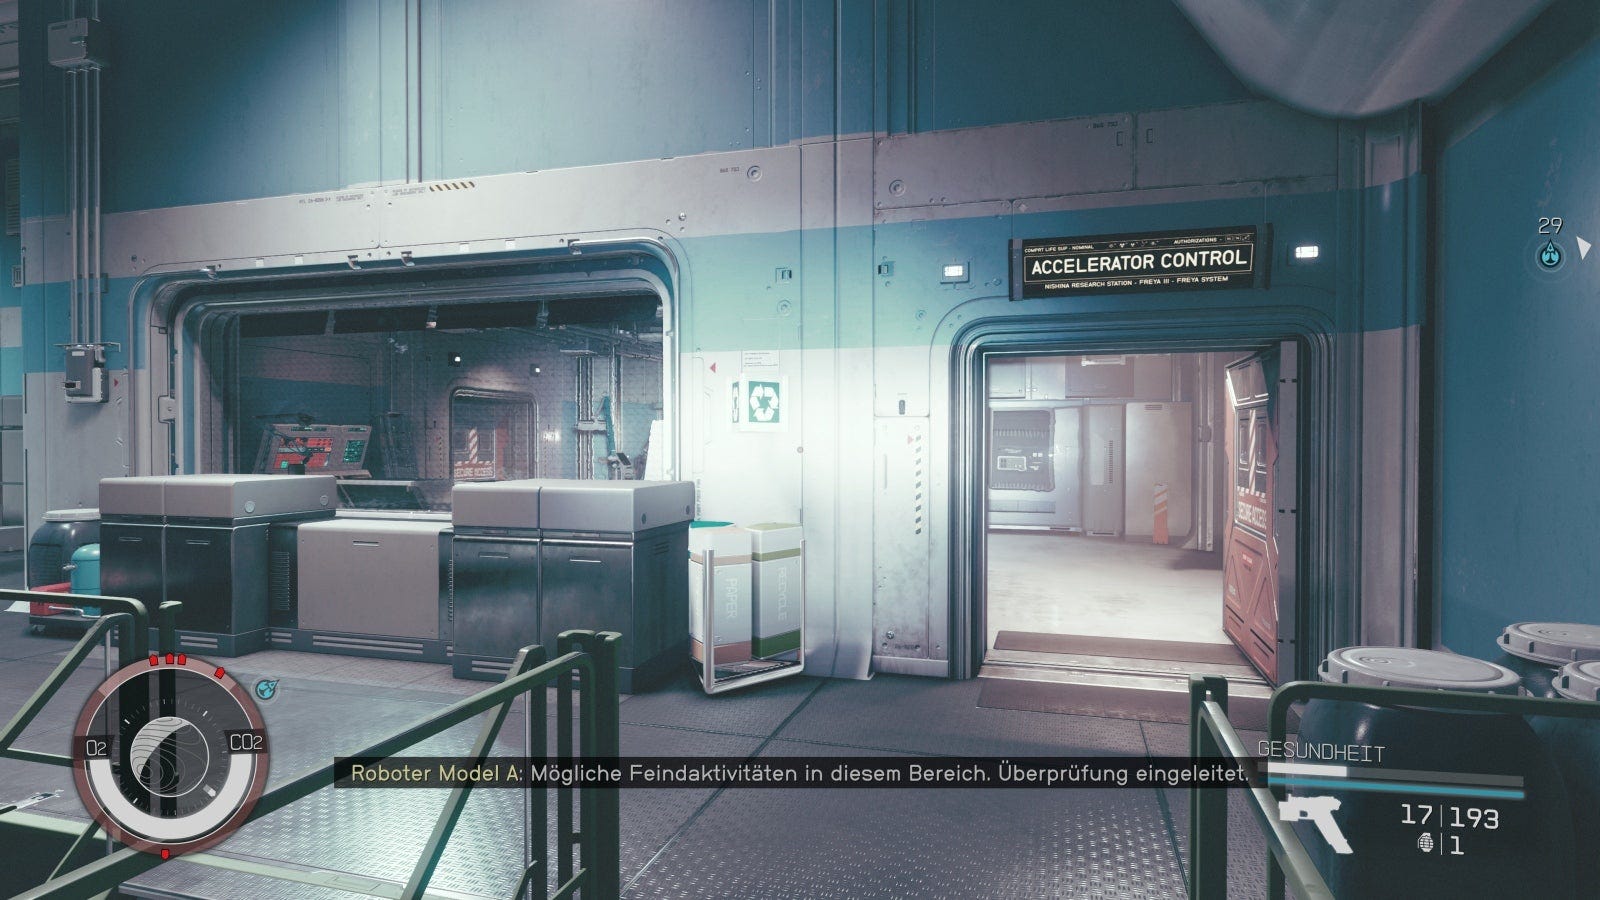
A few sentry robots are making their way out, so watch out and take them down one by one. Inside, take out the overhead turret, then check out the Accelerator Control Room Computer.
Use this to bypass the accelerator area lockdown and we've finally achieved our goal. The next starts.
Reach the lab
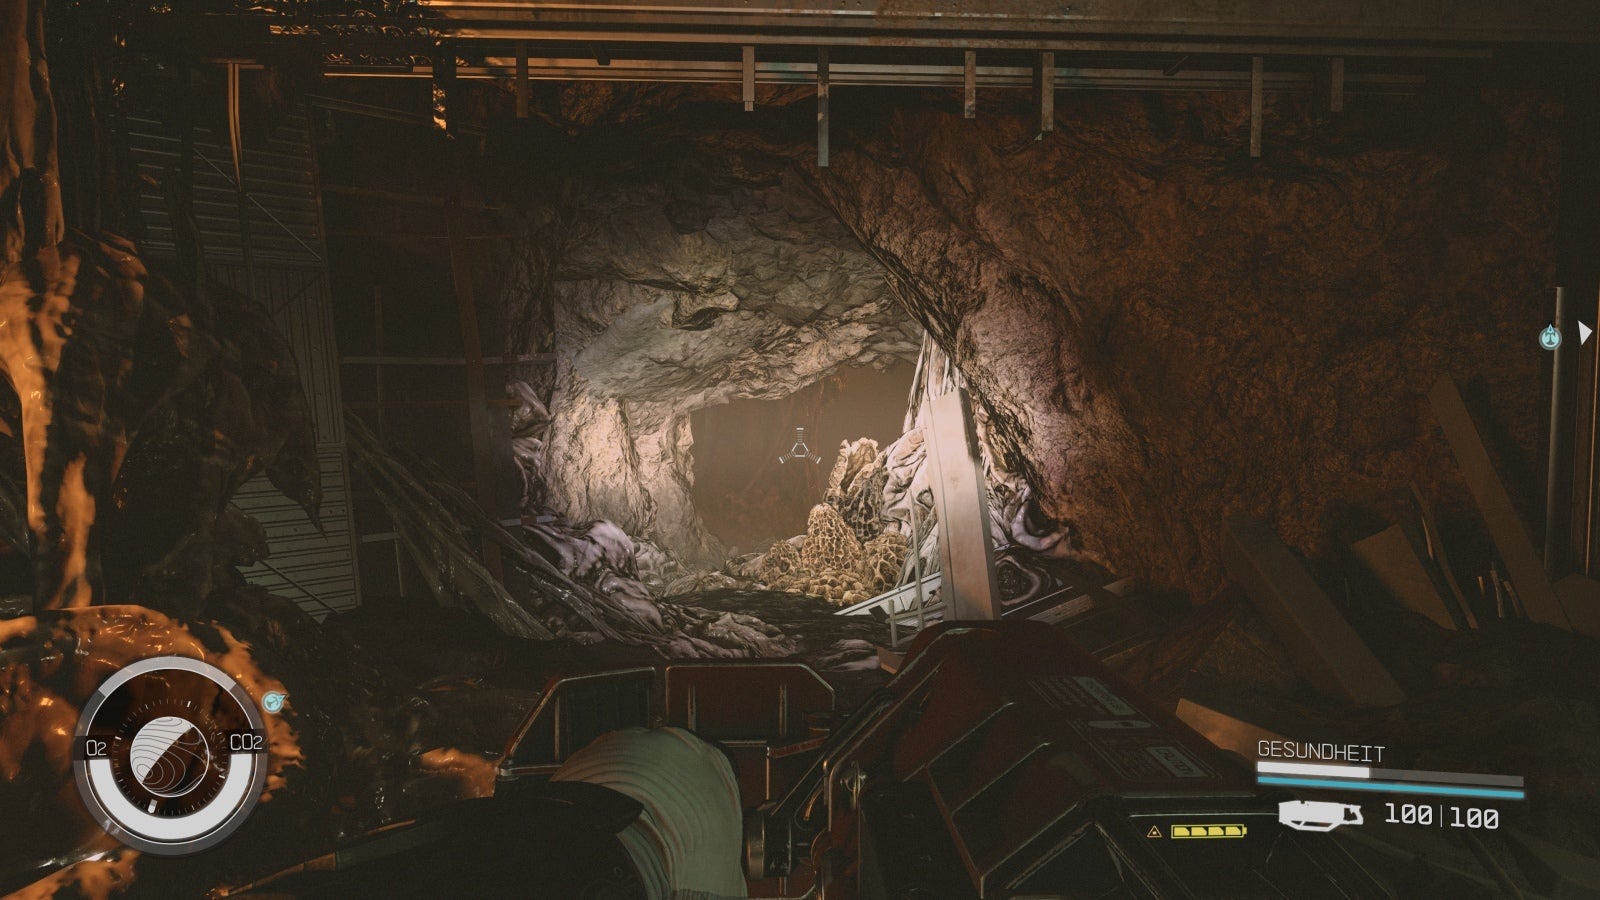
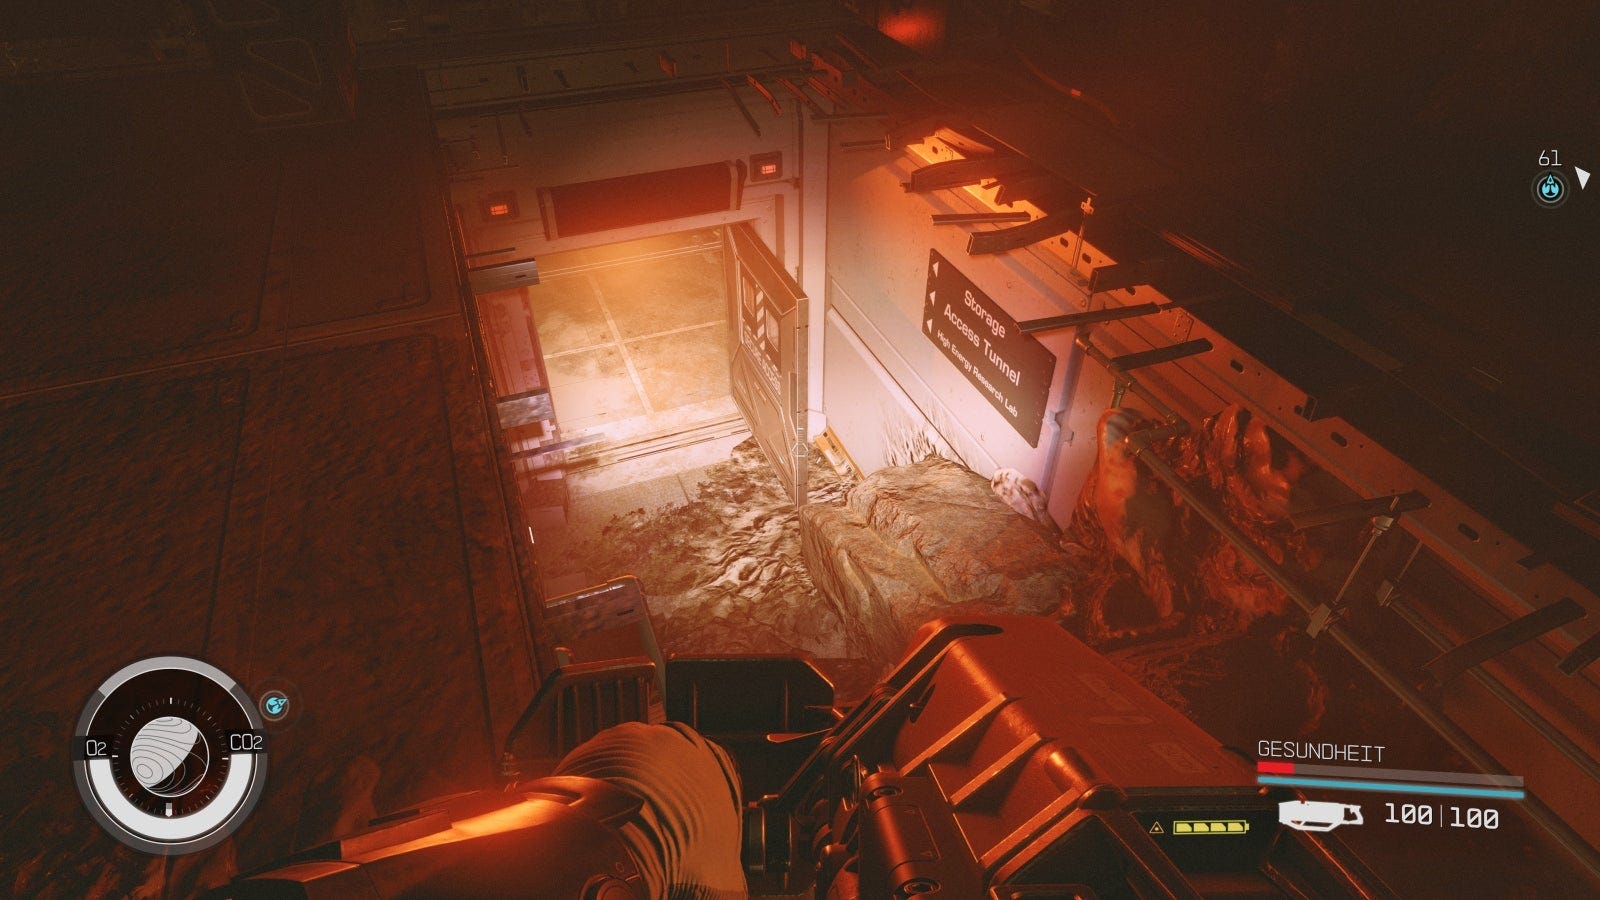
Go back into the hall and follow the finish lines down in LB scan mode, then through the door towards the 'Access Tunnel'. There you activate the distortion.
Then you can enter a cave system on the right side:
Follow the tunnel and take out the Cataxi that get in your way. At the end you should be able to see a small rock bridge running above you:
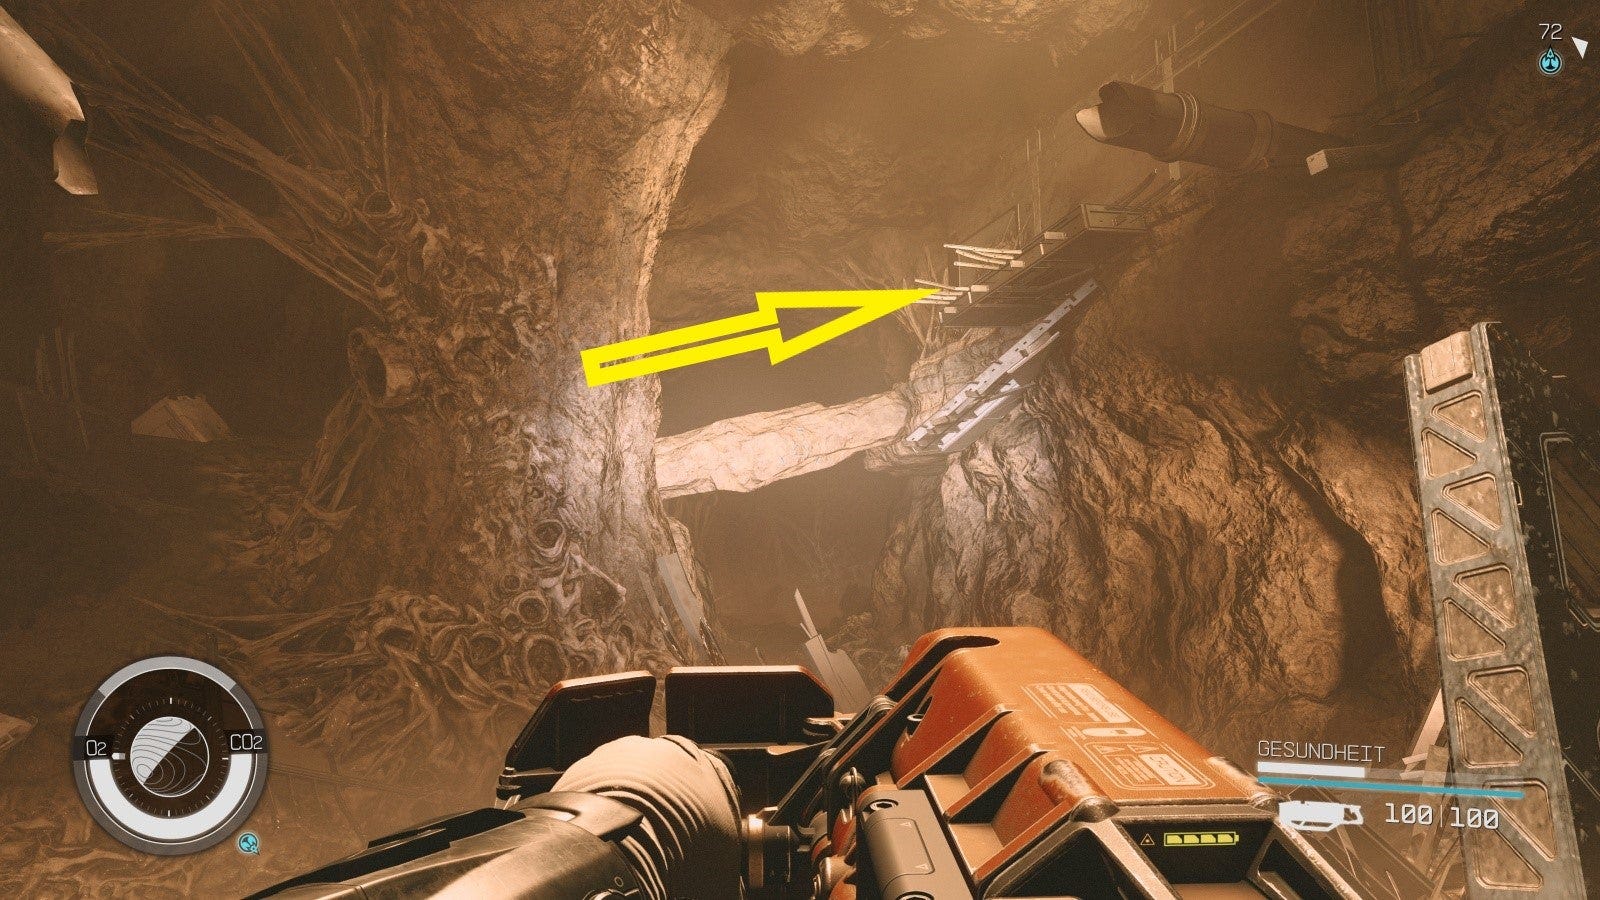
Cross them and use the next distortion on the right. You are back in a lab. Go through the door and down the hall on the left (towards 'High Energy Research Lab').
At the end of the corridor turn left into room number 10. Take out the woken robots and turrets before proceeding to the research lab computer.
Disable the alarm, then slip through the distortion in the room. Continue into the adjacent cave with the Cataxi and up there to this passage:
Clear the room below and at the end run through the door on the right into a small control room with a distortion. Activate it and you will get a new objective.
Bypass the lockdown on the storage area
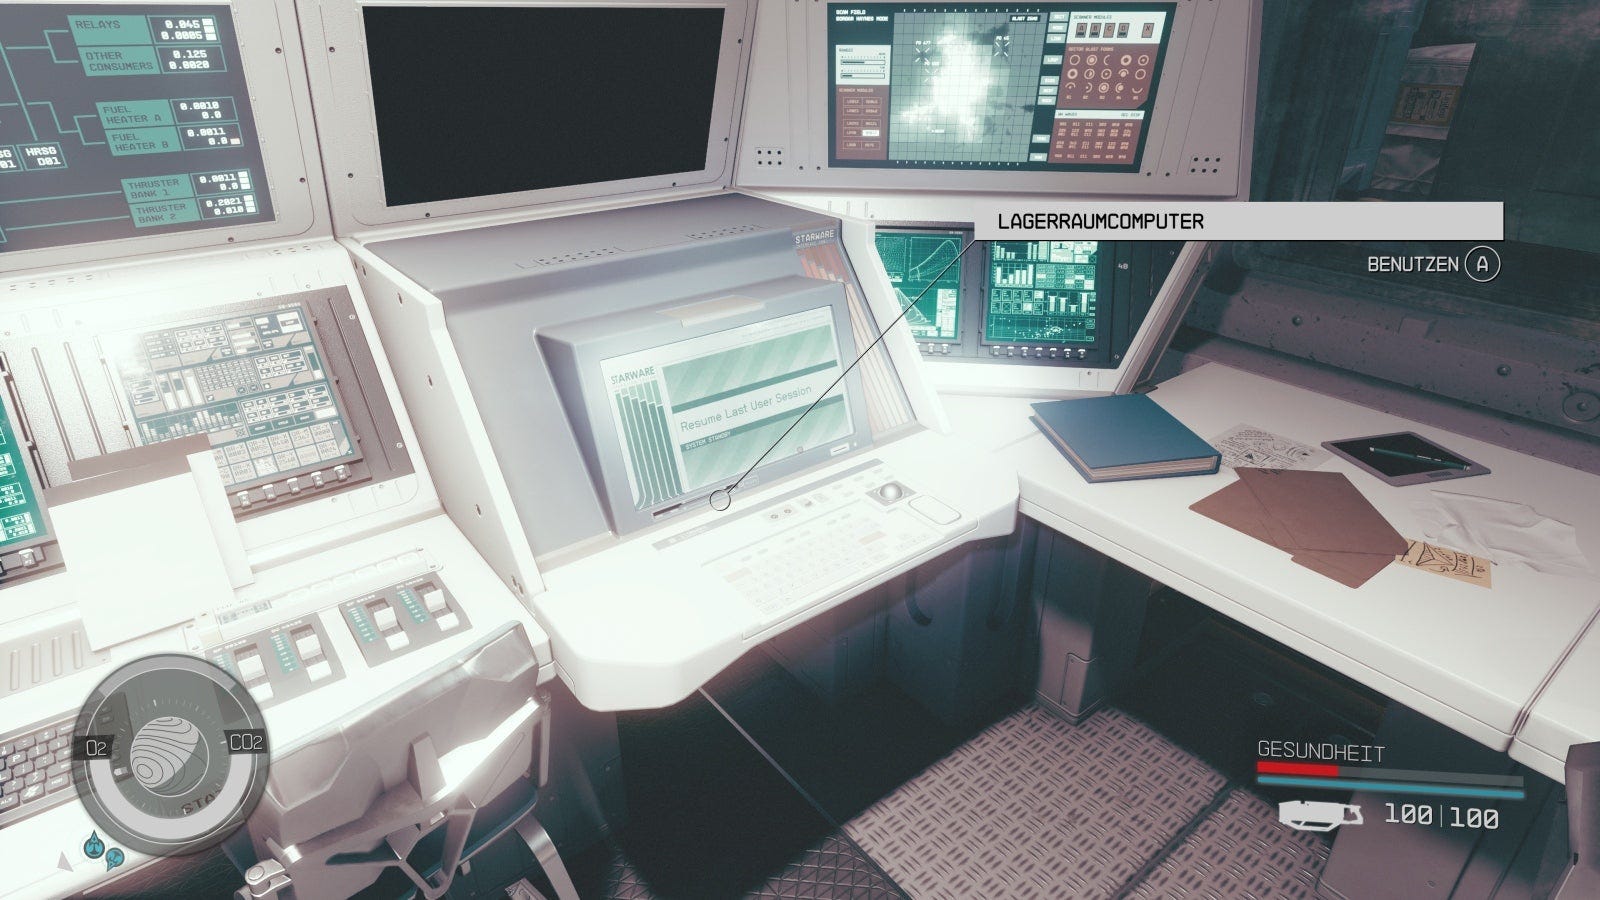
First, click on the storage room computer and bypass the lockdown as required by the new objective. With that, we might as well cross it off the list.
The overarching goal 'Reach the lab' comes back into effect.
Reach the lab
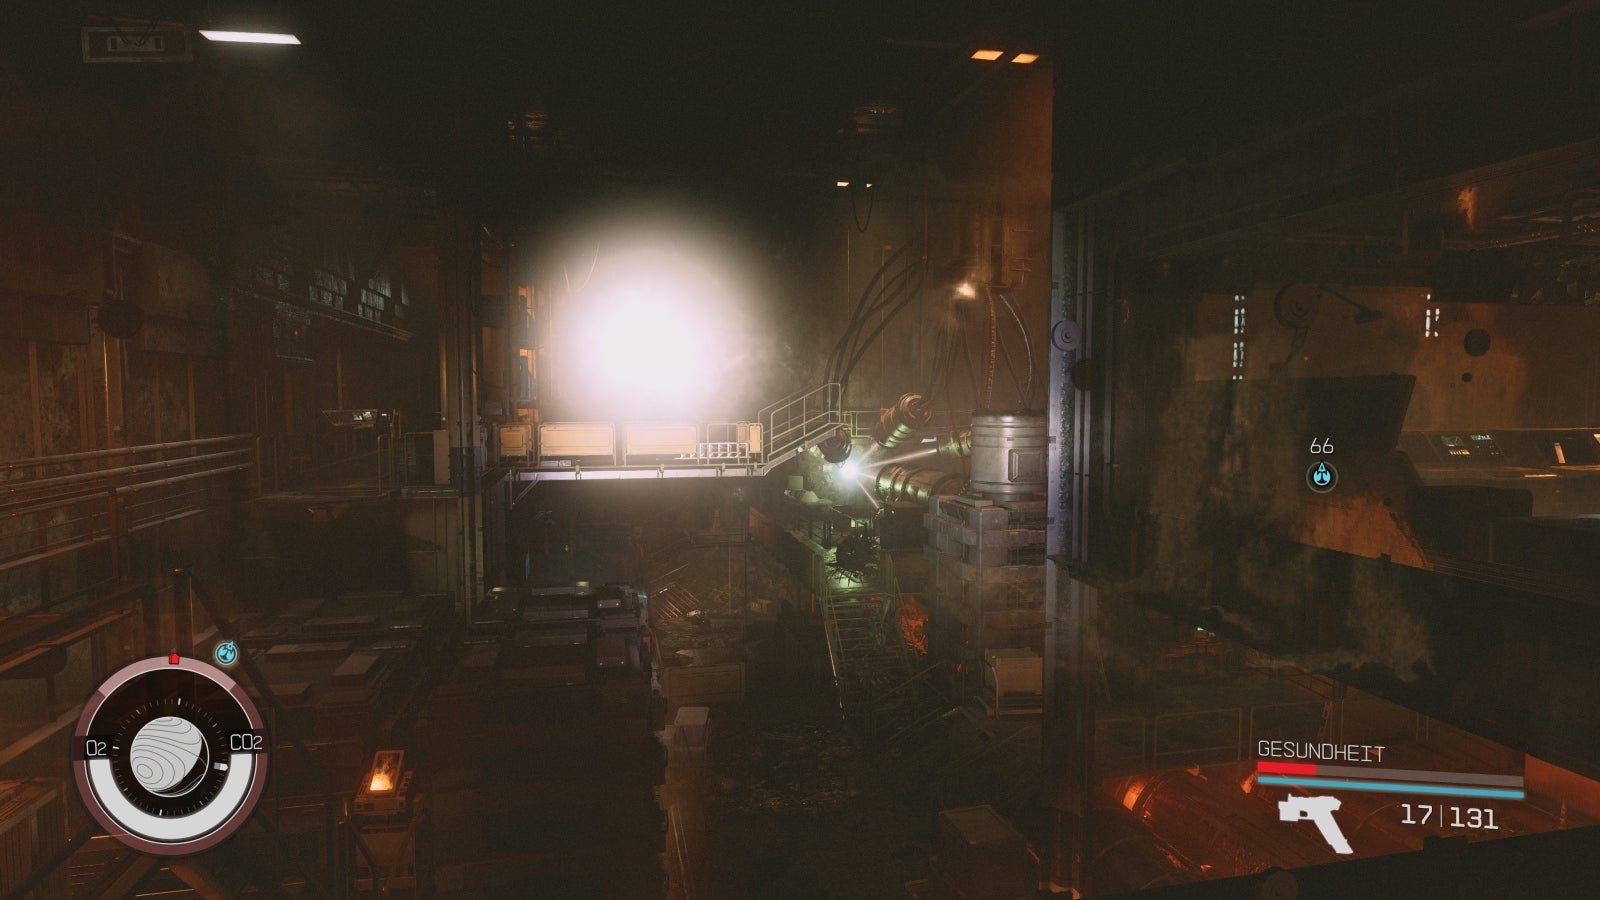
After the red door has opened, it goes into the adjoining room and there the robots on the collar. Behind the gun, walk up the incline with the sign 'High Energy Research Lab' to the right.
Use the distortion next to the stairs and hike up through two more 'Emergency' doors. You finally get to this room, the laboratory you are looking for:
Disable the lock switches or switch universes
In both universes you can find and disable seven lock switches (making a total of 14). You only have to flip these switches in one universe and then you can maintain that exact timeline. Deciding which timeline you turn off the seven switches in will affect the end of the quest and who survives (Rafael or Director Patel).
The lock switches are in the same spots no matter which universe you choose. Only the opponents who want to stop you are different. In one timeline they are robots, in the other Cataxi.
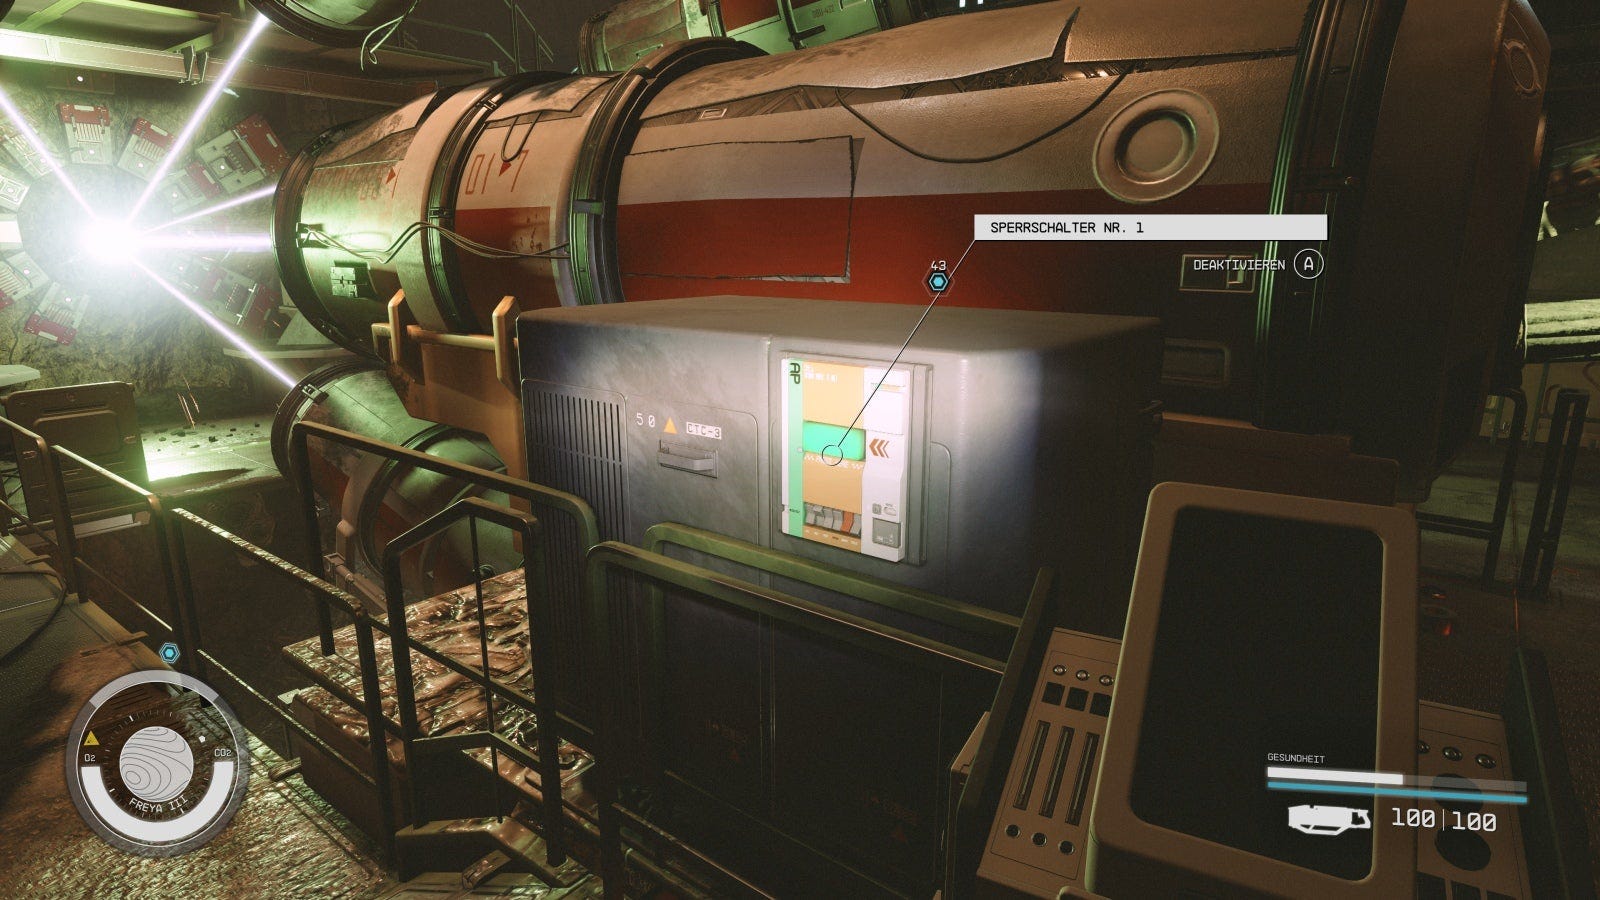
Either way, we need to find the lockout switches. Here are the locations:
Lockout Switch #1 - Right next to the laser we want to turn off:
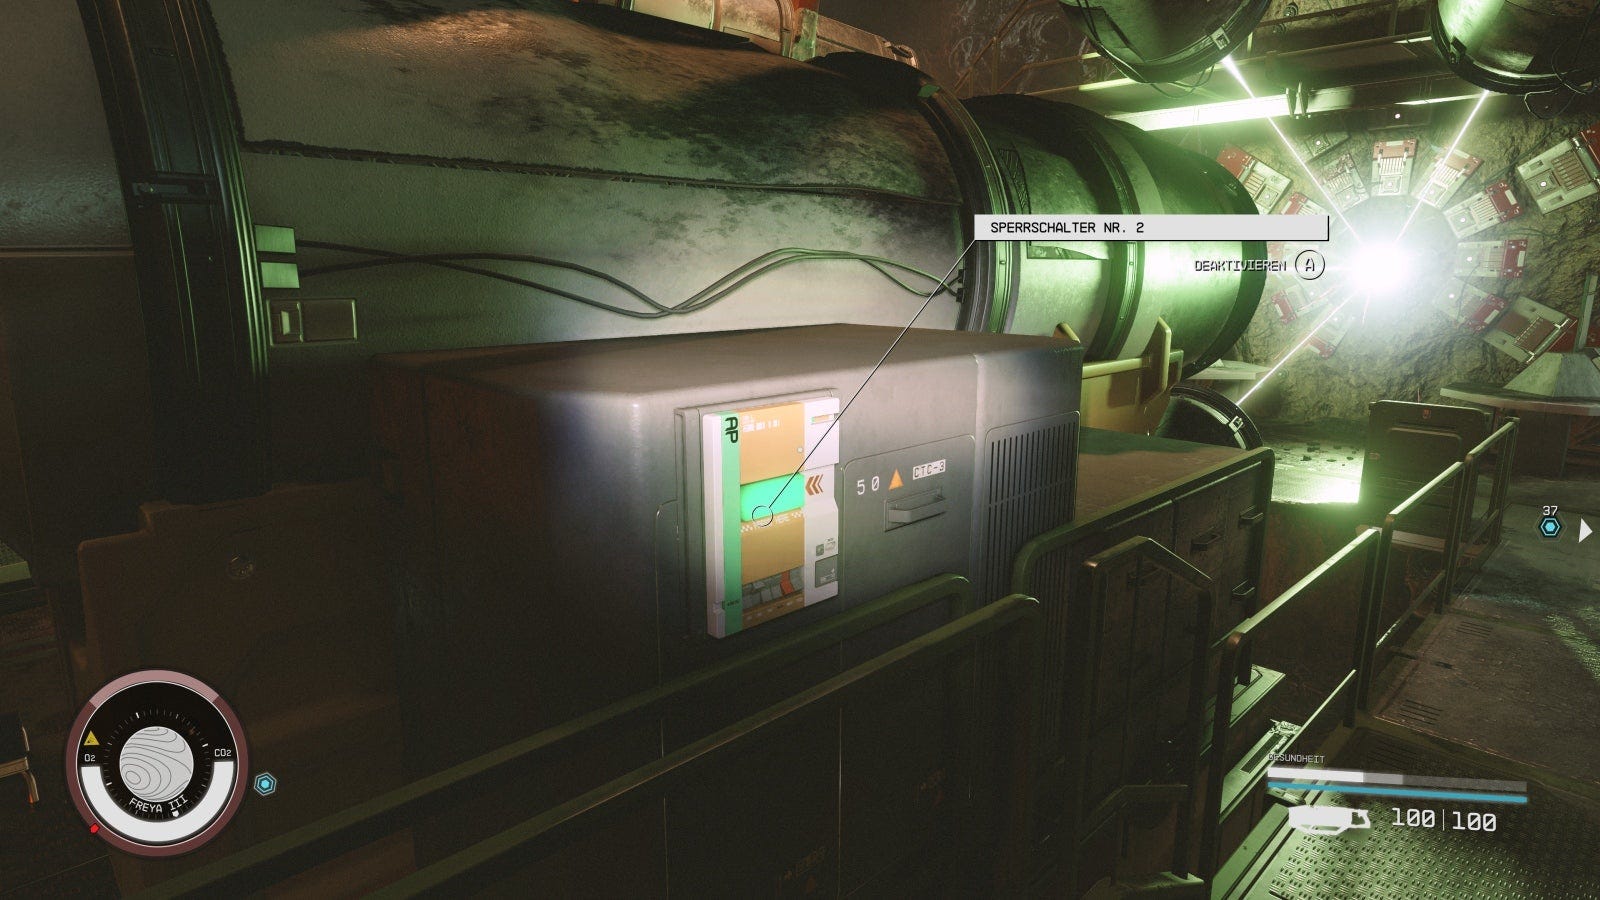
Lockout Switch #2 - Right next to the laser we want to turn off (opposite side):
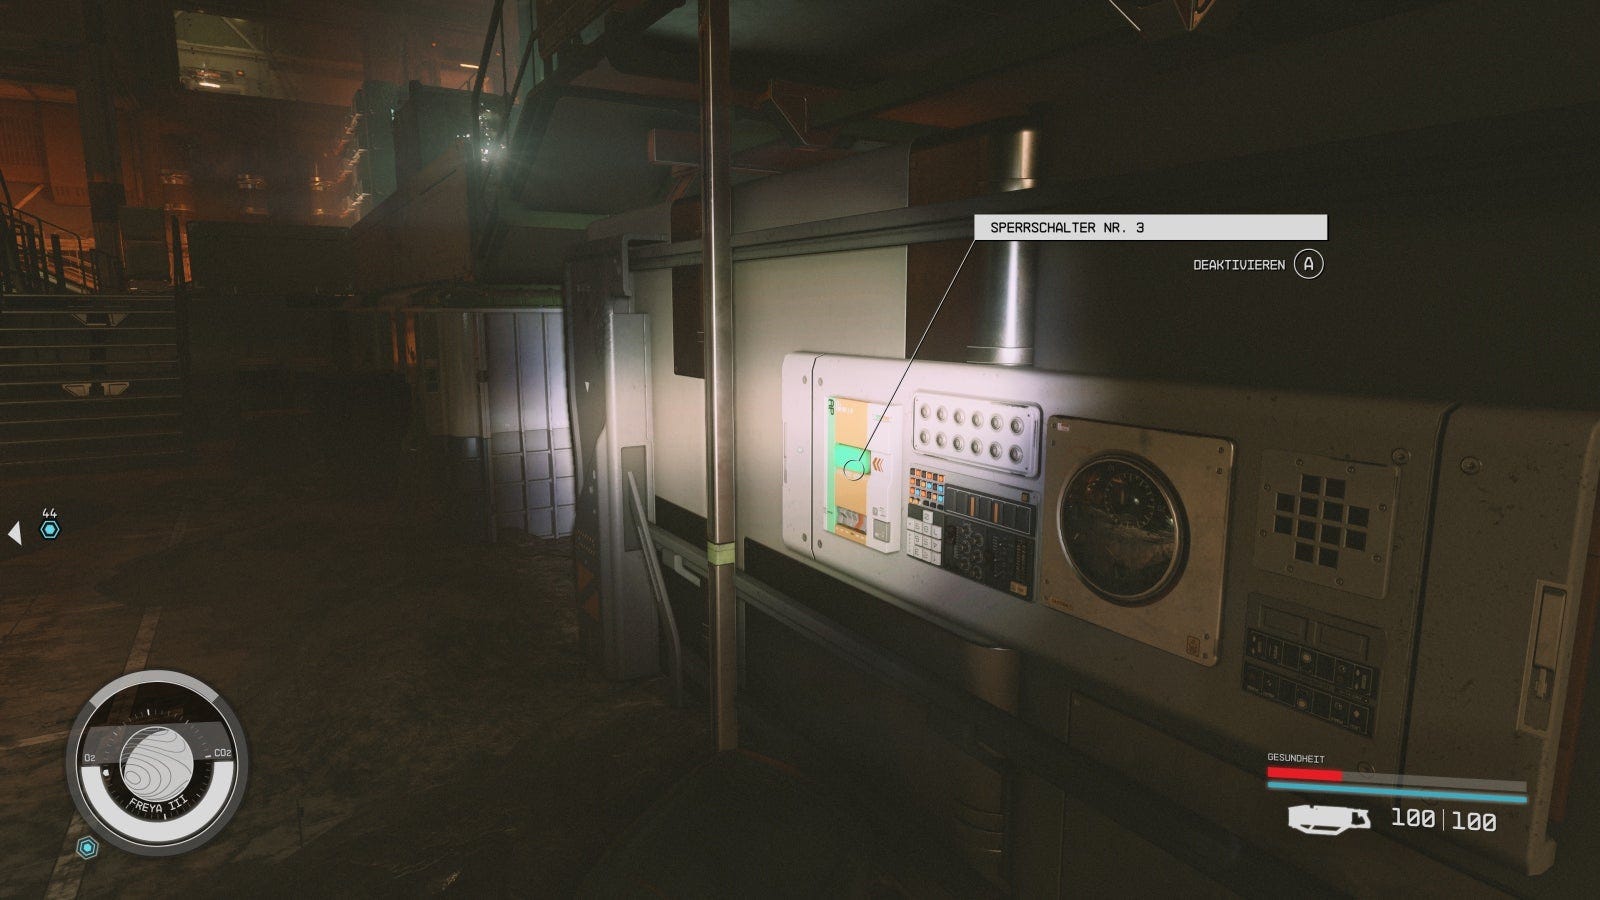
Lockout Switch #3 - Diagonally below the laser, accessible via the stairs next to it:
Lockout Switch #4 - Diagonally below the laser, accessible via the stairs next to it (opposite side):

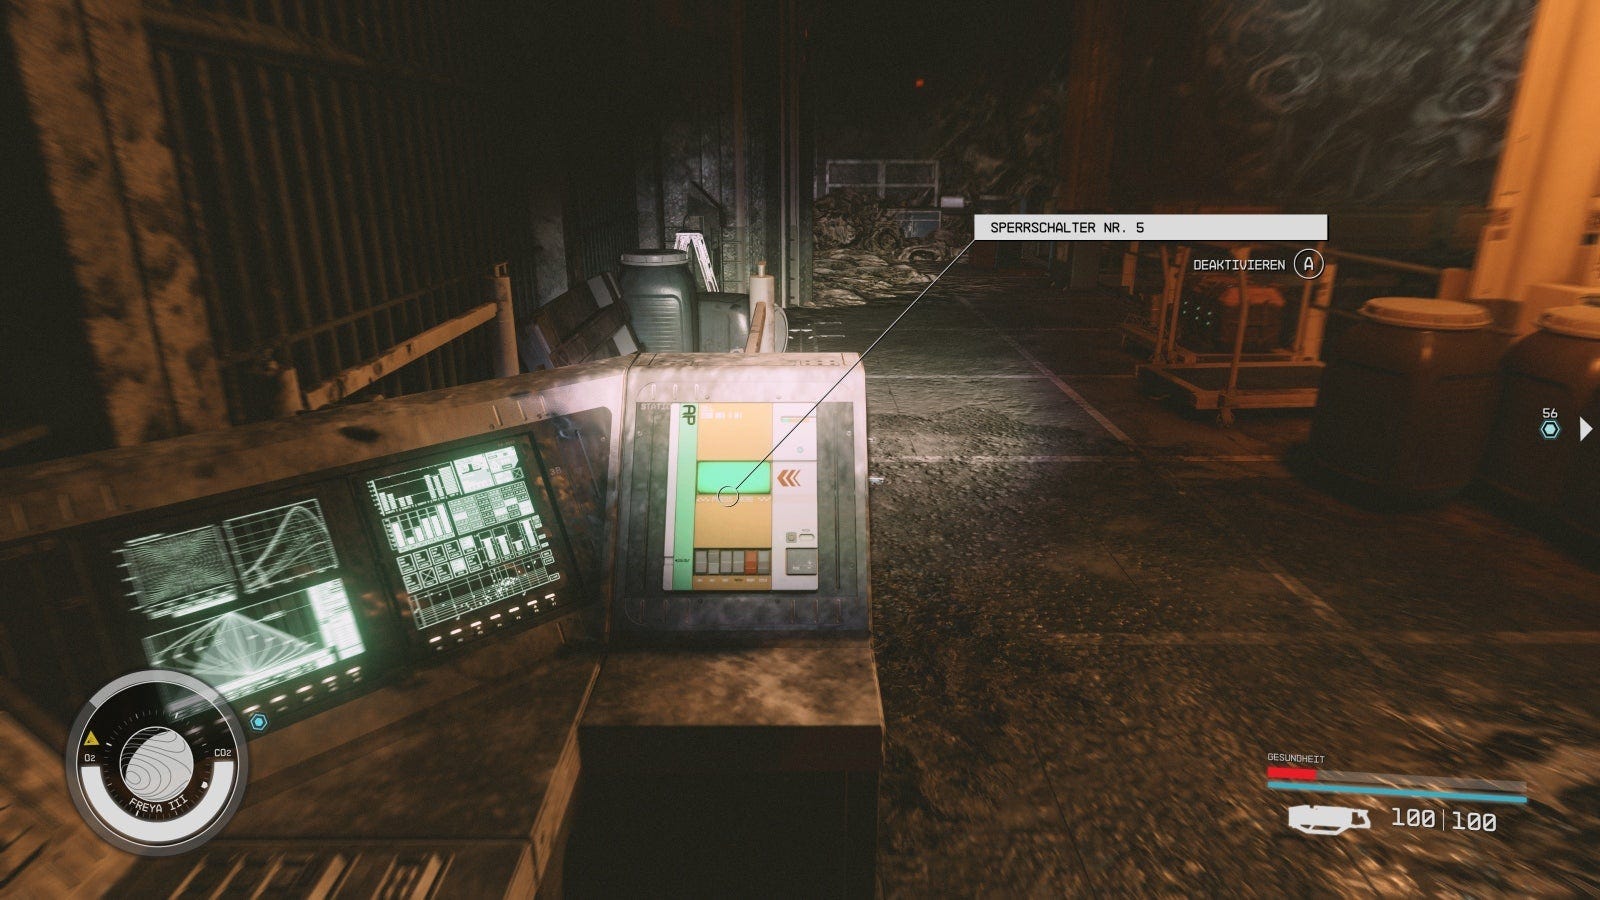
Lockout Switch #5 - On the top level to the left of the laser:
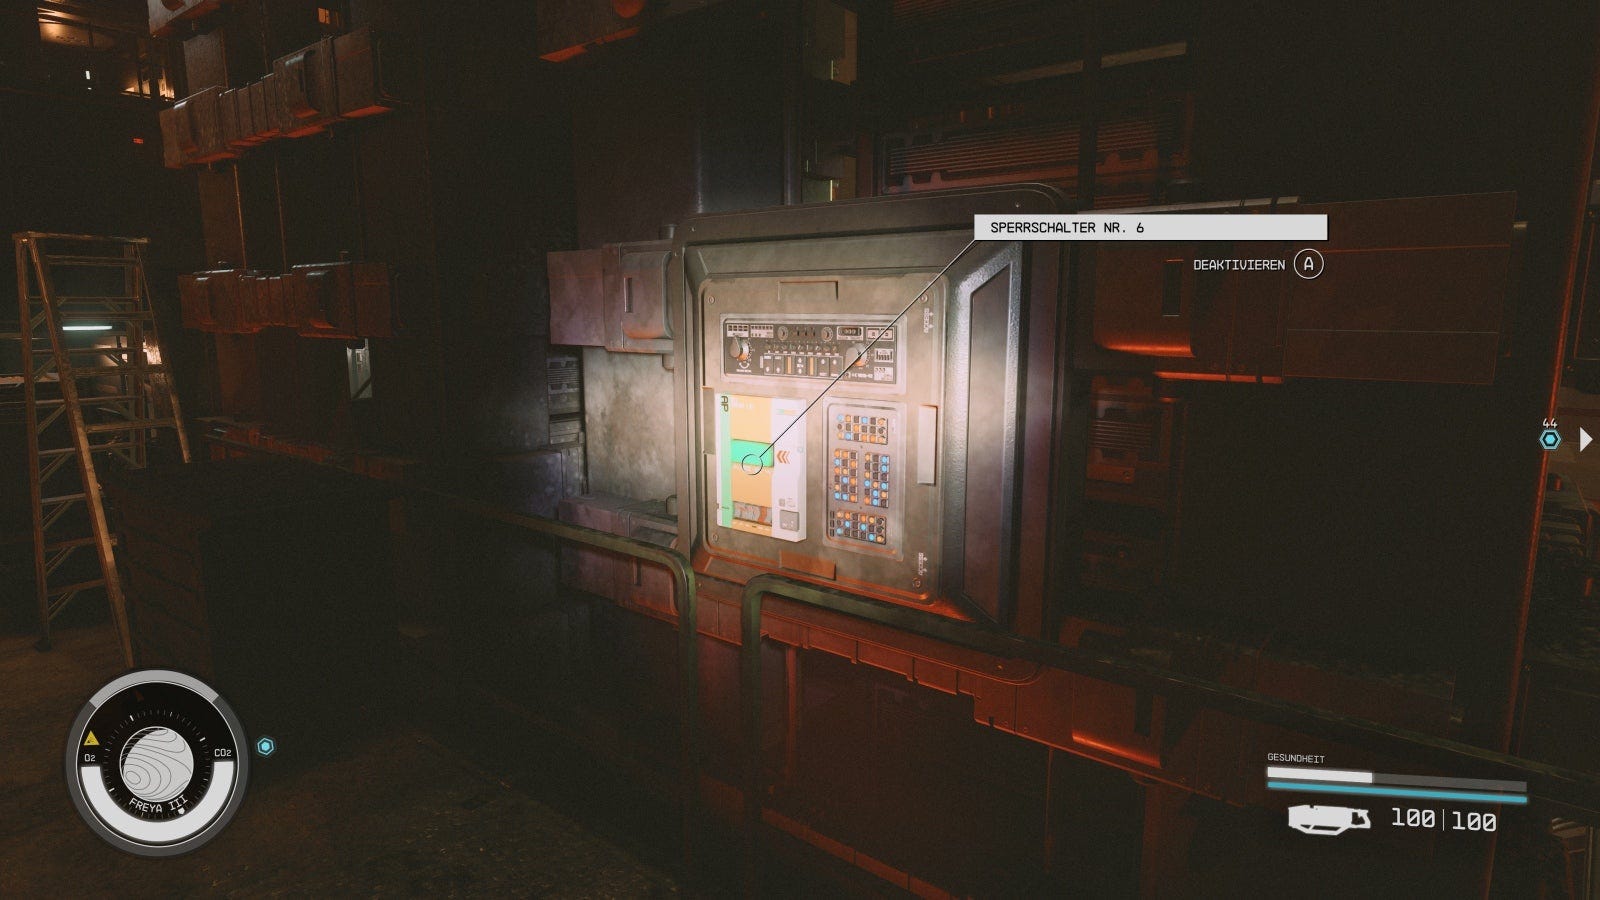
Lockout Switch #6 - On the fixture behind the laser:
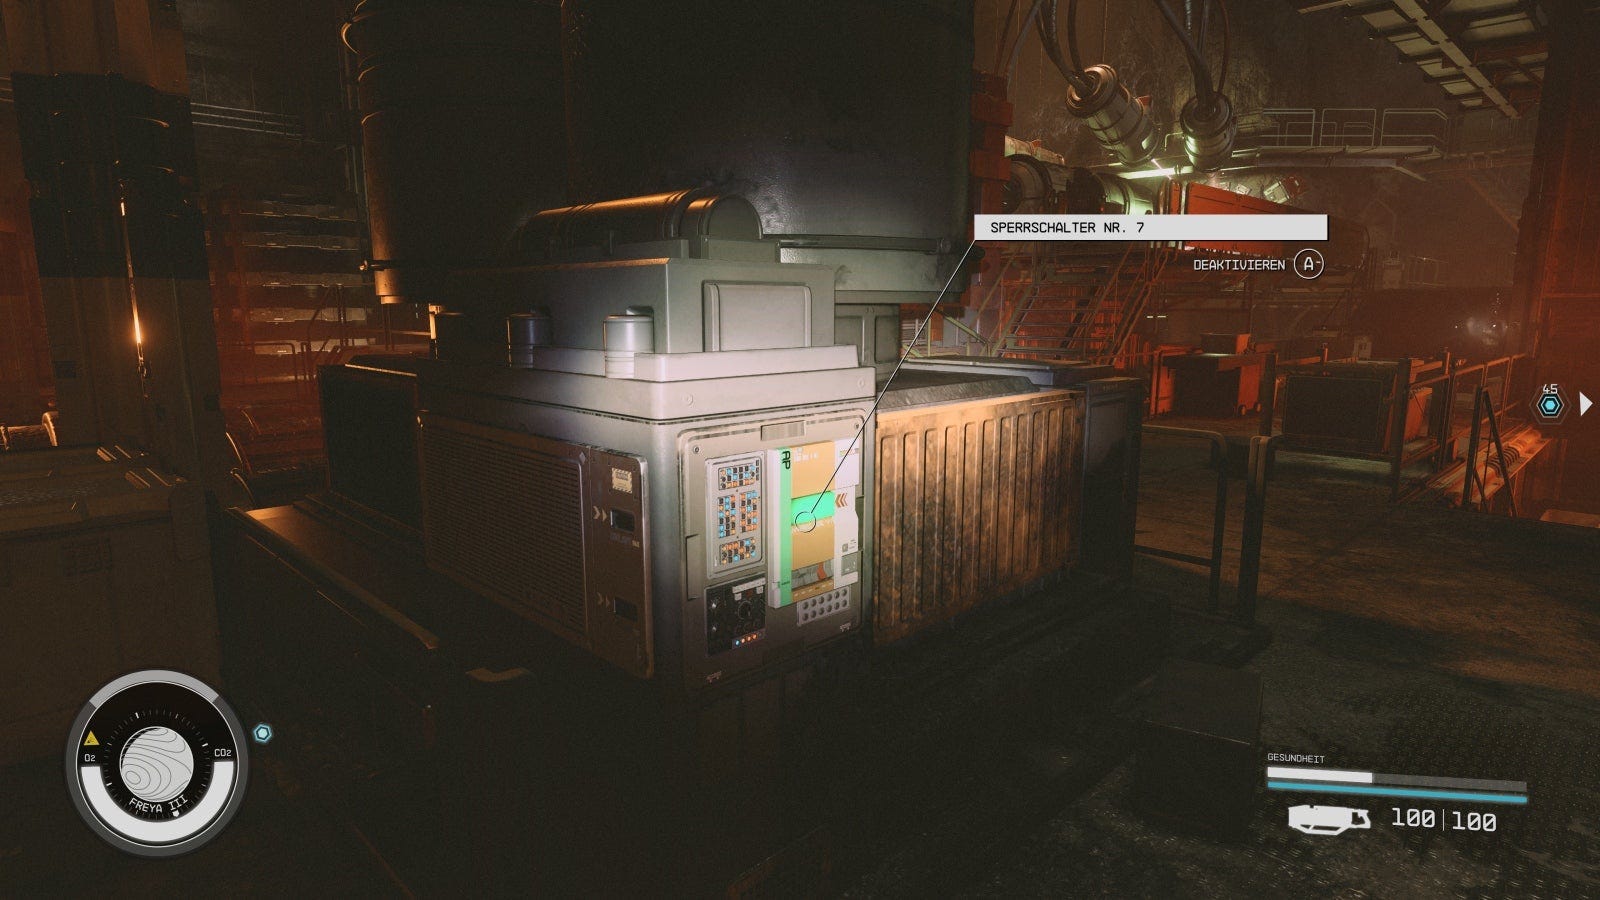
Lockout Switch #7 - In the back area next to the stairs leading to the control room:
Turn off the probe
The next goal is quickly fulfilled. Go down to the Probe and right next to it you can operate the Emergency Shutdown Control:

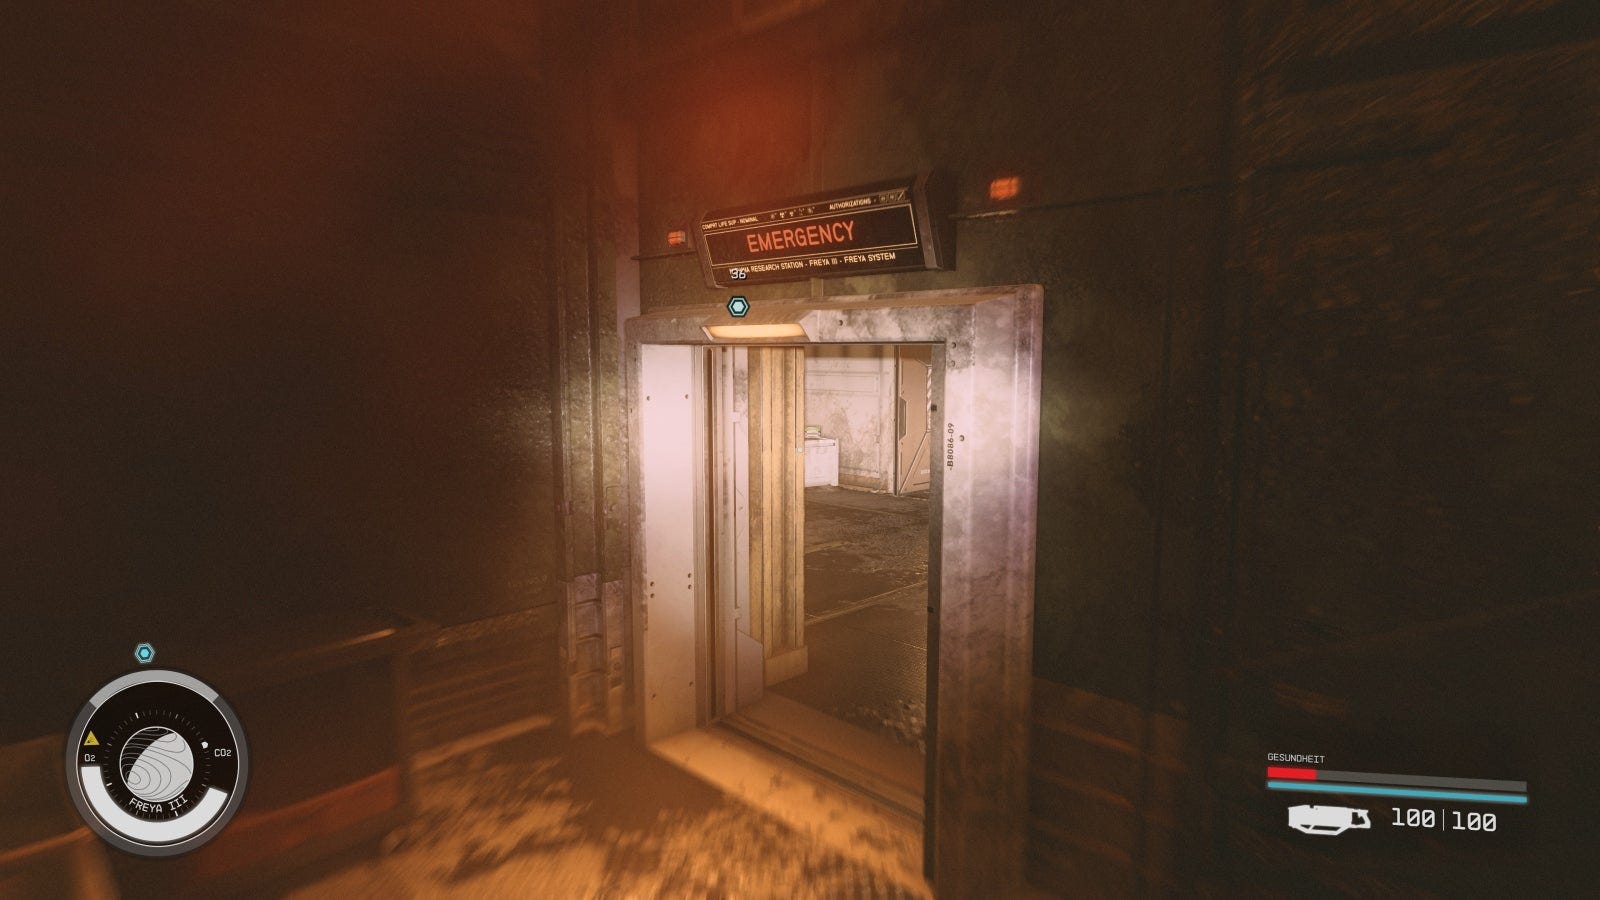
This deactivates the apparatus and you can receive the Artifact Lambda after what feels like an eternity. Exit the lab on the lower level through the (now open) security door:
You will get to an elevator that will take you back to the Nishina Research Station. Speak to Rafael or Director Patel there and you will receive 9000 or 11,800 credits respectively and some items as a reward. Rafael also joins in as well.
Exit the building and this long quest is finally complete.
Now is a good time to continue to the time-sensitive Missed Beyond Measure quest.
Back to the table of contents: Starfield walkthrough