Starfield Eye of the Storm walkthrough and choice consequences
Including how to install the Comspike.

Eye of the Storm is the penultimate mission of the Crimson Fleet questline in Starfield where you make a huge choice at the end that shapes what happens during the last mission.
Our Eye of the Storm walkthrough for Starfield goes over these choice consequences to help you decide who to side with, and we've also detailed how to install the Comspike, and how to locate the Vault Control Center while you're on the Legacy before making the big decision.
For help during this questline we've pages on Burden of Proof evidence locations and the Crimson Fleet quest list and rewards.
On this page:

If you'd like more help in your galactic adventures, visit our Starfield guides, tips and tricks page.
How to install Comspike and Conduction Grid in Eye of the Storm
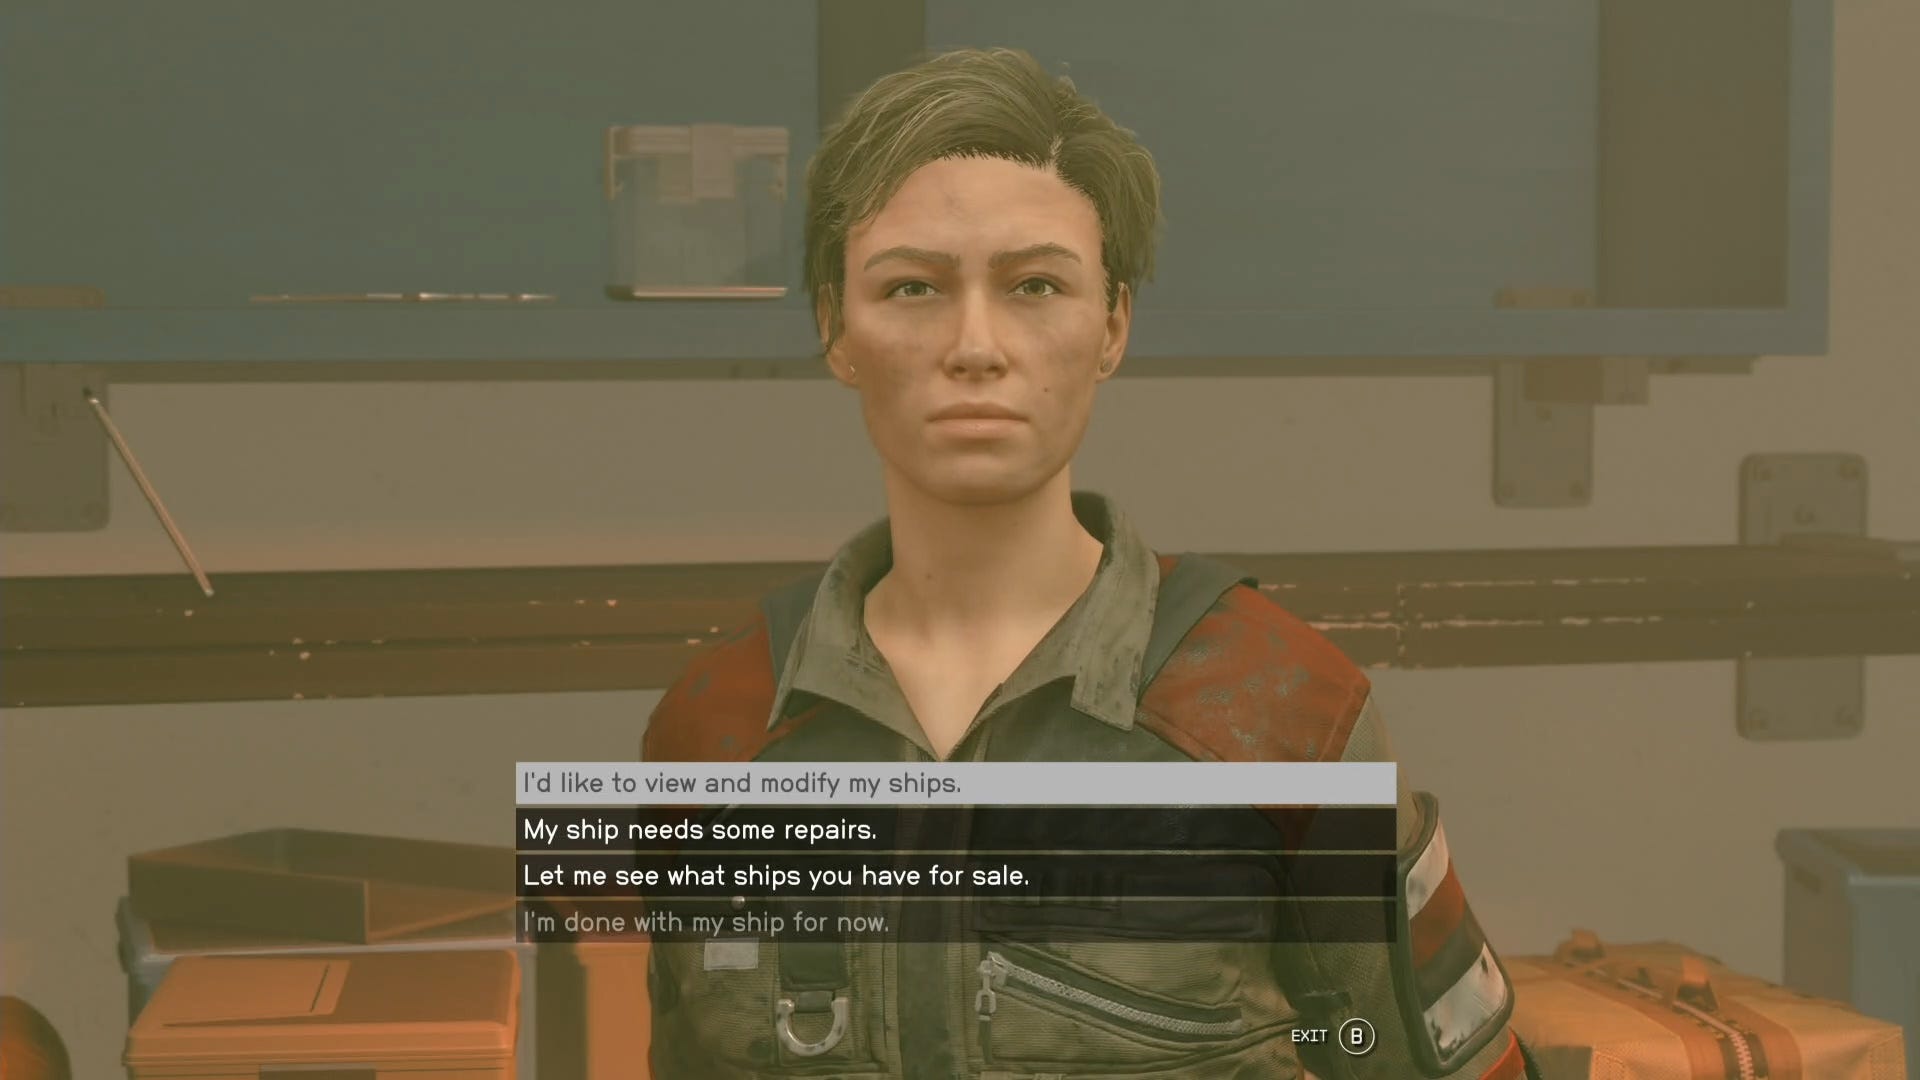
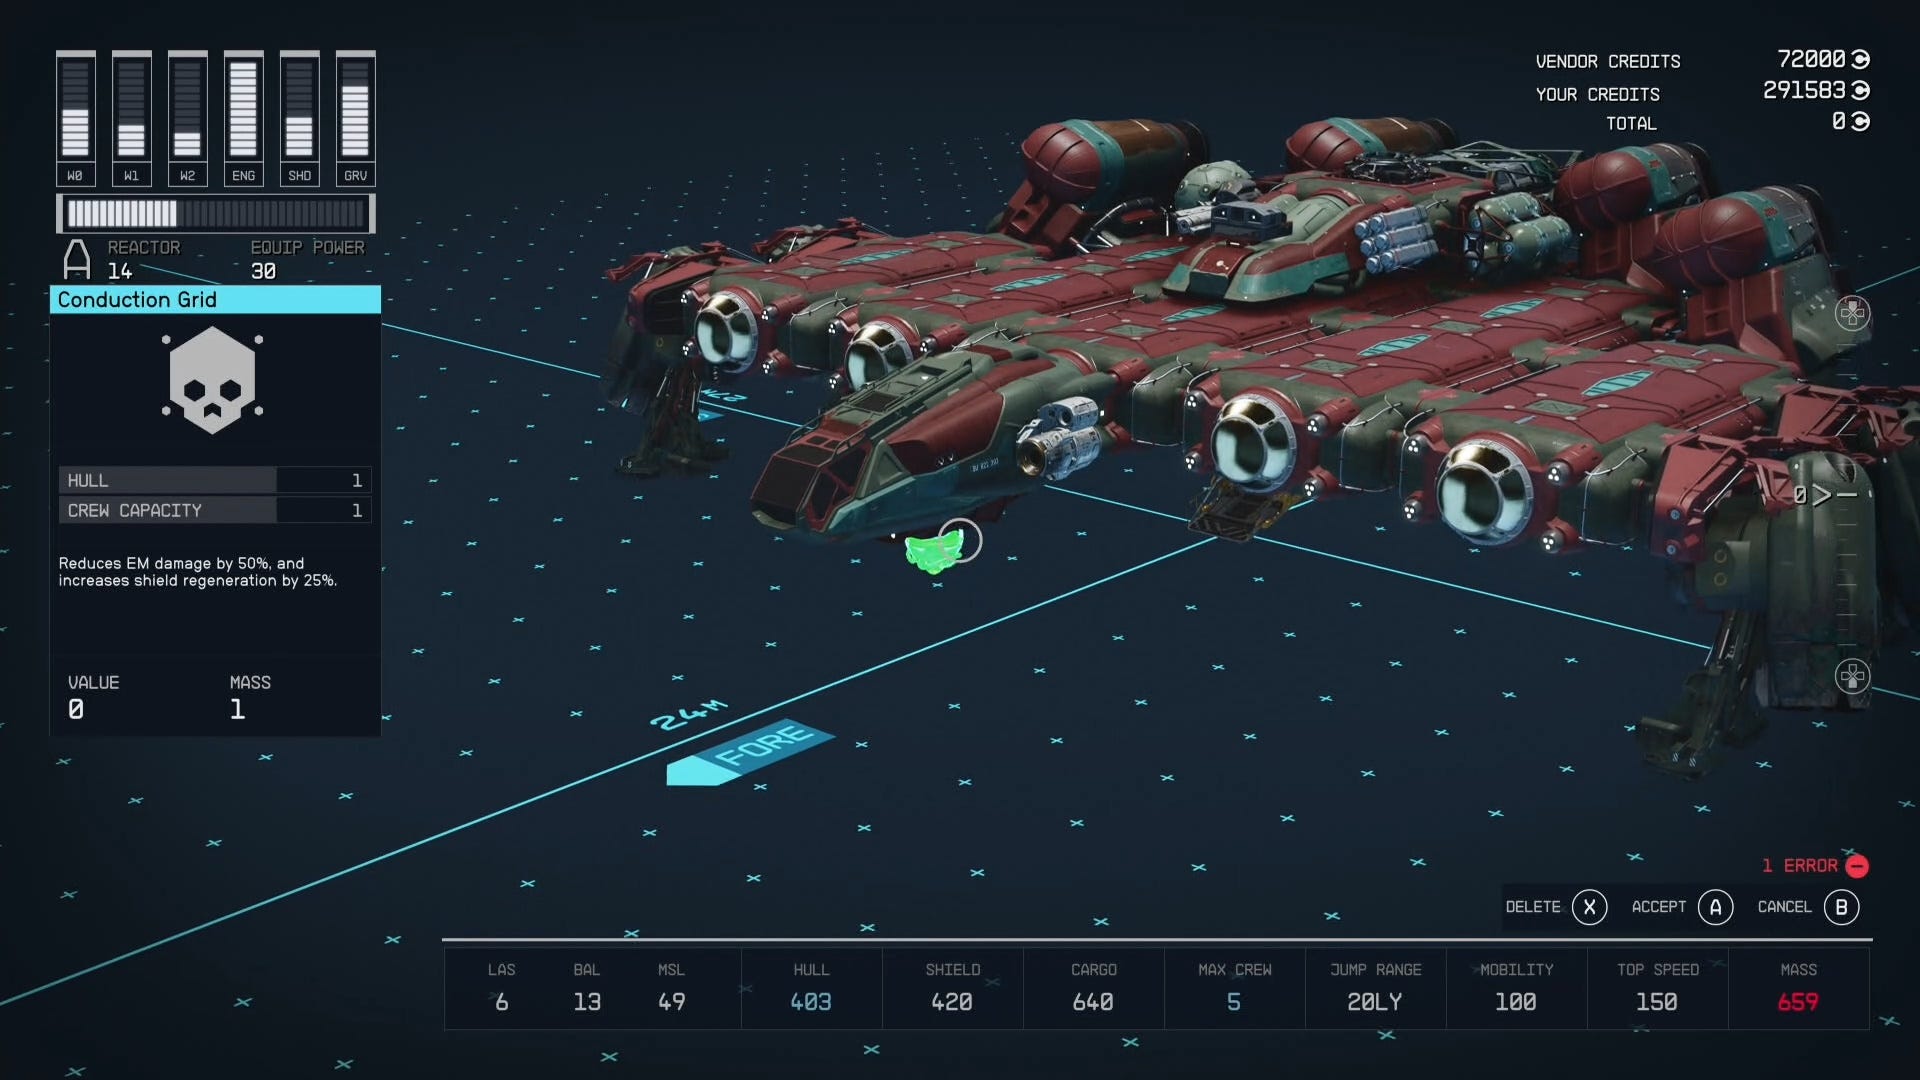
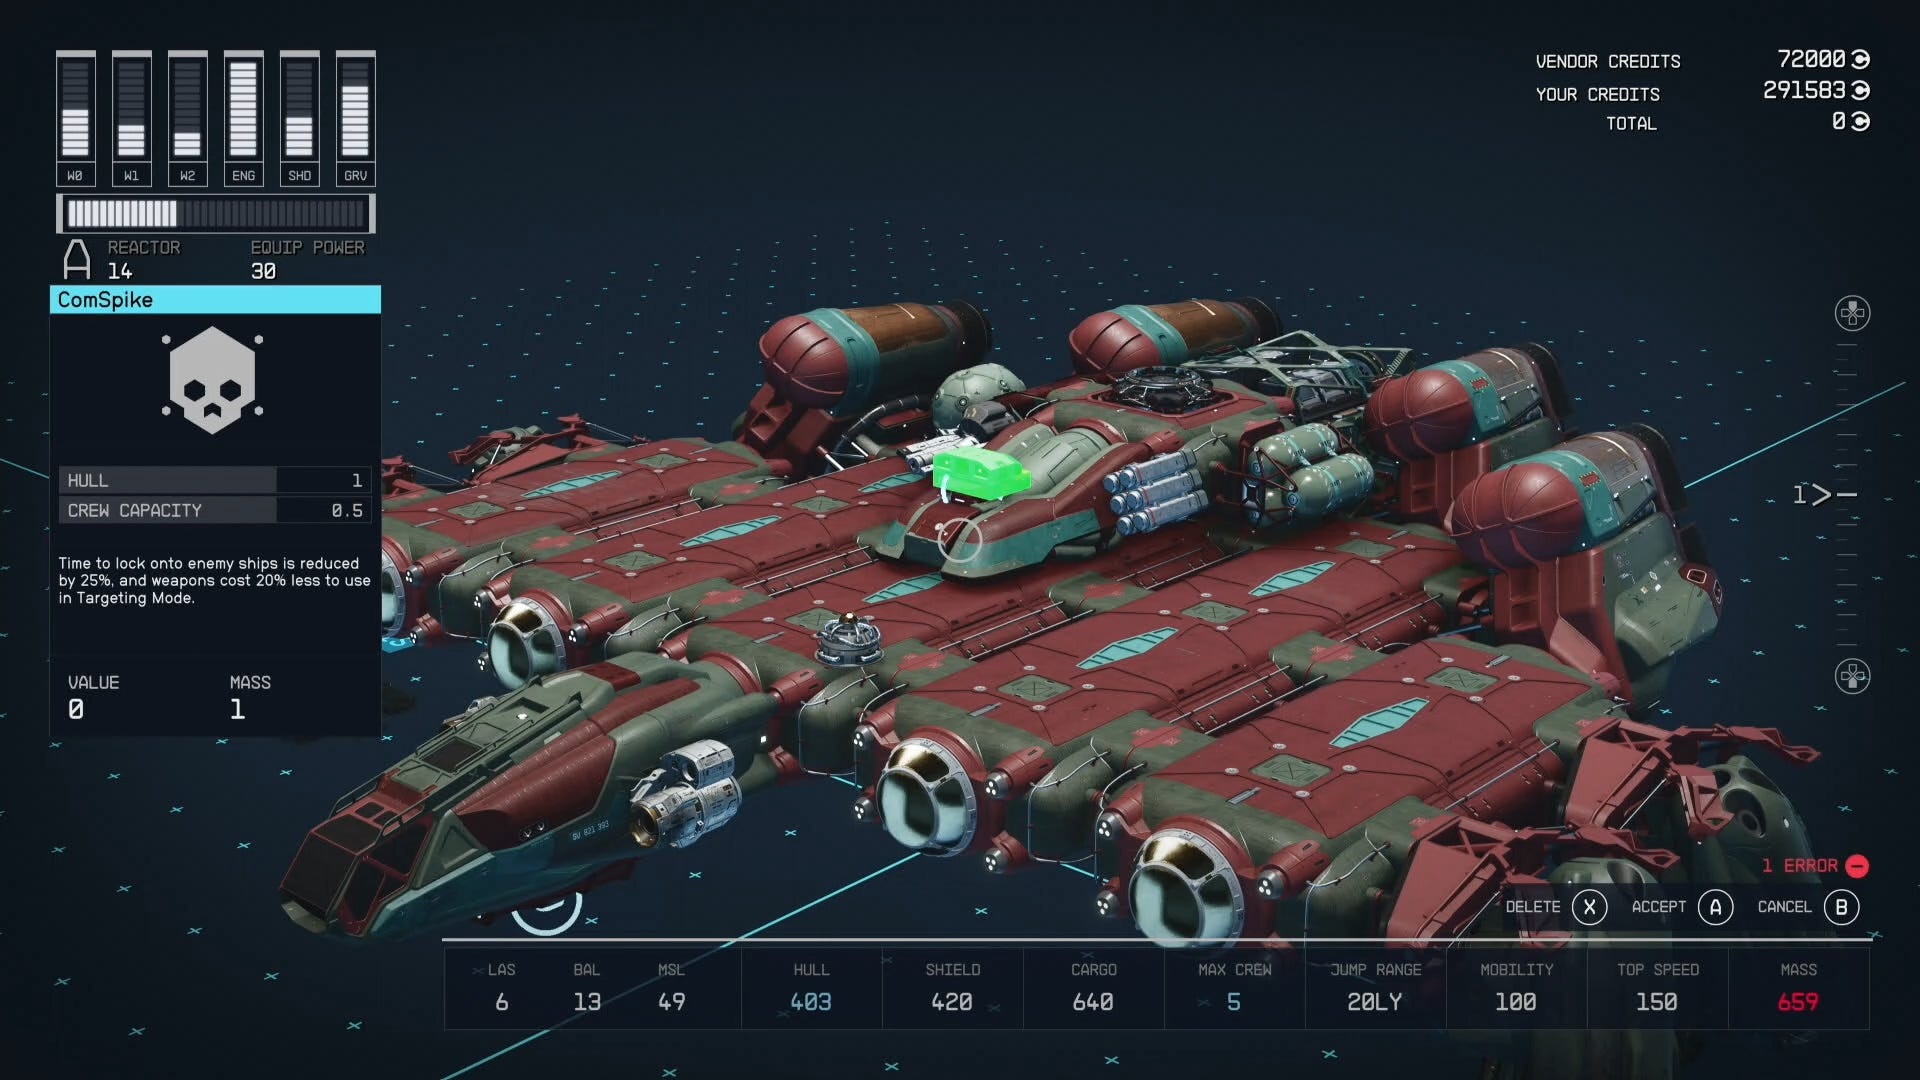
After speaking with Delgado and Jazz, strike up a conversation with Jazz again and pick the 'I'd like to view and modify my ships' option. Press the 'Add' option when not selecting a ship piece (this is 'A' on Xbox controllers), then tab over to 'Equipment' to find the Comspike and Conduction Grid modules.
Add the modules, then pick them up and slot them into one of the areas on your ship with a white bubble.
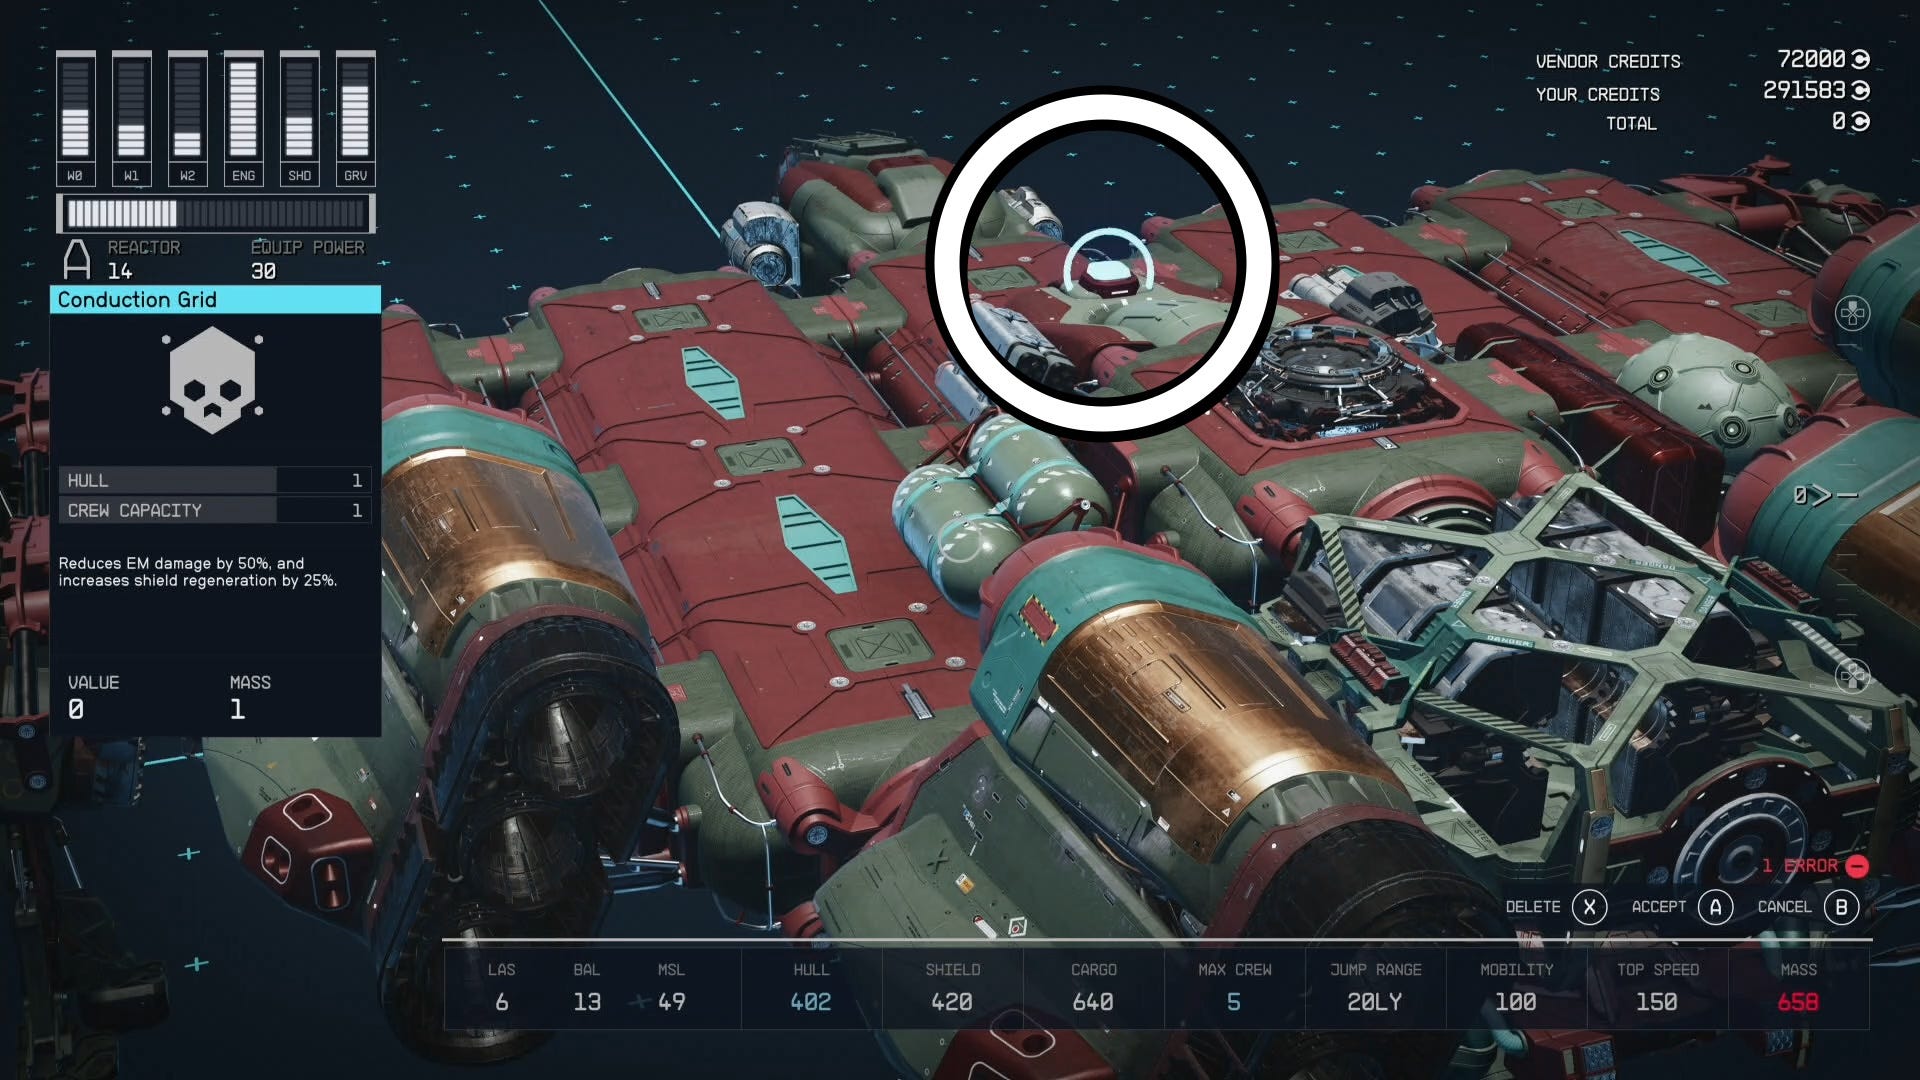
You might have to raise or lower the module (up and down on the d-pad on Xbox controllers) to get the white bubble to turn green, which tells you you're putting it in the right place. We installed our Comspike at the top of our ship and the Conduction Grid below our cockpit to get it to work.
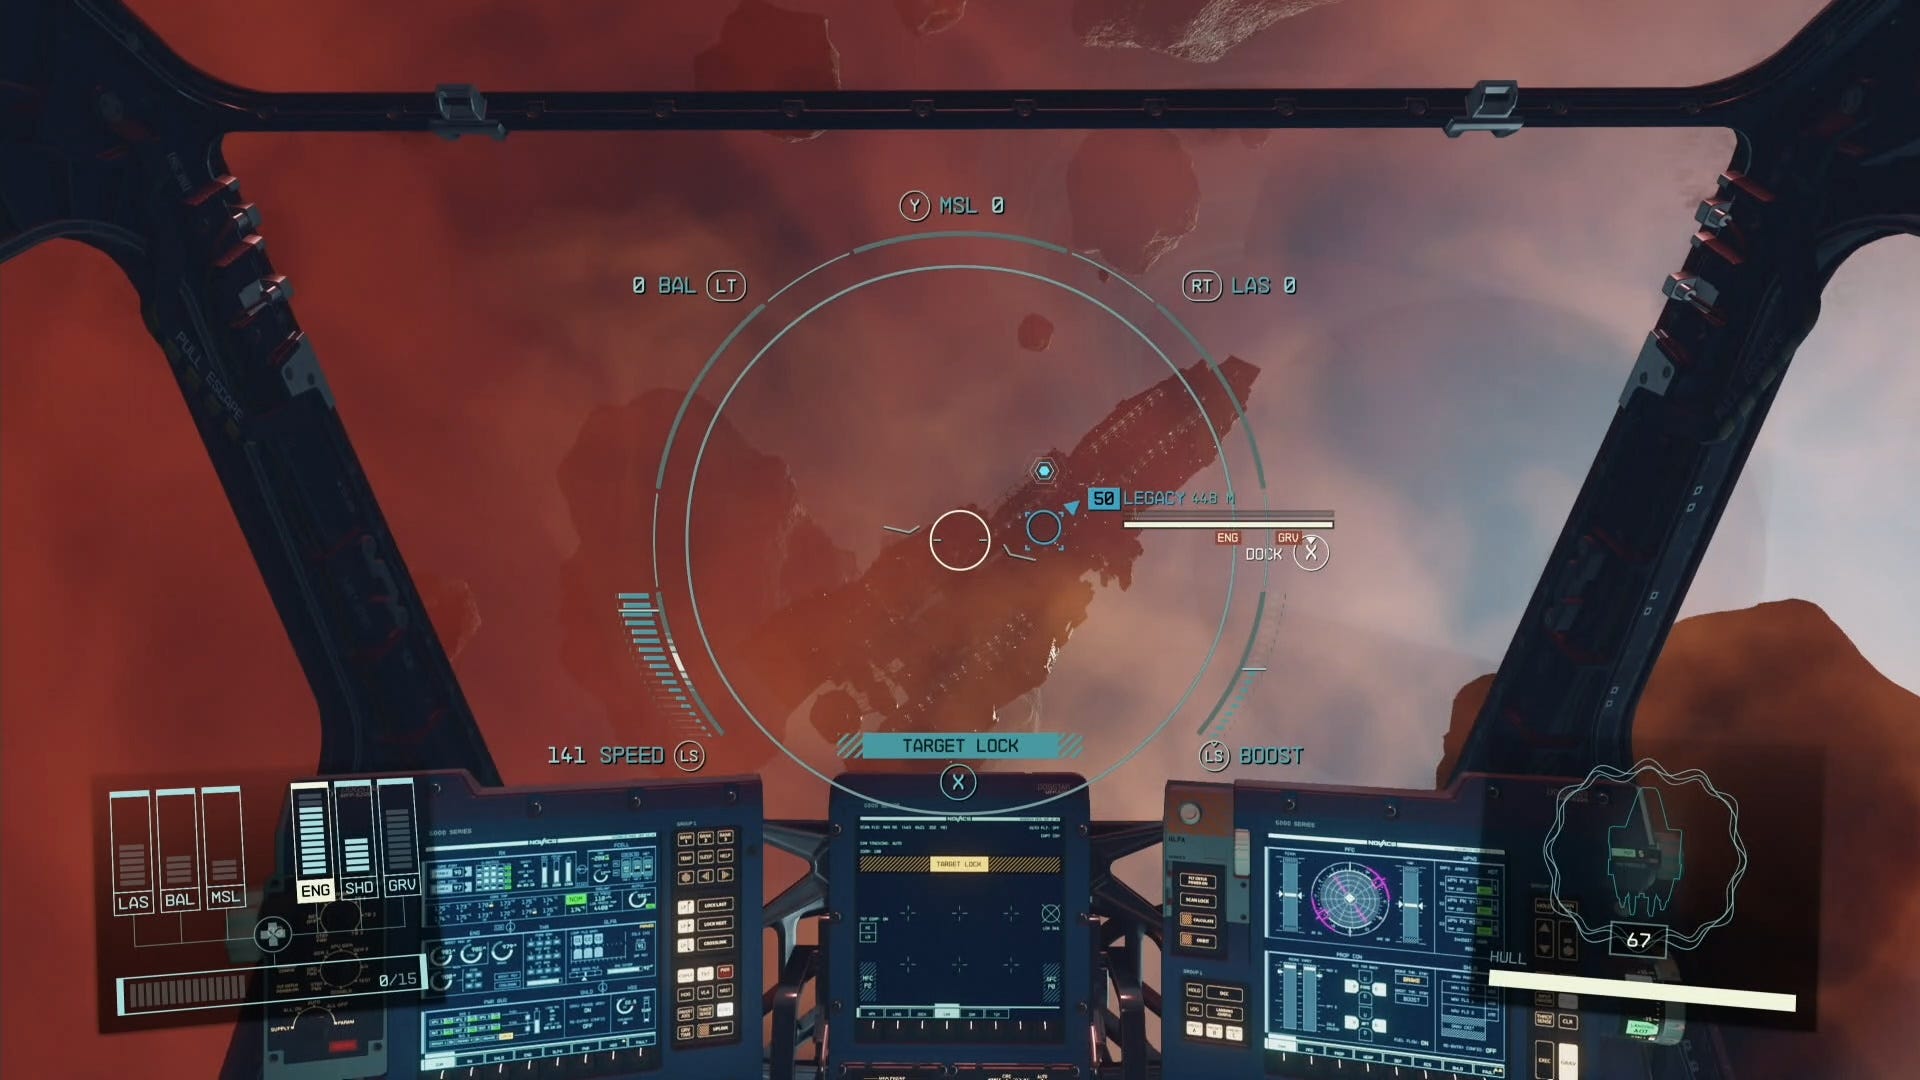
How to proceed to Bannoc IV in Eye of the Storm
With the Comspike and Conduction Grid installed, it's time to report back to the UC Vigilance, then proceed to Bannoc IV in the Bannoc system. Before travelling to Bannoc IV, make sure you put all of your ship's power into its shields and engine, with one point spare for the grav drive. This ensures your ship doesn't blow up while you're making your way to the Legacy ship.
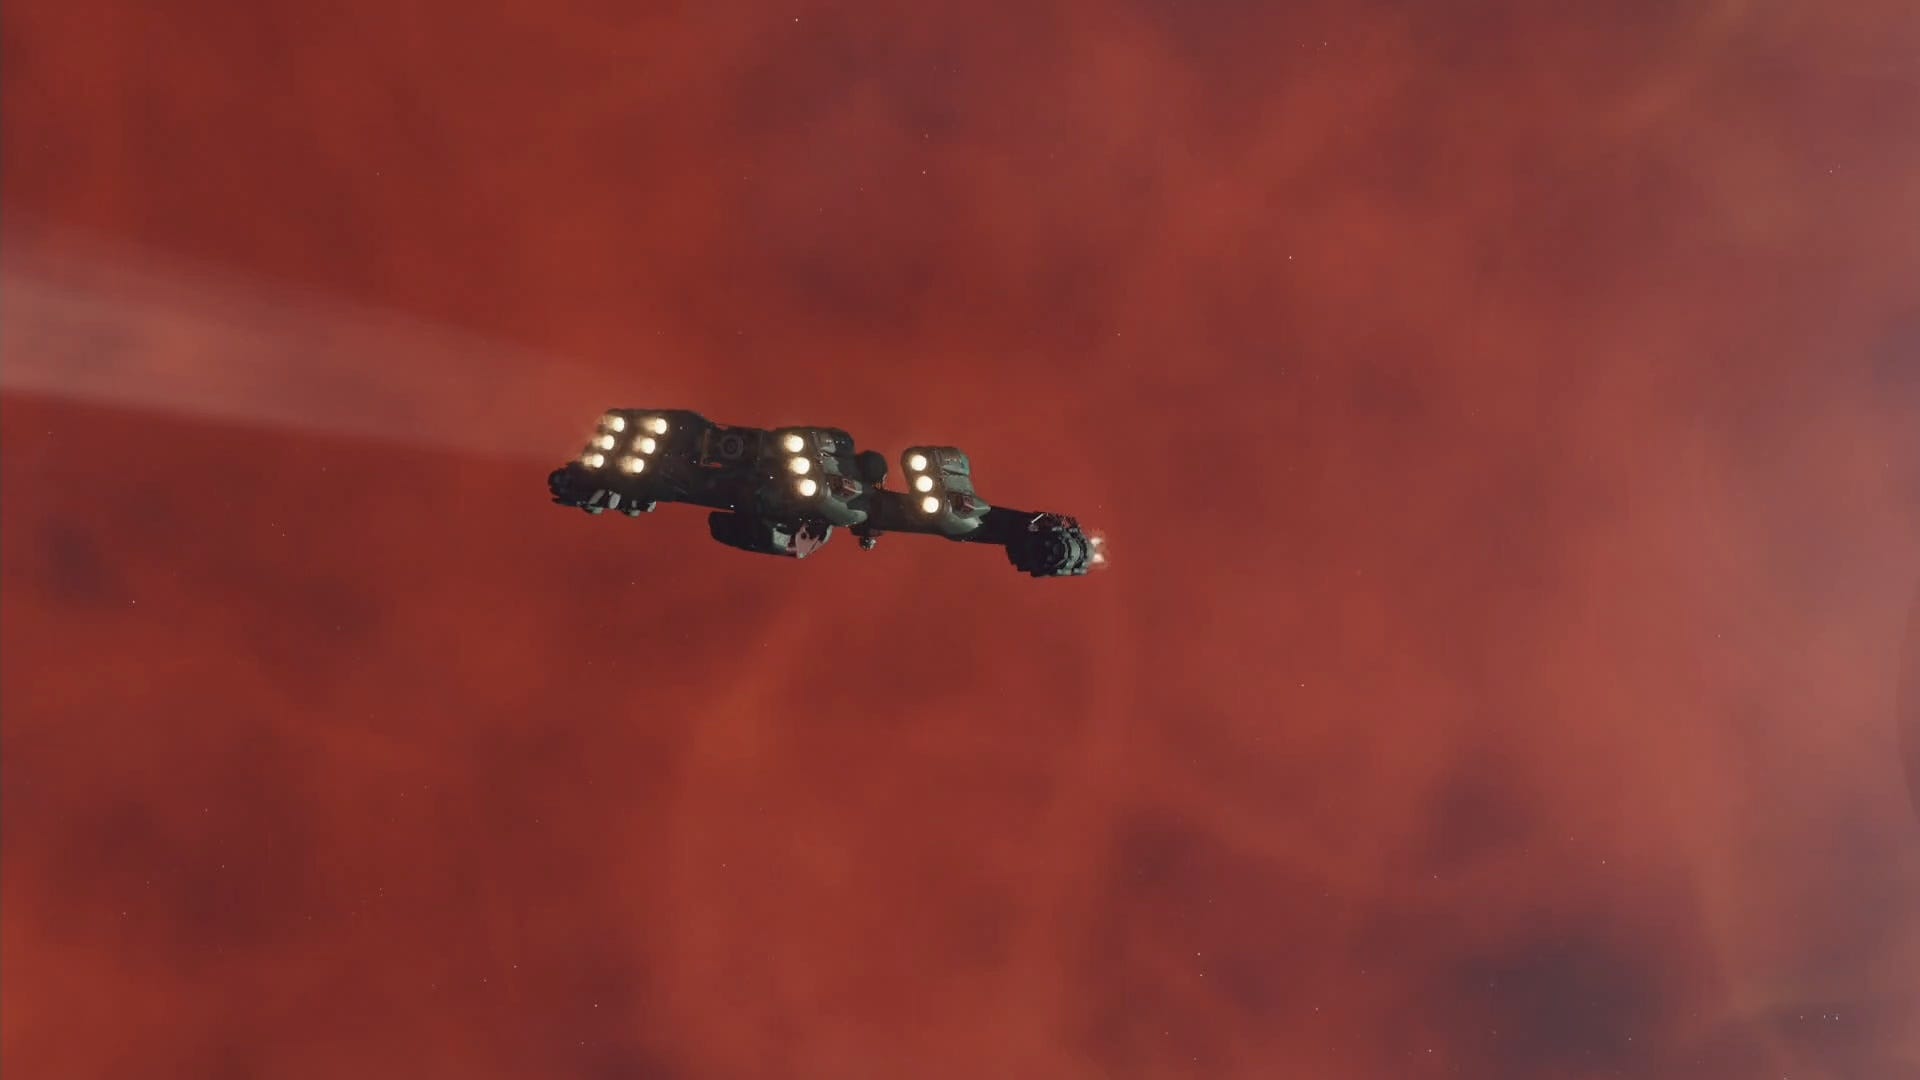
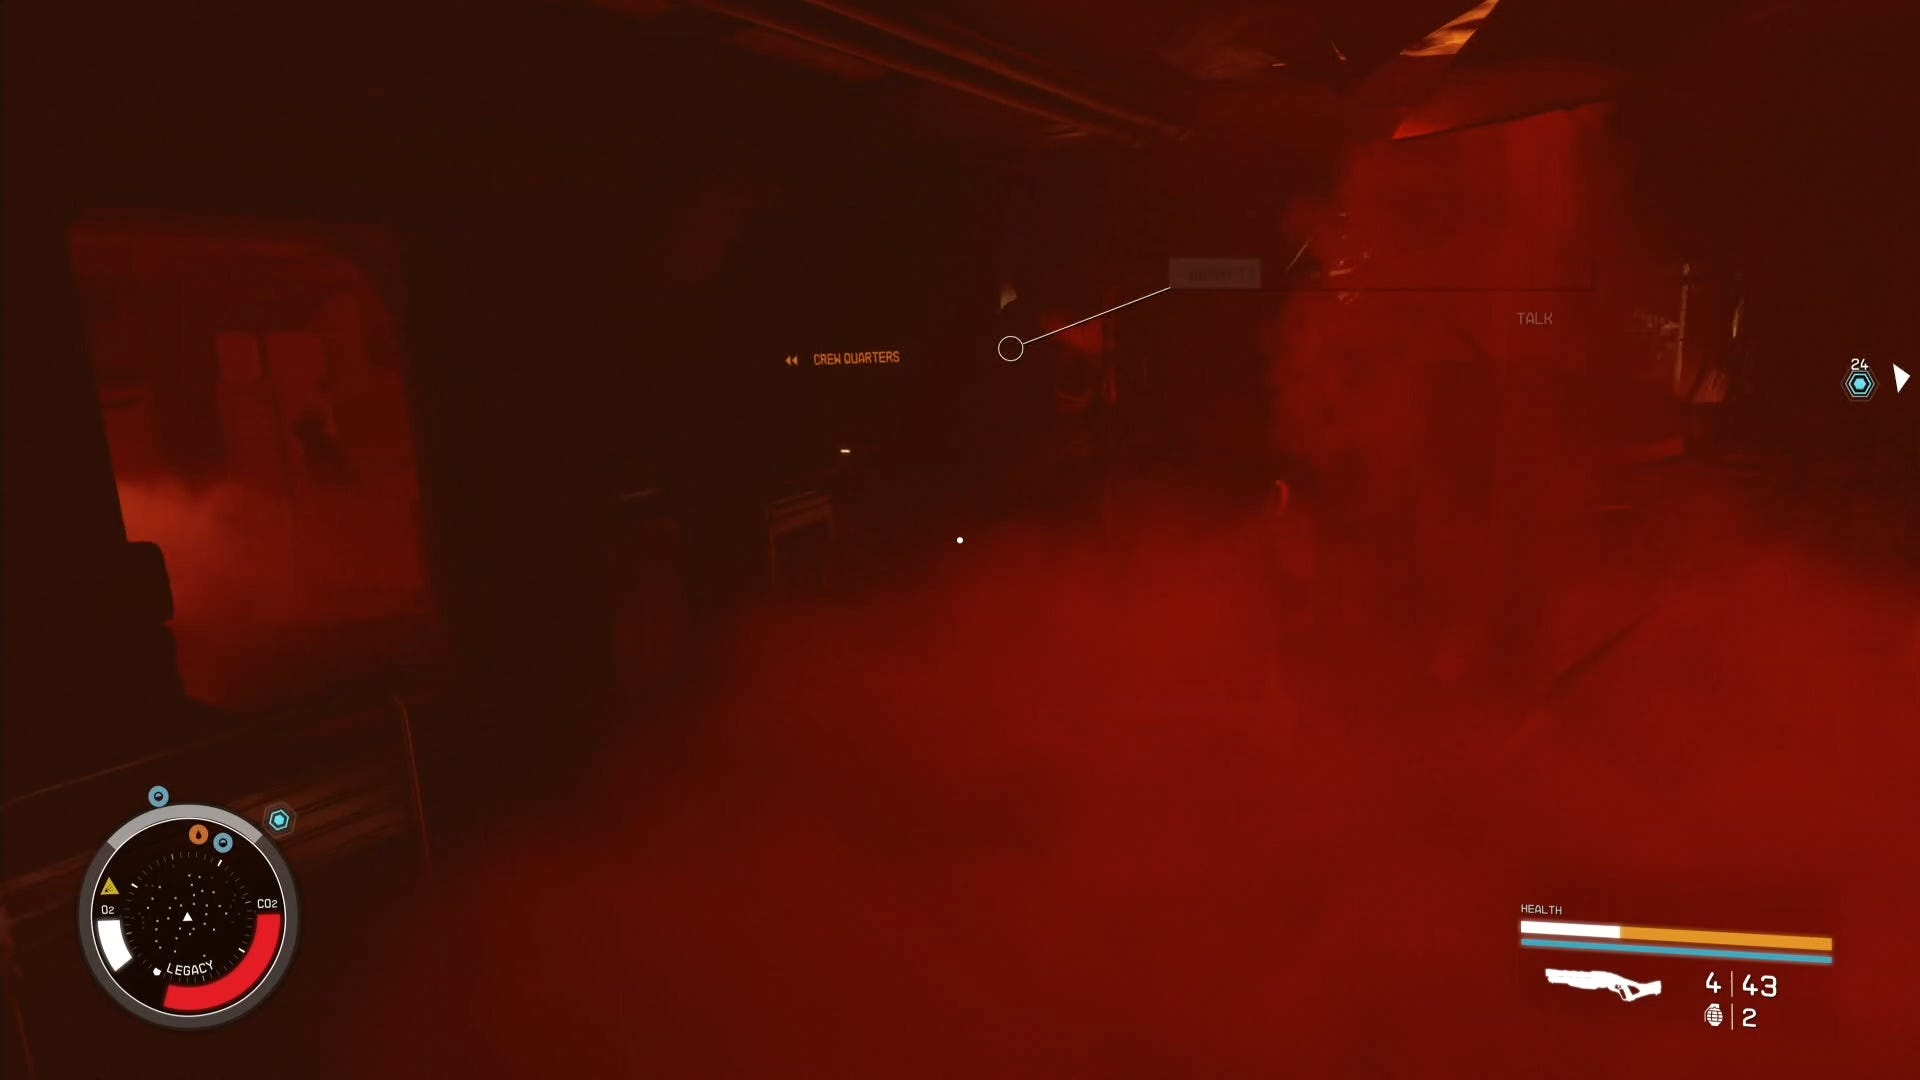
When you get to Bannoc IV, the area will be covered in a red mist, and you have to make your way through this to get close enough to the unknown signal in order to dock and board the Legacy ship.
How to locate Transfer Module in Eye of the Storm
Once you've boarded the Legacy, follow the quest marker towards the Crew Quarters, then Vault direction. There are signs on the walls that are helpful if you get lost on your way.
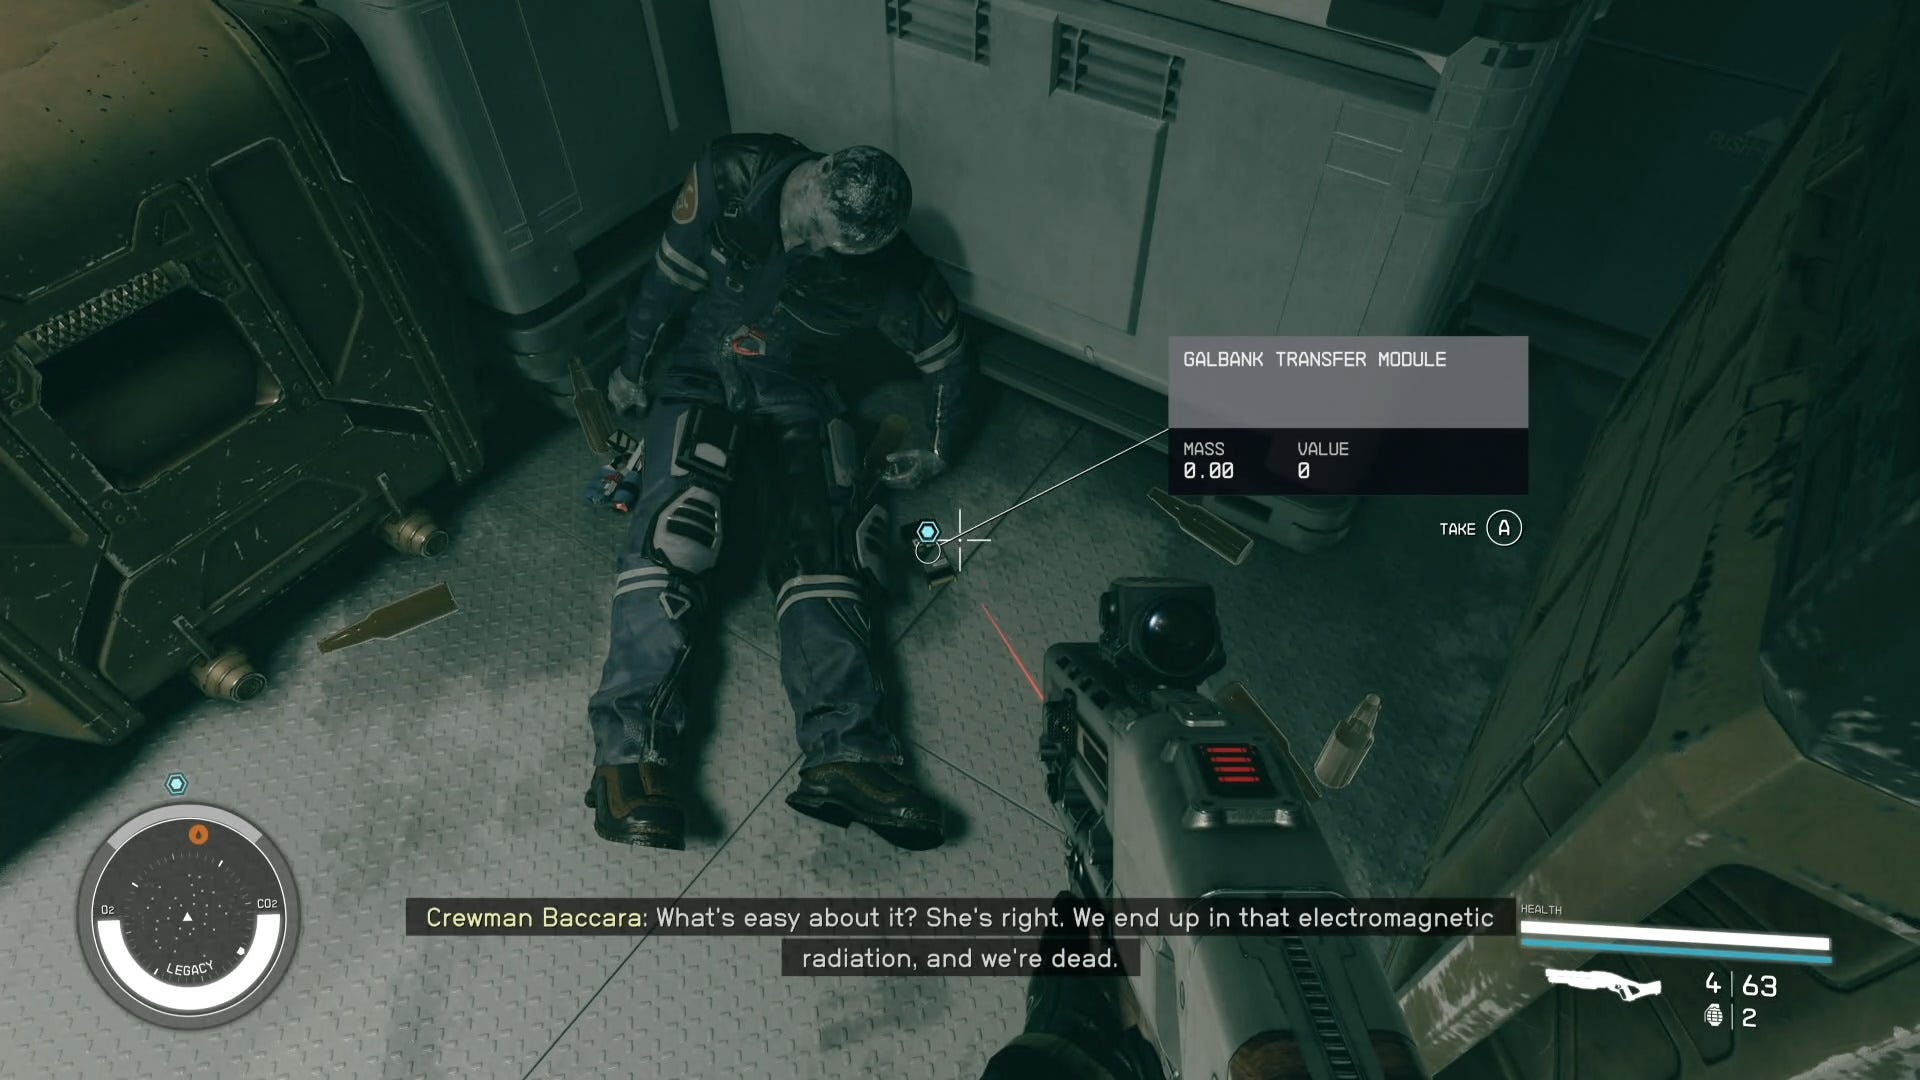
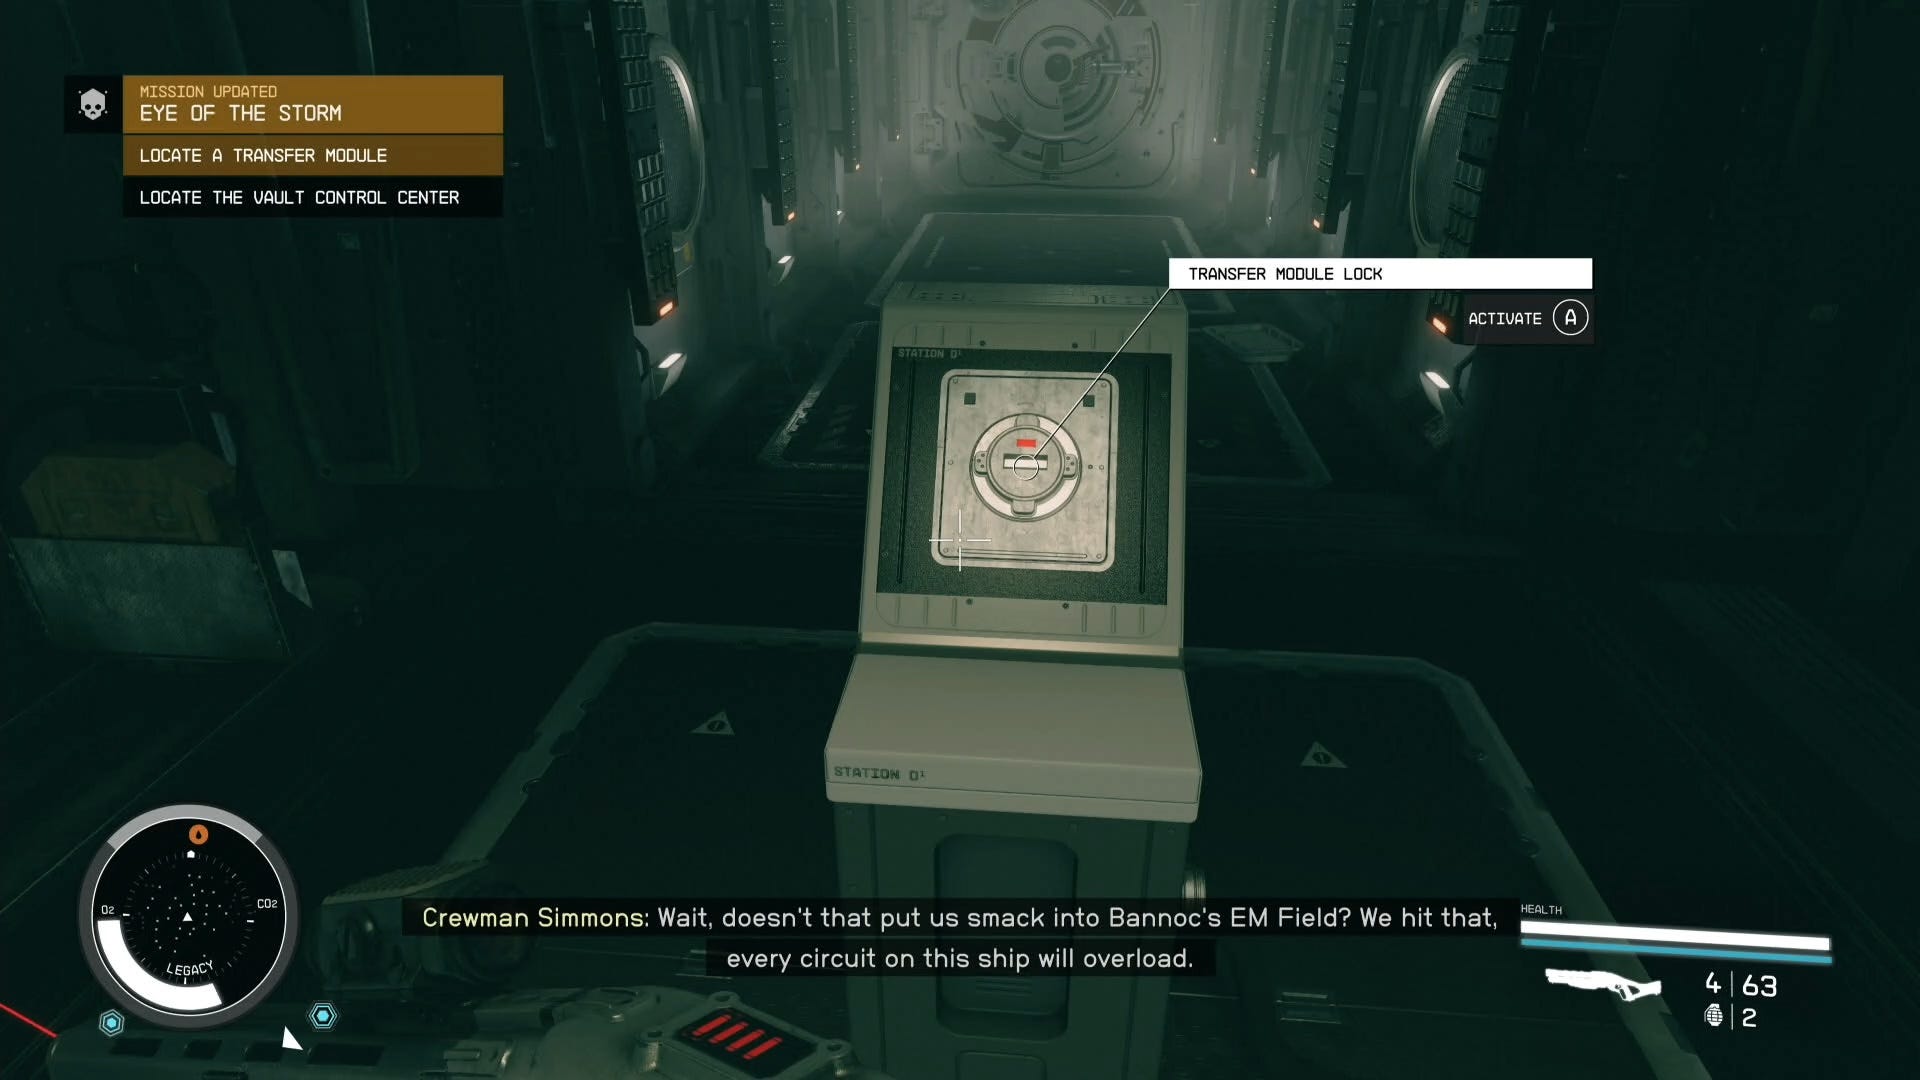
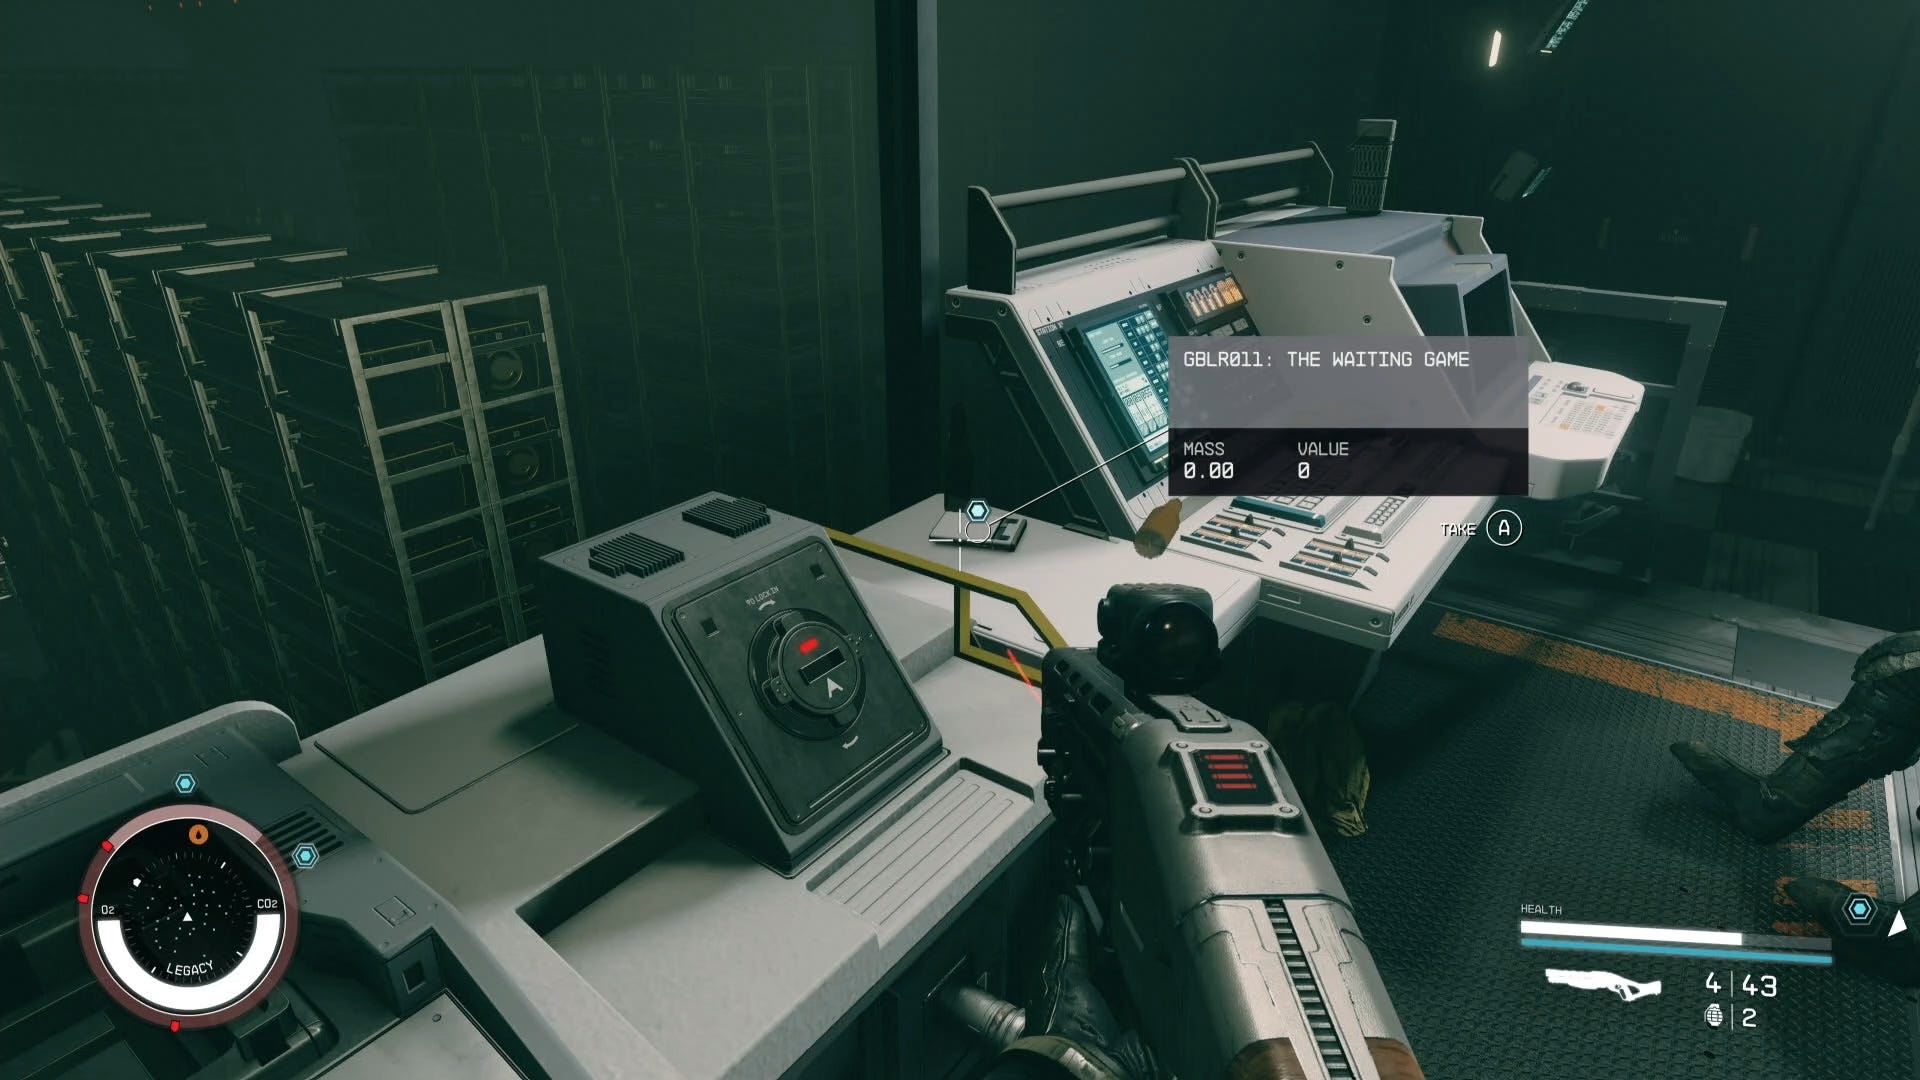
At the first Vault Control Center, you need a Transfer Module to open the vault door. Turn around and look to your right to find the required Transfer Module on the floor beside a dead body. Pick up the module, then slot it into the lock to open the first vault door.
How to locate the Vault Control Center in Eye of the Storm
The second Vault Control Center is a little trickier to find, as the quest marker can easily lead you astray, and there are robot enemies and turrets along the path.
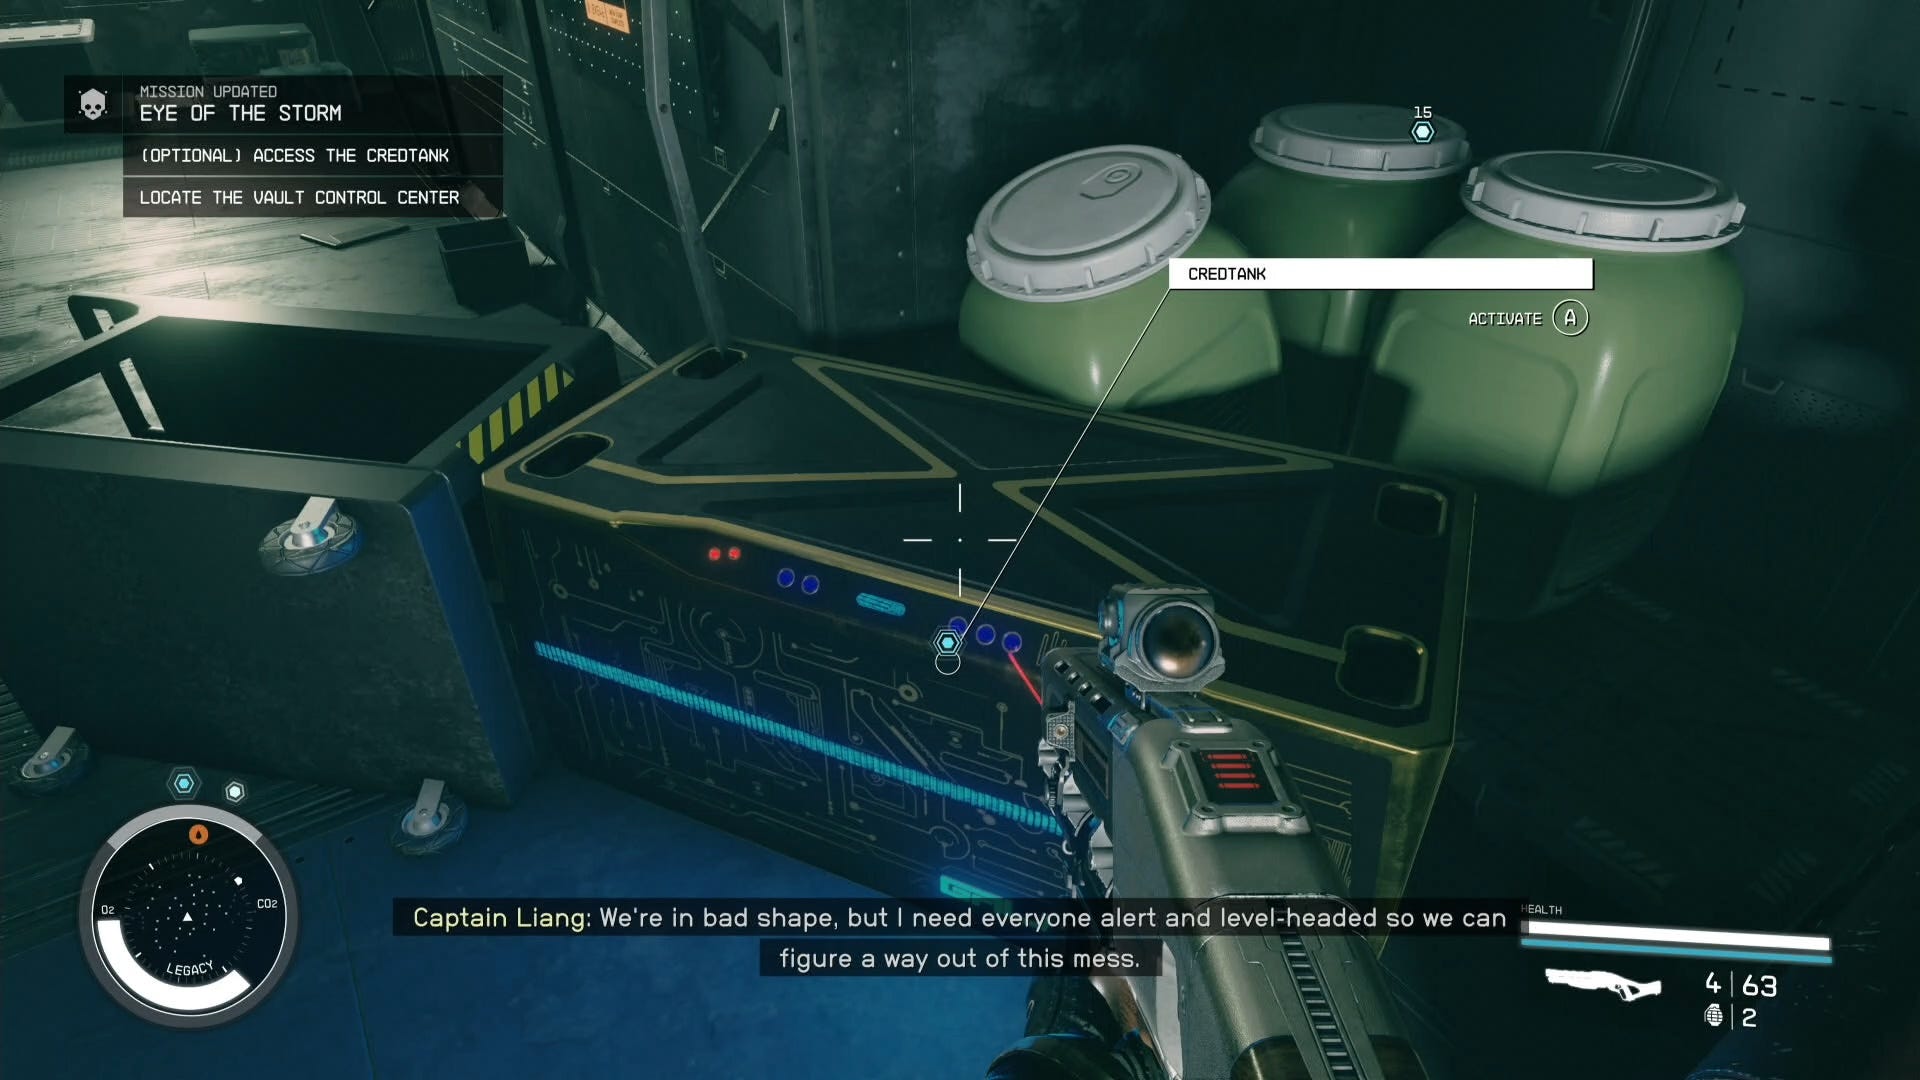
You can't go through the main entrance to the vault as it's blocked with debris, so take a left instead and follow that path. Make sure to access the Credtank on your way for an easy 4,571 Credits.
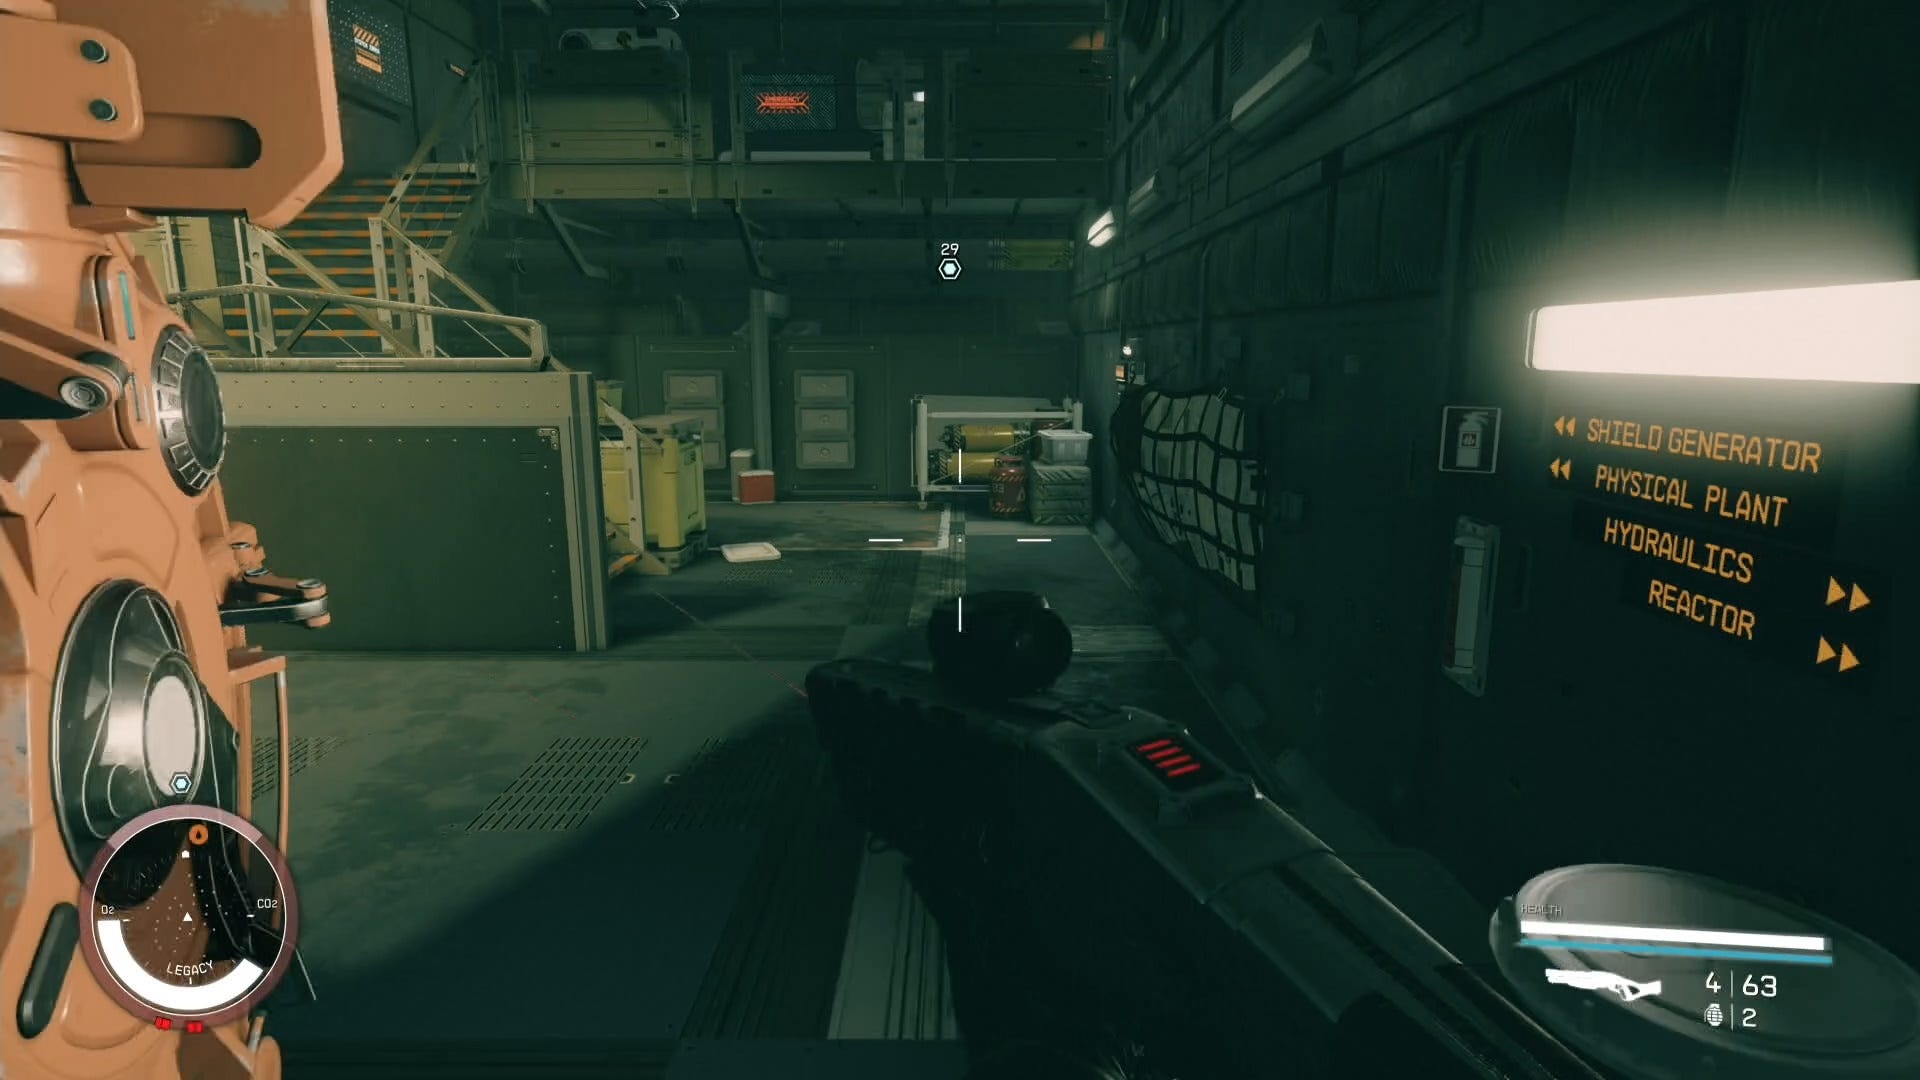
Keep following the quest marker through Hydrolics if you have at least Advanced level Lockpicking, but there's a longer path you can take around if not. Beware of turrets and hostile robots in the area. We deactivated them and turned them friendly on multiple computer terminals, but it didn't seem to work. If this happens to you as well, we recommend you either run past the robots, or use a strong weapon like a Bridger to take them out.
Go towards the Shield Generator and Physical Plant direction following the ship's signs, and when you get to an area with the set of stairs, go up them but ignore the quest marker for now, as it leads to an area you can't get past because of a broken computer.
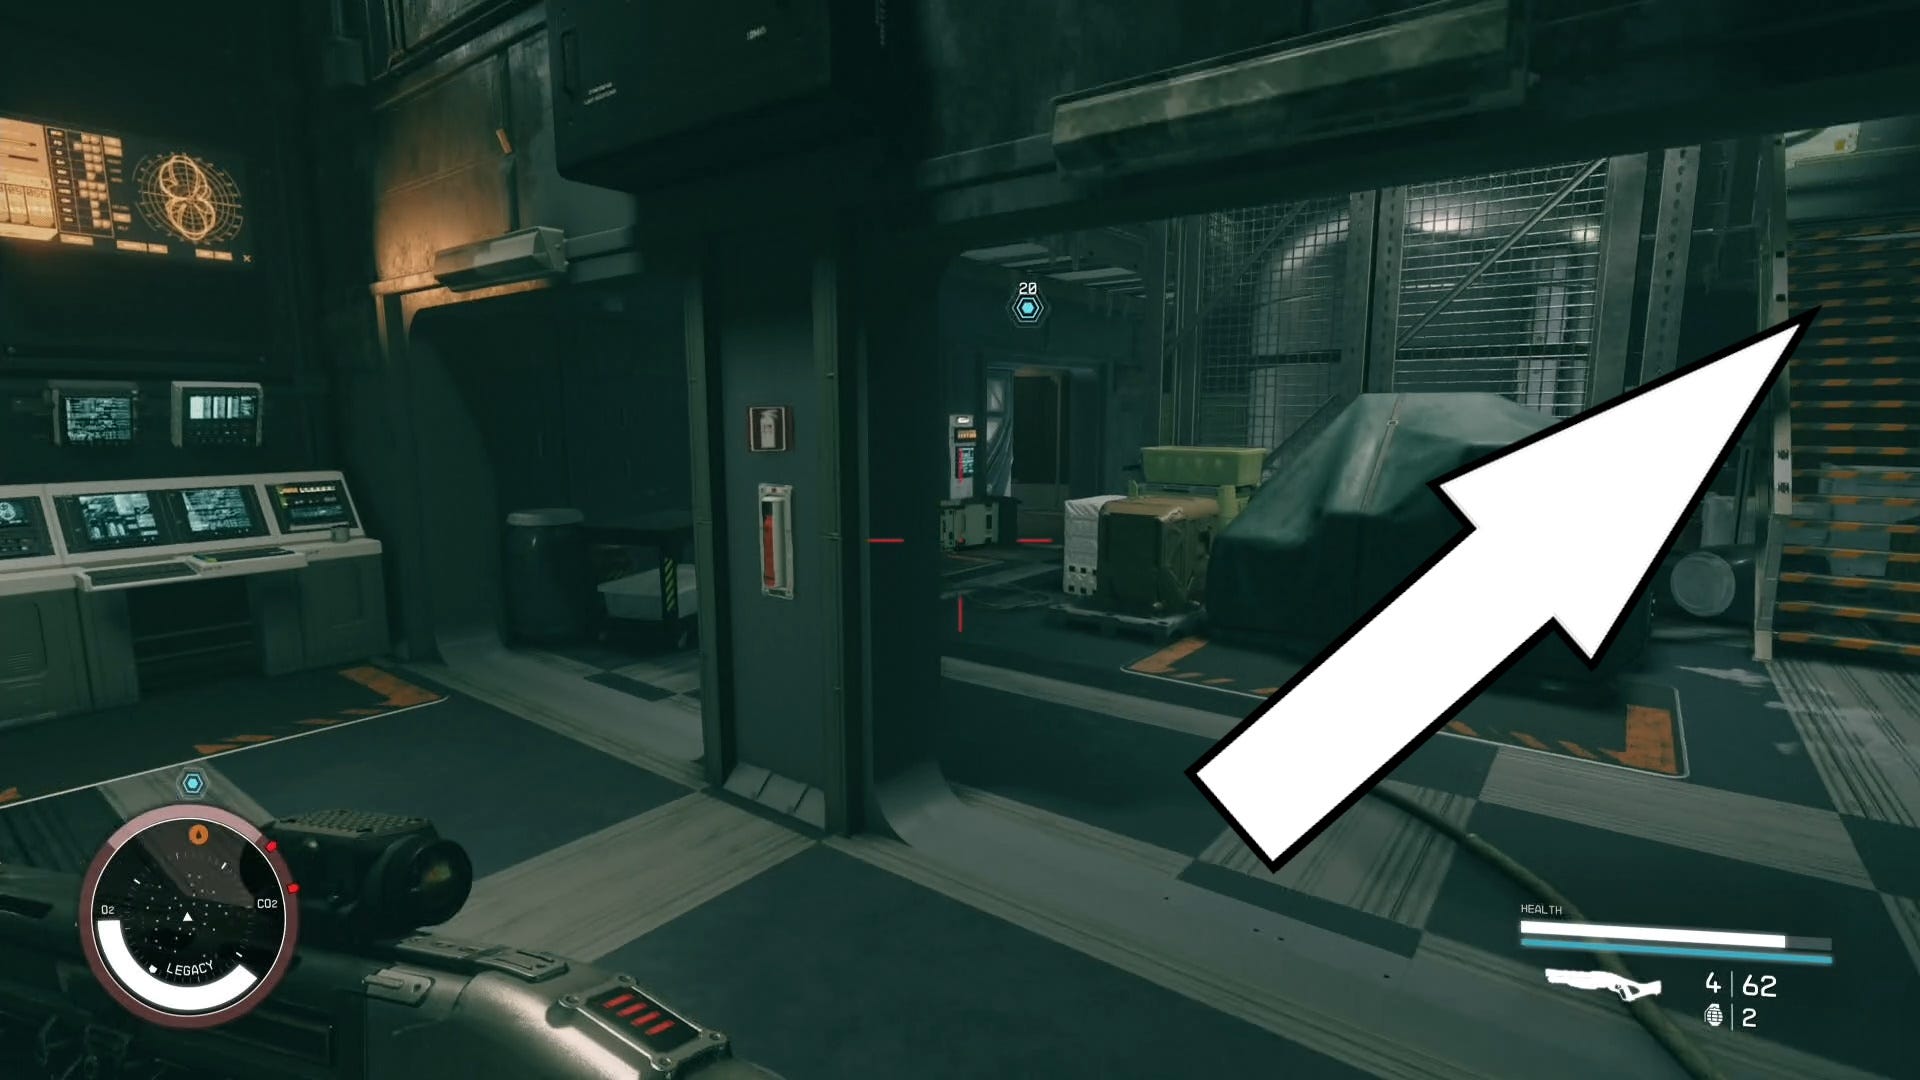
Go through the door on the opposite side of the broken computer into the Engine Room, then head towards the marker's direction on the bottom floor. When you get to a dead end, look to the right for a set of stairs and take them up. Now you can follow the marker to the real Vault Control Center entrance and use the computer on the right to open the vault's door.
More robots activate in this huge room, but you can run past them if you don't want to take them on. Go to the entrance of the Vault Control Center at the back of this large room, but watch out for a turret behind the door, and then follow the marker to the top to find Kryx's dead body and his possessions.
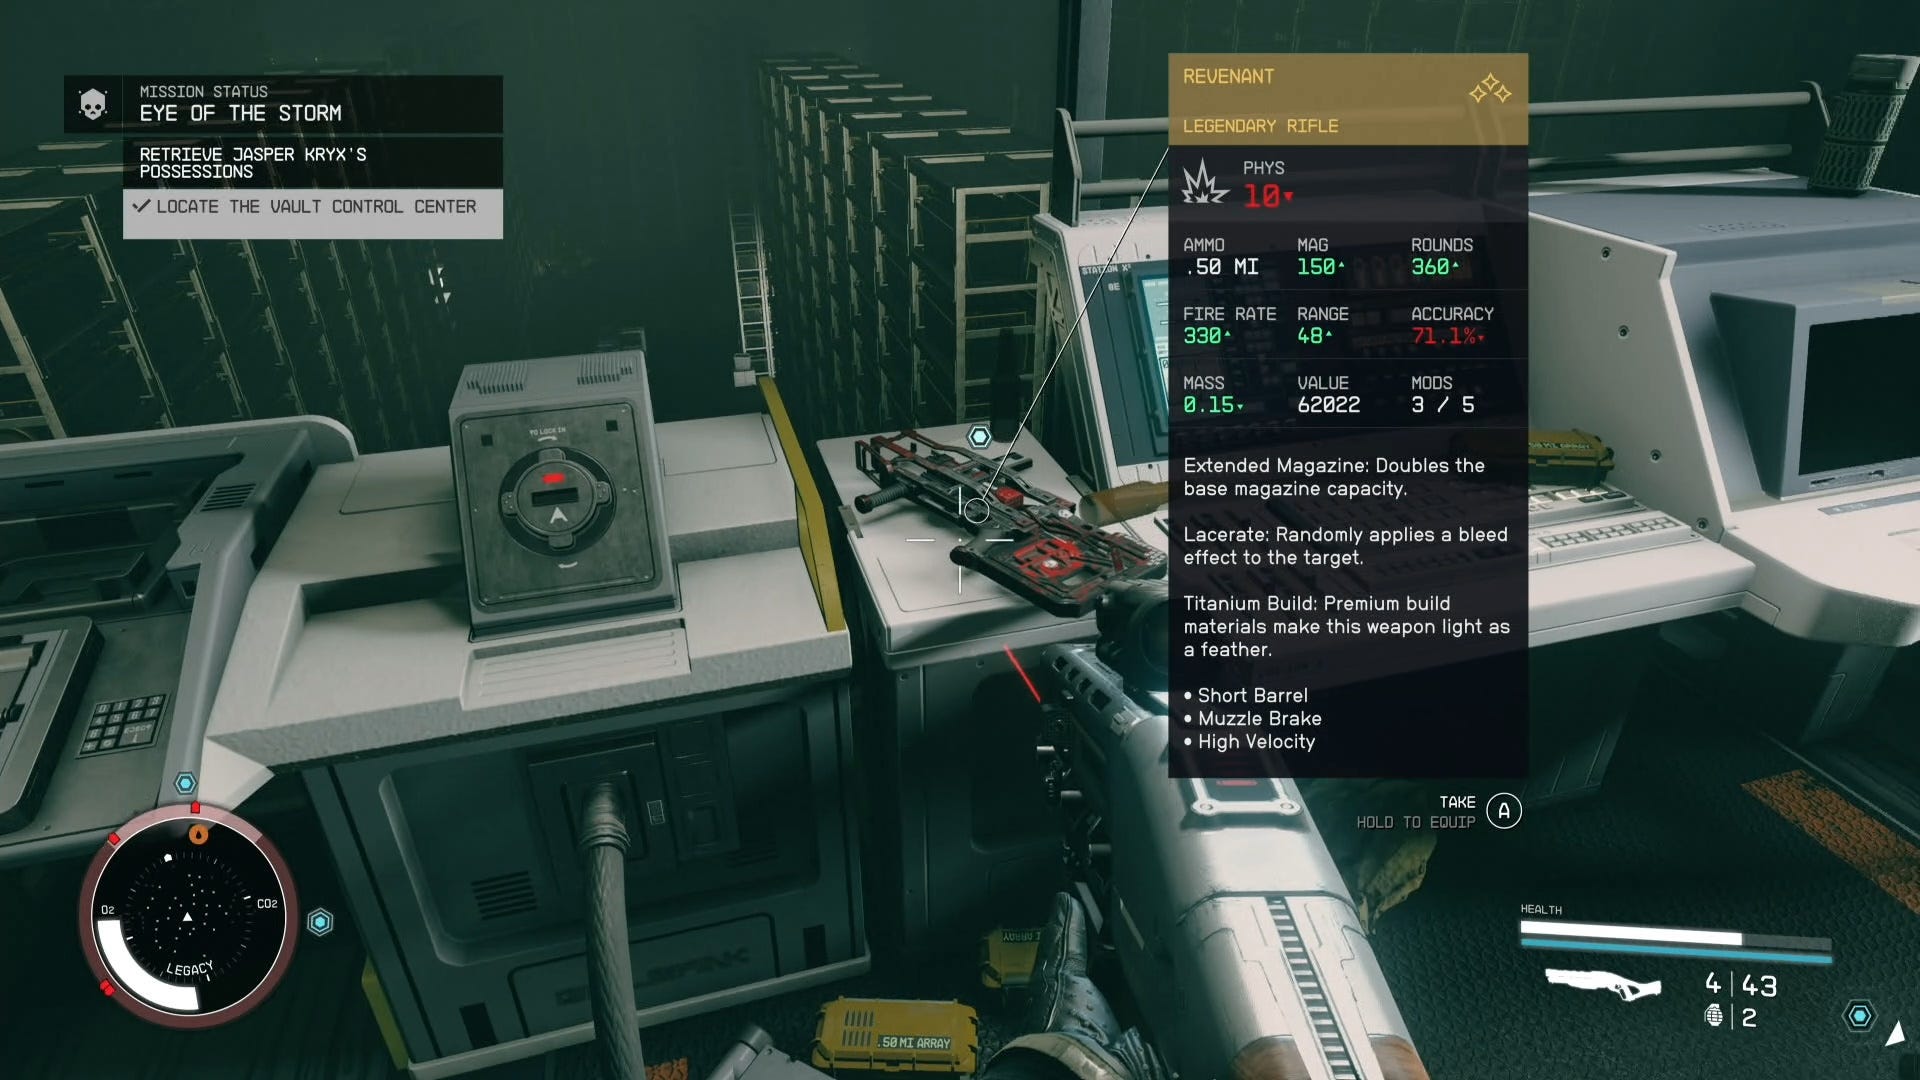
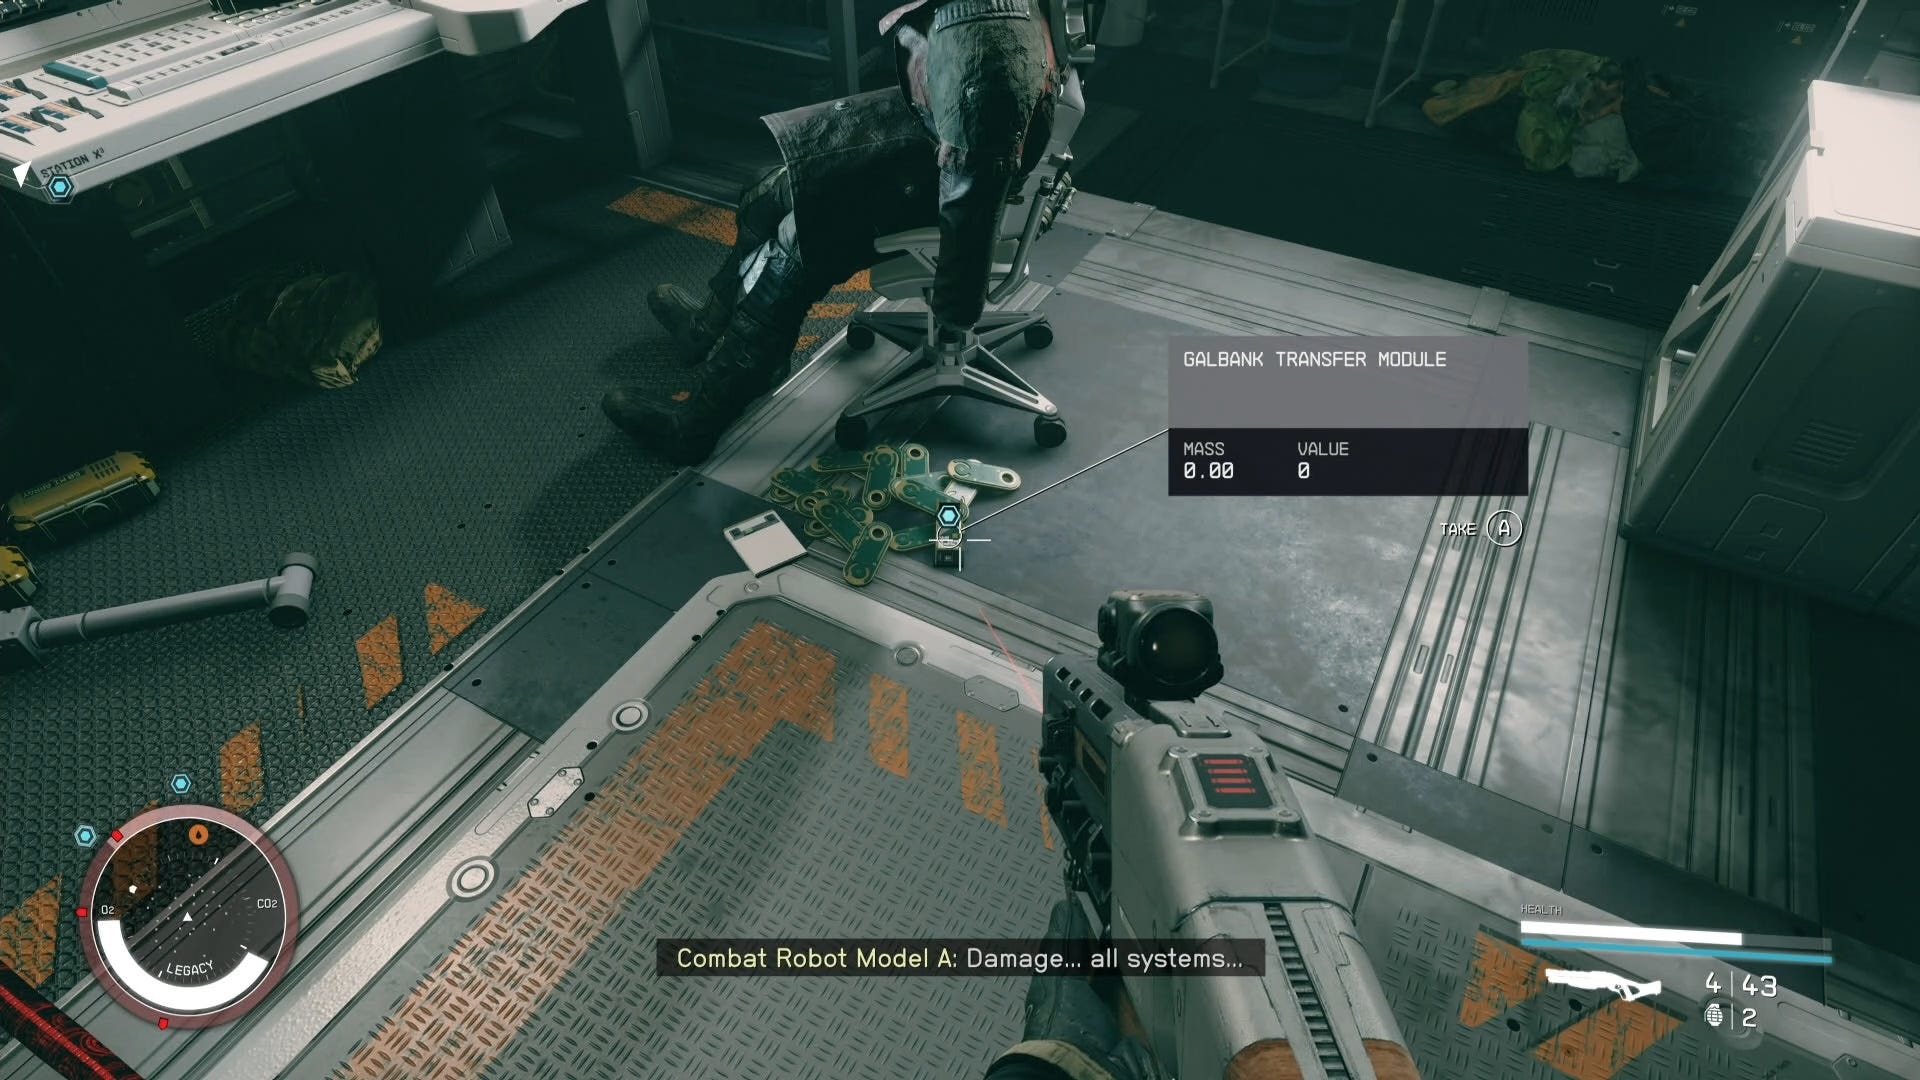
Pick up the Legendary Revenant rifle opposite his body, the GBLR011 audio log beside the rifle (listen to it all the way through), the Credsticks on the floor, an optional Burden of Proof evidence log beside it, then the Galbank Transfer Module on the floor under his body.
After listening to the audio logs and picking up all of Kryx's possessions, reroute the ship's power by using the two Power Override Control levers, then activate the two Transfer Module Locks by Kryx's body. Finally, use the Data Core Port to download the Legacy's Credit reserves.
How to escape the Legacy in Eye of the Storm
Once all of the blue server lights outside of the room have gone dark, the Credit transfer process is complete and you can remove the Transfer Modules and Data Core.
If this Credit transfer process doesn't progress for you, you have to reload a previous save and try again. Make sure you've listened to the GBLR011 audio log all the way through and have picked up everything else surrounding Kryx for this process to go smoothly.
Beware that as soon as you remove the Transfer Modules and Data Core that the ship will start to explode! So it's time to escape the Legacy and run back to your ship.
The exact path you took here is blocked in parts, so towards the end, make sure you're weaving your way through the Crews Quarters and Mess Hall rooms to avoid the debris blocking your way.
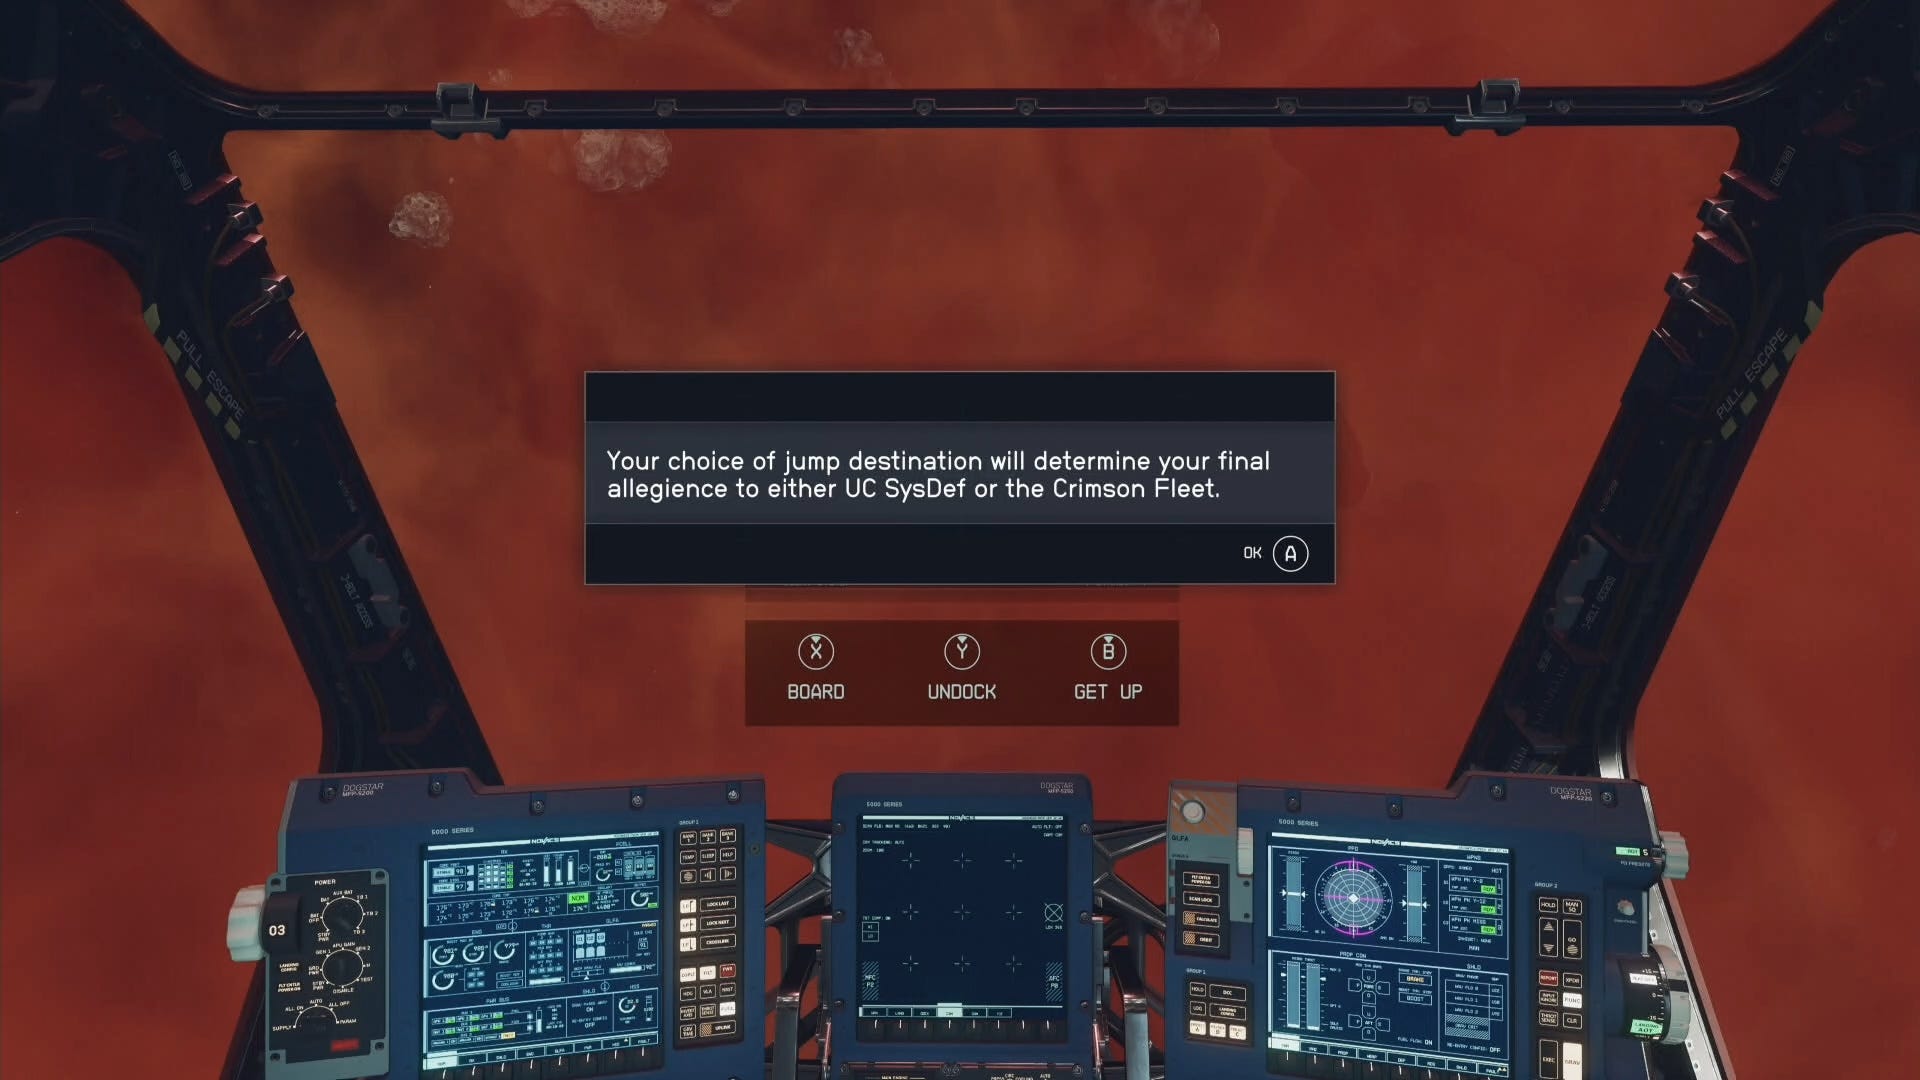
Back at your ship, it's time to make your final decision...
Starfield Eye of the Storm choice consequences
If you take the Legacy back to the Key, you side with the Crimson Fleet in the end, but if you take it to the UC Vigilance instead, you stay loyal to SysDef.
Side with the Crimson Fleet
If you side with the Crimson Fleet you can continue to use Fleet mission boards and keep your access to the Key. However, beware that if you have to kill people or ships belonging to the Fleet during other missions, you get a bounty against the Fleet - and they are some of the most expensive bounties in Starfield.
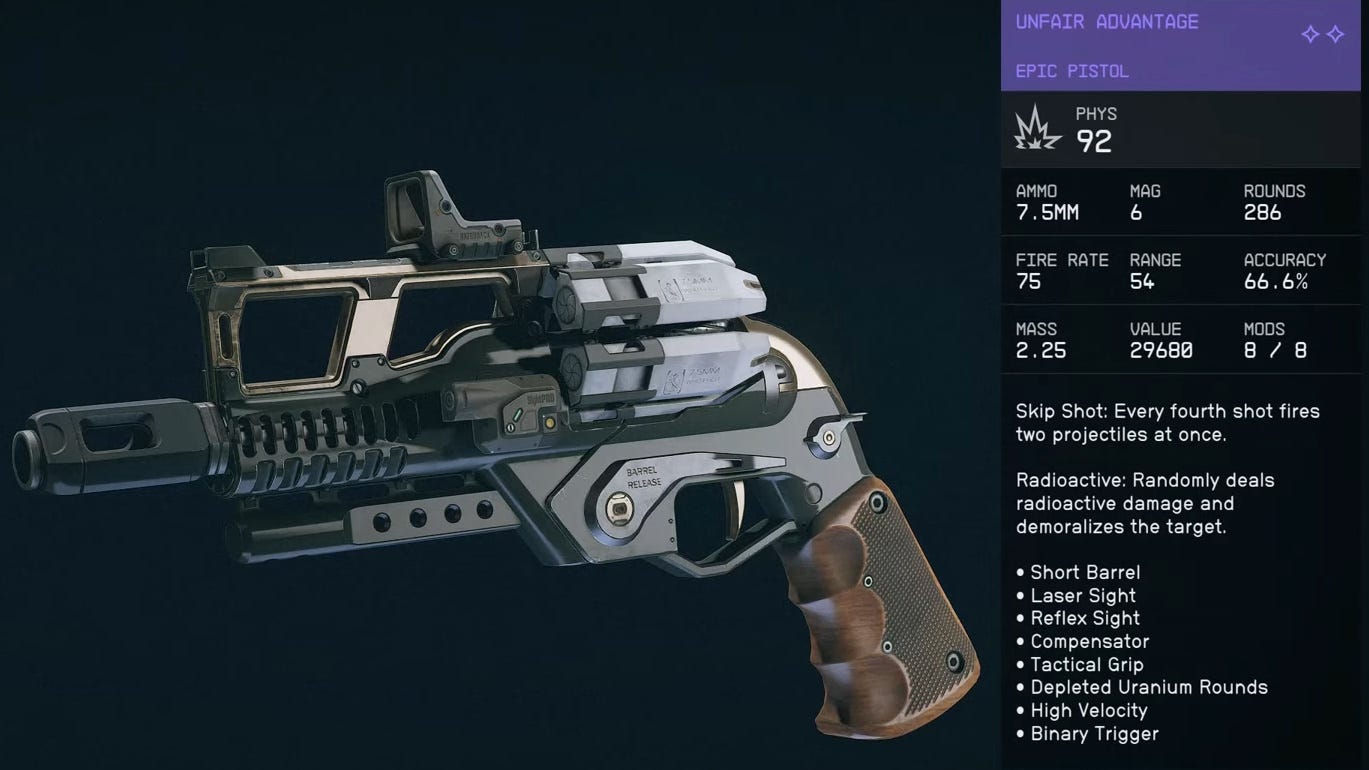
If siding with the Fleet, during the next 'Legacy's End' mission you have to destroy waves of UC ships to help protect the Key, and eventually take on the UC Vigilance and fight your way to Ikande. You can persuade Ikande to stand down and he'll stay alive alongside Jillian Toft, but if you kill him and Toft, you can get Ikande's Unfair Advantage pistol.
You get 250,000 Credits from Delgado when you return to the Key, and as long as Delgado didn't kick him from the Fleet, you can also recruit Mathis as a companion.
If you side the the Fleet, your Constellation companions don't generally like this decision, and you can't avoid having some disapproving conversations with them. However, no content is locked off to you if you side with the Fleet. So don't worry about locking yourself out of quests like the UC Vanguard missions.
Side with SysDef
If you side with UC SyfDef, you can continue to explore the Vigilance and take on its special mission board. You can even speak with all of the prisoners you caught during the main Crimson Fleet missions and Burden of Proof quest, as long as they're not dead.
When siding with SysDef, during the next 'Legacy's End' mission you have to storm the Key and find Delgado. He can stay alive if you persuade him to stand down, but if you kill him, you get Delgado's outfit, spacesuit set, and his Tempest rifle.

Ikande also gives you 250,000 Credits, and a SysDef formal uniform at the end of the quest.
Additionally, siding with SysDef is generally liked by your Constellation companions, so no need to worry about getting dislikes if you're trying to romance one of them.
Hope you enjoyed the Crimson Fleet questline! Why not take on the Ryujin Industries or UC Vanguard faction missions next?