All Starfield Burden of Proof evidence locations
Includes all essential and bonus evidence locations.


Collecting evidence for 'Burden of Proof' is technically a Crimson Fleet Faction quest in Starfield, but as you're gathering evidence against the Fleet, it's actually a mission that benefits the UC SysDef division.
Throughout the Crimson Fleet storyline you go to many different planets, ships, and space stations, and most have evidence logs found near key characters at these locations.
Some of these evidence logs are very missable, and others show up in side missions and random locations, so to help you out, we've detailed all Burden of Proof evidence locations in Starfield below, and go over the Burden of Proof reward you get for handing over 15 evidence logs to Jillian Toft.
On this page:
- Evidence location 1
- Evidence location 2
- Evidence location 3
- Evidence location 4
- Evidence location 5
- Evidence location 6
- Evidence location 7
- Evidence location 8
- Evidence location 9
- Evidence location 10
- Evidence location 11
- Evidence location 12
- Evidence location 13
- Evidence location 14
- Evidence location 15
- Evidence location 16
- Evidence location 17
- Evidence location 18
- Evidence location 19
- Evidence location 20
- Burden of Proof reward
Locations:
Reward:
If you'd like more help in your galactic adventures, visit our Starfield guides, tips and tricks page.
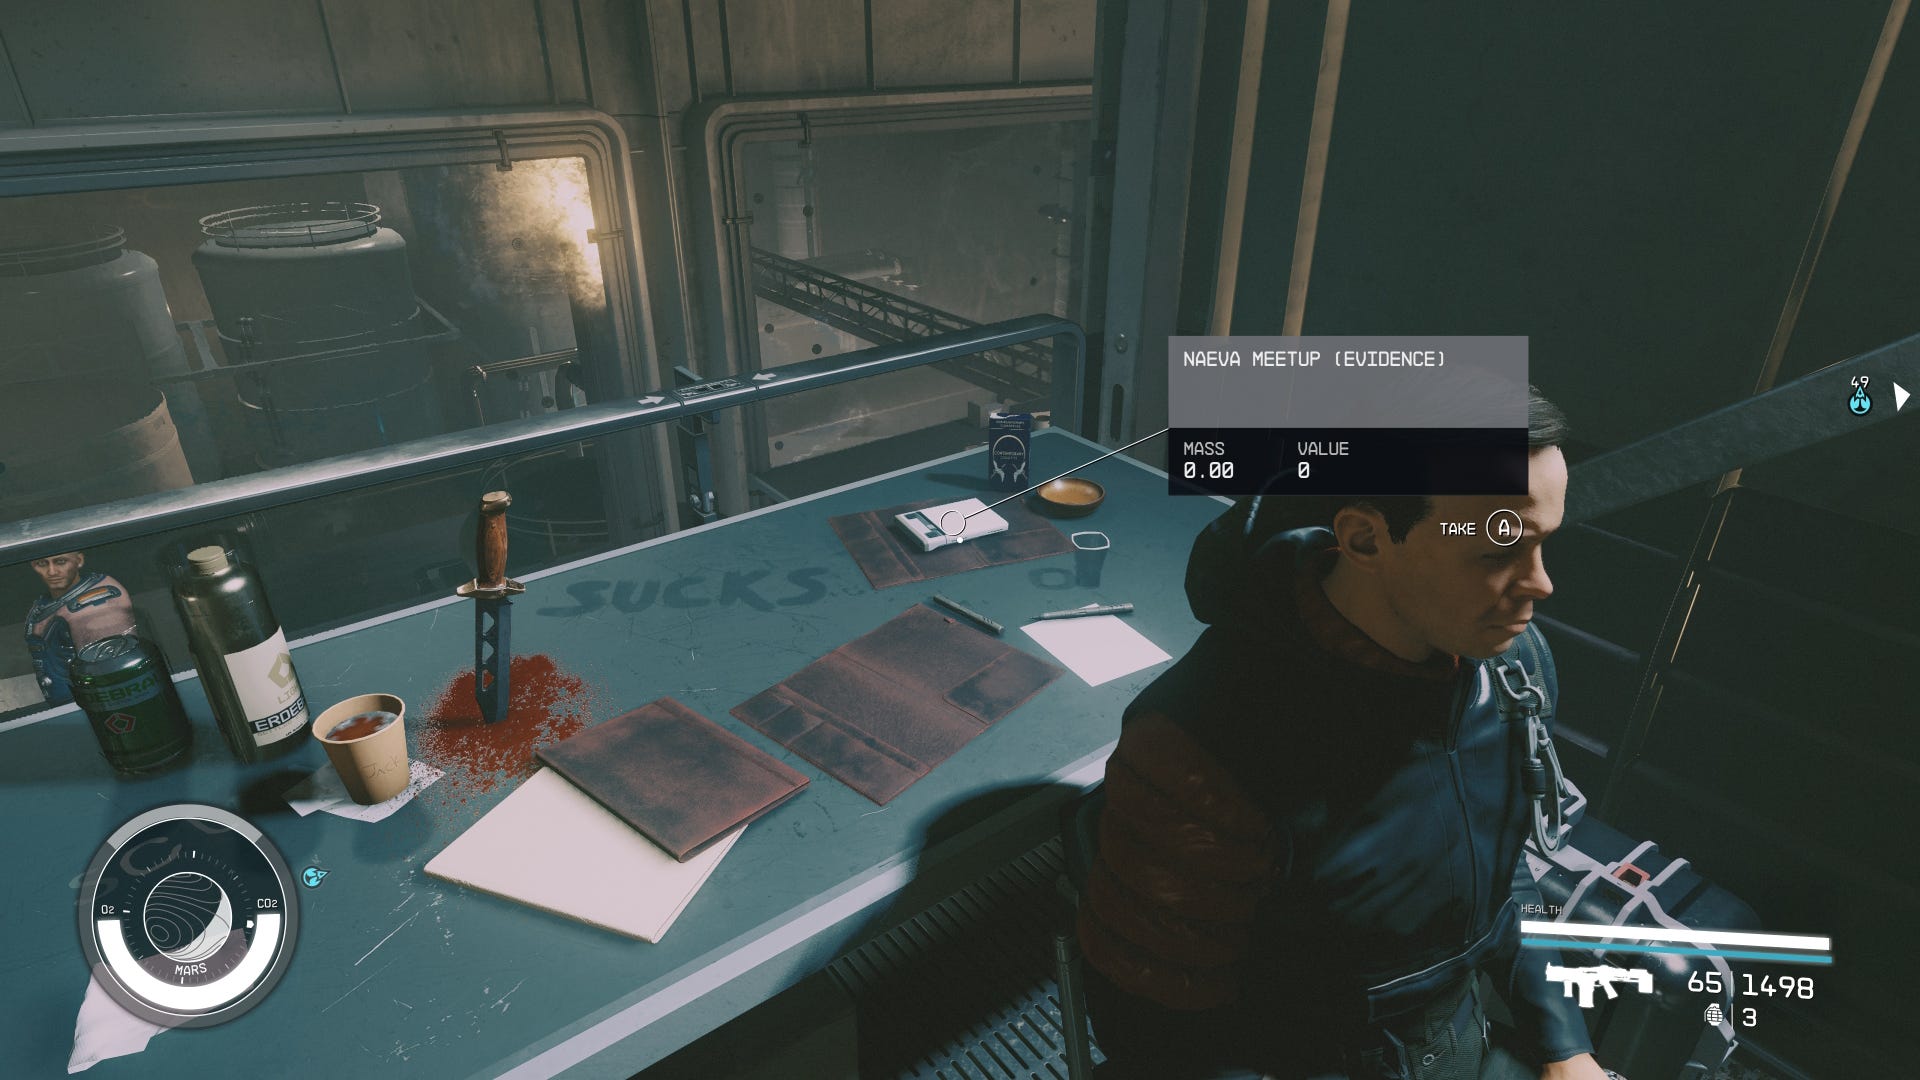
Starfield Burden of Proof evidence location 1
Location: The Broken Spear bar, Cyndonia (Mars, Sol System)
Mission: Deep Cover
Evidence Name: Naeva Meet-up
The first evidence location you come across for Burden of Proof is on the desk behind Adler Kemp in The Broken Spear bar on Cydonia. You first come across it during the Deep Cover mission before you officially join the Crimson Fleet.
Starfield Burden of Proof evidence location 2
Location: The Lock (Subrov, Kryx system)
Mission: Echoes of the Past
Evidence Name: Carter's Gig
The next evidence log is located while on the 'Echoes of the Past' Crimson Fleet mission while in The Lock prison. Don't worry about missing it, as you need to pick up the log as part of the mission anyway.
Once you've used the lamp in Kryx's cell you can open Carter's locker in the shower area by the Kitchen to find the Carter's Gig evidence.

Starfield Burden of Proof evidence location 3
Location: The Lock (Subrov, Kryx system)
Mission: Echoes of the Past
Evidence Name: Warden's Log
The third evidence location is also on The Lock prison, in the Warden's Office you naturally come to as part of the 'Echoes of the Past' Crimson Fleet mission. This one is missable though, so make sure you look to the right of the intercom in the Warden's Office to spot this Warden's Log evidence while on the mission.

Starfield Burden of Proof evidence location 4
Location: The Key (orbiting Subrov, Kryx system)
Mission: Any (after Rook Meets King)
Evidence Name: Request A17
This Burden of Proof evidence log is located in the Ship Services room in the Key, to the right of Jasmine Durano, inside a white object found above a grey tub. Ship Services is found on the left as you enter the Key from the docking area.


Starfield Burden of Proof evidence location 5
Location: The Key (orbiting Subrov, Kryx system)
Mission: Any (after Rook Meets King)
Evidence Name: Voss's Parts
This evidence text log is located up the stairs in the Operations Room of the Key, up and to the left of Delgado's Computer. You can get to the Operations Room by taking a left at the main entrance to the Key, then going up the stairs at the back and taking another left. Go up the stairs in the to Operations Room to find this evidence on the left as you enter the room.

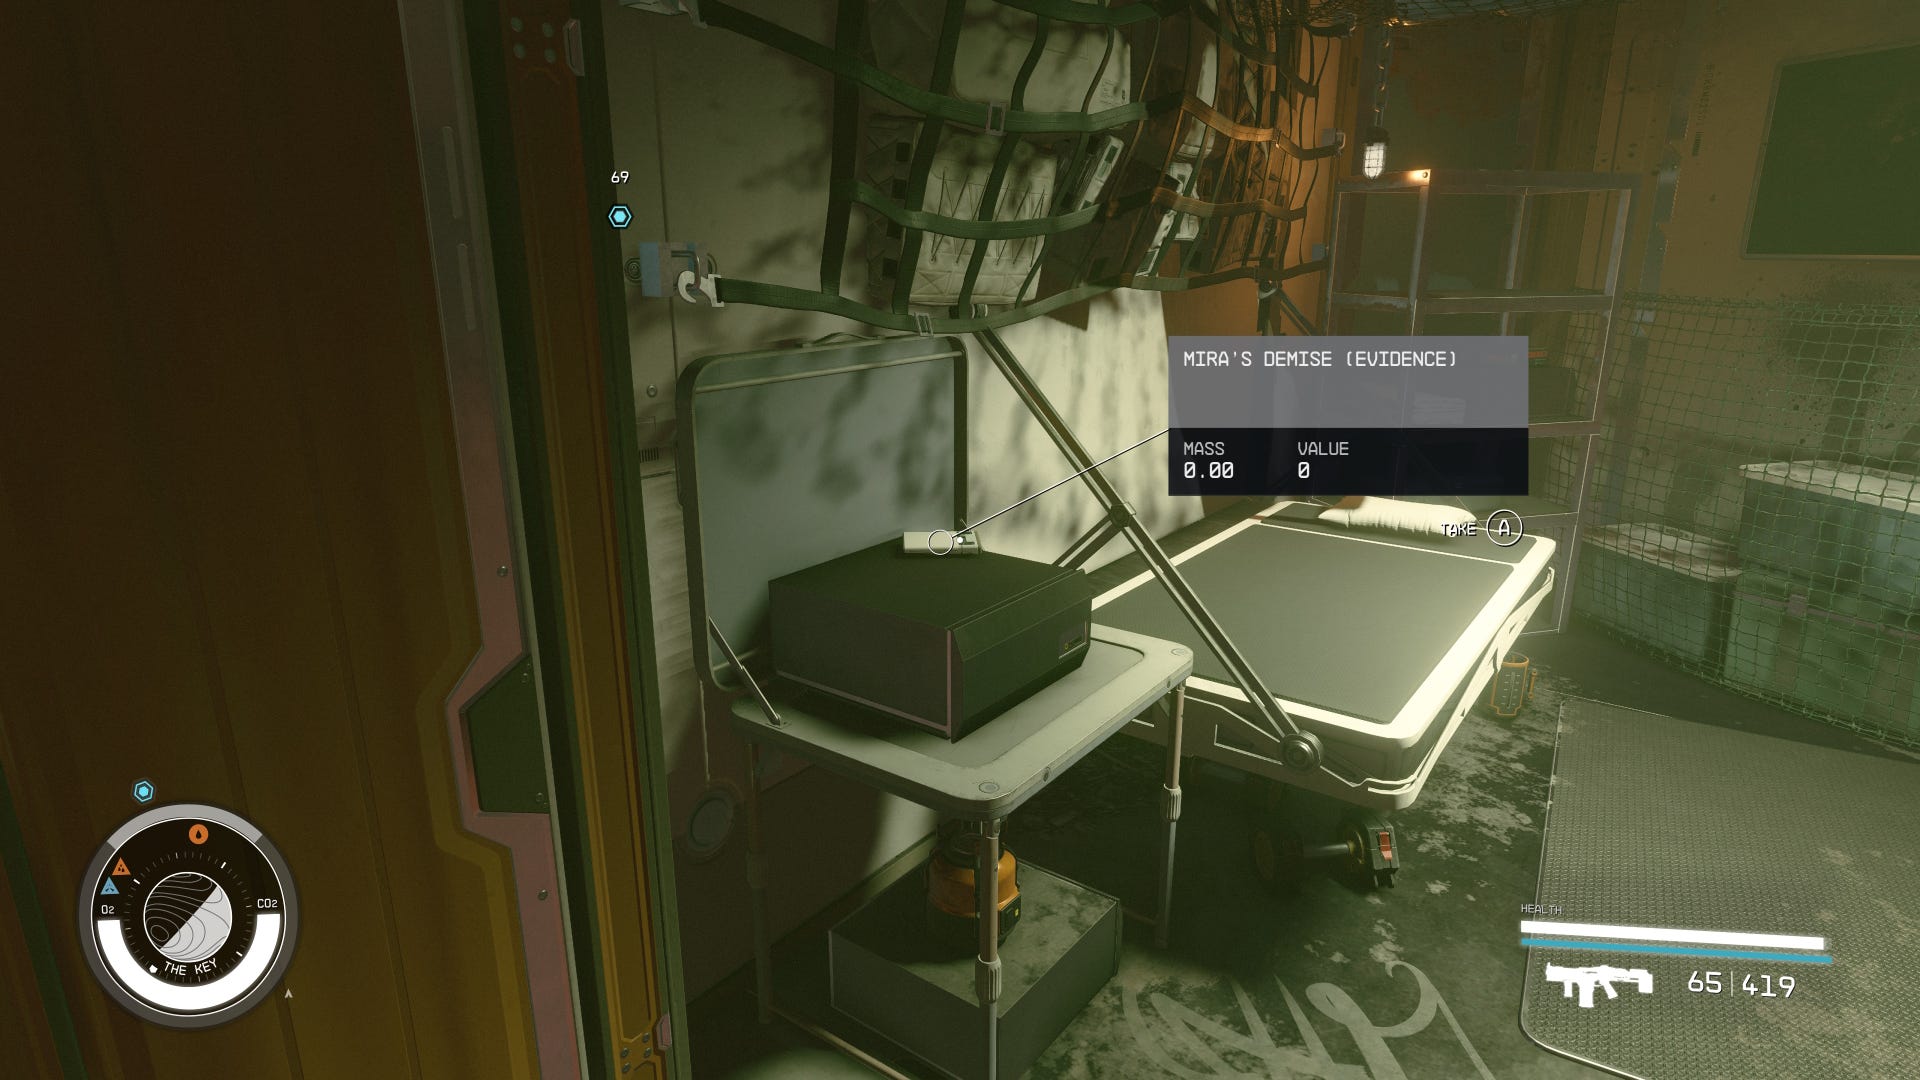
Starfield Burden of Proof evidence location 6
Location: The Key (orbiting Subrov, Kryx system)
Mission: Any (after Rook Meets King)
Evidence Name: Mira's Demise
The last evidence log on the Key space station for Burden of Proof is located at the back of the Bunks area, on top of a black object sitting on a square table by the entrance. It's the room with the large weight in the corner, behind the drawing of a skull on the wall.
You can get to the Bunks area by taking a left inside The Reckoner's Core, with The Reckoner's Core found by going straight forward after entering the Key from the docking area.
Starfield Burden of Proof evidence location 7
Location: Siren of the Stars (orbiting Aranae IV, Aranae system)
Mission: Breaking the Bank
Evidence Name: Request Denied
This evidence text log for Burden of Proof is located on a shelf to the left of the bed in the large living area with the kitchen. You can find this room by going directly forward when you enter the Crews Quarters area after speaking with Rokov at the start of 'Breaking the Bank'. The entrance to the correct room is beside a red vending machine.

Starfield Burden of Proof evidence location 8
Location: Siren of the Stars (orbiting Aranae IV, Aranae system)
Mission: Breaking the Bank
Evidence Name: Gabriel Vera's Transaction Log
You get this evidence log naturally during the 'Breaking the Bank' Crimson Fleet mission after speaking with Gabriel Vera in his room after you disable the life support systems. Pay him the 2,500 Credits he wants to peacefully get the information and move on with the rest of the quest.

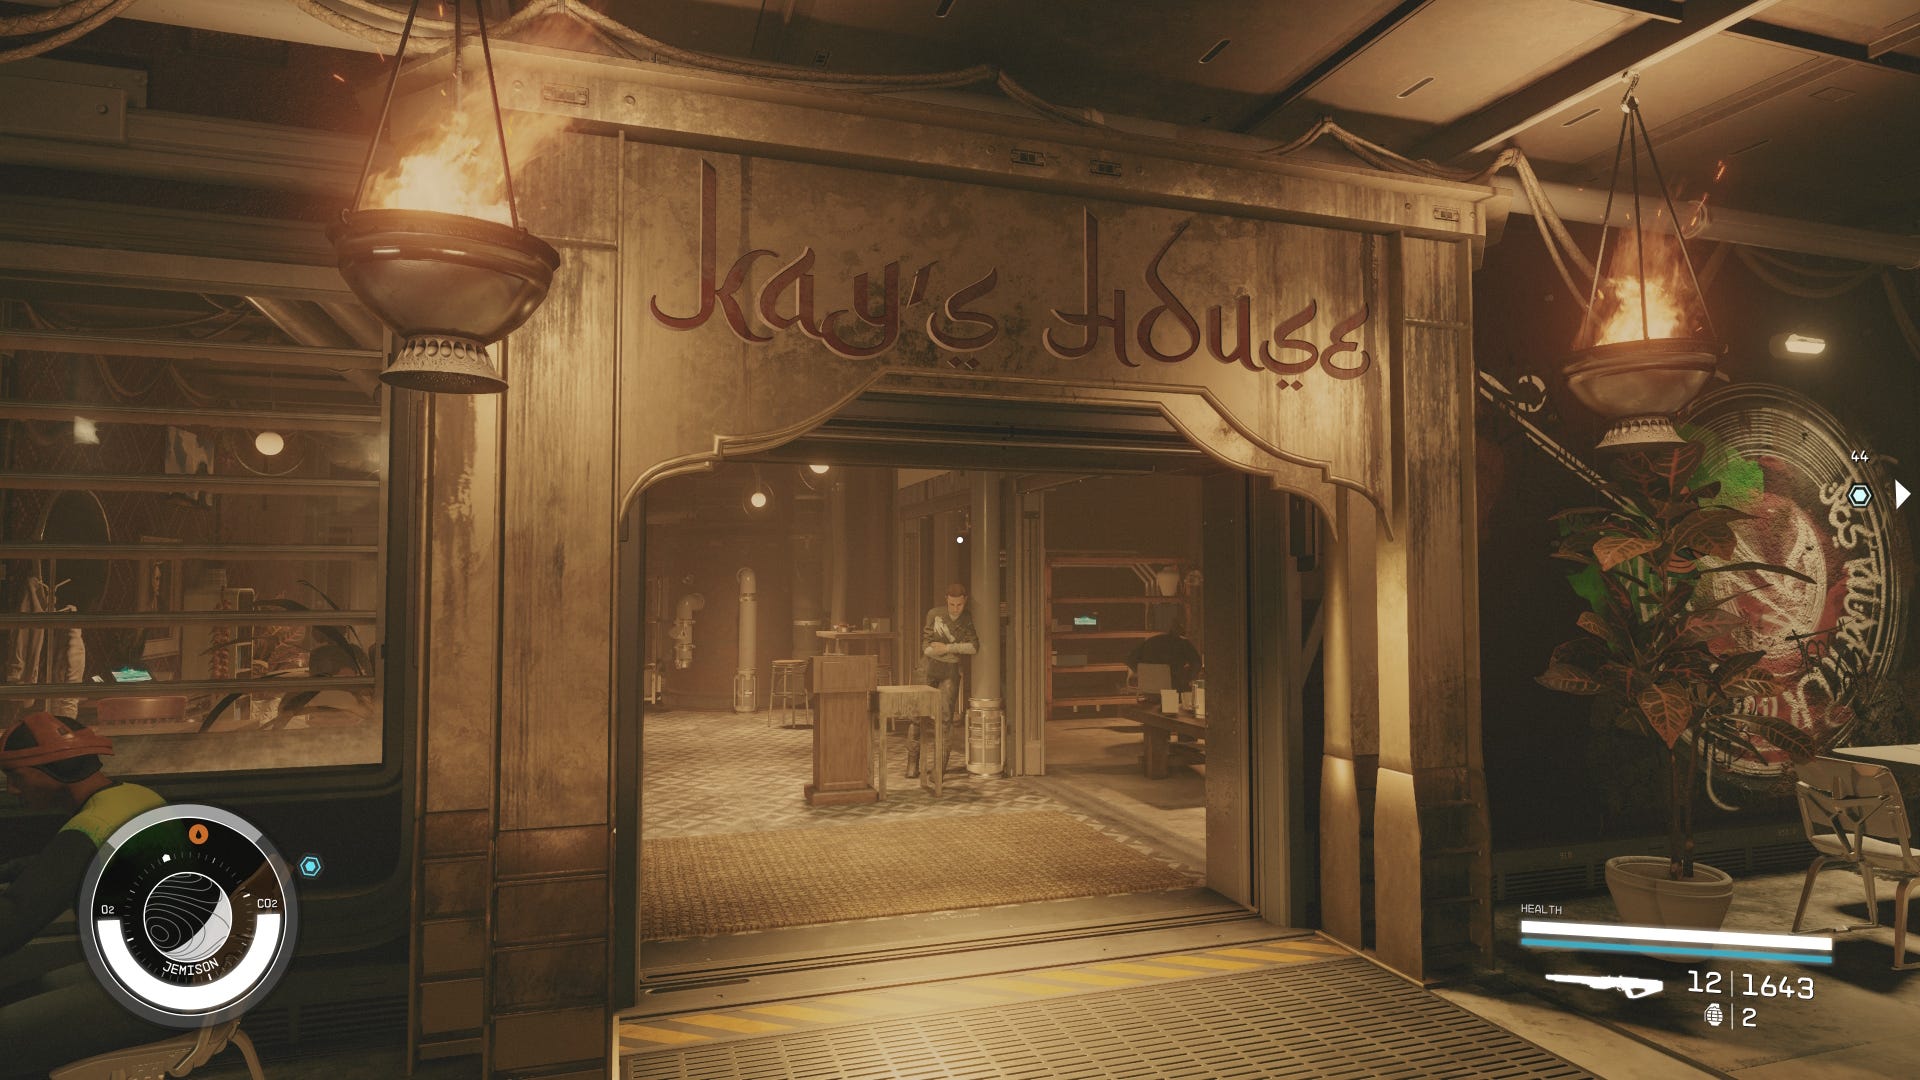
Starfield Burden of Proof evidence location 9
Location: The Well, New Atlantis (Jemison, Alpha Centauri system)
Mission: The Best There Is
Evidence Name: Huan's Talk
After speaking with Huan Daiyu during 'The Best There Is' Crimson Fleet mission, go down the stairs to Huan's right and then take a left into the Kay's House restaurant. Go though to the kitchen and look right to find this evidence log on a bench beside the beer fridge.

Starfield Burden of Proof evidence location 10
Location: SY-920 space station (orbiting Luyten's Rock, Luyten system)
Mission: The Best There Is
Evidence Name: Eubanks and Woods
This evidence log is located in the Research Labs area of the SY-920 space station while on 'The Best There Is' Crimson Fleet mission. Specifically, it's downstairs in Dr. Gabriel Vogel's lab. You'll naturally come here during the mission if you don't raise the alarms.
When you get to the lab, head through the back door and look right to find the evidence on top of a black trolly.

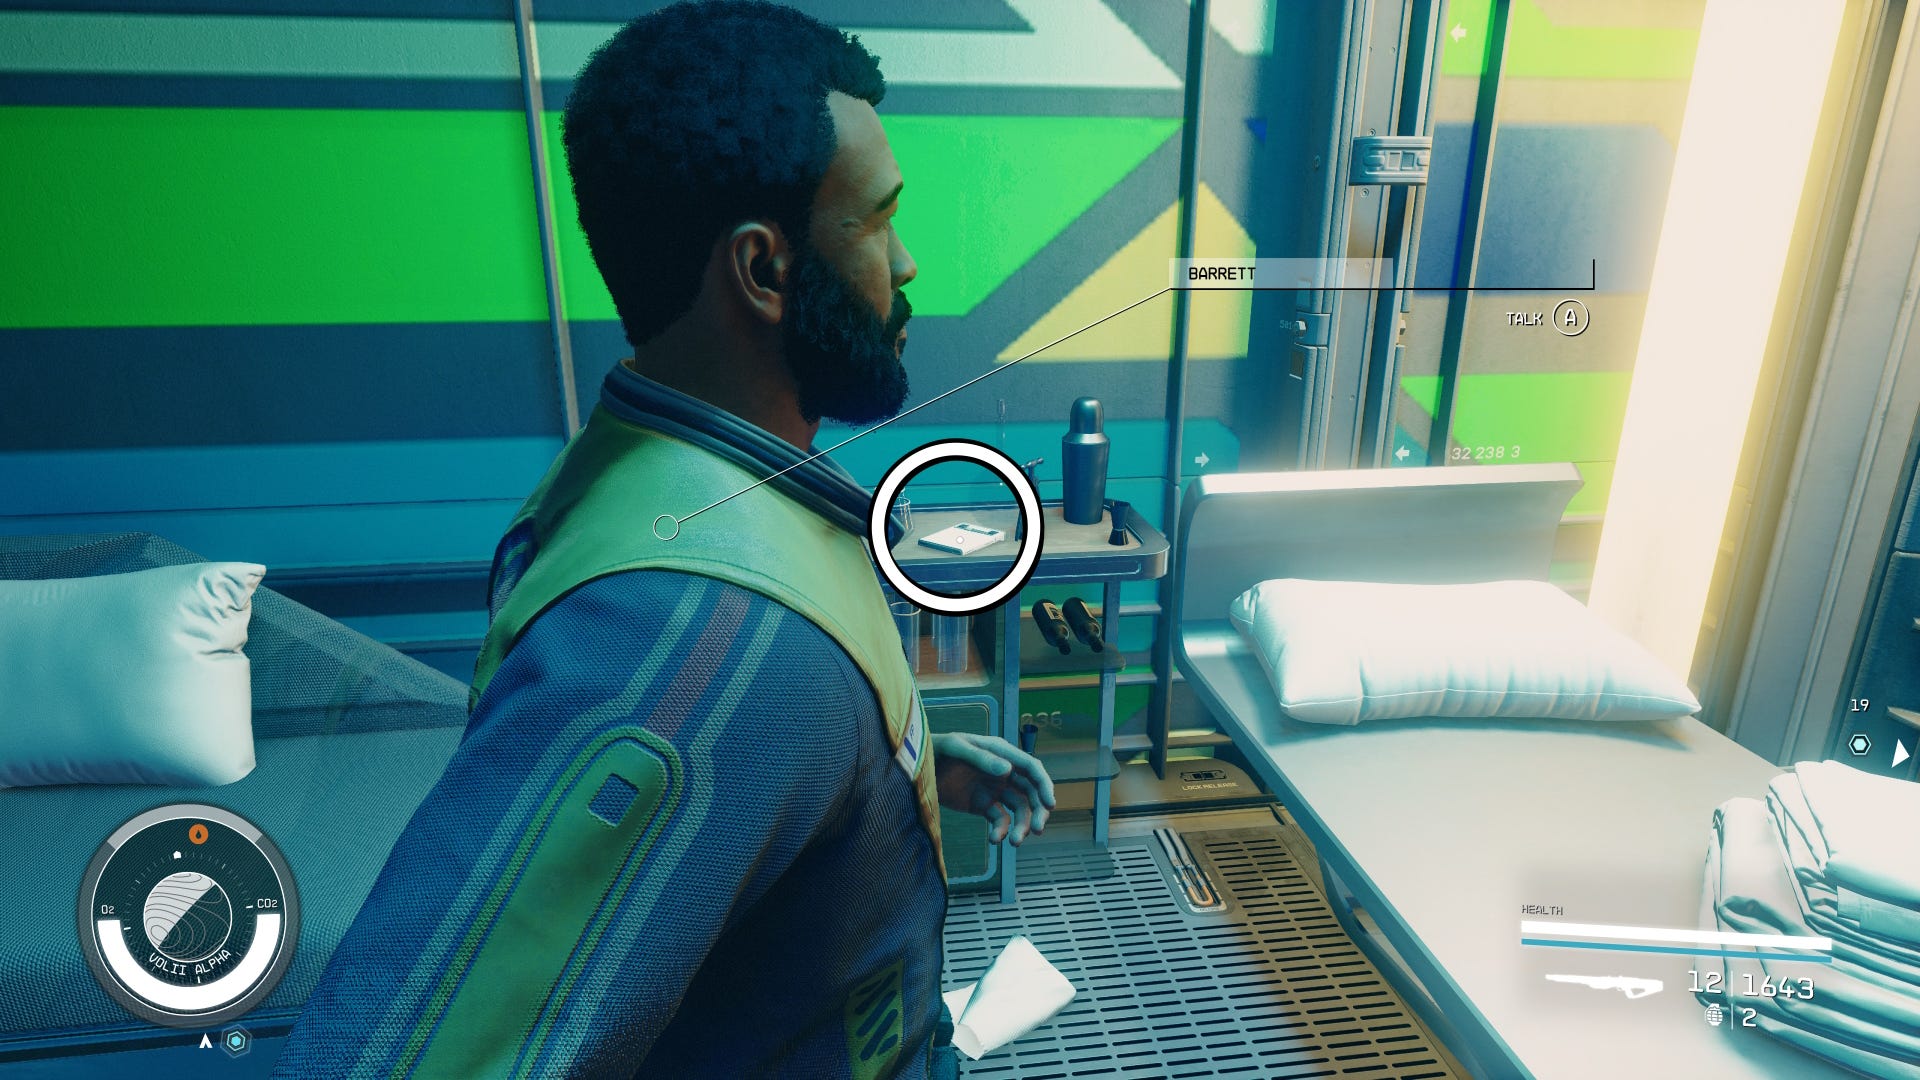
Starfield Burden of Proof evidence location 11
Location: Madam Sauvage's Place, Neon (Volii Alpha, Volii system)
Mission: Absolute Power
Evidence Name: The Big Score
Right at the start of the 'Absolute Power' Crimson Fleet mission you have to go to Madam Sauvage's Place on Neon to speak with Estelle Vincent. During this mission, go through the door on the bar's left to find this Burden of Proof evidence log on the table beside the bed.
Starfield Burden of Proof evidence location 12
Location: Generdyne Industries, Neon (Volii Alpha, Volii system)
Mission: Absolute Power
Evidence Name: Meeting With Bayu
After speaking with Estelle Vincent for the first time during the 'Absolute Power' Crimson Fleet mission, follow the optional quest to the elevator at the end of Neon's main hub area and take it up to Generdyne Industries. You'll then have to persuade Ji Nashida at the desk to let you into Komiko's office.
In Komiko's office, you'll find this evidence for Burden of Proof inside the safe.

Starfield Burden of Proof evidence location 13
Location: Euphorika, Neon (Volii Alpha, Volii system)
Mission: Absolute Power
Evidence Name: Ayumi's Offer
The main quest of 'Absolute Power' will take you to the VIP section of the Euphorika bar naturally to speak with Ayumi Komiko. While here, you'll find this evidence log located behind the bar as you enter the area and look right.

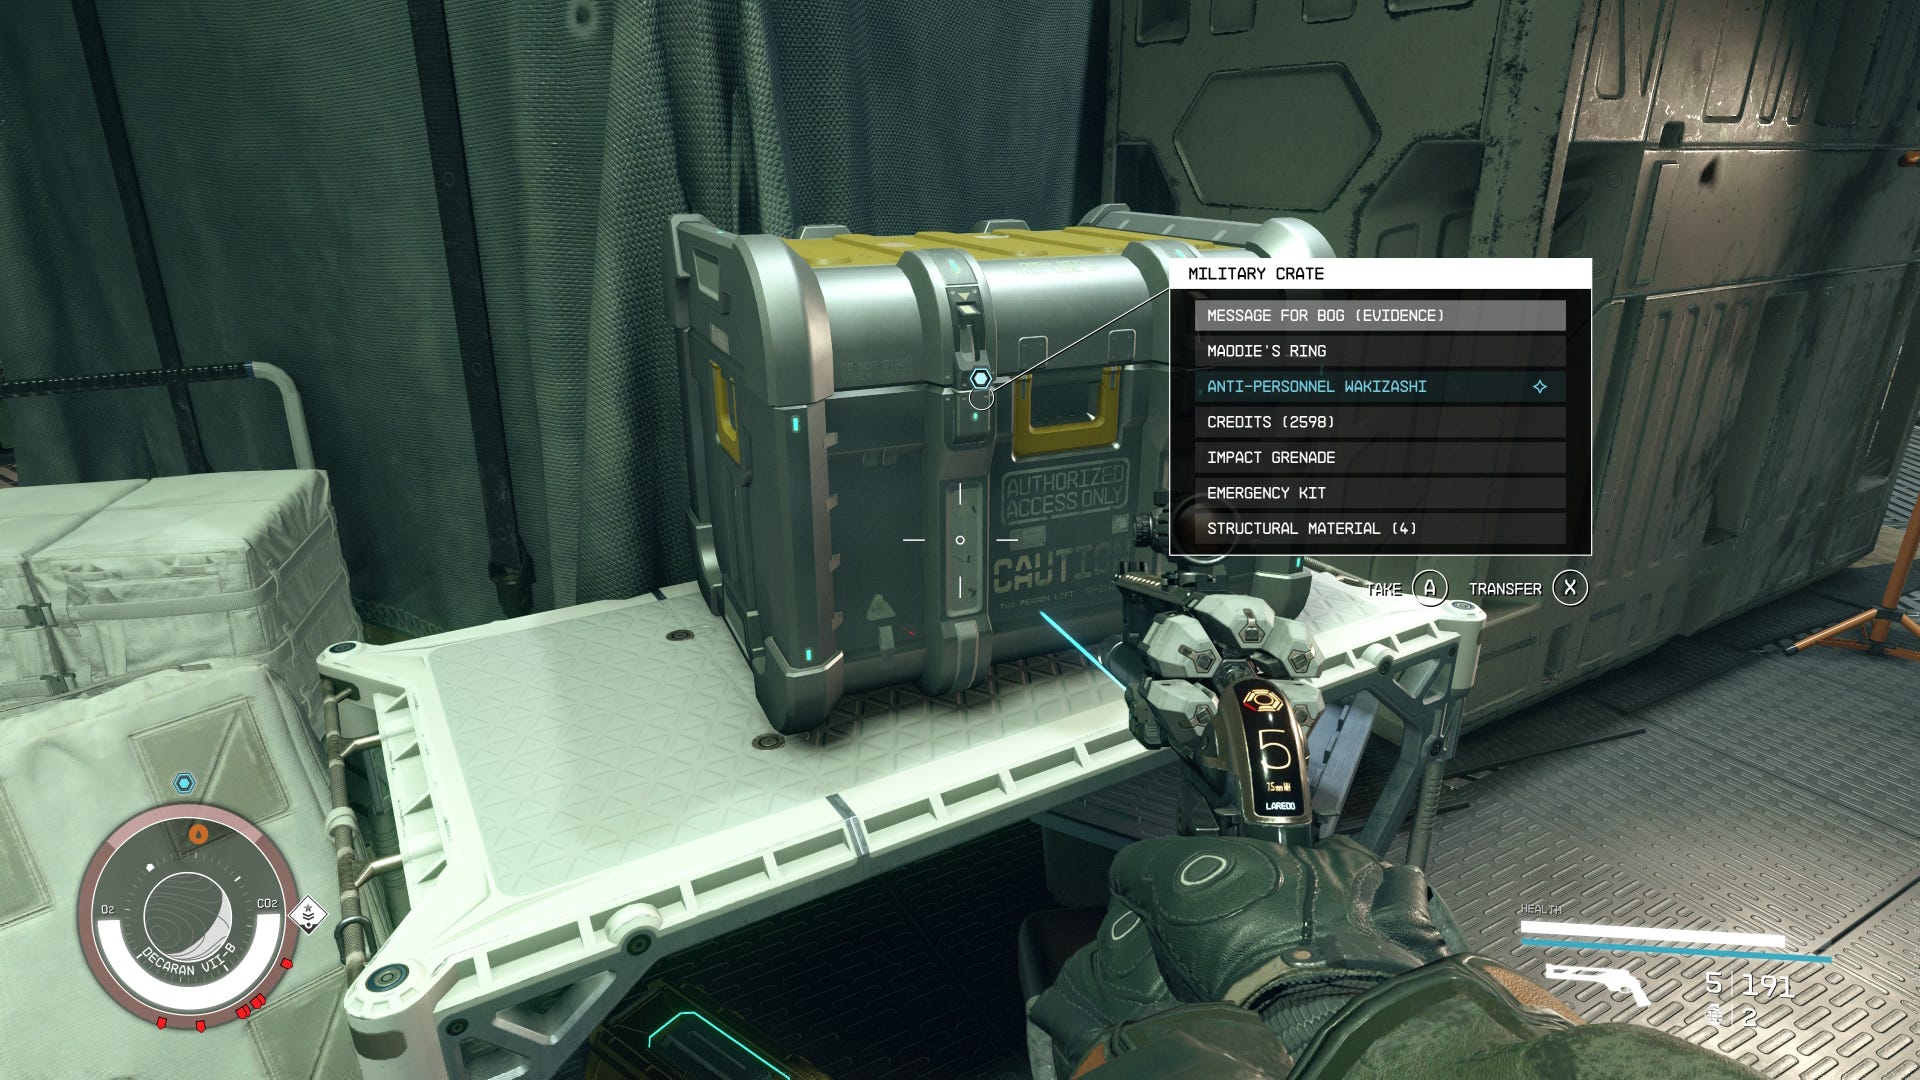
Starfield Burden of Proof evidence location 14
Location: Deserted Ecliptic Garrison (Decaran VII-b moon, Decaran system)
Mission: Reclaiming the Past (side quest)
Evidence Name: Message for Bog
Talk to Bog at The Last Nova bar on The Key to pick up the 'Reclaiming the Past' side mission anytime before speaking to Delgado for the first time during 'Eye of the Storm' to ensure you get access to this evidence log.
The bad news is that the Deserted Ecliptic Garrison is not, in fact, deserted, as it's packed with mercenaries. The good news is that you can boost jump up to the objective marker at the top of the base to search the box containing this evidence log without fighting the enemies. This will save you a lot of time and ammo. Don't forget to pick up the ring in the safe so you can bring it back to Bog as part of this side quest!
Starfield Burden of Proof evidence location 15
Location: The Clinic (orbiting Deepala, Narion system)
Mission: Doctor's Orders (side quest)
Evidence Name: Gennady Ayton
Talk to Doctor Samina at the clinic on The Key to pick up the 'Doctor's Orders' side mission anytime before speaking to Delgado for the first time during 'Eye of the Storm' to ensure you get access to this evidence log.
Before speaking with Gennady Ayton on The Clinic as part of the 'Doctor's Orders' Crimson Fleet side mission, look at the stack of machines behind him to find this evidence log.

Starfield Burden of Proof evidence location 16
Location: Gagarin Landing (Gagarin, Alpha Centauri system)
Mission: None
Evidence Name: Chiroptera
This piece of evidence is on a bar counter to the right of bartender Lizzy Ajello on the Gargarin Landing spot on the planet Gagarin. Once you exit your ship, keep going forward to find this bar at the very back, to the left and up the stairs from the huge Liberty Square Monument statue.

Starfield Burden of Proof evidence location 17
Location: The Den (orbiting Chthonia, Wolf system)
Mission: None
Evidence Name: Kreet Offer
All you have to do to get to this evidence location in Starfield is grav jump to The Den in the Wolf star system, then walk forward to the small tables overlooking the bar to find the evidence text log on the middle table.
The Den is also one of the best places to sell your Contraband, so you might want to schedule it as a regular stop in your future travels.

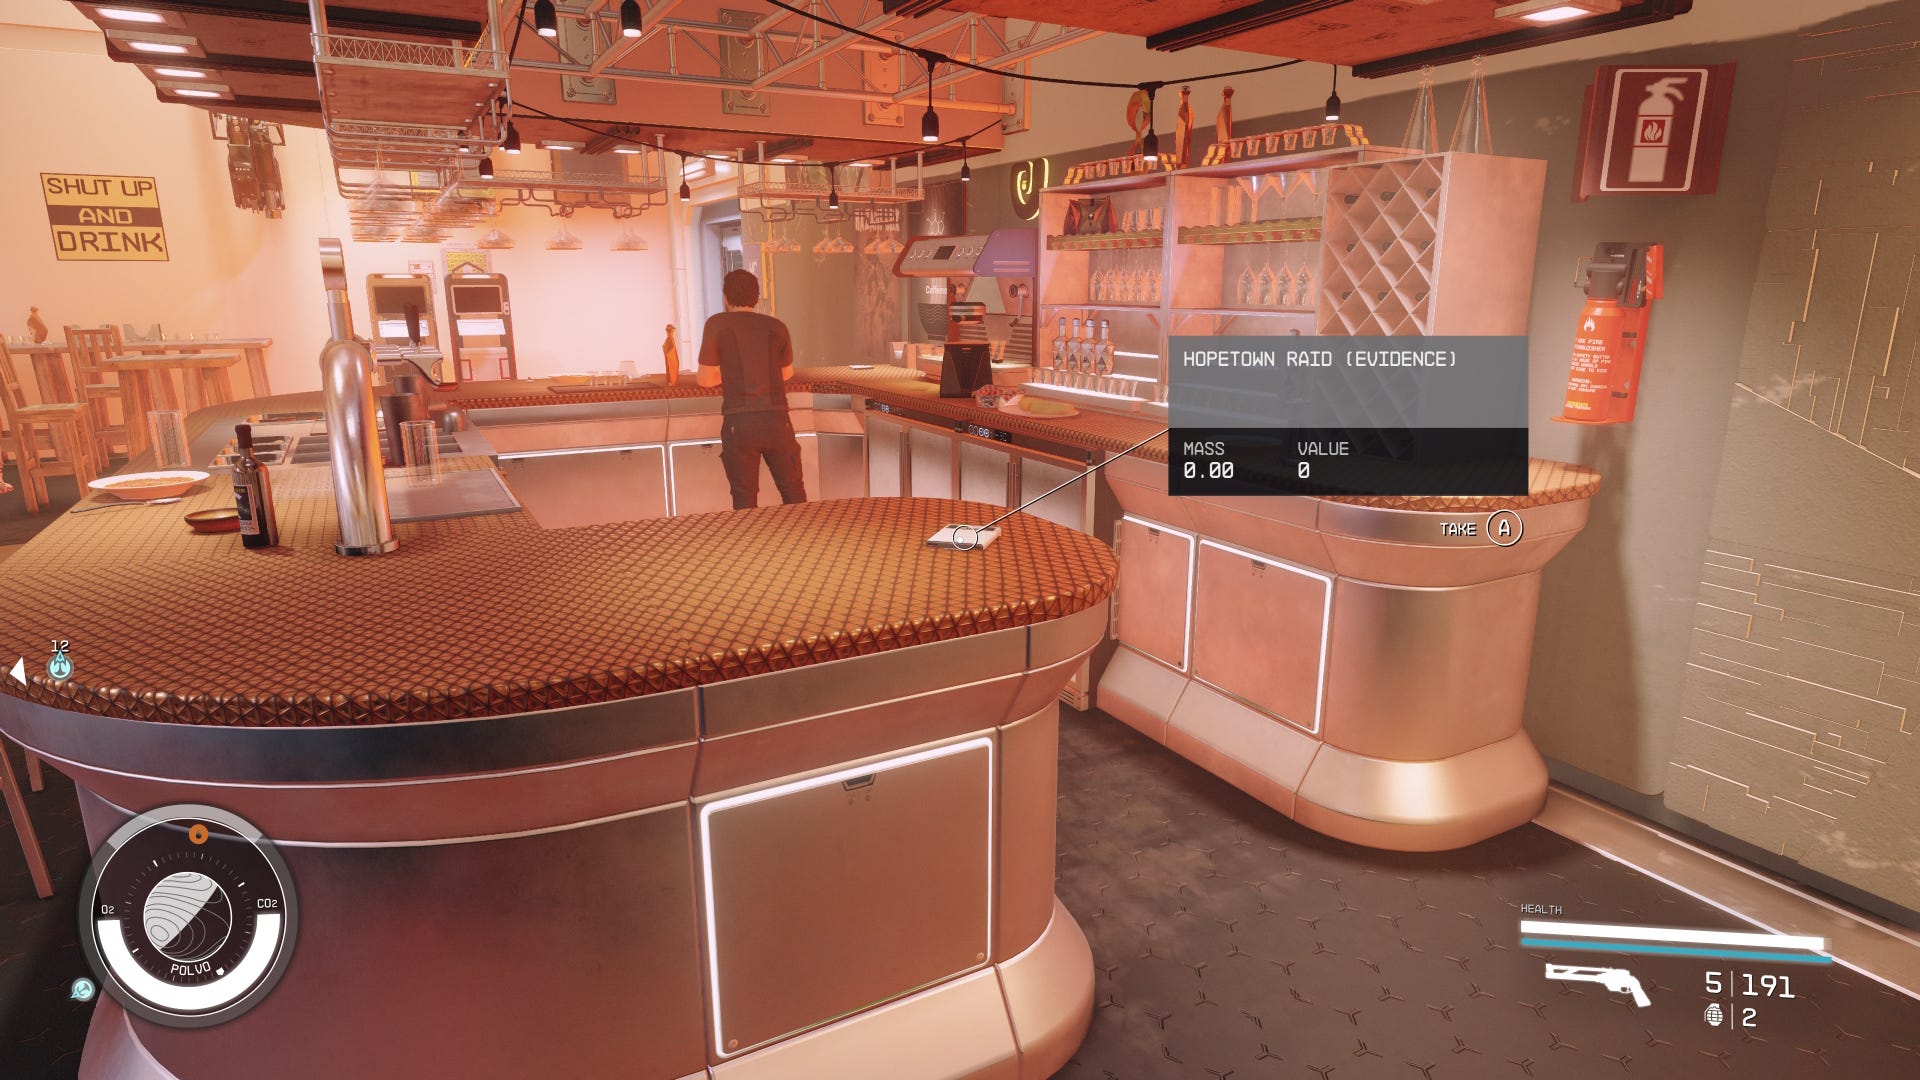
Starfield Burden of Proof evidence location 18
Location: Pit Stop bar, Hopetown (Polvo, Valo system)
Mission: None
Evidence Name: Hopetown Raid
Another simple Burden of Proof evidence location is in Hopetown's Pit Stop bar, which is right in front of your ship's landing position. Go to the bar counter inside Pit Stop to find this evidence log on the right.

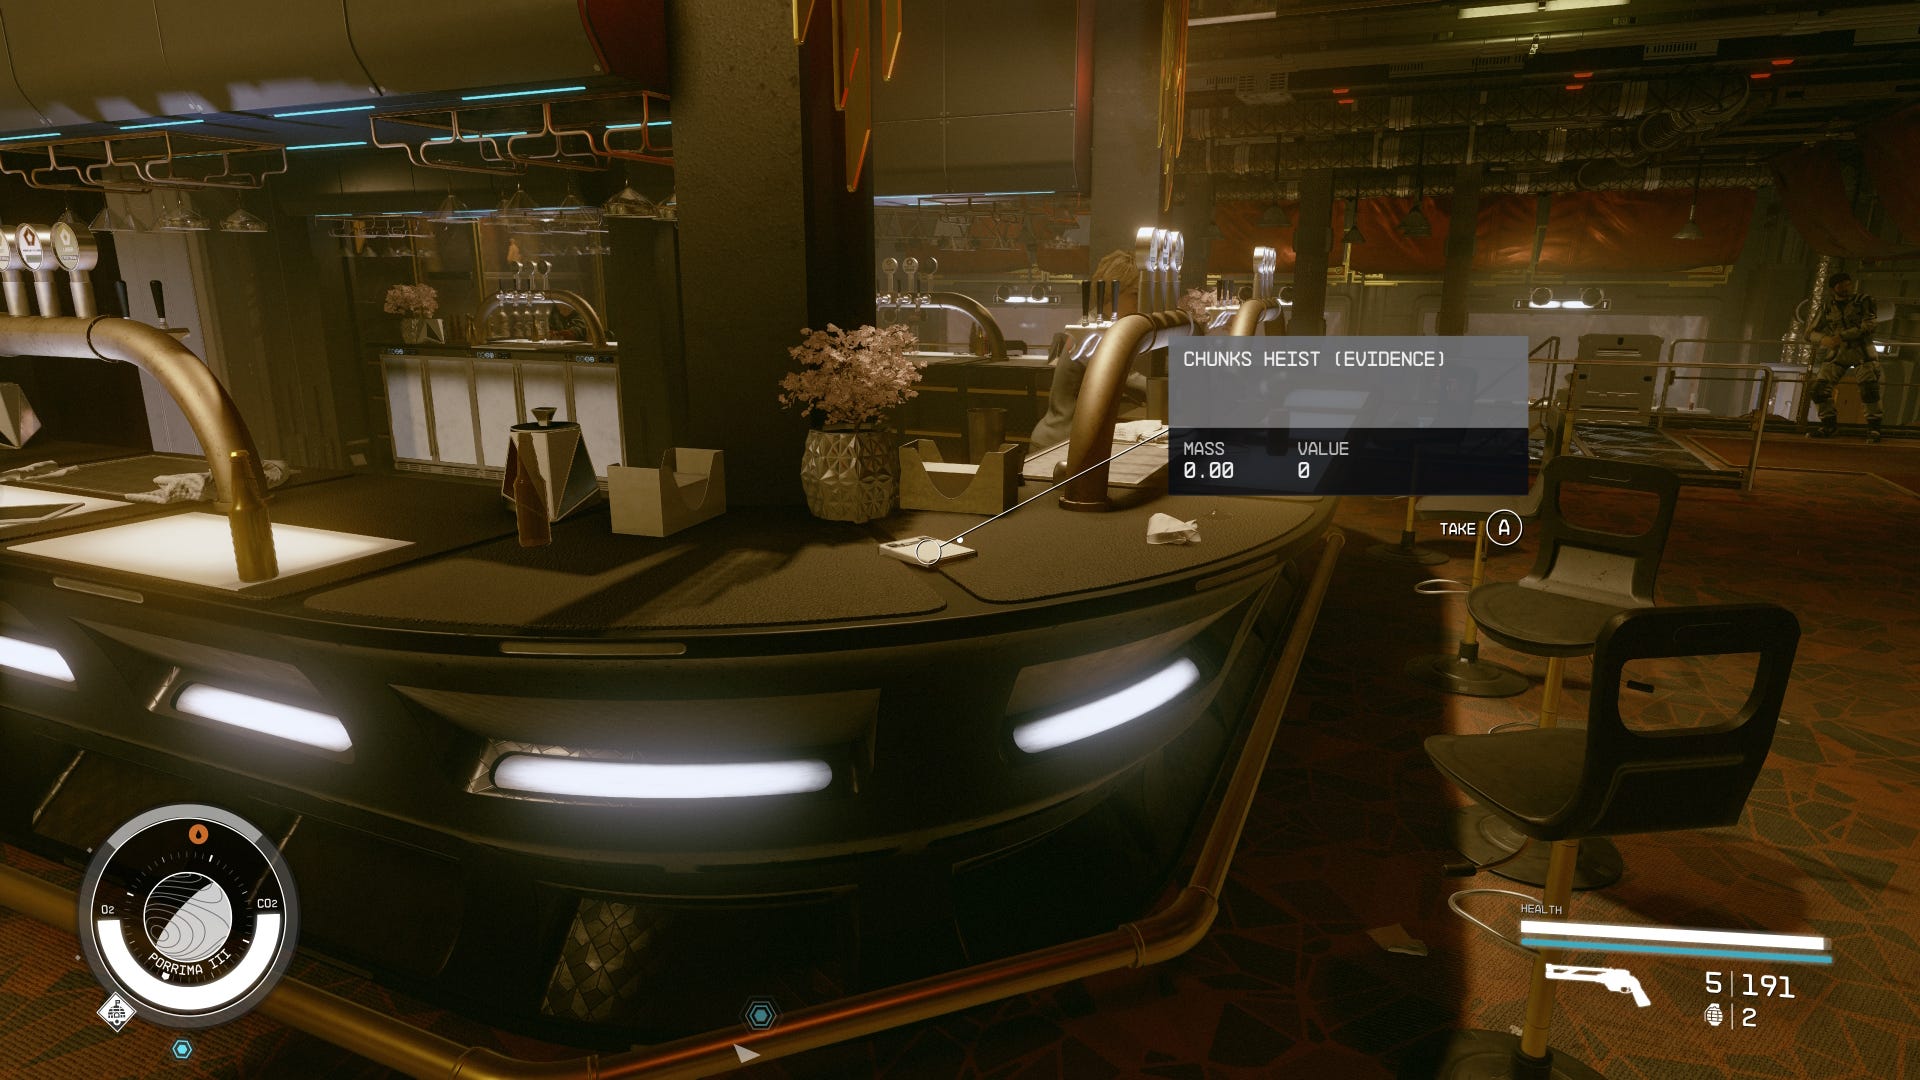
Starfield Burden of Proof evidence location 19
Location: Red Mile (Porrima III, Porrima system)
Mission: None
Evidence Name: Chunks Heist
The last piece of evidence not found during a mission is located on the Red Mile's bar counter, to the left of bartender Sati Chandra. While you're here, you might also want to try your hand at running the Red Mile.
Starfield Burden of Proof evidence location 20
Location: Kryx's Legacy ship (Bannoc IV, Bannoc system)
Mission: Eye of the Storm
Evidence Name: GBLR0 Mortem Obire
Once you've found Kryx's body at the end of the Legacy ship, look below his body to find this final Burden of Proof evidence location in amongst the stack of Credsticks. Make sure to also pick up Kryx's Legendary Revenant rifle opposite his body before you leave!

Starfield Burden of Proof reward
The reward for handing in 15 evidence logs to Jillian Toft on the UC Vigilance after talking to Jillian about her past is the Memento Mori Legendary Pistol.

The picture above shows our Memento Mori's raw stats, but yours might be slightly different depending on how your weapon roll goes, so you might want to save before handing in your 15th piece of evidence to try and get a slightly better version of the gun. However, the following useful weapon Perks will always be the same:
- Crippling - Deals +30% damage on the next attack after hitting a target's limbs
- Cornered - Damage increases as health decreases
- Demoralising - Small chance to demoralize a target
- Laser Sight
- Tactical Grip
- Explosive Rounds
- High Powered
You also get 2,100 Credits for each piece of evidence handed over to Jillian, for a total of 42,000 Credits if you bring her all 20 evidence logs, and 31,500 if you only hand over the 15 essential evidence logs.
Hope you enjoy using Jillian's Memento Mori pistol!