How to run the Red Mile in Starfield
How to find and survive the Red Mile run.

The Red Mile in Starfield is a type of bloodsport taking place on Porrima III. Patrons will bet on a runner's chance of surviving the infamous Red Mile obstacles and creatures. If you run the mile and survive, you'll be rewarded.
As with many parts of space in Starfield, the Red Mile is governed by its own rules and betting on participant's survival is all part of making and losing money in the cafeteria. It can sound quite intimidating at first, but running the Red Mile can be an easy way of earning Credits once you've done it a few times.
Without further ado, we're here to show you how to run the Red Mile in Starfield.
On this page:

If you’d like more help in your galactic adventures, visit our Starfield guides, tips and tricks page.
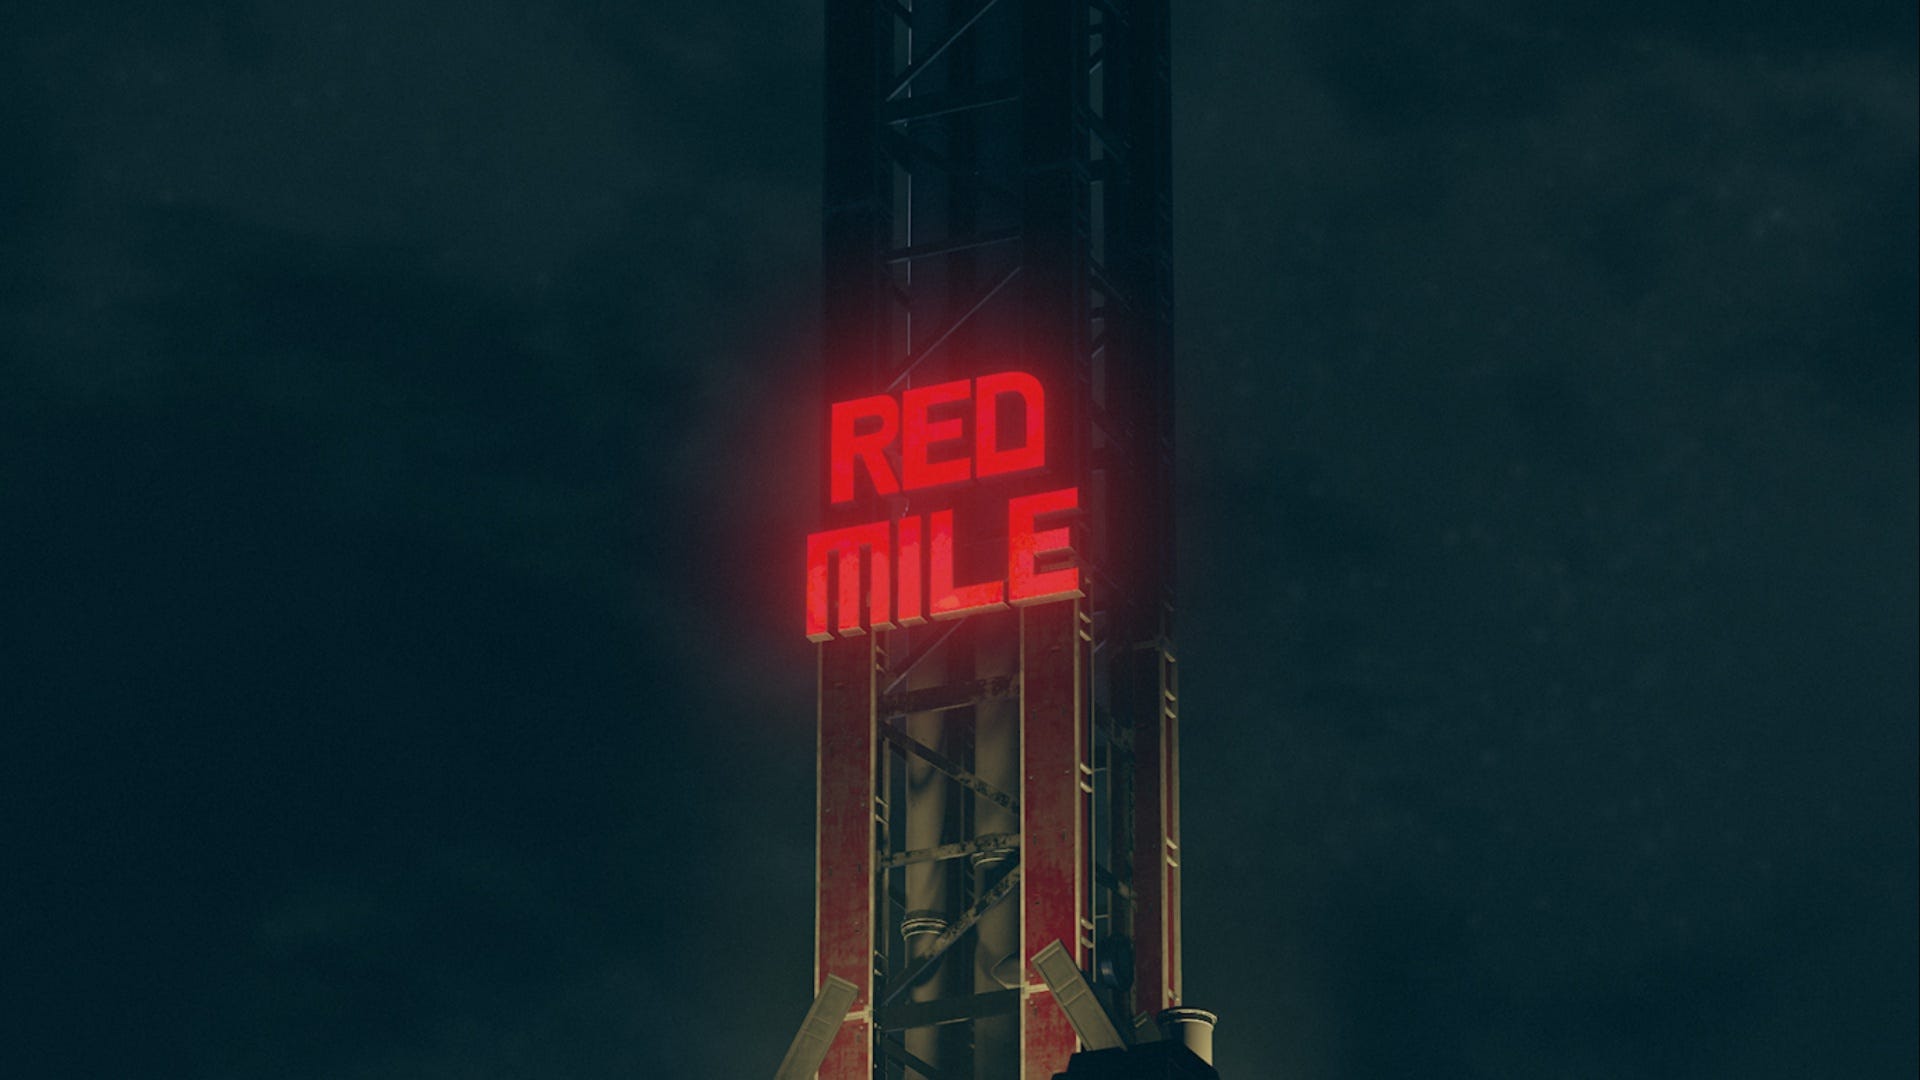
Red Mile location in Starfield
The Red Mile cafeteria is located on Porrima III in the Porrima System in Starfield. On your system star map, it's east of Olympus and far east of Alpha Centauri.
You can visit this system as soon as you've completed 'One Small Step' and 'The Old Neighbourhood' main story quests. Also, you'll end up at the Red Mile if you decide to become a Freestar Ranger too - so there are plenty of opportunities to go there if you're not up to it right away.
We do recommend only visiting the Red Mile after spending at least 15+ hours in game. Usually, this is when you'll have enough high-level armor, aid, and weaponry to help you through it. We also highly advise taking a companion with you to the Red Mile, they can make it a lot easier.
How to run the Red Mile in Starfield
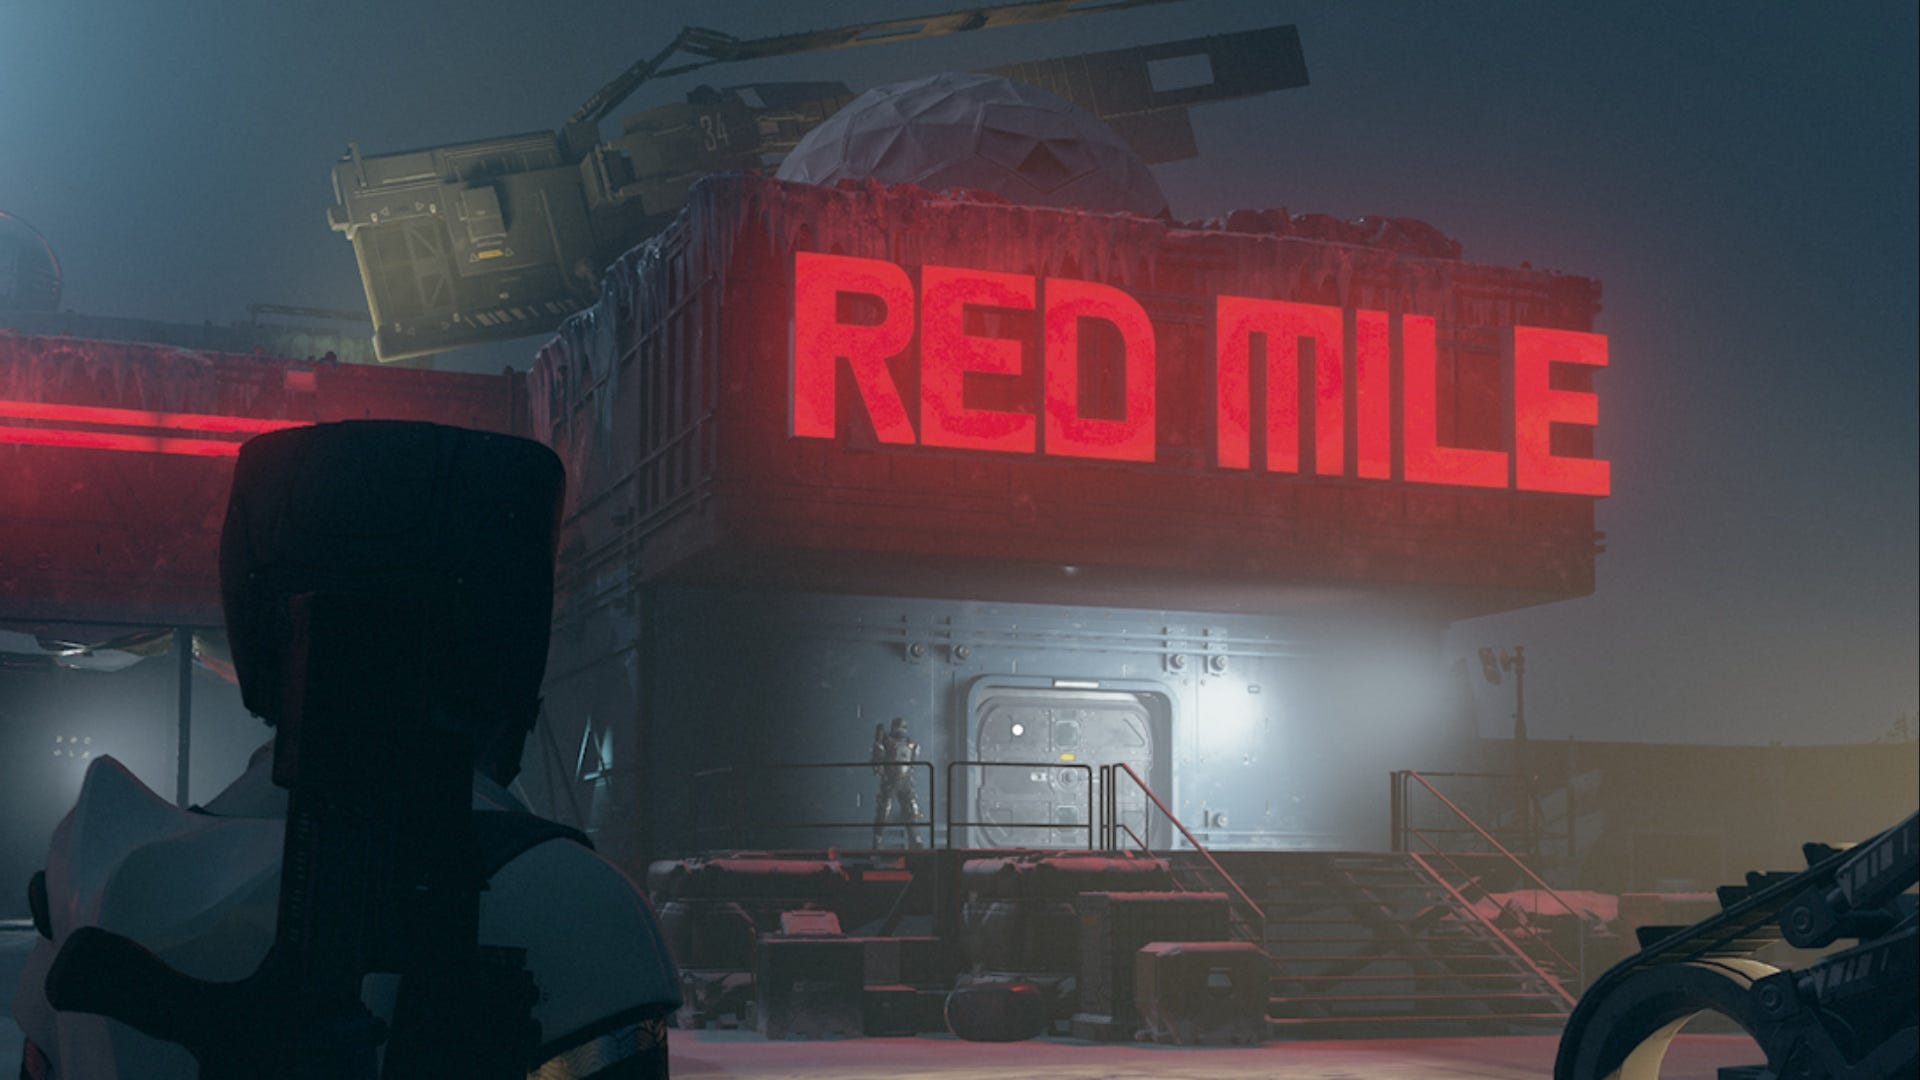
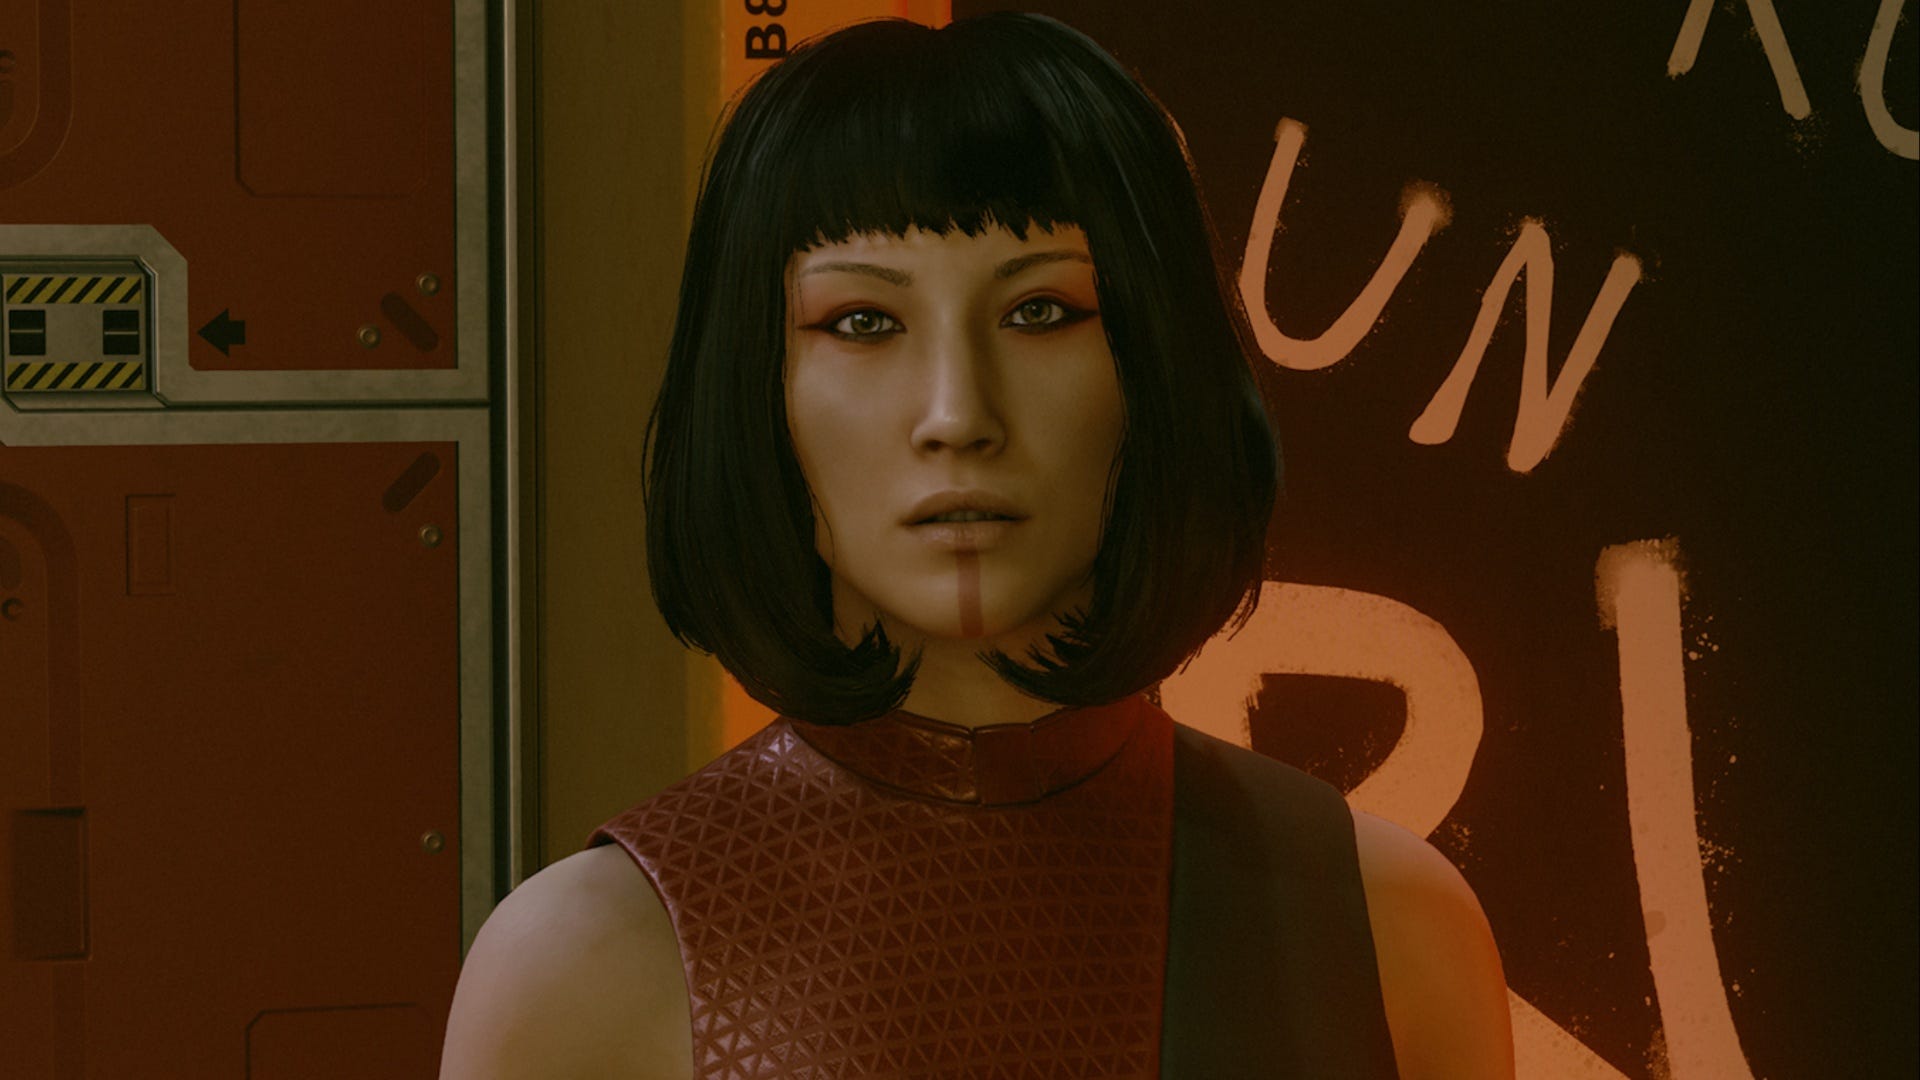
To run the Red Mile in Starfield, you need to head into the Red Mile cafeteria and speak to Mei Devine. When speaking with them, the option to say 'I want to run the Red Mile' will appear. Select this, and then Mei will ask if you're sure. This will be your last chance to prepare yourself for the run, so make sure you are 100% ready.

The goal in the Red Mile run is to make it to the tower at the end of the pass, activate the beacon and then make it back to the cafeteria without dying. This is why preparation is key, there are plenty of things that want you dead on your way to the tower and back.
We recommend taking plenty of weapons, ammunition, throwables and aid items with you. Once you're down there, you'll only have what you take with you.
When you are sure you're ready, confirm it with Mei and then wait for her to make her announcement on the stage near the entrance to the Red Mile run.
Once she's made her big announcement, head down the stairs to the left of the stage and you'll come across a few workbenches. You can use these to prepare before heading down into the main part of the run. Also, from up here, you can see the tower you need to get to.
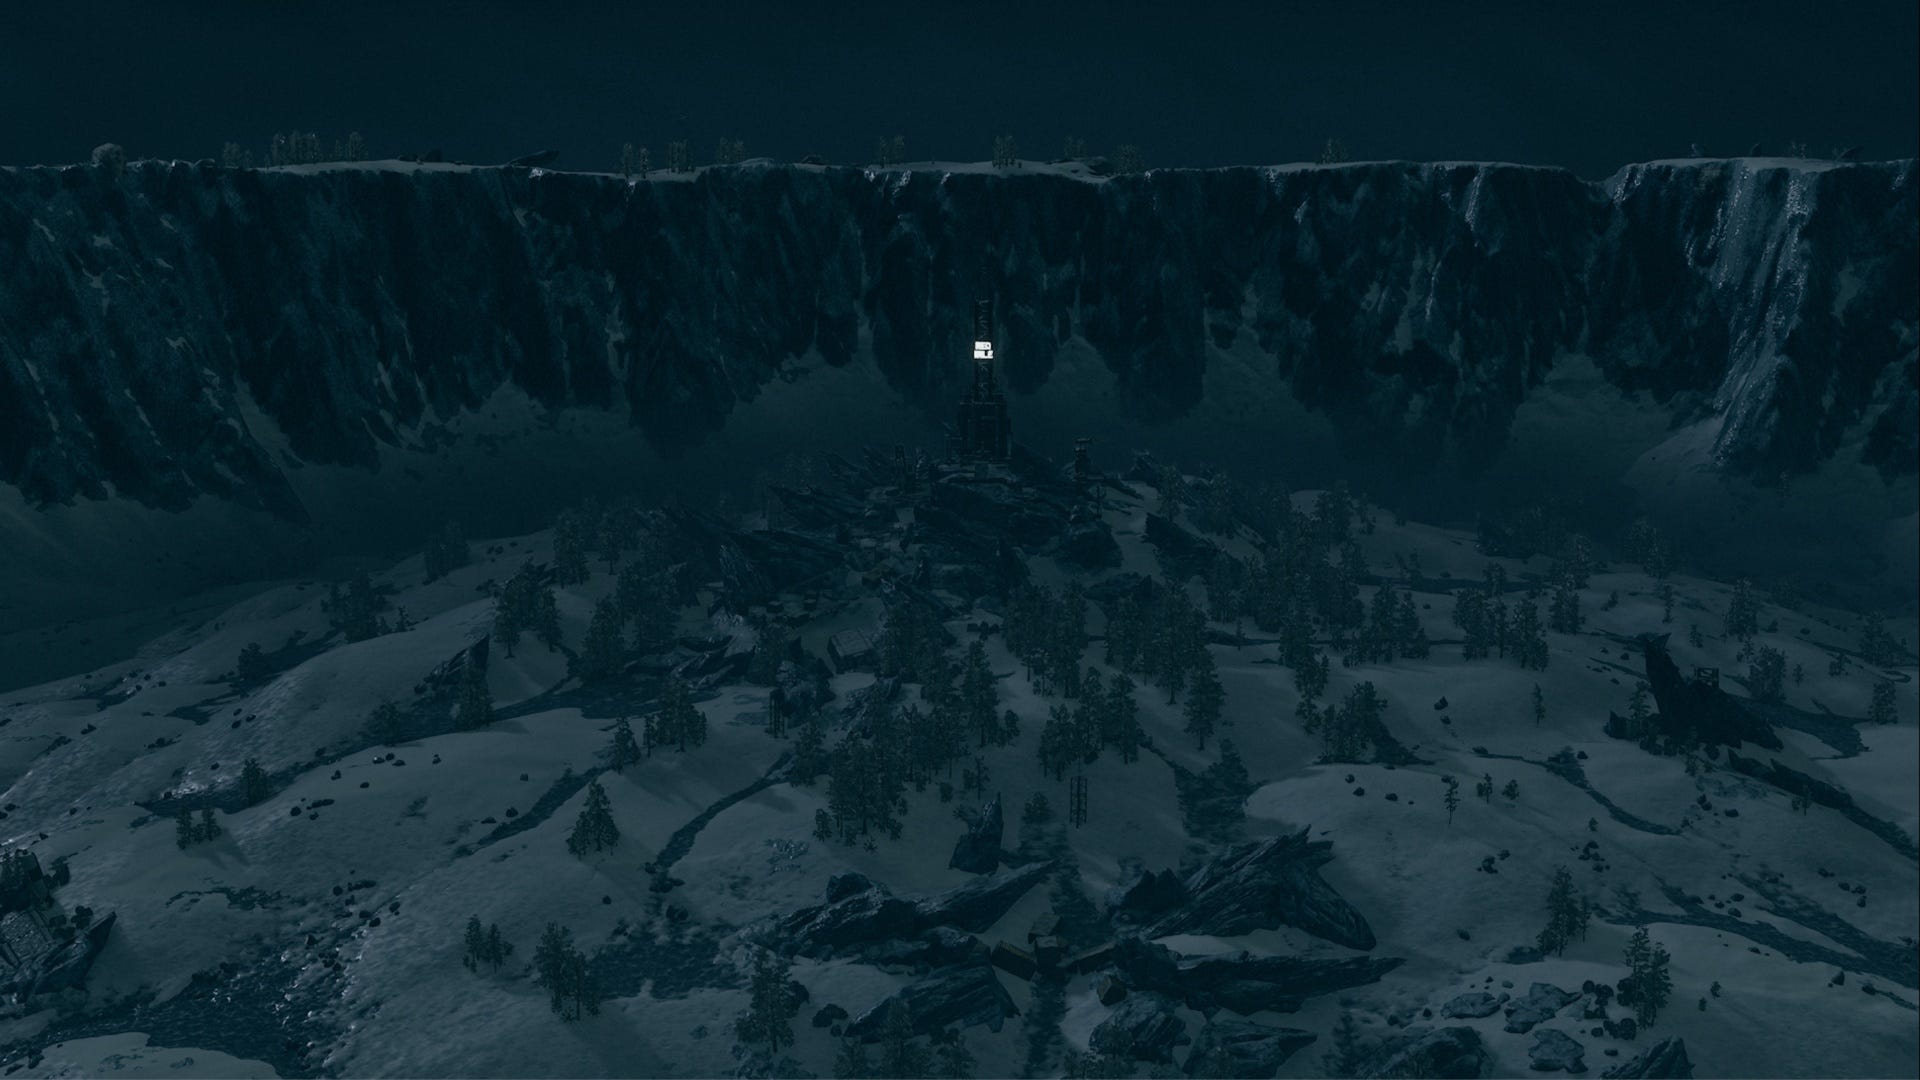
Then, head down the metal stairs to the elevator and ride it down to the start of the Red Mile run. There isn't a time limit on your run, so you can take as much time as you want to.
On the way, you'll face several obstacles but the biggest ones are the Red Mile Maulers. These are hardy creatures that really pack a punch. Where you can, we recommend trying to keep to the high ground above them, otherwise they will headbutt and trample you.
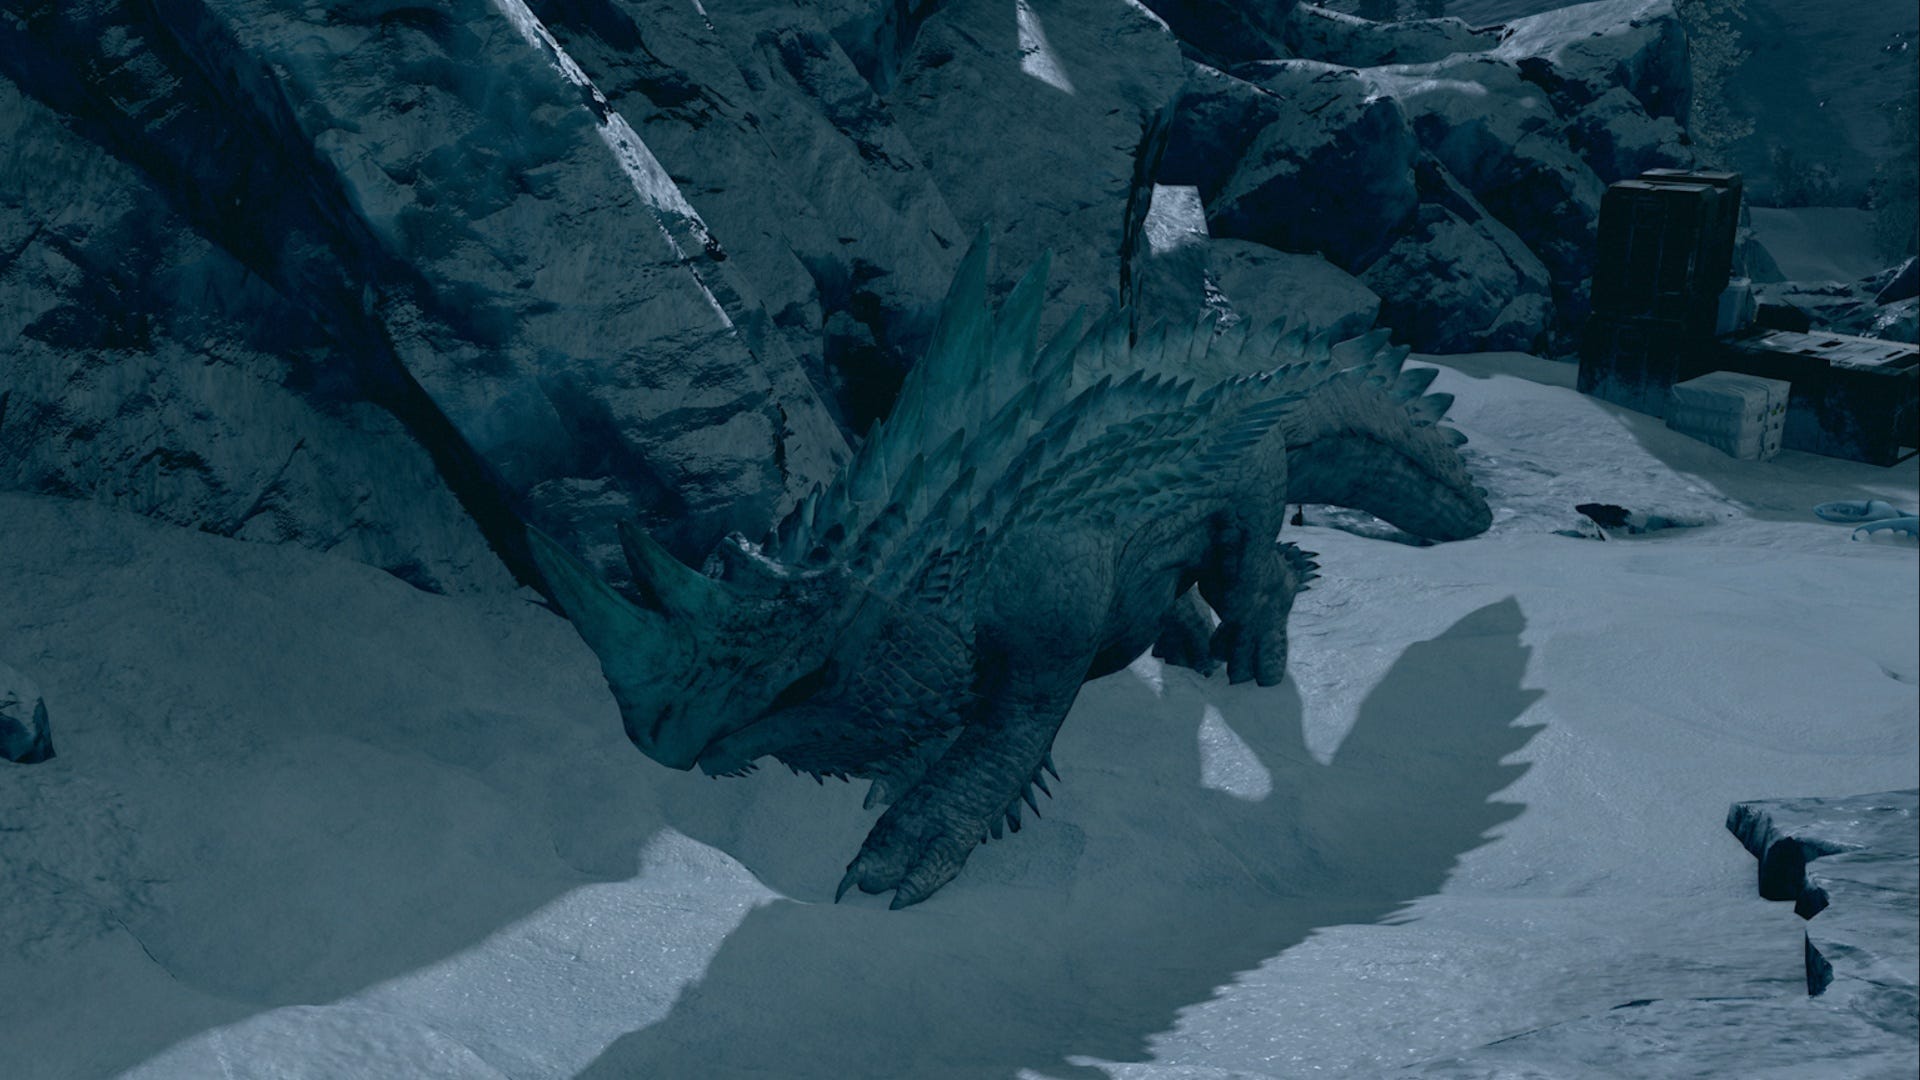
Also, you could spend ages trying to fight them off and take the down but you really don't need to. You just need to keep them away from you so that you can get to the tower at the end of the pass. We found that using our scanner to quickly look for Maulers hiding in bushes and crates helped us take a route around them without being caught.
Once you get to the tower, climb the stairs to the middle of it and activate the podium beacon here. Your only job now is to get back to Mei alive. However, activating the beacon does draw a lot of attention to you.
You can easily get swarmed by Red Mile Maulers on the way back, so keep running. Use anything on hand to help you heal, speed up, and get out of there without being killed. On our run, we found it easiest to stick to the higher rock formations using our Boost Pack and then running around the edges of the Red Mile to make it back to the elevator safely.

Once you've gotten back to the cafeteria safely, go and speak to Mei again to claim your reward.
Rewards for completing the Red Mile in Starfield
Your rewards for completing the Red Mile run can vary from run to run, but usually you can expect to get a type of ammunition, a weapon or outfit and some Credits.
On our last run, we gained:
- Shotgun Shells
- Brute Force (Weapon)
- 3,300 Credits
If you're looking for more Starfield content, check out our guides on increasing your carry capacity, stealing ships, selling ships and contraband.