How to scan in Starfield
Plus, how to upgrade your scanner.

Scanning in Starfield is also known as collecting Survey Data. This, though it can be tedious at times, is a valuable way of learning more about the planet you've landed on. T
hrough scanning different things you find living on the surface of planets in Starfield, you can learn more about the different inhabitants that call it home and more about the planet itself. You can also learn what resources a plant has on offer and this can be useful when you need specific ones for projects.
Without further ado, we're here to show you how to scan in Starfield and how to upgrade the scanner.
On this page:
If you’d like more help in your galactic adventures, visit our Starfield guides, tips and tricks page.
How to Scan in Starfield
You'll have the ability to scan once you've completed the One Small Step mission, which is the first Starfield story mission. Once you've completed this, you can scan things whenever you want to but scanning surface items is a bit different to scanning a whole planet.
First, you need to know how to bring up your scanner. To do this, press 'LB' on Xbox or 'F' on PC and your screen will look like this:
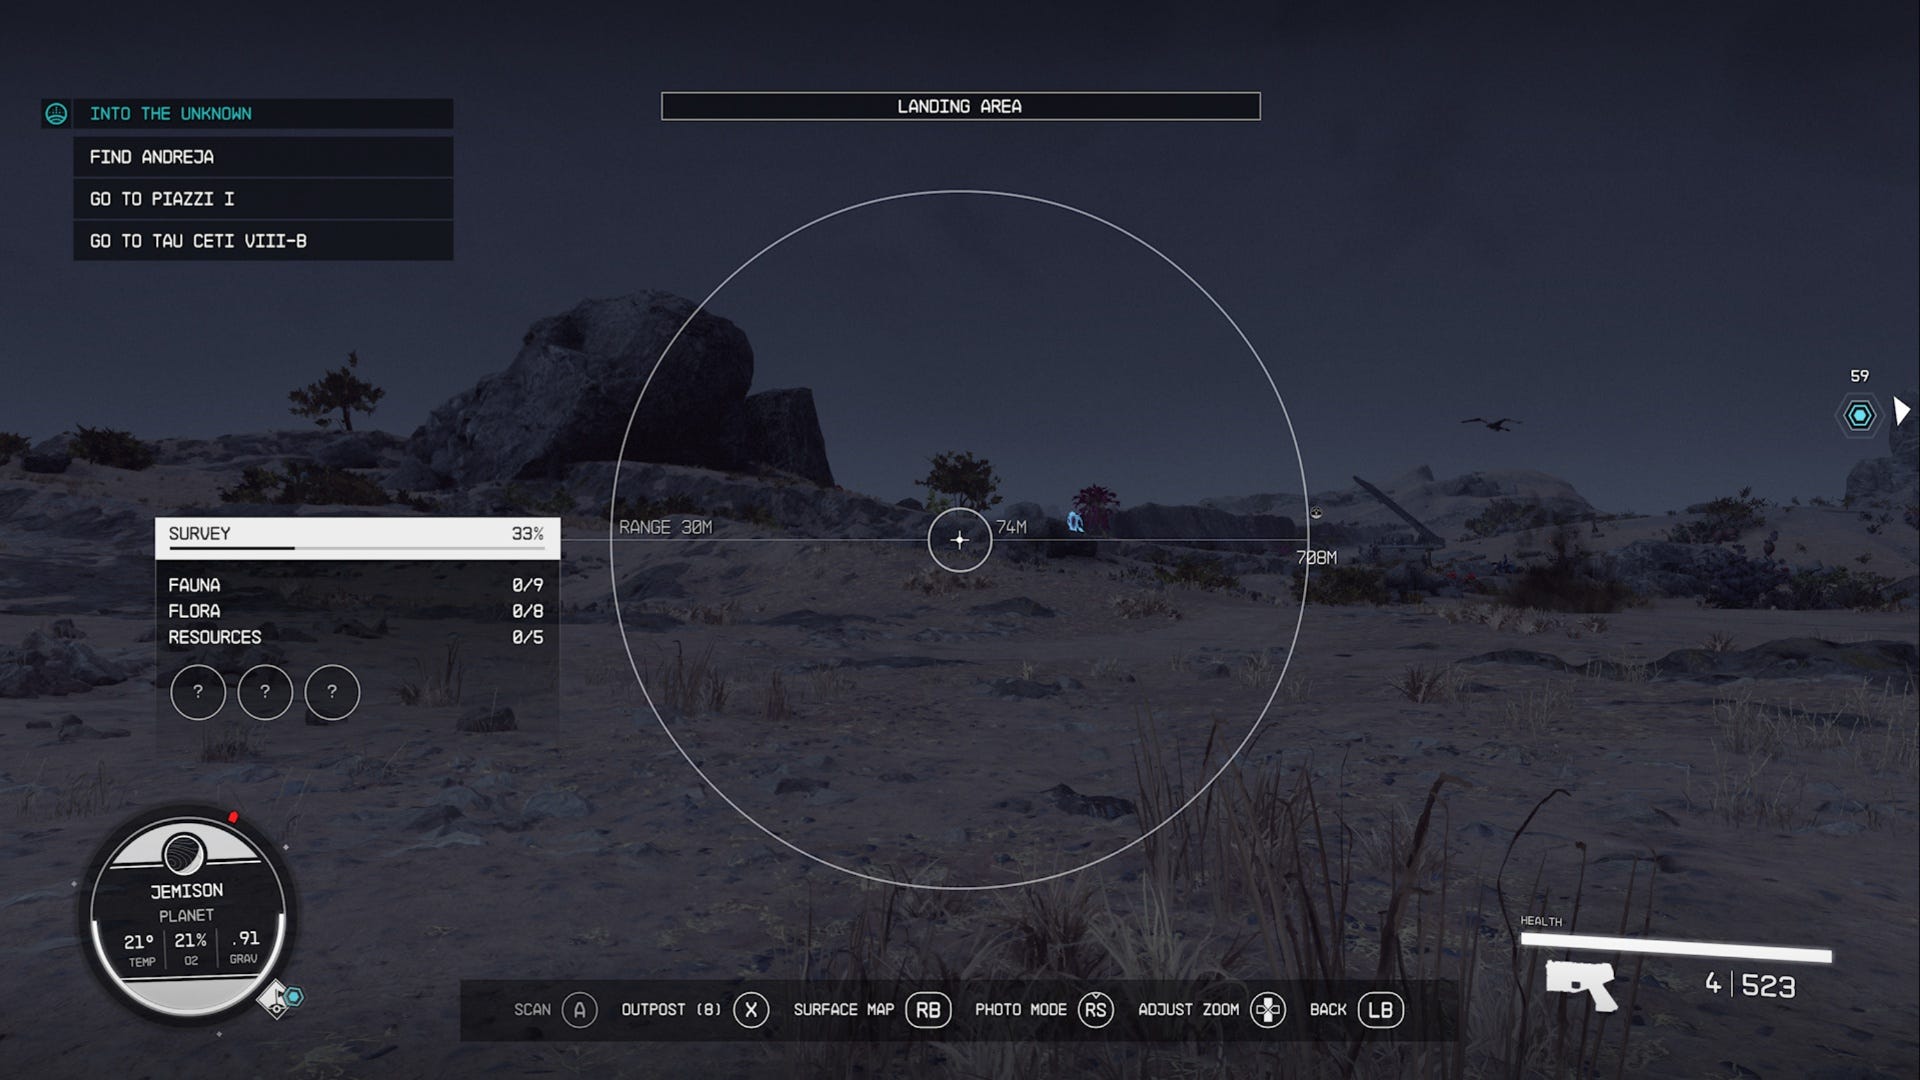
Your screen needs to look like this to be able to scan anything on a planet's surface.
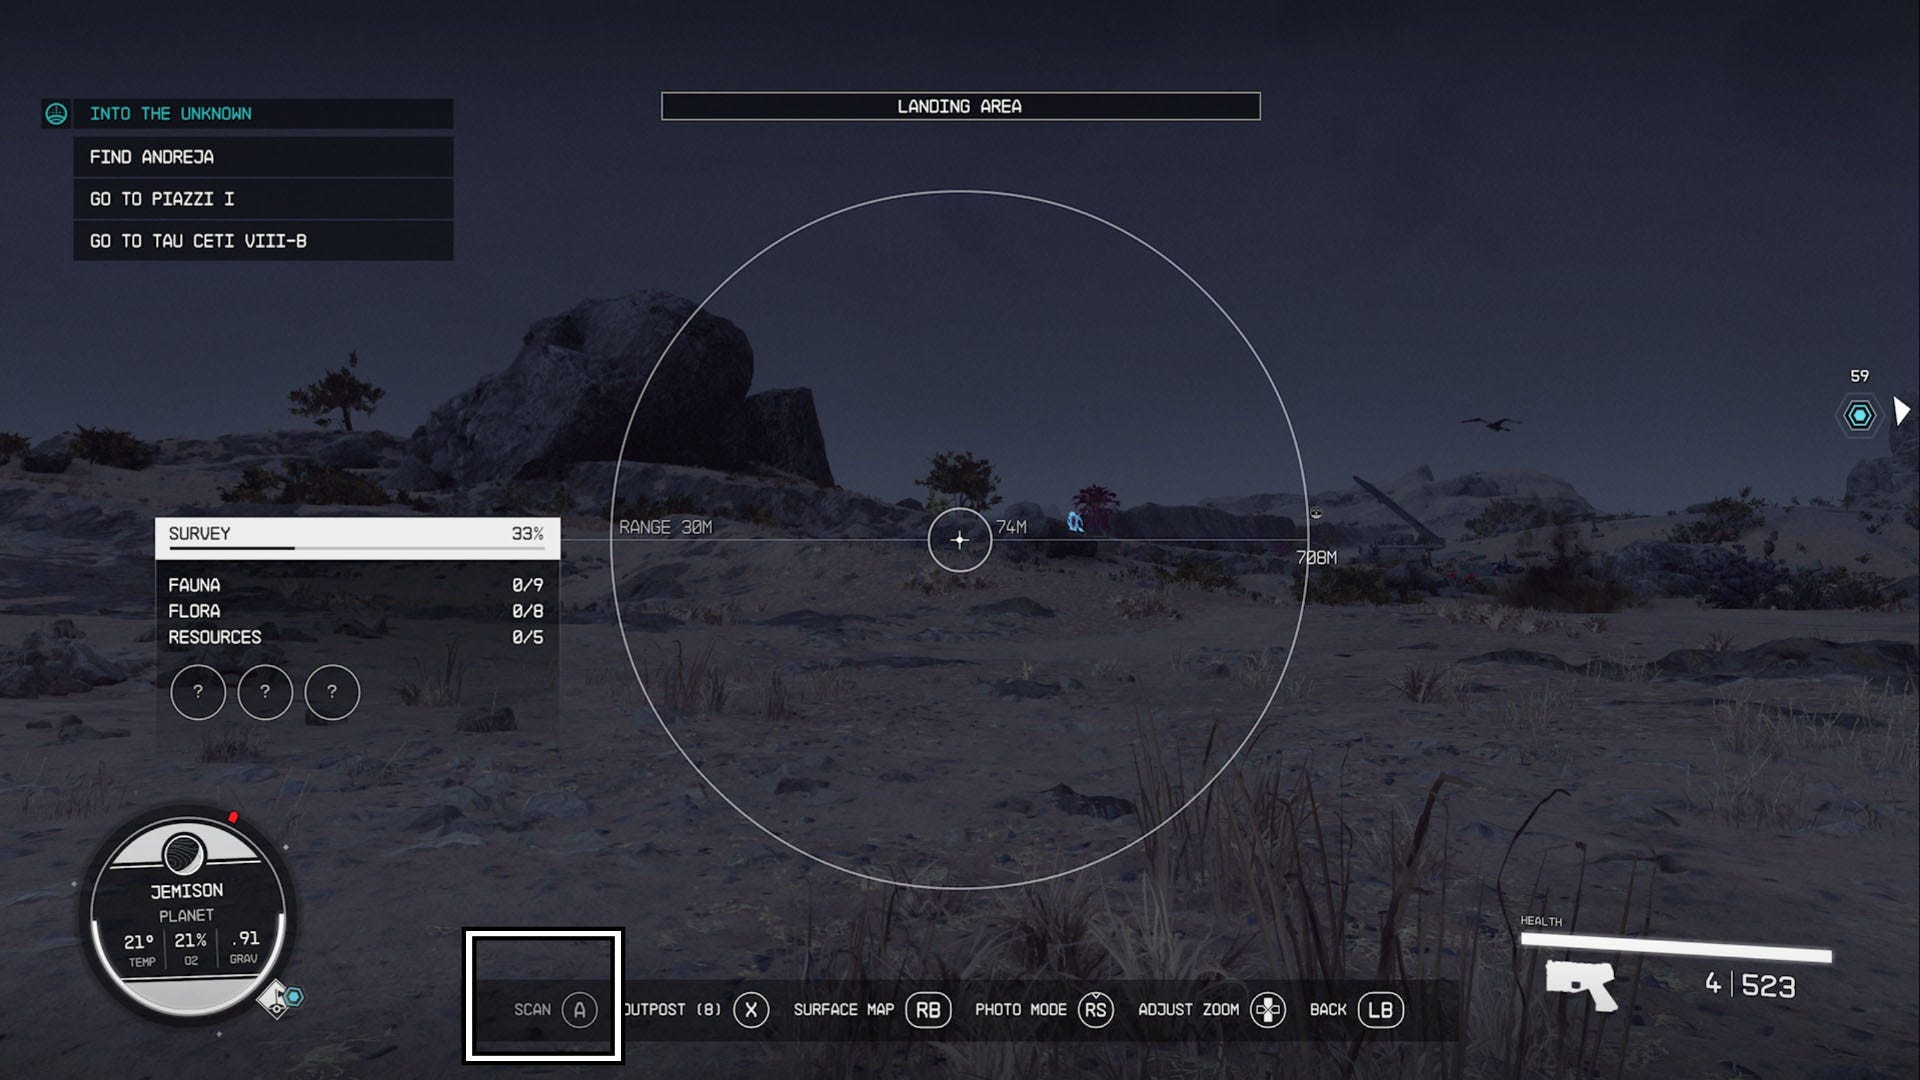
Anything that can be scanned will be highlighted by the scanner in a different colour. Simply make sure that the center of your scanner is pointing towards your target and then press the prompted control at the bottom of your screen to scan it.
Once you've scanned something, information about it will appear on your screen. Where this information appears will depend on the item you've scanned.
Plants
Plants, also known as Flora, need to be scanned several different times to get a full set of details about a specific specimen. No, you cannot scan the same plant multiple times in a row, you need to scan the same species but it has to be a different plant elsewhere.
The more you scan a plant species, the more information you'll get on it. On the right side of your screen you'll see a percentage appear in a small box. This is telling you how much you know about the species and how much more you need to scan to get to 100% knowledge about it.
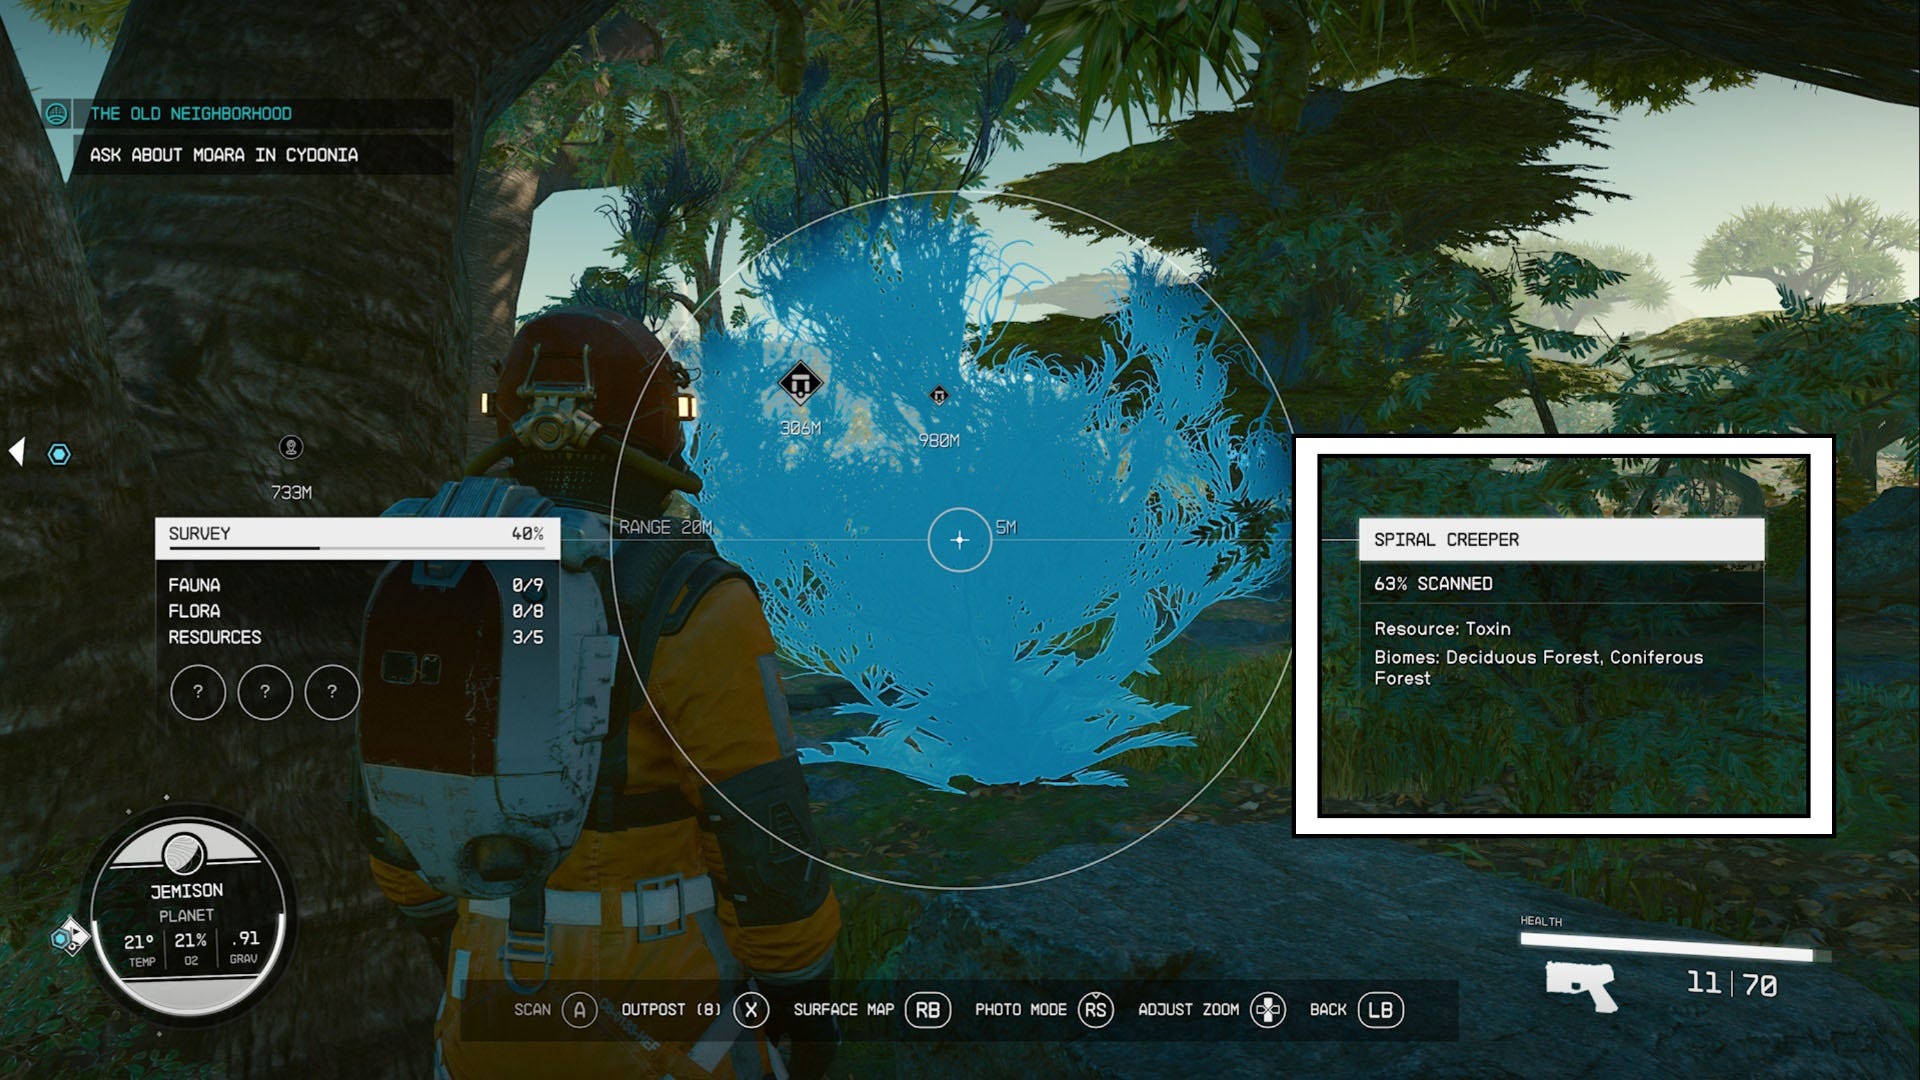
Also, the more you scan and study a plant species, the more you'll learn about it. We've noticed that you start getting fed bits of information about plants once you've gained around 20-30% of the data on it.
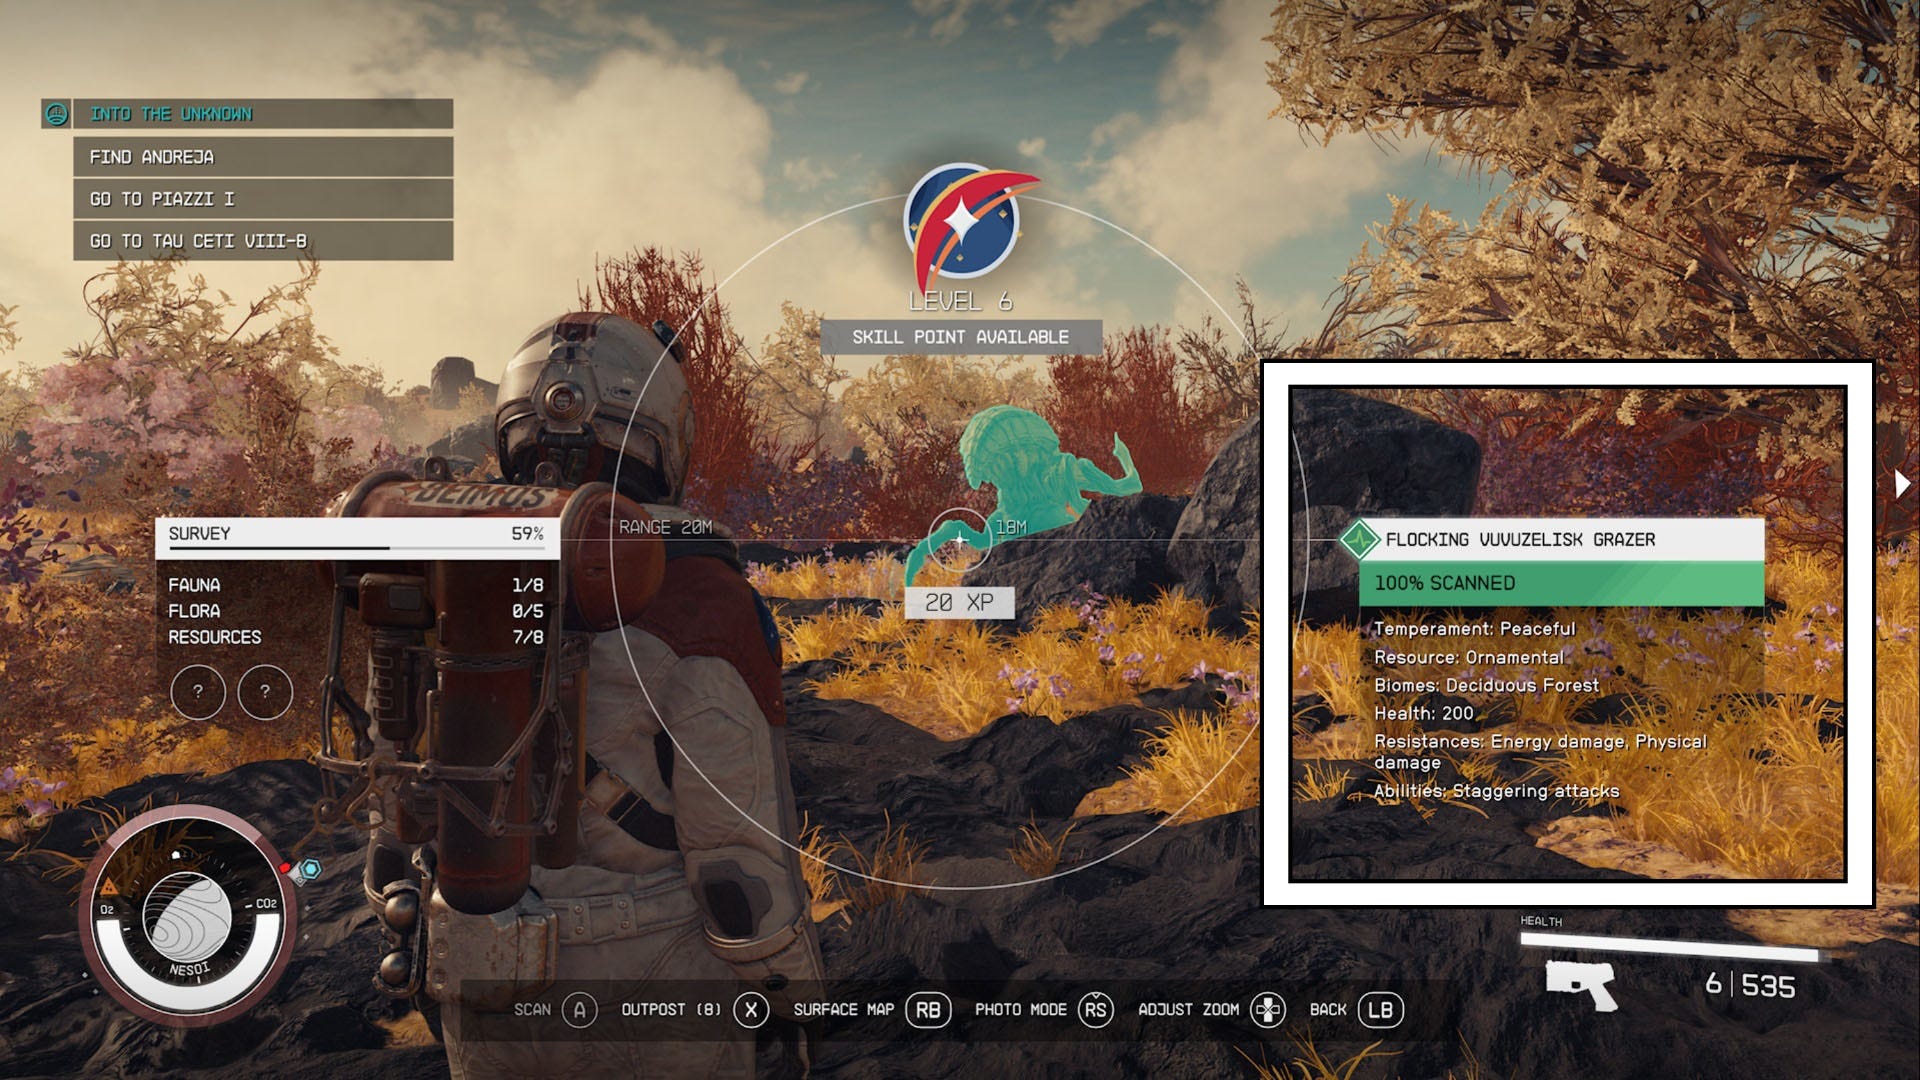
Wildlife
You also need to scan wildlife, known as Fauna, multiple times to get 100% data on them. As with plants, each time you scan a different specimen of the same species, you'll learn more about it. Once you've scanned a piece of wildlife, the information on it will appear on the right side of your screen.
Also, pay attention to the symbol next to the wildlife name when you're targeting it. This will tell you whether the target is friendly or hostile.
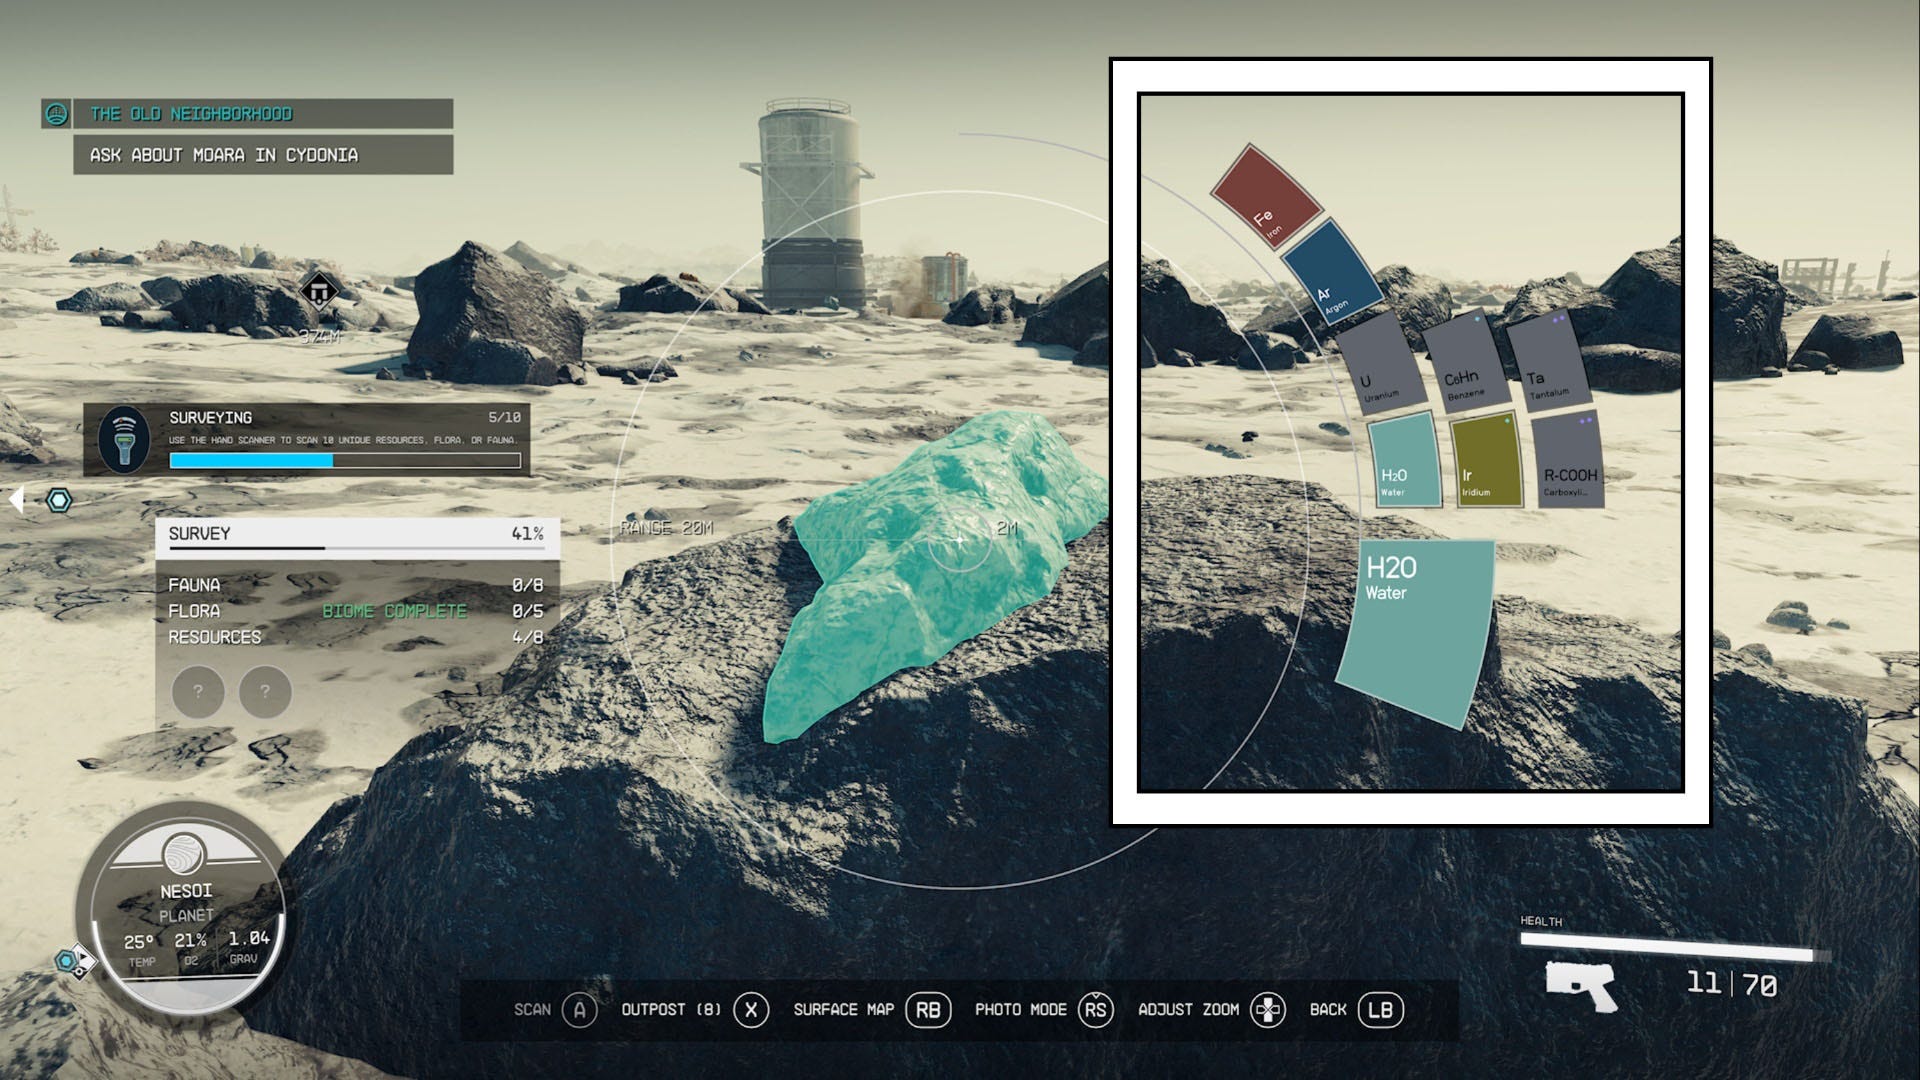
Resources
Resources only need to be scanned once. Once scanned, the information on the resource will appear on the right side of your scanner. This is pretty cool as it not only tells you the name of the resource, but it also shows you the periodic symbol for it, which will come in useful when you're scanning entire planets.
You'll also be shown the periodic symbols for other resources on the planet and, if you've found them, they'll be coloured in. If you're yet to find a specific resource, it will remain greyed out.
Scanning Planets
Now, to scan an entire planet you need to be in your Ship flying near the planet. How close you have to be will depend on the range of your scanner. You cannot scan a planet from another system or from being on the next planet, you need to be somewhat close to it.
When you're in range of your planet, head into your star map. Then, hover over the planet you're near and want to scan. A menu will appear on the left side of your screen and, at the bottom of this menu, will be option to 'Scan' with the command prompt next to it.
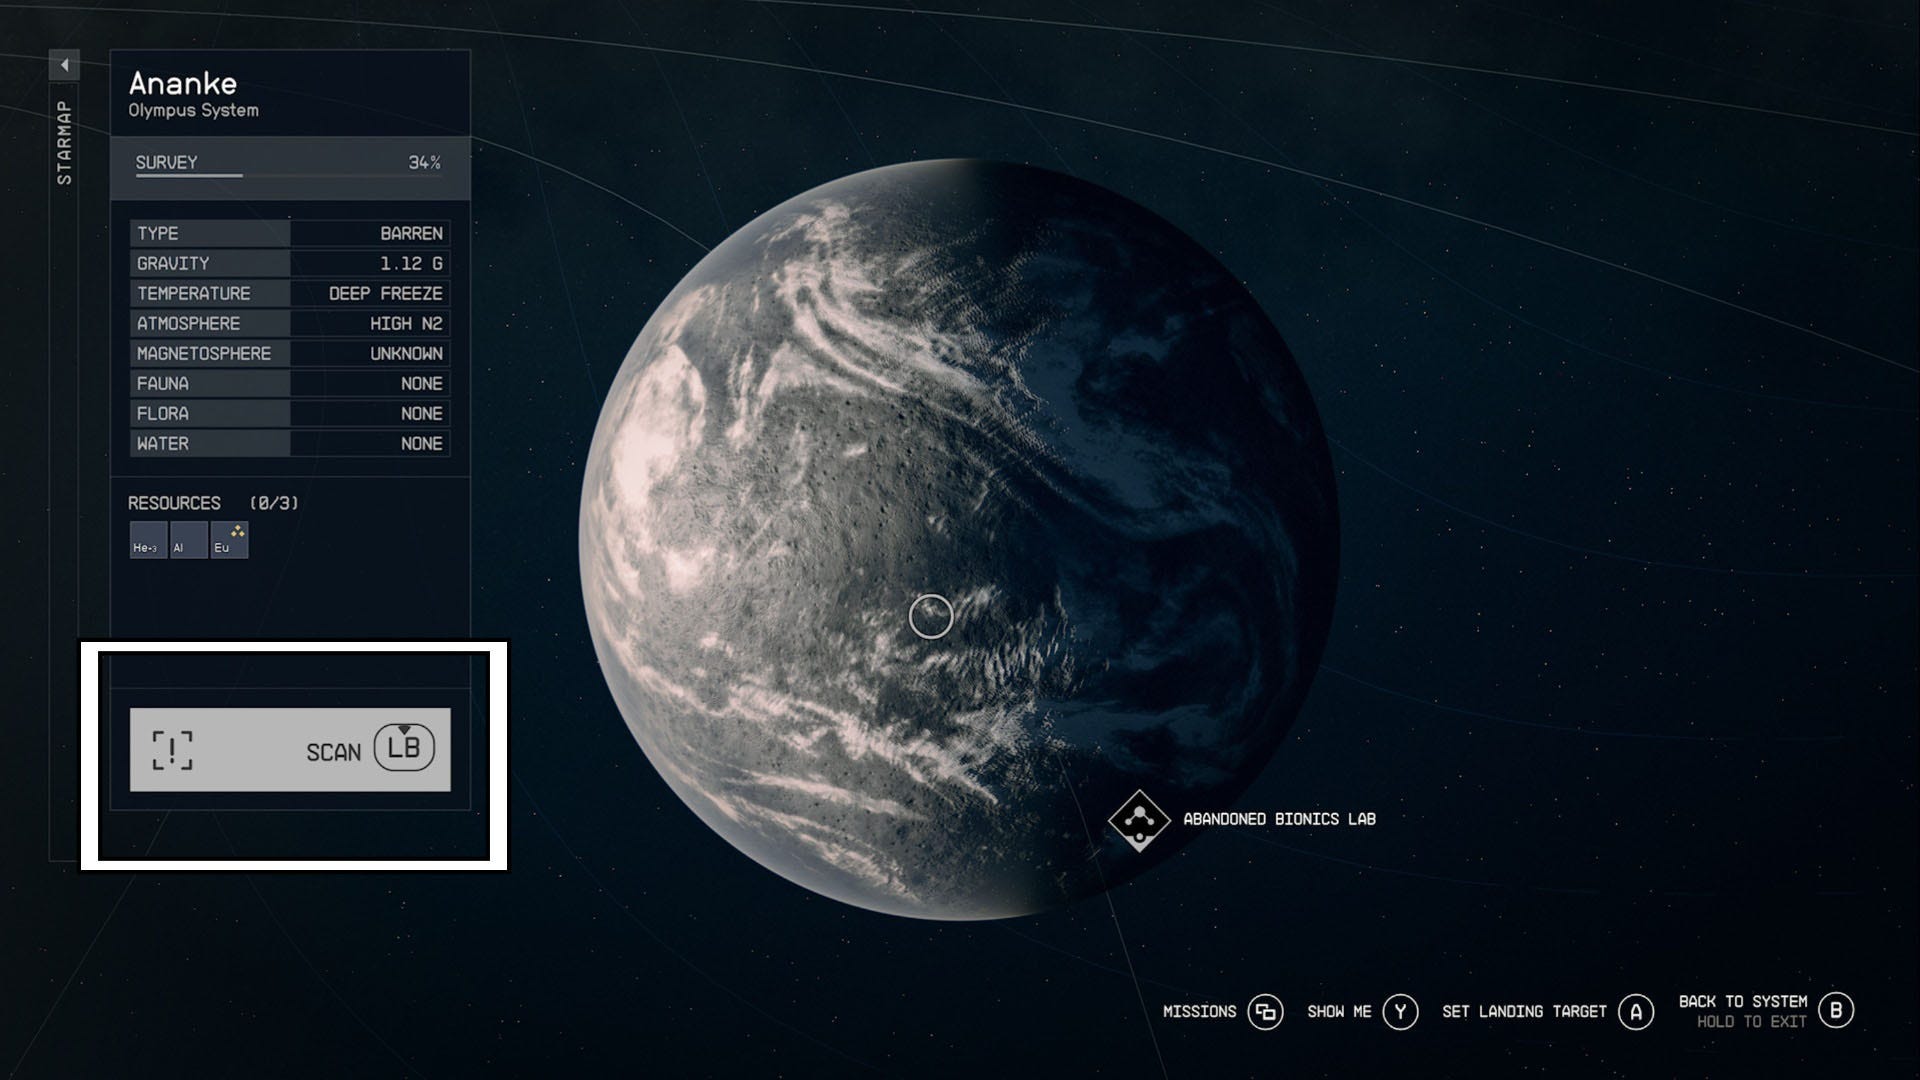
This will then scan the entire planet and you will then be able to see which resources are on the surface.
You will also then be able to select the 'Show Resources' map option. The control prompt for this will appear on the panel on right of your screen after a planet has been scanned.
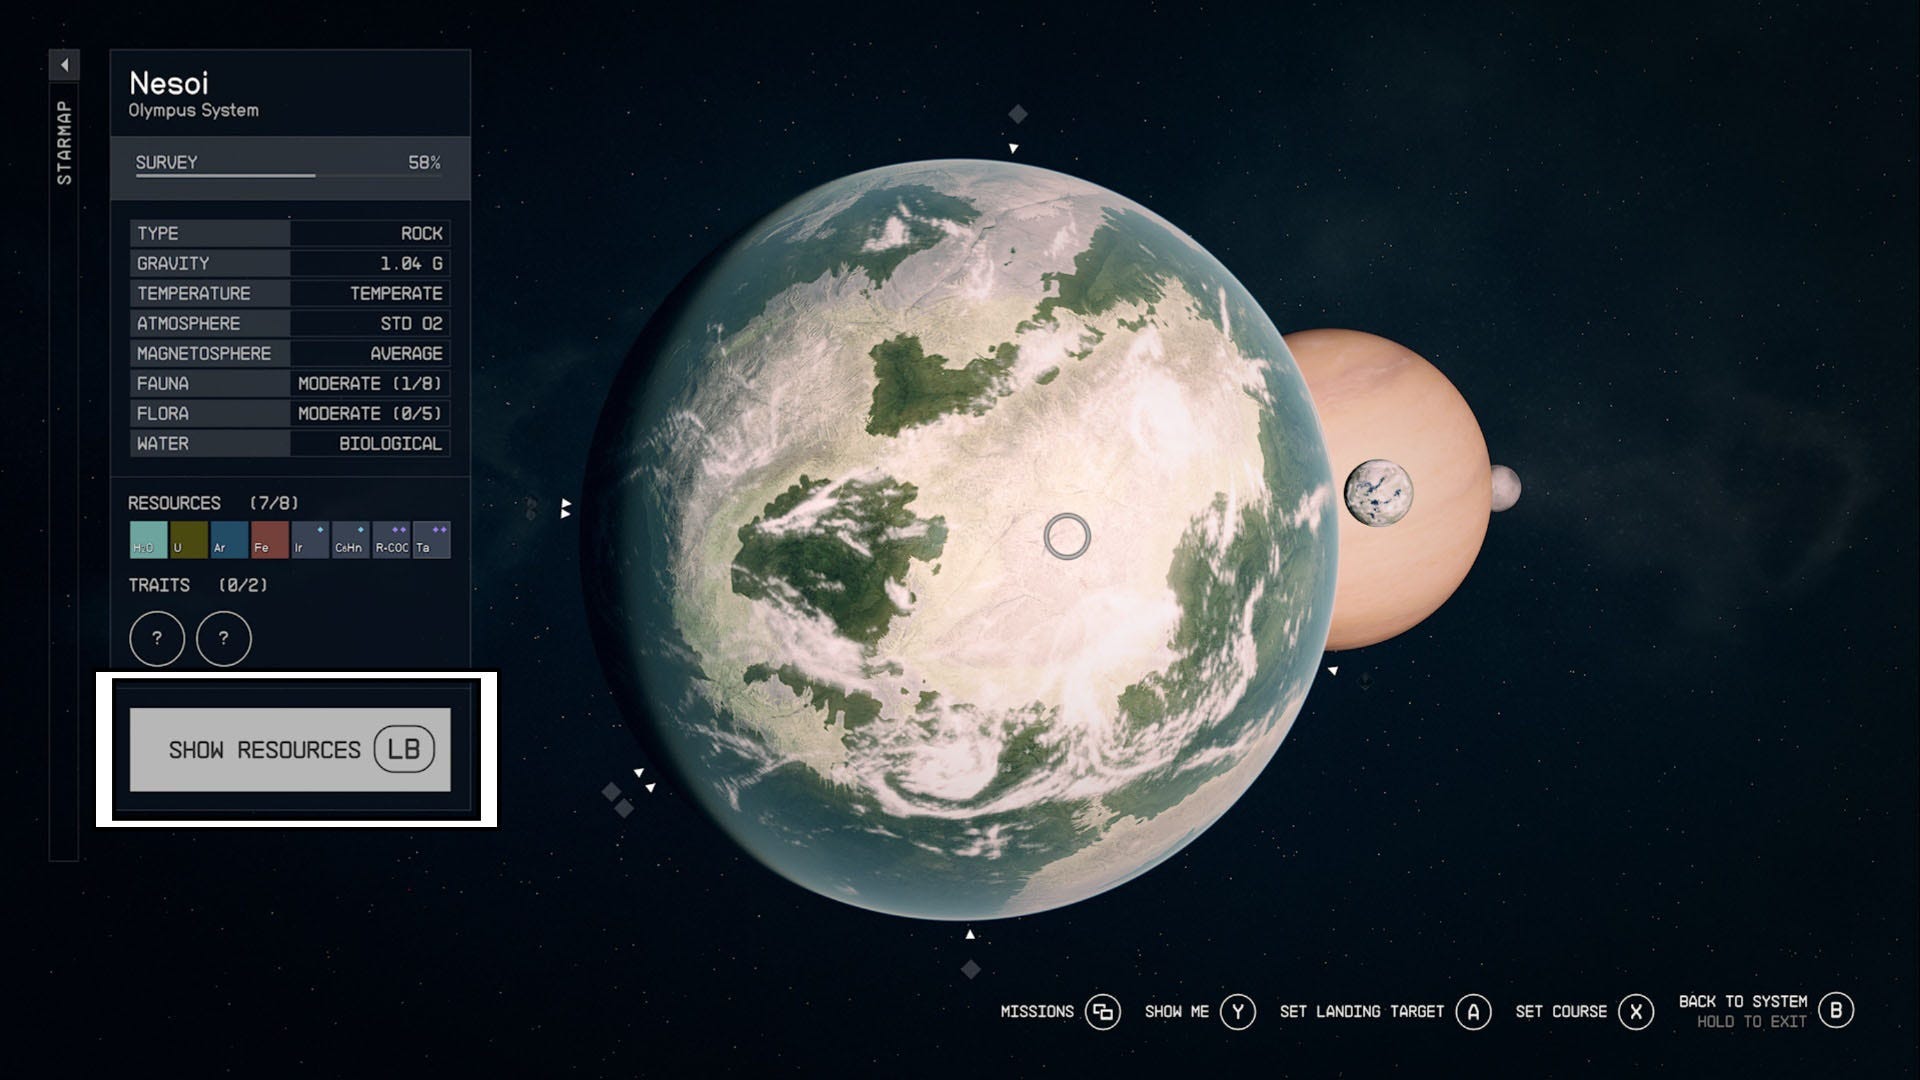
You can switch into this view to find out which areas of the planet are rich in specific resources, which can be useful if you're looking for something in particular.
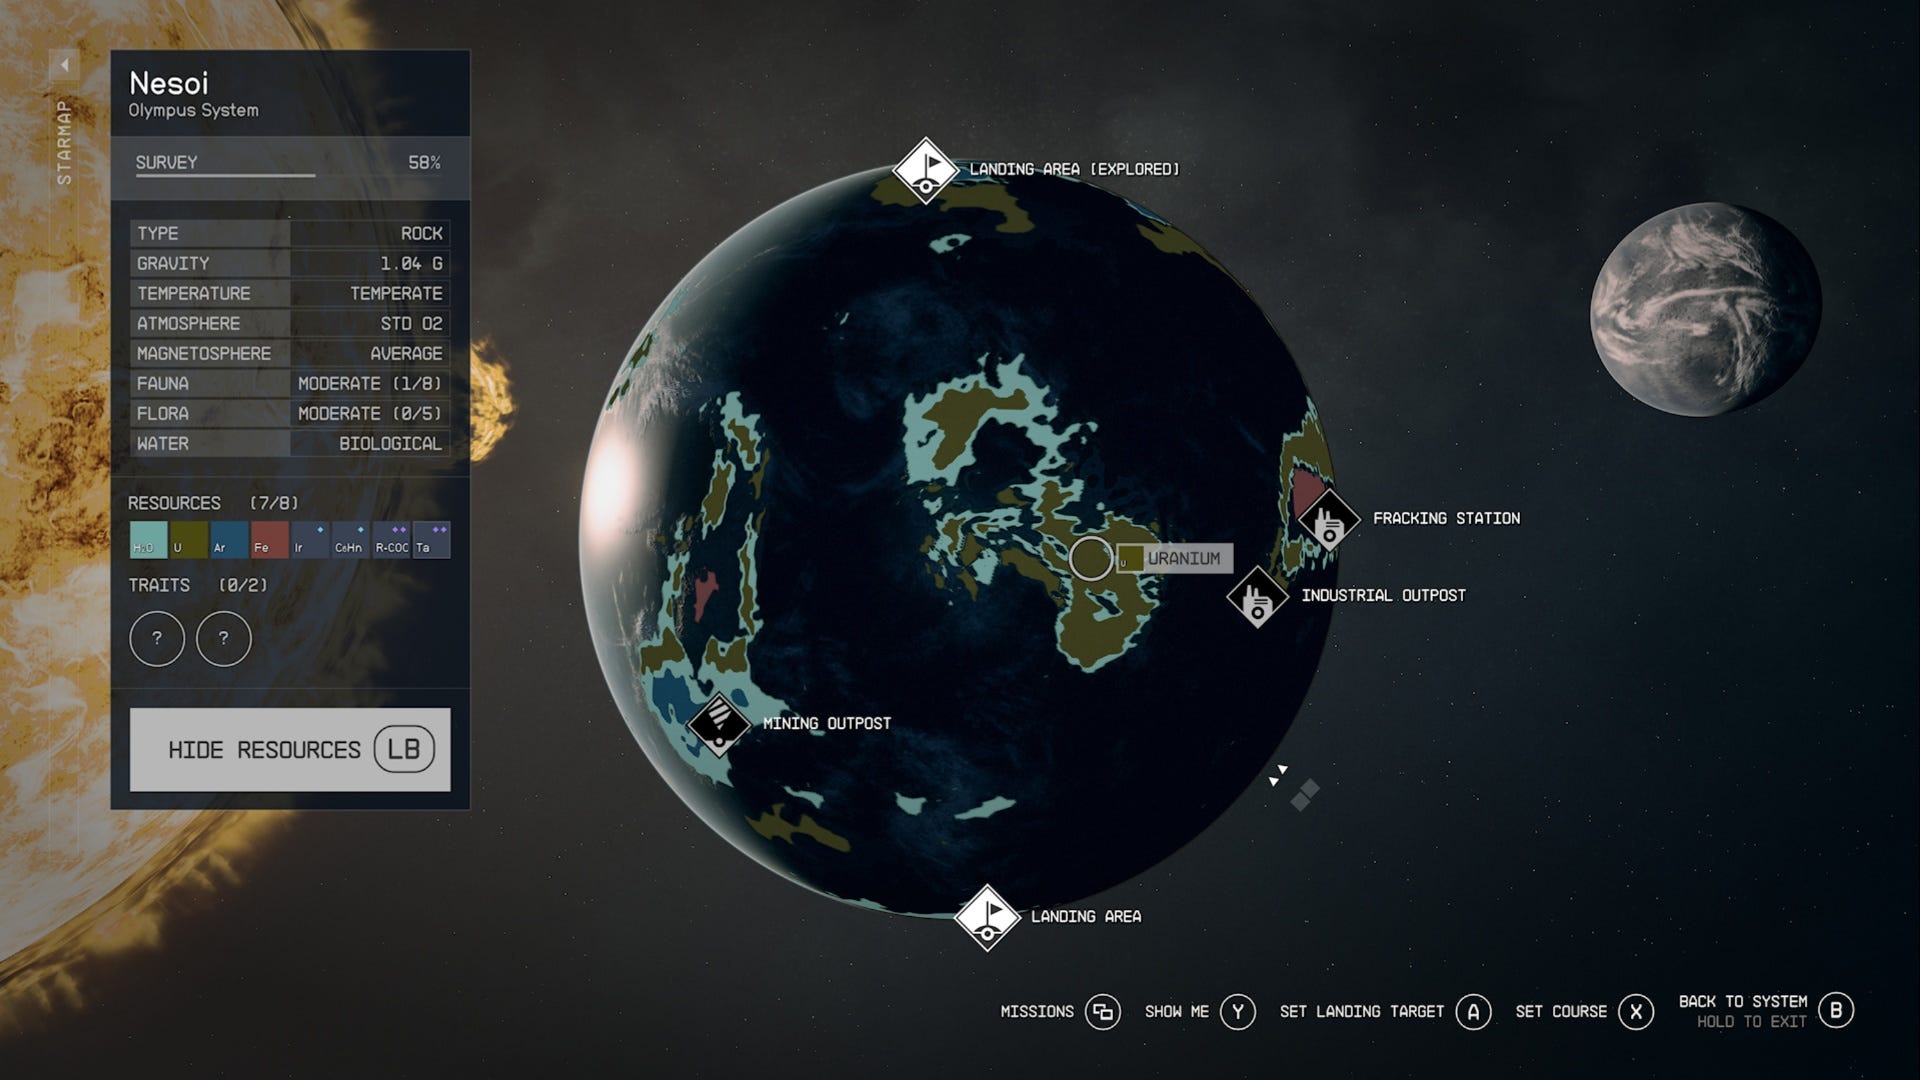
Also, once you collect 100% data on a planet and it's marked as 'Surveyed' you can sell the survey data to interested buyers.
How to upgrade your Scanner in Starfield
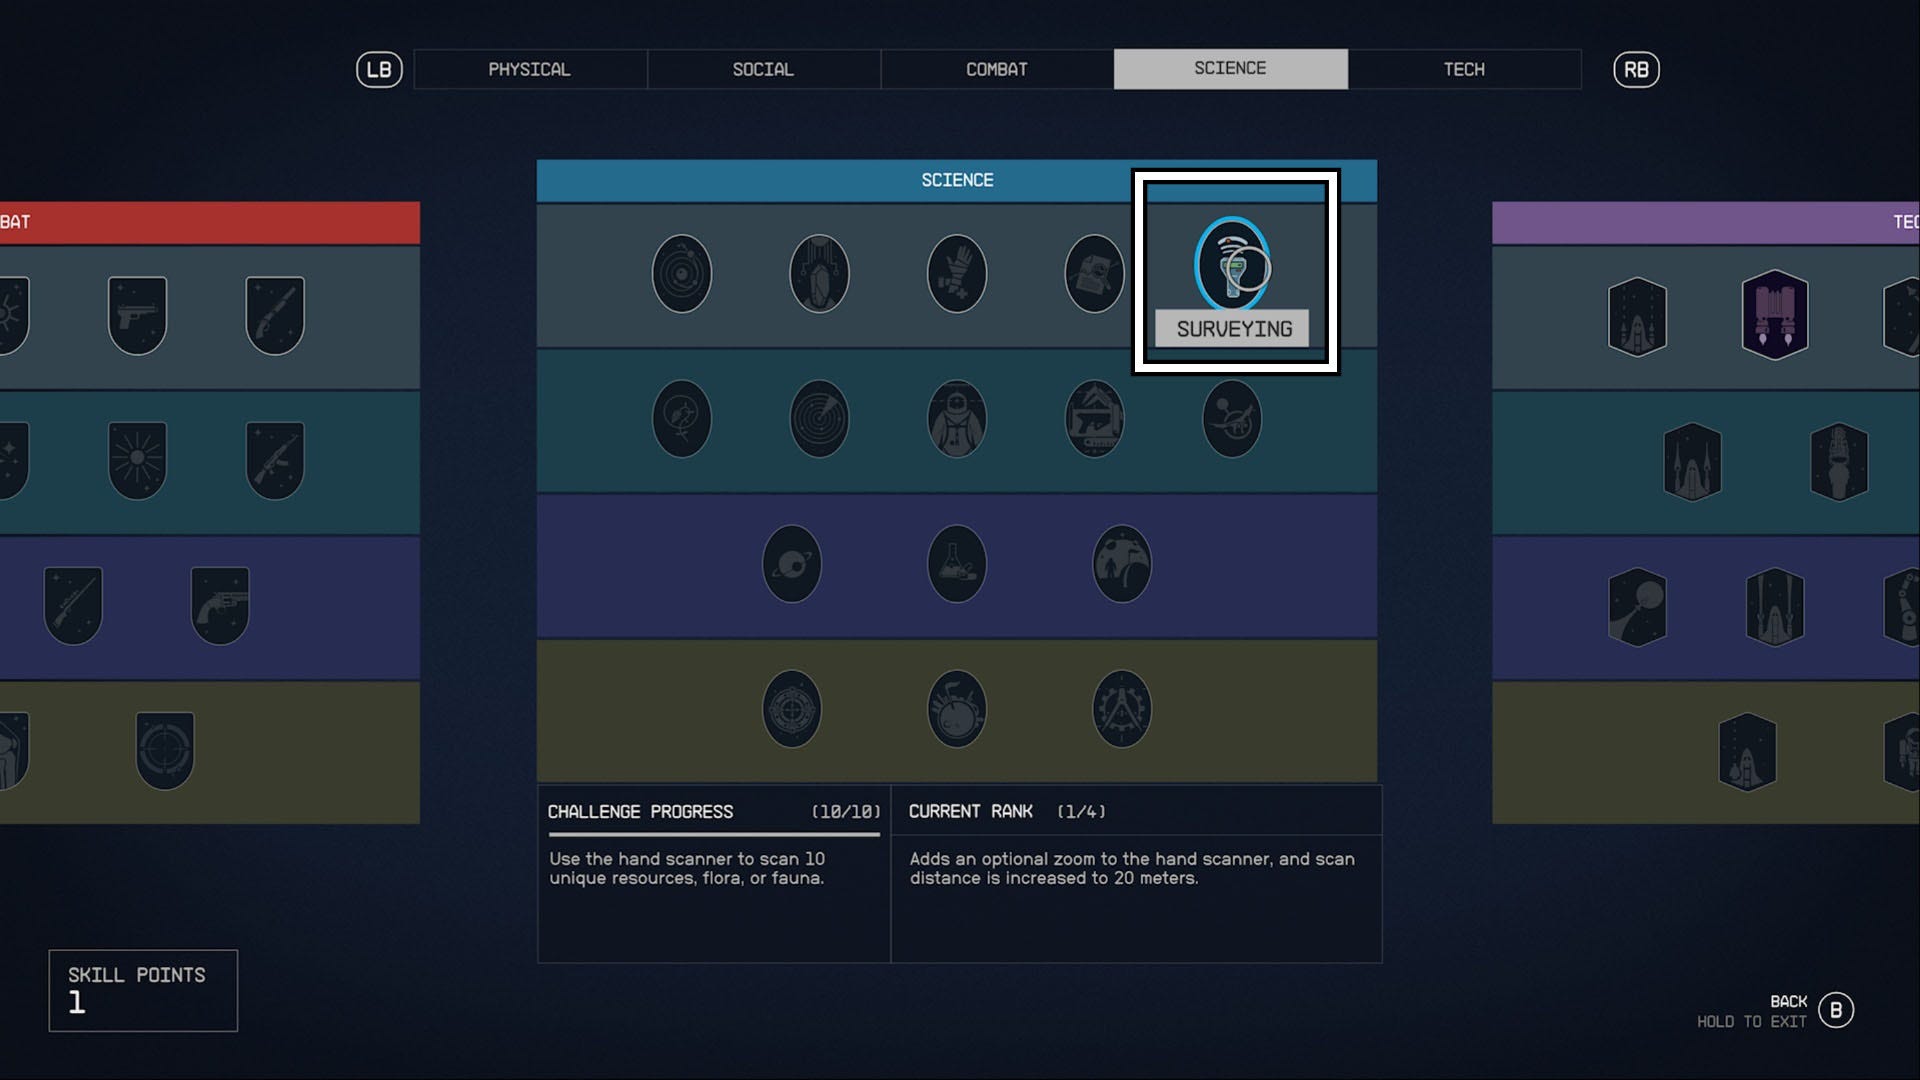
To upgrade your scanner in Starfield you need to unlock the 'Surveying' skill from the 'Science' category in your skills menu.
Then, you can complete the skill challenges and use the skill points you collect each time you level up to climb the ranks of this skill. Each time you move up a rank, you upgrade your scanner. Here's a quick list of the ranks and their benefits.
- Rank One - Adds an optional zoom feature to the scanner. Scan distance is increased to 20 meters.
- Rank Two - Adds another level of zoom to the scanner. Scan distance is increased to 30 meters.
- Rank Three - Adds another level of zoom to the scanner. Scan distance is increased to 40 meters.
- Rank Four - Adds another level of zoom to the scanner. Scan distance is increased to 50 meters.
We strongly recommend upgrading this skill to at least Rank 3 as fast as you can as it really helps when surveying planets where the resources and organic life are spread far apart. Also, being able to zoom in on a target is a safer option when dealing with less-than-friendly wildlife.
If you're looking for more Starfield content, then check out our Kid Stuff and Dream Home trait explainers to figure out if picking up a different trait is for you.