Resident Evil 2 - King, Queen and Rook Plug locations, Supplies Storage Room puzzle solution
How to complete the Supplies Storage Room puzzle and get those all important King, Queen and Rook Plugs.

Finding the King, Queen and Rook Plug locations is required before you complete the Chess Plugs puzzle.
Along the way you'll also need to solve the Supplies Storage Room puzzle - which involves multiple doors and plugs, but with this step-by-step explainer, the route forward should be a little clearer.
Looking for something else? Visit our Resident Evil 2 walkthrough for more help.

Where to find the King Plug and Queen Plug locations
When you have made use of the Item Box and Typewriter in the Monitor Room - we highly recommend having as much inventory space available as possible, as you'll be bringing back several key items with you (we recommend leaving the Handgun or Magnum) - then leave via the west door to reach a walkway above the Treatment Pool Room.
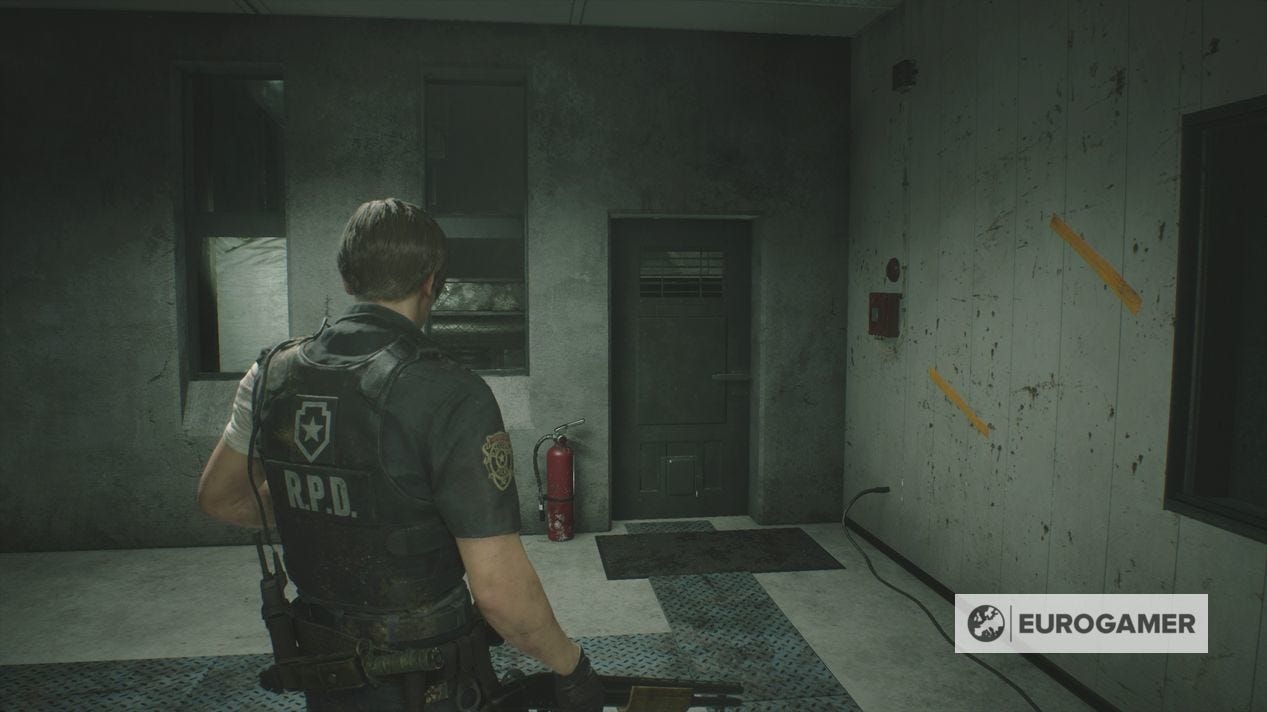
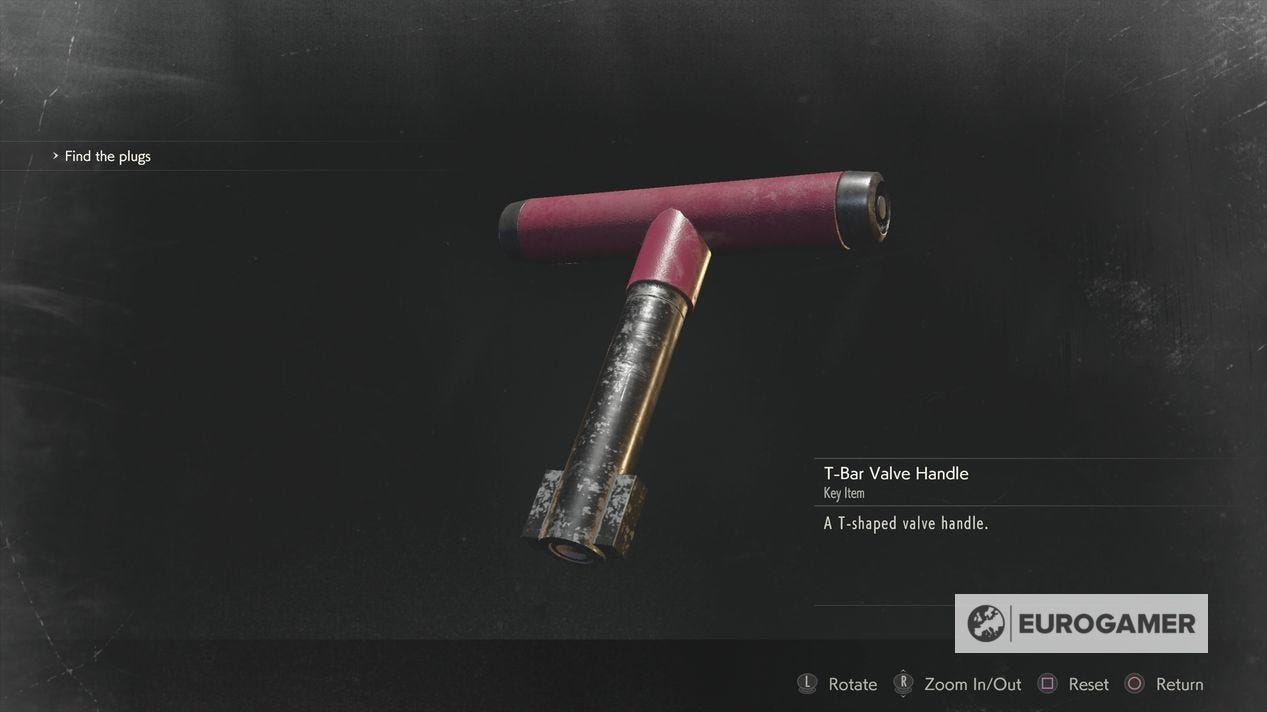
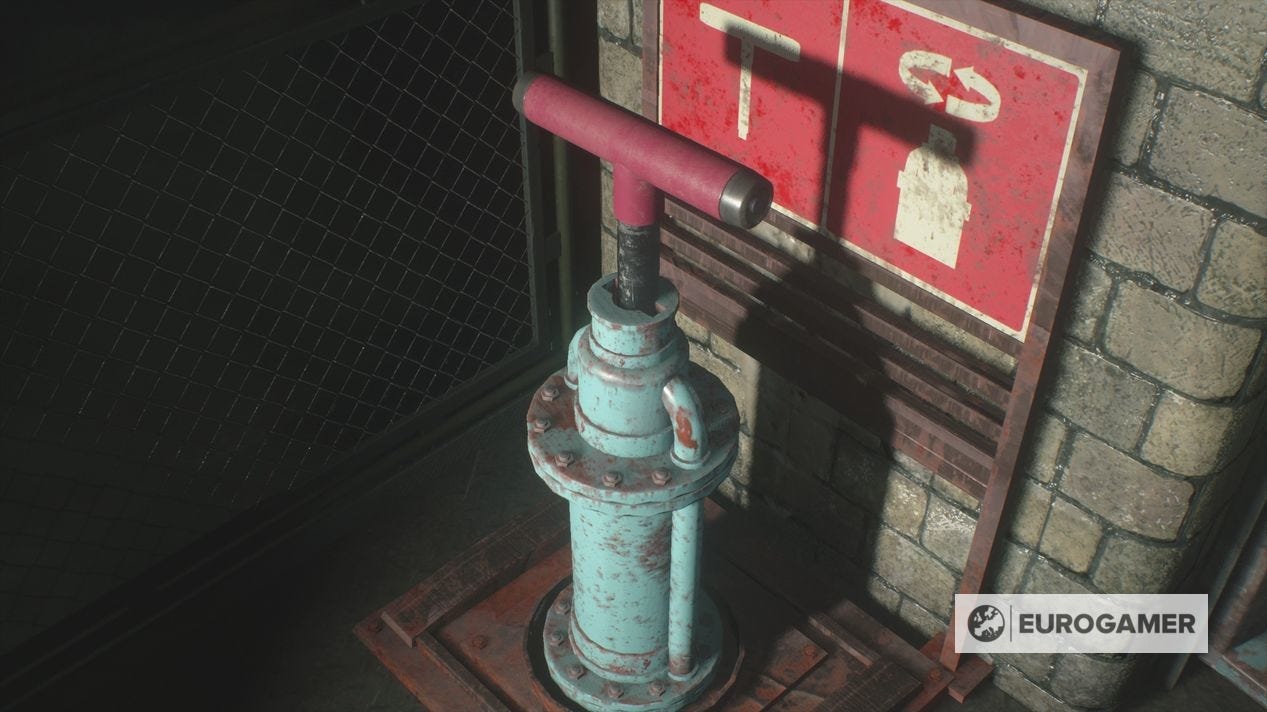
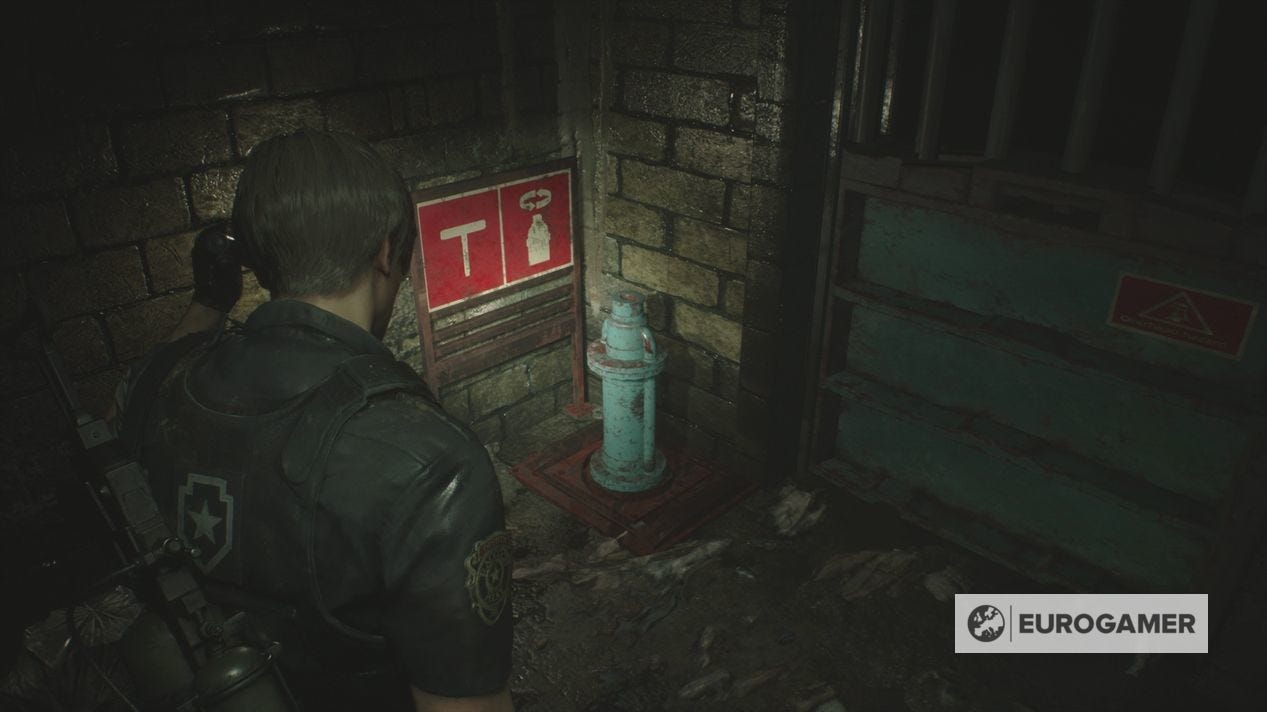
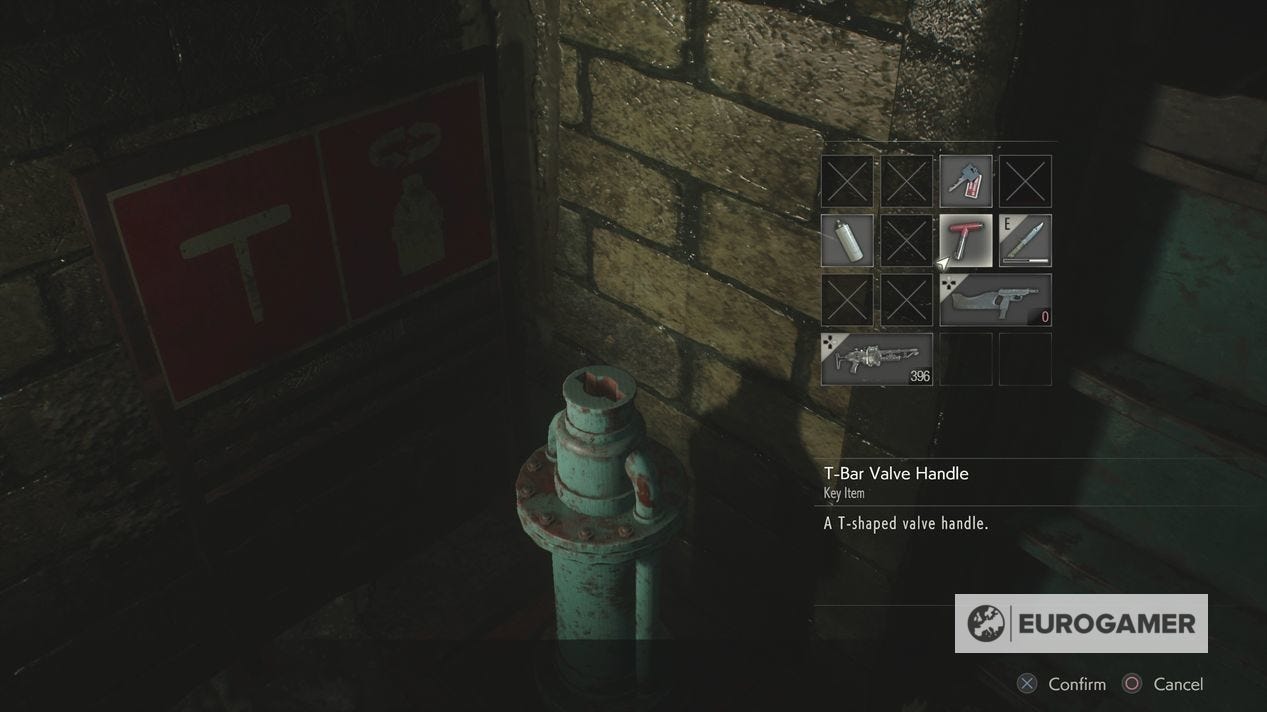
Throw the switch to lower the walkway. Head left (north) to get the T-Bar Valve Handle from the left table. This is where you'll board the cable car, but the door needs an ID wristband - which Ada has.
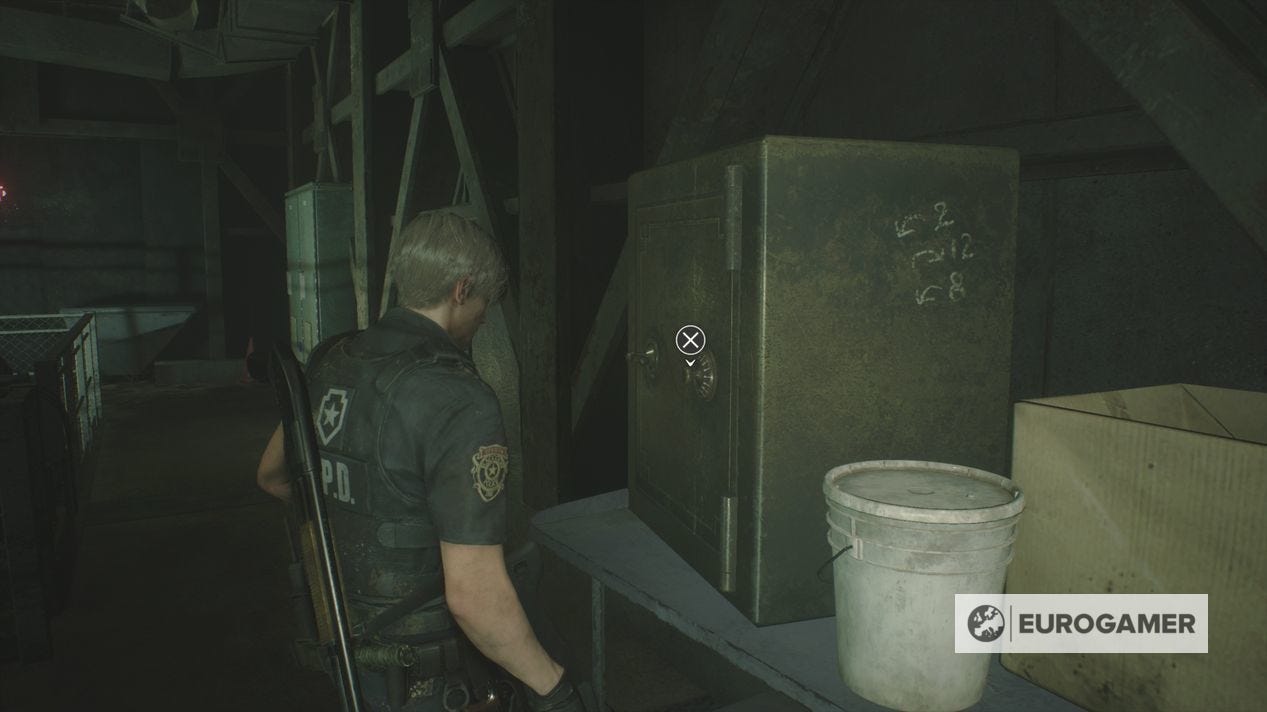
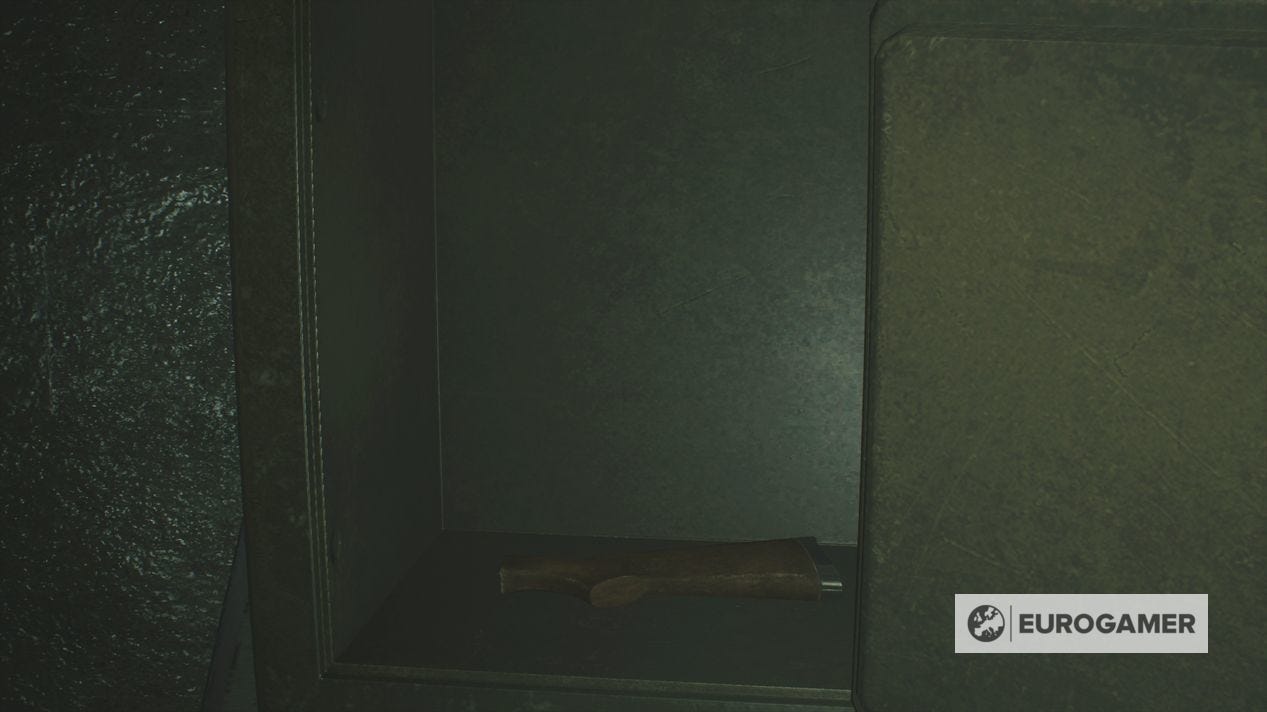
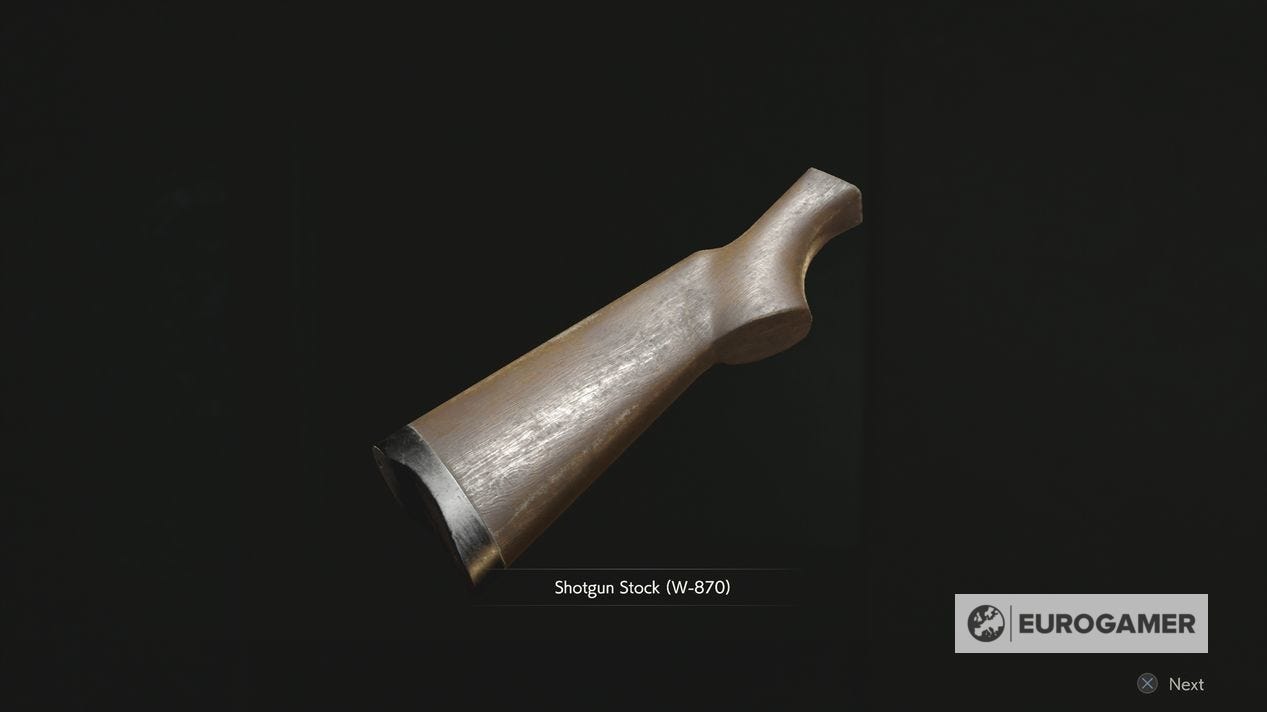
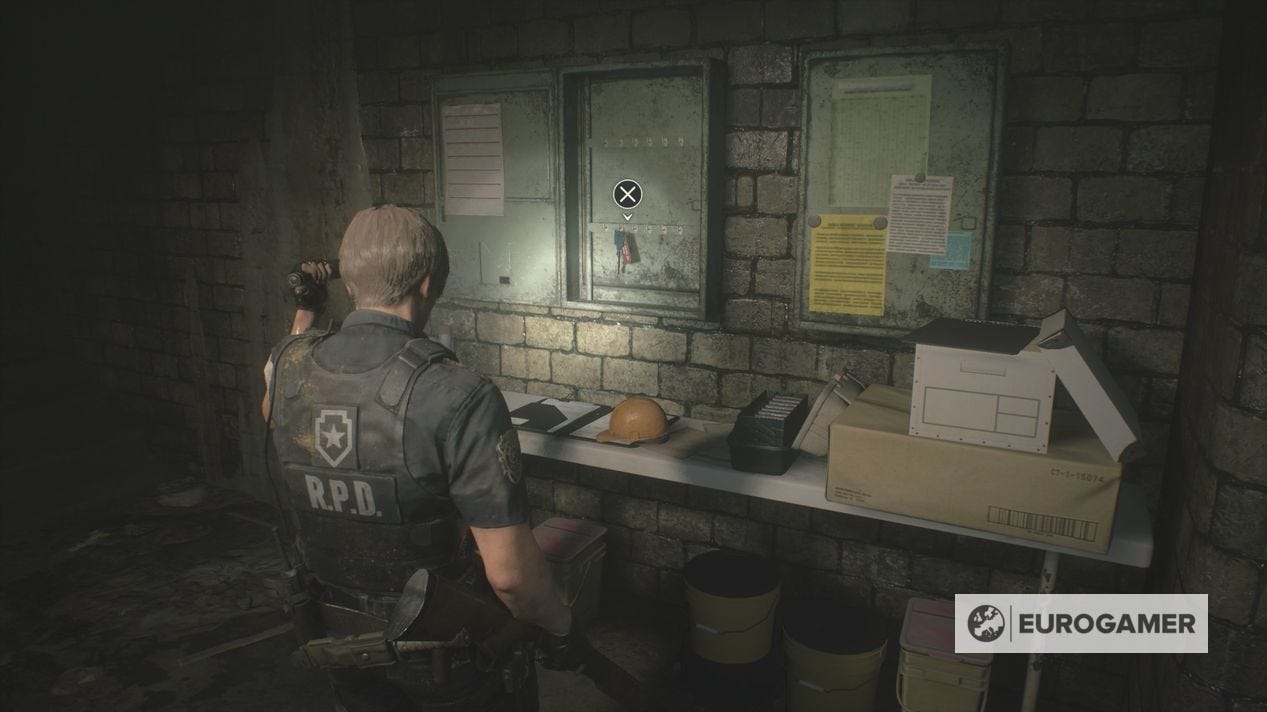
Continue north onto Cable Car Platform for the Delivery Receipt File, giving you a Safe Code. Head south, past the walkway you crossed earlier and the door to a safe. As per the file's instructions, the code is on the side - Left 2, Right 12, Left 8. You'll get the Shotgun Stock (W-870). Combine it with your Shotgun to get a much sturdier model.

There is also a consumable to the right - though note the zombie is alive, so take it at your own risk.
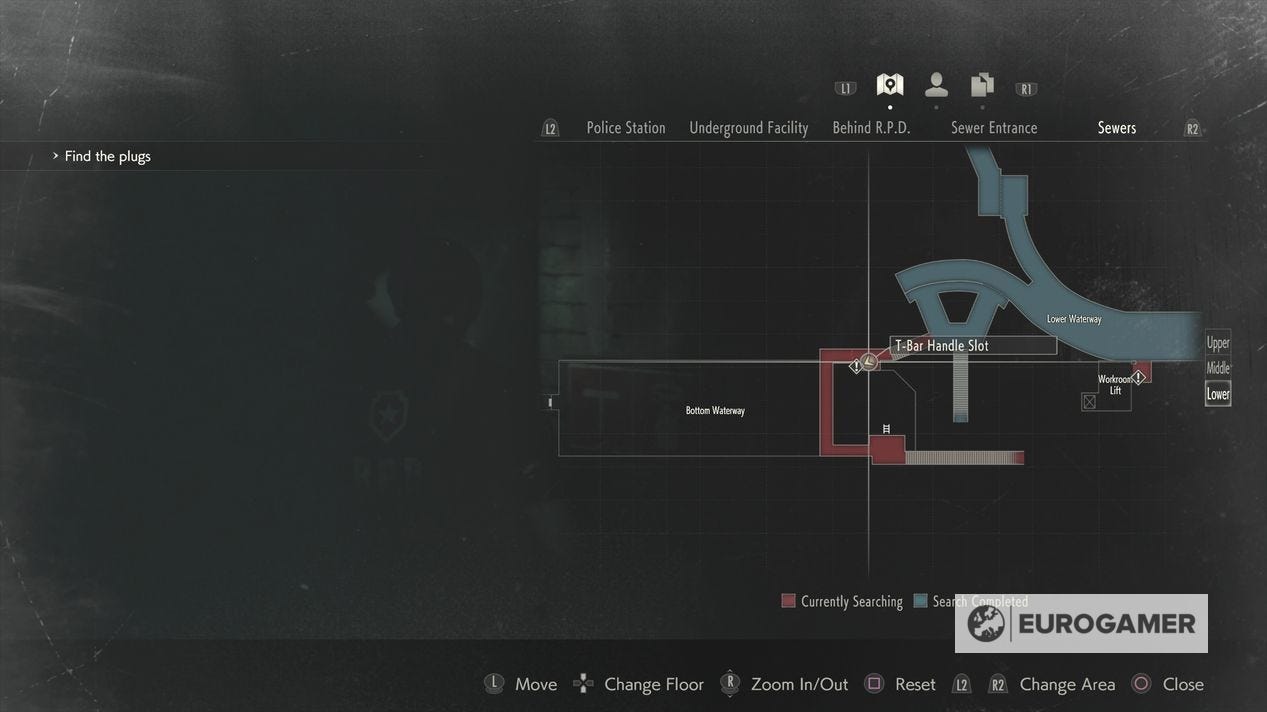
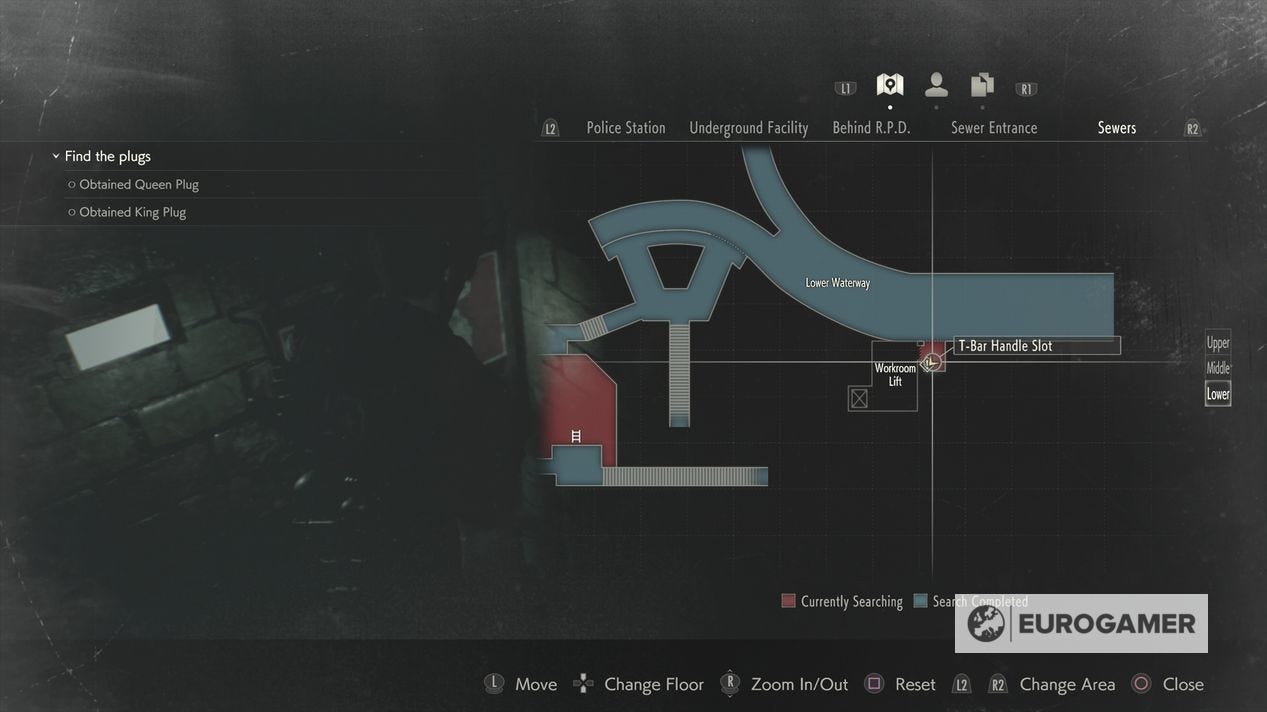
Head through the east door and down the steps to a junction between the Bottom Waterway and the Lower Waterway.
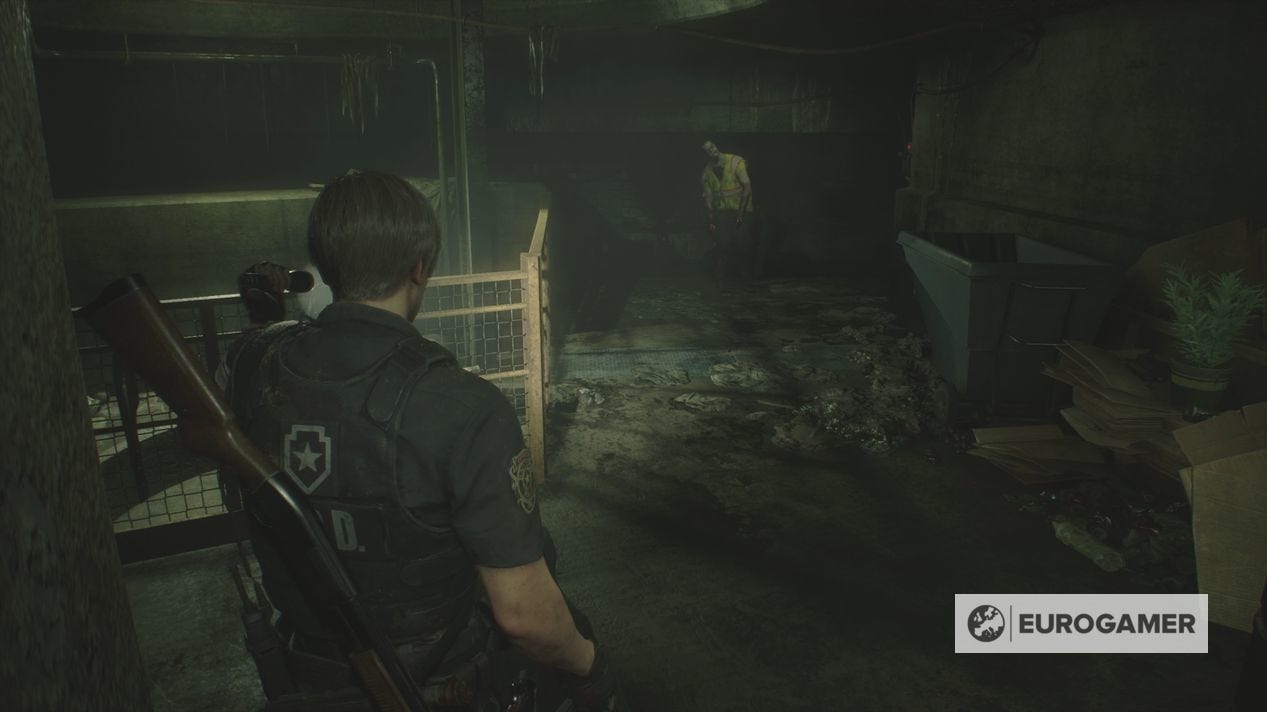
Clear the zombies here, then first head west towards the Bottom Waterway, using the T-Bar Valve Handle to open the door.
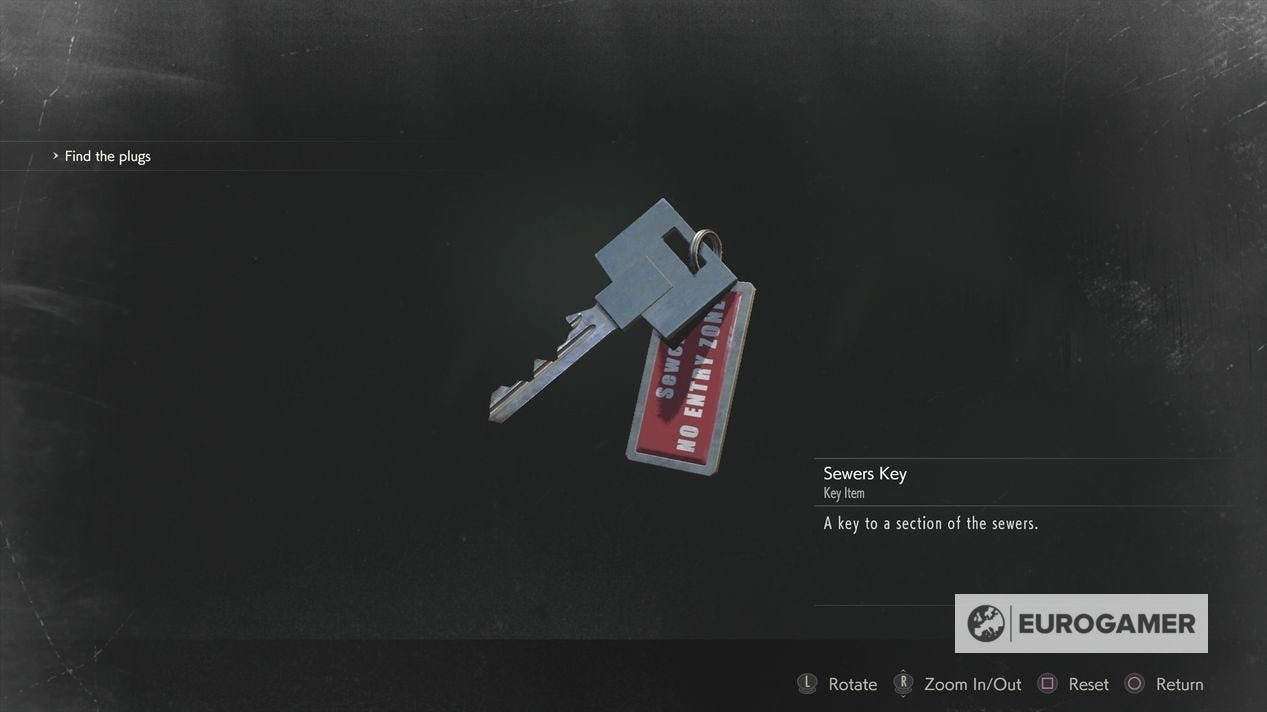
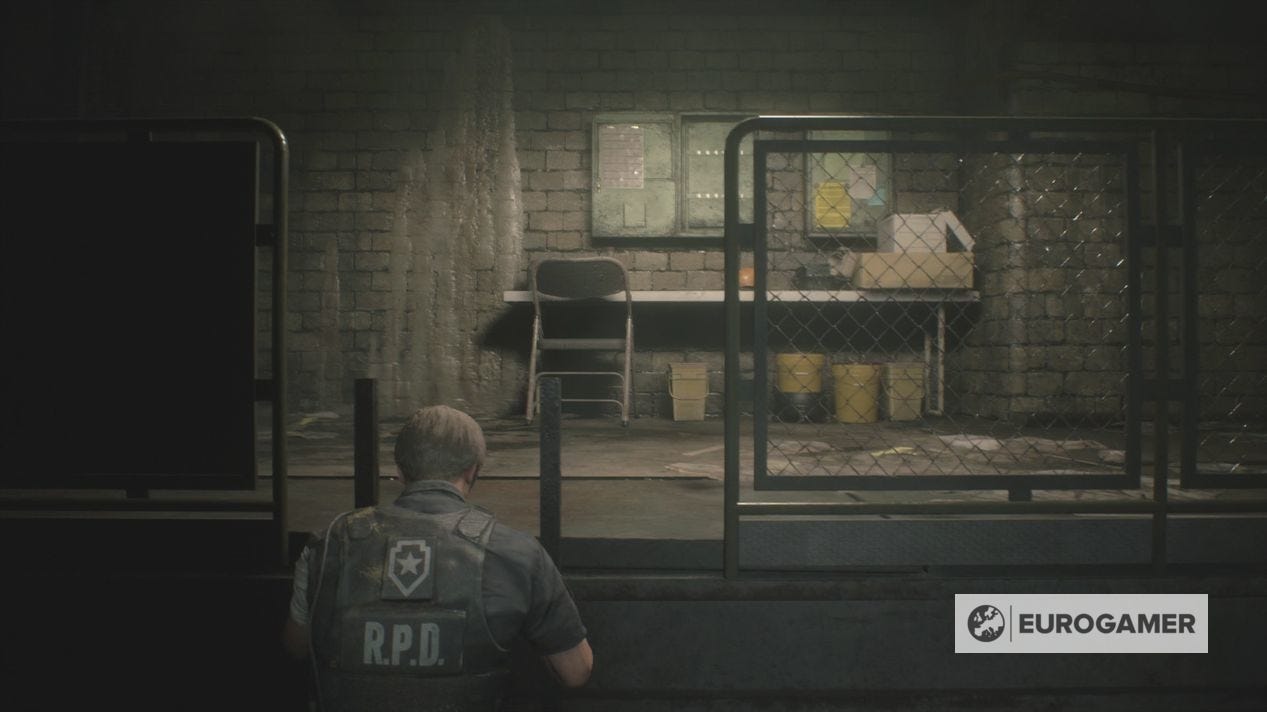
Run round the walkway, and grab the Sewers Key above the desk.
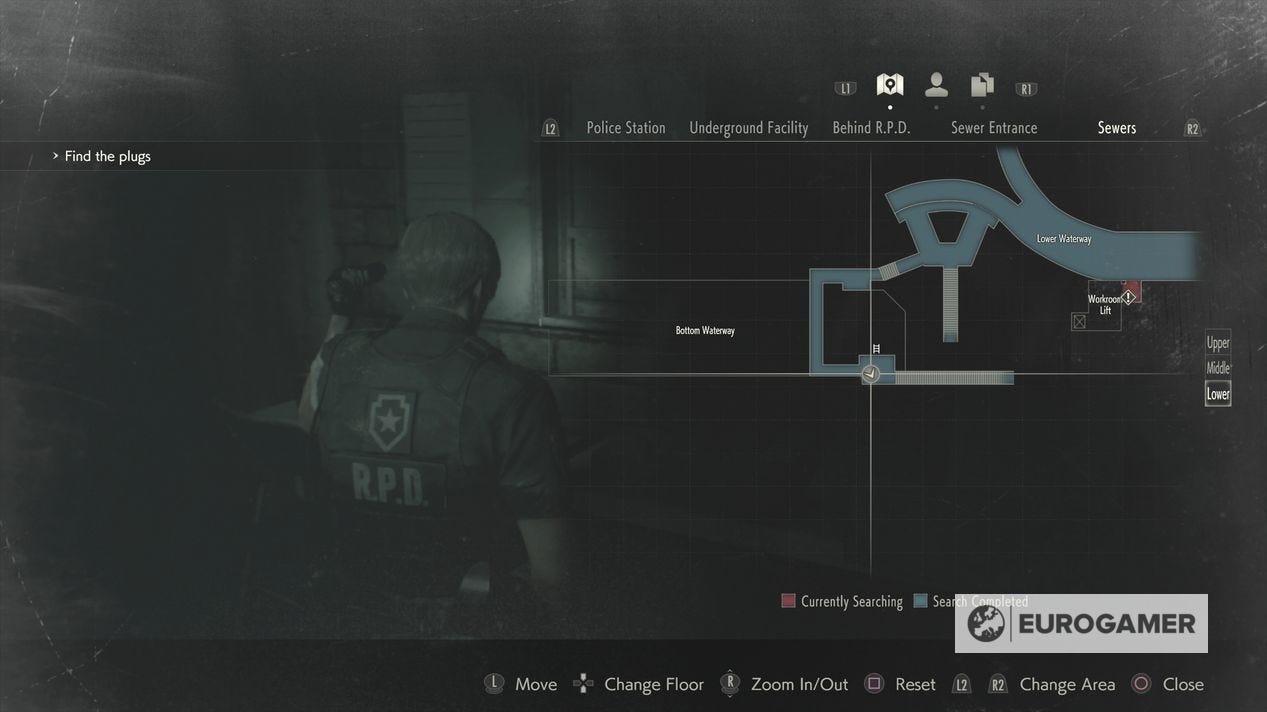
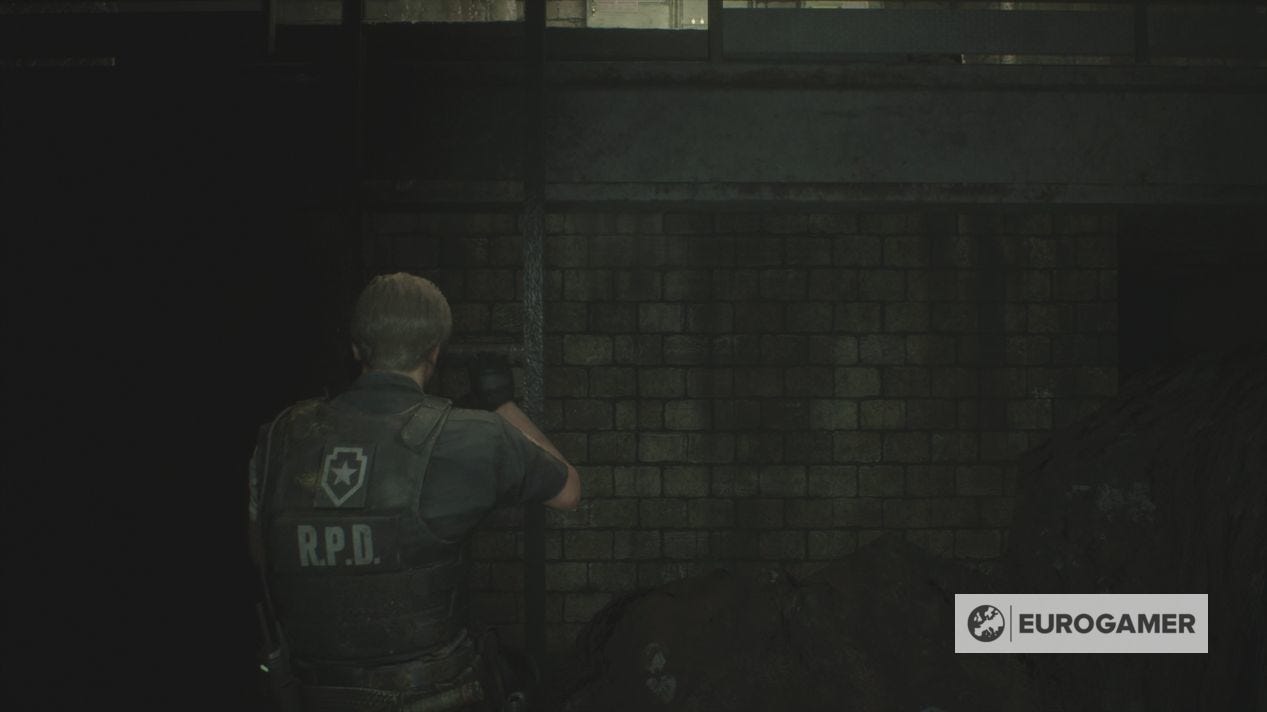
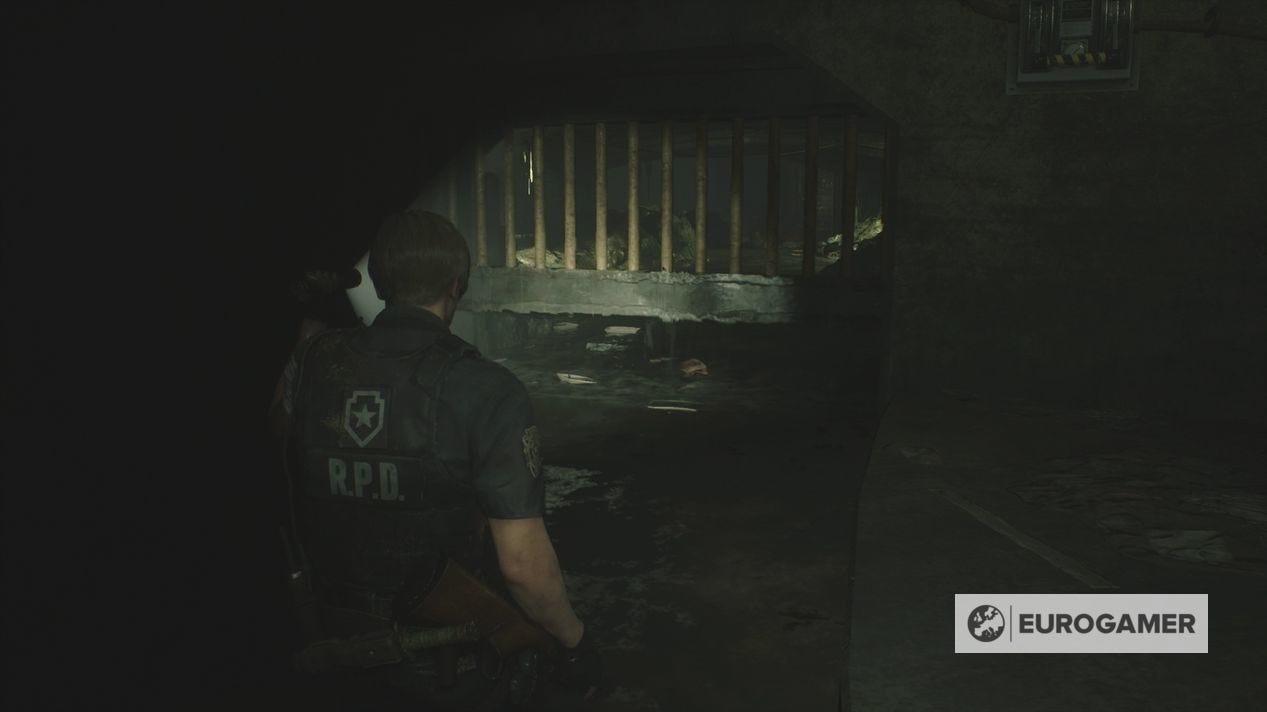
Going east up the stairs results in a dead end, so head opposite where you found the Sewers Key, down a ladder into the Bottom Waterway.
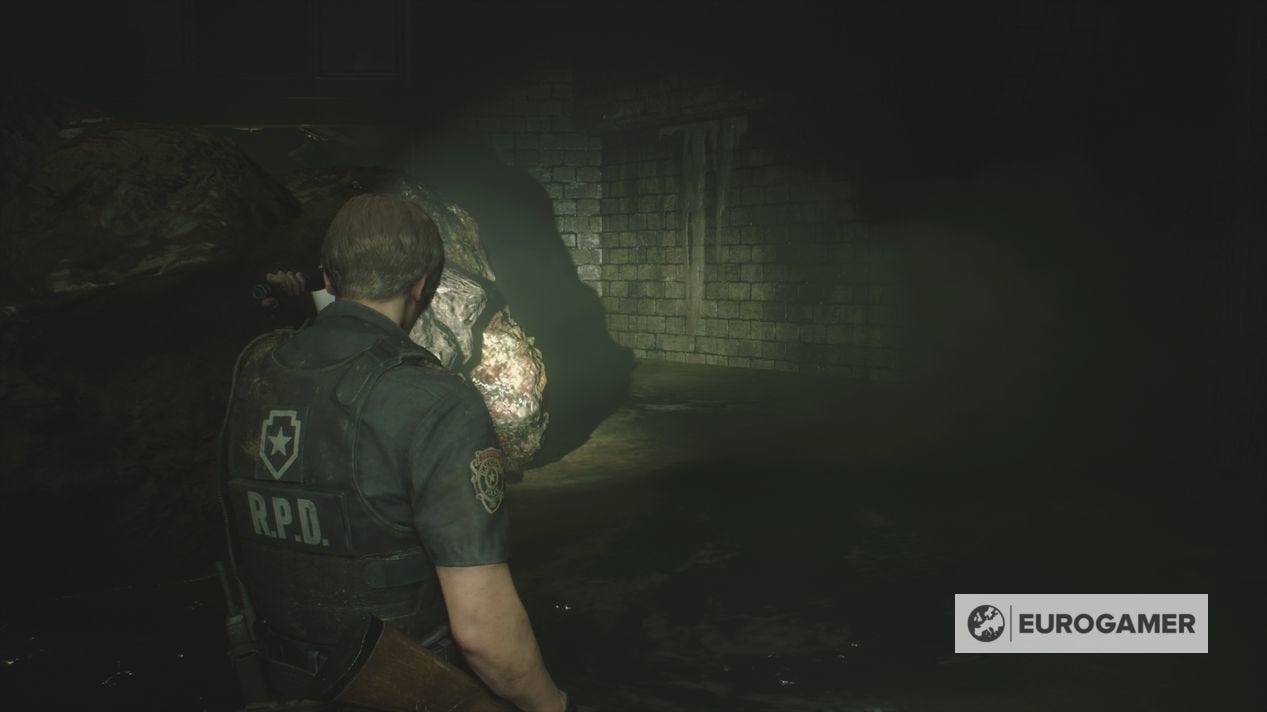
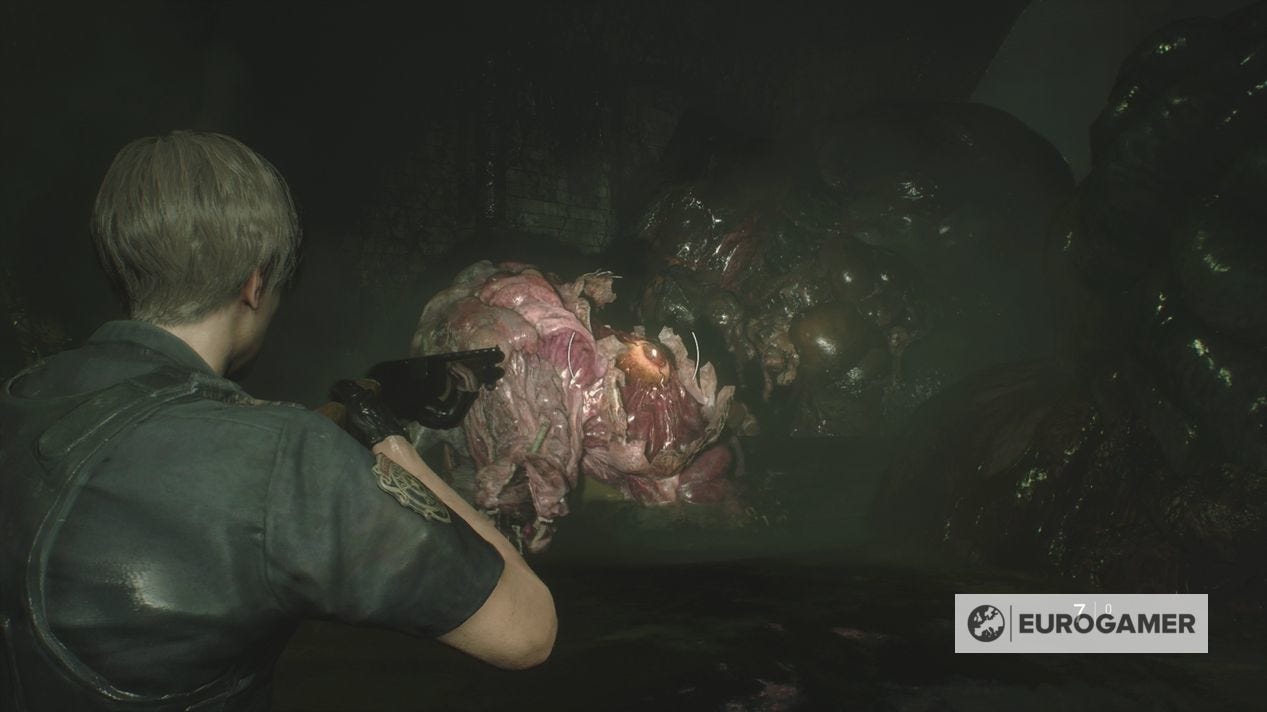
Head west up the ledges until you come across another G Adult in the water. We recommend taking out the first one - remember to aim for the eye - that's in your way, then giving the other two (!) the run around, otherwise it'll soak up all your ammo.
We found some MAG Rounds on the south wall halfway through the room, but don't worry, there will be an easier way to deal with them shortly.
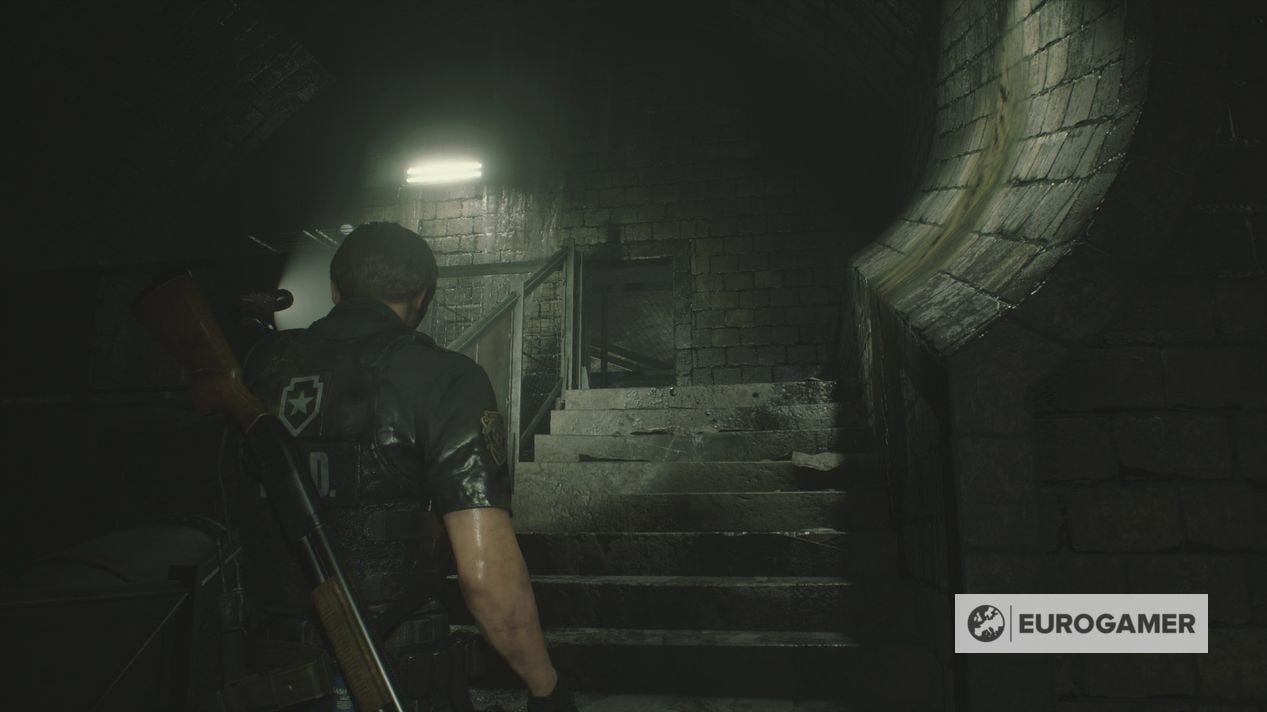
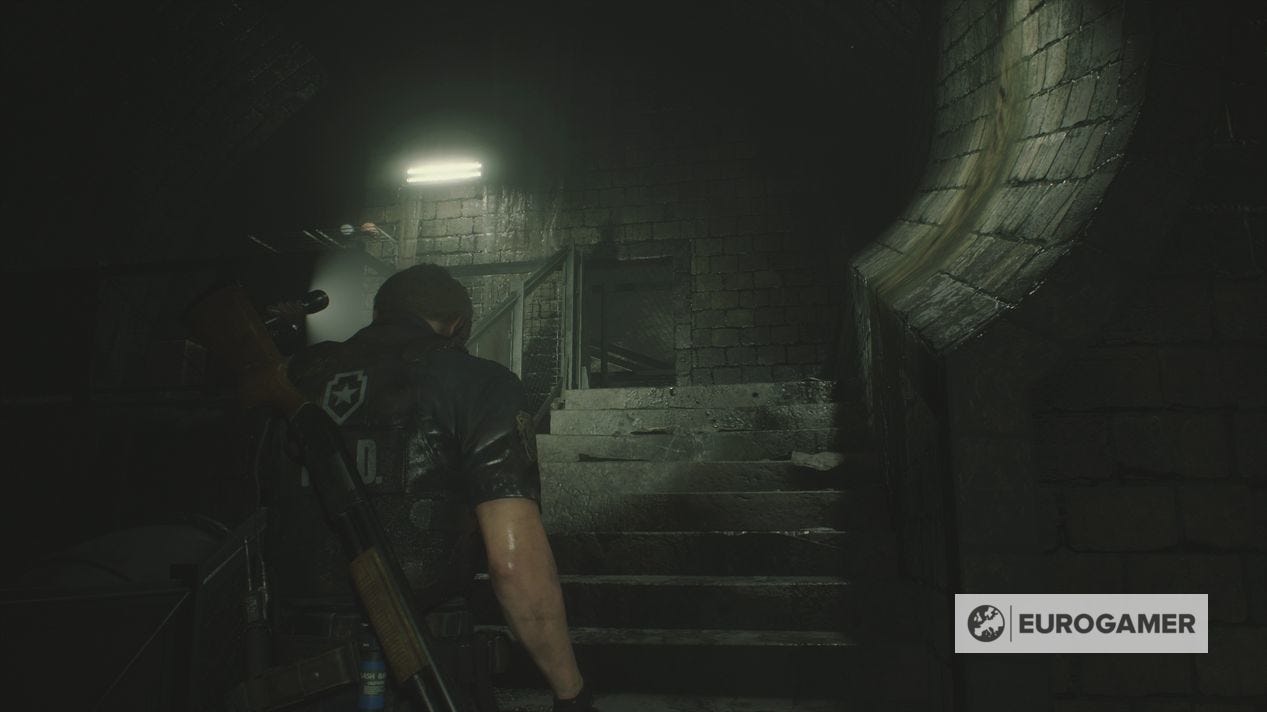
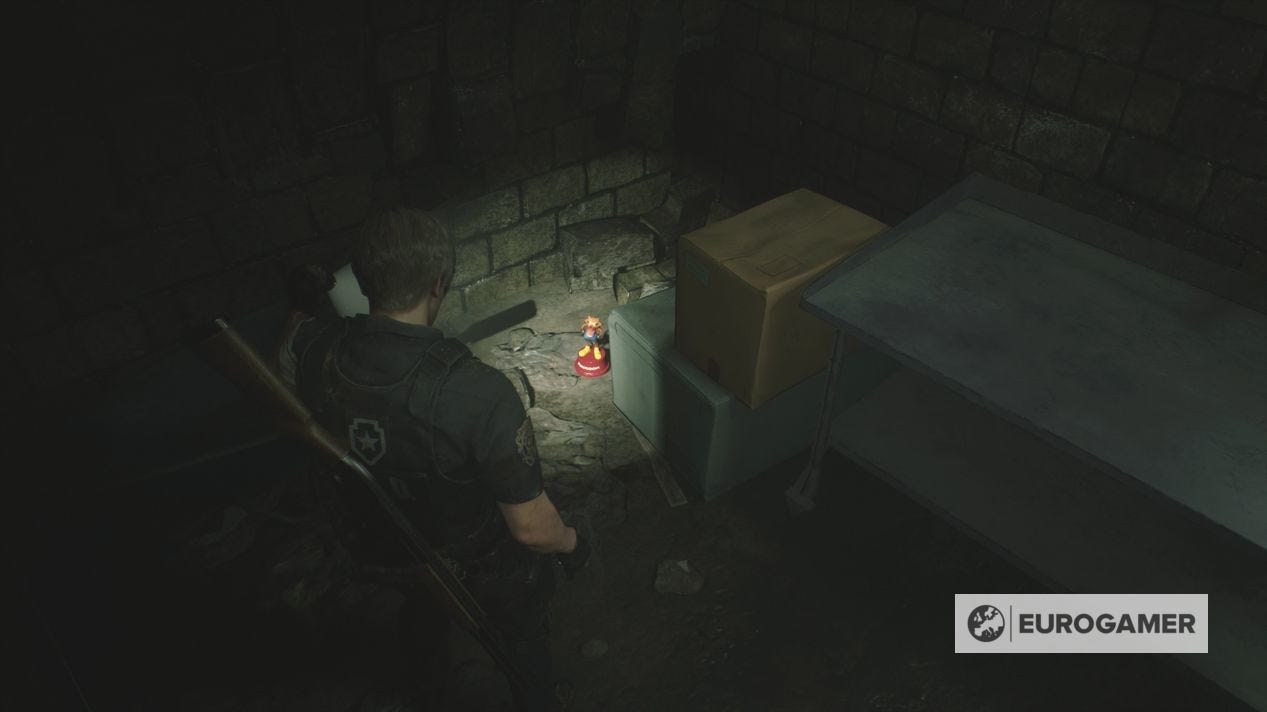
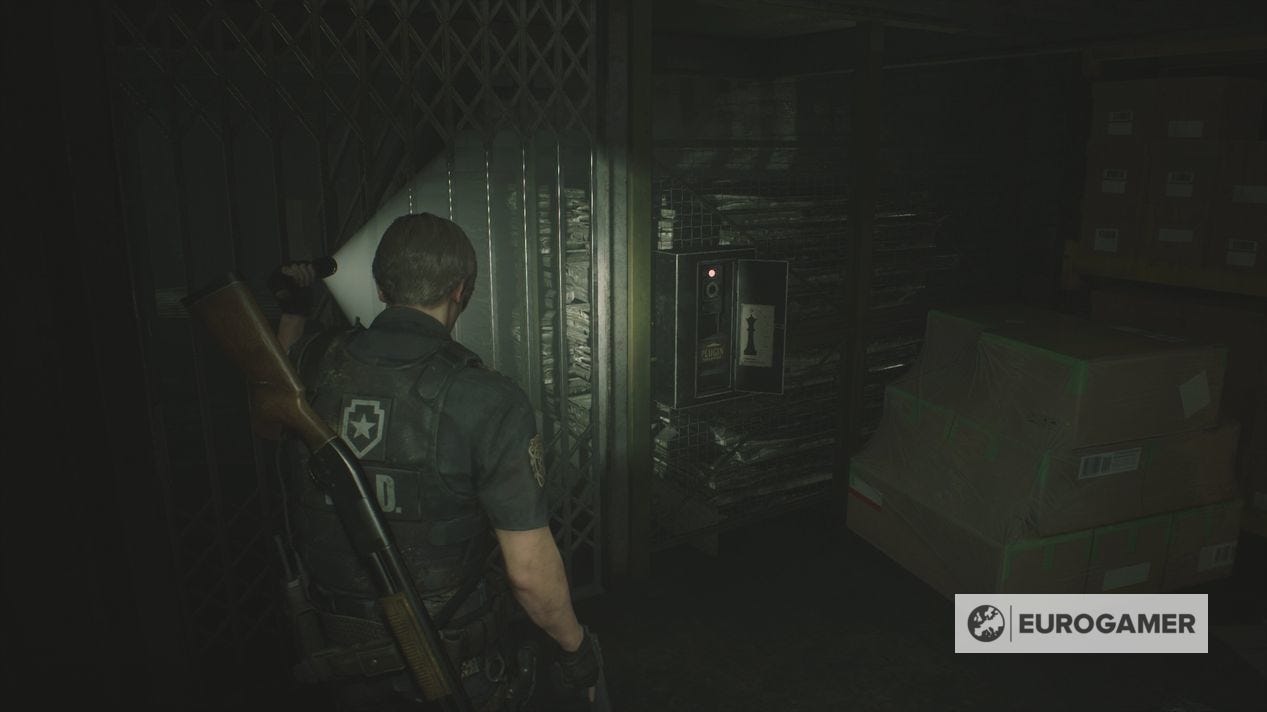
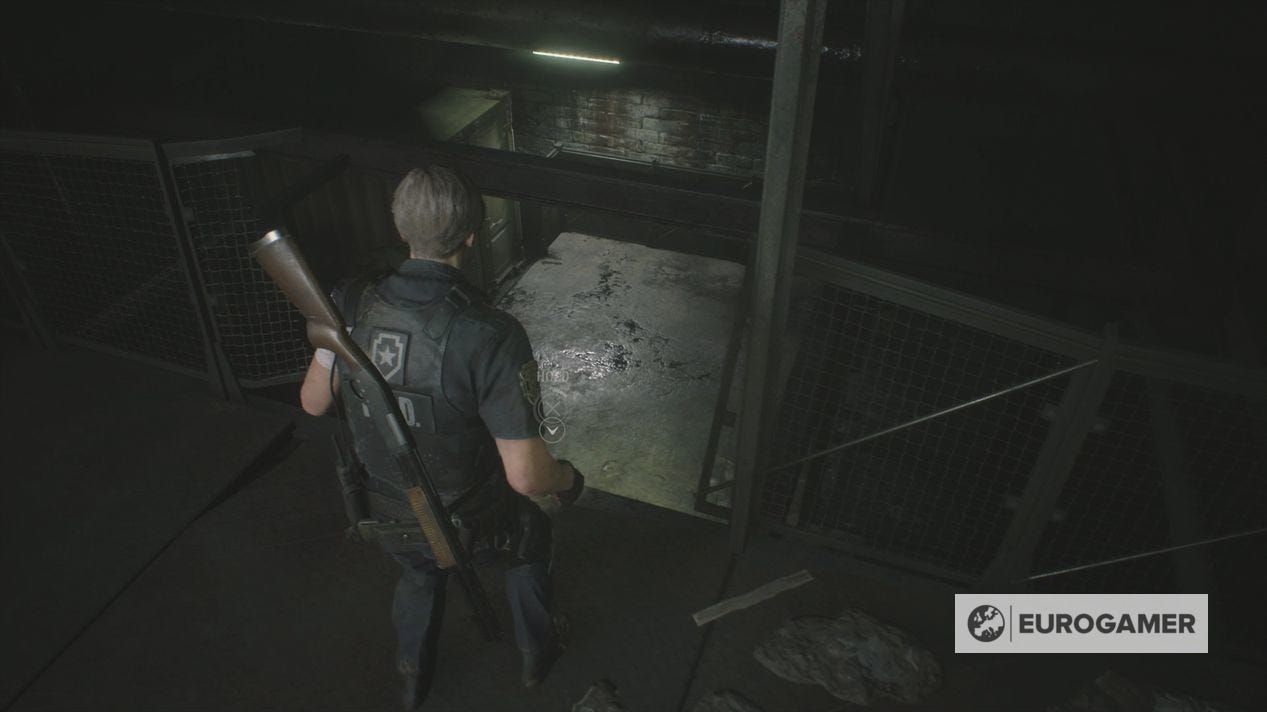
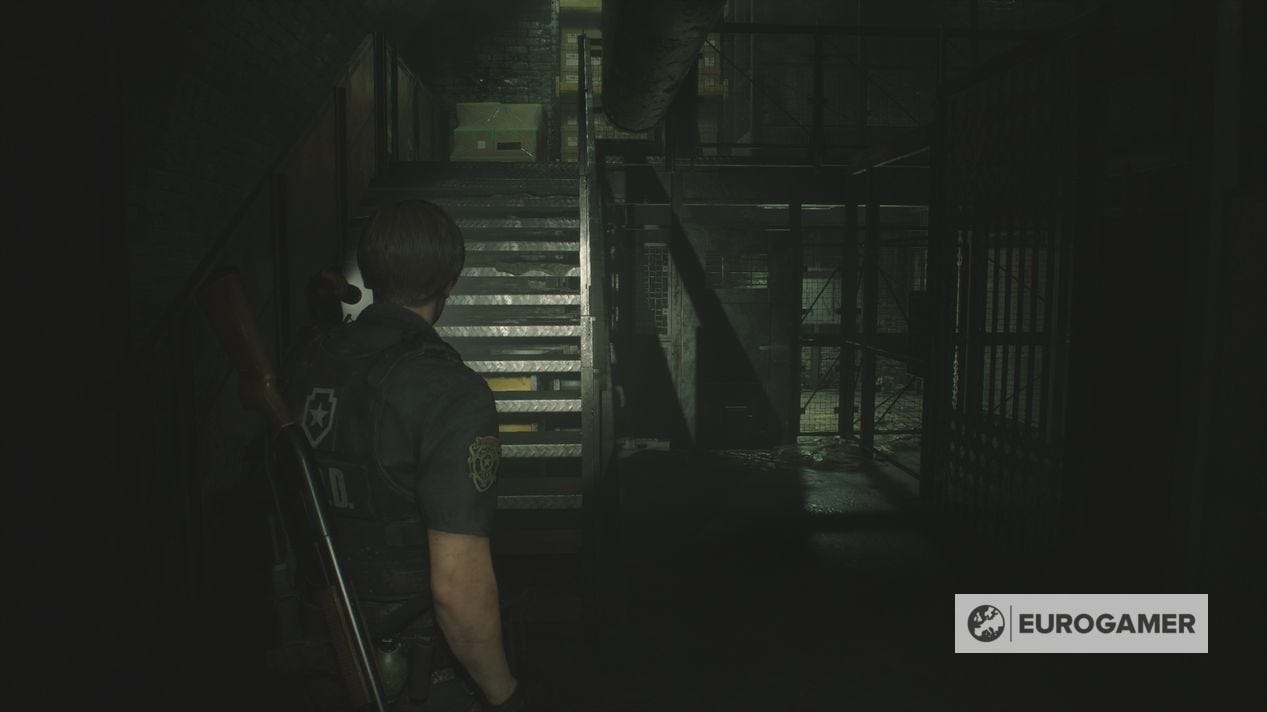
At the end, climb out of the water and into the doorway to reach the Supplies Storage Room area. Take the stairs up, shoot the Mr Raccoon collectable left of the stairs, then proceed west into the Supplies Storage Room proper.
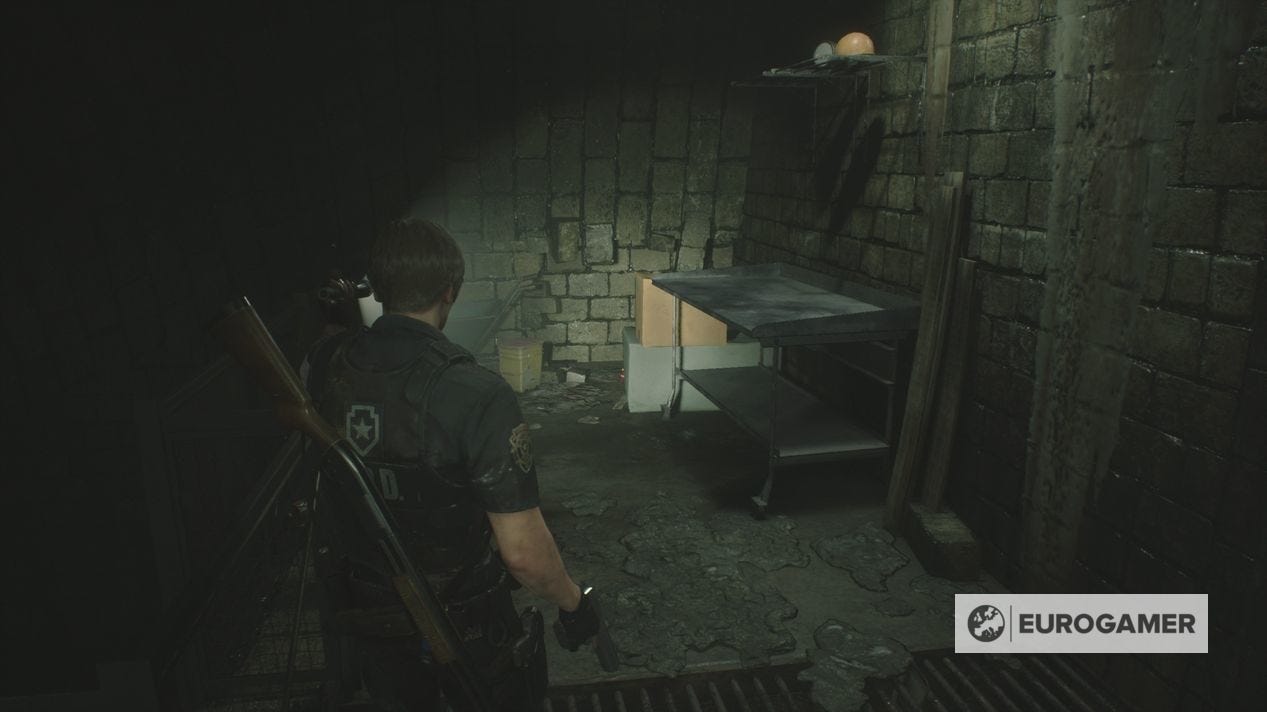
Supplies Storage Room puzzle
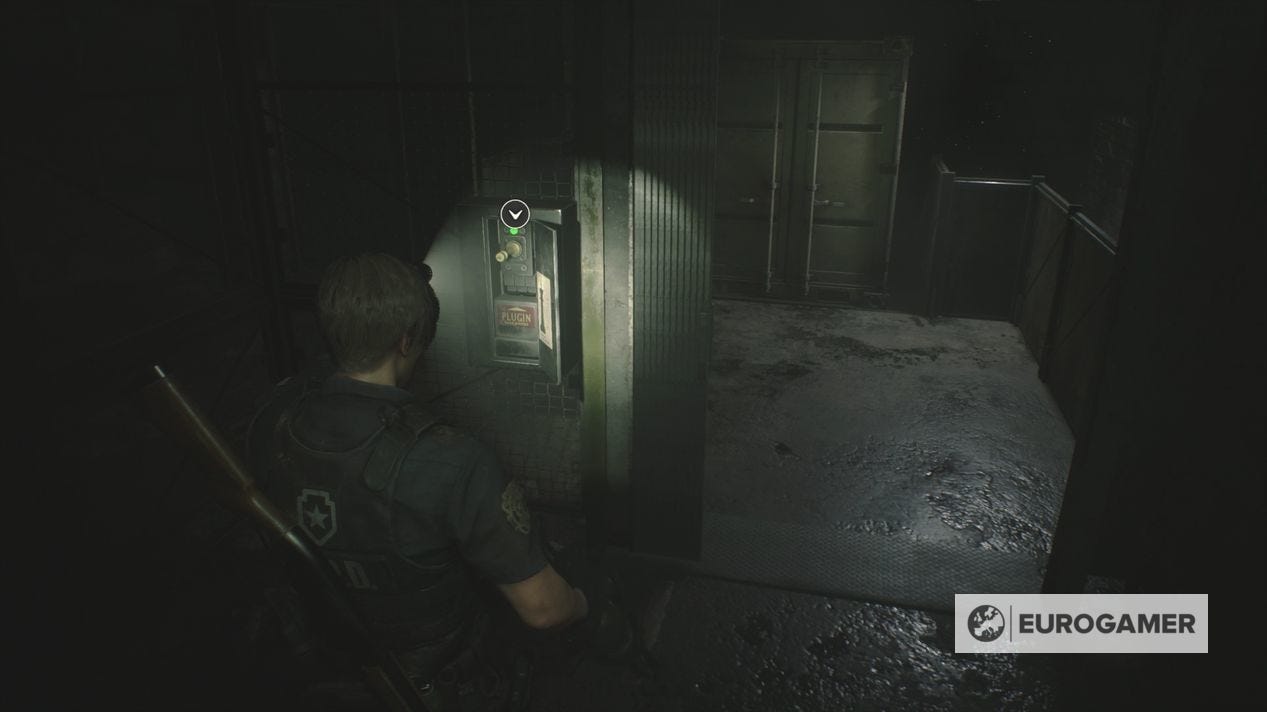
Head down the steps to see several Plug panels, an unreachable weapon and various locked doors. The aim here is to leave with both the weapon and the Plugs. Here's the steps to take:
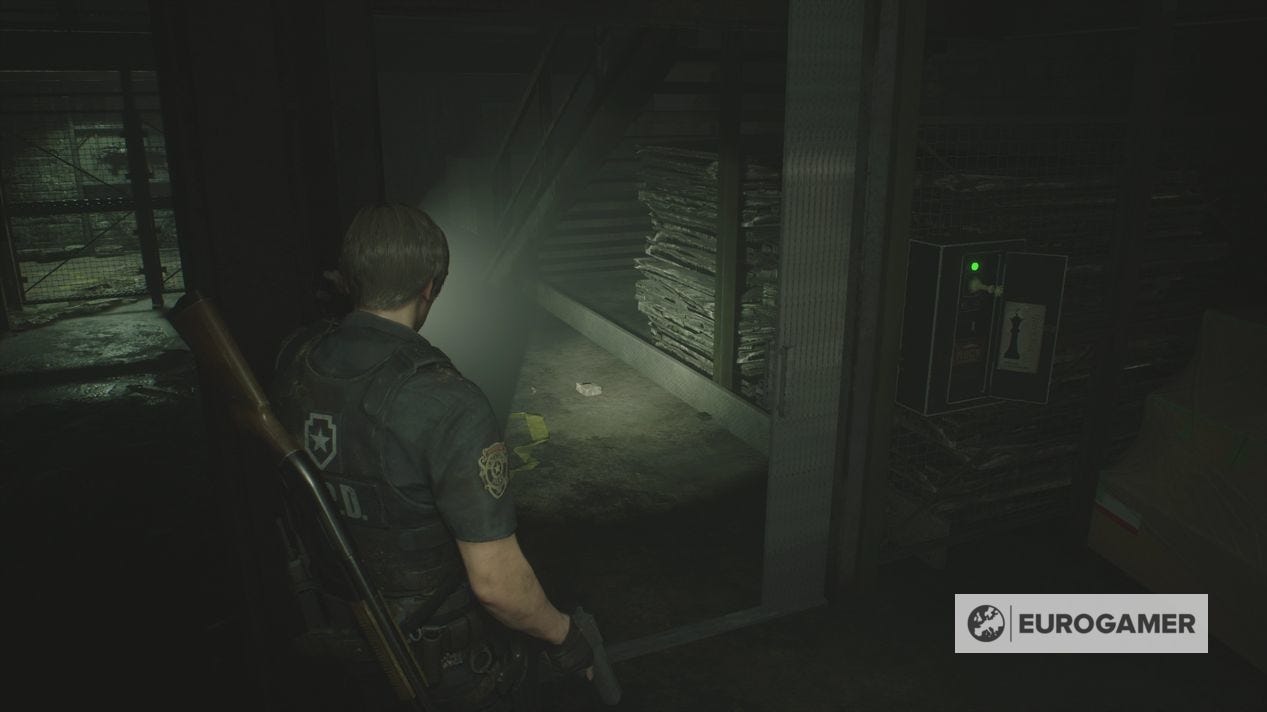
In the middle corridor is a panel with the Queen Plug. Take it out, looking the door.
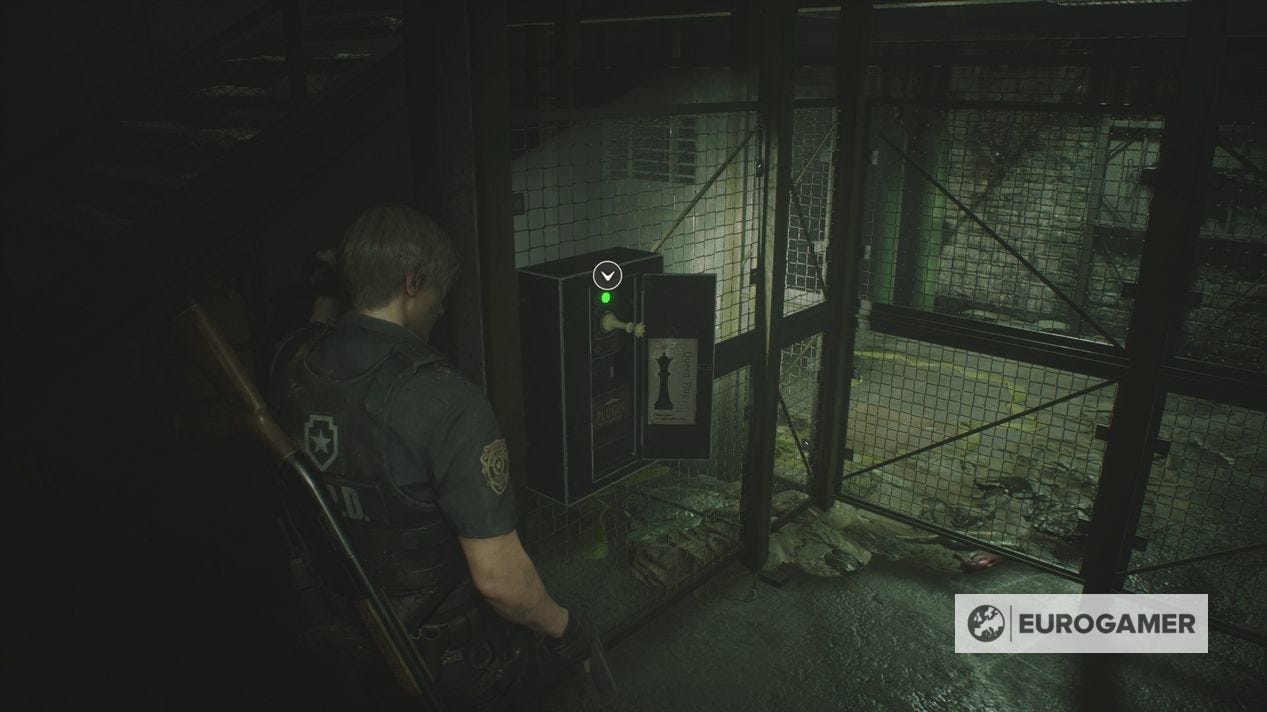
Go west to a panel requiring the Queen Plug. Use it to open the door.
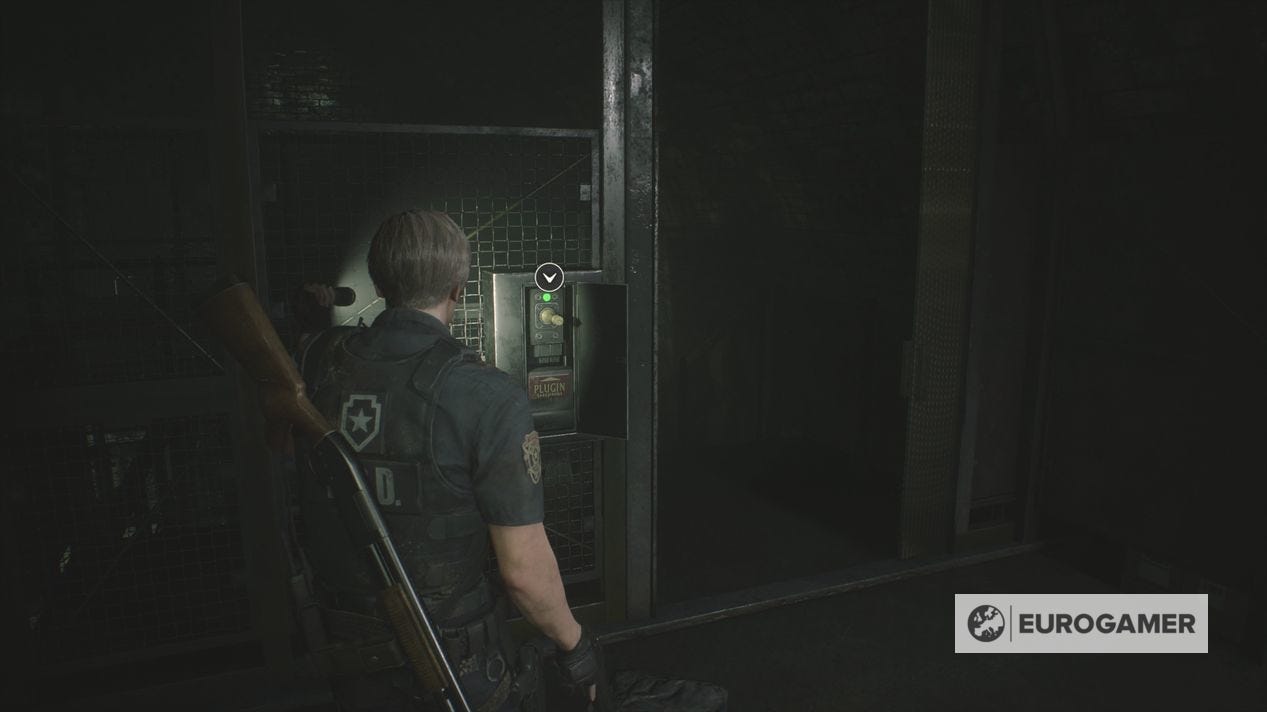
Head up the stairs, and on the right, grab the King Plug, closing the door behind you.
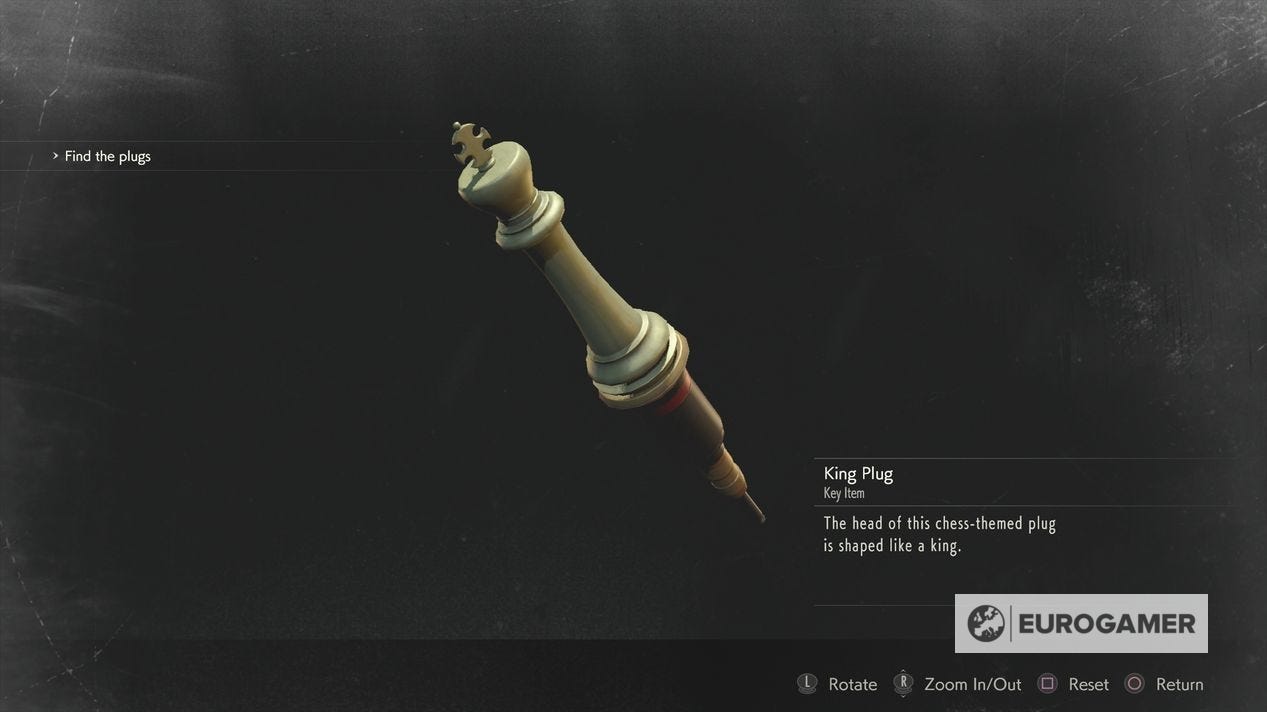
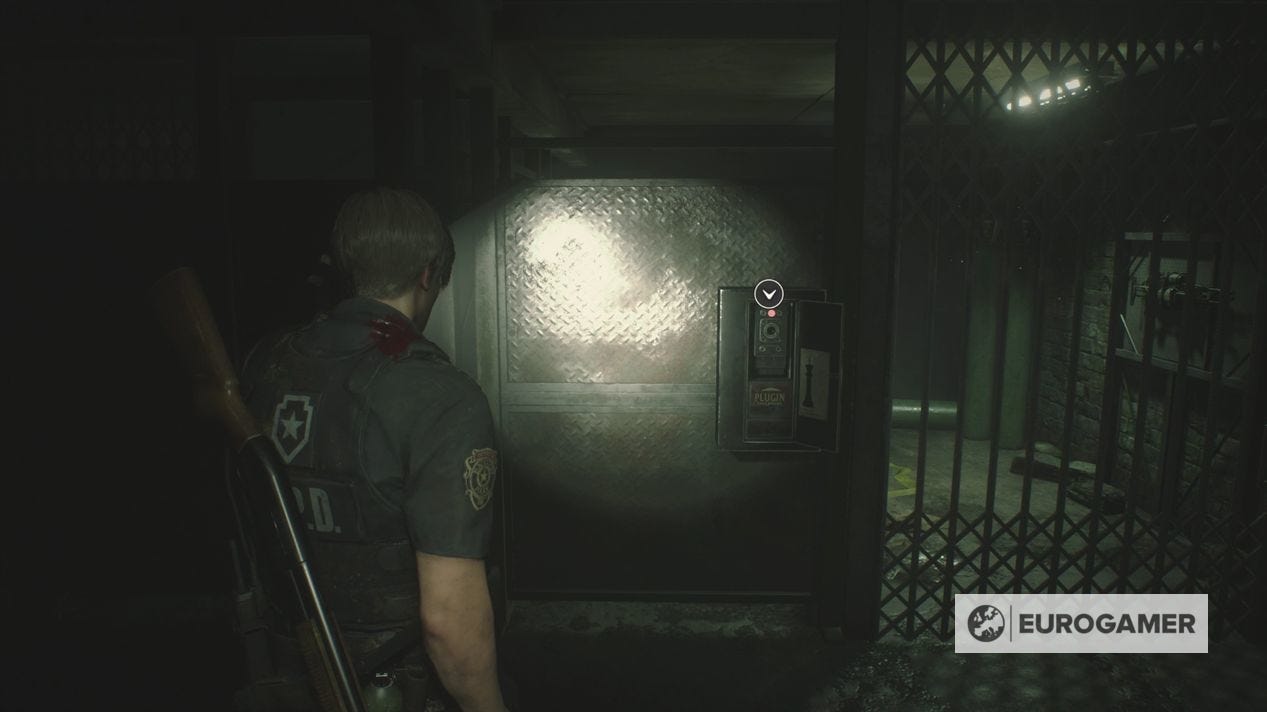
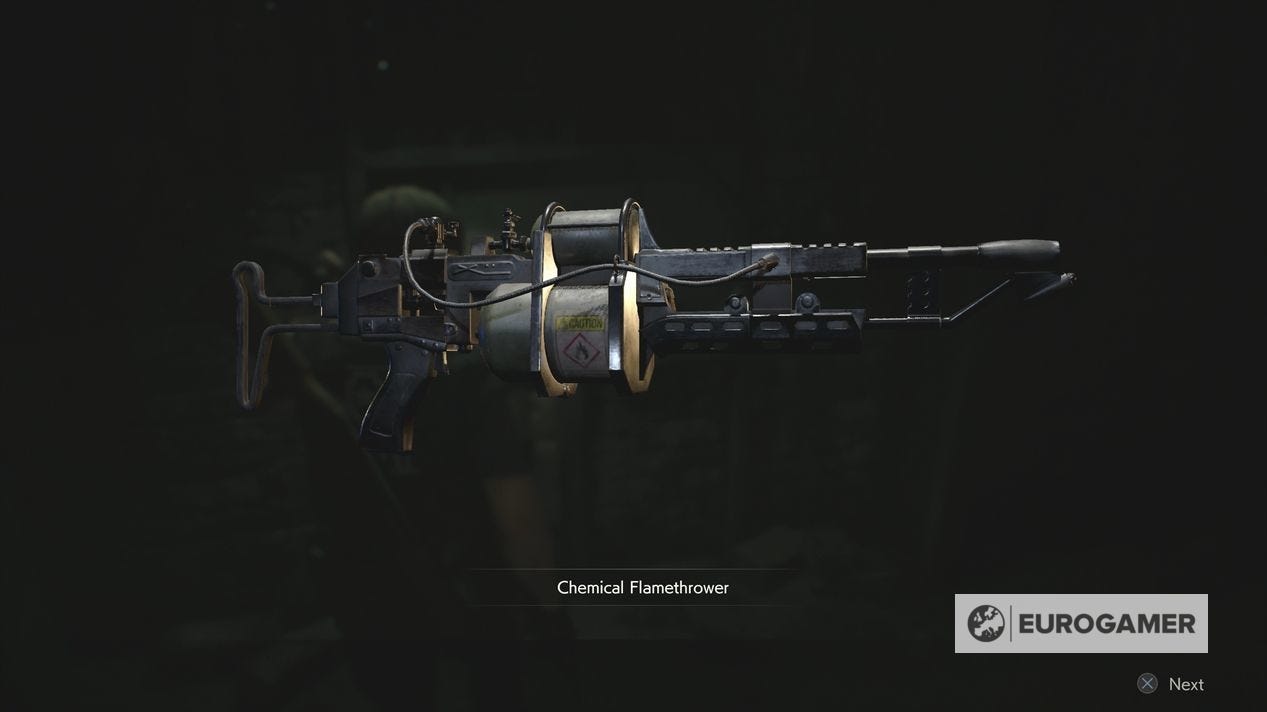
Drop down to the area below, go right through the open Queen door, and use the King Plug on the panel to reach the Chemical Flamethrower. Open the locked door while you are there.
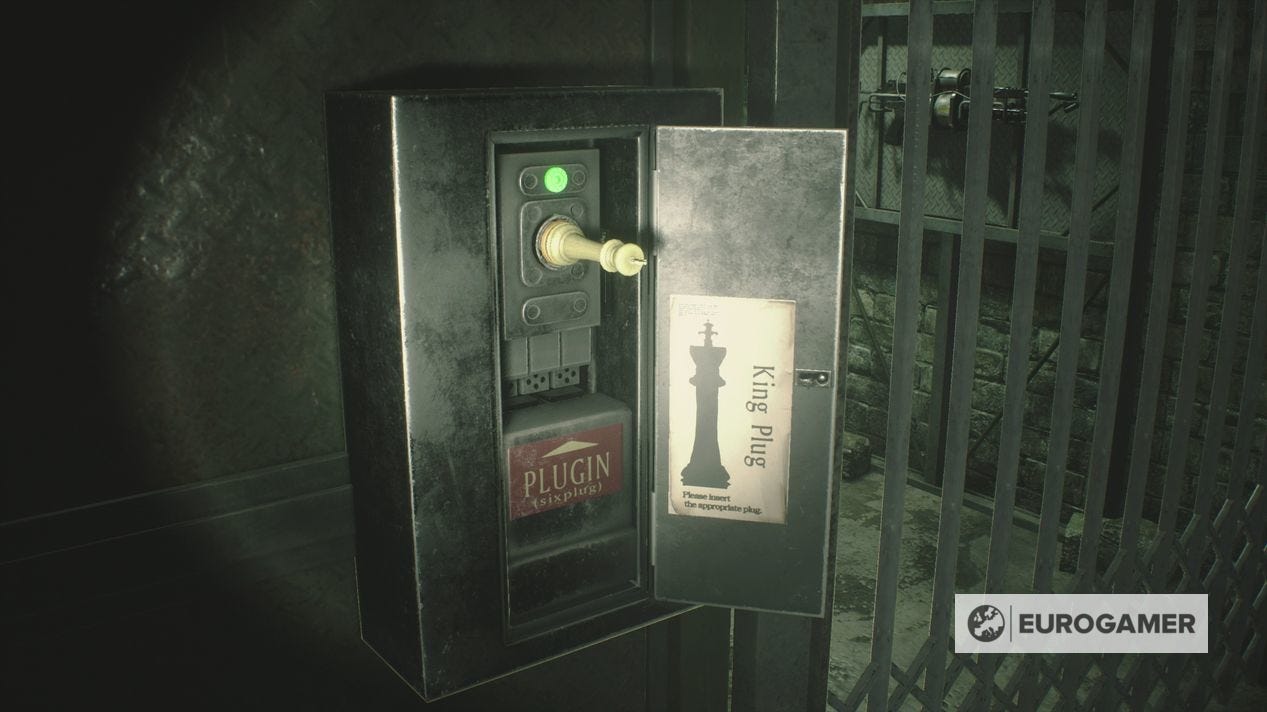
Go back to the Queen Plug and take it from the panel under the stairs, closing the door. Use the Queen Plug on the panel where you first found it, opening the door back to the entrance.
Use the King Plug on the panel opposite the stairs where you first entered, opening the door next to it.
Go back to the Queen Plug, taking it from the panel. Leave through the door the King Plug has opened, taking it with you.
That's it - both King and Queen Plugs and a shiny new weapon are now yours.
Our full Resident Evil 2 walkthrough explains every aspect's of Leon and Claire's campaigns, including Locker Code solutions, the Leon Desk puzzle solution, all Resident Evil 2 Safe Codes and Portable Safe solutions, Hiding Place locations, how to survive Mr X fights and the Chess Plug puzzle solution.
Where to find the Rook Plug location
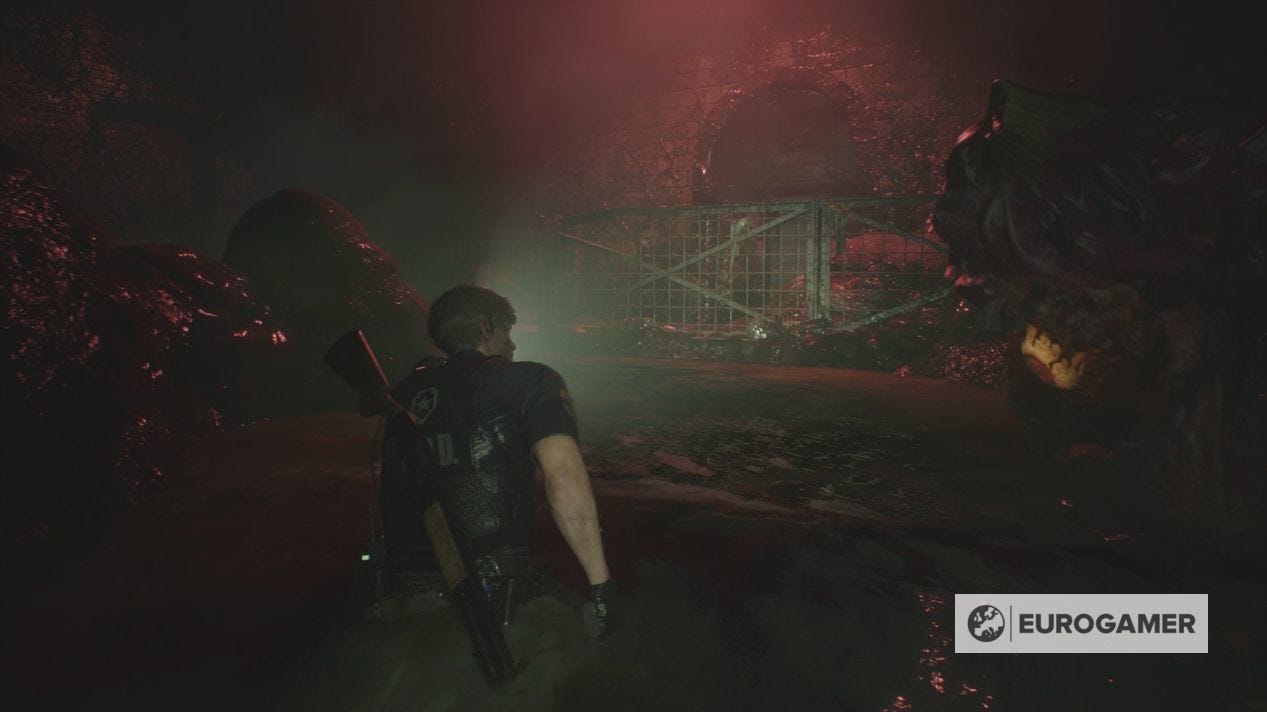
Head back now through the Bottom Waterway. Again, we recommend sprinting past the beasts - hug the left wall to go up a ledge to avoid one, and be prepared to run into another just before the ladder - though if you want to use your Flame Thrower, they will go down much quicker and easier than any other weapon you own.
We recommend heading back to the Monitor Room to drop off those Plug Parts, before returning back to the junction between the Bottom Waterway and the Lower Waterway.
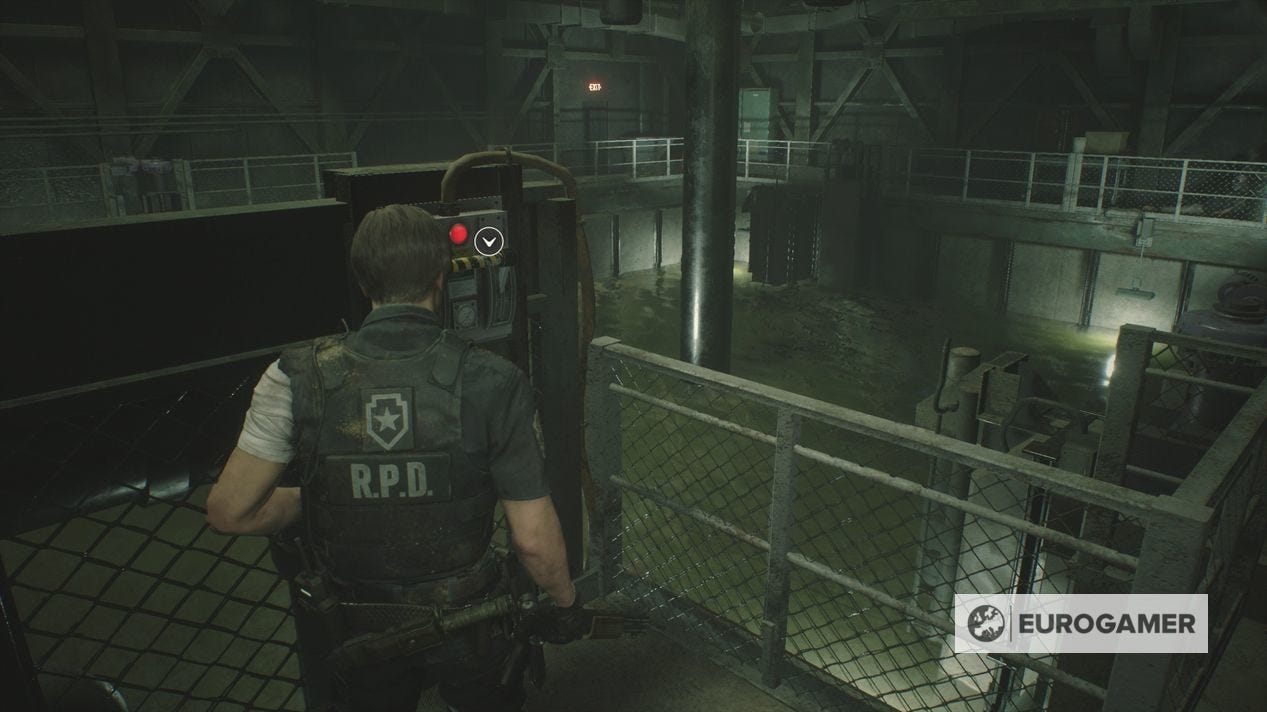
Throw the switch on the right wall, and drop into the water into the Lower Waterway.
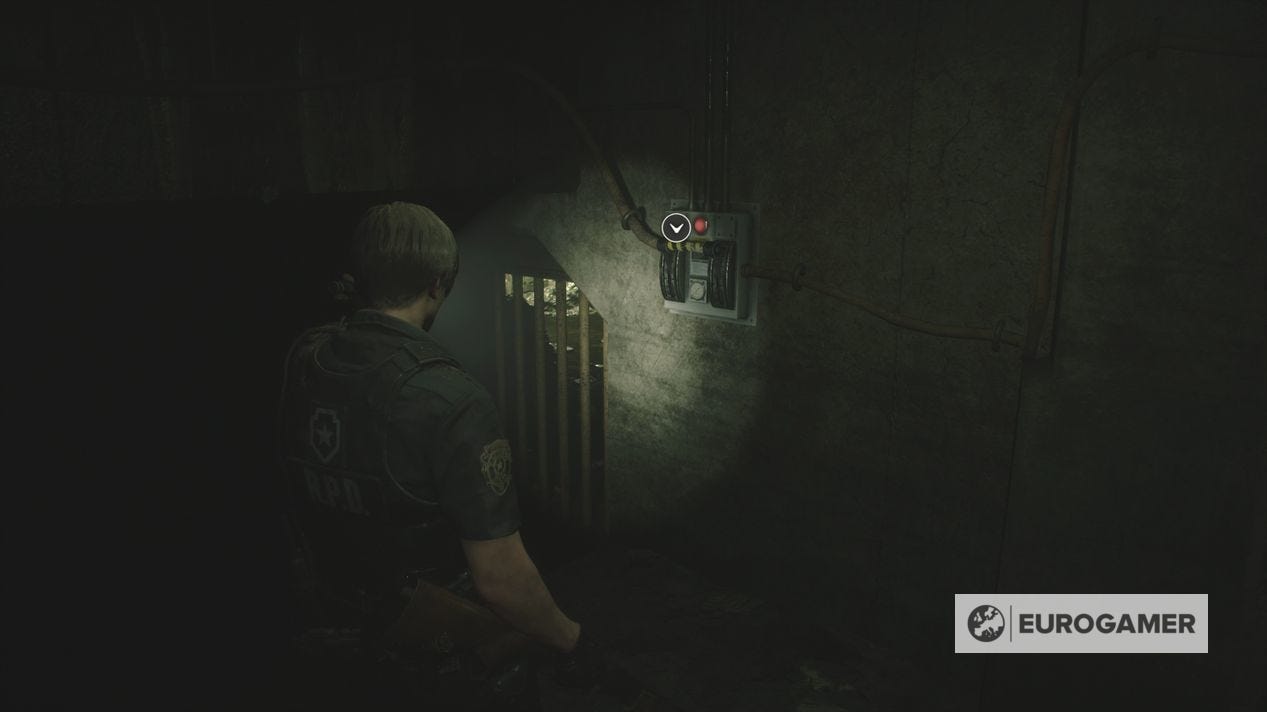
Go east, passing another sewer beast, and climb up the right ledge. Use the T-Bar Valve Handle to open the door to the Workroom Lift, and take the lift up.
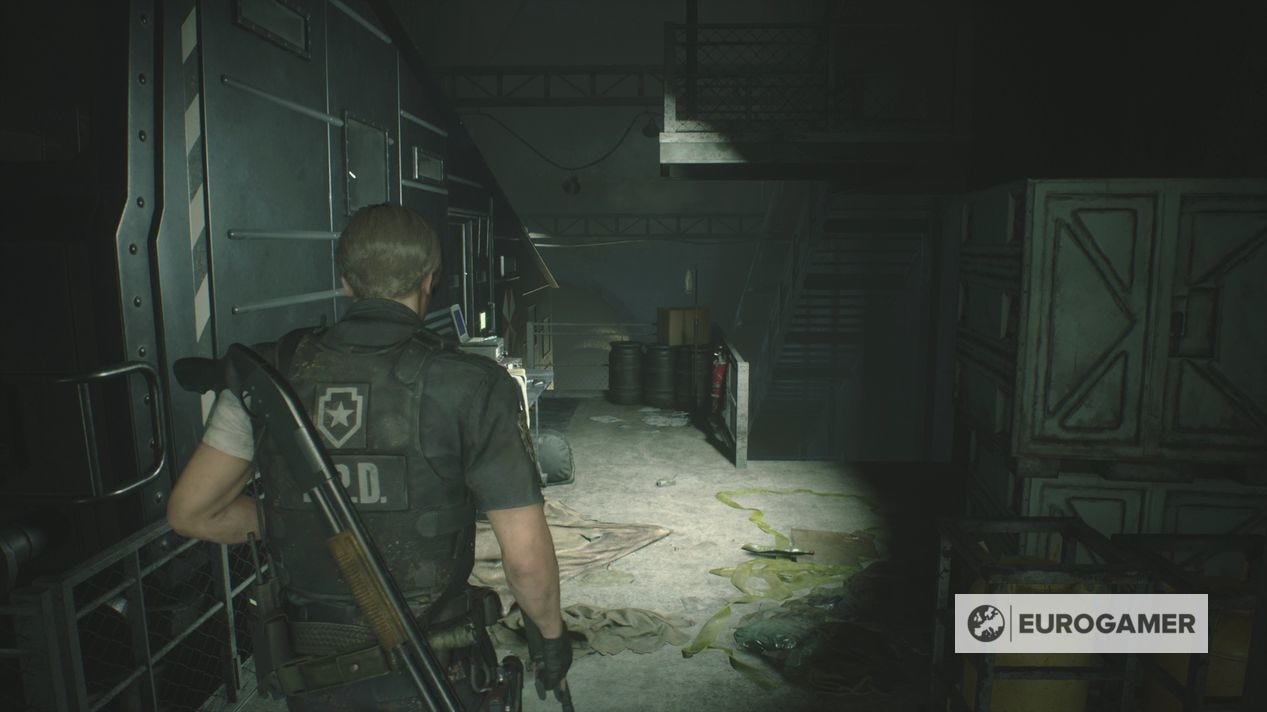
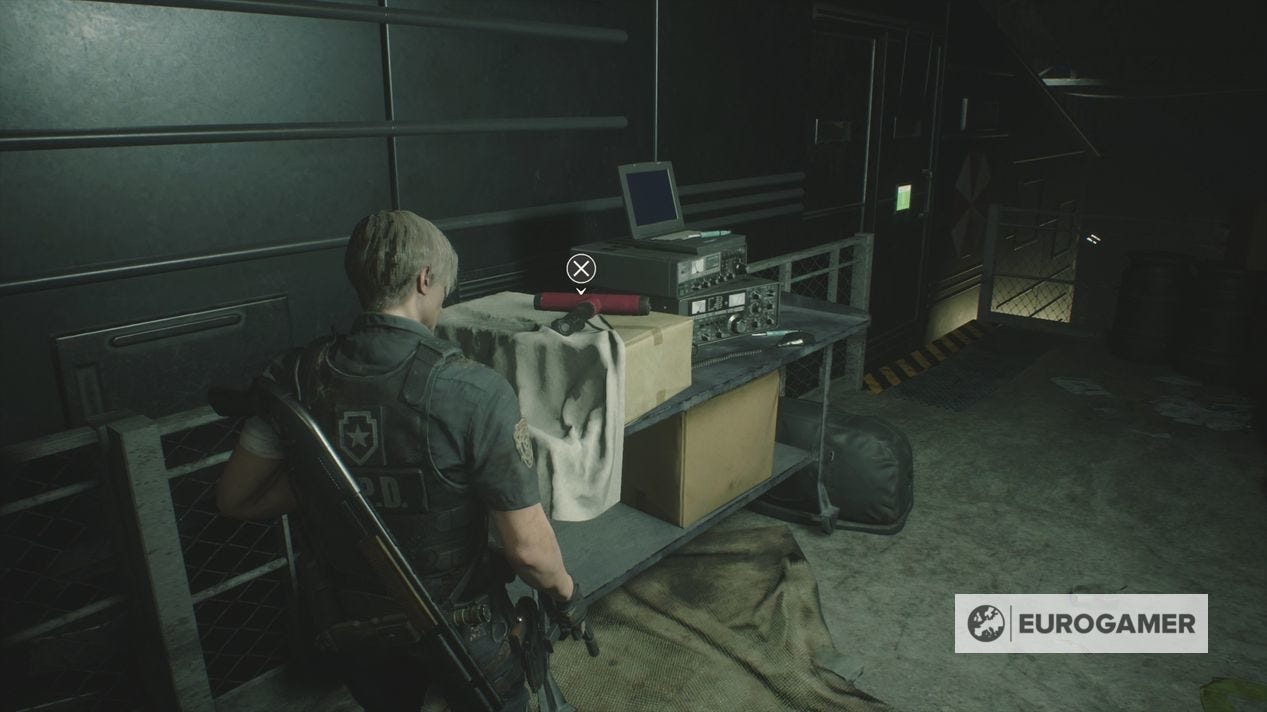
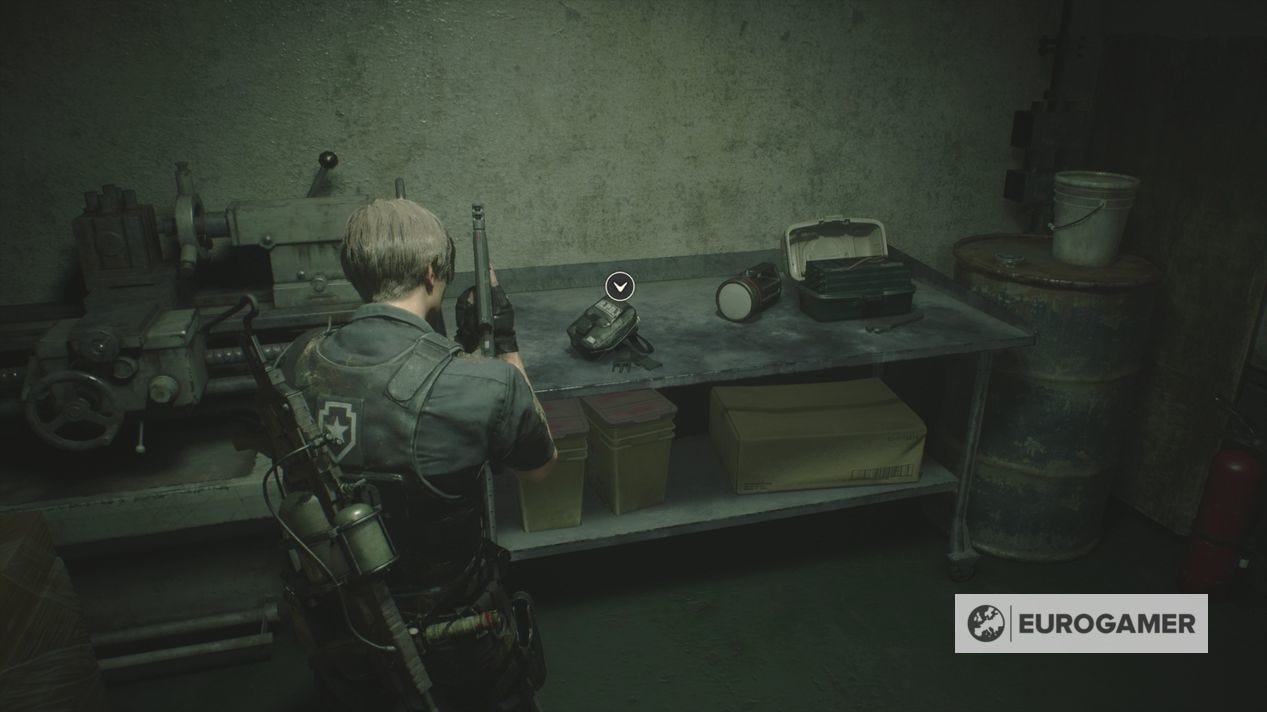
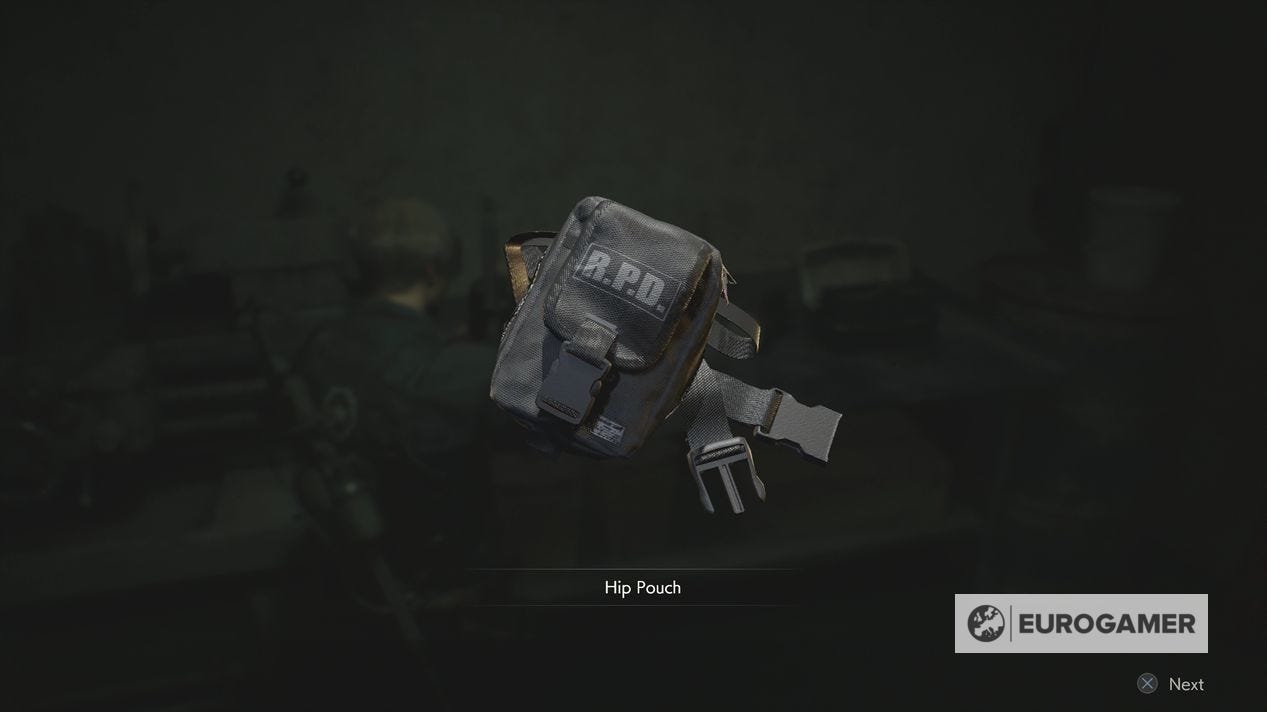
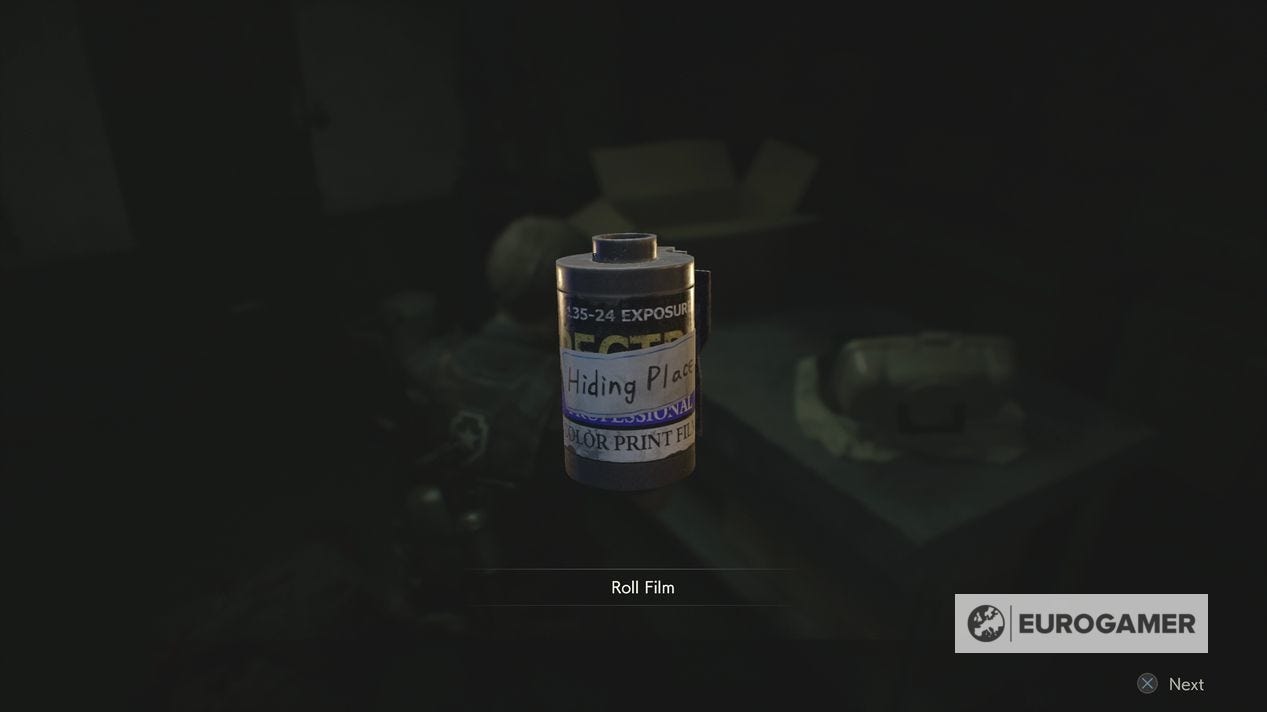
This sees you arrive in the Workroom. Watch out for the zombie on the ground, and grab the Roll Film 'Hiding Place' and the Hip Pouch on the left side.
Unlock the door to return to an area you visited earlier. You can now get the Rook Plug off the left panel without blocking yourself in.

At this point, you have access to all of the Plugs, if you want to turn back to the Chess Plugs puzzle and progress.
However, there's much more to explore thanks to the Sewer Key - and though the following is optional, doing so will give you a variety of weapon upgrades and several Trophies / Achievements, as well as a way back to the Police Station.