How to get a Scan Jammer in Starfield
Less struggling, more smuggling.


In Starfield, scan jammers are a valuable part of a space smuggler’s toolkit. As rewarding as transporting and selling contraband can be, it also presents its fair share of risk. If you happen to get caught, you’ll be arrested and have your merchandise confiscated.
When entering any of the major settlements in Starfield, authorities will scan your spacecraft for black-market goods. If you have illegal items in your character inventory when the scan happens, you’re certain to be rumbled. Stowing them away in your cargo is an equally dicey move.
Investing in your Deception skill can make contraband scans up to 50 percent less effective but it’ll take a while to accumulate enough skill points to reach the maximum rank. If you’re looking to fully commit to your Han Solo fantasy straight away, it’s a good idea to make some sneaky modifications to your ship. Adding shielded cargo is a great place to start, but it’s also worth having a scan jammer.
This guide will take you through how to get a scan jammer in Starfield.
On this page:

If you’d like more help in your galactic adventures, visit our Starfield guides, tips and tricks page.
Scan Jammers in Starfield explained
Scan jammers are a nifty way to mitigate the hazards associated with smuggling contraband. They work by interrupting the frequencies of authorities’ scanners, lessening their ability to detect illegal goods on your ship.
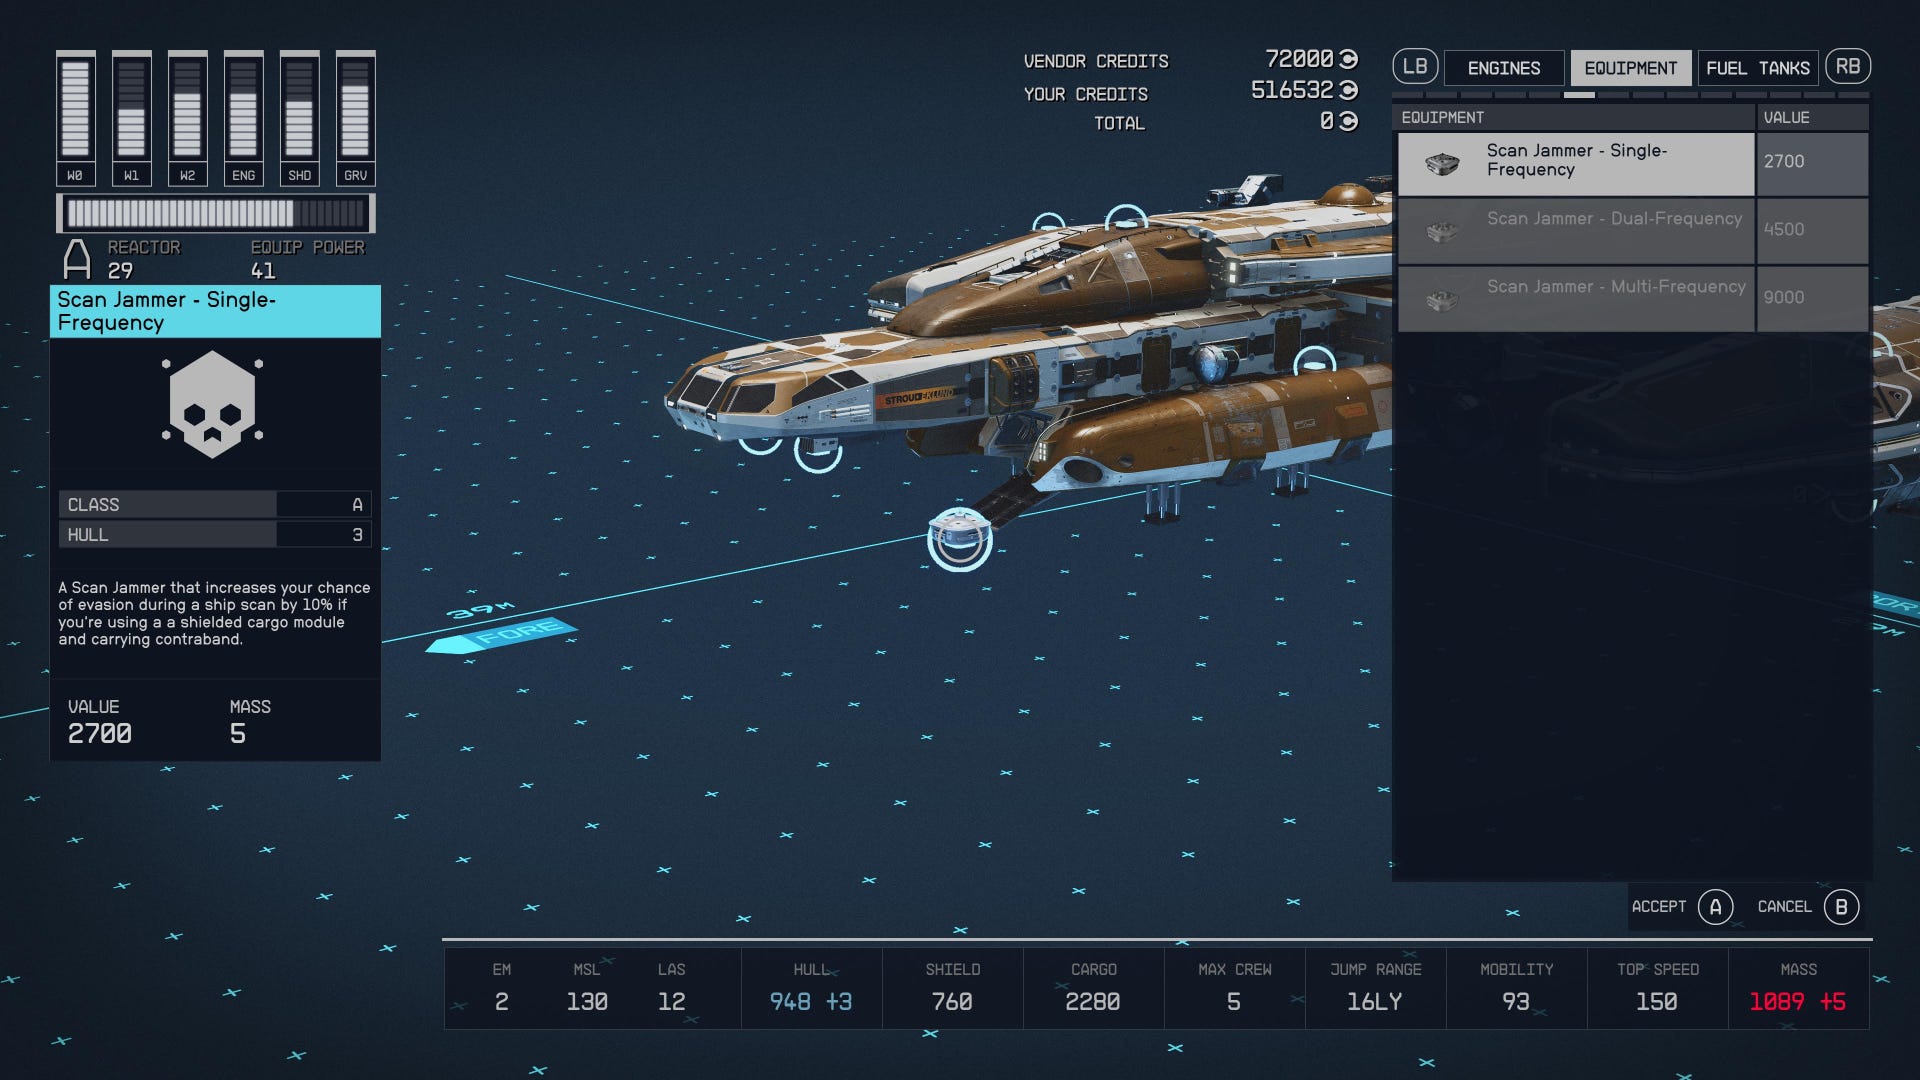
There are three scan jammer models of varying strengths:
| Scan evasion chance | Skill requirements | Cost | Mass | |
|---|---|---|---|---|
| Single-Frequency | 0.1 | None | 2700 credits | 5 |
| Dual-Frequency | 0.3 | Starship Design Rank 1 | 4500 credits | 6 |
| Multi-Frequency | 0.5 | Starship Design Rank 2 | 9000 credits | 7 |
For the best chance of passing scans, upgrade your Starship Design Skill to rank 2 so you can buy and install a multi-frequency scan jammer. It’s important to note that these effects don’t stack. Buying multiples will do nothing but raise your ship’s mass and waste your credits.
Stealing a Scan Jammer in Starfield explained
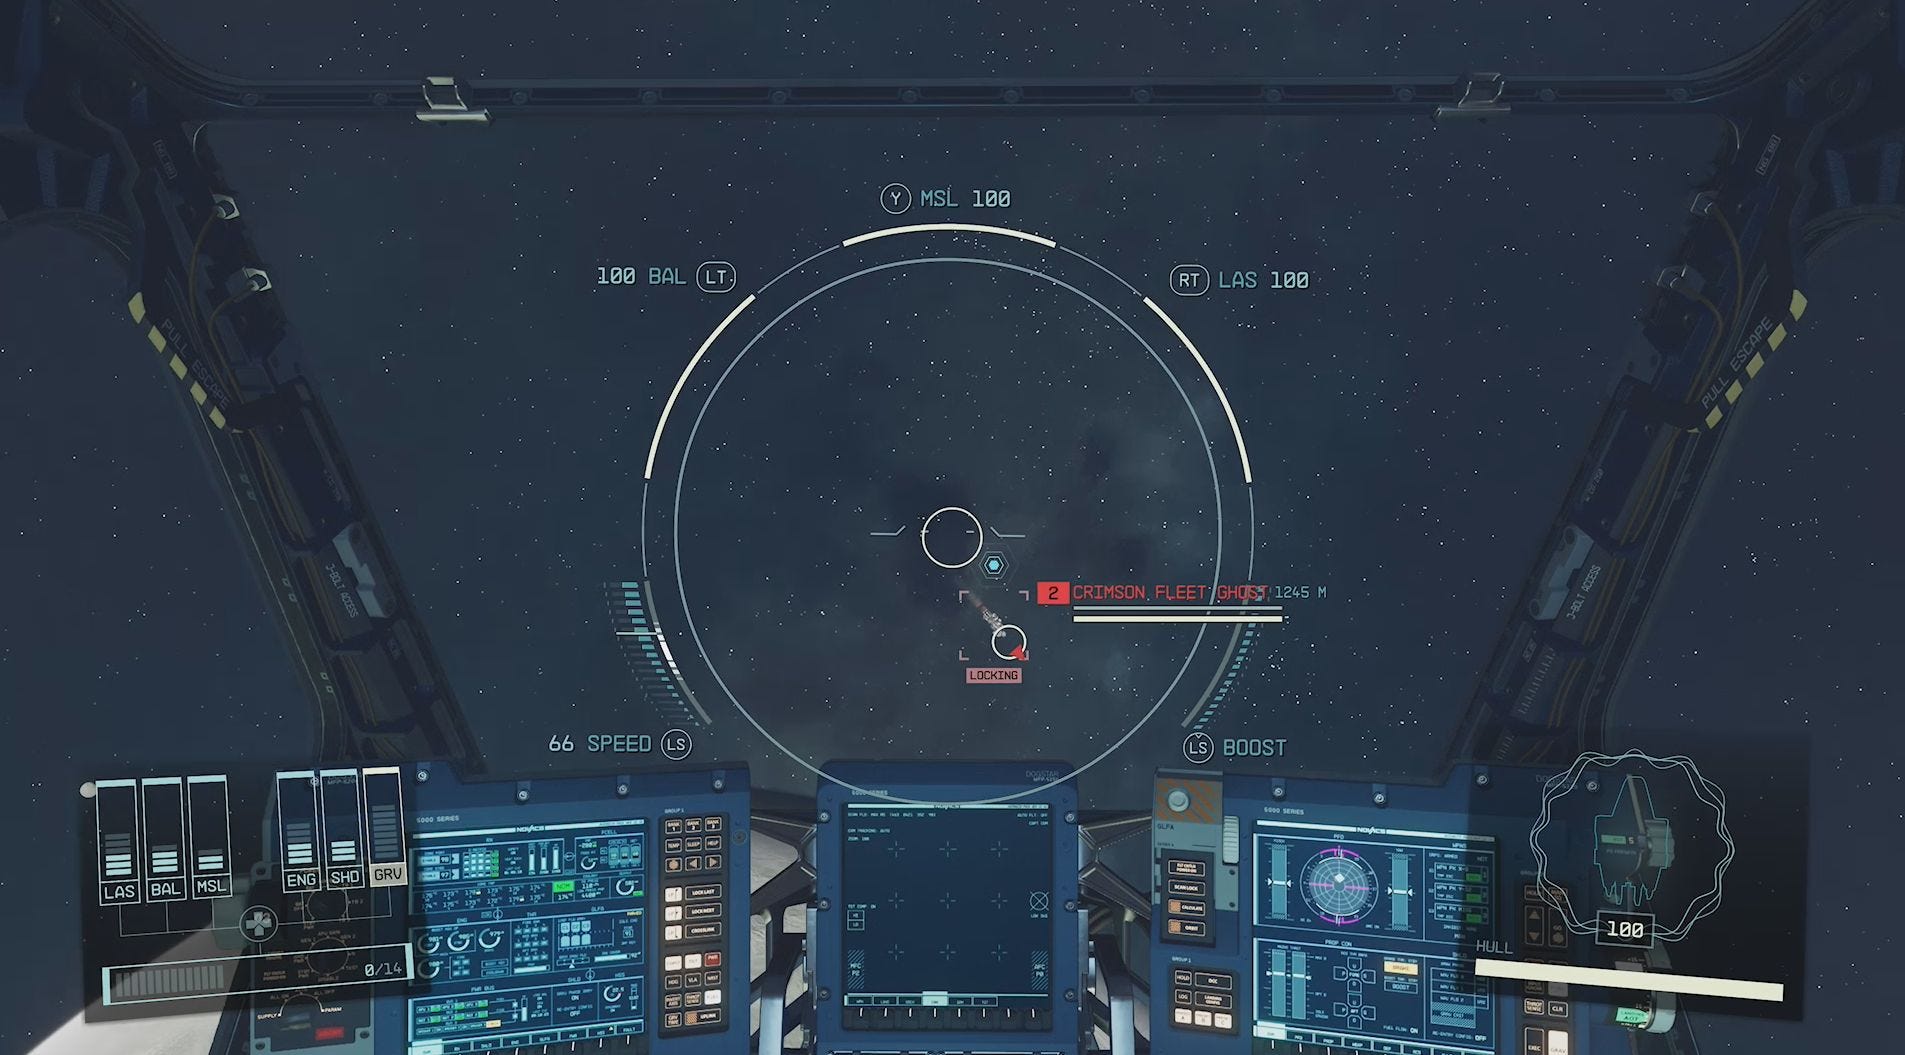
The most cost-effective way to source a scan jammer is to take the finders-keepers approach and commandeer a ship with one already installed. It’s specifically worth targeting Crimson Fleet ships as they tend to be appropriately specced out for criminal activities.
Unfortunately, there doesn’t seem to be a system to disassemble ships to use their parts on other builds. This means you might find yourself taking on an otherwise subpar home ship just to benefit from its smuggler-friendly components. Thankfully, once you’re finished hauling contraband, you can make some extra credits by selling the stolen spacecraft.
Buying a Scan Jammer in Starfield explained
If you don’t come across a scan jammer in the wild, store-bought is fine. This shady piece of equipment isn’t sold just anywhere, though. You’ll need to find a supplier that’s a little more flippant when it comes to the law. The Crimson Fleet and the Red Mile are your two options.
From the Crimson Fleet
You don’t make the best first impression with the Crimson Fleet given how many of their members you gun down in the first 20 minutes of the game. Thankfully, this band of space pirates seems to forgive and forget provided you complete their loyalty missions. Once you infiltrate their ranks, you’ll be granted access to their base, the Key.
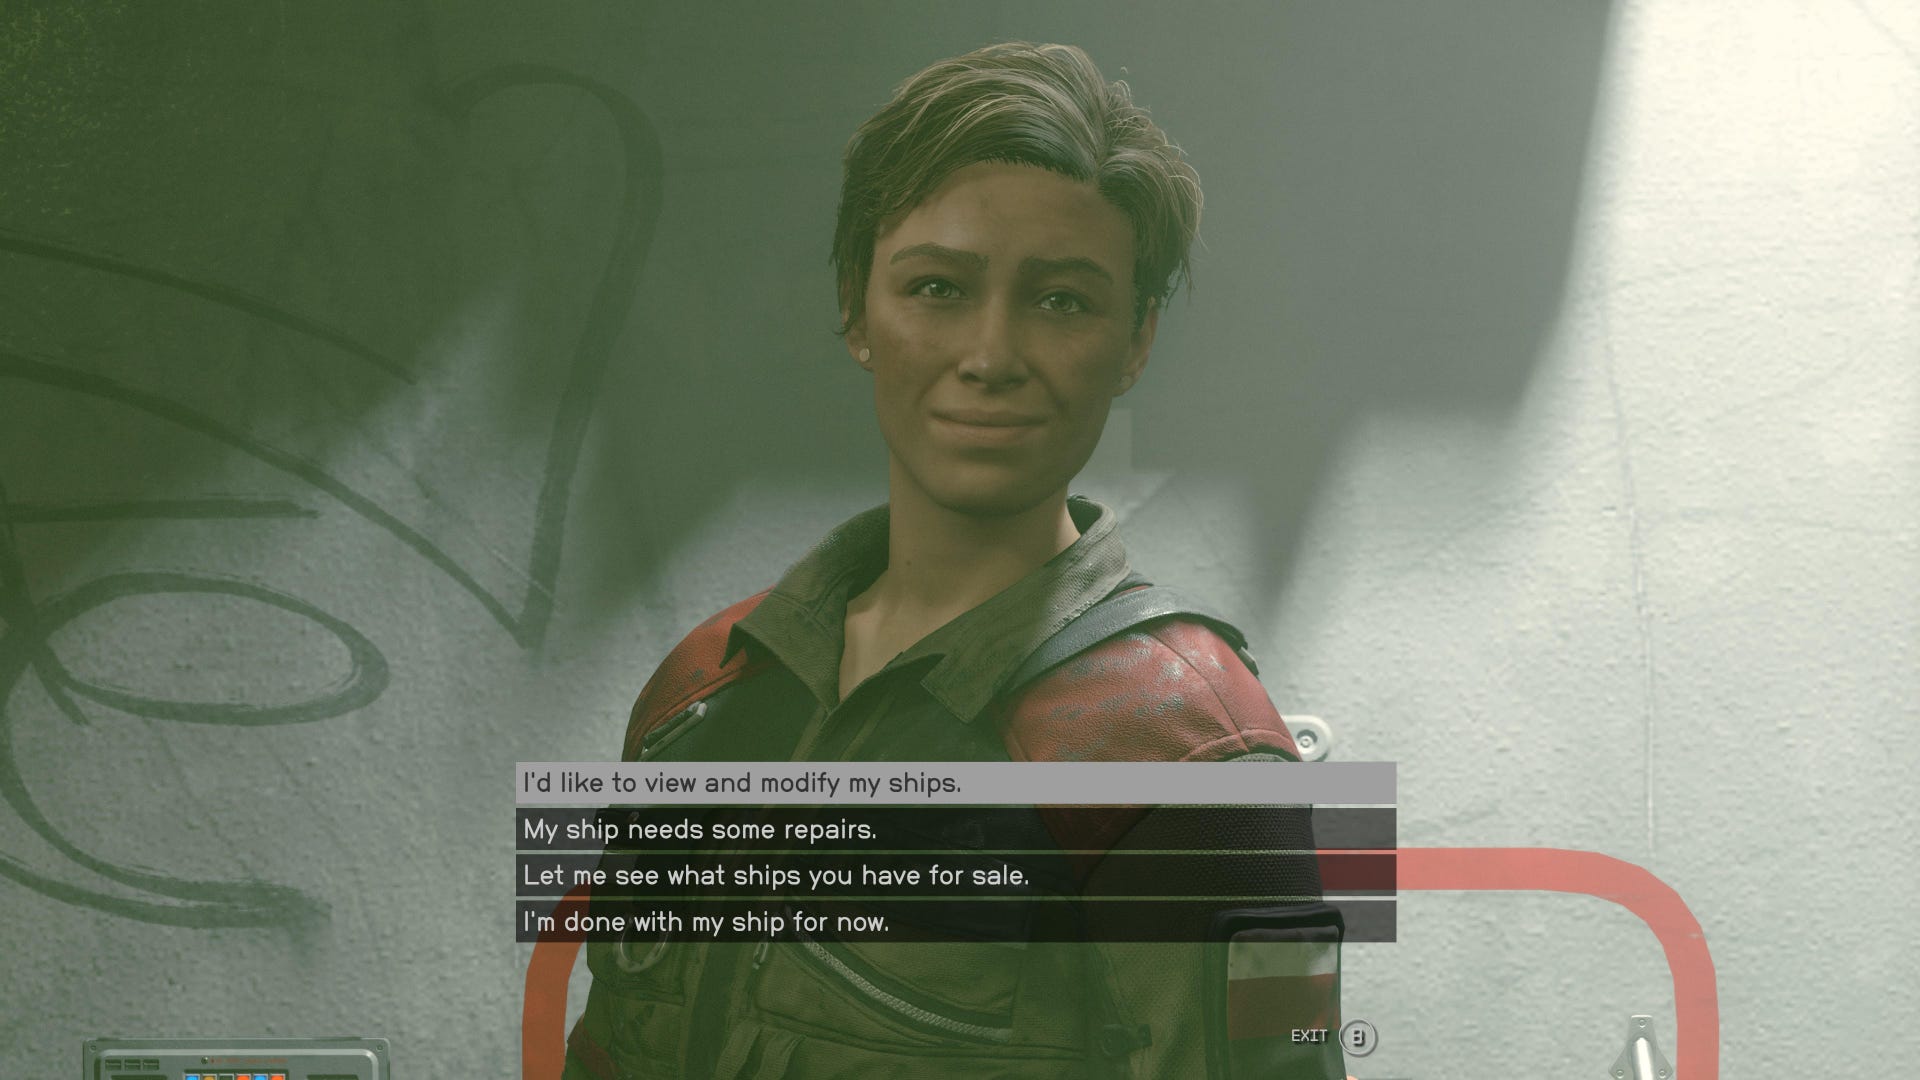
In the space service room of The Key, you’ll find a trader called Jasmine 'Jazz' Durand. Initially, she will appear busy. However, she’ll become available once Naeva completes her tour of the space station. Once Jazz is ready, you can speak with her and ask to view/modify your ships. Enter the ship-builder, the prompt for which will appear in the right corner of the screen. Then go to the equipment tab to view the scan jammers Jazz has for sale.
Getting all buddy-buddy with the Crimson Fleet may seem like a lot of effort for one piece of equipment.
Thankfully, you have another option.At the Red Mile
Found on Porrima III, the Red Mile is a dodgy venue that’s somewhere between a casino and a gladiator arena. Many of its patrons are embroiled in the Settled Systems’ criminal underbelly, so it follows that you can find a merchant who stocks scan jammers here.

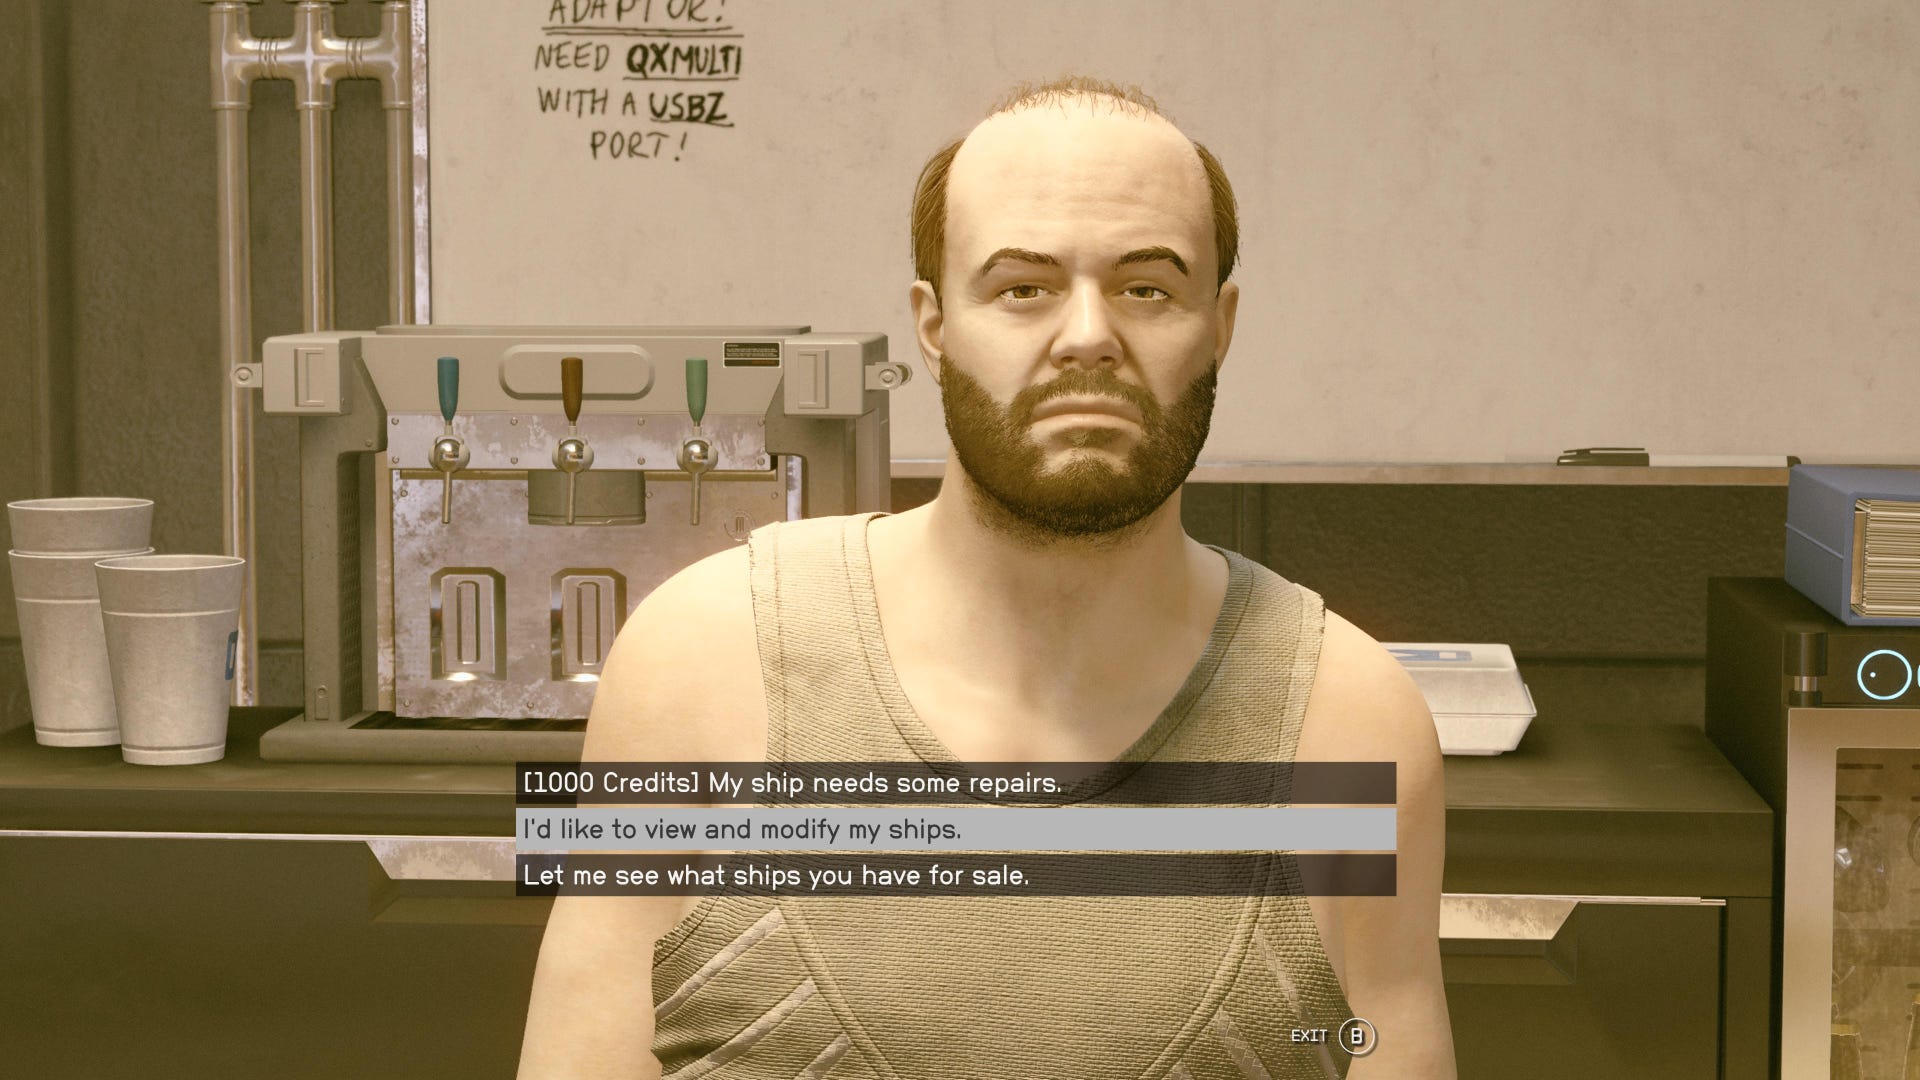
To the right of the Red Mile’s entrance, look for a desk that reads 'Ship Services'. Behind this desk is a glass-walled office. Enter here and interact with Lon Anderson, who will be sitting inside. Choose the dialogue option 'I’d like to view and modify my ships' and go into the ship-builder. The equipment tab displays the full range of scan jammers. Thankfully, Lon and Jazz stock the same selection so there are no downsides to choosing one merchant over the other.
That covers everything you need to know about getting your hands on a scan jammer. If you fancy delving into other forms of galactic crime, check out our guide on pickpocketing and lockpicking in Starfield.