Zelda: Skyward Sword - Ghirahim boss battle strategies explained
How to defeat the Demon Lord every time you encounter him.
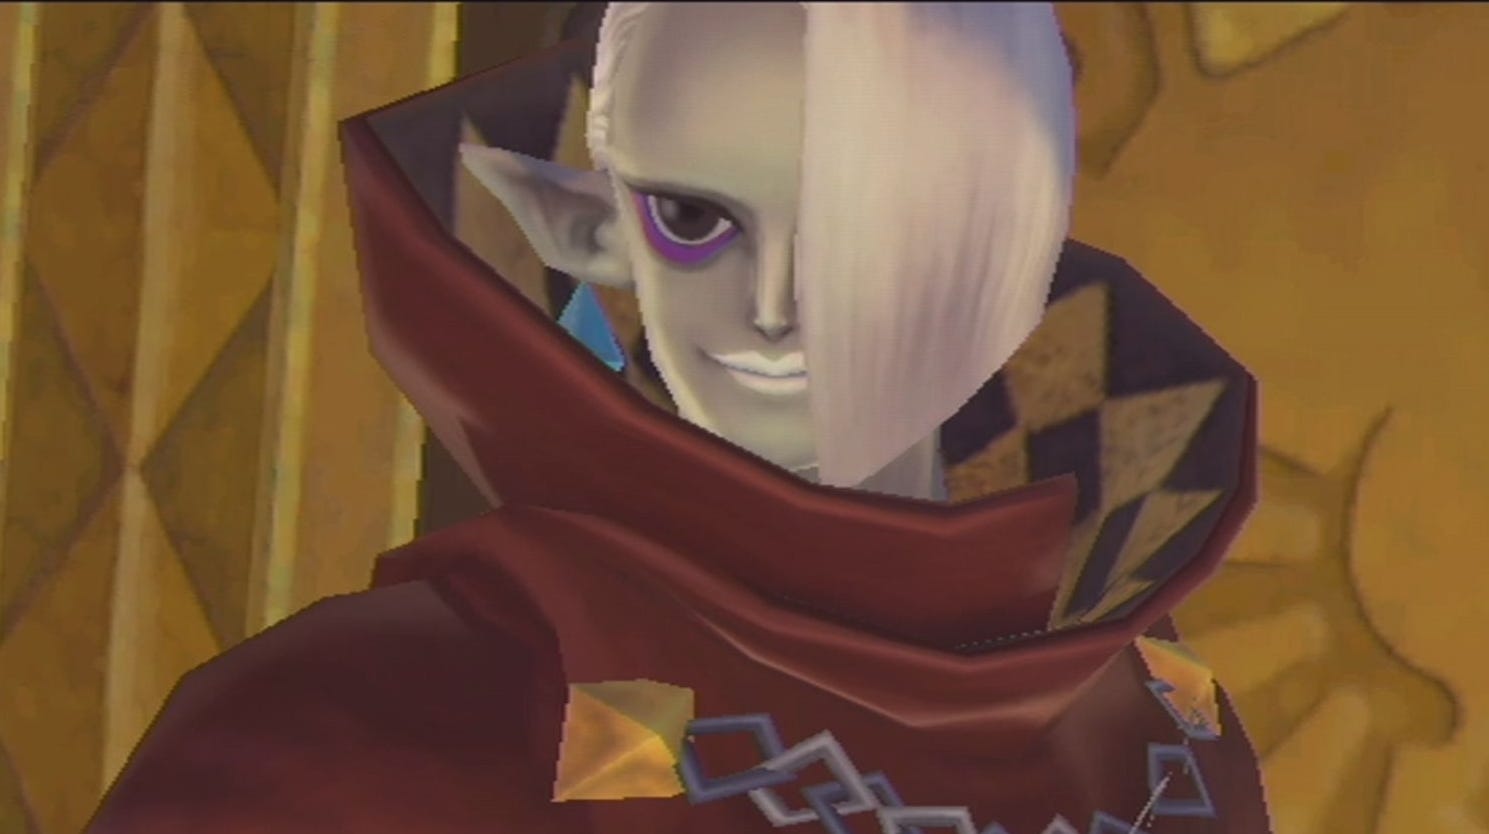

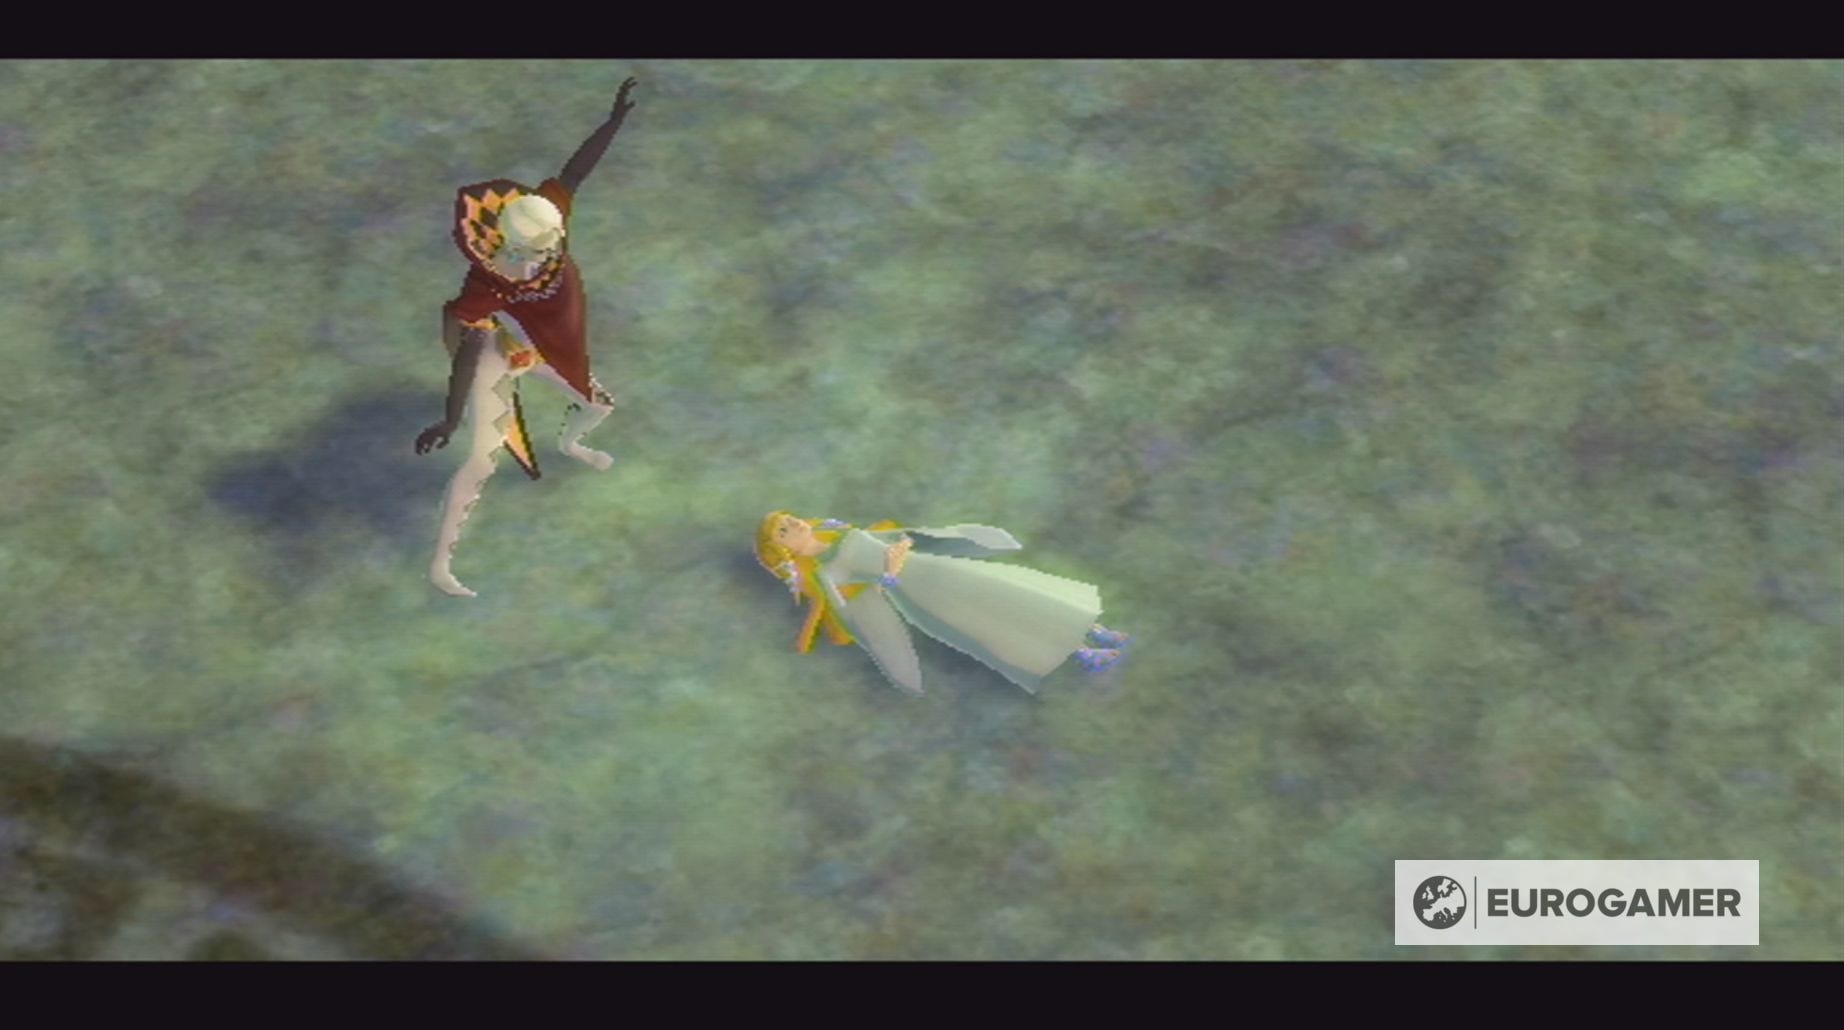
Ghirahim, the Demon Lord, is one of the two recurring bosses, the other being The Imprisoned, you'll face in The Legend of Zelda: Skyward Sword.
Like Link, Ghirahim is trying to find Zelda, but his intentions are definitely far more violent.
Ghirahim will be the boss of the Skyview Temple, the Fire Sanctuary and penultimate boss at the Sealed Grounds. Below you can find Ghirahim boss strategies for all three encounters to help you banish this self-titled lord.
On this page:

If you'd like to learn more, visit our Skyward Sword walkthrough.
Skyview Temple Ghirahim boss battle strategy in Zelda: Skyward Sword explained
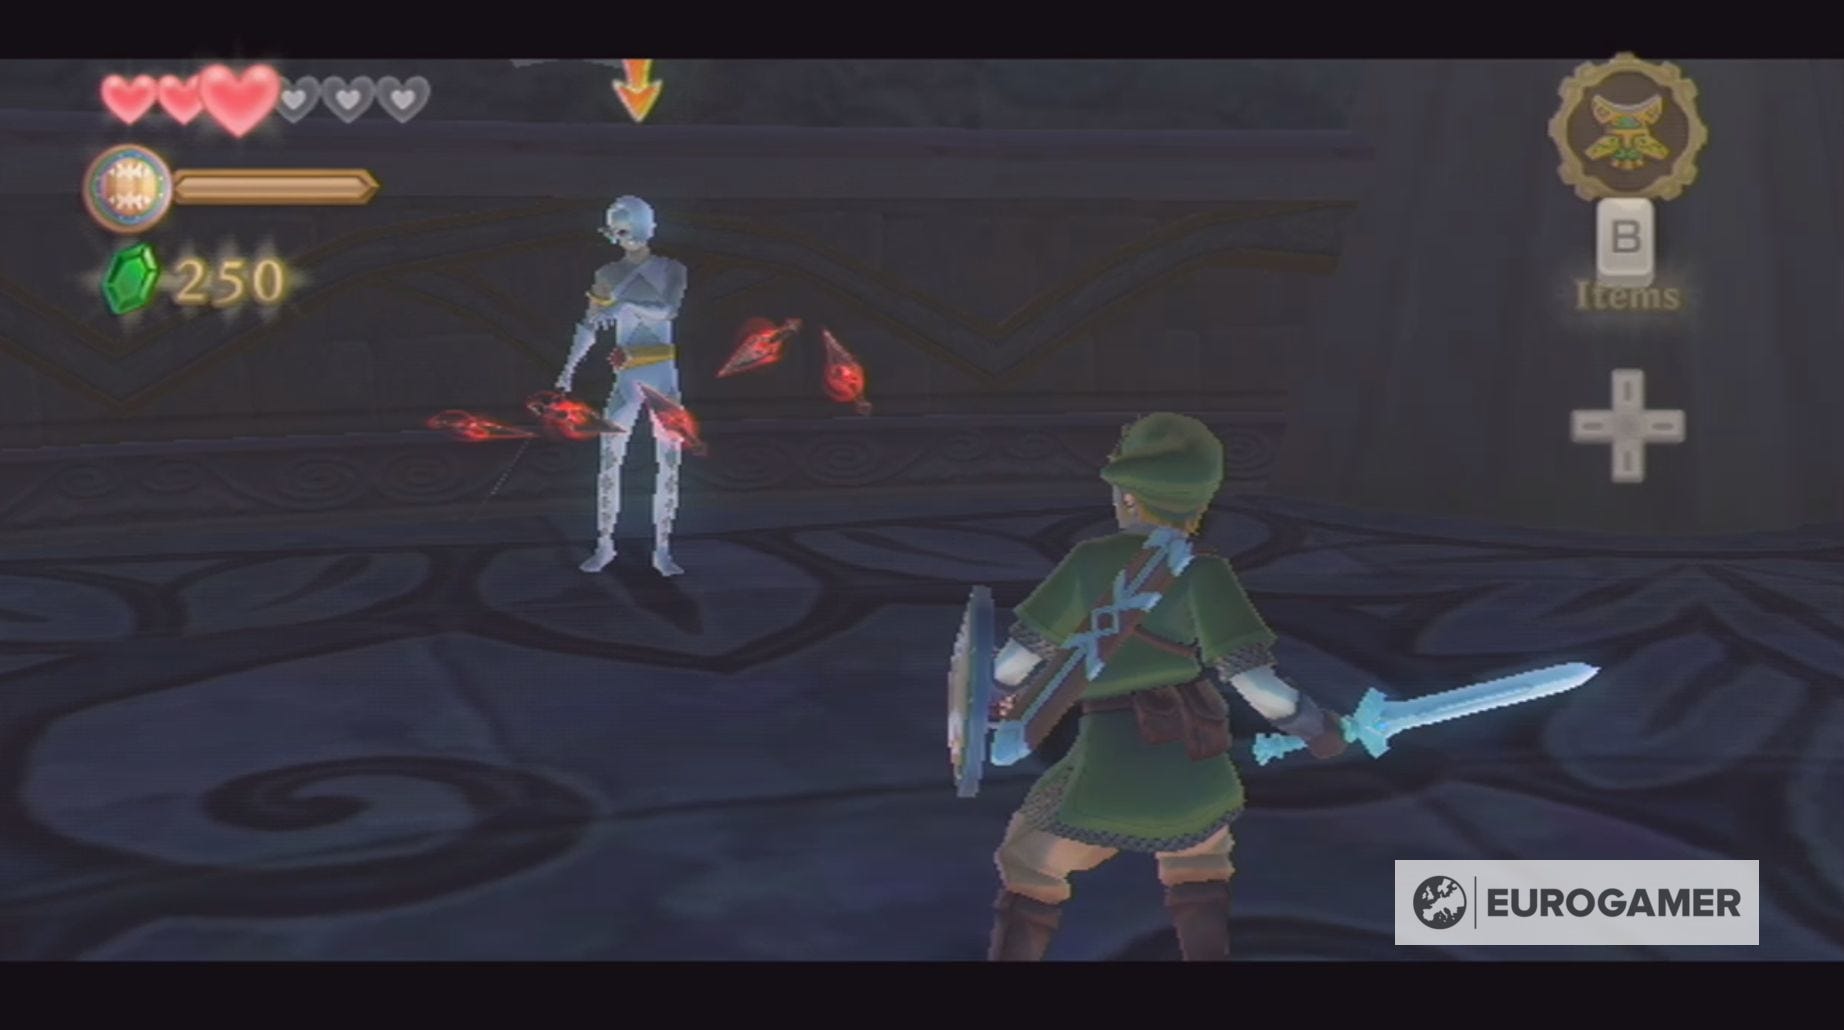
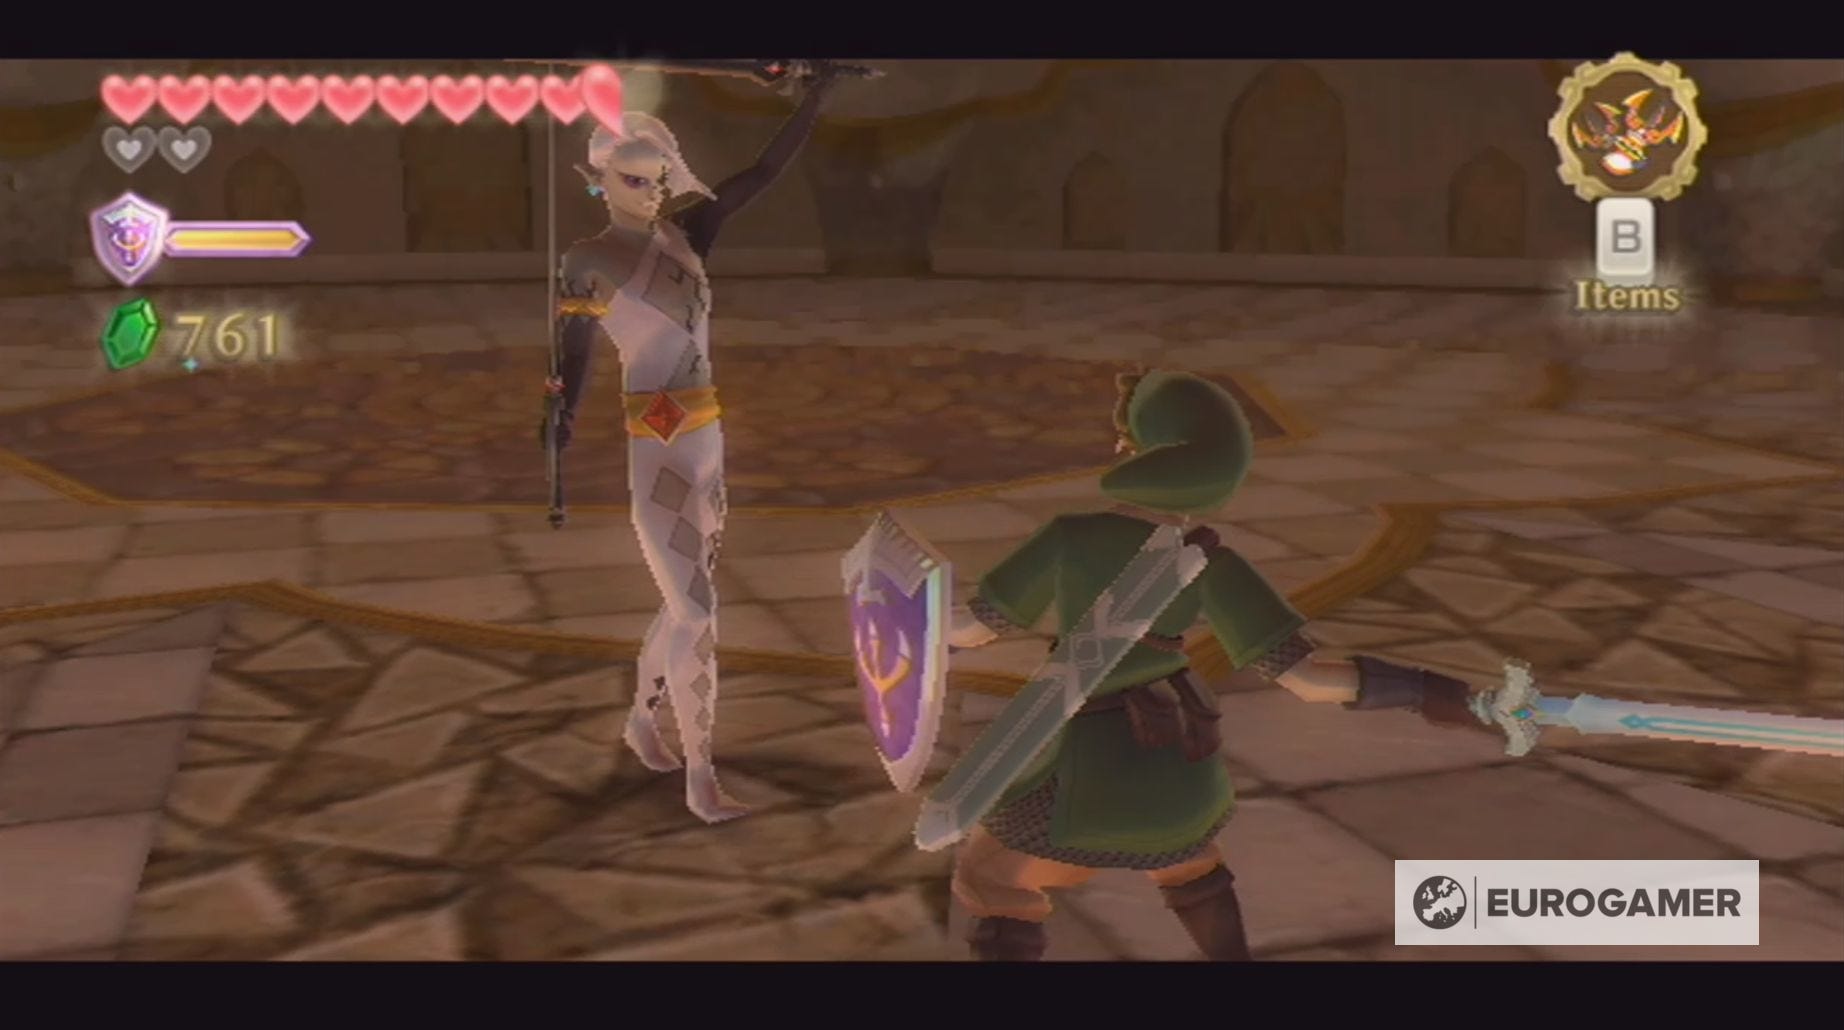
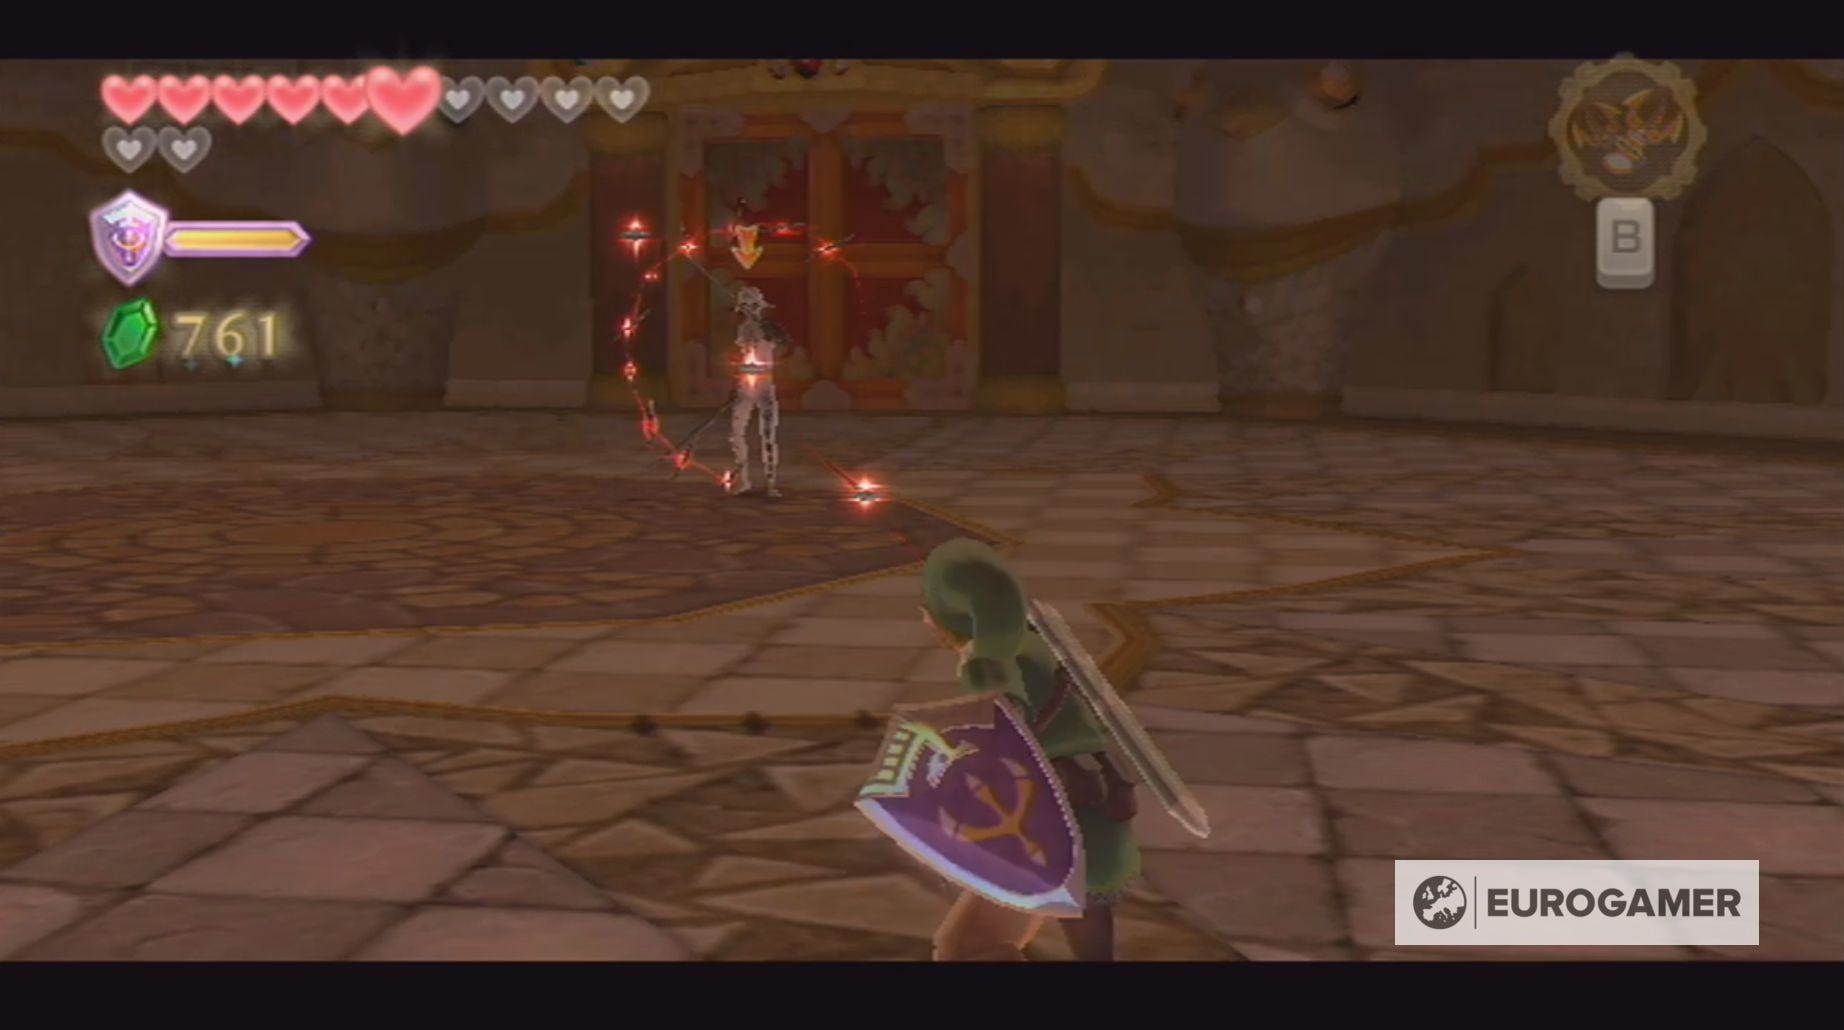
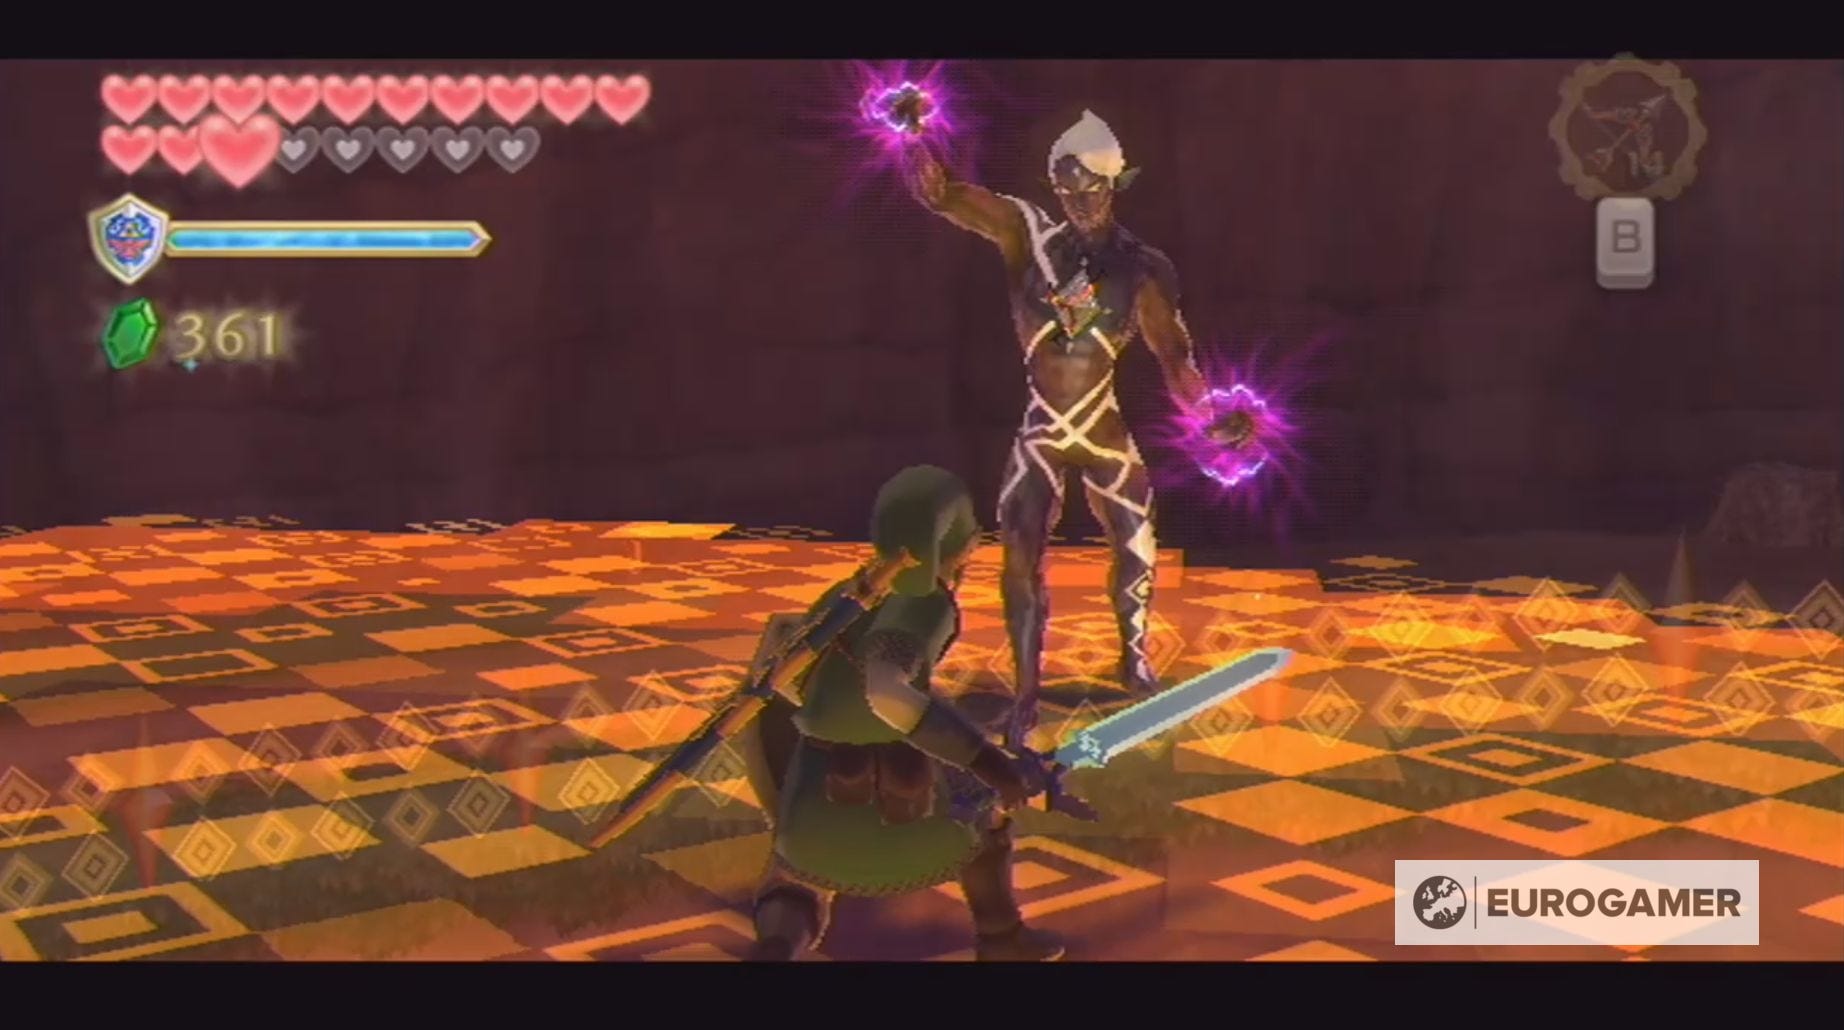
Your first battle with Ghirahim in Skyward Sword takes place in the Skyview Temple, making him the first boss battle of the game.

This battle is divided into two stages by a cutscene and, below, you can discover what to expect, along with how to defeat Ghirahim:
Stage One
During the first stage of this battle, Ghirahim will track the movement of your sword with his left hand. Thankfully, his hand will glow red as he does this, making it easy for you to follow his movements.
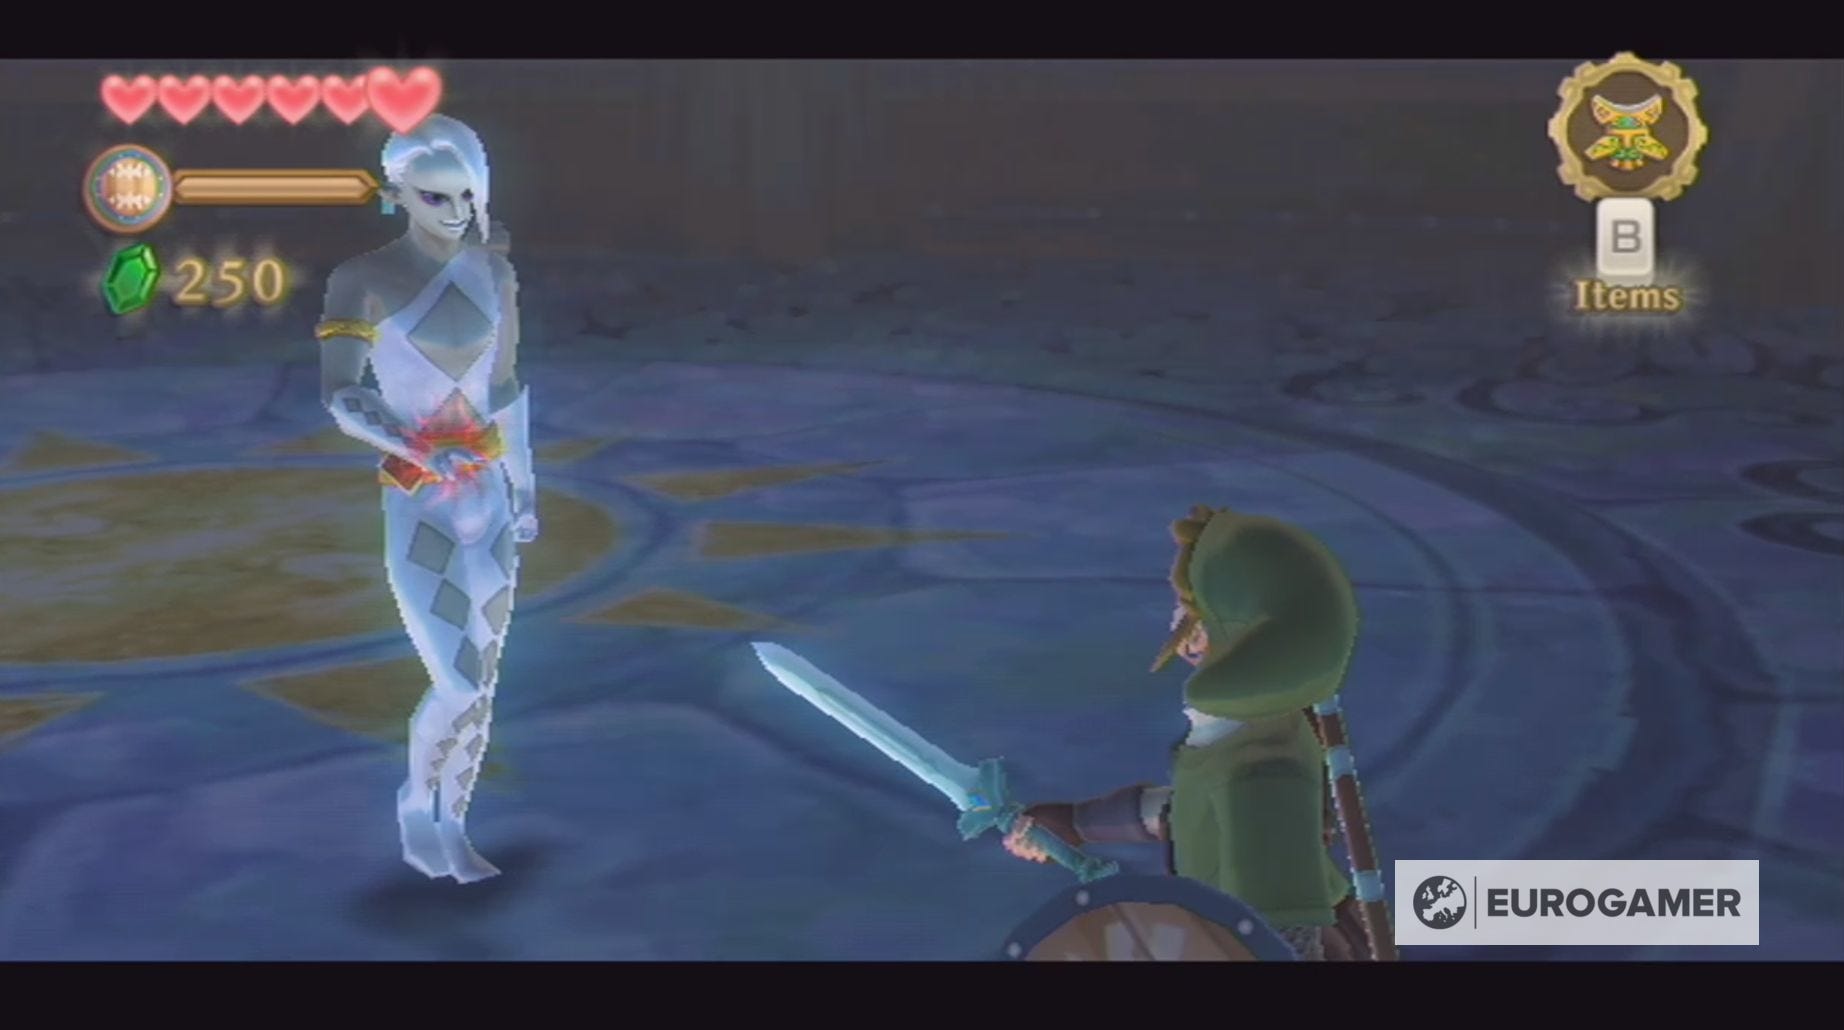
To attack Ghirahim during this stage, while keeping your sword in one position, you should allow him to come too close to you. Once he's in attacking range, quickly switch the process of your sword, from diagonal to horizontal for example, and then attack.
Just make sure you change sword positions or else Ghirahim will be able to grab hold of your sword.
Keep attacking till Ghirahim draws his sword.
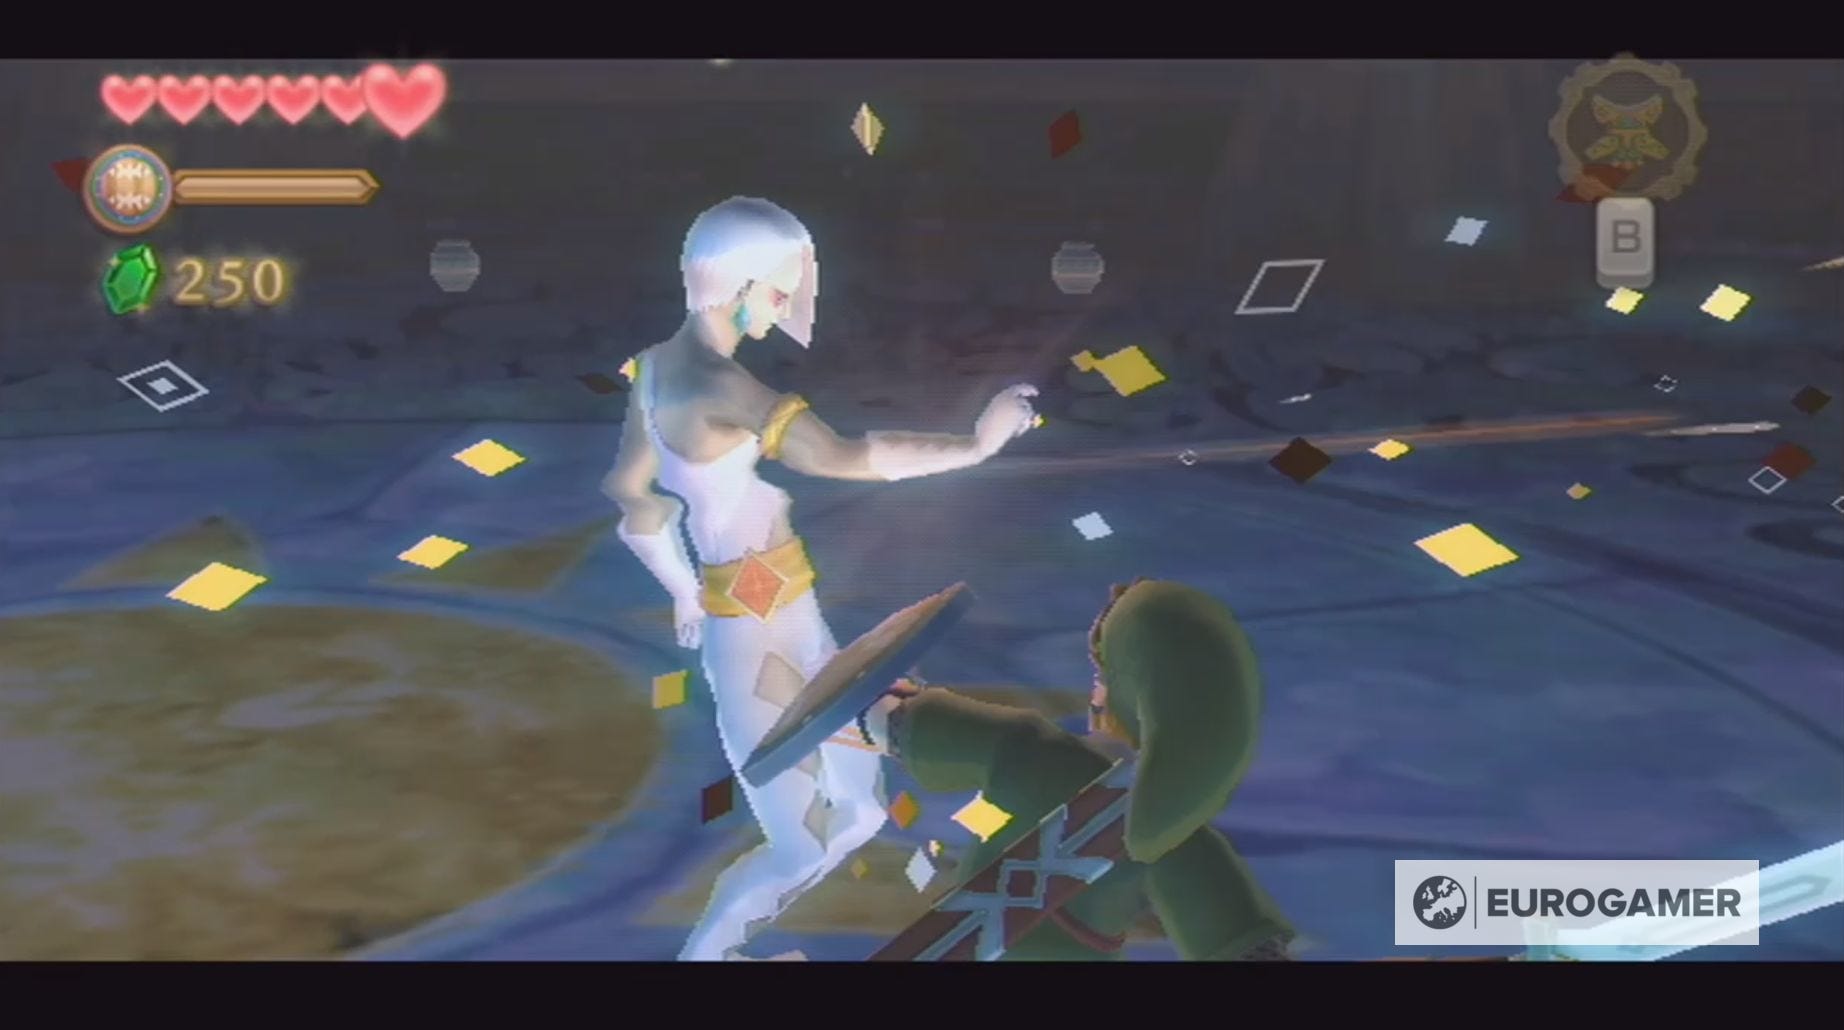
Stage Two
Ghirahim has three tactics during this stage of the battle.
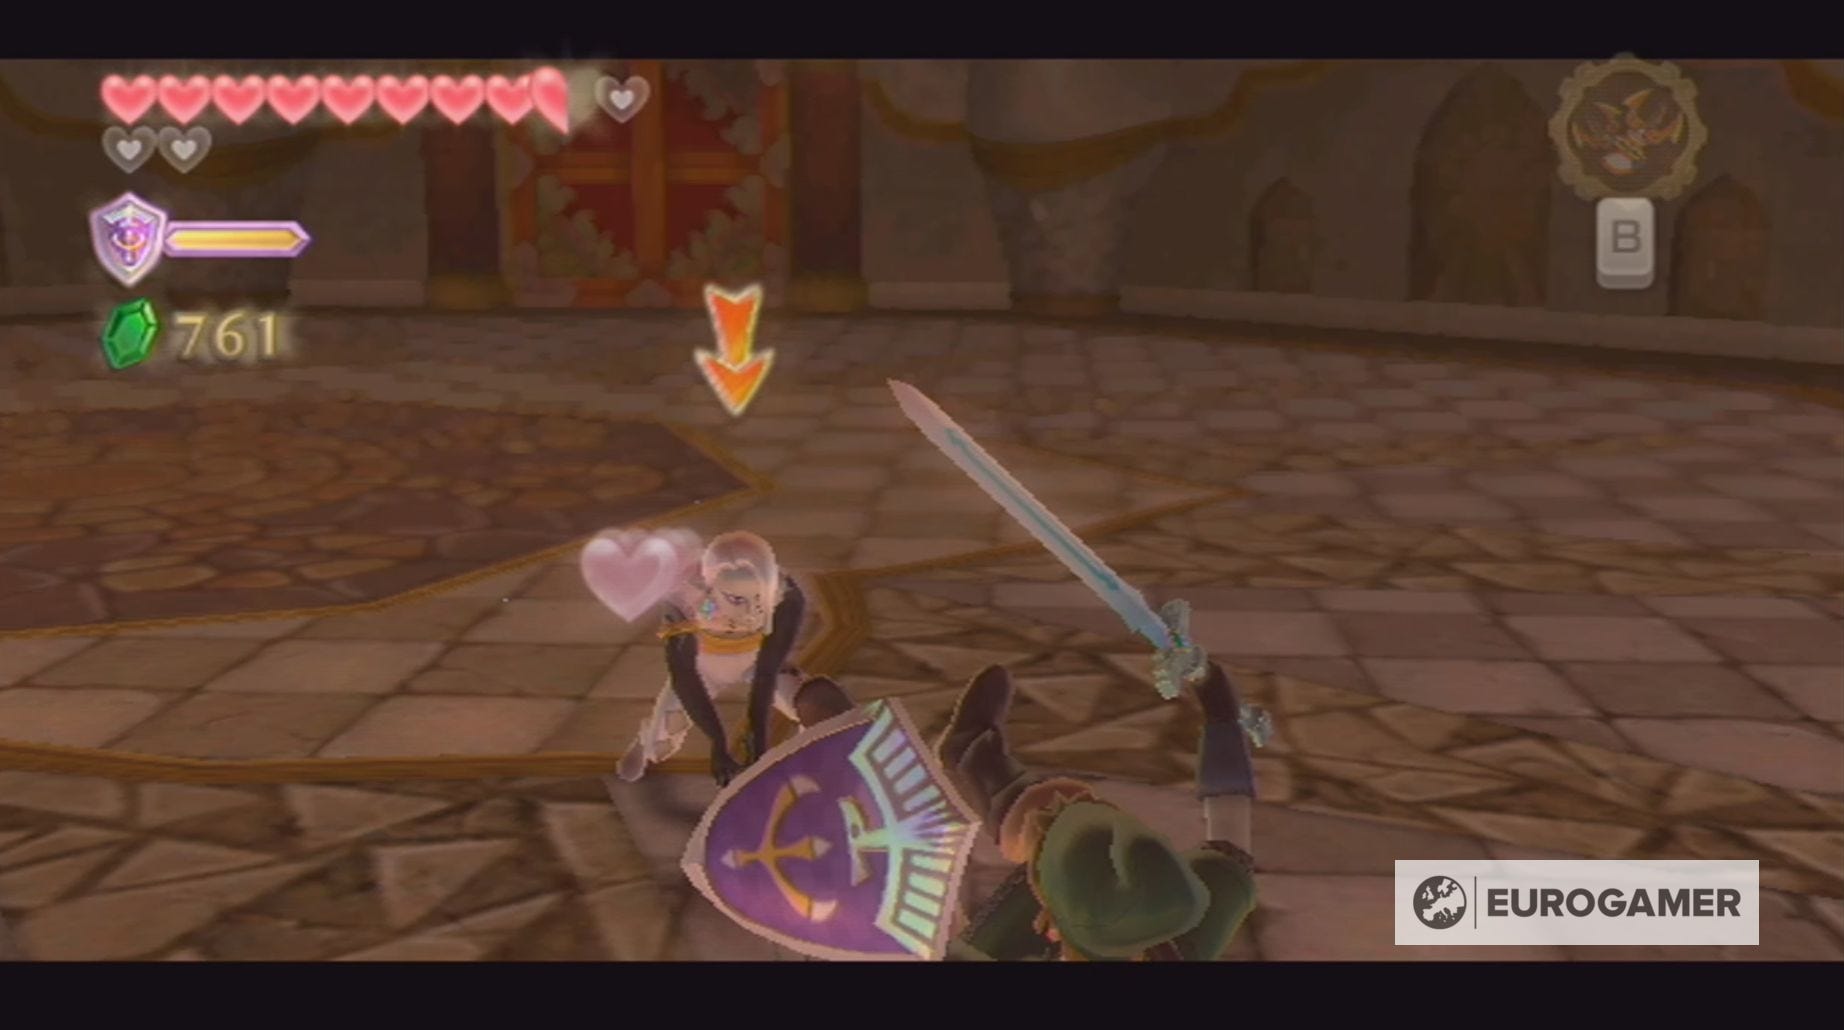
The first, and mostly deadly, is to charge at you before delivering a powerful blow with his sword, which, if hit, will cost you a heart. The best way to avoid this attack is either sprint away or use a combination of backflipping and side-jumping. It may, however, take you a bit of practice.
When you do successfully avoid one of these attacks, quickly run into and get some good hits on Ghirahim.
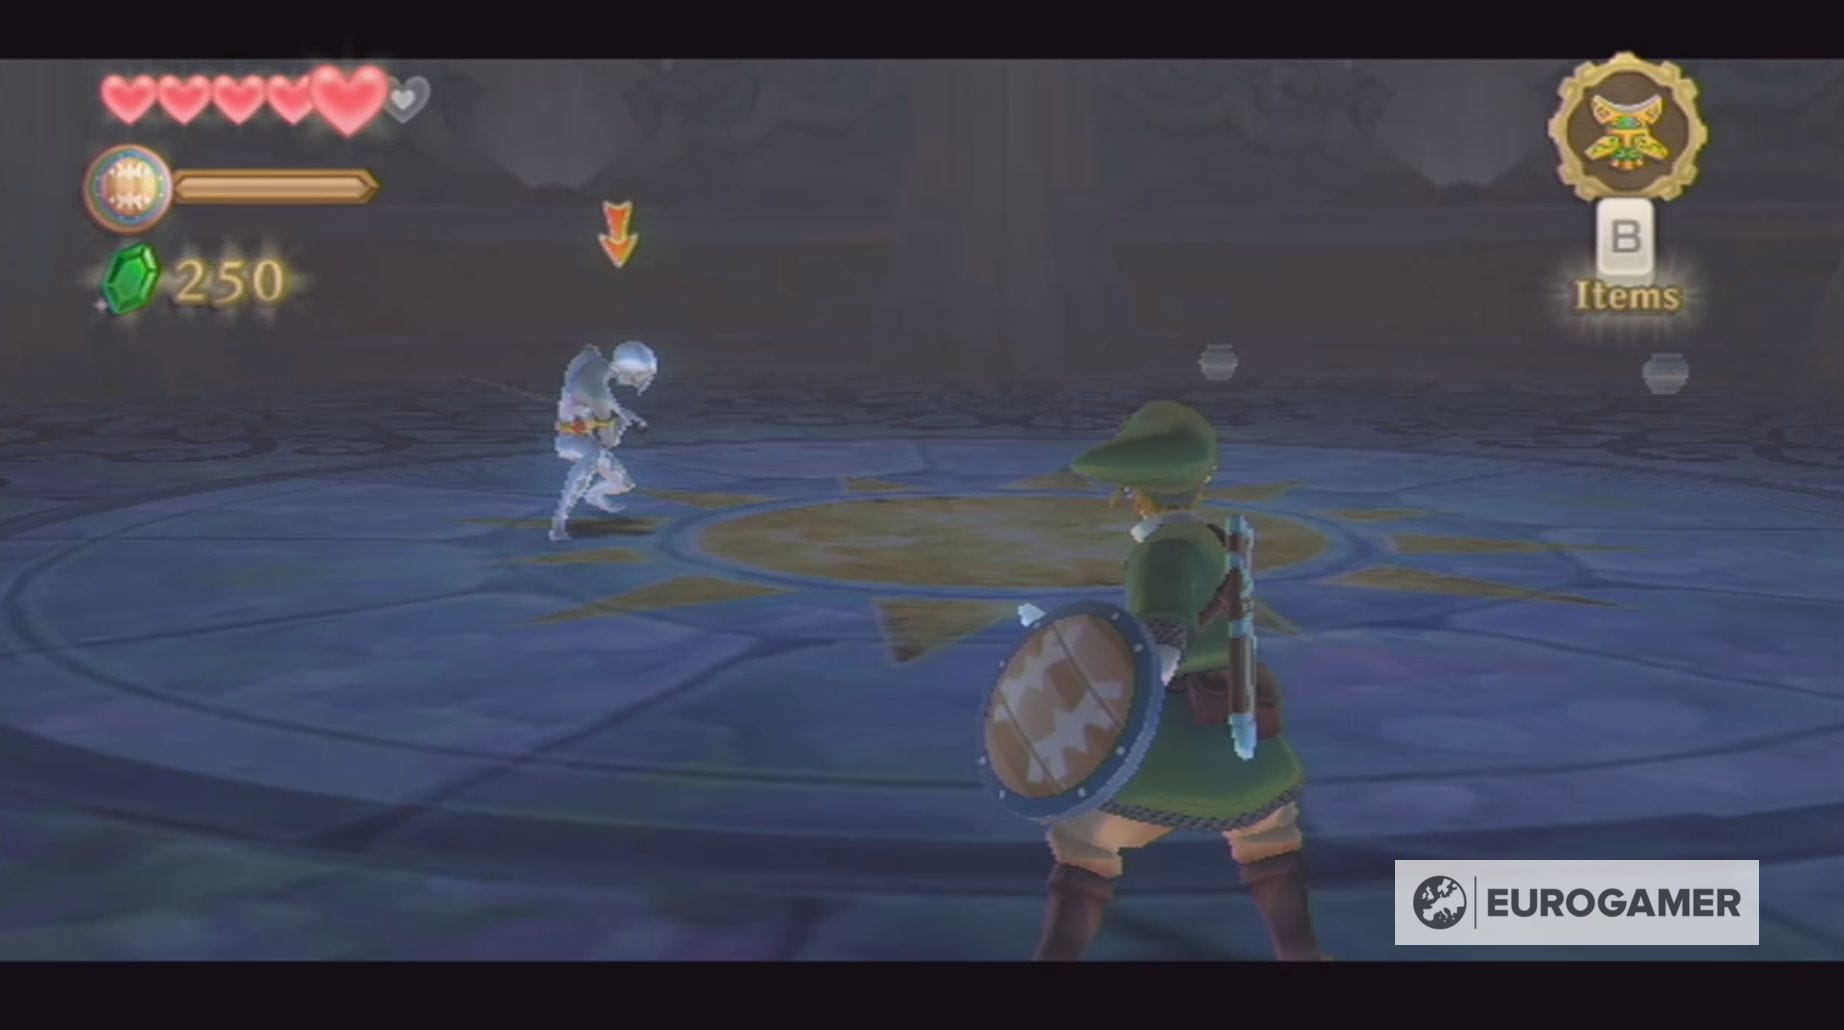
Ghirahim will also disappear and reappear behind you at certain points throughout the battle. When this occurs, he will be holding his sword in a certain position, such as to his right, and, as long as you avoid attacking him in this direction, you will be able to get some good hits in.

If you do hit his blade, then Ghirahim will be able to attack you, destroying one heart.
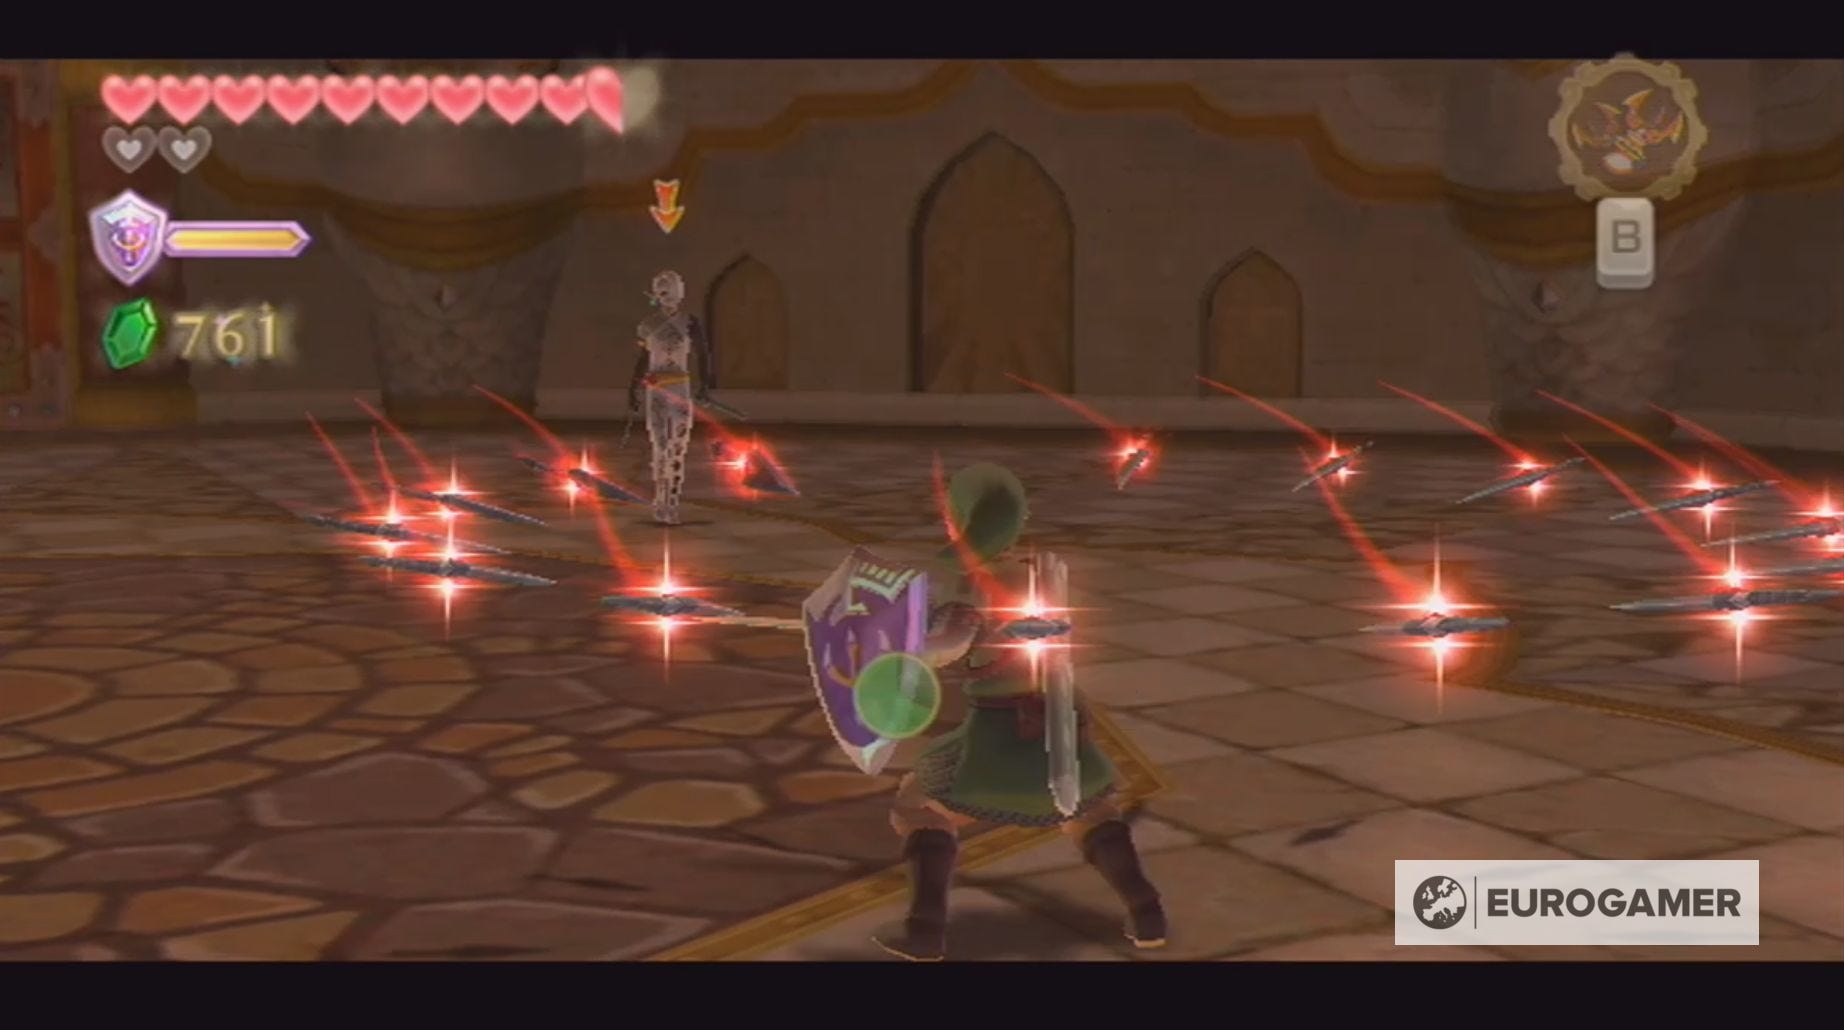
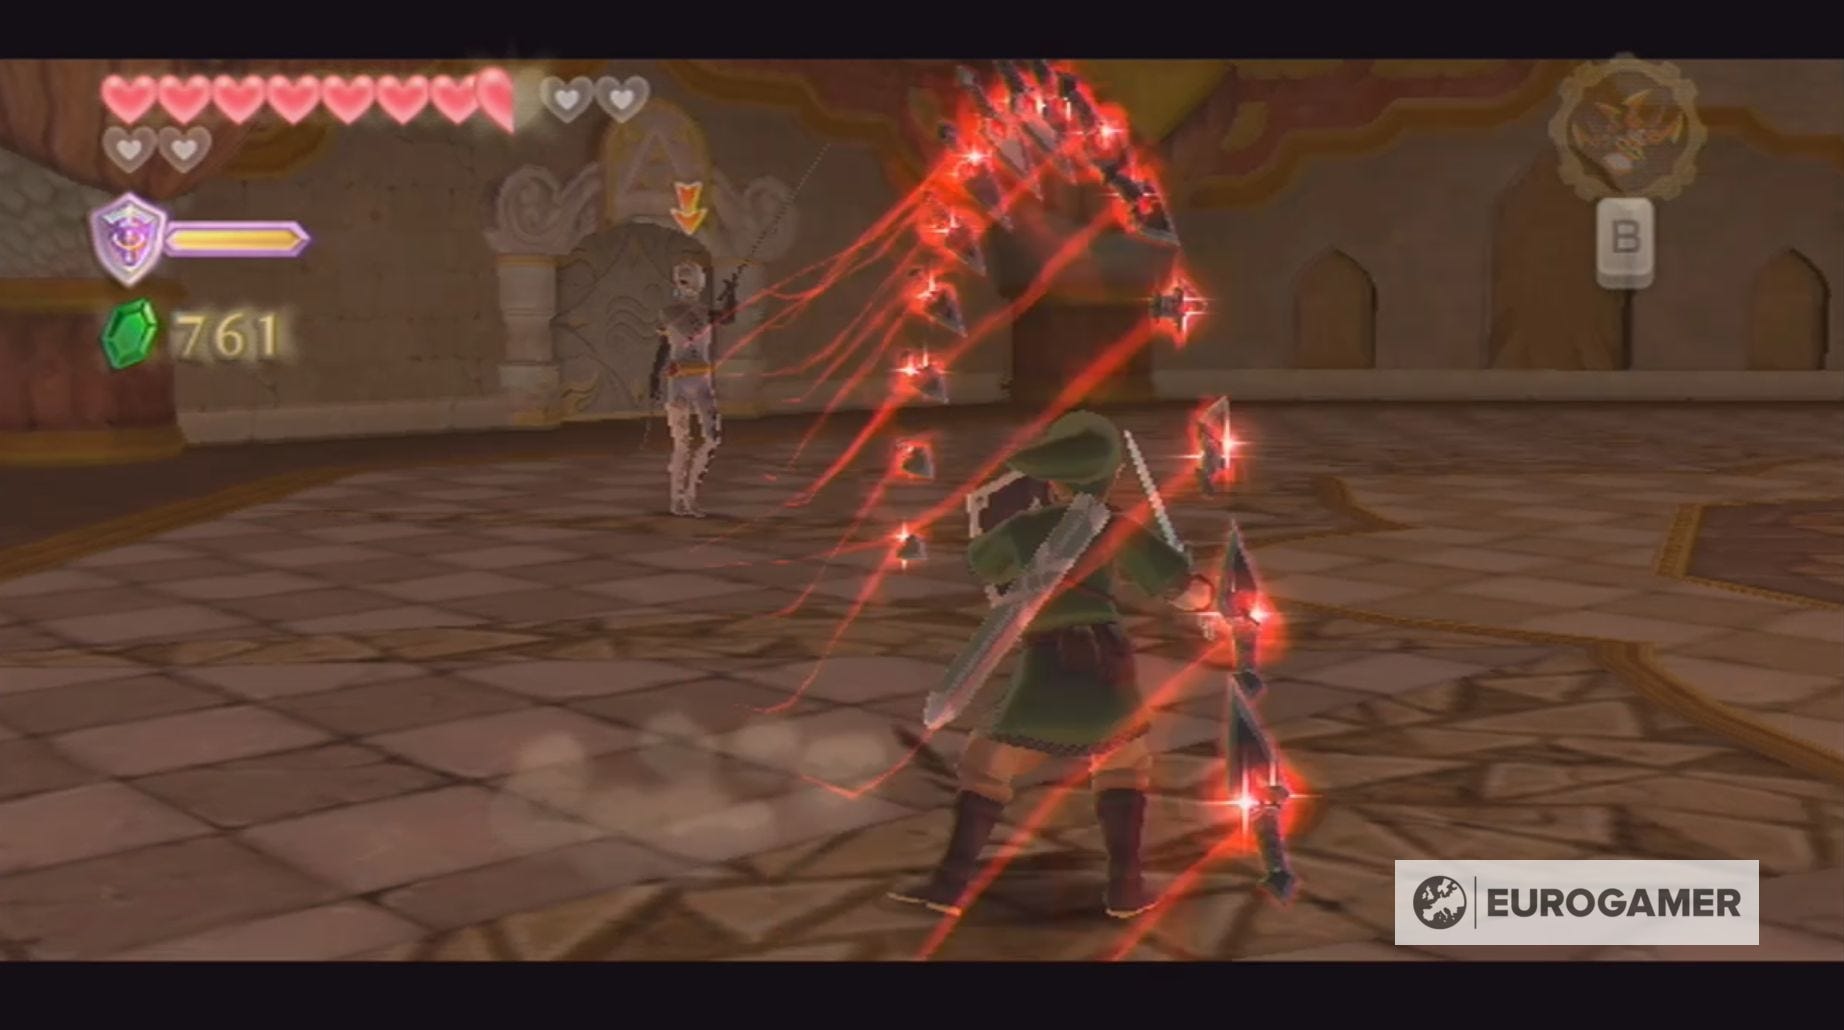
Finally, Ghirahim will start throwing a series of darts roughly halfway through this stage. These darts will be placed in a specific direction, either horizontally or diagonally, and you'll be given a couple of seconds to get your sword in position.
When the darts fly, you have to knock them out of the sky or risk losing at least half a heart.
After Ghirahim departs, you'll be able to collect a full Heart Container and venture into the final section of the Skyview Temple. Here you can collect a stray fairy in an empty bottle and complete this part of the game's storyline by performing a Skyward Strike.
Now it's time to return to Skyloft, so you can reach the Earth Temple!
Fire Sanctuary Ghirahim boss battle strategy in Zelda: Skyward Sword explained
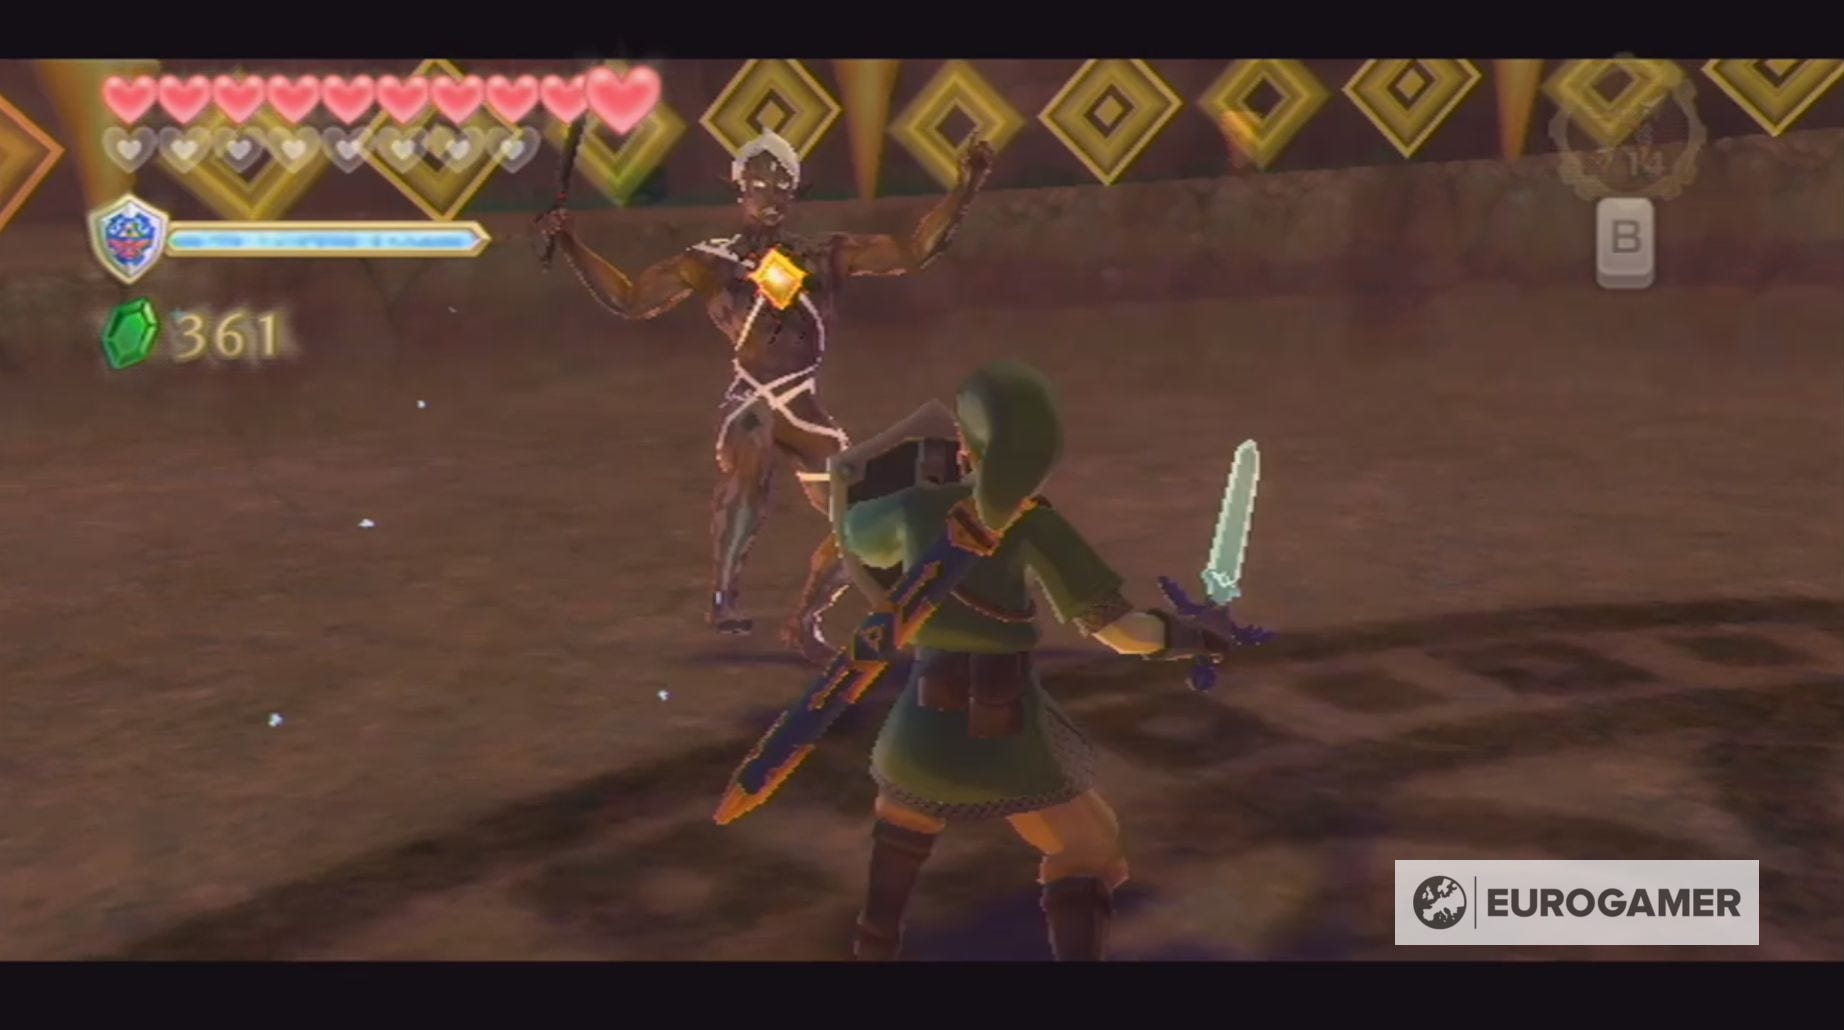
You will face Ghirahim for the second time in Skyward Sword when you reach the end of the Fire Sanctuary.
This battle is divided into two stages which are quite similar to your first fight against Ghirahim:
Stage One
During the first stage, Ghirahim will, once again, try to catch your sword in his hand. Thankfully, his hand will still glow red, making it easy to change your sword direction, so you can attack him.
He will also summon a number of darts, which you will need to deflect since they will both block your blows and cause damage to you. At the beginning of this stage, Ghirahim will only use two darts, but, as the fight progresses, he will up this number to four.
Stage Two
Ghirahim will now attack with his sword and darts.
In the terms of his swords, Ghirahim may use them to guard himself in a particular position. This is, of course, your que to attack him from the opposite angle.
If you accidentally hit one of his swords, Ghirahim will respond with a slashing attack. He may also naturally use these attacks when you're close, so make sure you keep a close eye on his movements.
The attack you truly need to look out for, however, is his jump attack. Ghirahim begins this attack by teleporting and then descending upon you.
Thankfully, this attack is quite easy to dodge - you just need to run away - and, since his swords will be momentarily stuck in the floor, is a great opportunity to attack Ghirahim.

Ghirahim may also simply teleport behind you, so it's always a good idea to stay on the move when he vanishes.
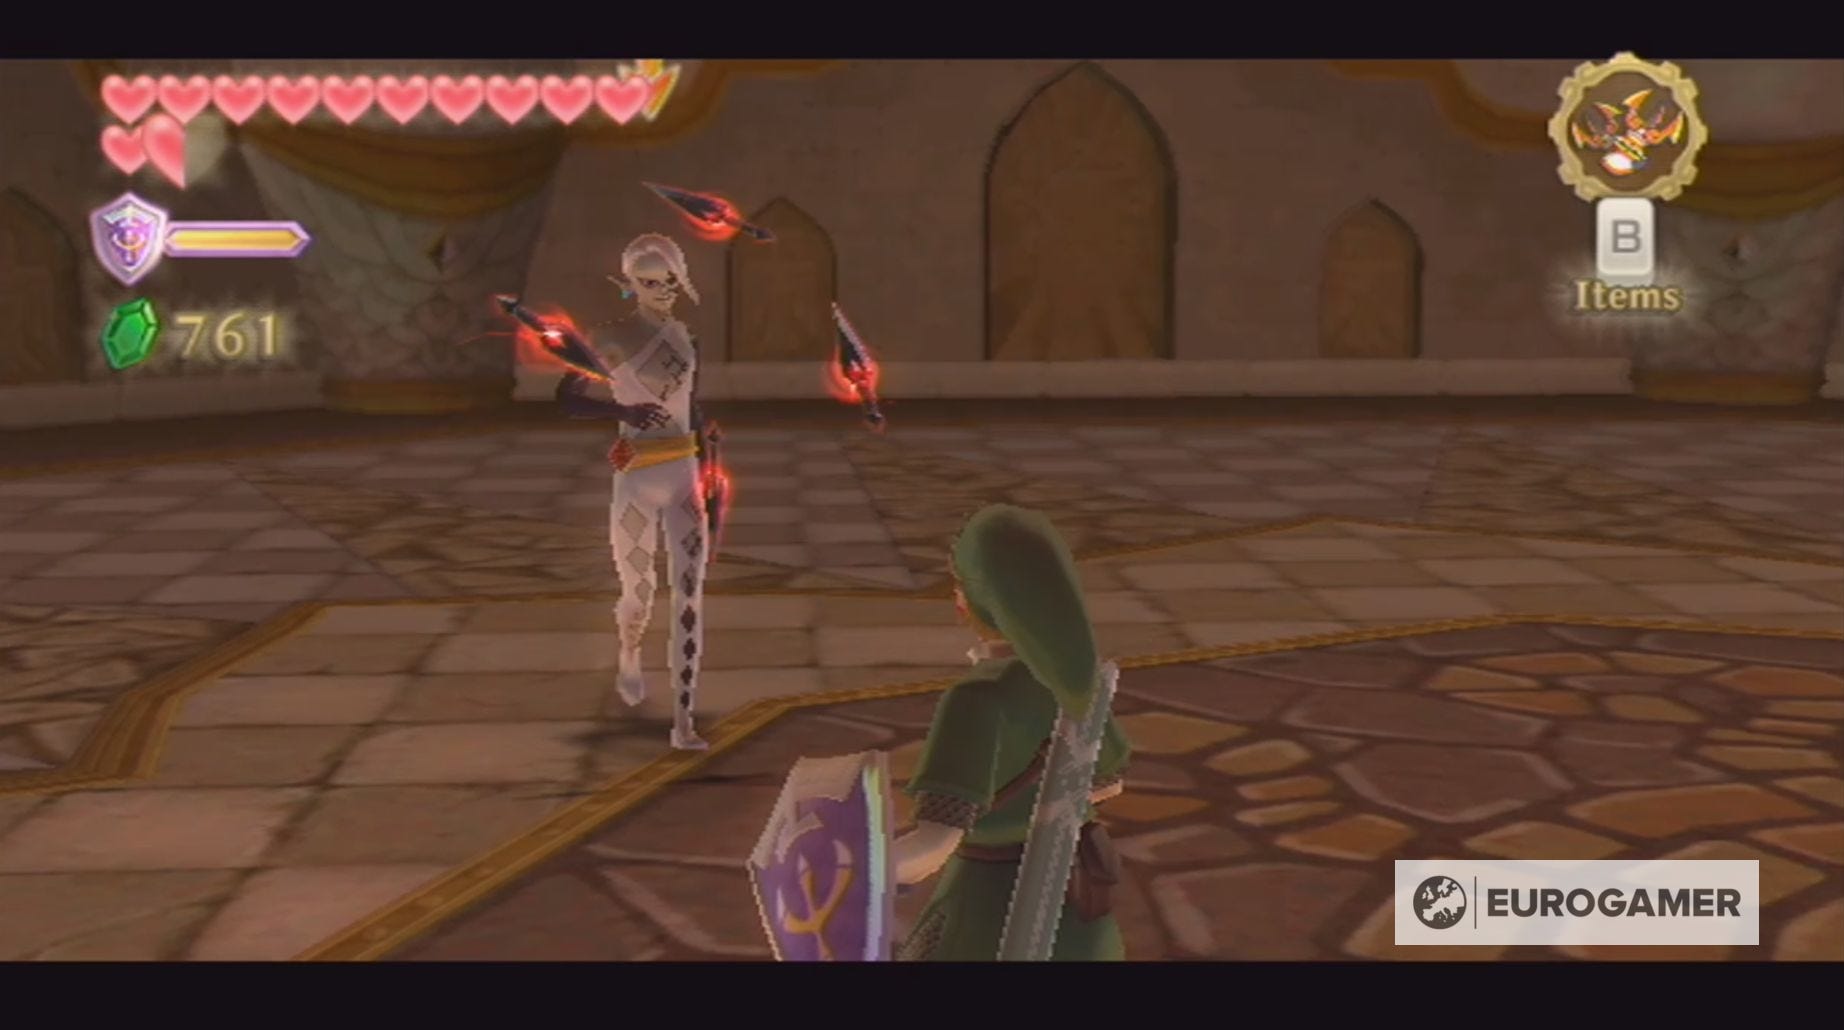
When it comes to his darts, Ghirahim will alternate between a number of tactics.
He may encircle you with darts, which can be deflected with a spin attack, or create a dart arch above you - for which you need to perform a jump attack.
He will also occasionally send the darts towards you in sets, like he did at the Skyview Temple, and you'll need to hit them out of the sky with your sword.
Keep defending yourself and attacking Ghirahim, until the battle is over. Now you can collect the Heart Container and the last sacred flame, before heading to your second battle with The Imprisoned.
Our Skyward Sword walkthrough will help you find every Heart Piece and Empty Bottle. We can also help you defeat Ghirahim, Scaldera, Moldarach, The Imprisoned, Koloktos, Tentalus, Bilocyte and Demise. You can also discover where to find Kukiel to unlock the Gratitude Crystals and a number of side quests, including the toilet paper quest, missing sister location and party wheel location.
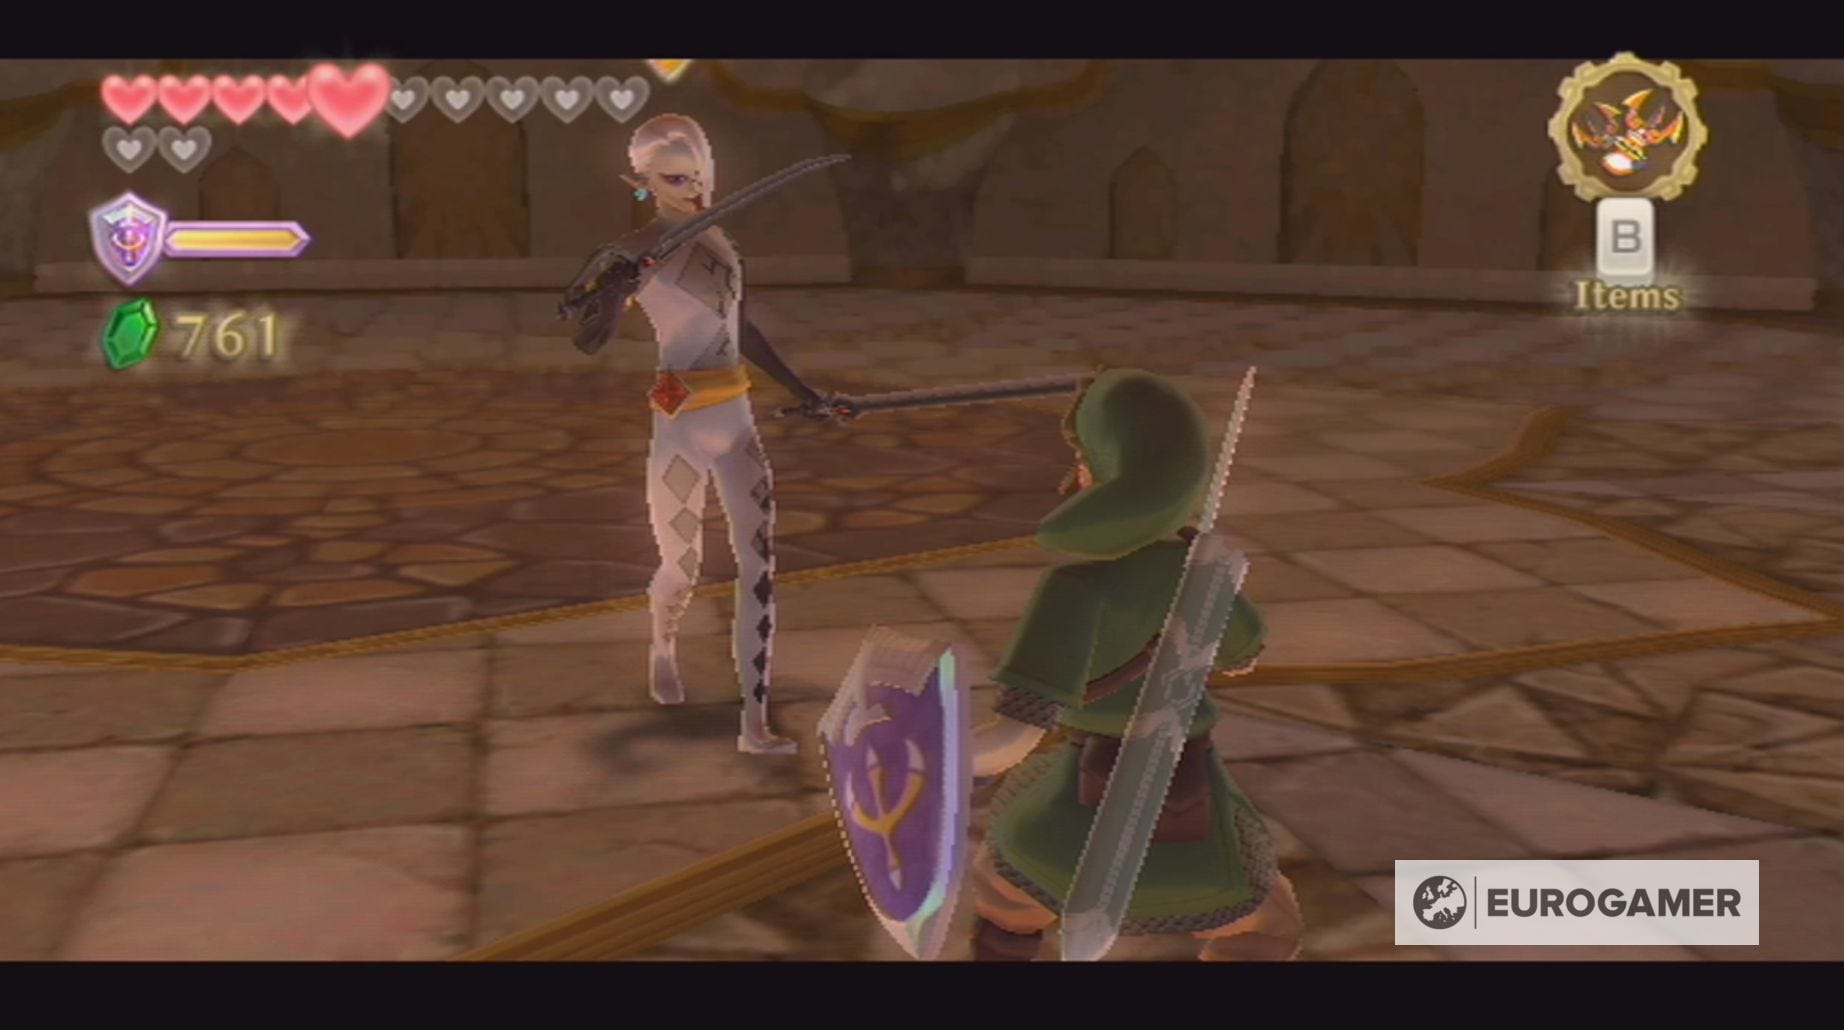
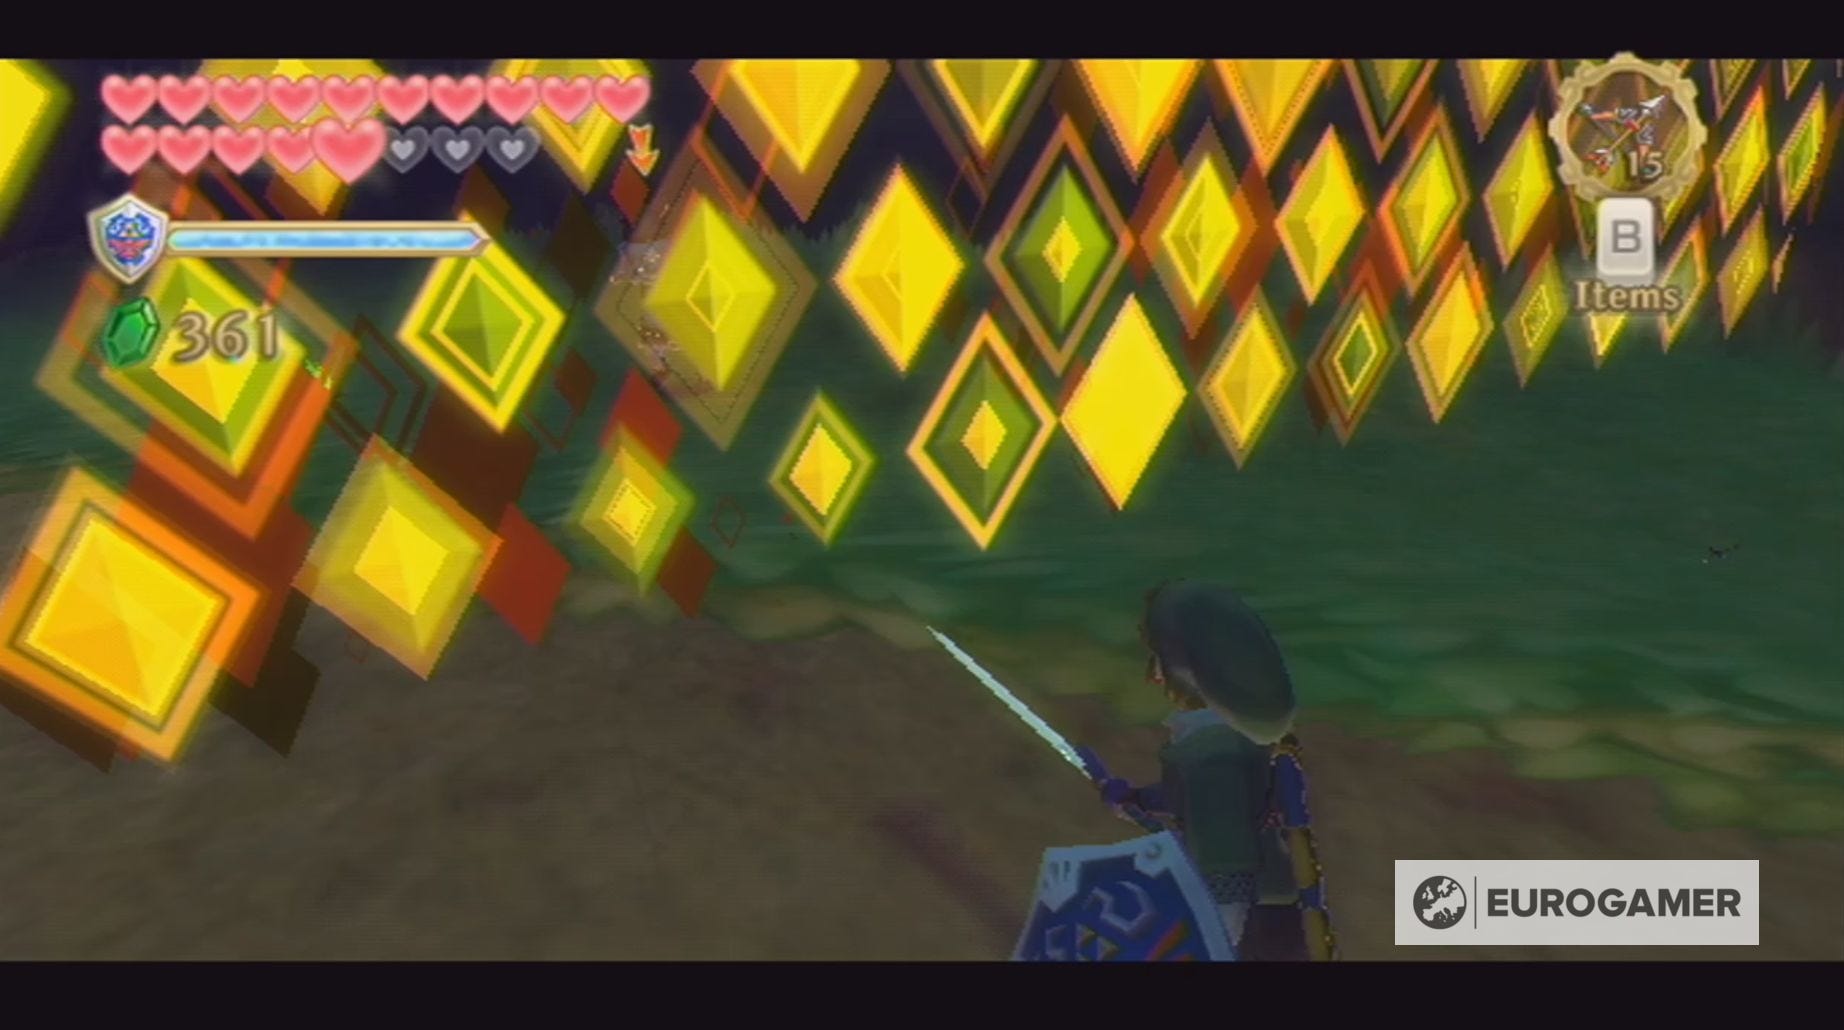
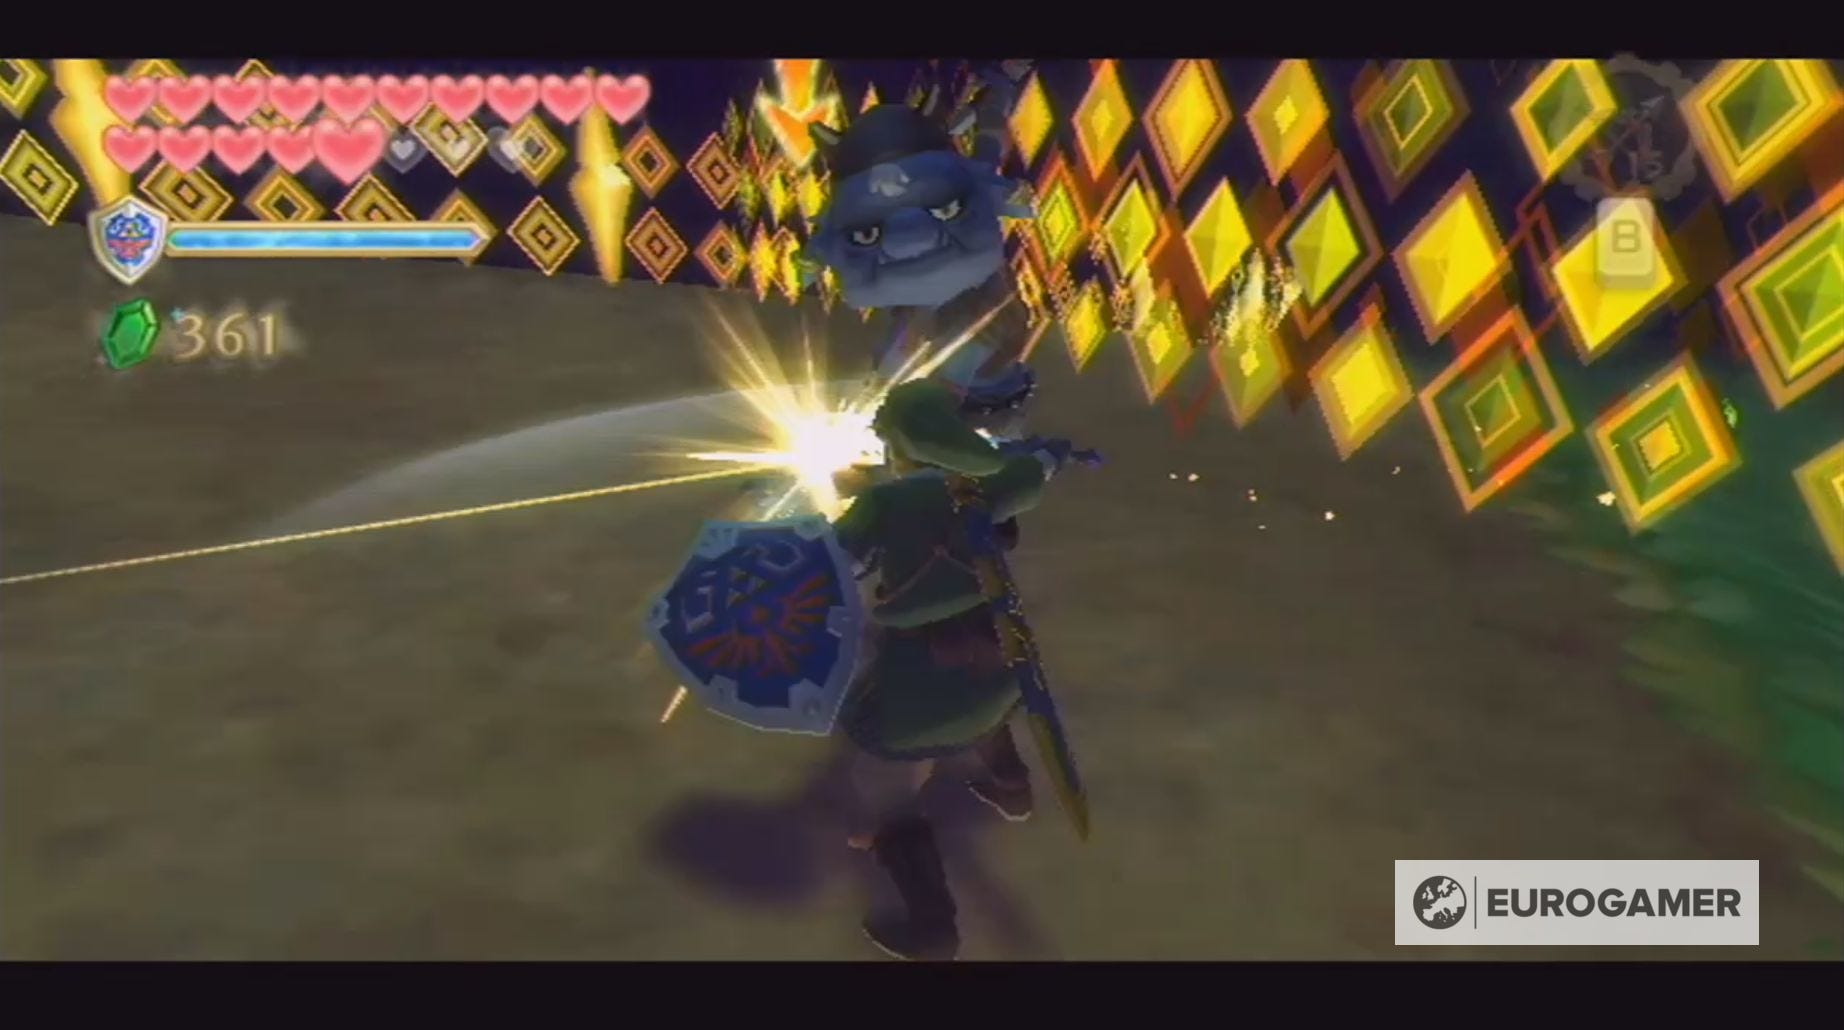
Sealed Grounds Ghirahim boss battle strategy in Zelda: Skyward Sword explained
You'll face Ghirahim for the third and final time in Skyward Sword after you find the Triforce in Sky Keep.
Before this battle, it's a good idea to buy some heart potions, along with earning the Hylian Shield and collecting the Heart Pieces. If you haven't unlocked the Hylian Shield yet, then make sure you bring along at least one guardian potion and, ideally, have the Goddess Shield.
This penultimate battle is divided into four stages:
Stage One
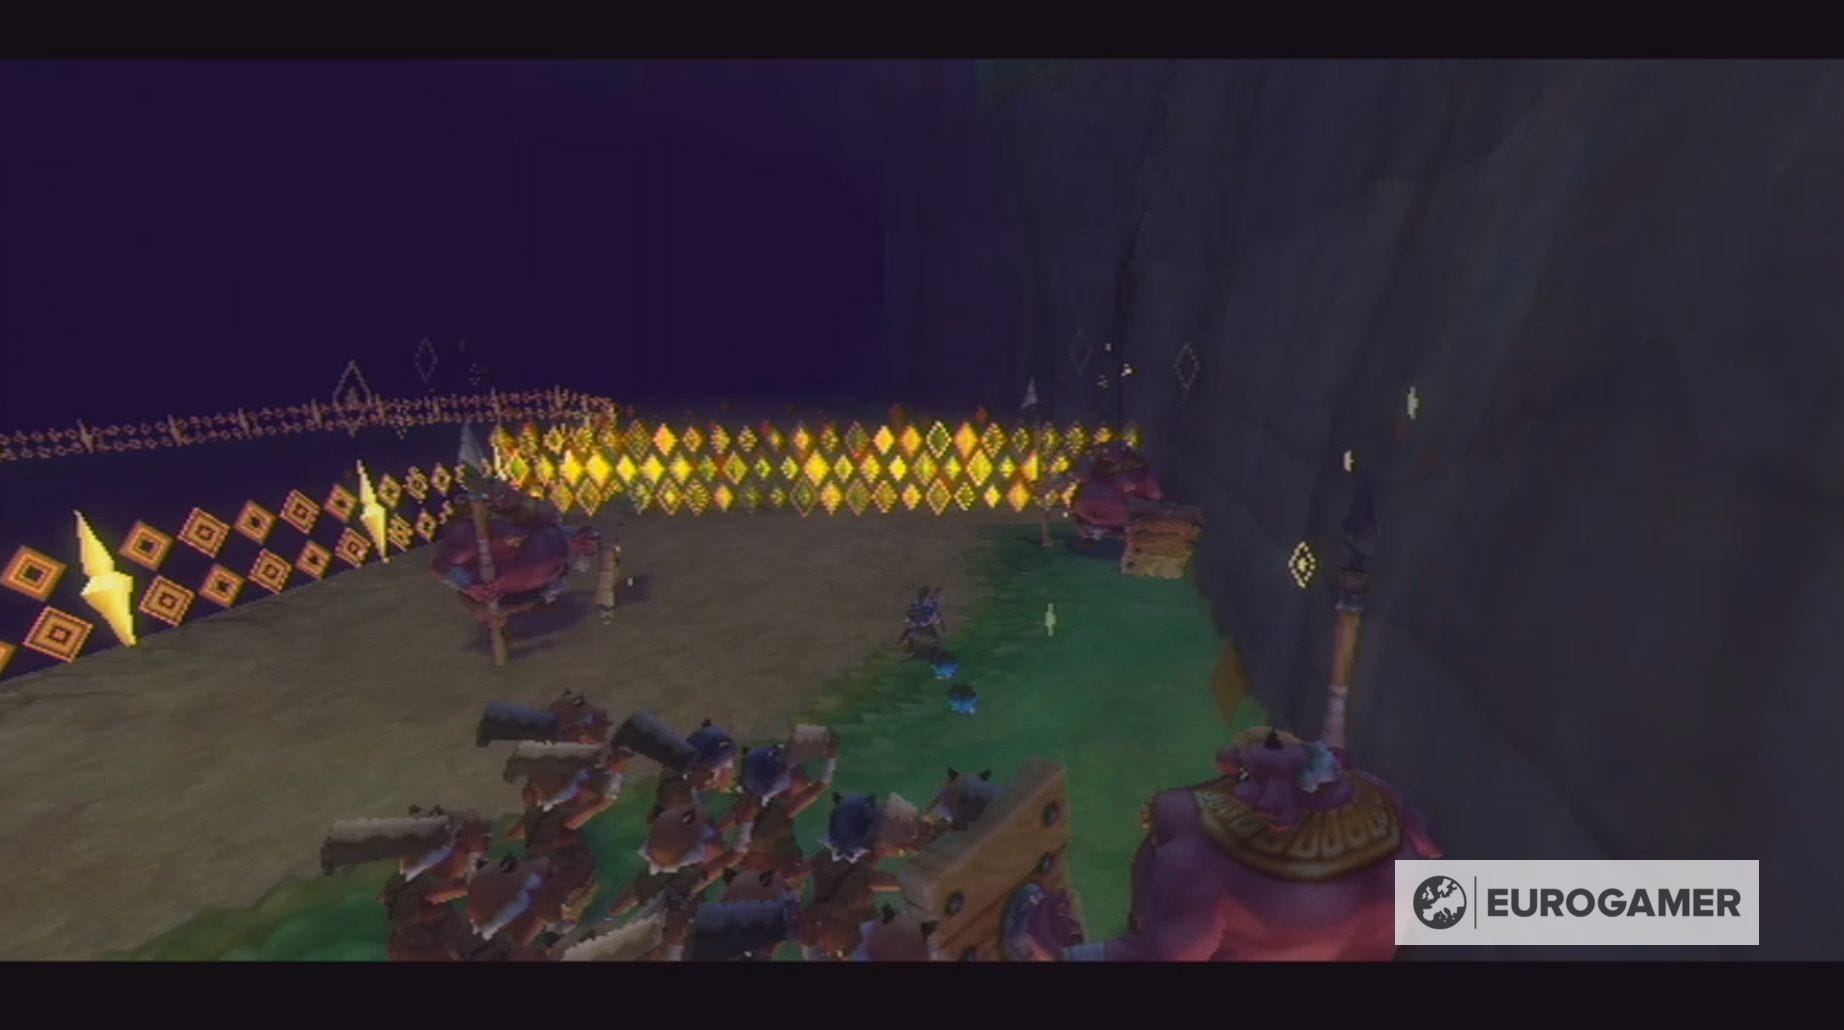
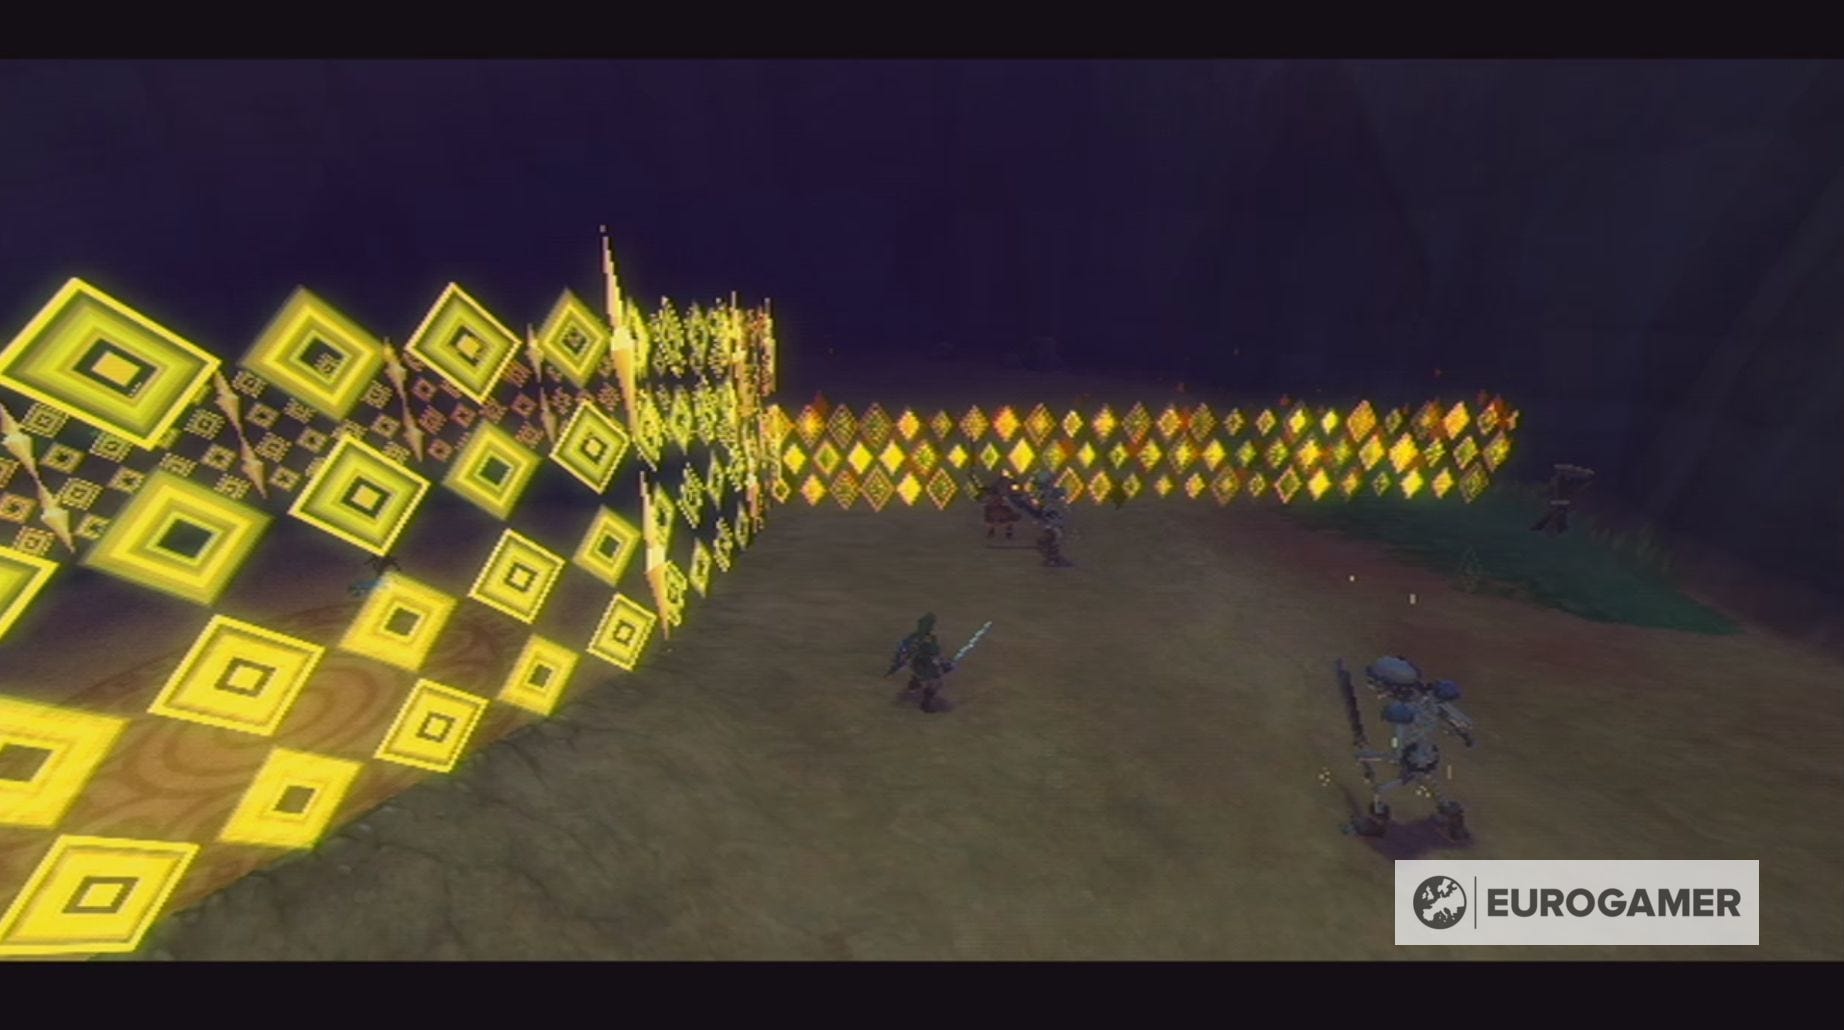
The first stage of this boss battle doesn't actually involve fighting Ghirahim. Instead, you'll fight hordes of Bokoblin, five Moblins and two Stalfos on your way to the bottom of the Sealed Grounds.
Try to avoid using your potions during this stage and, instead, collect the hearts which the enemies drop. If you're not playing on Hero Mode of course!
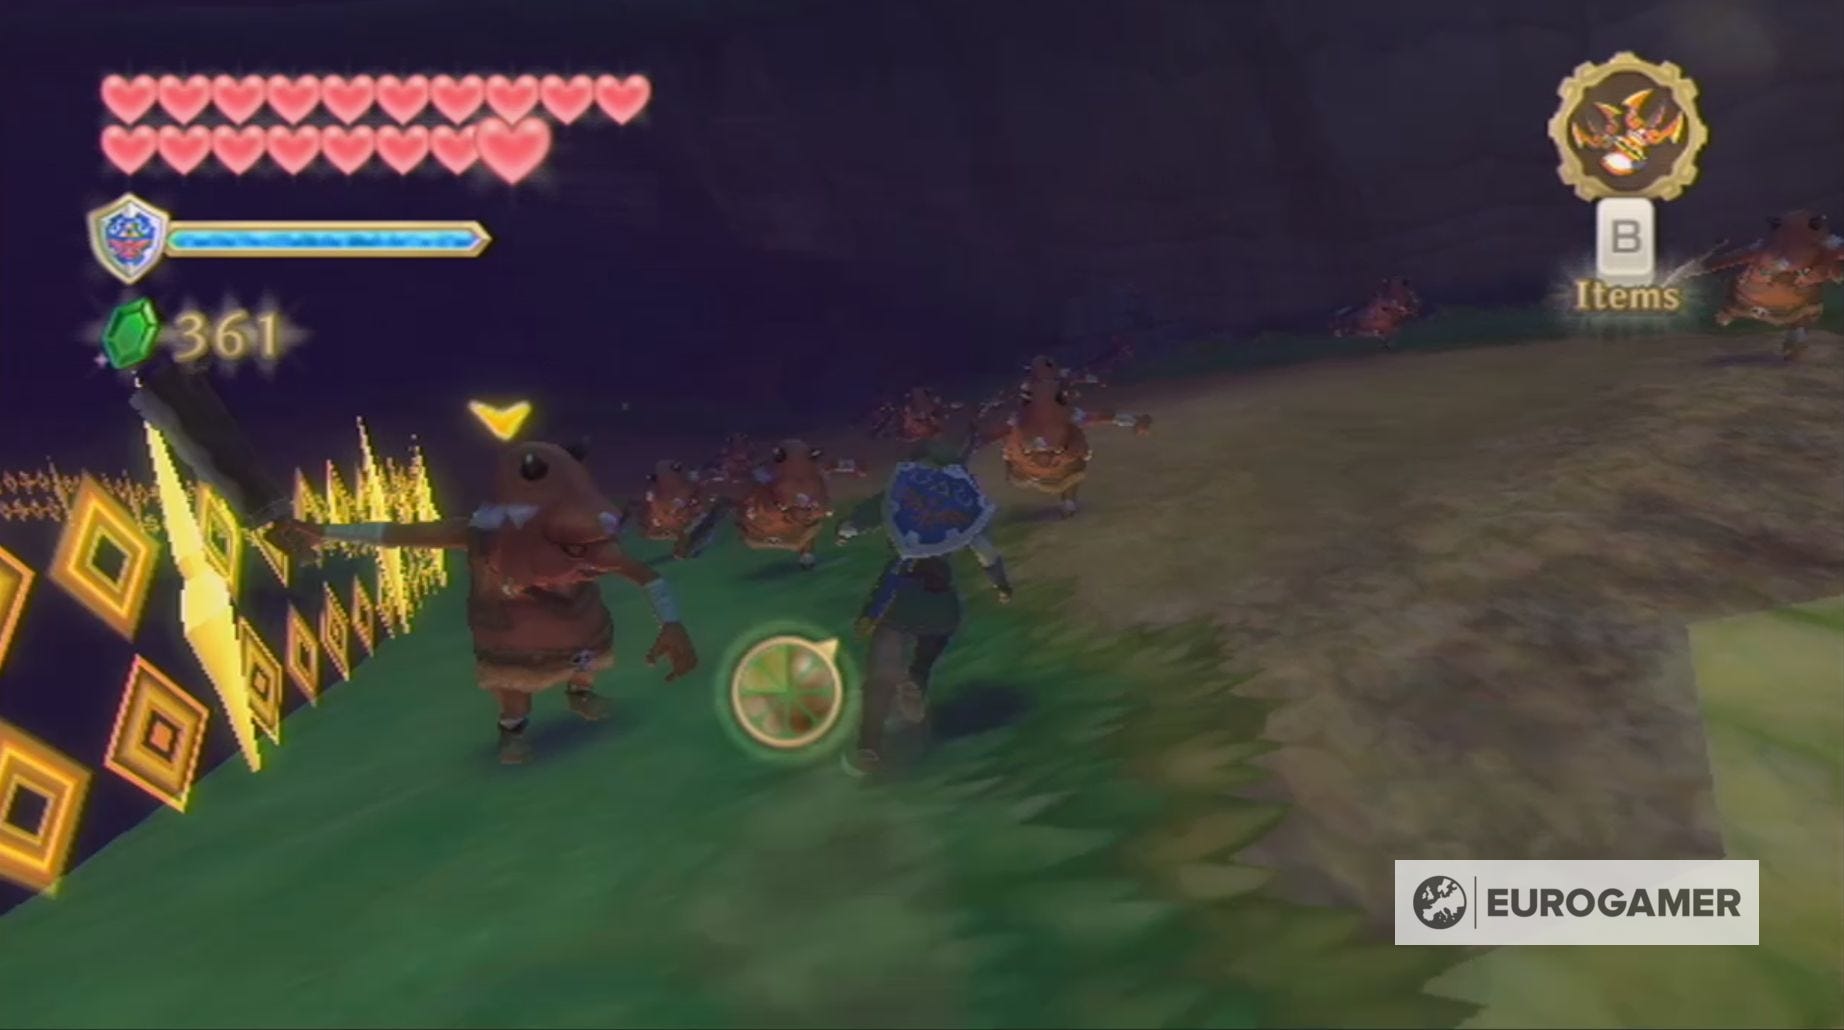
Your journey to the bottom of the pit will begin with fighting hordes of Bokoblins. You can avoid these enemies by sprinting and grabbing every stamina fruit as you go, but you will eventually reach a roadblock.
When this occurs, you'll have to defeat five Bokoblins to progress. You may also find that some of the Bokoblins you ignored will catch up with you and, if they do, it's a good idea to defeat them.
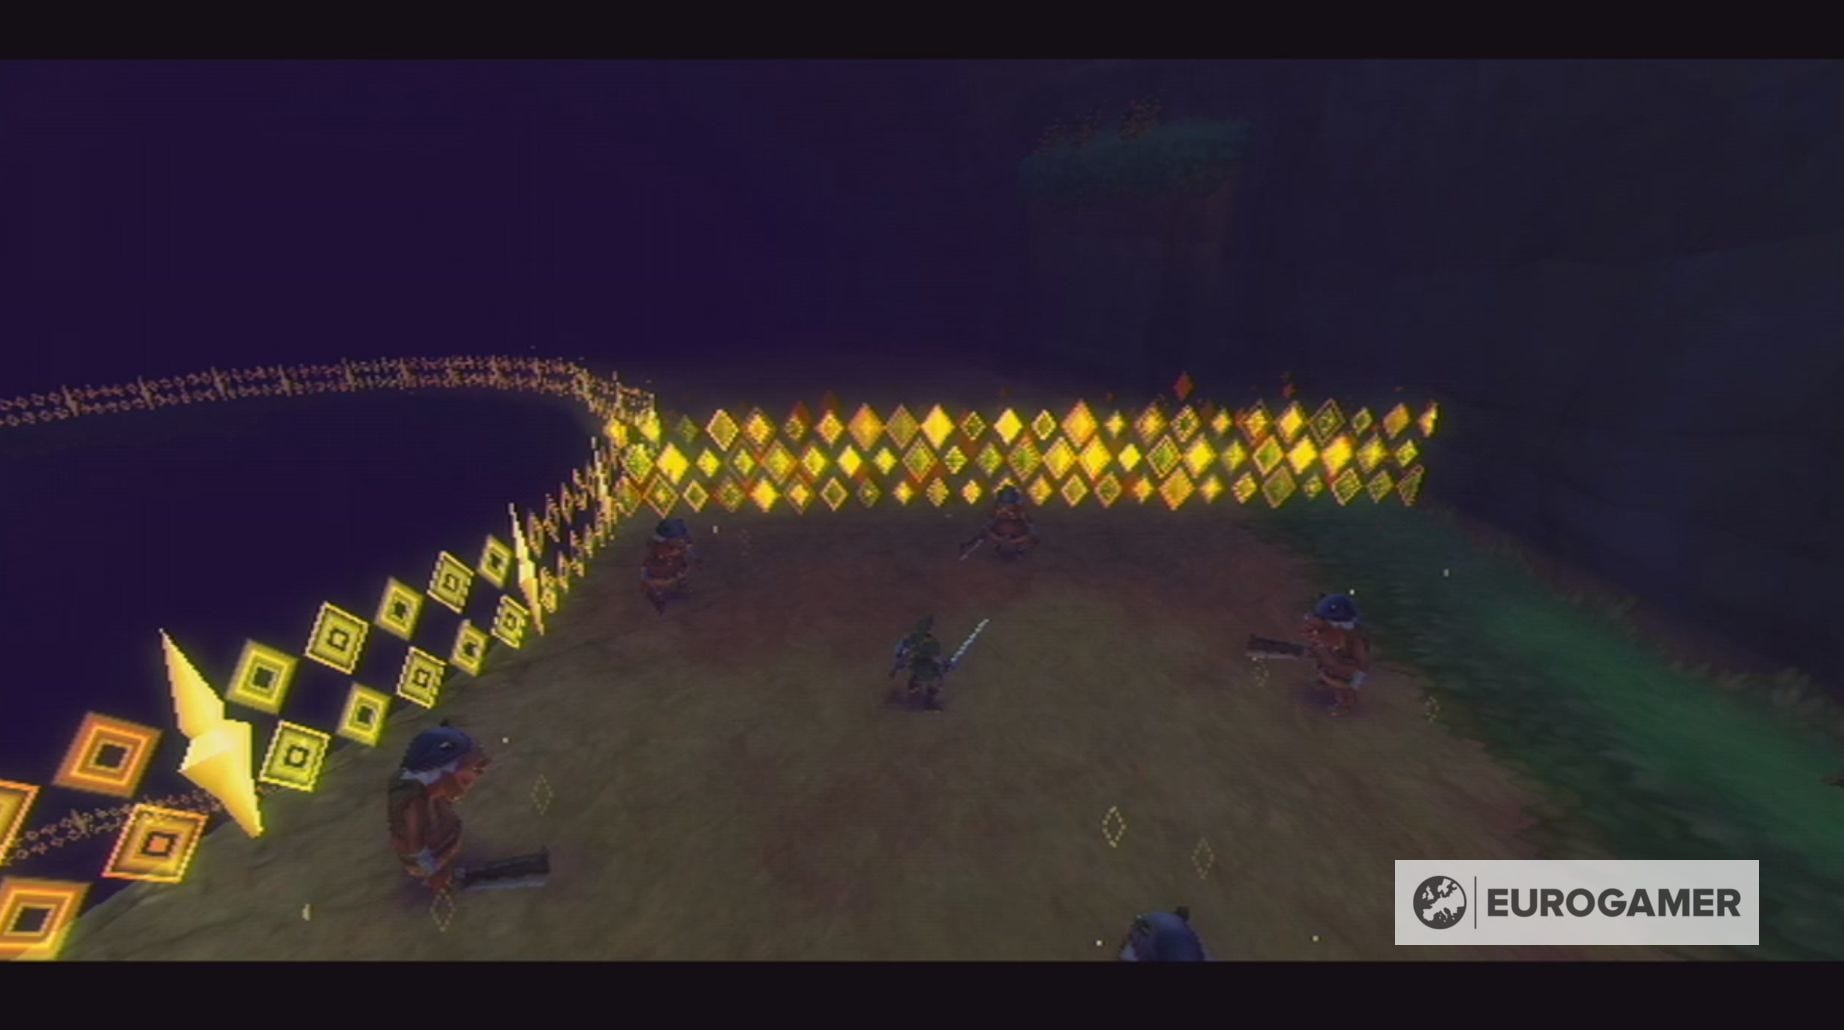
After this roadblock, some of the Bokoblins you encounter will be carrying bombs. It's best to avoid these monsters, because hitting them risks exploding the bombs.
The next roadblock you encounter can only be destroyed if you defeat three Moblins. If there are any Bokoblins nearby, it's a good idea to take them out first and then you'll be able to defeat the Moblins uninterrupted.
Once this roadblock is defeated, the Bokoblin hordes will be joined by a series of Bokoblin Archers. These archers do not respawn, but, due to their long range, it's a good idea to kill them.
Removing the next roadblock involves defeating a single Blue Bokoblin, but it's not as simple as it seems.
This is because the Blue Bokoblin can go through the roadblock, taking itself out of your reach, and, from this position, charge at you with its sword. The best time to attack this monster is after it has completed a running attack.
On your journey to the next roadblock, you'll encounter two Bokoblins who have the ability to summon their brethren by blowing a horn. You can choose to avoid these enemies or fight them - though you must pick up the horn upon their defeat or else another Bokoblin will and the cycle will continue.

At the fourth roadblock, you'll have to defeat two Stalfoses in the same manner as in Skyview Temple.
During this final section of your descent, you'll encounter more Bokoblins, one Blue Bokoblin and two Moblins.
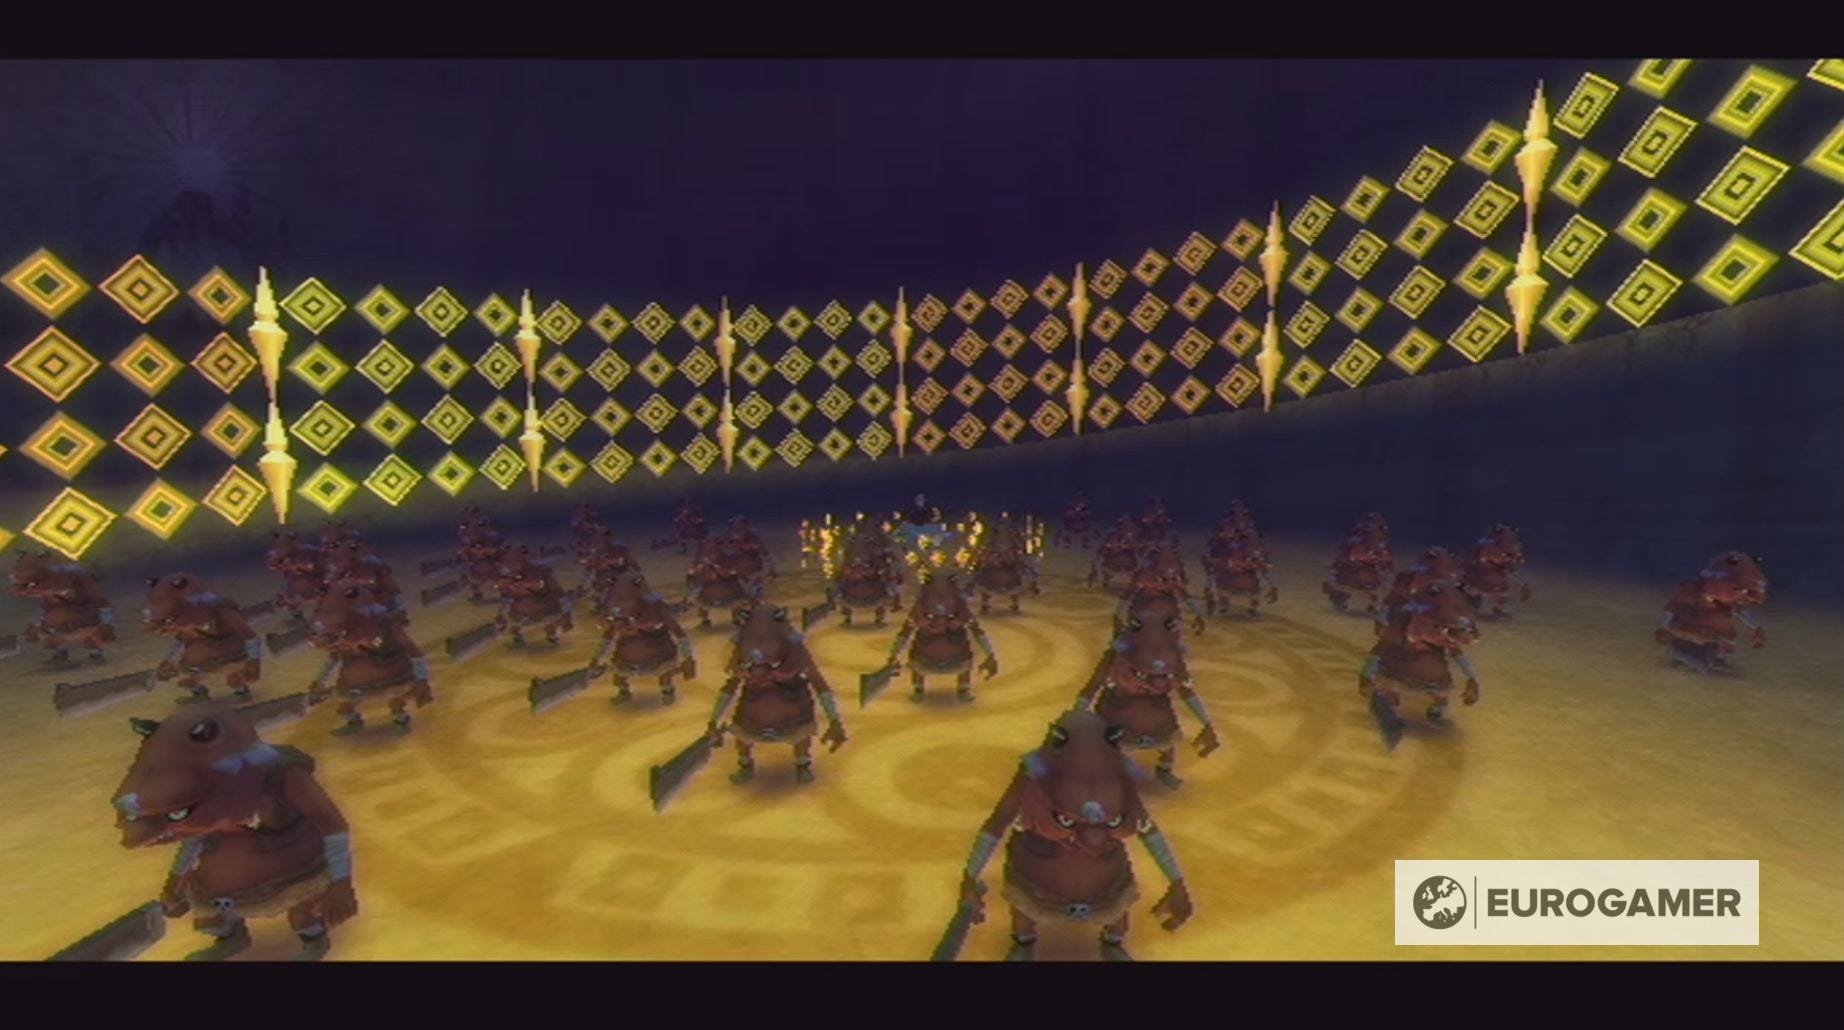
When you finally reach Ghirahim, he will summon 20 Bokoblin which you must defeat to fight him.
Stage Two
During this stage of the boss battle, you need to knock Ghirahim off the edge of the platform using your sword and then jump down to the next level, so you can perform a Fatal Blow on him.
Ghirahim will, throughout this stage, prefer to defend rather than attack, but this doesn't mean you can let your guard down.
Occasionally he will perform powerful kicks which will damage you and may knock you off the platform. Thankfully, when this occurs, you will return to the level you were on.
As the battle continues, Ghirahim's hands will start to glow purple and, when this happens, you'll have to angle your attacks through the gaps he leaves.
If you hit one of his hands, he will be able to jump over you, switching your positions. When this occurs, you'll have to knock him close to the edge of the platform with your sword again.
You need to complete this process three times to complete this stage of the battle.
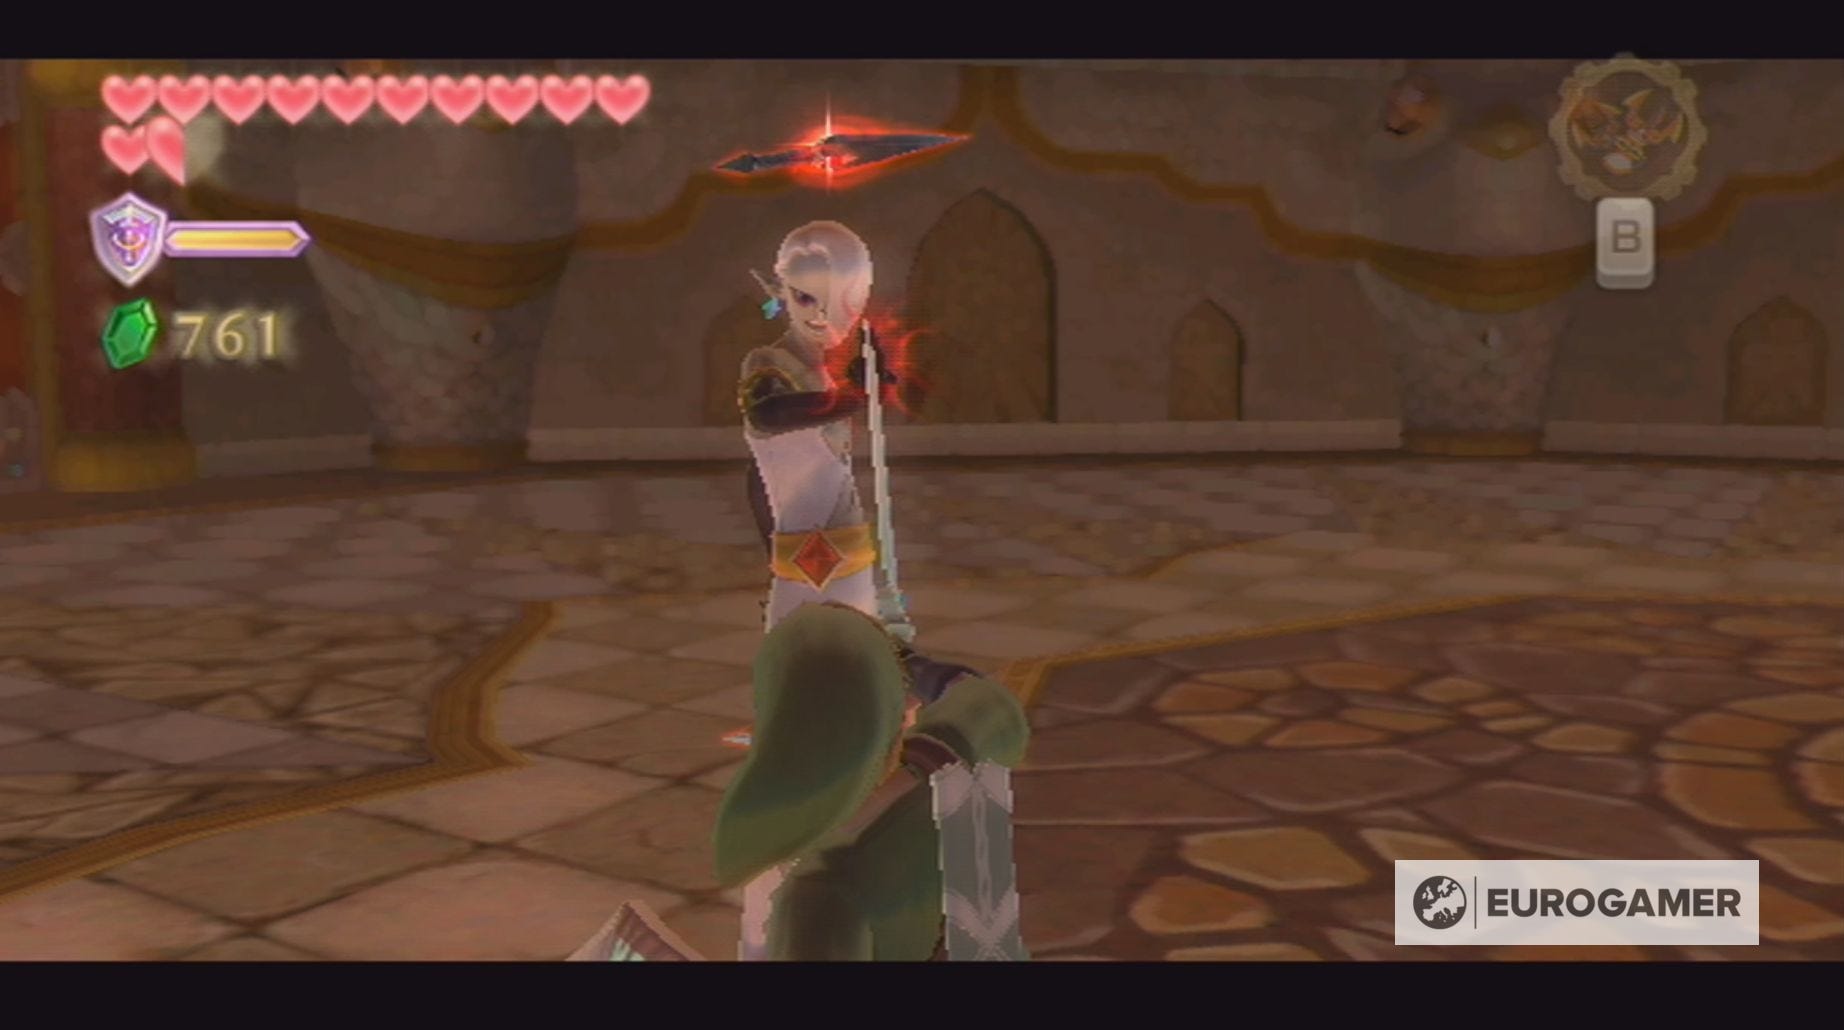
Stage Three
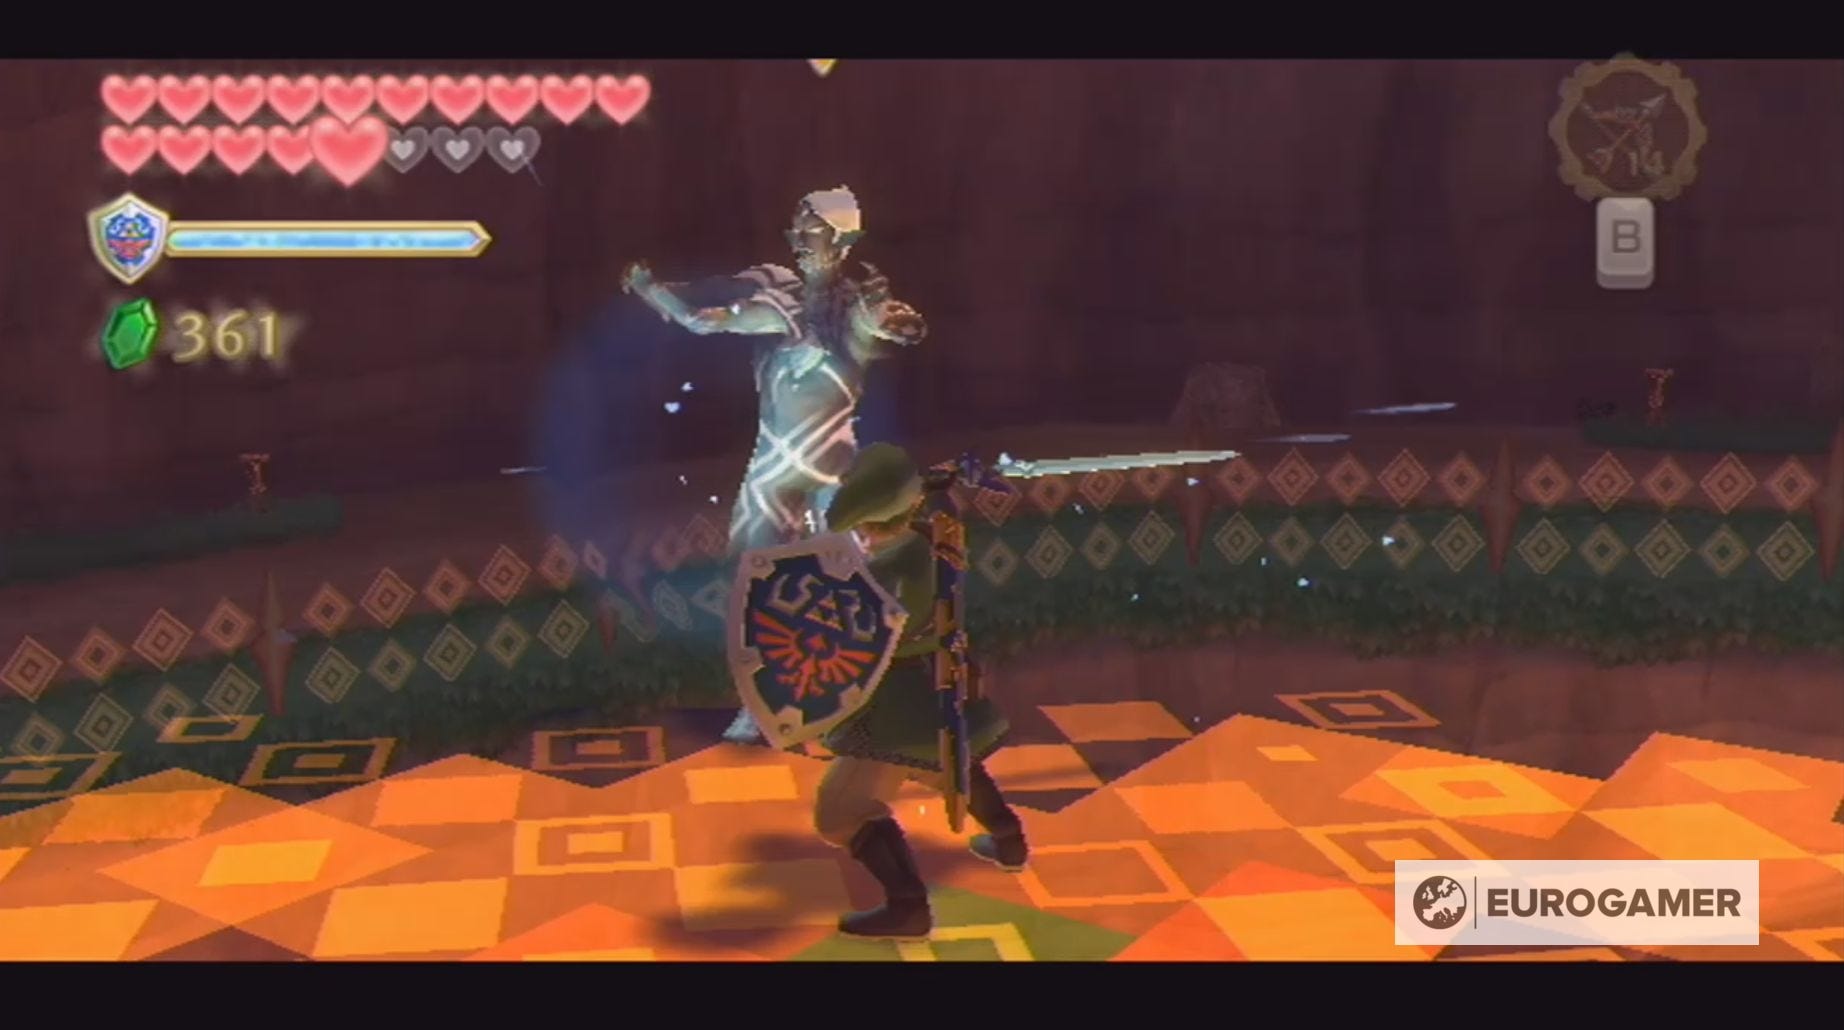
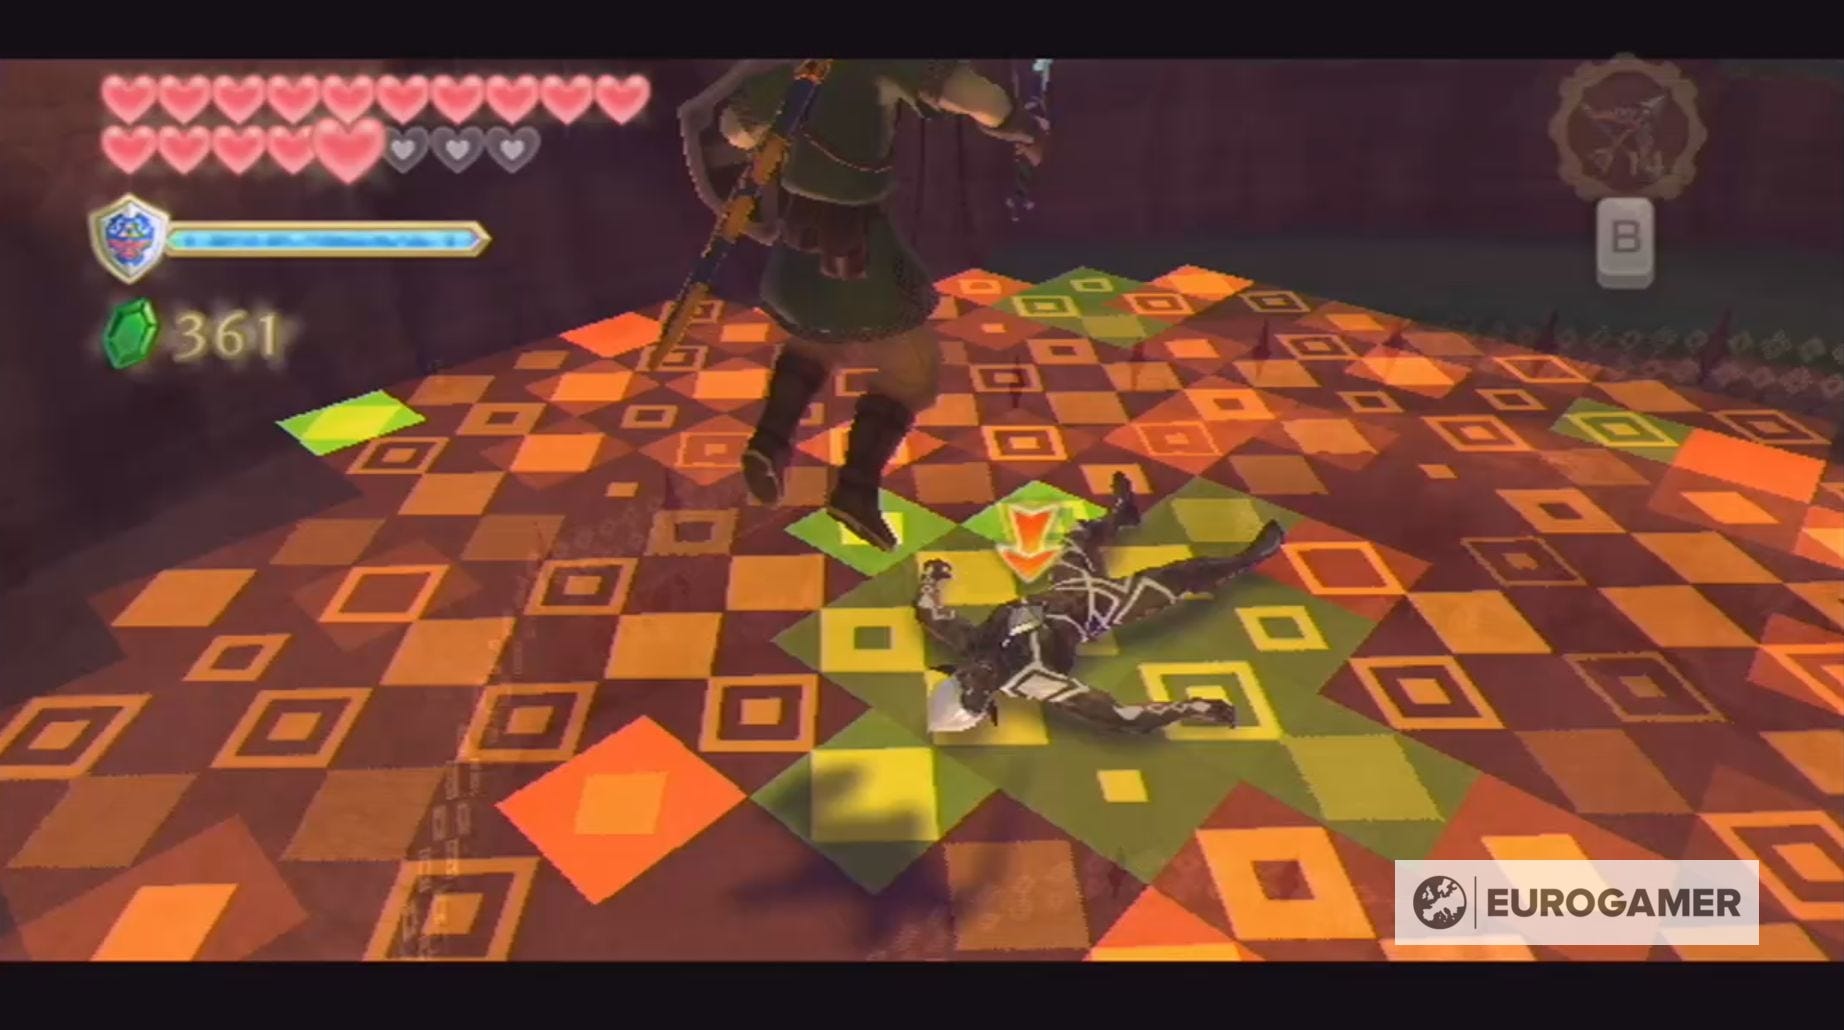
In the third stage, the only way to damage Ghirahim is by hitting the crystal in the centre of his chest.
To do this, you must either use a shield bash to block one of his attacks, causing him to stagger, or knock one of the circles of red energy he sends towards you with the Master Sword.
Ghirahim will knock this circle back at you at first, so keep bouncing it back with your sword until it hits him. When this occurs, you'll be able to sprint forward and attack him.


Throughout this stage, Ghiarhim will attack you with his rapier, using attacks similar to those he's used early in the battle, and may also send a series of darts towards you. If you have the Hylian Shield, then you can simply knock these darts away by holding up your shield.
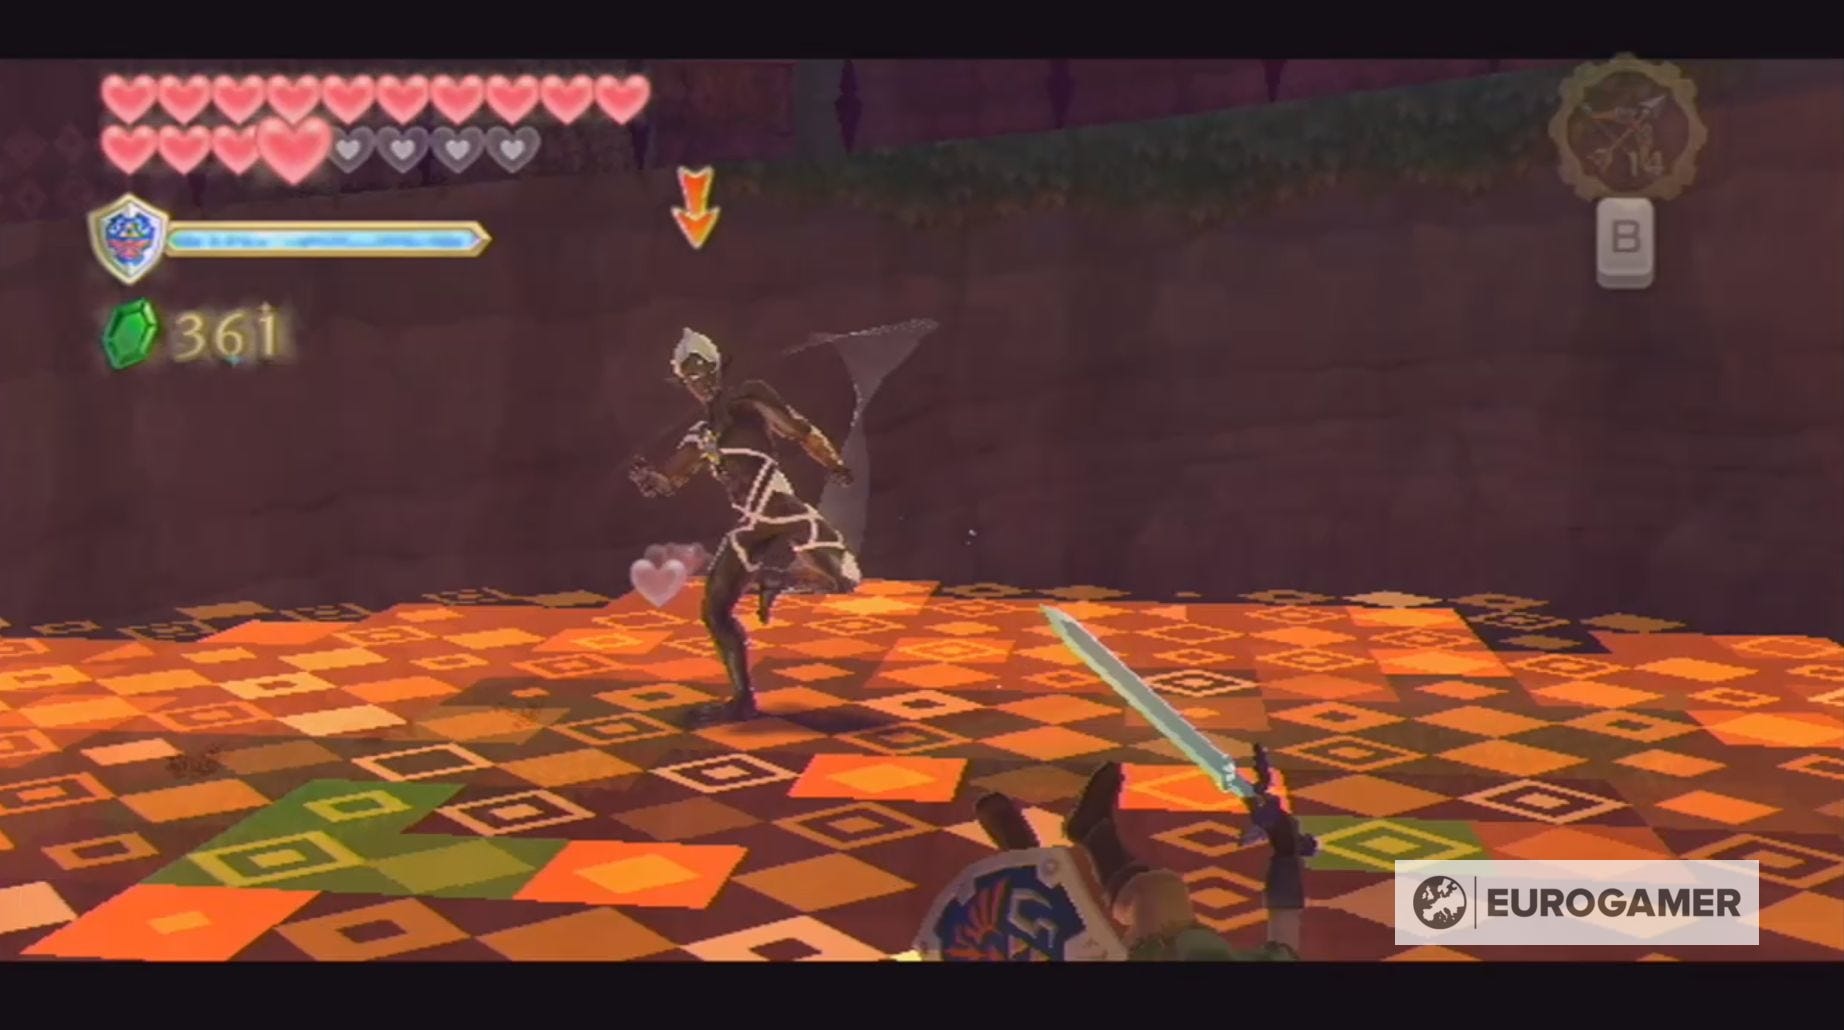
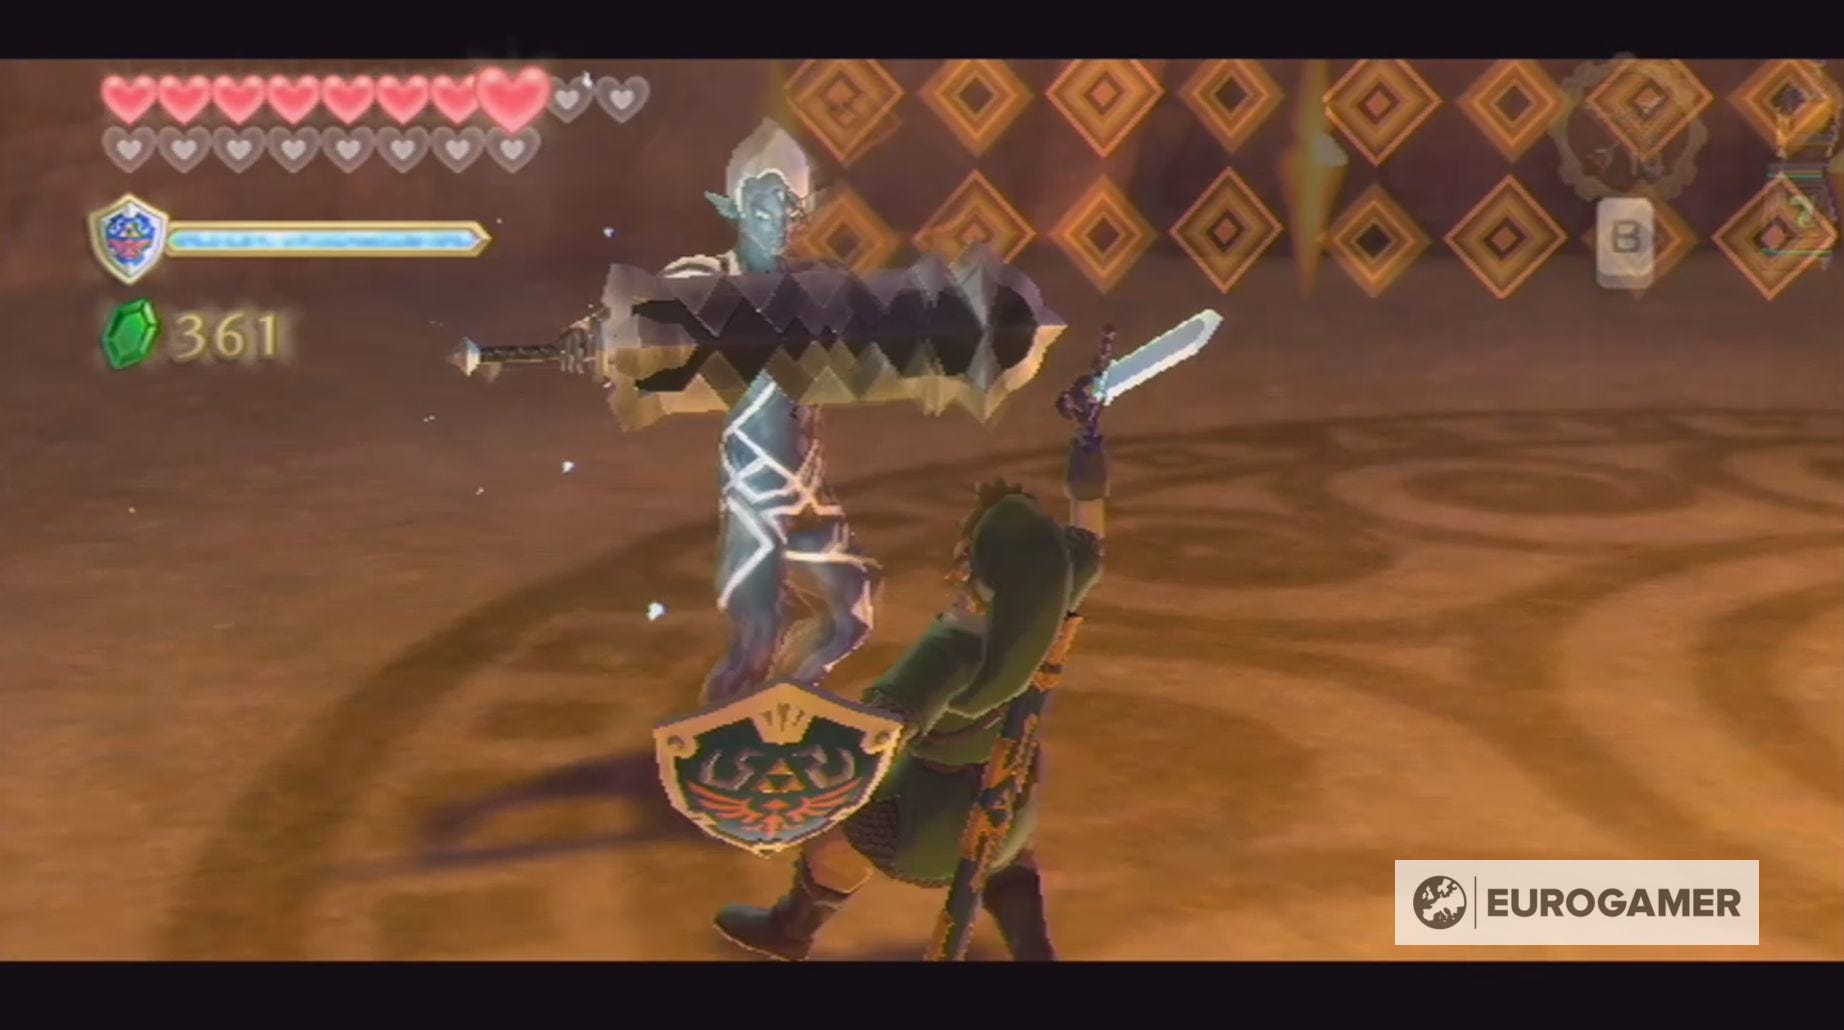
Stage Four
In the fourth and final stage, Ghirahim will attack you with a massive sword and, while it's in his hands, you'll be unable to attack him. Thankfully, his attack pattern with his sword is similar to the one with his rapier and, by now, you should know this pattern quite well.
To defeat Ghirahim in this stage, you must first block one of his attacks using a shield bash.
This will cause Ghirahim to hold his sword out in front of him either horizontally or vertically. When this happens you need to hit the sword in the same direction he is holding it; if, for example, he's holding it horizontally, then you need to attack with horizontal swings.
After a couple of swings, Ghirahim will switch the direction of his sword - if he's holding it vertically, he will hold it horizontally and vice versa.

When this occurs, you will need to change the direction of your swings or else Ghirahim will knock you down and you'll have to repeat the process.
Once you've completely destroyed the sword, you'll be able to attack his weak spot.
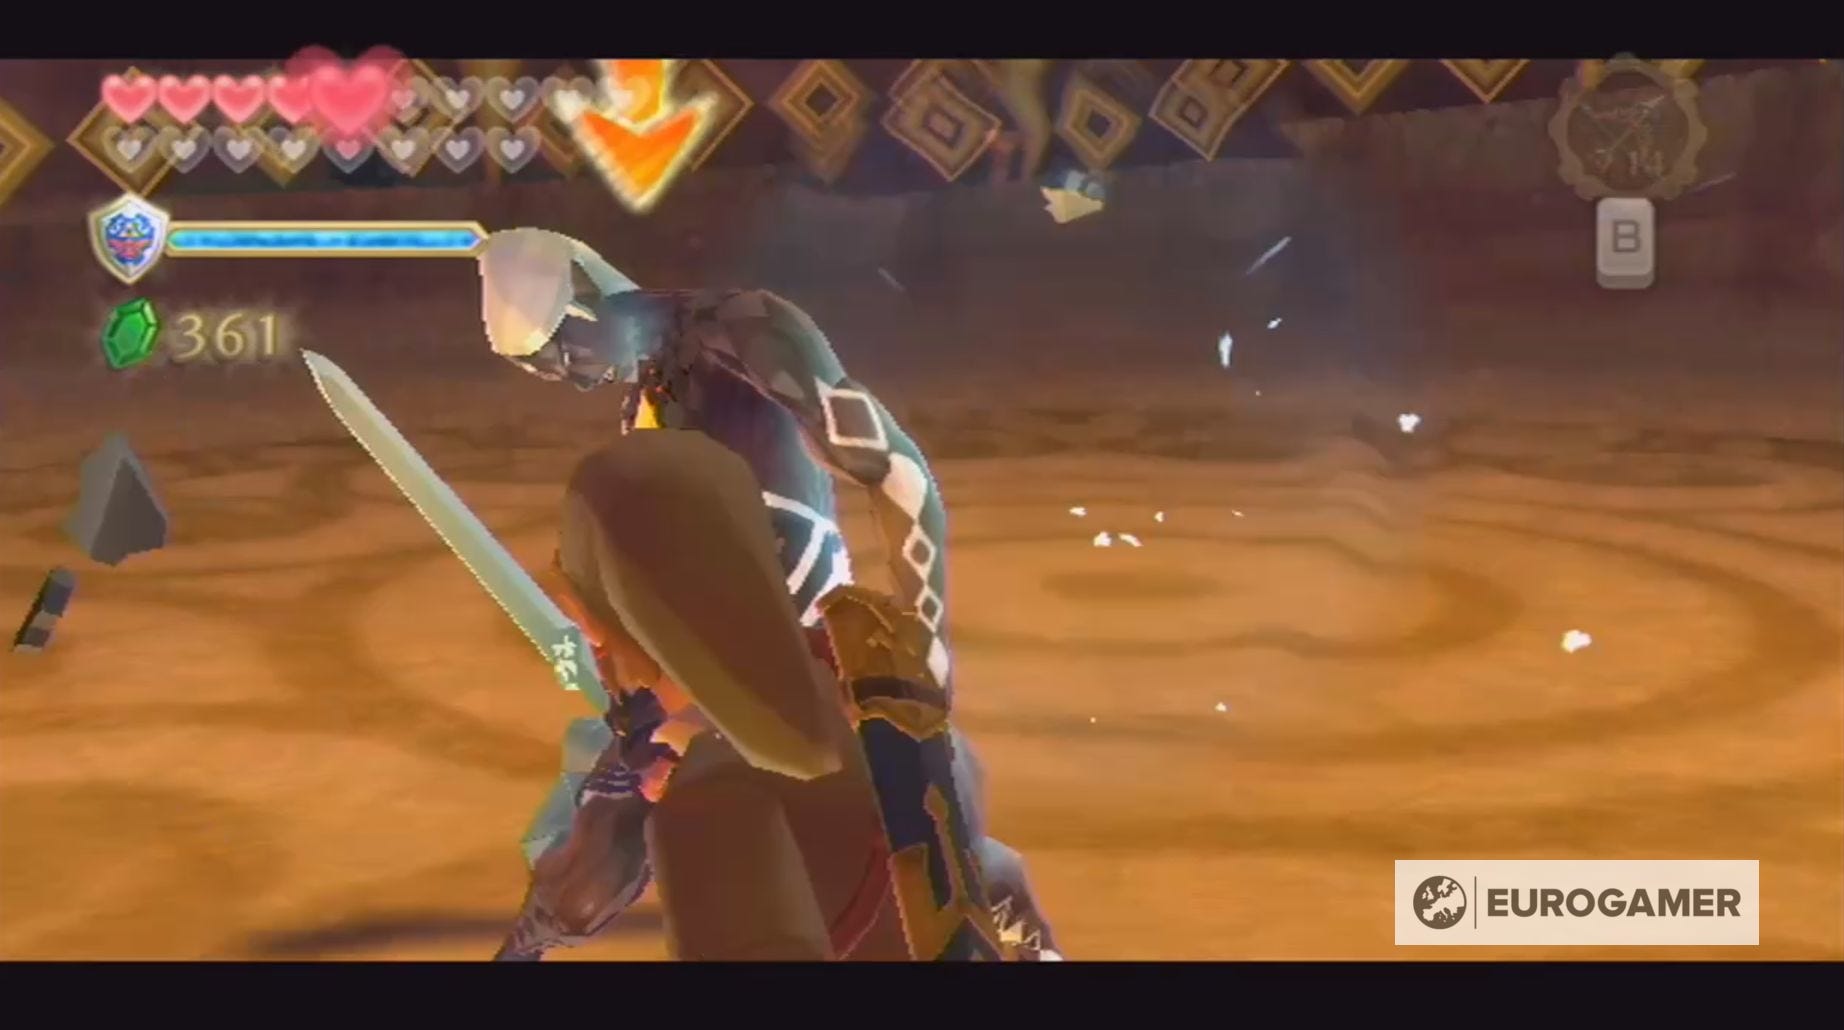
Keep destroying this sword and attacking Ghirahim until the fight is yours! Though, while you may have defeated Ghirahim in combat, Demise will still regain power.
It's important to note that entering the final battle with Demise is the point-of-no-return in Skyward Sword. Once you've finished the game, you'll be given the option to convert your saved file into a Hero Mode file, which will return you to the beginning of the game.
This means, if you want to fully complete the game, you need to take the time here to find every Heart Piece, collect all of the Gratitude Crystals and, if you feel like it, fully upgrade all of Link's equipment.
When you're ready, return to the past and get ready to fight Demise!
Good luck battling Ghirahim and, if you need more help, visit our Skyward Sword walkthrough!