Zelda: Skyward Sword - The Imprisoned boss battle strategies explained
How to defeat Skyward Sword's recurring boss.

The Imprisoned is one of two recurring bosses, alongside Ghirahim, which you'll have to defeat in The Legend of Zelda: Skyward Sword.
Your battles against The Imprisoned will always occur at the Sealed Grounds - the first place Link visits on the surface world - as it tries to make its evil way to the temple. It will break it's seal after you've completed the Lanayru Mining Facility, the Fire Sanctuary and defeat Bilocyte.
Below you can find our The Imprisoned boss battle strategies for every time you have to face this giant foe.
On this page:

If you'd like to learn more, visit our Skyward Sword walkthrough.
First boss battle strategies for The Imprisoned in Zelda: Skyward Sword explained
The first battle against The Imprisoned in Skyward Sword will occur after you've completed the third dungeon - Lanayru Mining Facility.
You can keep track of The Imprisoned's progress towards the temple by using the small diagram which appears on-screen during the battle.
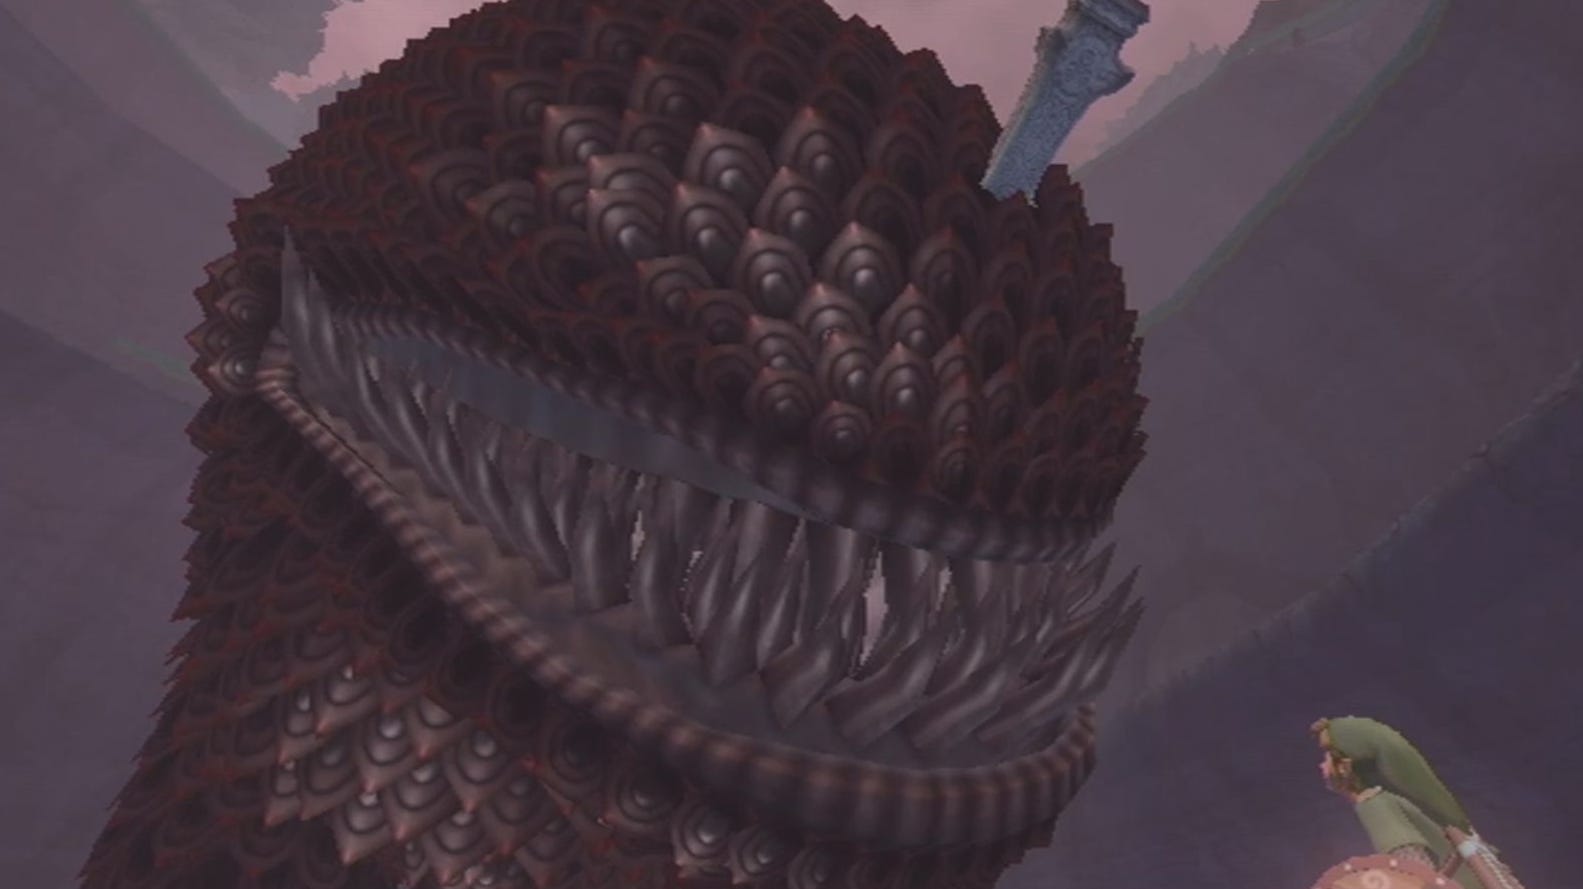
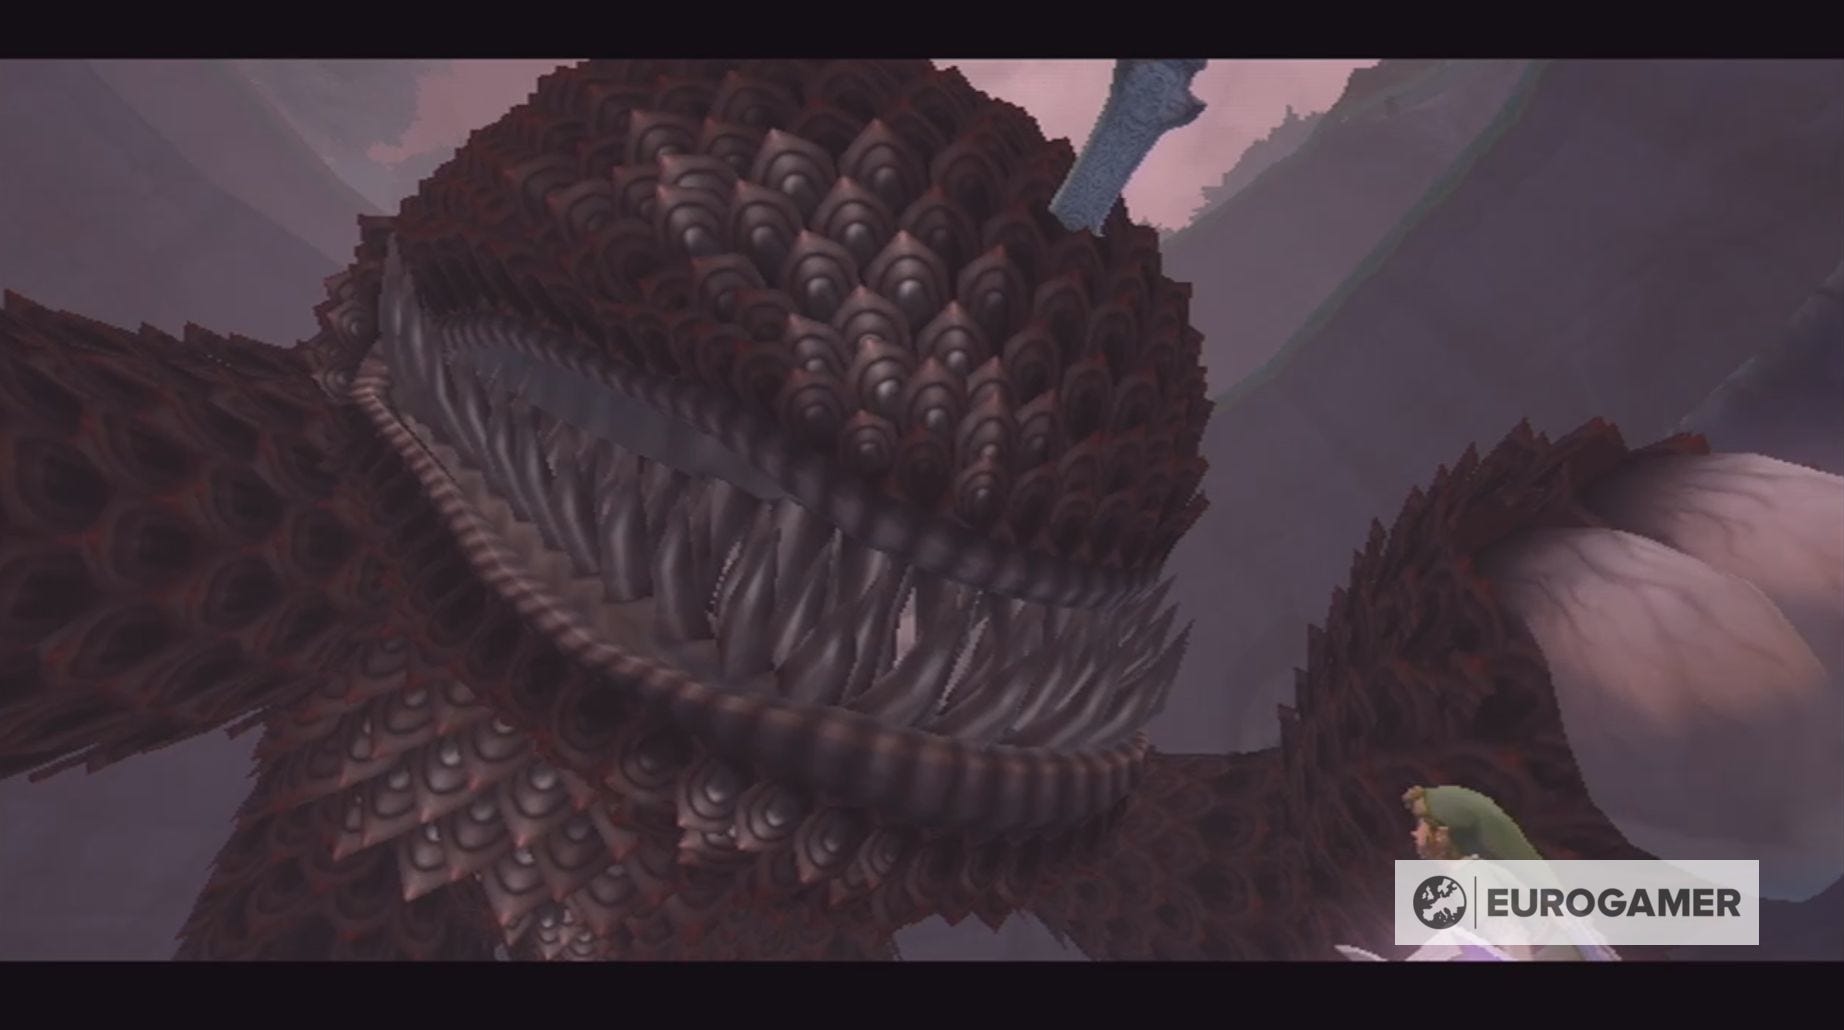
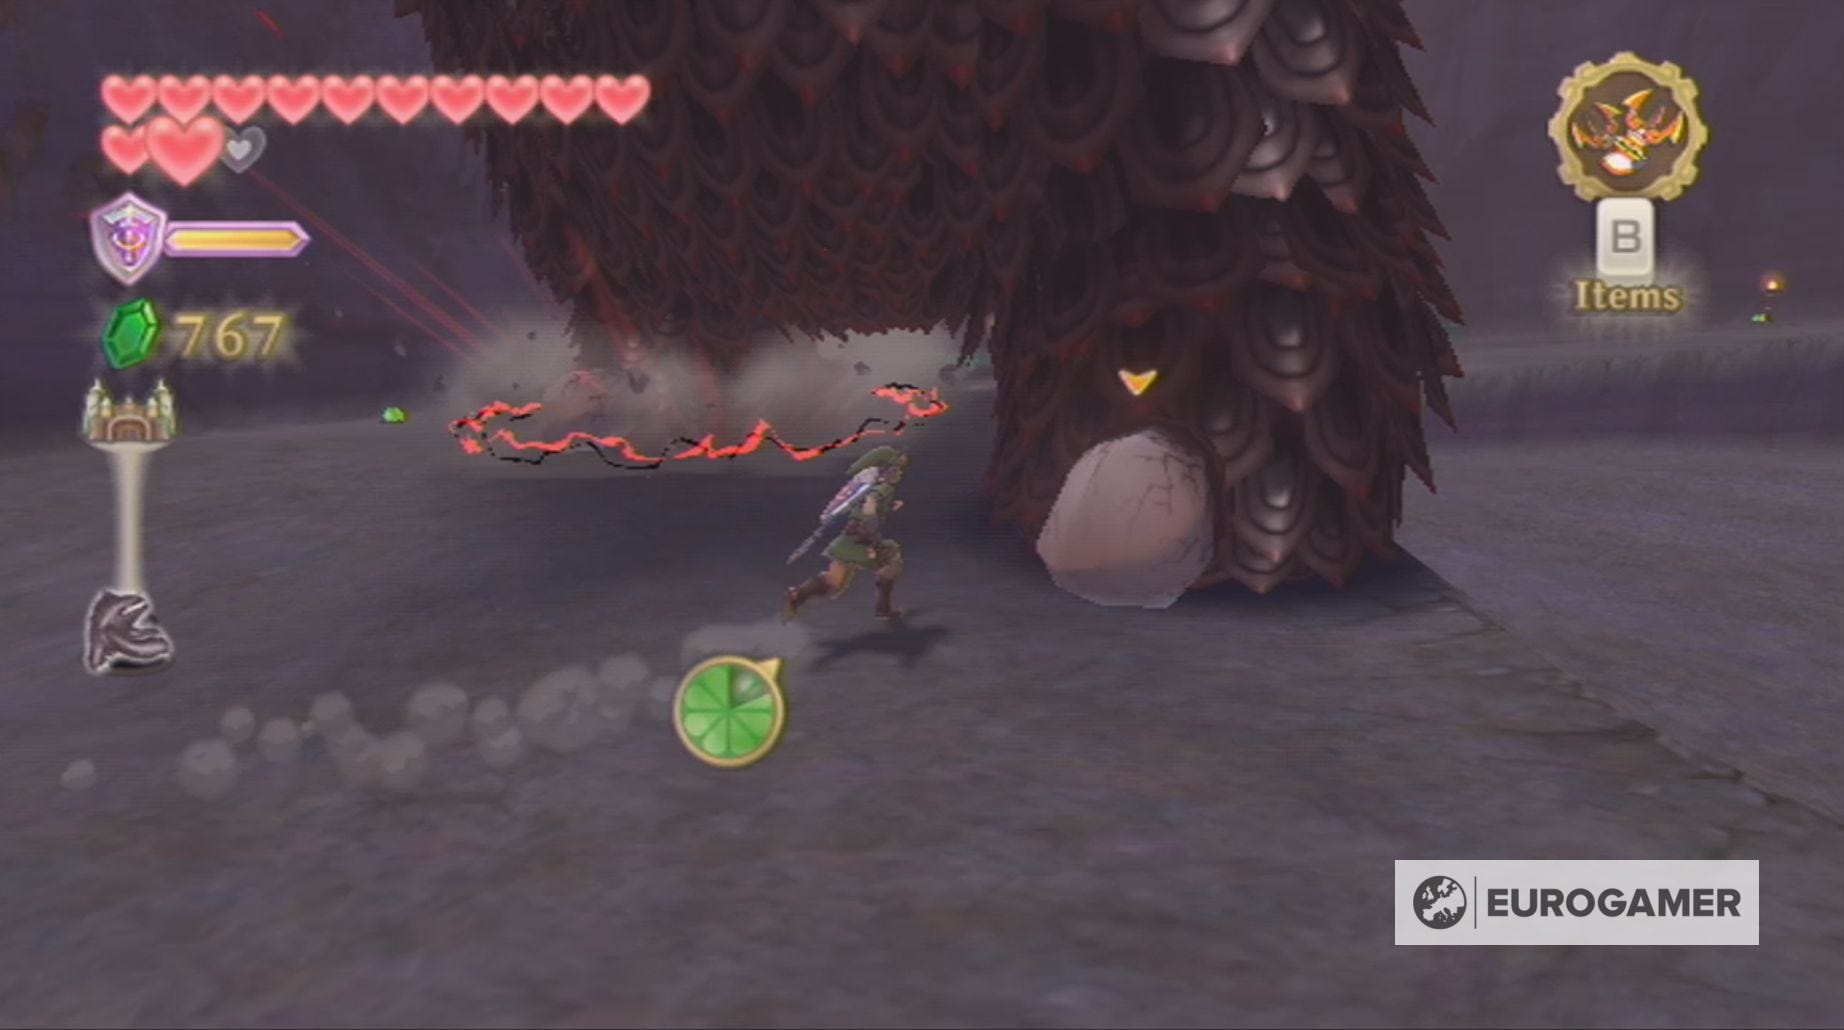
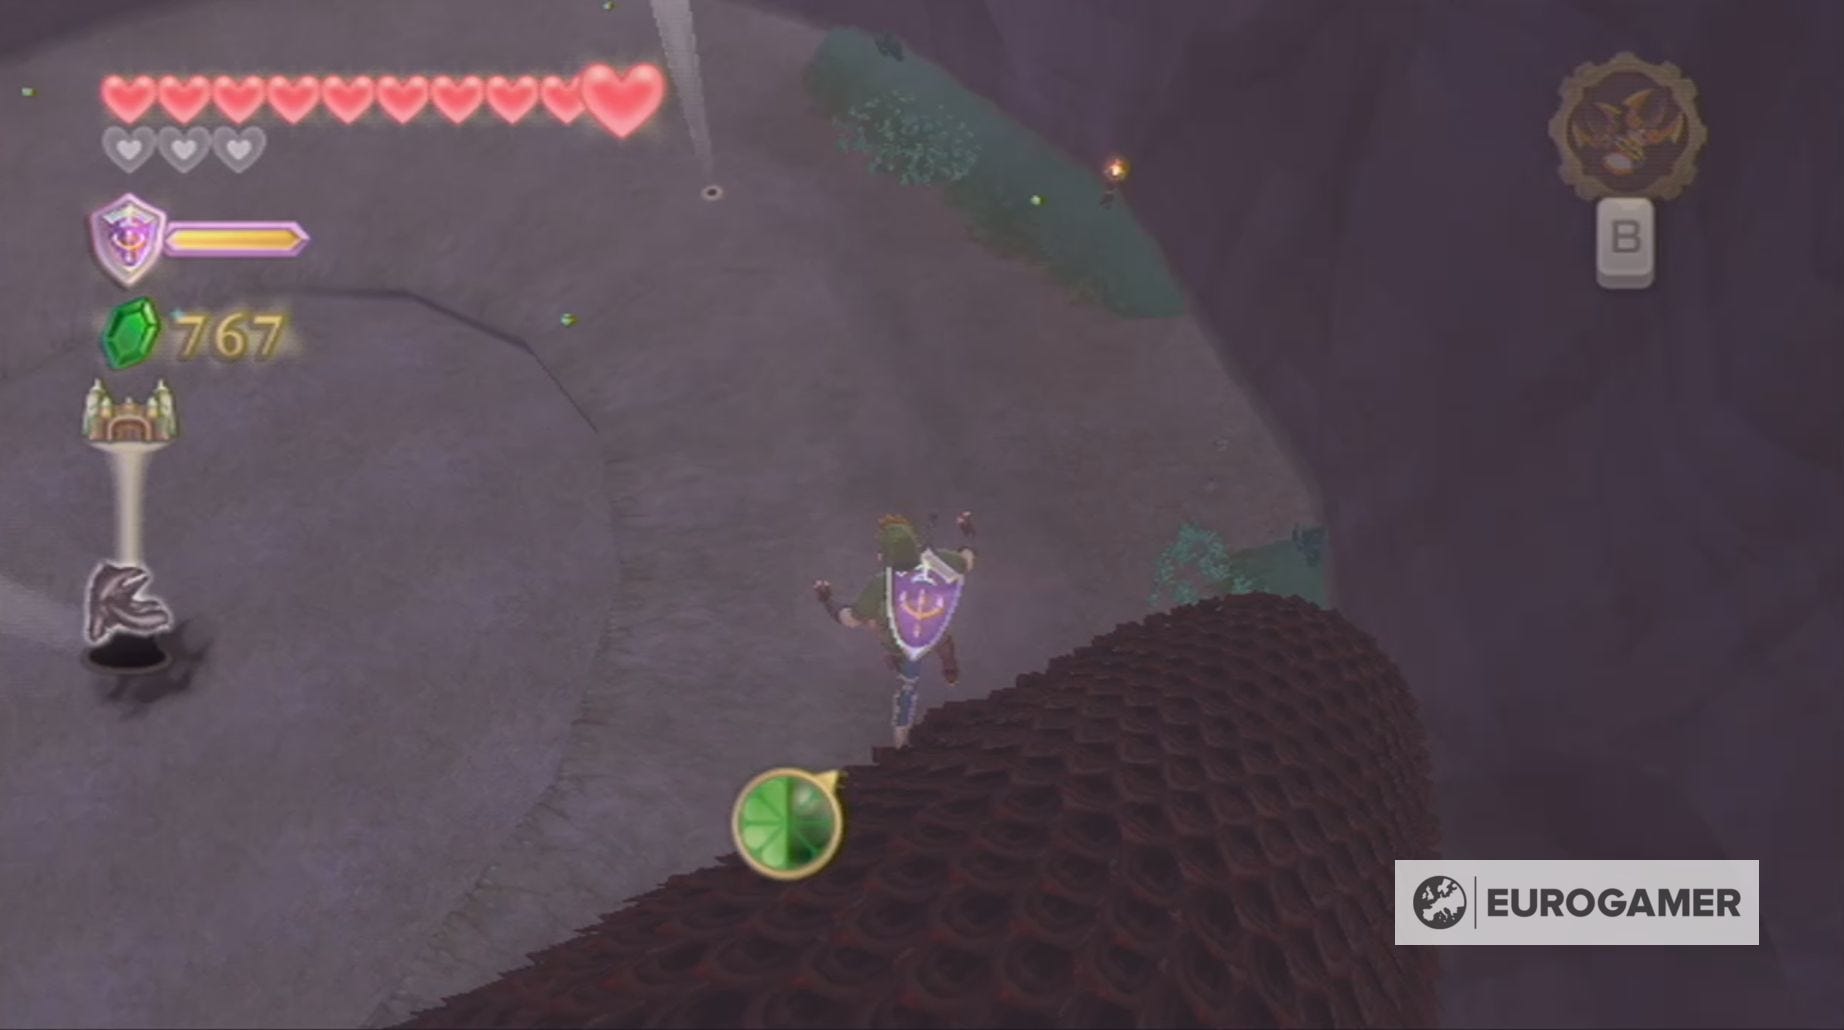
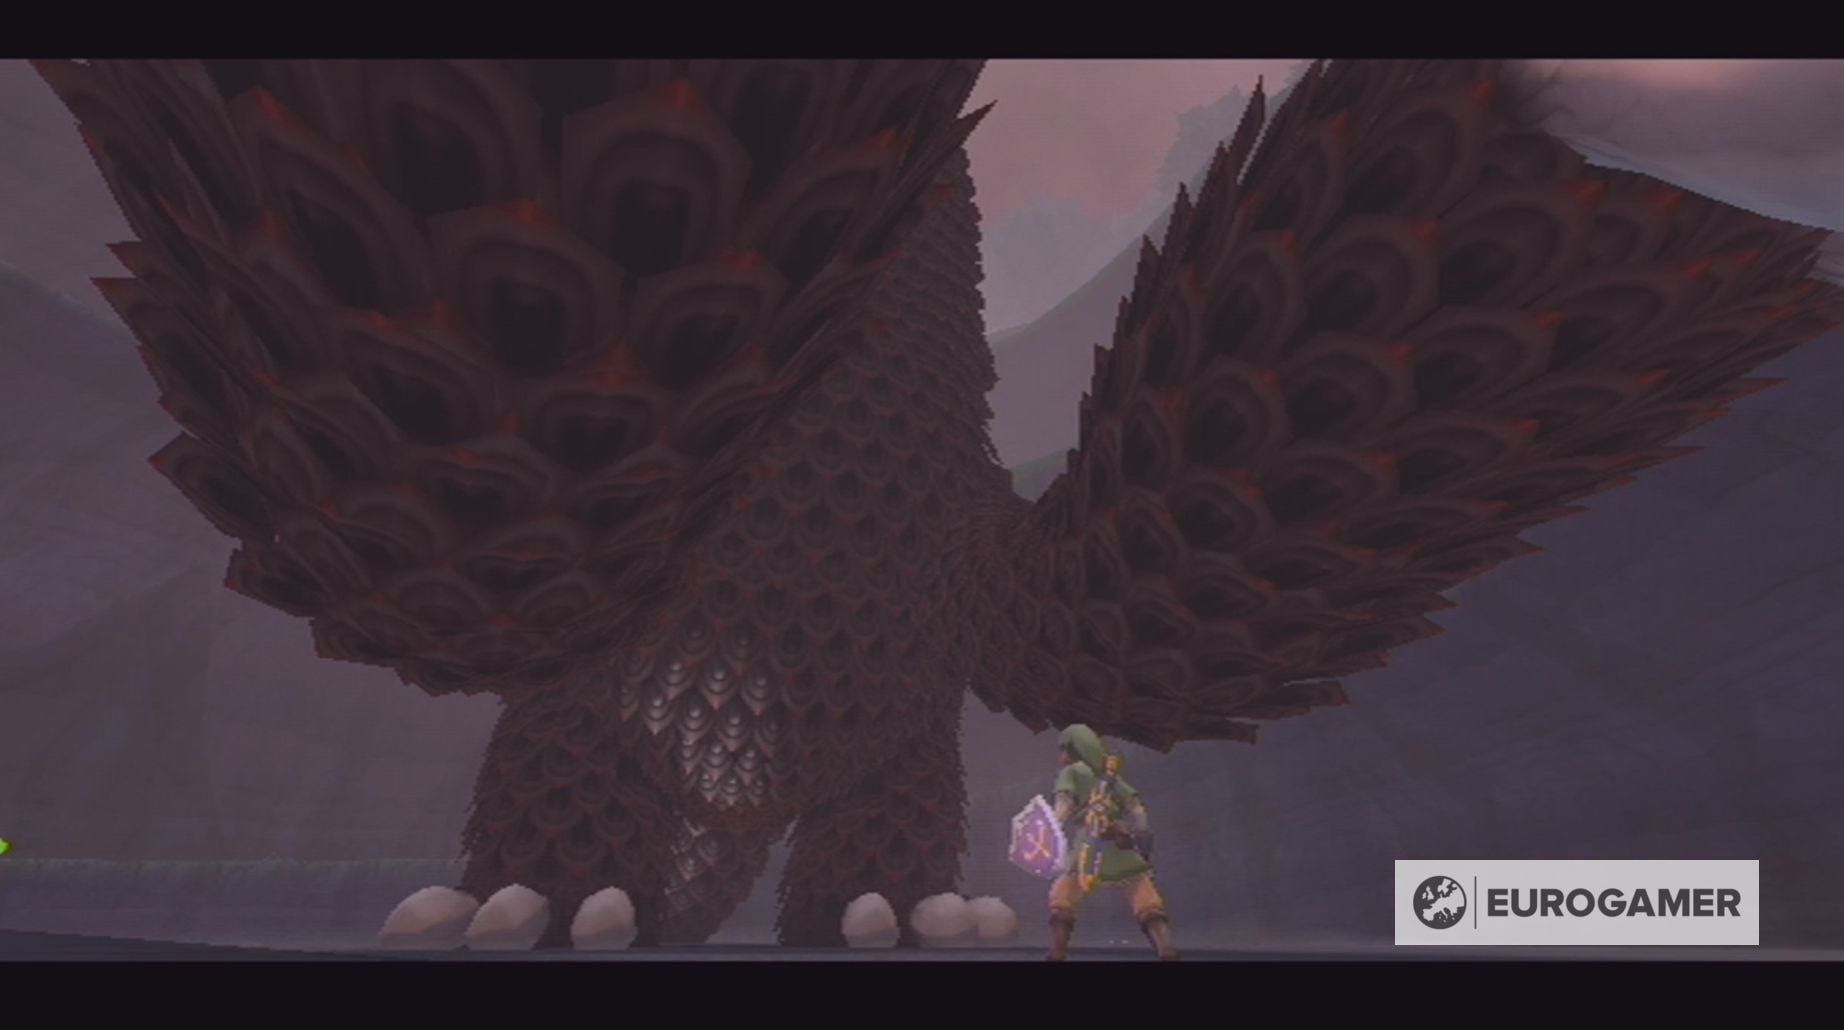
To halt its progress, you need to destroy The Imprisoned's toes. It has four on each foot - three at the front and one at the back.


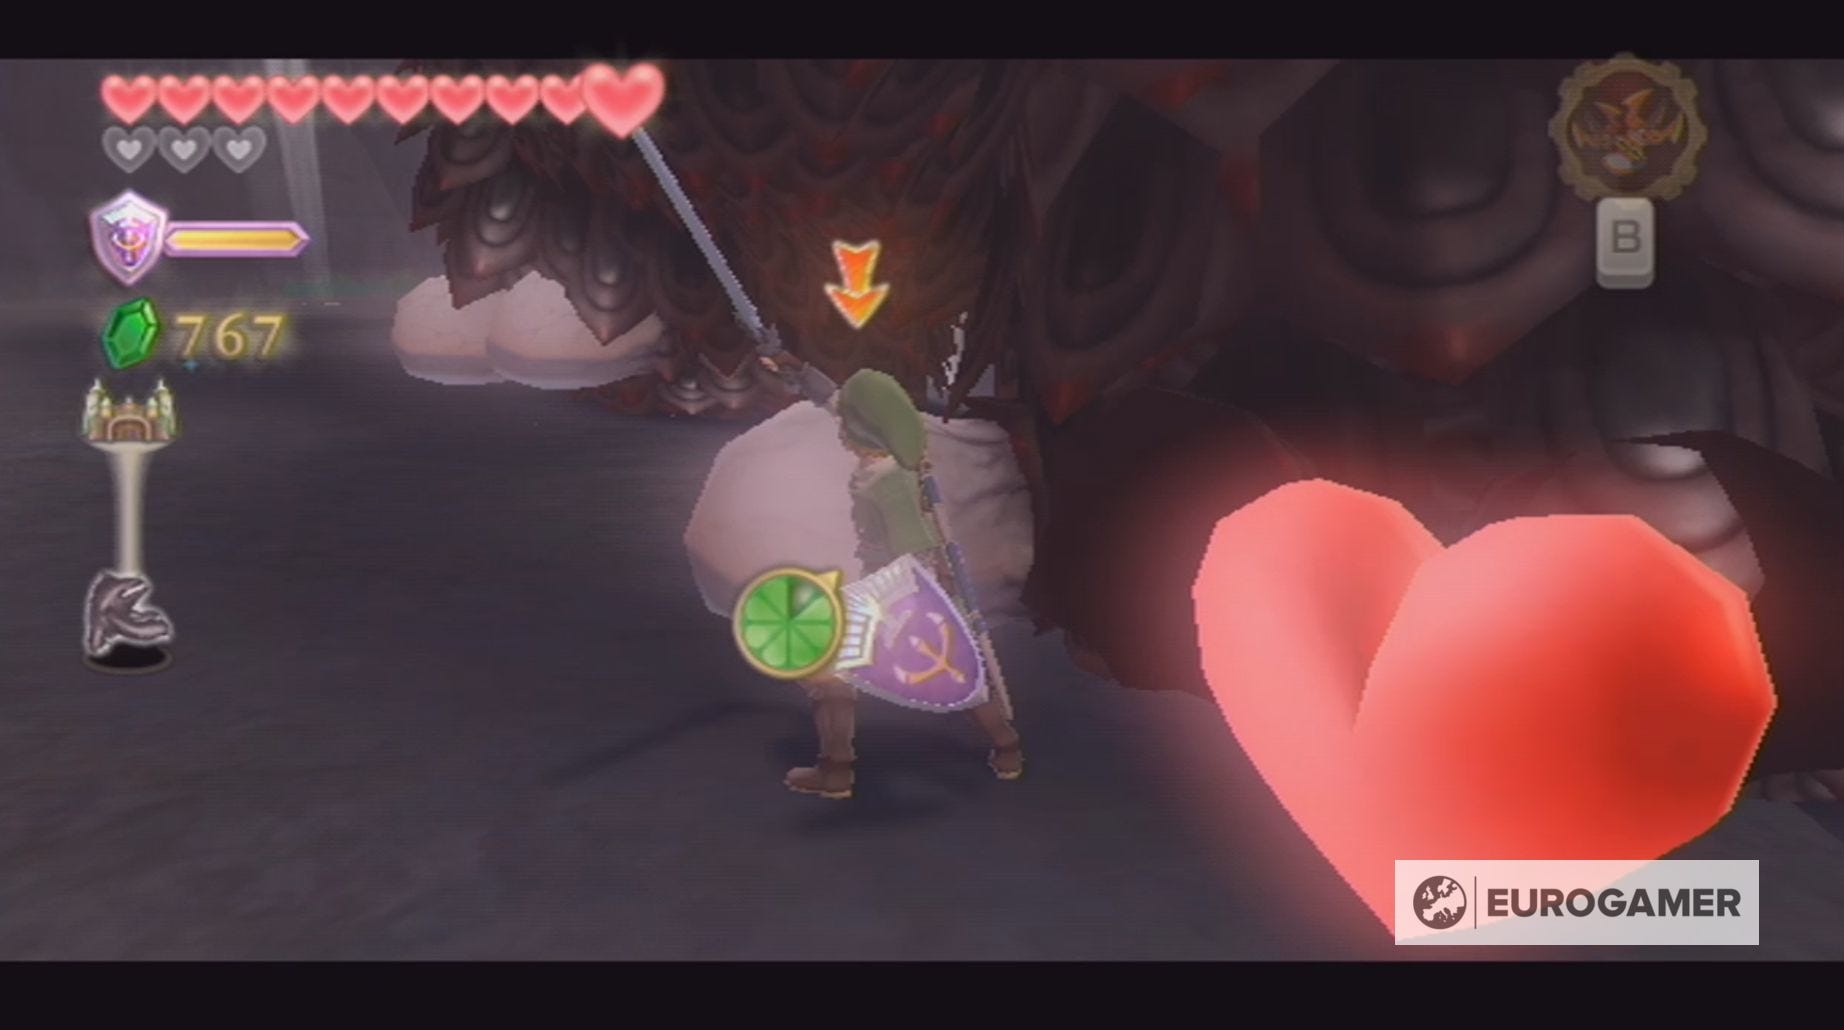
After you've destroyed all eight toes, The Imprisoned will fall backwards to the ground. When this happens, sprint to The Imprisoned's head and knock the seal back inside it using upwards sword swings.

The Imprisoned will then slither towards the temple, before righting itself and re-growing its toes. You can use the gusts of air to quickly climb up to the right section of path.
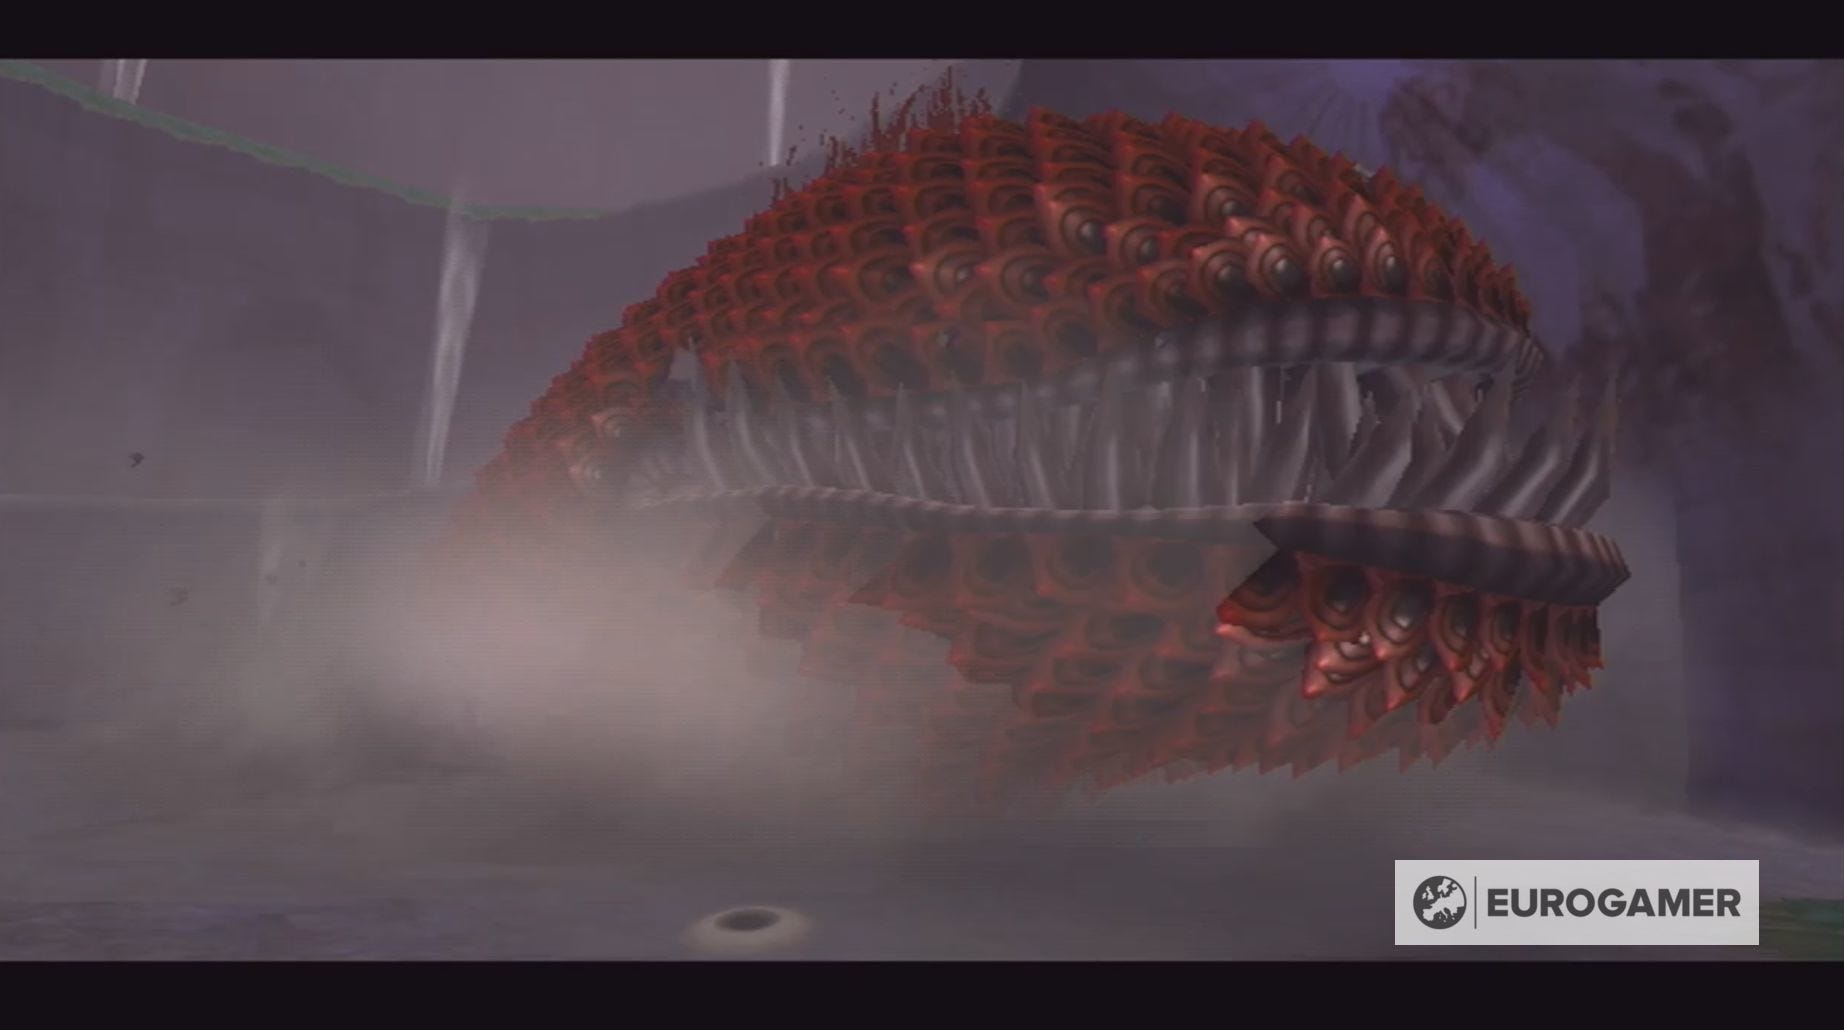
The Imprisoned, however, isn't a passive monster and will send waves of dangerous energy across the ground to attack you. It will begin to charge these attacks, turning it's body red, by raising it's foot before slamming it back to the ground.

These attacks will become more frequent as the battle progresses, so make sure you keep an eye on Link's stamina or bring a stamina potion.

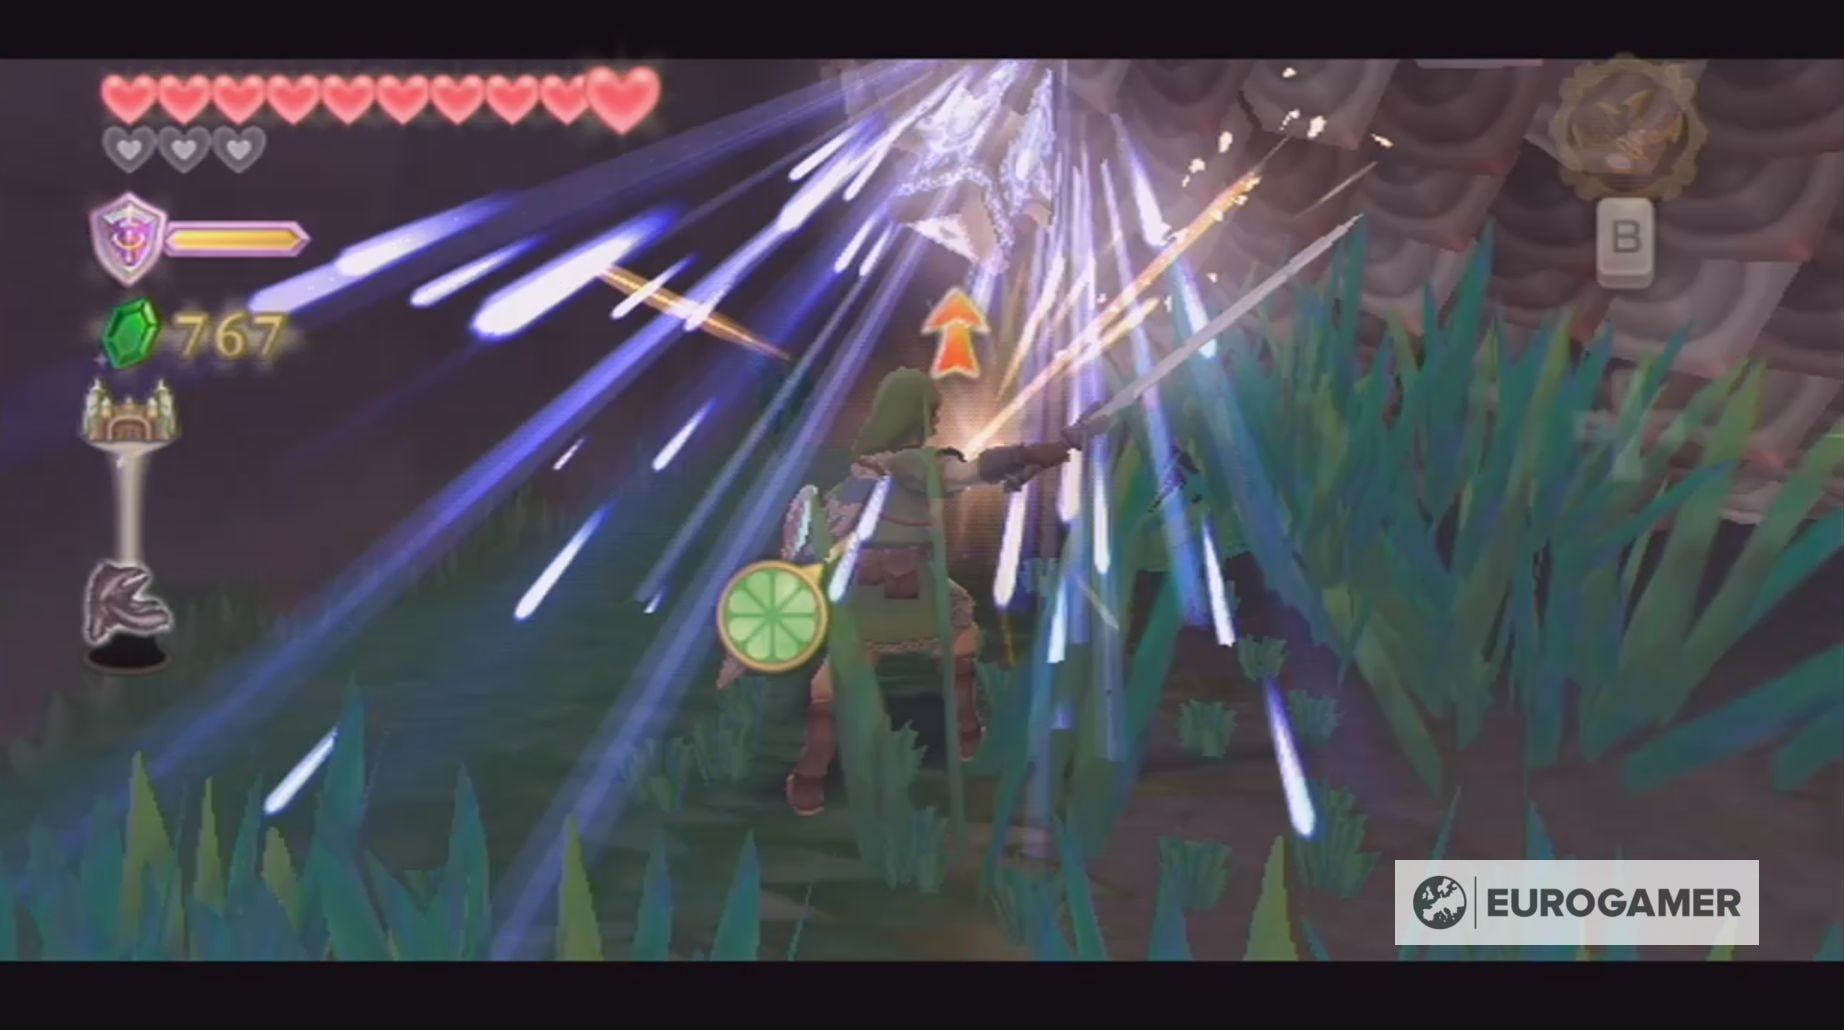
You'll have to knock the seal back into The Imprisoned's head three times to win this battle and, using a Skyward Strike, resealed it into the ground.

Afterwards, it will be time to visit the Isle of Songs and, afterwards, you need to find the sacred water, so you can gain entrance to the Ancient Cistern.
Second boss battle strategies for The Imprisoned in Zelda: Skyward Sword explained
Your second battle with The Imprisoned in Skyward Sword happens after completing the Fire Sanctuary, which is the sixth dungeon.
Before the battle, we recommend buying a stamina potion from the Skyloft bazaar as you're going to be doing a lot of running about. When you're prepared, return to the bottom of the pit in the Sealed Grounds to begin your battle against The Imprisoned.
Your second battle with The Imprisoned is quite similar to the first - destroy its toes to make it fall over, so you can bash the seal back inside its head. You need to repeat this process three times to reseal The Imprisoned.
This time round, however, The Imprisoned will walk faster and send out evil energy with every step, which makes it harder to reach those toes. We recommend destroying the back toes first, before moving around to the front as this should save you time and health.
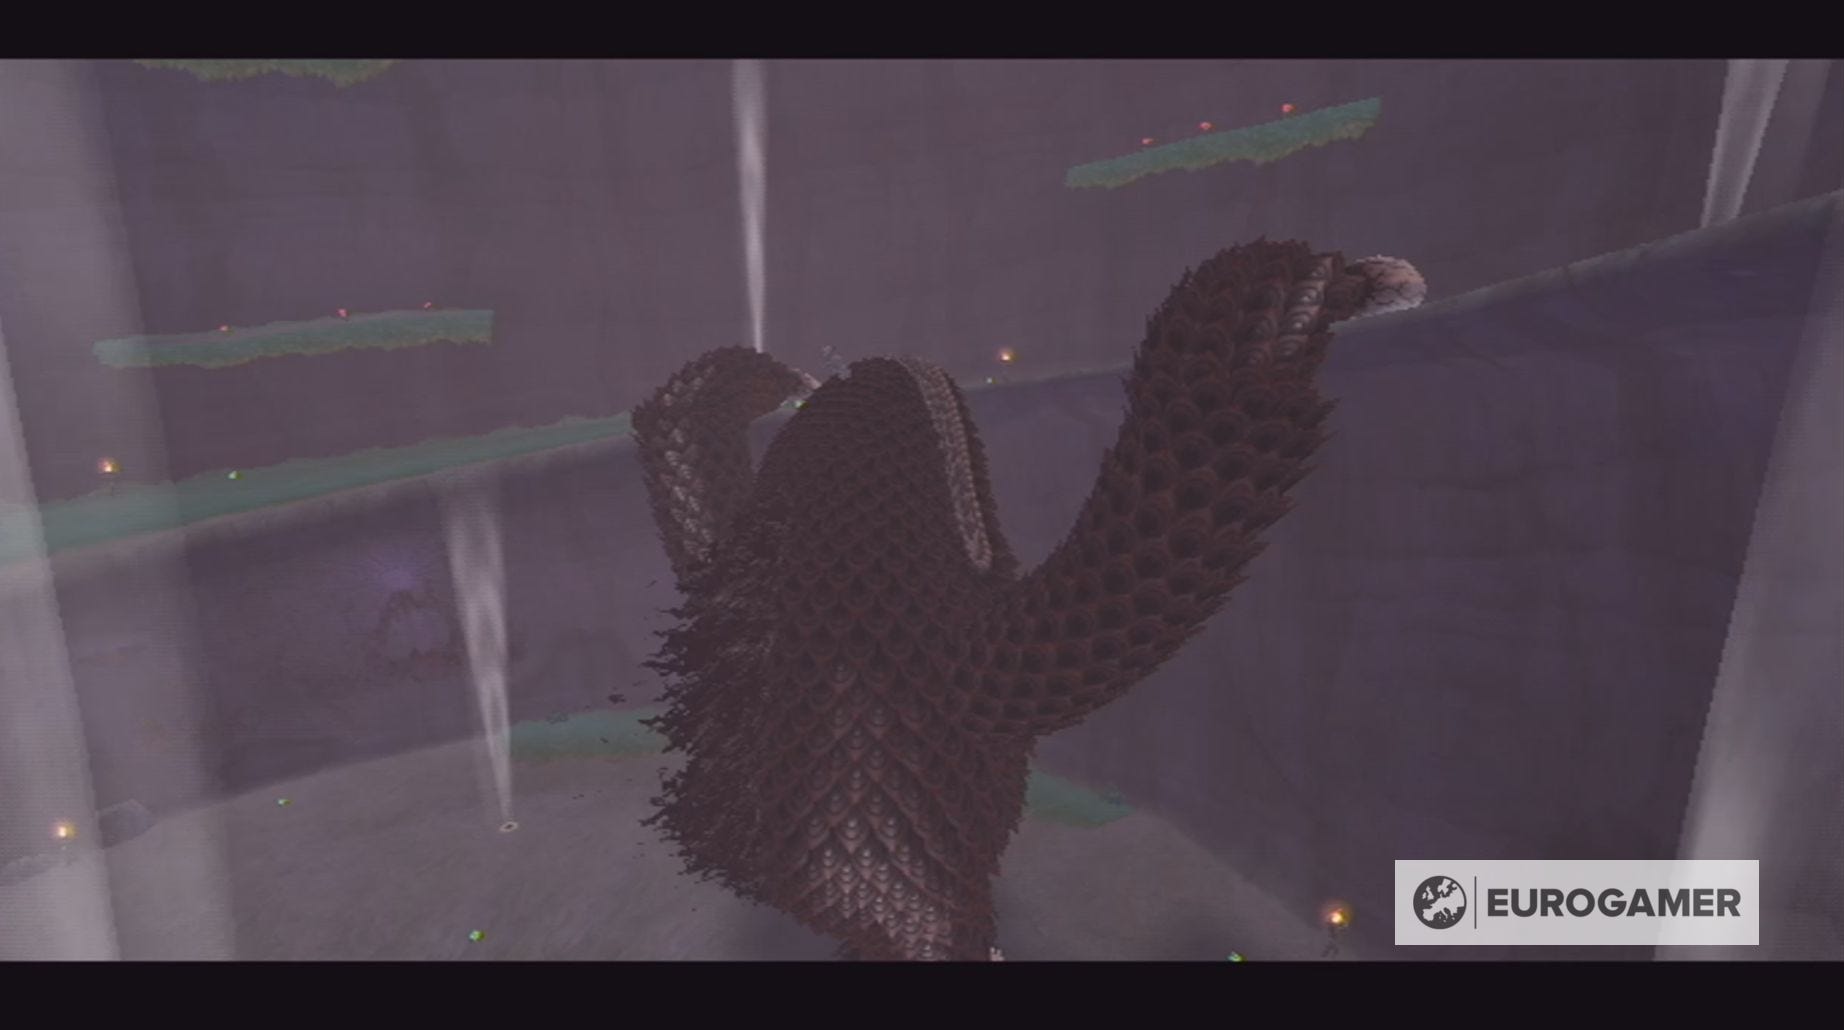
The obvious change to The Imprisoned is that it's decided to invest in some arms.
The Imprisoned will use these arms to pull itself up the side of the pit - a feat you don't want it to achieve, because it will bring the monster far closer to the Sealed Temple. Thankfully, you can use the Groosenator to prevent this.
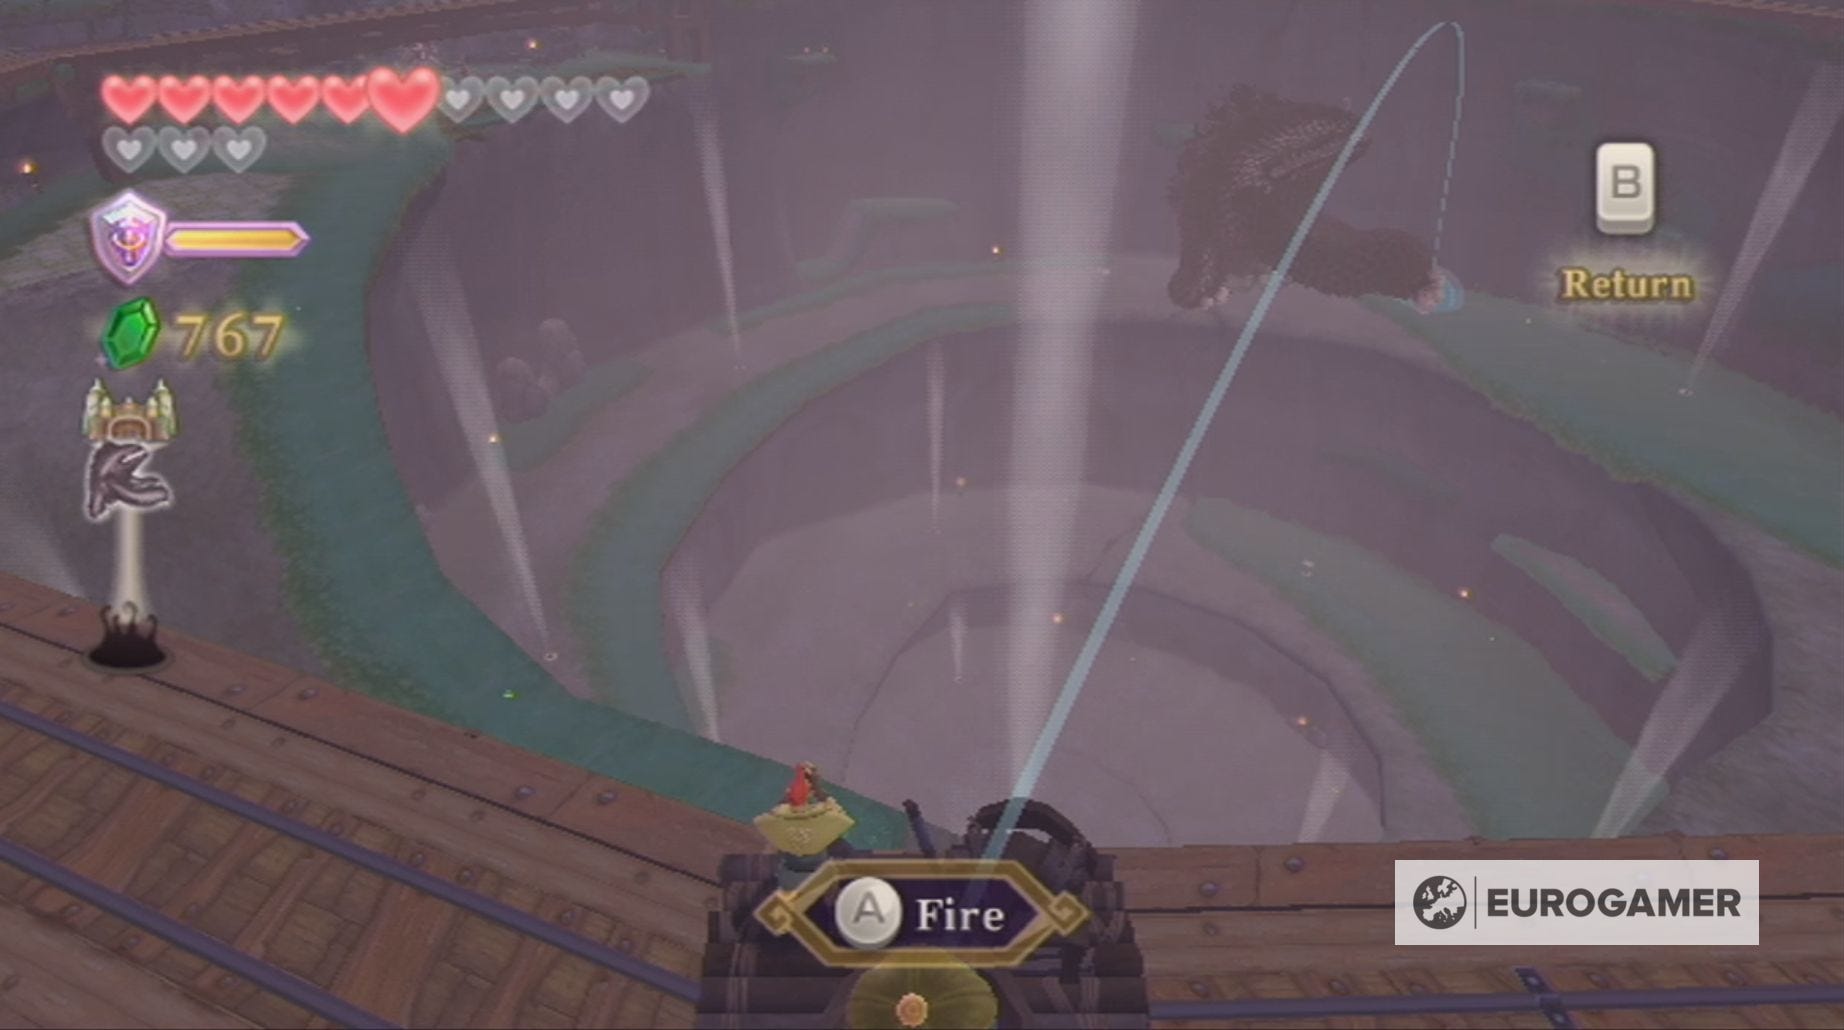
When The Imprisoned begins its climb, switch over to the Groosenator and aim for one of its hands.
You need to destroy at least one of The Imprisoned's fingers, which will both stun it and stop it from climbing. Next, switch over to Link and quickly destroy as many of the toes as possible before The Imprisoned starts moving again.
Depending on how your battle against The Imprisoned goes, you may have to bomb the monster's hands as it walks. This will still, thankfully, stun it.
It's important to note that you don't have to destroy all of The Imprisoned's fingers to defeat it and, if Link takes damage while you're using the Groosenator, you will be switched back to his perspective.
When you do successfully knock The Imprisoned over, you'll discover that it's body is far larger than before. This means you need to use the gusts of wind to travel, either above or below, around its body, so you can reach the seal. Remember to keep an eye on your stamina!

Once The Imprisoned has been resealed, you need to return to the Sealed Temple and, after exploring the past, it's time to return to Skyloft, so you can fight Bilocyte.
Our Skyward Sword walkthrough will help you find every Heart Piece and Empty Bottle. We can also help you defeat Ghirahim, Scaldera, Moldarach, The Imprisoned, Koloktos, Tentalus, Bilocyte and Demise. You can also discover where to find Kukiel to unlock the Gratitude Crystals and a number of side quests, including the toilet paper quest, missing sister location and party wheel location.
Third boss battle strategies for The Imprisoned in Zelda: Skyward Sword explained
The third battle against The Imprisoned in Skyward Sword takes place after you've defeated Bilocyte.
Before you face The Imprisoned, it's a good idea to pick a stamina potion from the potion seller on Skyloft as you might need it.
Upon arrival at the Sealed Grounds, Groose will inform you that the seal is breaking again, so head to the bottom of the pit to start the battle.
In this final installment of Link versus The Imprisoned, the monster has upped its walking and energy wave speed. It has also grown a tail, which will make reaching its toes a lot harder.
For this reason, you'll want to hit it using the Groosenator the moment it's available. Once it's stunned, destroy those toes and knock the seal back in place.

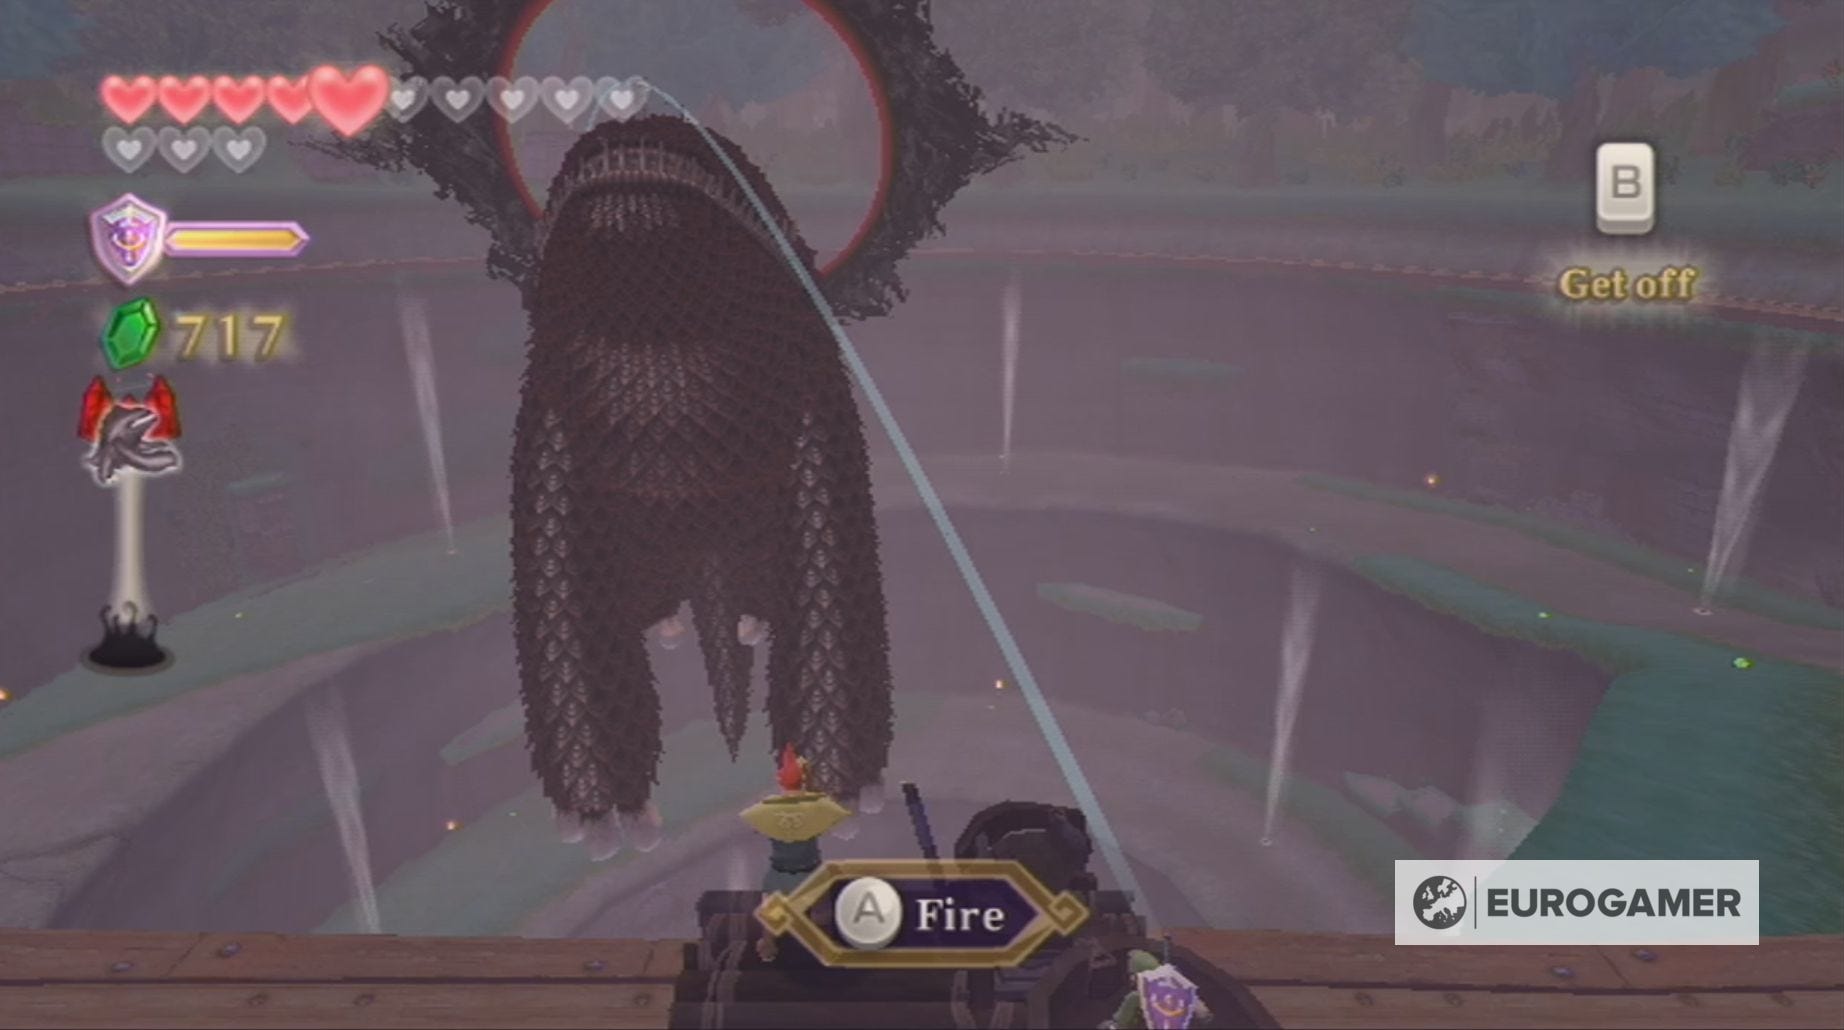
The Imprisoned will now start flying up the pit, so switch back to the Groosenator and circle around until you can hit The Imprisoned. One successful hit will cause The Imprisoned to fall, so, as Link, hit the seal back inside its head.

Next, The Imprisoned will once again try to fly, but, this time, Groose has lost access to his bomb stash. Instead, you need to use the gusts of wind to reach the top of the pit and sprint towards the Groosenator.
Once there, talk to Groose and then climb into the catapult. You then need to line up a shot with The Imprisoned's head, so you can safely land and knock the seal back into place for the last time.
With this, your sealing battles with The Imprisoned draw to a close. You can now focus on completing the Song of The Hero by visiting the three dragons, which we've outlined in our Skyward Sword walkthrough.
Good luck defeating The Imprisoned!