Zelda: Skyward Sword - Ancient Cistern dungeon: How to defeat the Stalmaster and find the Whip explained
A place with hidden depths.

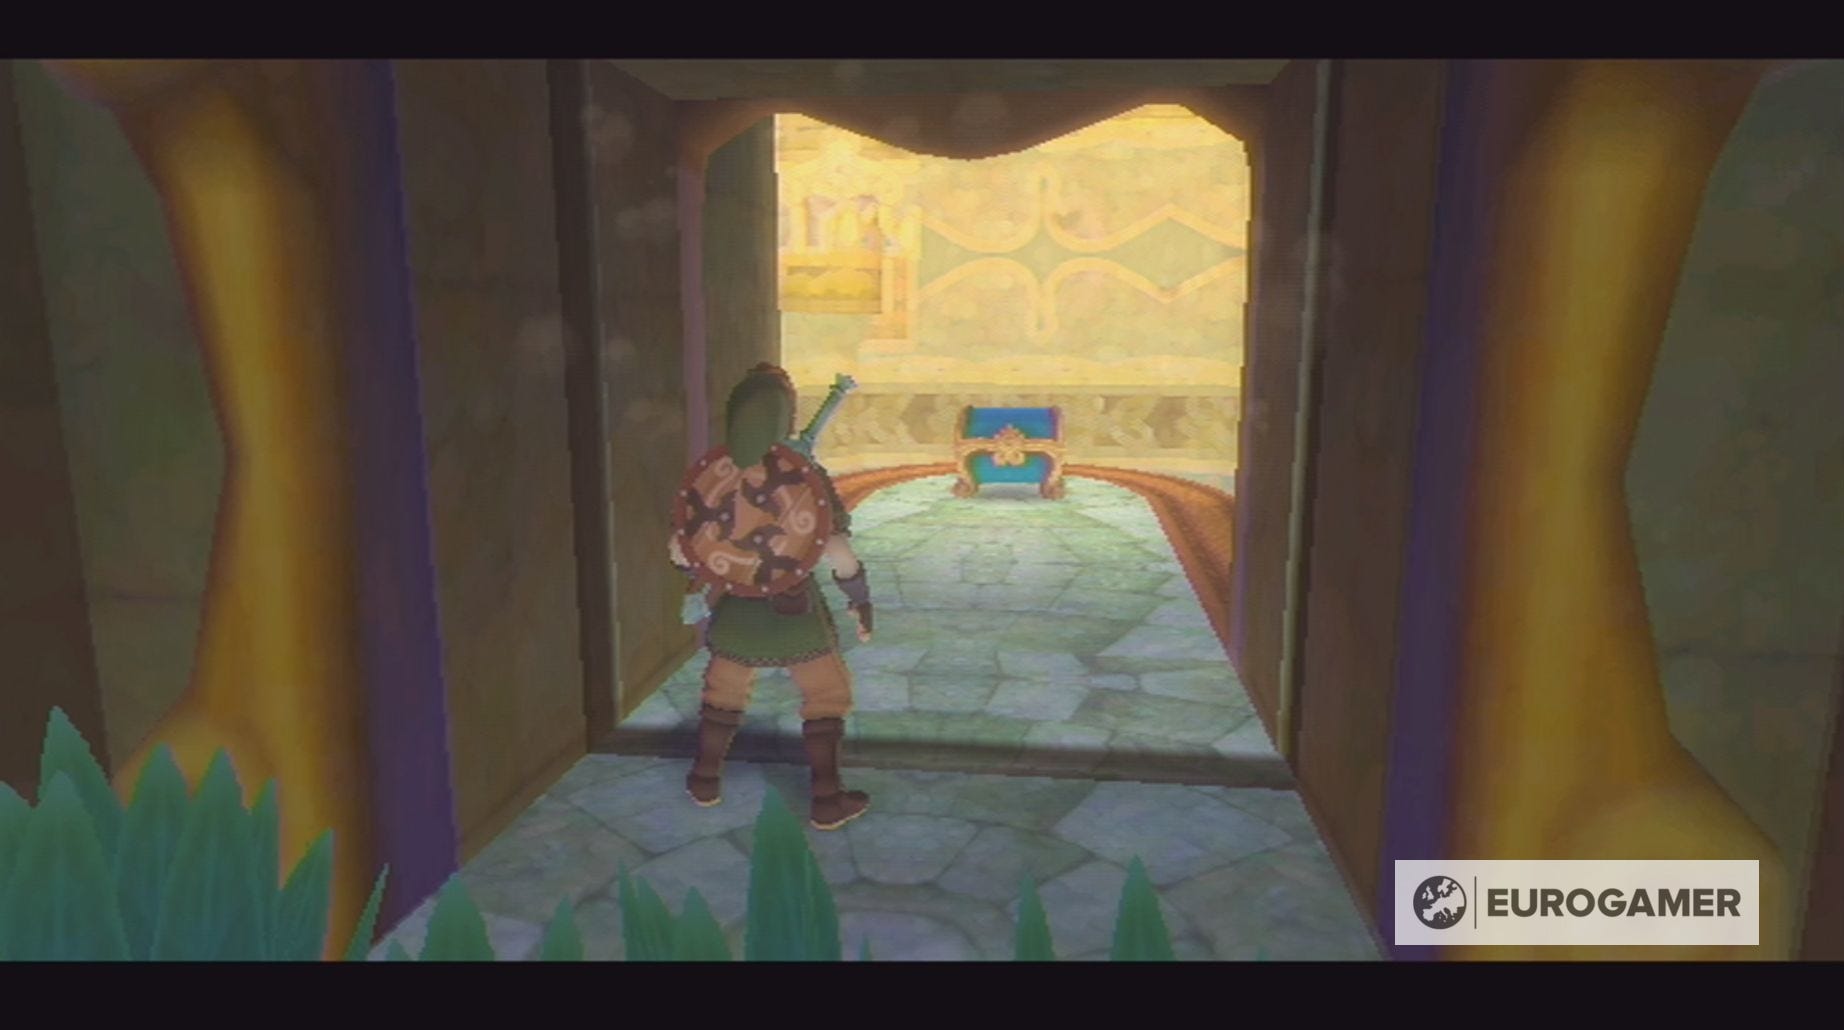
The Ancient Cistern is the fourth dungeon in The Legend of Zelda: Skyward Sword.
You'll gain access to this dungeon after defeating The Imprisoned for the first time and finding the sacred water. Don't, however, just its beautiful interior - there's darkness hiding in its foundations...
During this dungeon, you'll trade sword blows with the Stalmaster and add the Whip to your inventory. This journey will conclude with a boss battle against Koloktos.
On this page:

If you'd like to learn more, visit our Skyward Sword walkthrough.
Ancient Cistern small key location explained
Your first order of business in the Ancient Cistern is to go around the right-hand side of the main chamber, killing the Chuchu you encounter, and pull the lever next to the door.
Enter the next room through this door, drop down to the floor below and kill the two Skulltulas on the left-hand side of the room.
This will allow you head through the passage beyond and key the points on the lock in the following order:
- Up
- Down
- Left
- Right
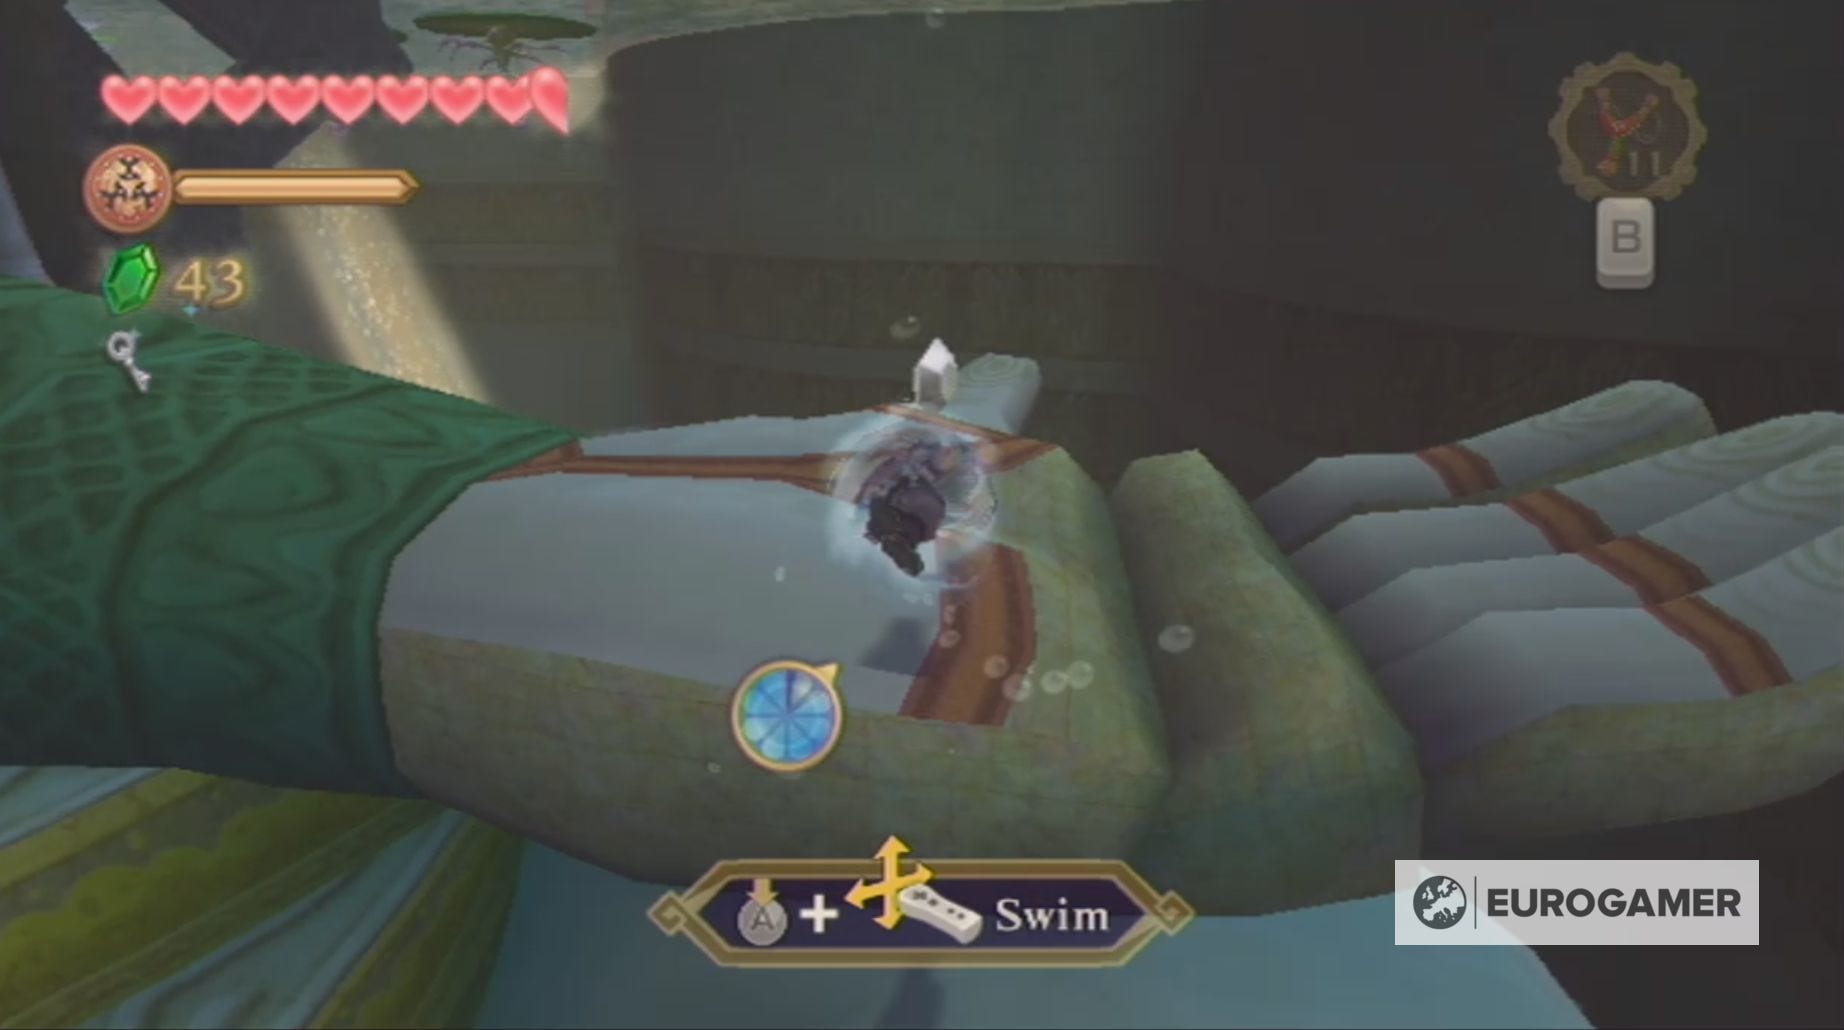
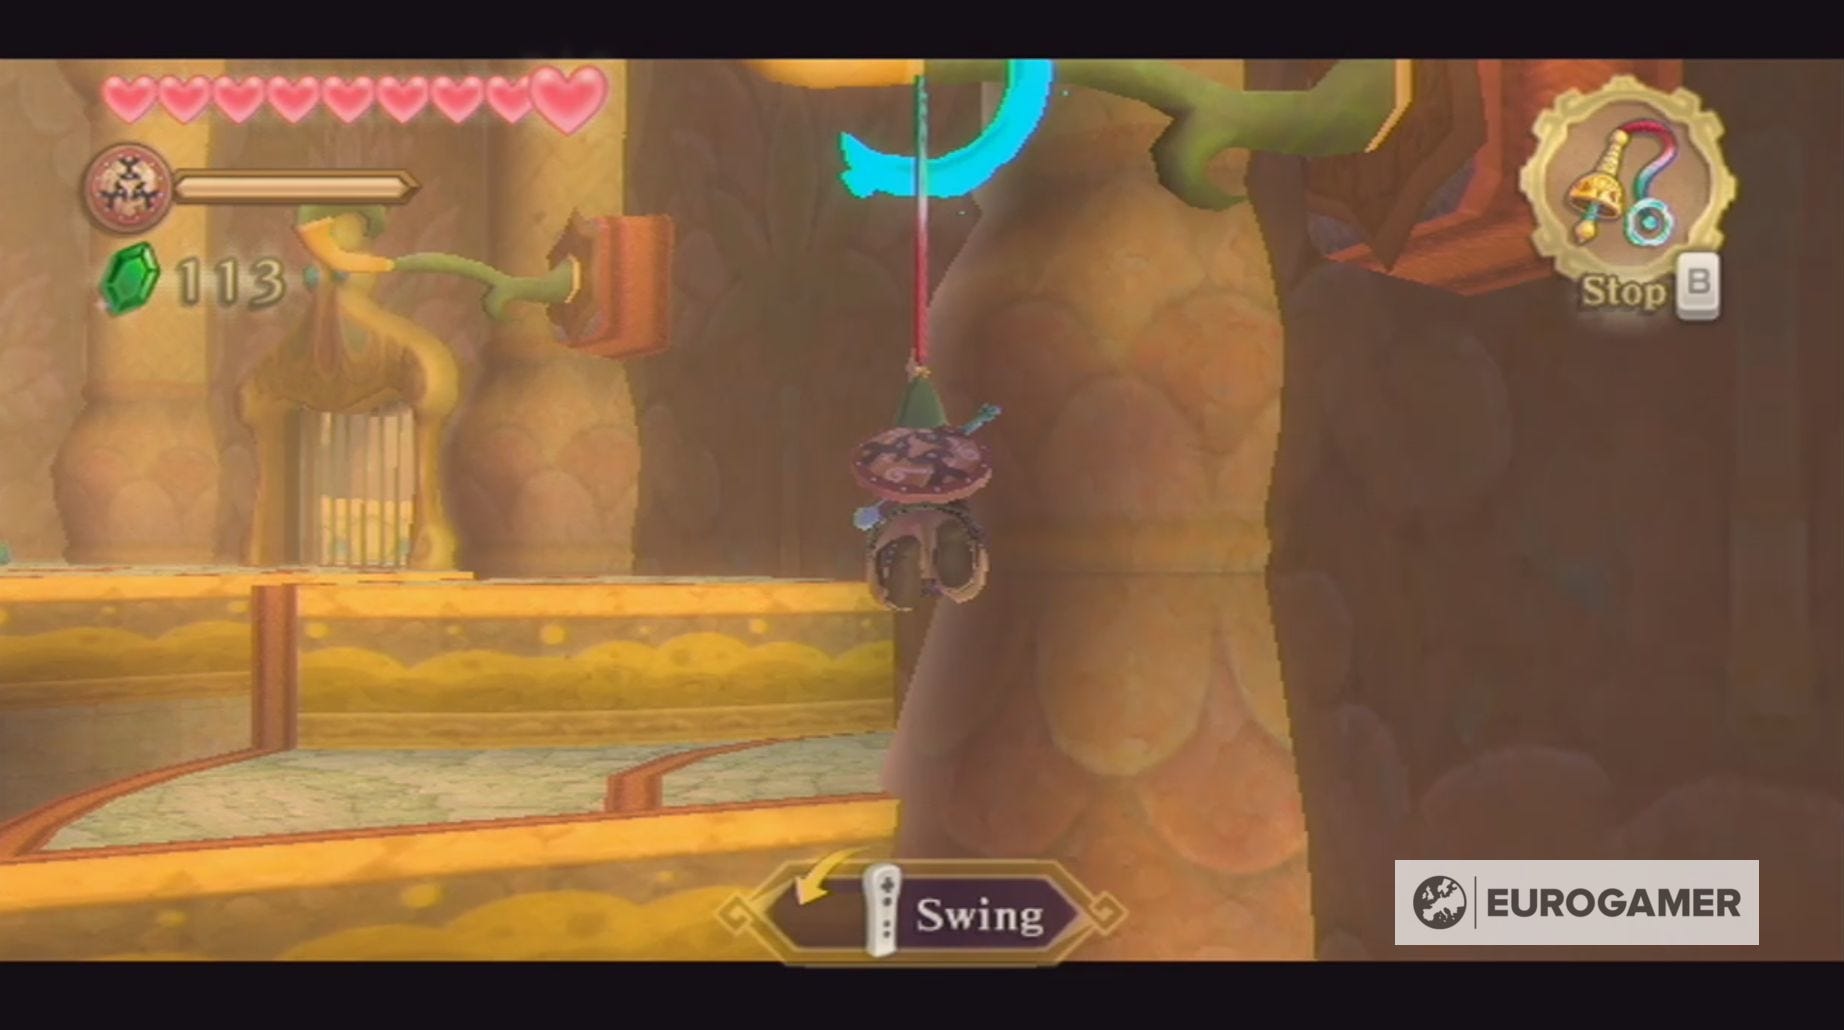
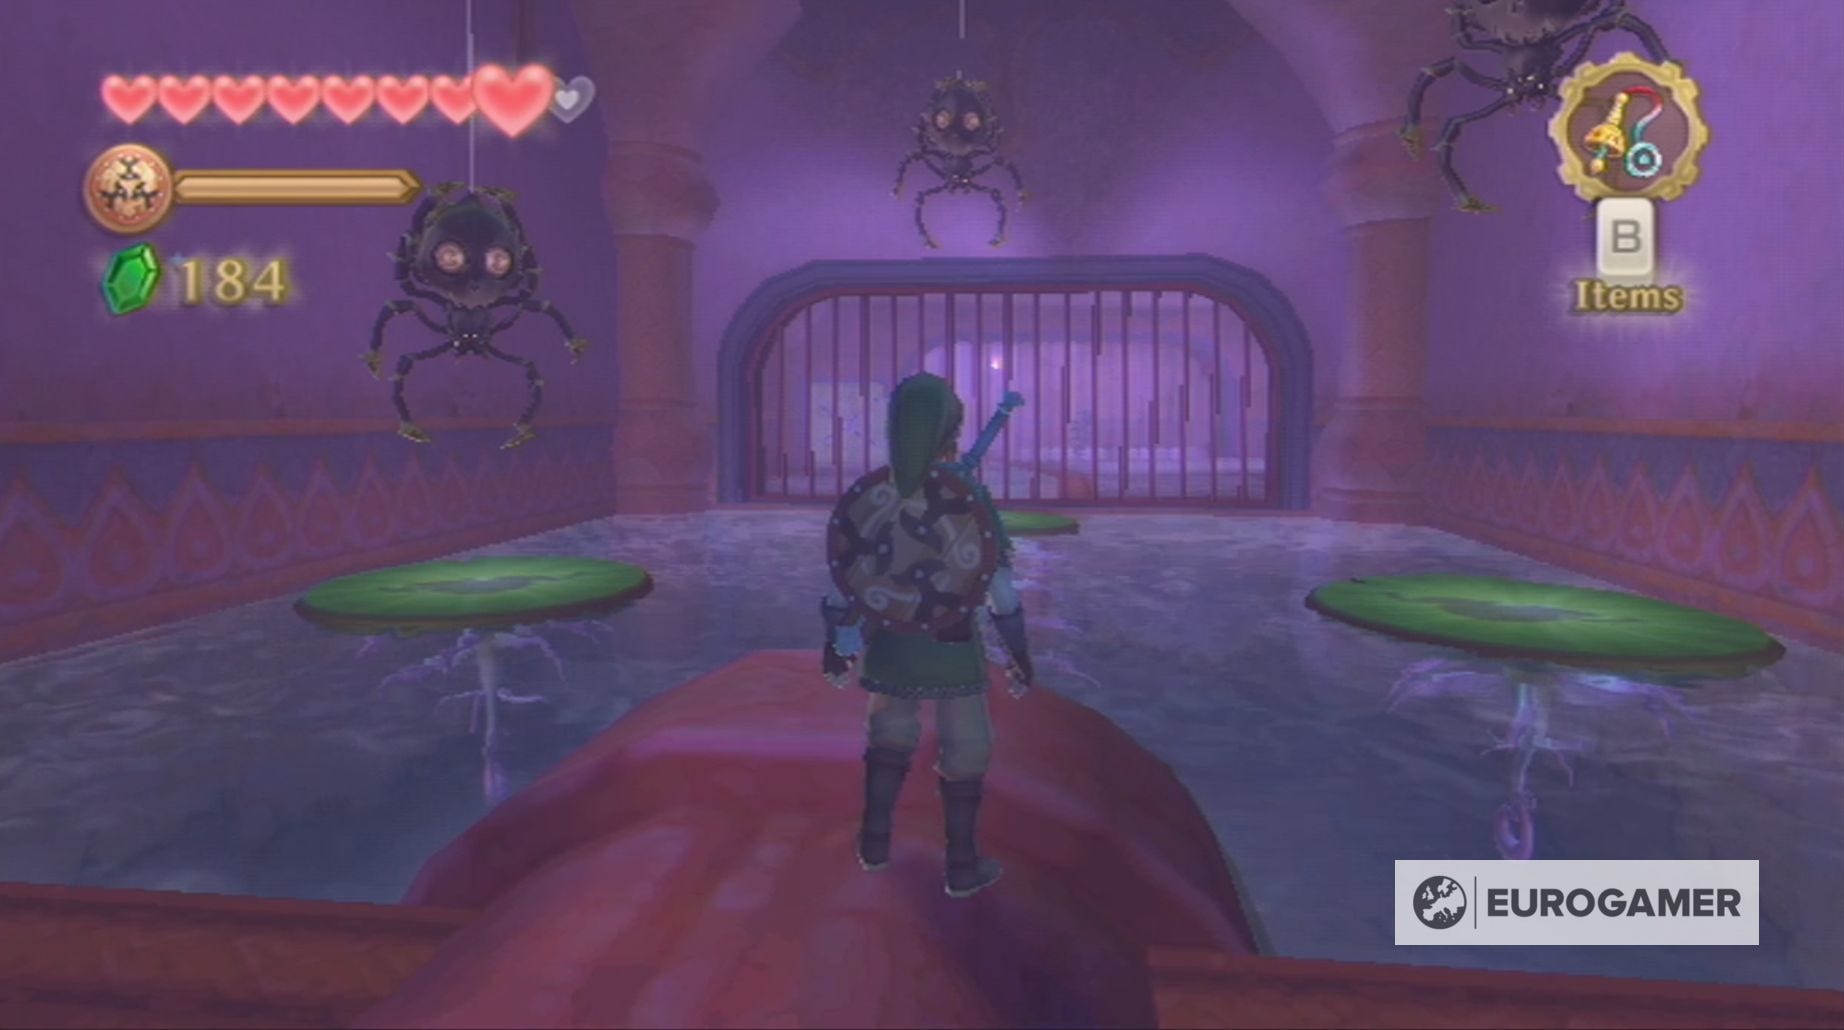
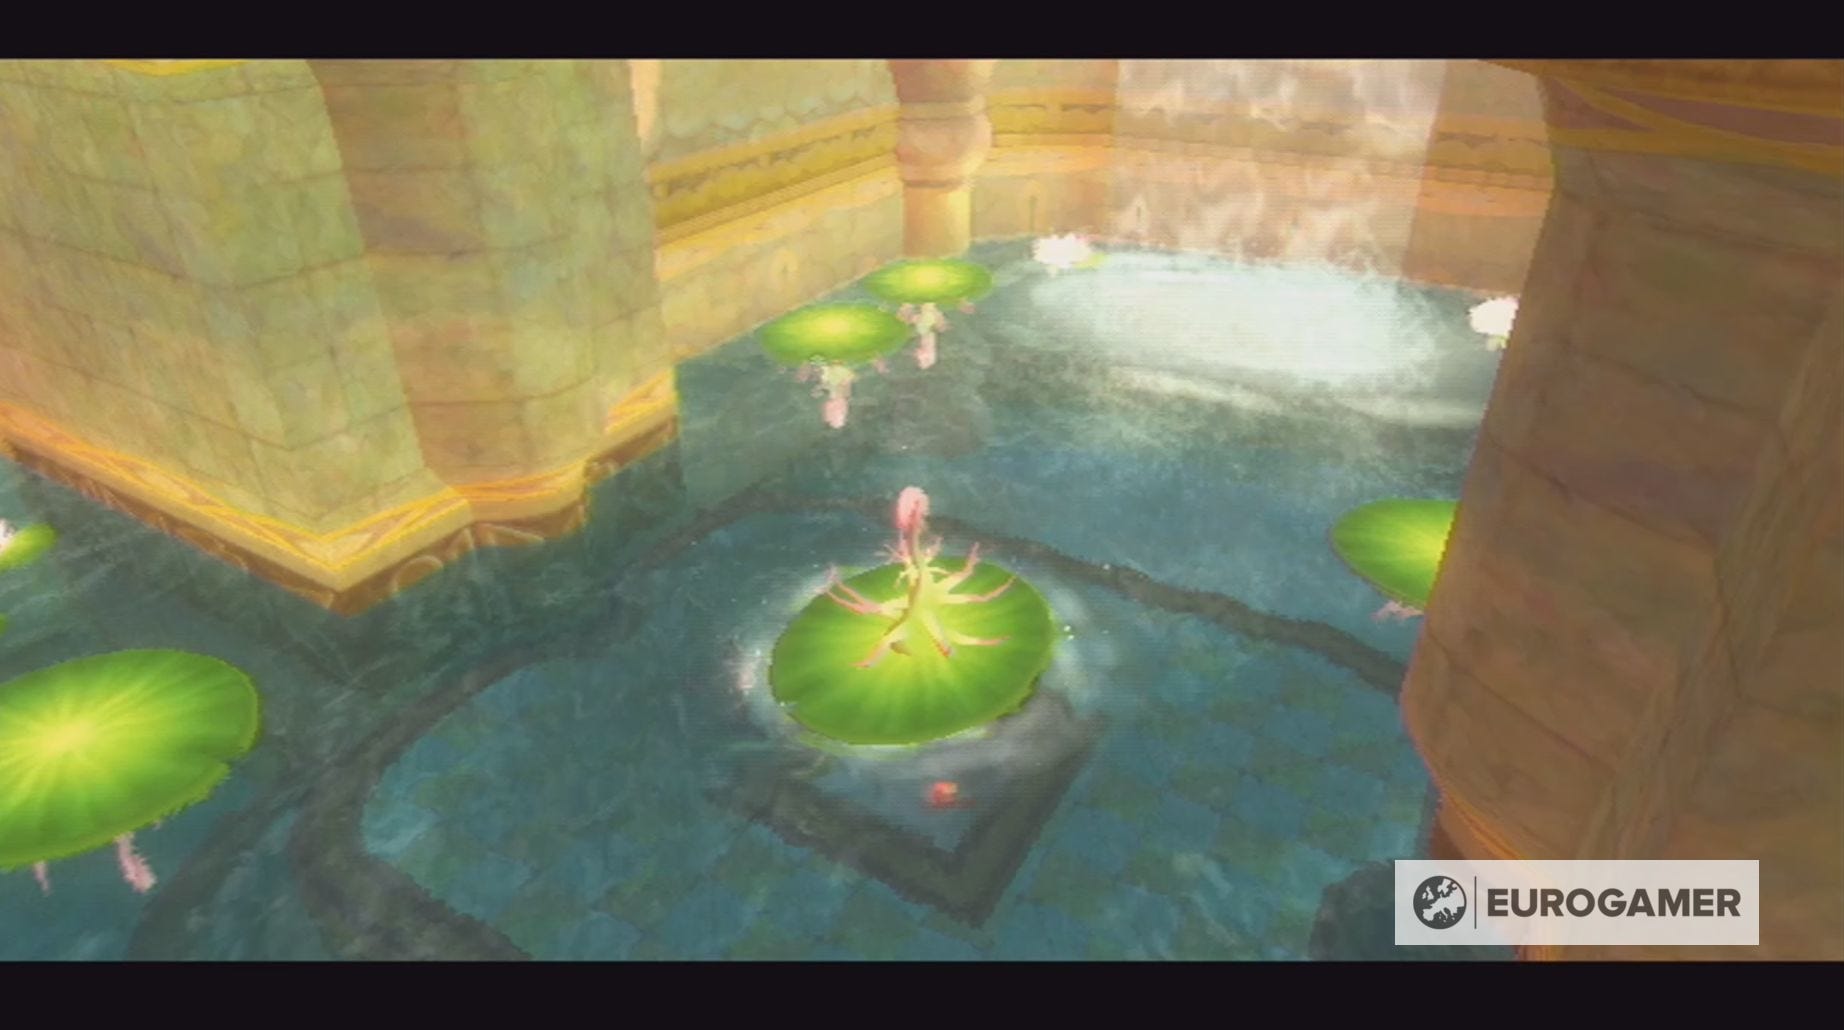
In this new room cut the webs of the two Skulltulas using the Hook Beetle, before you use the lilypads to reach the platform in the left-hand corner. Kill the little spider on the vines and then climb them yourself, so you can jump down onto the lilypad to the left of the platform.
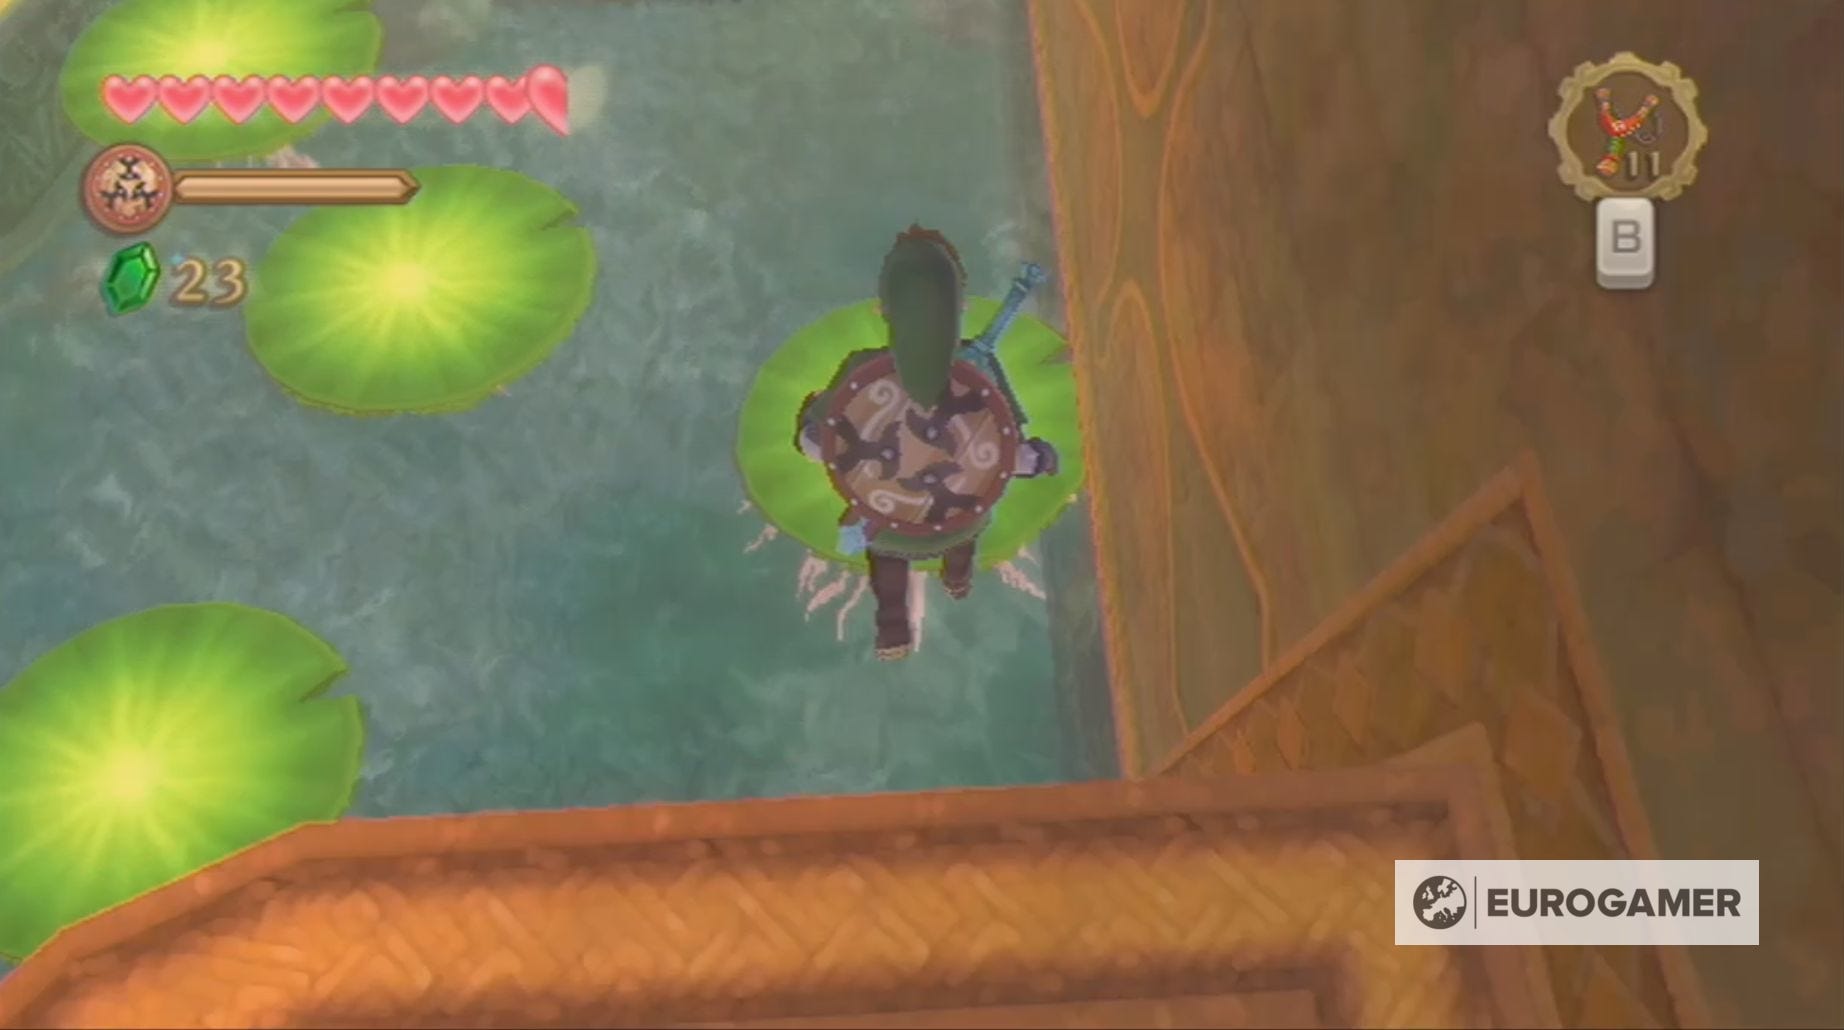
This will turn the lily pad upside down, granting you access to a crawlspace, and you can do the same with the right-hand platform to earn 20 Rupees.
Swim through the crawlspace, breaking the barriers in your path, to reach the next door and the chest containing a small key.
Now you can return to the central room by using the jet of water and killing the Deku Baba in your way.
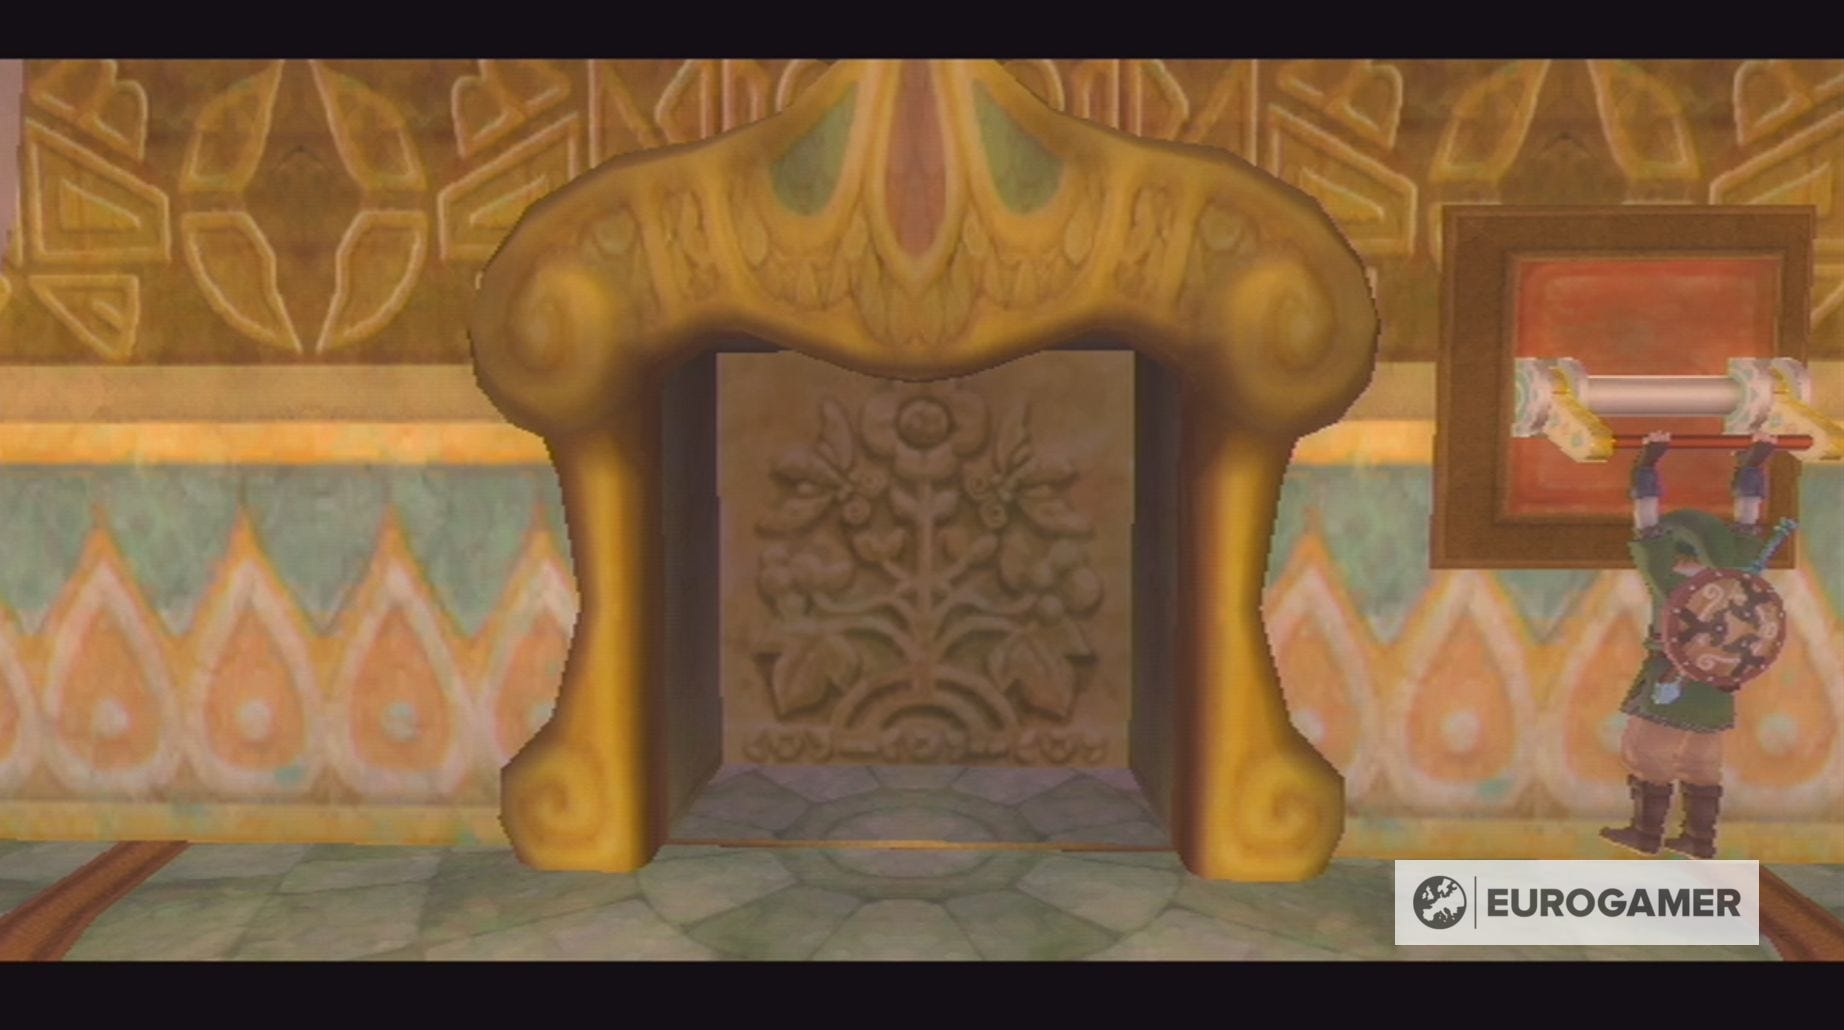
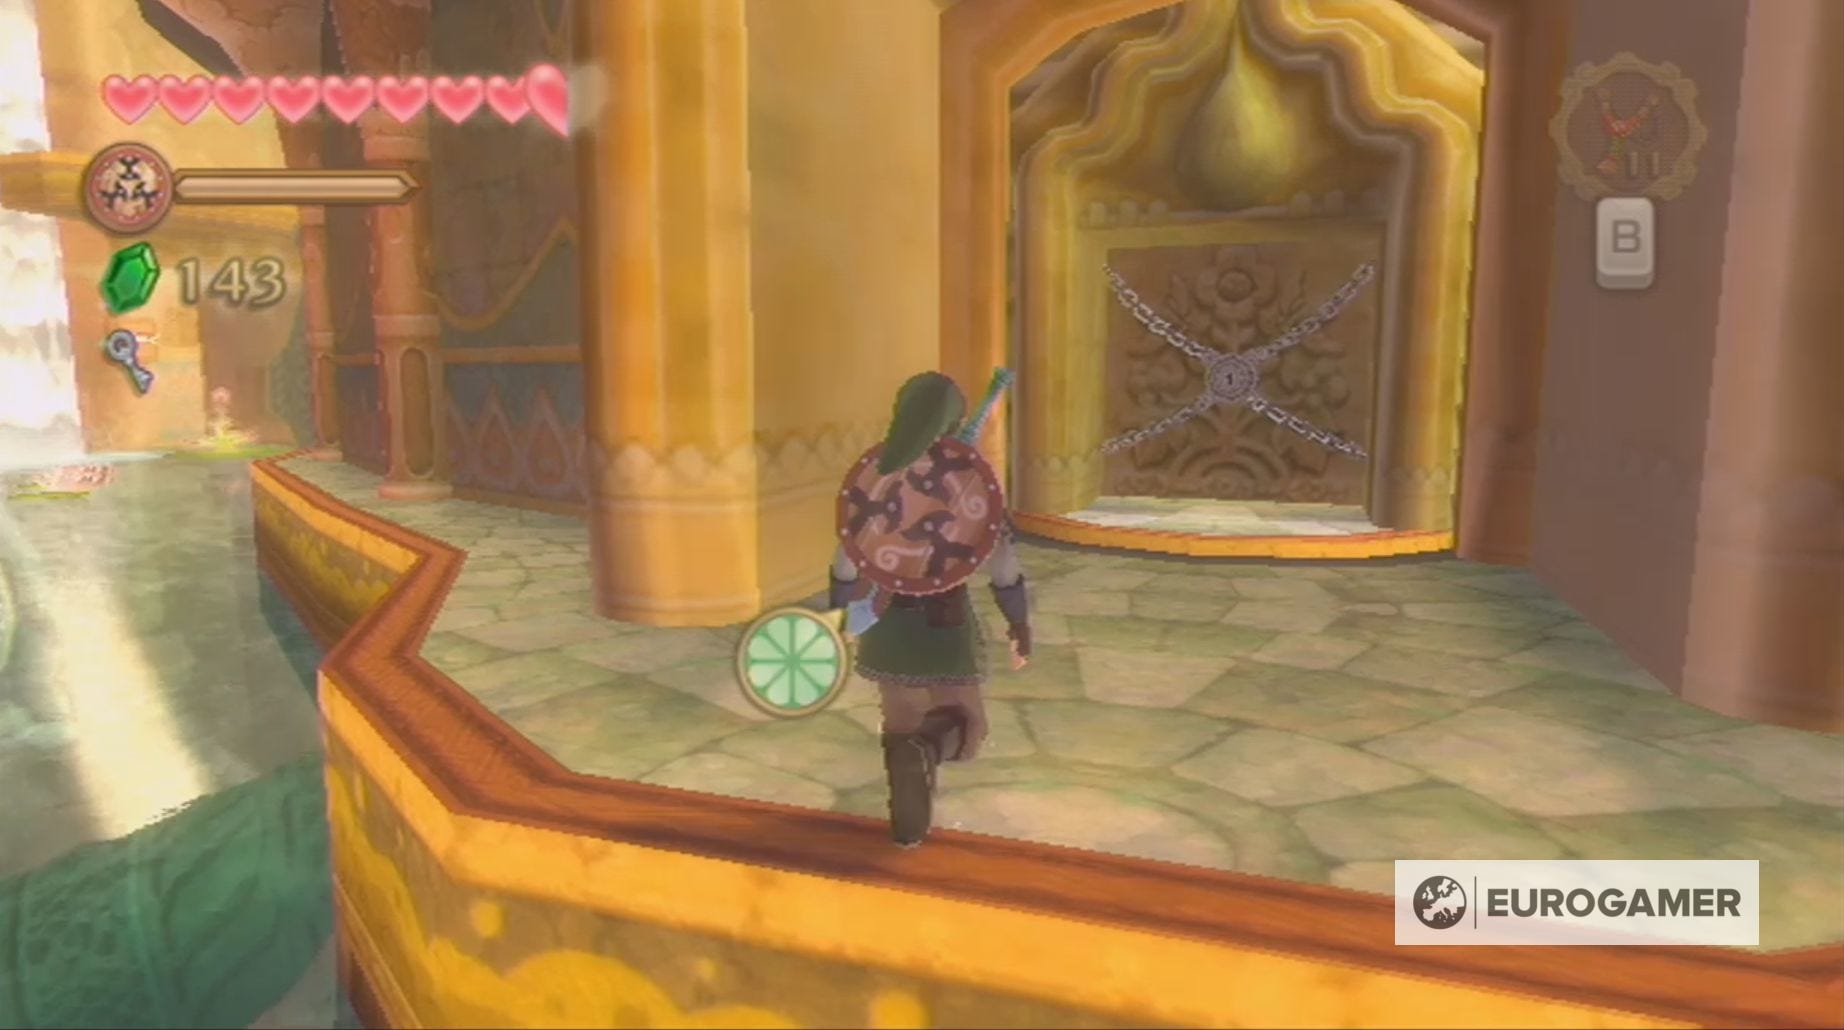
You can now unlock the door opposite the entrance to the dungeon, which leads to the mini-boss battle with the Stalmaster.
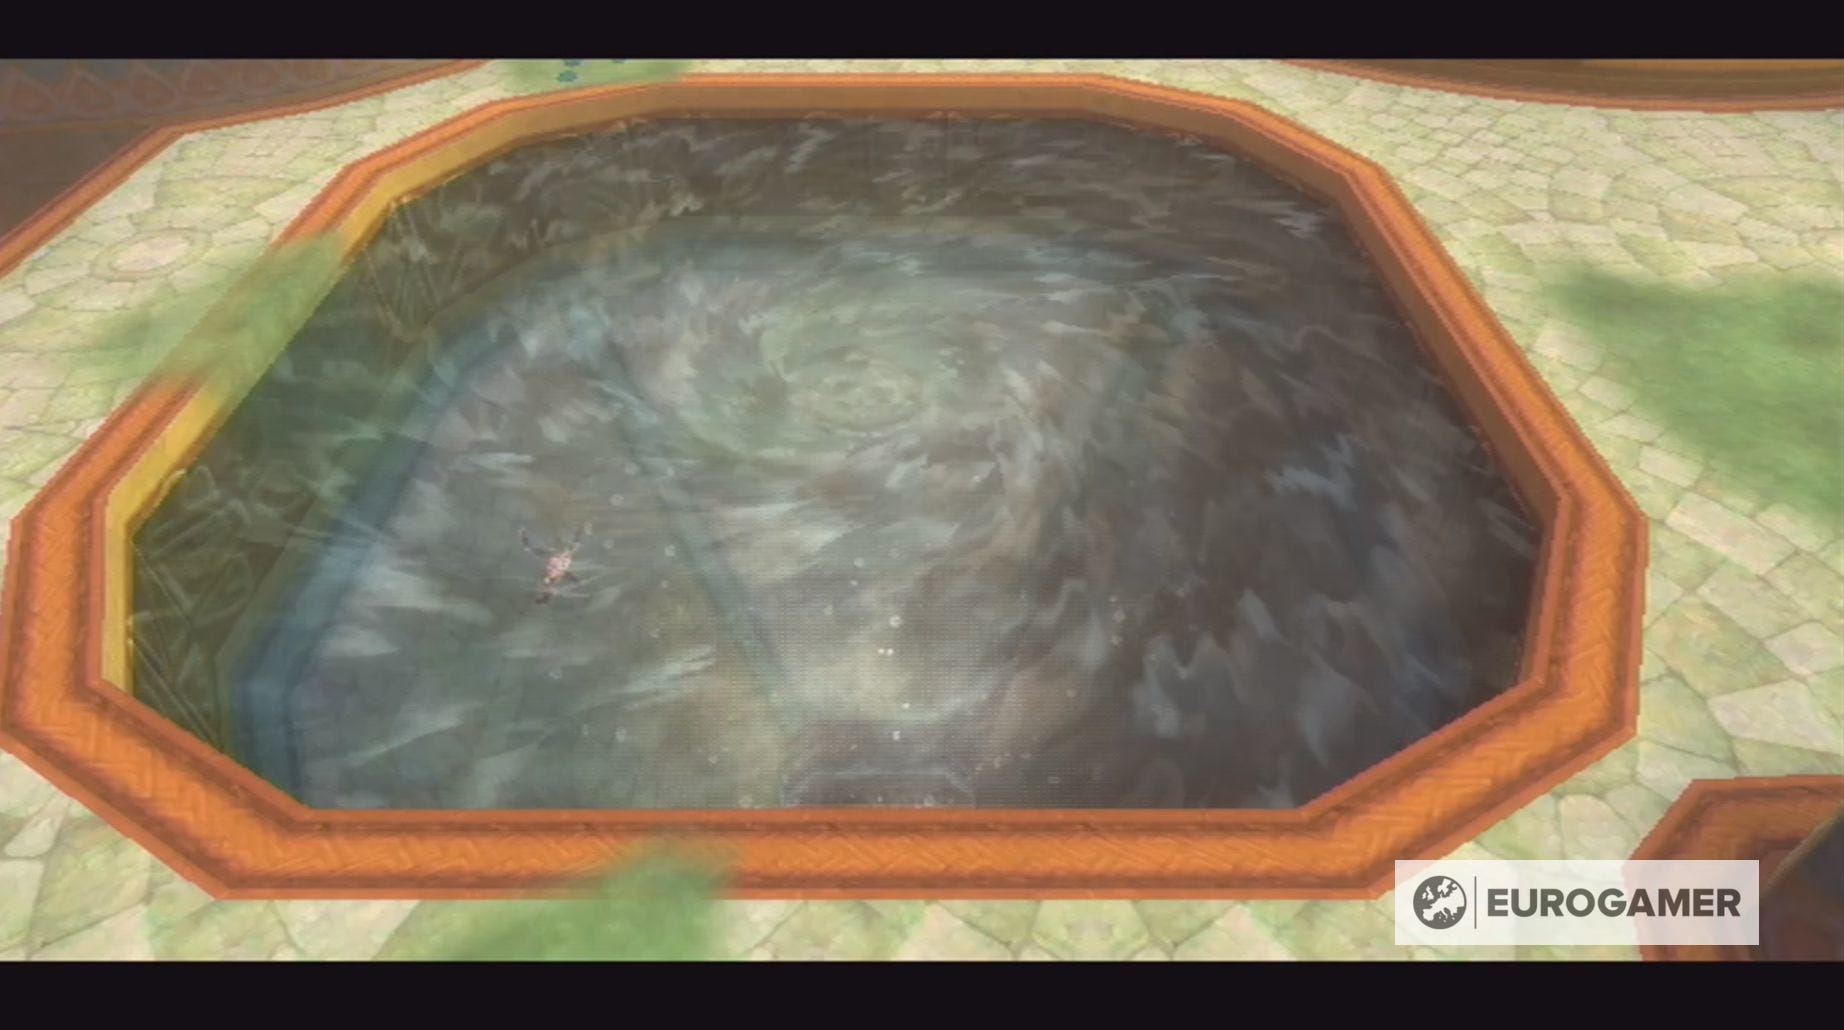
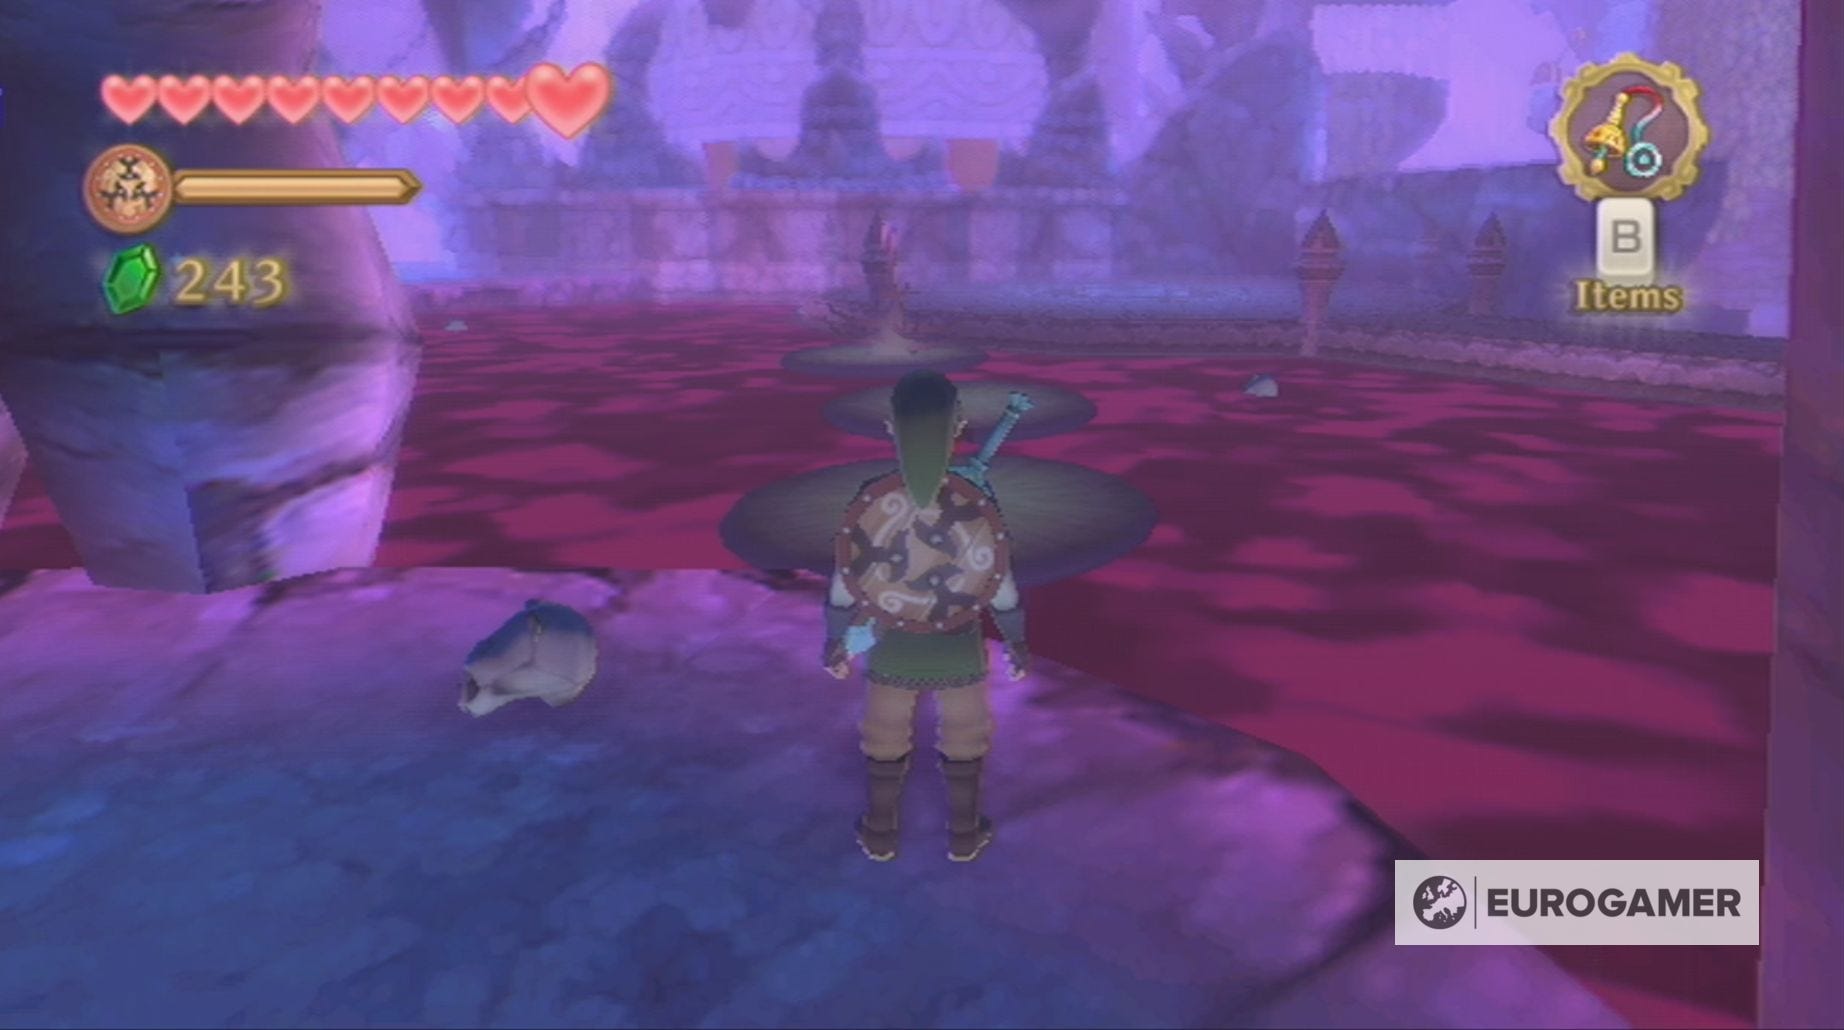
As you traverse the central room of the Ancient Cistern, you might notice Silver Rupees at the bottom of the pond. These are worth 100 Rupees, but, if you're not careful, you can get caught in the hands they sit upon. To safely retrieve these Rupees, you need to perform a spin attack as you cross the hand to ensure you stay out of its grip.
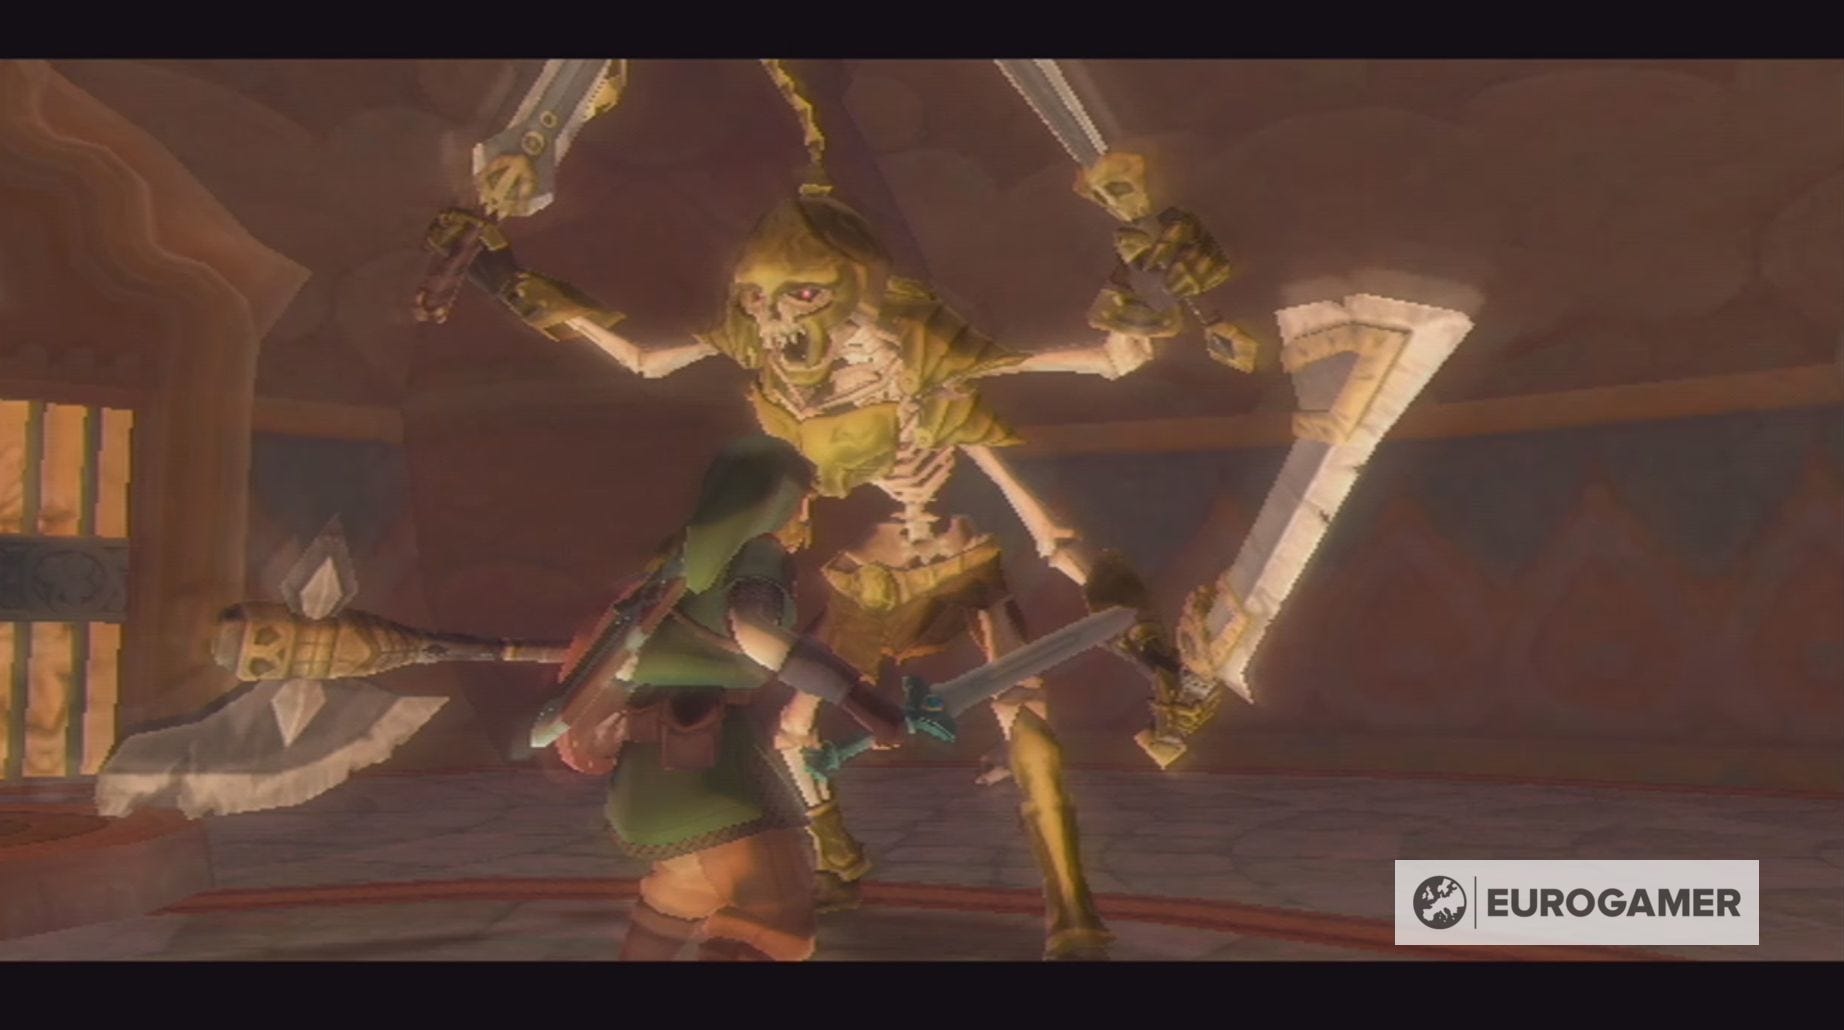
How to defeat the Stalmaster in the Ancient Cistern in Zelda: Skyward Sword
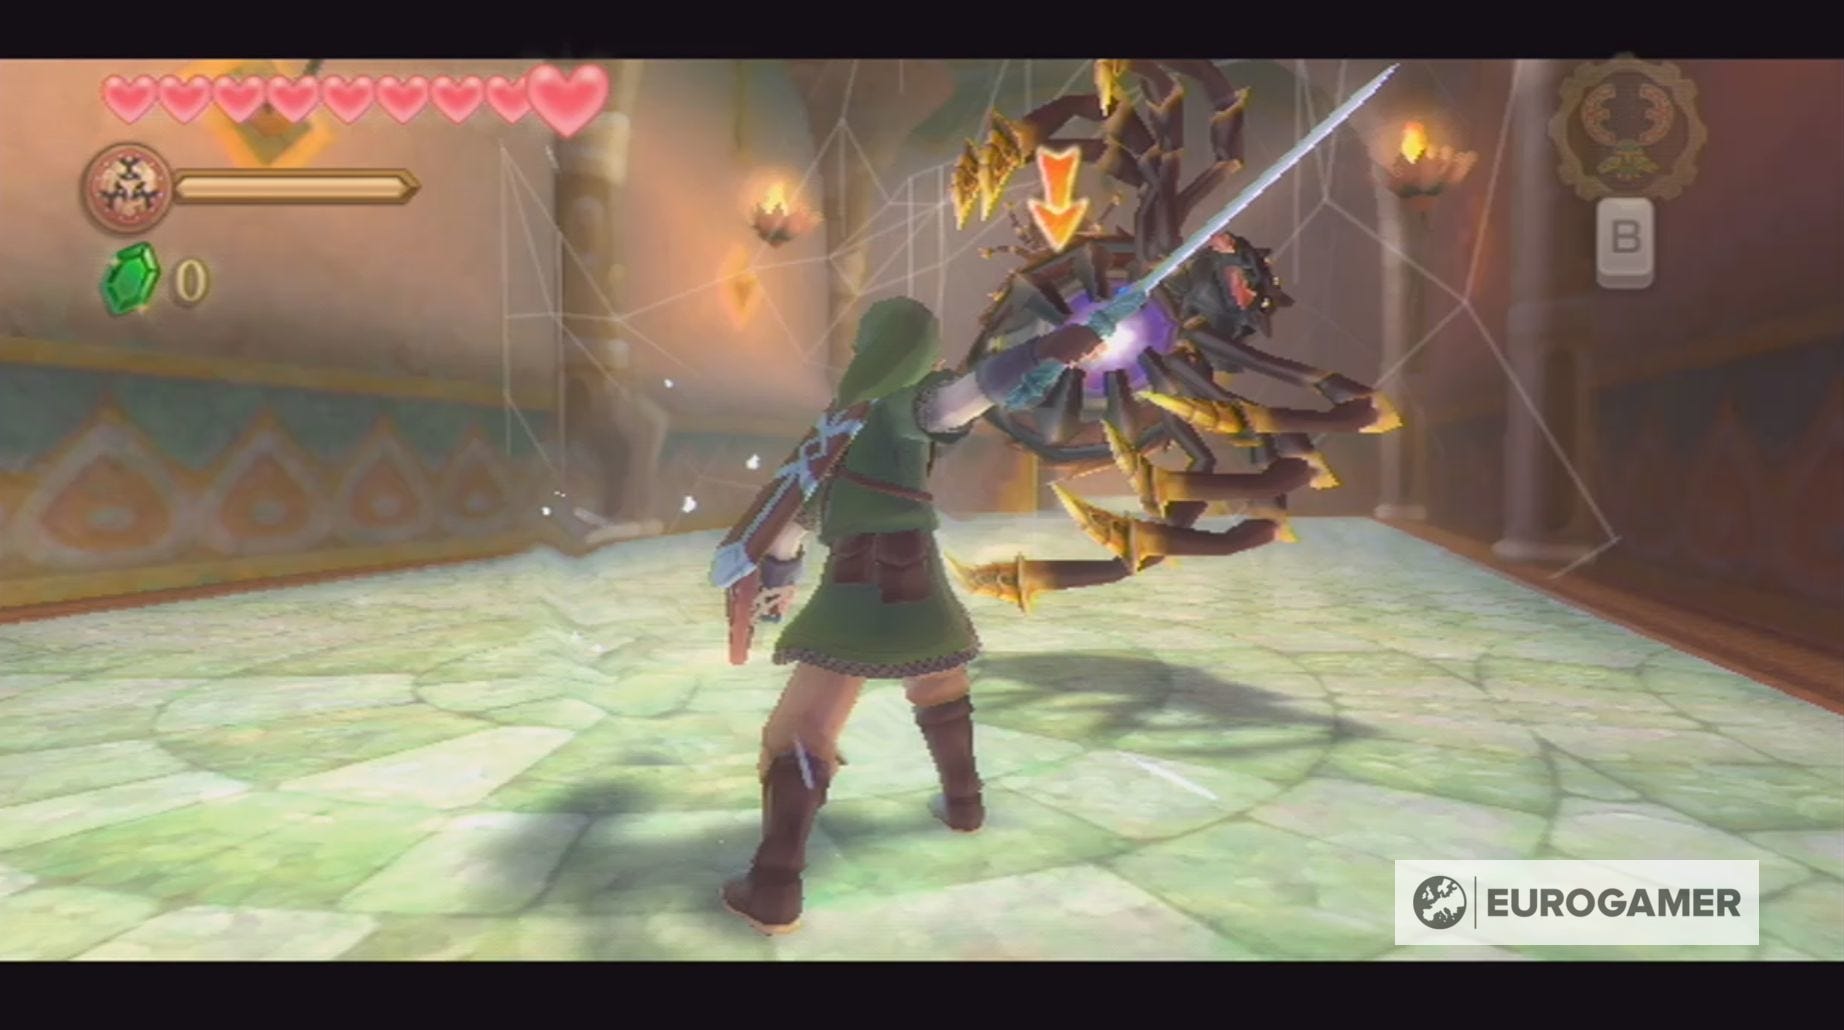
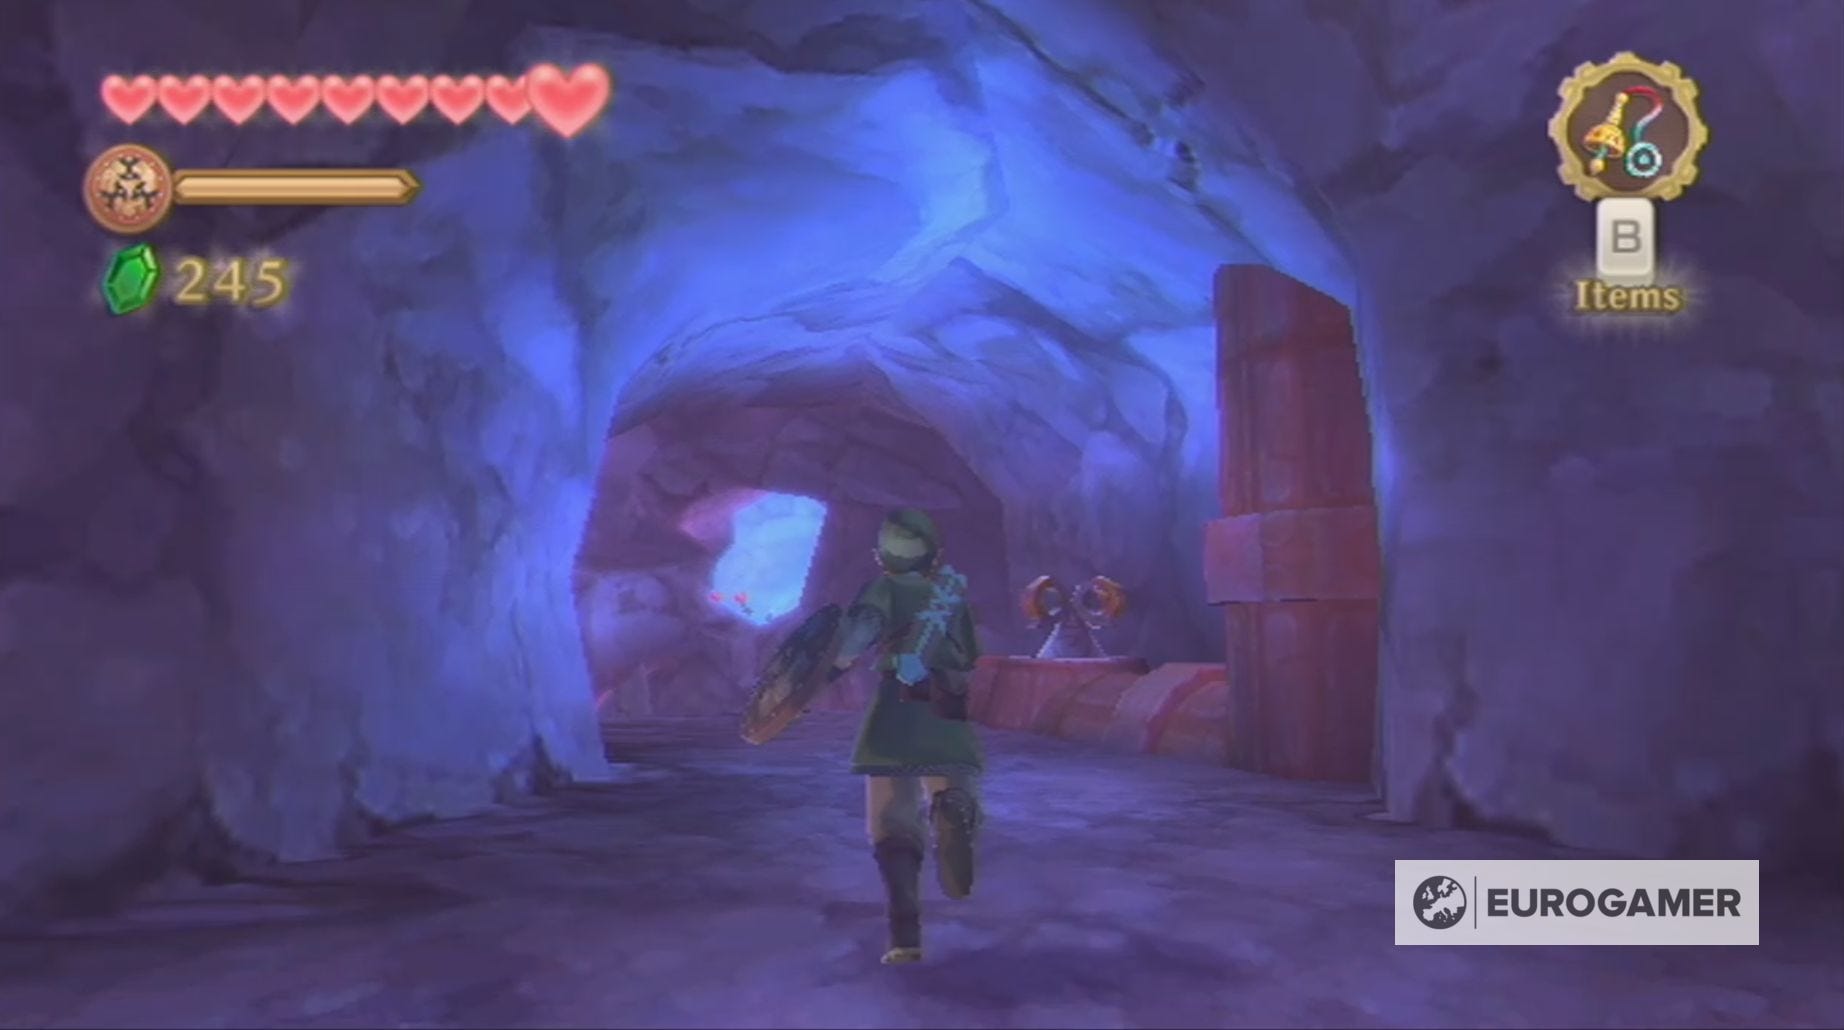
To find the Stalmaster - the mini-boss of the Ancient Cistern in Skyward Sword - you need to drop down to the lowest level of this area.
You defeat the Stalmaster the same face you killed the Stalfos back in the Skyview Temple - match your sword swings to the angle it leaves open with its sword.
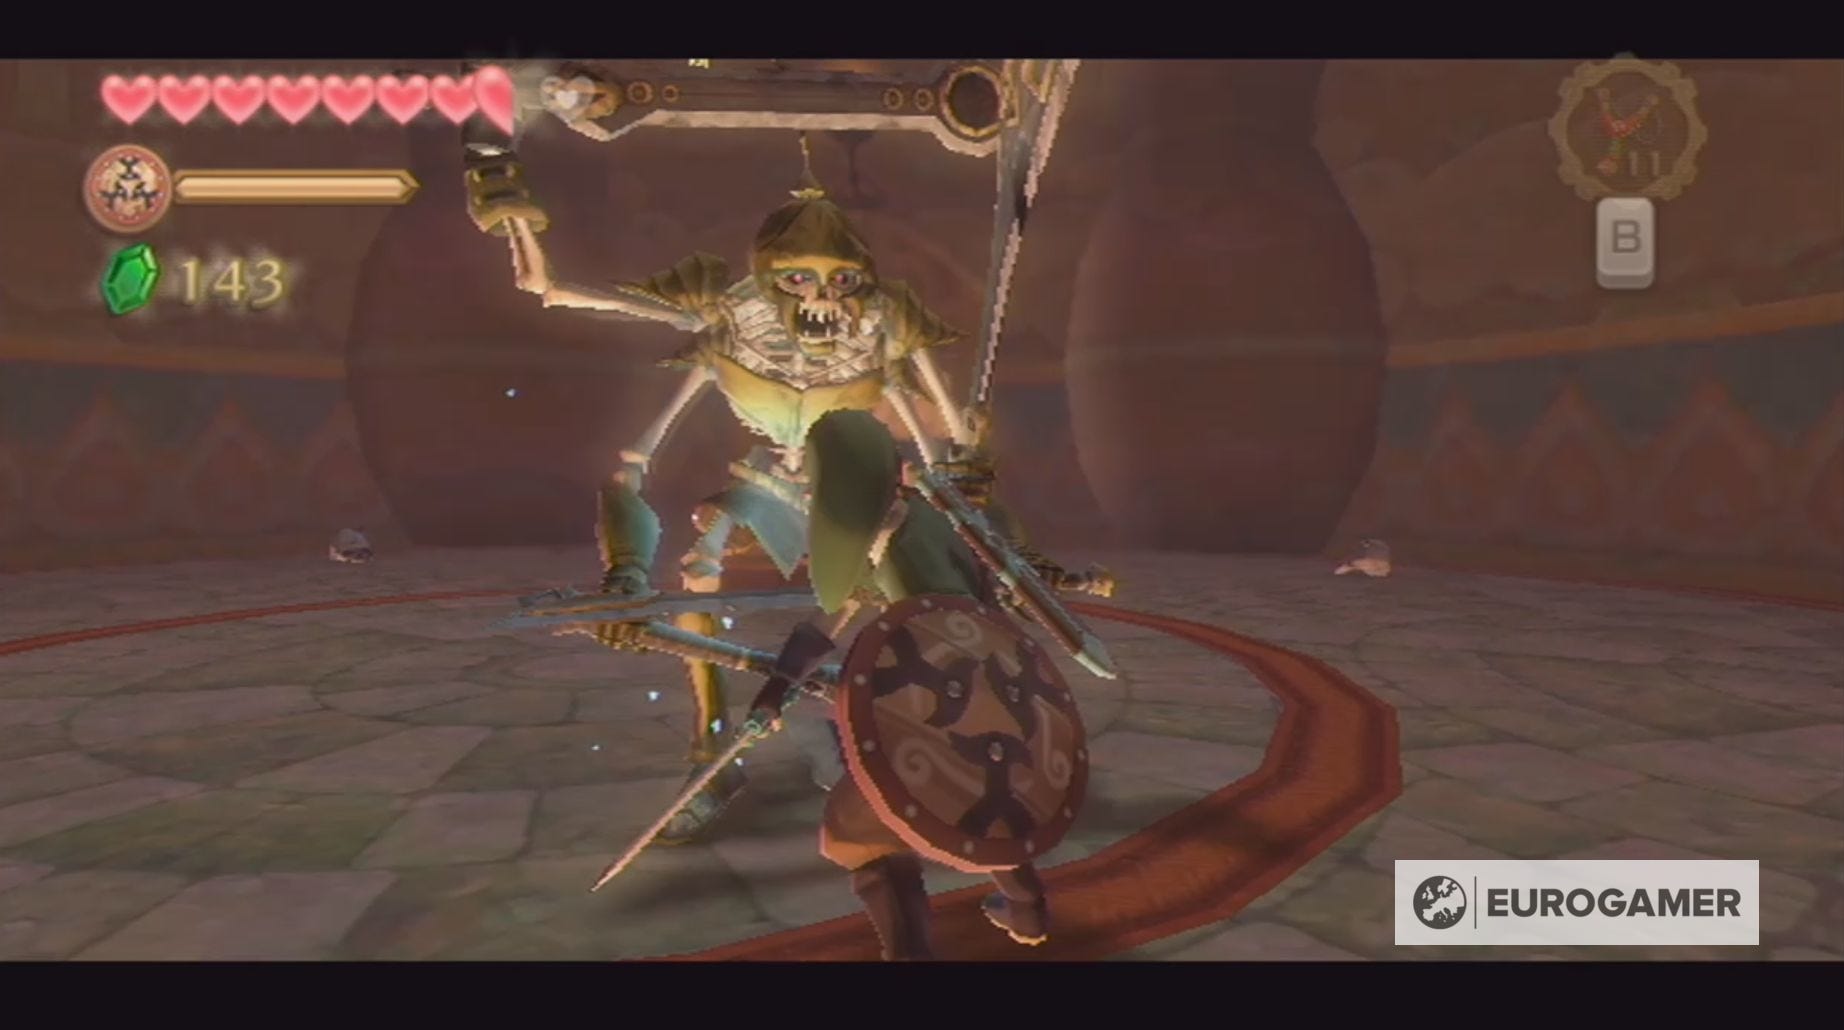
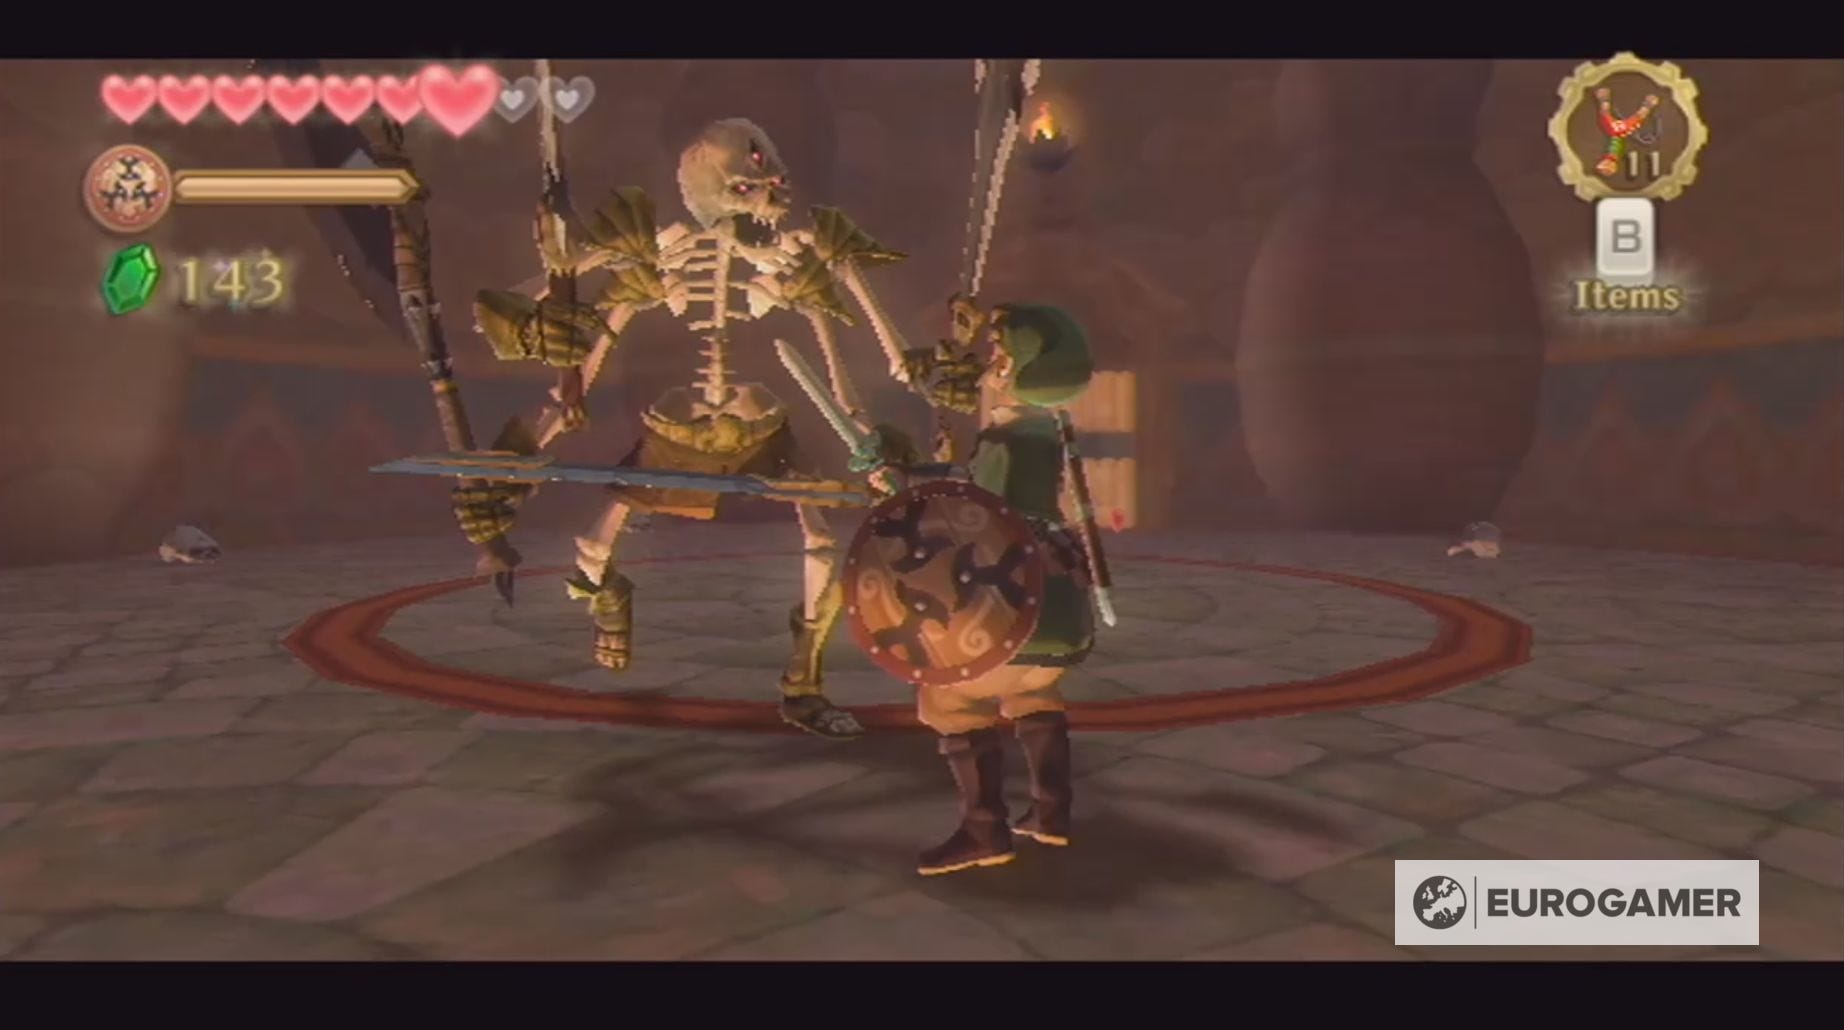
What makes the Stalmaster more complicated, however, is that shortly into this battle, it will reveal its additional hands. This will make hitting the skeleton far harder, so be careful with your sword swings.
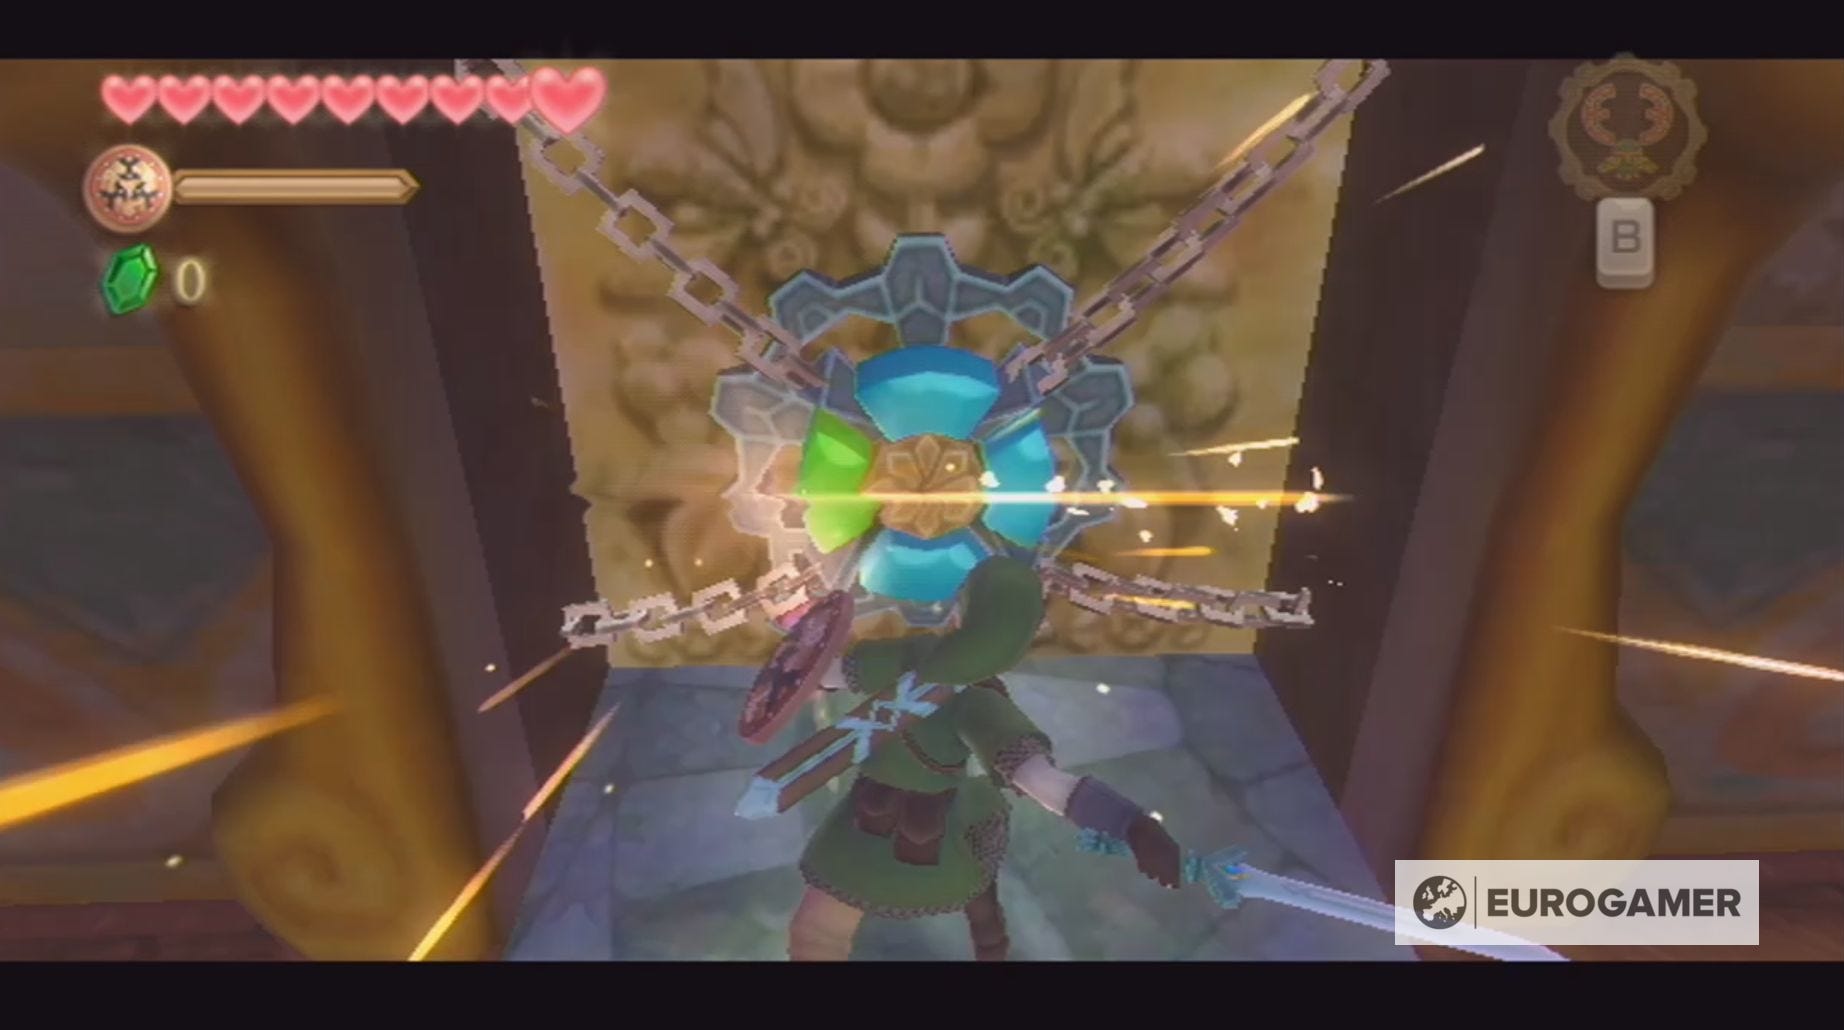
The Stalmaster will also attack you in a similar manner to the Stalfos - telegraphing its moves, before swinging it's swords. Make sure you dodge these attacks, because they can easily take a significant amount of your health.
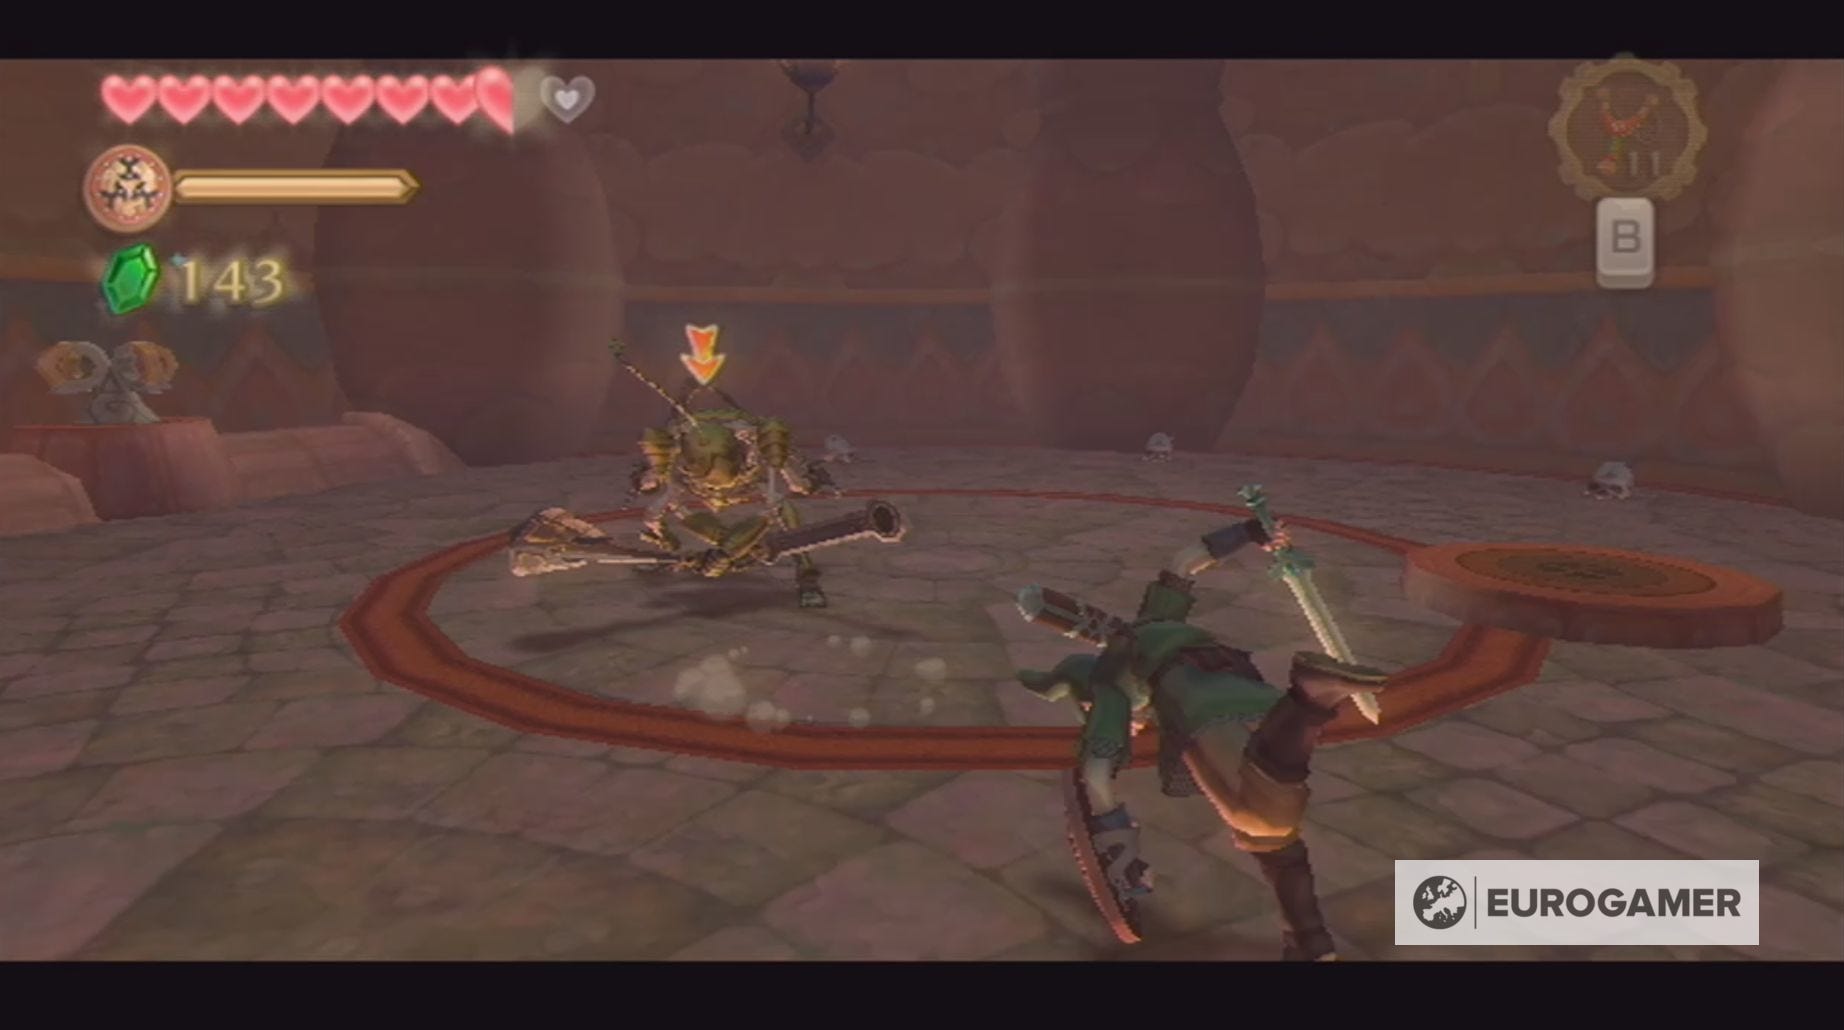
As the battle continues, the Stalmaster will lose parts of its armour, until you're able to defeat it.
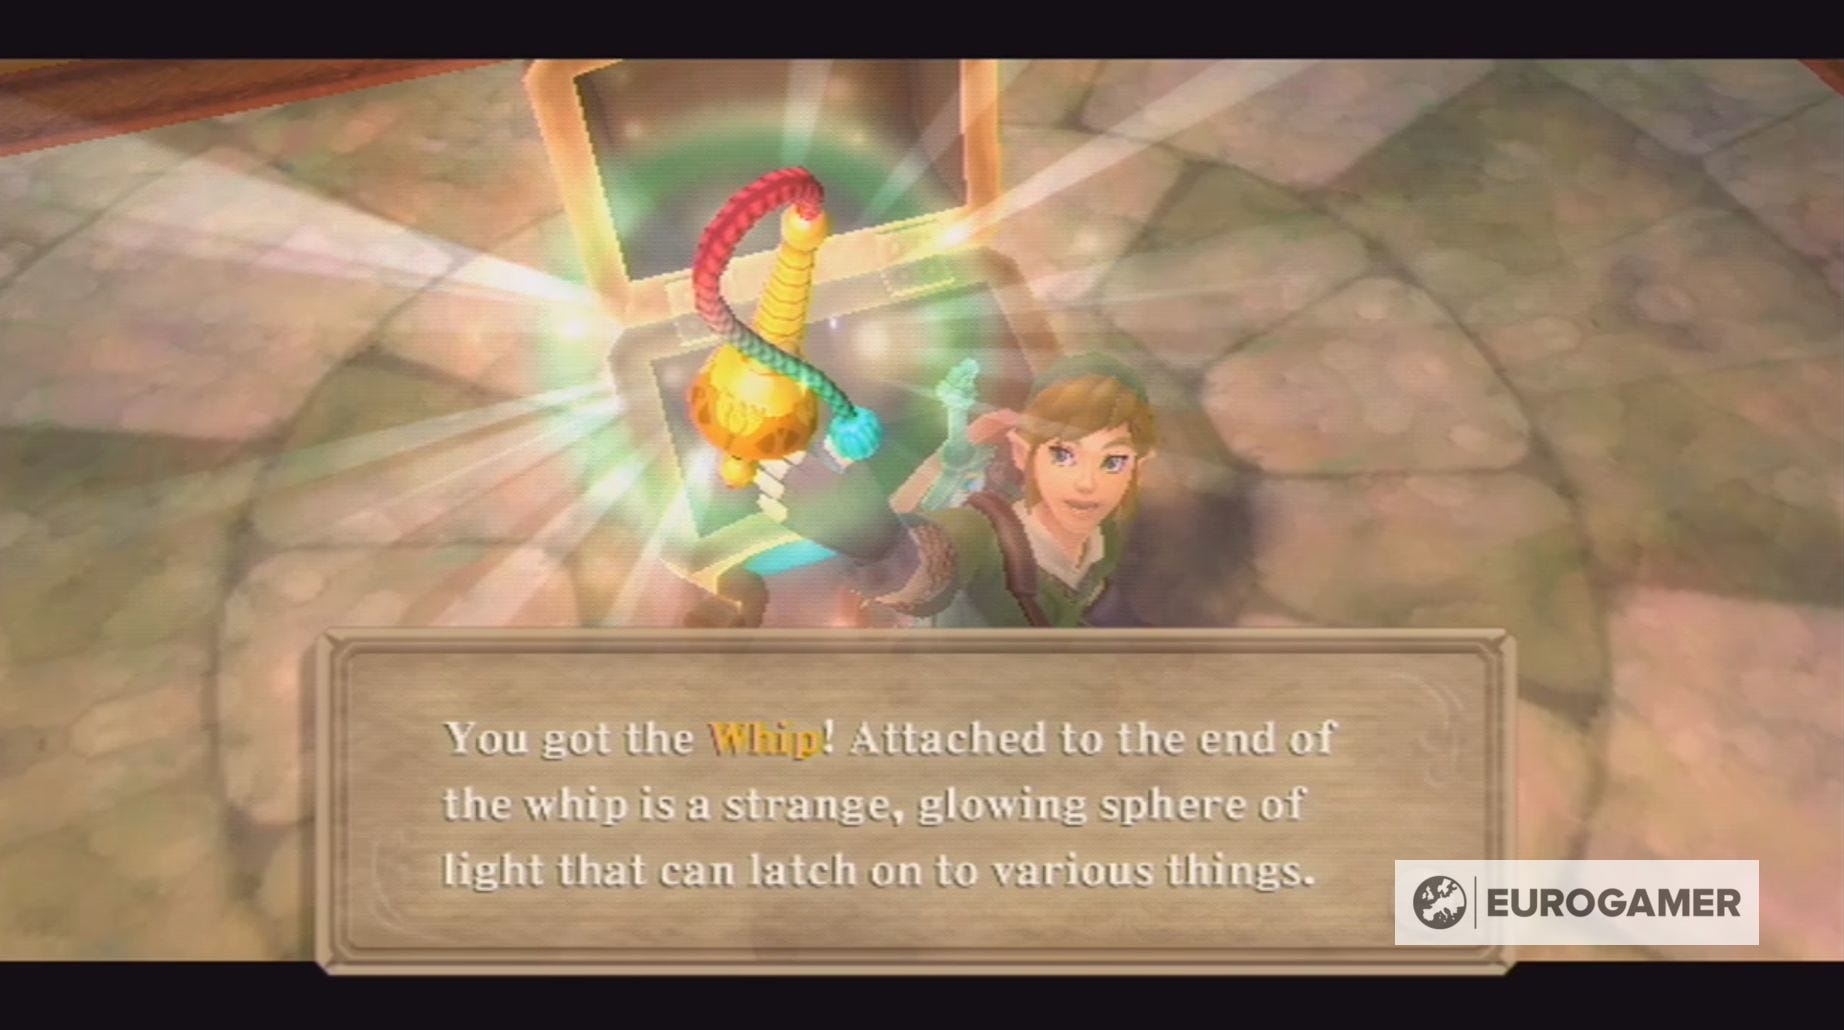
After defeating the Stalmaster, head through the door and open the chest to earn the Whip.
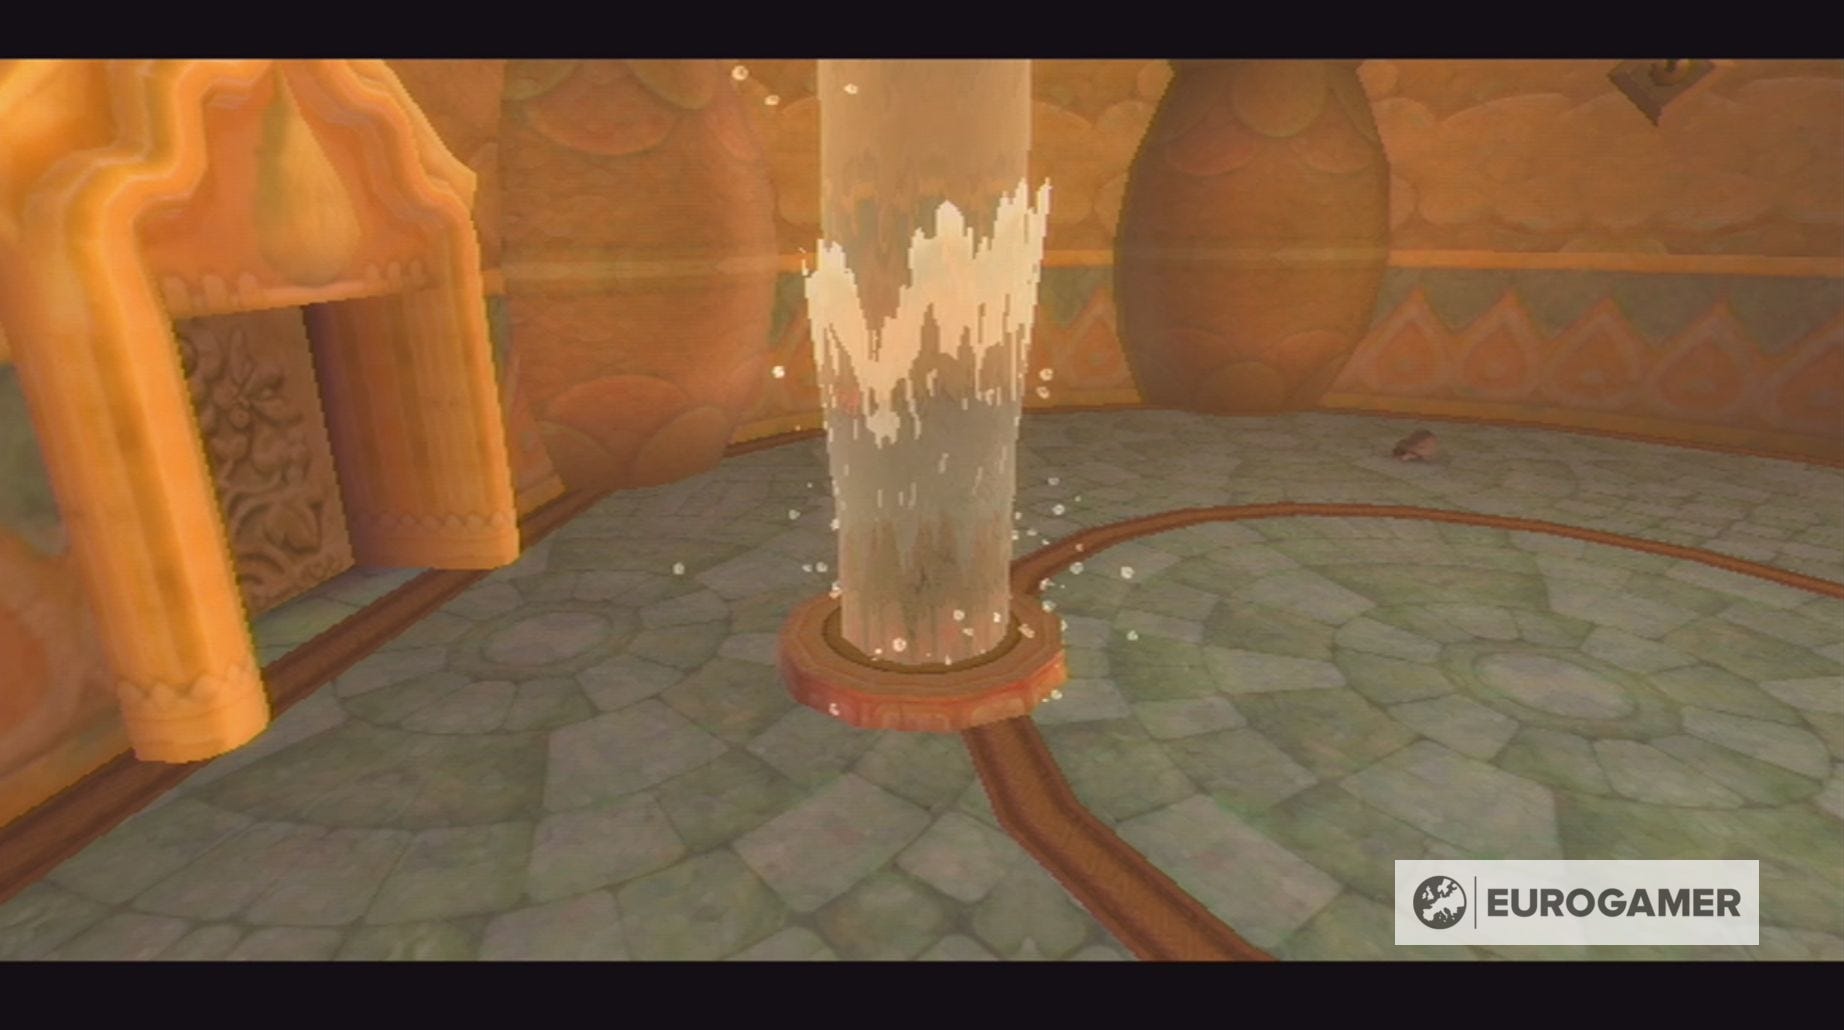
Next, return to the previous room and use the Whip on the toggle to create a jet of water which you can use to return to the previous floor.
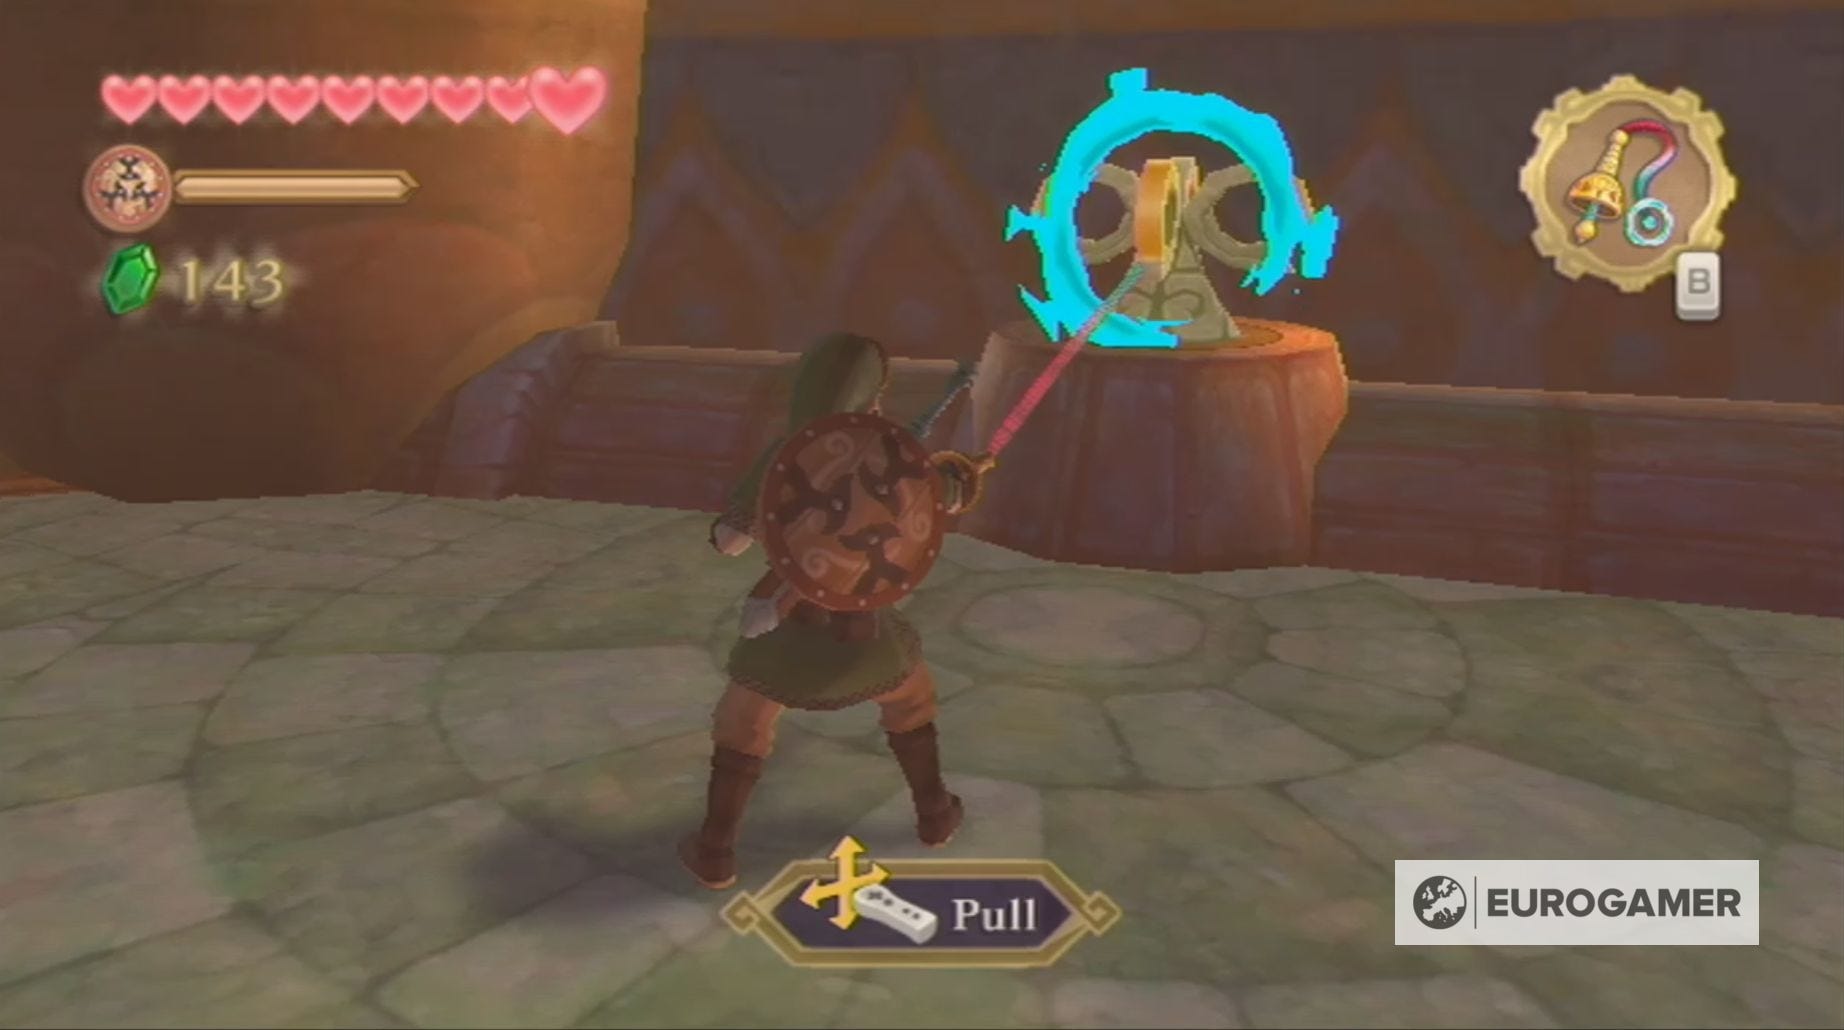
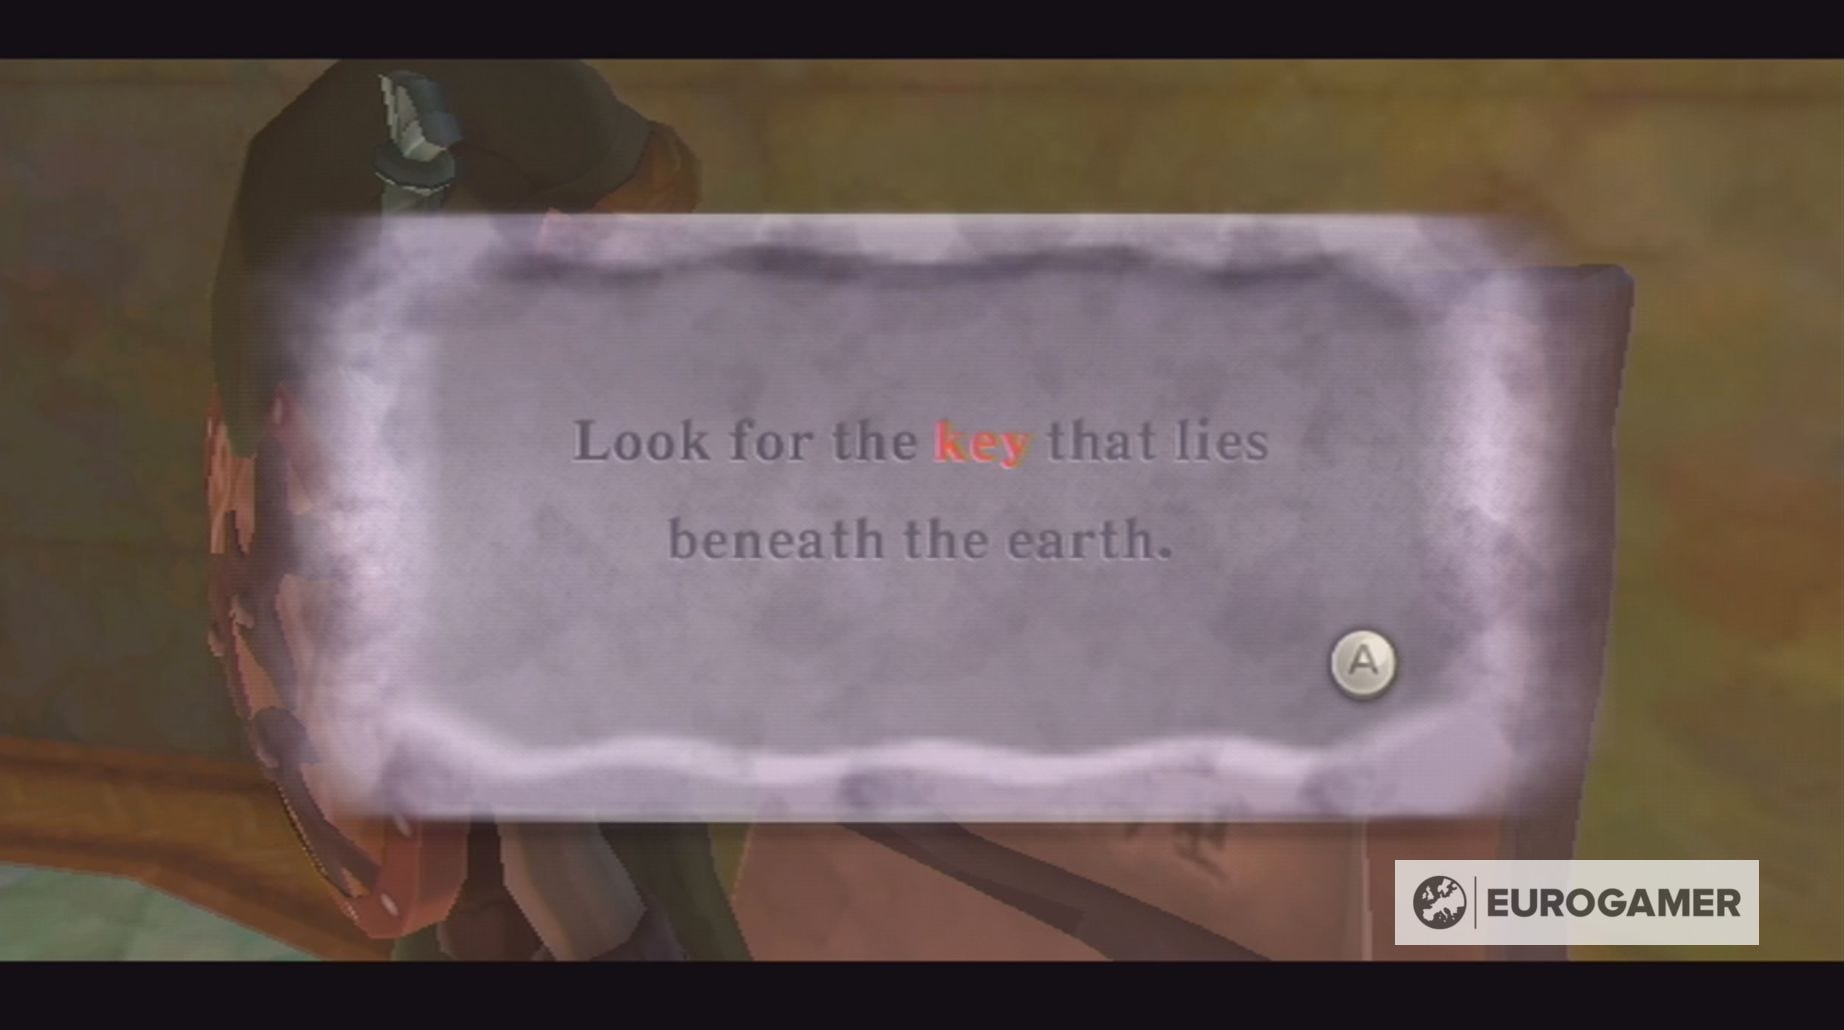
You can then use the other toggles within this area to reach the lock to the boss chamber. Here you'll find a stone tablet containing a hint to the location of the boss key.
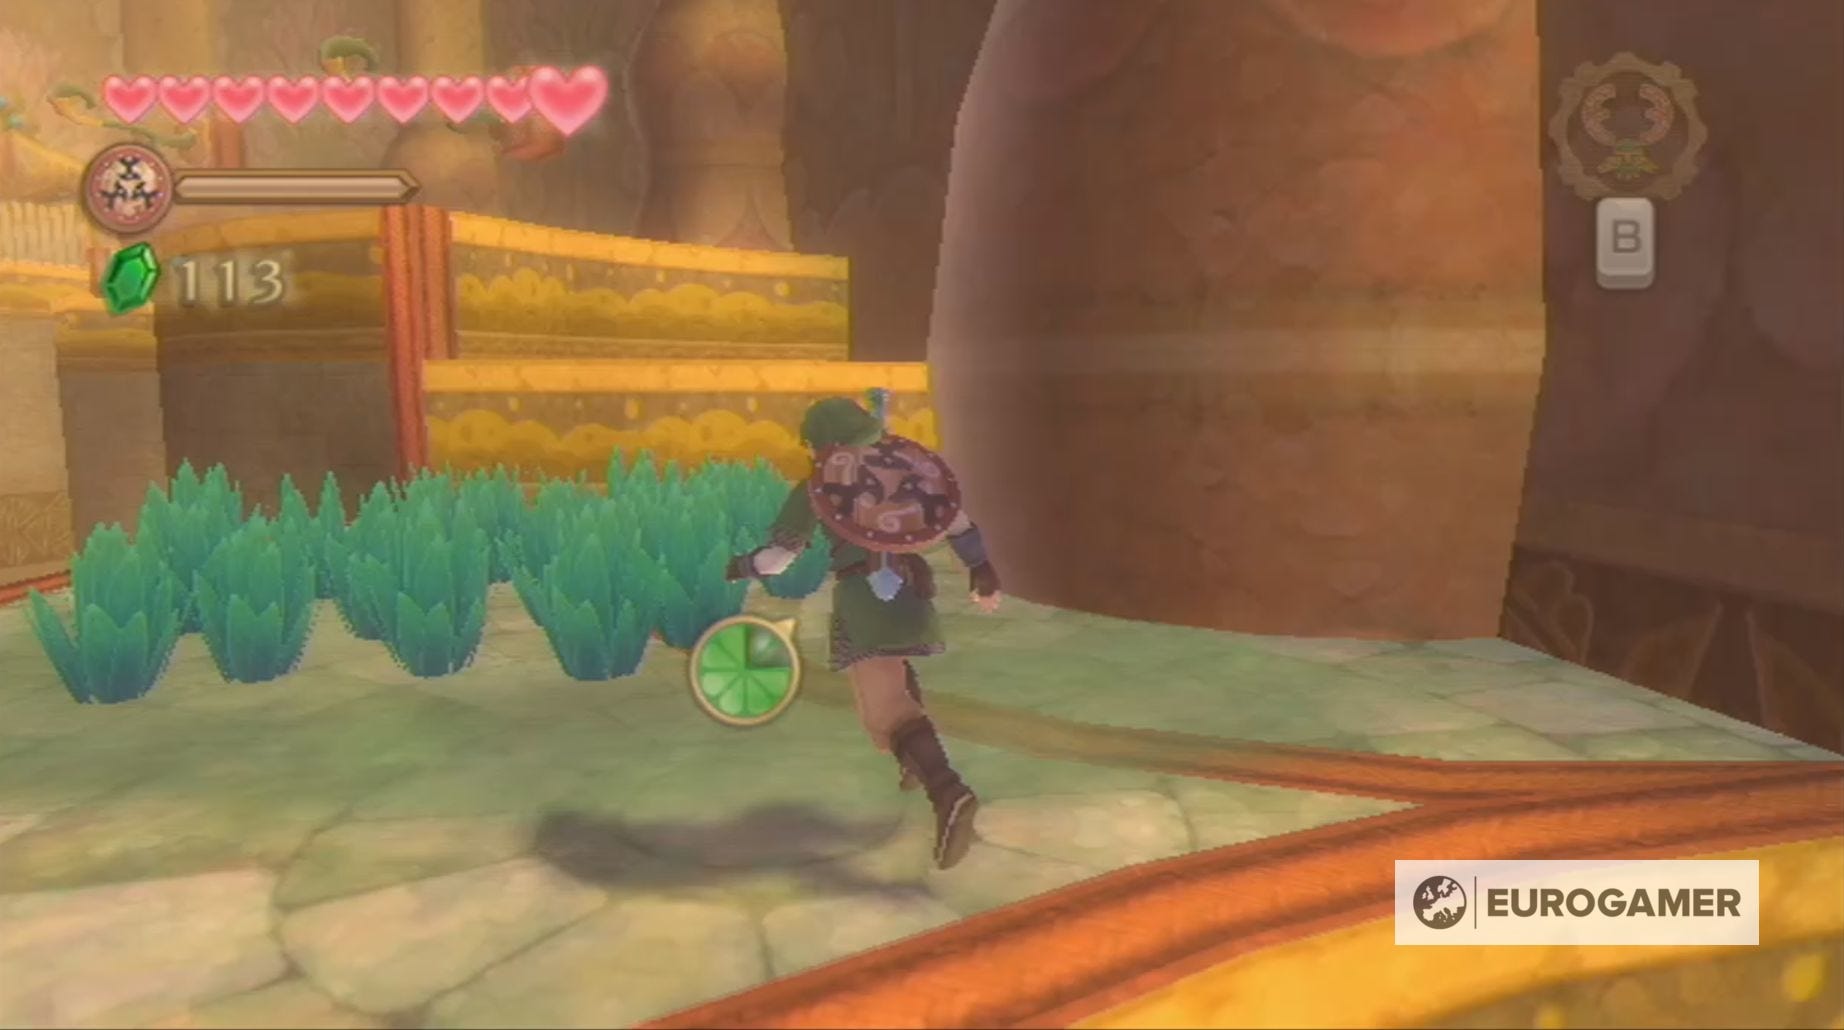
For now, however, you can't reach the boss chamber, so jump back down the levels, and return to the centre room of the Ancient Cistern.
Our Skyward Sword walkthrough will help you find every Heart Piece and Empty Bottle. We can also help you defeat Ghirahim, Scaldera, Moldarach, The Imprisoned, Koloktos, Tentalus, Bilocyte and Demise. You can also discover where to find Kukiel to unlock the Gratitude Crystals and a number of side quests, including the toilet paper quest, missing sister location and party wheel location.
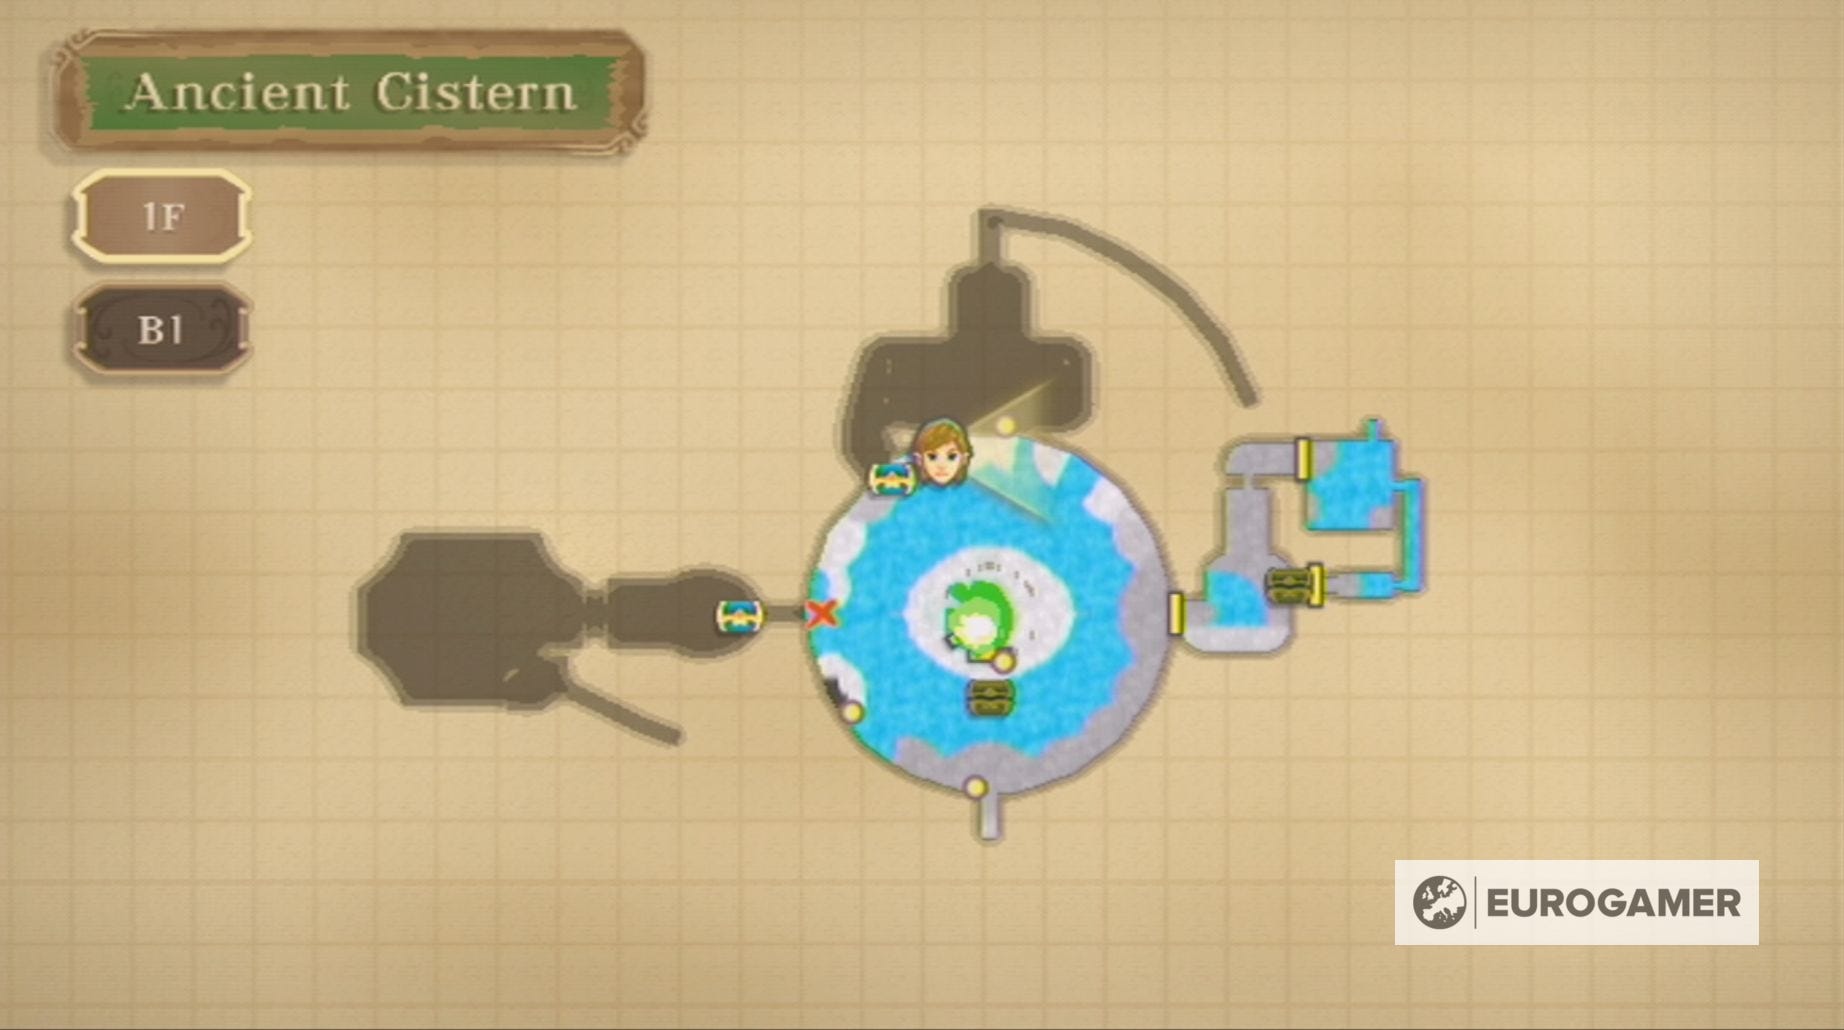
Ancient Cistern dungeon map location explained
Finding the dungeon map for the Ancient Cistern in Skyward Sword is a very easy task now you've got the Whip.
All you need to do is go around the right-hand side of the central chamber and climb the ledges just past the first door you used in the dungeon.
At the top of these ledges, use the Whip on the hooks, so you can swing across the gaps until you reach the platform with the chest containing the dungeon map.
Ancient Cistern boss key location explained
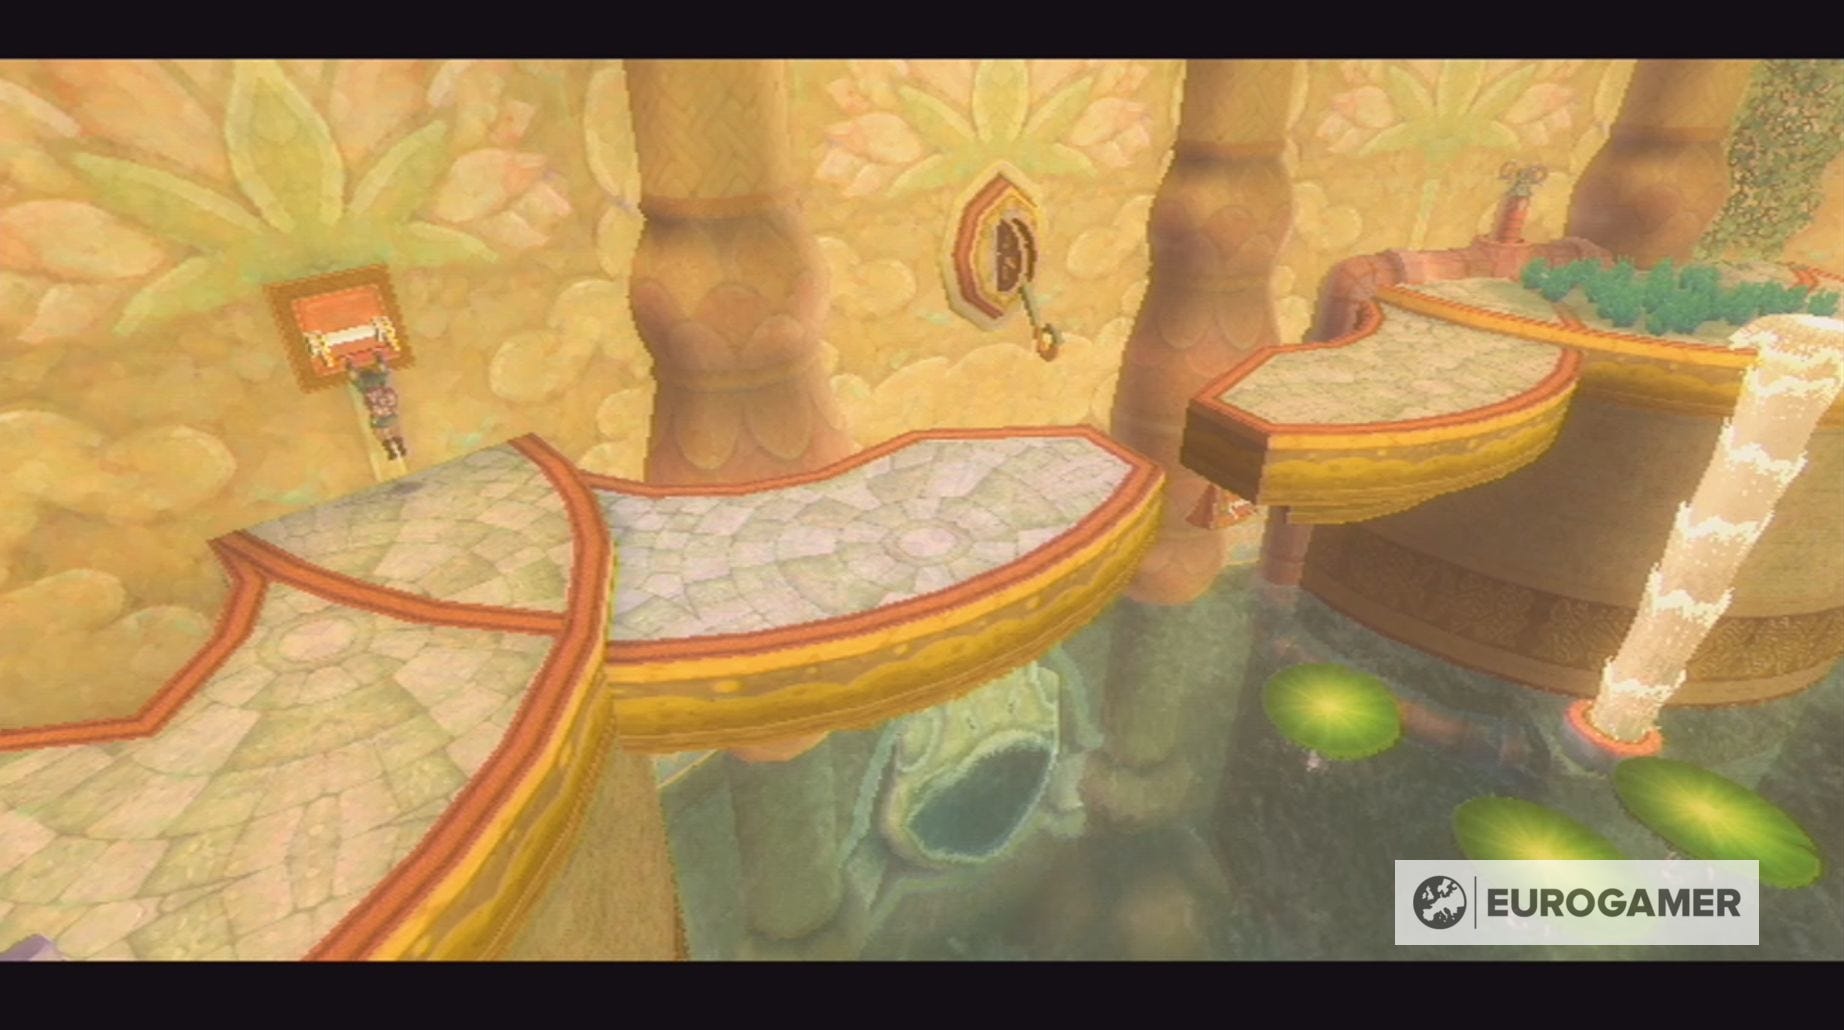
Now you have the Ancient Cistern's dungeon map, you'll be able to see the full extent of this dungeon in Skyward Sword. The first new area you'll want to explore are the rooms on the left-hand side of the dungeon.
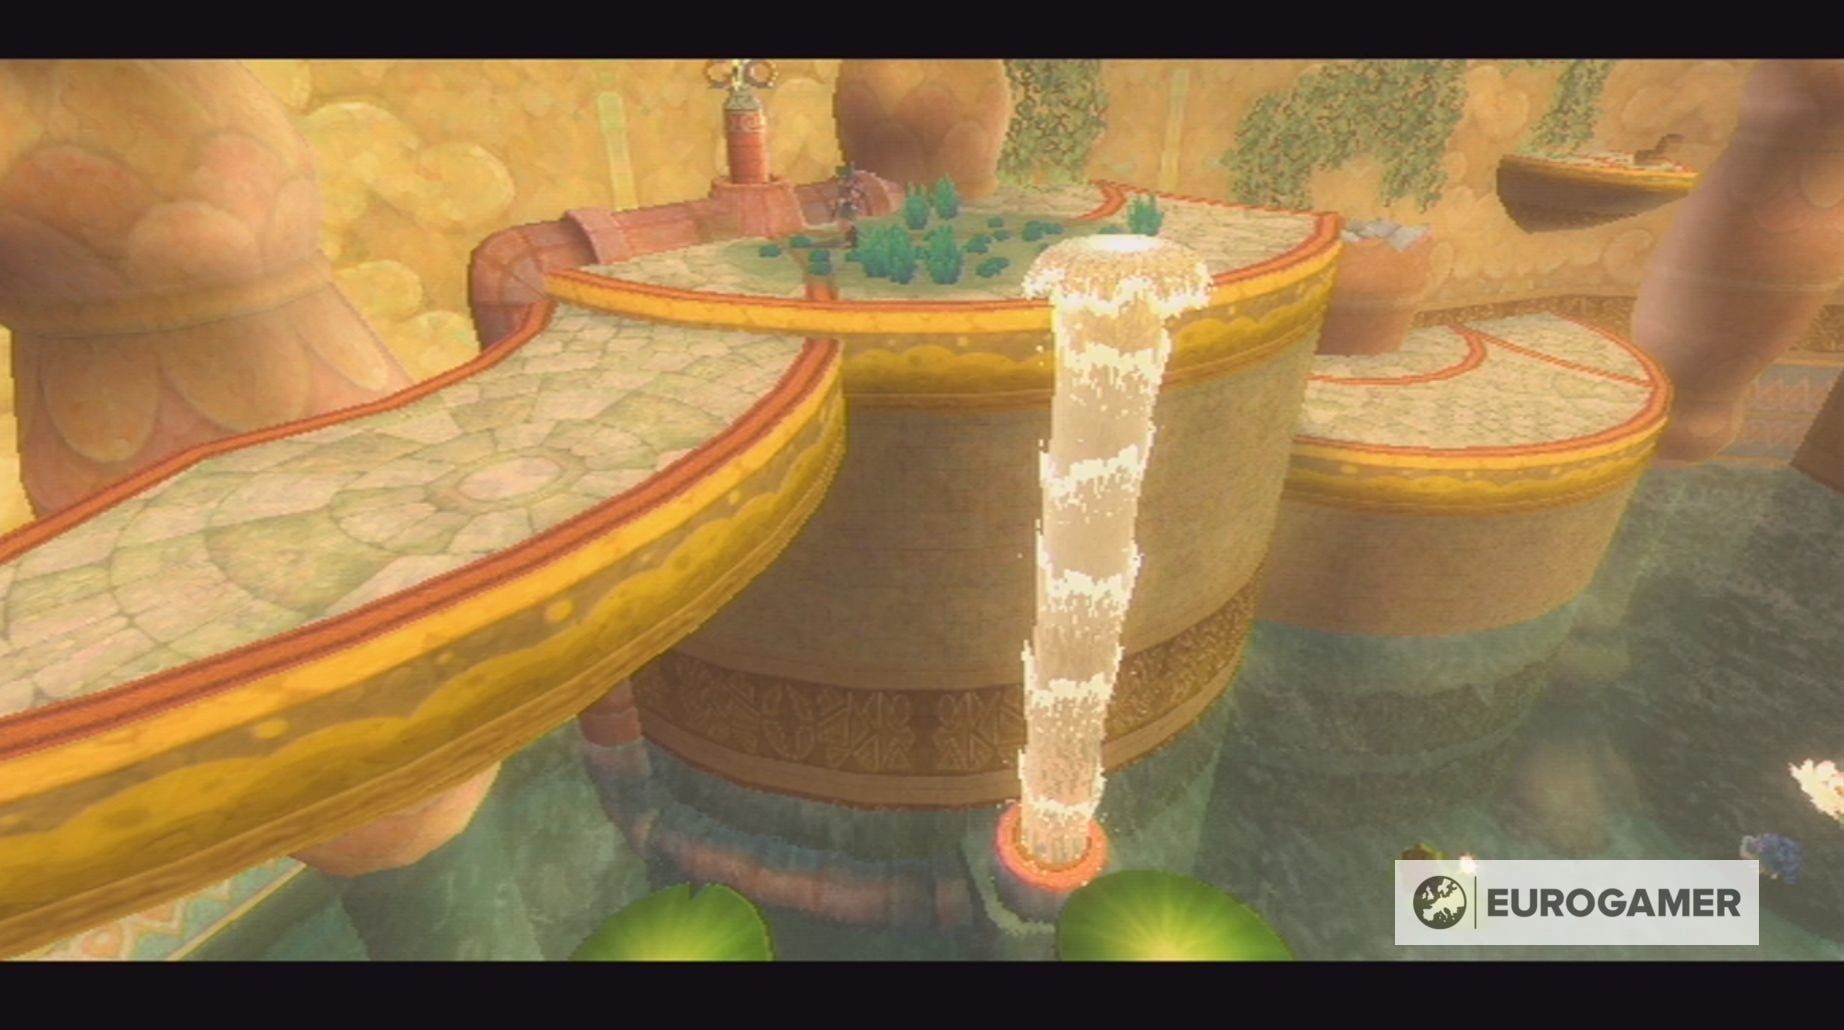
To reach them, you need to drop down into the water and swim around to the waterfall on the left-hand side of the room.
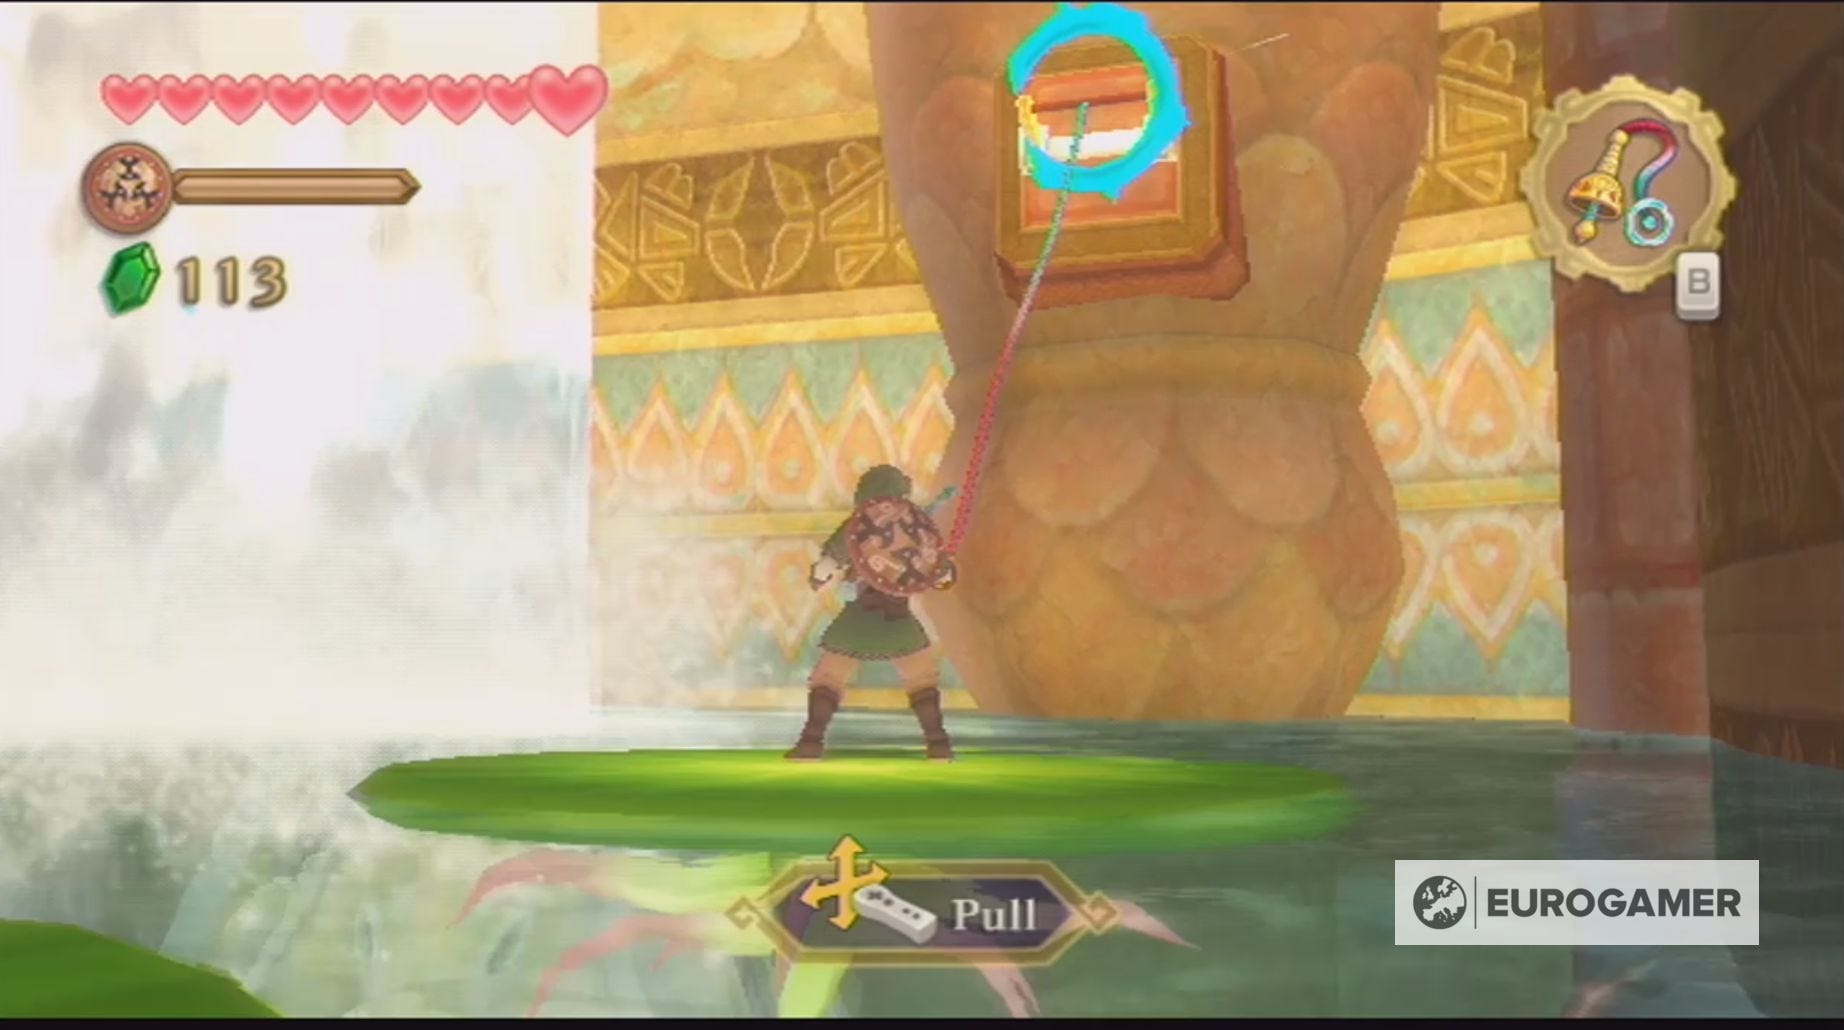
Next, climb atop a lily pad and then use the Whip on the roots of the lily pad which is the wrong side up.

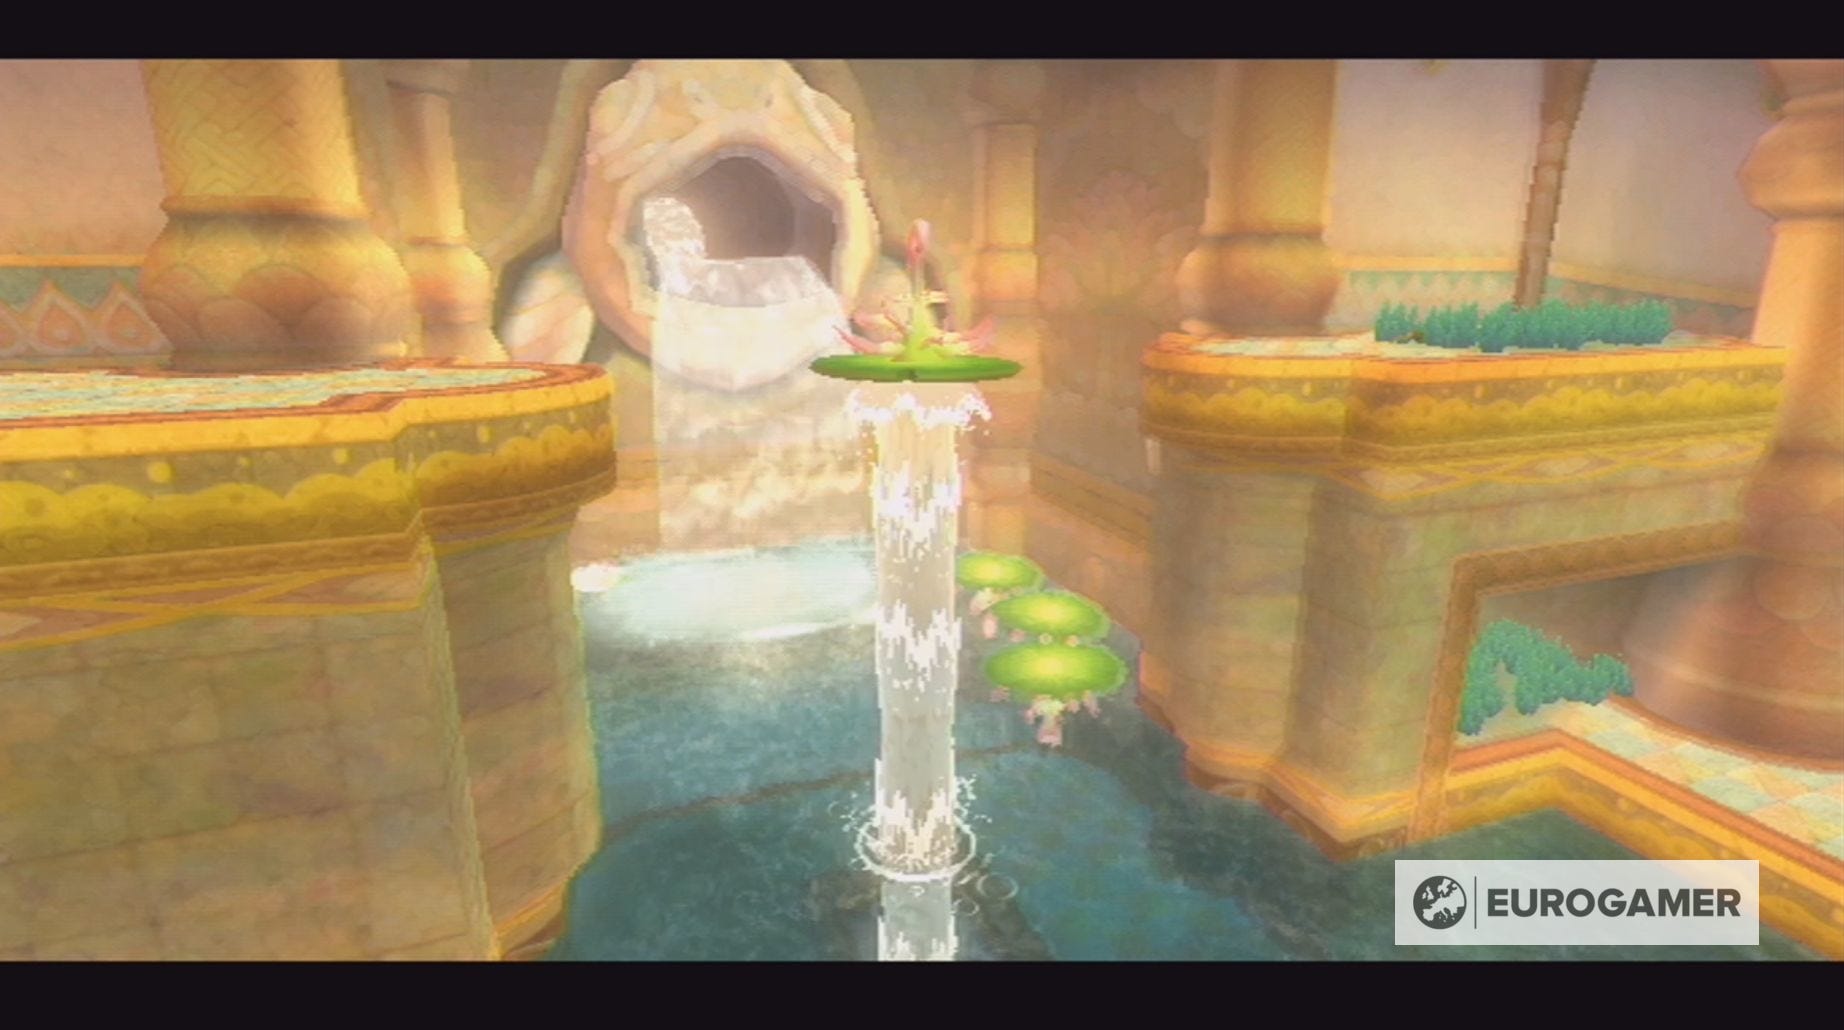
Doing so will turn the lily pad over, allowing you to stand on it, and, from there, you can use the Whip on the nearby lever to stop the waterfall.
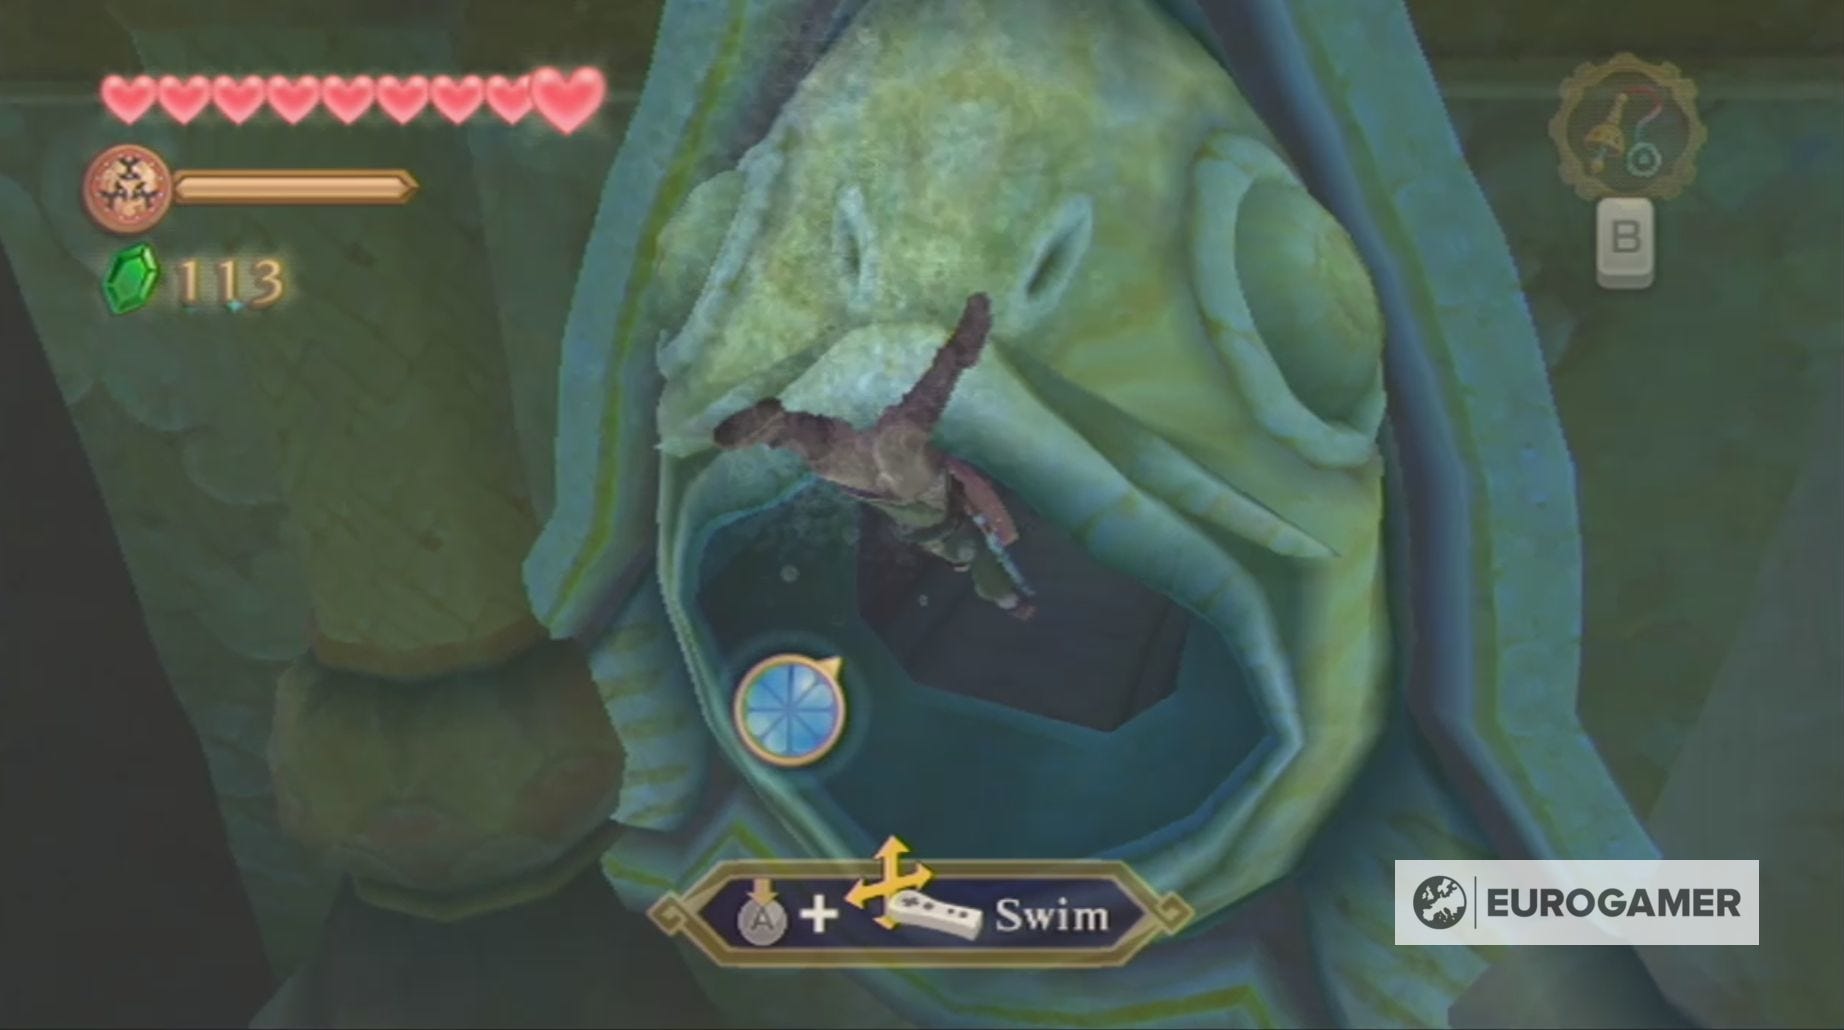
Now you can swim through the open passage in the fish's mouth to reach the next room.
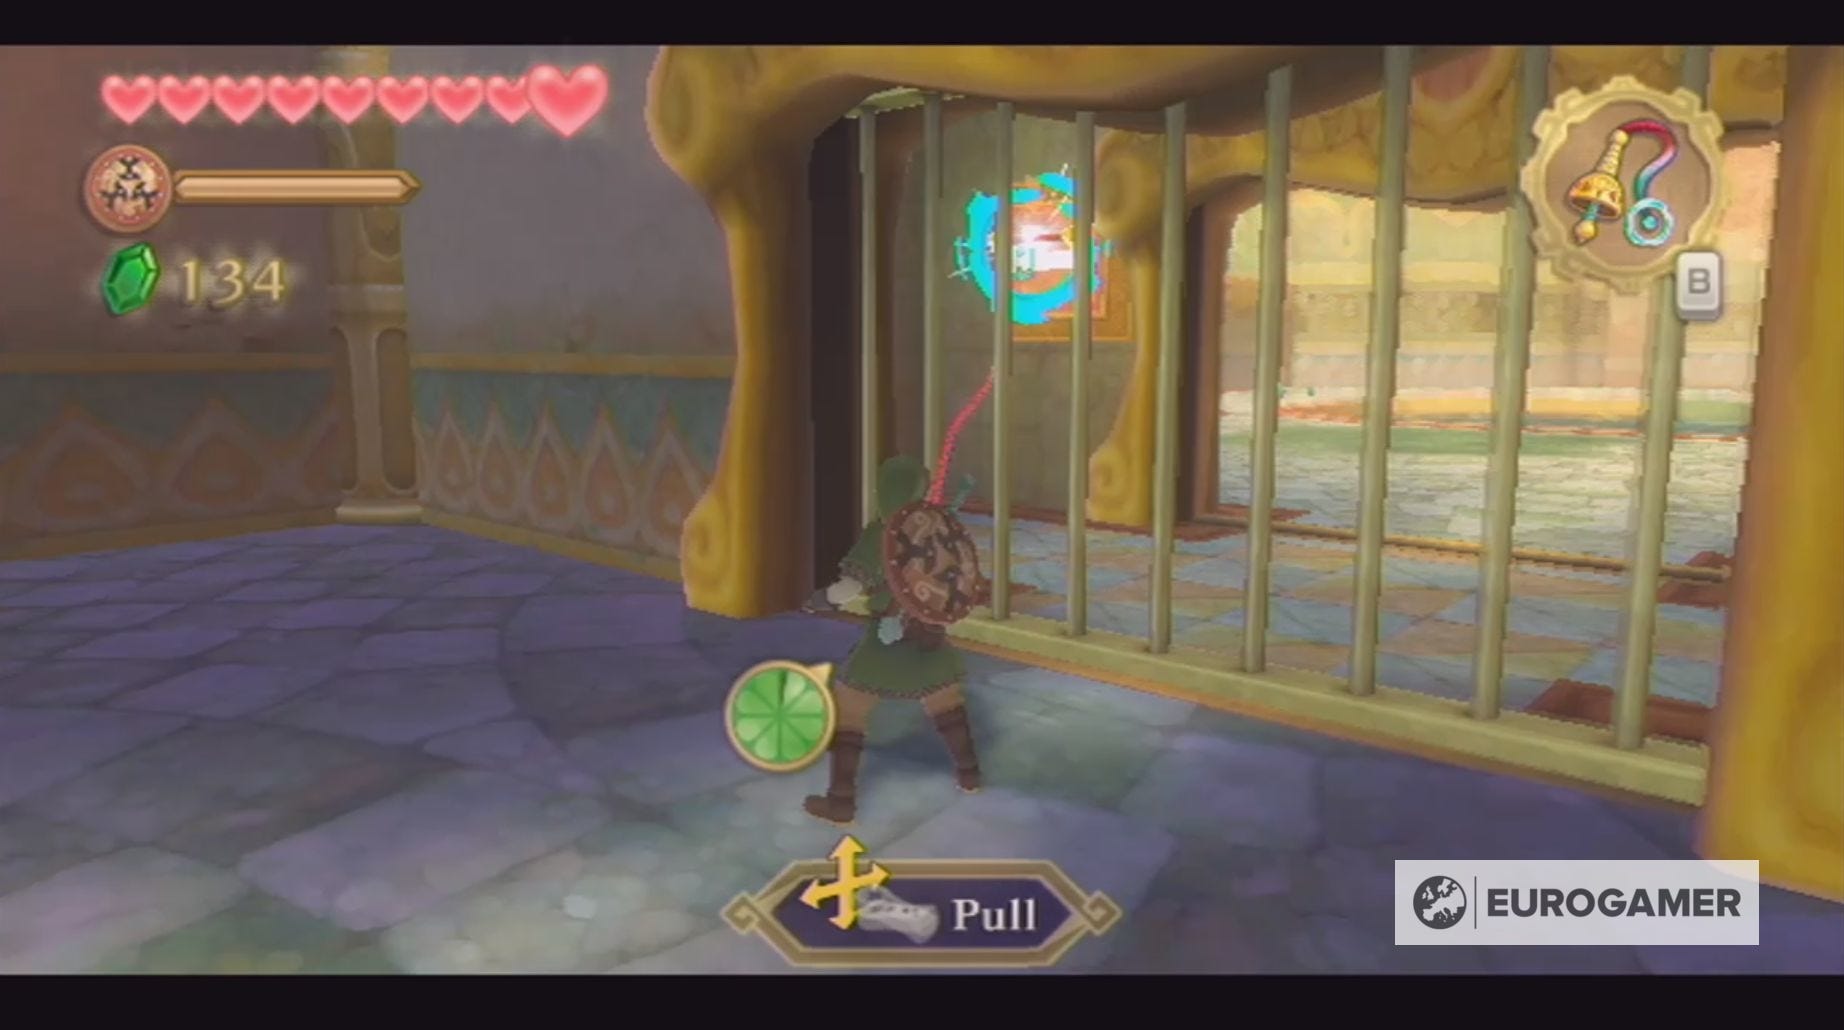
Kill the Skulltula and collect the 20 Rupees from the chest behind the fish head, before using the Whip through the bars to reach the lever.
In the room beyond, you'll first want to kill the Chuchus and nearby Bokoblin Archer. After these deaths, use the Whip on the hook on the right-hand side of the room, so you can swing across to the vines.
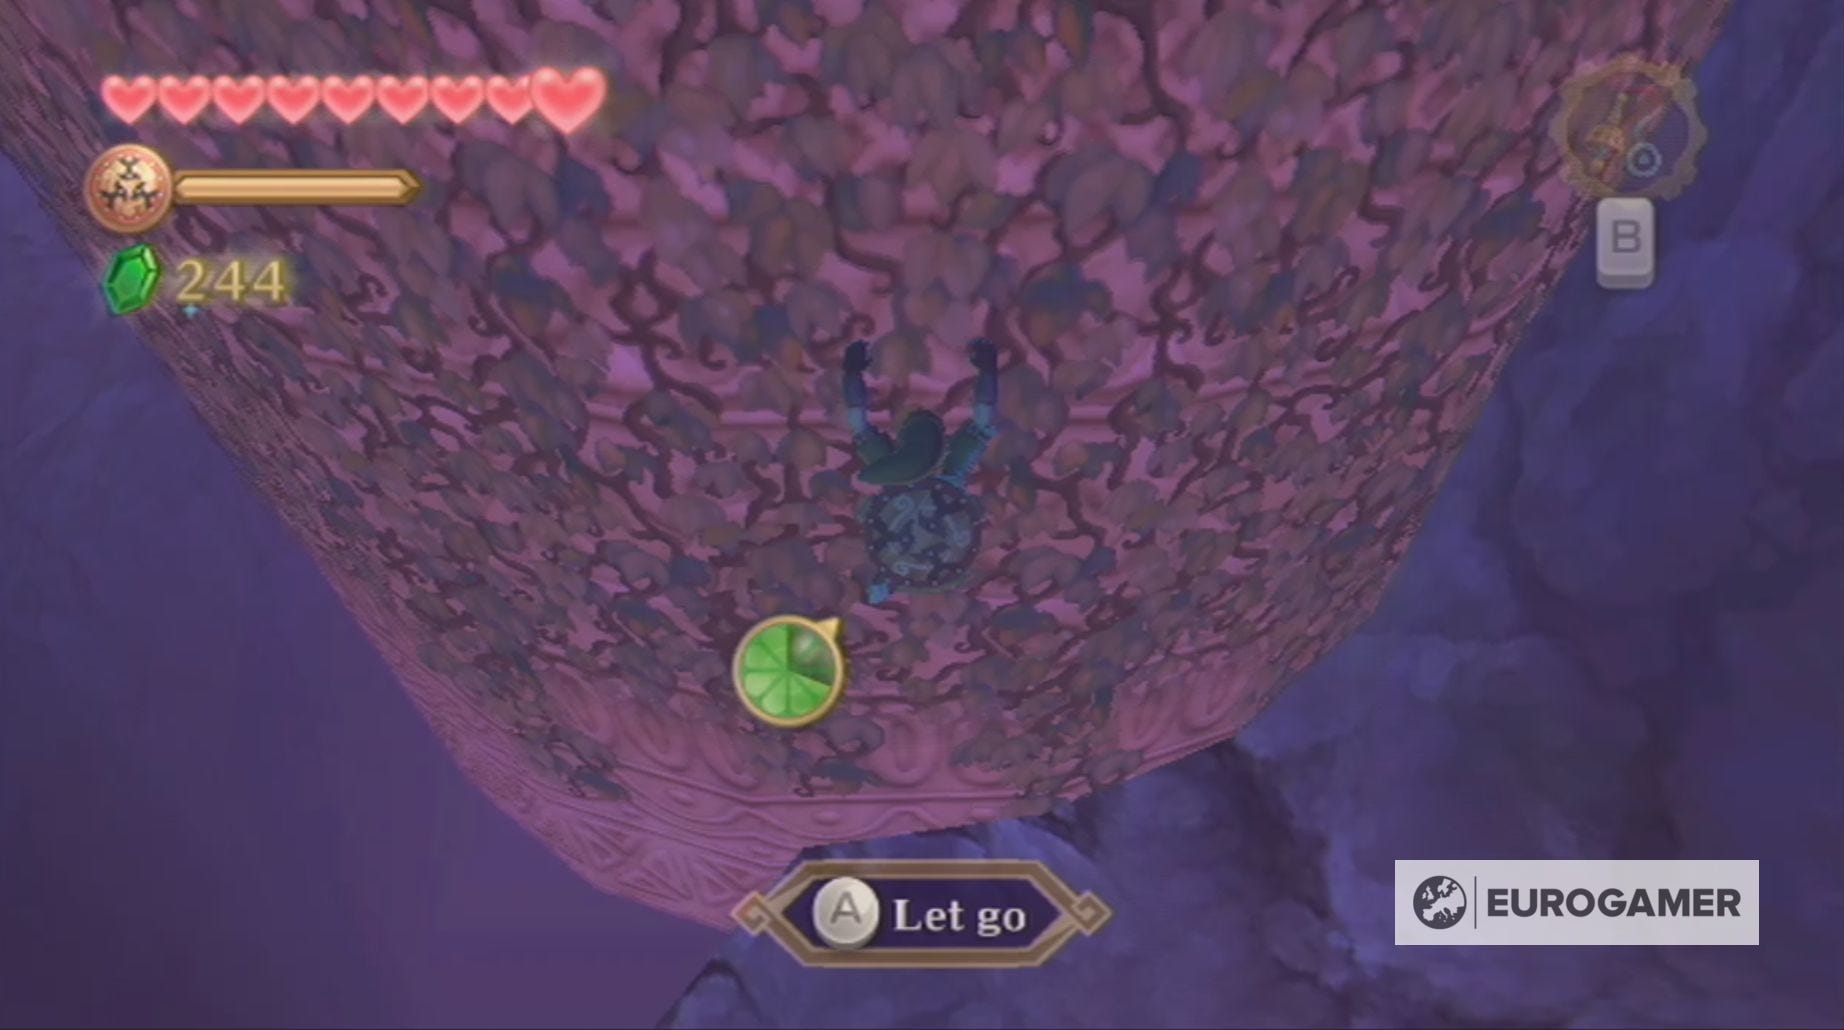
Kill the two Deku Babas waiting for you atop this platform and then grab hold of the vines attached to the moving pillar. You'll want to climb high enough that Link won't be knocked down by the section of wall which inter-cuts with the pillar's rotation.
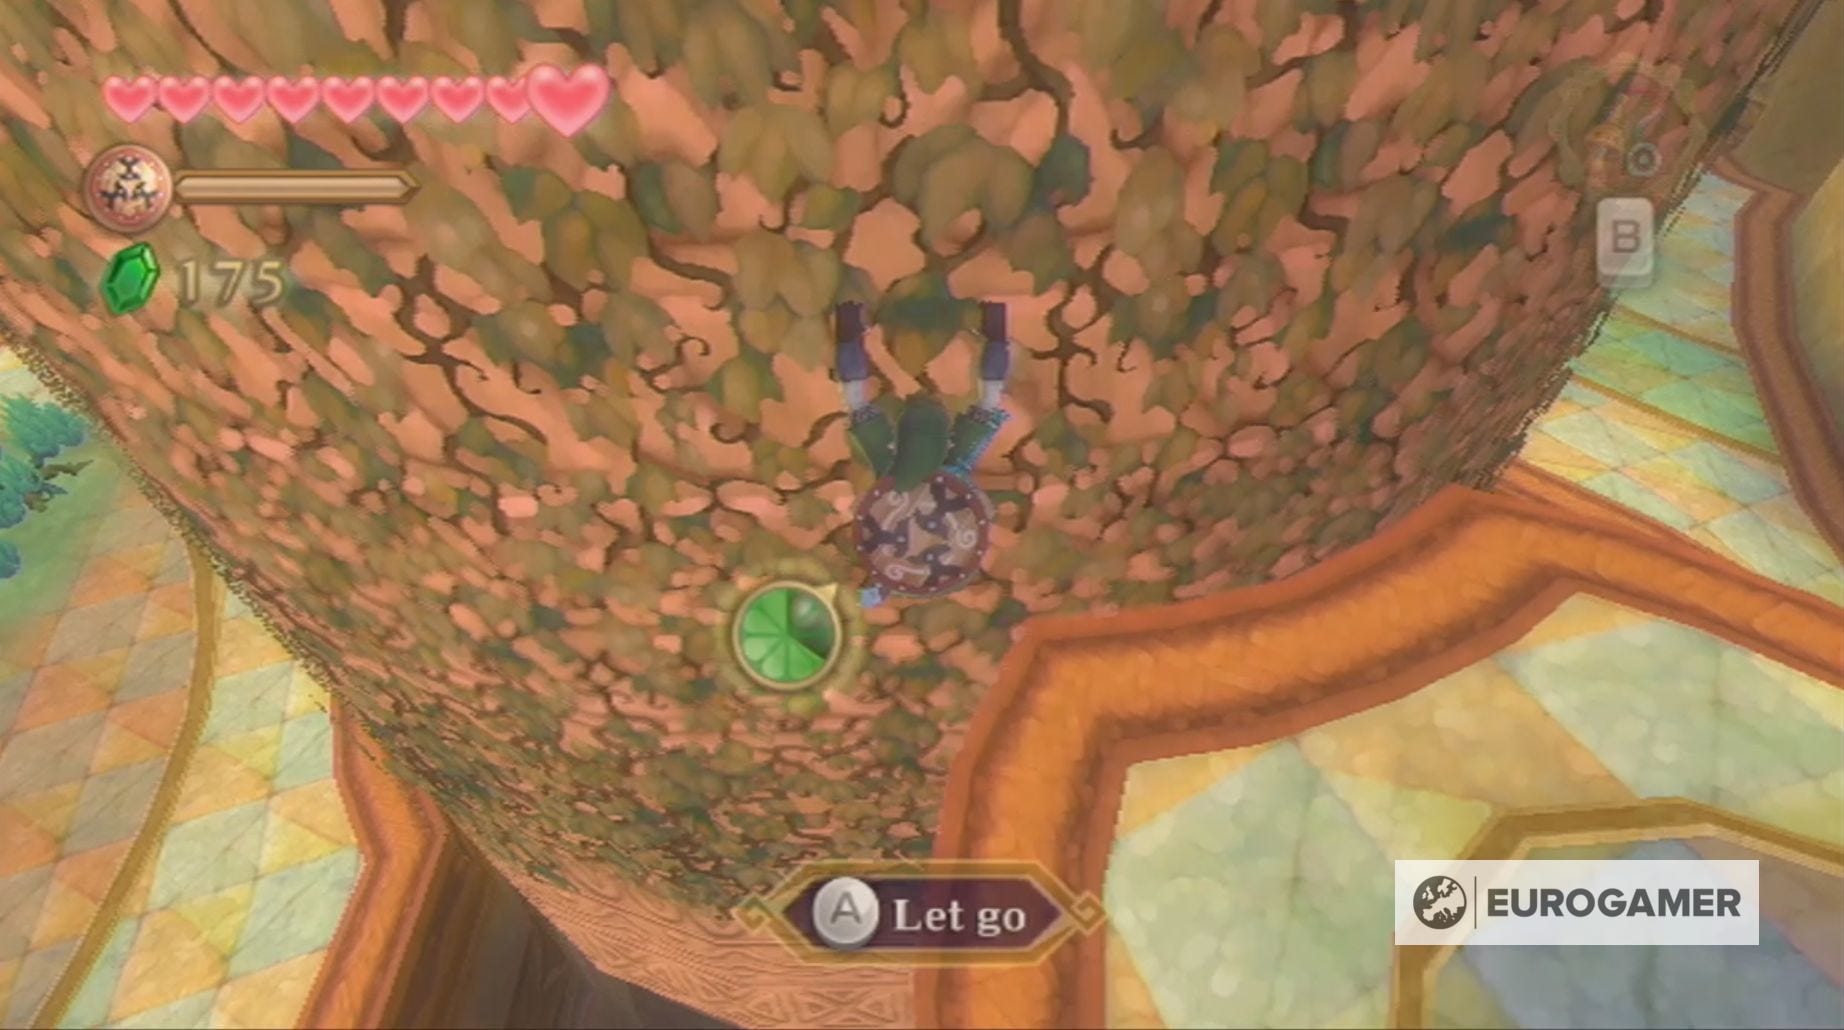
Let go the moment it's safe for you to do so and kill the second Archer Bokoblin.
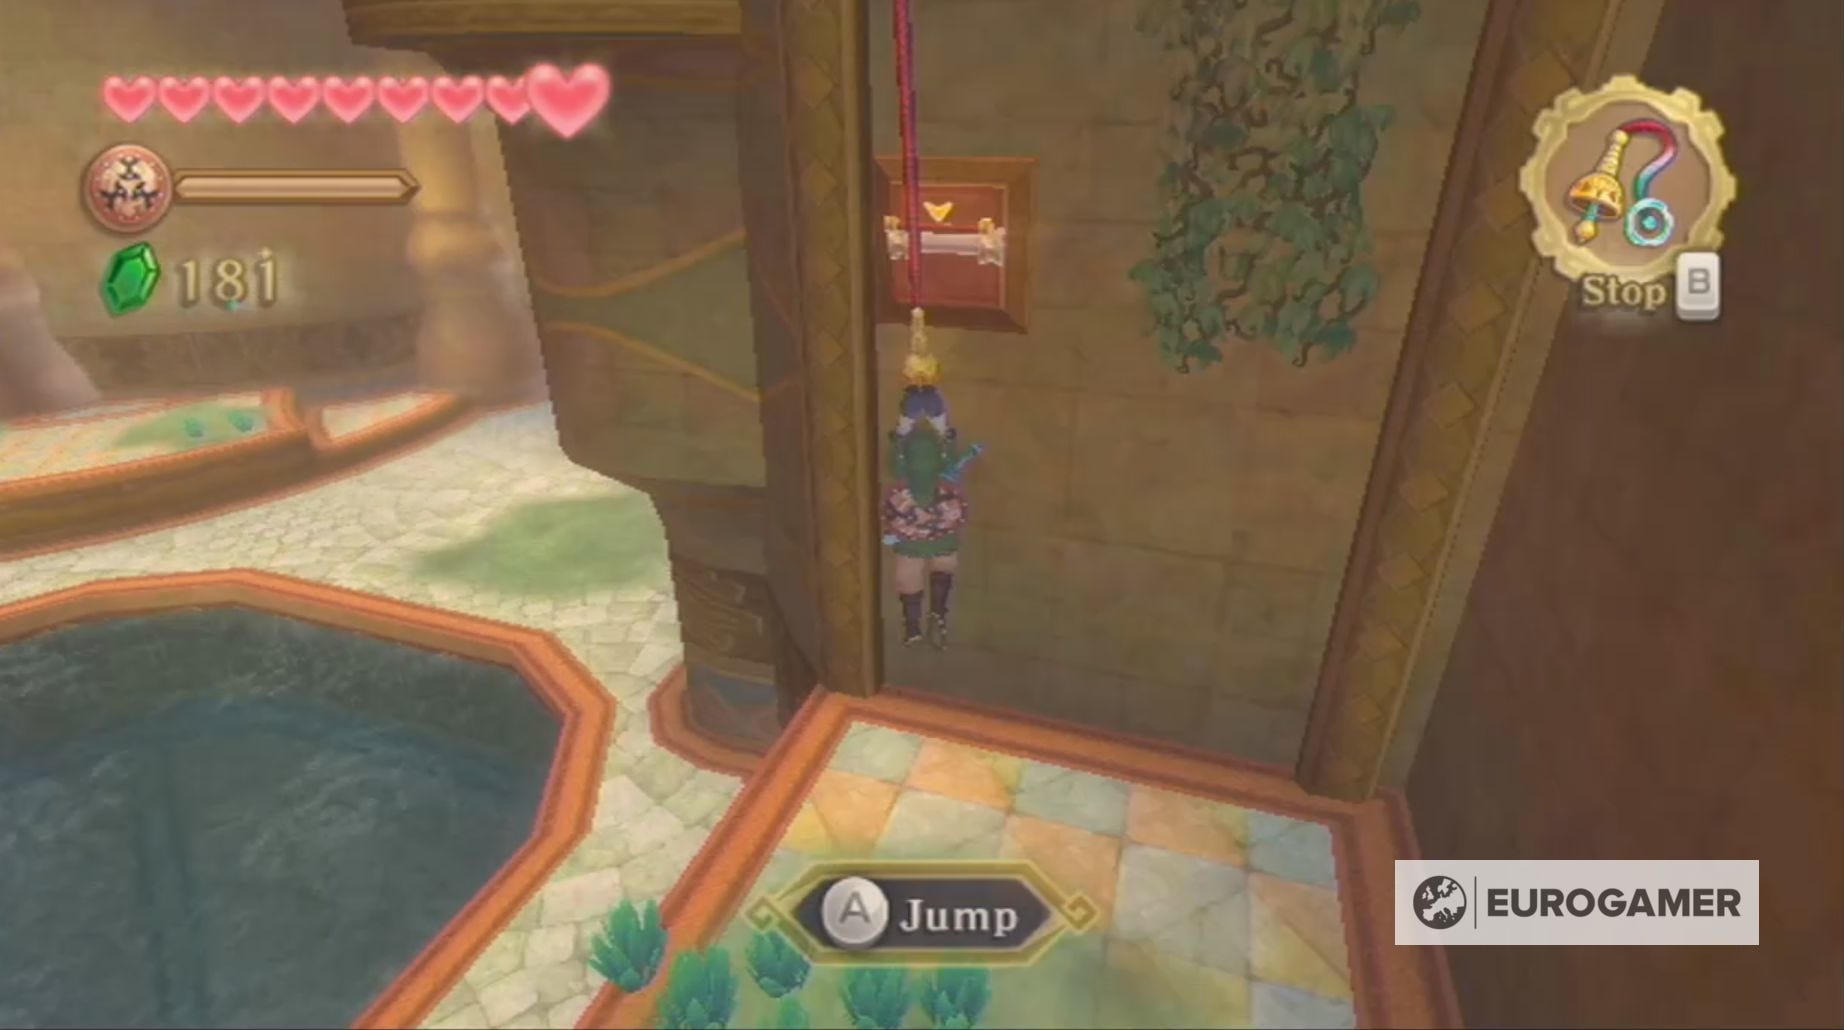
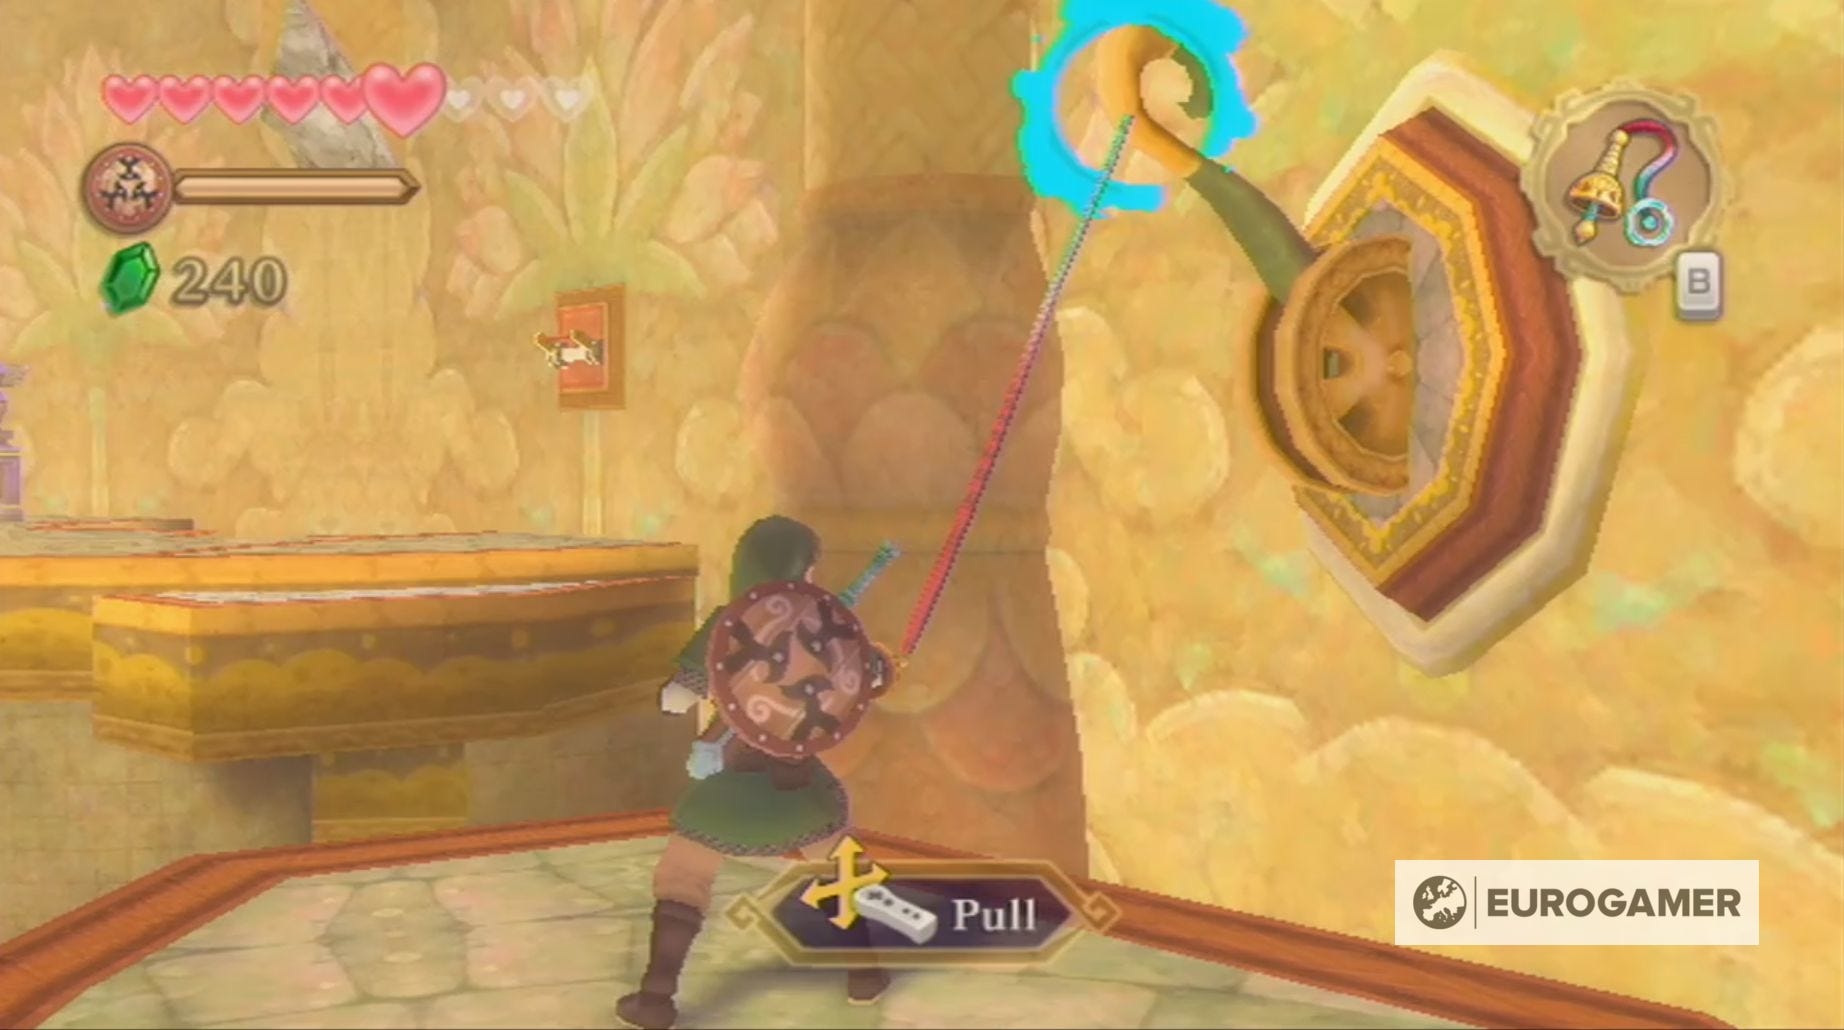
Next, you'll want to use the Whip on the nearby hook and, as Link is swinging, aim him at the lever. When you're close enough, allow Link to jump and he will grab hold of the lever, opening the bars above.
After this, kill the little spider on the vines and then, using the hook again, swing across to the vines and climb up to the area above.
Here you'll need to kill three Deku Babas, so you can safely use the Whip on the toggle to create a whirlpool in the water below. All you have to do now is jump into the whirlpool!
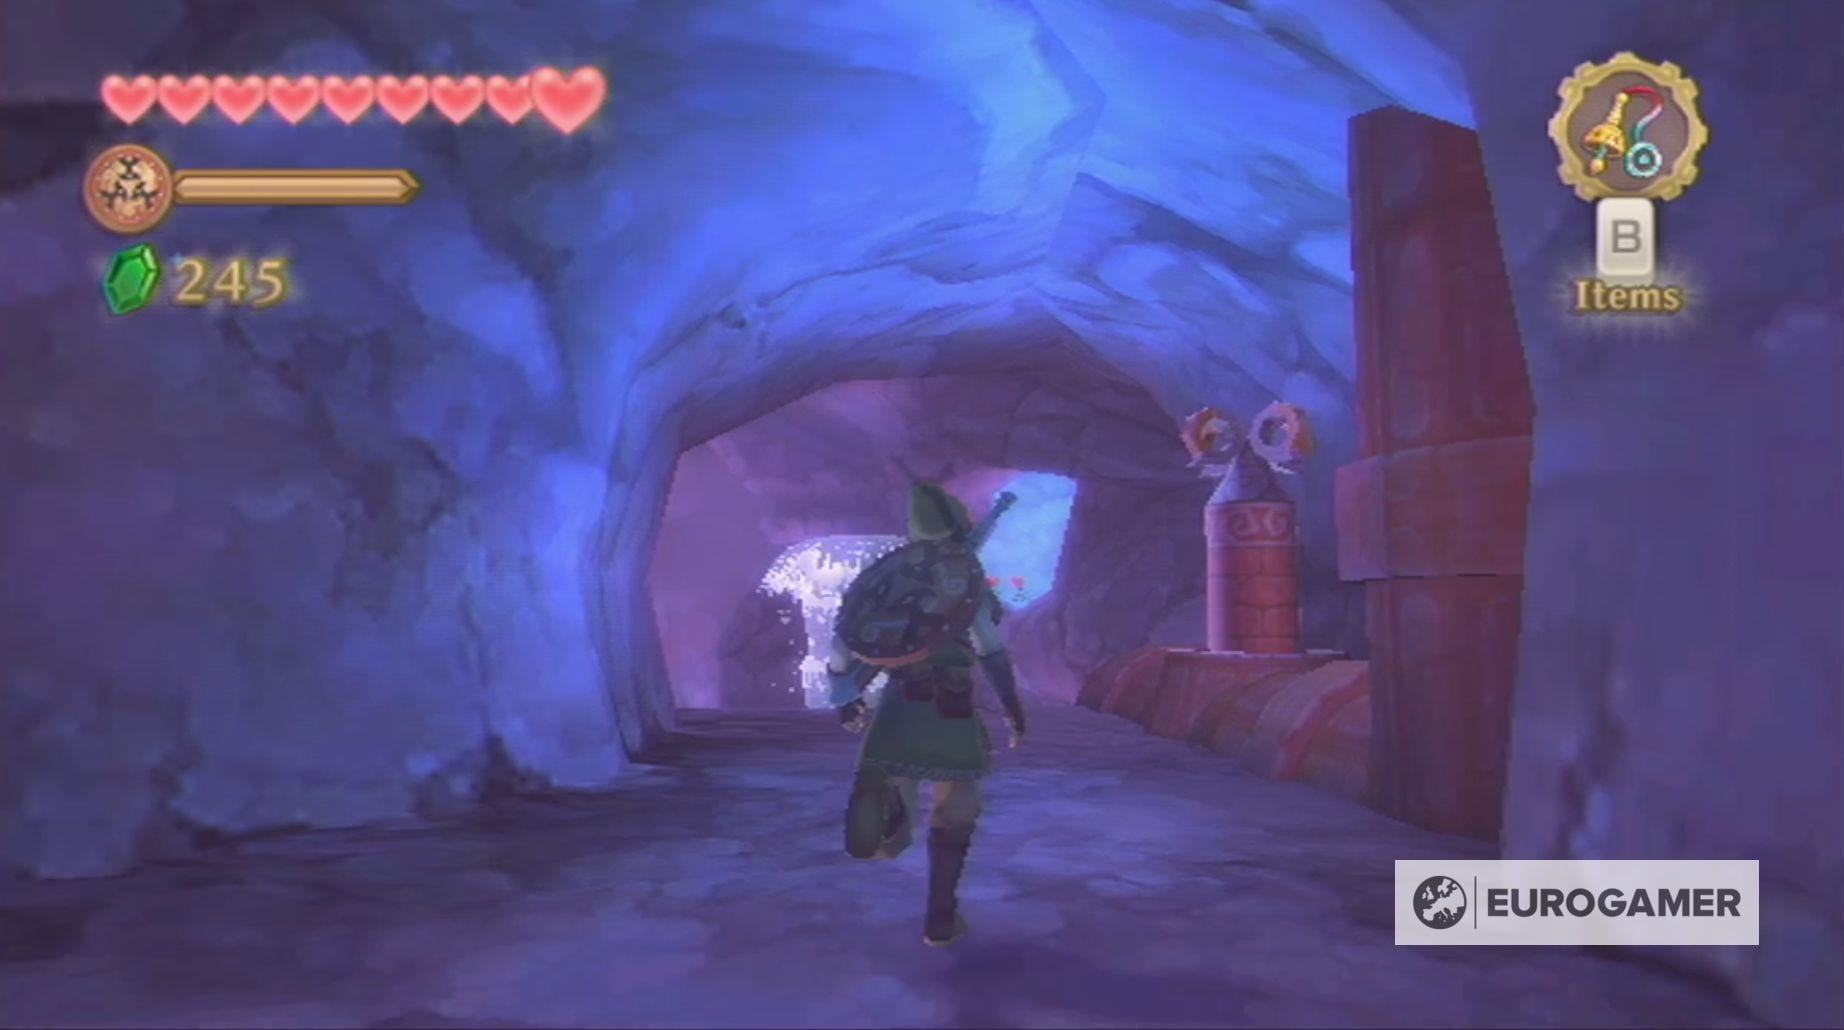
You'll find yourself in the dark underbelly of the Ancient Cistern and, the first thing you need to do, is climb up onto the platform.
Here you can use the Hook Beetle to knock down the Skulltulas and, in doing so, clear the way to the next part of the sewer.
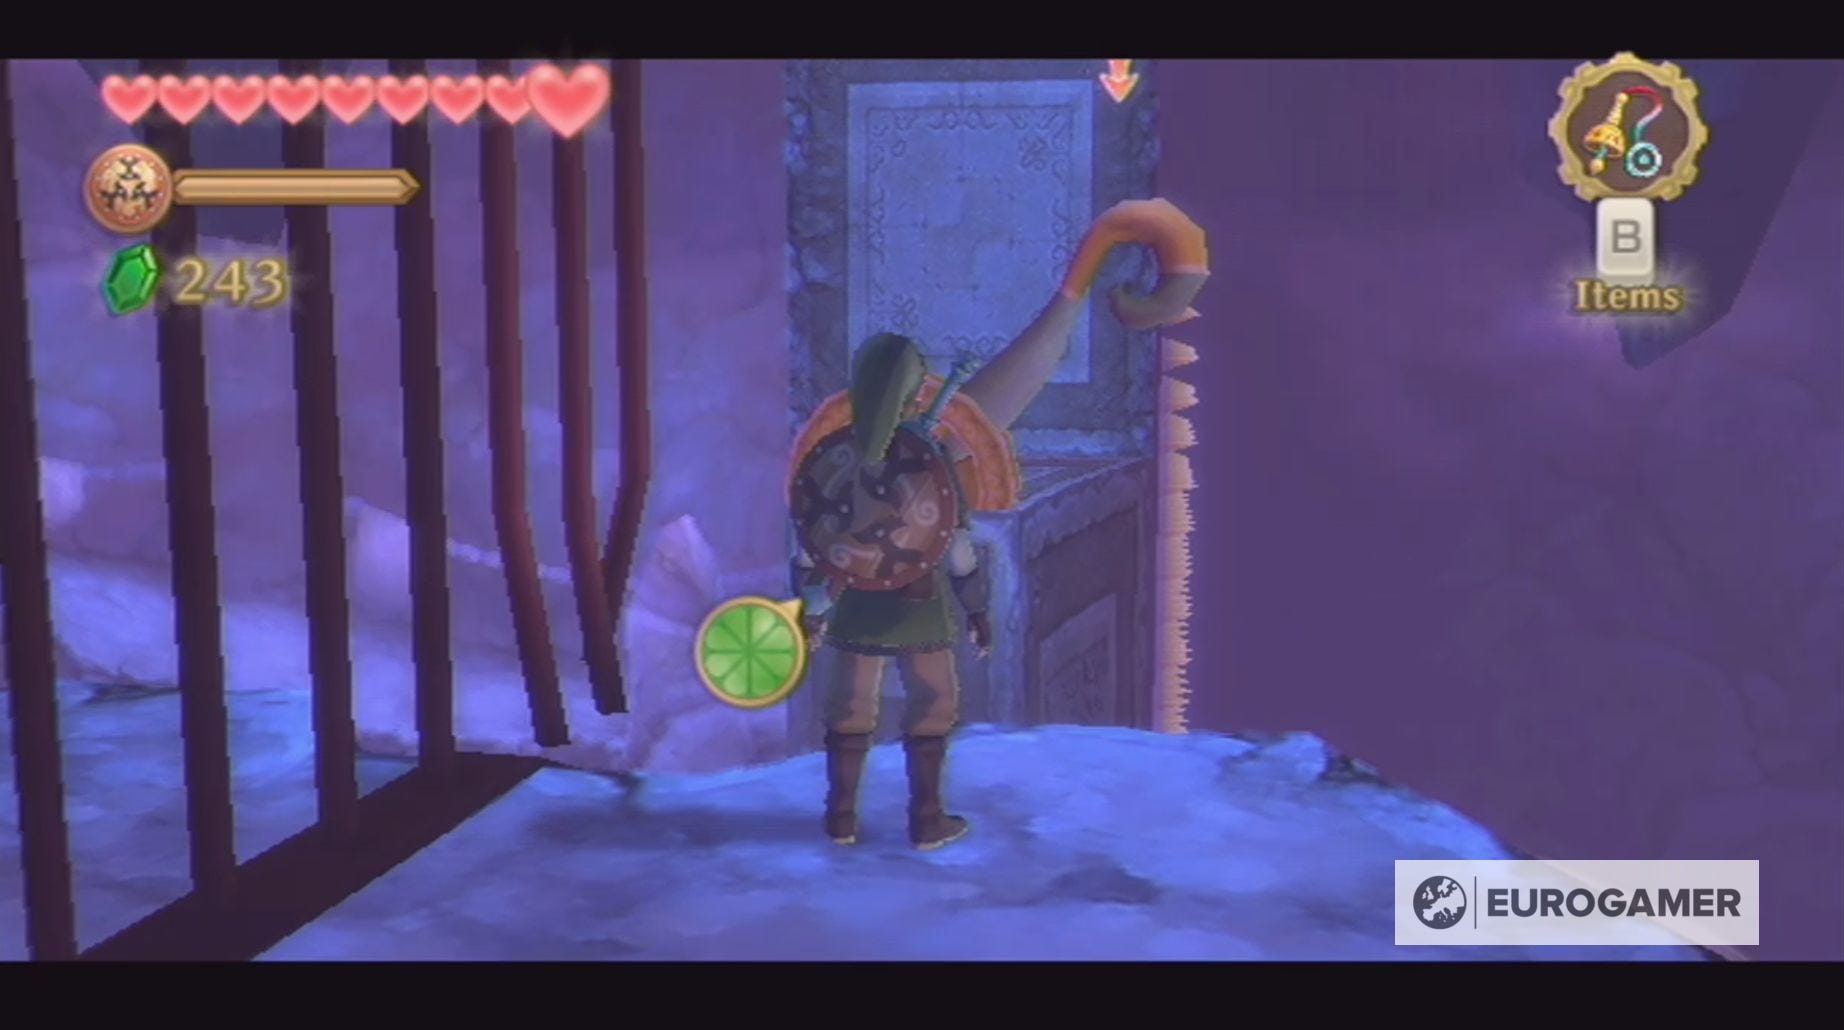
Now you need to climb out of the water on the right-hand and use the Whip to steal the small key from the Bokoblin on the other side of the bars.
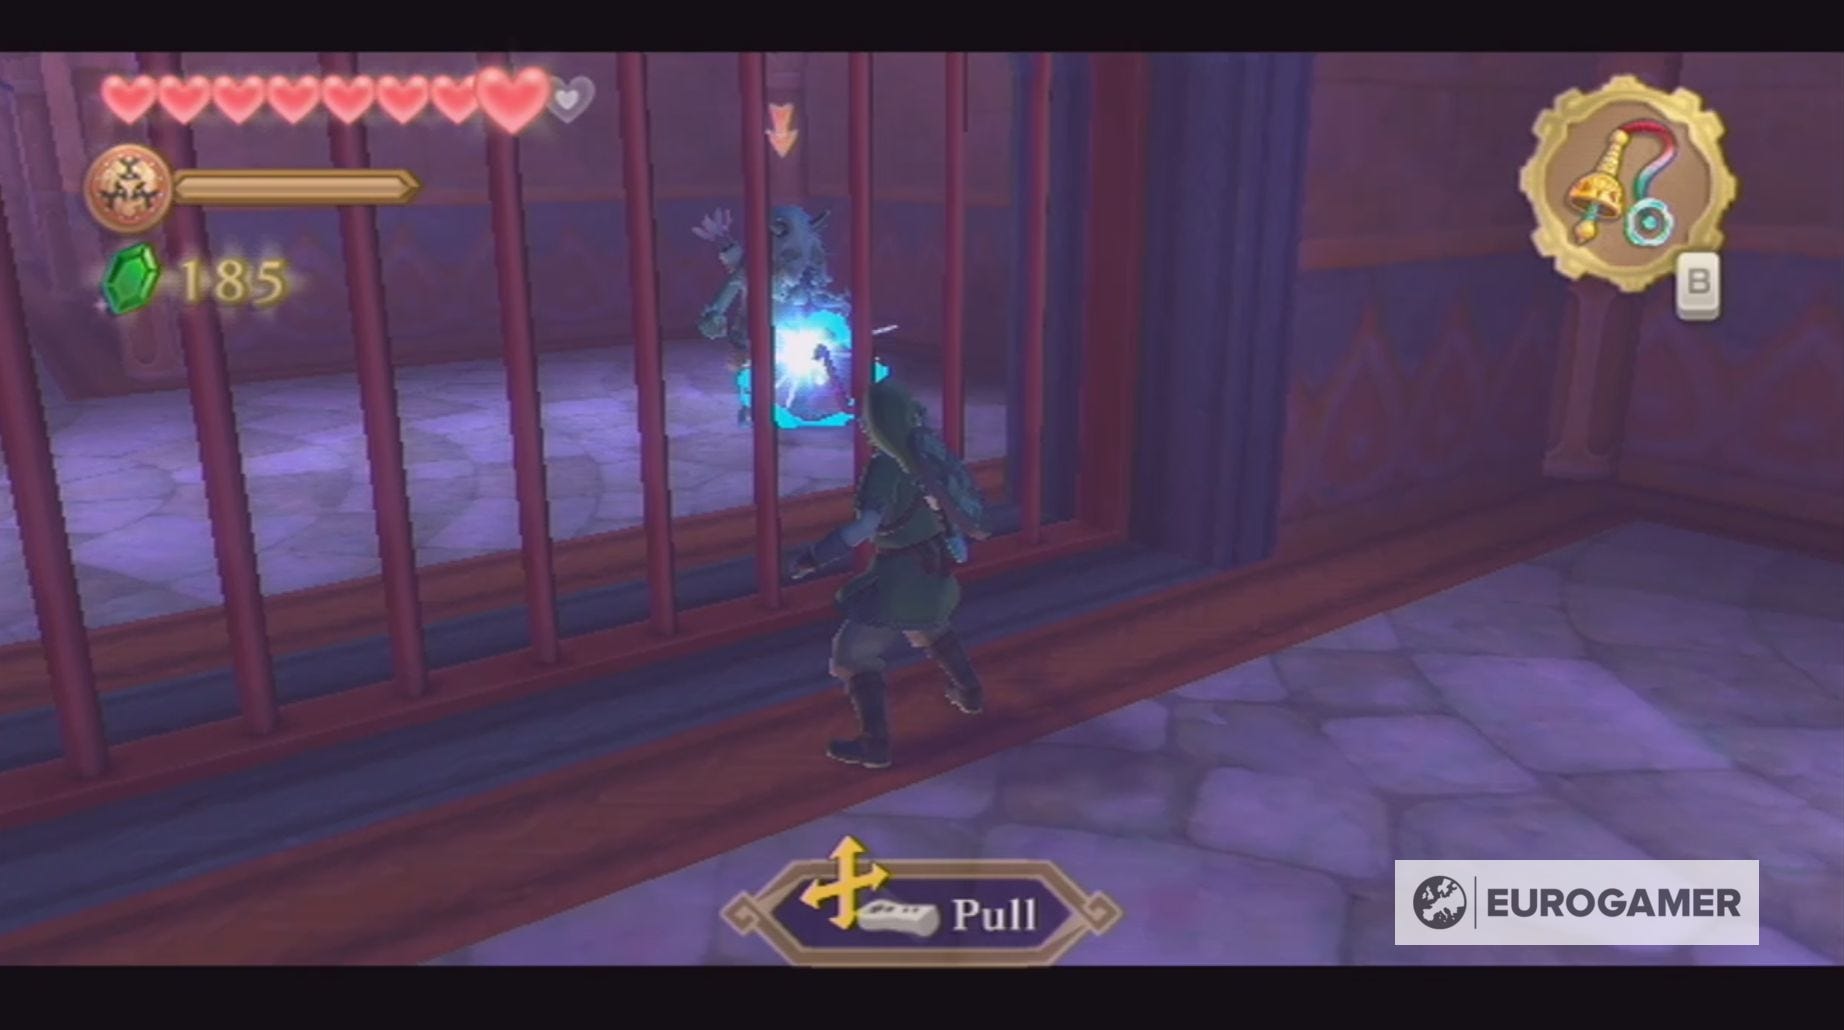
With this key, you can now open the door on the opposite side of the waterway and, just to be safe, I'd kill that Bokoblin. Afterwards, jump into the pipe to return to the brighter version of the Ancient Cistern.
Before you do anything else in this new room, make sure you pull the nearby lever to create a shortcut to the central room of the dungeon.
Afterwards, jump back into the water and perform a spinning jump so you can reach the ledge to the right of the door. Here you then need to use the Whip on the upturned lily and kill the little spider, so you can safely climb the vines.
Follow this platform around, killing the Quadro Baba, and jump down onto the lily pad below.
Doing this will grant you access to the underway passage beneath the lily pad, so it's time to get swimming. Within this passage, you'll find a number of Froaks, which you can either avoid or kill with a spin attack.
The passage will bring you to the opposite side of the room where you'll find a toggle which you can use your Whip upon. Just watch out for the Deku Baba!
This will create a jet of water beneath the lily pad you upturned, so return to the opposite of the room and use the Whip upon it. You can use the lily pad to cross to the other high platform.
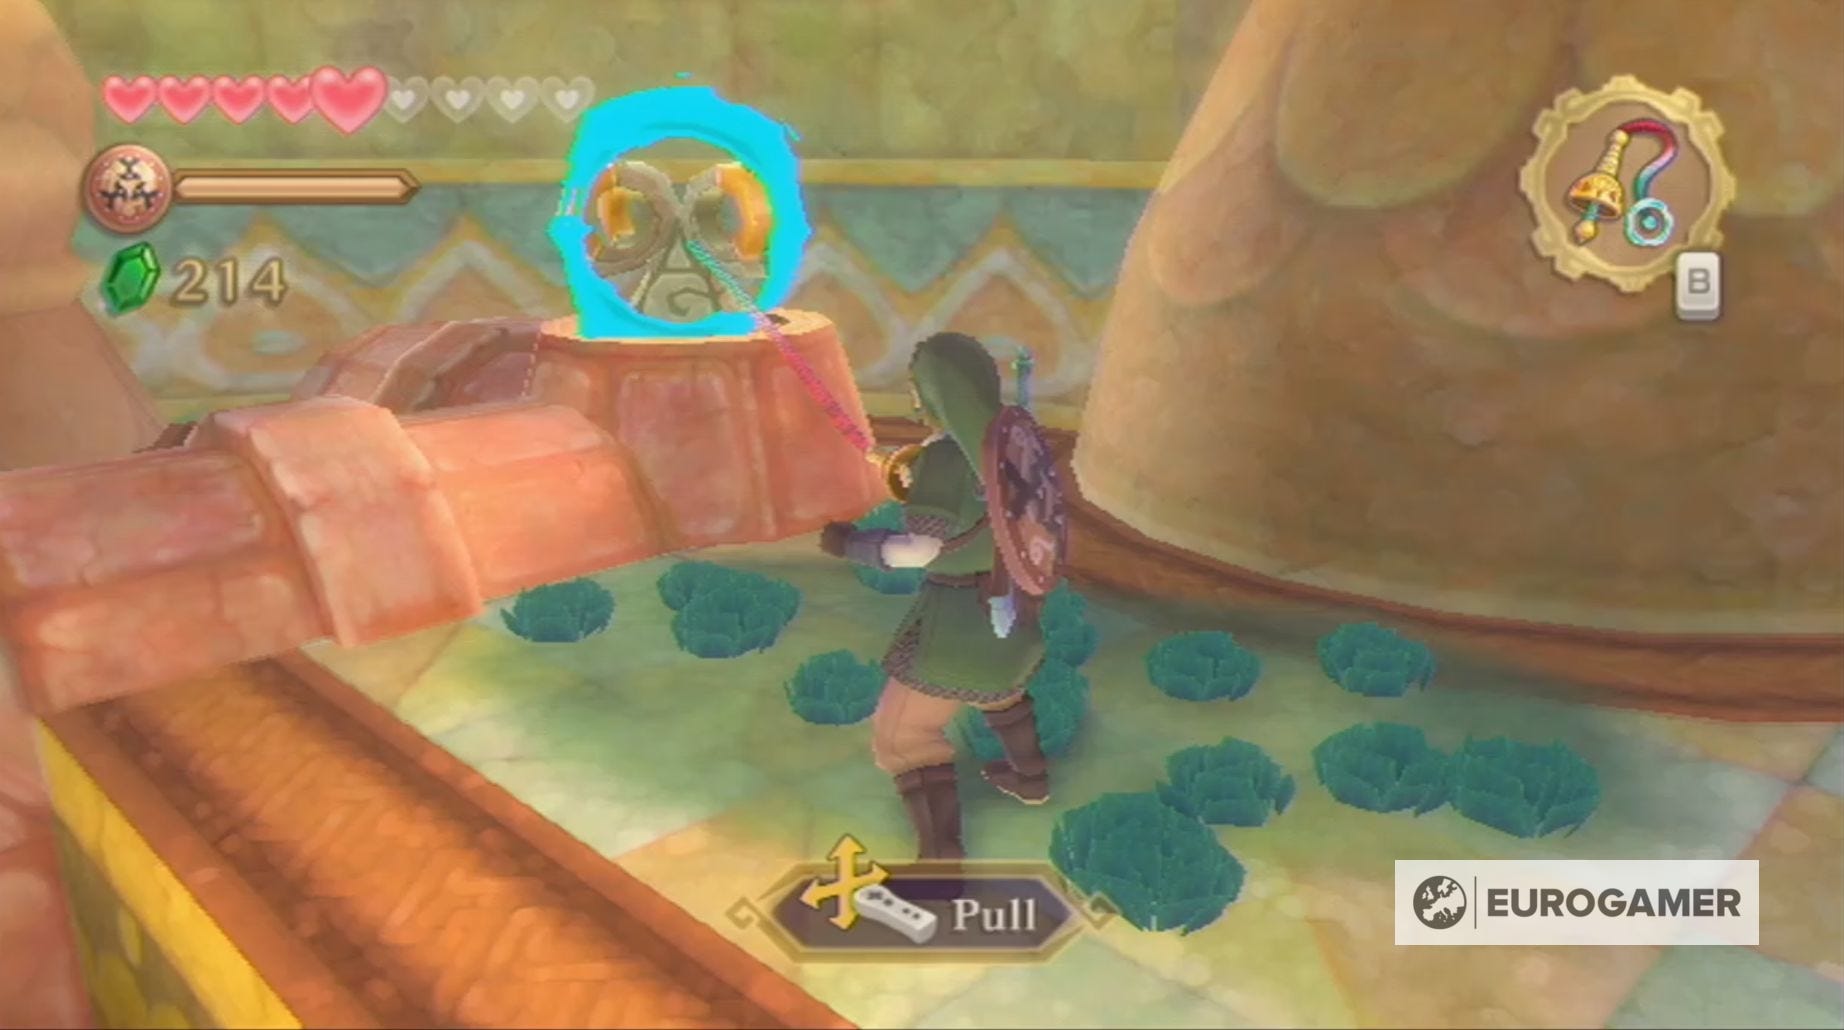
Go up these stairs and use the Whip on the lever to access a higher point of the Ancient Cistern.
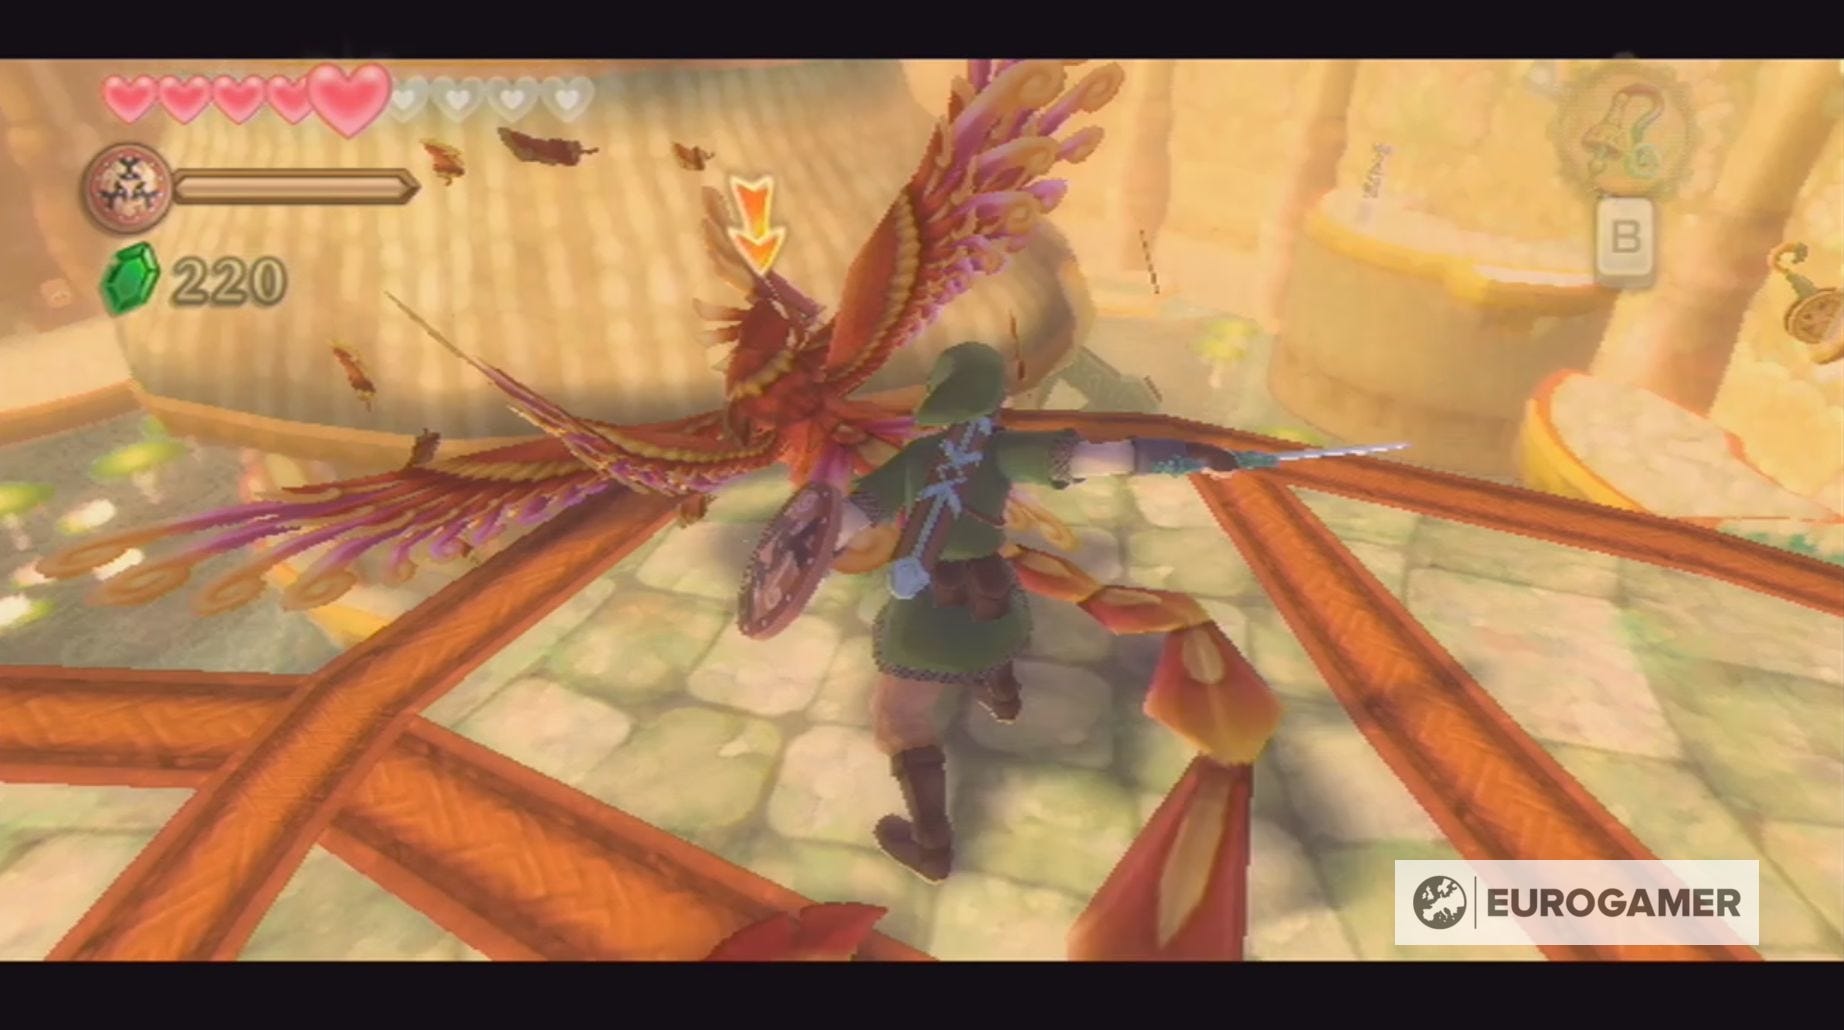
Here you'll most likely have your first encounter with Furnix. These birds are killed by waiting for them to unfurl their tails and then using the Whip to drag them to the ground. Here you'll be able to attack with your sword.
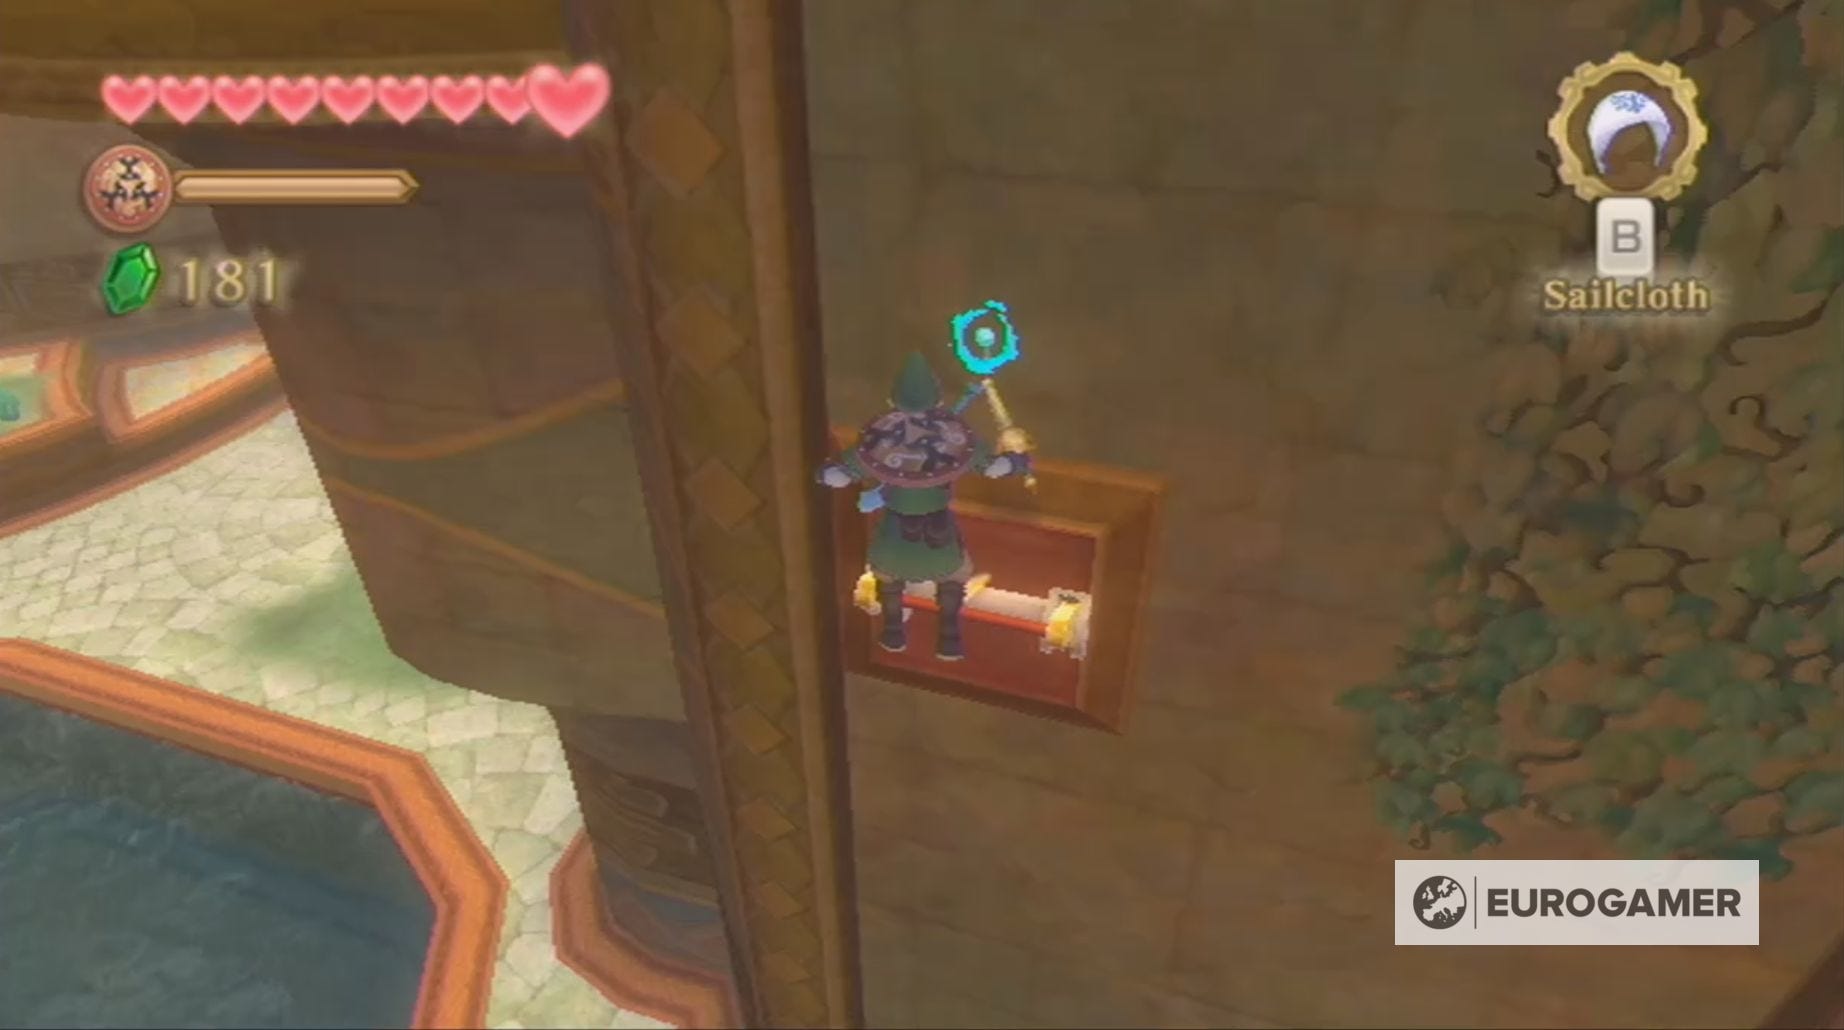
Next, you need to climb and leap your way across the vines to reach the next platform. You can find a chest containing 20 Rupees by travelling down the vines and then to the right. Just remember to kill the tiny spiders first!
Once you're on the next platform, use the Whip on the nearby toggle to create a shortcut to this level and then use it again on the nearby lever.
With that done, head back inside the statue in the middle of the central chamber and drop down to the area where you fought the Stalmaster.
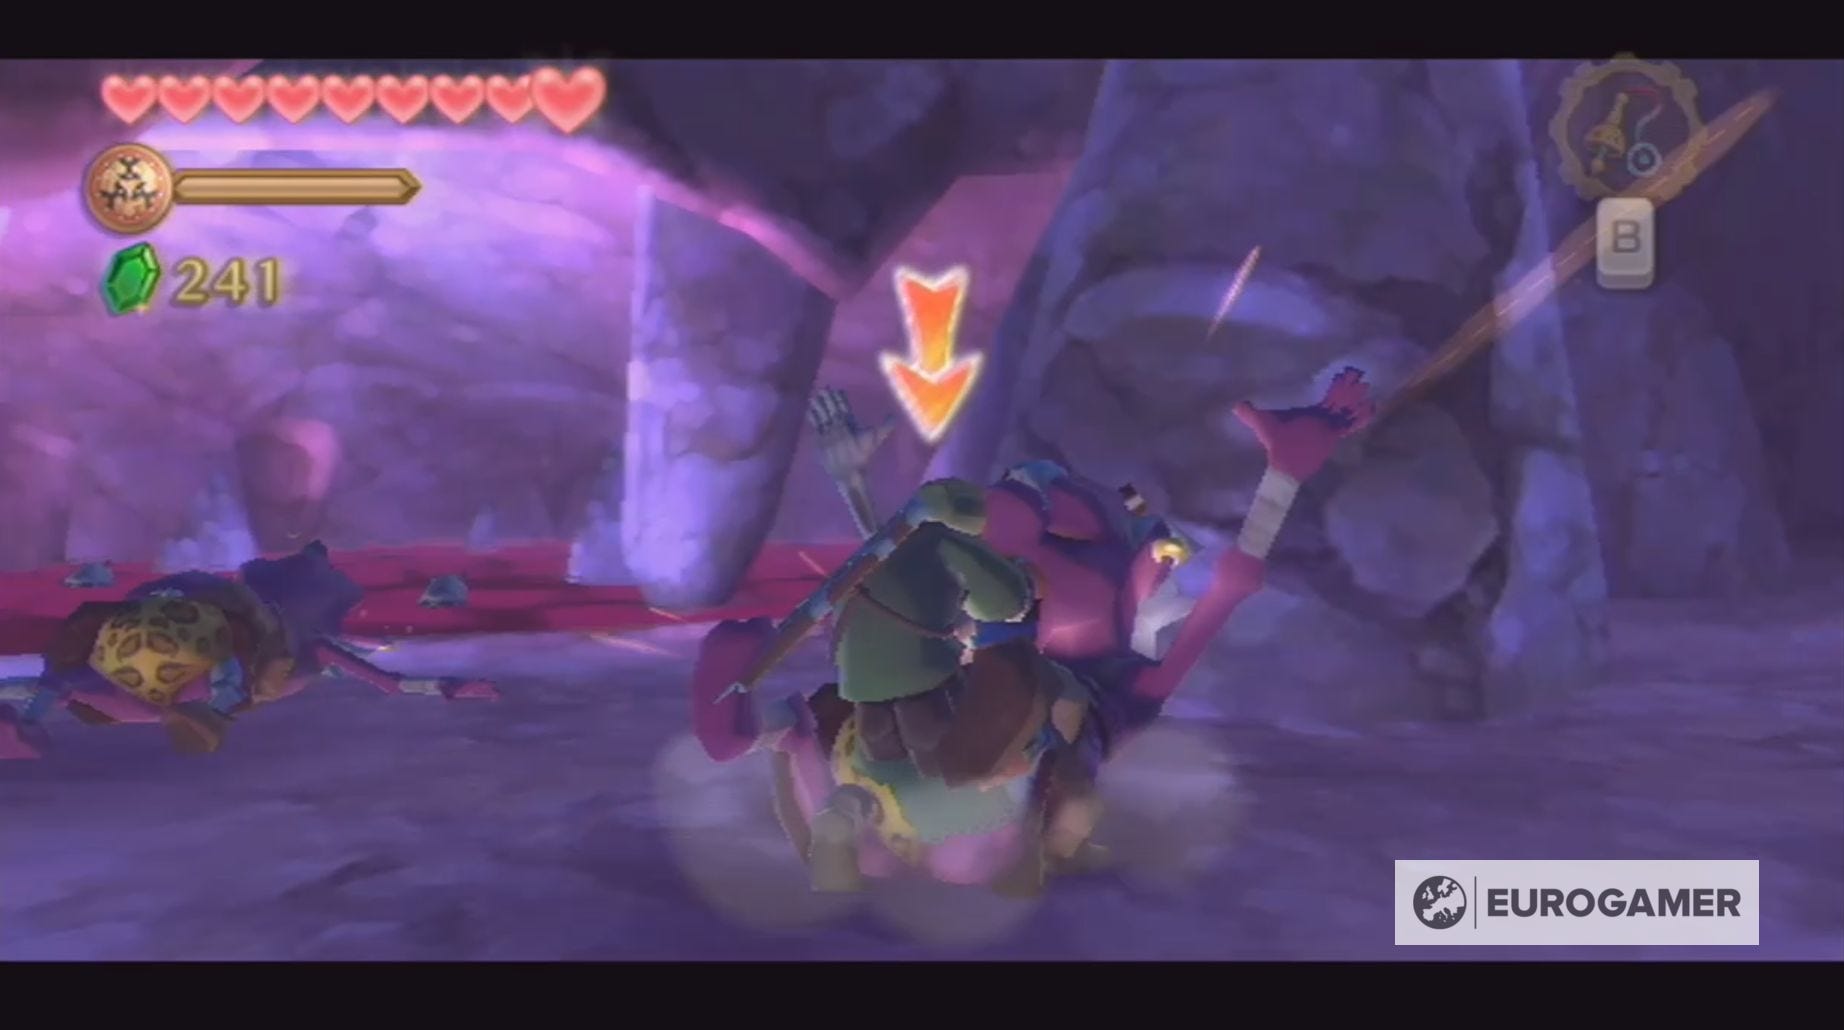
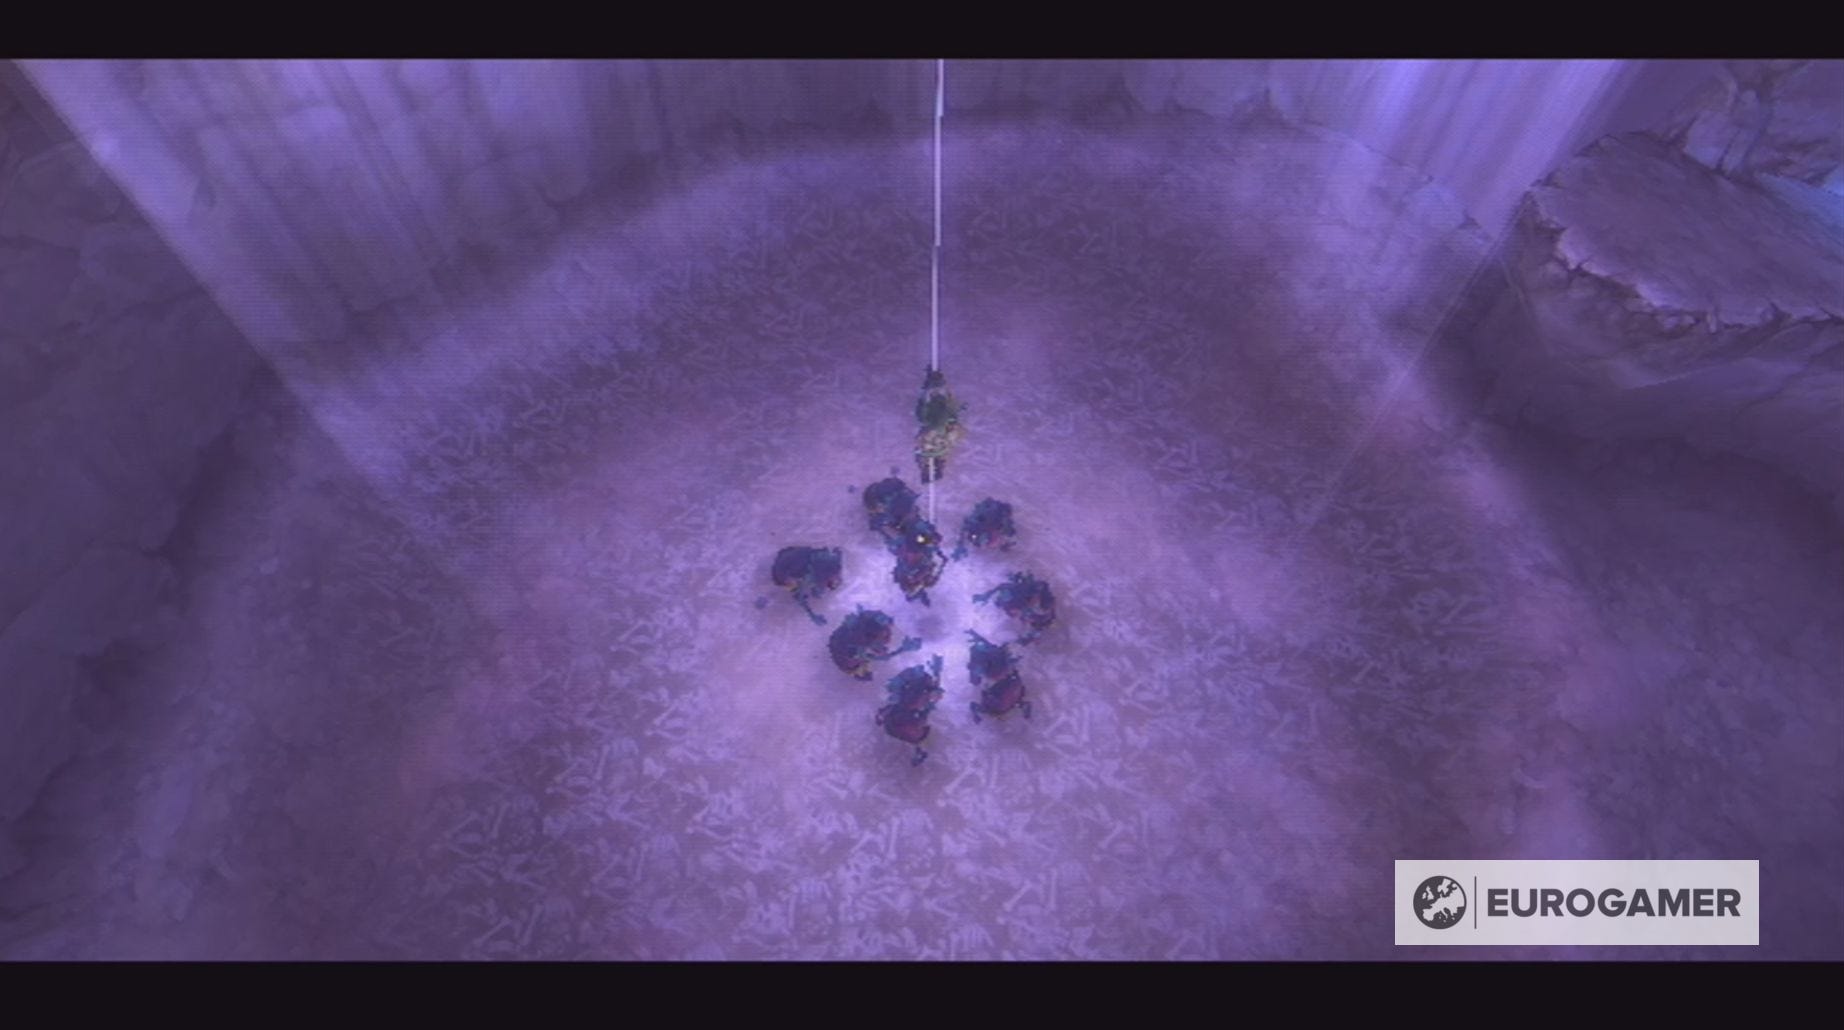
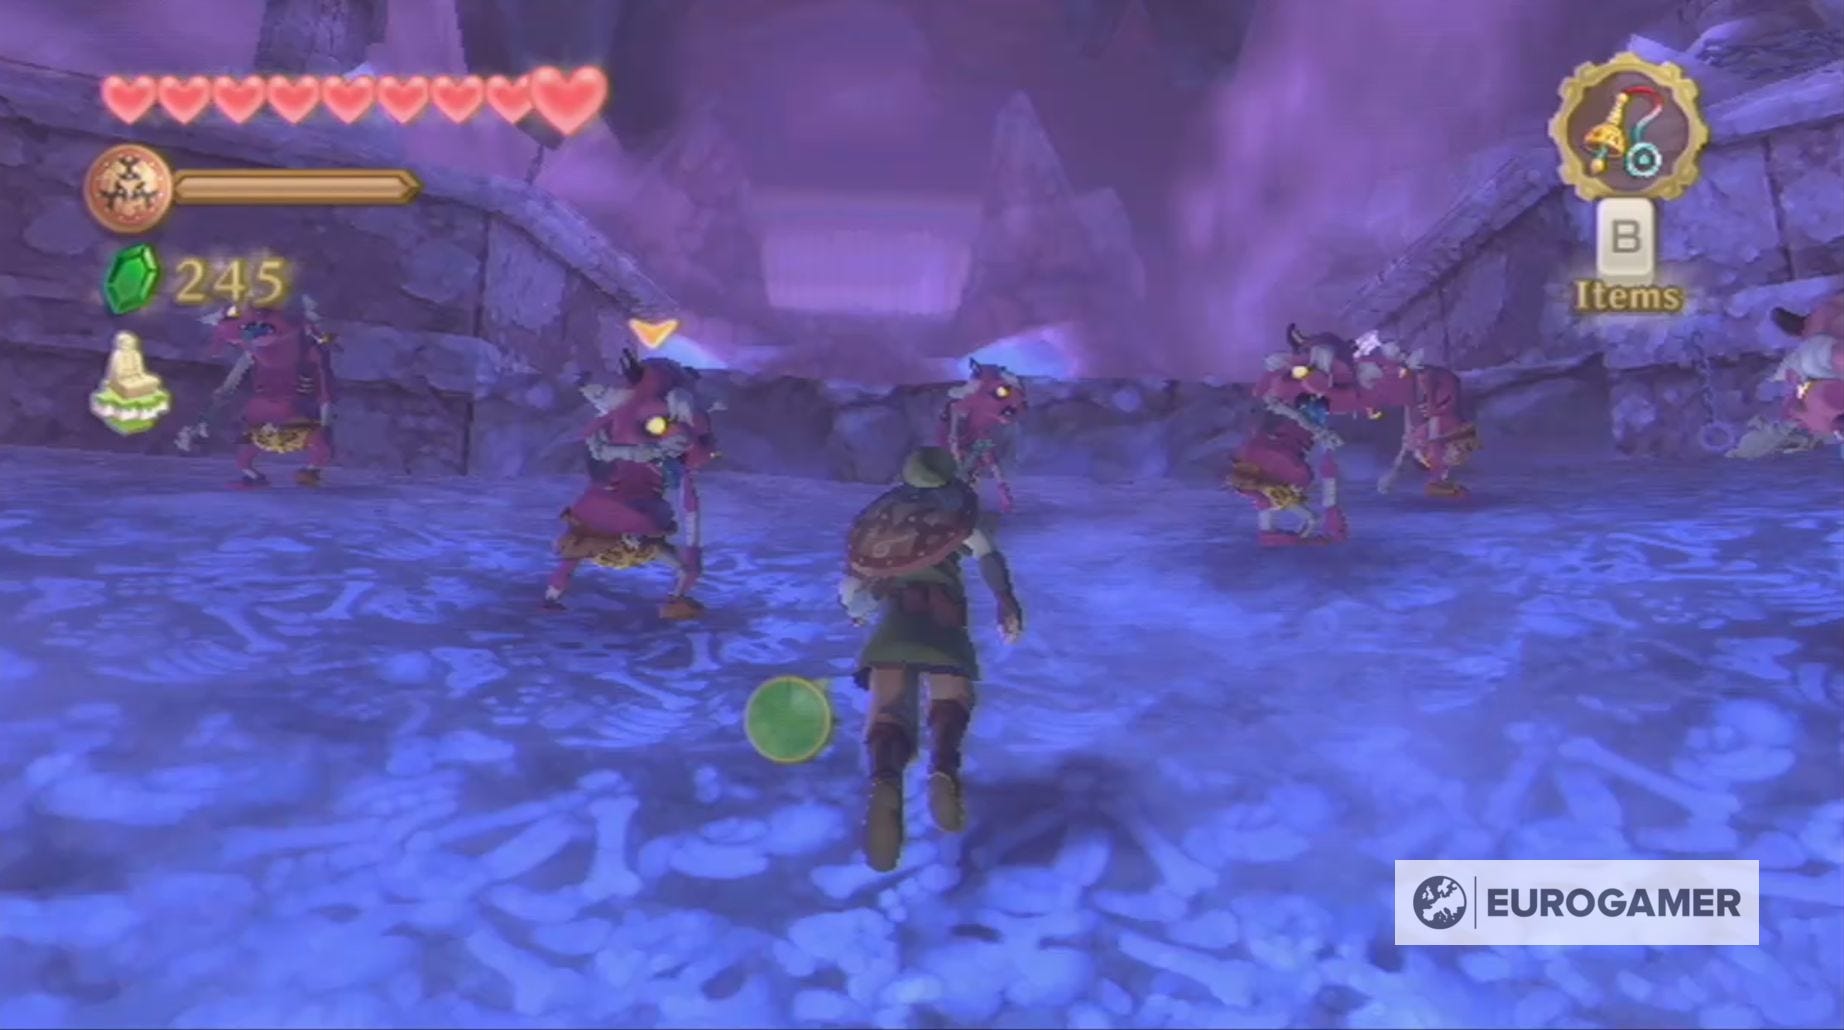
When you exit through the door, you'll find yourself in the cursed part of the dungeon again. Here you'll have to avoid pools of purple water and battle Cursed Bokoblins. These monsters have been overpowered by the evil aura of this area, which makes them harder to kill.
Cursed Bokoblins will appear in groups and are best killed by performing a Fatal Blow.
Follow the passage to the left of the door you entered this area by. We recommend killing every Cursed Bokoblin you encounter to avoid them swarming you.

Eventually, you'll reach a series of three lily pads, with the last needing to be turned over using the Whip. Be careful as you cross these lily pads, because touching the purple water will cost you health!
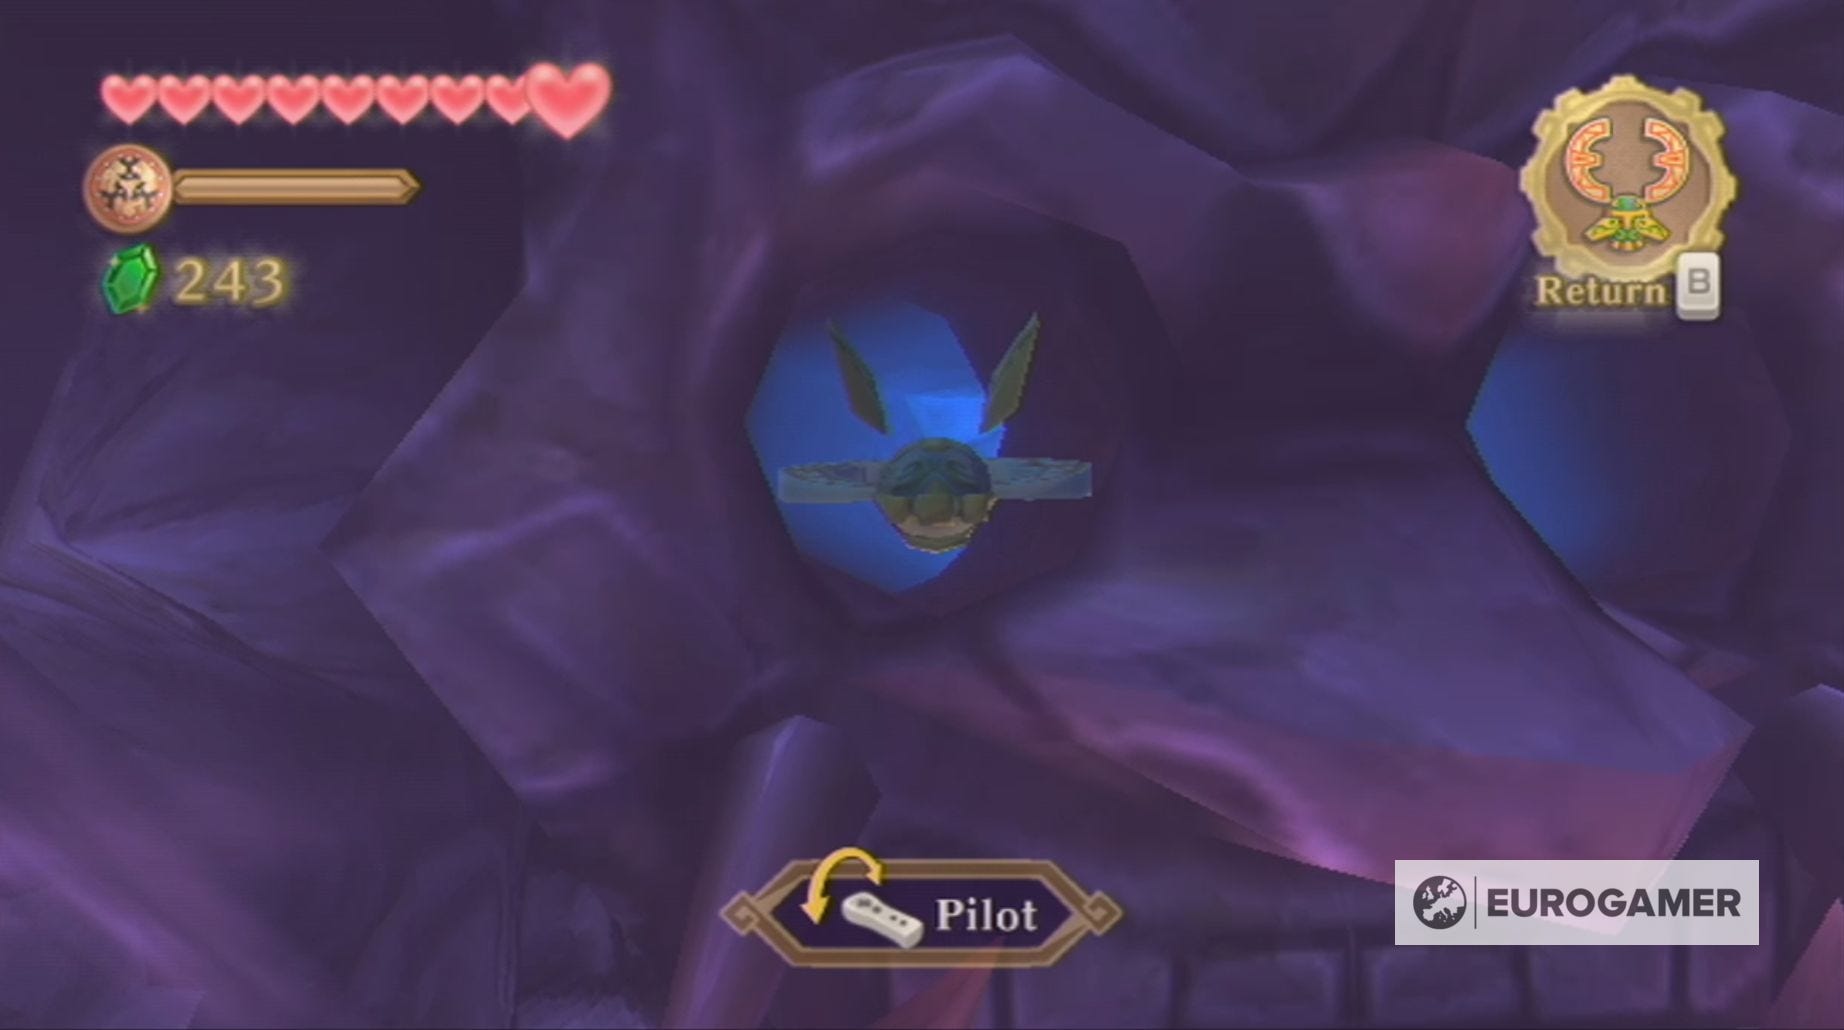
Once you're on the next platform, send the Hook Beetle through either of the eyes on the skill statue opposite and hit the switch hidden within.
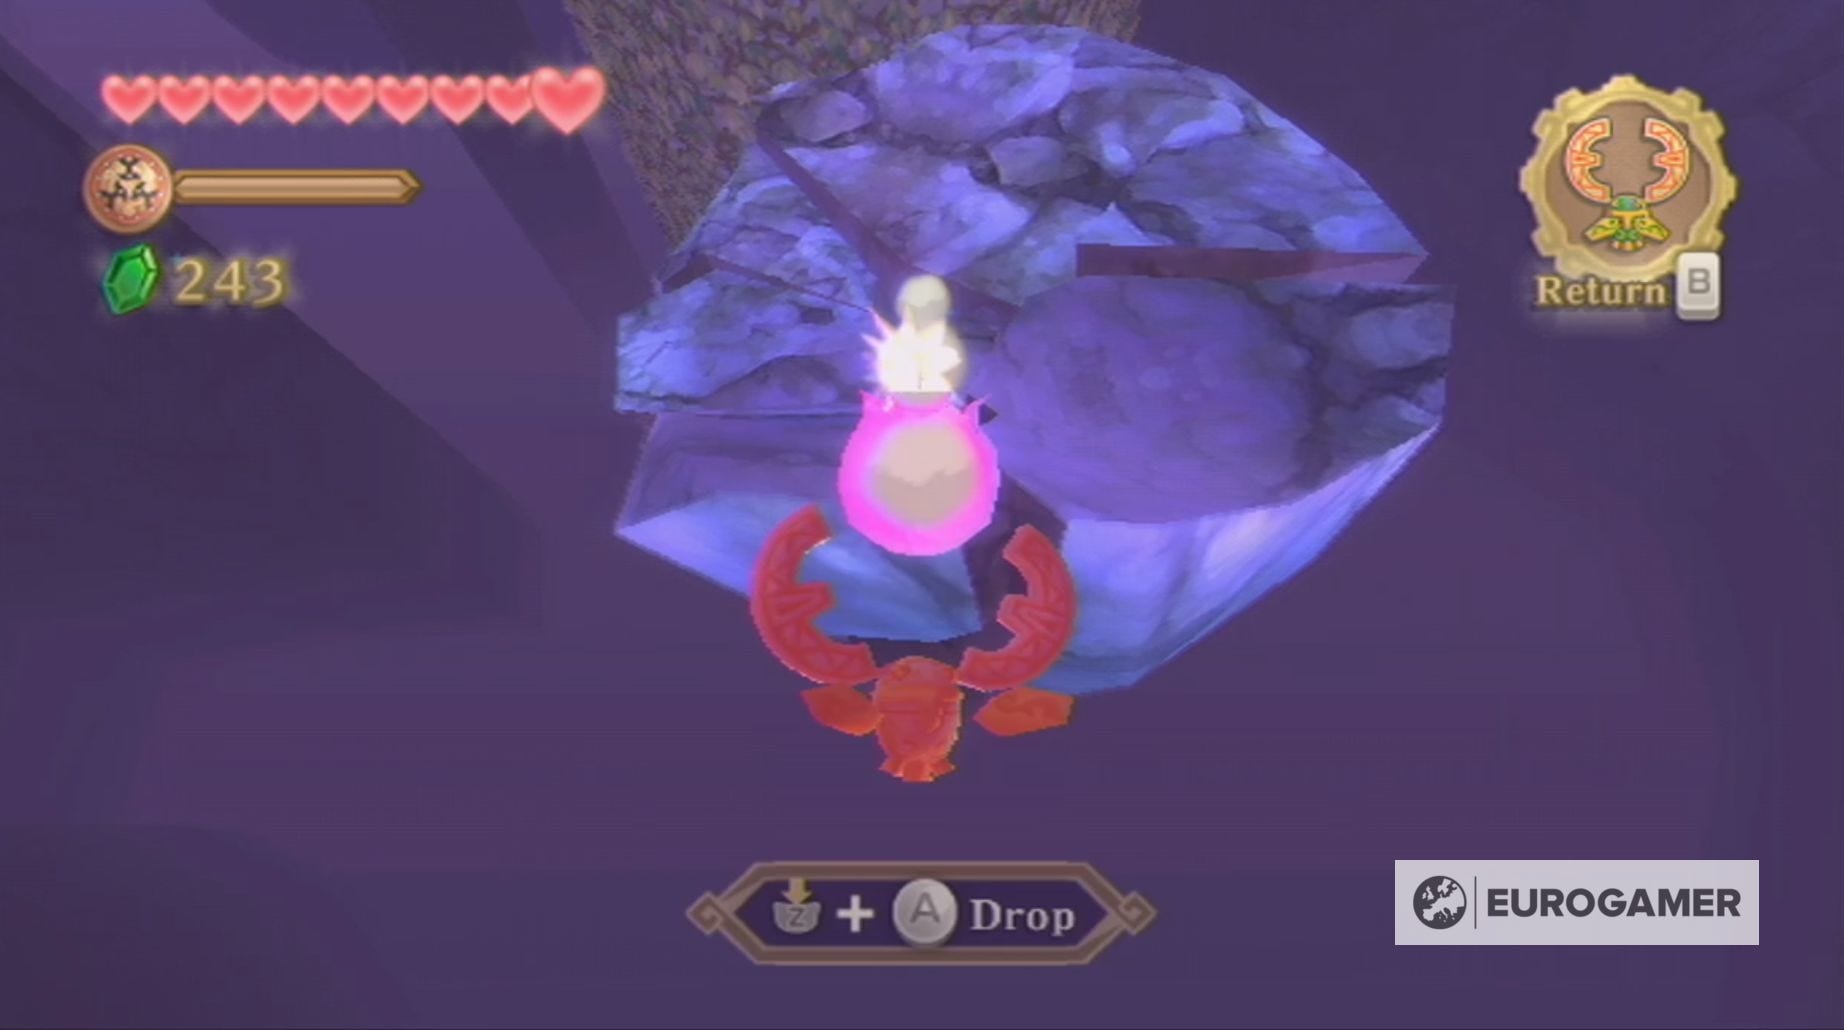
This will stop the waterfall - allowing you to collect the bomb using the Hook Beetle and drop it onto the boulder blocking your way to the moving pillars.
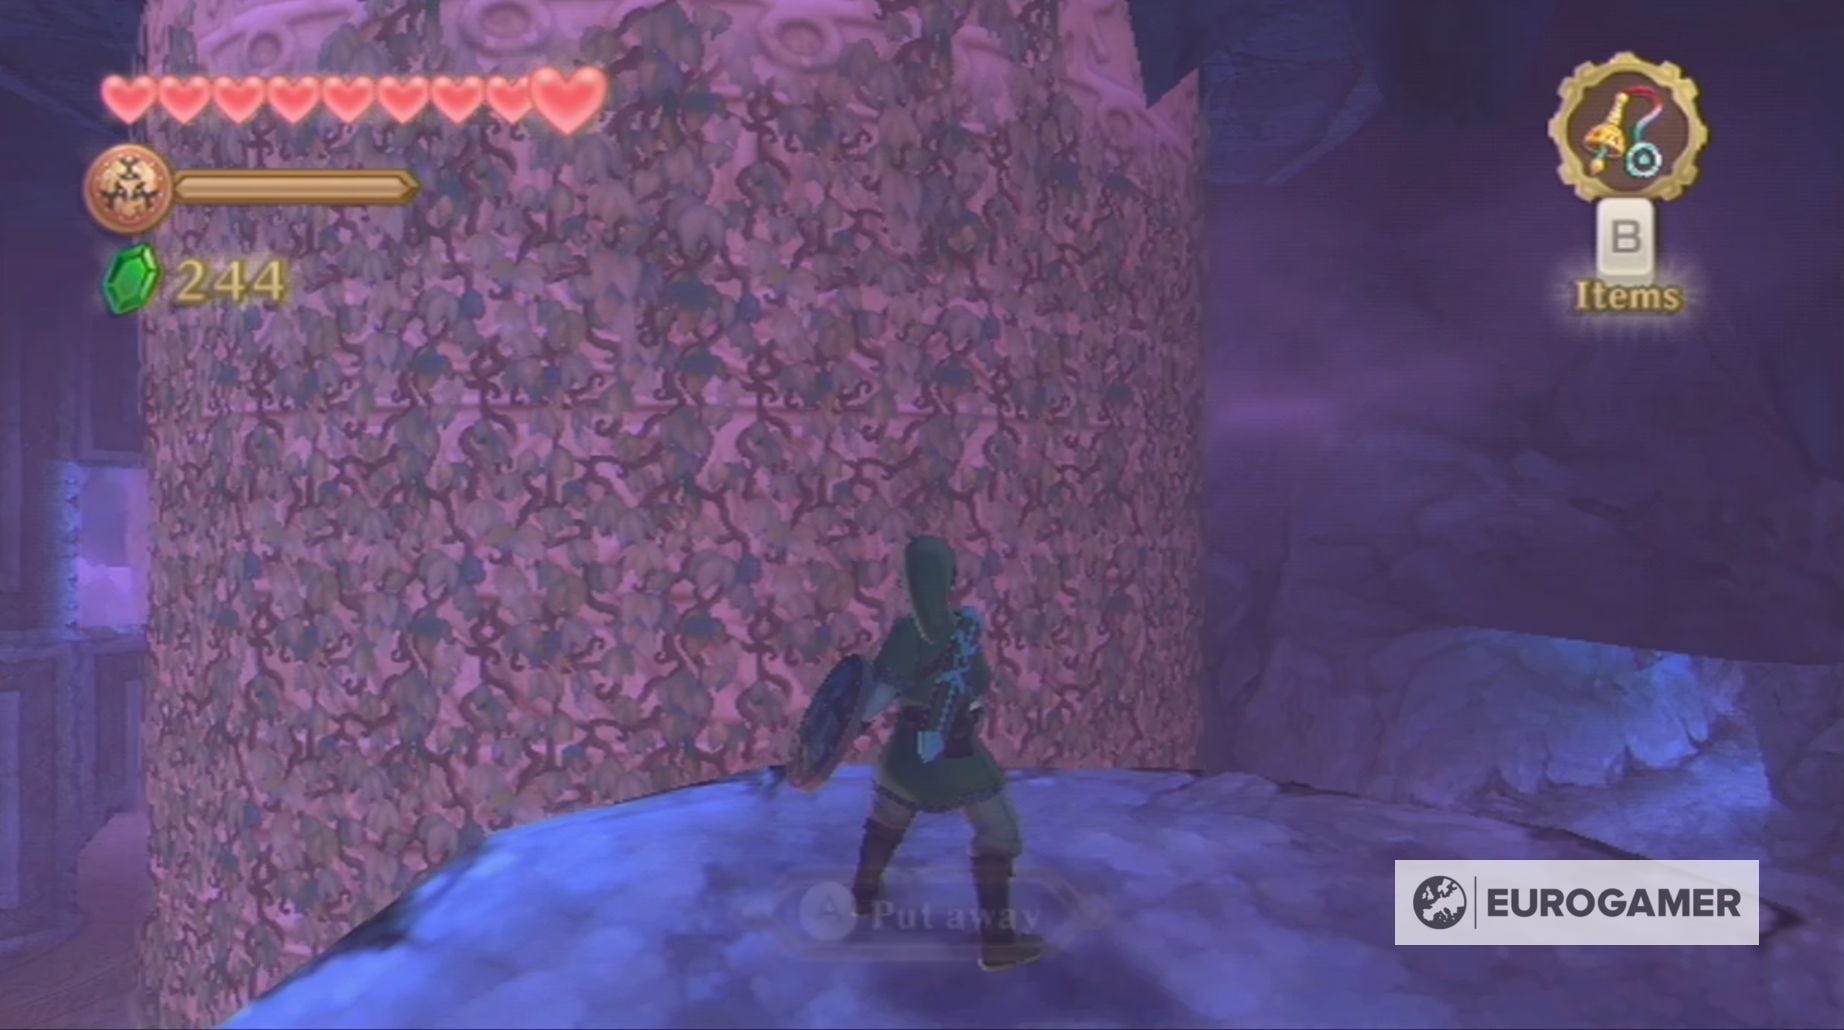
With the boulder destroyed, you can use the Whip to swing across to the first moving pillar, which you then need to climb.
From the top of this pillar, you can then jump across to the second and descend onto the second ledge you're spun around to.
Here you need to follow the ledge around until you are opposite the switch, which, itself, needs to be flipped to change the direction of the spinning platforms.
Now you can use the spinning pillar to reach the spinning platform, which, itself, will spin you round to another ledge where you'll have to defeat some more Cursed Bokoblin to progress. At the end of this ledge is another spinning pillar for you to jump across to.
Once you drop to the other side, climb up the nearby vines and flip the switch again to once again change the direction of the pillars.
Next, you need to climb back onto the pillar you were previously on and use it to transport you around to the last and final ledge.
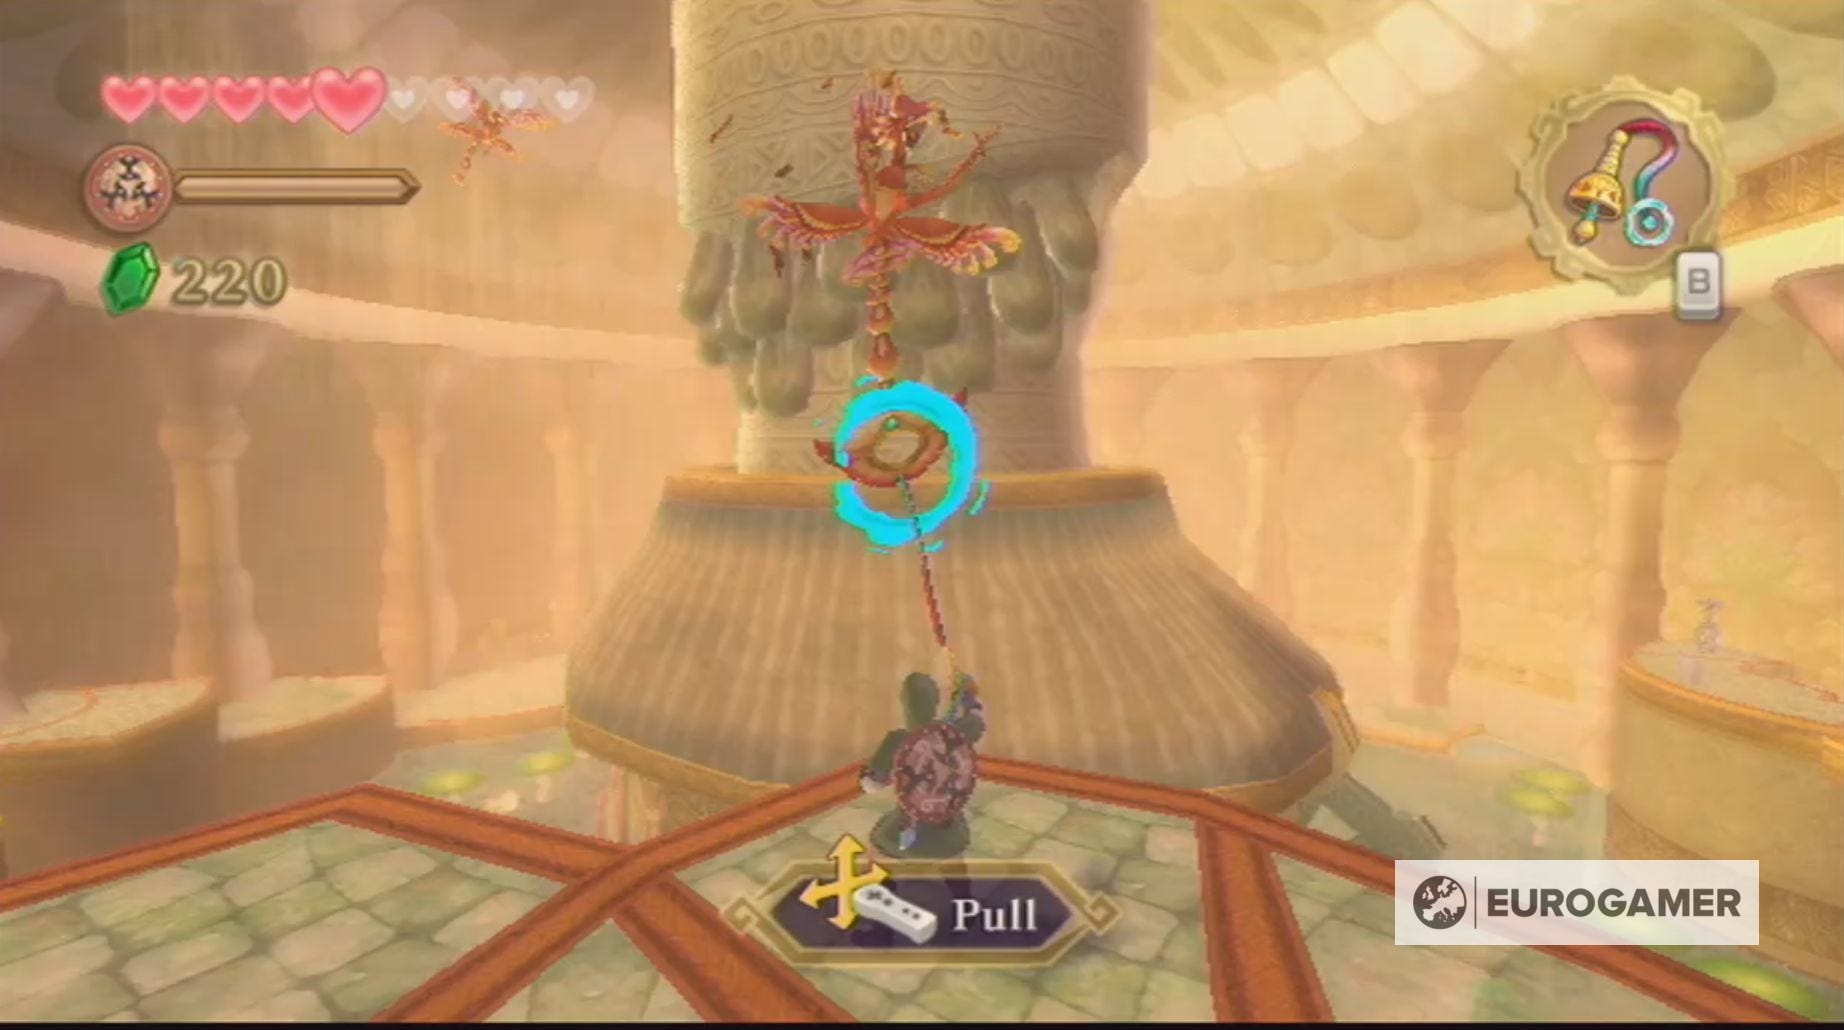
Kill the Fire Keese waiting for you and, before you climb the thread, make sure to use the Whip on the toggle to activate a jet of water.
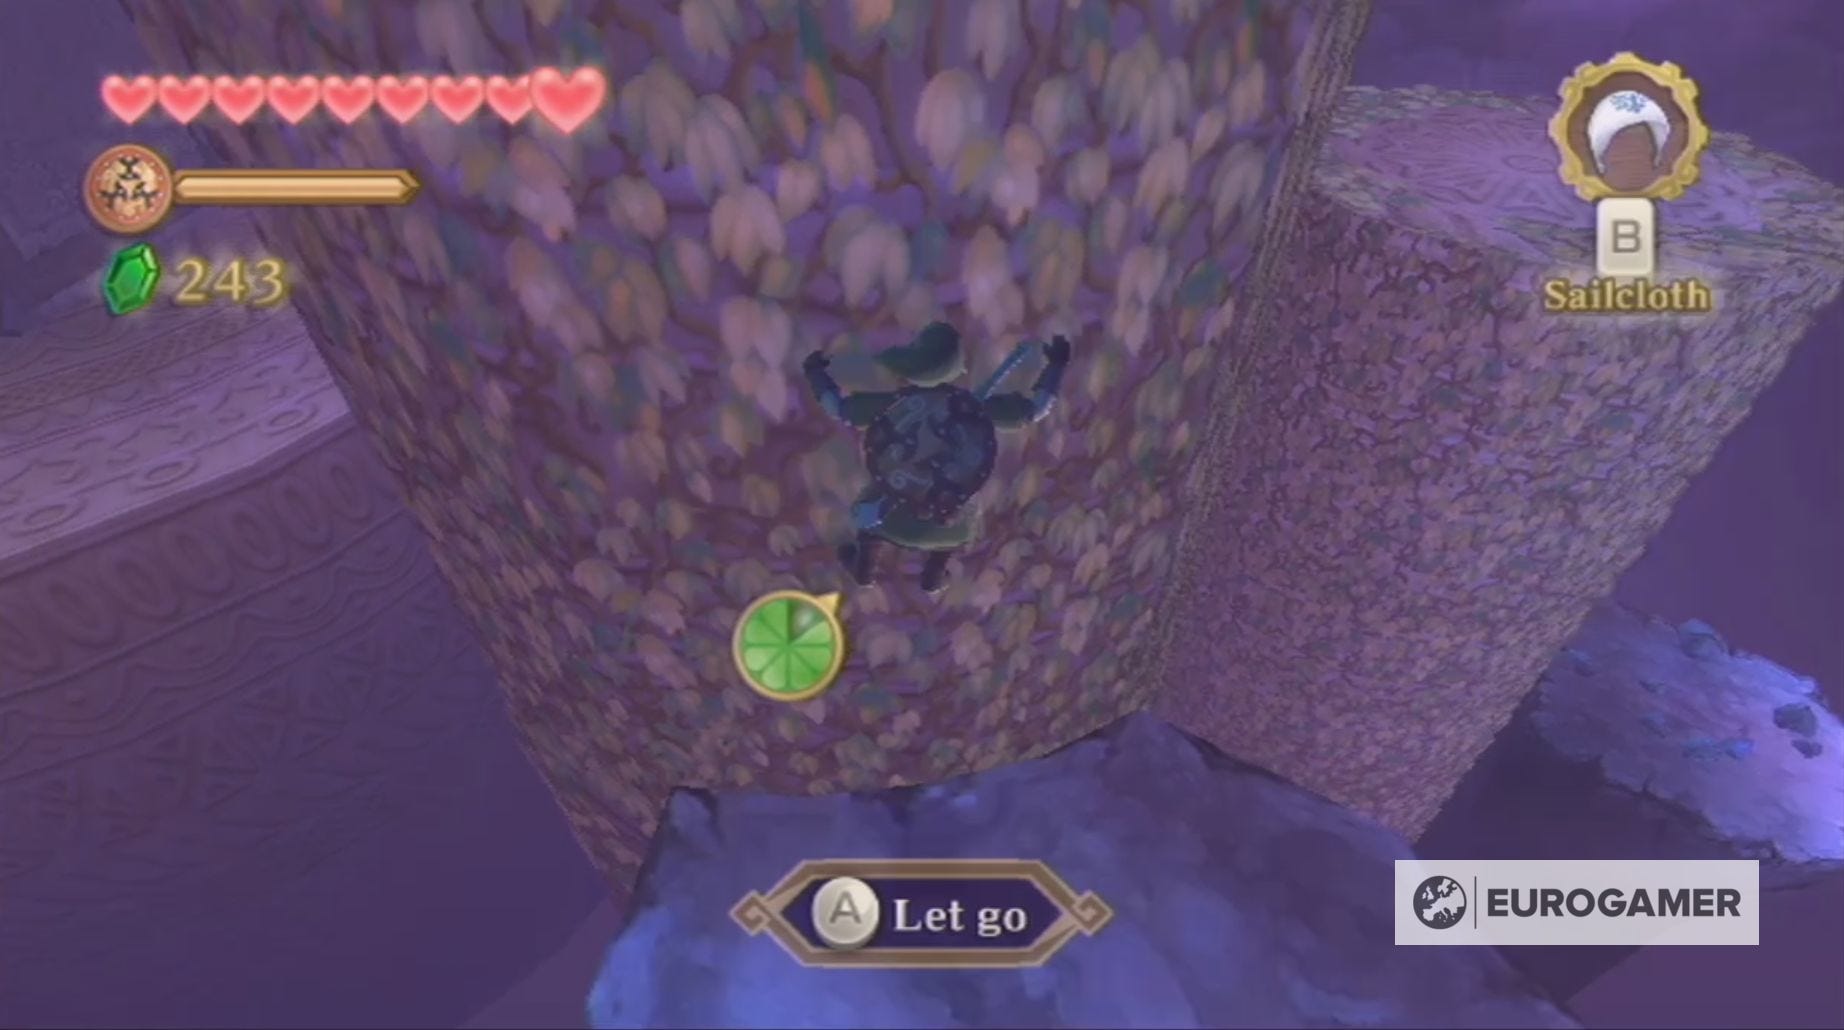
Now you're free to climb the ominous looking thread...I'm sure nothing bad will happen...
Oh - what a surprise.
Carry on climbing the thread, shaking free of any Cursed Bokoblin who grab hold of you until you emerge back into the dungeon's central room.
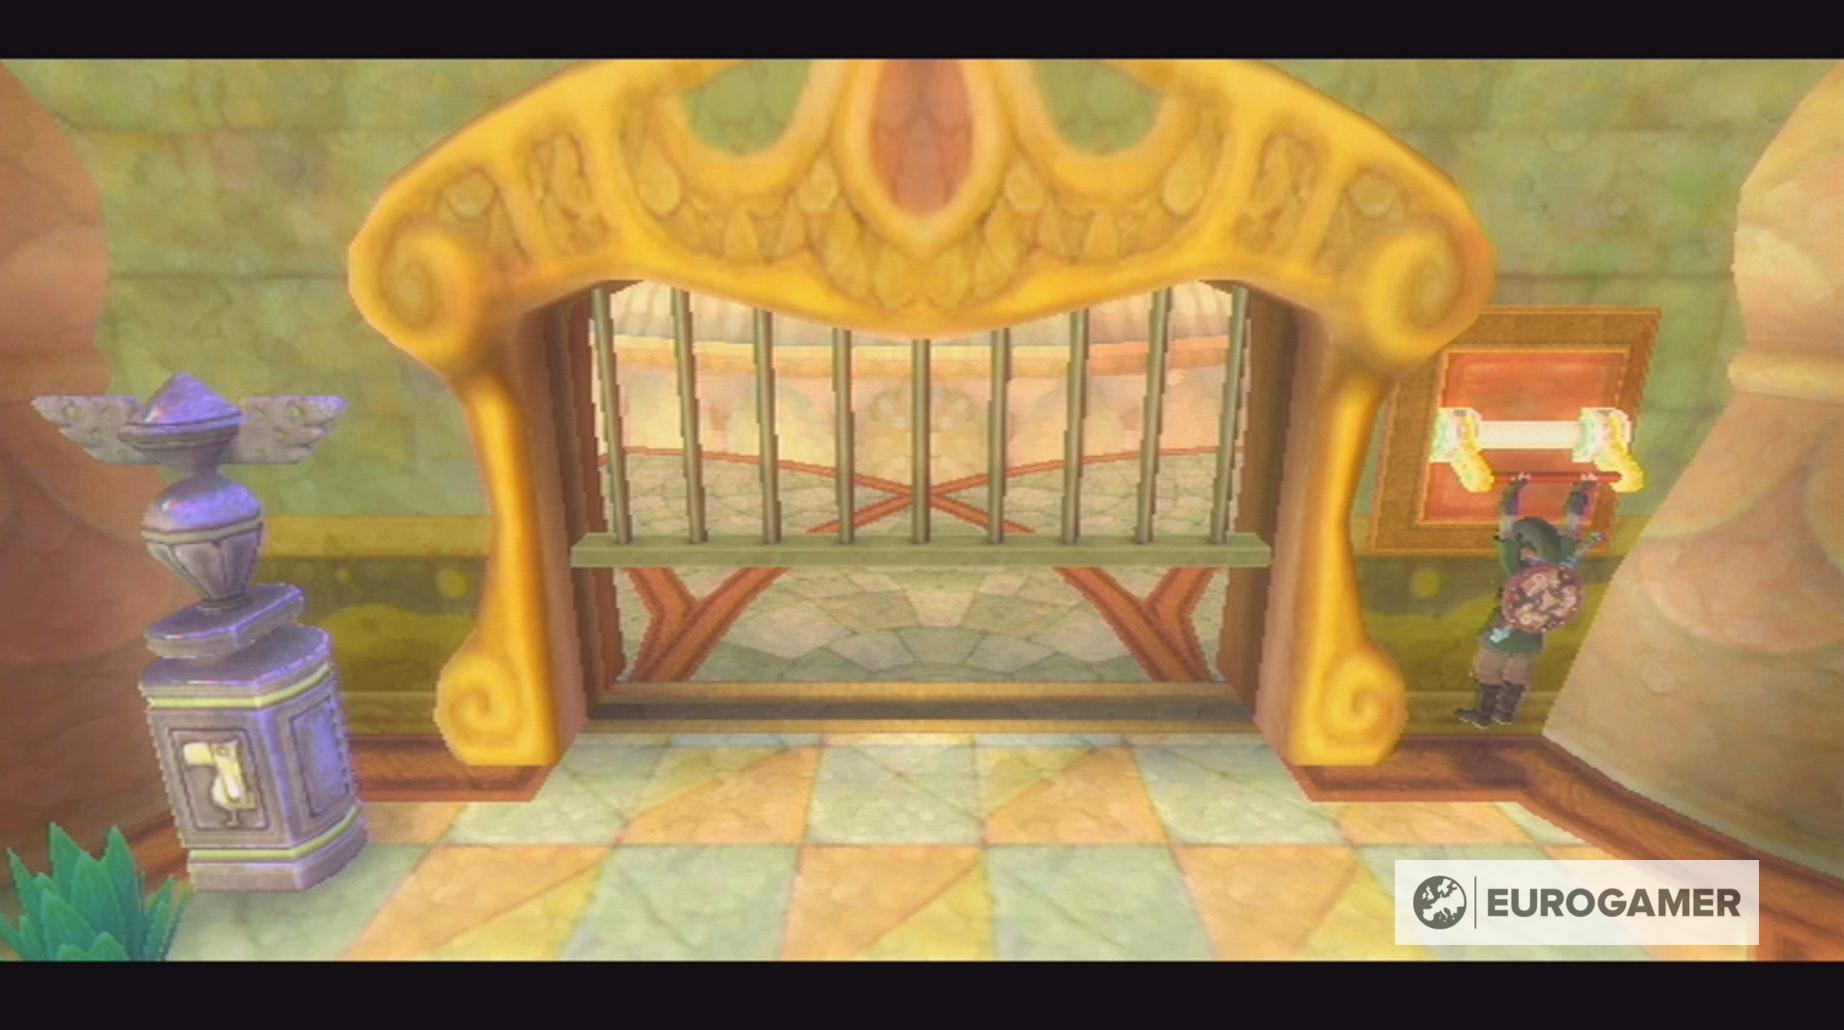
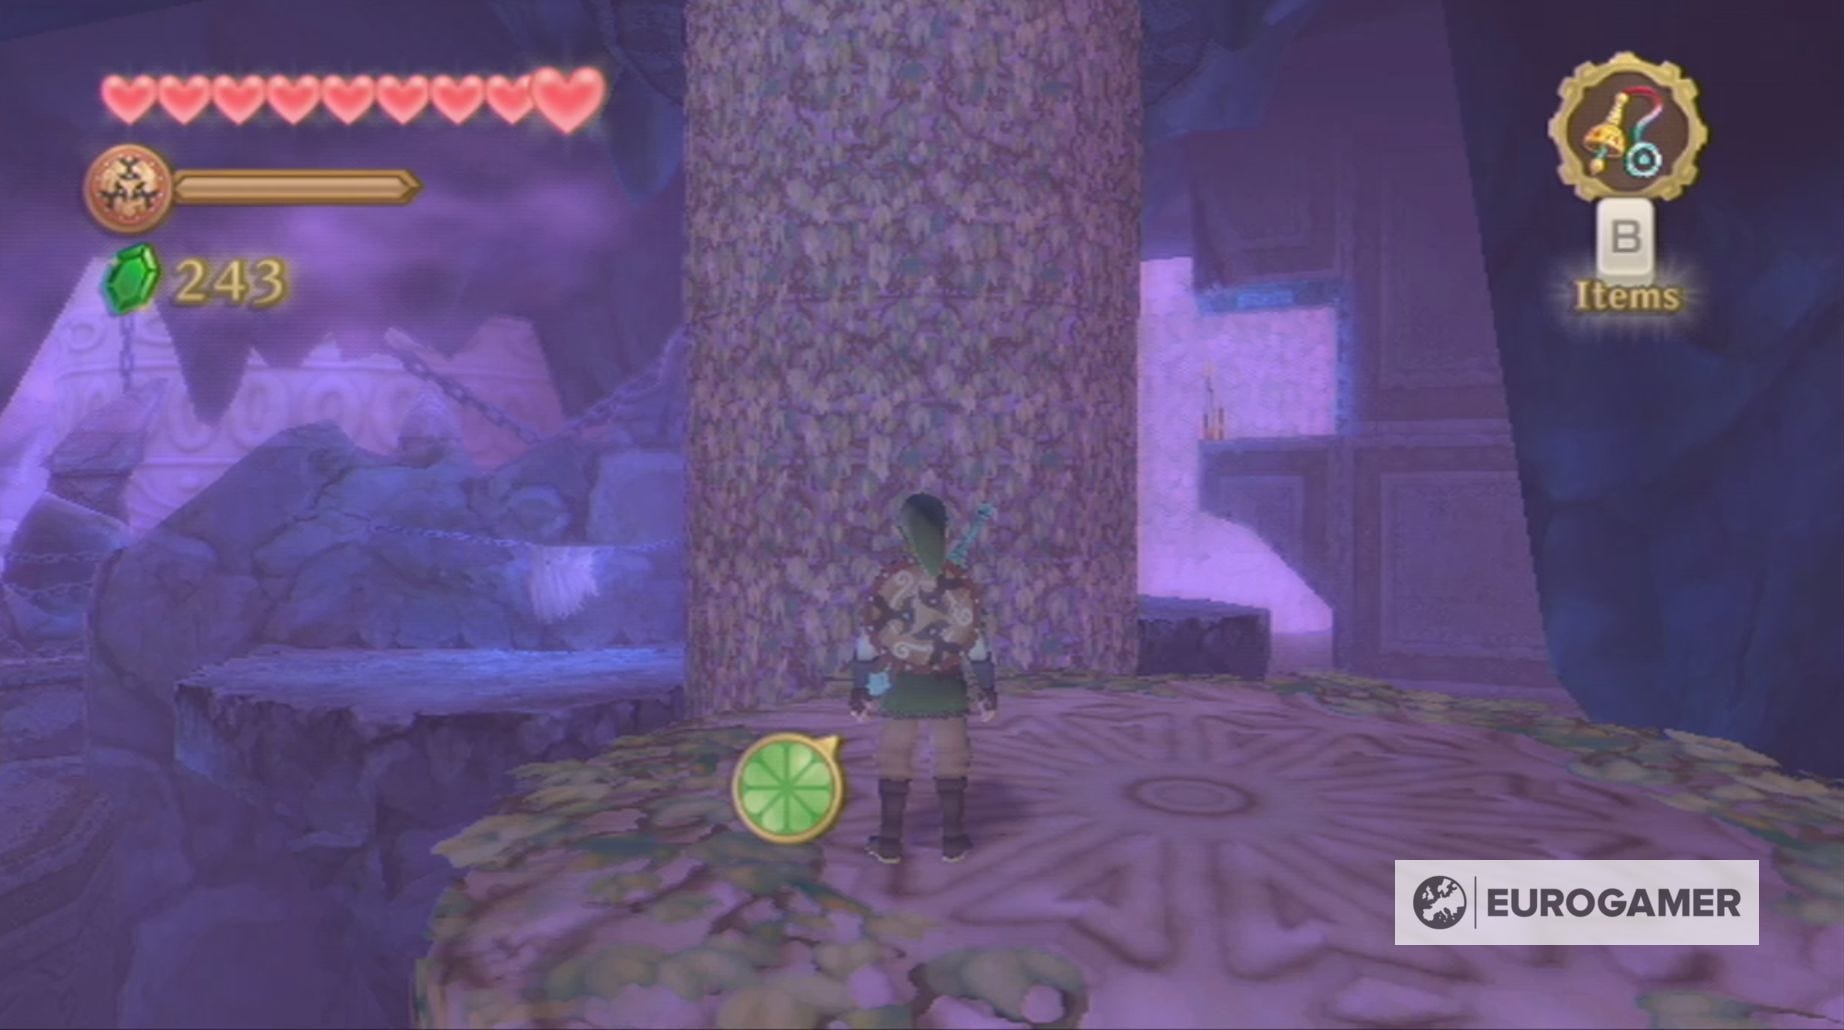
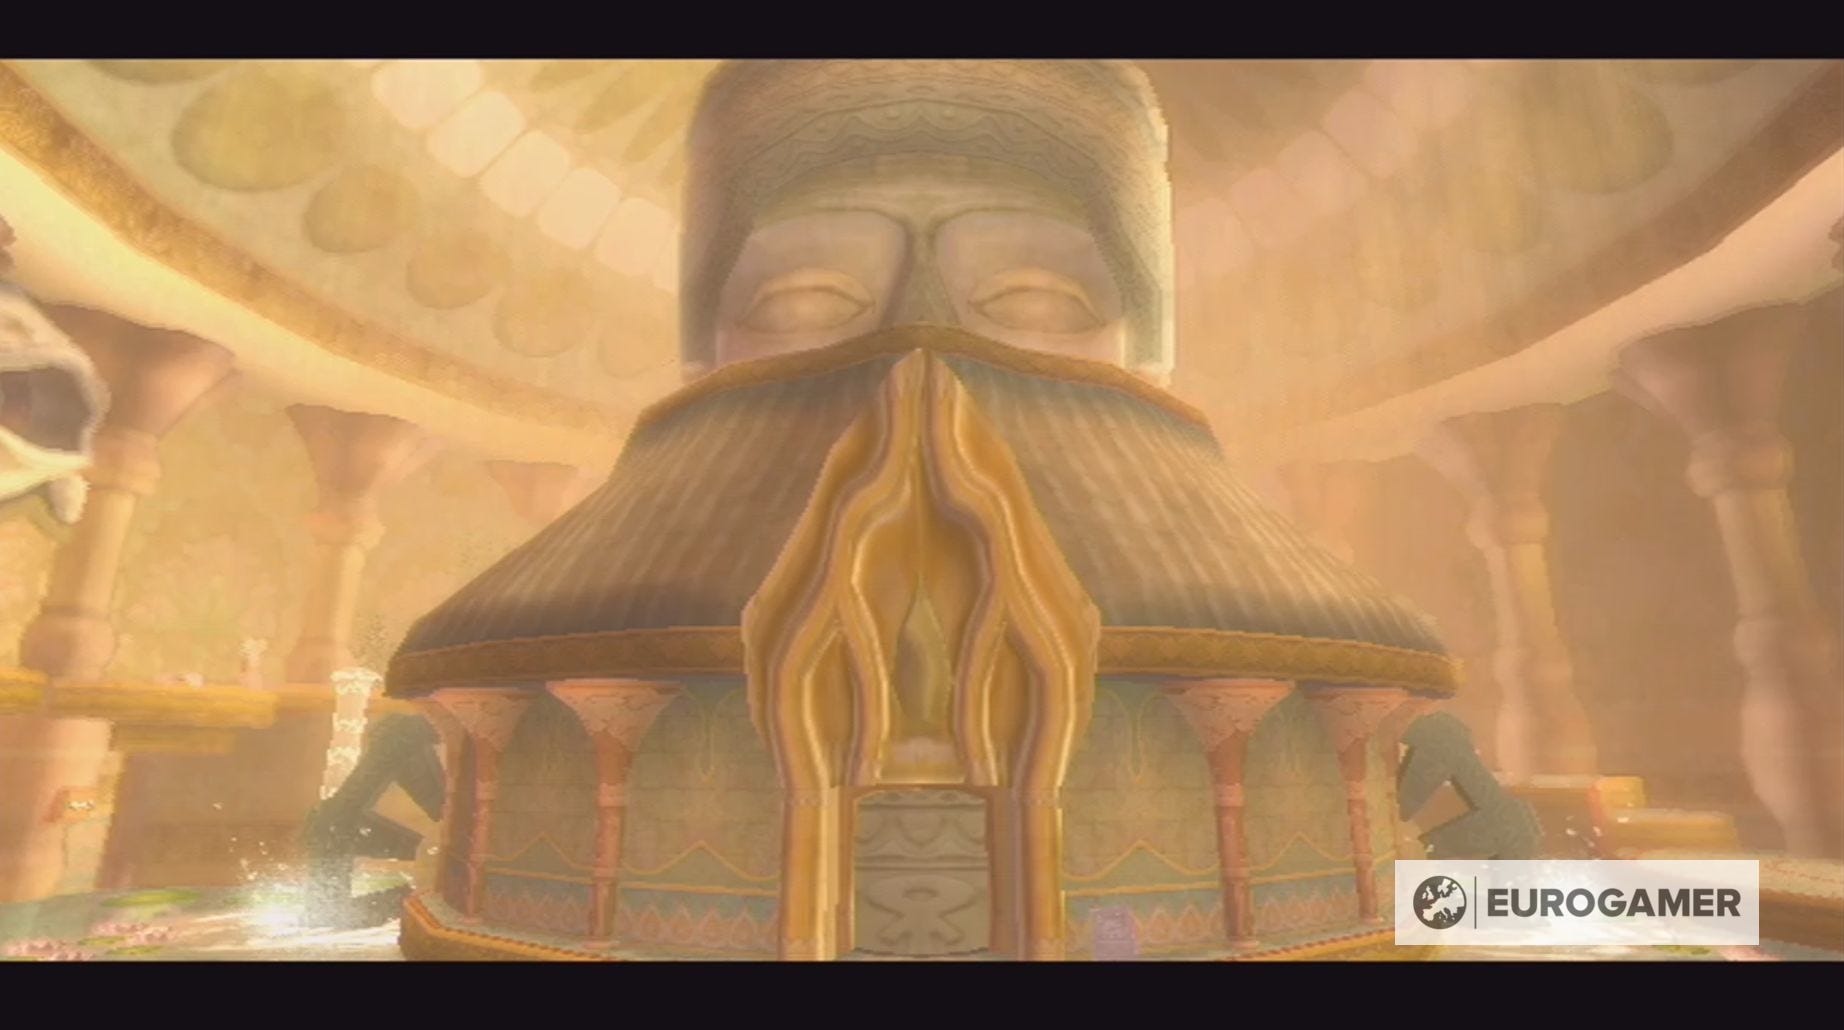
Here you'll find a stone tablet that reveals you need to return the statue to its original form to progress. To do this you need to pull the lever to your left, which will create a walkway leading to the switch.
Flip the switch with the Whip and the statue will return to normal.
Now it's time to go back down the thread...
Back in the depths, you need to go past the toggle you previously activated and drop down into the area below.
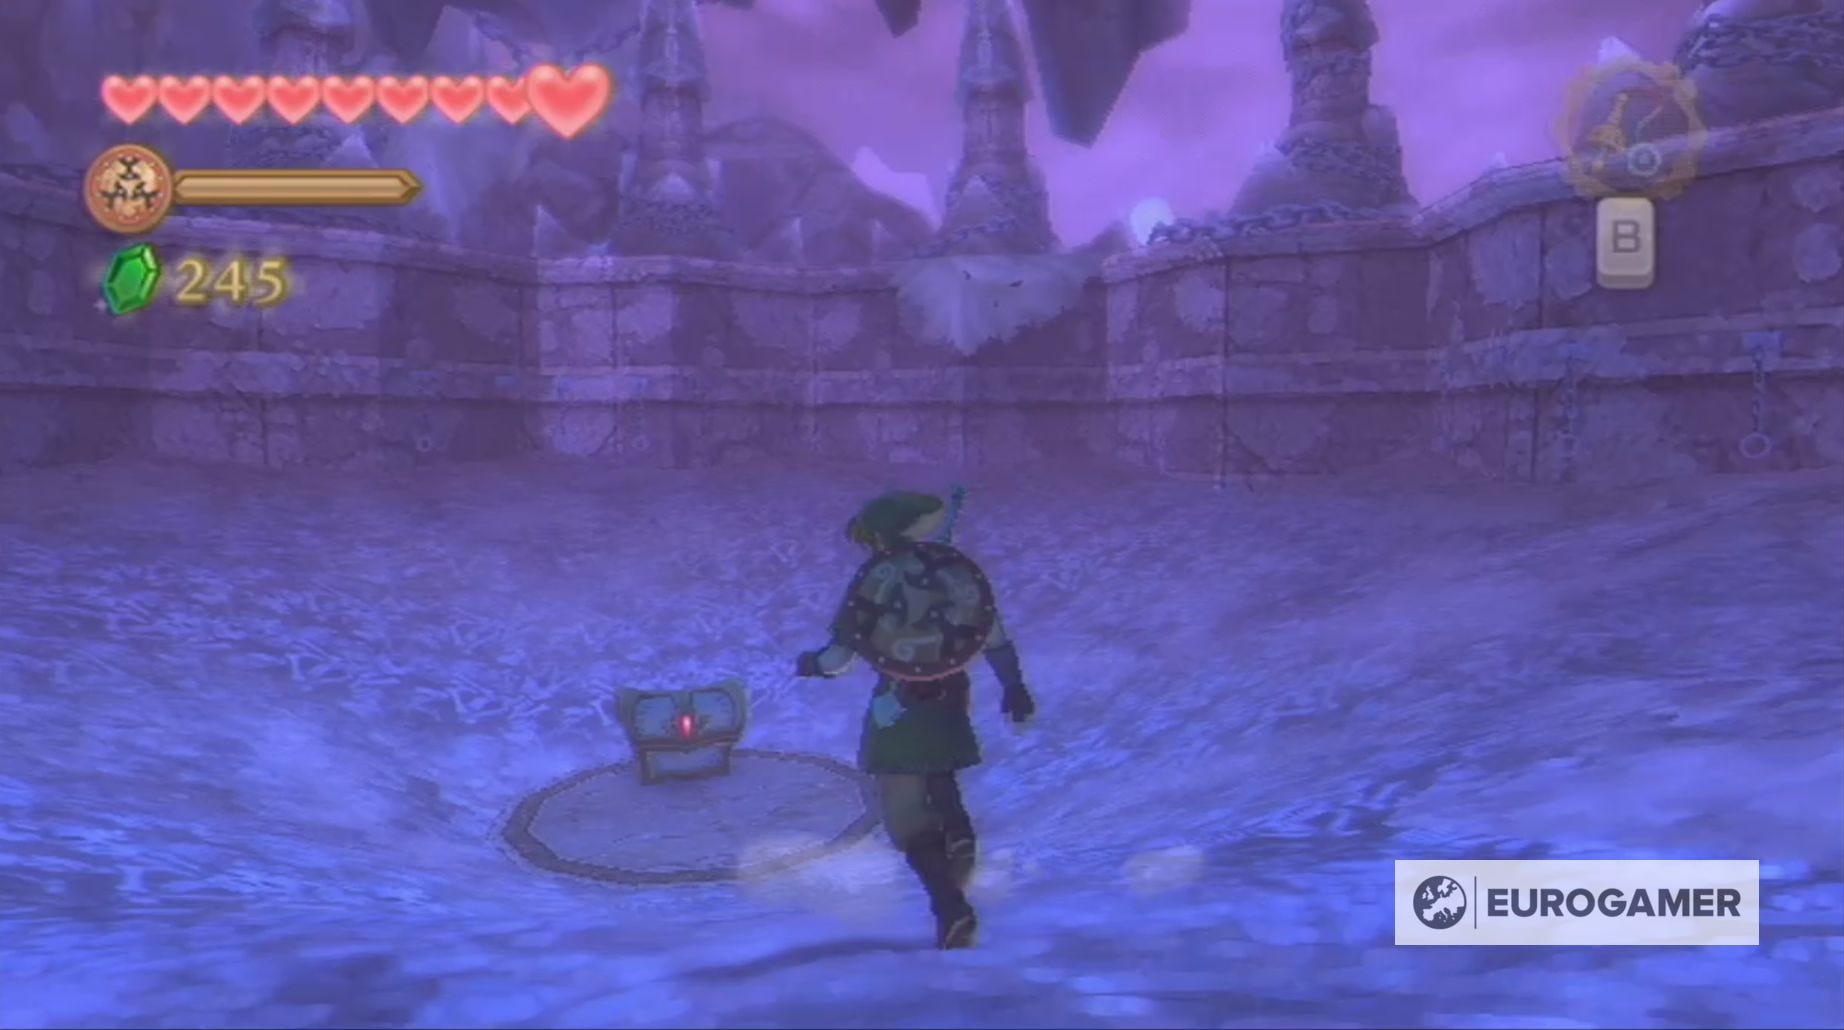
Waiting for you, in a pit full of bones, is the chest containing the boss key!
To celebrate your achievement, a group of Cursed Bokoblin will appear and the roof will begin to descend. You've got a boss to kill though, so, rather than enjoying the party, sprint out of the area and enter the statue once it stops descending.
Use the water jets to climb your way up the statue and, when you reach, place the boss key in the lock. Don't worry - you haven't reached the boss chamber yet!
Instead, you need to activate all four toggles with the Whip to make the statute ascend.

You'll find yourself in a circular room containing a Bird Statue and a set of stairs which lead to Koloktos - the boss of the Ancient Cistern.
Don't forget to prepare for the boss battle by buying additional potions, restoring any lost health and repairing your shield if the needs be.