Zelda: Skyward Sword - Sky Keep dungeon: How to find the Triforce of Courage, Wisdom and Power and small key locations explained
Time to find the sacred relic of the Golden Goddesses!

Sky Keep is the seventh, and final dungeon, in The Legend of Zelda: Skyward Sword.
Hidden in plain, Sky Keep is where the legendary Triforce awaits you. Yet, for its own protection, this powerful object has been divided into three pieces - Courage, Wisdom and Power - with the locations being scattered about Sky Keep.
After finding the location of each Triforce piece, you'll face Ghirahim for the last time and, finally, clash swords with Demise.
On this page:

If you'd like to learn more, visit our Skyward Sword walkthrough.
How to navigate Sky Keep in Zelda: Skyward Sword explained
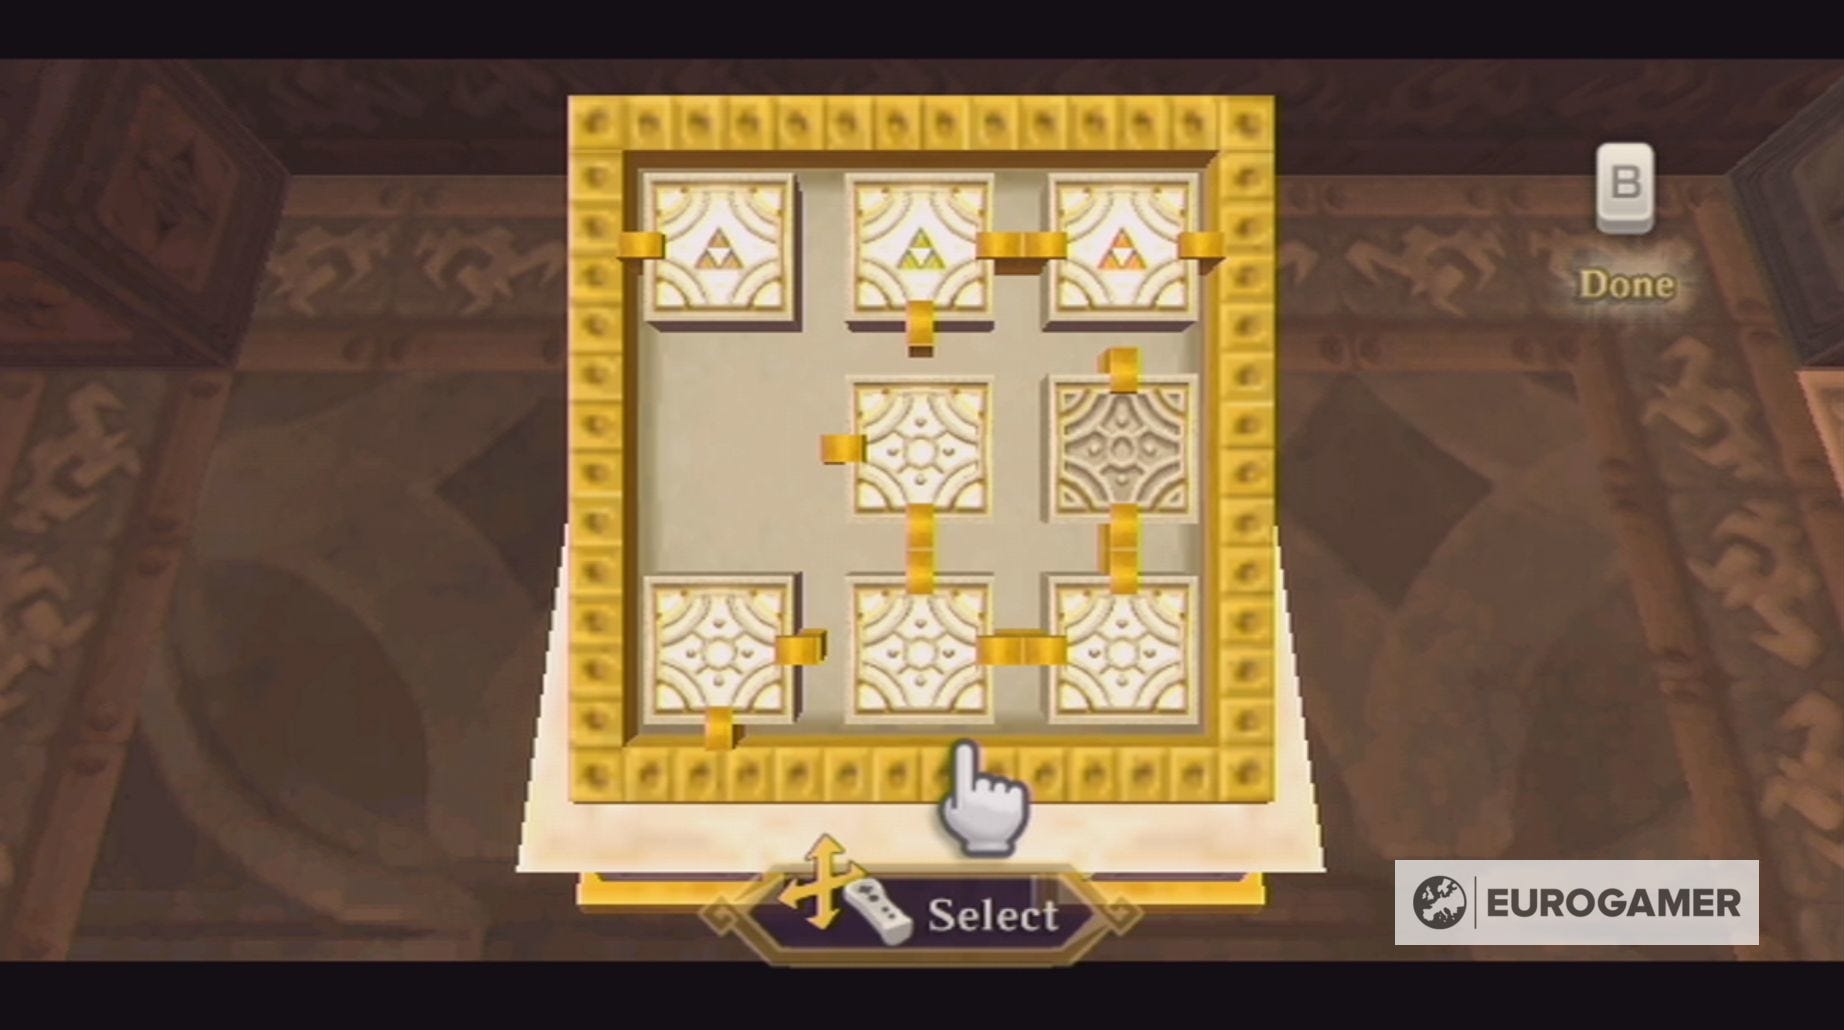
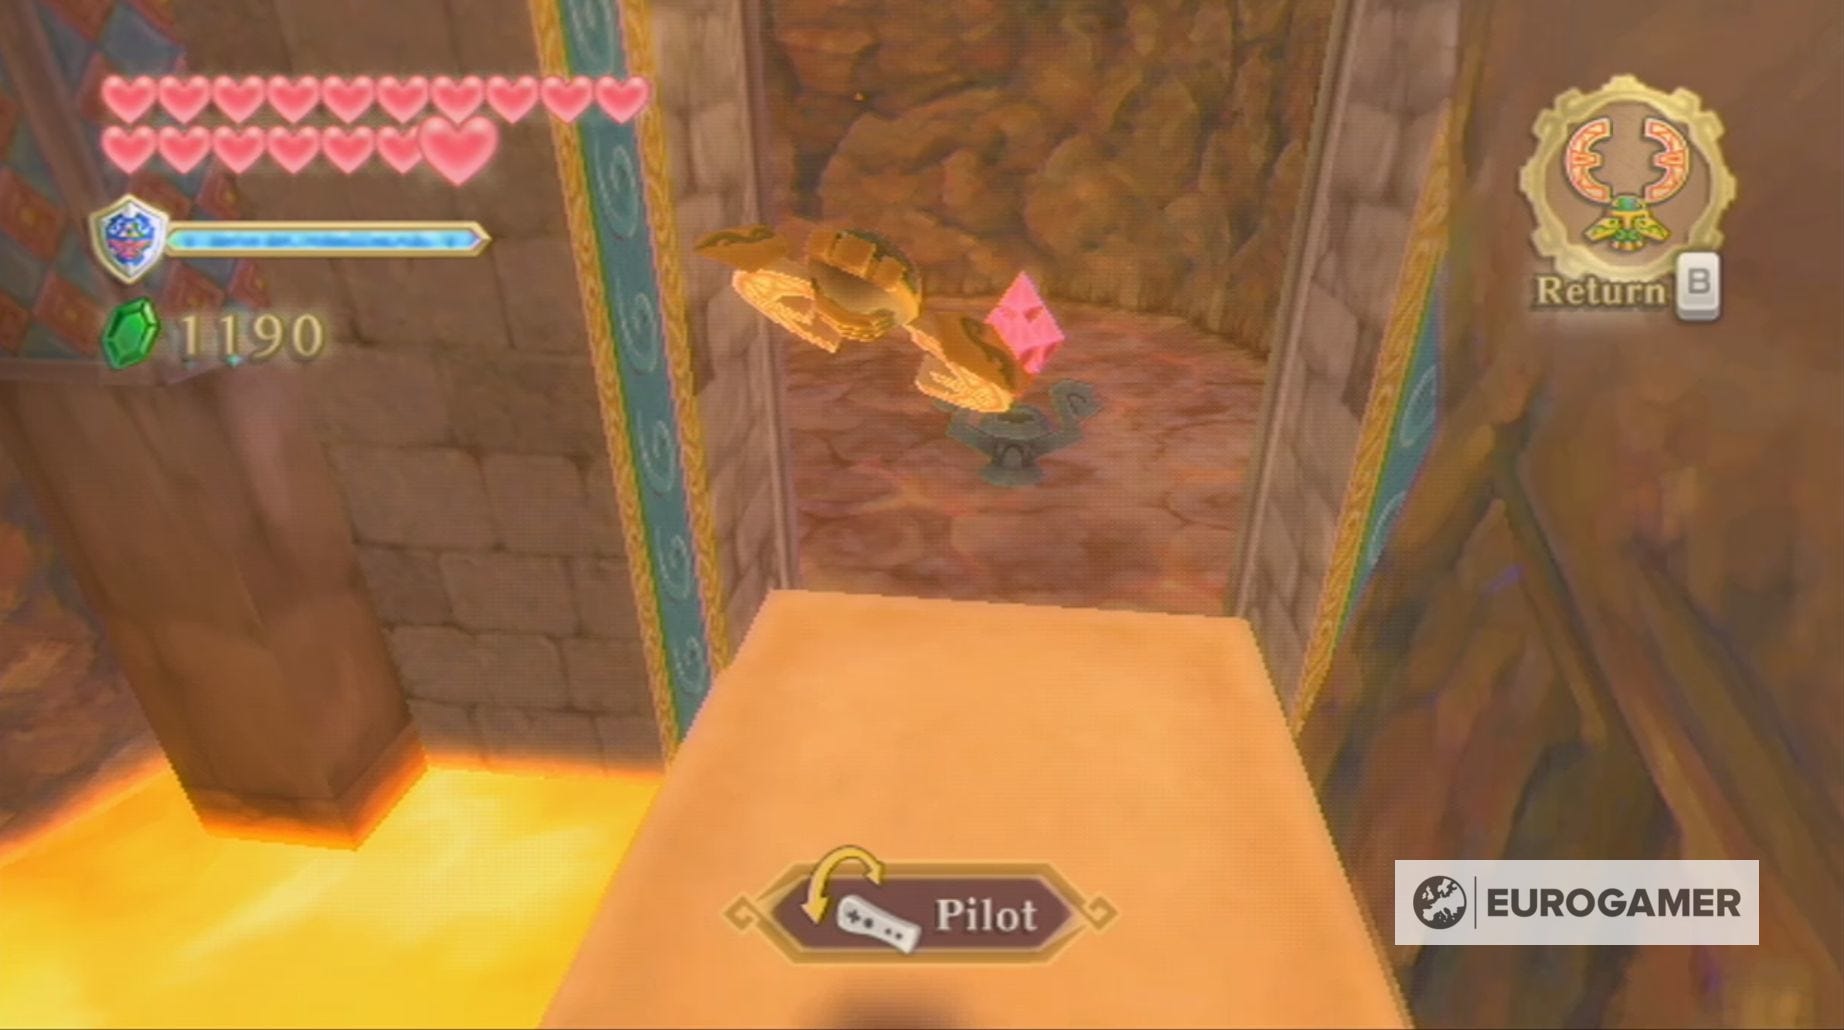
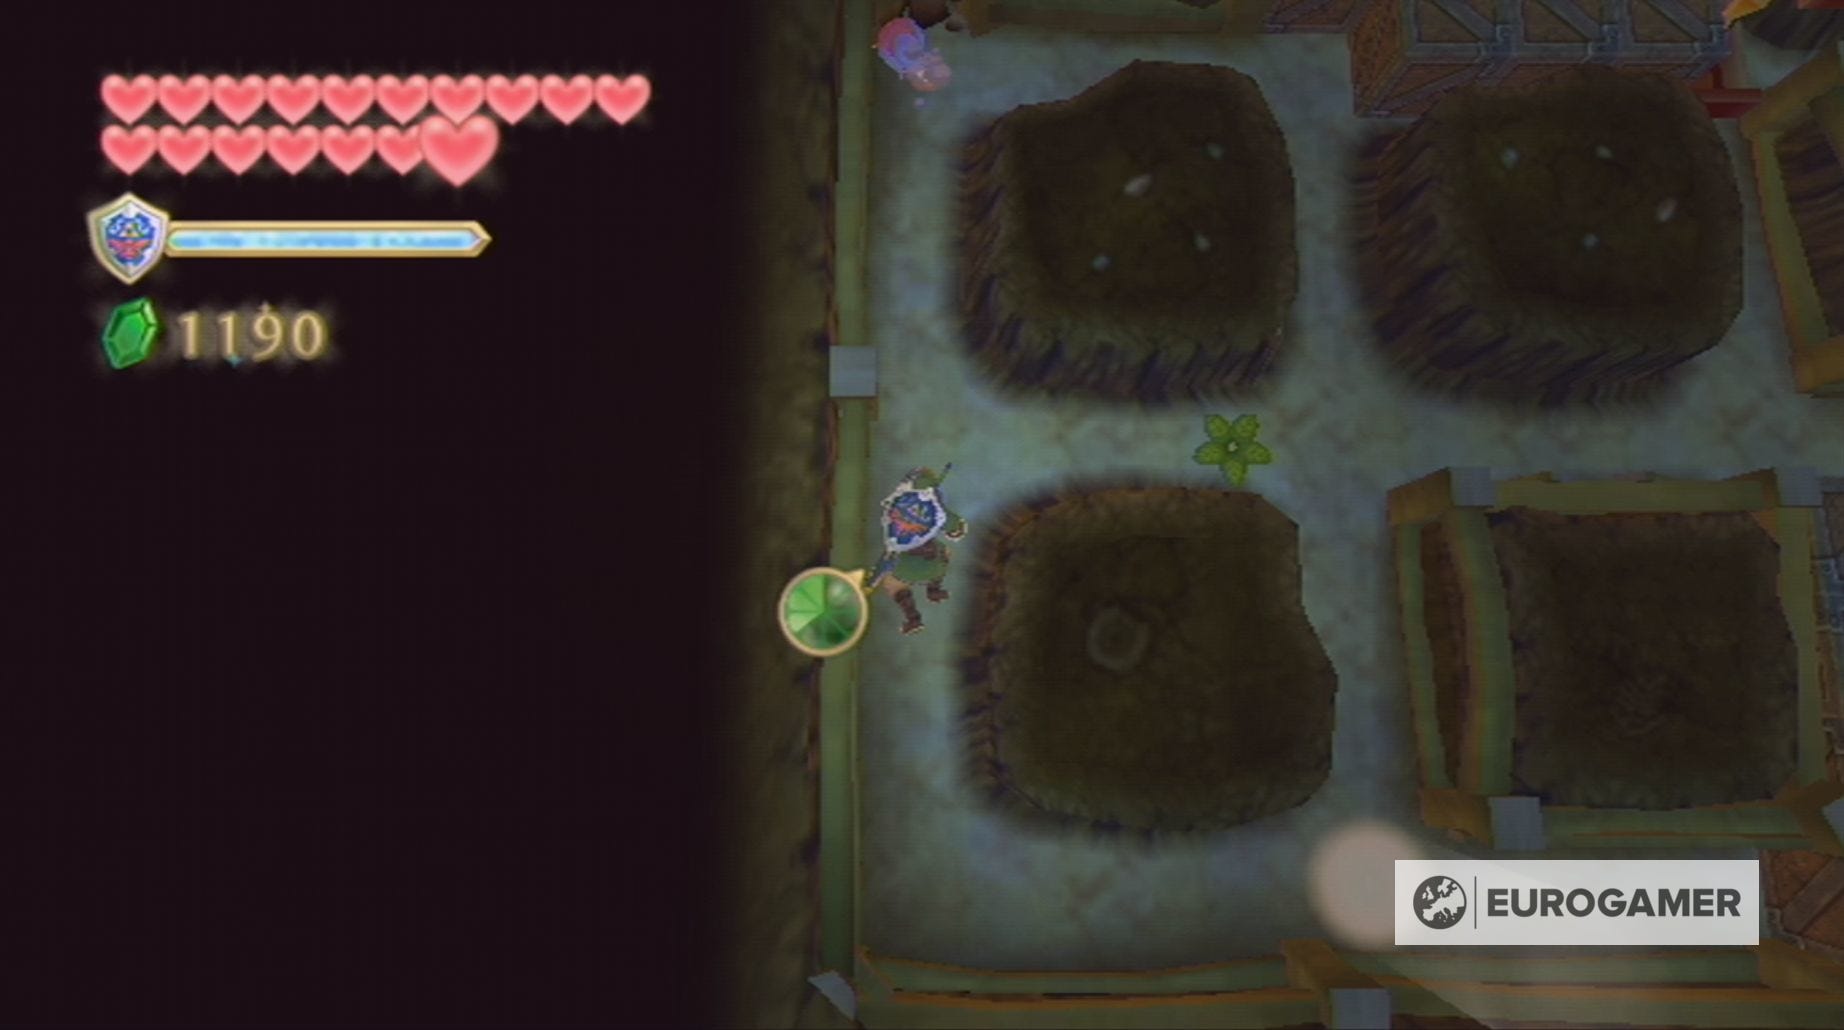
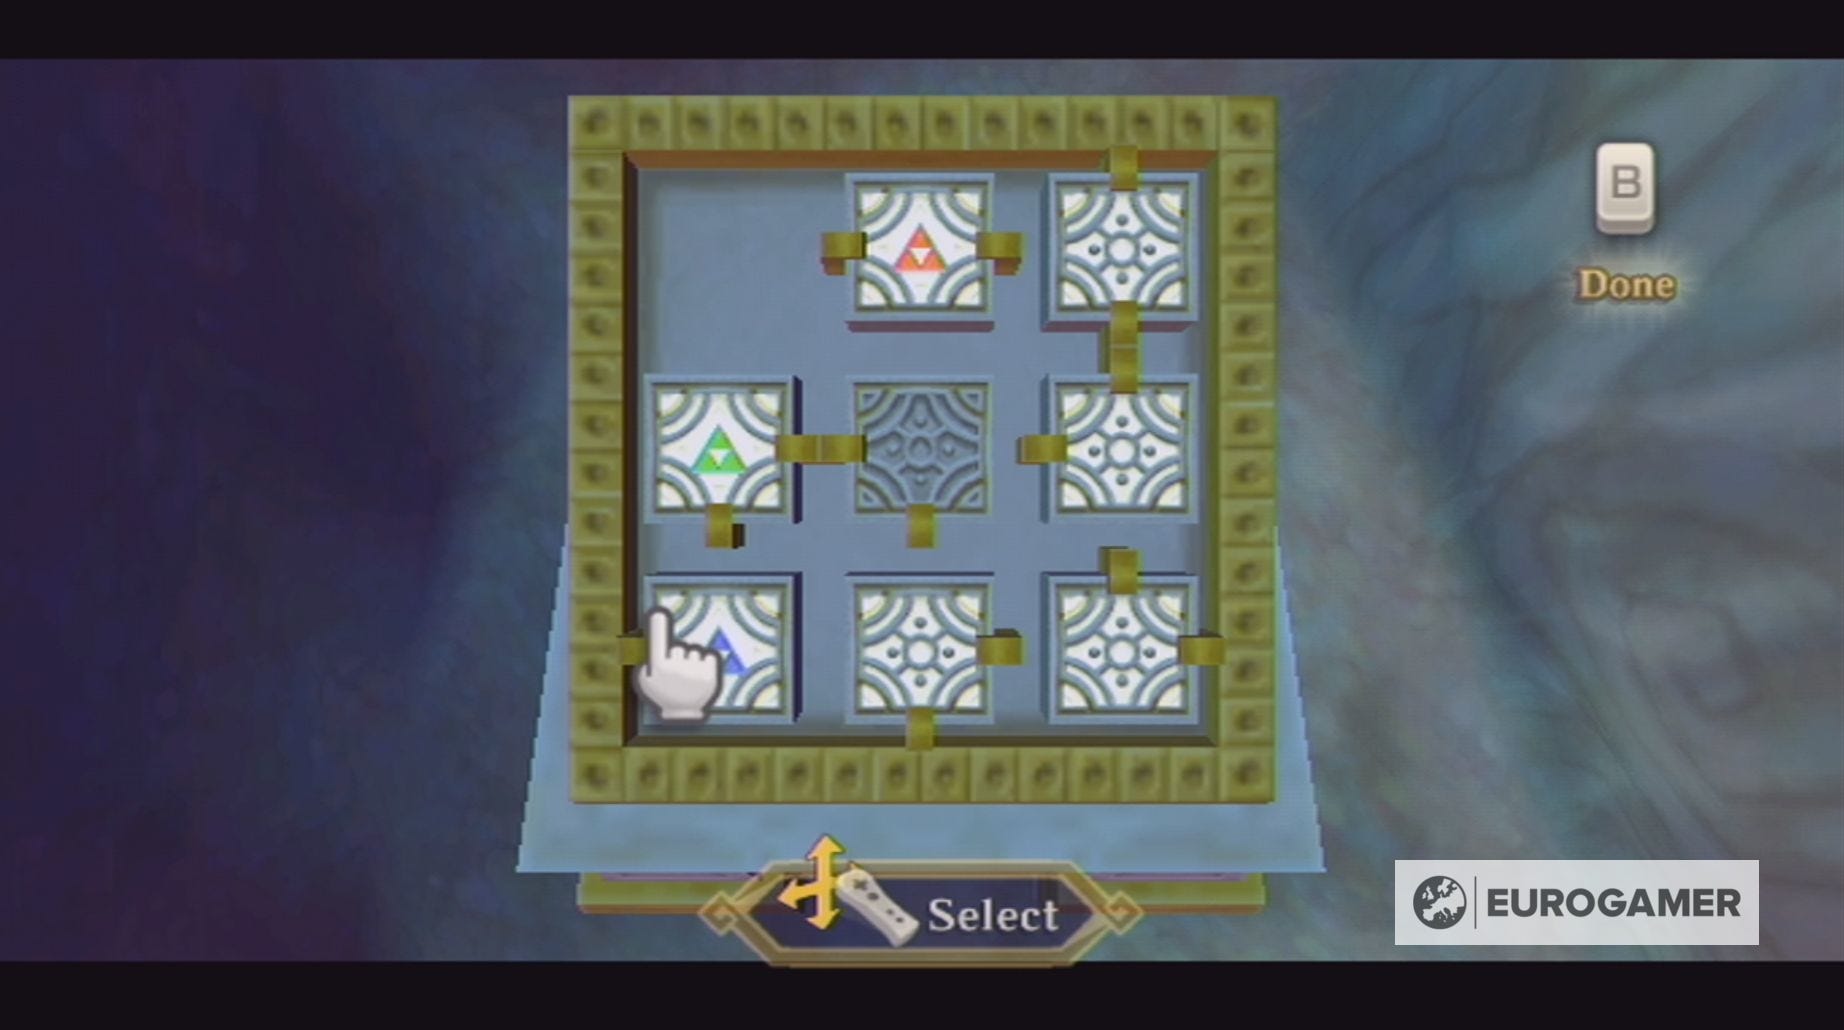
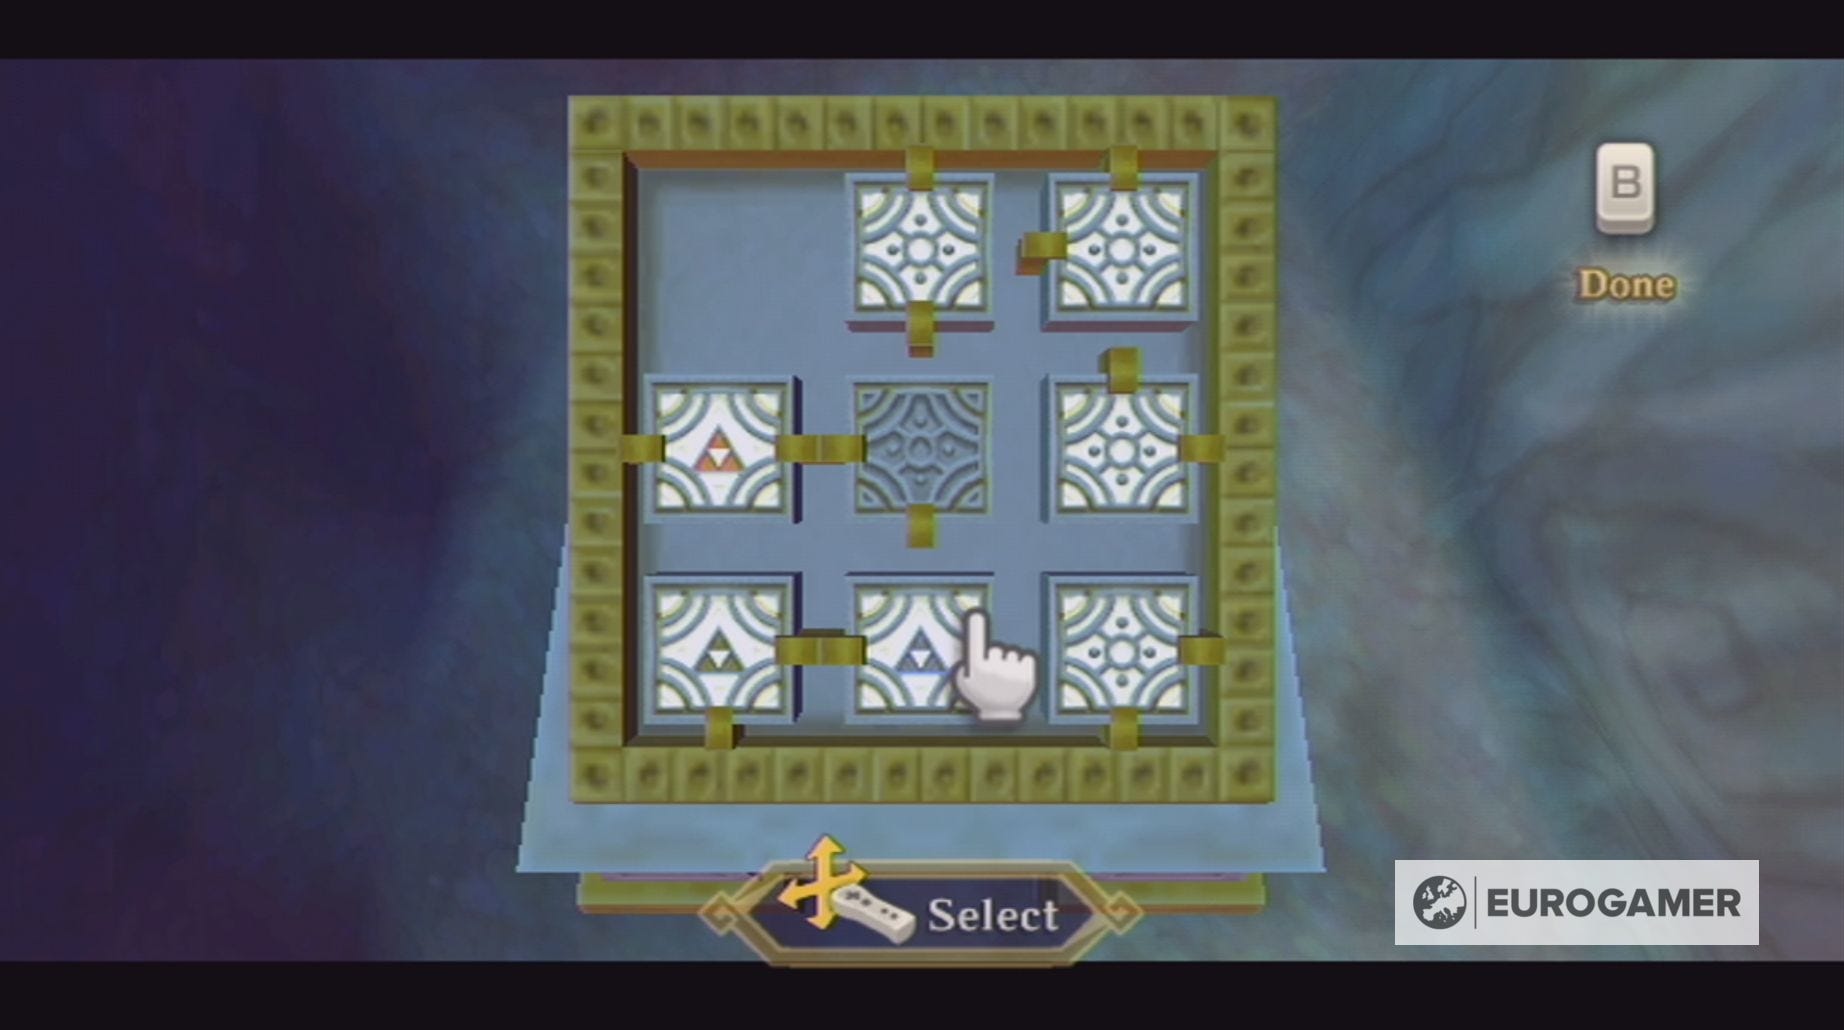
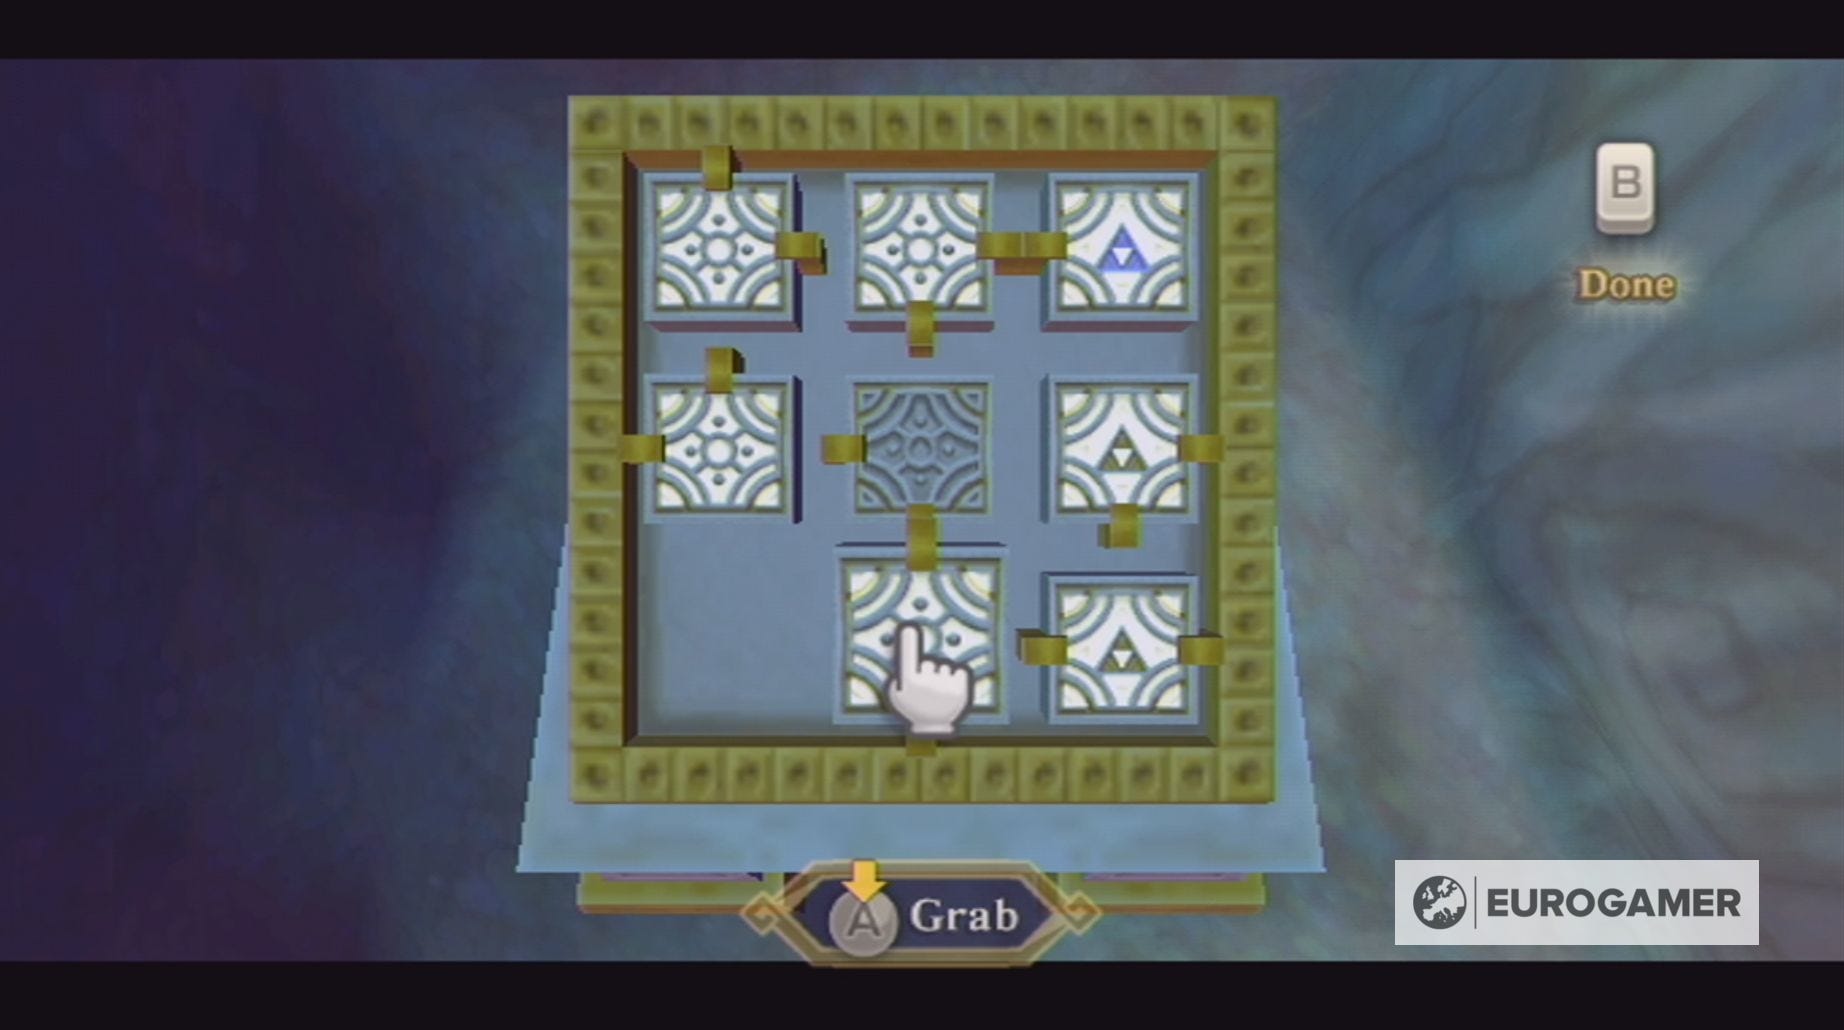
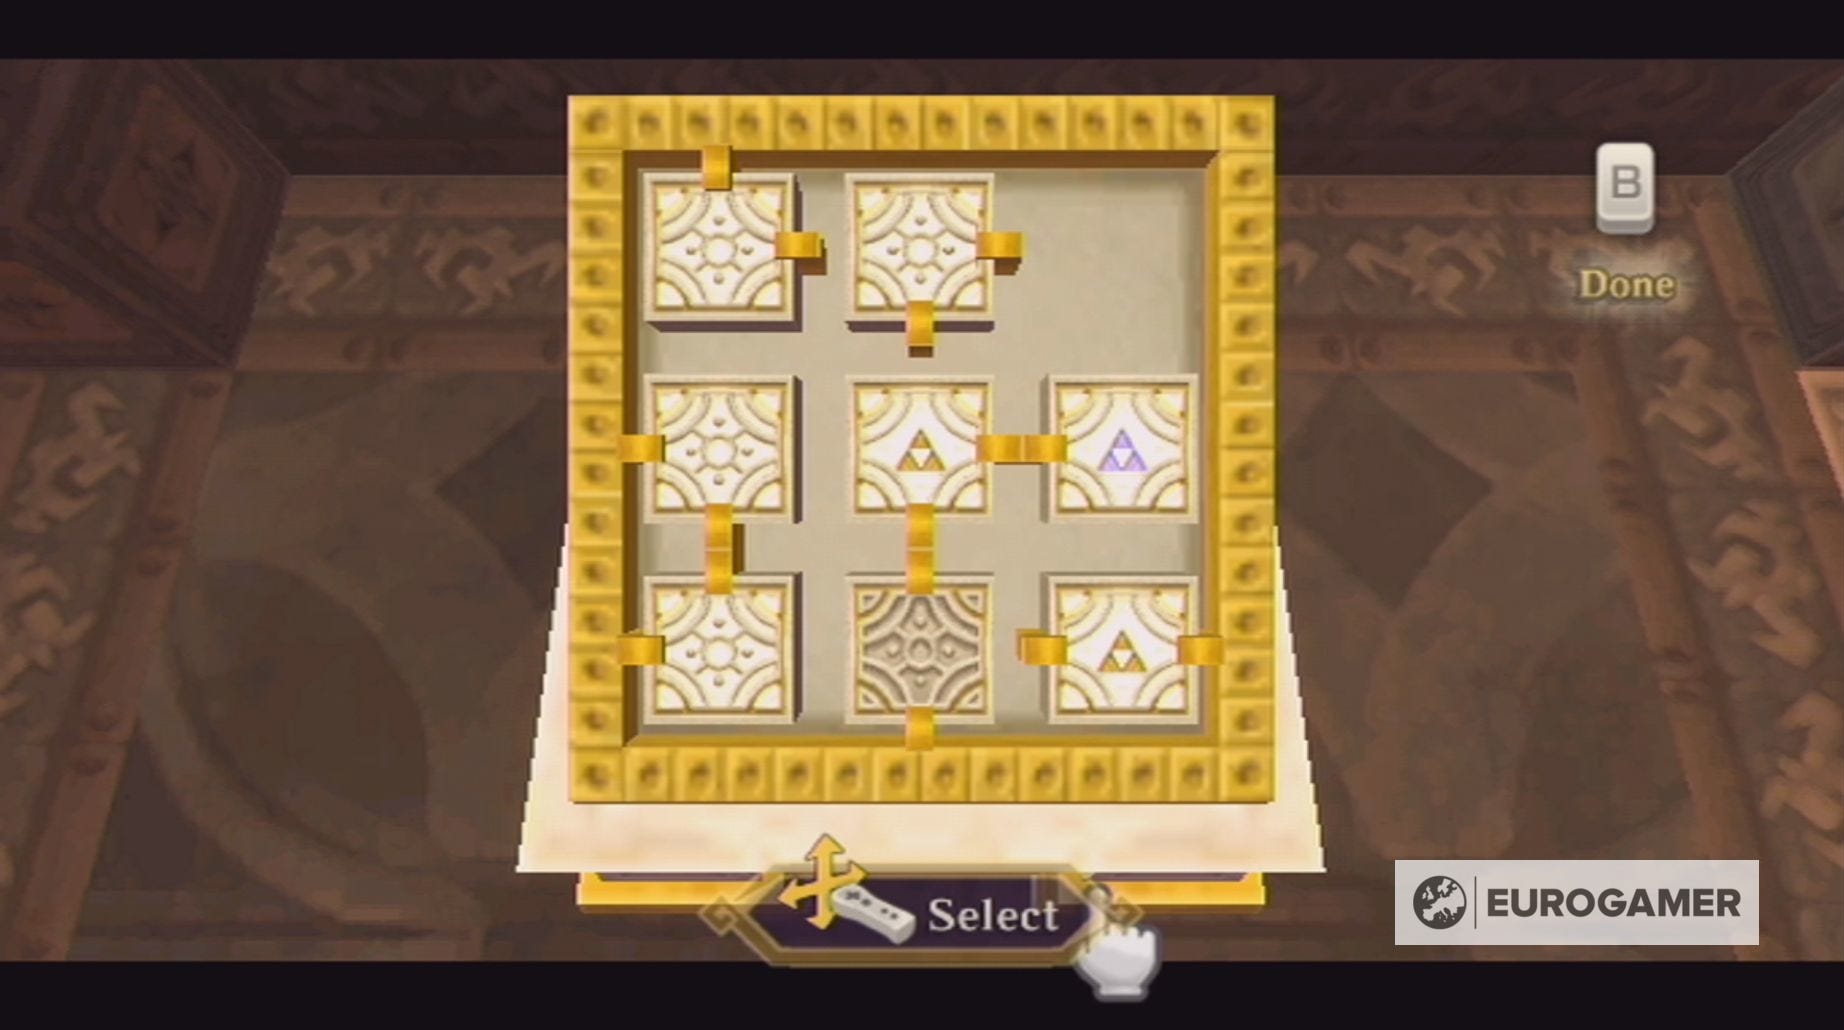
Sky Keep is a unique dungeon in Skyward Sword, because, unlike the past dungeons, you can actually control the layout of the rooms.
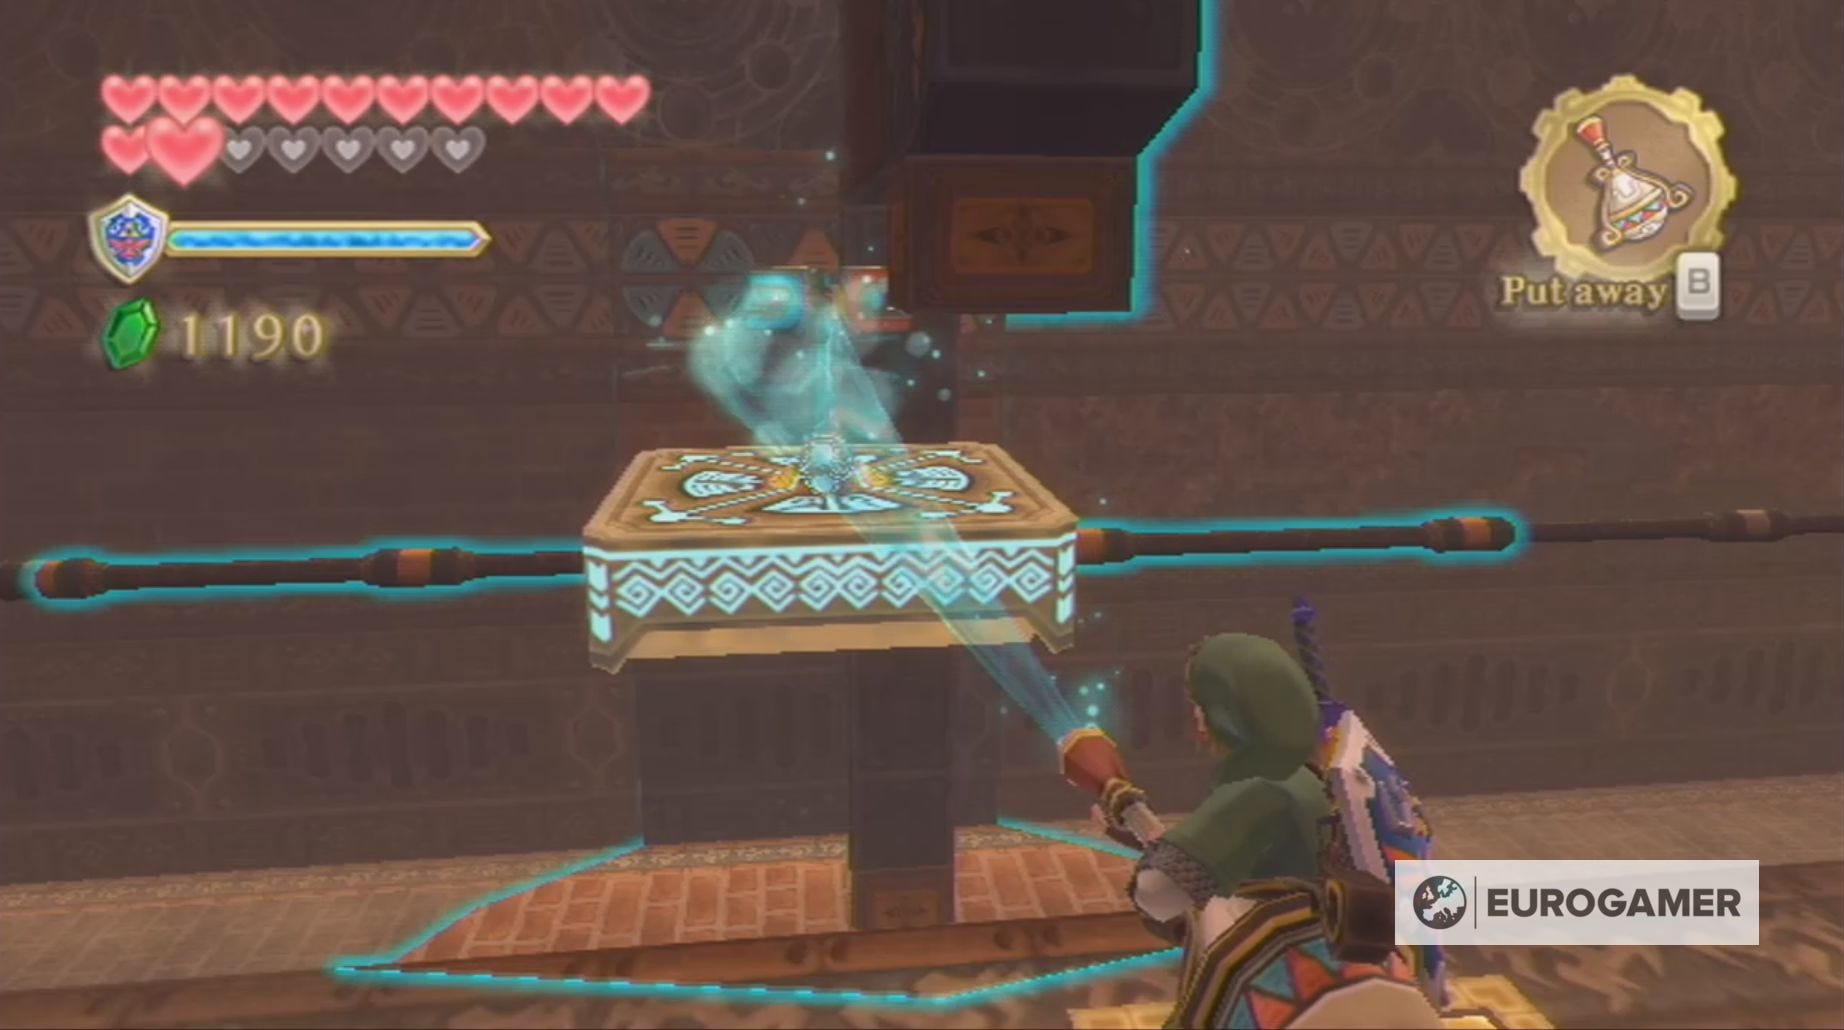
To do this you must first collect the dungeon map from the waiting chest and then head to the control panel. The rooms which contain pieces of the Triforce are helpfully marked on this map.
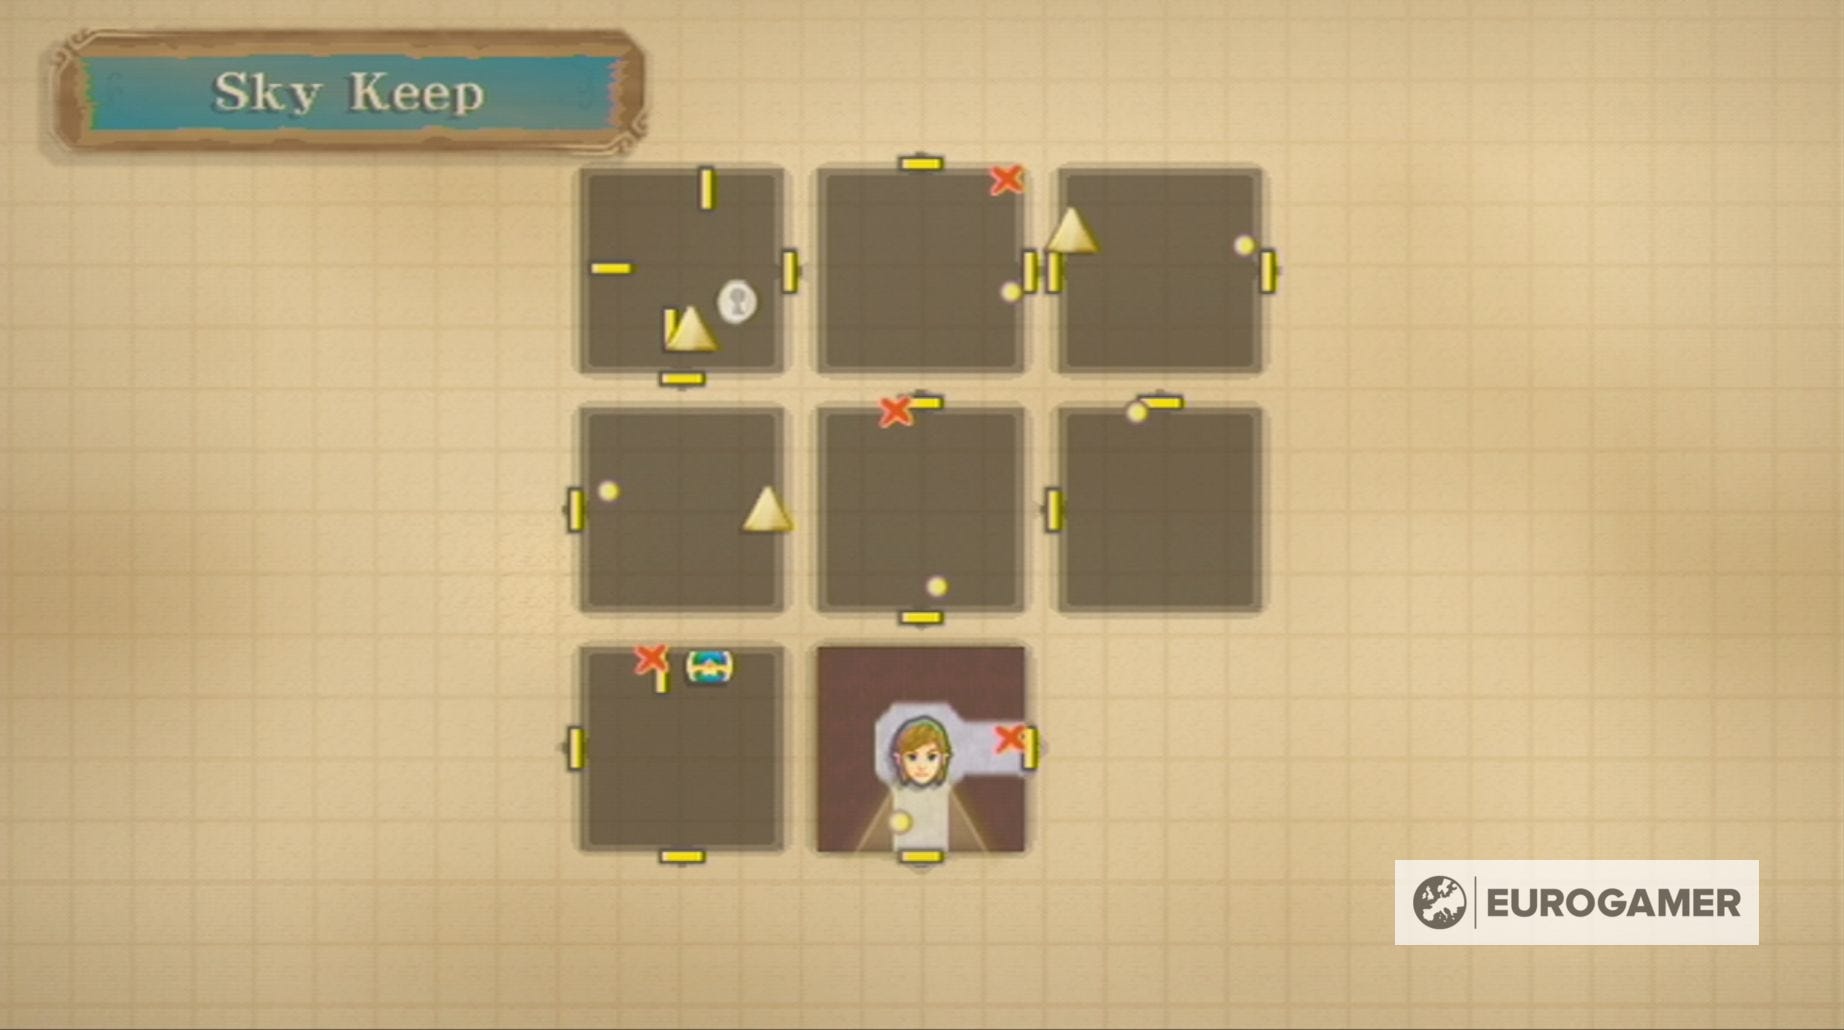
There are four control panels throughout Sky Keep and, in the form of a sliding puzzle, you'll use them to navigate the dungeon. This puzzle works by allowing you to move one room at a time into the waiting space, meaning you will have to move multiple rooms to create your ideal layout. It's also important to note that you can't move the room you're currently in.
To help you navigate the Sky Keep, we've given each room a number and we'll keep these assigned numbers moving forward.

For your first room layout, you'll want to follow these instructions:
- Move Room 6 down
- Move Room 5 left
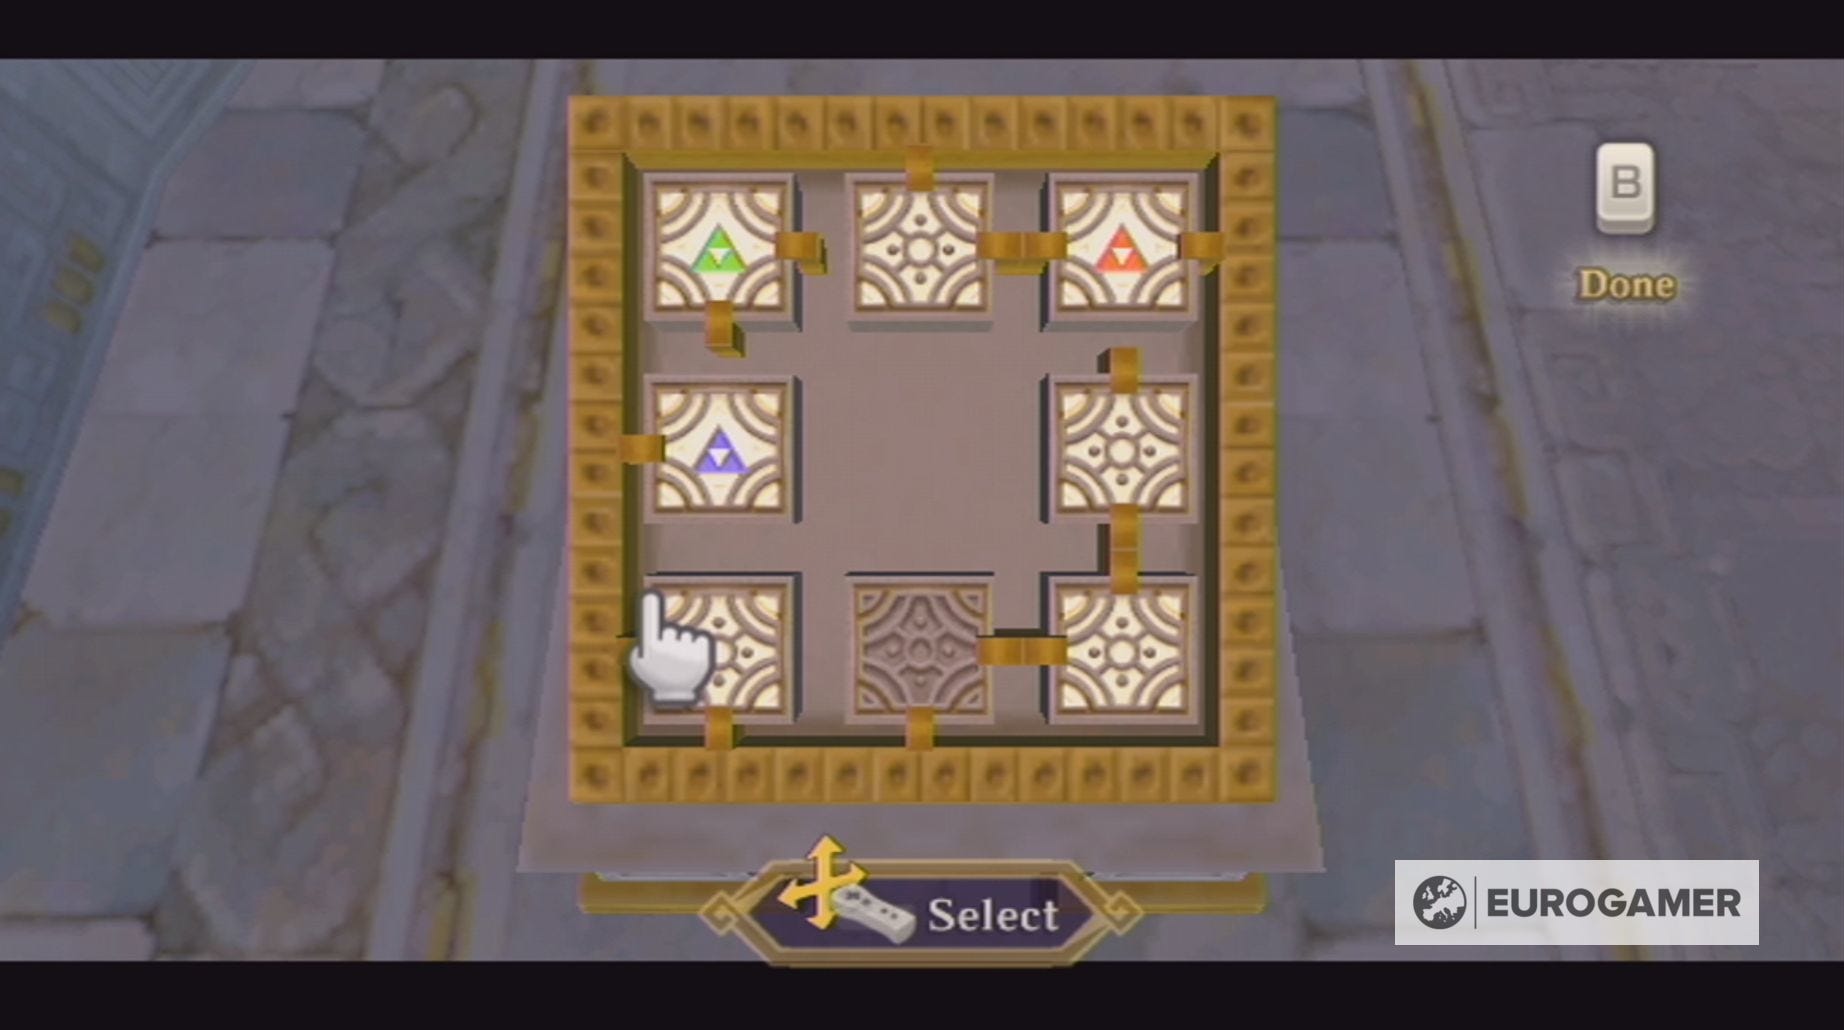
With that done, leave the control panel and head through the door.
Our Skyward Sword walkthrough will help you find every Heart Piece and Empty Bottle. We can also help you defeat Ghirahim, Scaldera, Moldarach, The Imprisoned, Koloktos, Tentalus, Bilocyte and Demise. You can also discover where to find Kukiel to unlock the Gratitude Crystals and a number of side quests, including the toilet paper quest, missing sister location and party wheel location.
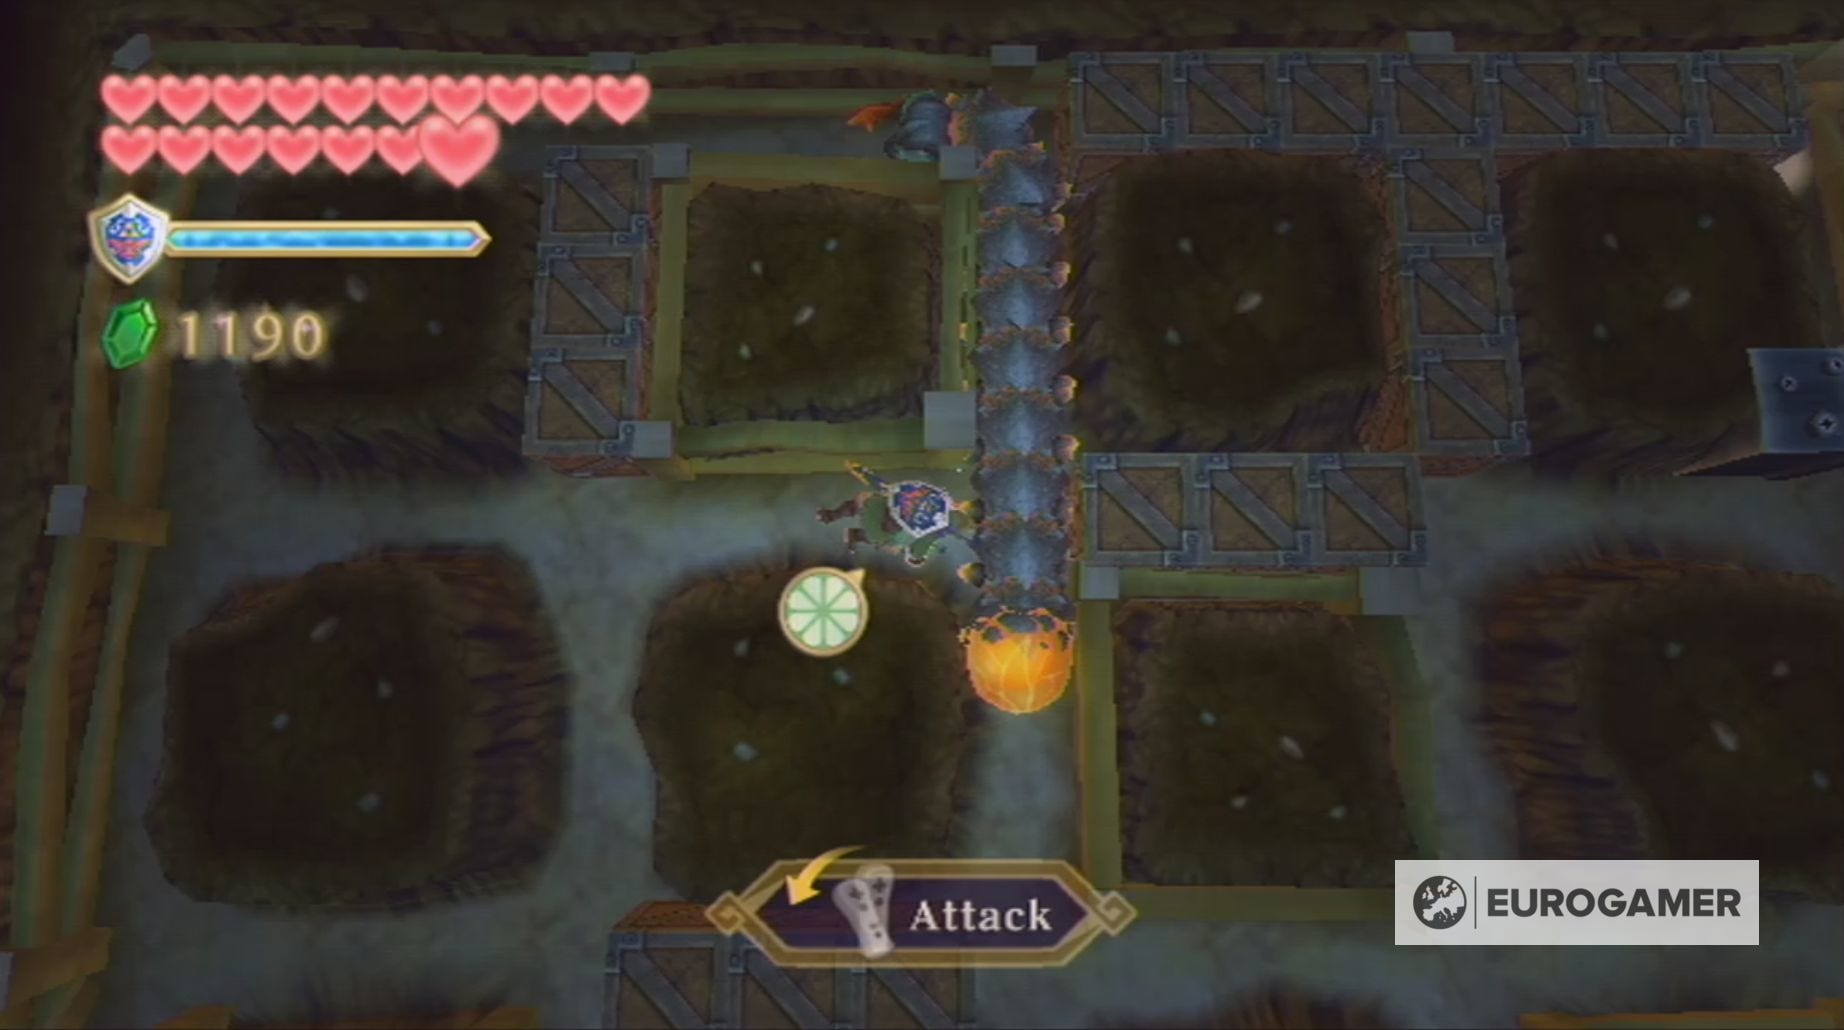
Sky Keep small key location explained
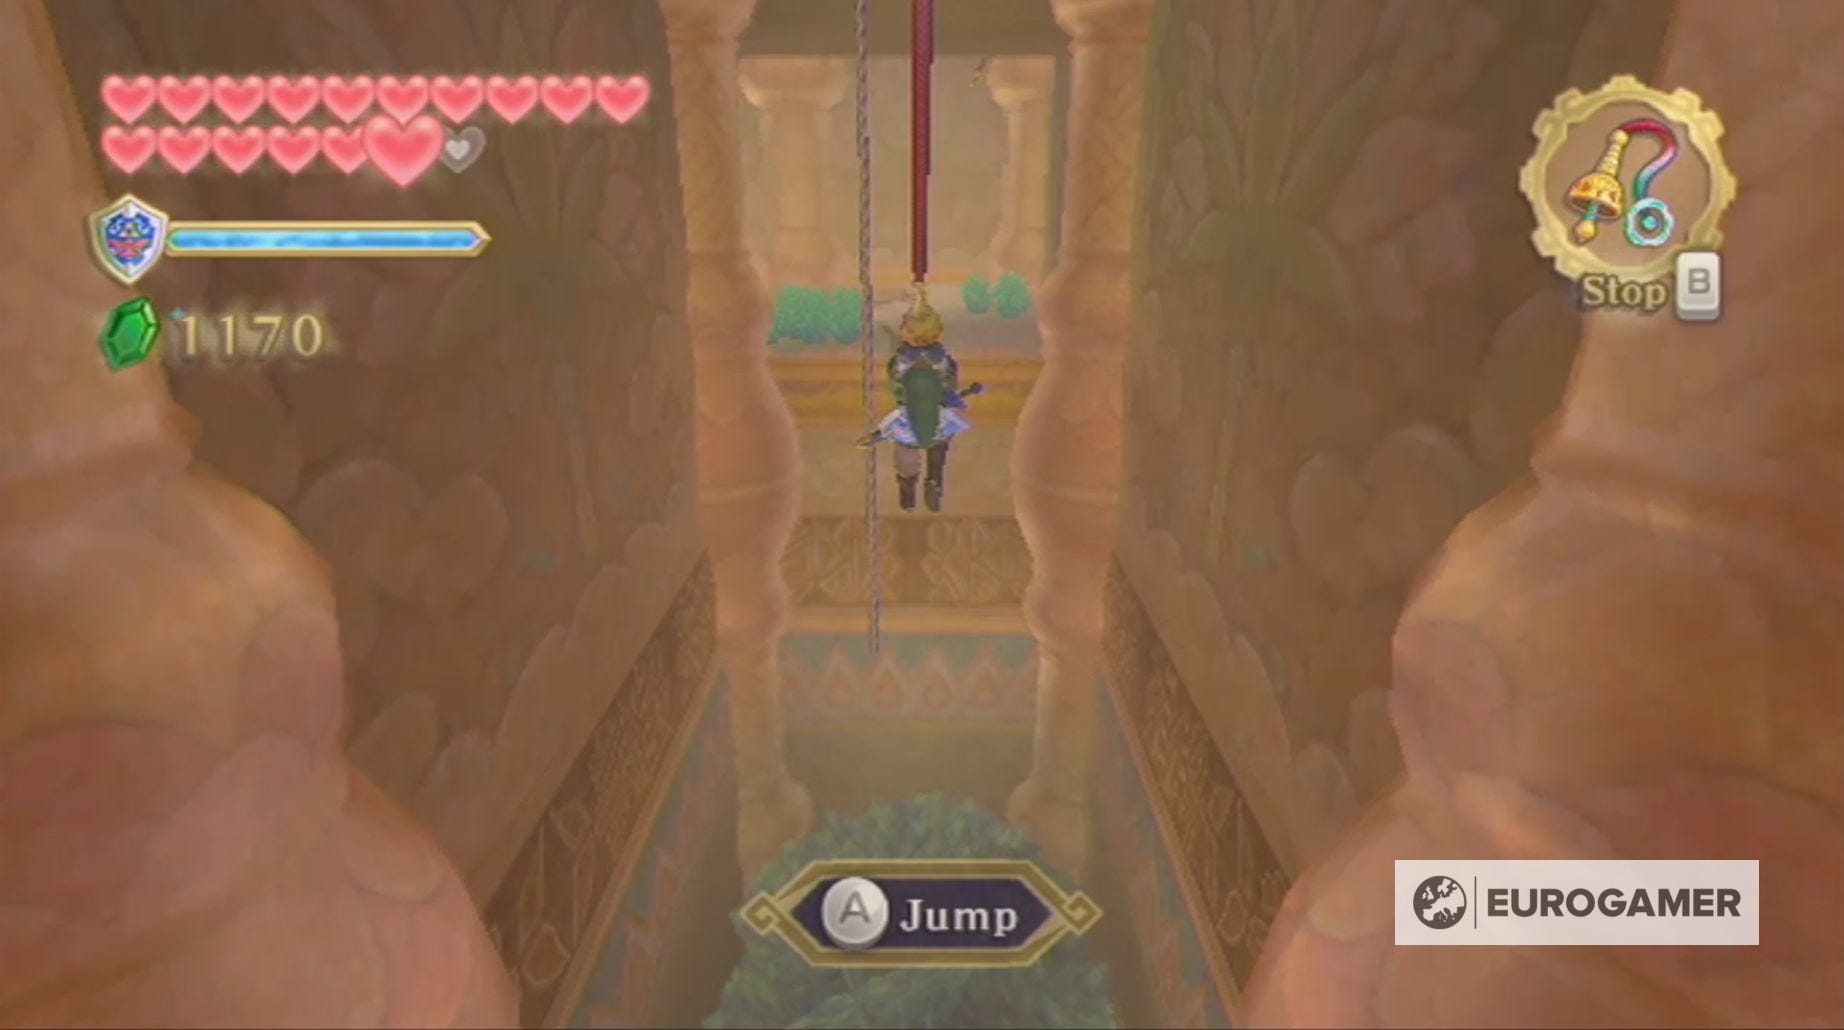
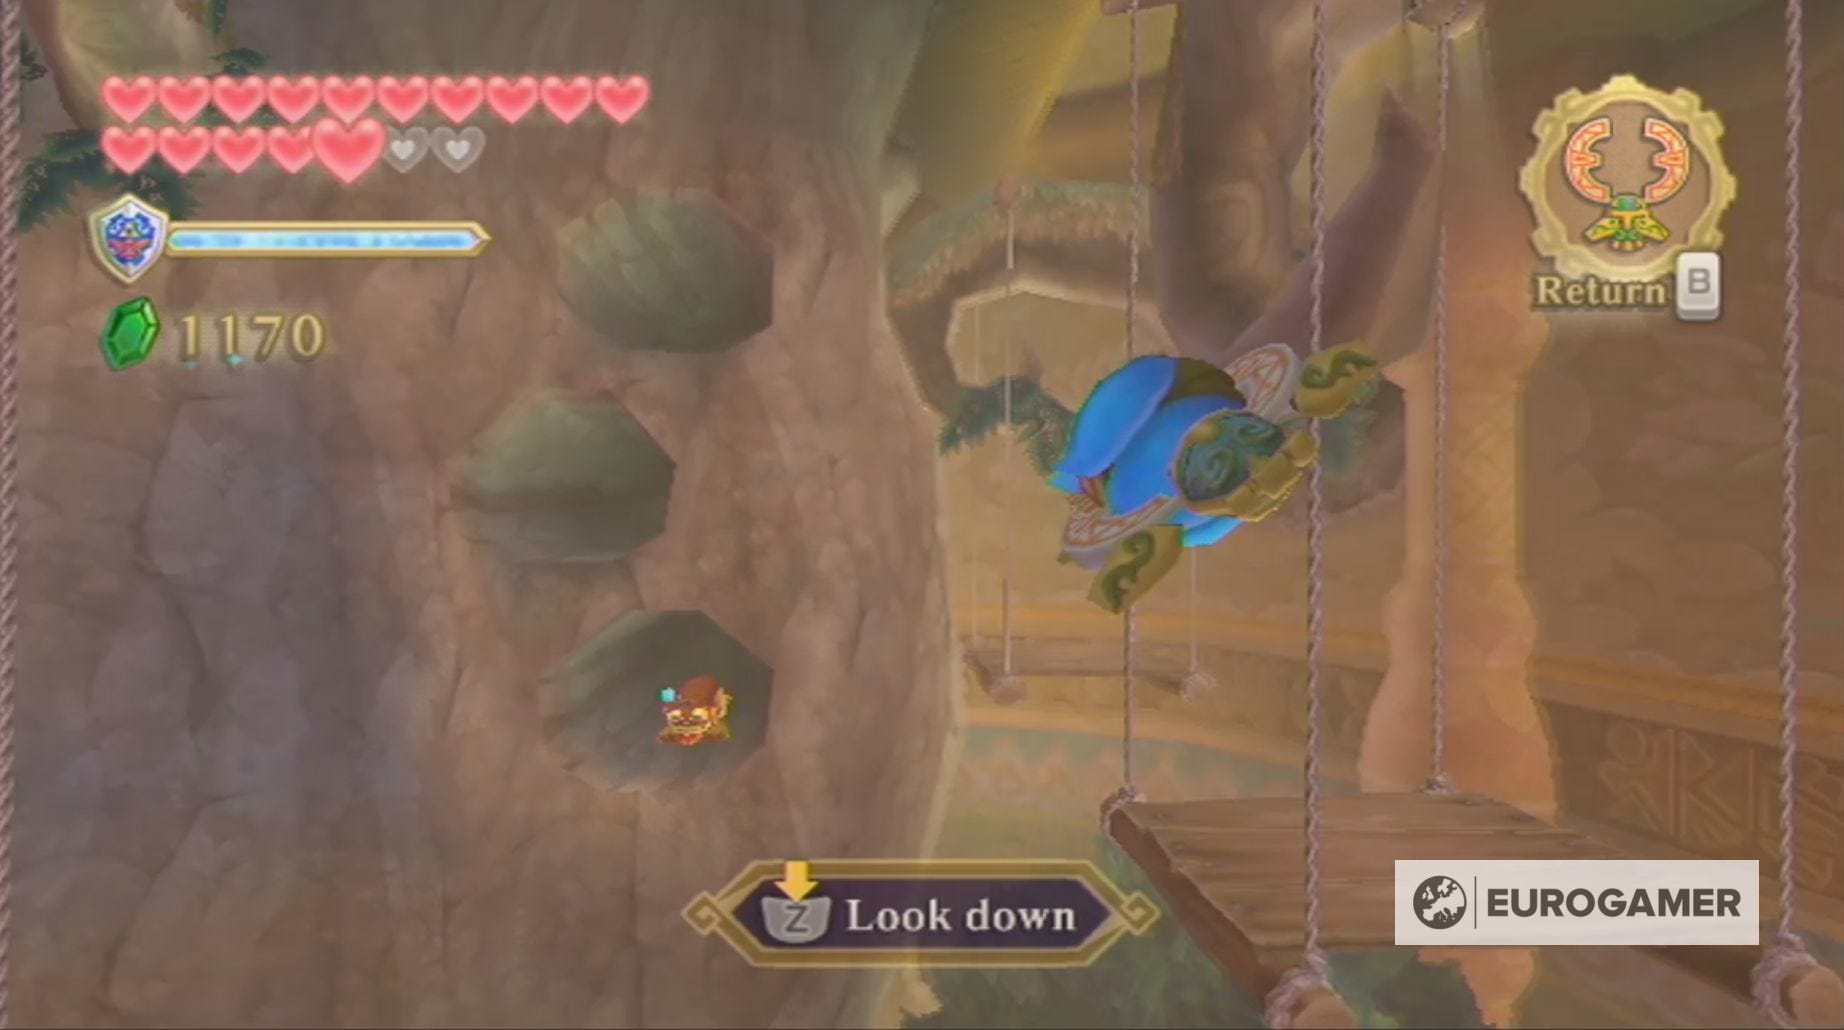
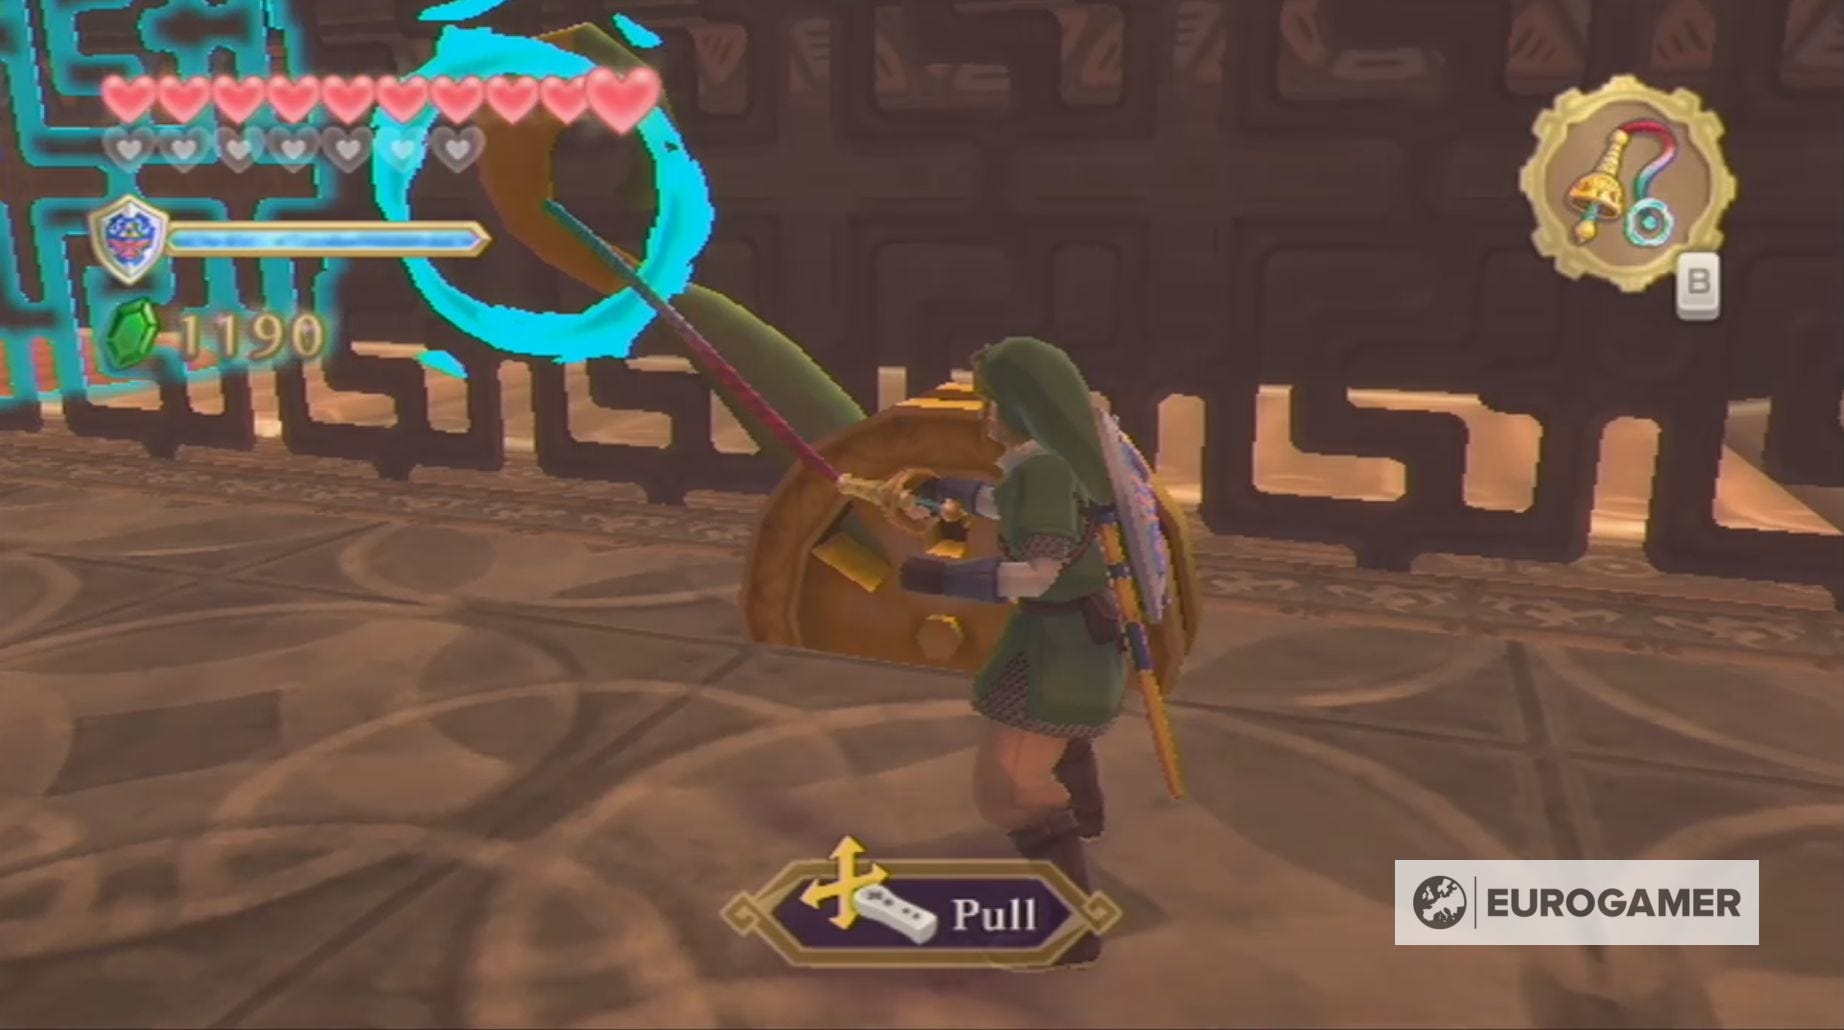
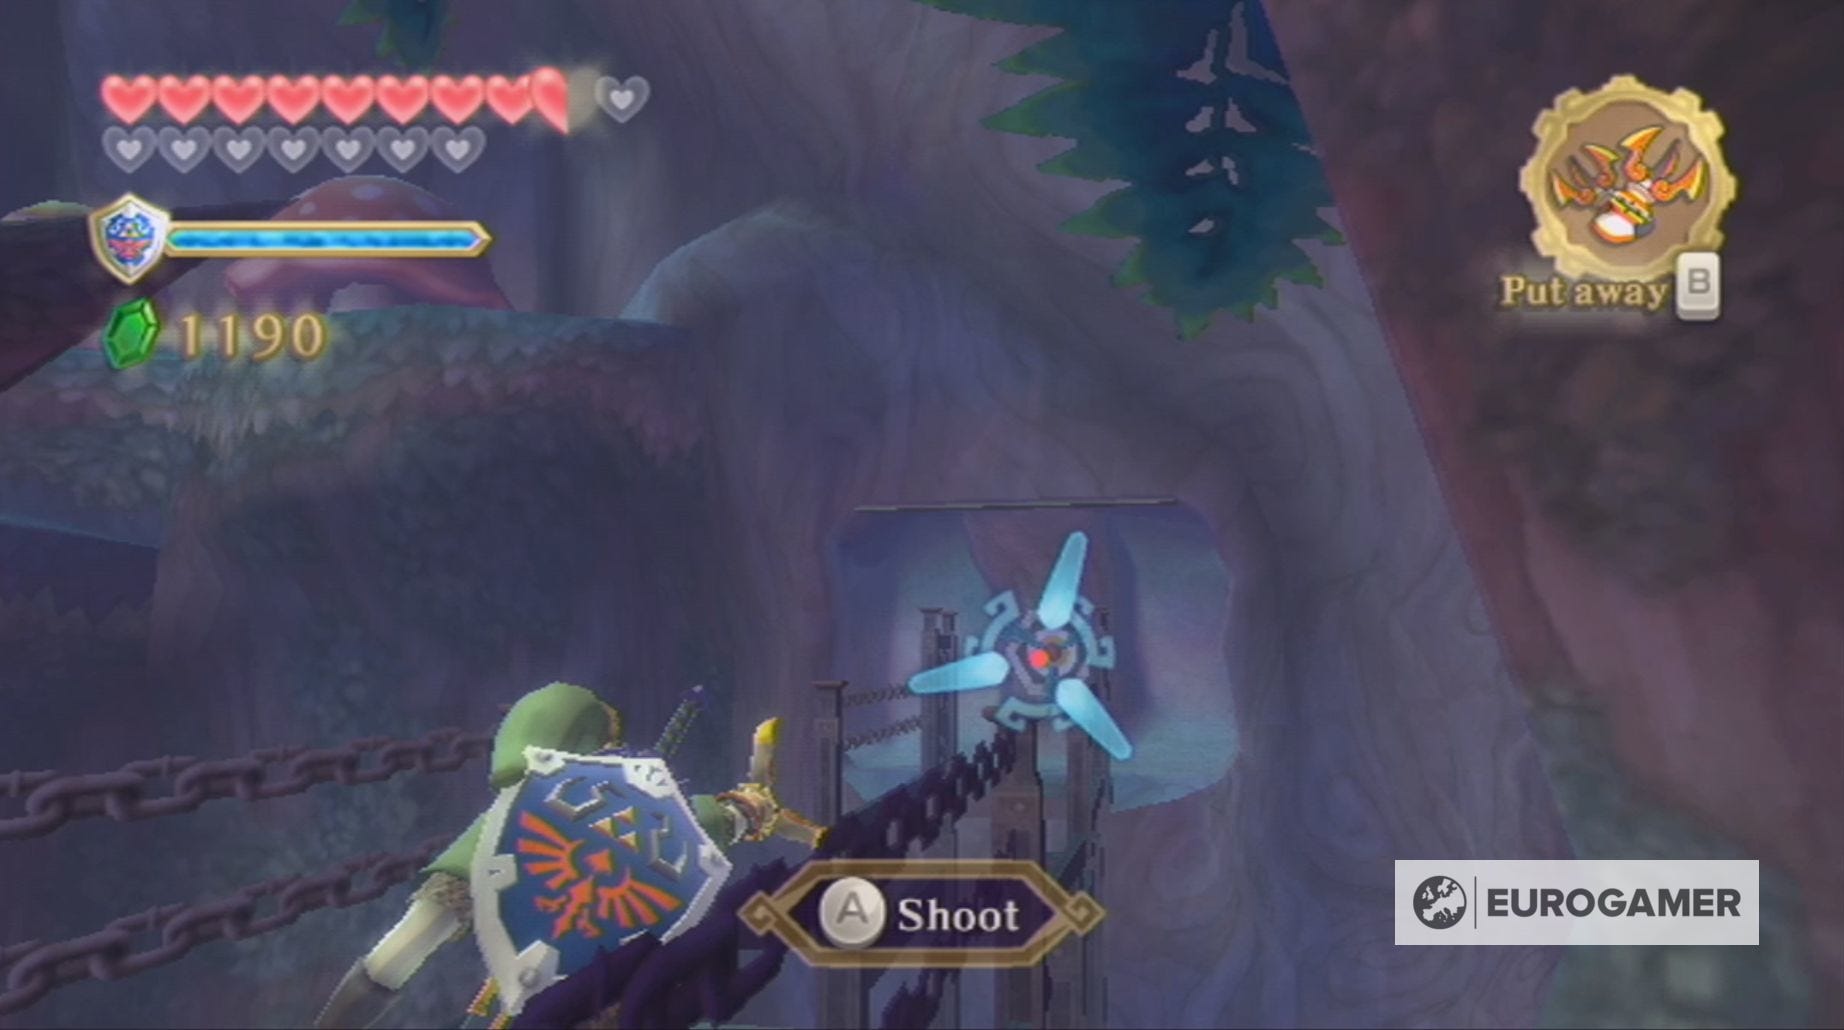
Your journey to find the small key in Sky Keep begins by taking the path to your right and, after killing the Deku Babas and Quadro Baba, use the Hook Beetle to release the room on the other side of the room. You can use the Whip to jump to the rope and to reach the next platform where you will need to kill a Skulltula.
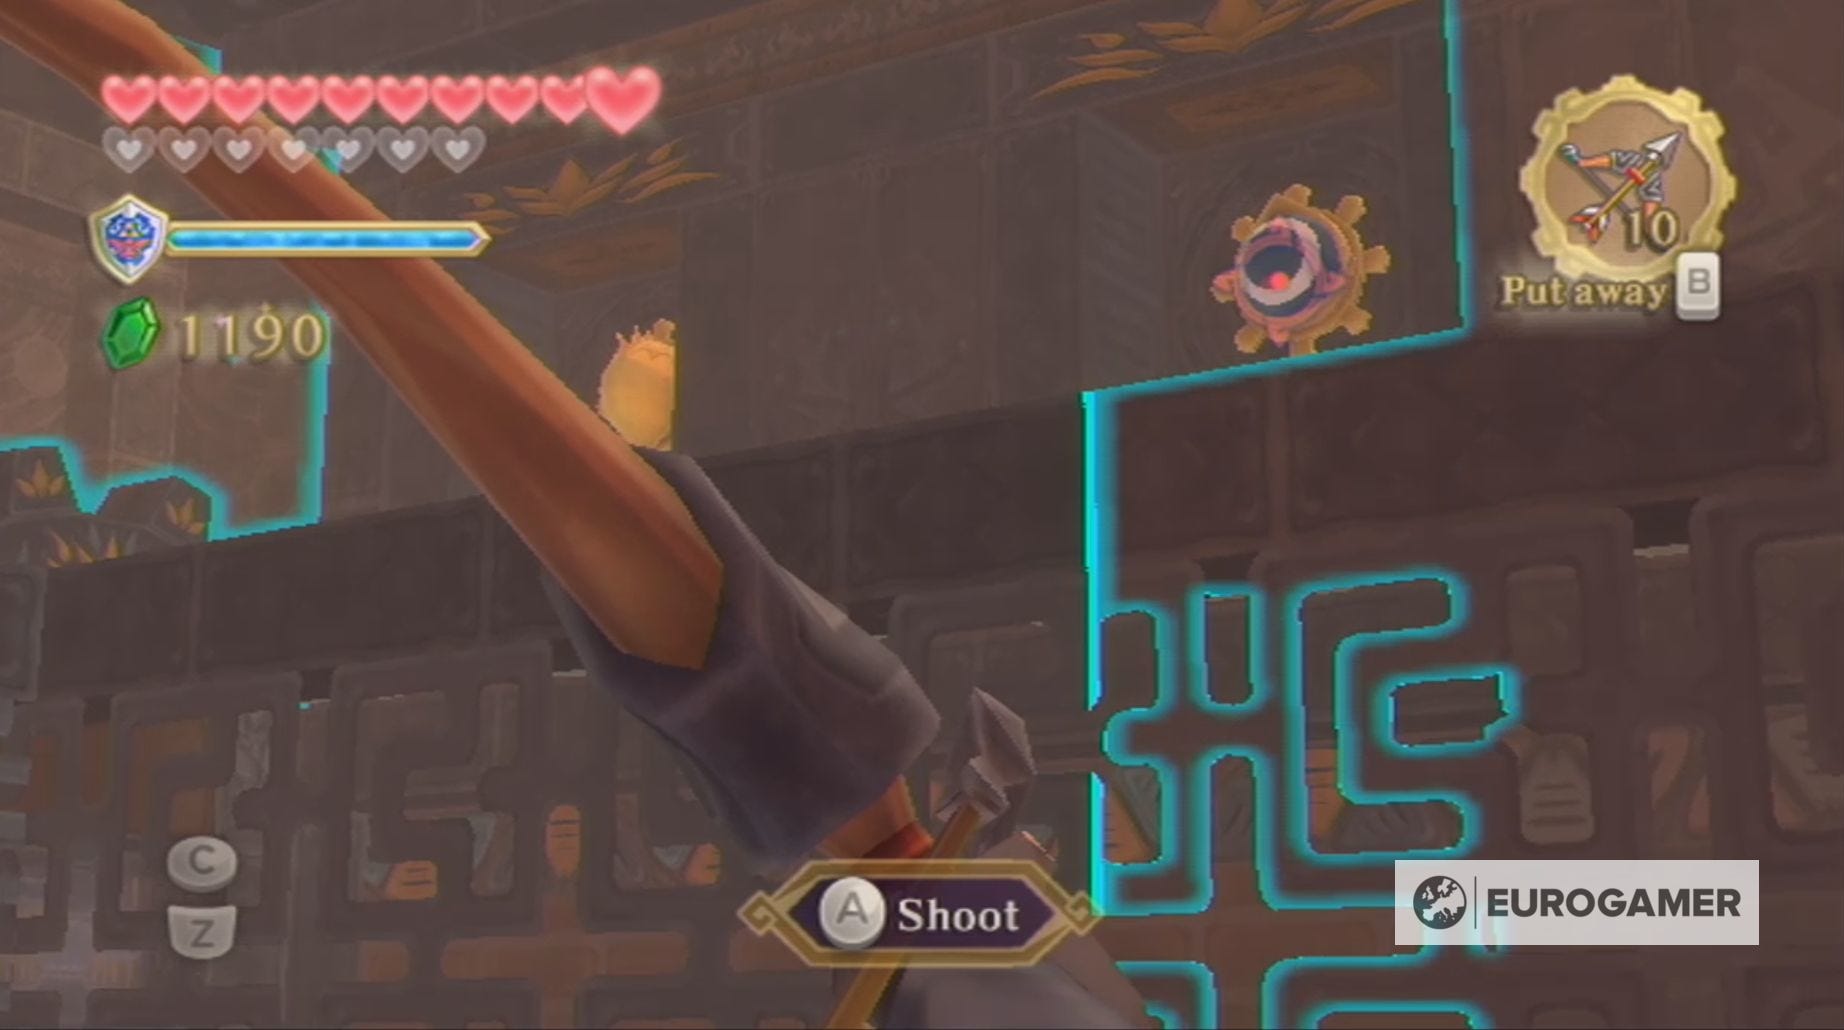
Here you will need to kill a Skulltula and, using your Wooden Bow, the nearby Furnix.
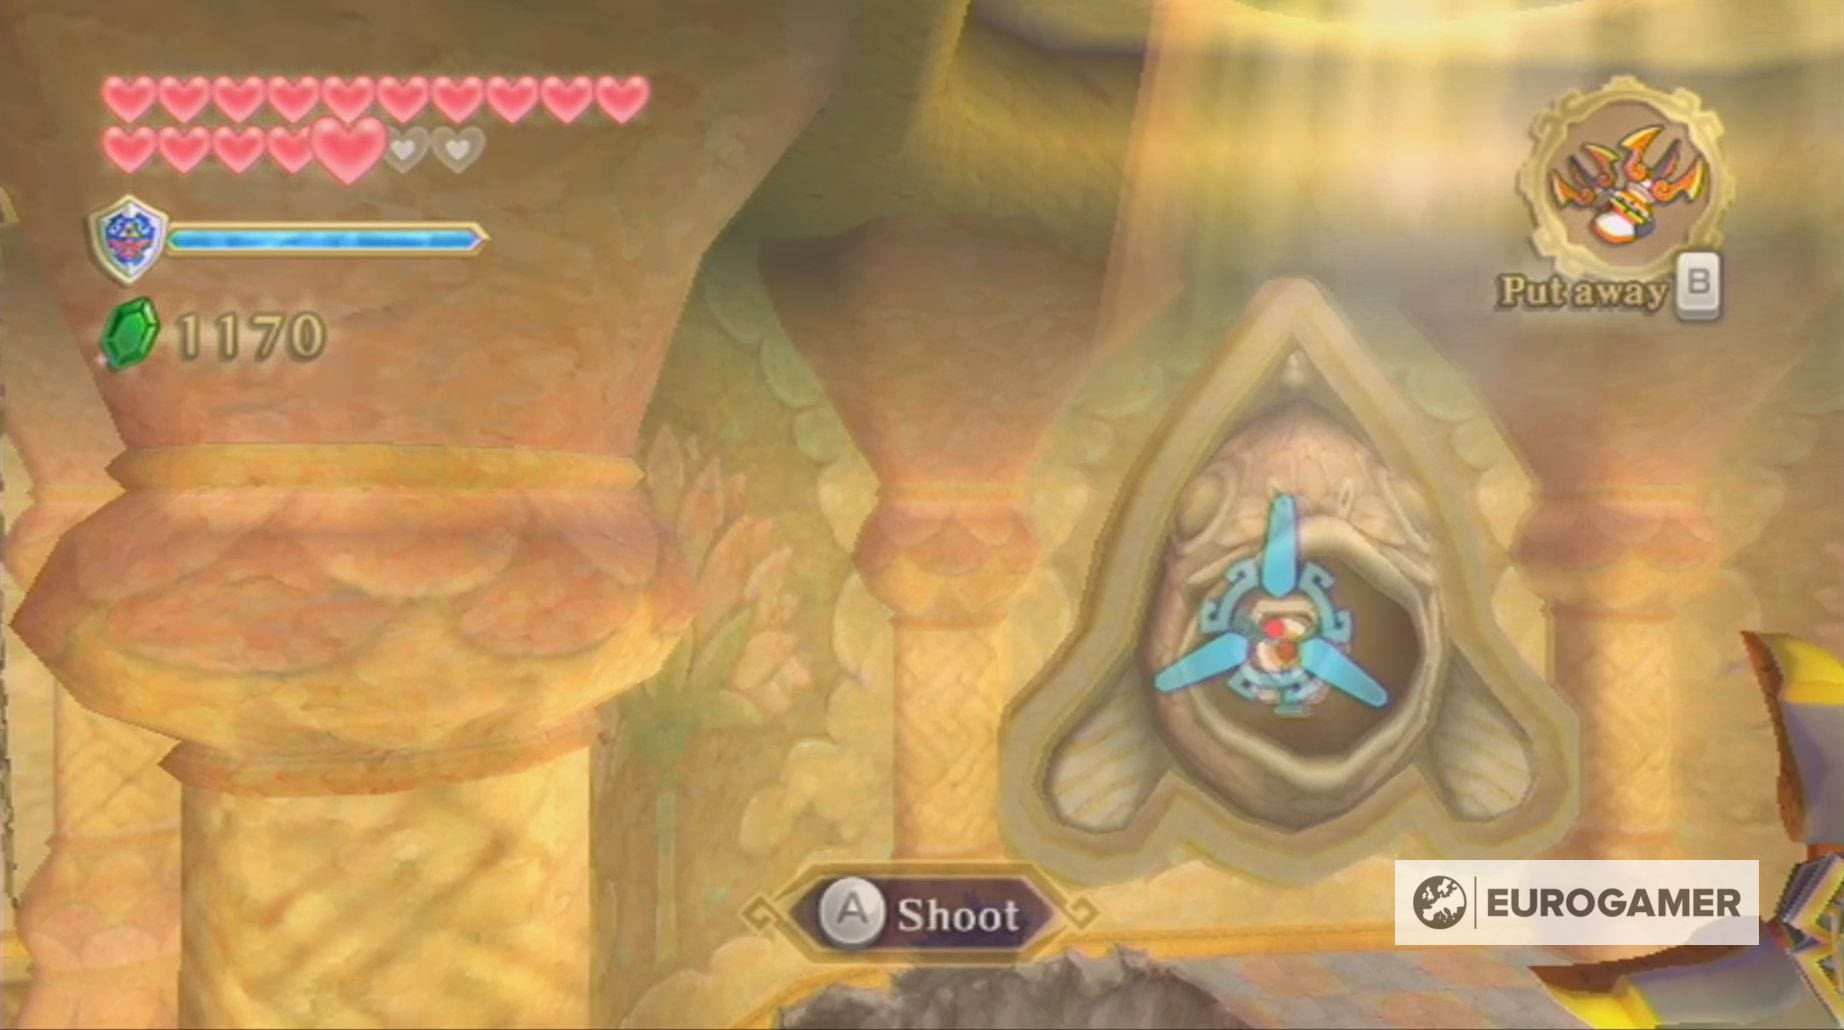
This will allow you to safely grapple onto the pillar to your left using the Clawshots and, from there, onto the further pillar. Once on this pillar, you will need to pull out the Clawshots once again and wait for the pillar to rotate to a position where you can reach the Clawshot spot in the fish's mouth.
Next, use the Hook Beetle to drop bombs on the three Pyrups waiting in the three nearby alcoves. Like with the three previous monsters, you must do this or else you won't be able to progress.
With these monsters dead, you can now use the rope to reach the first platform and, here, use the Gust Bellows to go from platform to platform, so you can reach the other side of the room.
It's a good idea to pull the nearby lever to create a shortcut before you head into the next room.
You will now find yourself in a room reminiscent of the Lanayru Mining Facility, so, as you can probably expect, there will be some time based puzzles here.
Head to your left and pick up the Timeshift Orb, before heading down the passage to your right either killing or ignoring the Technoblins which appear. You will, however, have to kill the Sentrobe at the bottom of the stairs.
Place the Timeshift Orb close to the gate and then climb the ladder, so you can pull the lever waiting for you.

Drop back to the floor below and stand on the switch, before tossing the Timeshift Orb on the conveyor belt. You now have to climb the ladder and stand on the switch to retrieve the Timeshift Orb, so you can continue through the room.

In the next room, you want to head down the stairs with the Timeshift Orb and place it in the far corner, so the wire around the arrow switch has vanished. You may need to kill some Technoblins!

Shoot the arrow switch when it's safe, before picking up the Timeshift Orb and placing it on the moving platform. Next, without standing on the moving platform, use the Gust Bellows to move it up to the bars.
Once there, stand on the switch to remove the bars and use the Gust Bellows to move the platform past this barrier. Now all you have to do is continue moving the platform until it reaches the other side.
Next, pull the lever to create a shortcut and, standing on the switch, toss the Timeshift Orb into the conveyor belt.
The Timeshift Orb will now move along the conveyor belt, which you can change the direction of by using the Whip on the switch. It will also activate two Beamoses, which you need to destroy.
With these machines defeated, change the direction of the conveyor belt and, as the orb moves, use the bow to hit the switches above the belt.
This will allow you to access another control panel, so you can rearrange the rooms once again. To reach the small key, you need to connect Room 2 to Room 6 and, then, Room 2 to Room 7.
To do this, first rotate the rooms until Room 2 is connected to Room 6 like this:
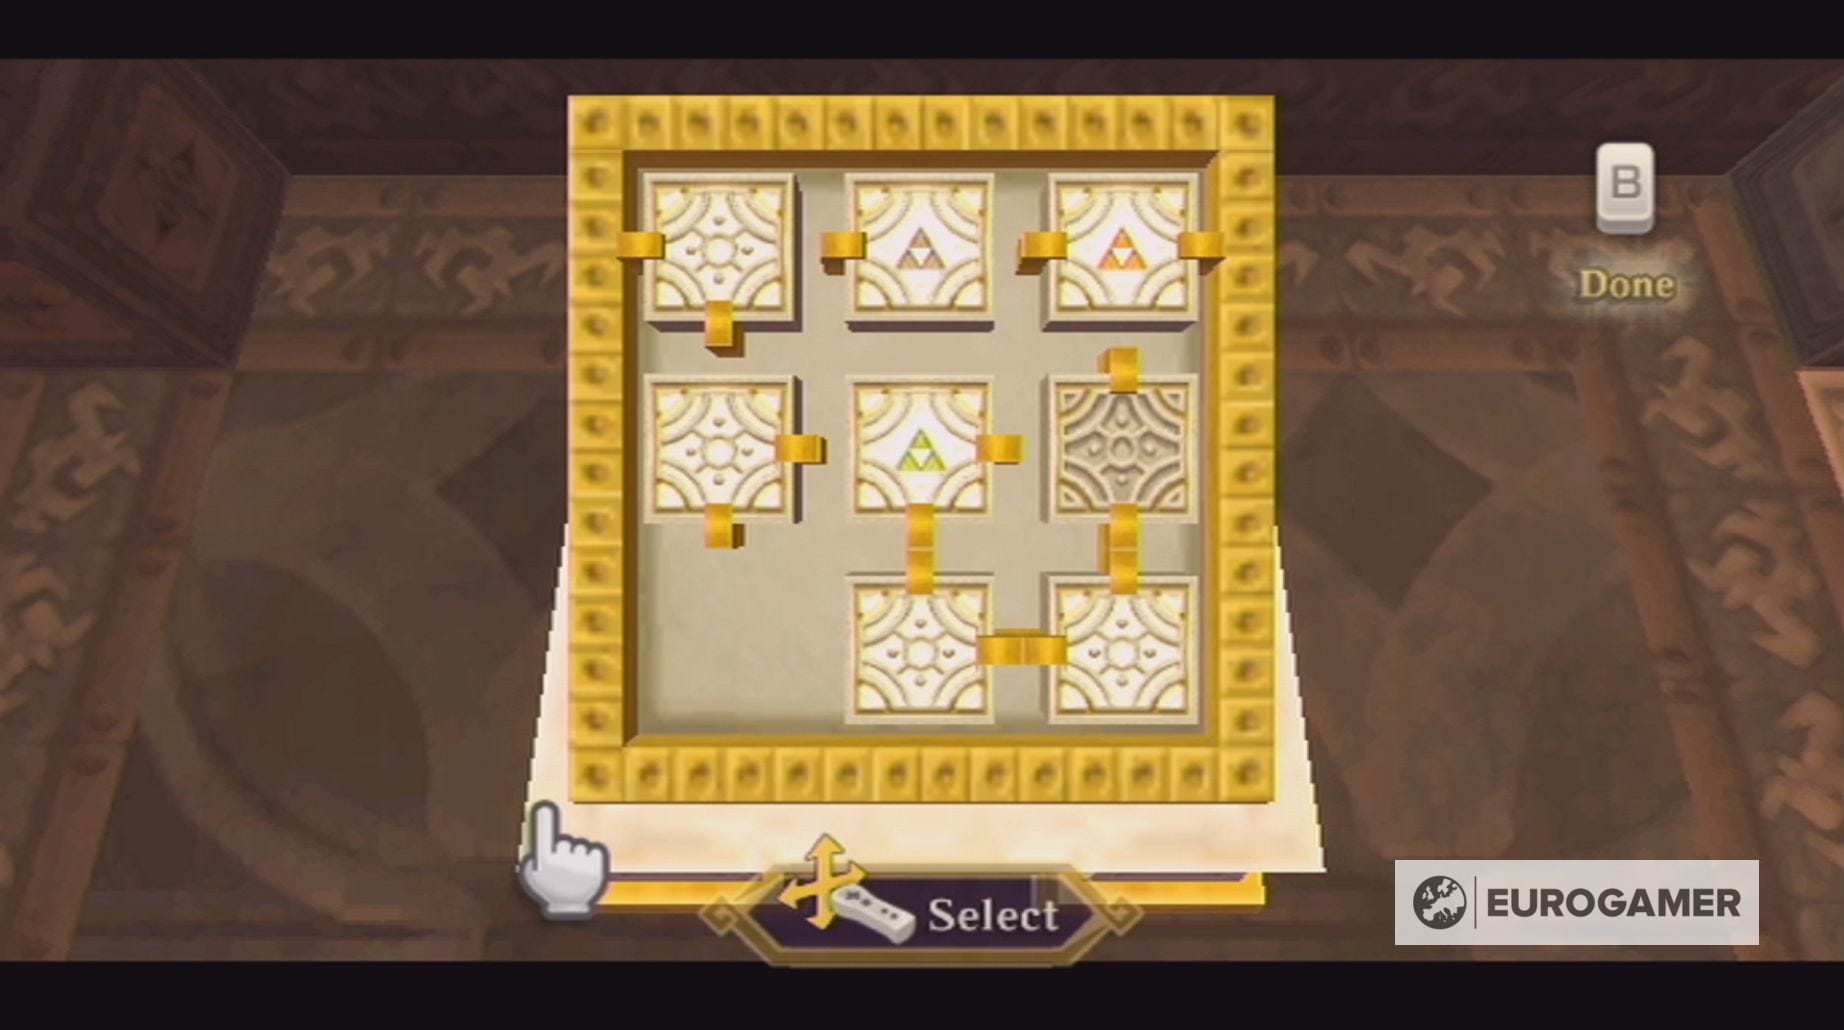
Now you need to:
- Move Room 8 down
- Room 7 down
- Room 4 left
- Move Room 1 up
- Room 7 left
With that done, backtrack through this room and Room 6 to reach the new room.
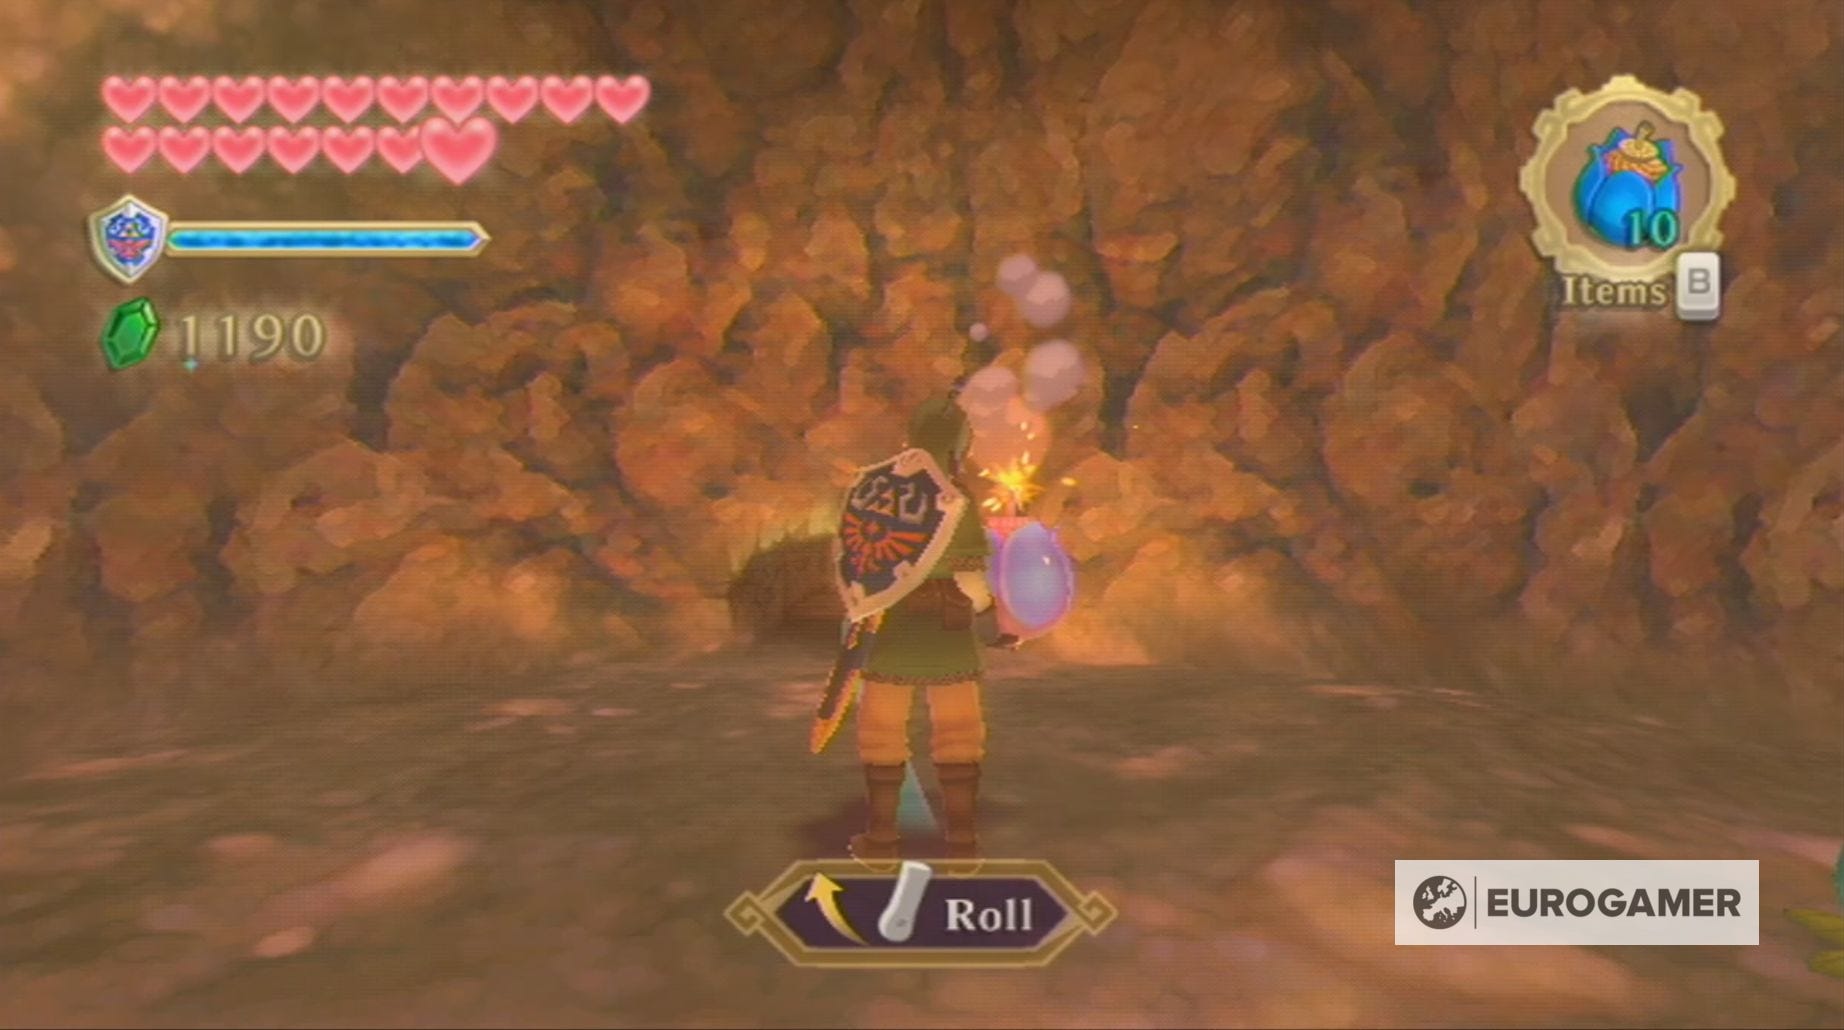
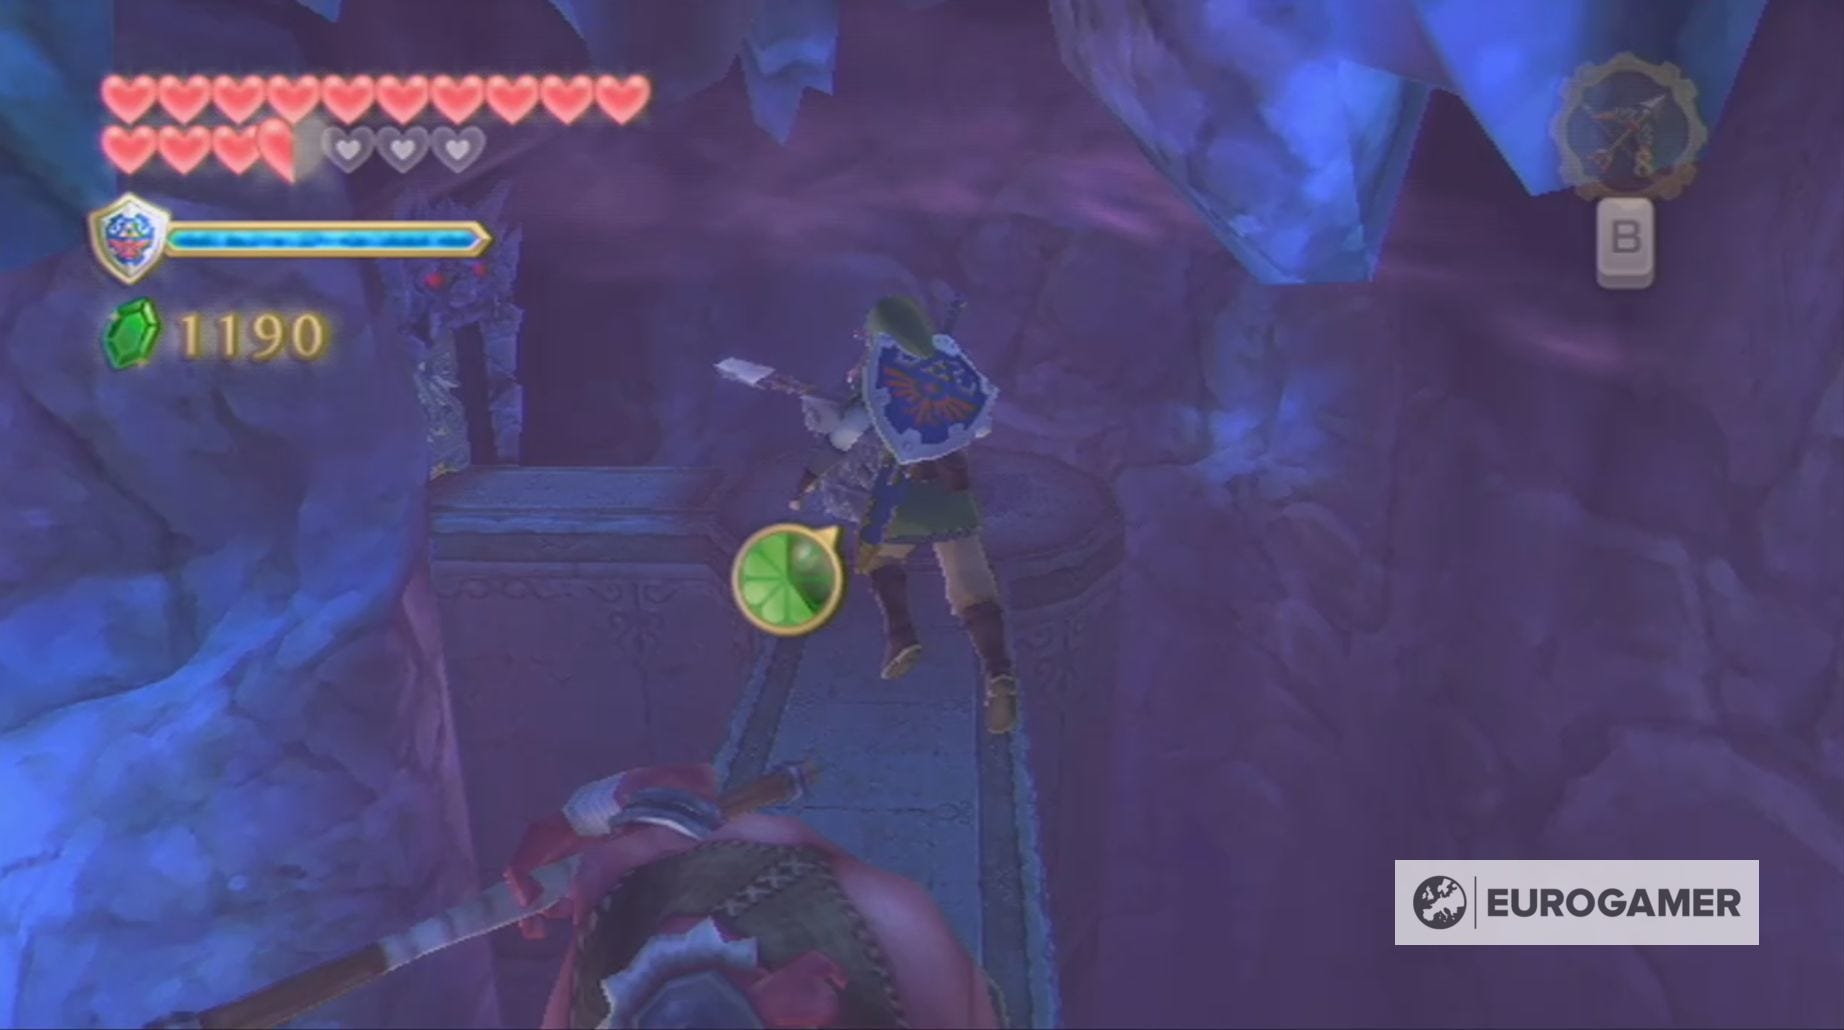
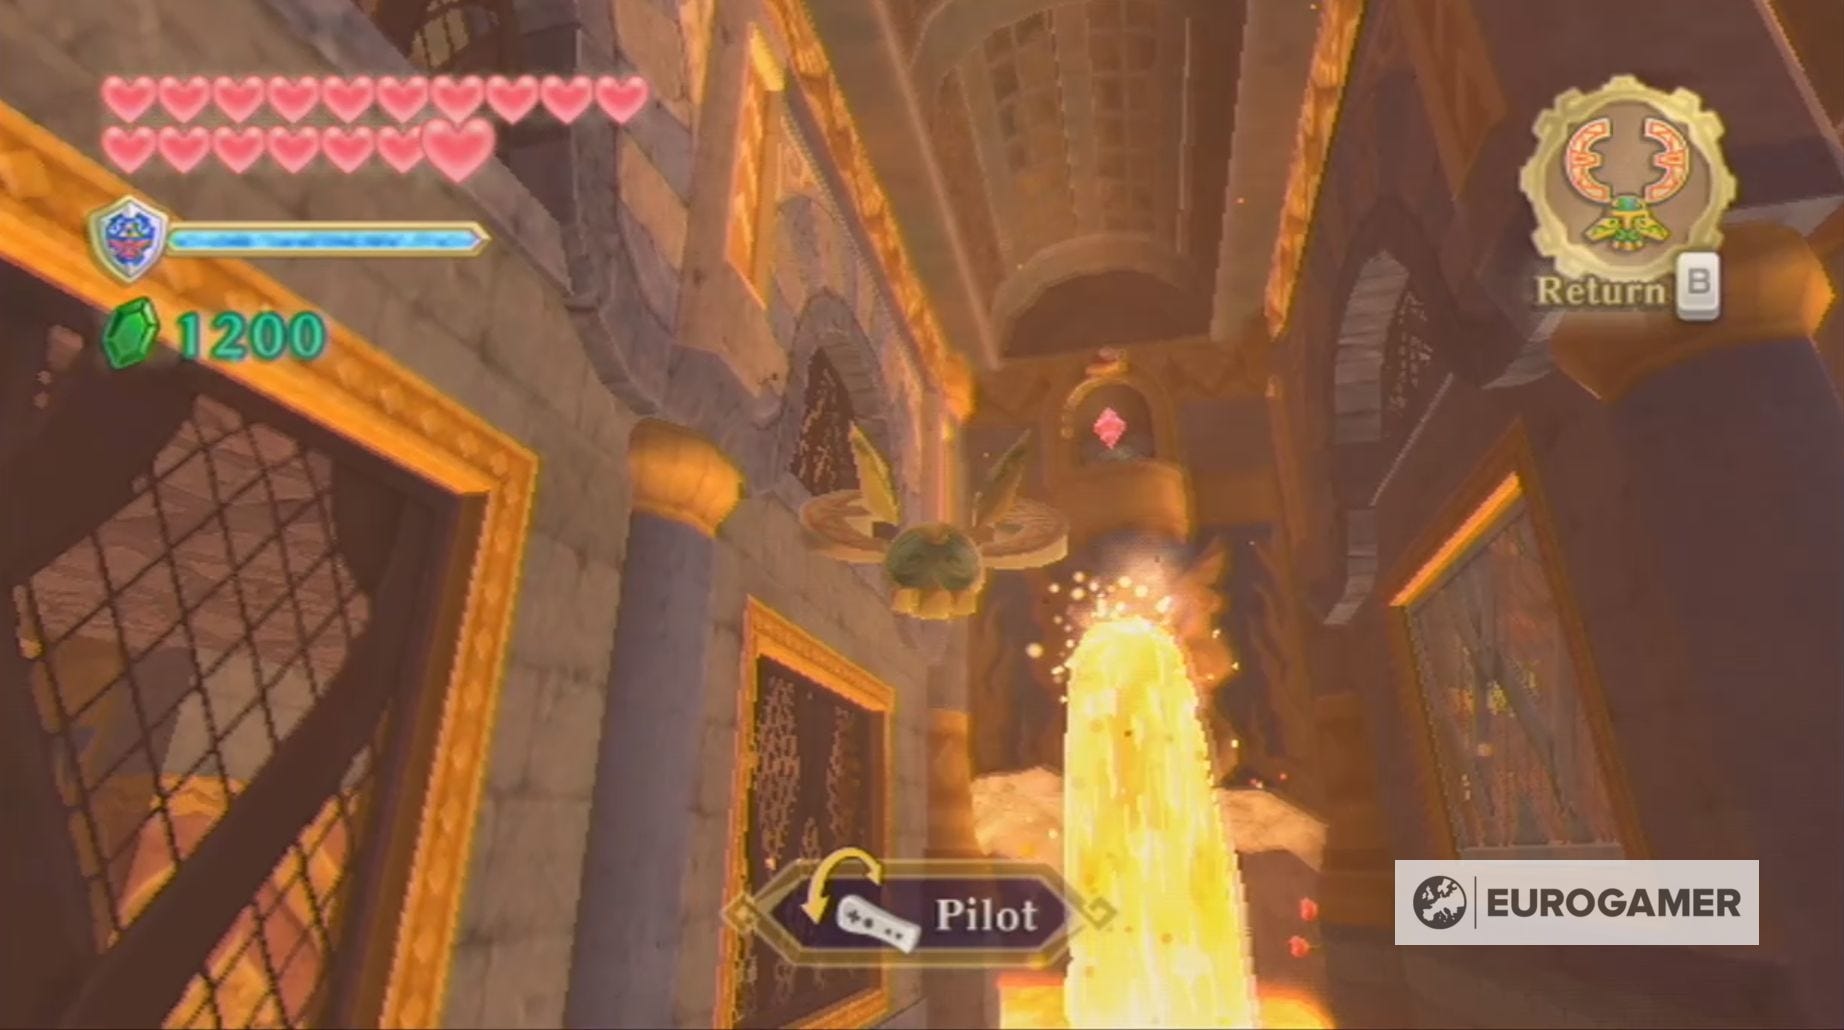
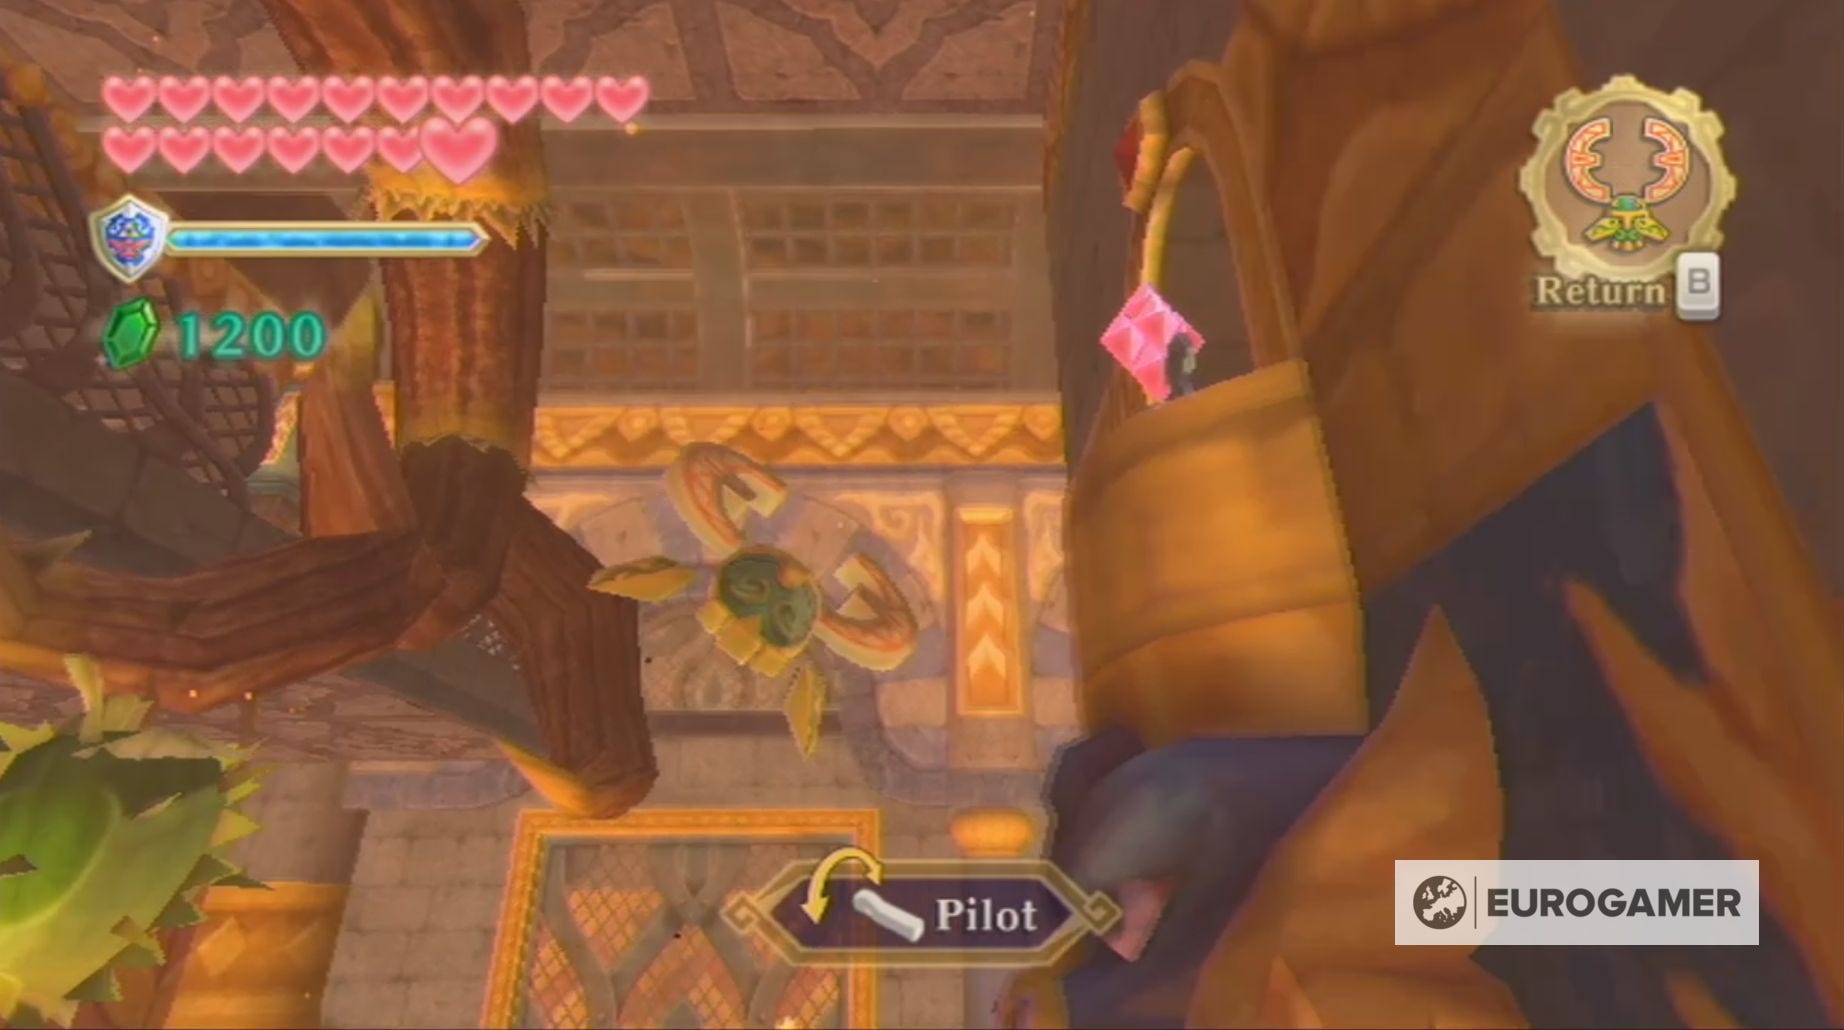
You'll now find yourself in a Fire Sanctuary themed room and your first task is to go through the crawlspace near the gate on your right. Just make sure you kill the Red Chuchus first!
Take the left-hand passage in this crawlspace, so you can roll a bomb through to reach the right-hand side. This is also the perfect place to restock your Bomb Bag if needed.
Next, quickly kill the giant Red Chuchu before burrowing into the nearby patch of dirt where you can flip the switch for the gate above. After this, go back the way you came and go through the gate!
Kill the Dark Lizalfos waiting for you and then use a bomb on the nearby statue to knock it down to uncover a switch.

Resist the temptation to hit it and, instead, stand on the circle of stone. From here, you'll be able to roll a bomb down the sandy slope and into the statue waiting below.

Once again - don't hit the switch! You, instead, need to go down the slope yourself and climb the vines.
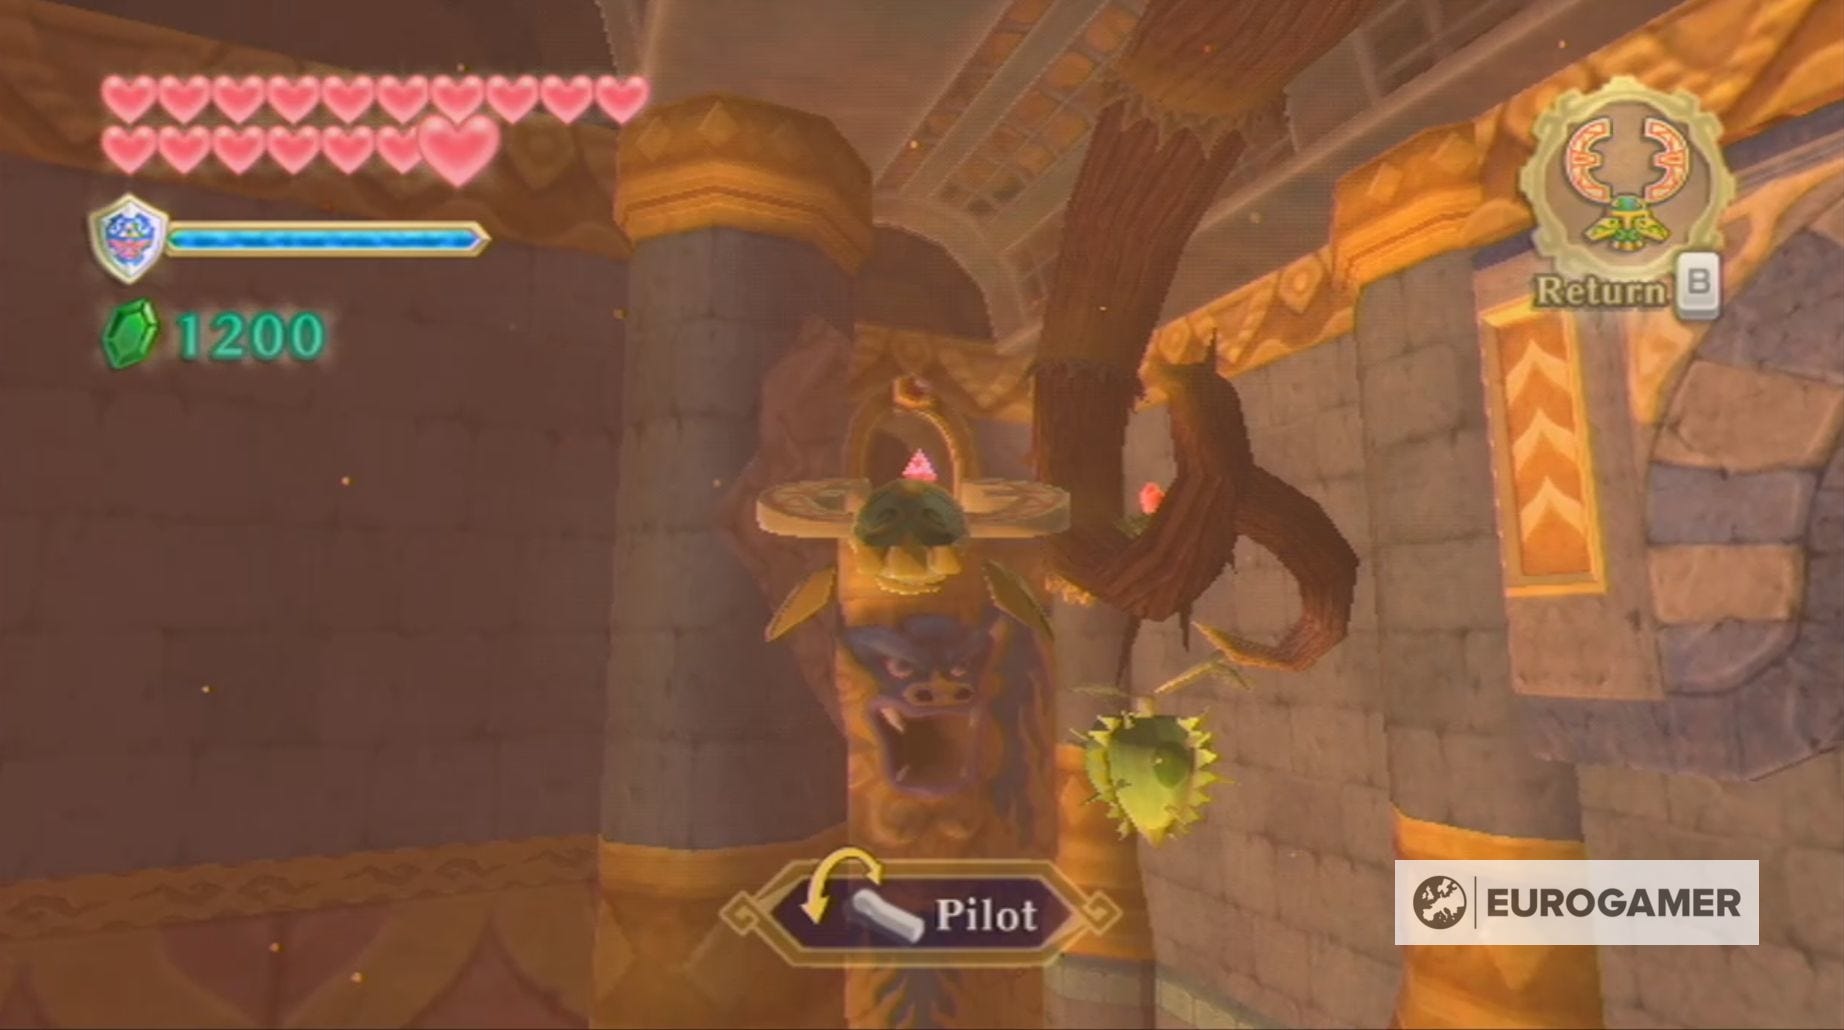
At the top, you'll find yourself opposite a Bomb Flower surrounded by a collection of trees, which can be destroyed with a couple Skyward Strikes. After the trees have been felled, use the Hook Beetle to drop a bomb onto the statue to your left.
Now head back to the top of the sandy slope, because it's finally switch hitting time!
The switches need to be hit in a specific order, so start with the one at the bottom of the sandy slope and, finally, the one which was hidden by the trees. The best way to do this is by using the Hook Beetle.
This will cause the nearby bars to rise and you'll be able to dig into the next patch of dirt which lies beyond.
Underground, you will need to knock the Bomb Flower into the right position, so you can break the stone and hit the gate switch again.
Afterwards, leave the burrow and enter the cave area you've unlocked to find the next patch of dirt. Within this new burrow, you'll have to kill two centipedes like you did back in the Fire Sanctuary.
Once the centipedes are dead, you'll be able to leave the burrow and find yourself next to another control panel. Ignore it for now, however, and pull the lever, so you can reach the door and the next room. Before you enter, however, it's a good idea to ensure you're at full health.
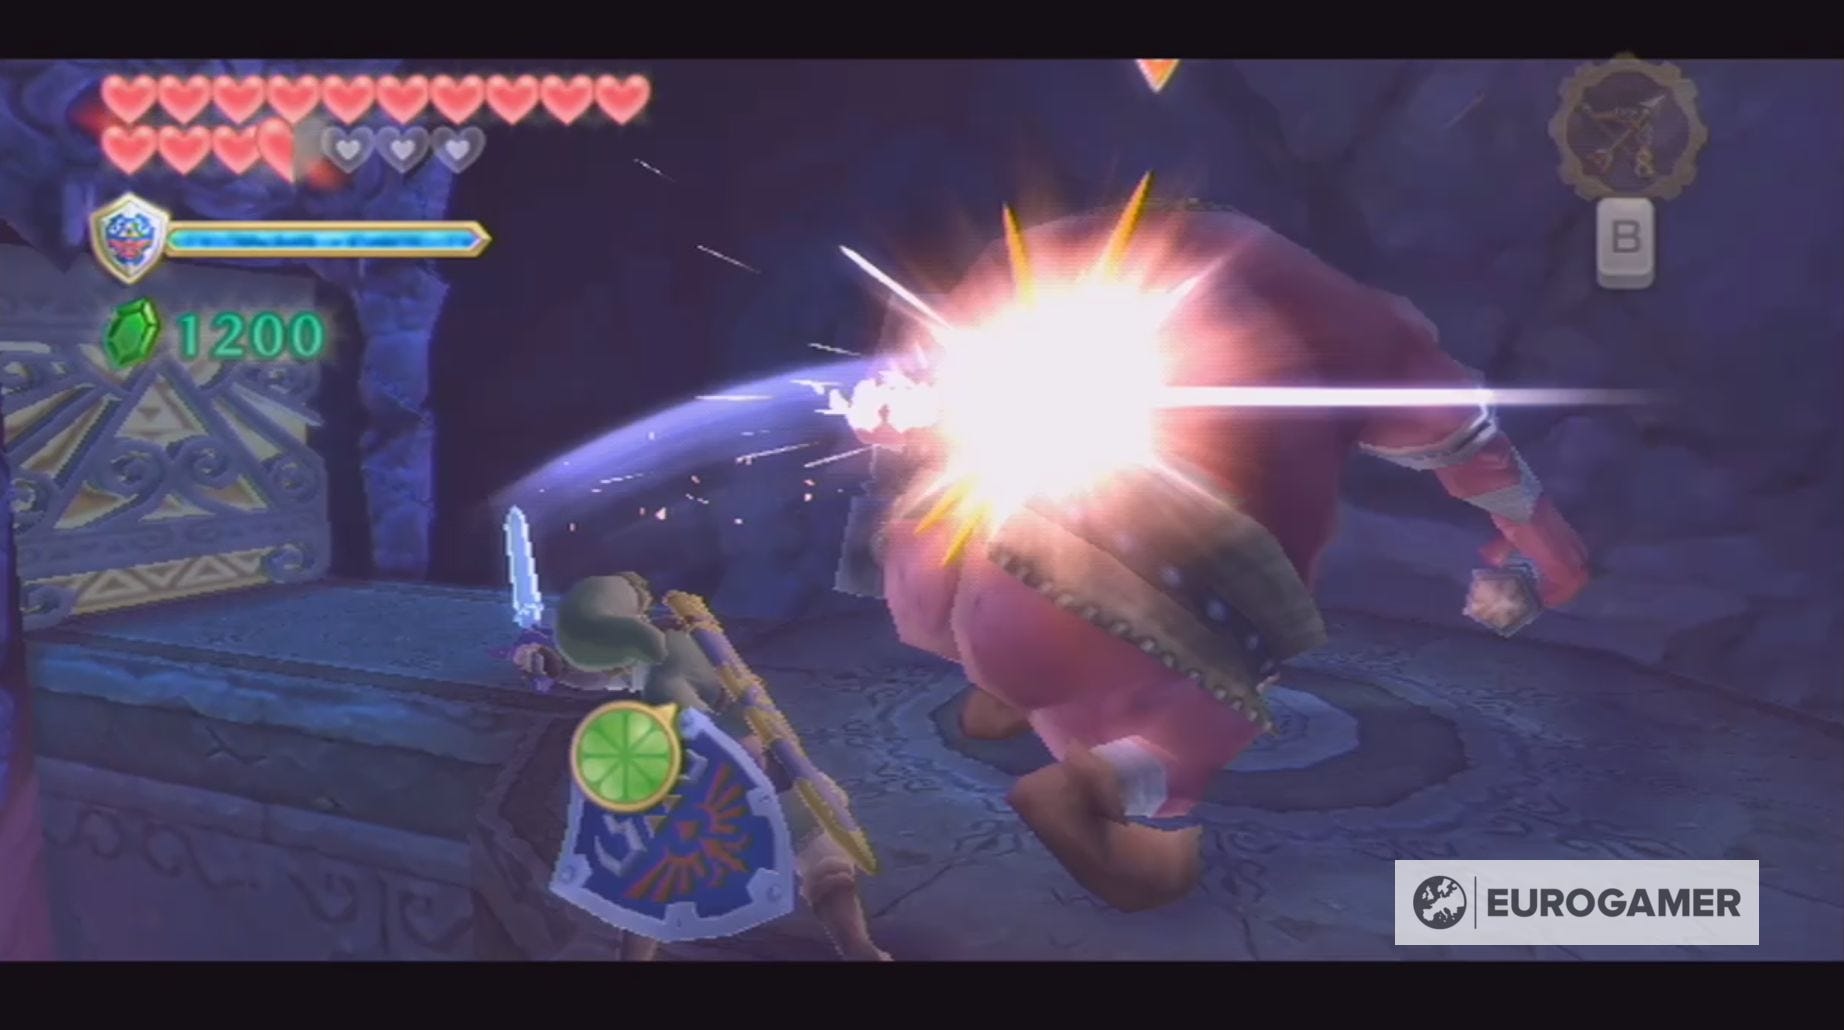
This is because you now have to defeat a robot pirate captain using exactly the same tactics as you did with Scervo back on the Sandship. Since you've already been a foe like this, it should be quite an easy fight for you.
Once this robot captain is defeated, you can use the Clawshots to drop across the gap and reach the small key. You can now finally start collecting those Triforce pieces!
Sky Keep Triforce of Courage location explained
To begin your search for the Triforce of Courage in Sky Keep, you need to go through the door opposite the chest.
Here you'll find another control panel and all you have to do is rotate the rooms until Room 1 is in the space directly to the left of Room 7. Now, head down the corridor, and into this room.
Inside Room 1, you need to use the small key on the locked door and, in the area beyond, defeat the two Moblins waiting for you. The easiest way to do this is to sprint at the first Moblin, which should cause Link to climb up over its shield, and then run around to the back of the second monster.
Quickly defeat this Moblin and then perform the shield climbing trick again on the first, so you can easily reach it's back. Upon its death, the bars blocking the doors will rise, allowing you to progress further.
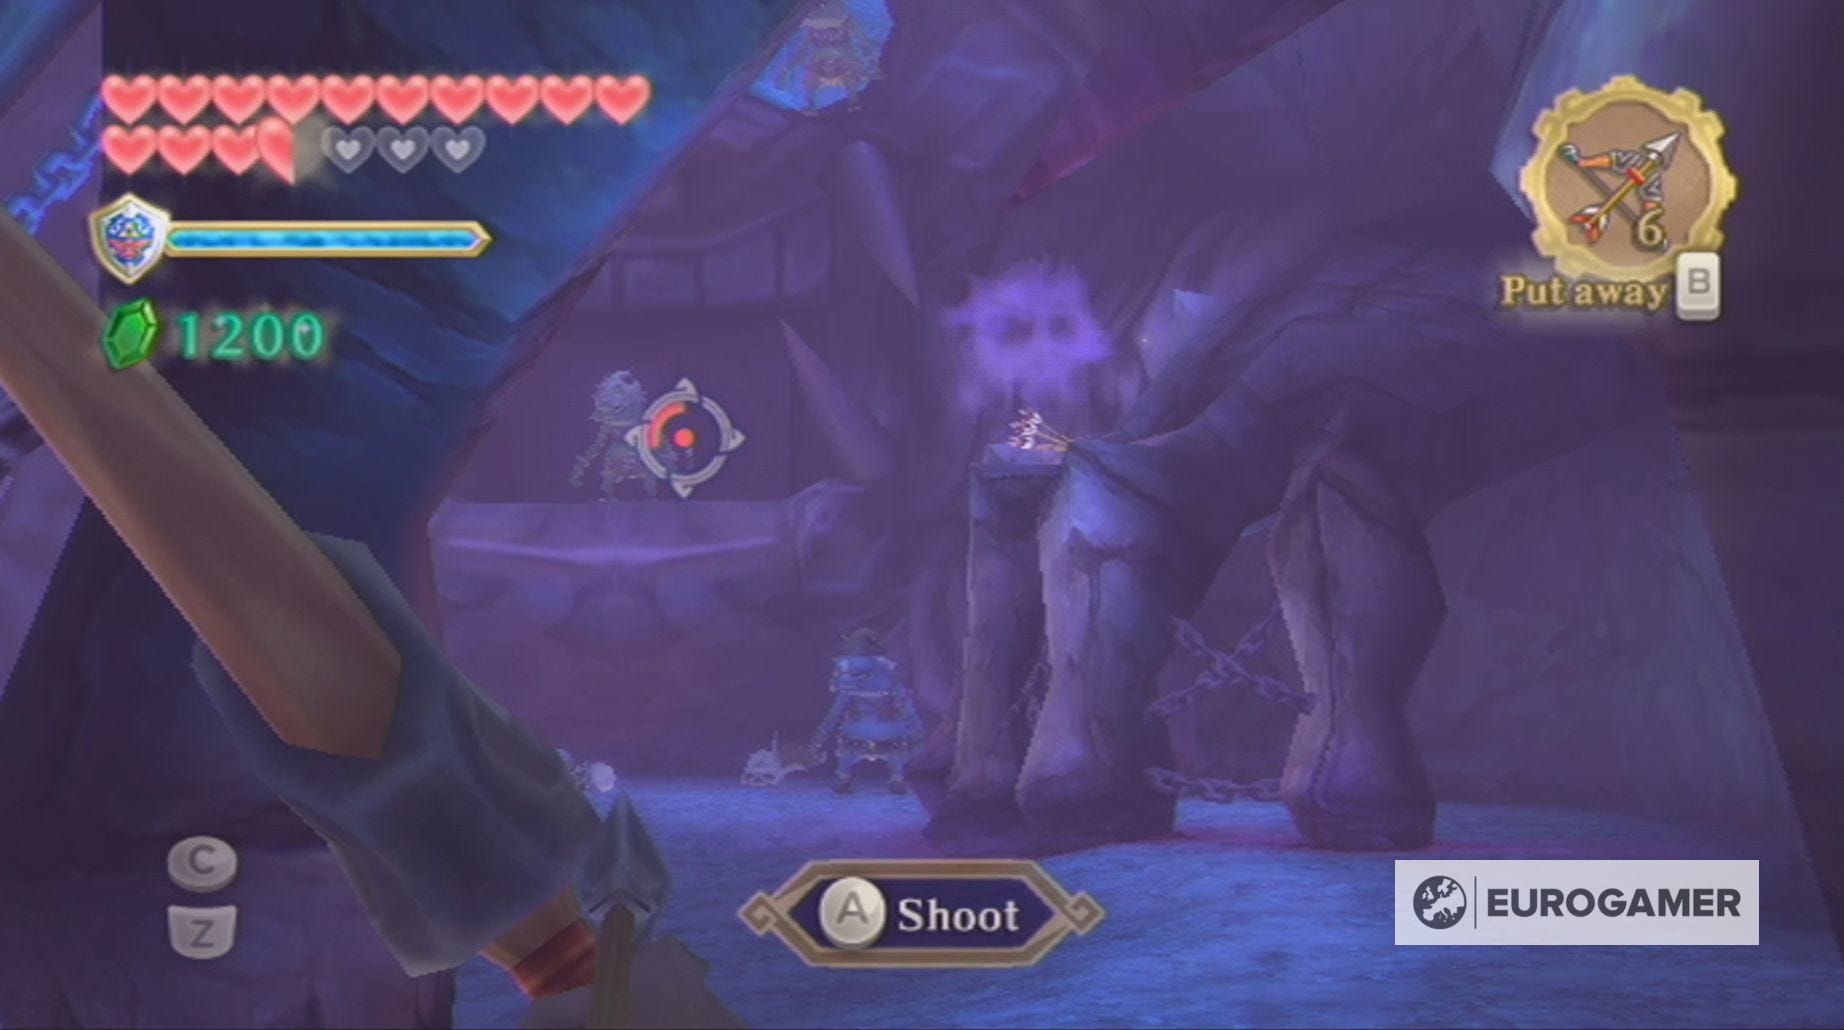
In the next area you'll face a number of Bokoblins, Bokoblin Archers and two Stalfos. The best way to tackle this fight is to take out as many of the Bokoblin Archers as you can first, then the Bokoblins. You can then easily defeat the Stalfos like you did all the way back in Skyview Temple.
If you run out of arrows, then you can use the Hook Beetle and the nearby Bomb Flower to defeat them.
In the final chamber, you'll need to defeat a Stalmaster and a number of Cursed Bokoblins. The Stalmaster is defeated in exactly the same manner as the one you fought in the Ancient Cistern. It's a good idea to target the Cursed Bokoblins first, because it will make the second stage of the Stalmaster fight easier.

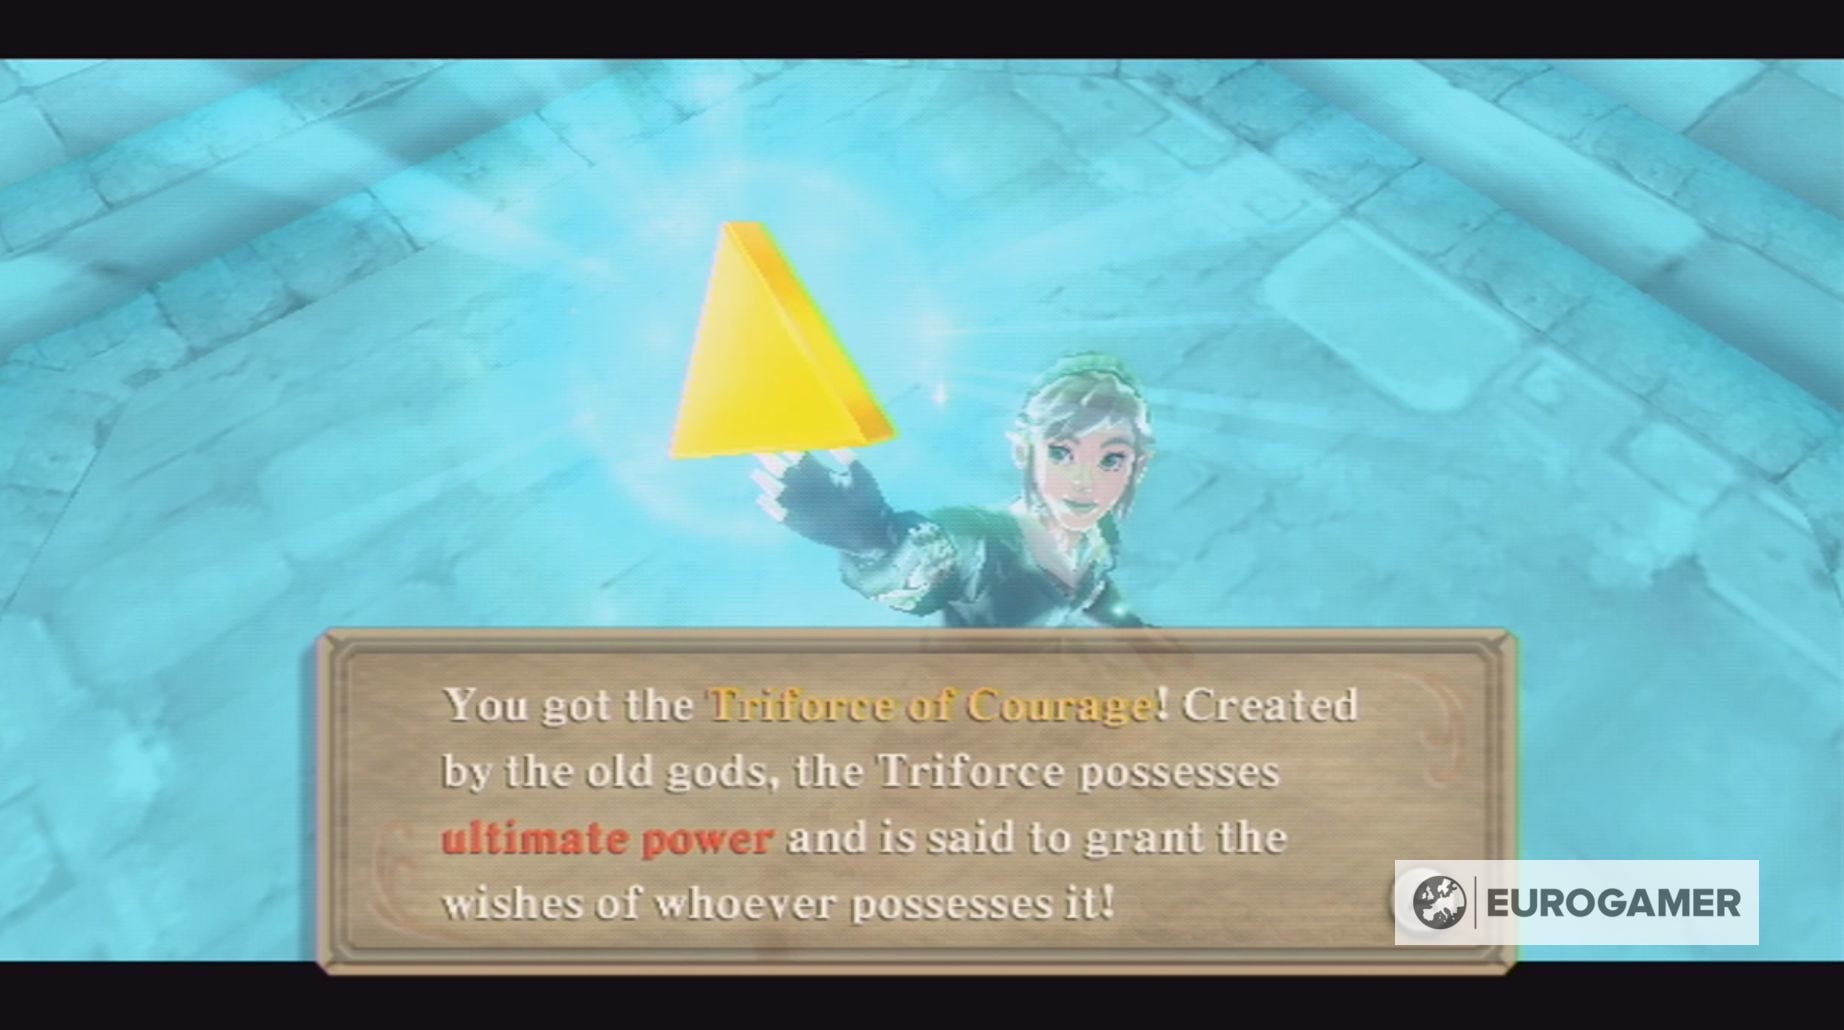
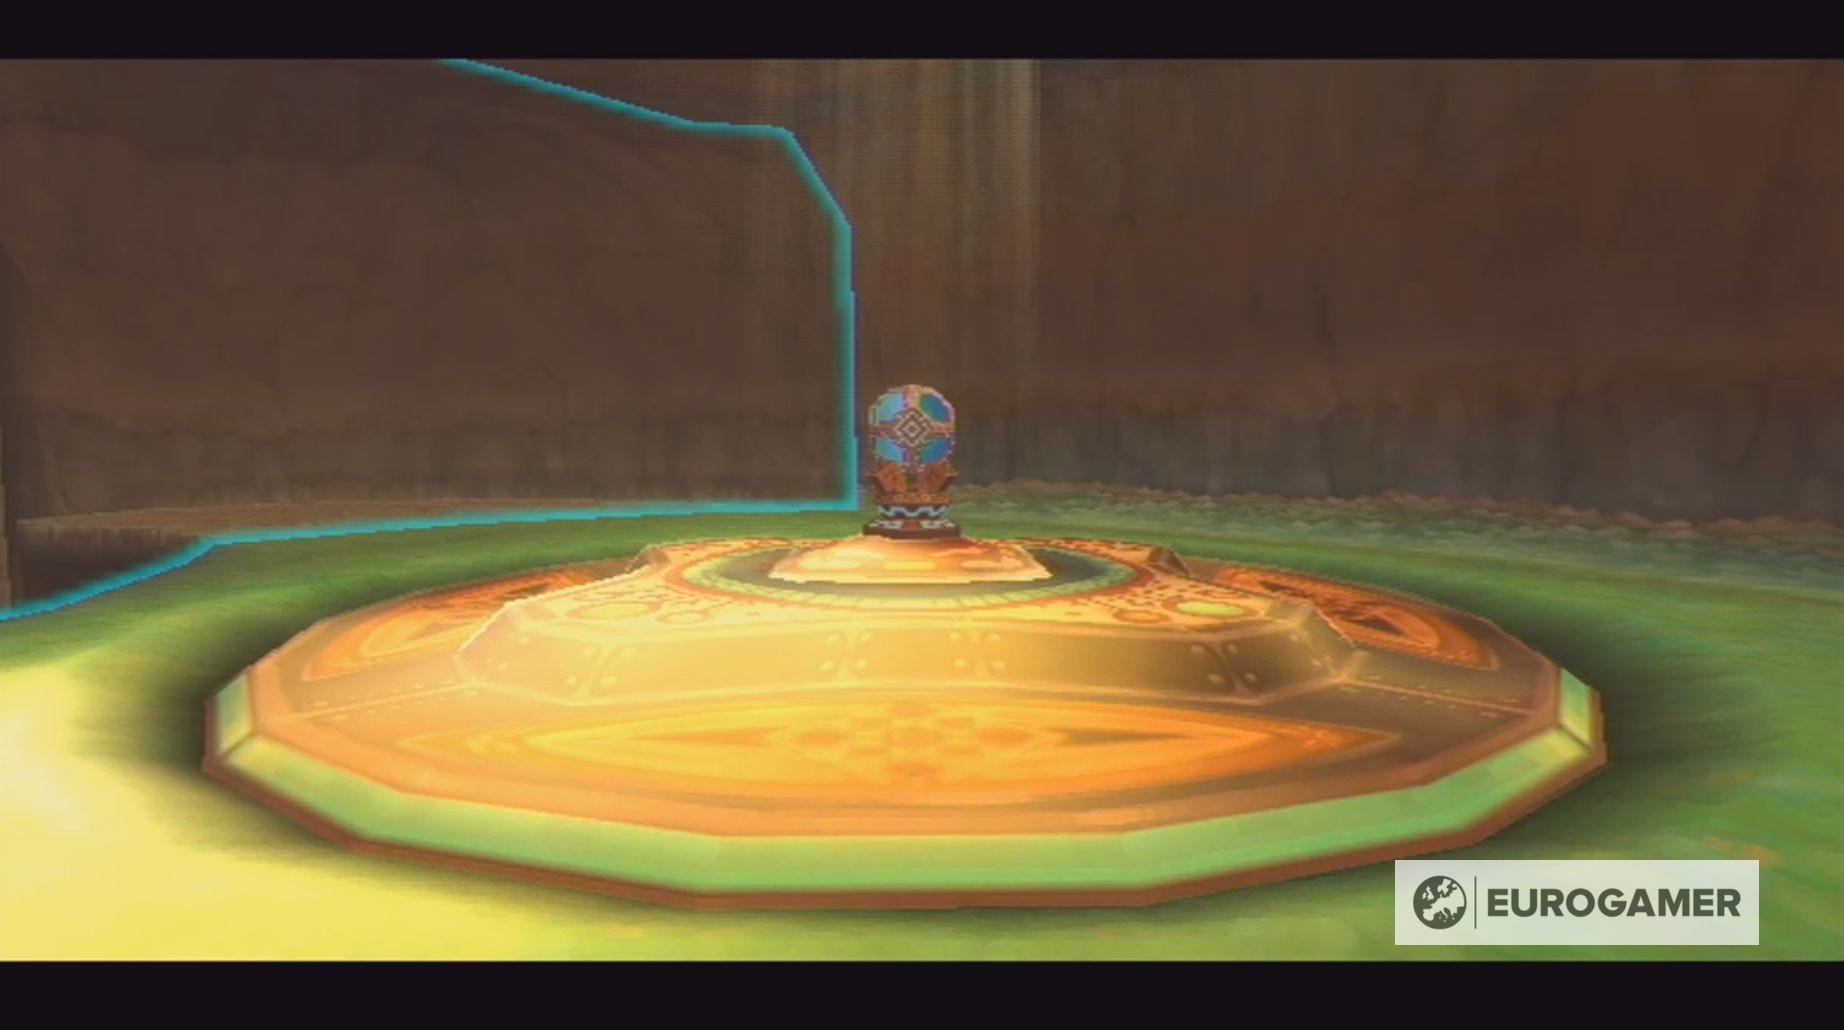
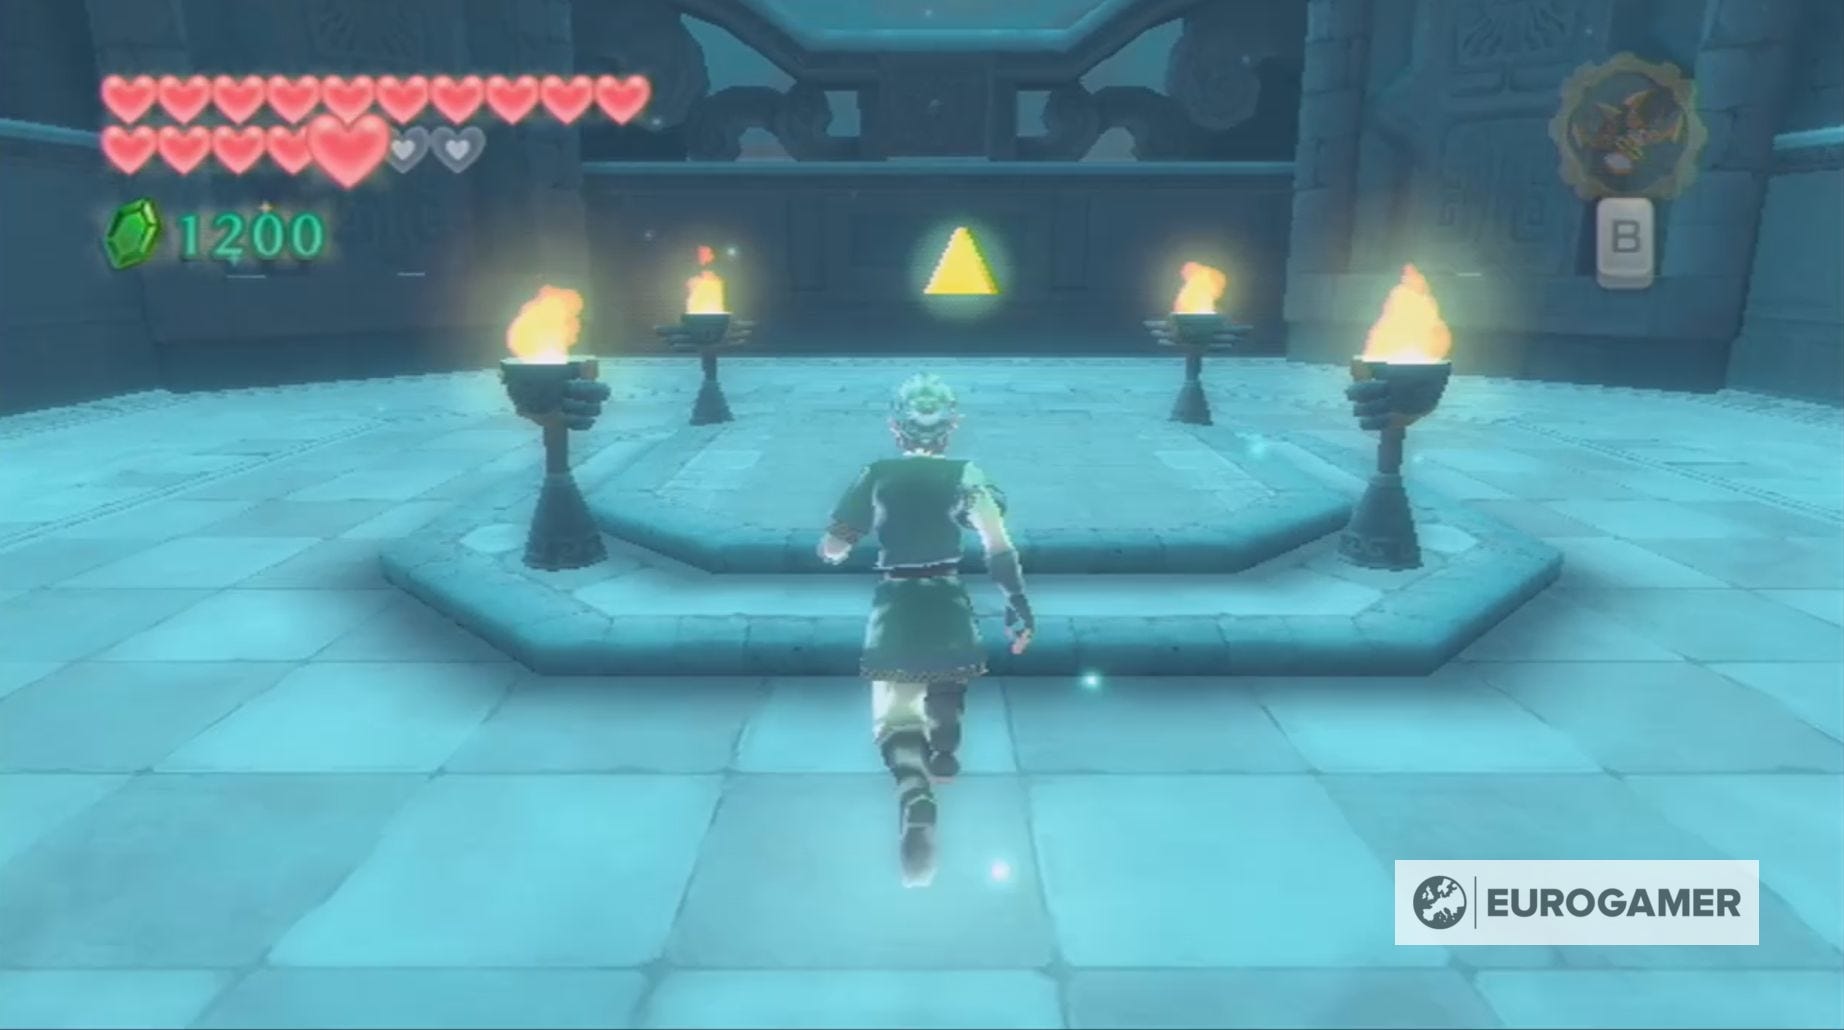
Once they're defeated, head through the door and claim the Triforce of Courage! It will also heal you, which is nice.
Now pull the lever to remove the bars and return to Room 7.
Sky Keep Triforce of Power location explained
To find the Triforce of Power in Sky Keep, you first need to use Room 7's control panel to rotate the rooms until Room 3 is directly to the left of the room you're currently in.
Even if you're taking a different path through Sky Keep, it's important to note that the Triforce of Power can only be reached if you're entering Room 3 from the right-hand side.
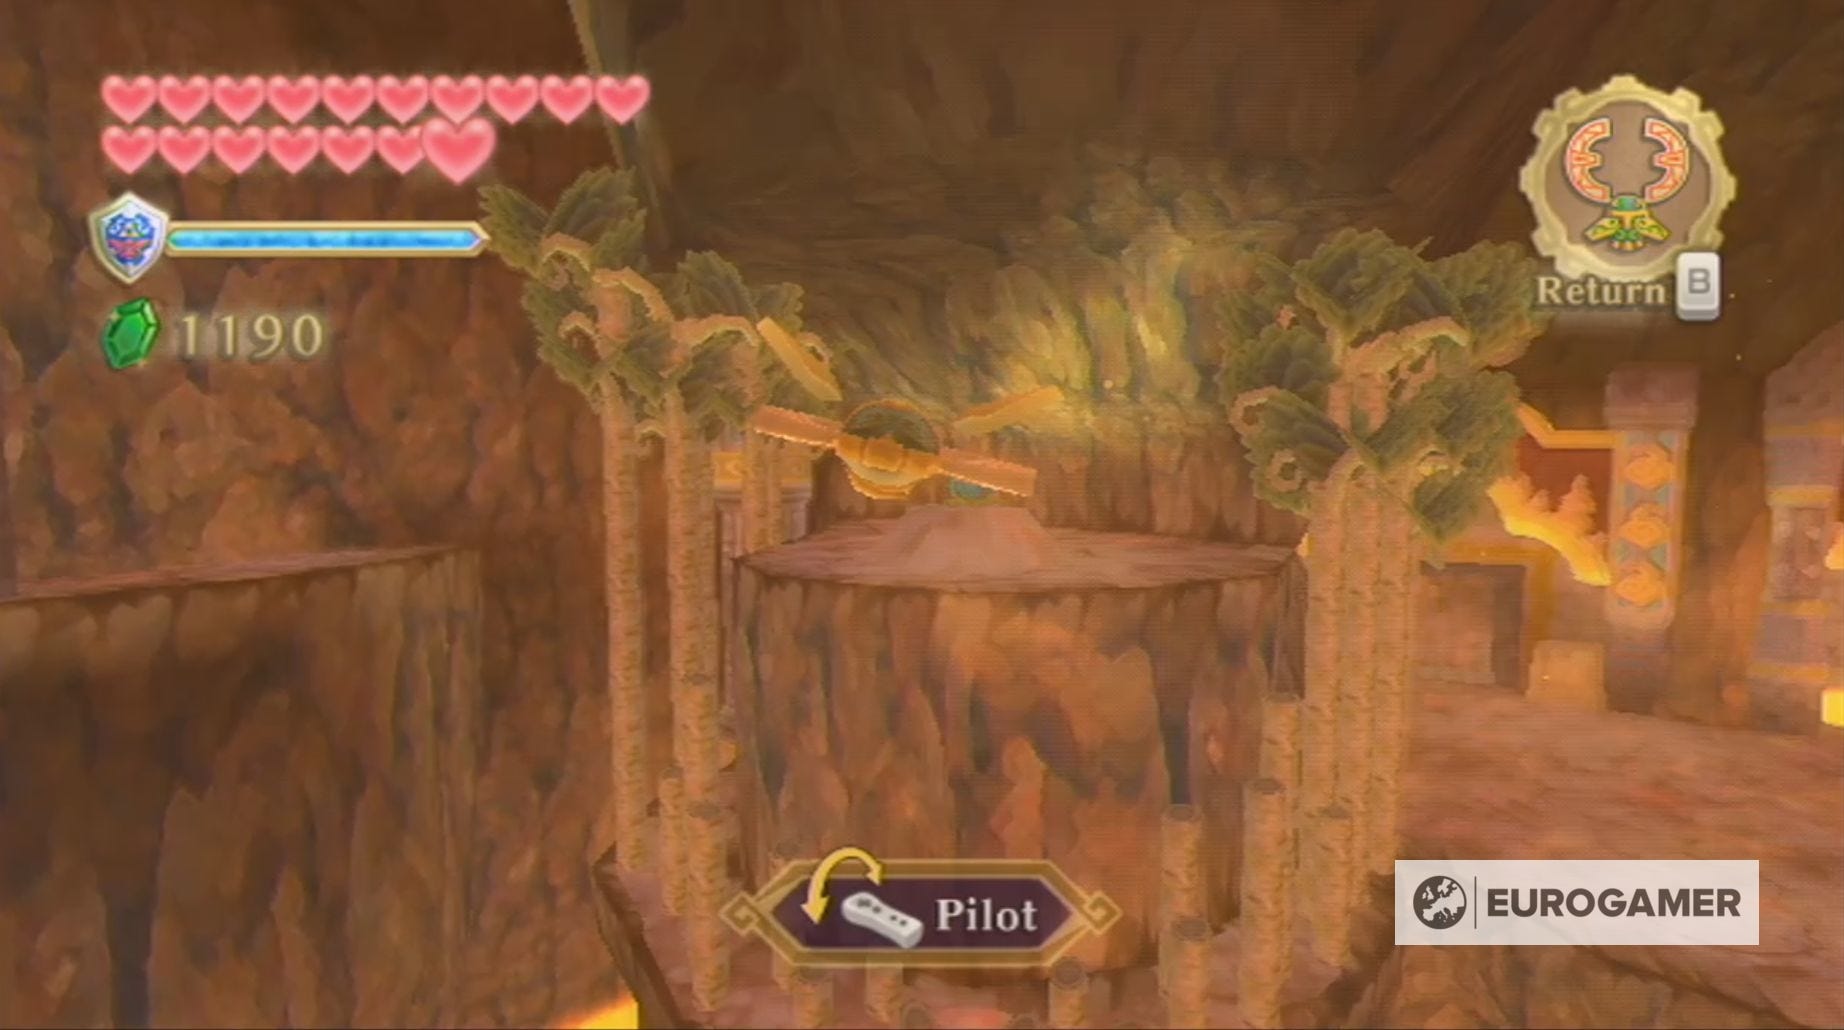
Your journey in this room begins by going to the left-hand side and knocking down the green plant with either the Wooden Bow or the Hook Beetle. This will create a stone platform you can use to journey down the lava path.
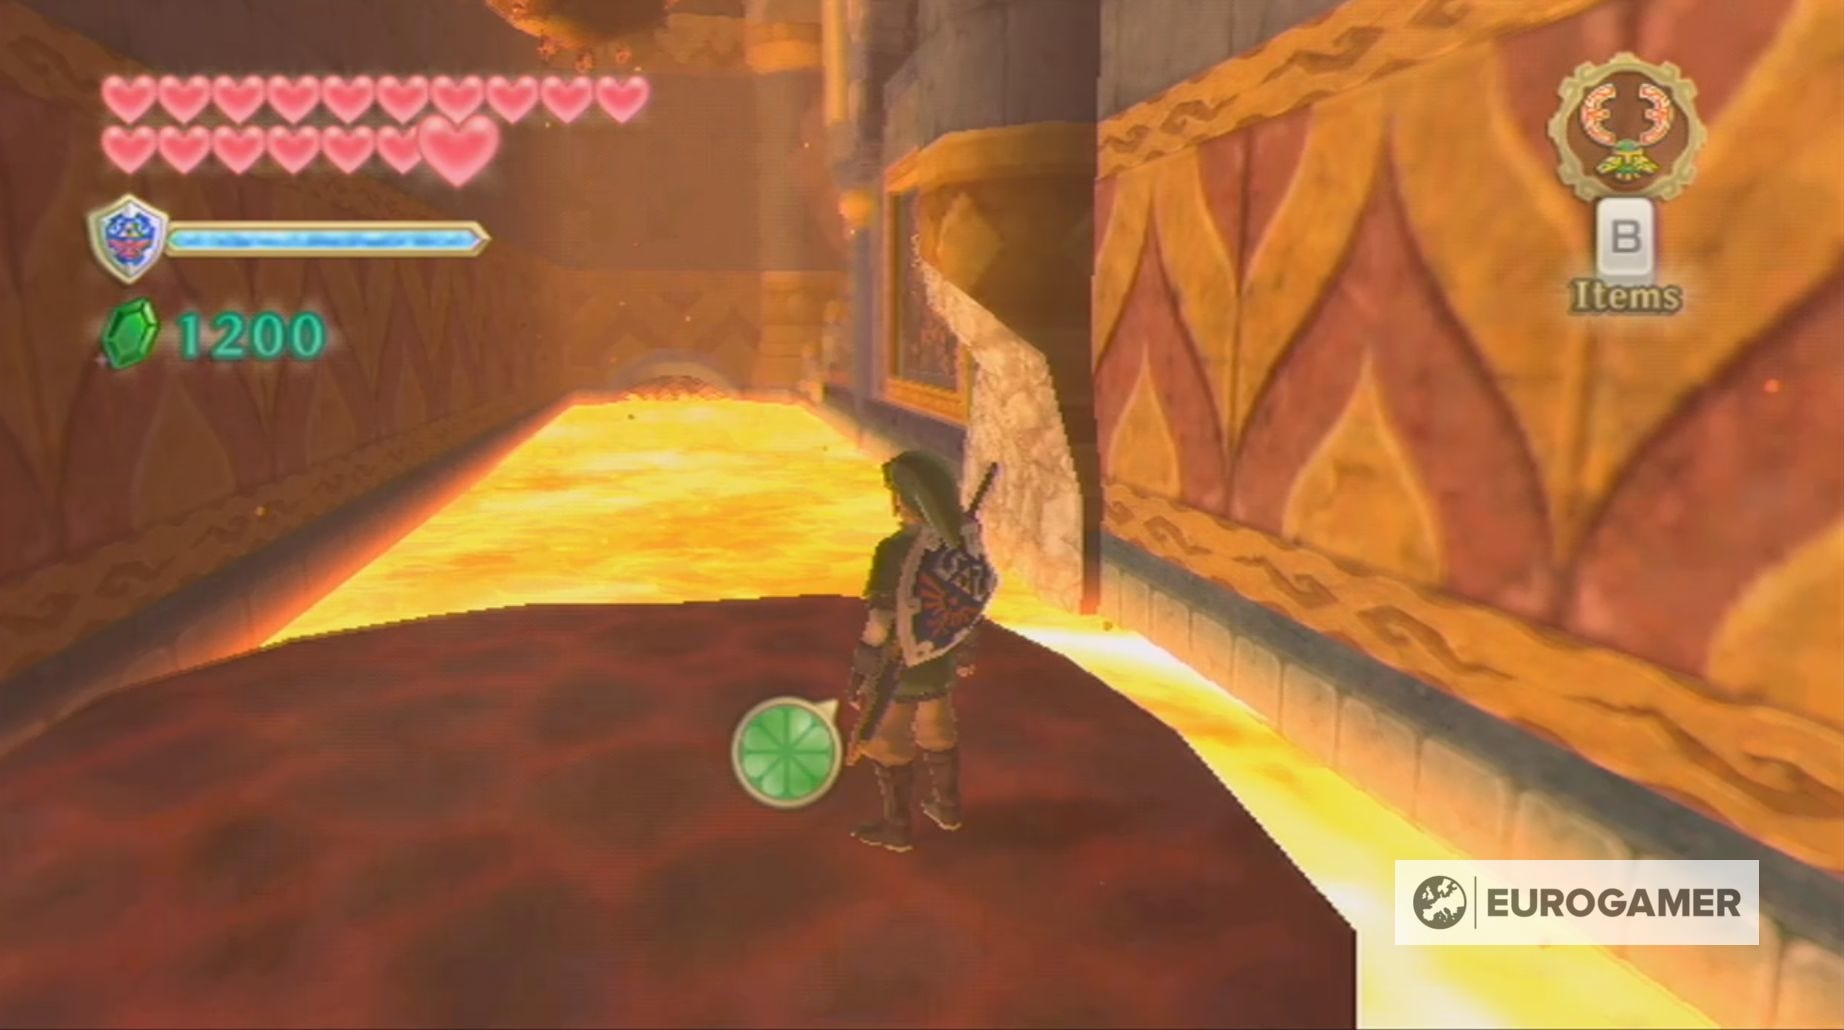
Wait until you've killed the Fire Keese, then, using whichever method you prefer, hit the crystal and the green plant on your right-hand side. Once the next stone has appeared, you'll need to jump over to the next lava path.
Next, hit the switch above the lava waterfall you're drifting towards and, when you're there, jump across to the next platform. Afterwards, it's a good idea to pull the lever to create a shortcut.
Now you, once again, have to knock down the green plant in front of you, kill the incoming Dark Keese and hit the switch above the statue to your right. This will activate the lava flow for this area and, with the stone created by the nearby plant, allow you to continue your journey.
At the end of this section, you'll find a stone which is being moved up and down by the lava. Jump - when you can - onto this stone and hit the previous switch again. This will restart the lava flow on this side of the river.
There's also a silver 100 Rupee nearby for you to collect with the Hook Beetle!
Now you need to knock down the nearby plant, so, when the stone is raised, you can safely drop down to the other side.
The last stage of this room involves killing the two Cursed Spumes as you float down the lava, so you can safely Clawshot up to the spot where the Triforce of Power lies.

With the second piece of the Triforce collected, you can use the nearby vines to return to the previous room.
Sky Keep Triforce of Wisdom location explained
The Triforce of Wisdom is the final piece of the Triforce you need to find within Sky Keep and reaching it involves some careful room manoeuvring.
First, using the control panel in Room 7, rotate the rooms until Room 5 is beneath you.
Return to Room 5 and use these instructions to align the final rooms:
- Move Room 6 down
- Room 7 left
- Move Room 1 left
- Room 4 down
With that achieved, head back through Room 1 and enter Room 7.
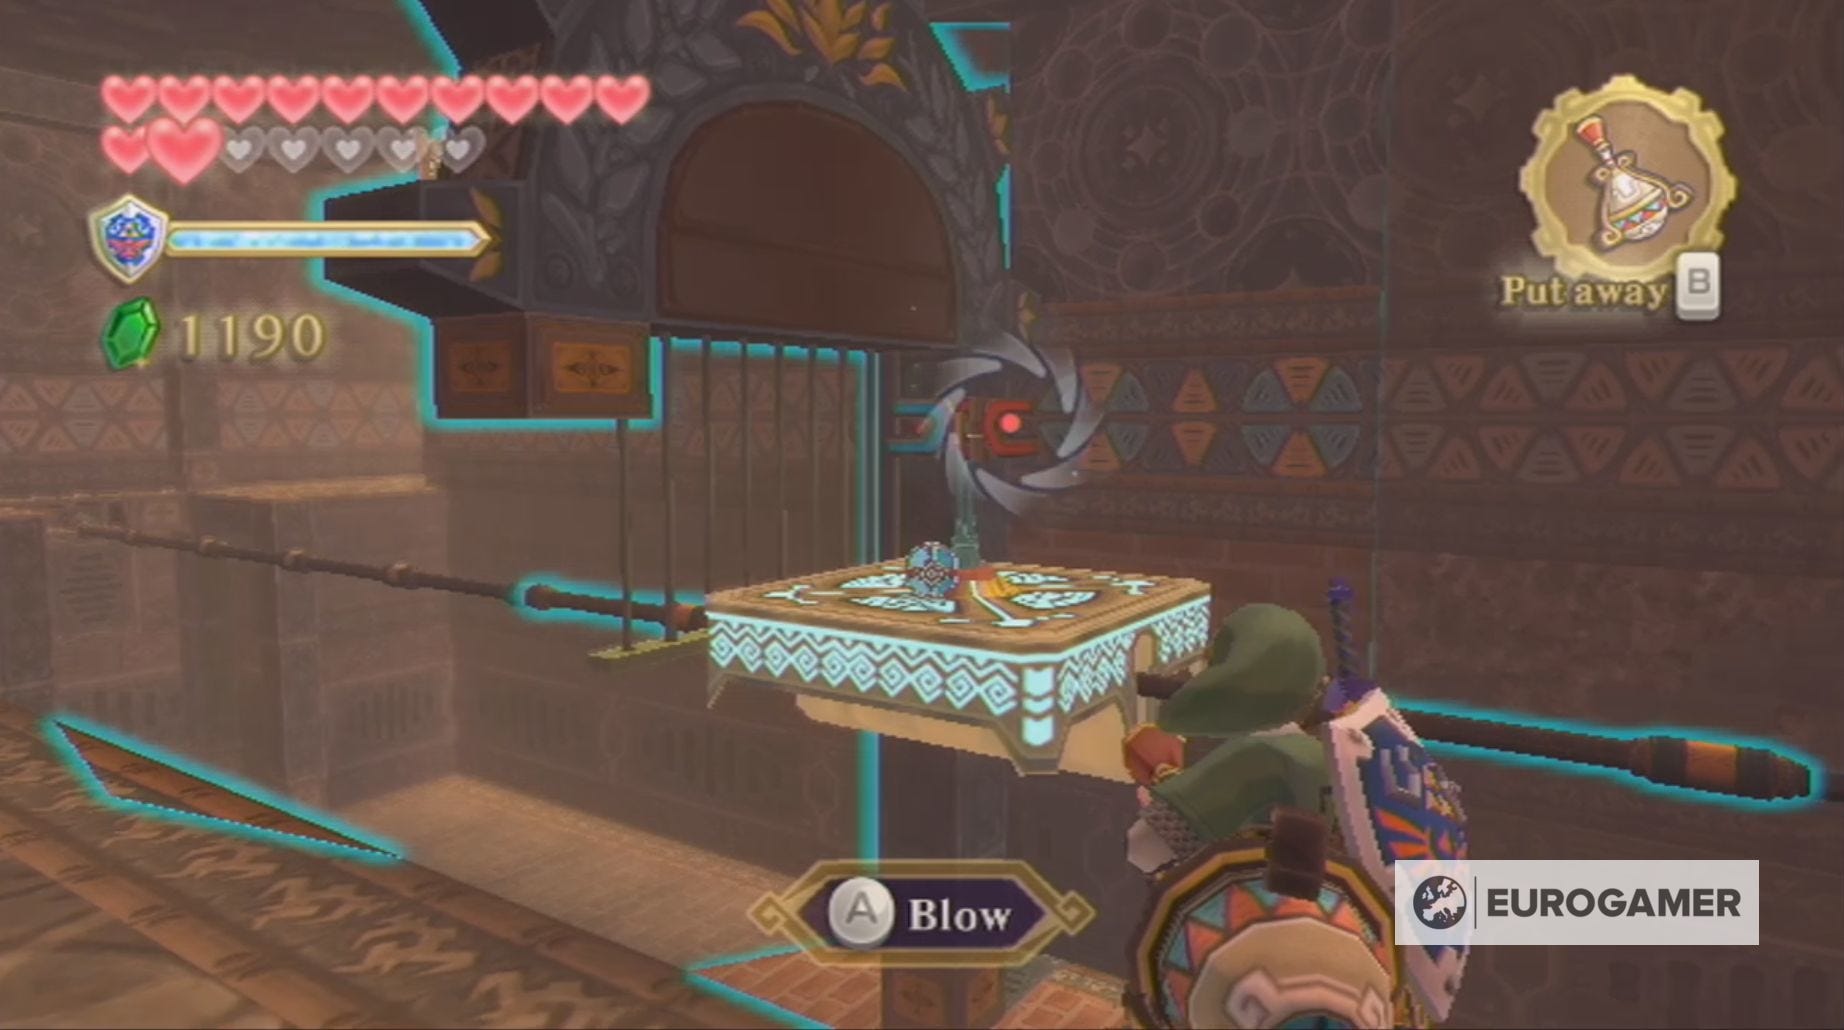
Inside this room, you'll discover that, to reach the final piece of the Triforce, you'll need to utilise a Timeshift Orb on final time. First things first though - kill the Electric Spume, so you can safely reach the orb.
Afterwards, it's a good idea to defeat the Sentrobe, and the other enemies, so you can freely explore the room. Upon their defeat, place the Timeshift Orb beneath the arrow switch covered in wires and then head back up the hill where you collected it from.
You will be able to hit the switch from this height and, with that done, collect your Timeshift Orb and head through the entrance you've just opened.

Head down the passageway, stopping to defeat the Deku Babas and Quadro Babas, and leave the Timeshift Orb within this passage. You need to leave it close enough to the end of the passage that you can reach the other side, while also ensuring it doesn't activate the fan or the wall in front of said fan.
Once the orb is in place, stand on the button at the end of this passage and shoot the arrow switch through the gaps in the fan.
Next, retrieve the Timeshift Orb and place it so that the platforms opposite the Clawshot spot appear, but so it also removes the wire in front of the gate on the level above.
With that done, you simply need to climb back up the hill and use the stone platforms to reach the Clawshot spot. This will allow you to reach the Triforce of Wisdom.
Collecting this final piece of the Triforce will bring your time in the Sky Keep to a close. Once the cutscenes have finished playing, it's a perfect time to return to Skyloft to buy potions, repair your shield and complete activities like collecting Heart Pieces or Gratitude Crystals.
When you're ready, return to the Sealed Grounds and pass through the Gate of Time for your final battle against Ghirahim and, eventually, Demise.