Zelda Tears of the Kingdom Riju of Gerudo Town walkthrough
What is causing the storm covering Gerudo Town?

Riju of the Gerudo in Zelda: Tears of the Kingdom is one of the main story quests you encounter while investigating Regional Phenomena. This main story quest is made up of multiple smaller quests that revolve around you and Riju figuring out a solution to the sandstorm surrounding Gerudo and the Gibdos threatening the town's residents.
Before you start this main story quest in Zelda: Tears of the Kingdom, we strongly advise that you have at least two wheels of stamina and more than five hearts. You can upgrade these by completing Shrines and spending your Lights of Blessing at Goddess Statues.
Without further ado, we're going to show you how to complete the Riju of Gerudo Town quest in Zelda: Tears of the Kingdom.
We've done our best to avoid them, but this guide contains minor spoilers.
On this page:
If you'd like to learn more about Link's adventure, visit our Zelda: Tears of the Kingdom walkthrough.
Find Gerudo Town in Zelda Tears of the Kingdom
Here's everything you need to do in order to complete the Riju of Gerudo Town main story quest in Zelda: Tears of the Kingdom.
However, before you begin this quest we strongly advise that you take on and complete the Sidon of the Zora main quest first. This will give you an ally and ability that will prove useful throughout the quest. Also, we recommend completing the Wind Temple and Fire Temple too.
The first thing you need to do is find Gerudo Town. If you follow our guide that shows you how to find Gerudo Town, you'll learn its location and how to get into the bunker where you can begin to investigate the Regional Phenomena.
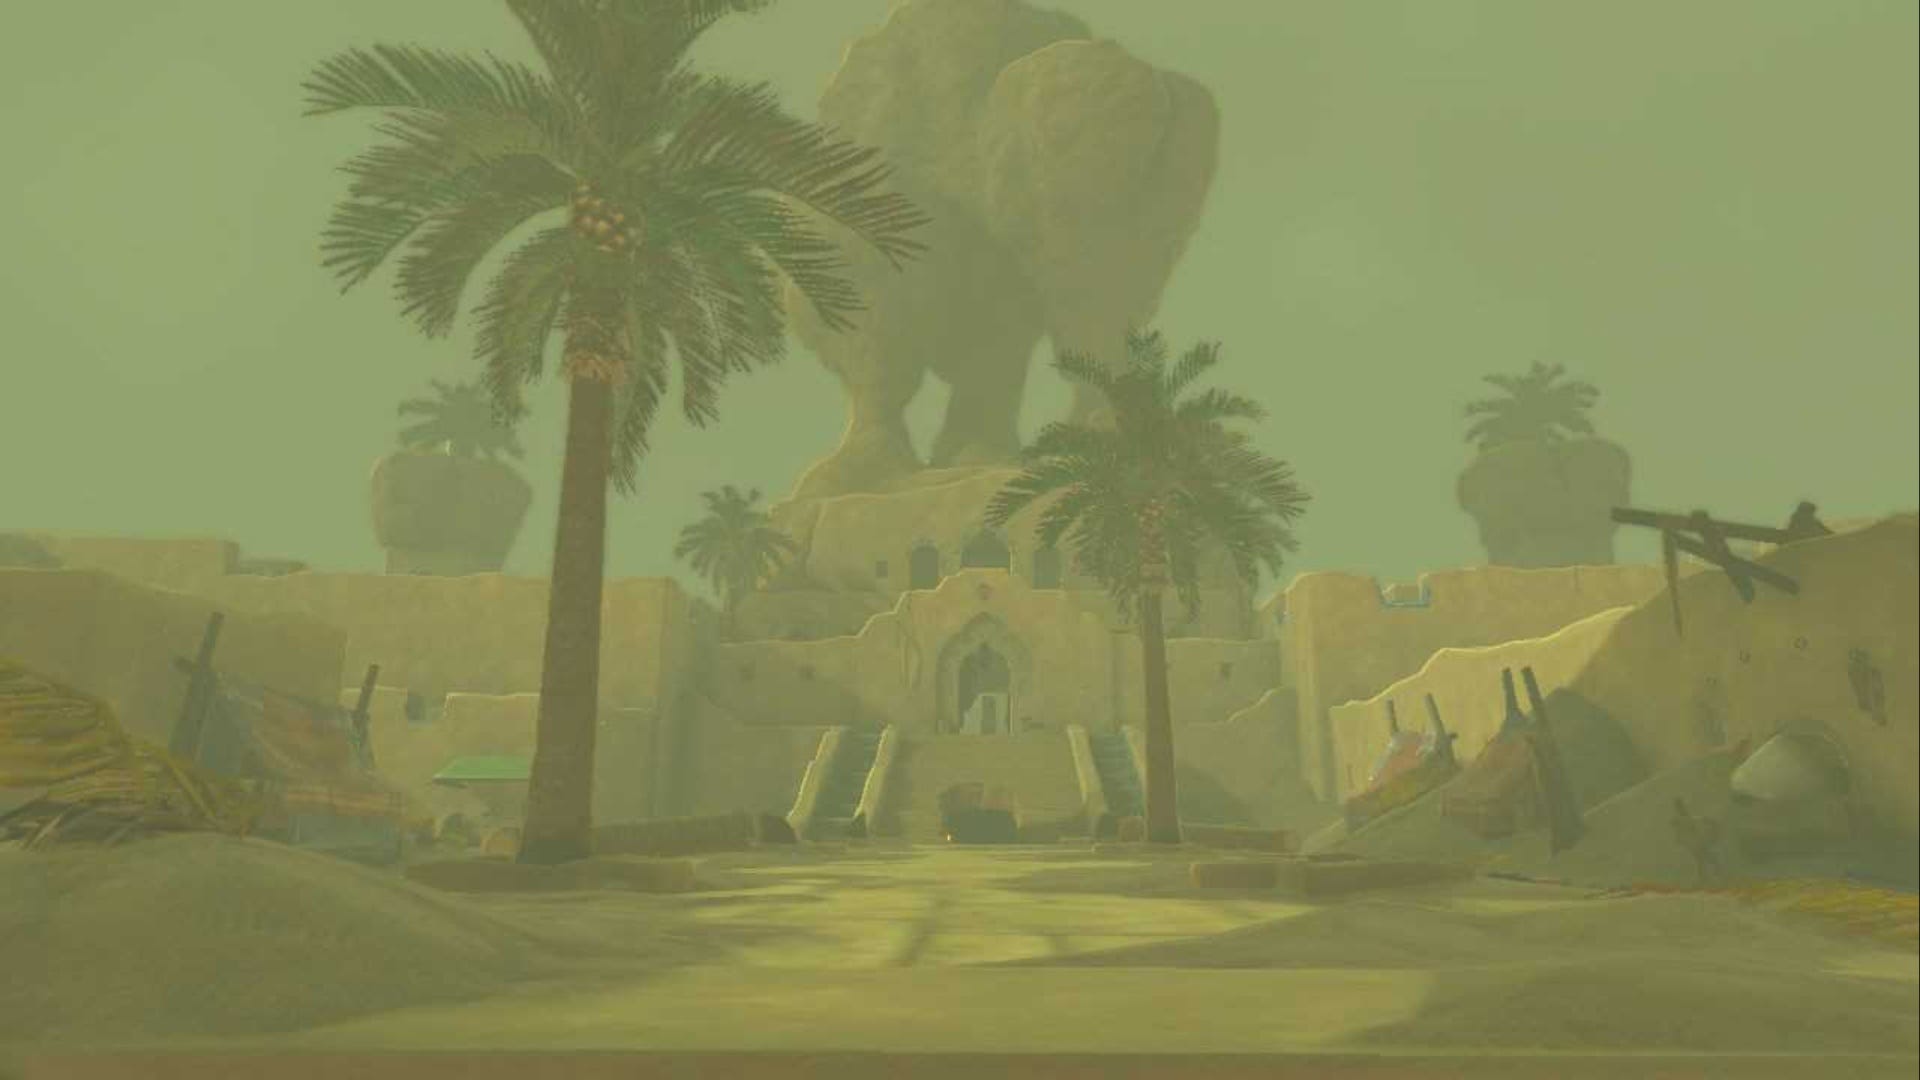
Once you get into the bunker, you will learn that Chief Riju isn't currently in Gerudo Town and that you need to go and find them in the North Gerudo Ruins. This is definitely easier said than done with the sandstorm engulfing the desert and preventing your Purah Pad from working properly.
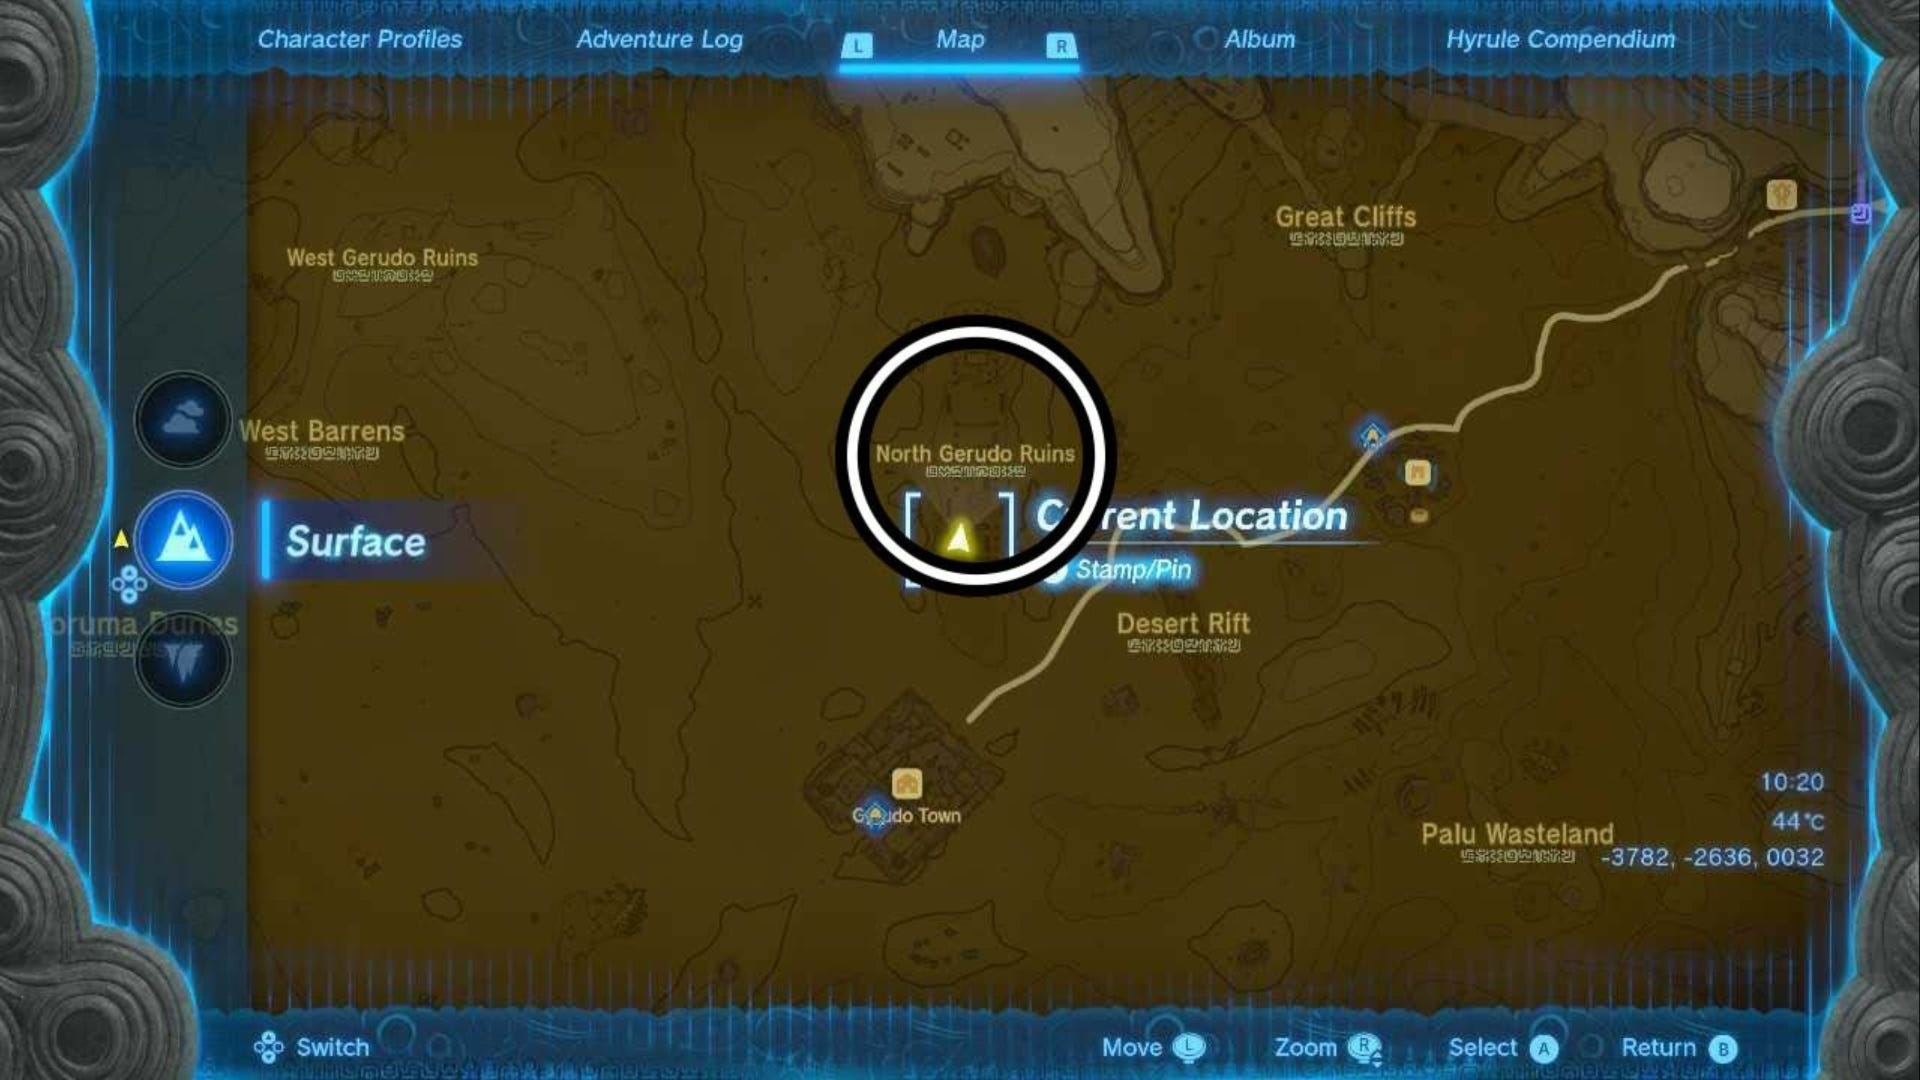
Find Riju in the North Gerudo Ruins in Zelda Tears of the Kingdom
To find Riju in the North Gerudo Ruins, we found it easiest to climb up to the Soryotanog Shrine above the Gerudo Town Bunker. We've marked its exact location on the map below and the Soryotanog Shrine coordinates are (-3881, -2961, 0123).

Note: The map image above is taken after the storm clears, but it should give you a rough idea where you need to go. Your mini-map and Purah Pad may begin to work again at this Shrine as you're above the storm.
Once you are outside the Shrine, turn around so that you are facing north. The easiest way of doing this is to watch the compass around the edge of your mini map in the bottom right corner of the screen. Once you are facing north, jump off and use your paraglider to glide in the same direction until you come to the North Gerudo Ruins.
Note: Again, the image above is taken after the storm clears, but it should give you a rough idea of where the ruins are
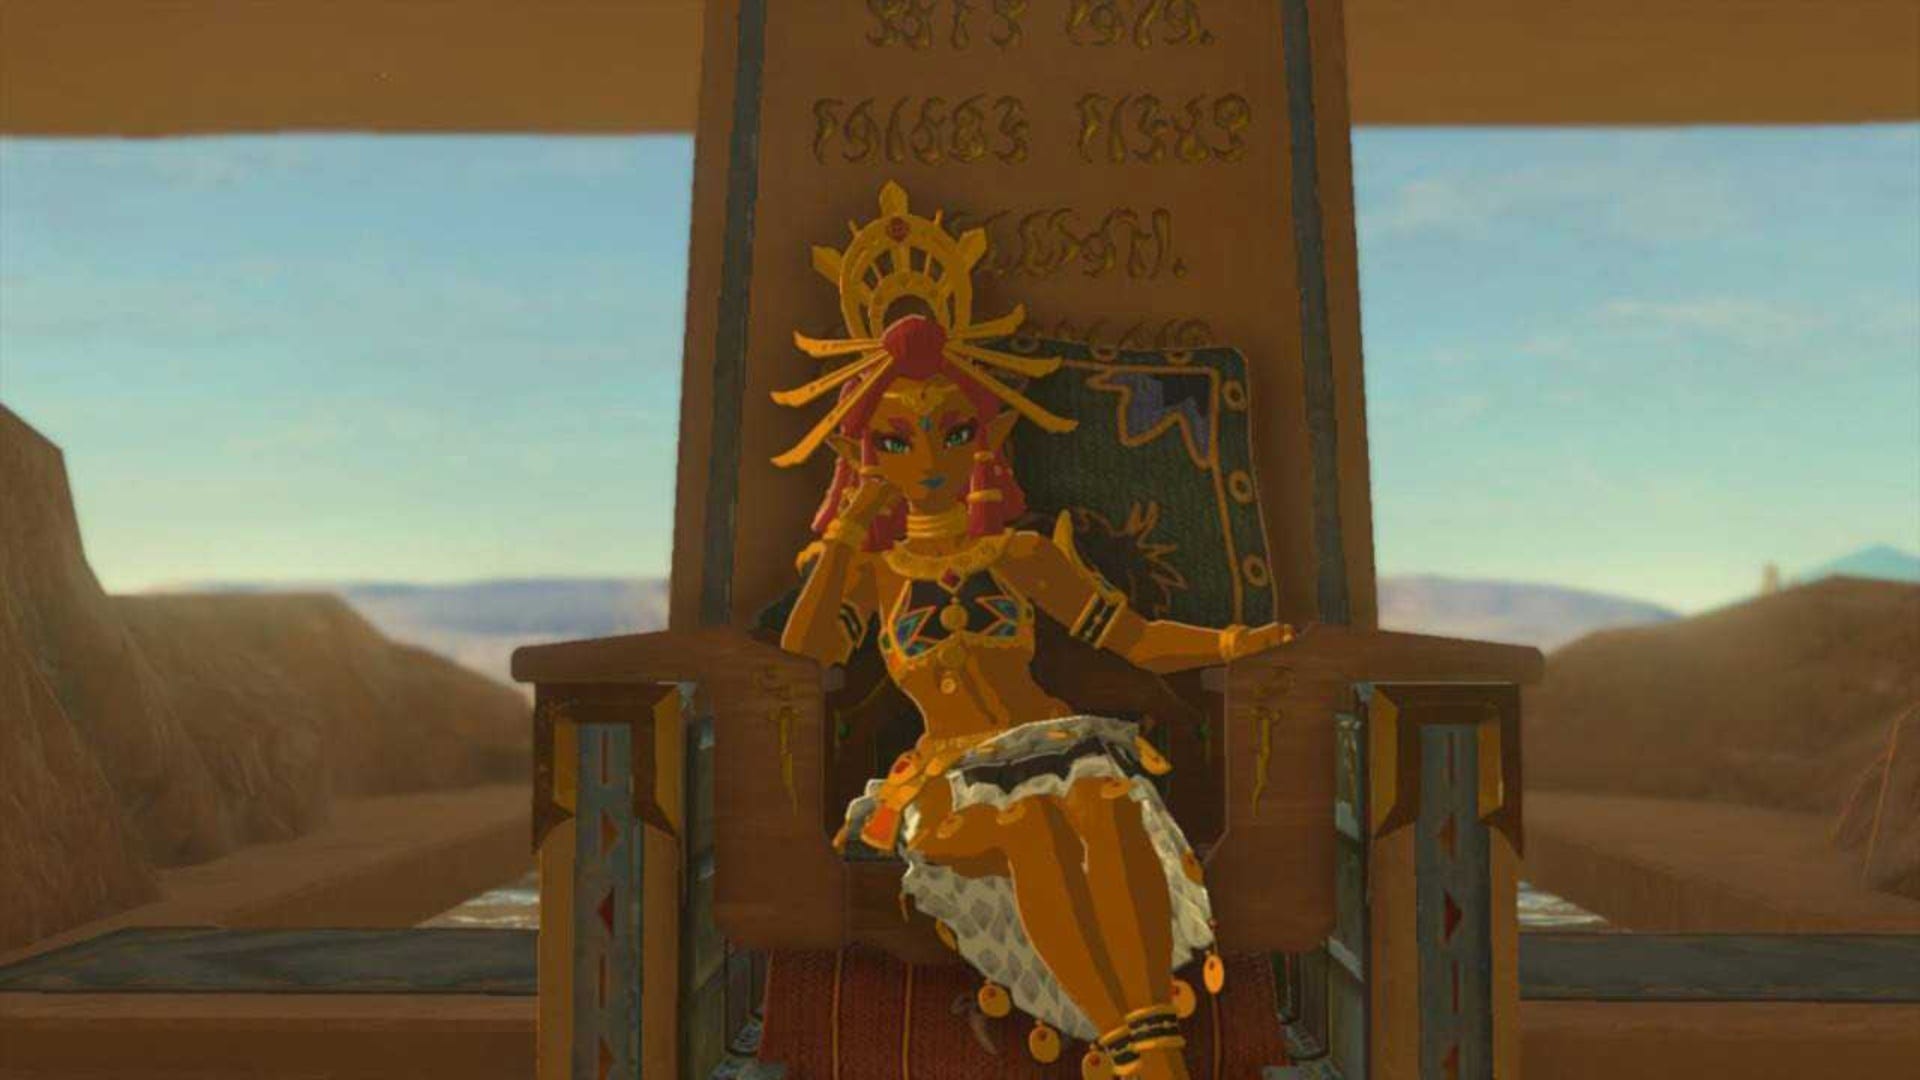
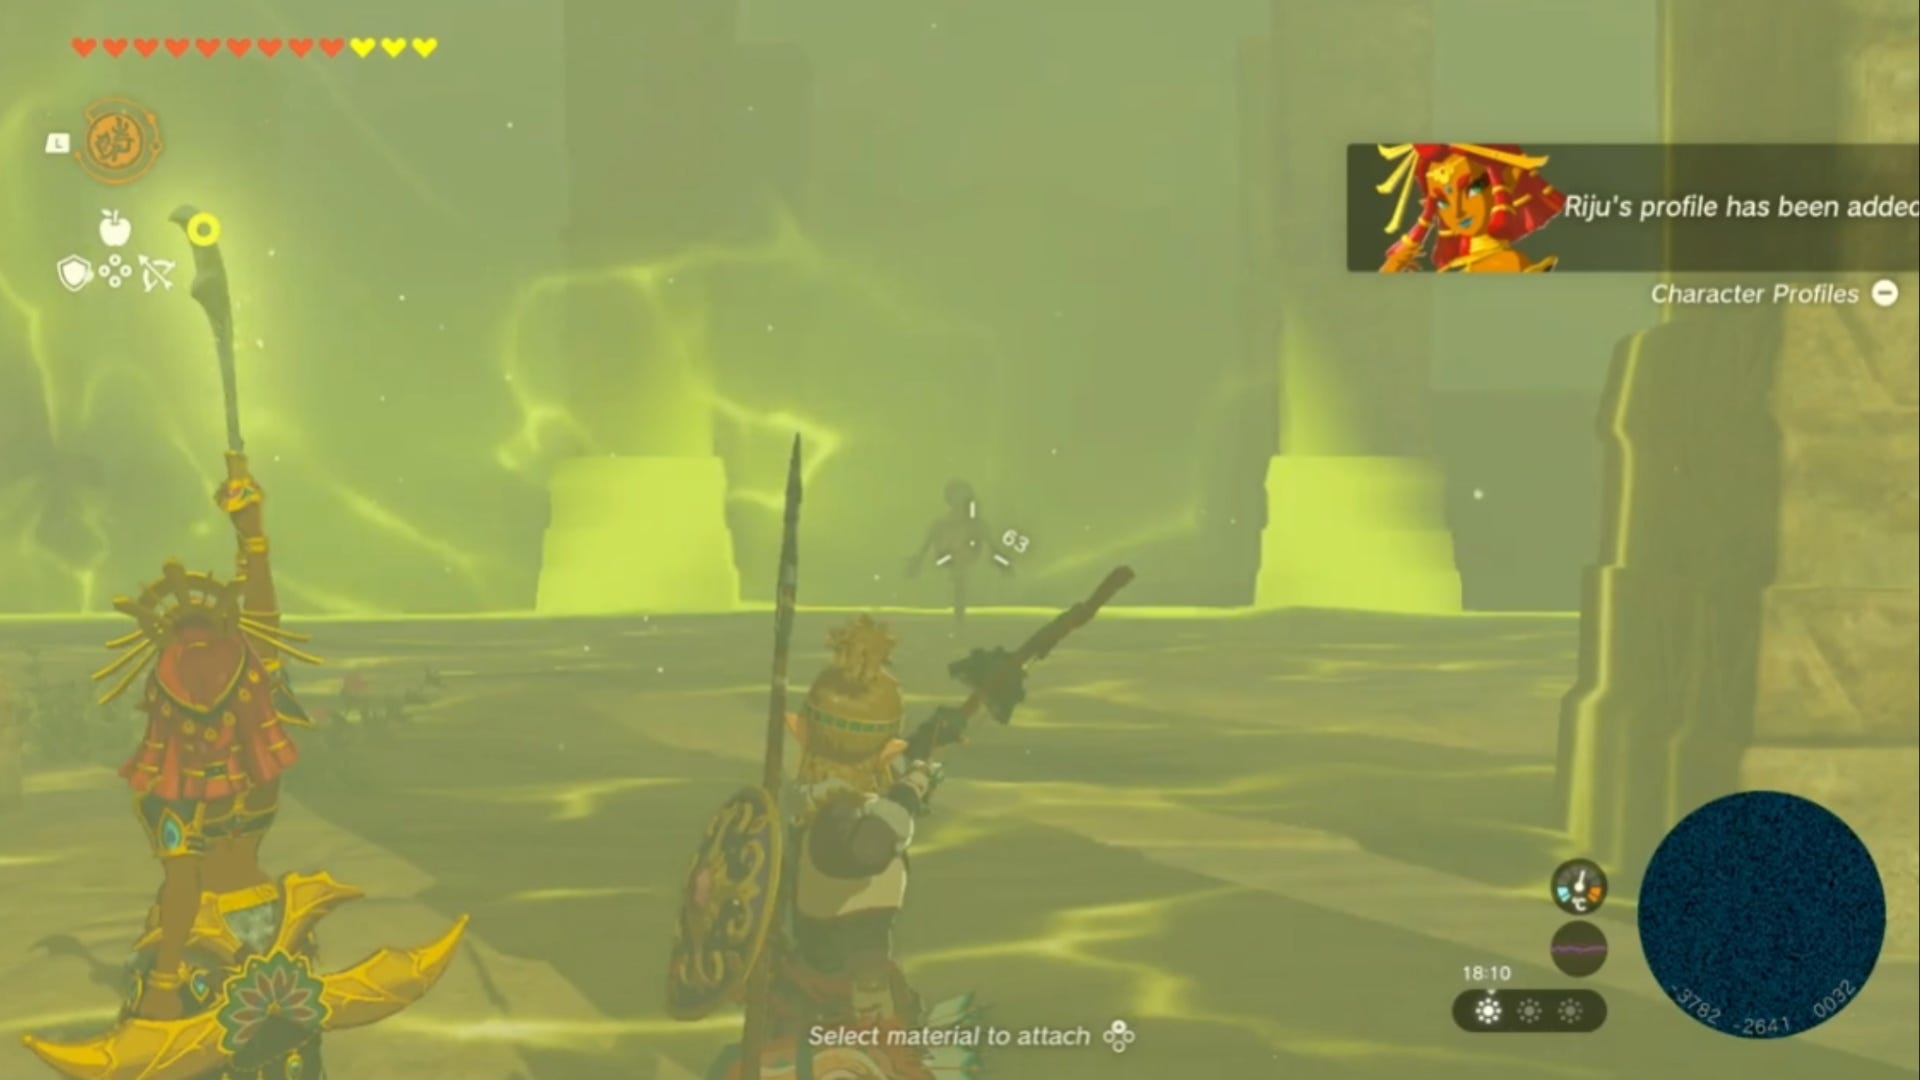
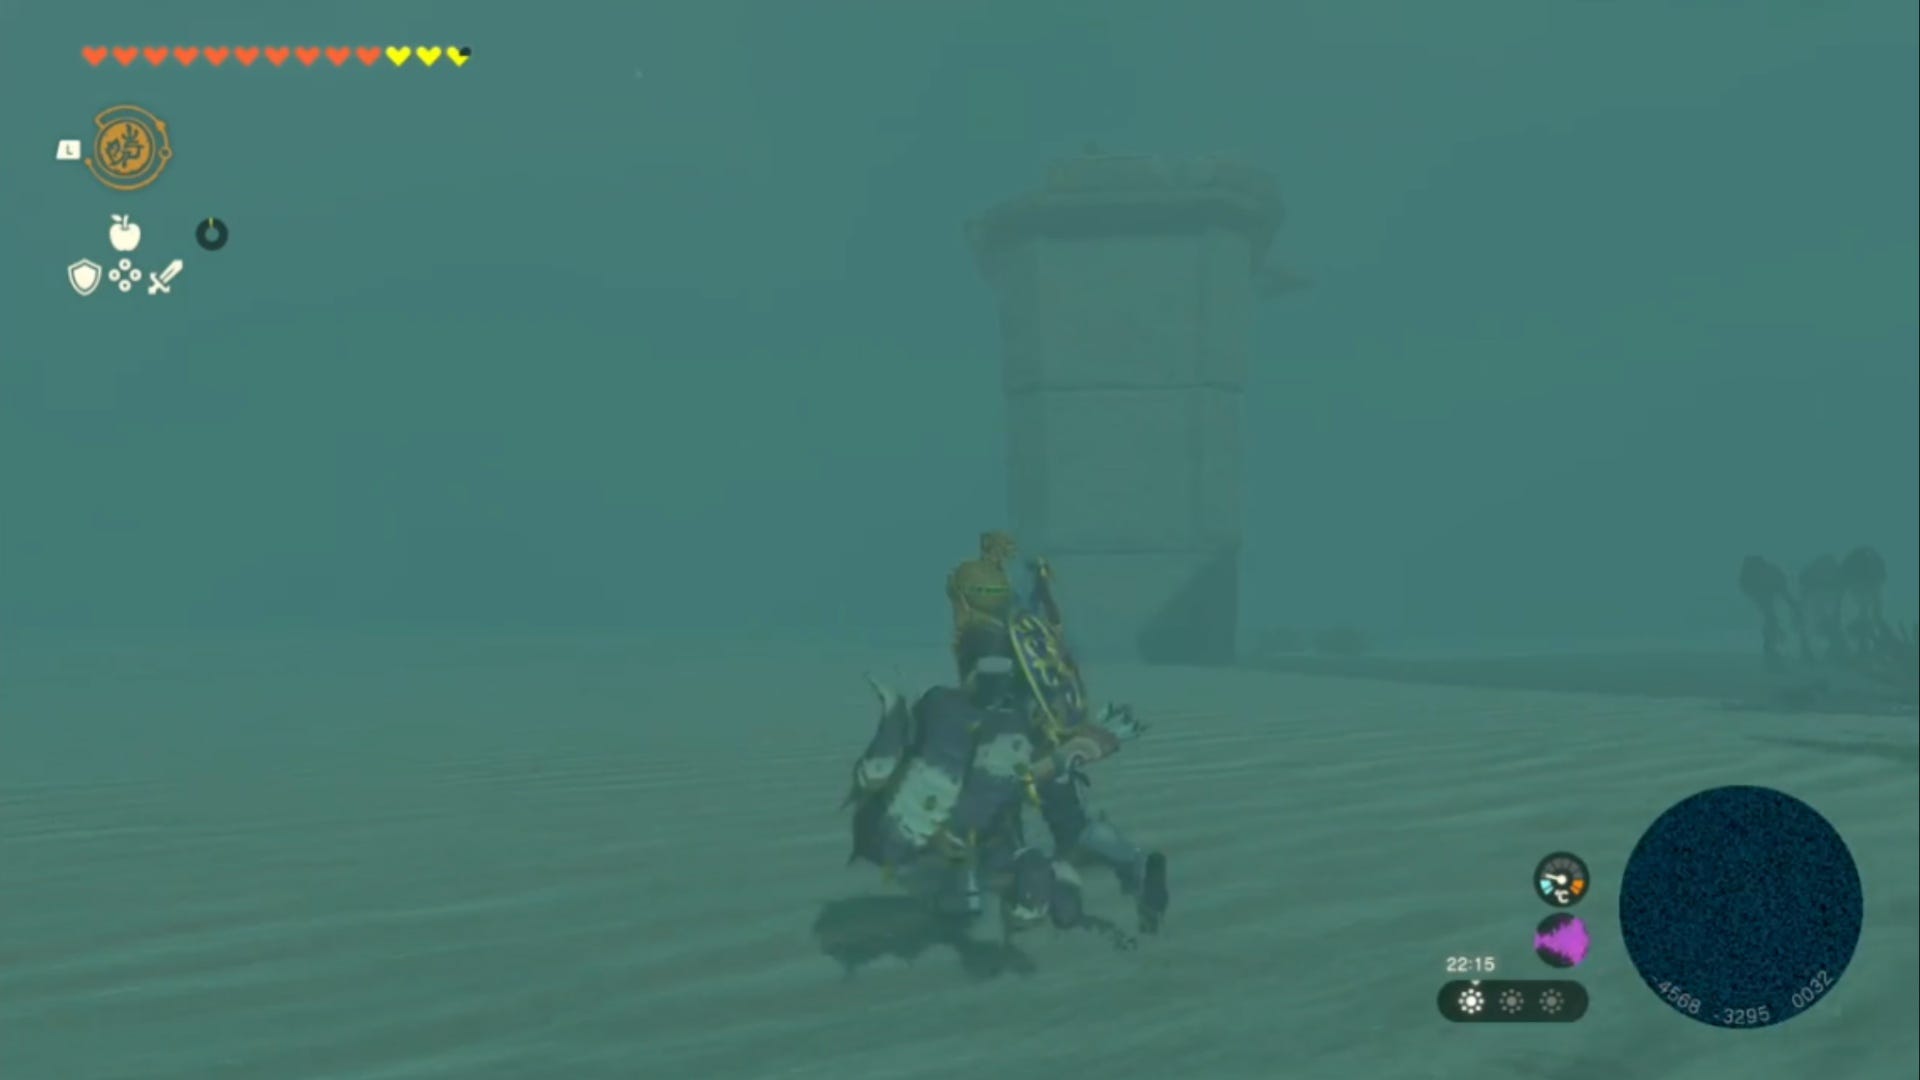
When you are close to the ruins, you should see a yellow glow surrounding them where Riju is using her new power. You can find Riju at (-3782, -2636, 0032).
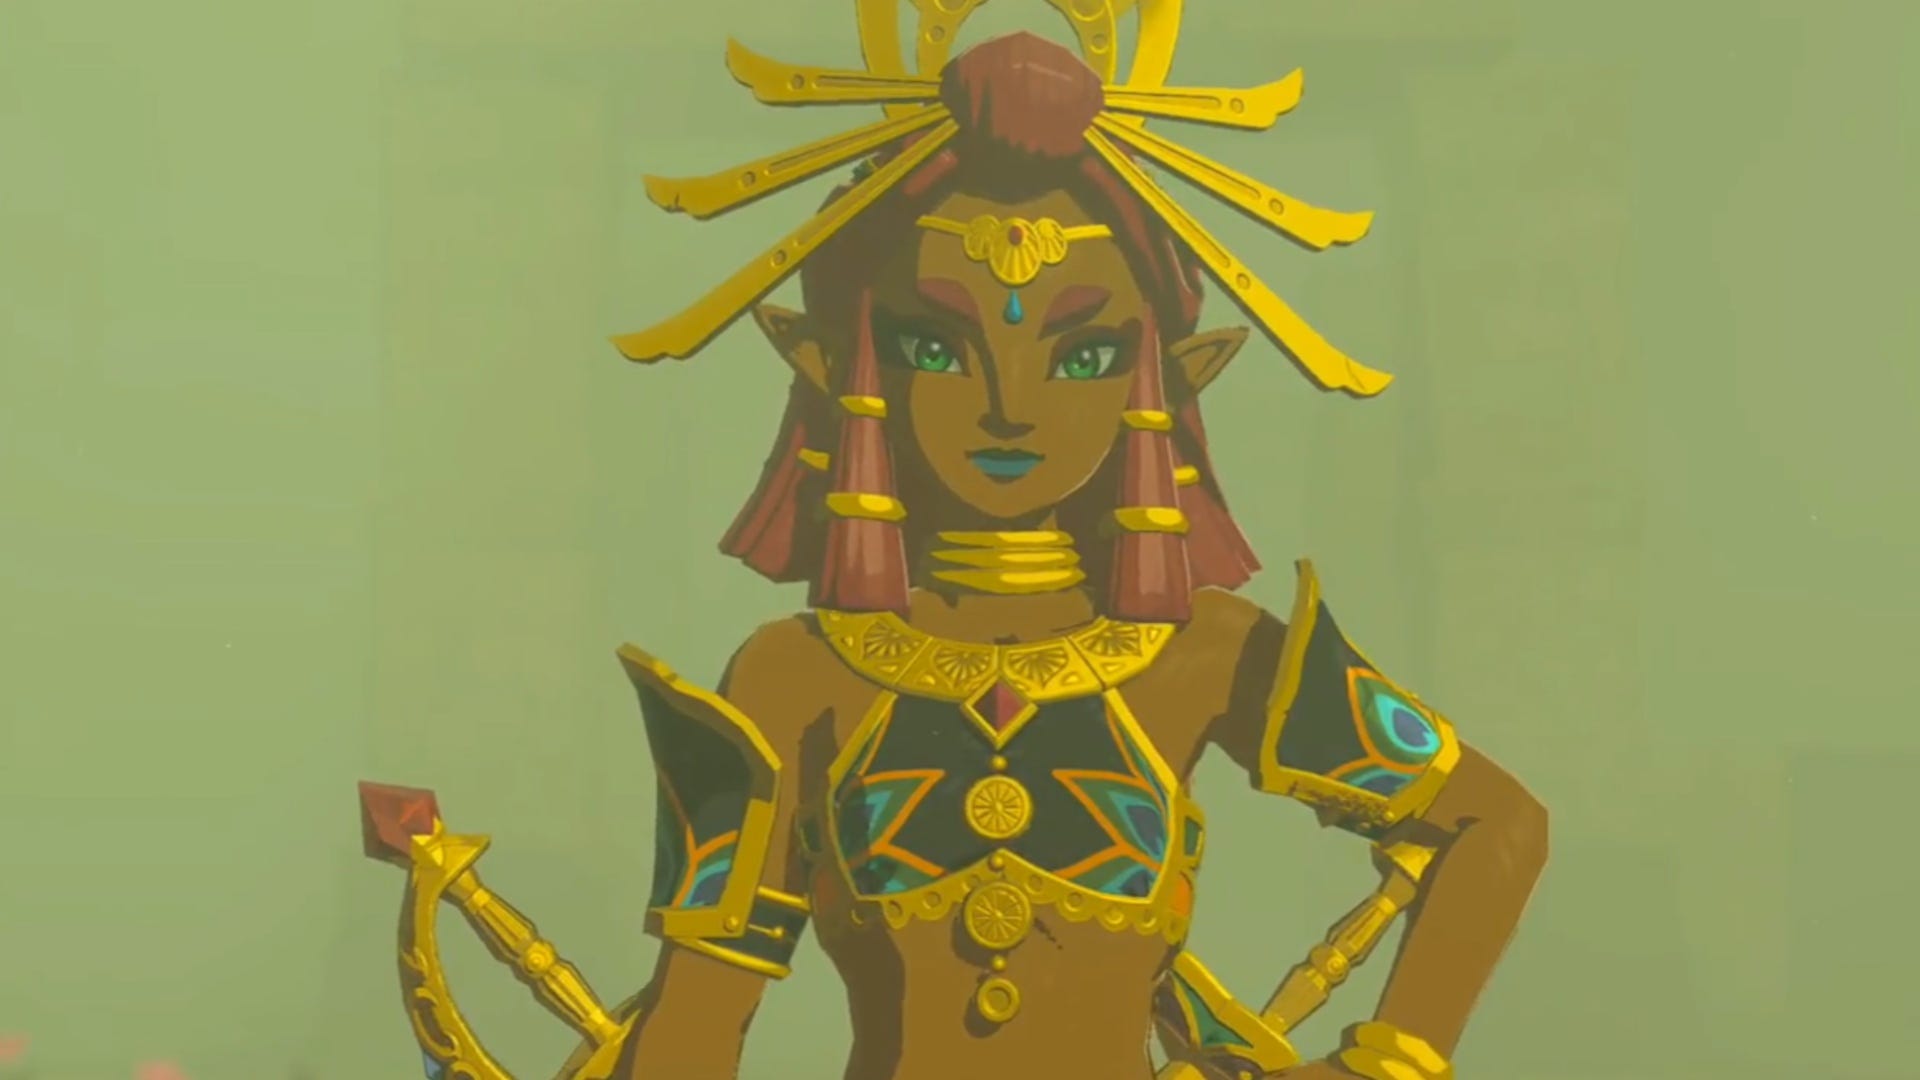
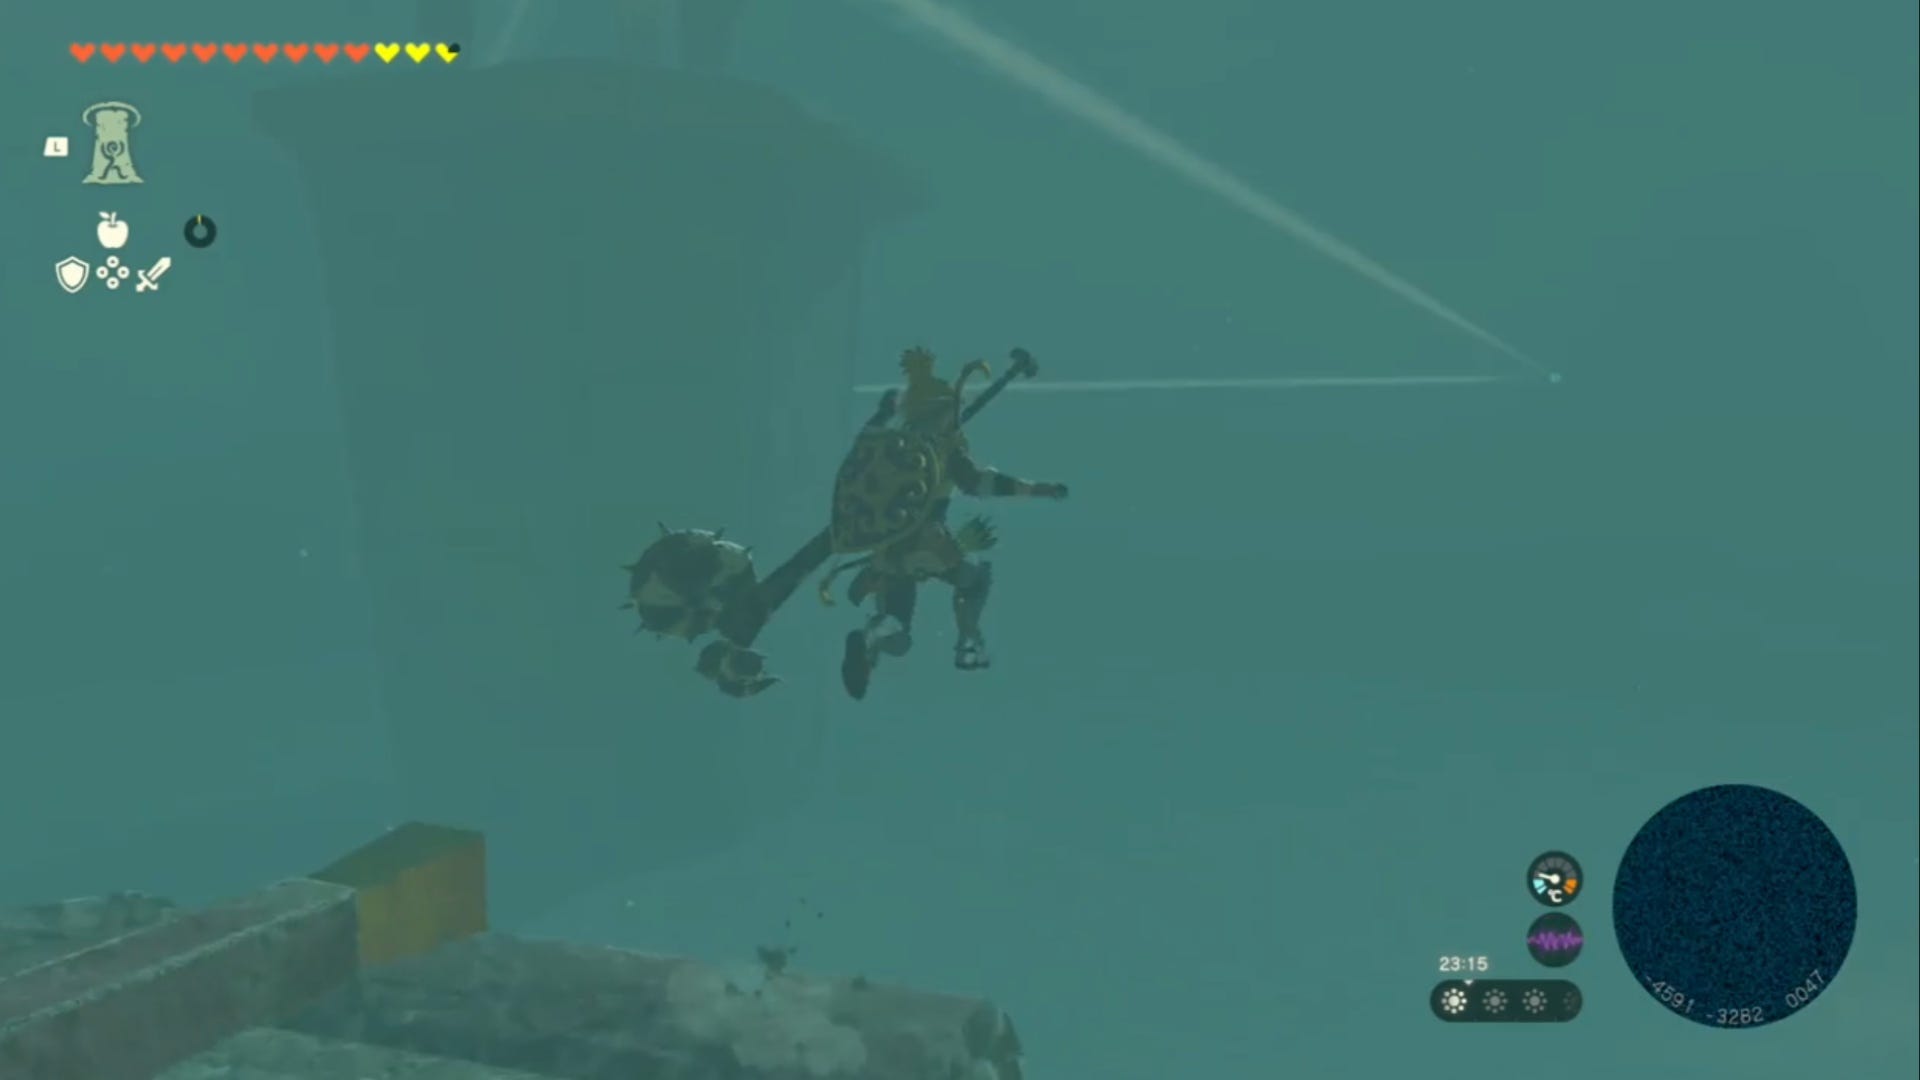
When you find Riju, you need to speak to her and then help her to master her new lightning calling ability. To do this, you'll need a few arrows and a bow. If you don't have them on hand, you'll need to go and buy some in Gerudo Town then return to this area.
Once you have arrows, you'll need to shoot the target on the training dummy that's on its own first. When you hit the target, Riju will call down a lightning strike. You will then need to do this again, only this time you need to hit the ground in the middle of the trio of dummies with an arrow.
Once you've helped Riju master her abilities, you'll then need to go to Kara Kara Bazaar to defend them from a Gibdo attack!
Defend Kara Kara Bazaar in Zelda Tears of the Kingdom
You need to head to Kara Kara Bazaar at these coordinates (-3192, -2583, 0023), we've marked its exact location on the map below. You can also Fast Travel to Mayatat Shrine if you've already discovered it.
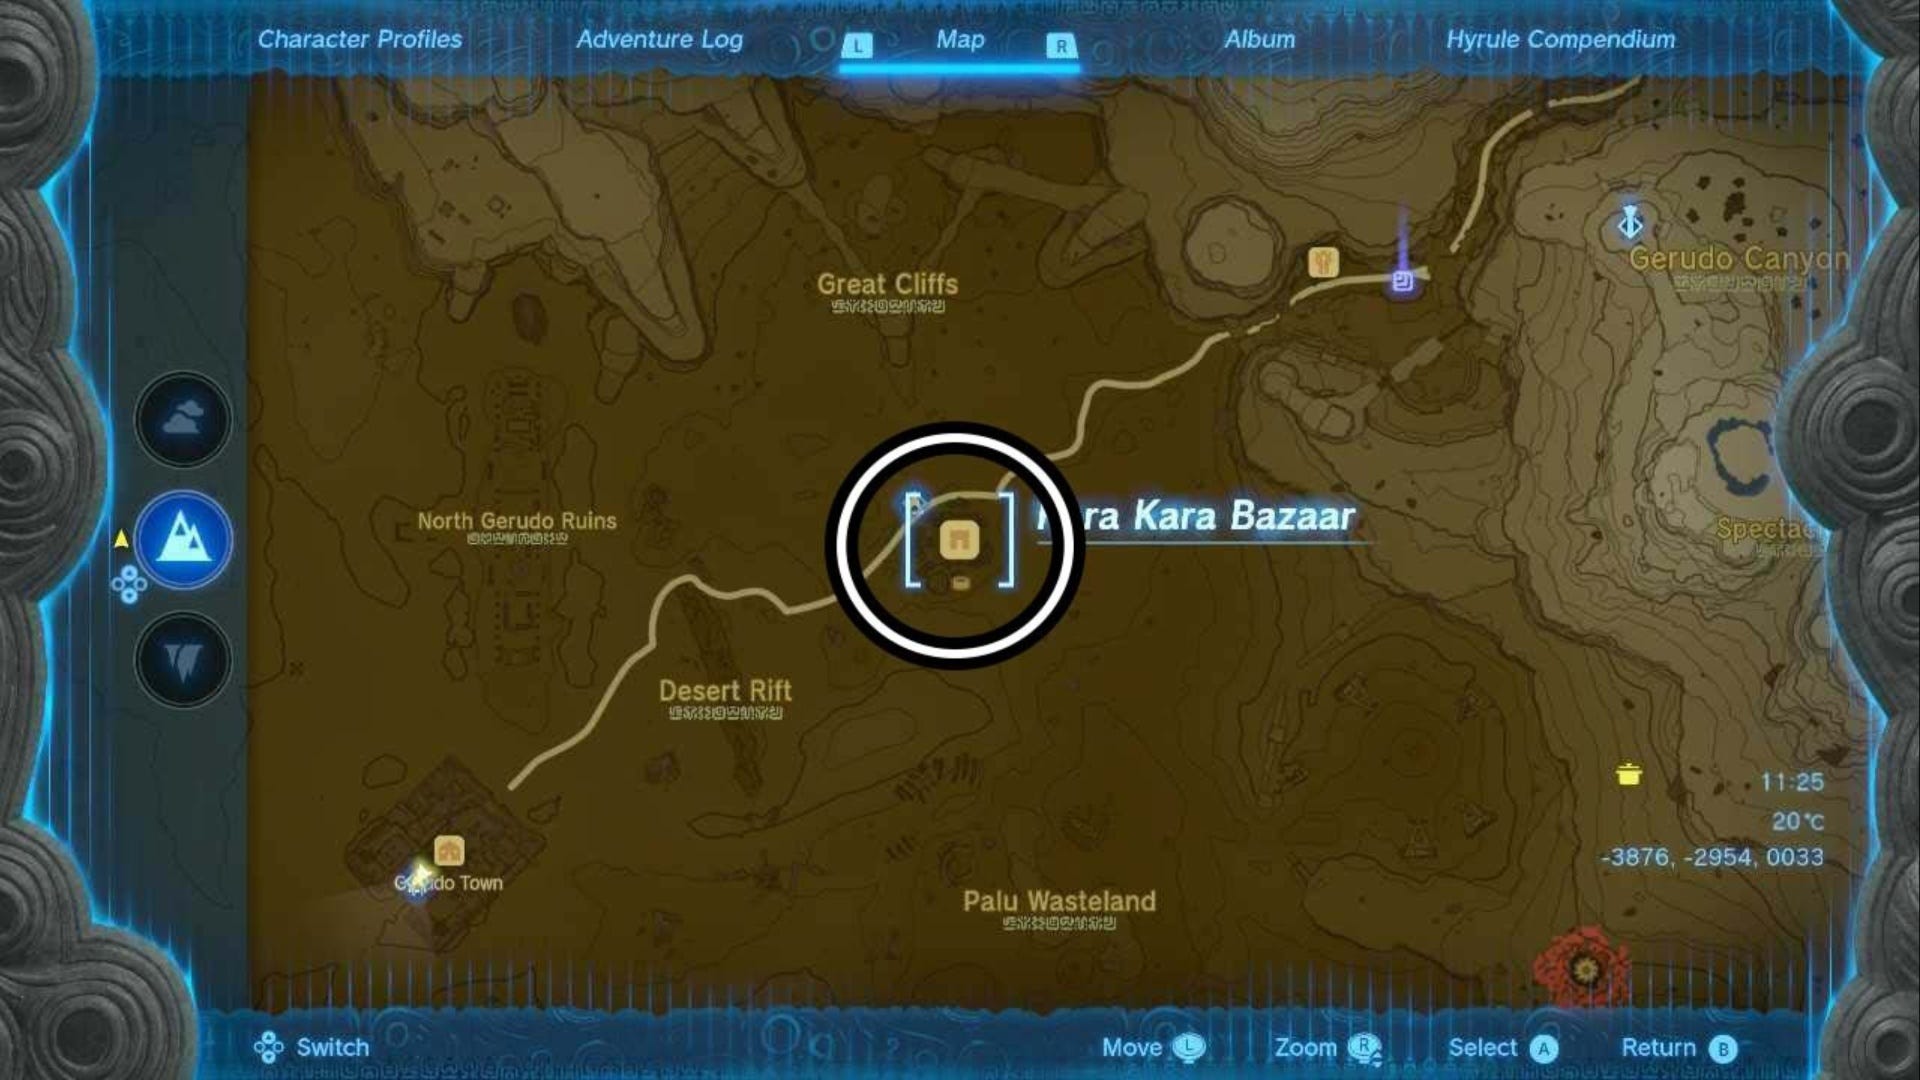
Note: The map image above is taken after the storm clears, but it should give you a rough idea where you need to go to get to the Bazaar.
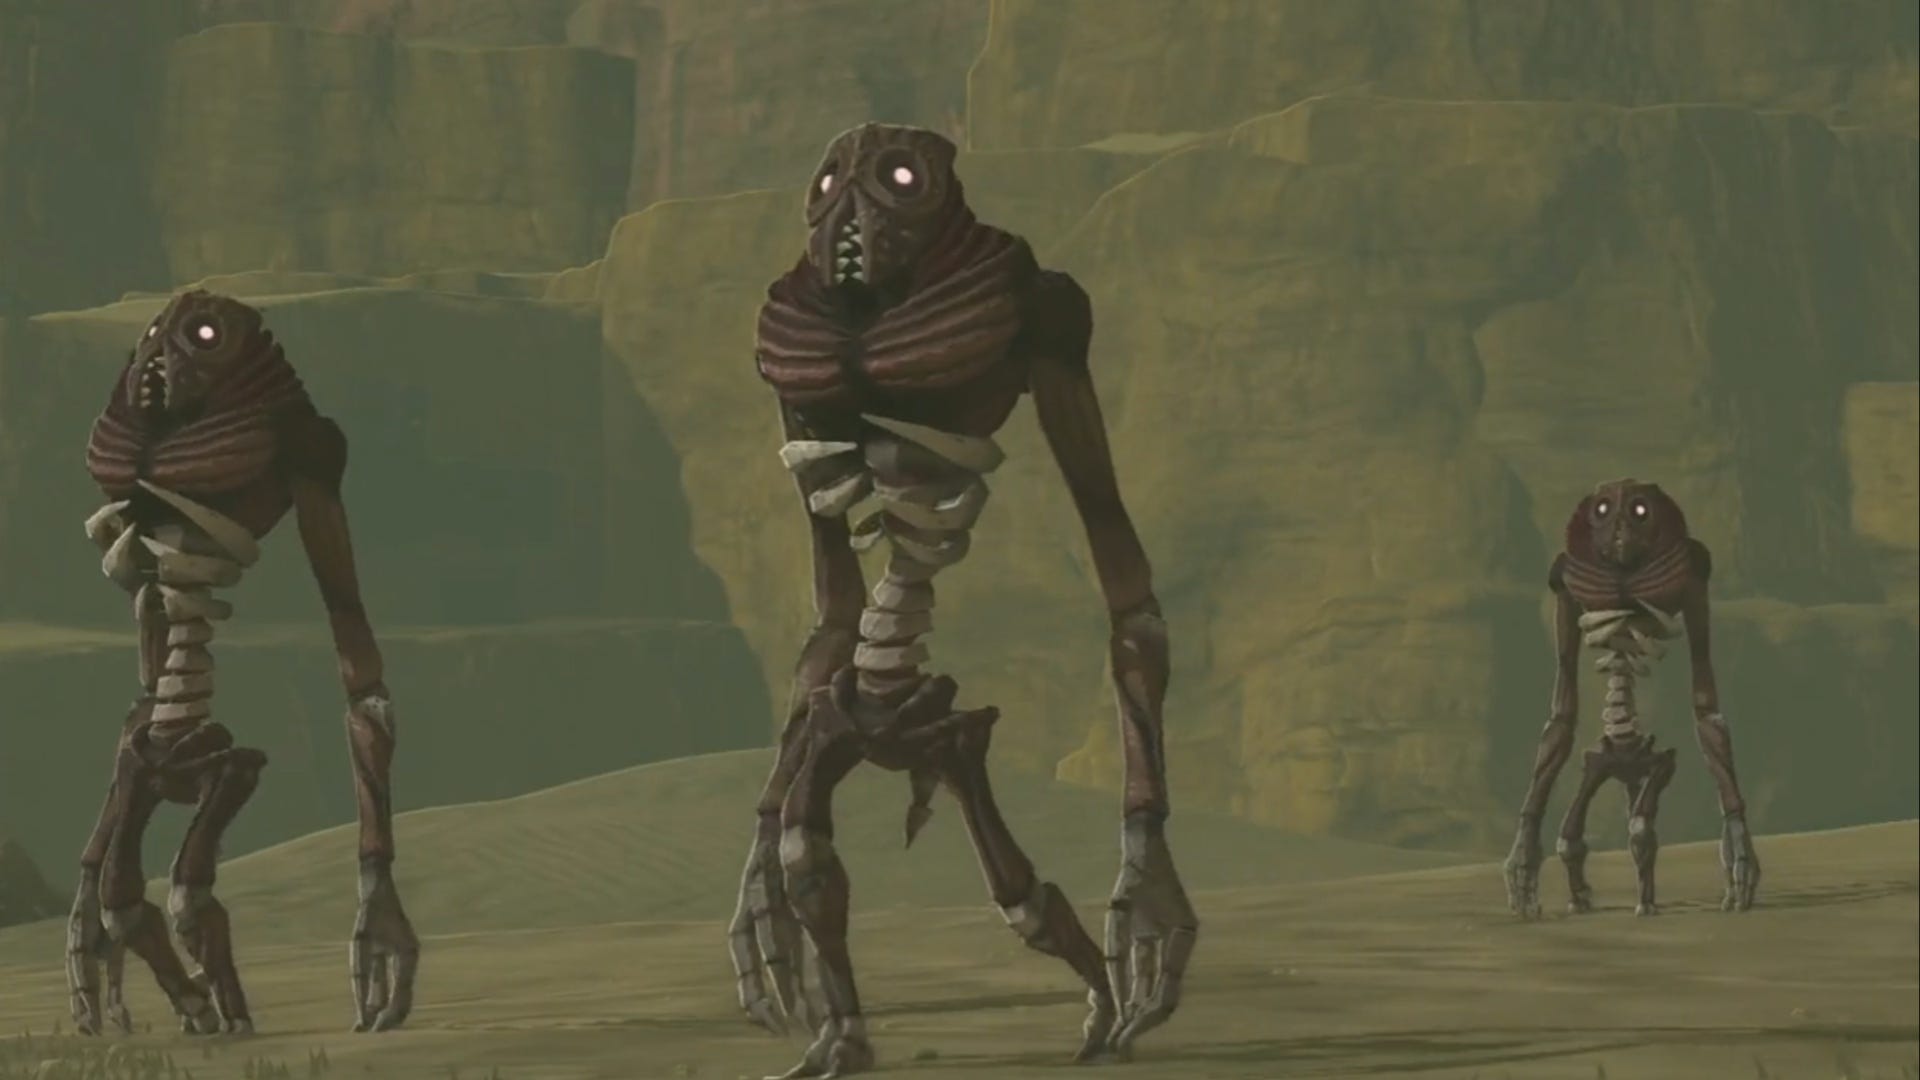
When you get to the Bazaar, you'll instantly be thrown into a battle against swarms of Gibdos. You need to defeat the Gibdos while making sure that Riju's health bar doesn't get to zero. You'll be able to see her health bar on the left side of your screen.
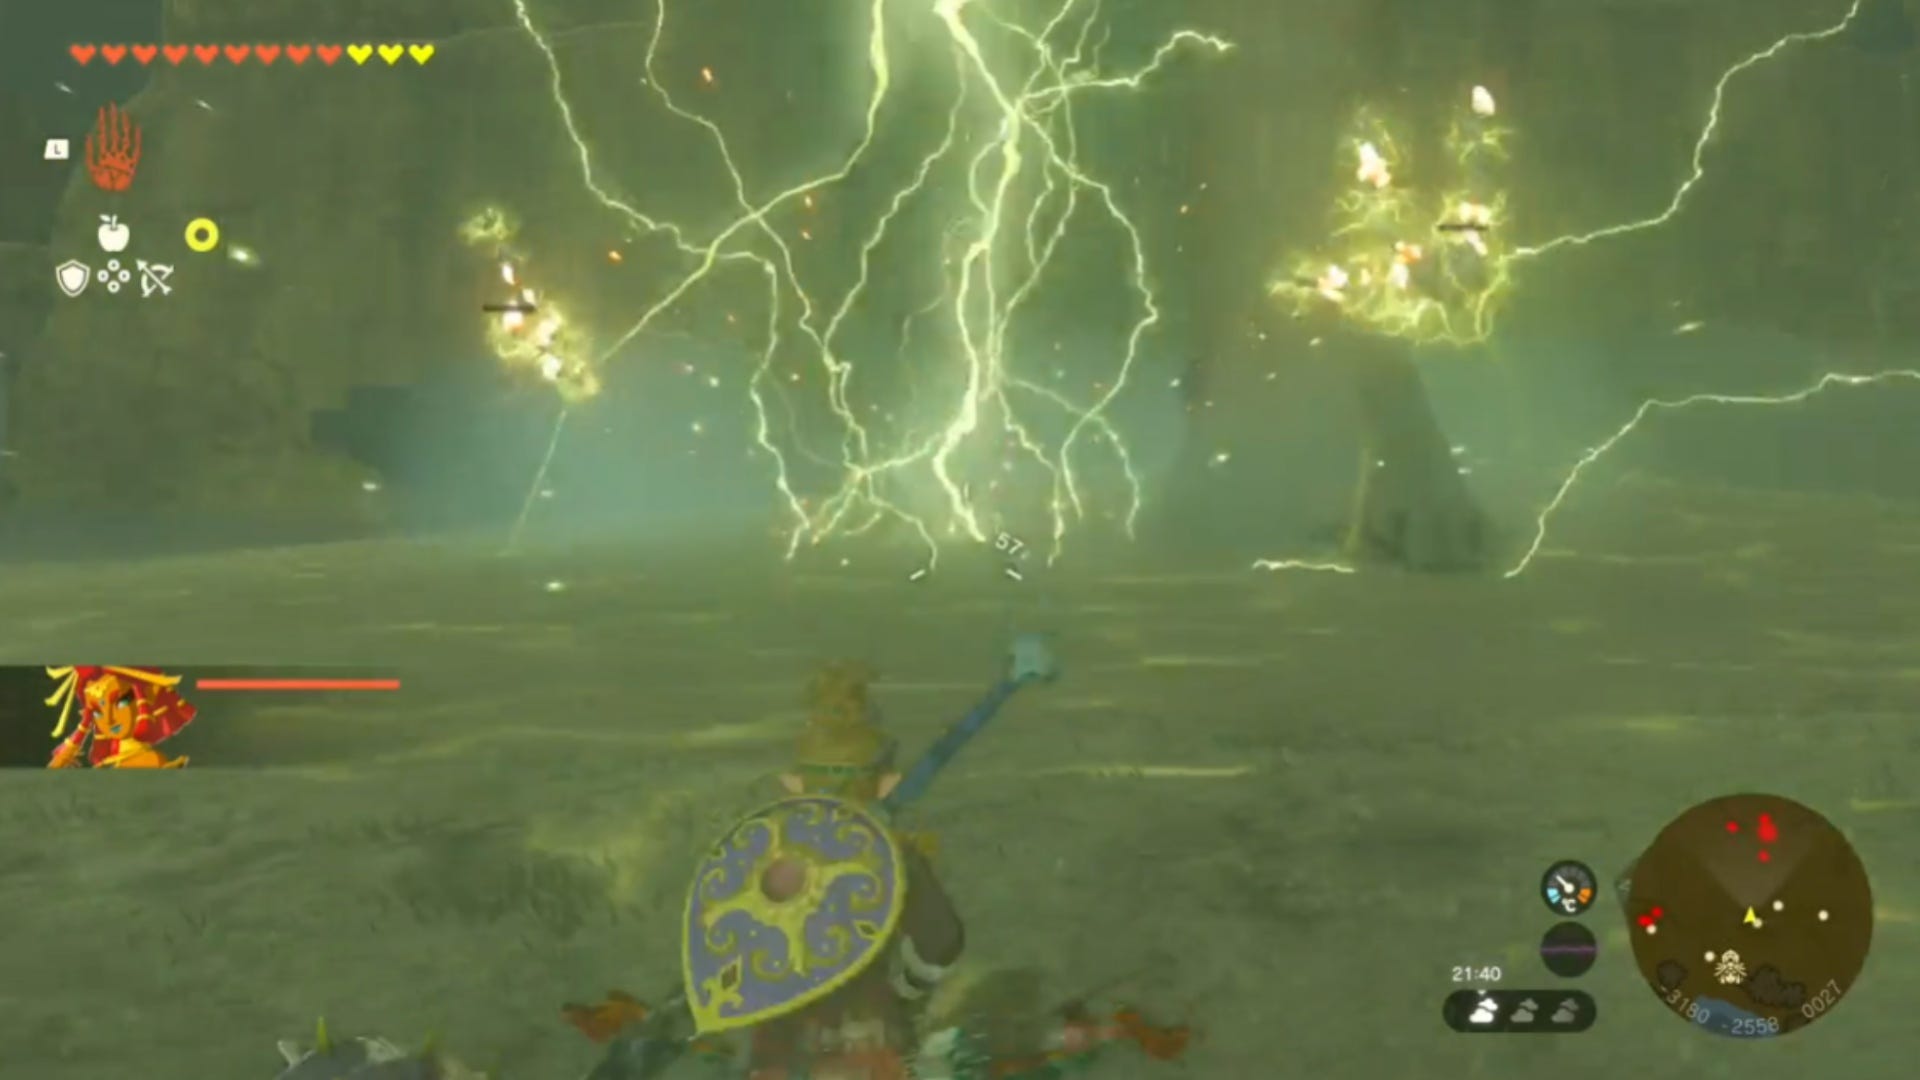
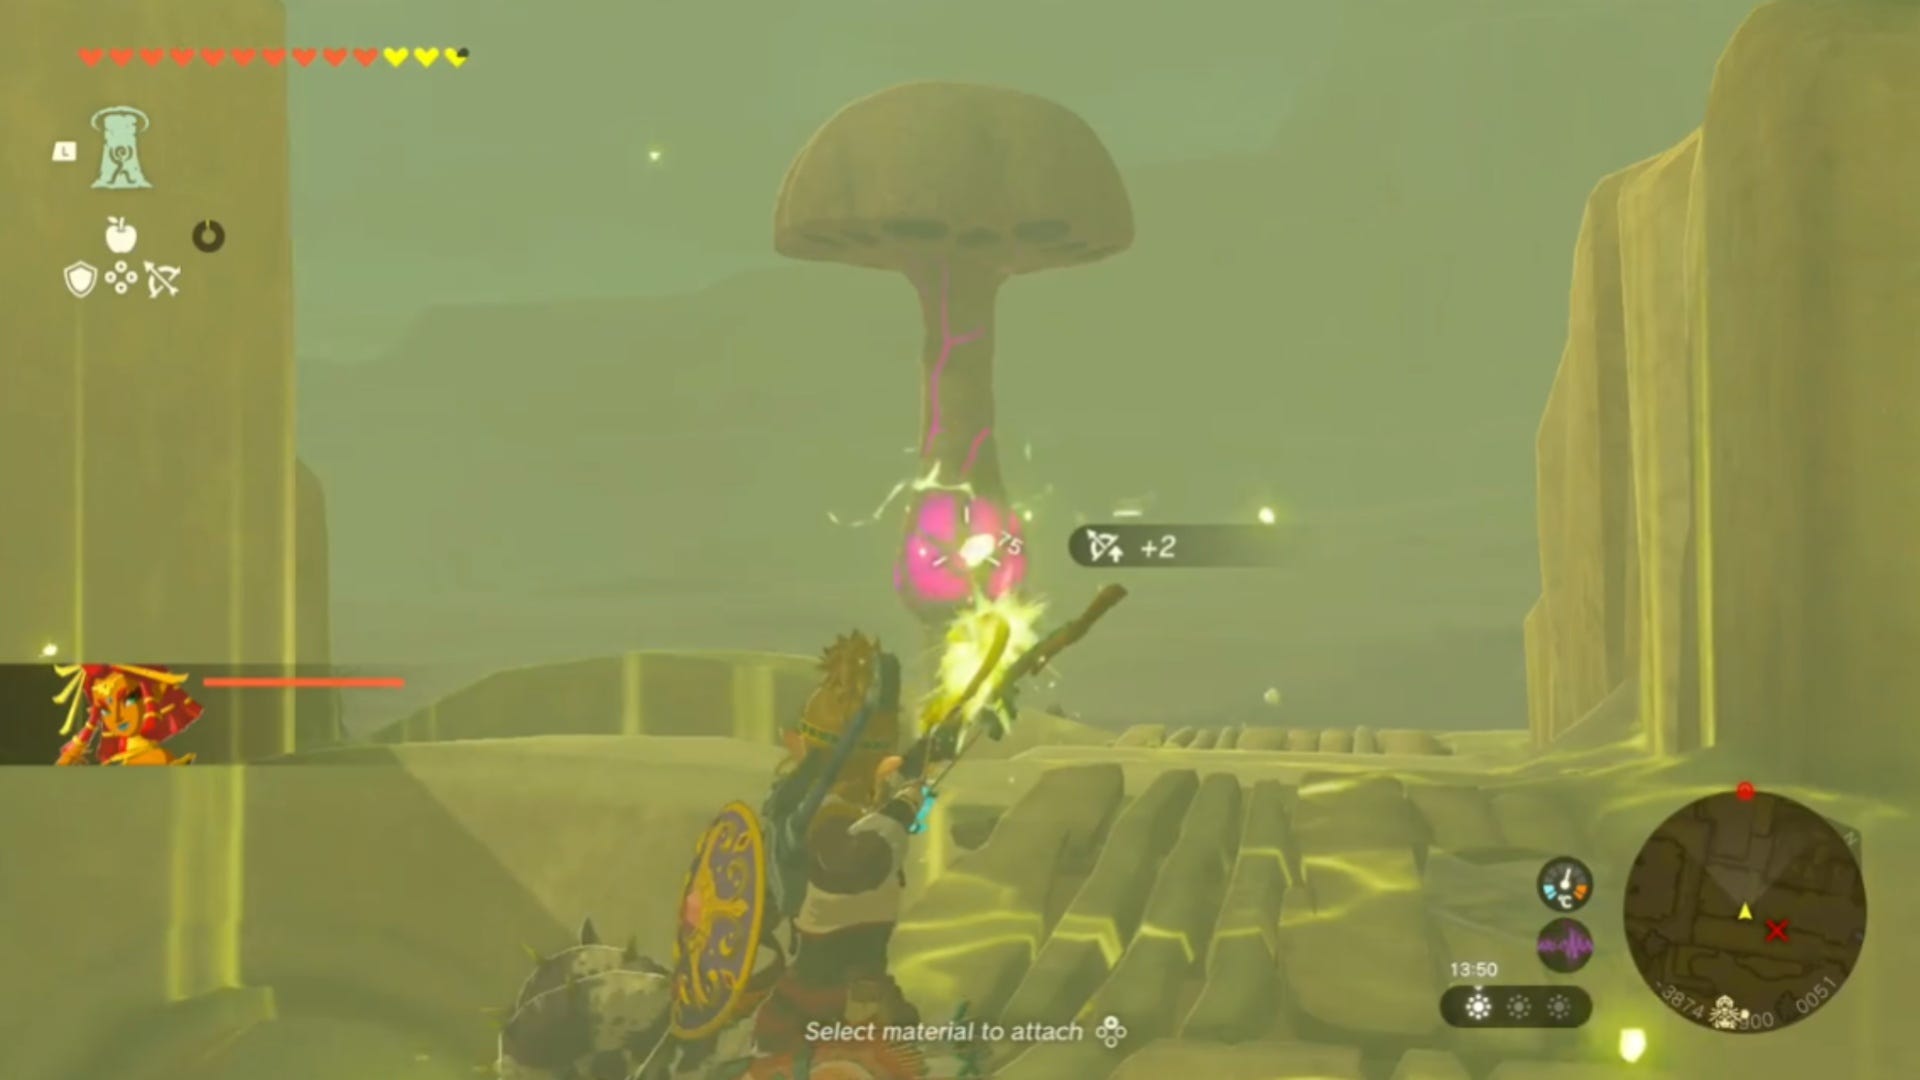
On your mini map, the swarms of Gibdos will appear as red/dark dots and they will spawn from a nest just outside of the Bazaar defences. The best way to deal with the swarms is to wait for Riju's charge to engulf the Gibdos and then shoot an arrow on the ground between the swarms to get Riju's lightning to hit the entire group.
Gibdos can also be defeated using any elemental attack to strip them back to their bare bones. Then, if they are still standing, you can attack them with a melee weapon. We found that a headshot with any element is extremely effective.
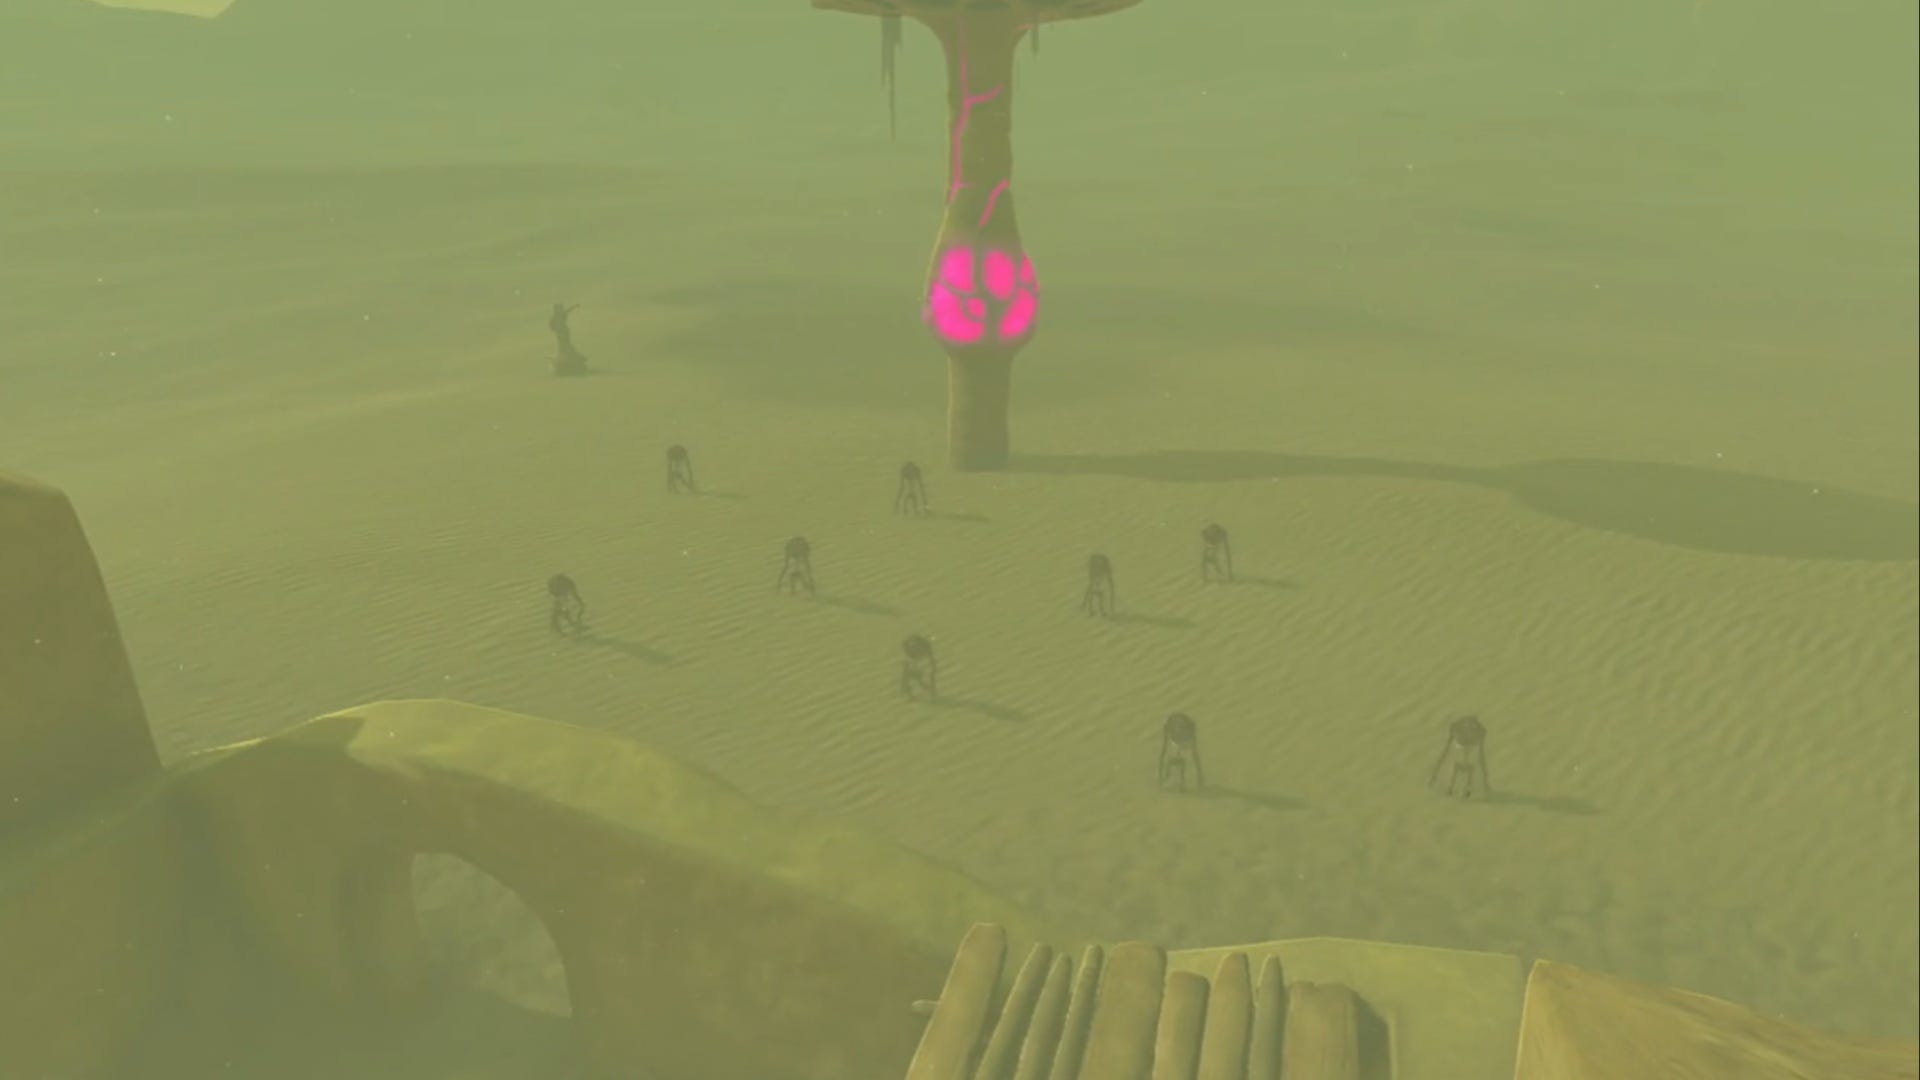
However, taking down individual Gibdos is really just for crowd control to prevent them overwhelming the Bazaar. To stop the Gibdo swarms you need to destroy the nest they're spawning from. They kind of look like large radioactive mushrooms and the nest at the Bazaar will be shown as a large red dot on your mini map.
To destroy the Gibdo nests, you need to wait for the purple section on the stem of the nest to start to glow as it begins to open to drop more Gibdos. If it's clouded, you won't be able to hit it. When the purple part of the nest begins to glow, wait for Riju's charged area to cover the nest. Then, hit the purple part with an arrow to get Riju to hit it with lightning. This will instantly destroy the nest.
If you run out of arrows during the attack, then you can run back into the Bazaar and speak to one of the warriors to get a quick top up of 10 arrows.
After you destroy the nest, deal with the remaining Gibdos to clear this part of the quest. Don't forget to pick up all the items that the Gibdos drop once defeated, they're extremely useful.
Defend Gerudo Town against Gibdo attack in Zelda Tears of the Kingdom
Once the Bazaar is safe, head back to Gerudo Town and speak to Riju in the main room above the bunker. This is marked by the quest marker on your map. The Gibdo battle is not far away, so it's time to make some preparations.
After speaking with Riju, speak to Buliara on her right then go and speak to Captain Teake in the courtyard that you can get to through the door on the right of Buliara.
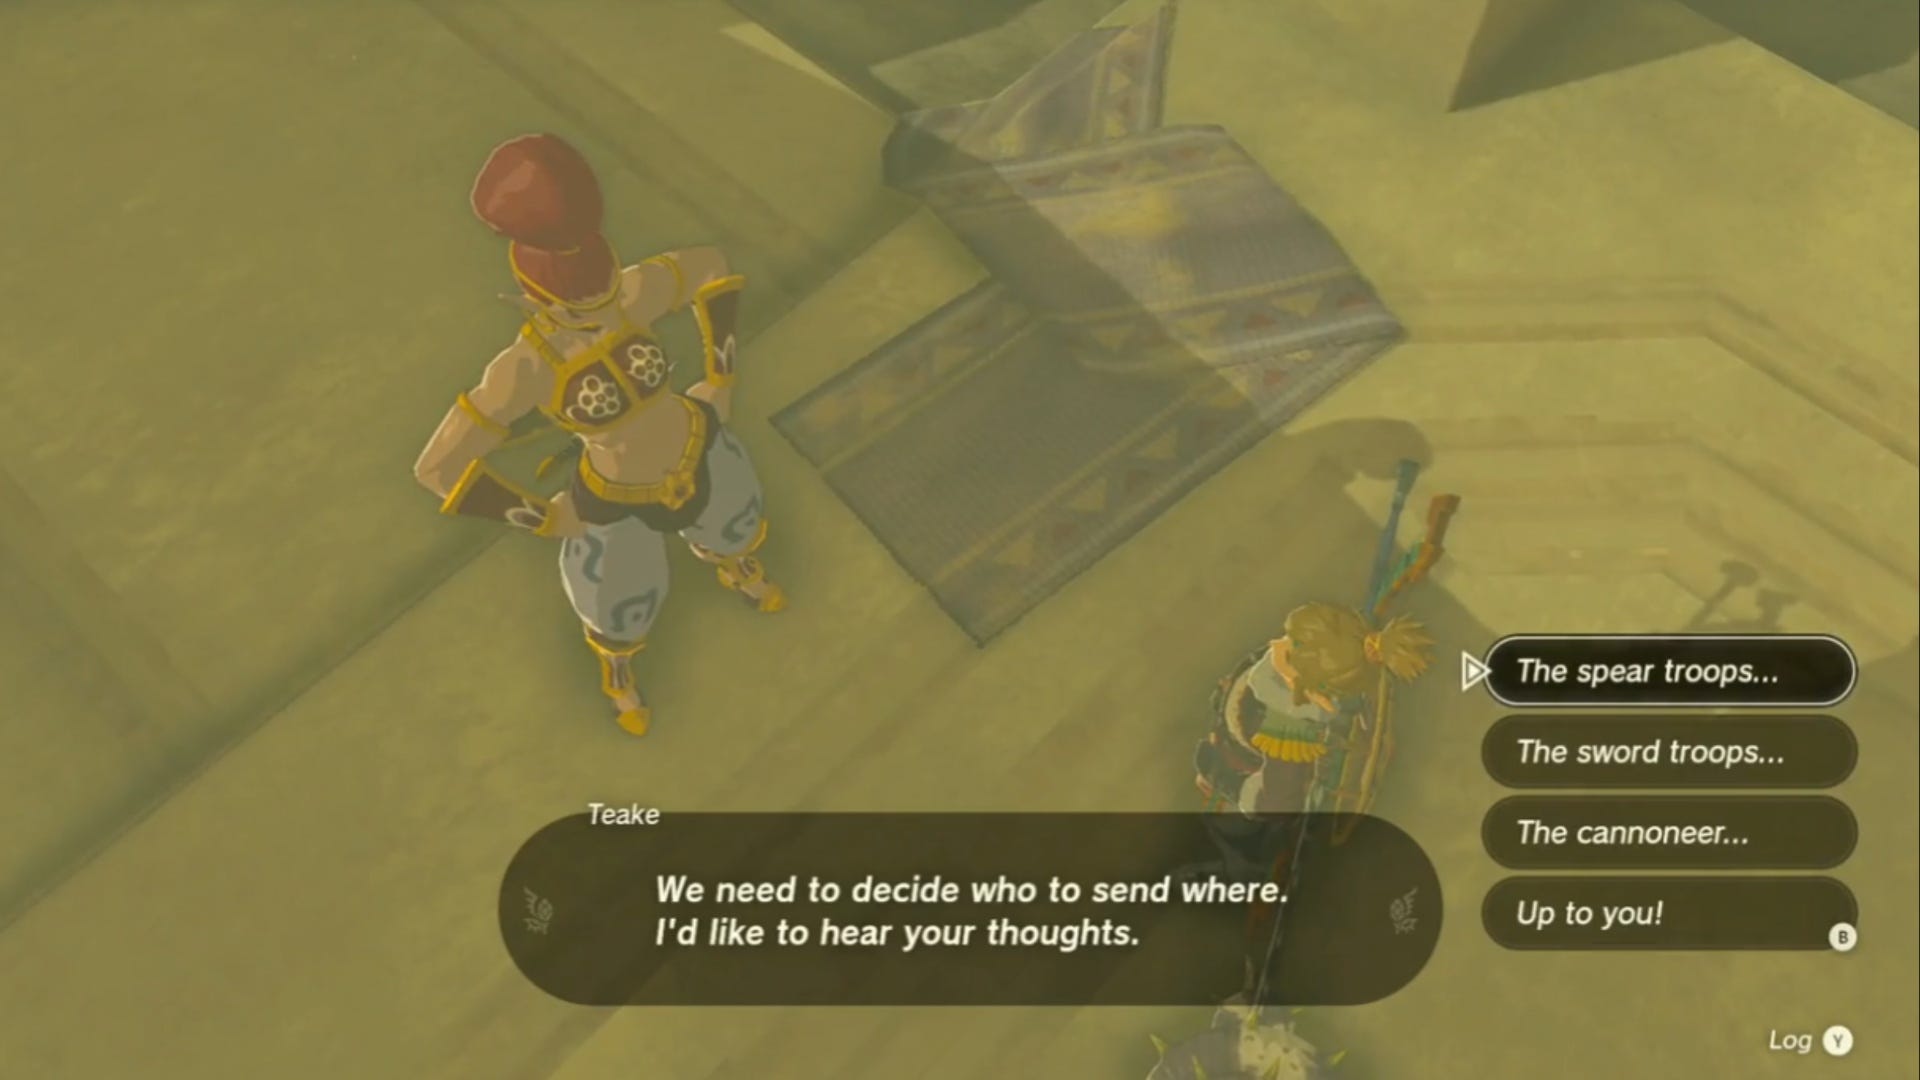
Speak to Captain Teake to learn about the troops you have to help with the Gibdo battle. You can leave Captain Teake to organise the placement of the troops, or you can decide this for yourself.
To organise the troops, you need to speak to Captain Teake and you will have the choice of deploying three teams:
- Sword Troops - A group of three sword-wielding warriors.
- Spear Troops - A group of three spear-wielding warriors.
- A Cannoneer - A single warrior with a Cannon.
Once you select the troops you want to deploy, you will then need to choose a gate for them to guard:
- North Gate
- East Gate
- West Gate
We recommend evenly spreading out your troops so that each gate is guarded as this will give you time to run between each location to fight the Gibdos without the worry of them getting too close to Riju.
Once you are happy with your placement of the troops, head to the courtyard out of the door to the left of Riju and Bularia to find Padda. Padda is surrounded by weapons and materials, so you can stock up here to your hearts content on different elemental items and health-boosting items to help with the fight ahead.
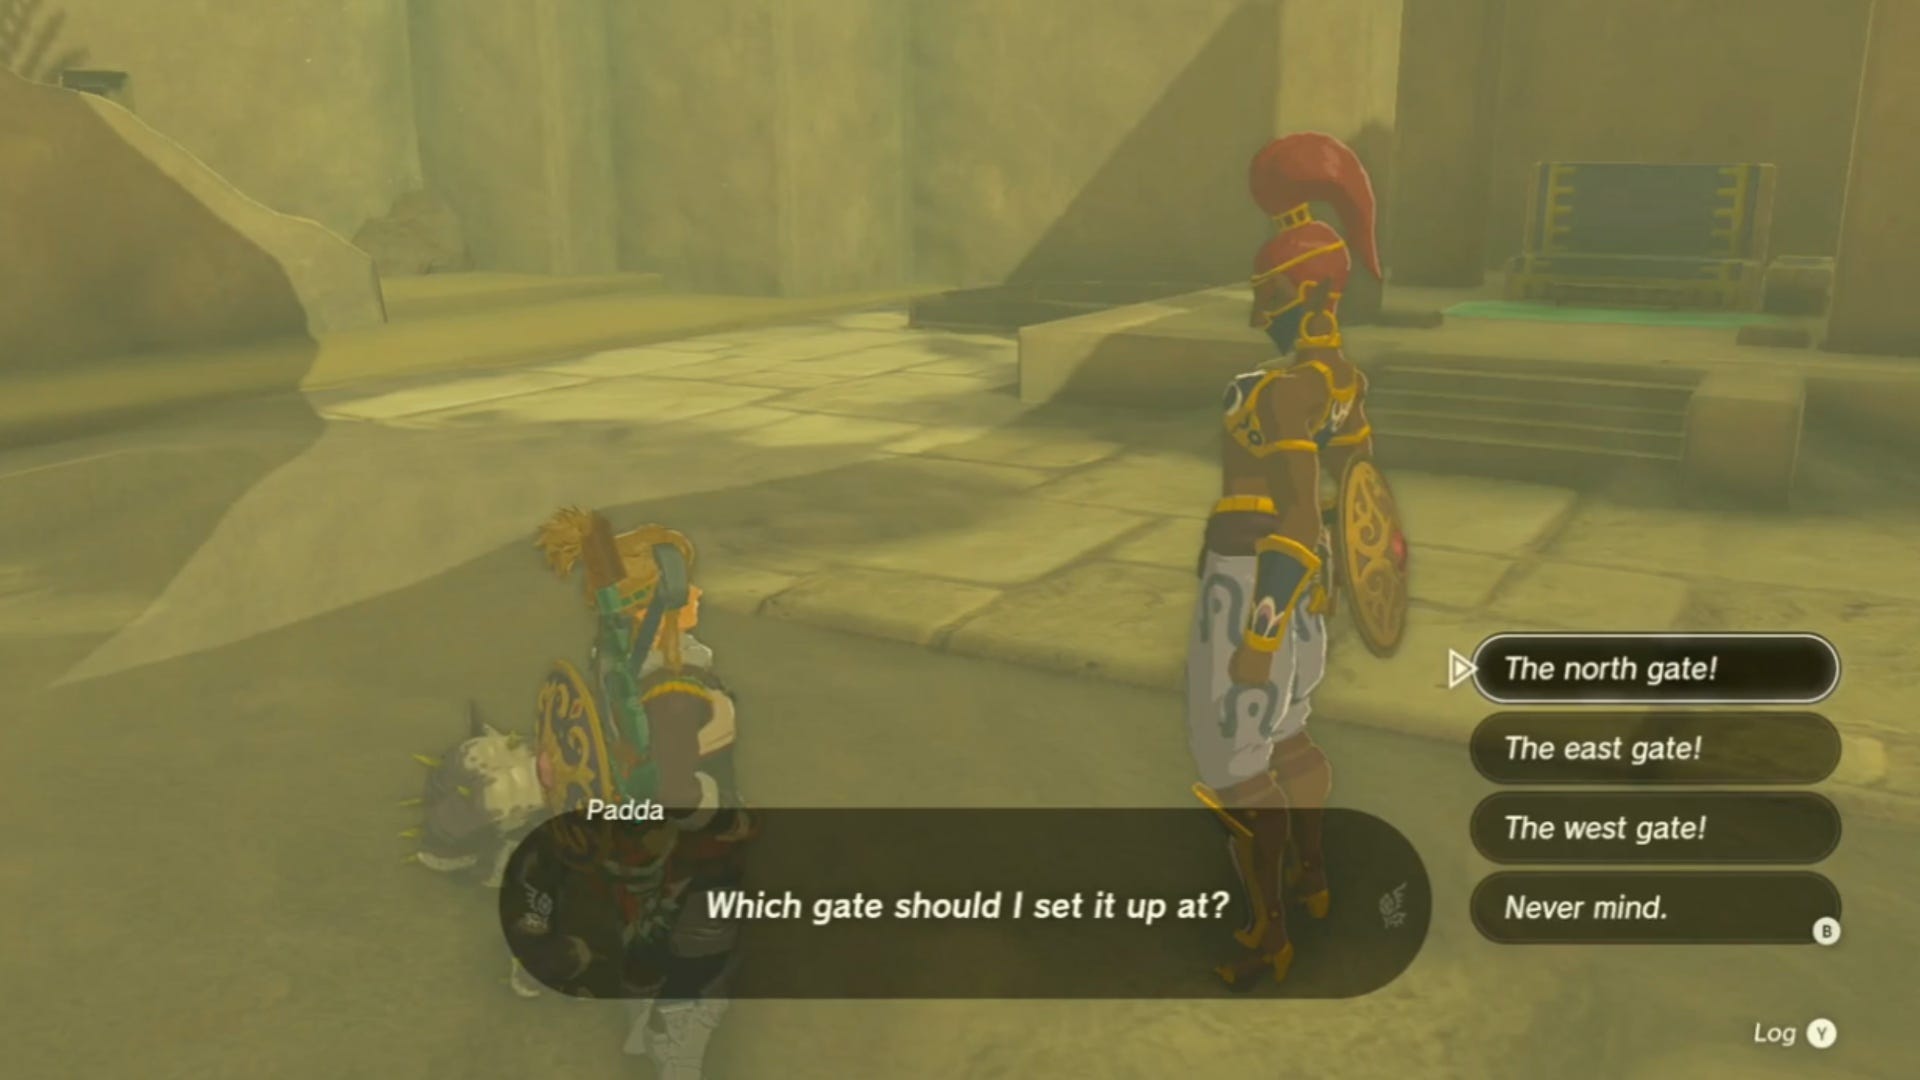
Padda also offers a barricade building service. All you need to do is speak to her and select 'Let's Talk Barricades'. She will then tell you about her barricade and then you can decide which gate to barricade. We chose to place our barricade at the north gate, as it's closer to Riju and if Gibdos get through it they will get to her faster. However, the choice is yours.
When you are happy with your preparations, go back and speak with Riju to start the battle.
When the fight begins, swarms of Gibdos will launch from each of the three Gibdo nests surrounding the town. There are nests just outside the North, East, and West gates. The troops will help slow down the Gibdos, but they cannot destroy them or the nests without your help.
Now all you need to do is destroy all of the Gibdo nests around the town and defeat the Gibdo swarms as you did in Kara Kara Bazaar before Riju's health reaches zero. Riju will constantly be charging her ability, meaning all you need to do is wait for the Gibdos and nests to be engulfed by the charge before attacking.
Also, keep an eye on Riju's announcements on the left side of the screen, these will tell you if any Gibdos have made it into the town and where they are. If you see any of these, head to the indicated area to deal with the Gibdos. Using a Hasty Elixir here will make it easier for you to run between all three areas.
The easiest way we found to complete this battle was to target all of the nests first and let the troops hold the Gibdo swarms back. Then, once all three nests have been destroyed, go around and pick off the remaining Gibdos using Riju's ability and any elemental attack you have on hand.
There are Flying Gibdos (Gibdo Moths) in this battle, but you can deal with them in exactly the same way as you'd deal with a walking Gibdo.
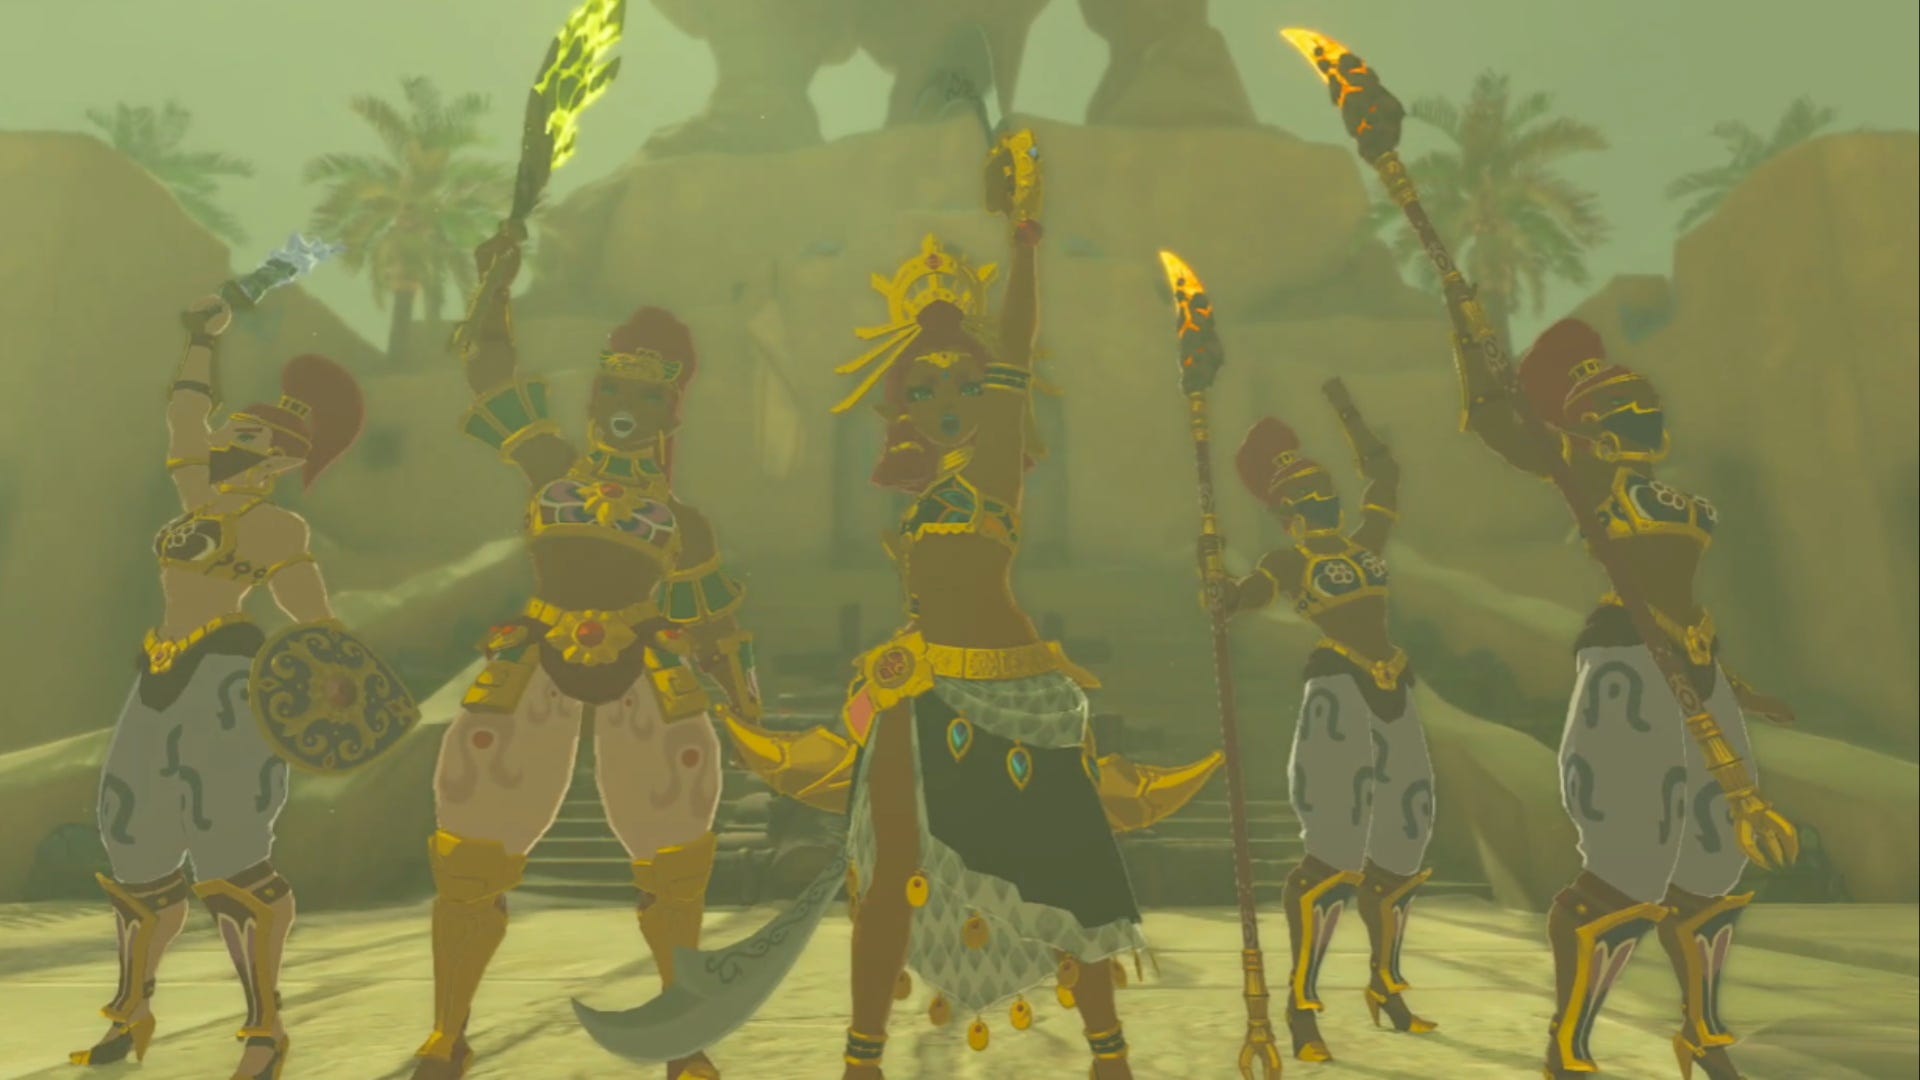
When the battle ends, remember to pick up all of the materials dropped by the defeated Gibdos. Then, go and speak to Riju again. She will thank you and then tell you to go and look at the mural in the underground shelter.
Red Pillars solution for Riju of Gerudo Town in Zelda Tears of the Kingdom
Head into the Gerudo Town bunker and head through the main doors, following the path to the far side of the bunker to these coordinates to find the mural at (-3915, -2993, 0034).
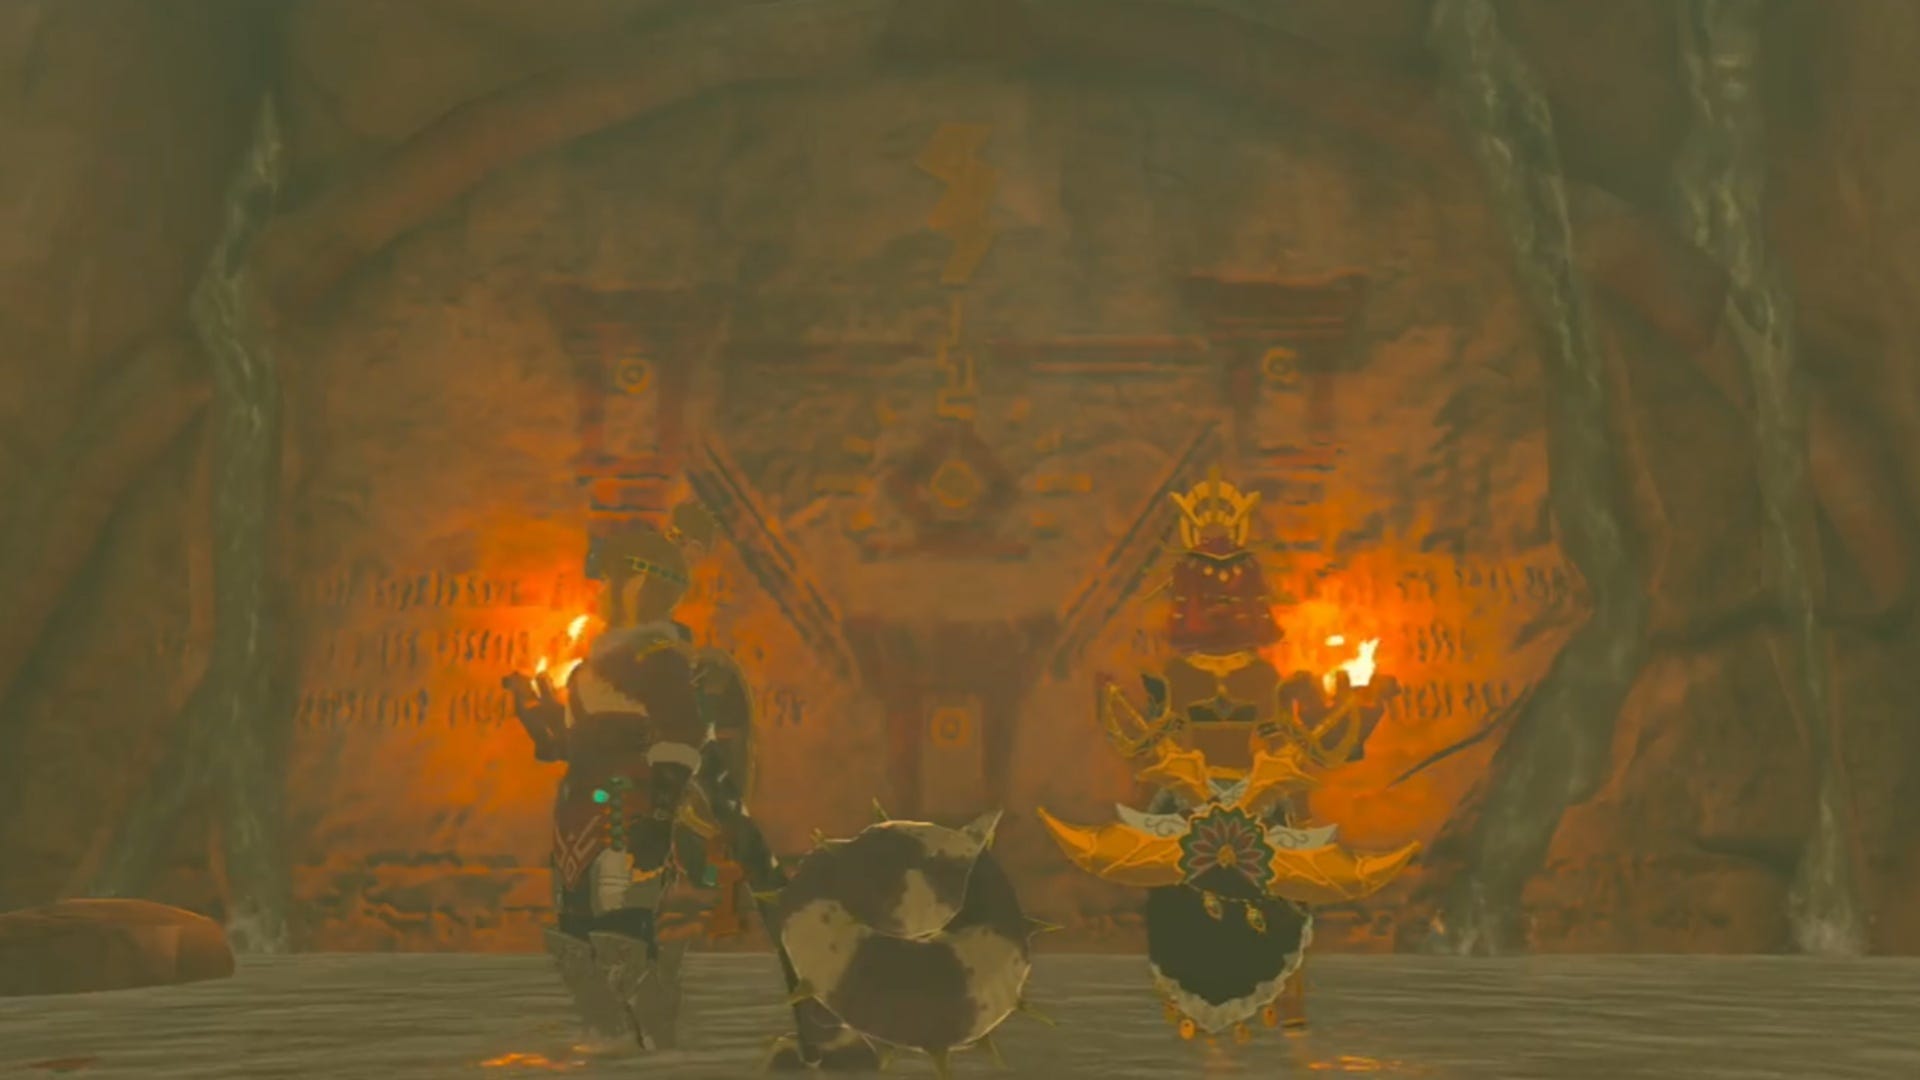
Essentially, the mural will tell you that you need to solve a light puzzle by lining up three Red Pillars. Now, there aren't really any clues as to where these Pillars are, but the first one is easy to find. Head back up to the main room above the bunker where Bularia is and then look out into the desert behind Bularia (where the quest marker is).
Red Pillar One (-4055, -3147, 0061)
In the distance in the sandstorm, you should see the faint outline of a Pillar.
This is the first Red Pillar, so head over here. Once you get to it, stand at its base and use Ascend to get up to the middle section of the Pillar.
In the middle of the area here, you should see some cracked rock covering a white circle in the middle. Use a Hammer or any weapon you want to to destroy the rocks here. Once you clear them, a beam of light will shoot up in the middle of the Pillar and send a beam of light out into the sandstorm.
Red Pillar Two (-4527, -3270, 0042)
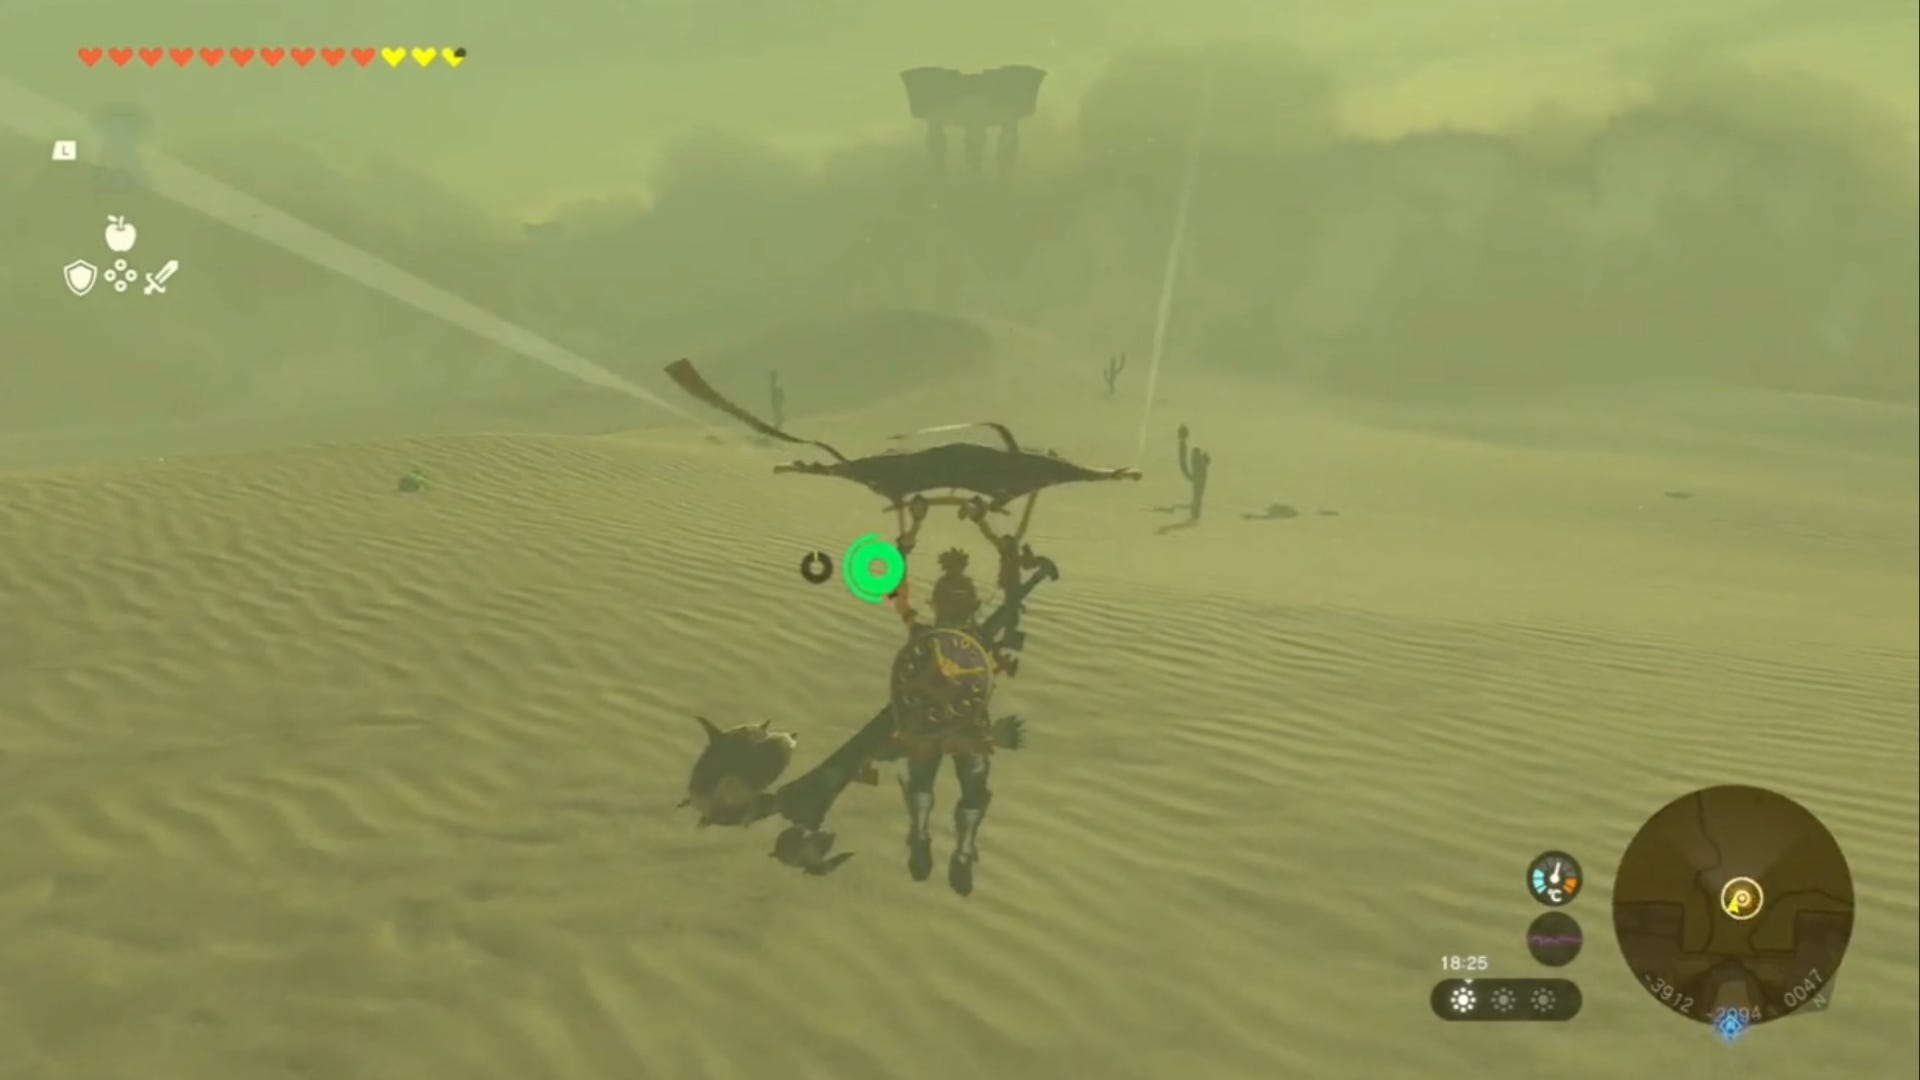
Stand next to the beam of light in the first Red Pillar and use Ascend again to get to the top level of the Pillar. On this level, stand and face the same direction that the beam of light is facing out into the sandstorm. This is guiding you directly to the second Red Pillar.
Following the beam of light, jump off the top of the Pillar and glide in the same direction as the beam. You won't be able to glide all the way to the next Pillar, but the beam of light is still visible from the ground. All you need to do is follow it to the next Red Pillar engulfed in the storm.
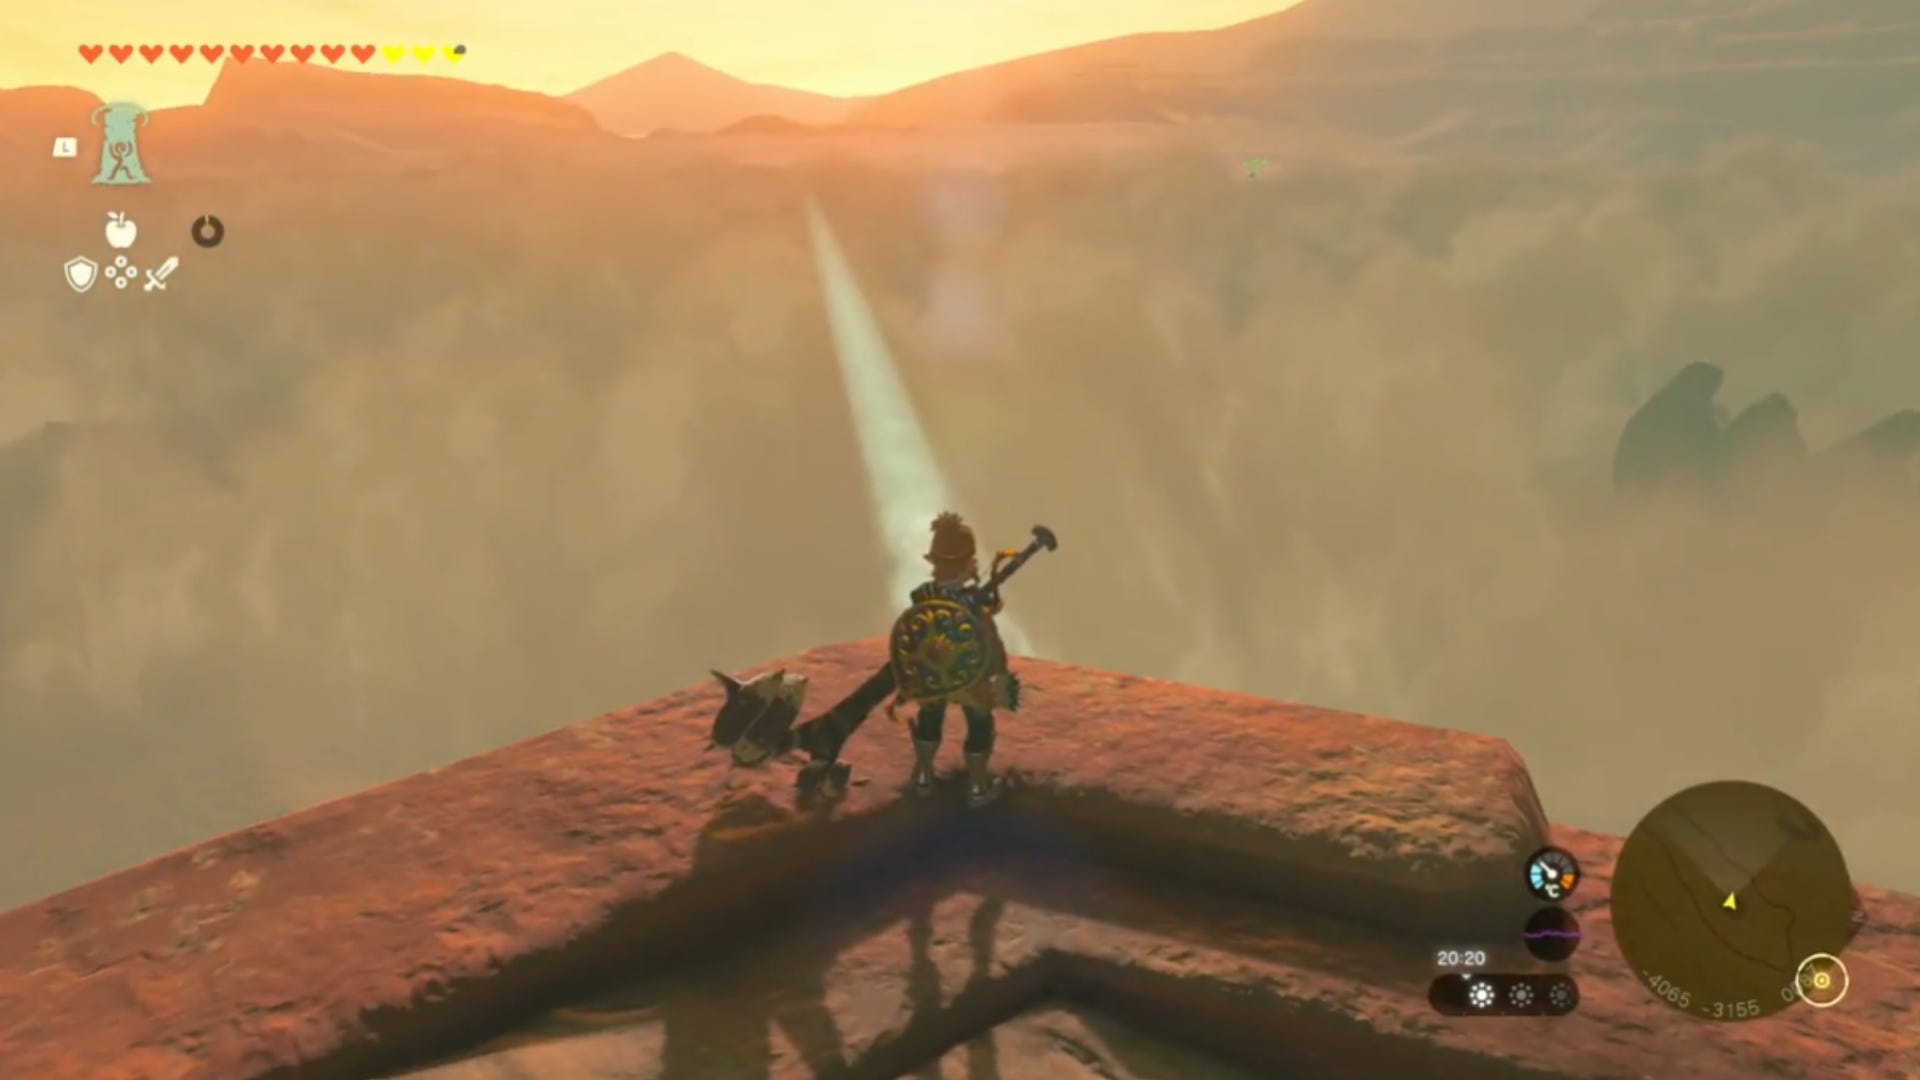
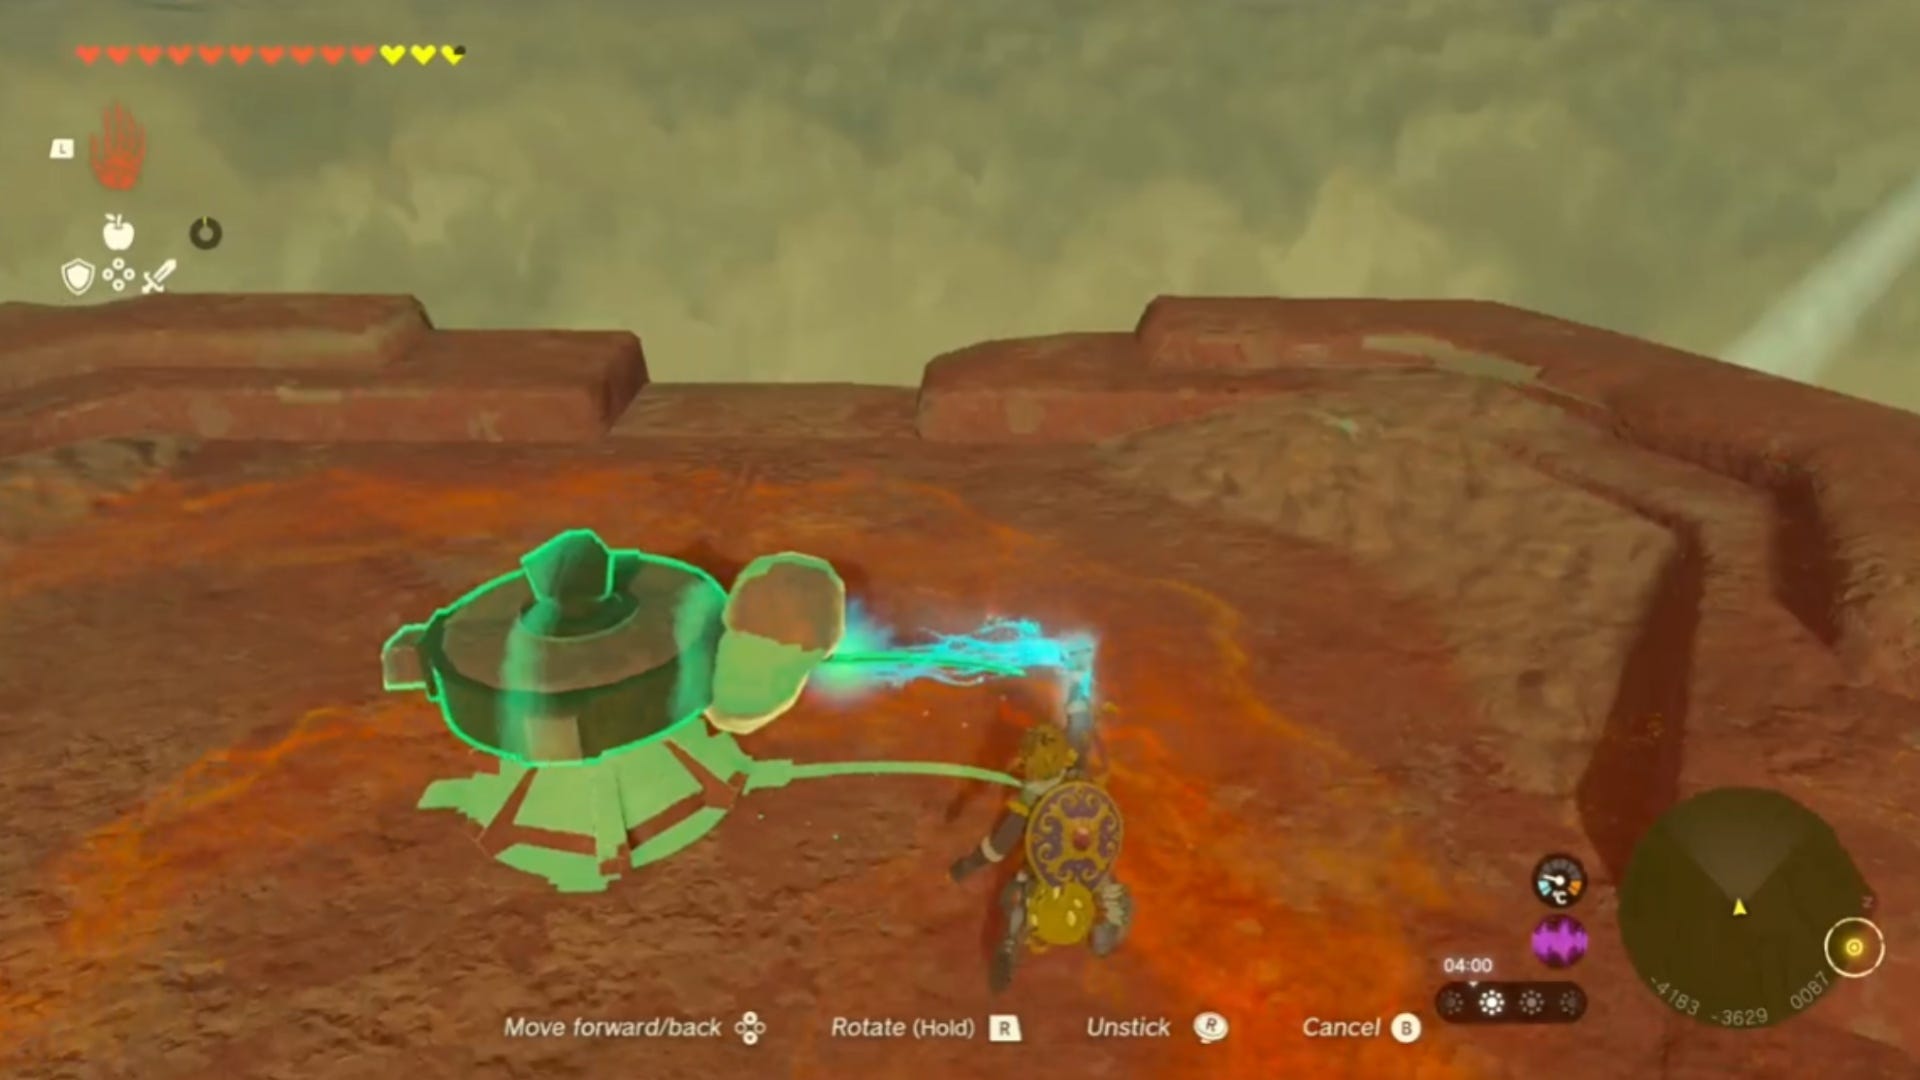
When you reach the Red Pillar you'll notice that it's not catching the beam of light. You now need to raise the Pillar so the beam hits the reflector. To do this, head to the tall rock formation just past the Pillar at (-4597, -3272, 0032) and climb or use Ascend to get on top of the formation.
Turn the wheel here to raise the Red Pillar. Once the Pillar is high enough, it will automatically catch the light beam and reflect it in a different direction. The new beam will lead you to the third Red Pillar.
Red Pillar Three (-4185, -3618, 0027)
As you did with the second Red Pillar, follow the new beam of light across the desert to get to the third Red Pillar. The reflector in this Pillar is catching the beam of light, but it's not reflecting it in the right direction. Your goal is to make a triangle with the beams by connecting all three Red Pillars.
There are probably multiple ways to do this, but this is how we turned the reflector to line the last beam of light up with the first Red Pillar. If you do it our way, you will need a Lizalfos Horn or any item that has a long reach on it.
Stand in the middle of the Pillar and use Ascend to get to the top level, then take your Lizalfos Horn or item of choice out of your inventory. Attach your item to one of the sides of the broken wheel here using Ultrahand. Then, using Ultrahand, grab the item and use it to turn the wheel counter-clockwise to line the beam of light up with the first Red Pillar.
You can also solve this by using the Zonai Devices found on the middle tier of this Pillar. All you'll need to do is use the Floating Platforms to transport the wheel pieces to the top of the Pillar and attach them to the wheel, then turn it using Ultrahand.
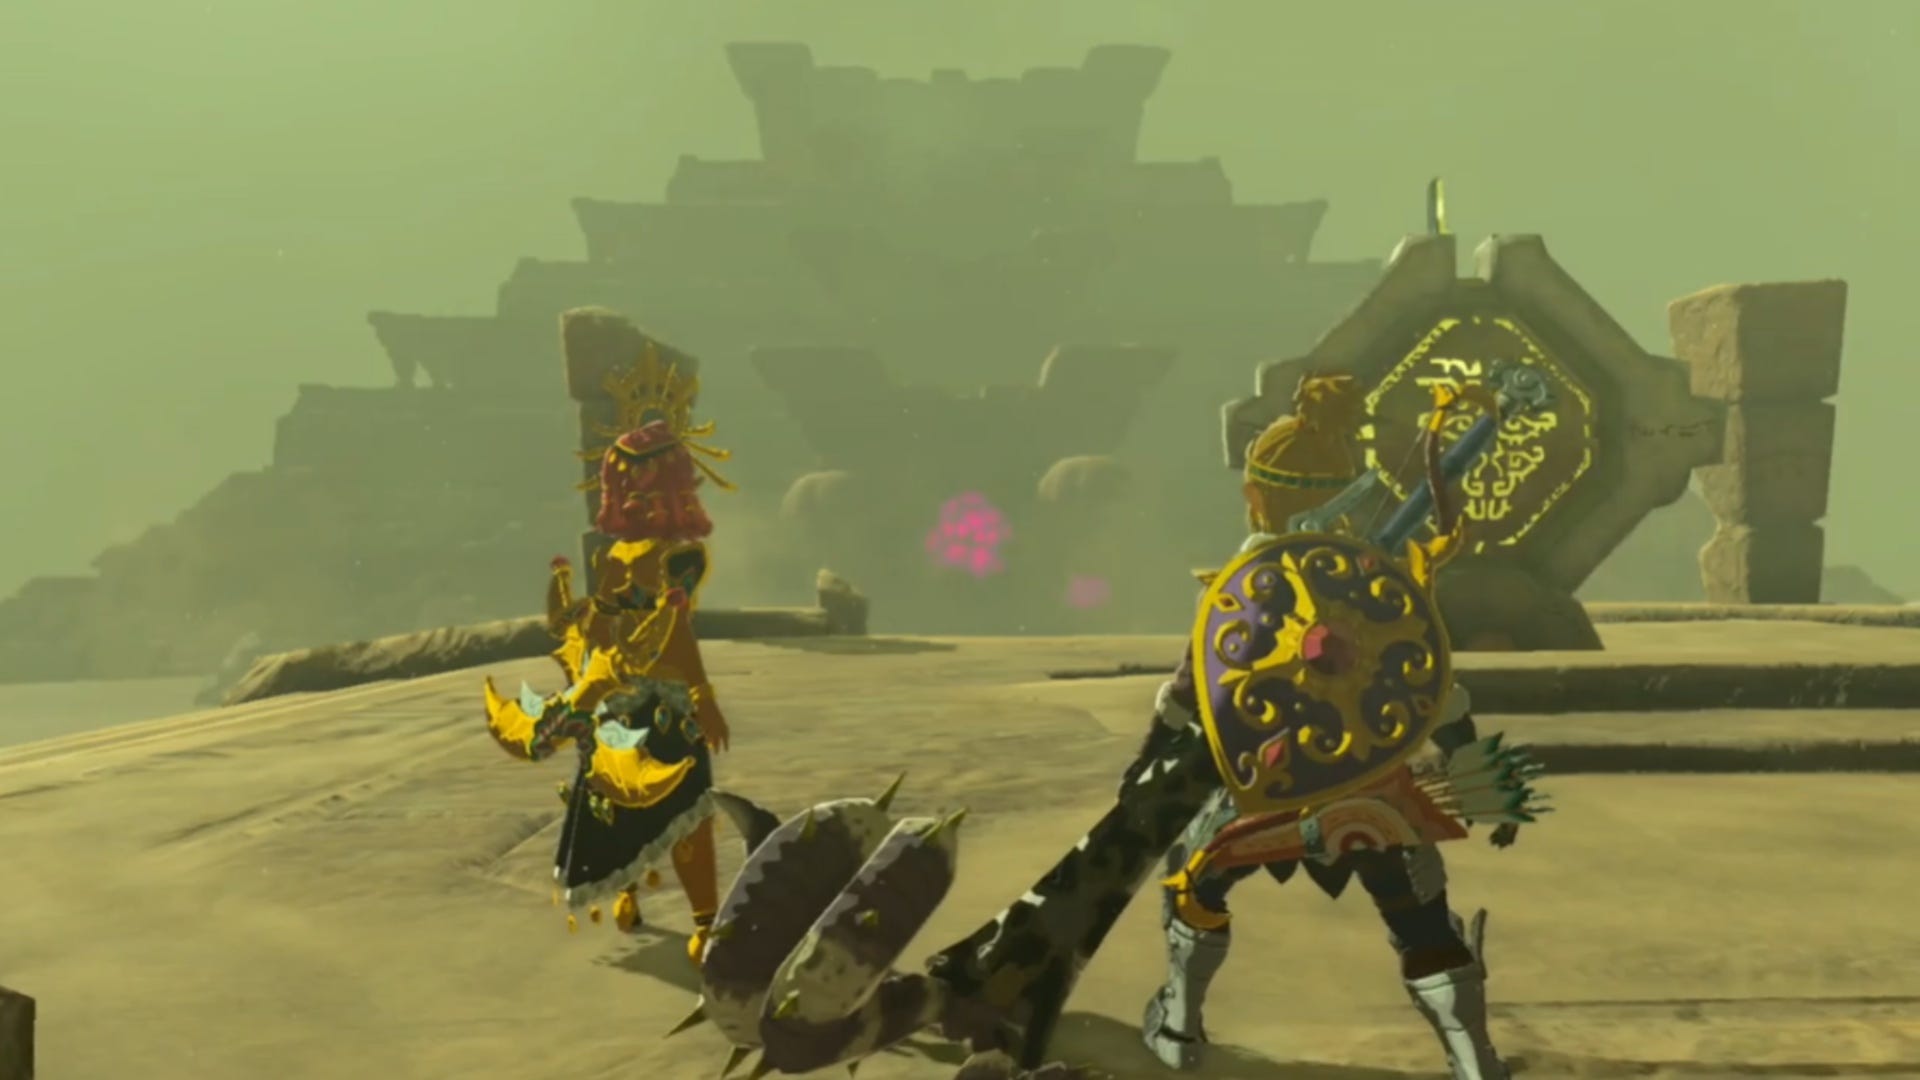
When you line up all of the Pillars head to the newly revealed structure in the middle of them at (-4255, -3345, 0042) and speak to Riju. Follow the cutscene and speak to Riju again, then when her charge has reached the structure, hit the middle of it with an arrow to reveal the Lightning Temple.
Enter the Lightning Temple in Zelda Tears of the Kingdom
To finish the Riju of the Gerudo main story quest in Zelda: Tears of the Kingdom, you need to complete the Lightning Temple and beat the Lightning Temple boss, both of which we have separate guides for. Once you do this, the quest will wrap itself up and Gerudo will be back to its former glory.
Congratulations on completing the Riju of Gerudo Town main quest! If you need more help in your adventure across Hyrule, check out our Shrine locations guide or our Skyview Tower locations guide to find your way around.