Zelda: Skyward Sword - Pirate Stronghold mini-dungeon: How to dowse for Nayru’s Flame explained
How to complete the Pirate Stronghold mini-dungeon in Skyward Sword.

The Pirate Stronghold is a mini-dungeon in The Legend of Zelda: Skyward Sword, which you'll reach after exploring the Lanayru Sand Sea.
Venturing through this forgotten stronghold will allow you to dowse for Nayru's Flame, so you reach the game's fifth dungeon - the Sandship.
Before you can reach the Pirate Stronghold, however, you must have completed the Ancient Cistern, defeated Koloktos and delved into the Silent Realm version of the Lanayru Desert.
On this page:

If you'd like to learn more, visit our Skyward Sword walkthrough.
Pirate Stronghold mini-dungeon in Skyward Sword explained
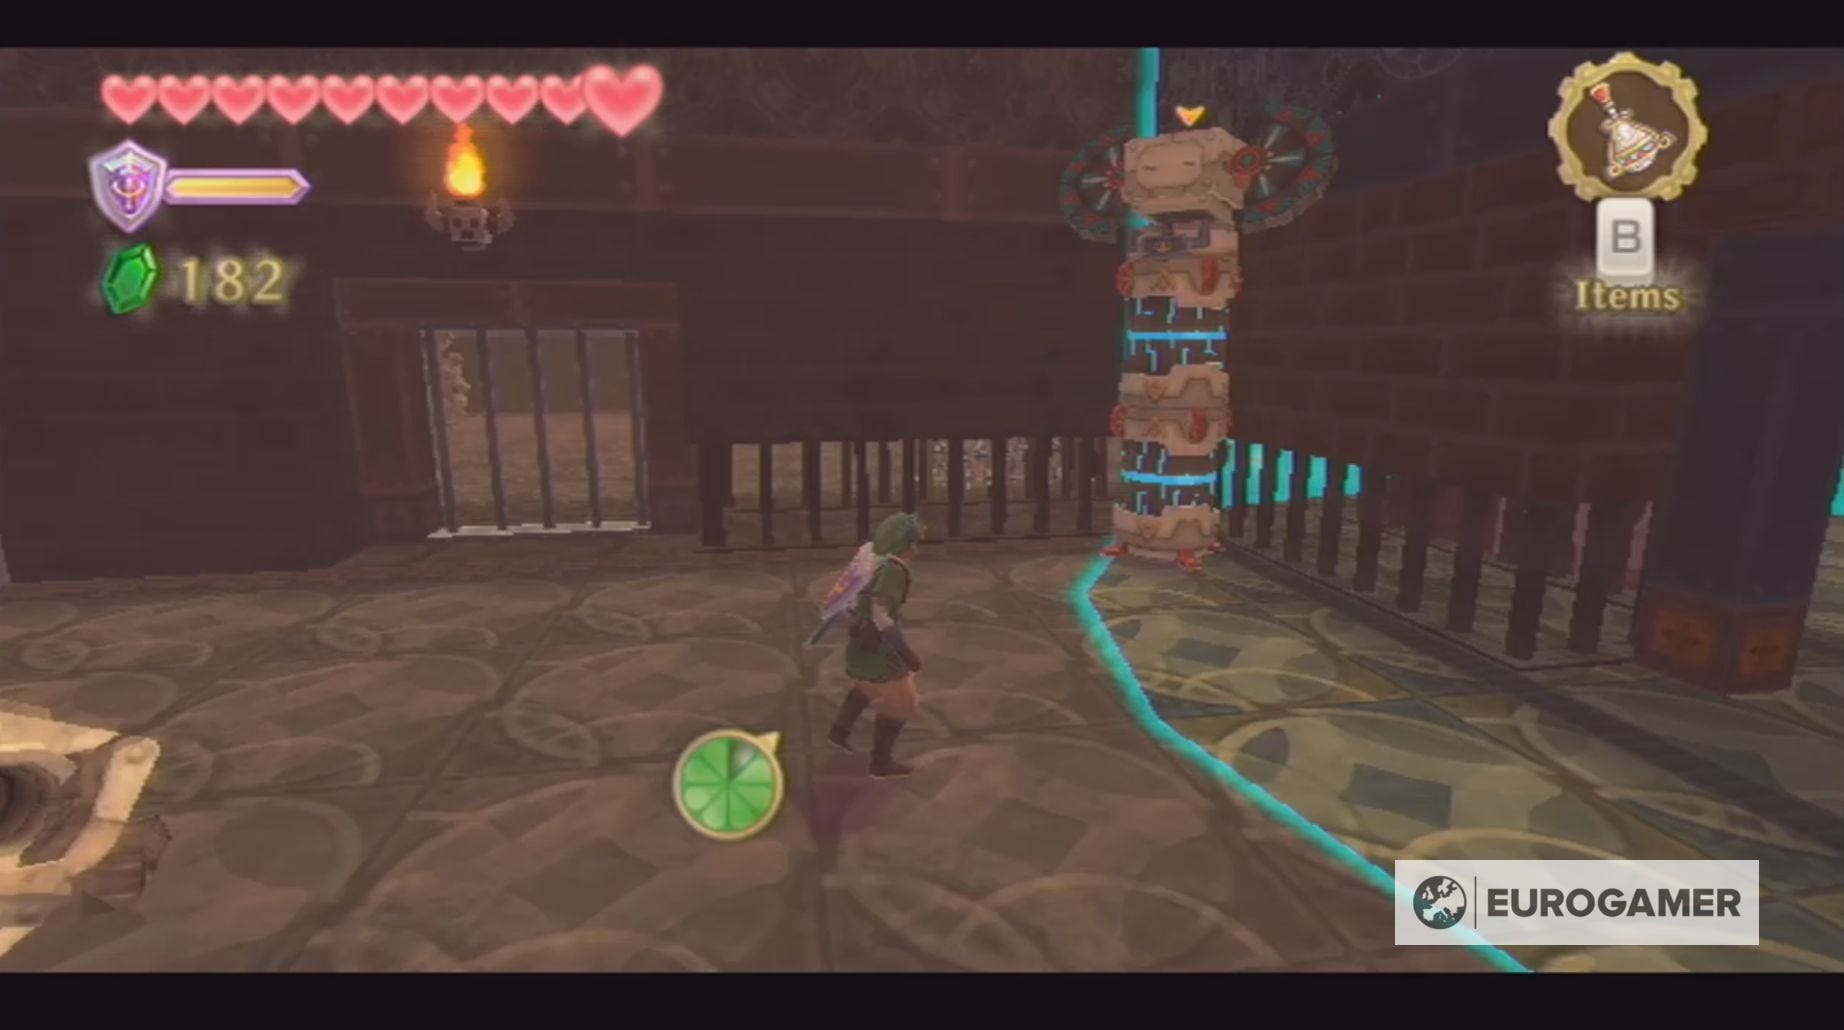
To enter the Pirate Stronghold in Skyward Sword, you need to go through the door on the right-hand of the lowest level of this area. You'll know you're heading in the right direction when you see two massive Yellow Chuchus.

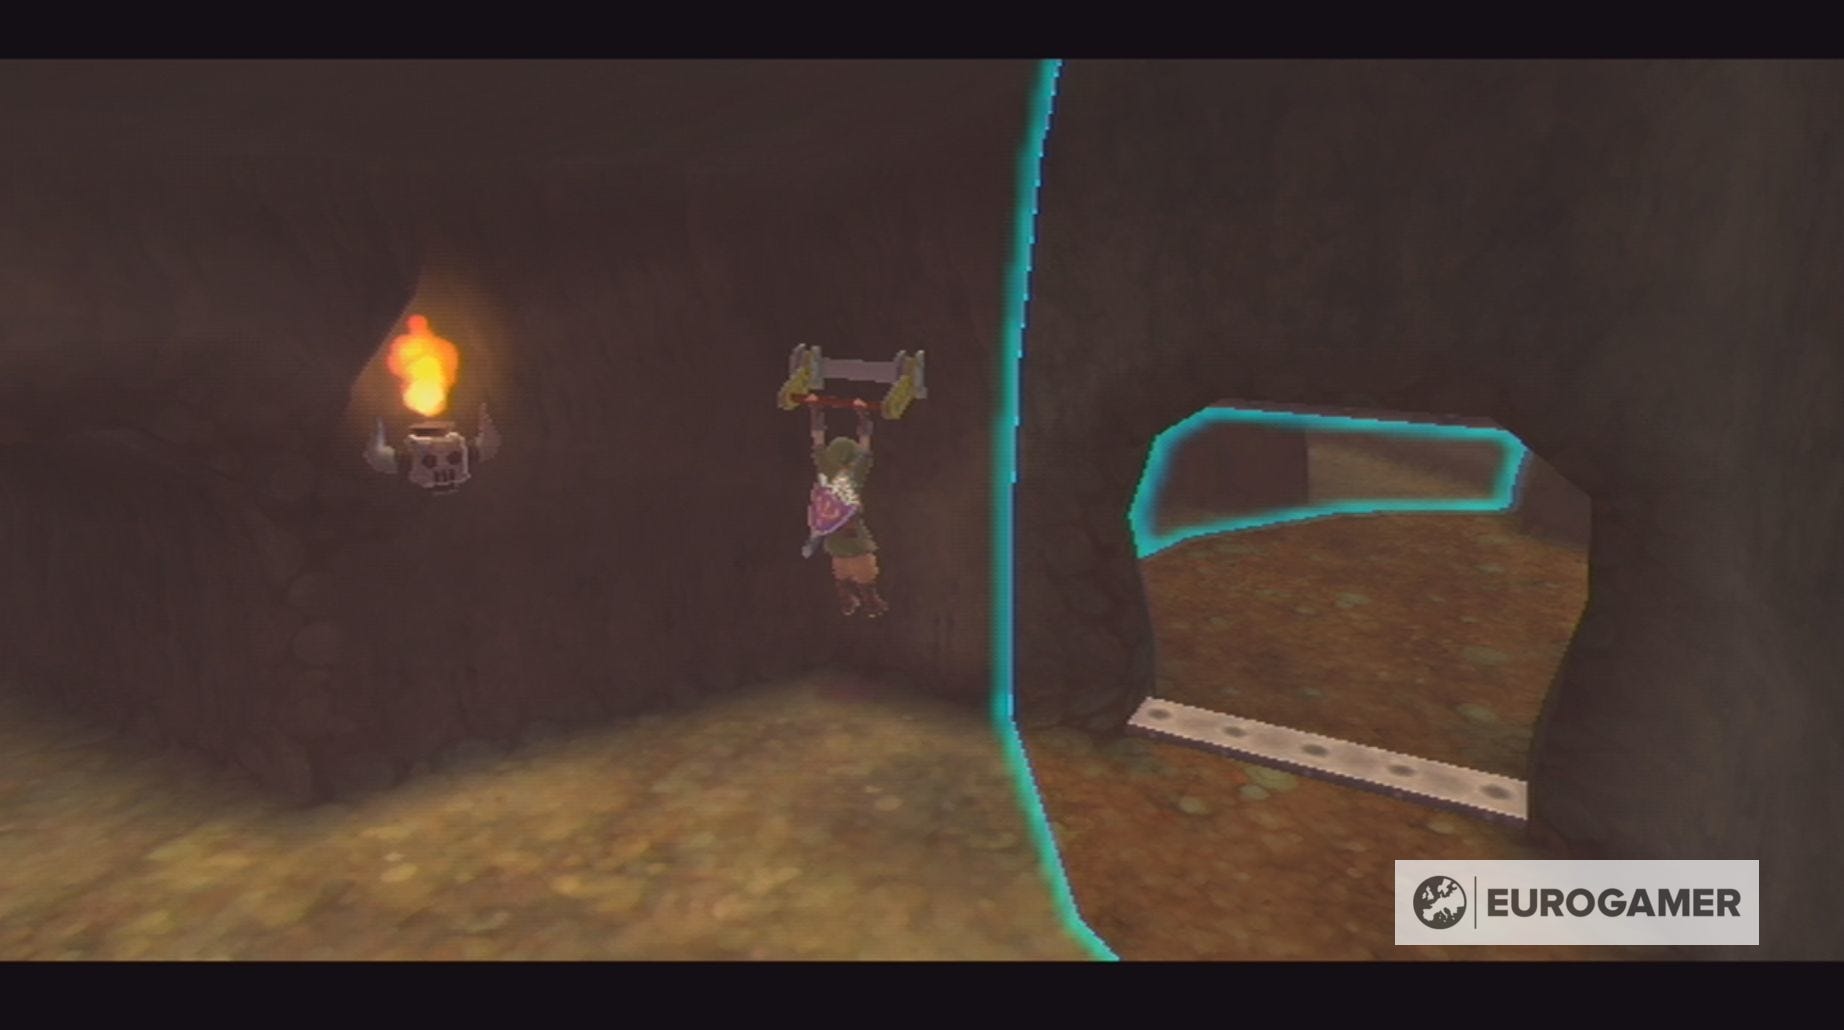
When you enter the stronghold, the first thing you need to do is go through the door in the top right-hand corner.

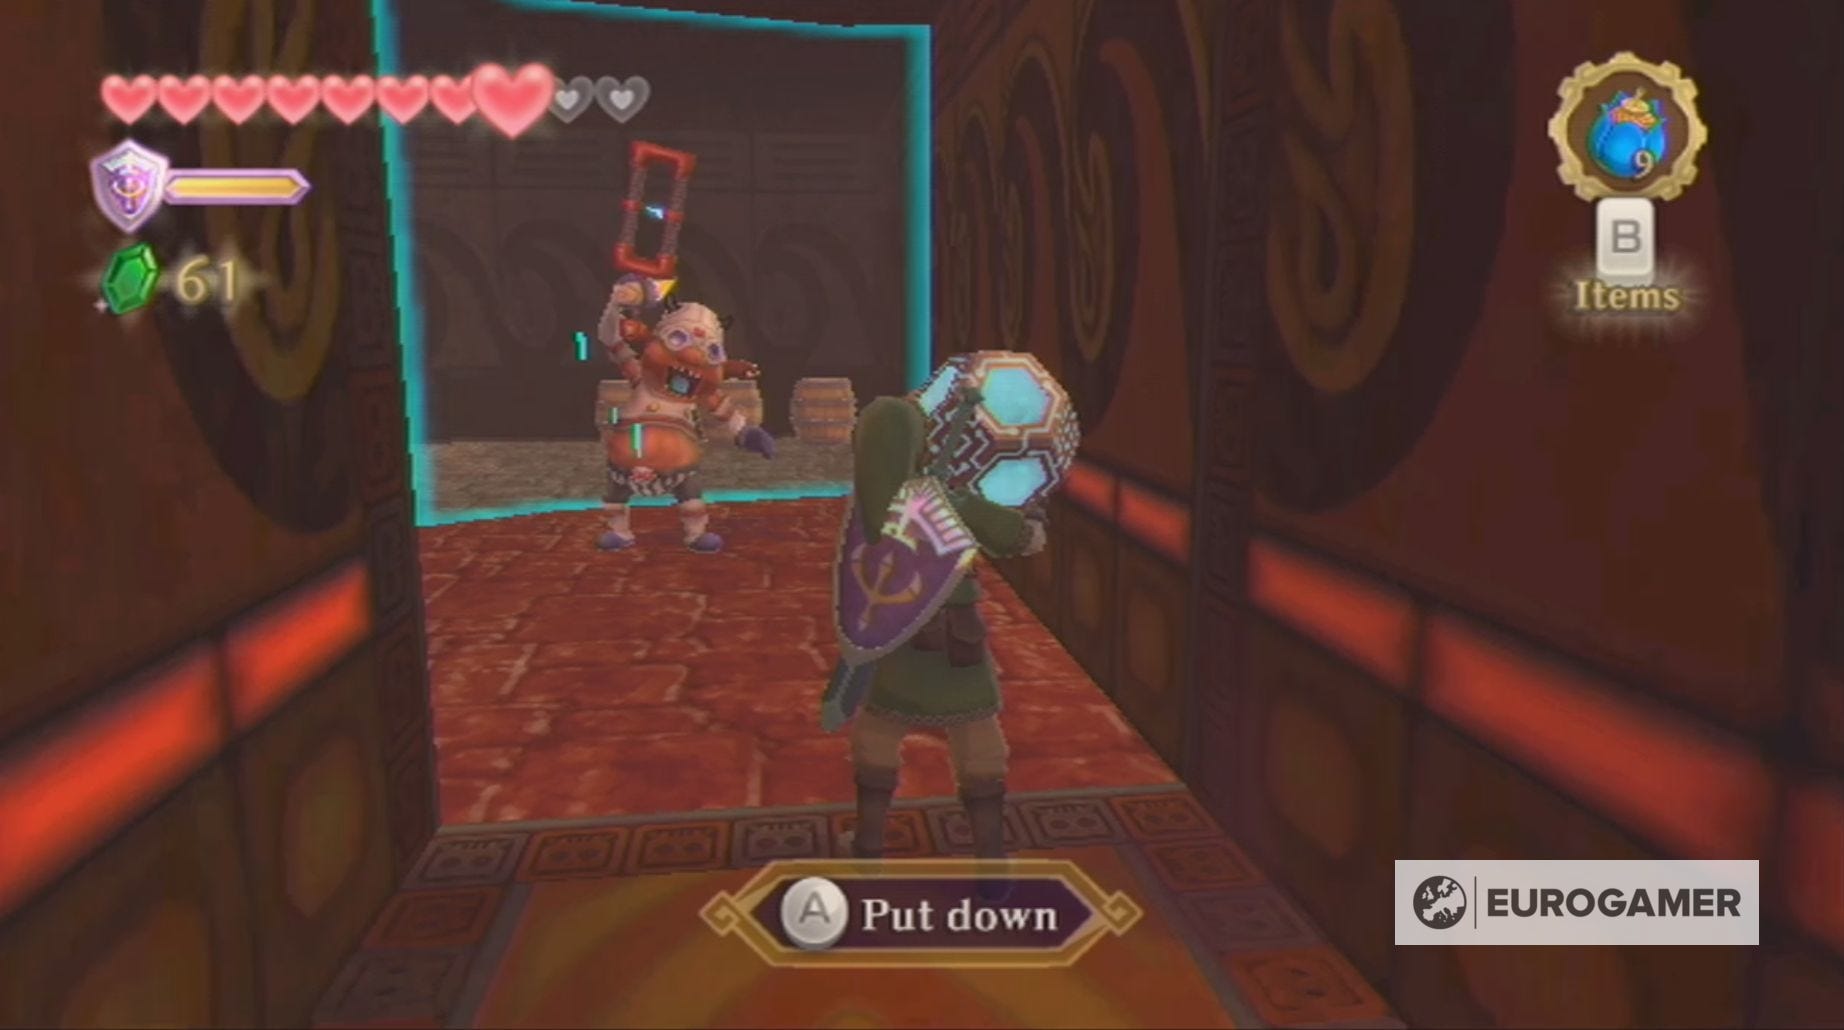
Head along the corridor, killing the two Lizalfos and Electro Spume, until you reach another door.
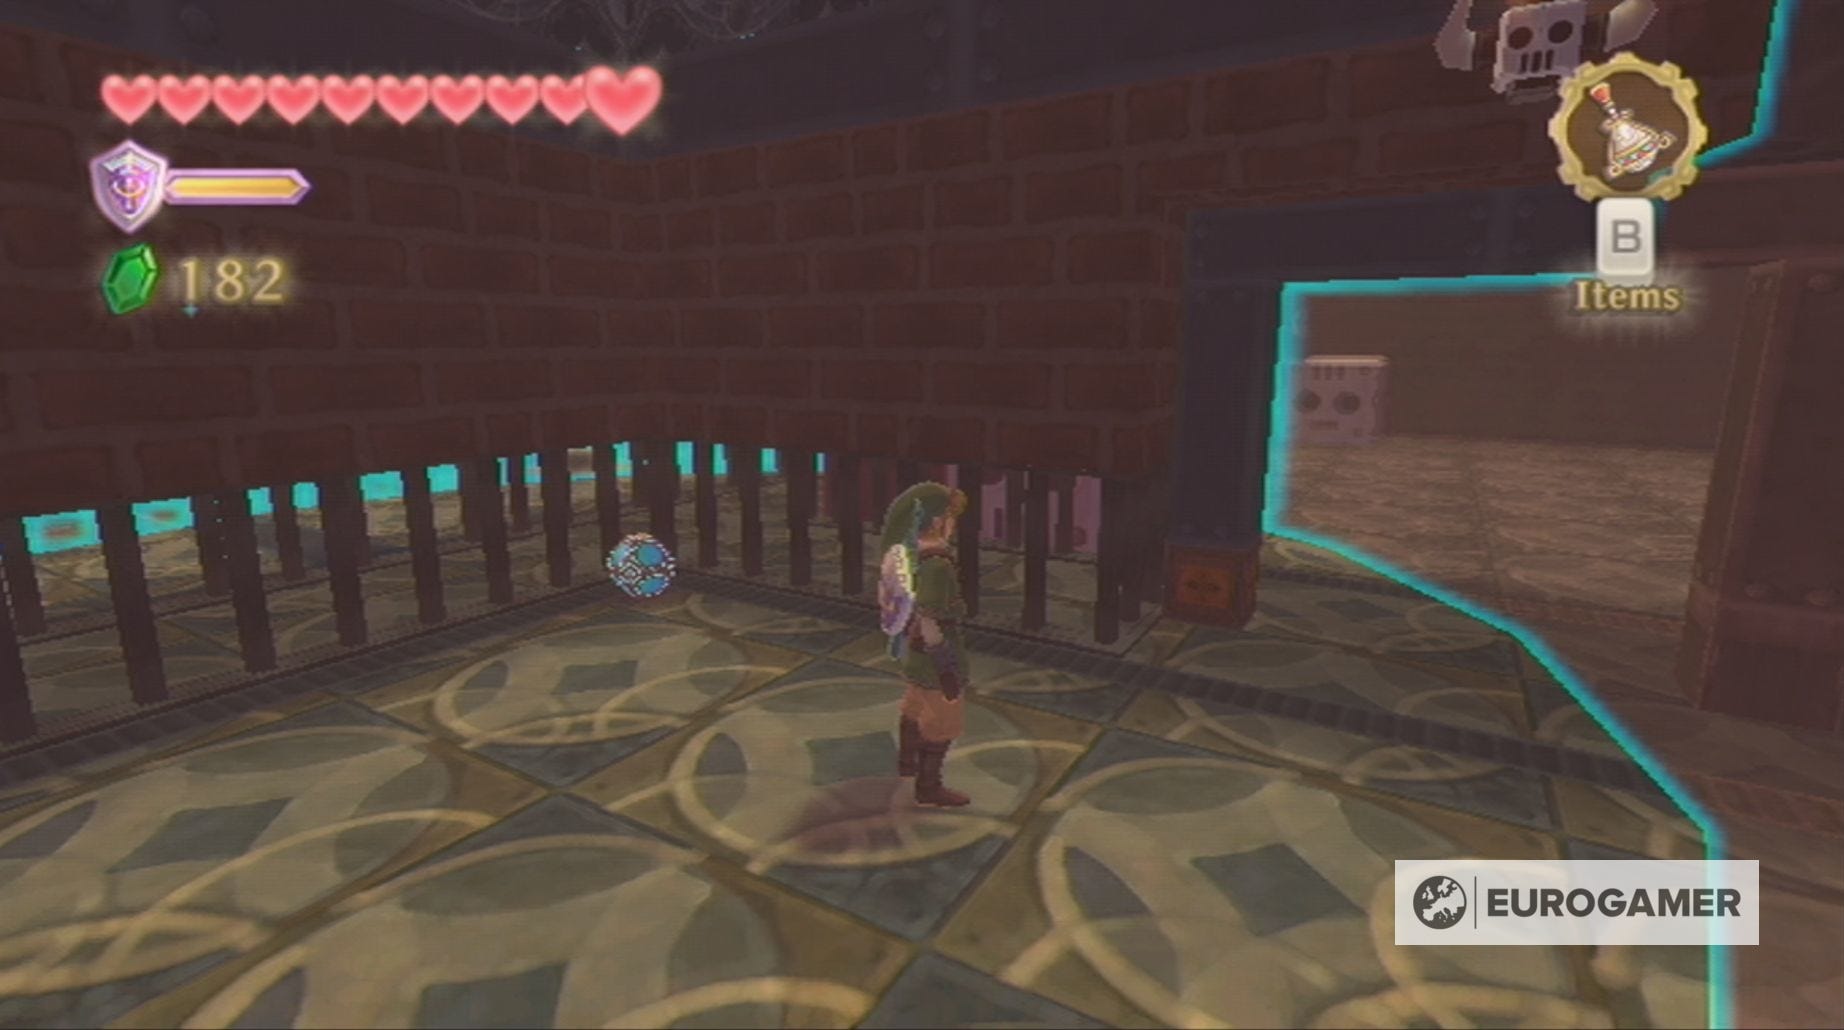
Inside this room, you'll find the Timeshift Orb. To fully explore the Pirate Stronghold, you'll need to carry this orb about with you and, by doing so, shift time in certain places.
Pick up the orb and carry on down the corridor. Remember - as long as you're carrying the orb, the way will be cleared. You will need to kill a couple of Technoblins and a Beamos on your way though.
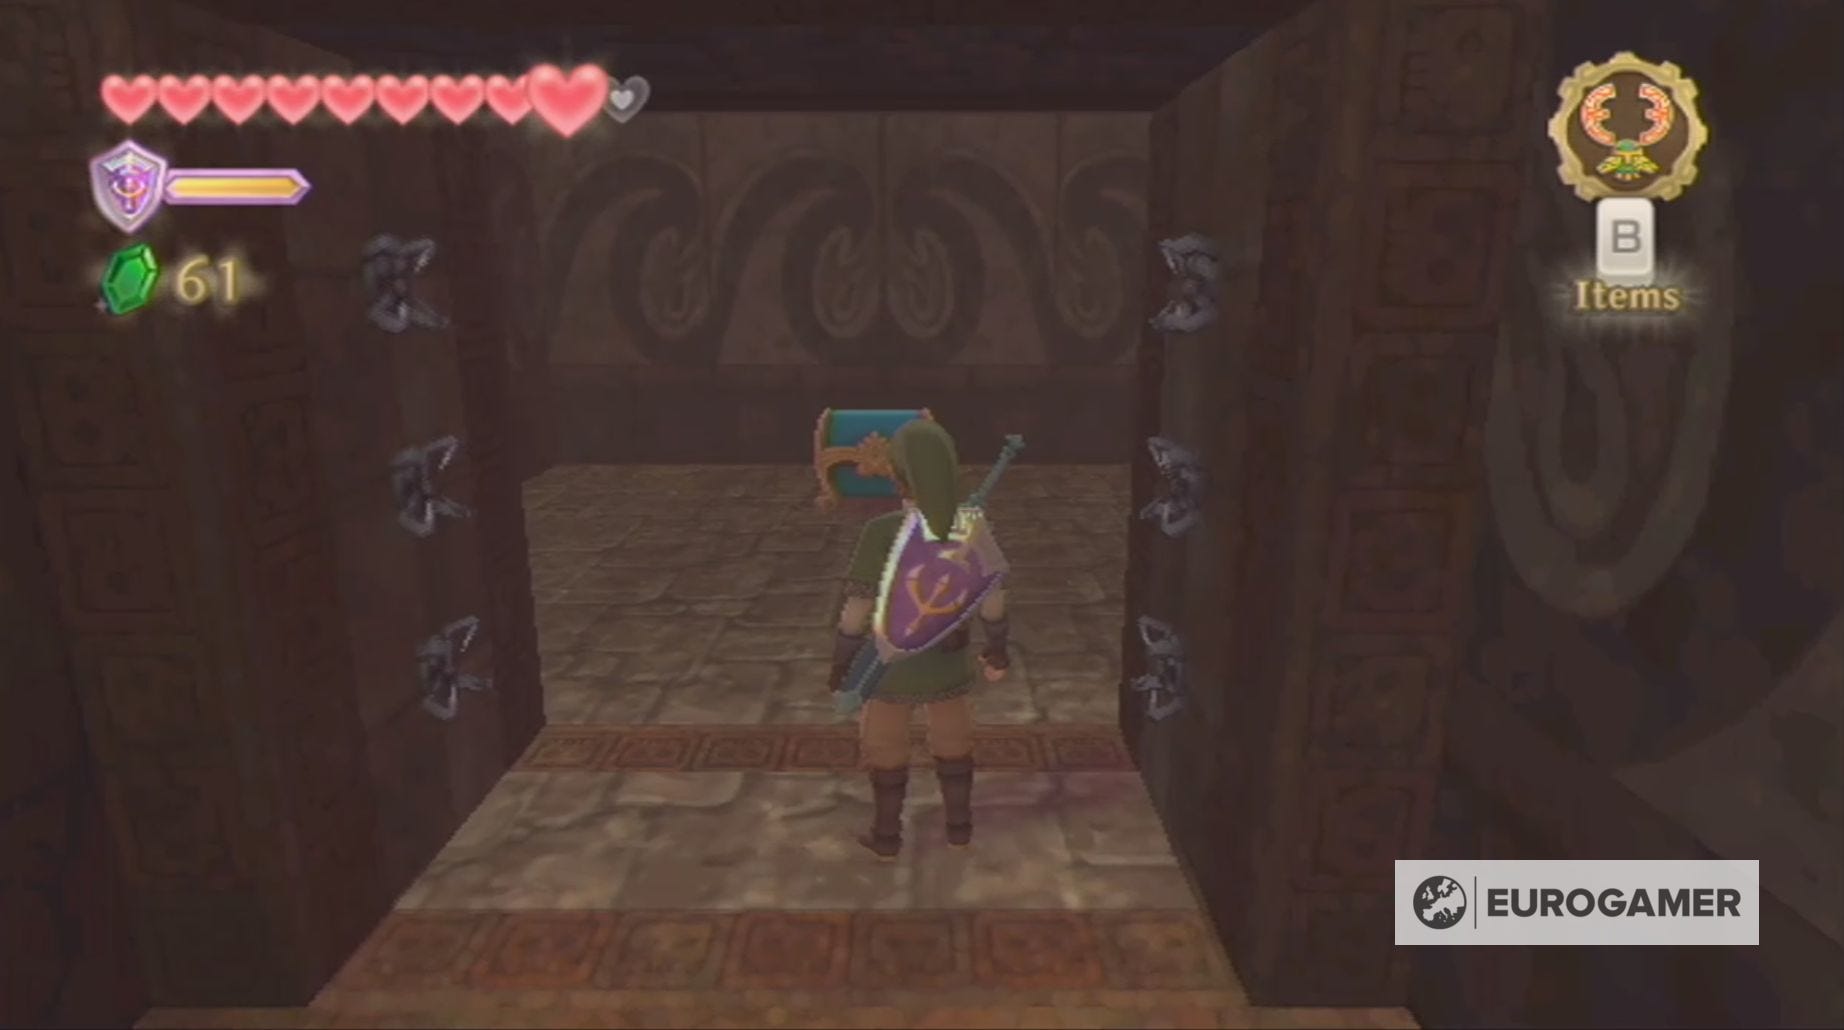
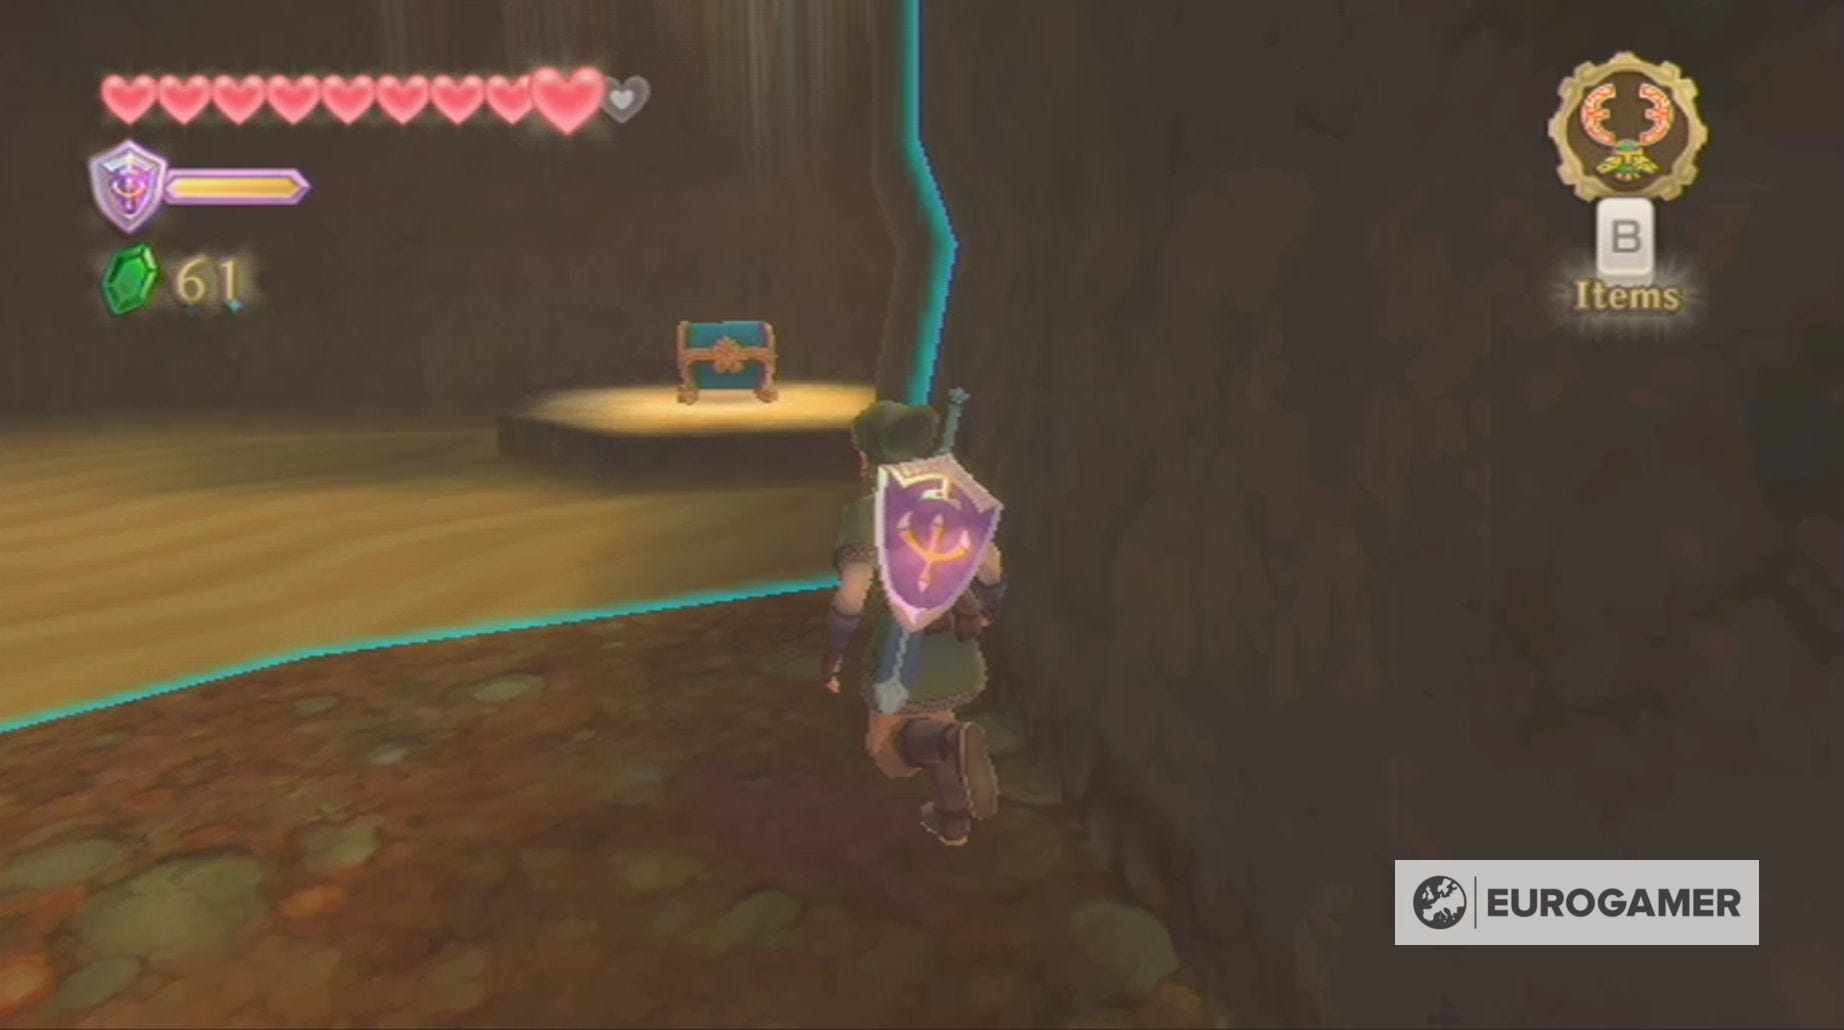
On your way, you'll see a chest barred by an electric fence, which will disappear if you ensure it's out of the Timeshift Orbs range. Doing this will allow you to open the chest and receive 100 Rupees.
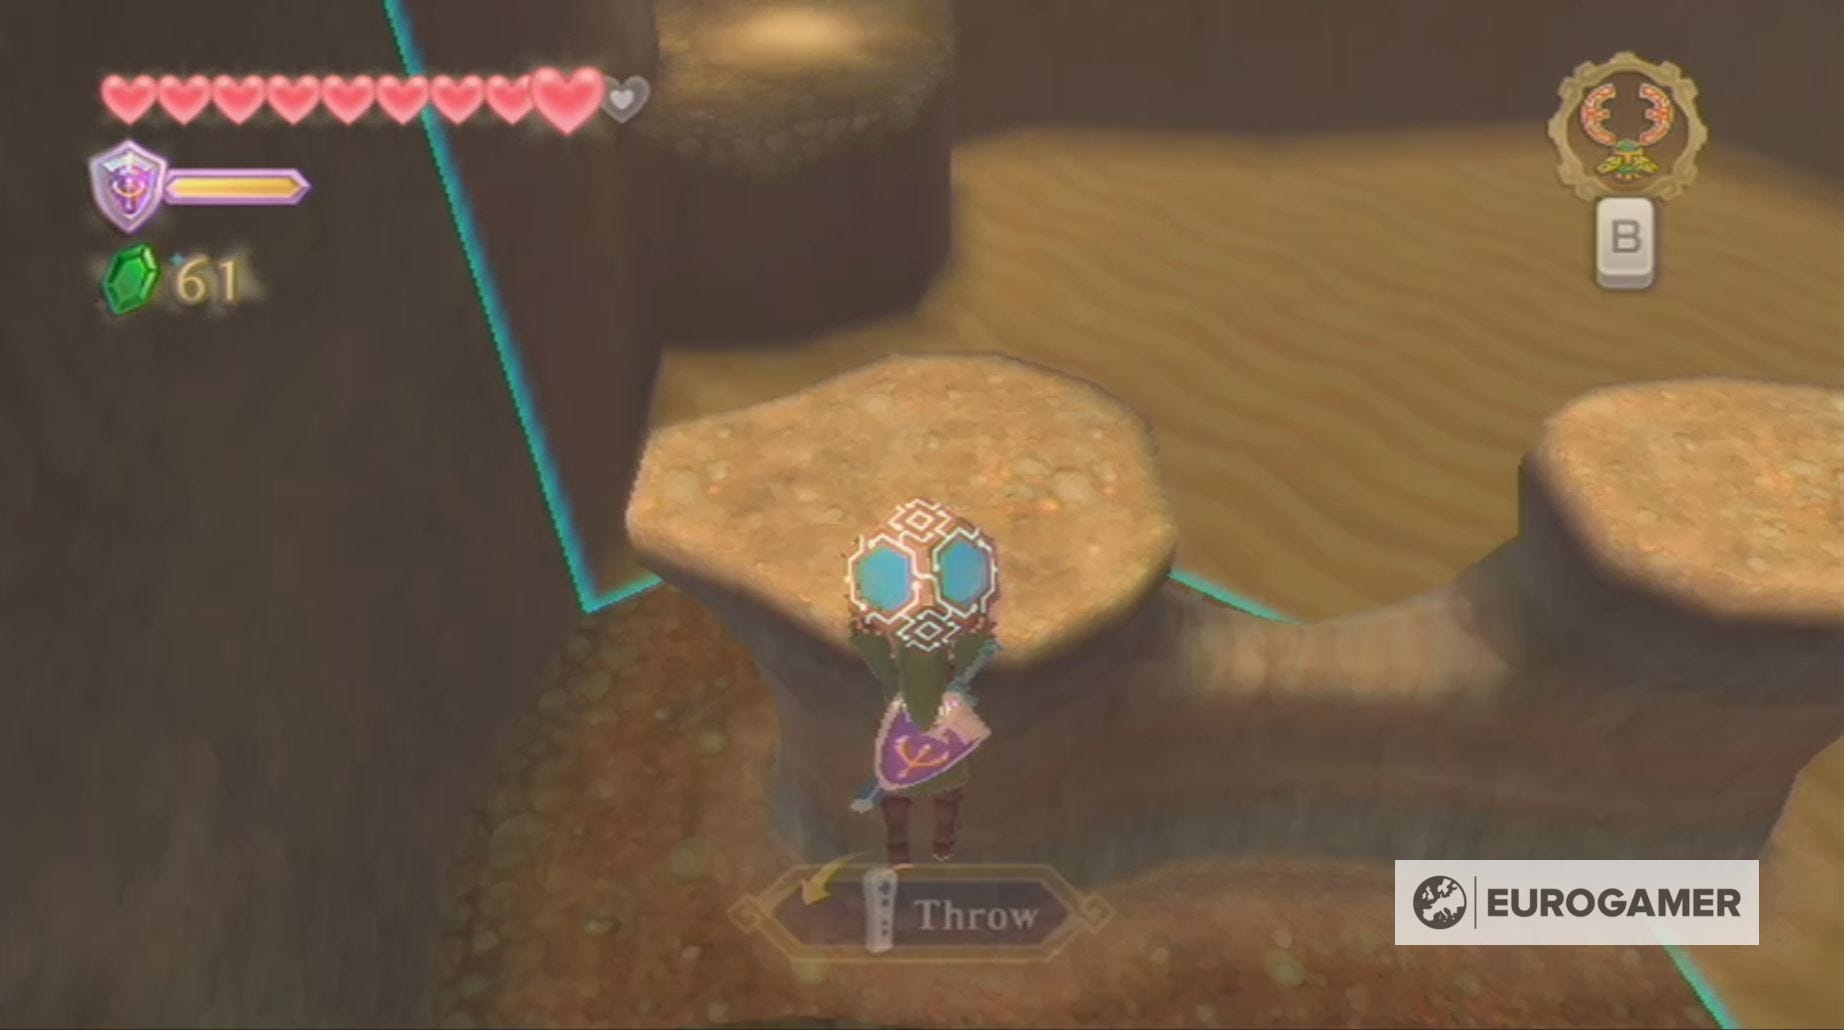
You'll eventually come to a cave - here the Timeshift Orb will turn the sand back into solid ground and cause a number of outcrops to reappear. You might also find some Ancient Flowers in this area.
To progress through this room, you need to climb the incline on the cave's left-hand to reach the top of one of these outcrops. You can then jump from outcrop to outcrop, going around the room, until you reach the other side.

Doing this will lead you to an area containing a set of bars and, if you're carrying the Timeshift Orb, an electric fence.
Here you need to leave the Timeshift Orb in a spot which doesn't cause the electric fence to appear. Once you've done that, you can go through the tunnel on the left to find a lever which, when pulled, will cause the bars to rise. With that done, all you have to do is pick up the Timeshift Orb and carry on in your journey.

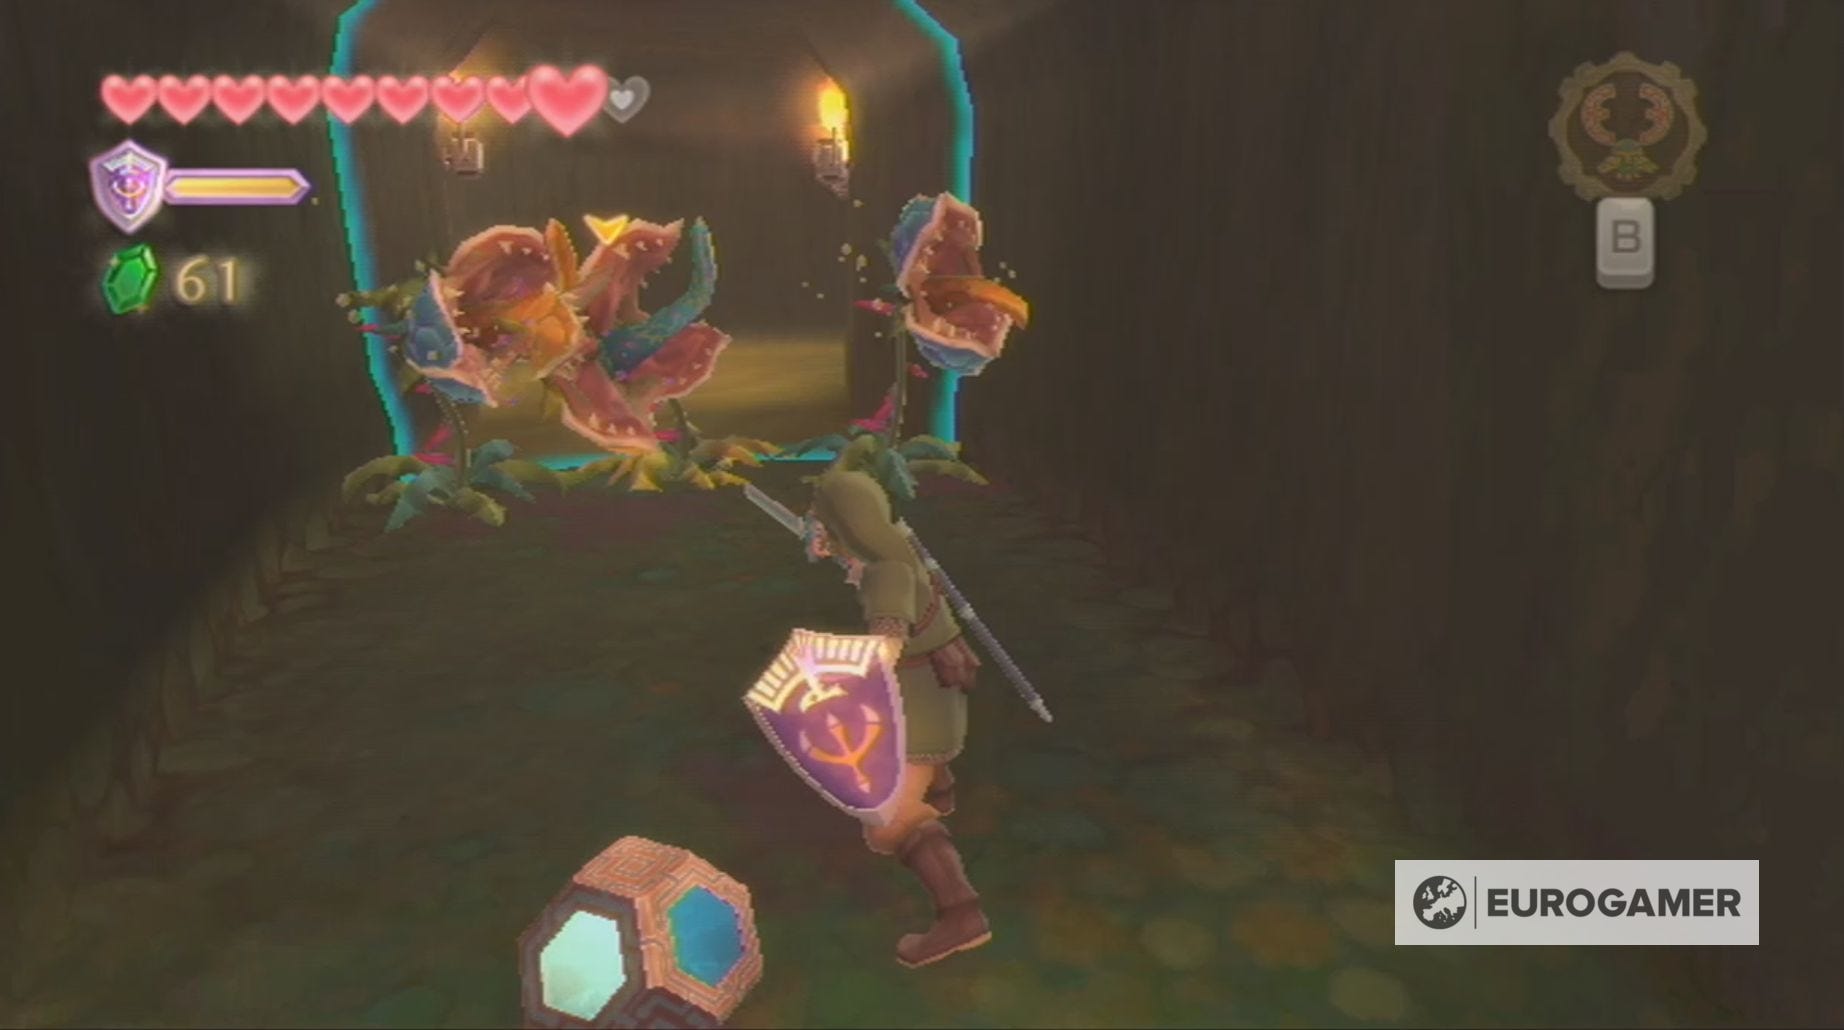
You'll now find yourself in a cave where, once again, walking with the Timeshift Orb will cause the ground to reappear. It will also bring a number of Deku Babas back to life!
There is also a chest containing a random material in this room, but, if you try to reach it while carrying the orb, a series of outcrops will block your way. Instead, you need to place the orb close enough to the chest that it's in reach, but not close enough to make the outcrops appear, and run across the sand to reach it.
When you're ready, head down the next tunnel - killing the two Deku Babas, Quadro Baba, Technoblin and two additional Deku Babas you'll encounter.
This will take you to a cave containing two Electro Spumes, two Technoblins and two Deku Babas. Whether these monsters will appear, however, depends on where the Timeshift Orb is placed. Due to this, it's a good idea to kill the Deku Babs and Technoblins, but you can get away with ignoring the Electro Spumes.
When you're ready, place the Timeshift Orb close enough to the gap on the far left-hand side of this area. You want to ensure it's close enough that you'll be able to easily reach the solid ground, but far enough that the electrified fence won't appear.

Next, you need to place the crate on the switch on the left-hand side and then return to the Timeshift Orb, so you can venture into the next room.
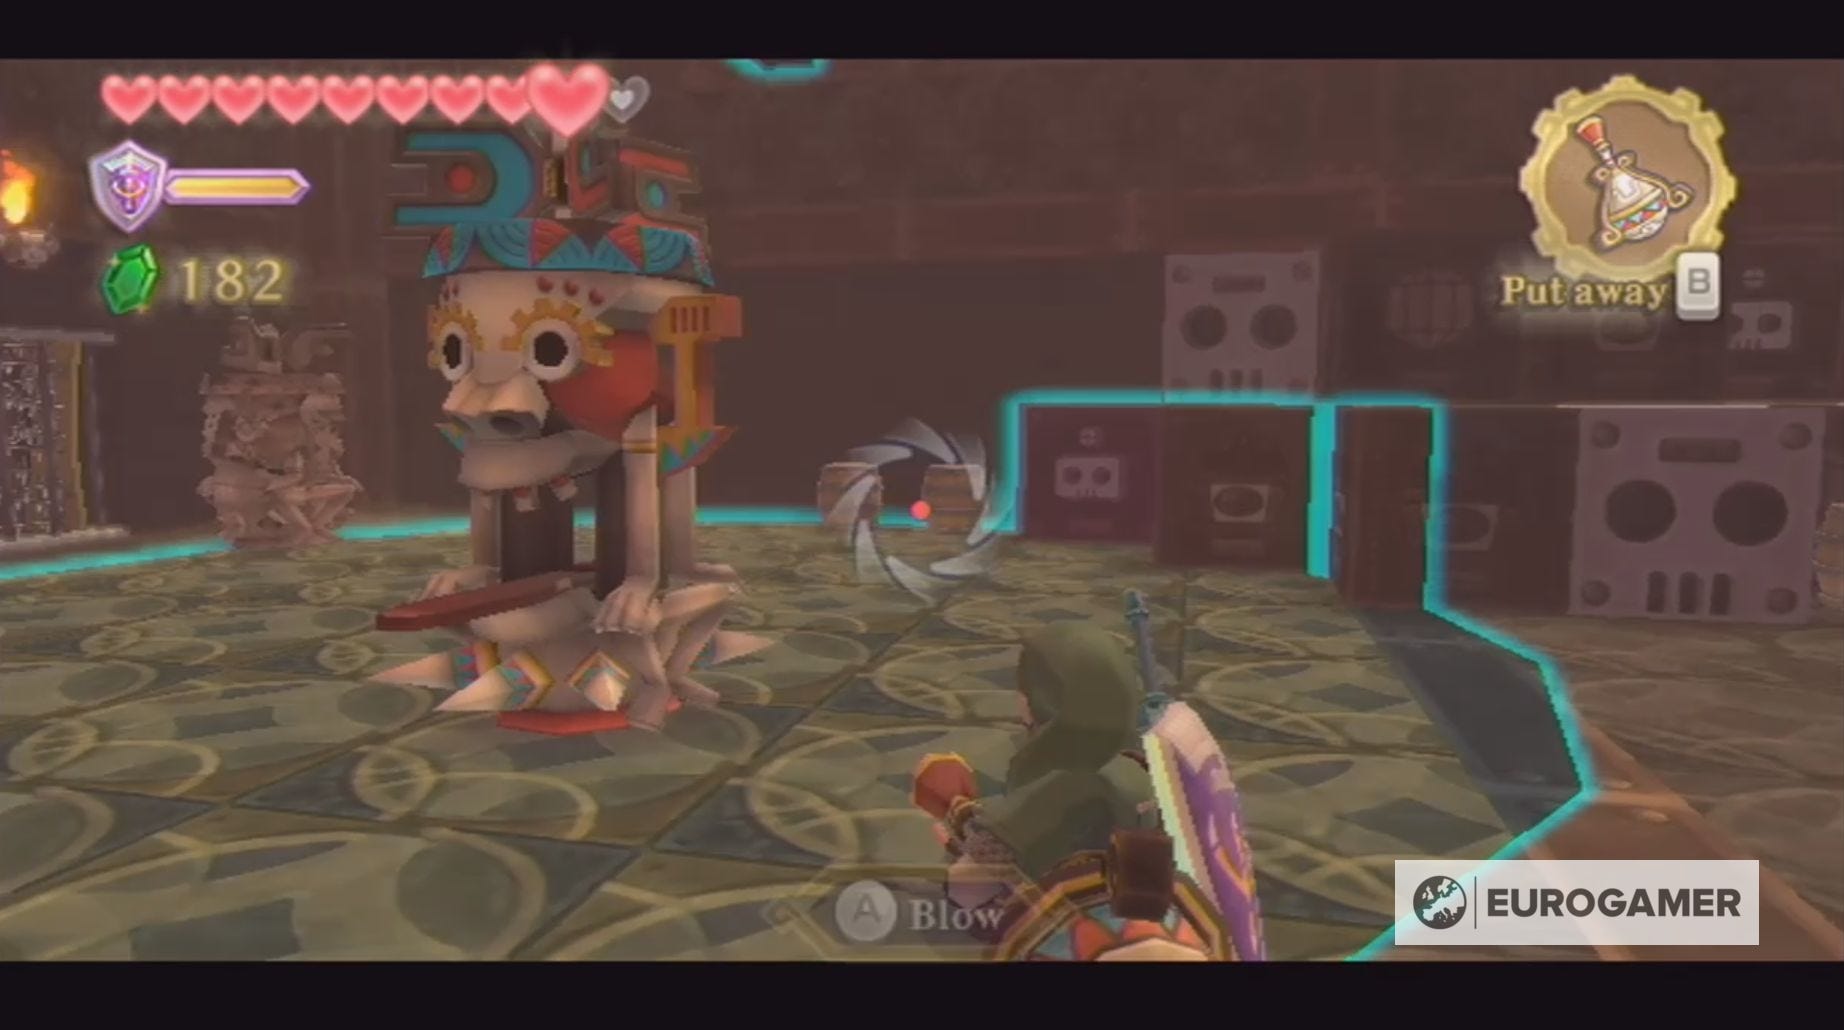
Here you need to head into the left room - don't, however, go charging in with the Timeshift Orb, because there are two Beamos waiting for you. Instead, place the Timeshift Orb close to the entrance, so you only activate the Beamos in the right-hand corner.
Once that Beamos is destroyed, bring the Timeshift Orb further into the room, so you can take care of the Beamos in the centre.
Now you want to leave the Timeshift Orb in the top right-hand corner of this room, before returning to the other and entering the northern area.
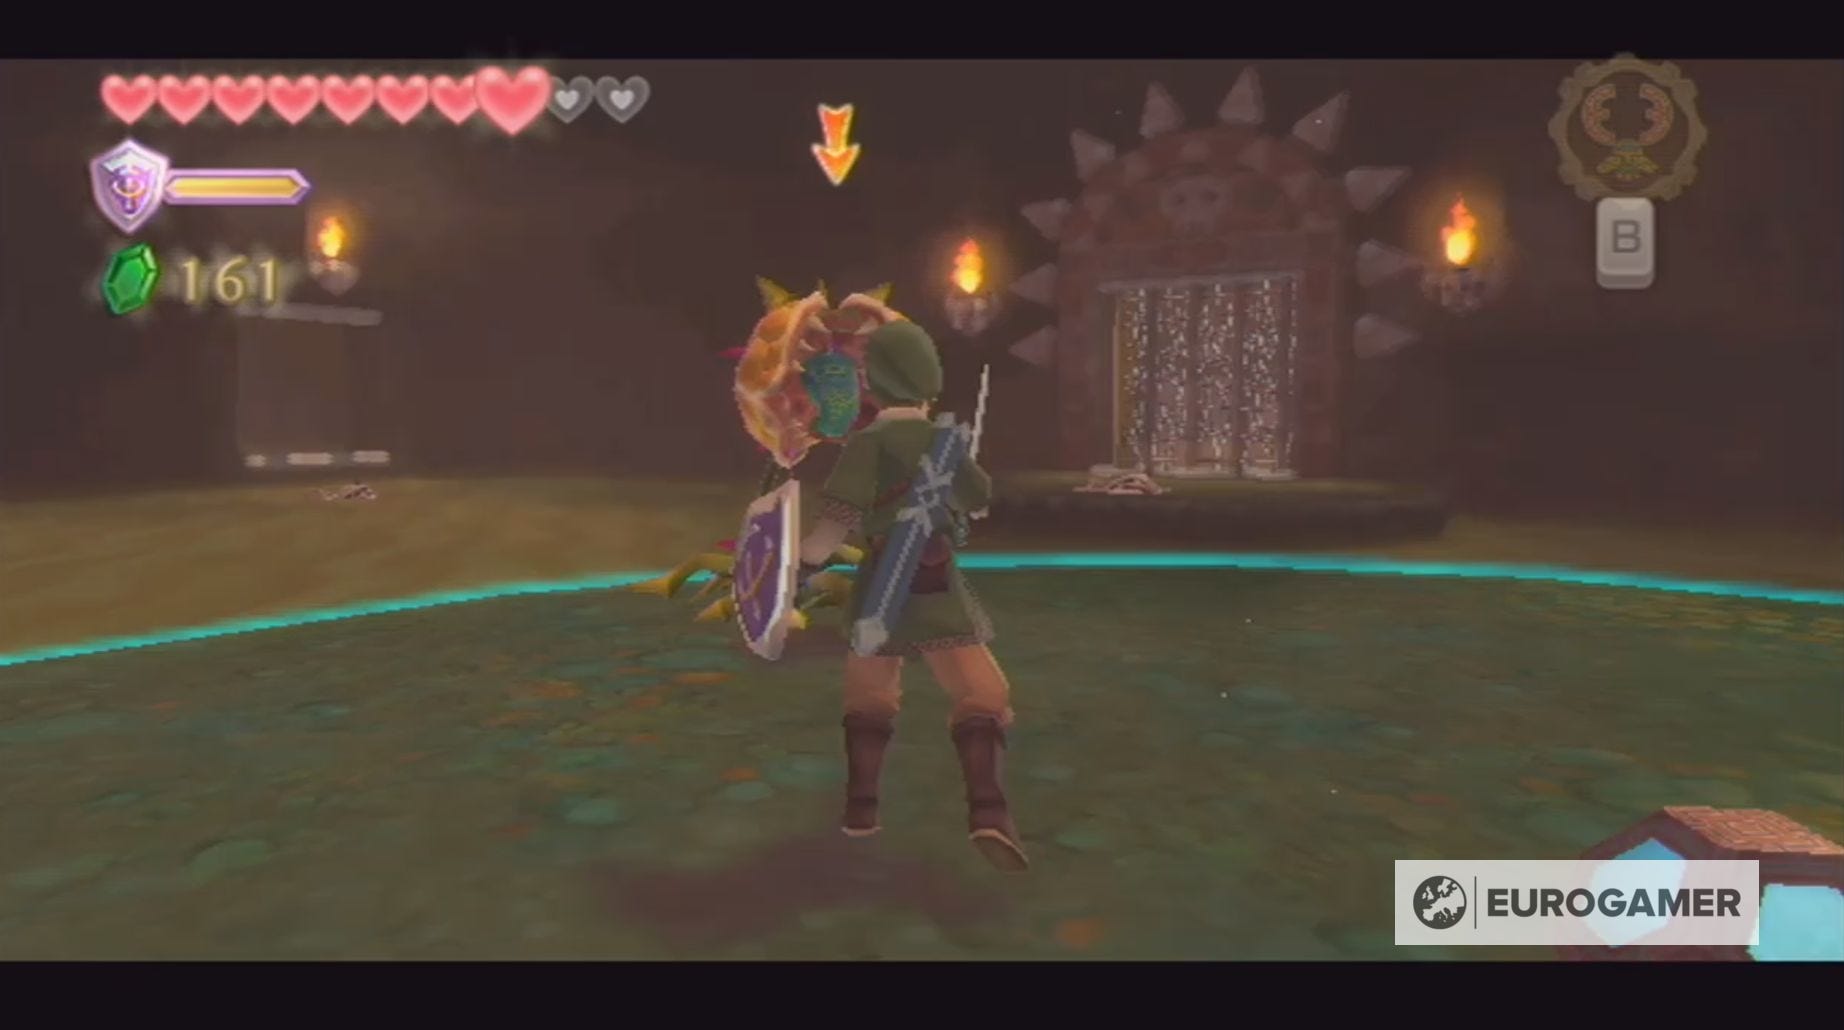
Thanks to the placement of the Timeshift Orb, you'll be able to reach the lever, which, when pulled, will allow you to bring the orb into this room. You will now need to activate and kill the two Armos in the same manner you fought them in the Lanayru Mining Facility.
There is also a chest containing a random material.
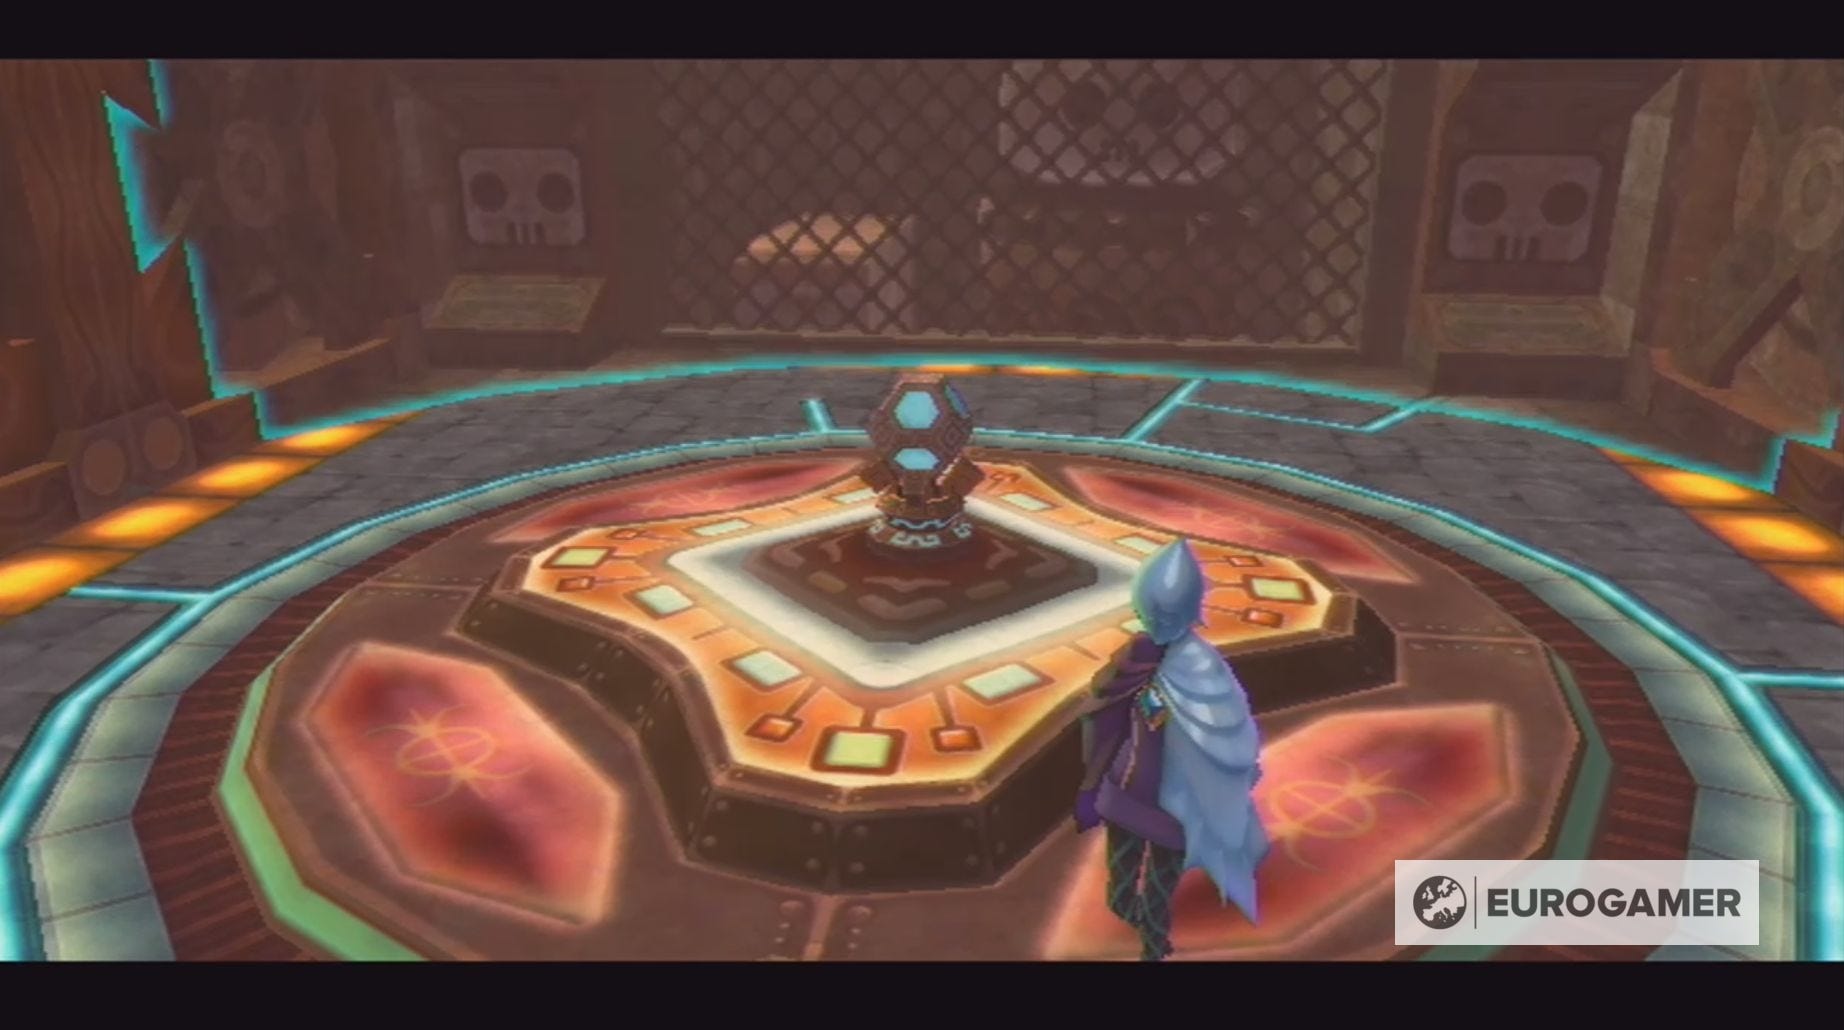
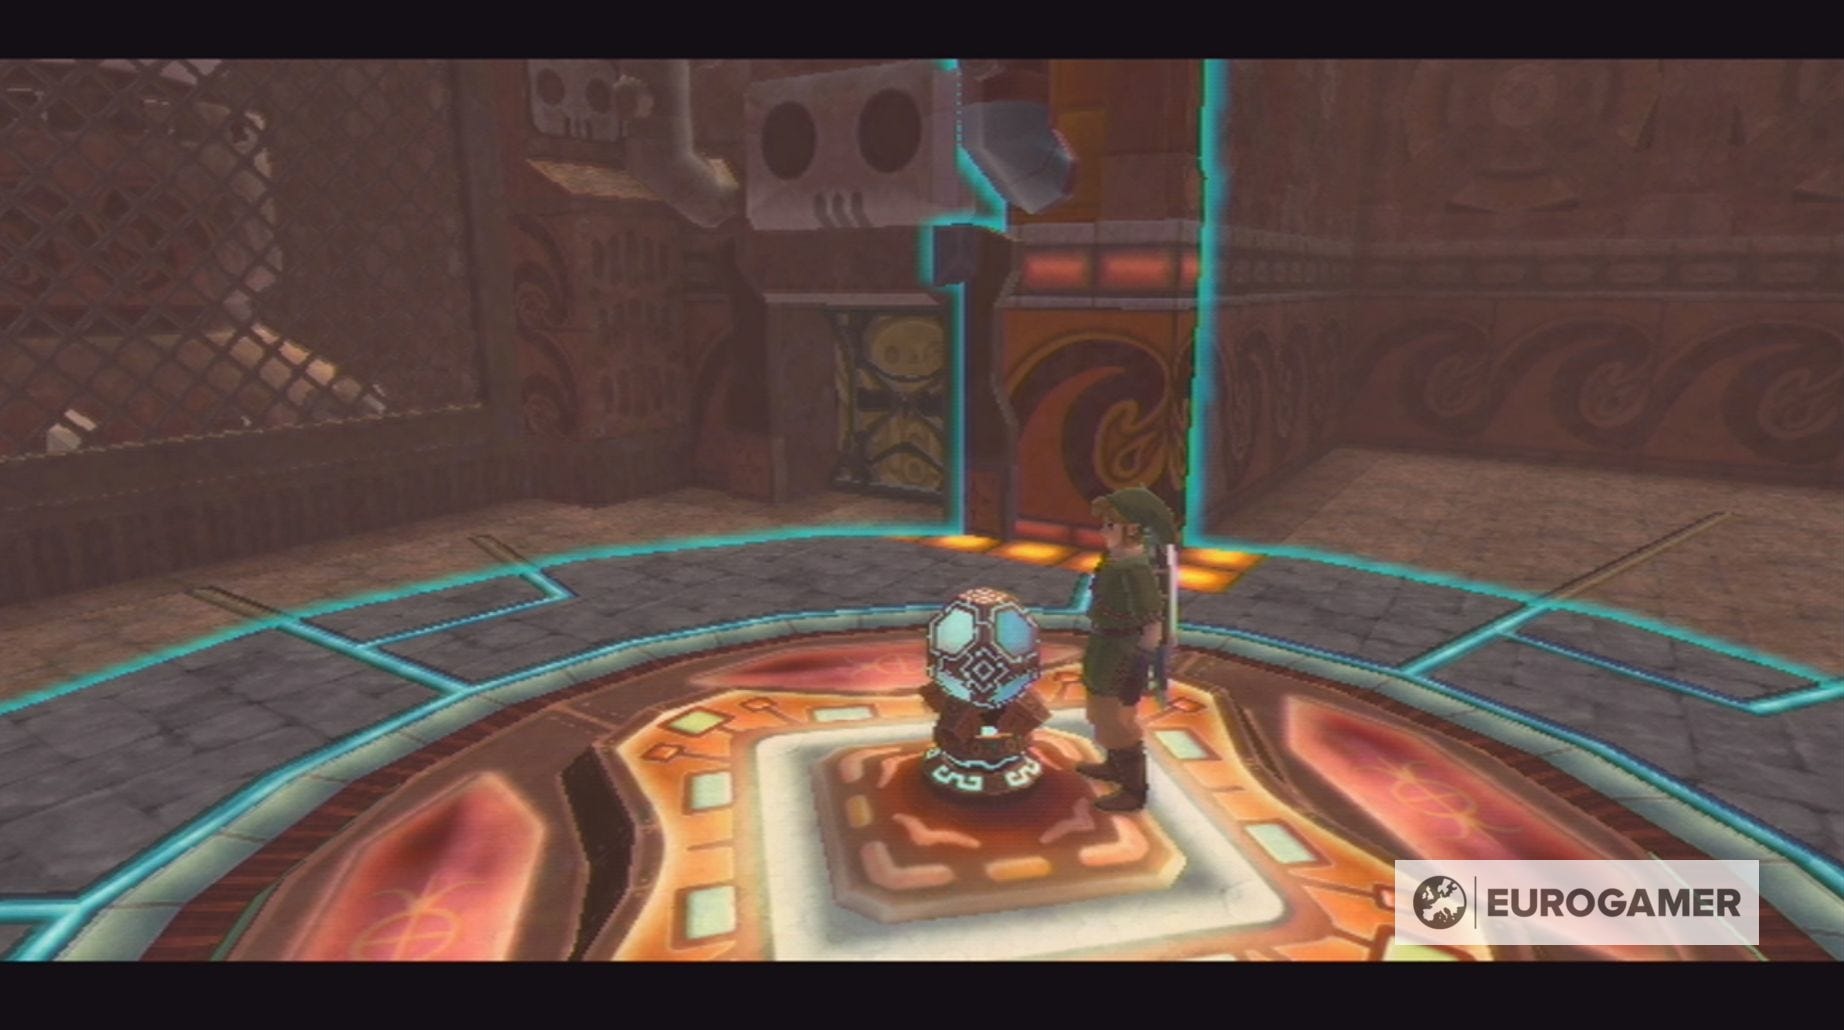
After defeating the Armos, you'll find yourself back at the start of the Stronghold where you can place the Timeshift Orb in the waiting holder. With this done, you can head through the newly opened door.
This will take you outside the stronghold and Fi will grant you the ability to dowse for the ship containing Nayru's Flame.
Our Skyward Sword walkthrough will help you find every Heart Piece and Empty Bottle. We can also help you defeat Ghirahim, Scaldera, Moldarach, The Imprisoned, Koloktos, Tentalus, Bilocyte and Demise. You can also discover where to find Kukiel to unlock the Gratitude Crystals and a number of side quests, including the toilet paper quest, missing sister location and party wheel location.
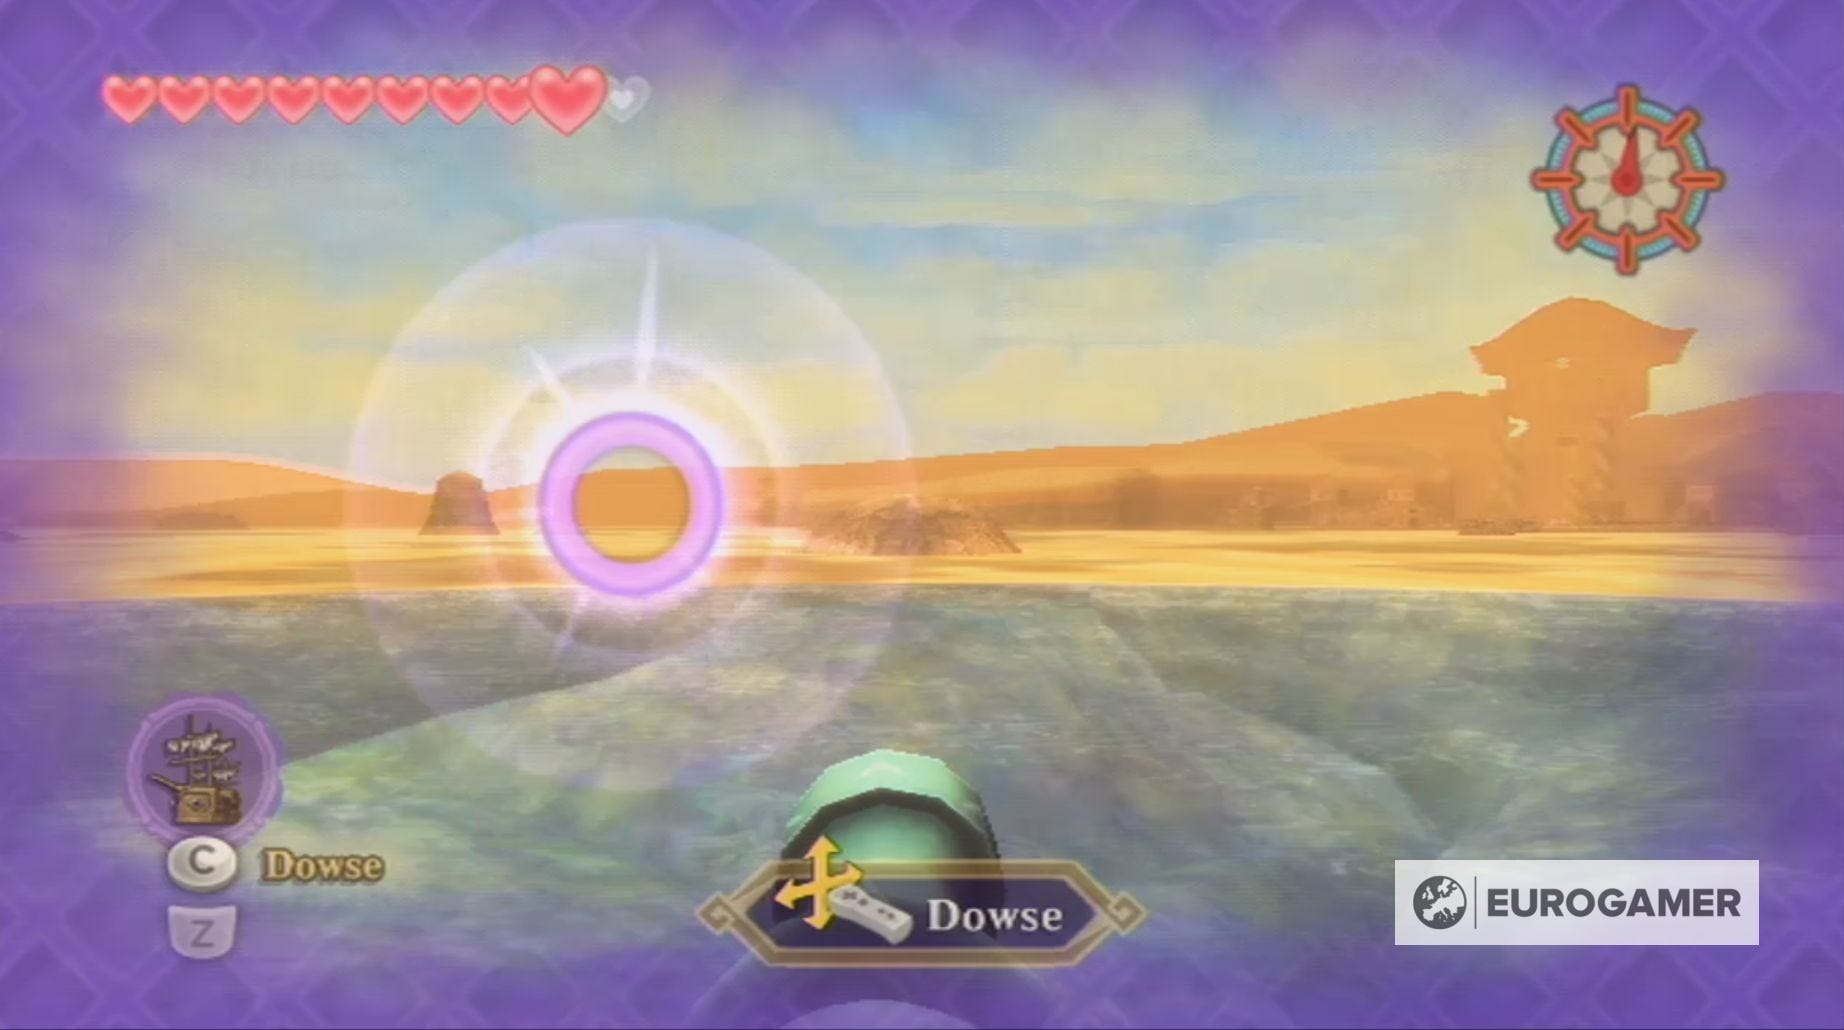
How to dowse for Nayru's Flame in Skyward Sword
To find the Sandship in Skyward Sword, you first need to dowse the Sand Sea for Nayru's Flame.
It's important to note that the Sandship appears in a random location and is constantly moving, so you can only find it by dowsing.
The easiest way to do this is to get into the boat and immediately turn dowsing on. Since you can control the boat while in this mode, it will allow you to easily search for the Sandship.
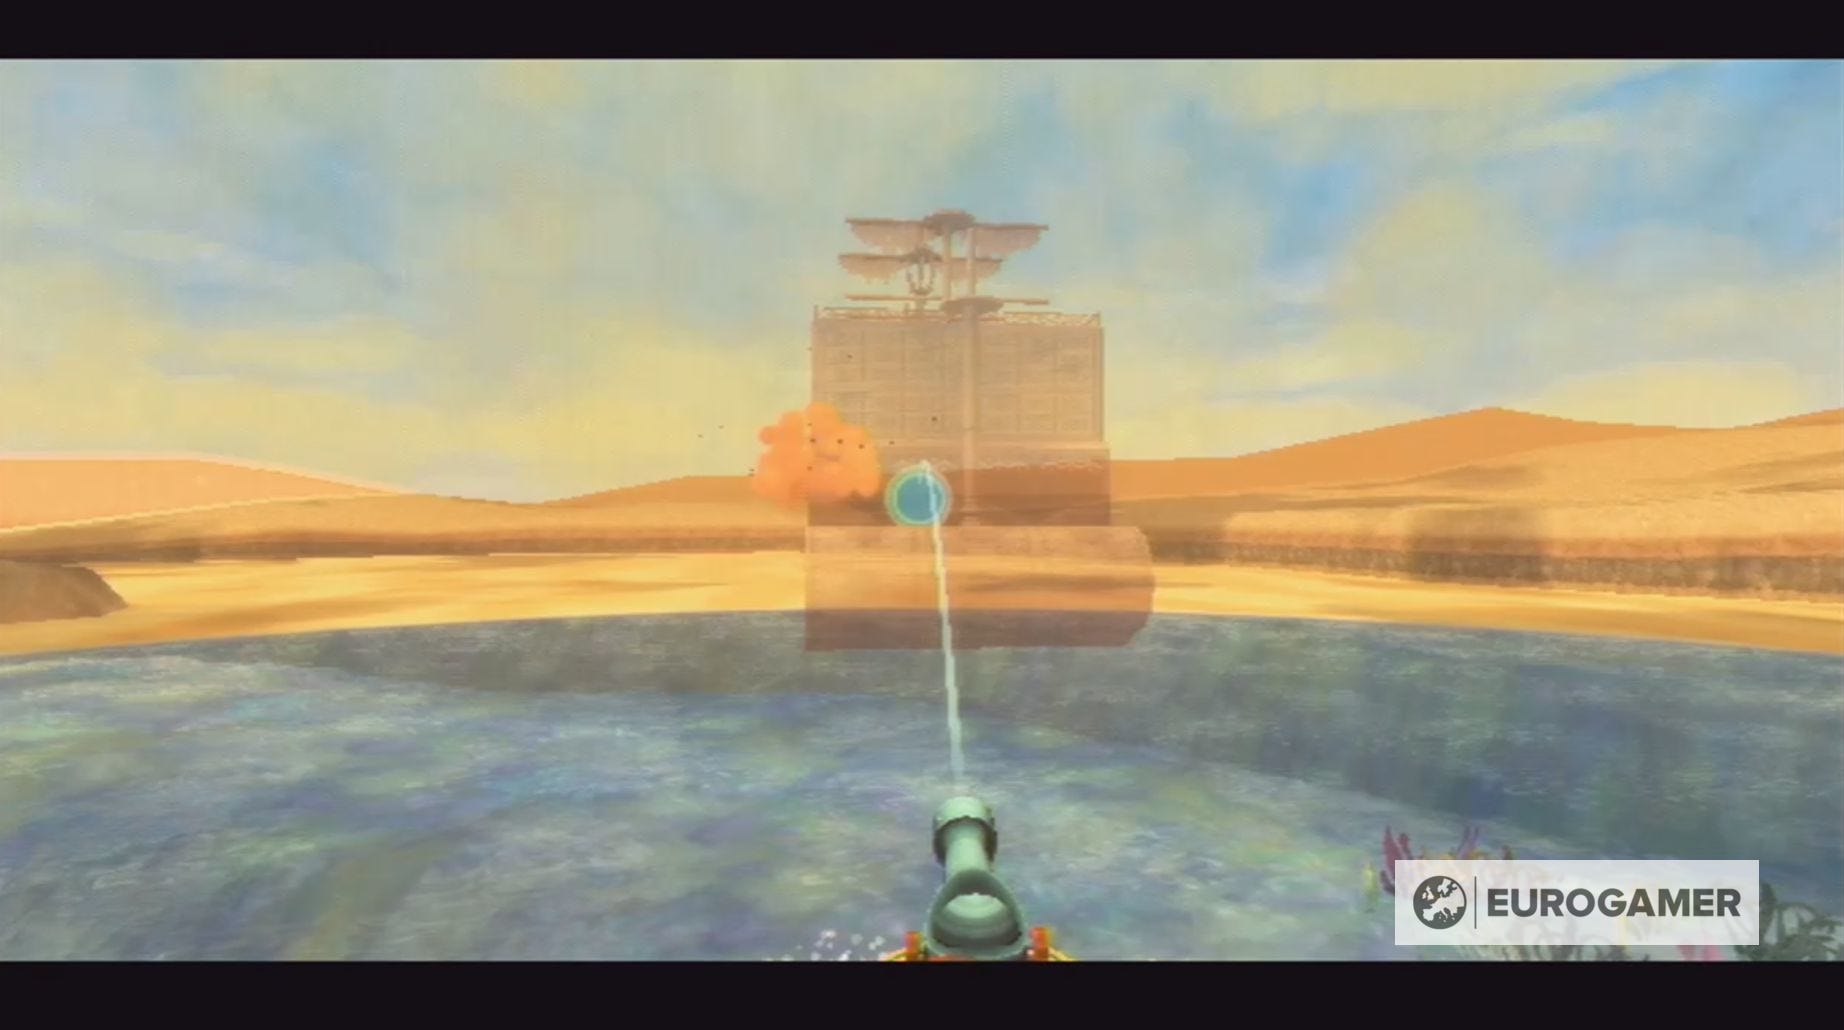
When you're very close to the Sandship, leave the dowsing mode and ready the boat's cannon.
The Sandship will only appear if you hit it three times with the cannon and the best way to do this is with long, arching, shots to give you the best chance of getting a hit. The ship will also continue to move, so be prepared to chase it down again if needed.

After hitting the Sandship three times, it will finally stop and you'll be able to enter the Sandship.
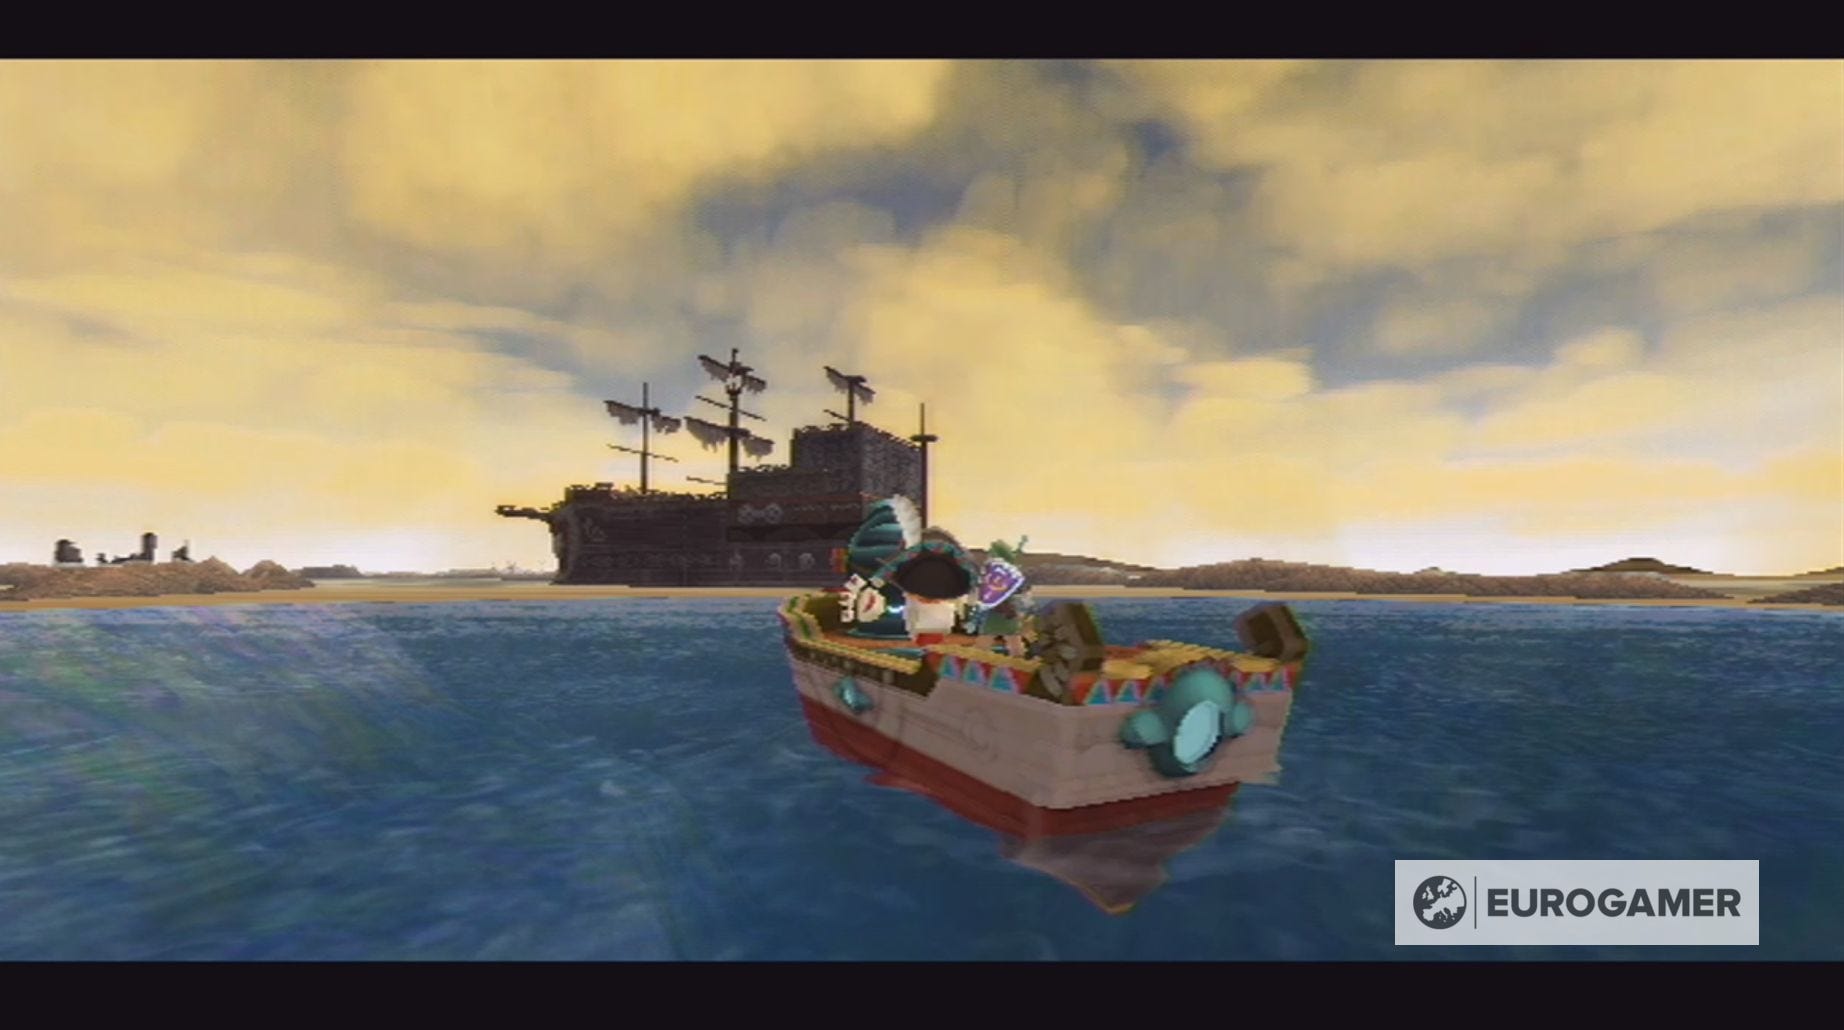
Before you do, however, it's a good idea to return to Skyloft to repair your shield if needed, buy more potions or upgrade any equipment you wish to enhance. Don't, however, bring the Iron Shield with you, because the Sandship has enemies which use electricity.
When you're ready, return to the Sand Sea and board the Sandship - the fifth dungeon in Skyward Sword.