Zelda Tears of the Kingdom Runakit Shrine solution
How to find and complete the Built to Carry Shrine
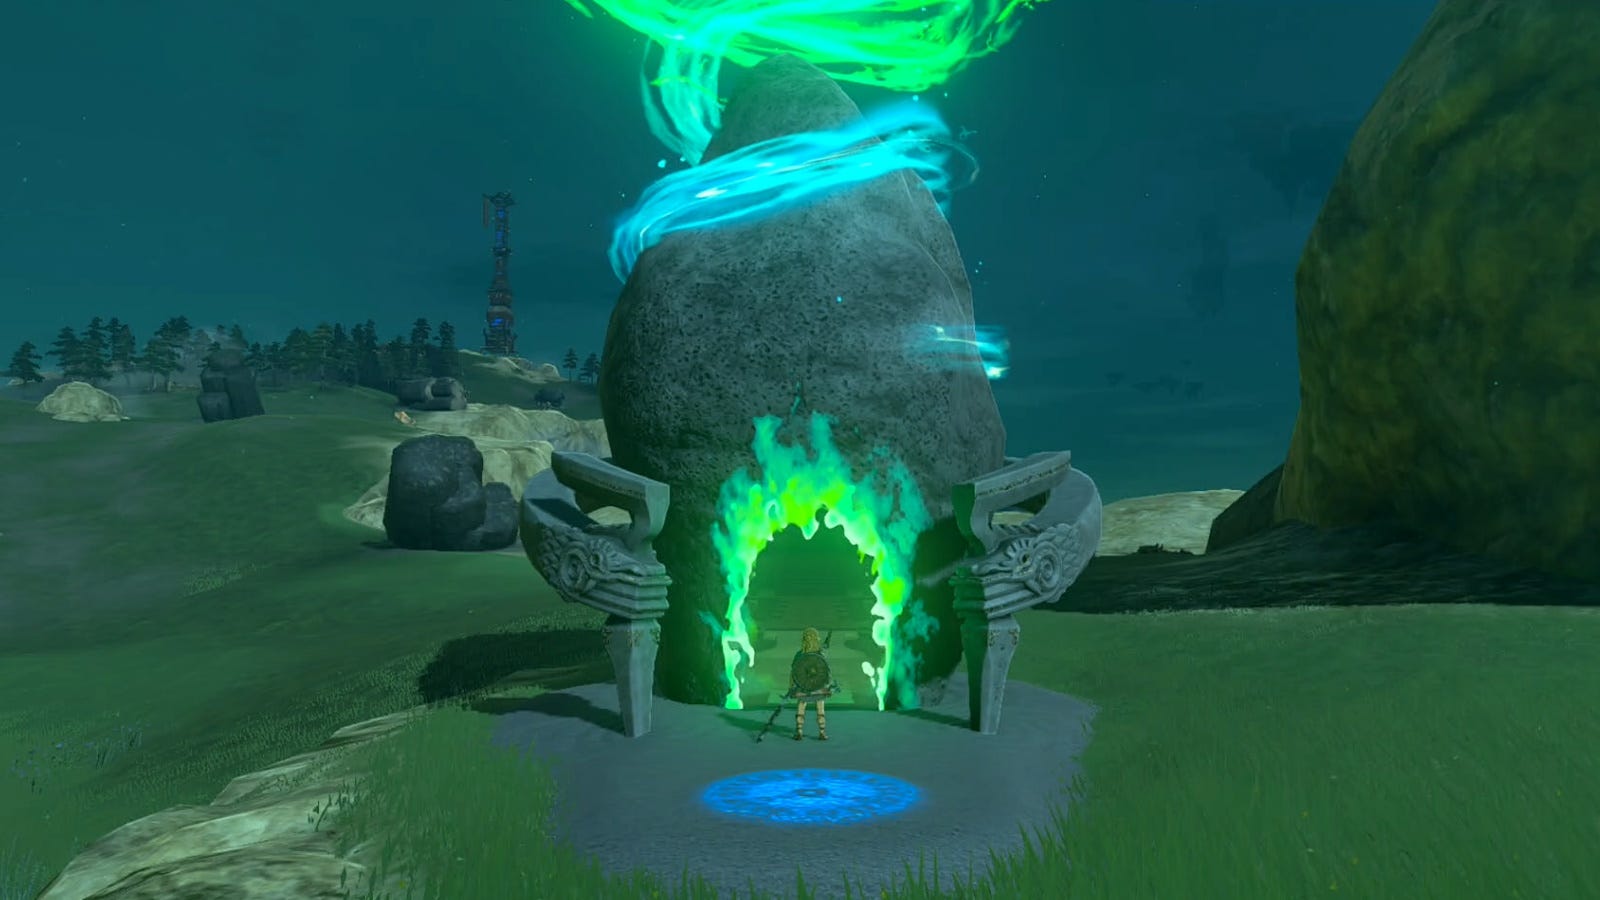

The Runakit Shrine in Zelda: Tears of the Kingdom contains Built to Carry puzzles for Link to attempt.
As the names suggests, you have to use various materials during this trial to carry a ball back to the start of the chamber, but like most Shrine puzzles in Tears of the Kingdom this is a lot harder than it sounds.
To speed things up, we've got the Runakit Shrine solution detailed below, including how to get the chest, and the Runakit Shrine location if you need to find it first.
On this page:
For more help, you can visit our Tears of the Kingdom walkthrough.
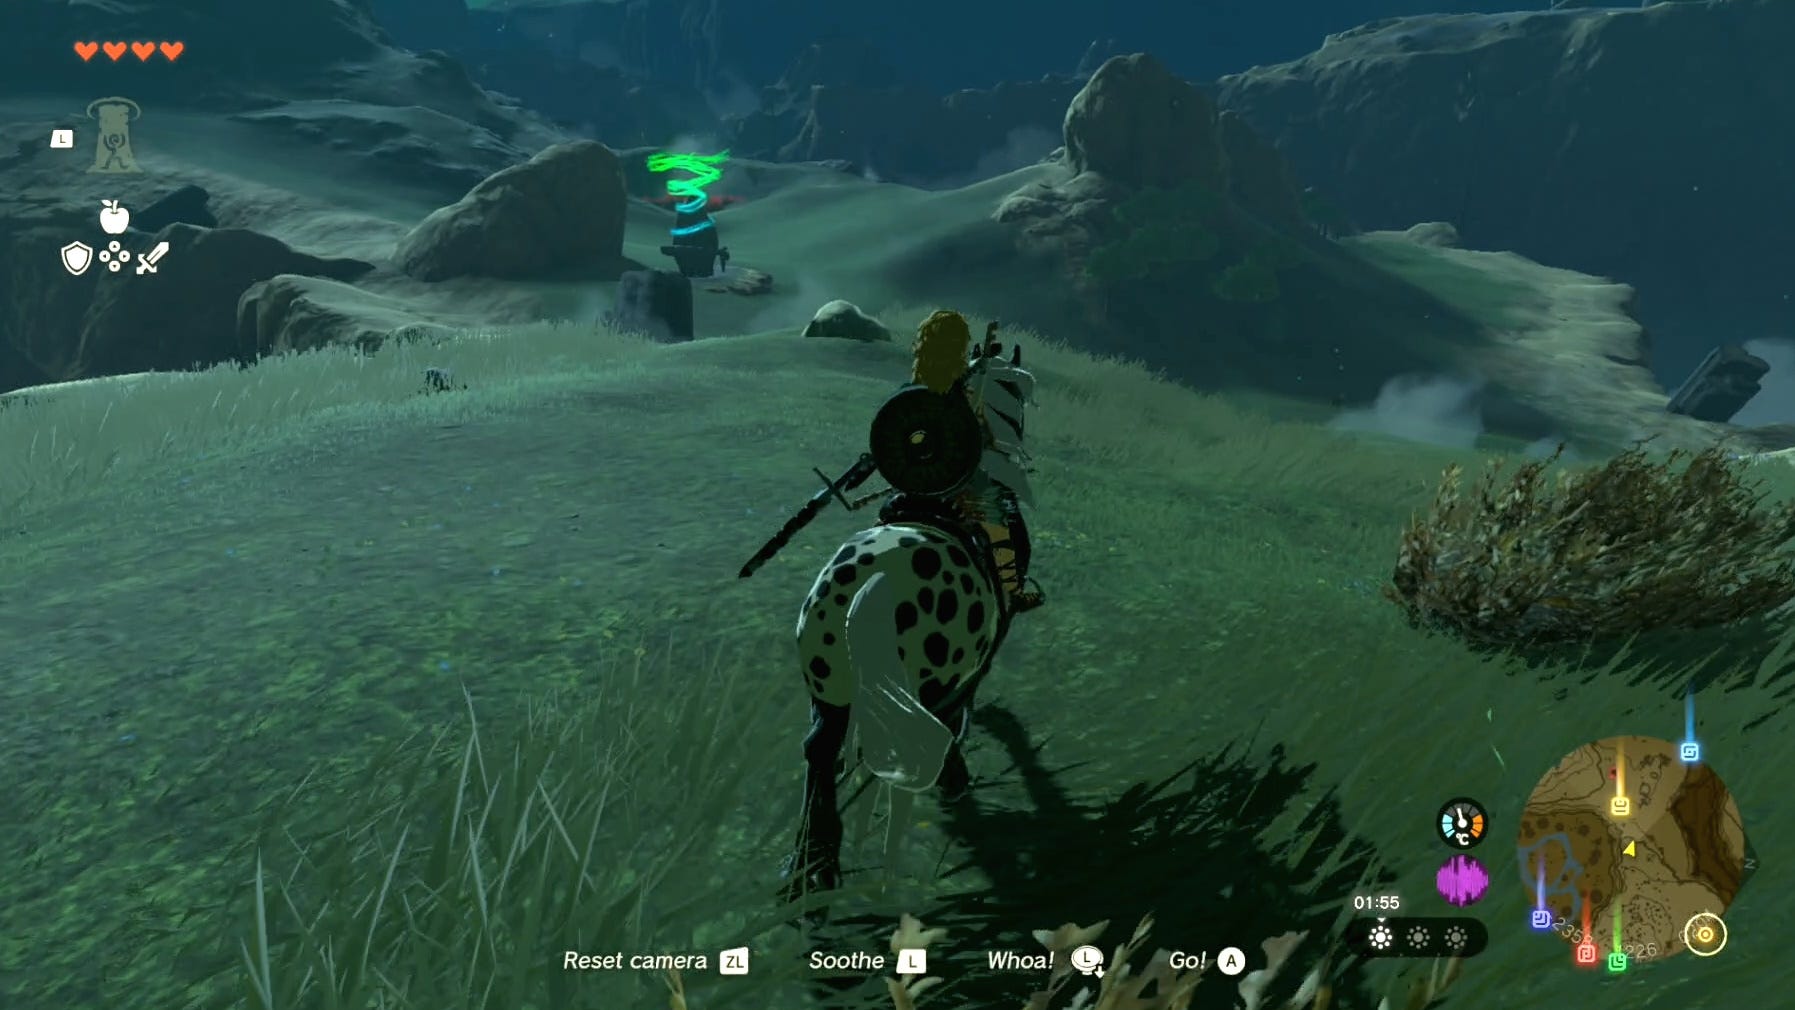
Runakit Shrine location in Zelda Tears of the Kingdom
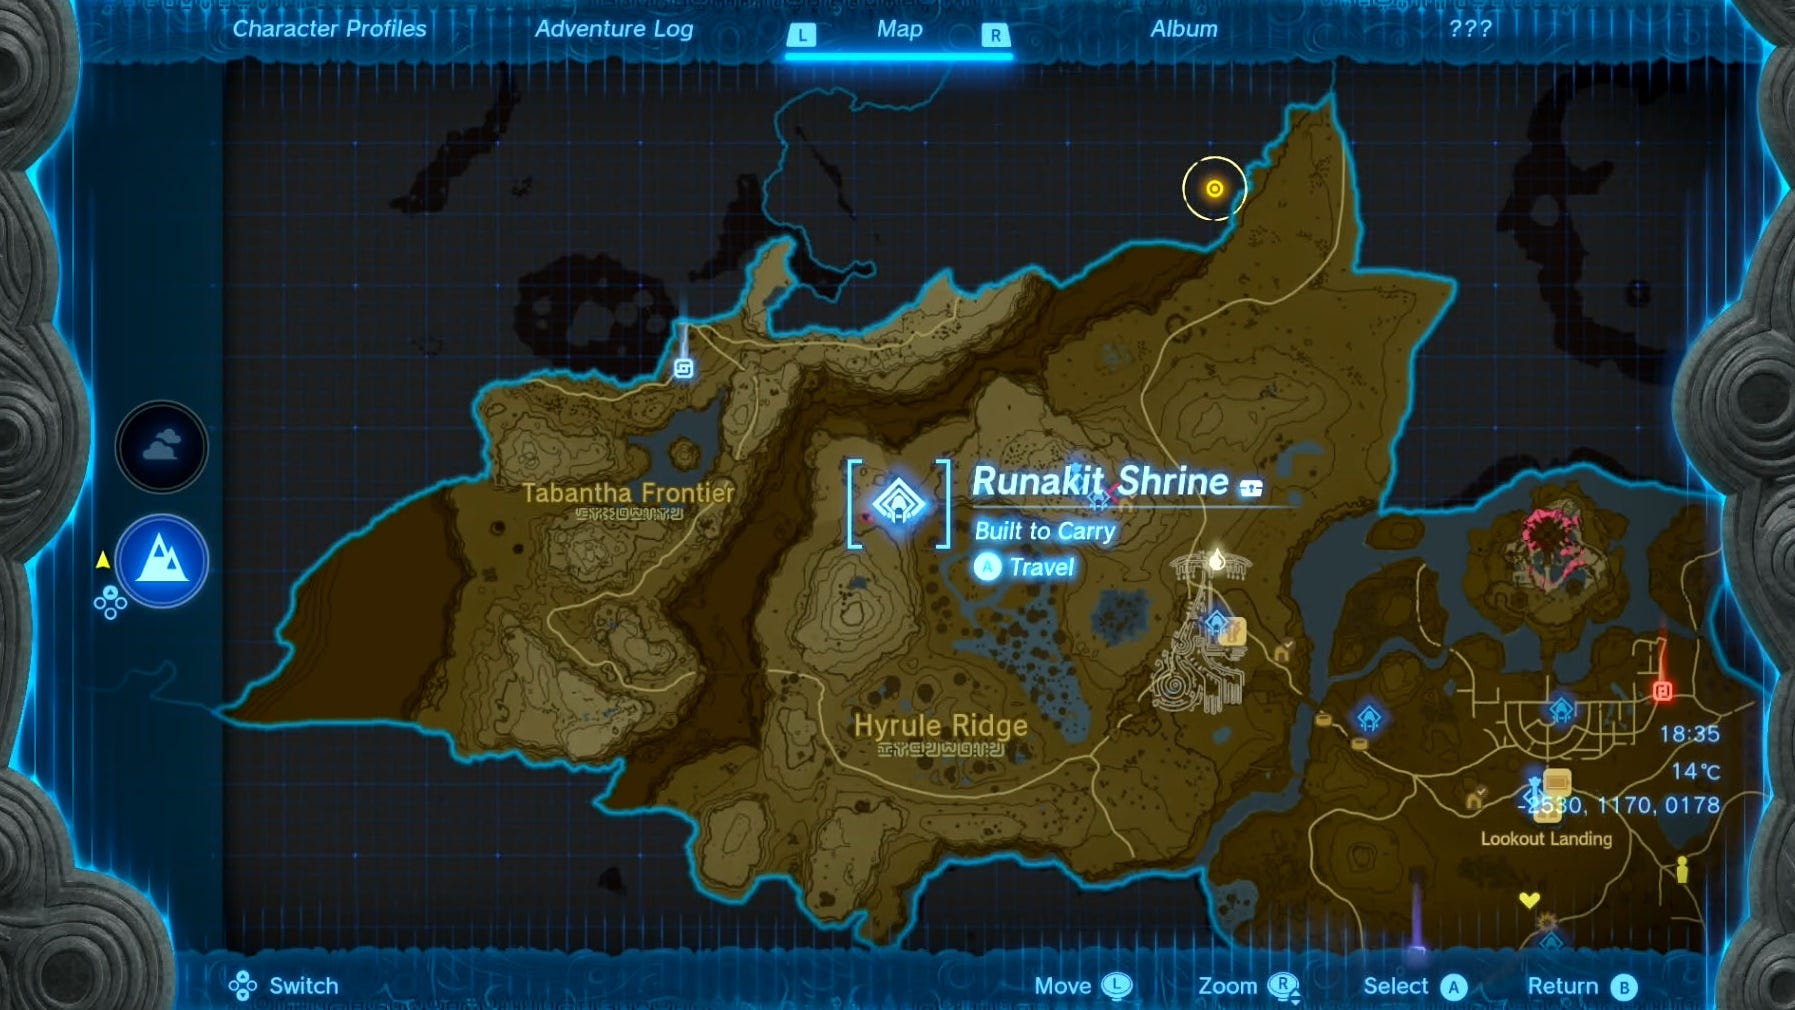
The Runakit Shrine in Tears of the Kingdom is located just west of the Lindor's Brow Skyview Tower in Hyrule Ridge, north of Mount Roham and northwest of Ludfo's Bog. The shrine's precise coordinates are (-2534, 1167, 0177).
Here's a picture of the Runakit Shrine map location:
Runakit Shrine puzzle solution in Zelda Tears of the Kingdom
There are three Built to Carry puzzles you need to solve at the Runakit Shrine to reach the end and get the Light of Blessing, and one optional puzzle to reach a chest. Here's how to solve all of the Runakit puzzles:
Runakit Shrine puzzle solution 1
To start the Runakit Shrine puzzles, jump and glide over to the ladders, then either climb a ladder to the top, or use Ascend on one of the low ceilings.
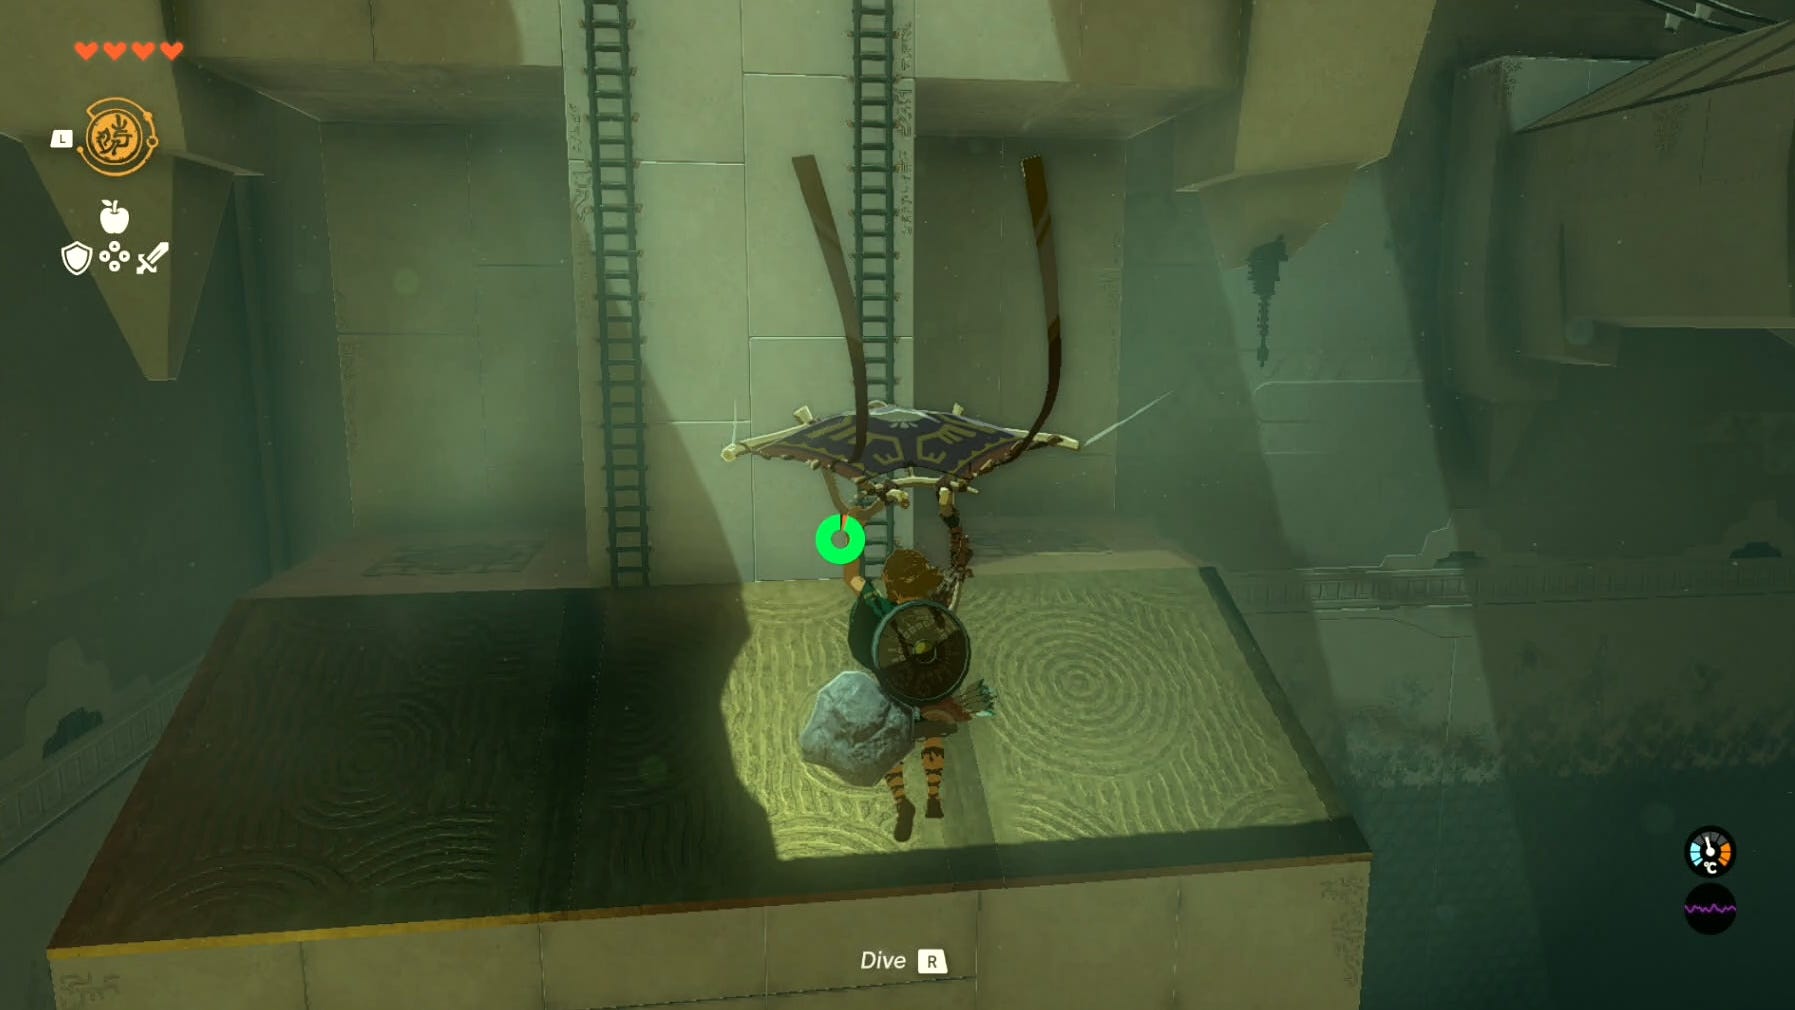
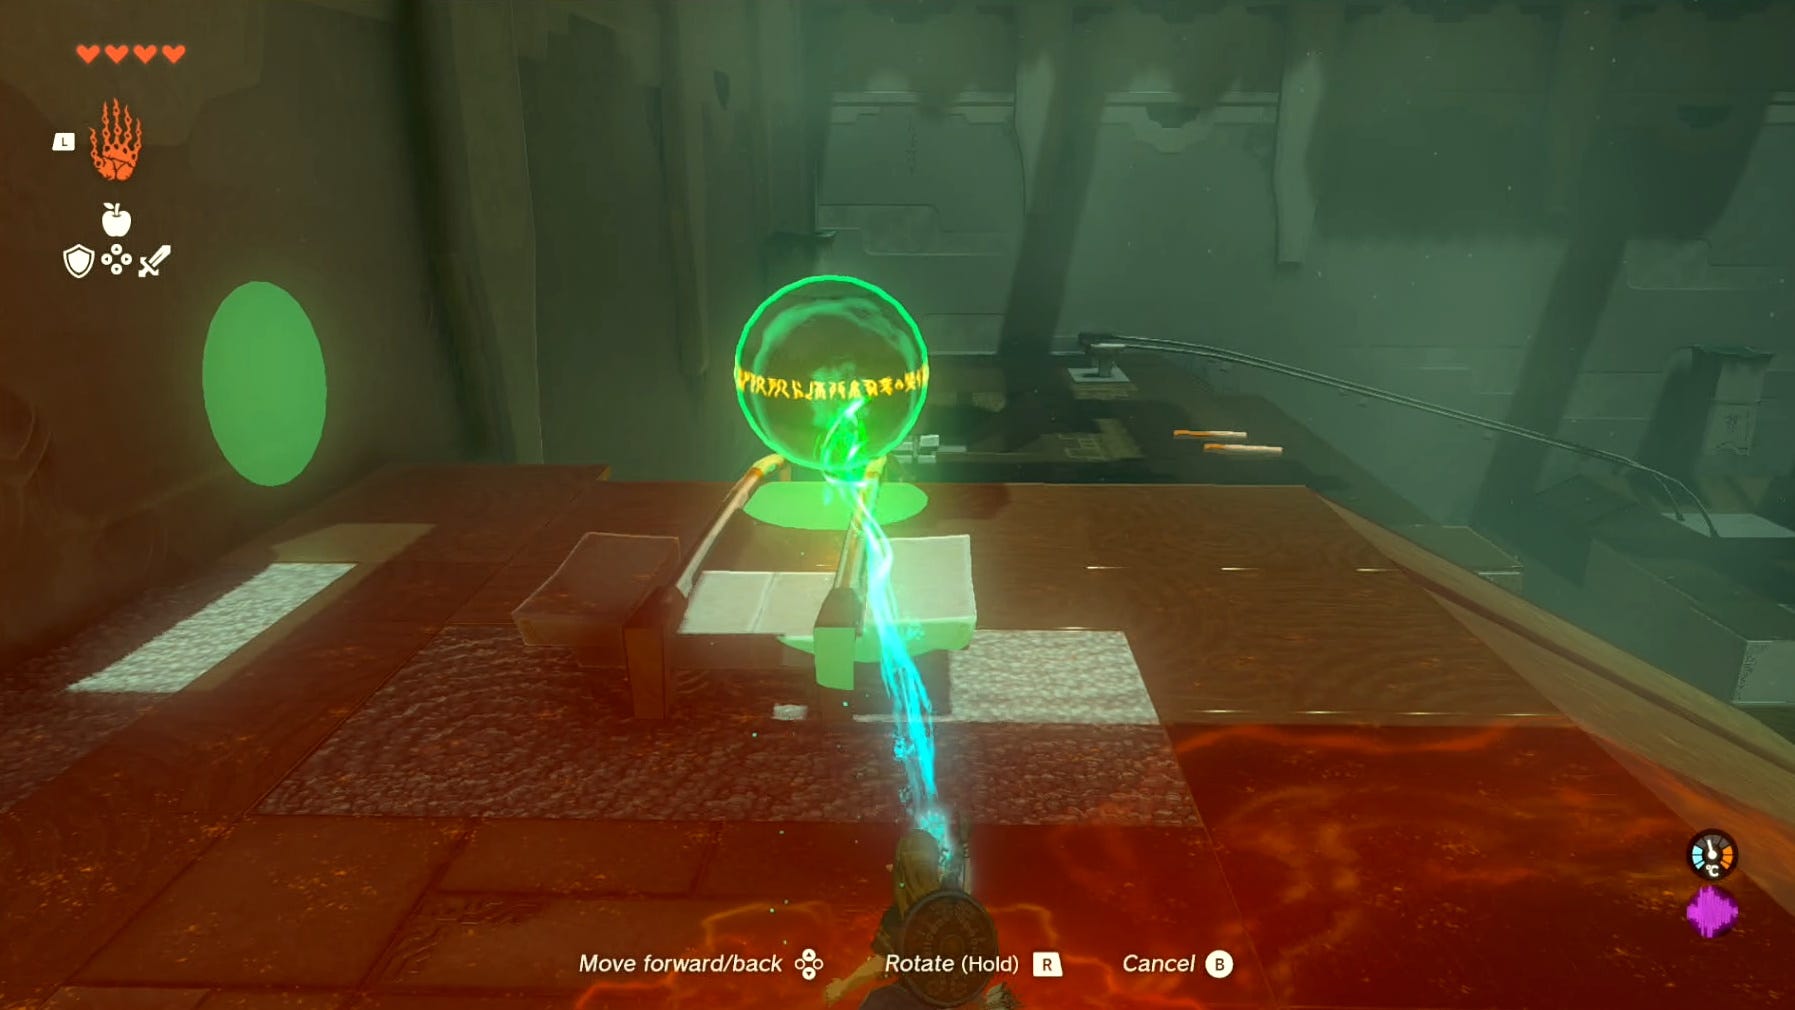
At the top, you'll find the large ball Link has to get back to the start with, and for this first puzzle solution, all you have to do is use Ultrahand to pick the ball up and place it on the metal tracks.
Runakit Shrine puzzle solution 2
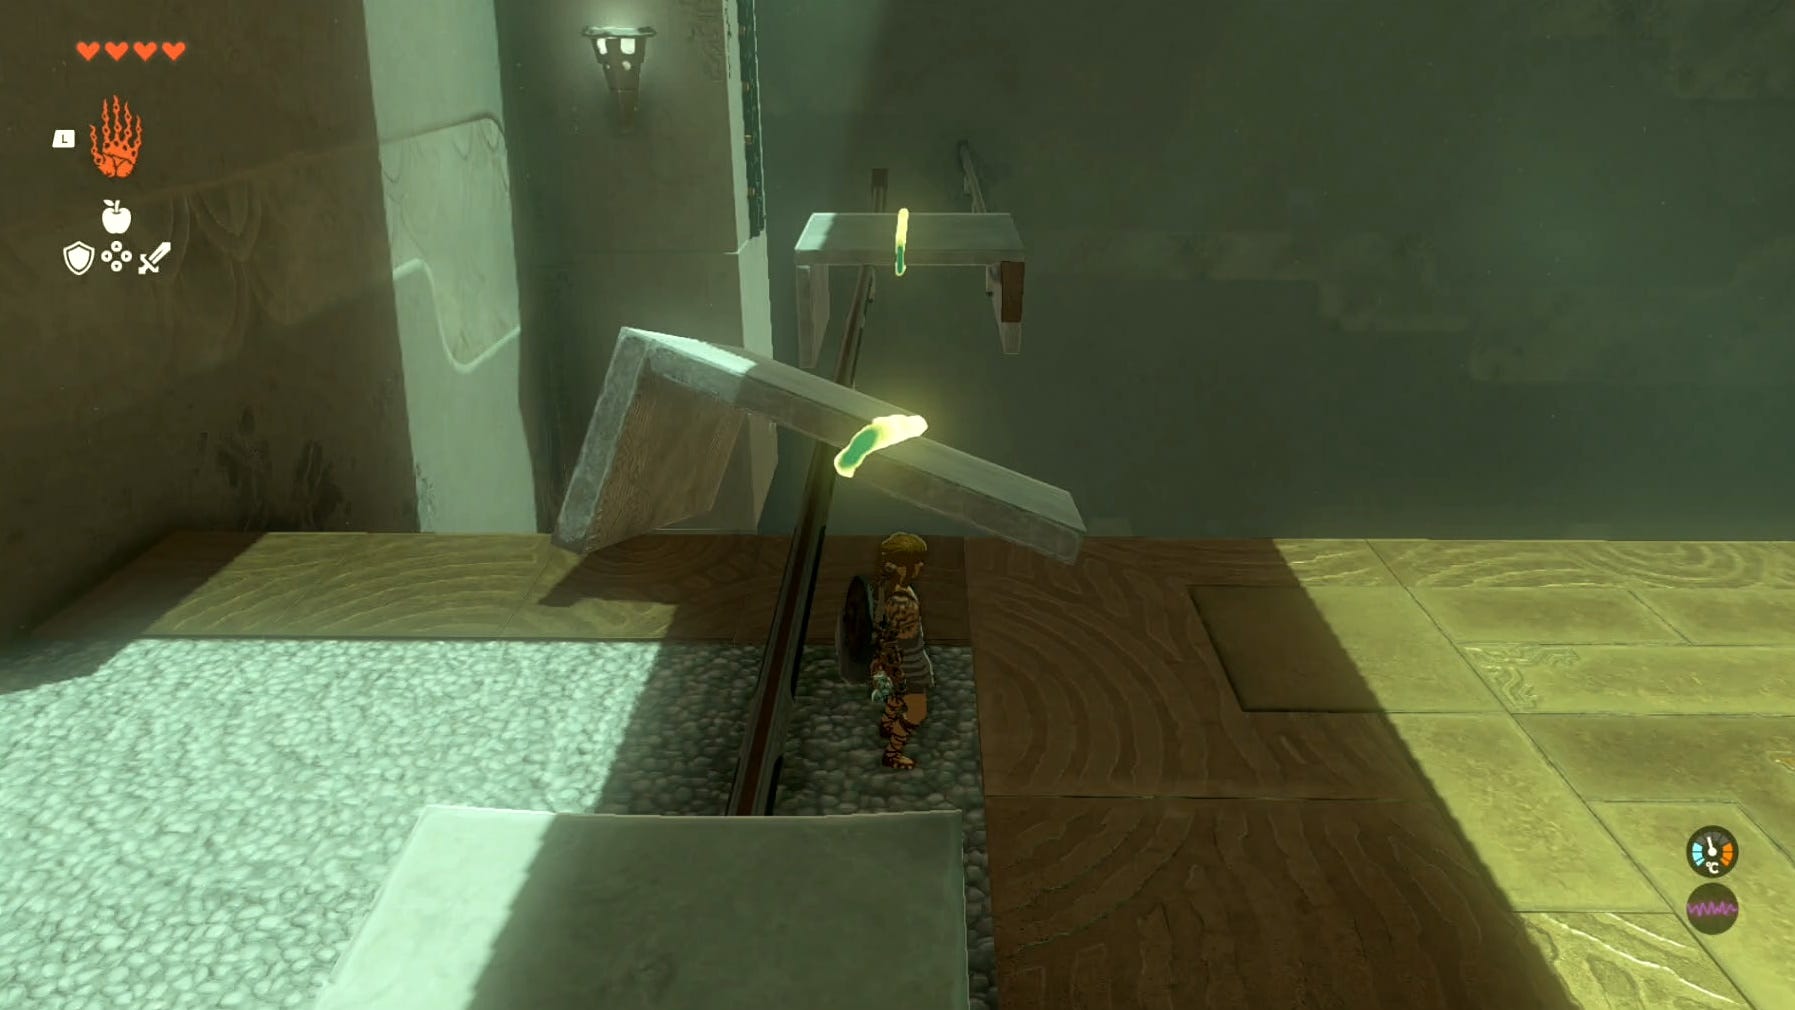
After the ball has rolled to the next platform, jump and glide over to it. Although the puzzle area looks similar to the first, you can't just put the ball on the next tracks, as they are too wide to hold it.
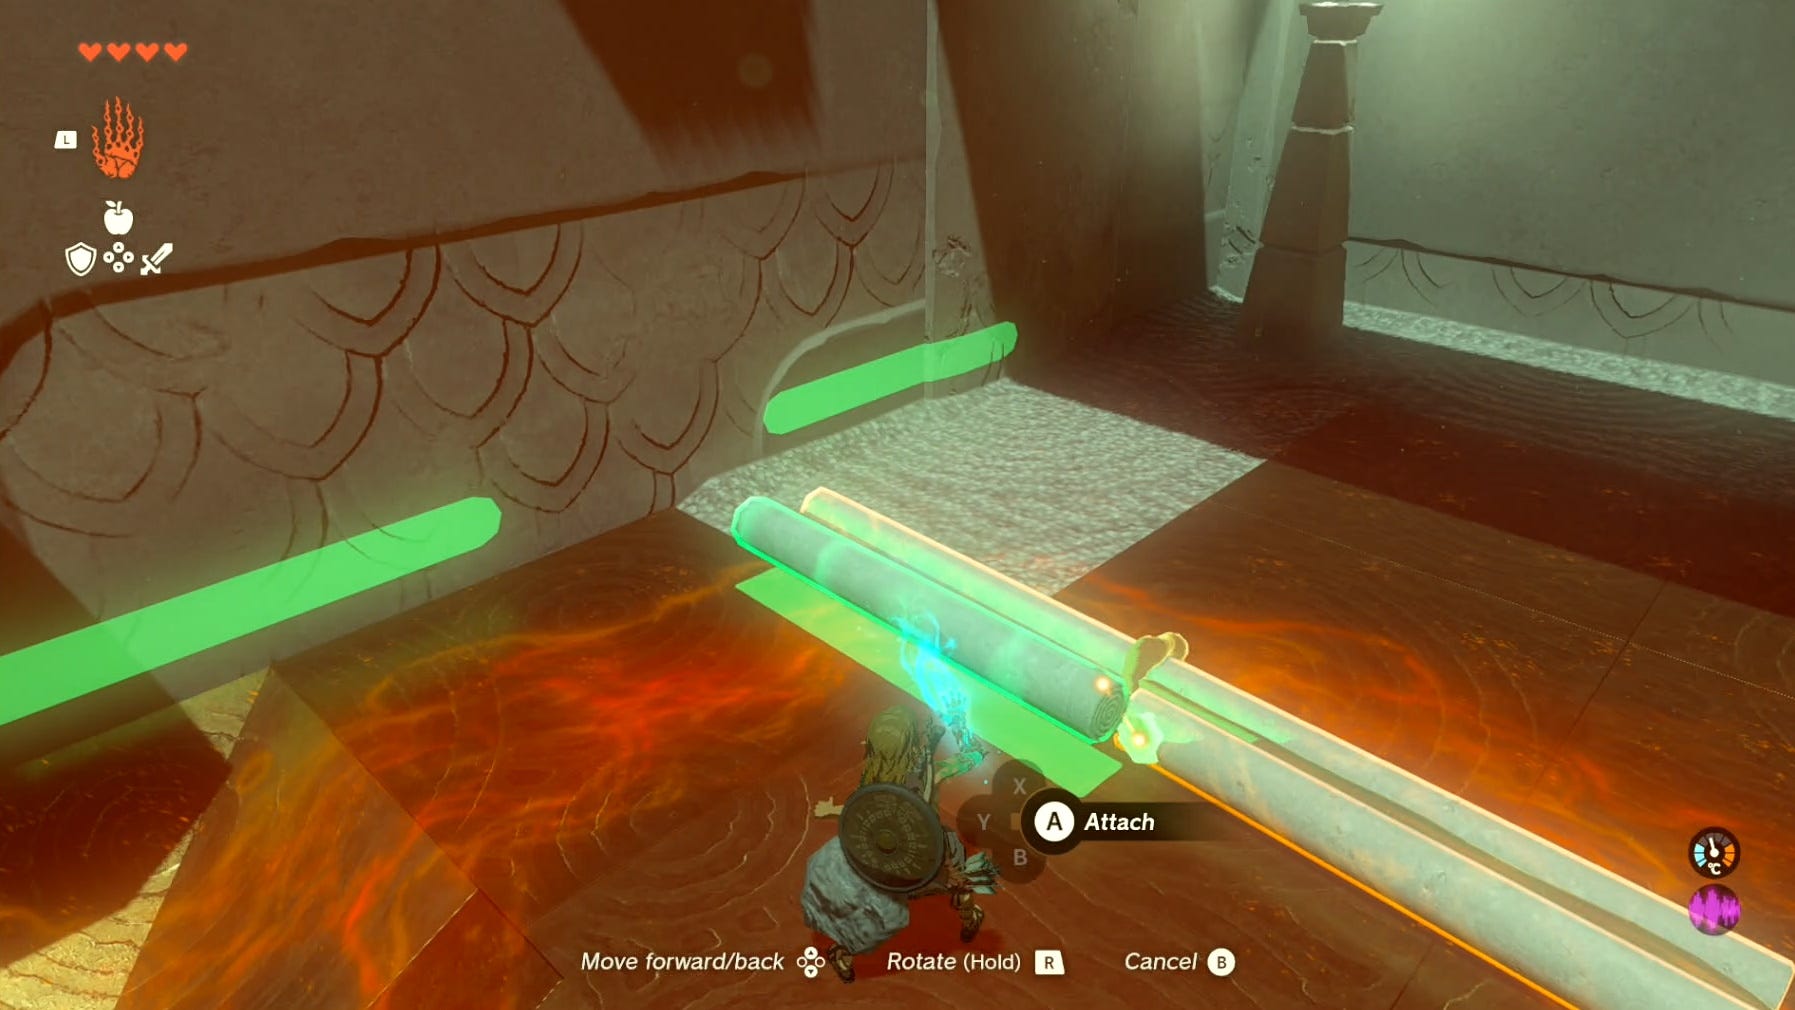
Instead, to solve the second Runakit Shrine puzzle, you have to use Ultrahand to stick four pieces of wood together, then stick the ball to the middle of your creation.
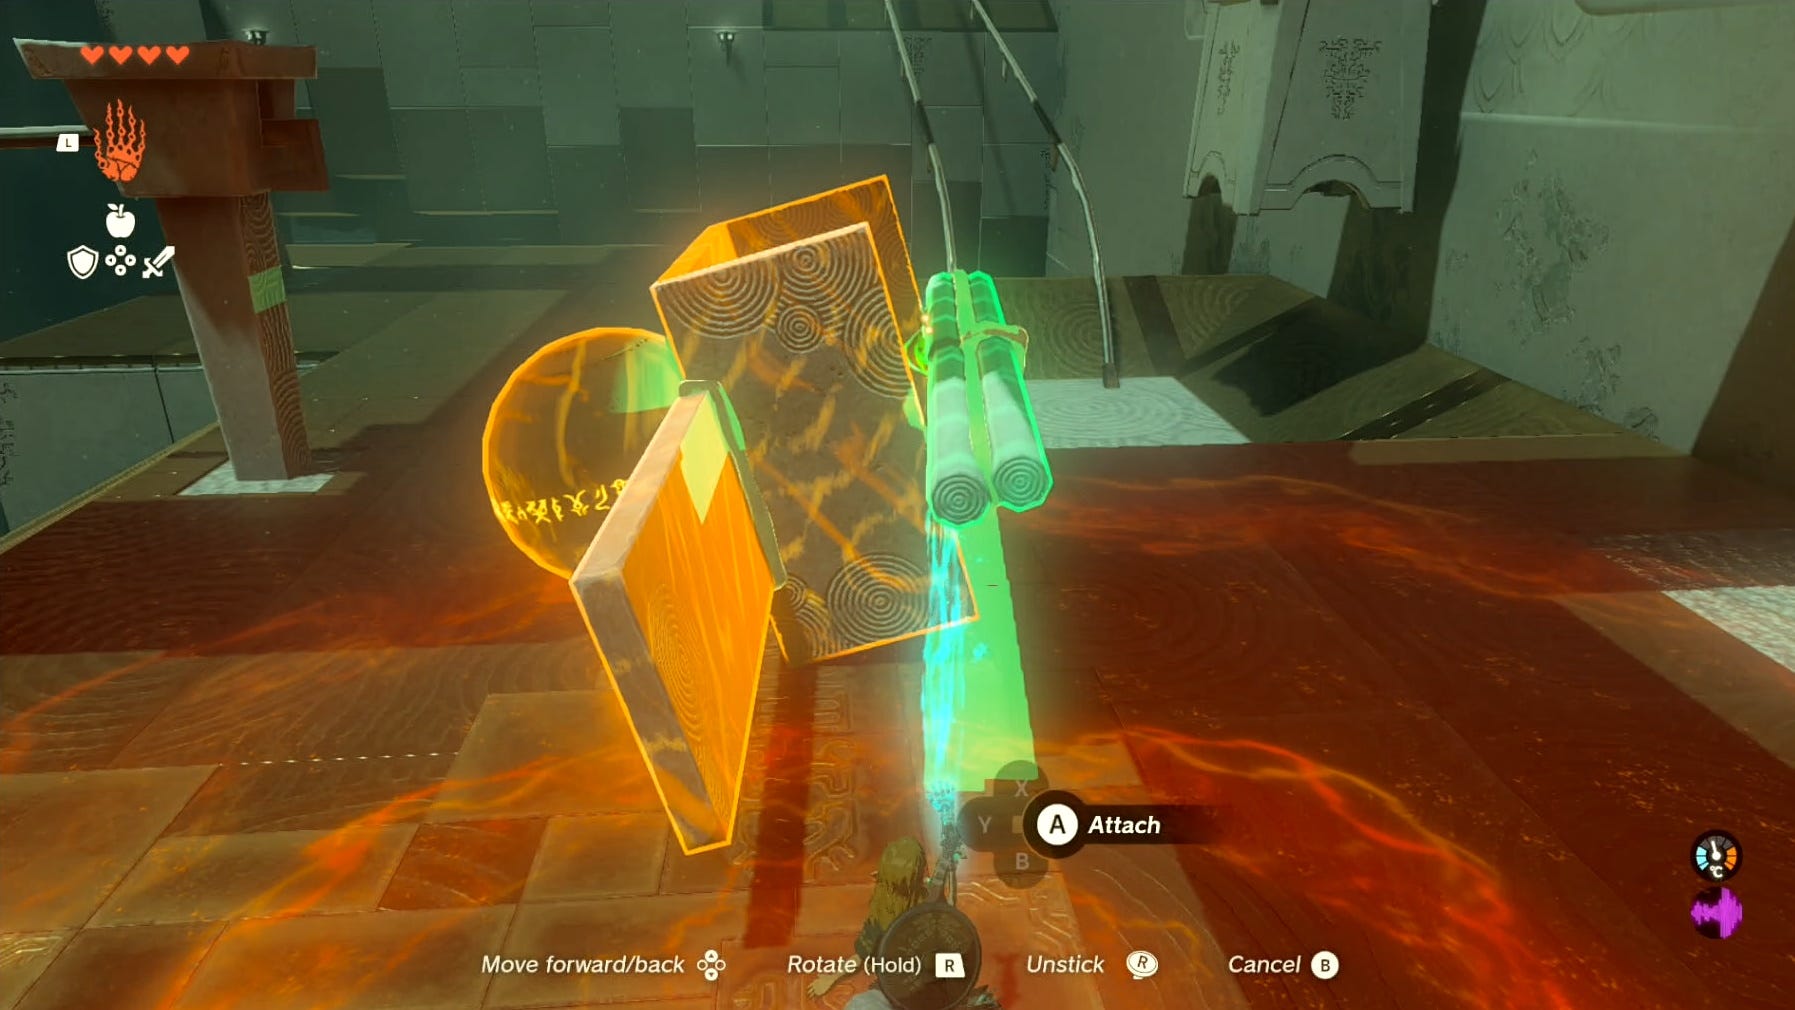
First, stick two pieces of wood to make a longer piece, then do the same with the other two pieces in the area. Then, stick these two long pieces side by side.
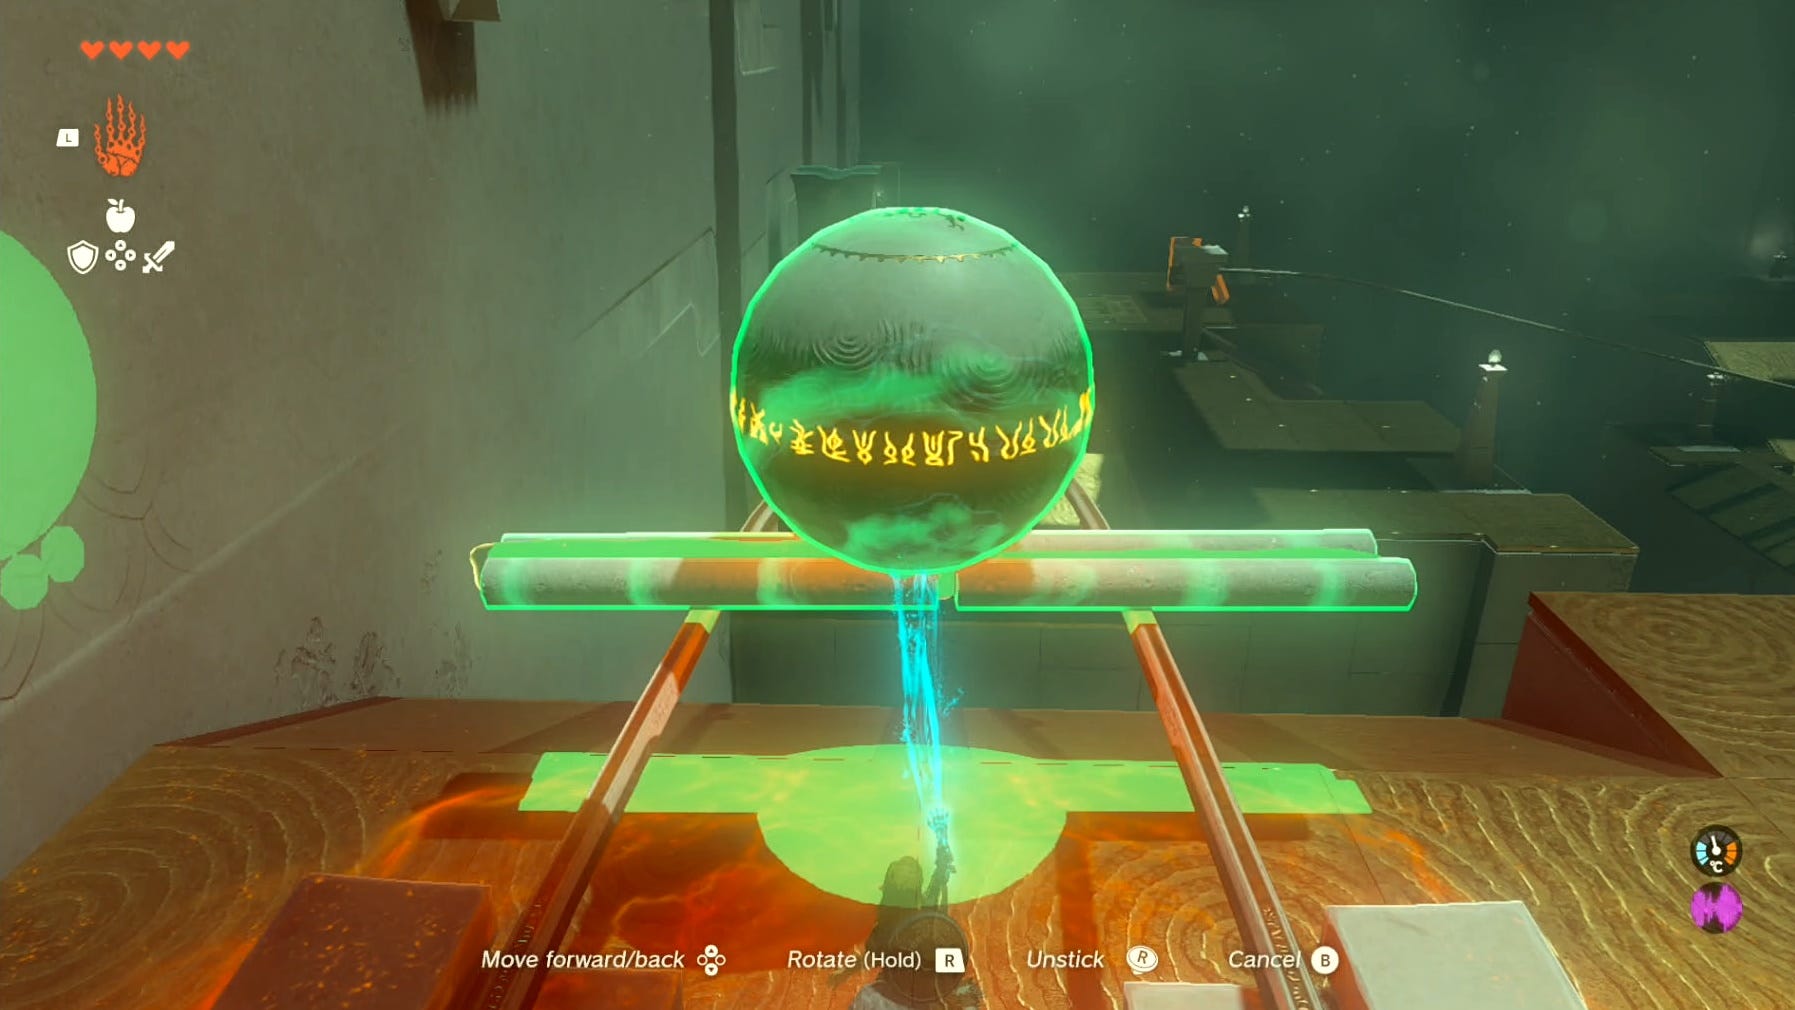
Next, stick the ball in the middle of this creation, then place the whole thing on the middle of the next tracks and watch your creation fly away to the next area.
Don't worry if you mess up here, as the ball and wood will come back if it falls down.
After gliding to the next area, you might want to get the bonus chest in Runakit Shrine before continuing on with the last puzzle. To access the chest, first you have to use Ultrahand to stick two of 'L' slabs together, making a platform. Then, move this platform so it sits on the two rails below the chest.

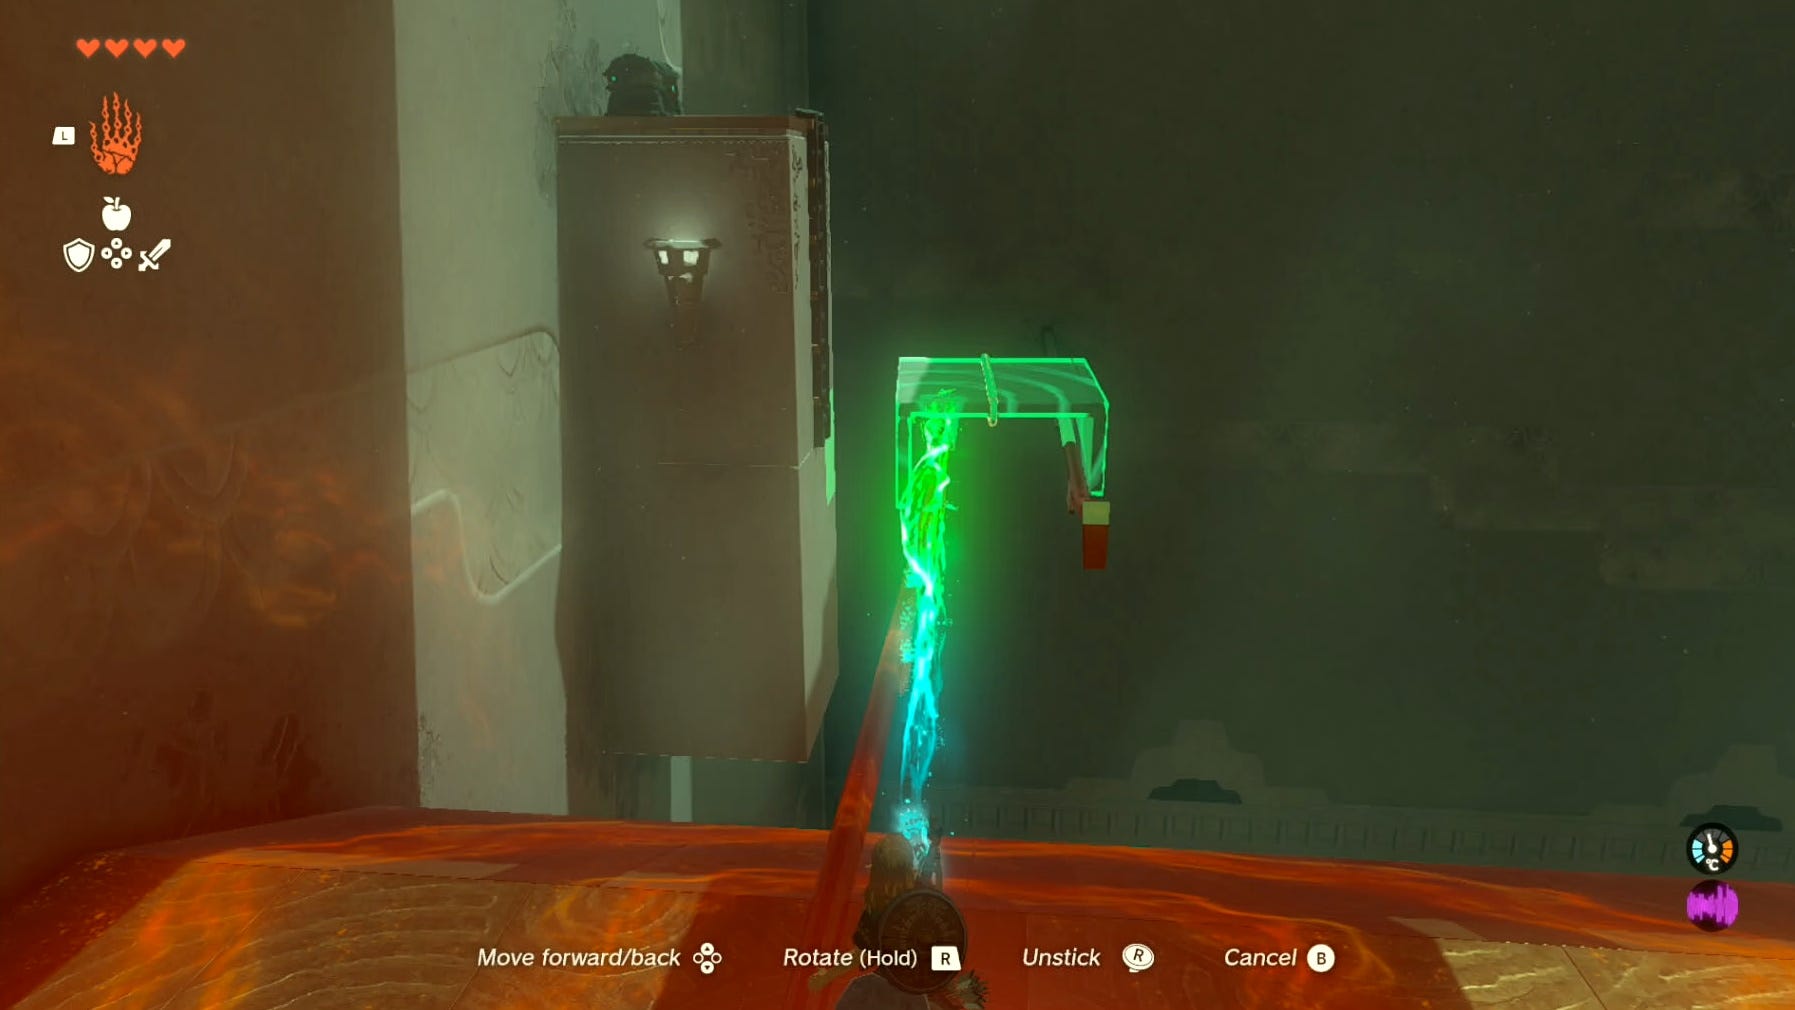
Next, you can either use Ultrahand to stick more stone slabs to this platform, building a path for Link to walk on. Or, you can stick the slabs together and make a ramp, then jump off this ramp to reach the platform you placed below the ladder. We opted for the second option, but the first one is probably safer.
All you have to do now is climb the ladder and open the chest to get a Construct Bow, which has five attack power.
Runakit Shrine puzzle solution 3
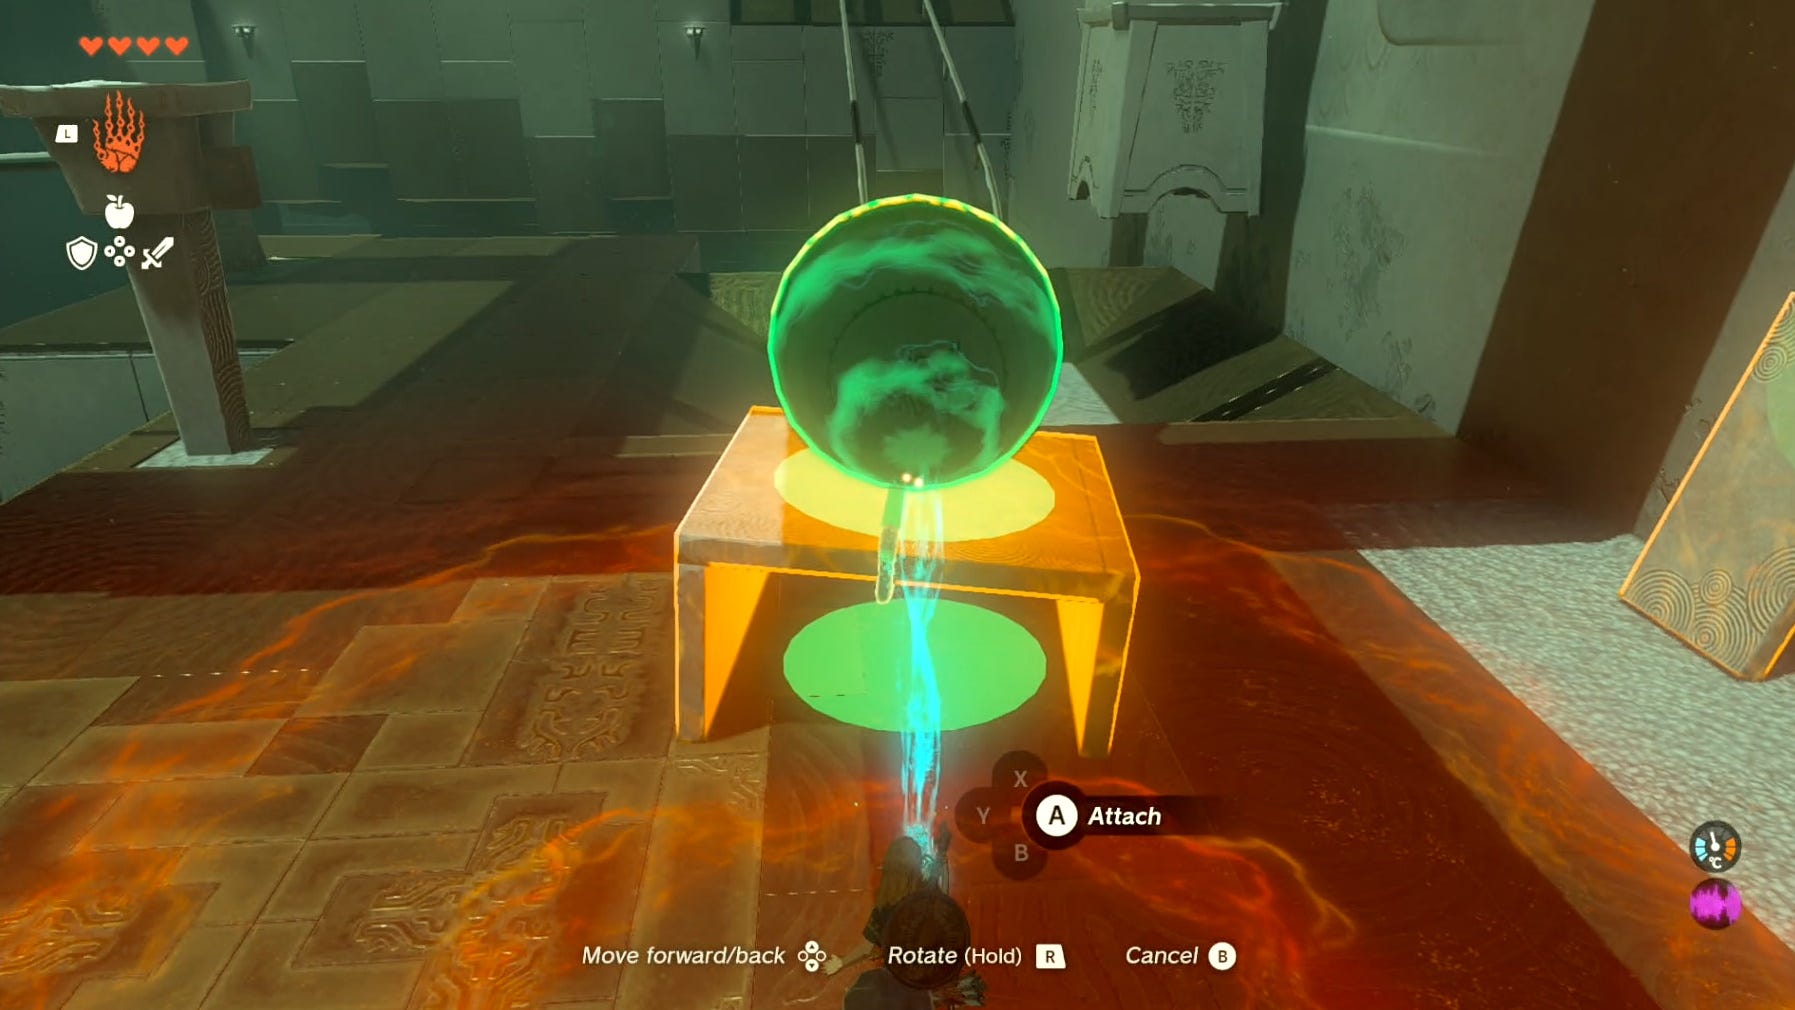
The solution to this last Runakit Shrine puzzle is to make a creation that Link can stick the ball on top of, then put your creation on the single rail to get the ball back to the starting area.
The first step is to use Ultrahand to stick two of the 'L' stone slabs together (or use the one you built to get the chest), then stick the ball on top of this platform.
Next, you can either use the group of wooden pieces brought over from the last puzzle to stick to the bottom of your creation, or you can use another stone slab. The goal here is to leave a small gap at the bottom, so you can put it on the single rail.
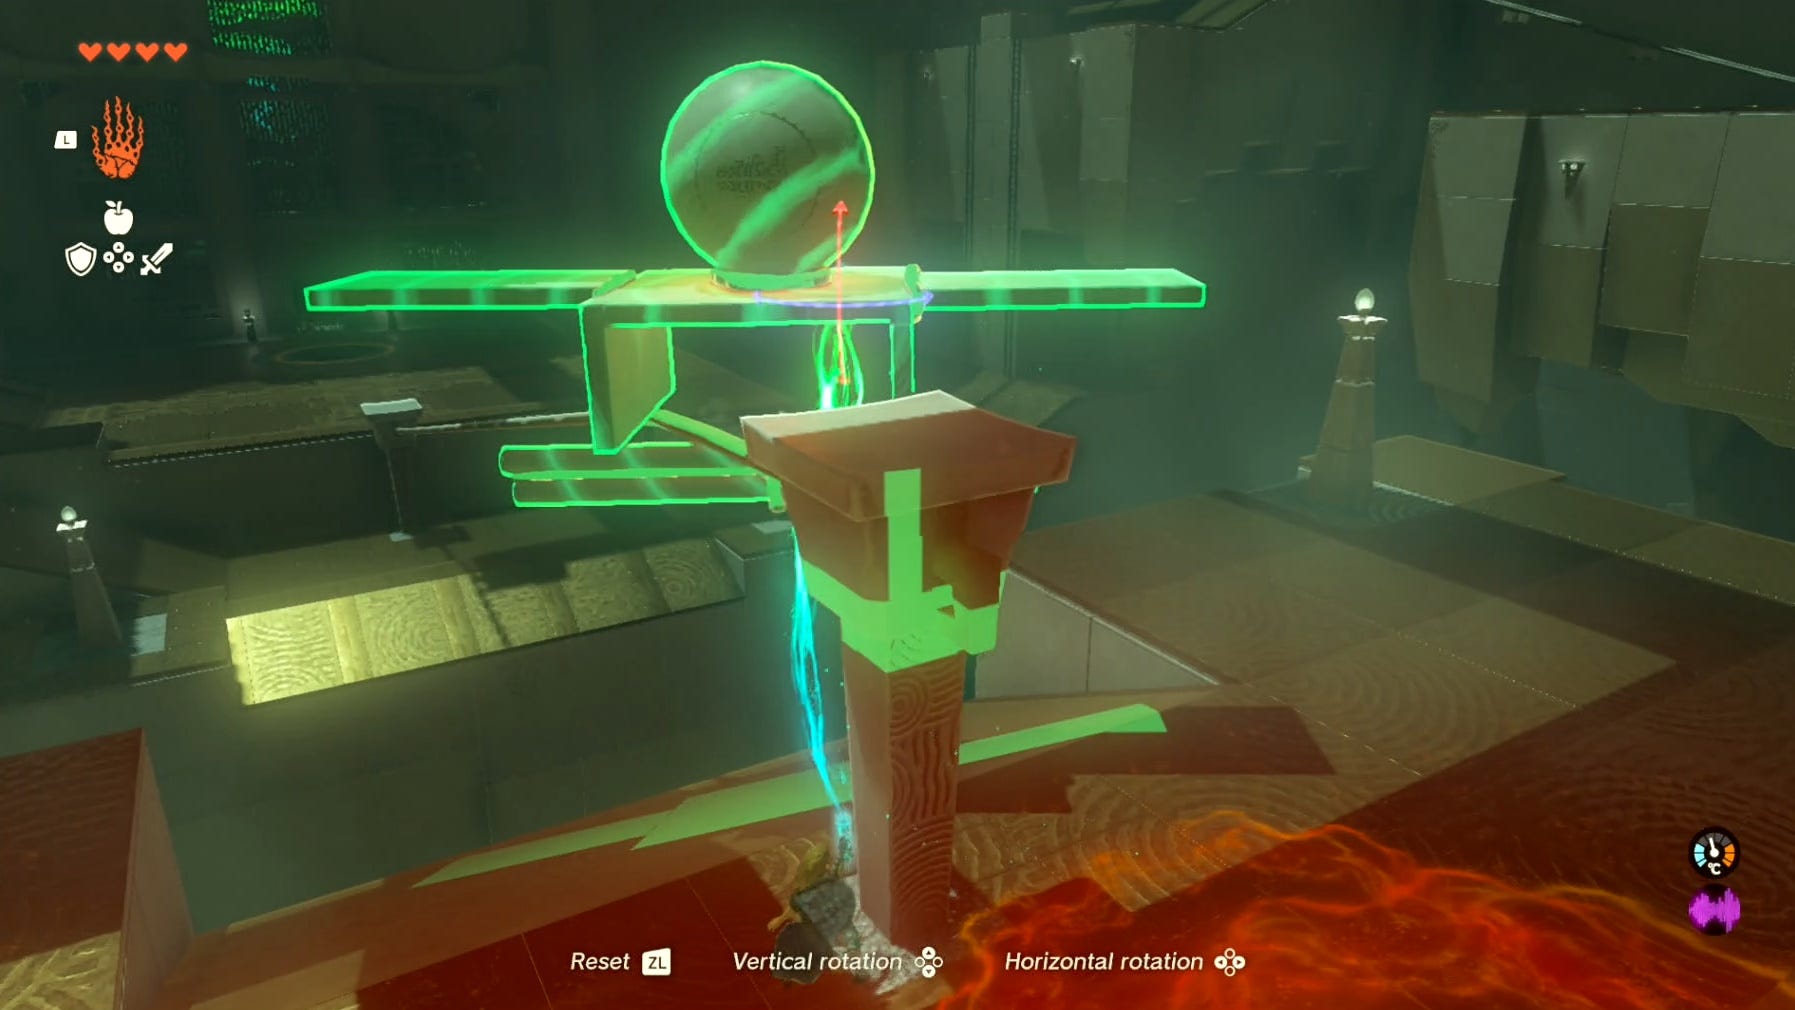
For this reason, we think the wood is the better choice, as it only leaves a very small gap, making it harder for your creation to fall while sliding down the rail.
Once the ball is securely on the other side, jump and glide down to it, then unstick the ball with Ultrahand and place it in the hole.
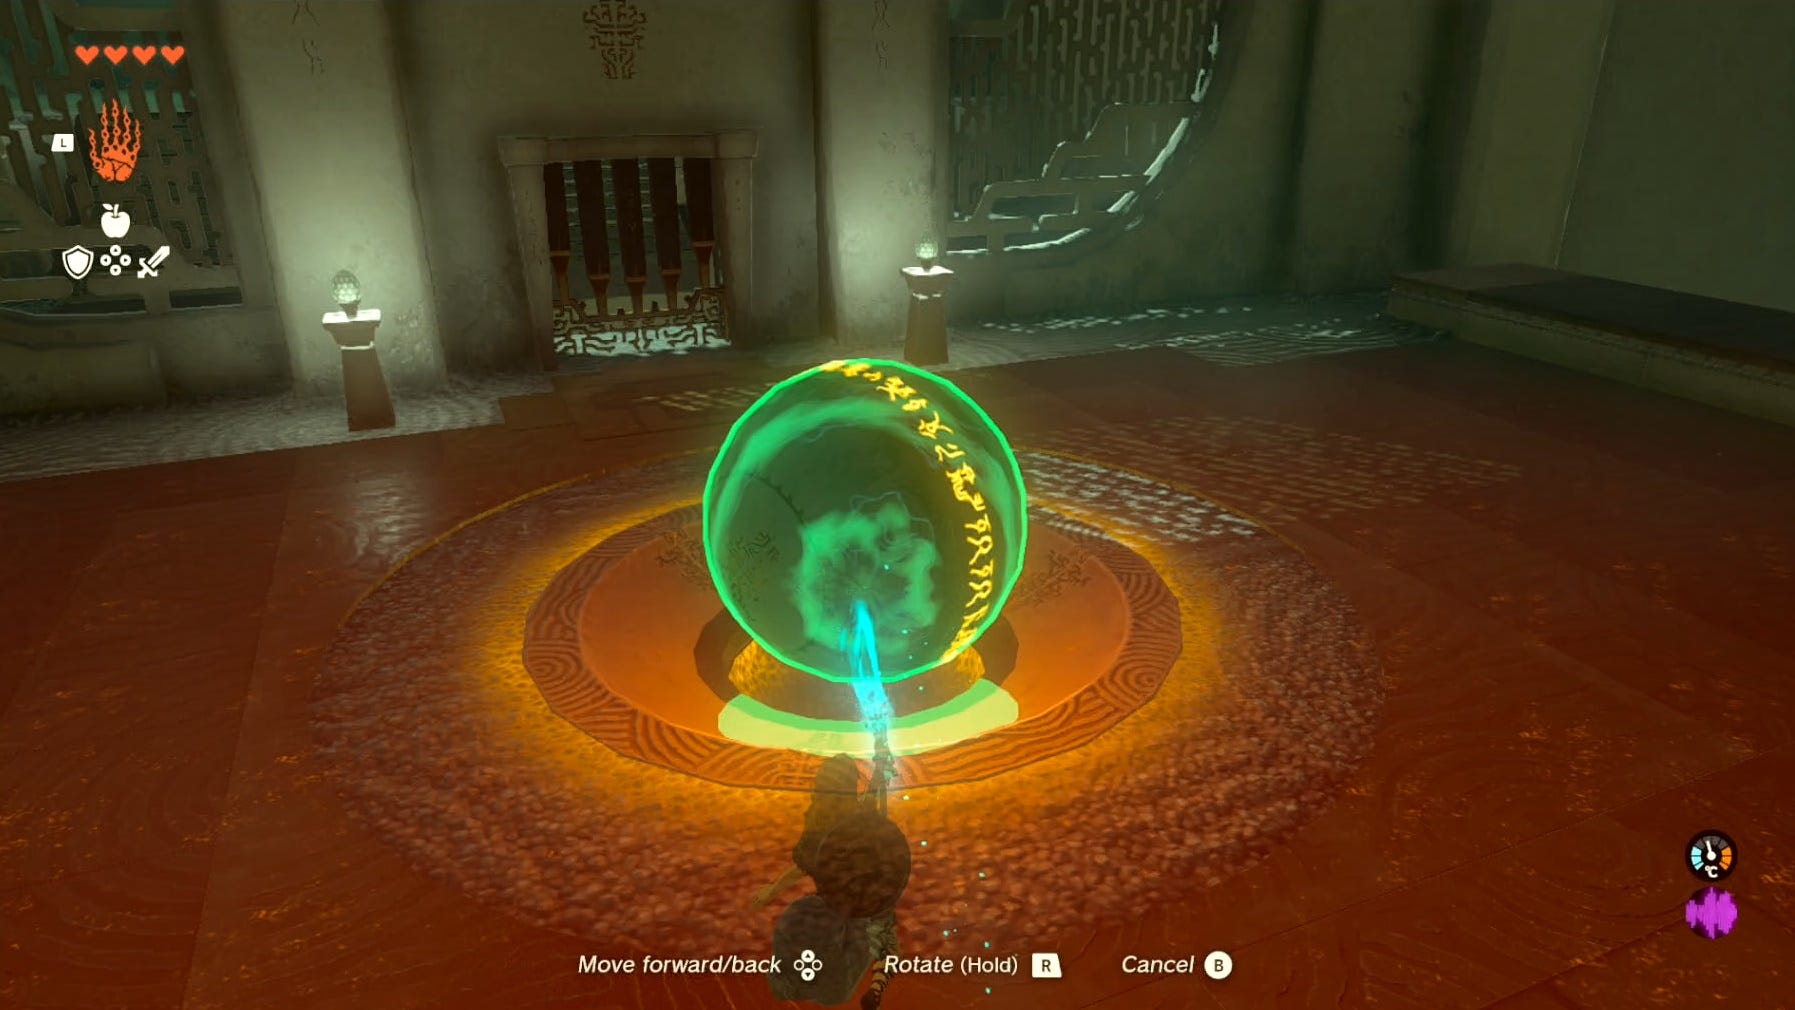
The door beside you will pop open and you can finally examine the green circle at the end to get your Light of Blessing.
Good luck with completing other Shrines in Tears of the Kingdom, and check-out our walkthrough for more tips and tricks!