Zelda Tears of the Kingdom Kitawak Shrine solution
How to find and solve 'Upward and forward' Shrine.
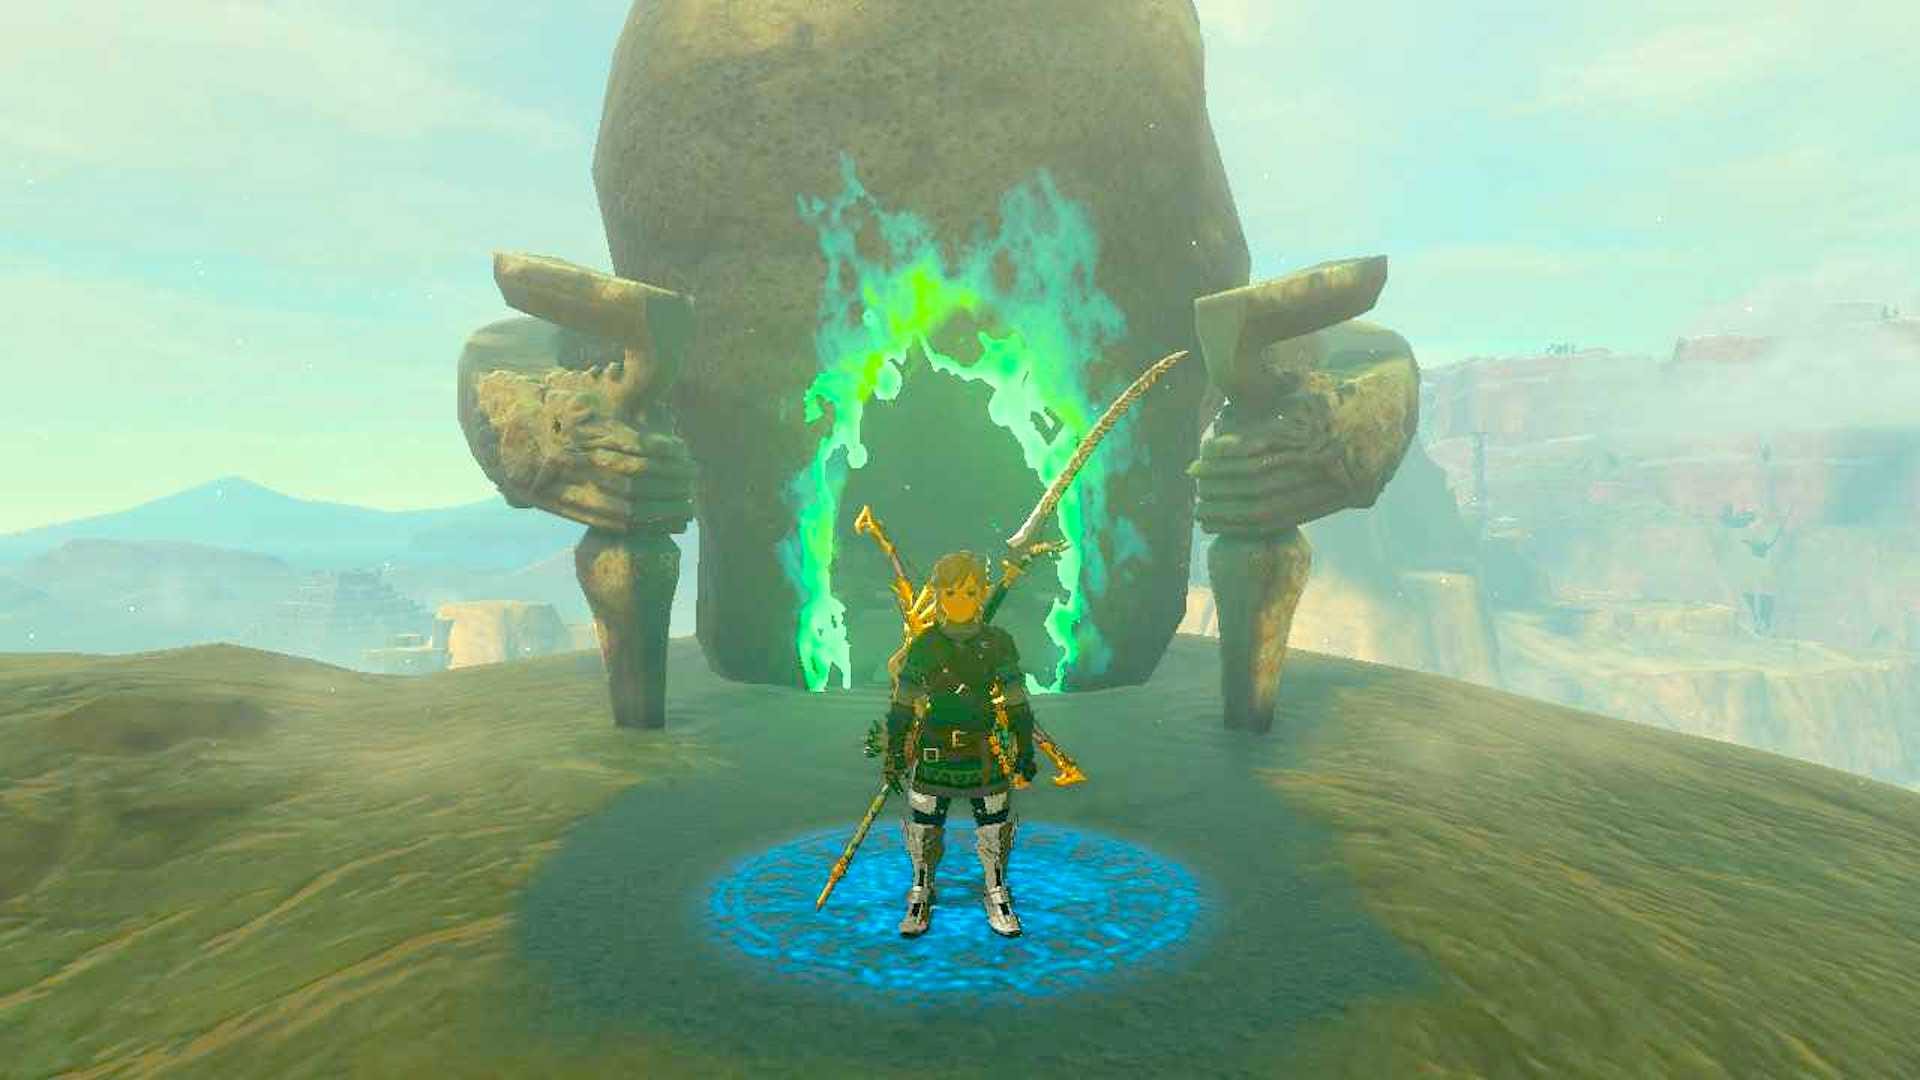

The Kitawak Shrine in Zelda: Tears of the Kingdom can be found south east of the Gerudo Canyon Skyview Tower. It'll test your ability to build bridges using stone slabs.
Like most other Shrines in Zelda: Tears of the Kingdom, the Kitawak Shrine has you using Ultrahand to glue objects together
Without further ado, we're going to show you how to find and complete the Kitawak Shrine in Zelda: Tears of the Kingdom.
On this page:
If you'd like to learn more about Link's adventure, visit our Zelda: Tears of the Kingdom walkthrough.
Kitawak Shrine location in Zelda Tears of the Kingdom
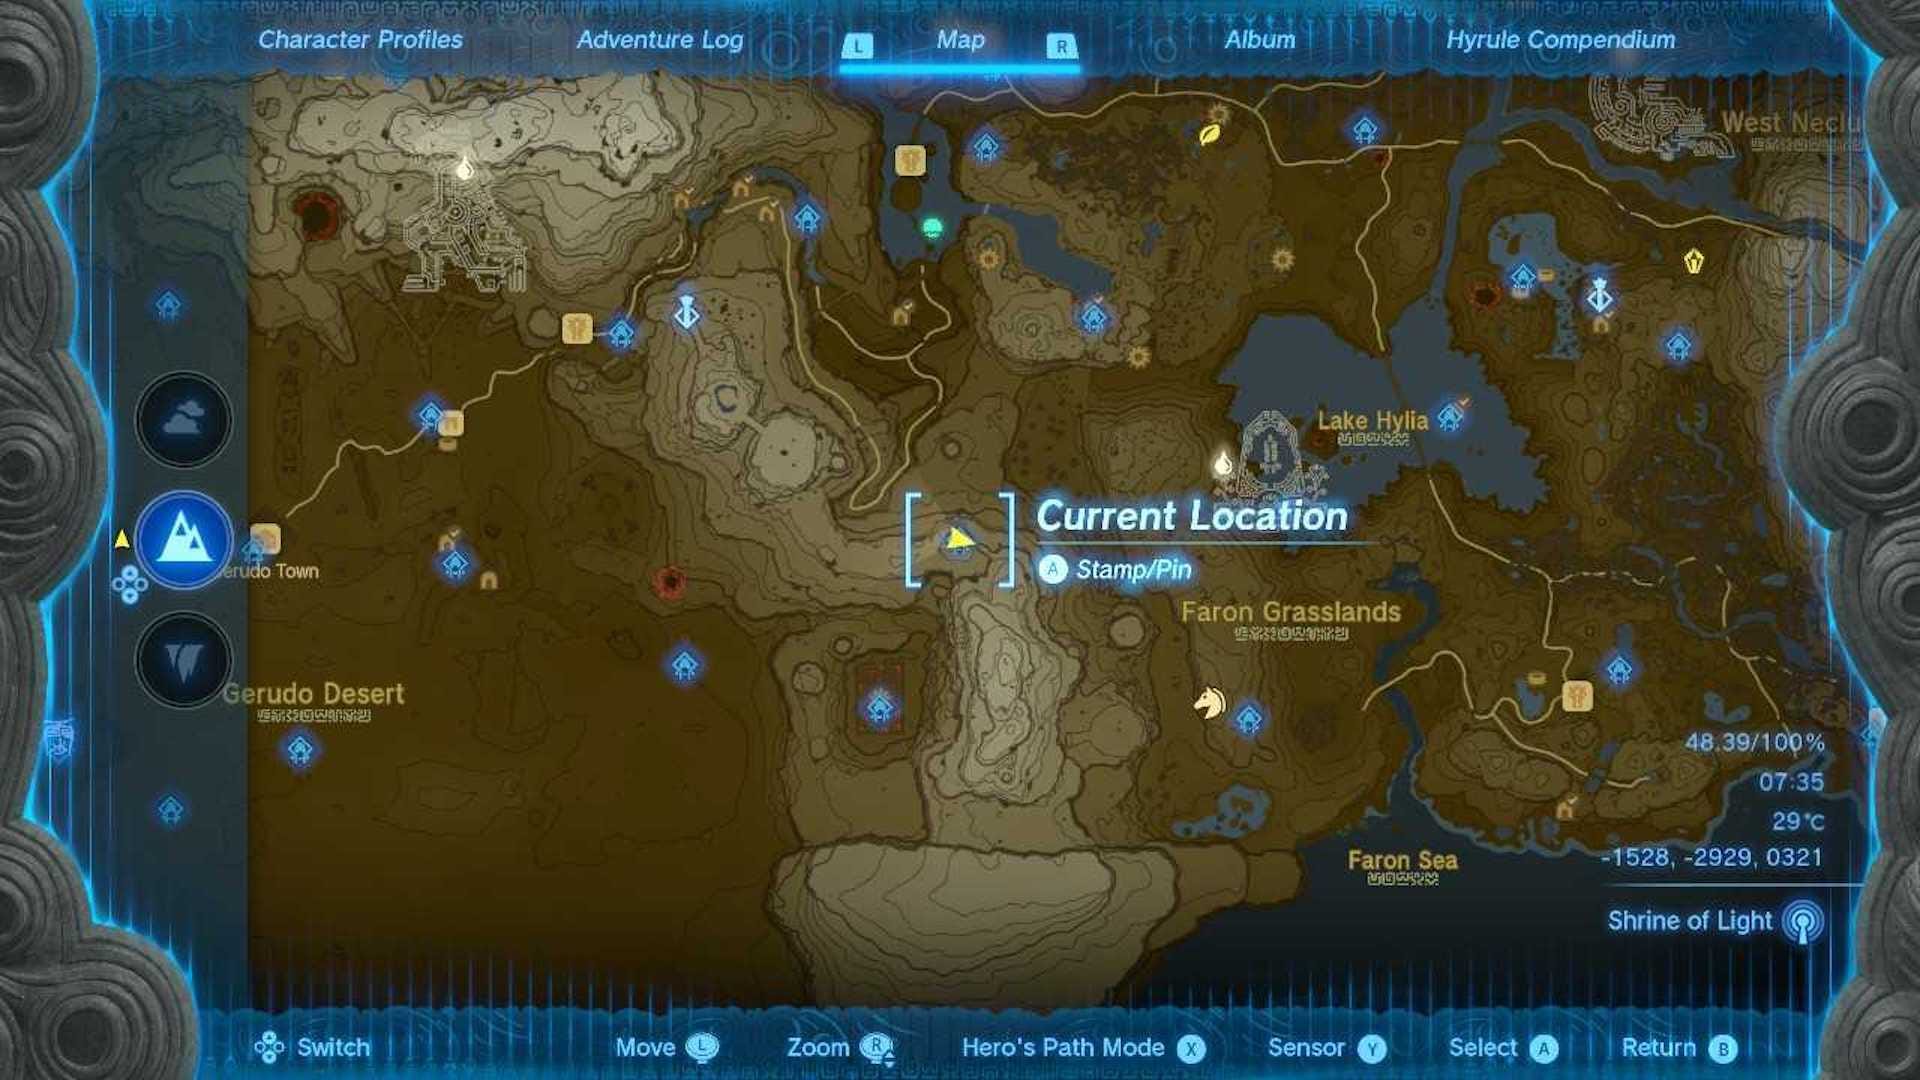
The Kitawak Shrine in Zelda: Tears of the Kingdom can be found south east of Gerudo Canyon Skyview Tower. More specifically, it is in the East Gerudo Mesa.
We've marked its exact location on the map below and the Kitawak Shrine coordinates are (-1529, -2929, 0321).
You will likely need cold resistance to explore this area in Tears of the Kingdom, if you go at night that is. You could also Fuse a Ruby to your shield to gain a quick and easy heat boost. If you go during the day, you're likely to encounter scorching heat. Fuse a Sapphire to a shield to cool down quickly.
Kitawak Shrine solution in Zelda Tears of the Kingdom
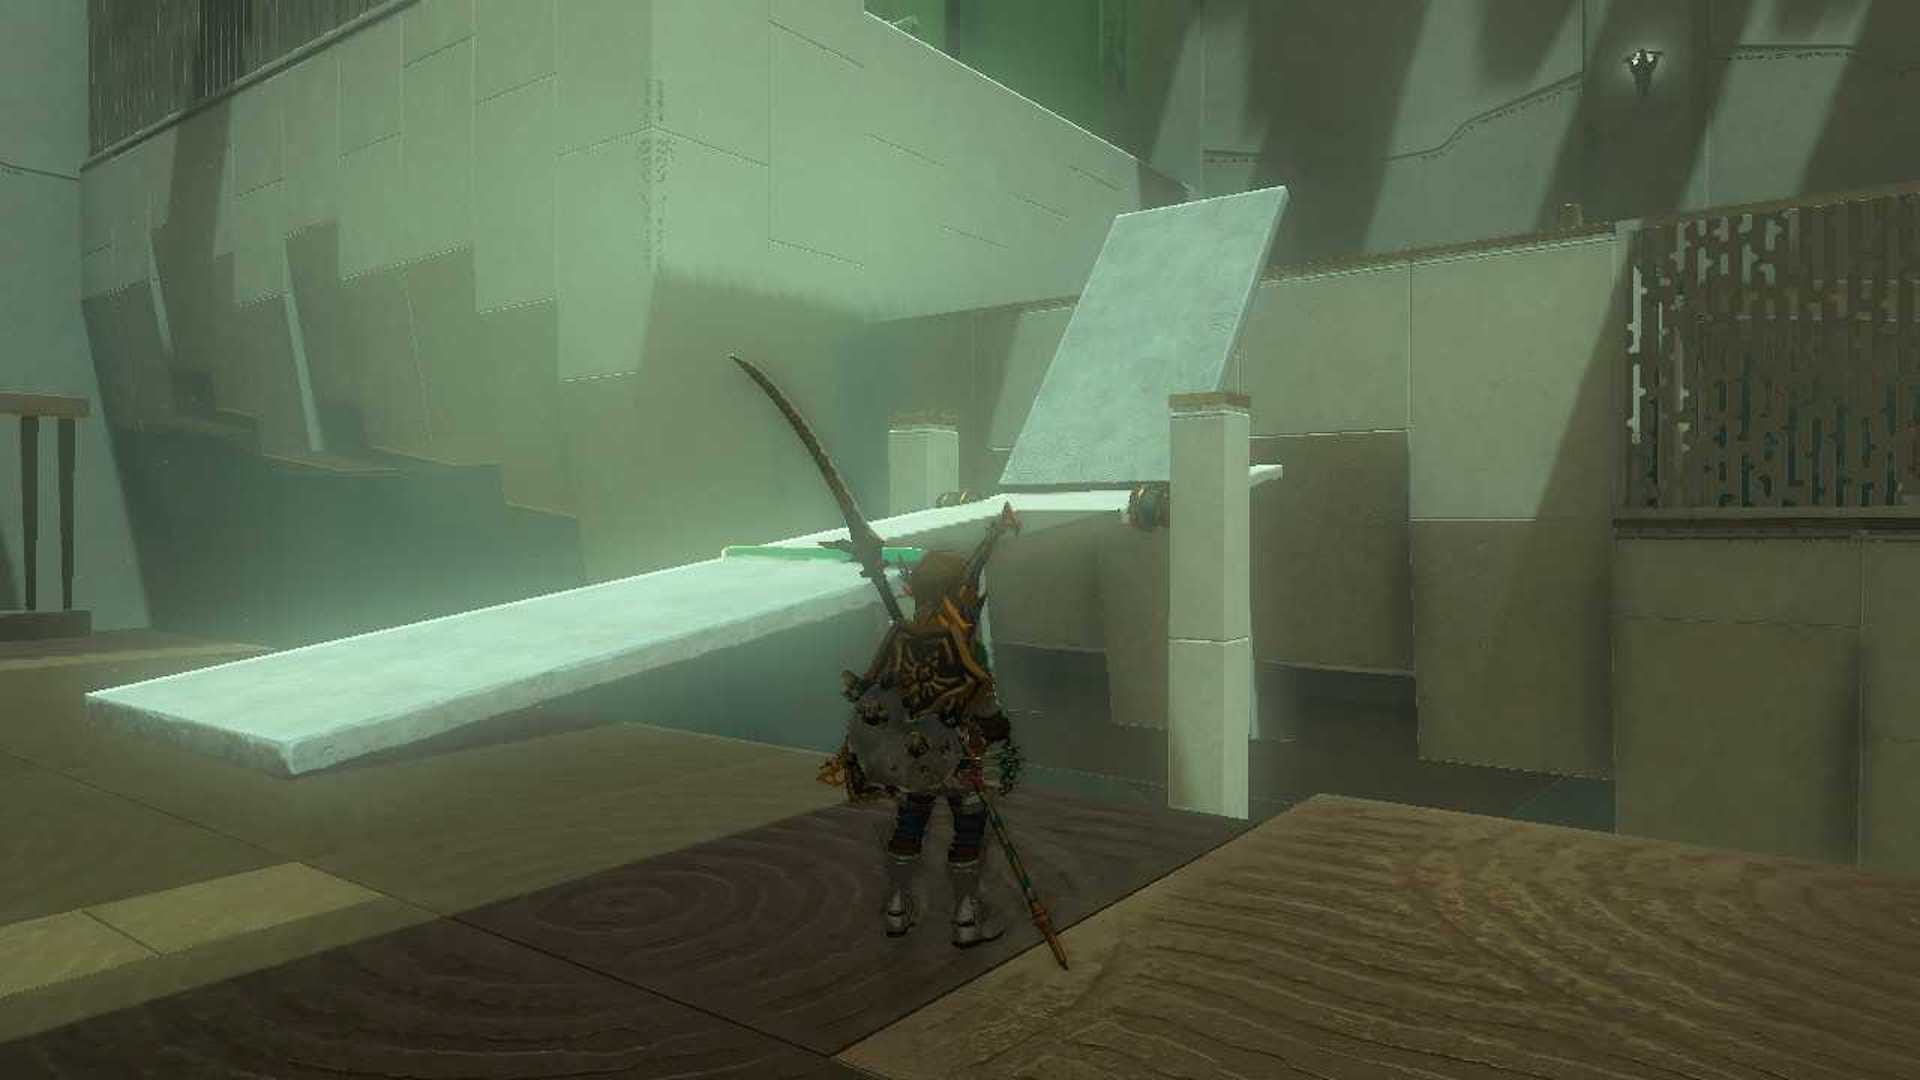
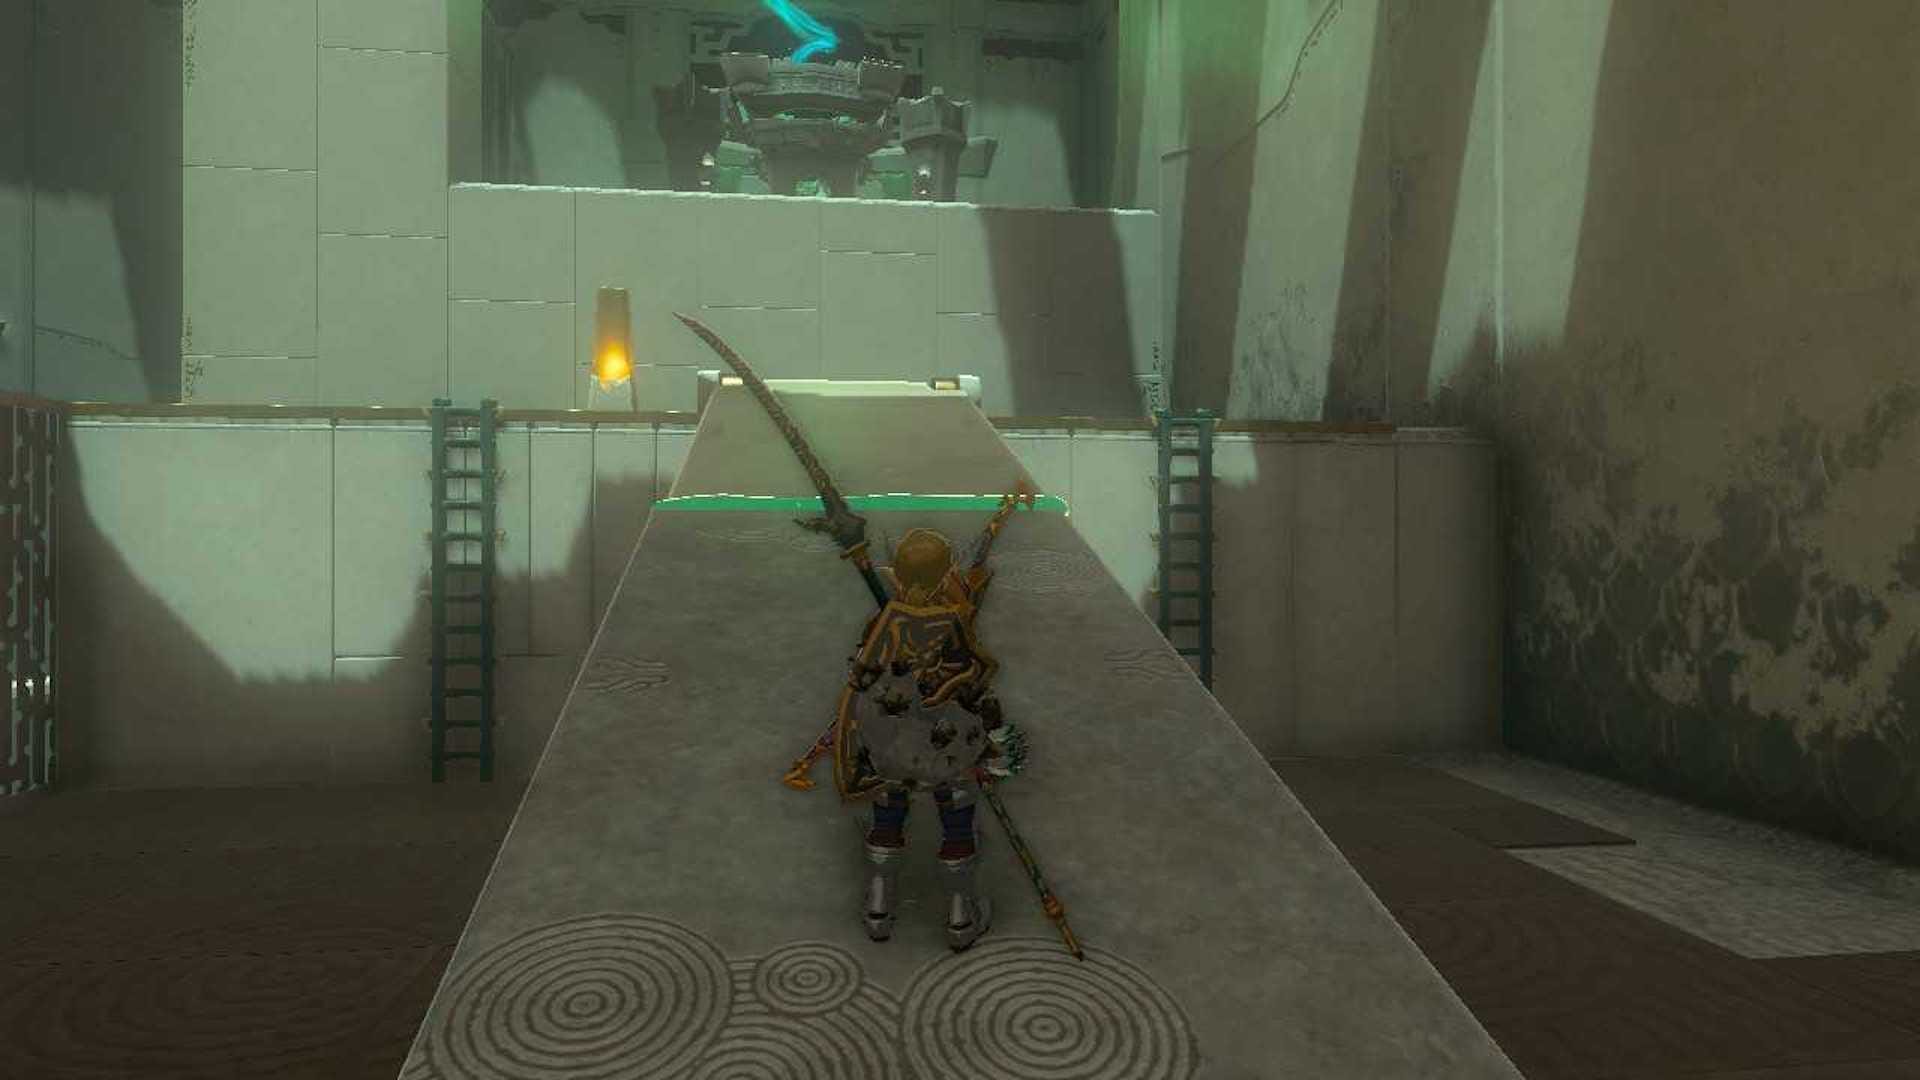
To solve the Kitawak Shrine, you'll first need to walk in where you will see an upright bridge. Stick the stone slab to the right onto the end of the other slab. The bridge will drop and you can walk across. Bring the stone slab with you throughout this Shrine.

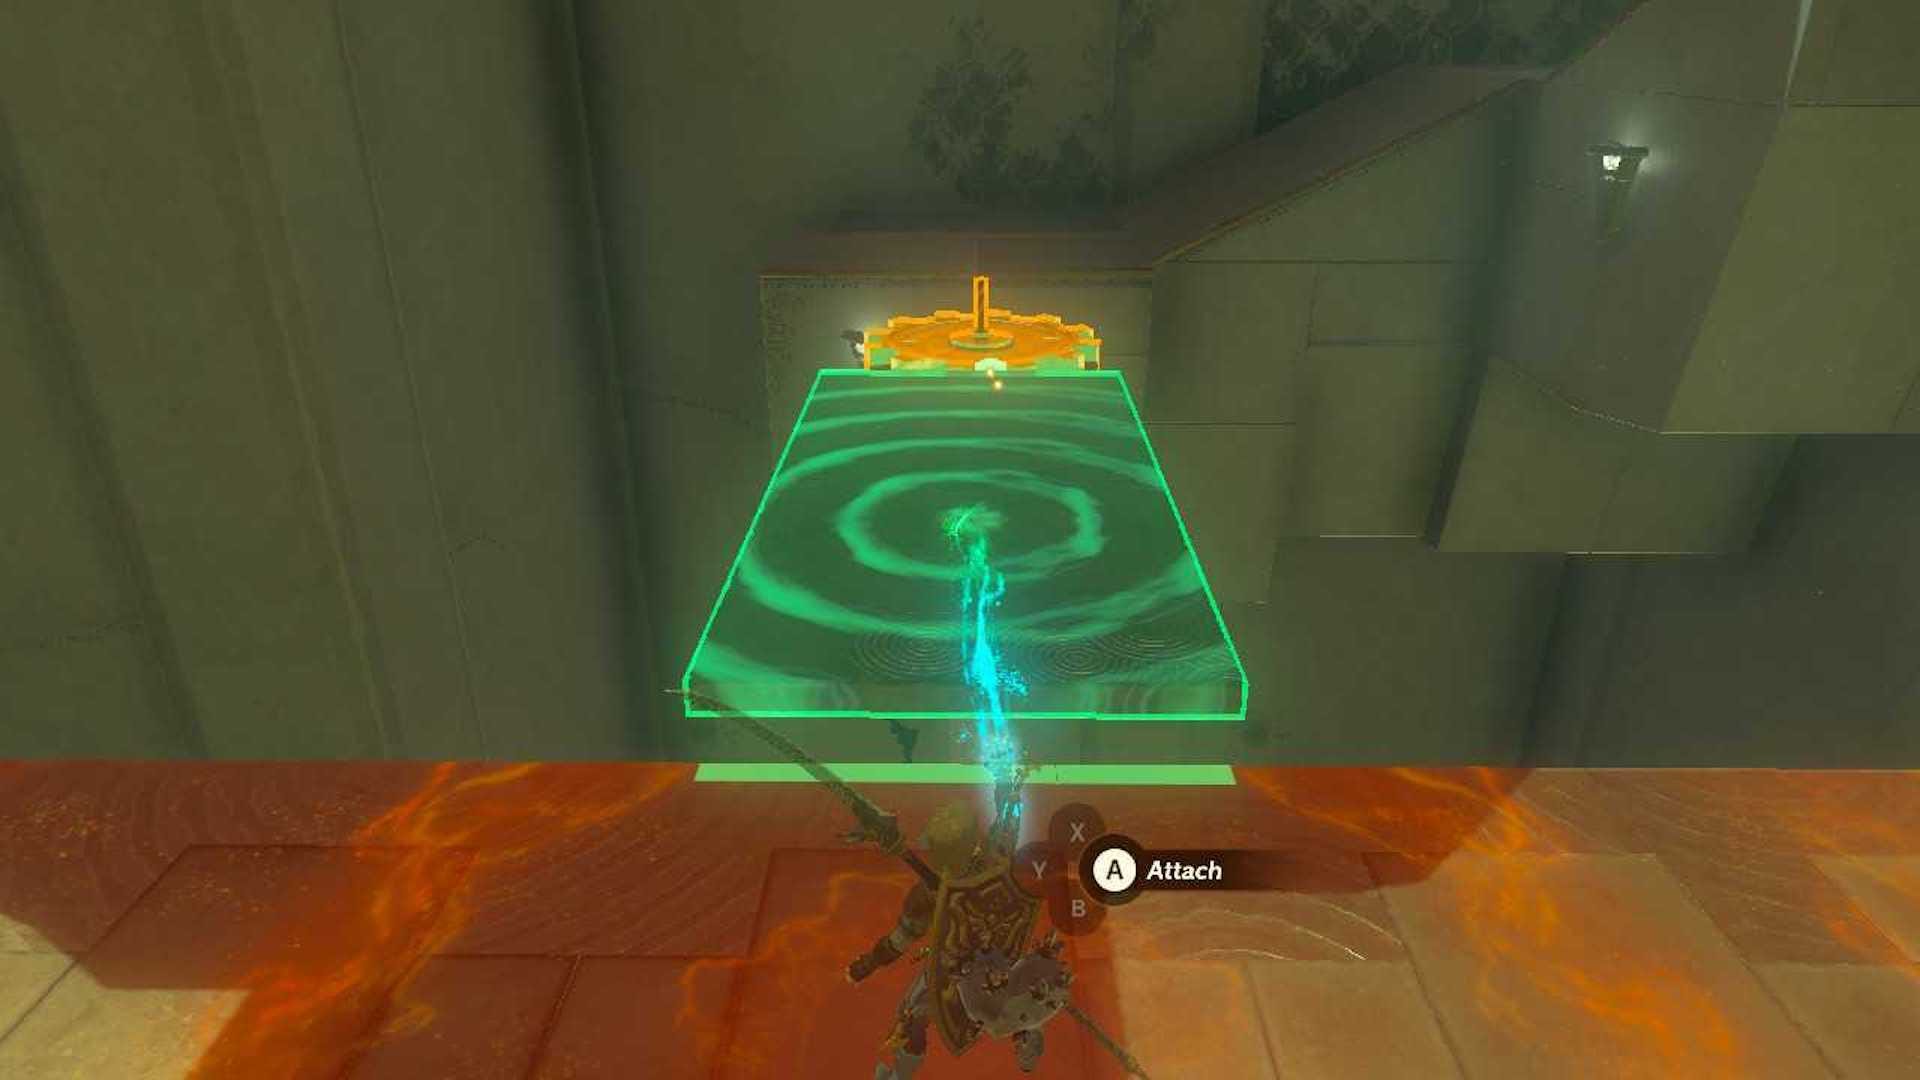
To your left is a spinning cog. This leads to a Chest, which we’ll handle first. Attach the stone slab to the cog to create a spinning platform. You can use this to cross and grab the chest which contains 10 arrows.
Now, bring the slab with you to the next bridge. Attach it to the edge of the hinged slab infront of you to drop the bridge. There’s another slab to your left, which you’ll want to attach to the far side to create a ramp that you can run up.
Finally, we’re building a catapult. Attach a stone slab to the end of the one below you. Now, stand on the end of it, and shoot the yellow switch with an arrow. This will catapult you up into the air, allowing you to glide over to the Shrine exit.
Well done on completing the Kitawak Shrine! If you want to try another one out, check out our Kyokugon Shrine solution guide. However, if you want a complete change of pace and outfit, take a look at our Phantom Armor set locations.