How to get to Ganondorf in Zelda Tears of the Kingdom
What lies beneath Hyrule Castle?

You must first reach Ganondorf's location beneath Hyrule Castle before you can truly cleanse the land of evil in Zelda: Tears of the Kingdom.
Getting to Ganondorf, however, isn't an easy task in Zelda: Tears of the Kingdom, because he's hidden himself away in the Depths beneath Hyrule Castle and undertaking this journey has its own set of challenges.
Below you'll learn how to get to Ganondorf in Zelda: Tears of the Kingdom, along with how to prepare for this journey.
Hey! Listen! While we've done our best, this guide does contain some spoilers!
On this page:
If you'd like to learn more about Link's adventure in, above and below Hyrule, visit our Zelda: Tears of the Kingdom walkthrough.
How to prepare for reaching Ganondorf's location in Zelda Tears of the Kingdom
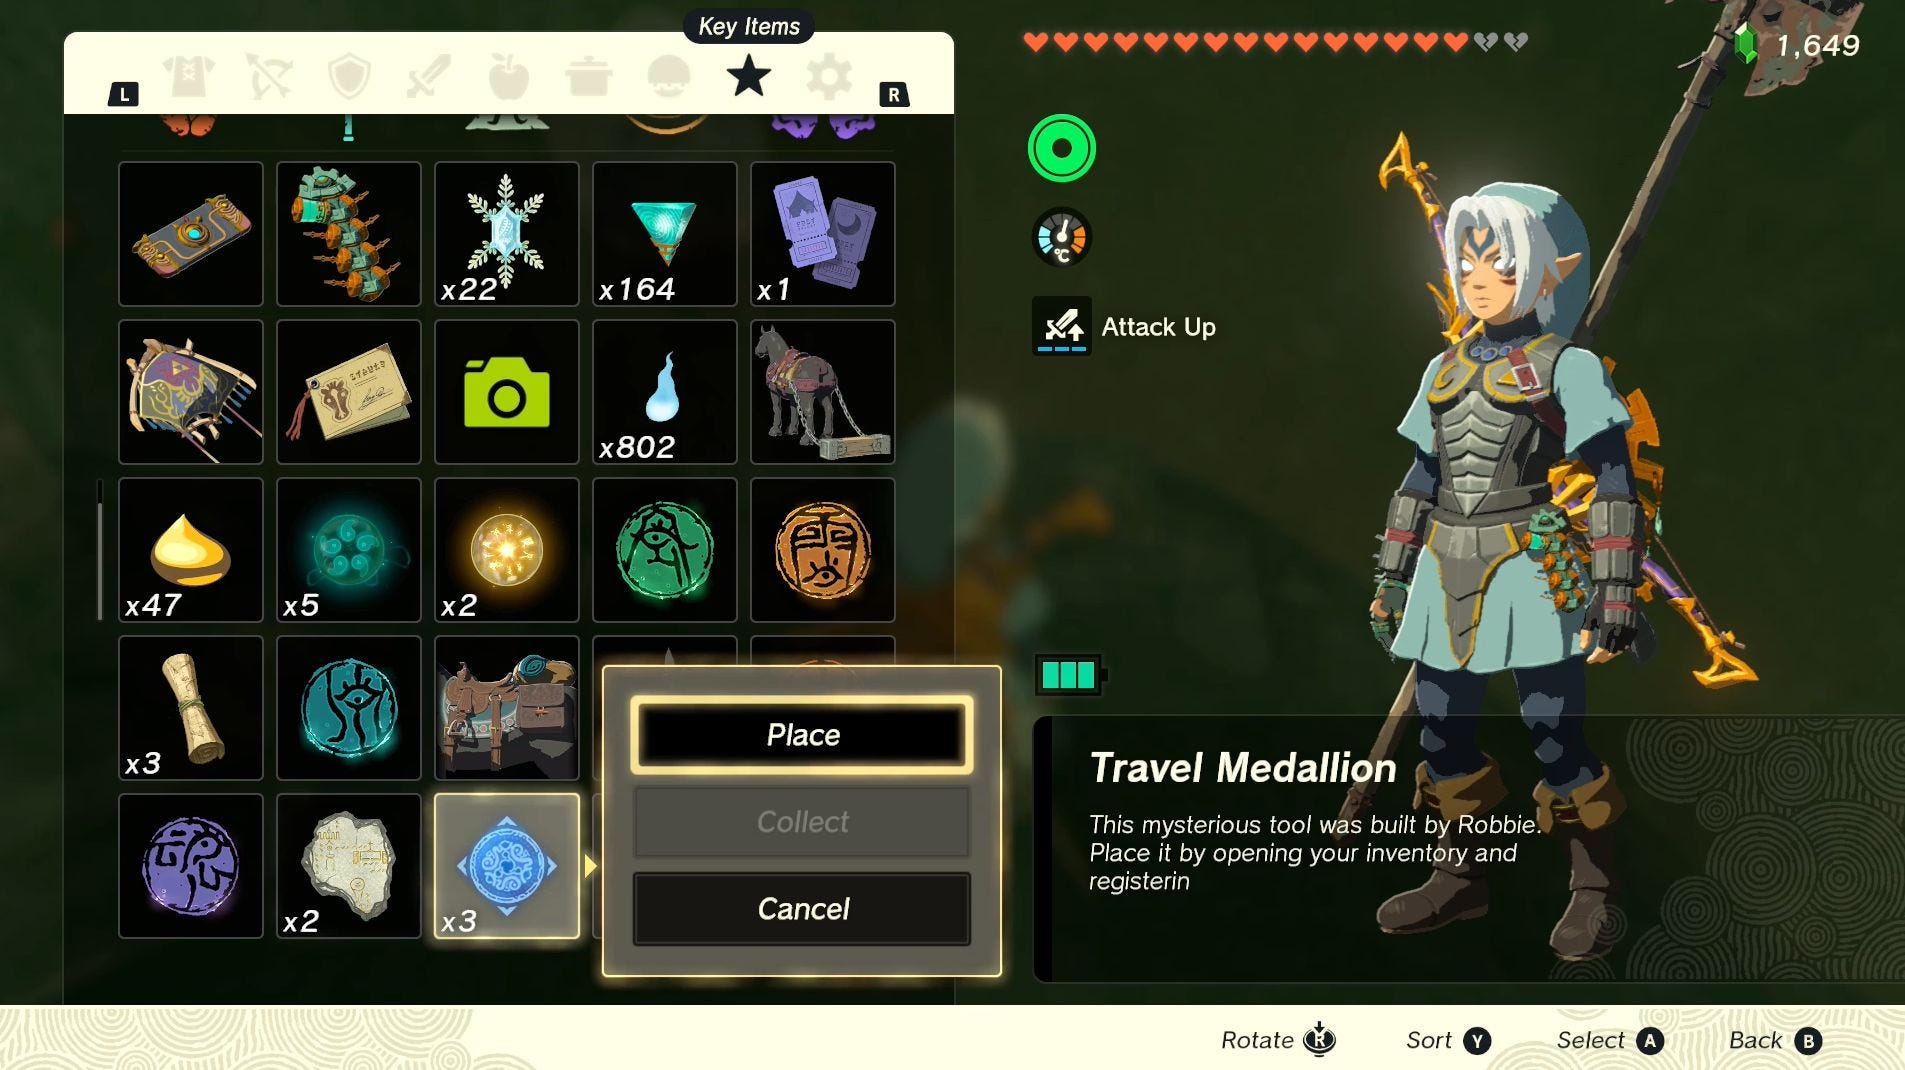
Before you set out to find Ganondorf in Zelda: Tears of the Kingdom, we highly recommend unlocking at least one Travel Medallion as this will allow you to return to the location just before where the final battle takes place. With this in place, you can easily skip over the journey to Ganondorf if you realise further preparations are in order after your first attempt to defeat him.
Since you're heading into the Depths, we also recommend bringing along items which will provide Gloom resistance, such as food to replenish your Gloom-locked hearts or the Armor of the Depths set. You'll have to tackle both puddles of Gloom and Gloom-infested monsters on your way to Ganondorf, not to forget his own Gloom based attacks, so it's important to have these items in place to keep yourself protected. Keep in mind that you can also use Mineru's Construct to avoid Gloom puddles.
It's also a good idea to bring along a healthy stock of Bomb Flowers - both for destroying any rocks you encounter and for battling - as well as some Energizing Elixirs if you require extra Stamina for reaching the chasm beneath Hyrule Castle by air.
Personally, I made this journey while wearing the Fierce Deity Armor Set, using Mineru's Construct to cross any Gloom when possible, while wielding the Master Sword, a Royal Guard's Bow and a Mighty Zonaite Shield. (I kept Link alive by solely eating apples - this is not recommended.)
Alongside this, you'll also want to be stocked up on all the food, potions, armor and weapons - including bows and shields - you're planning on using against Ganondorf. For our recommendations on how to prepare for this fight, visit our how to beat Ganondorf guide and our recipe list for food recommendations.
Though you can always reach the location before your final showdown with the Demon King first, place the Travel Medallion and then return to surface-level Hyrule to gather this equipment.
Finally, if you're planning on using the Master Sword during this journey, we recommend ensuring it's fully charged before battling Ganondorf.
How to reach Ganondorf in Zelda Tears of the Kingdom
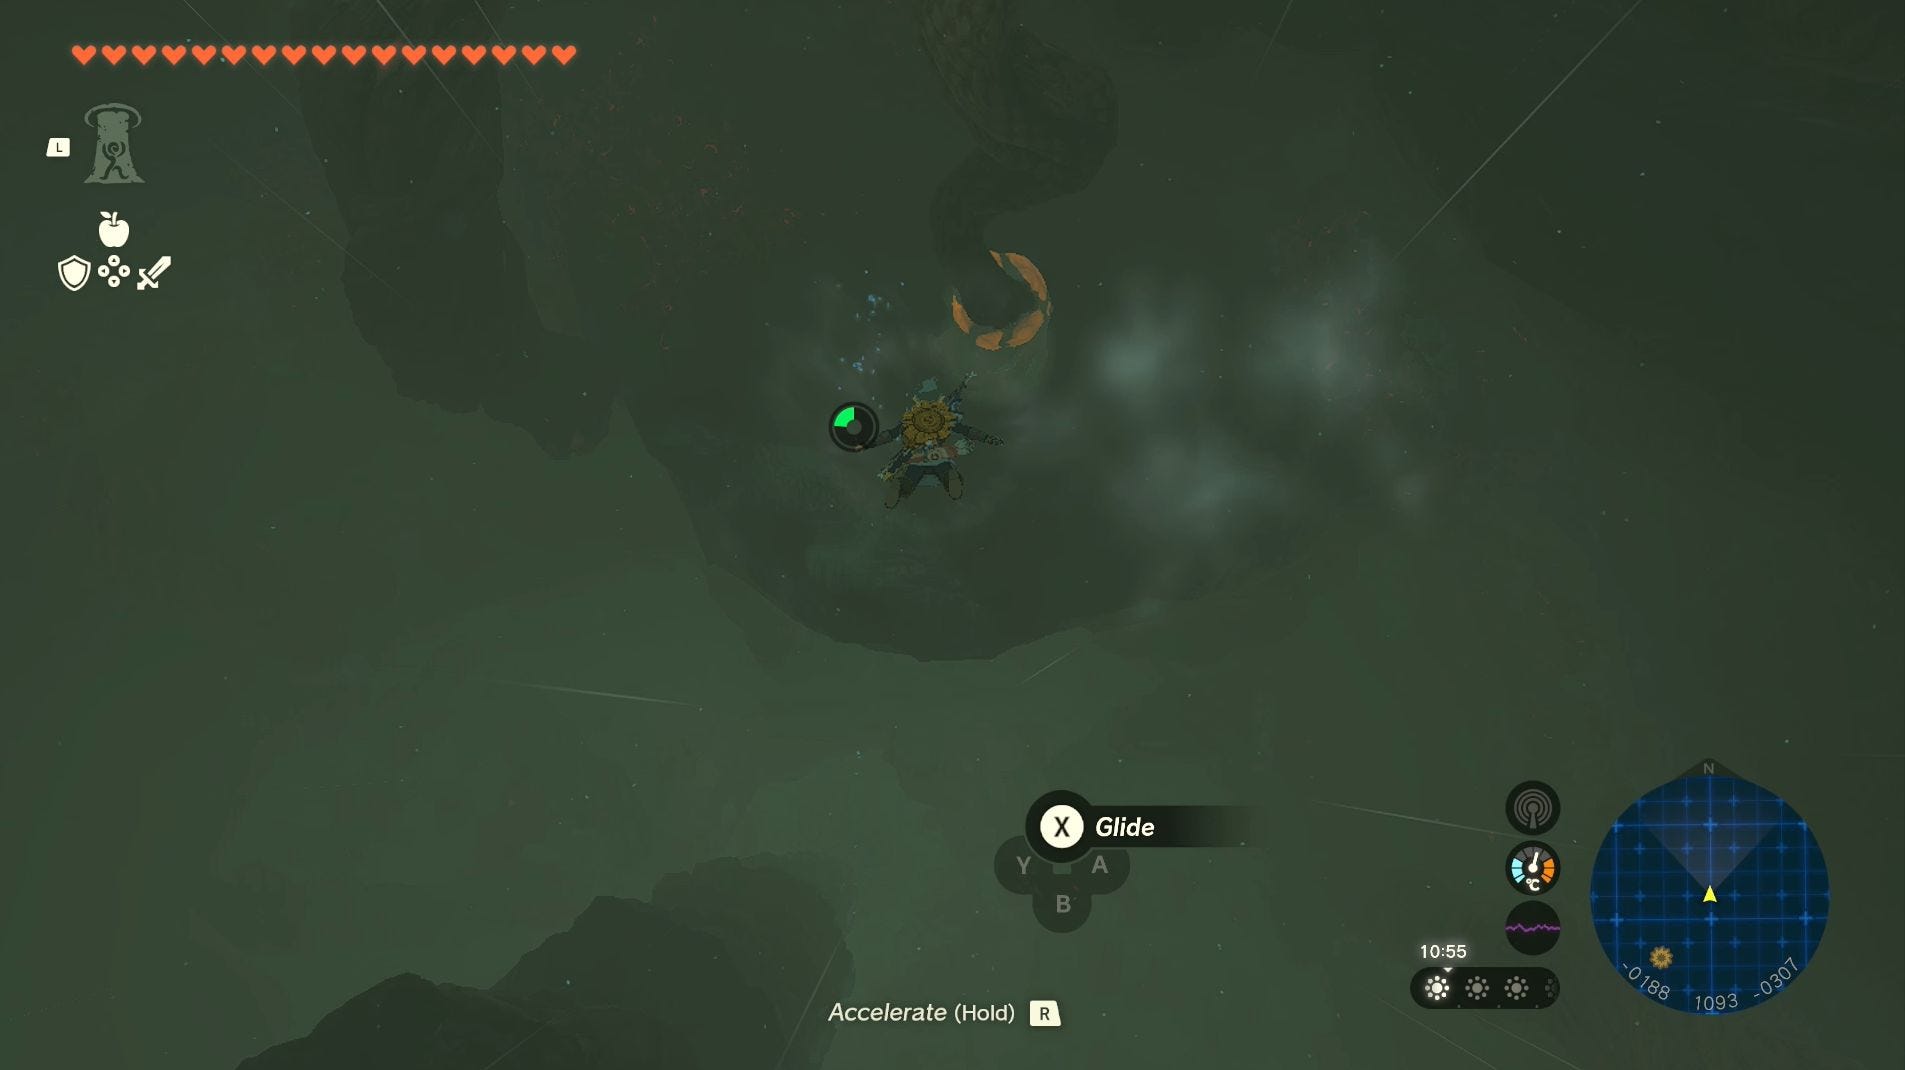
The first step in reaching Ganondorf in Zelda: Tears of the Kingdom is diving down into the chasm Hyrule Castle is floating above. You can do this by shooting Link into the sky from the Lookout Landing Skyview Tower, jumping from the edge of the lower part of Hyrule Castle or jumping from Hyrule Castle itself, using the Serutabomac Shrine as a fast travel point.
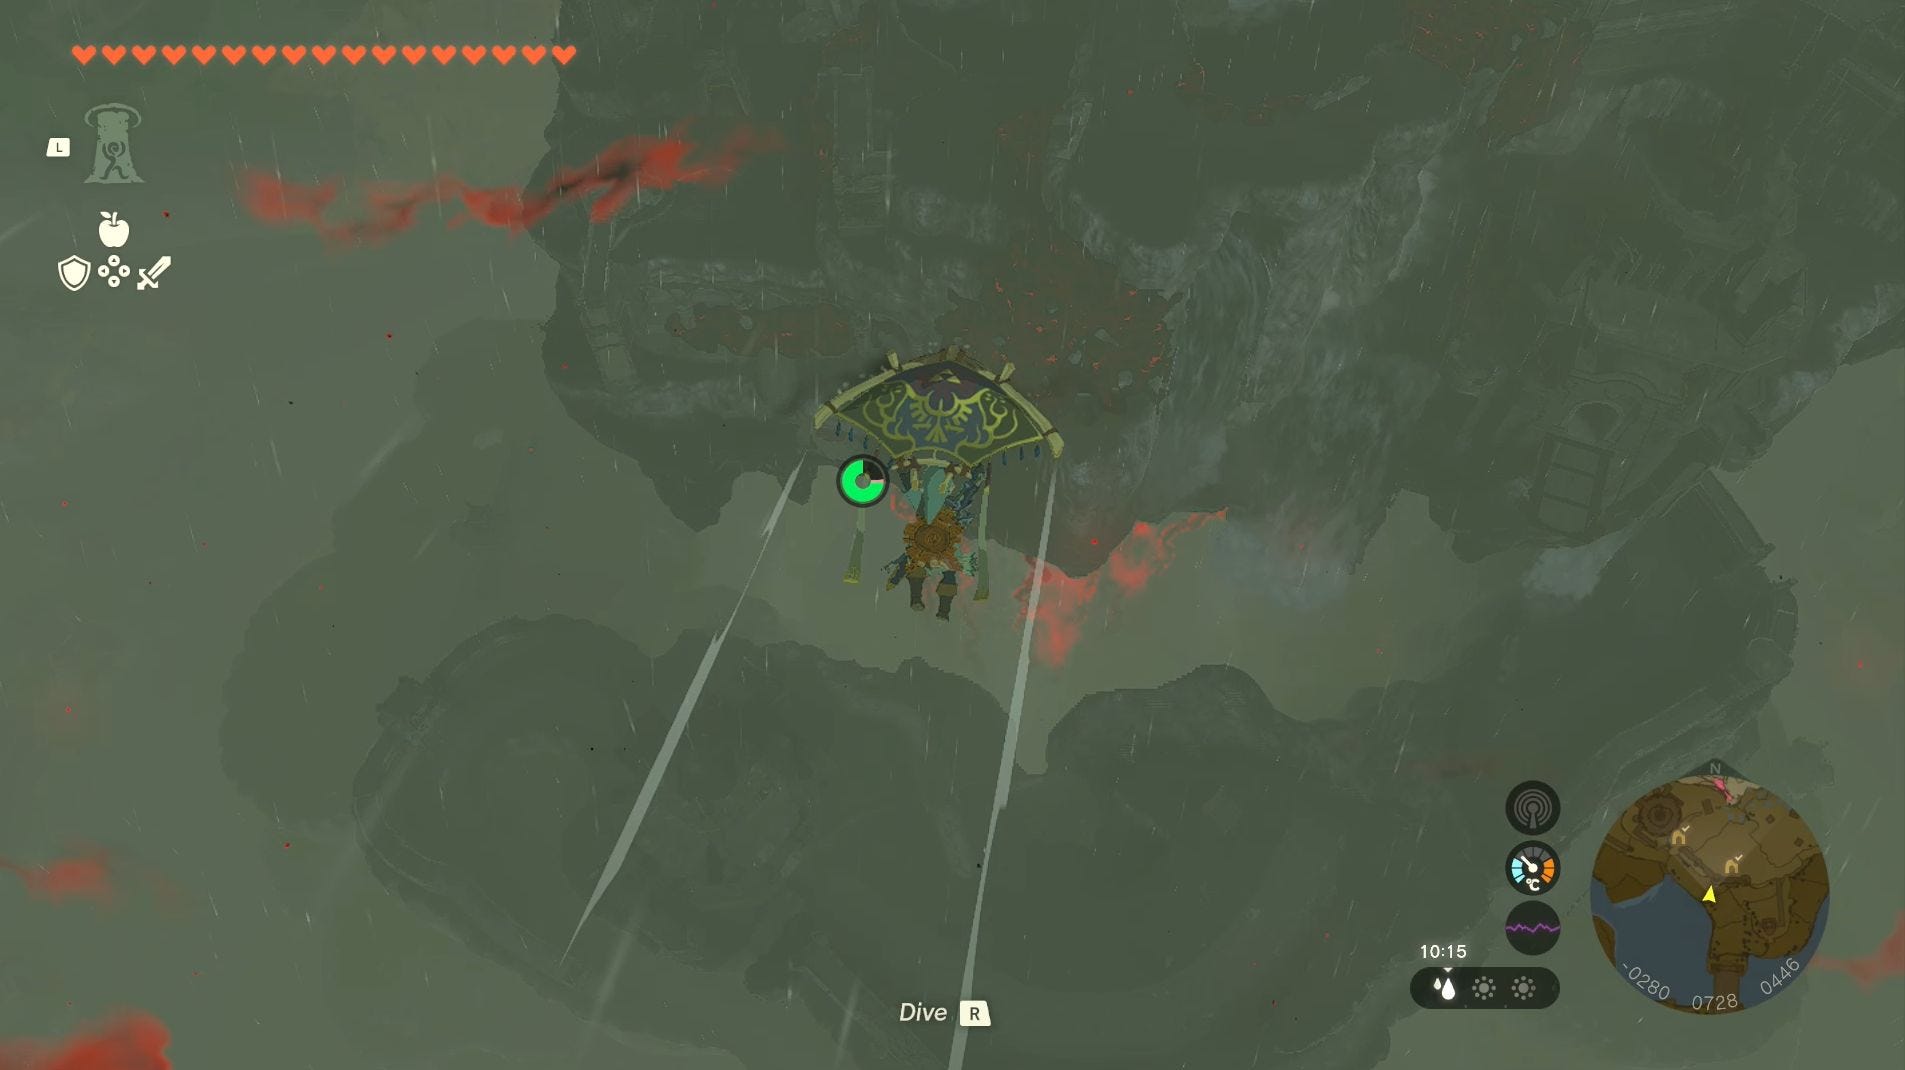
No matter how you do it though, you do need to dive down into Hyrule Castle Chasm. If this is the first time you've visited this area, then we highly recommend activating the Camobatures Lightroot to bring some much needed light to the location and add it to your map of The Depths.
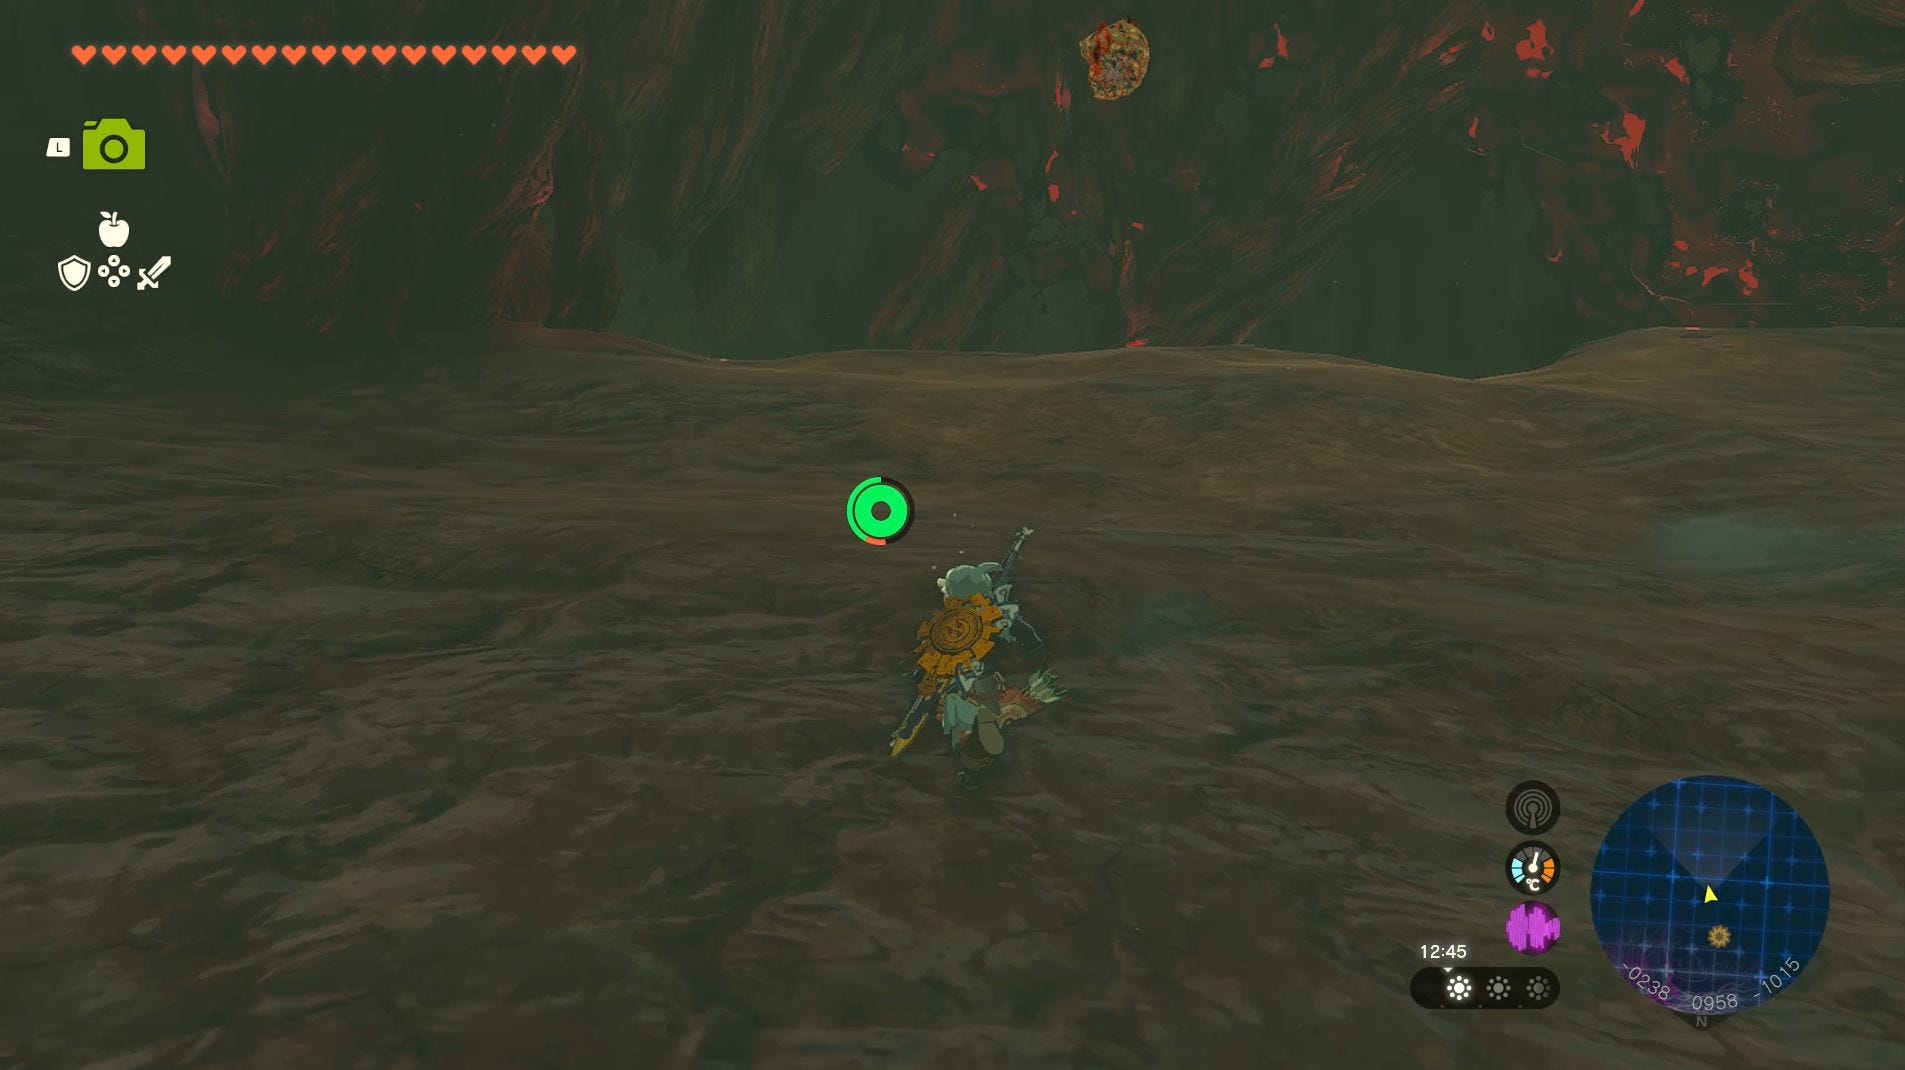
After doing so, or if you've already activated this Lightroot, head to the southern part of this section of the chasm. Here you'll find another hole guarded by some Gloom-infested Shock Likes. You can avoid fighting these monsters if you like.
Whether you decide to kill them or not, you'll want to jump off the ledge and paraglide through the hole on the left-hand side.
This will lead to you another small cave containing some Horriblins infested with Gloom. Again you can avoid fighting these monsters if you choose, just make sure you quickly climb up the wall directly opposite you.
After climbing this wall, you'll find yourself in a larger cavern standing on a ledge above a White-Maned Lynel. Once again, you have the choice of fighting this monster or simply avoiding it. We do recommend avoiding it to preserve your resources since Lynels are some of the hardest in the game and being Gloom-infested doesn't make it any easier.
Instead of fighting the White-Maned Lynel, look to your left to see a doorway on the left-hand wall of the cavern. You can easily paraglide over to this doorway, using the Vow of Tulin to reach it even faster.
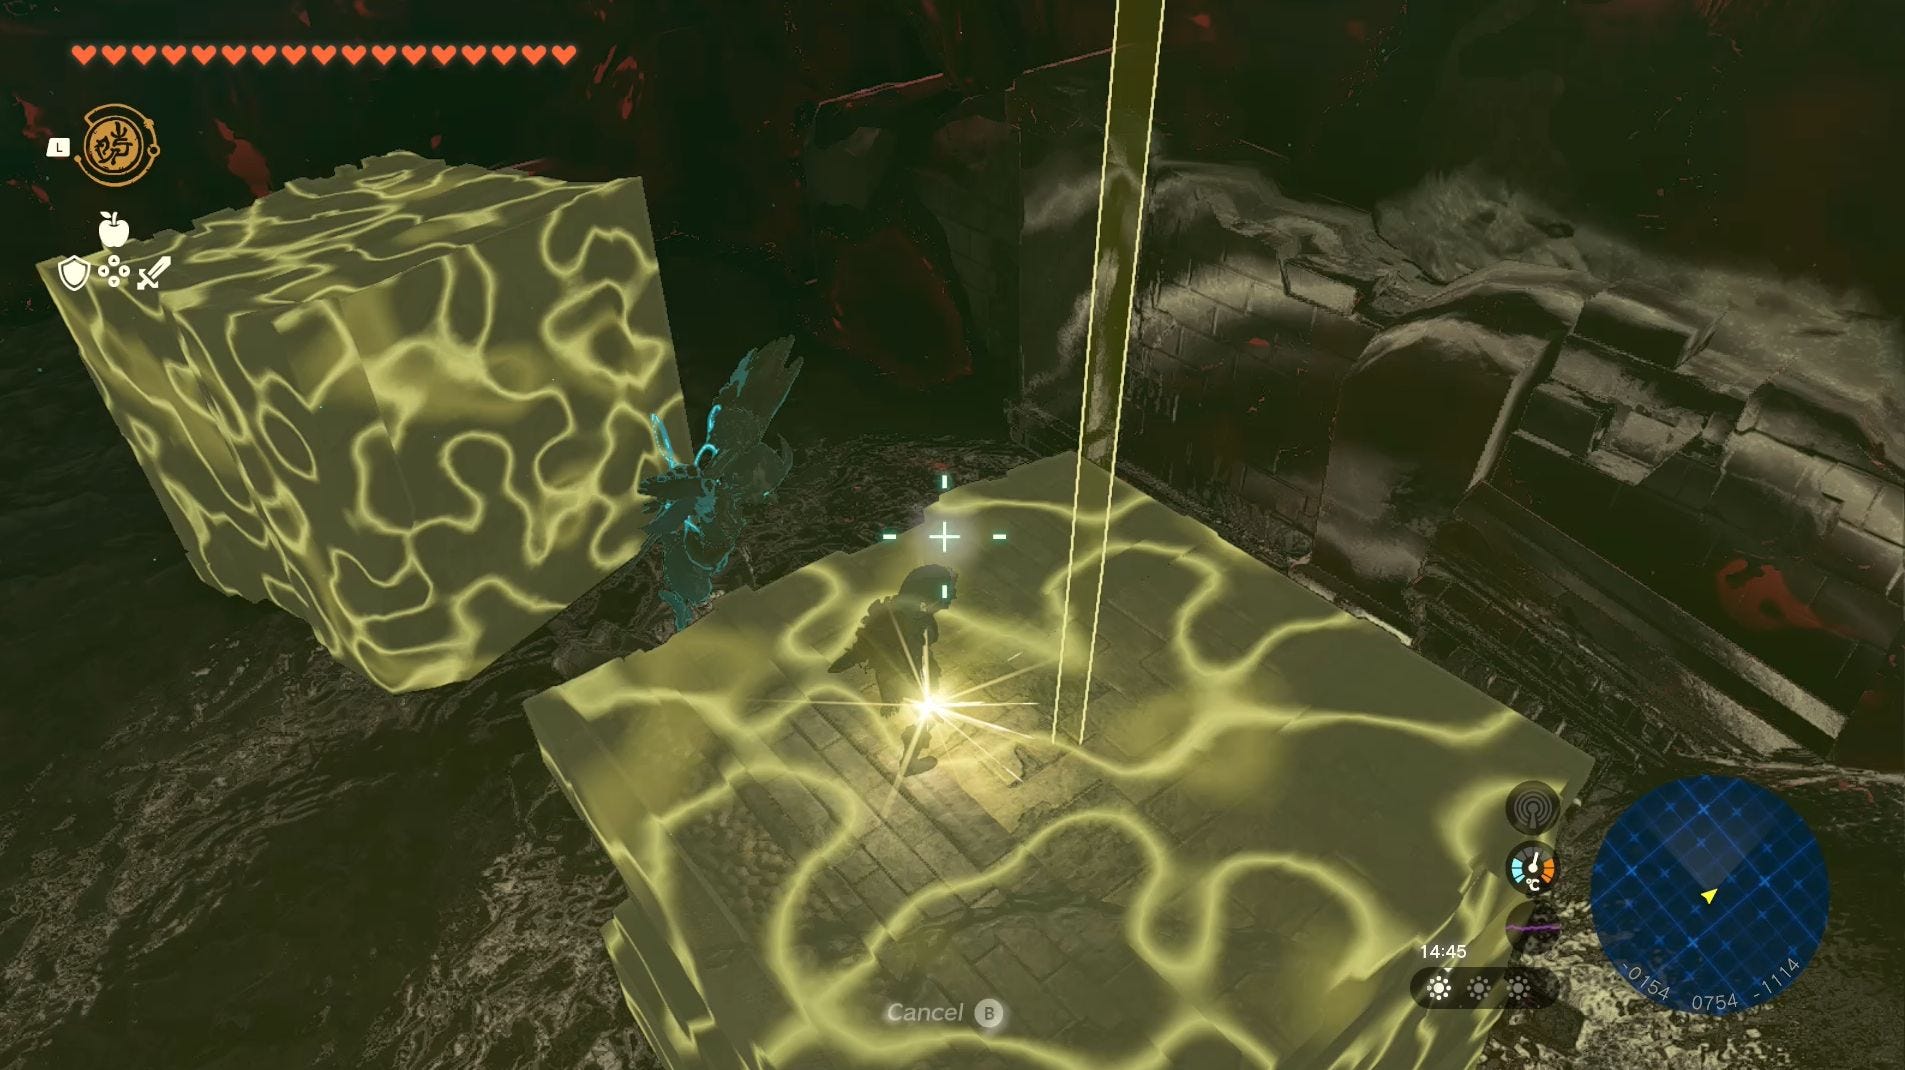
Head through the doorway once there and allow the block to take you to the lower floor.
You'll now find yourself in a room where two blocks will fall from the ceiling. Using Recall, find the block which has the most direct route up to the top of the room (or less you might find yourself dropping to the ground). After finding it, climb atop it and use Recall to reach the top of the room.
From there, follow the corridor along until you find yourself in an area containing multiple Ice Likes and Ice Keese. Here we do recommend defeating these monsters as it will make it much easier to progress through the corridor with them gone.
You can defeat Ice Likes by fusing materials like Fire Fruits to an arrow and then shooting them like they're stunned. Ice Keese, meanwhile, can be quickly murdered by a swing of any weapon or one arrow.
With the monsters gone, you can now safely go through the corridor they were guarding. Considering the amount of Gloom in the corridor, it's a good idea to jump atop of Mineru's Construct so you can avoid being touched by the Gloom.
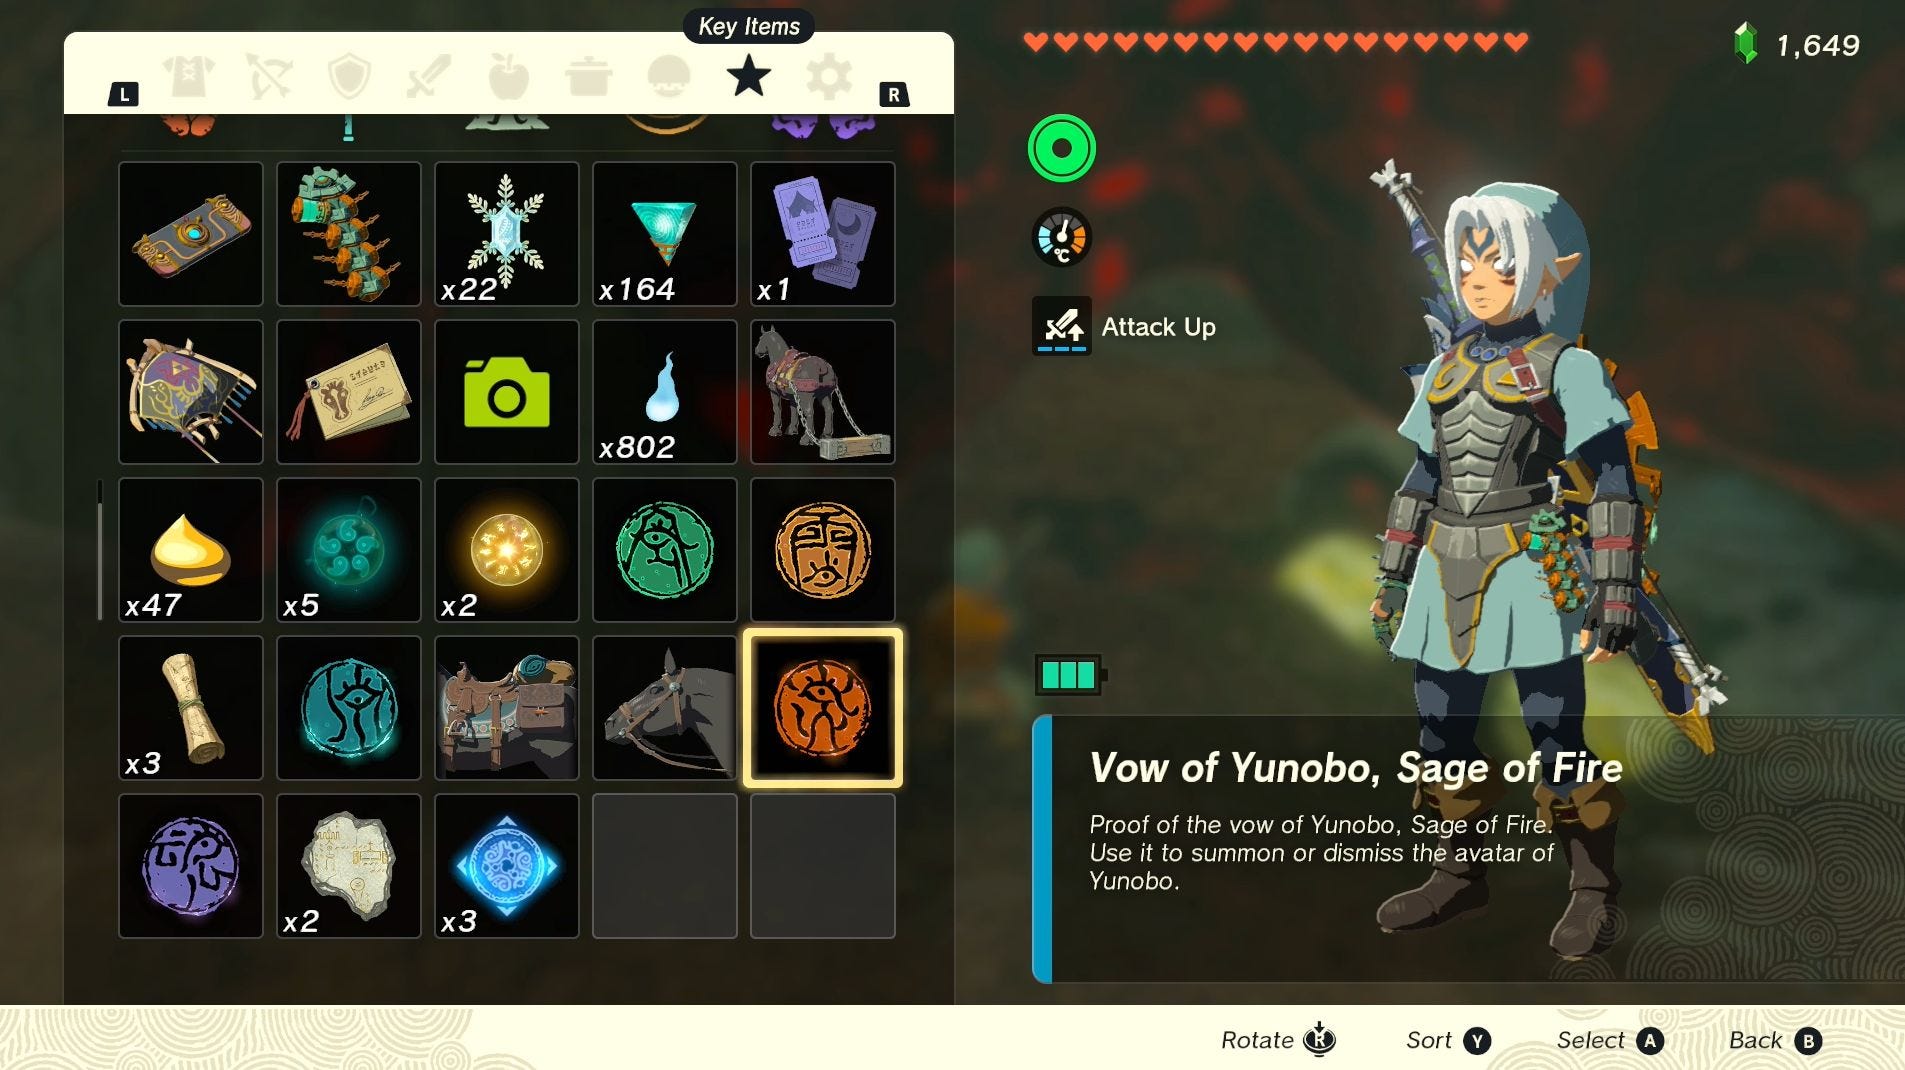
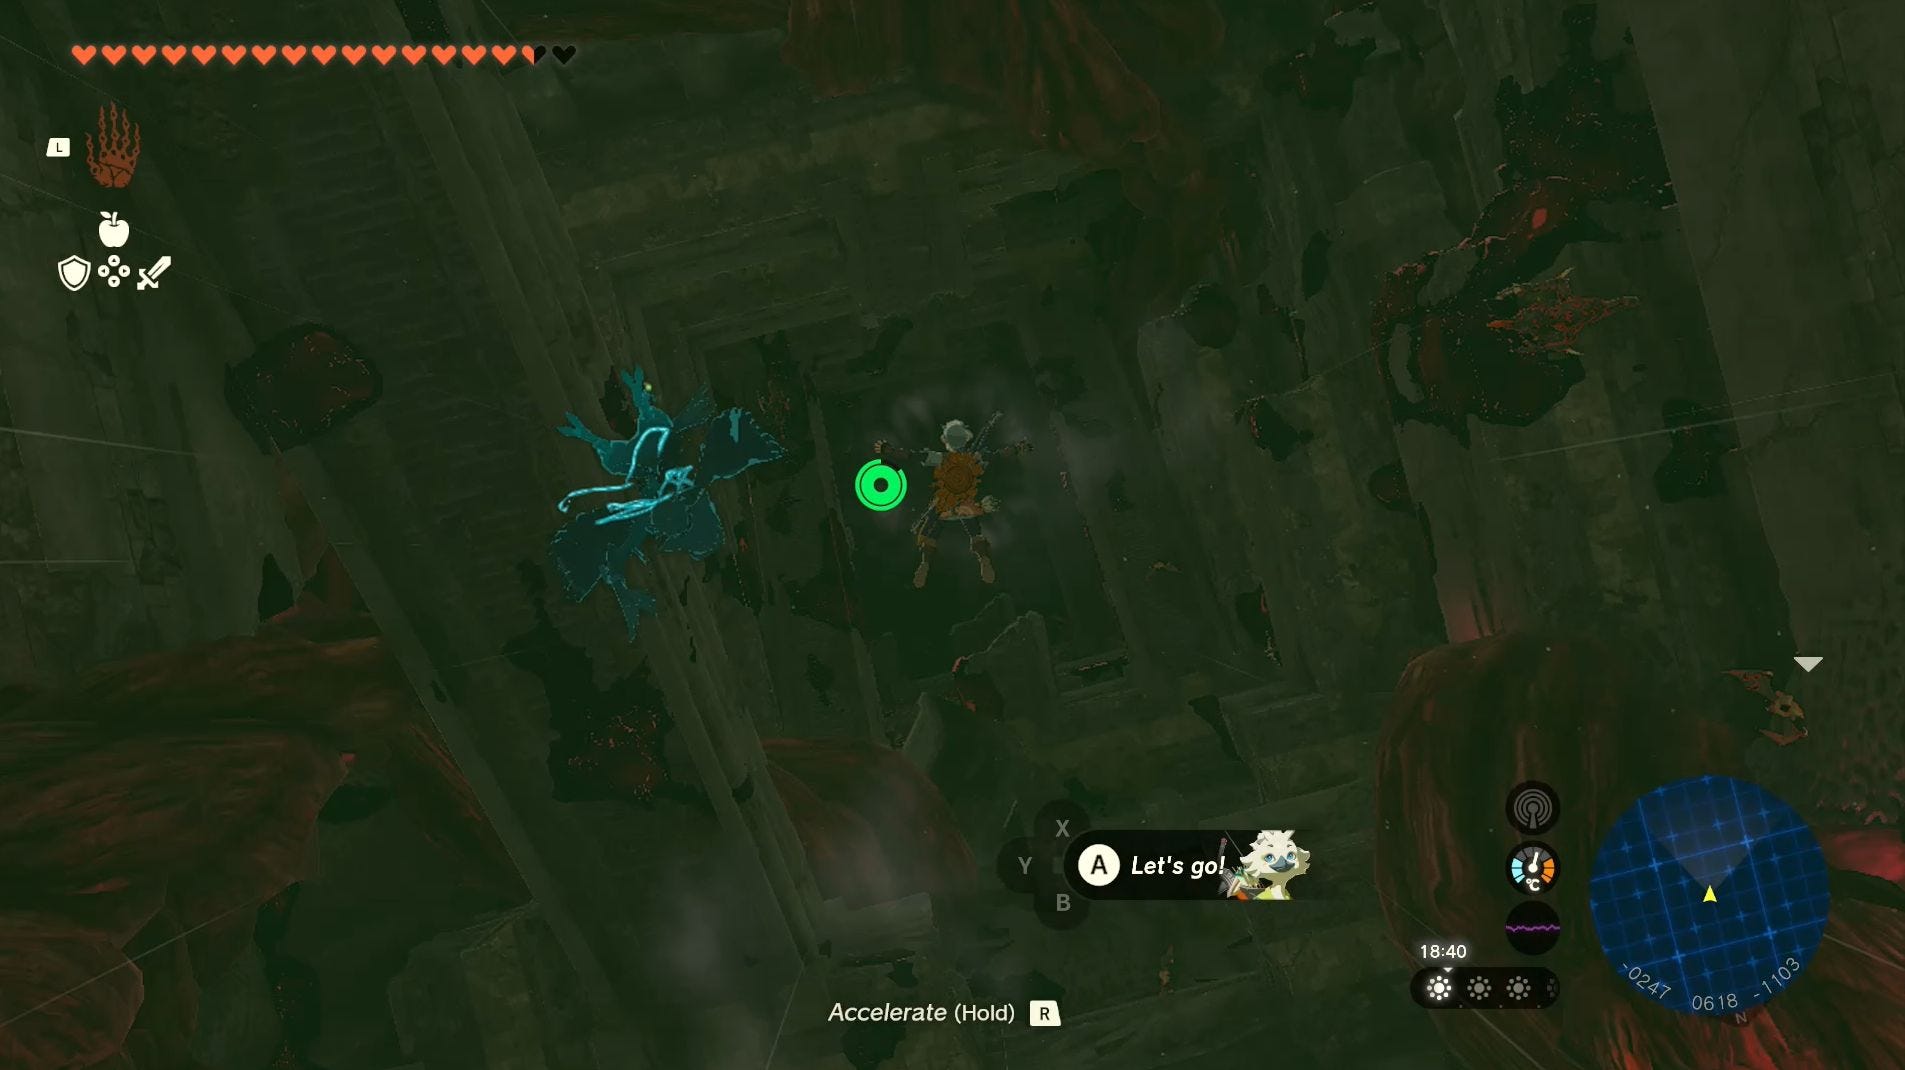
At the end of the corridor, you'll find yourself at the edge of yet another chasm. The quickest way to reach the bottom is to simply paraglide or dive down until you reach the lowest floor. Keep in mind that, as you go down this hole, you'll also lose touch with the sages, so you won't be able to use their powers going forward.
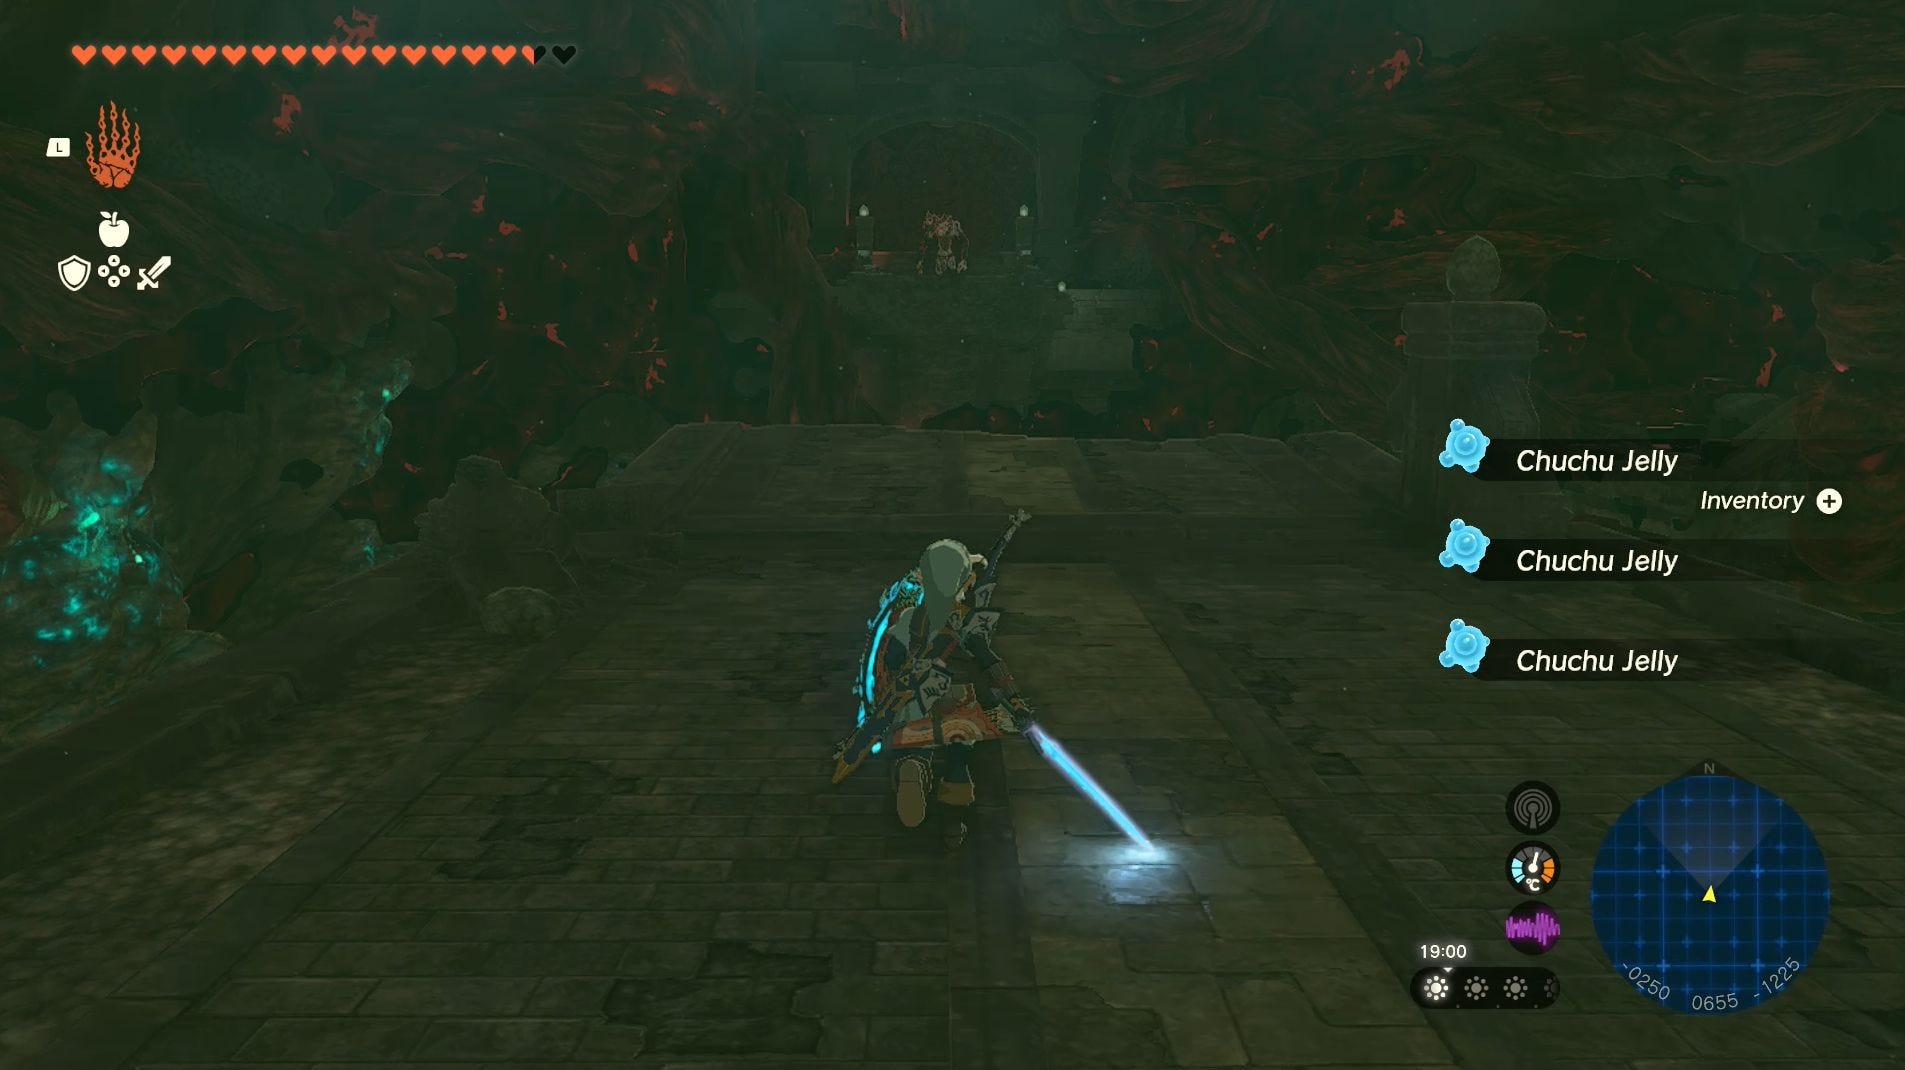
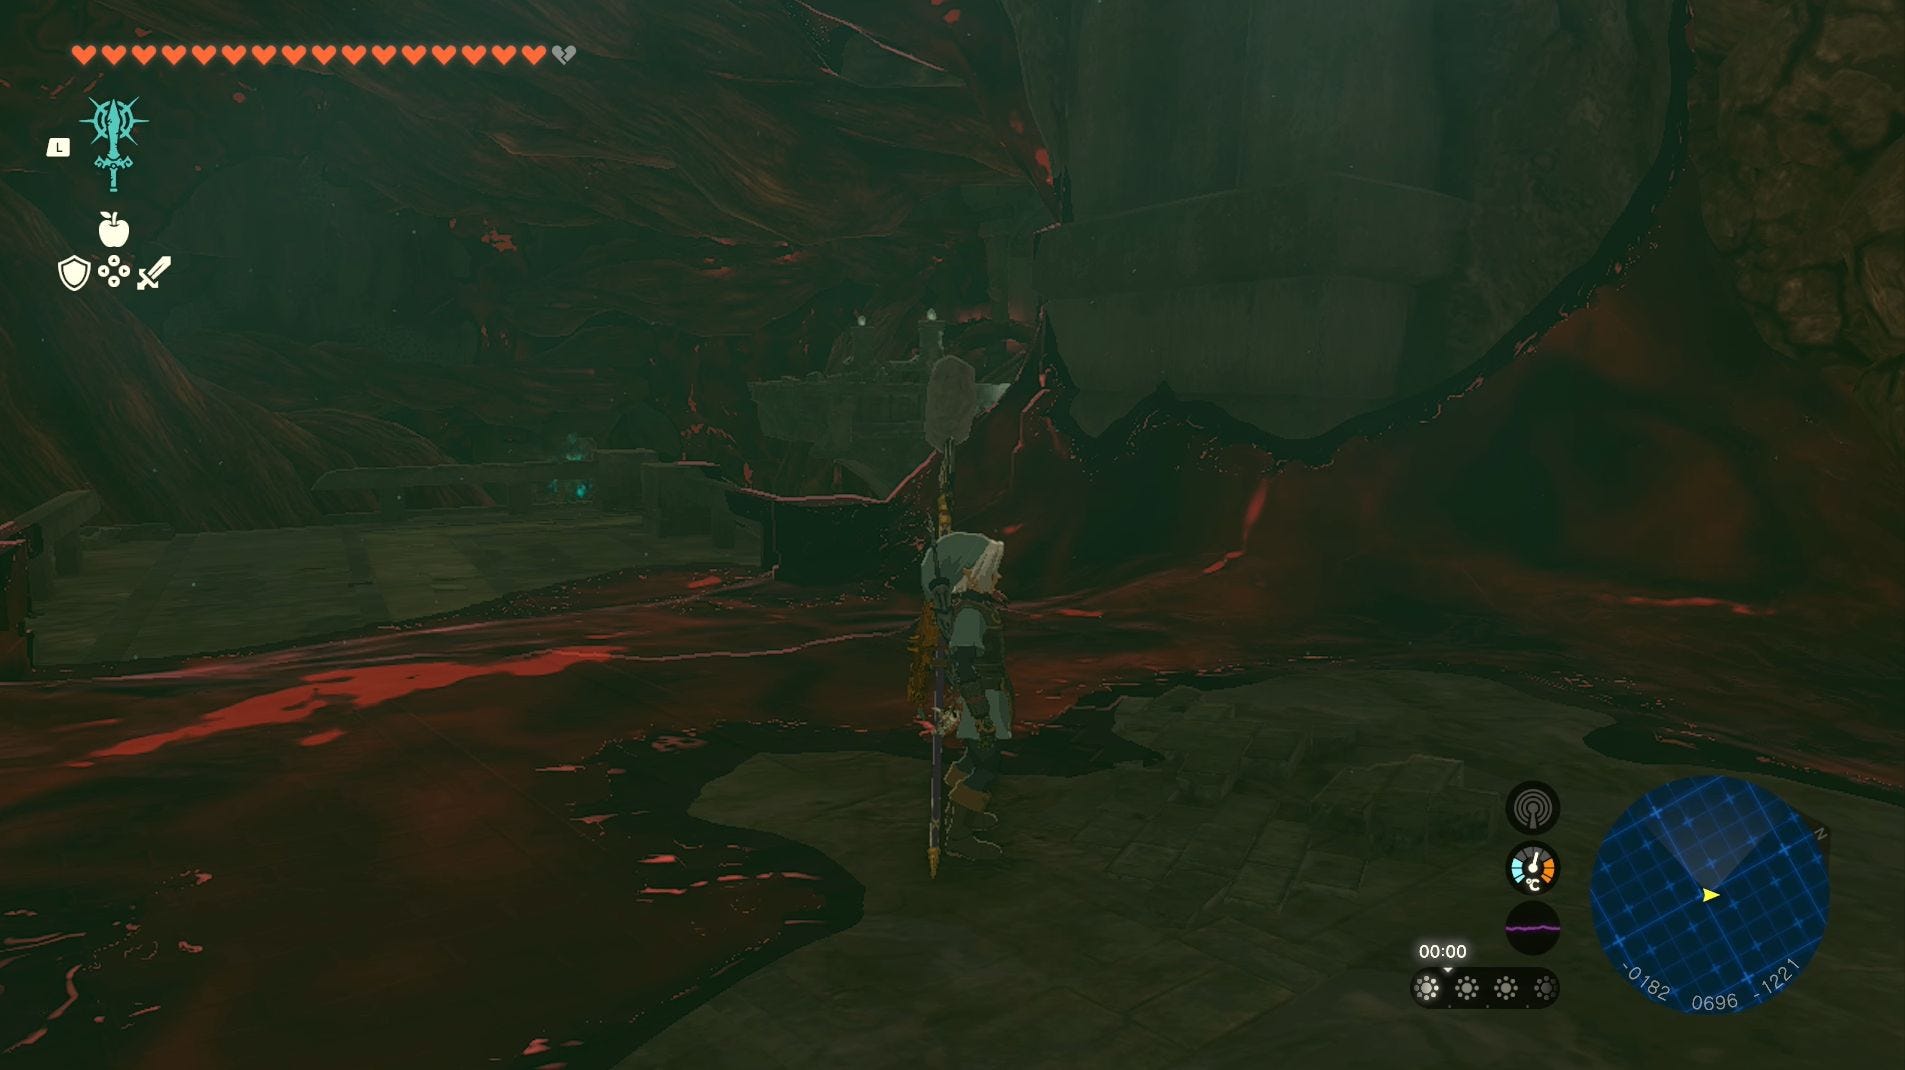
There are two Gloom-infested Lizalfos' waiting for you at the bottom of this pit, but, if you're lucky, you can avoid fighting them by gliding through the archway in the northern wall. Though two Gloom-infested Chuchus will jump out of you when you go through this doorway!
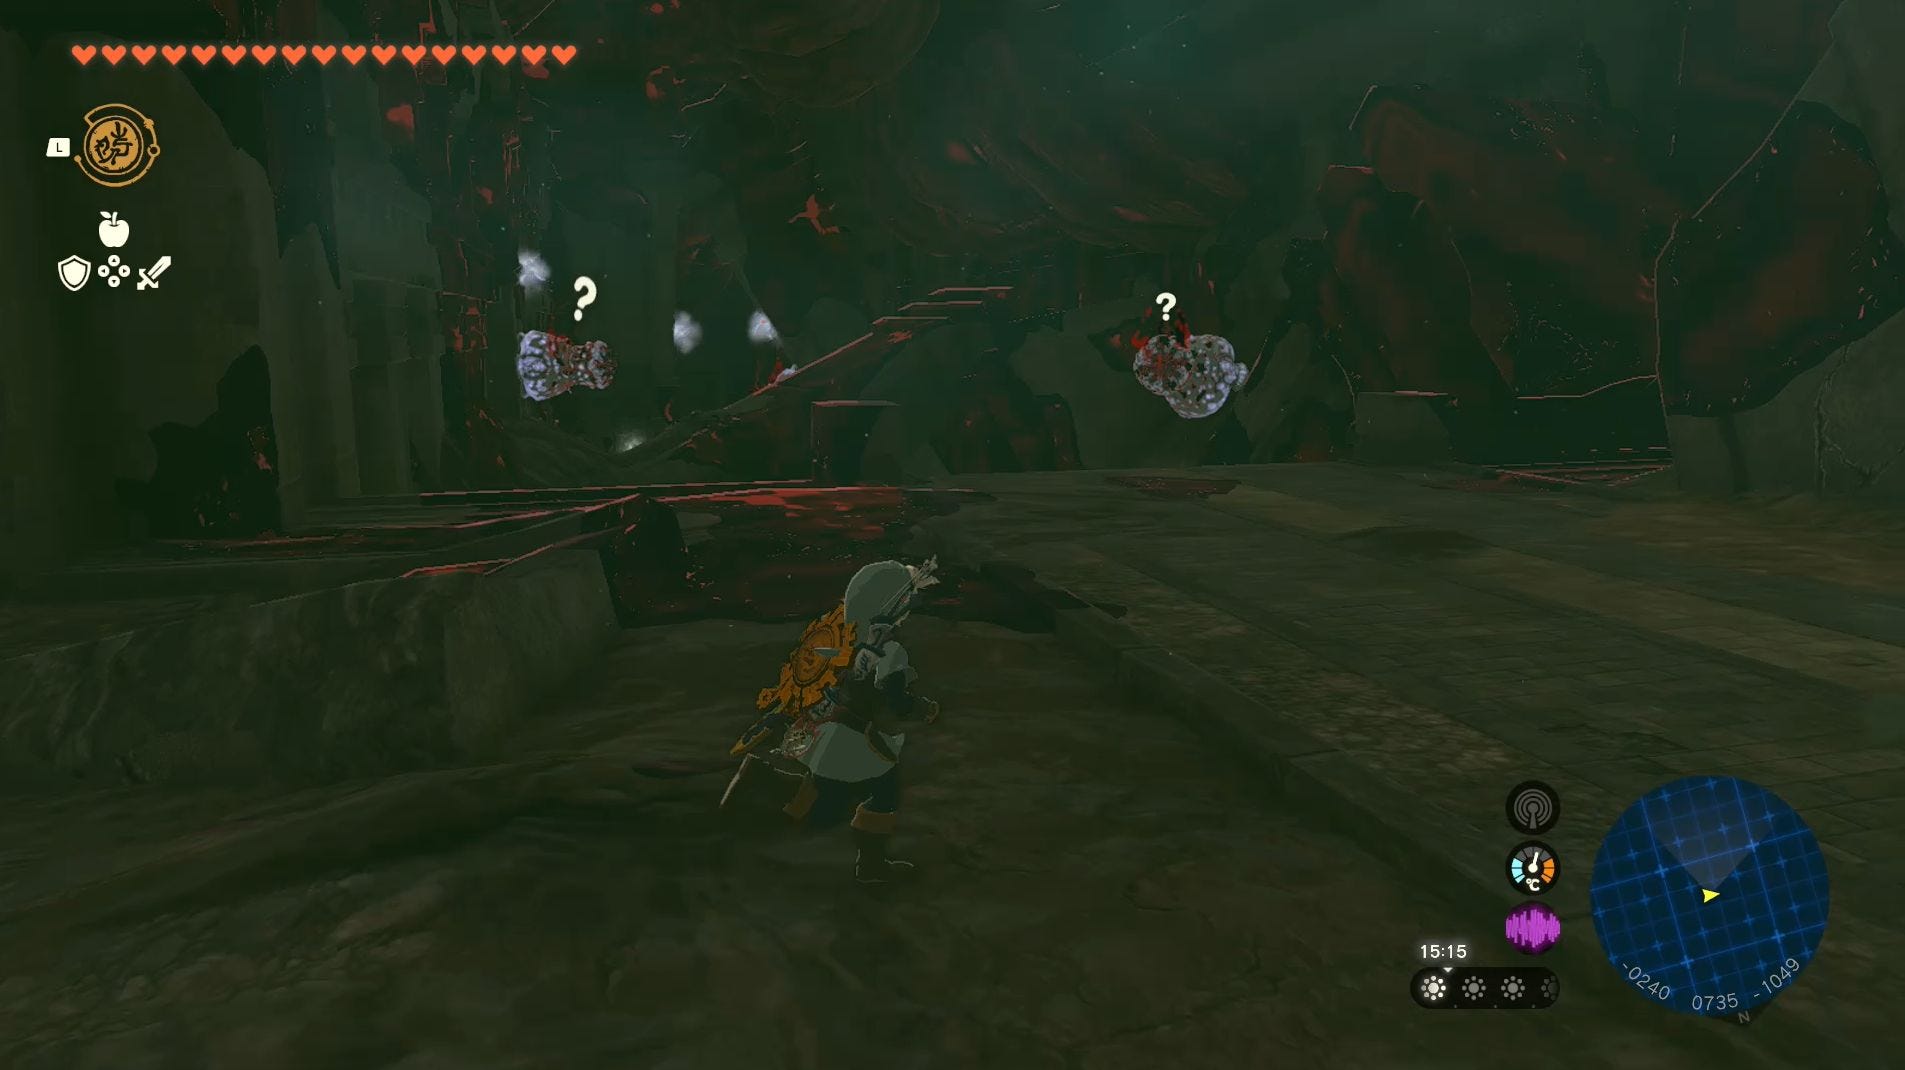
You'll now find yourself looking out across a room at an archway with a Silver Moblin standing in front of it. It's this archway you need to reach and there are two ways you can reach it.
The first is to head to the stairs on the right-hand side of this room, which will lead you to a tunnel that wraps around to the corridor. While the only inhabitants of this corridor are patches of Gloom, you will need to smash several walls of rocks to reach your destination. This can easily eat away at your supplies of Bomb Flowers and weapons.
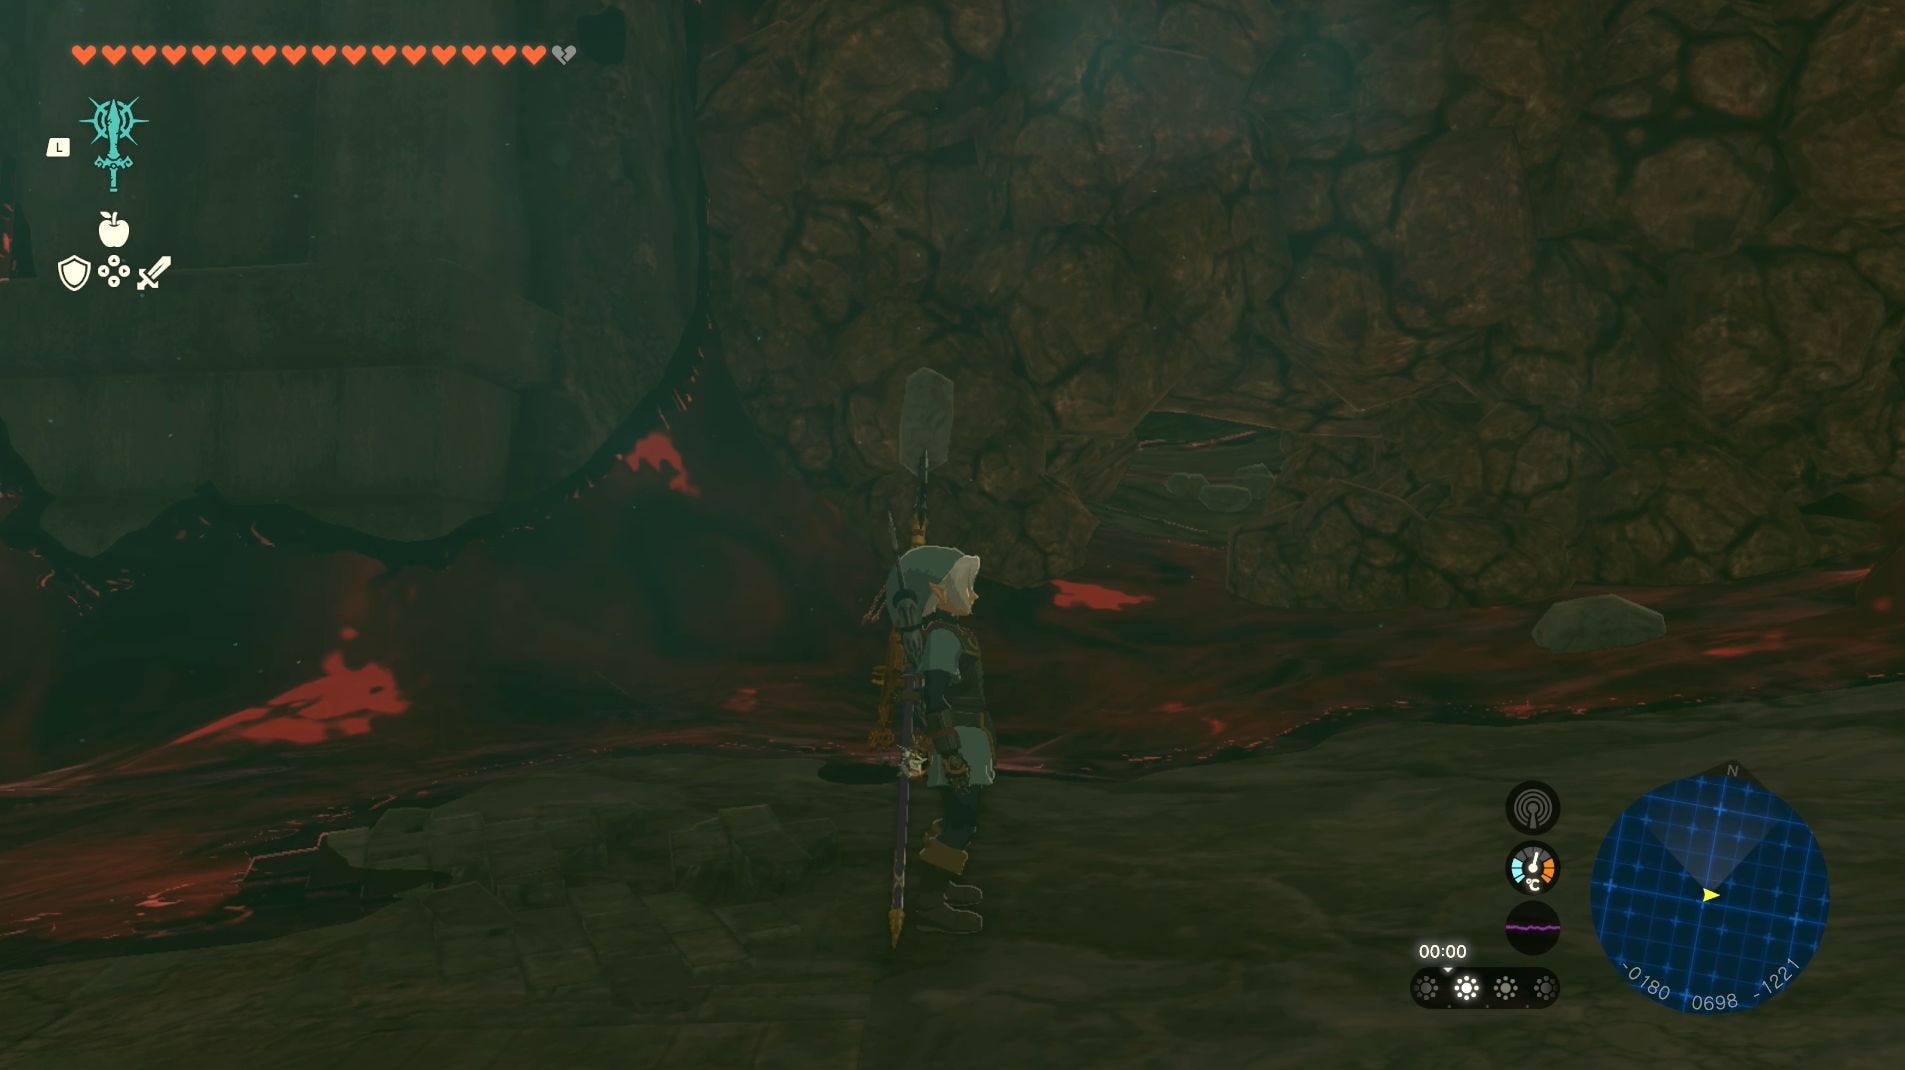
The second option is to glide over to the right-hand side of the broken bridge directly in front of you and climb up the part of the bridge which isn't covered in Gloom. When doing this, try to keep an eye on the Silver Moblin or else you might find yourself taking an arrow to face.
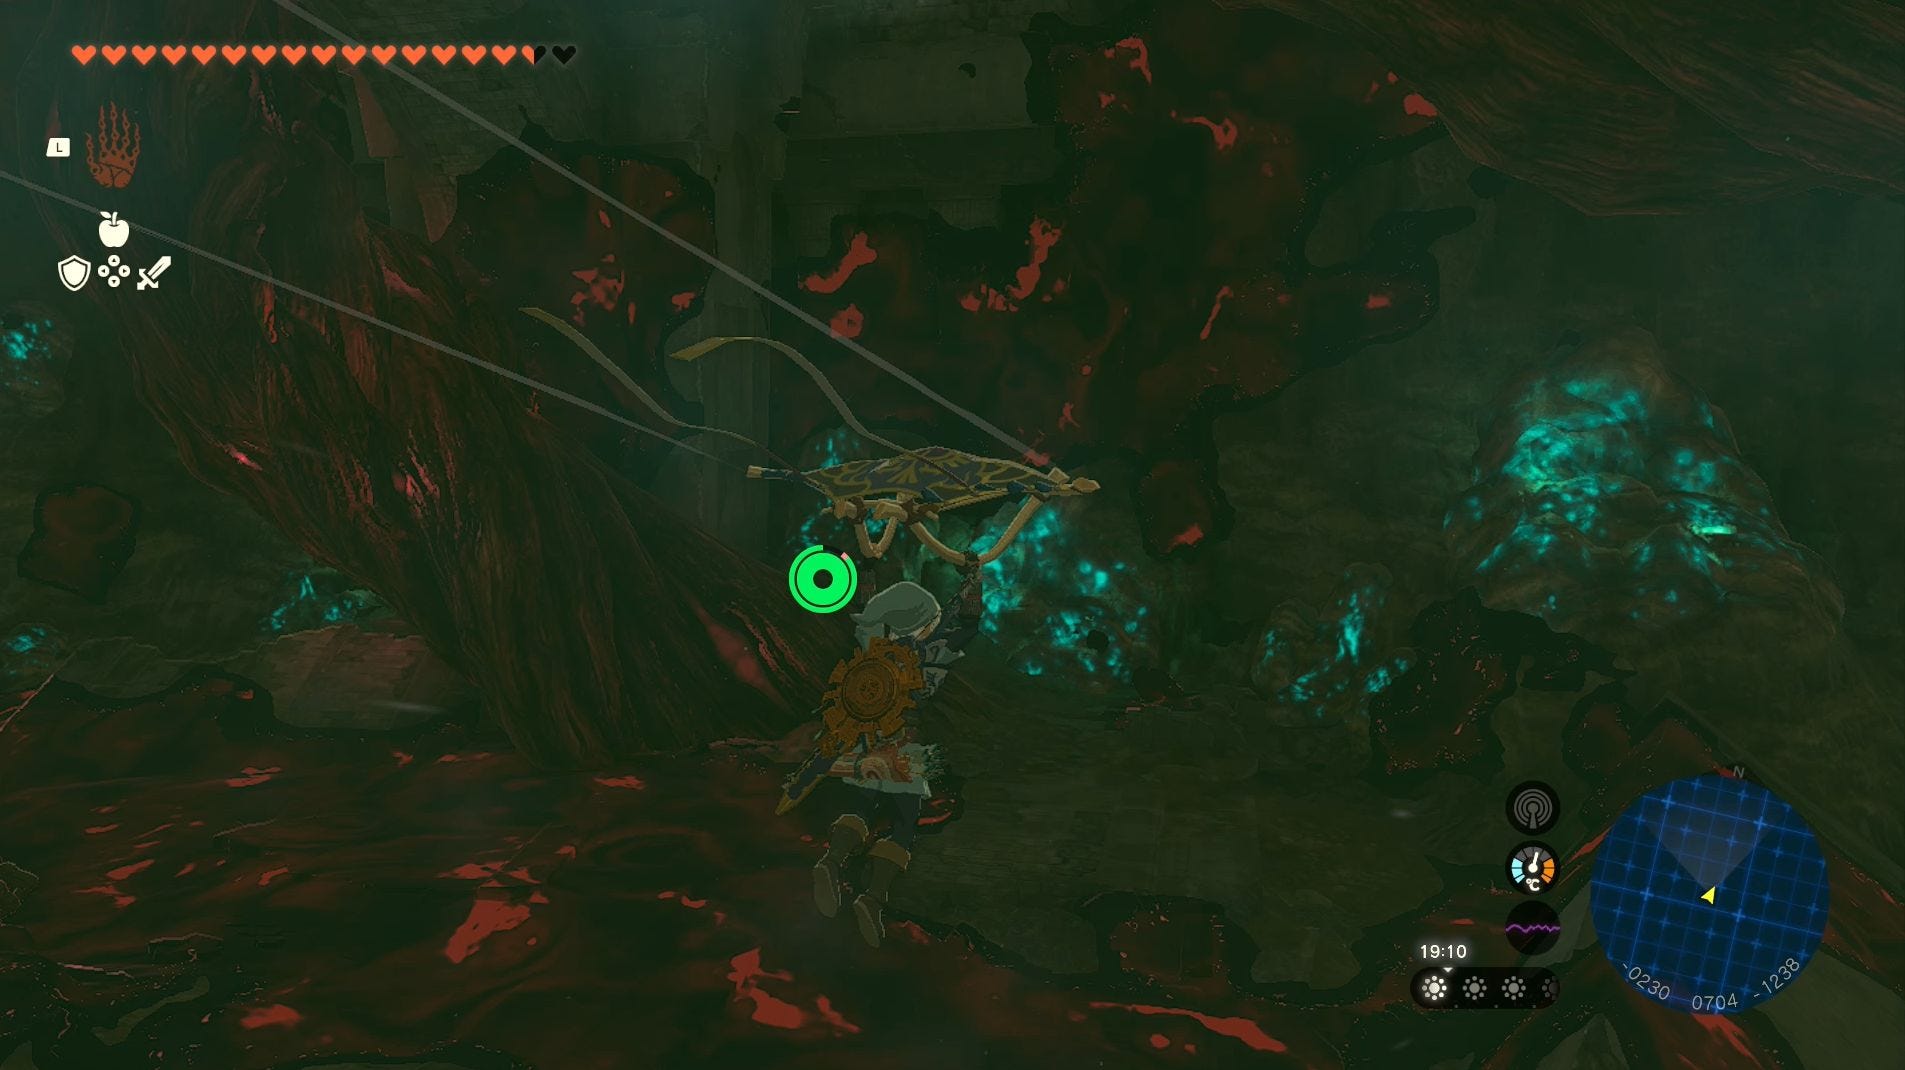
The only problem with both methods is that there's a Gloom Hand waiting for you in the middle of this cavern and, if you're not careful, you may find yourself its prey. Using the Paraglider will help you put some distance between yourself and Gloom Hand, but we do recommend trying to avoid fighting it. Again, like previous monsters, you run the risk of using equipment you're saving for Ganondorf, especially since you have to fight a Phantom Ganon afterwards.
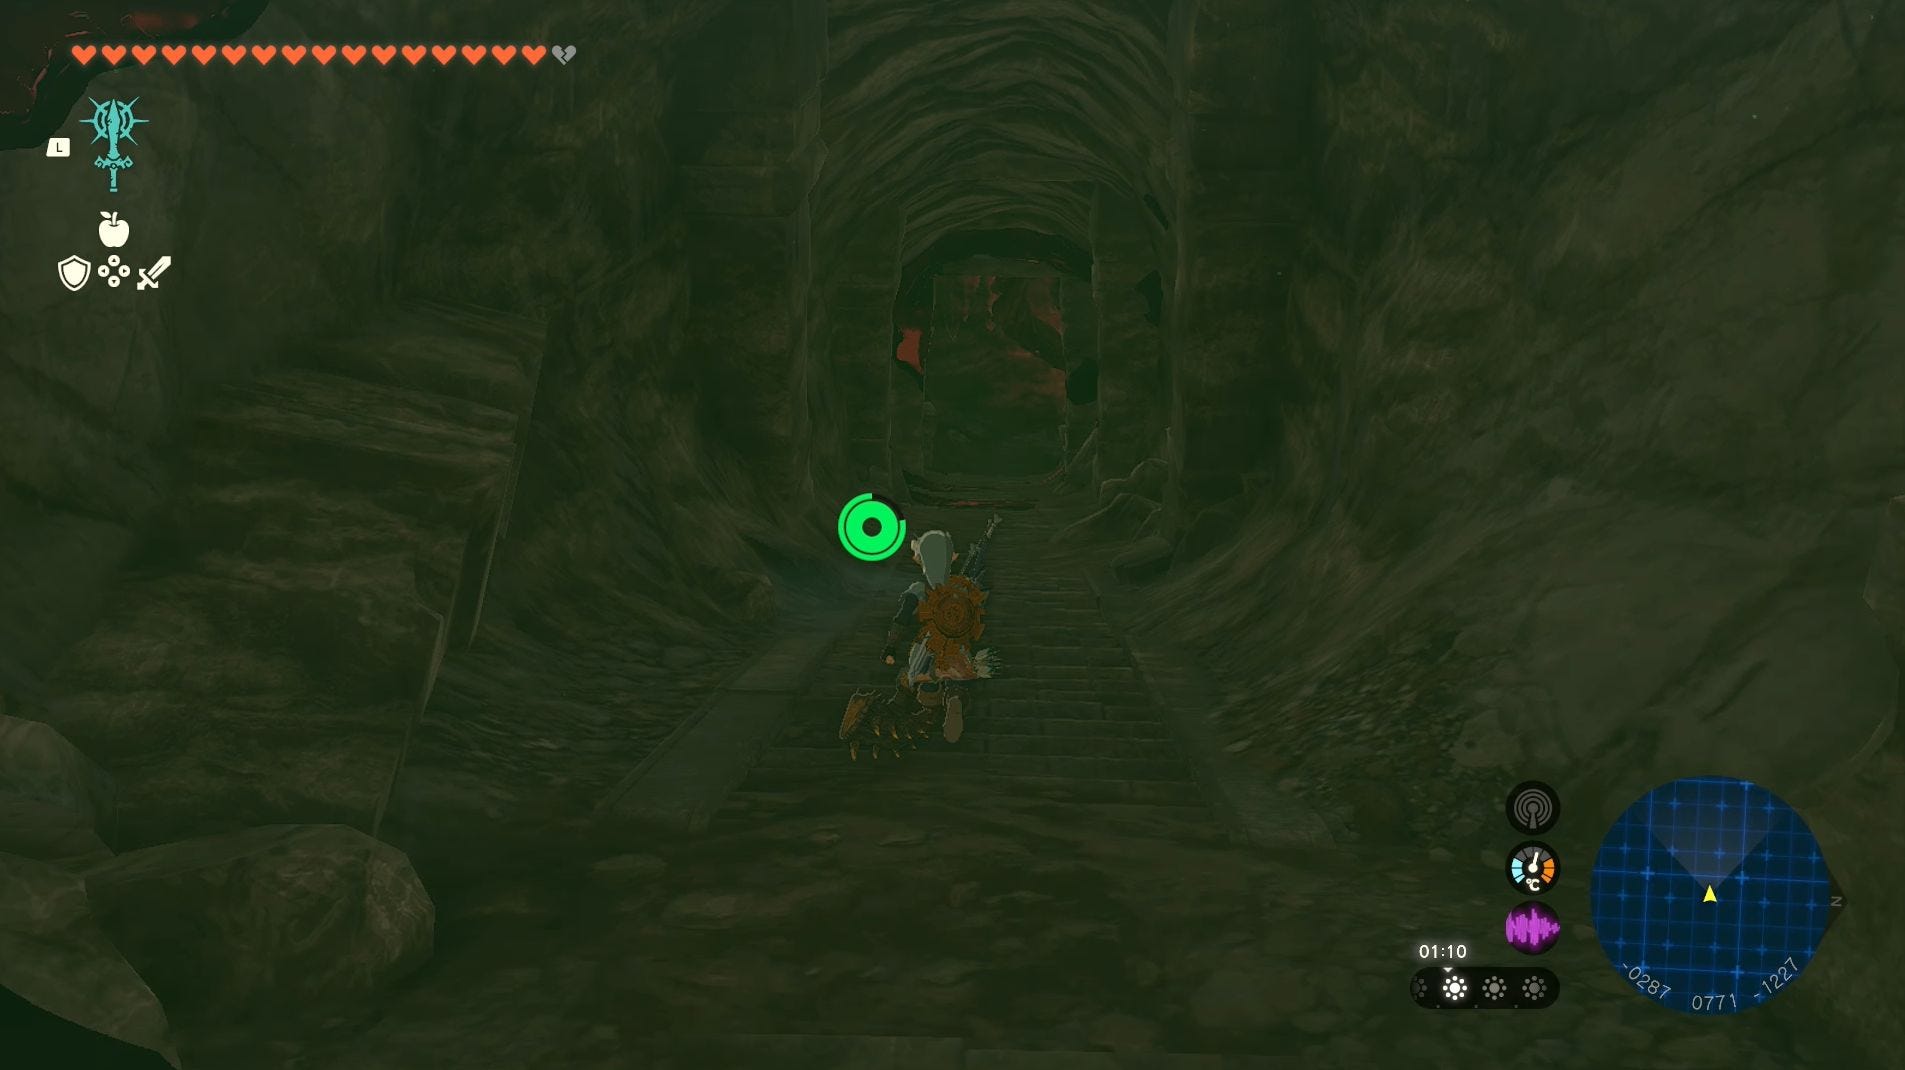
Once you're on the other side of the cavern, you'll find yourself at the top of a familiar set of stairs. Go down them to find yourself in the Forgotten Foundation Zelda and Link were exploring at the beginning of Tears of the Kingdom.
You'll now find yourself retracing your steps from the beginning of the game. Don't let your guard down though, there's a Silver Bokoblin and four Gibdo waiting for you. The Gibdo, however, can be easily taken care of by standing far back and shooting them with Shock-Fruit-fused-arrows.
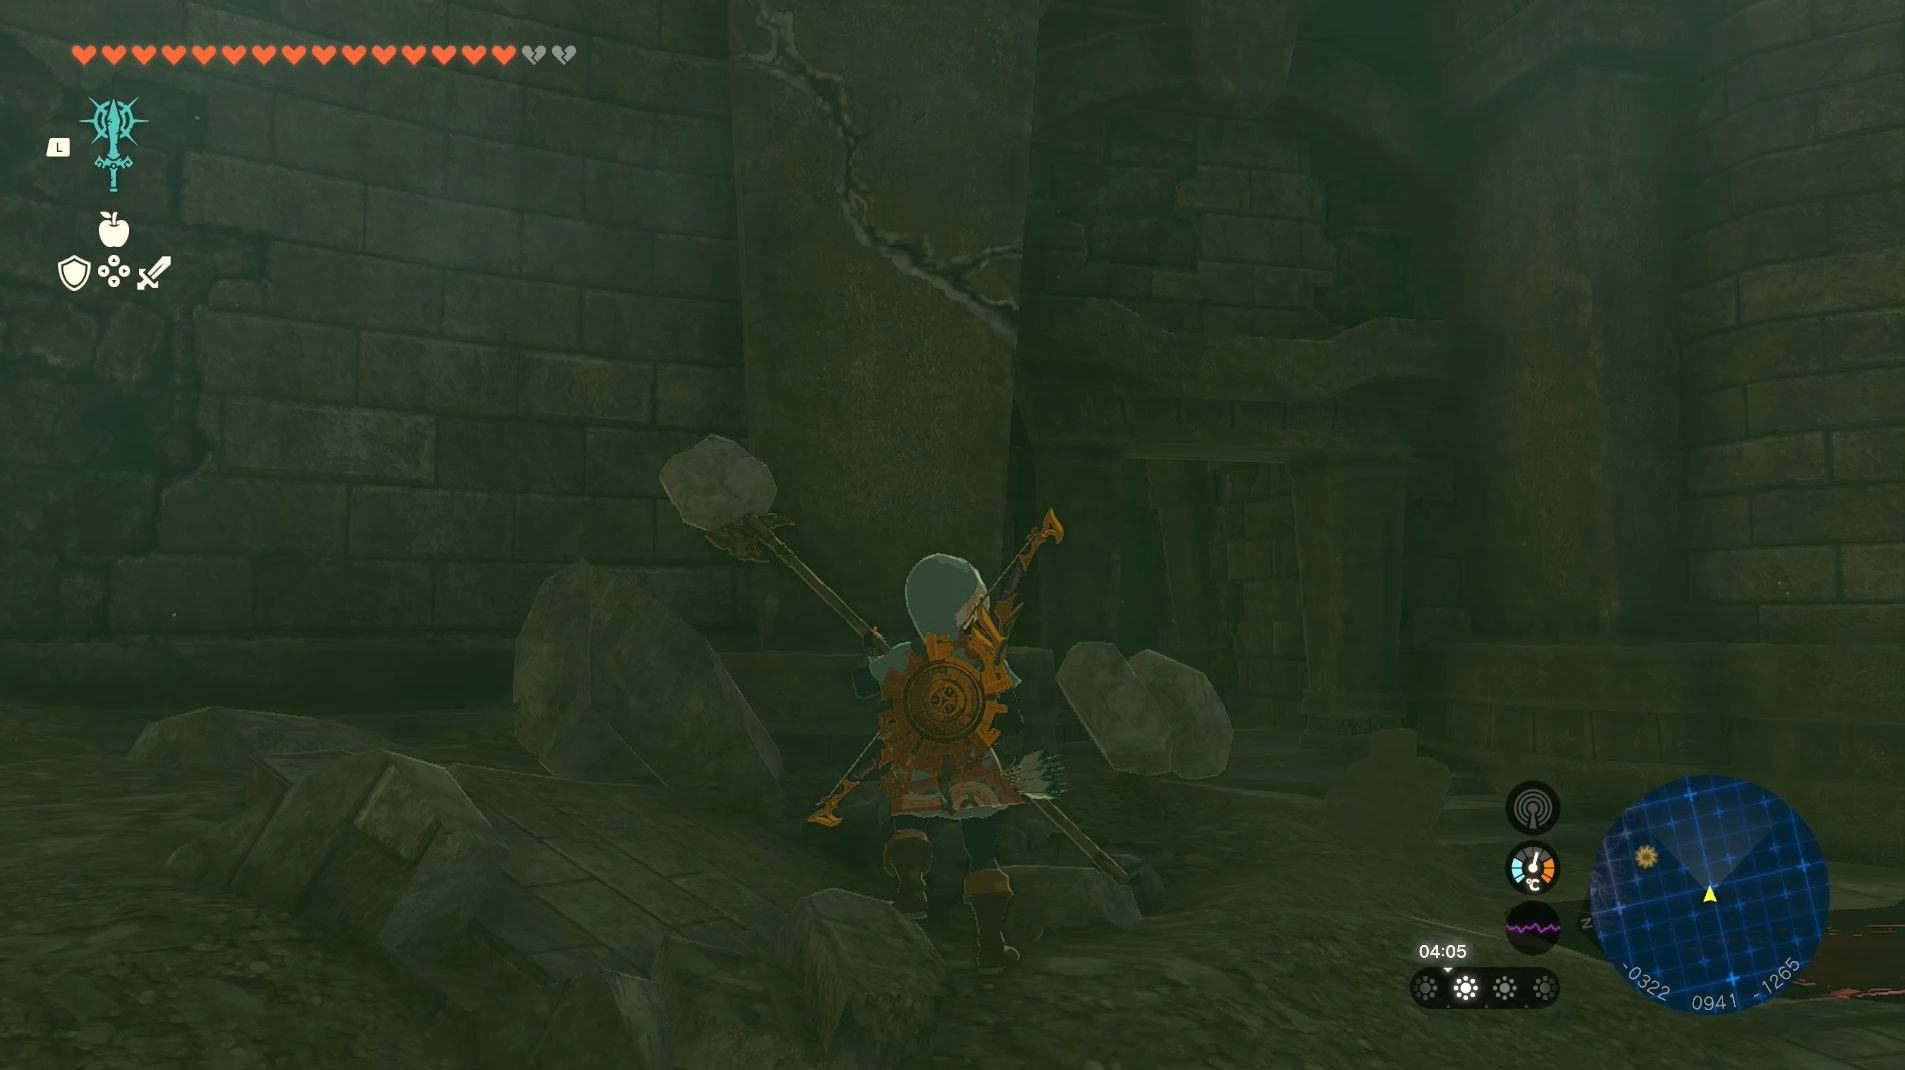
You will have to destroy some rocks at the end of the room containing a Gibdo, but you should be able to find a rusty weapon and a rock you can fuse together to avoid using anything precious.
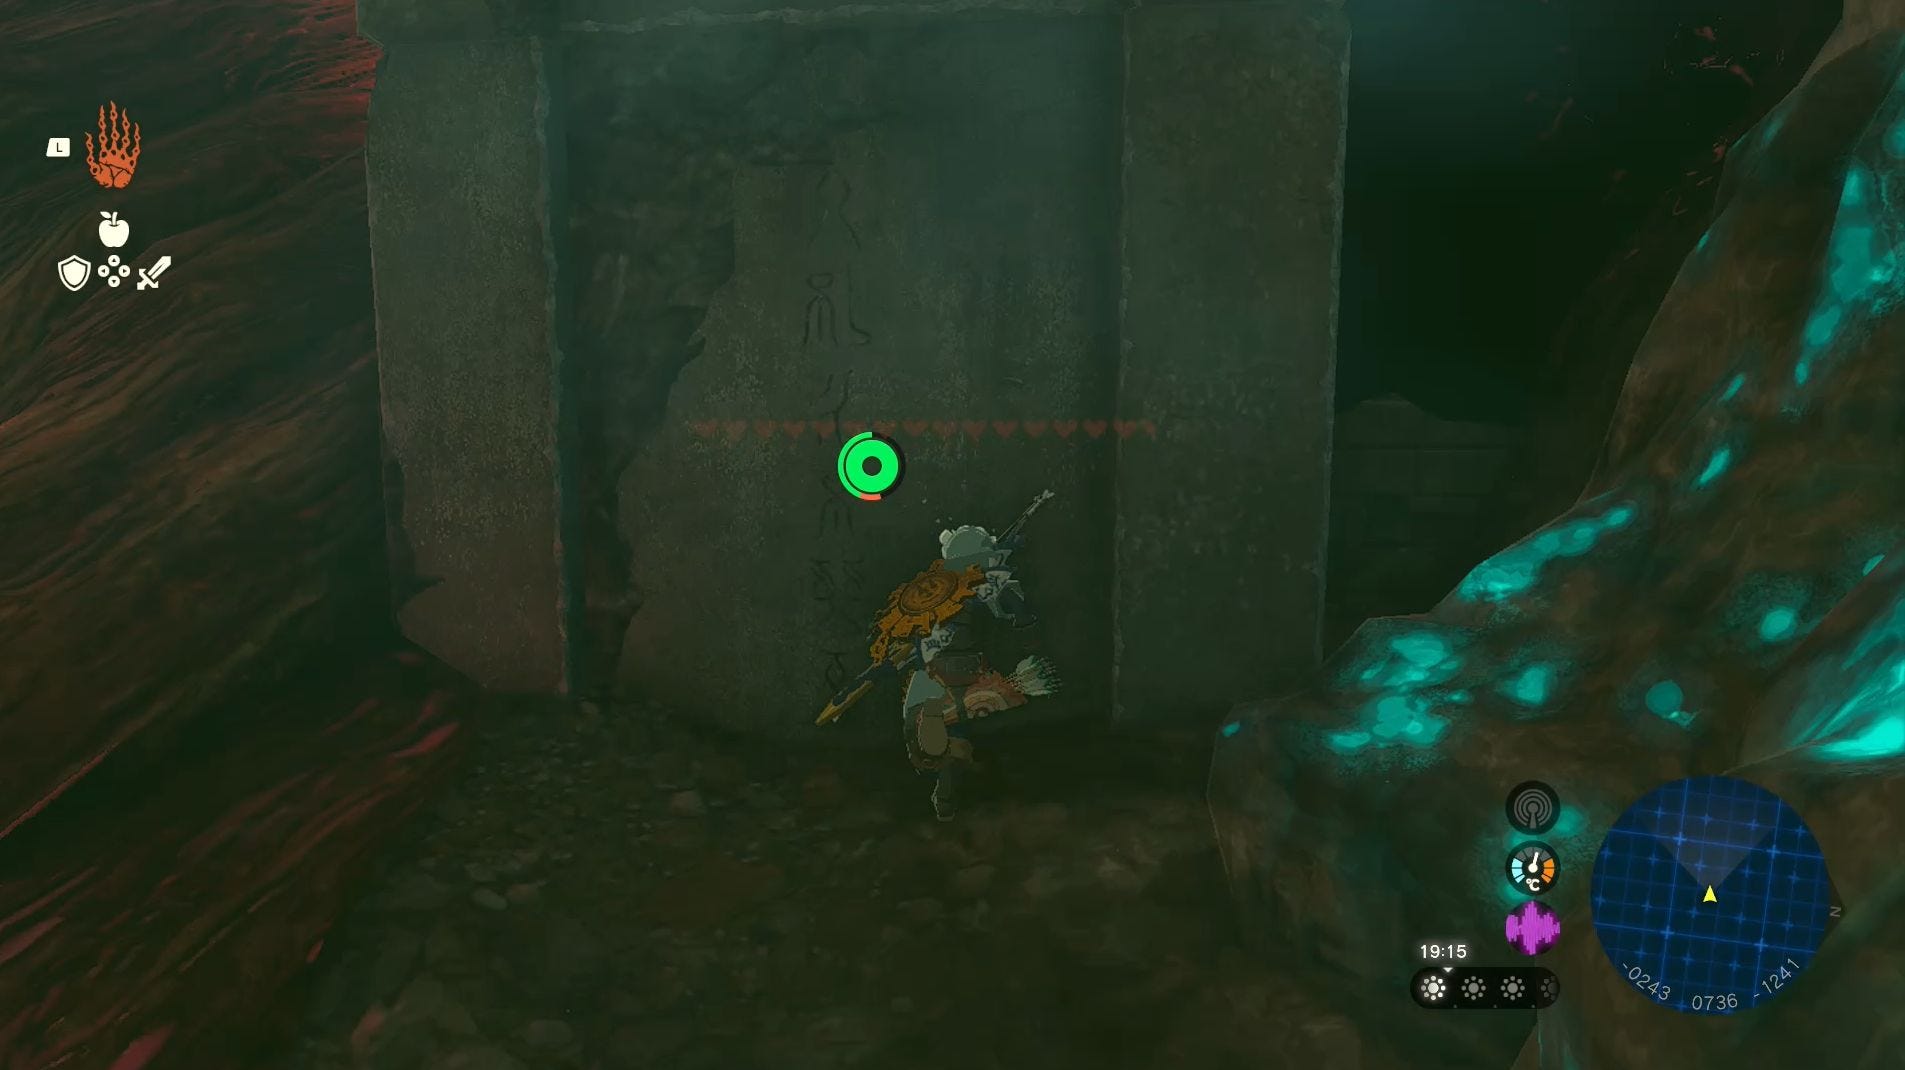
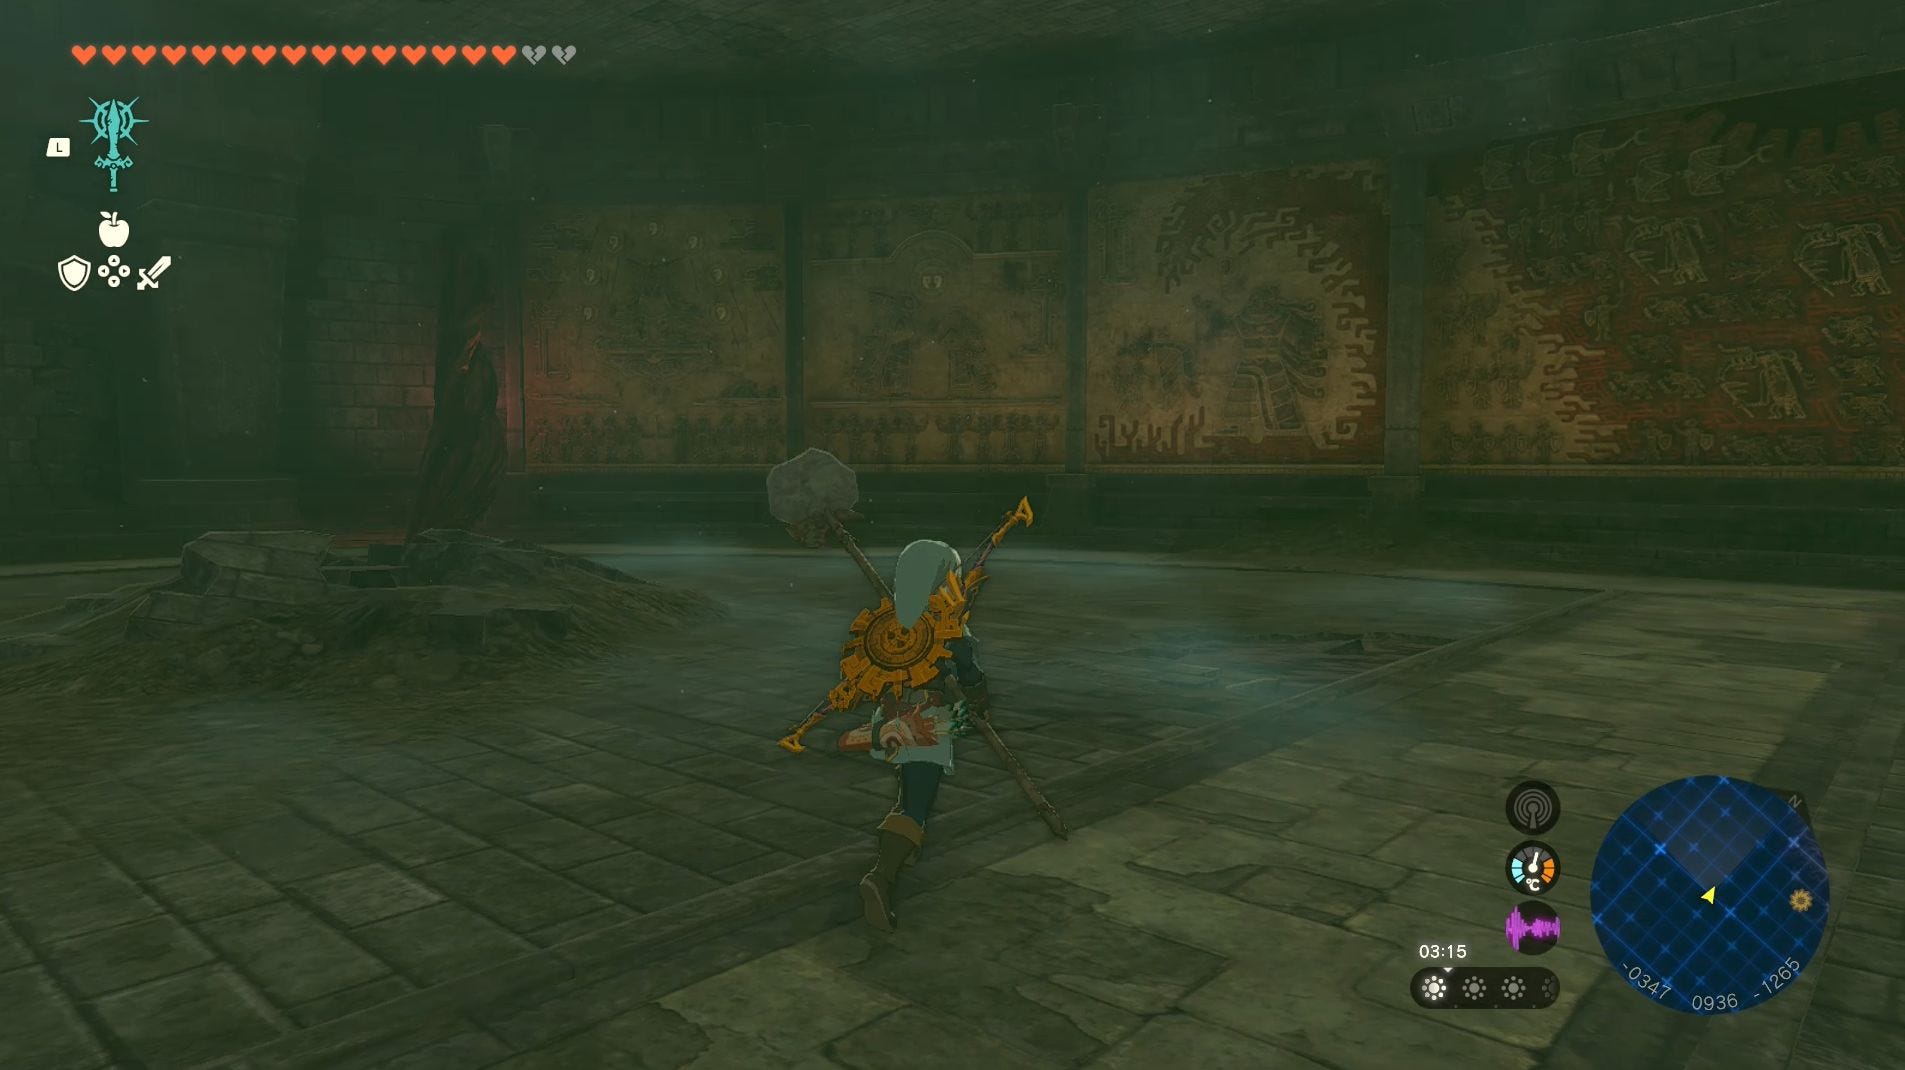
Eventually, you'll find yourself back in the room containing the murals of Hyrule's past. If you'd like to take a look at the full mural, make sure you destroy all of the rocks in this room. You might as well because you need to destroy the ones on the far right-hand side anyway to reach Ganondorf.
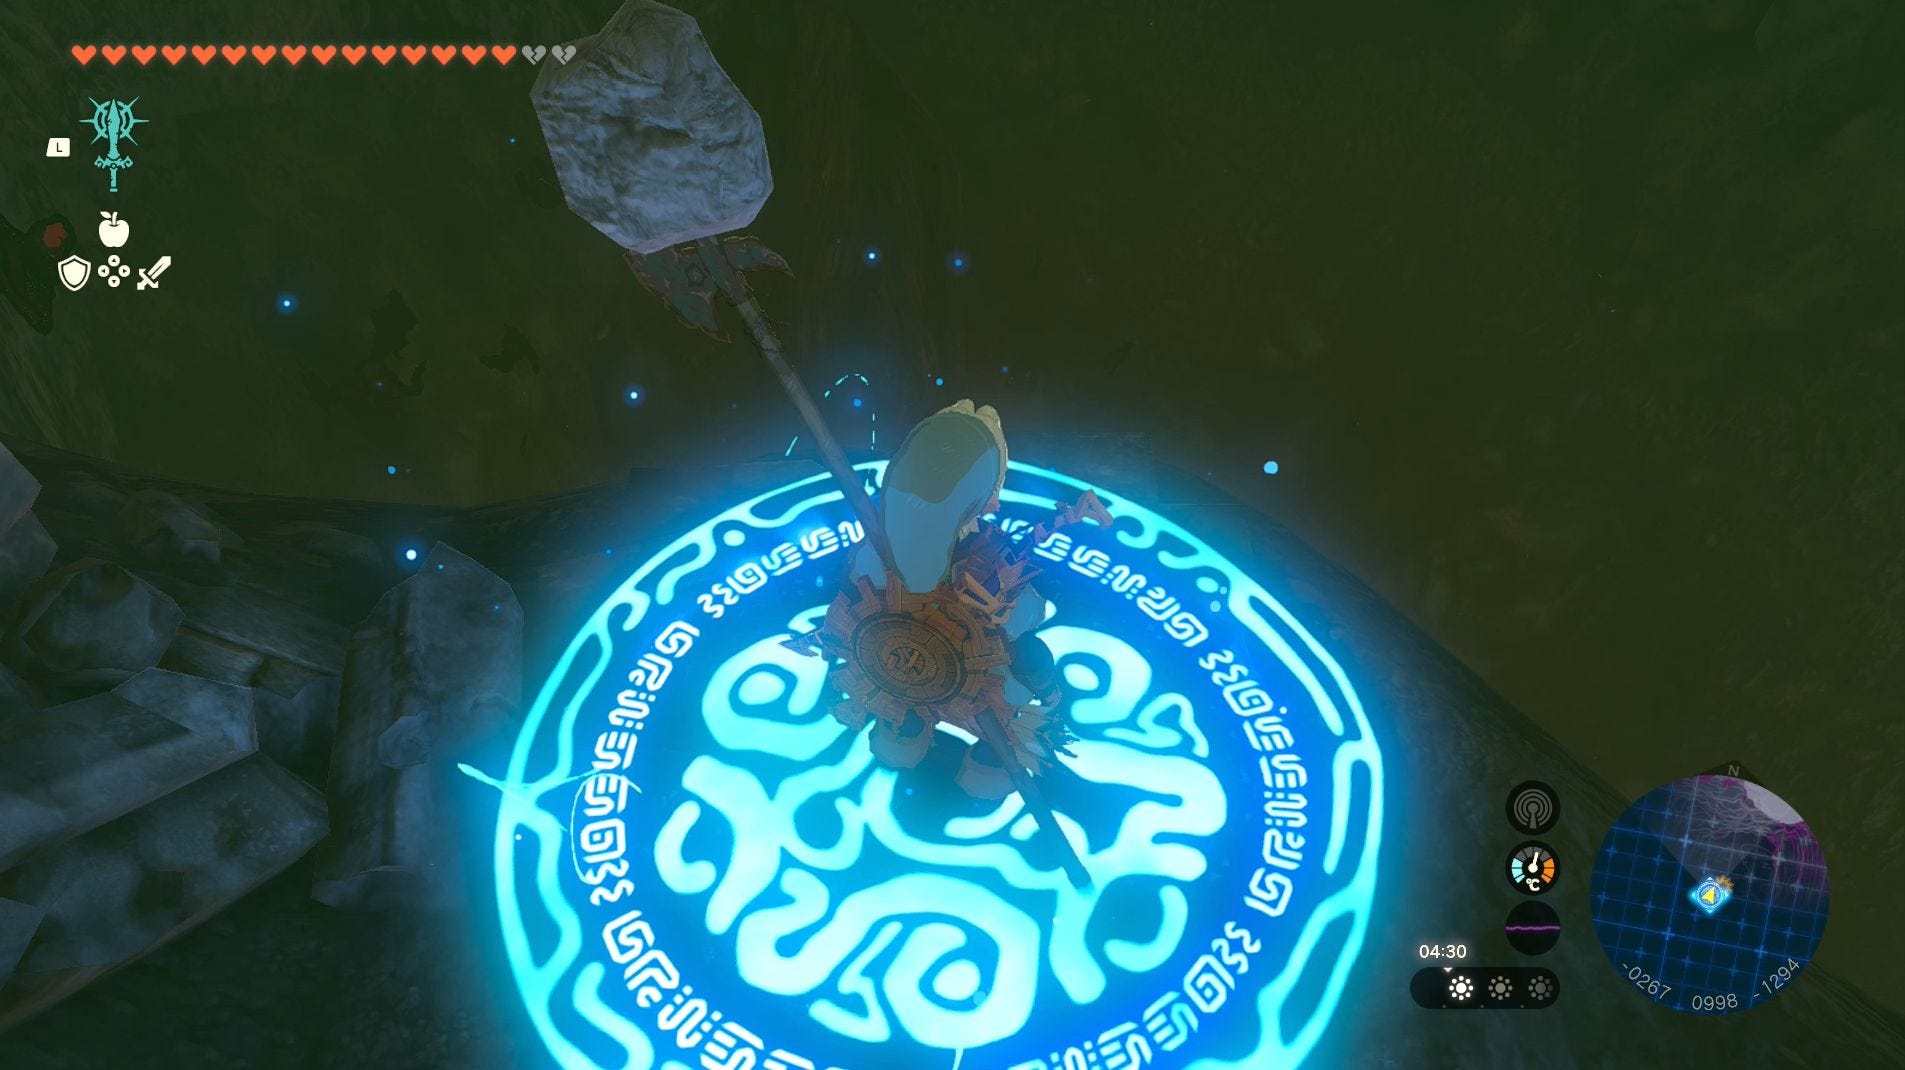
Now head down the final stairwell, avoiding the patches of Gloom as you go, until you reach the ledge overlooking the Imprisoning Chamber.
It's a good idea to place a Travel Medallion on this ledge in case you find yourself being defeated by Ganondorf. You can then go and gather better equipment, more meals or complete more Shrines for additional Hearts or Stamina without having to worry about traversing through the Hyrule Castle Chasm again.
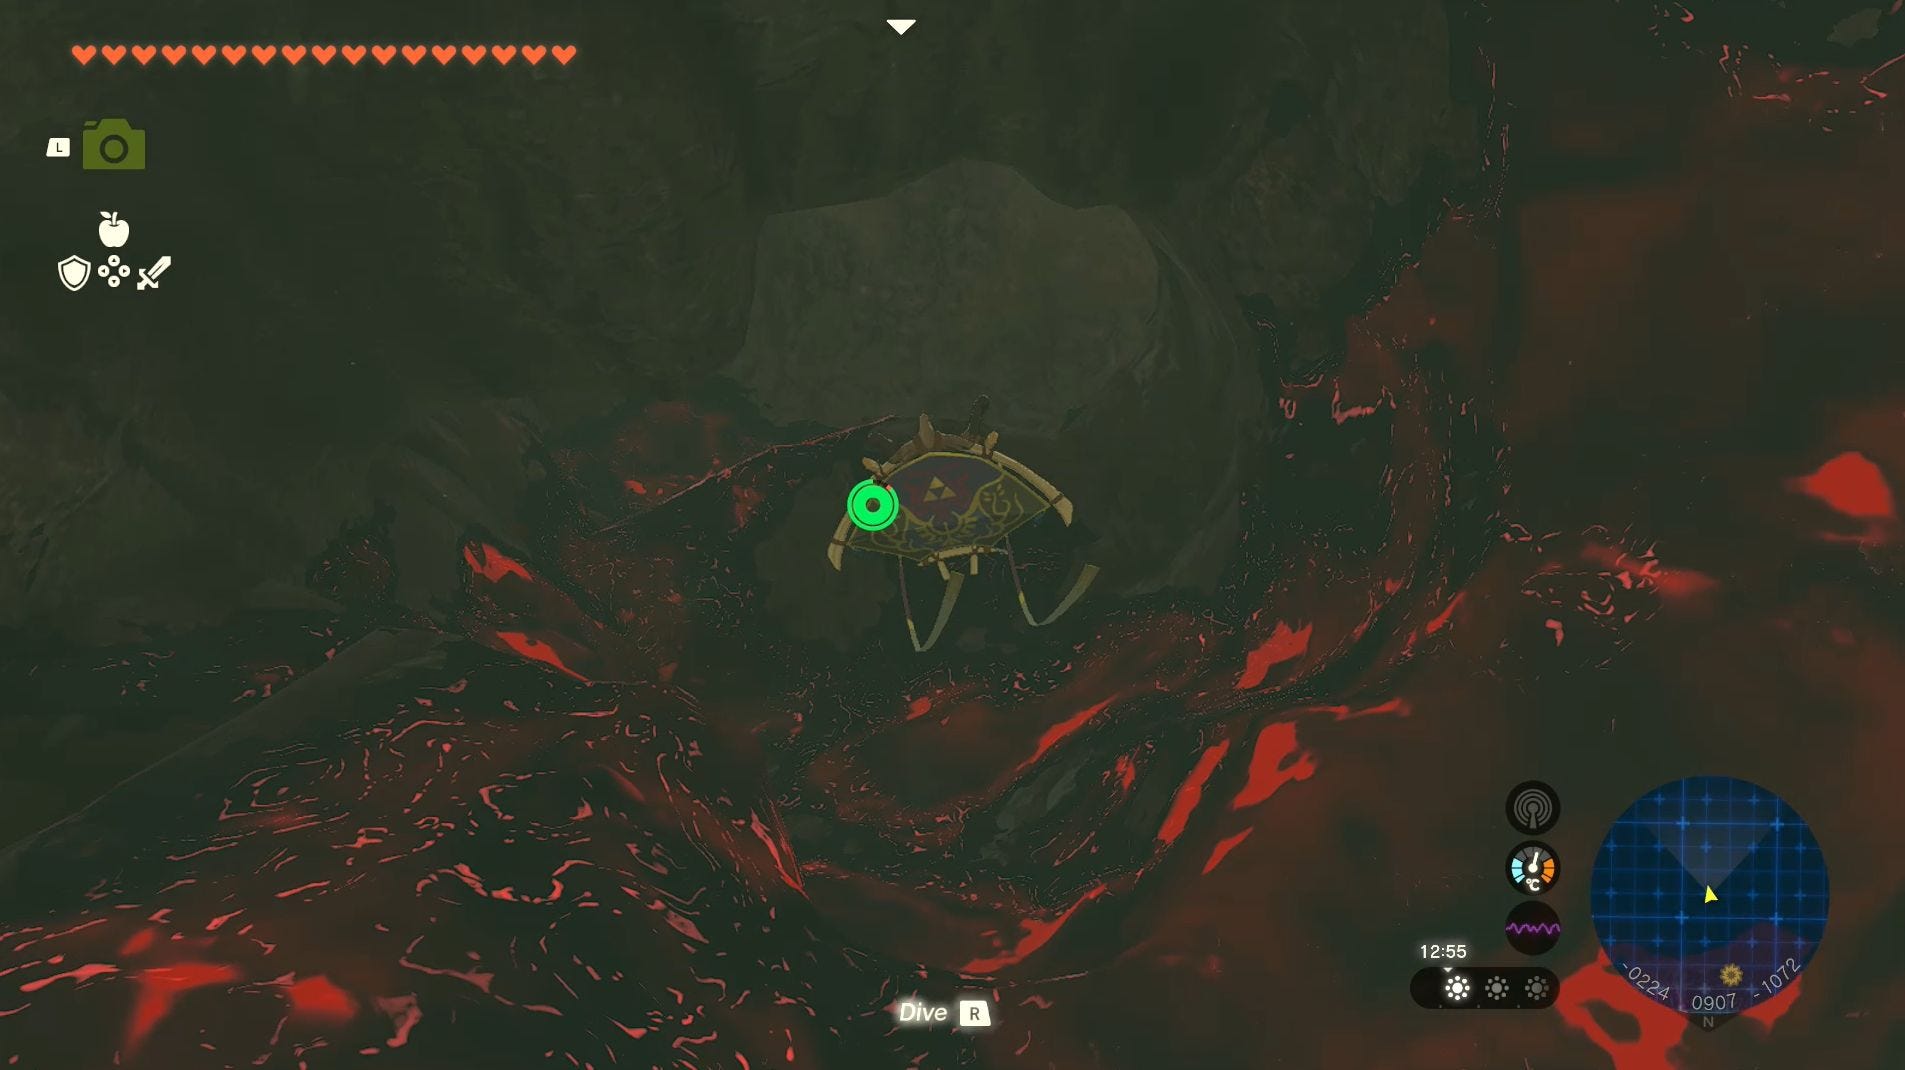
When you're ready, dive down into the Imprisoning Chamber and enter Gloom's Lair. Here's you'll find a torch you might remember and, at the end of the cavern after avoiding Gloom, you'll find a diving platform.
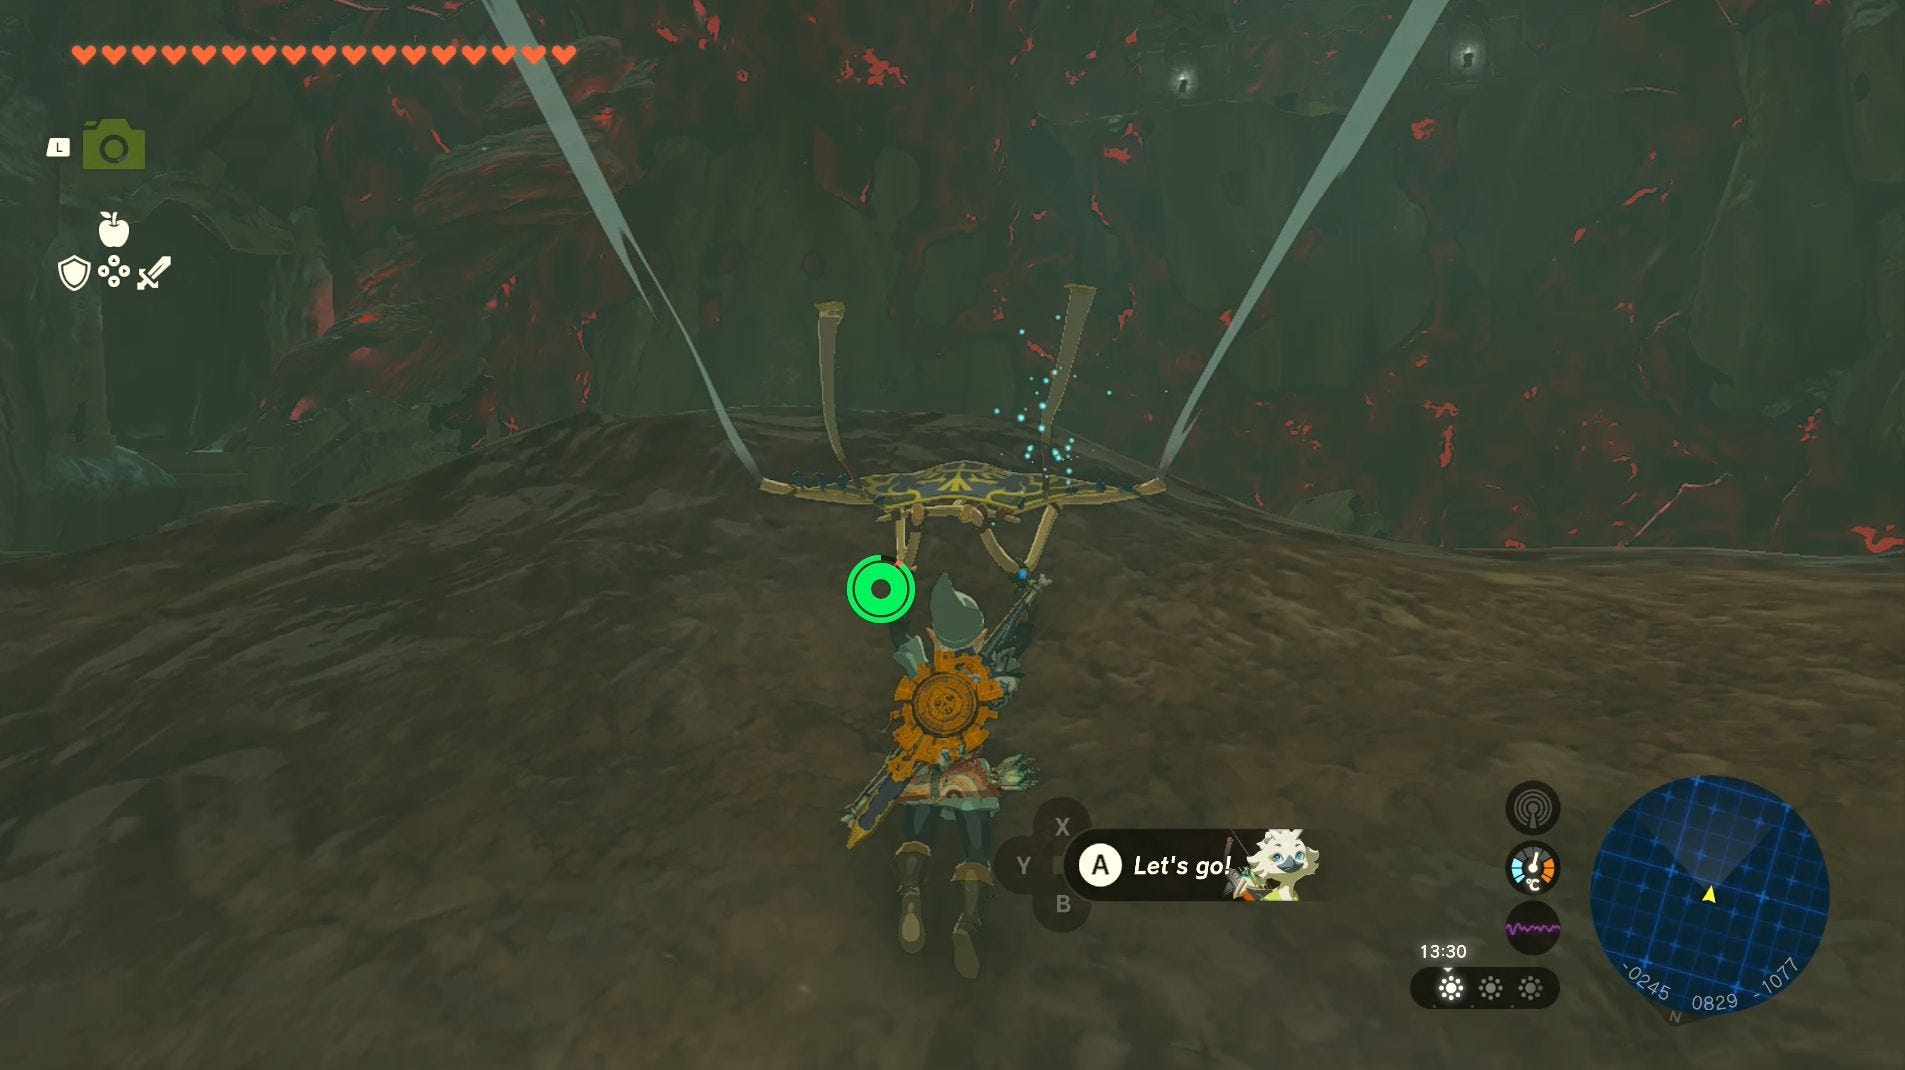
This is the point-of-no-return in Tears of the Kingdom. Once you've dived from this spot, you'll be in the final battle against Ganondorf and nothing but death or success can free you from it. (Or reloading a past save file - that works too, but it doesn't sound as dramatic.)
For now, it's time to do your final preparations and, if you like, place a Travel Medallion here. When you're ready, dive down to meet Ganondorf.
If you'd like help defeating the Demon King, visit our how to defeat Ganondorf guide or, if you're interested in a different adventure in Hyrule, visit our Zelda: Tears of the Kingdom walkthrough.
Good luck defeating Ganondorf!