How to get the Climbing Gear Set in Zelda Tears of the Kingdom
Climbing Gear, Climber’s Bandana and Climbing Boots locations.
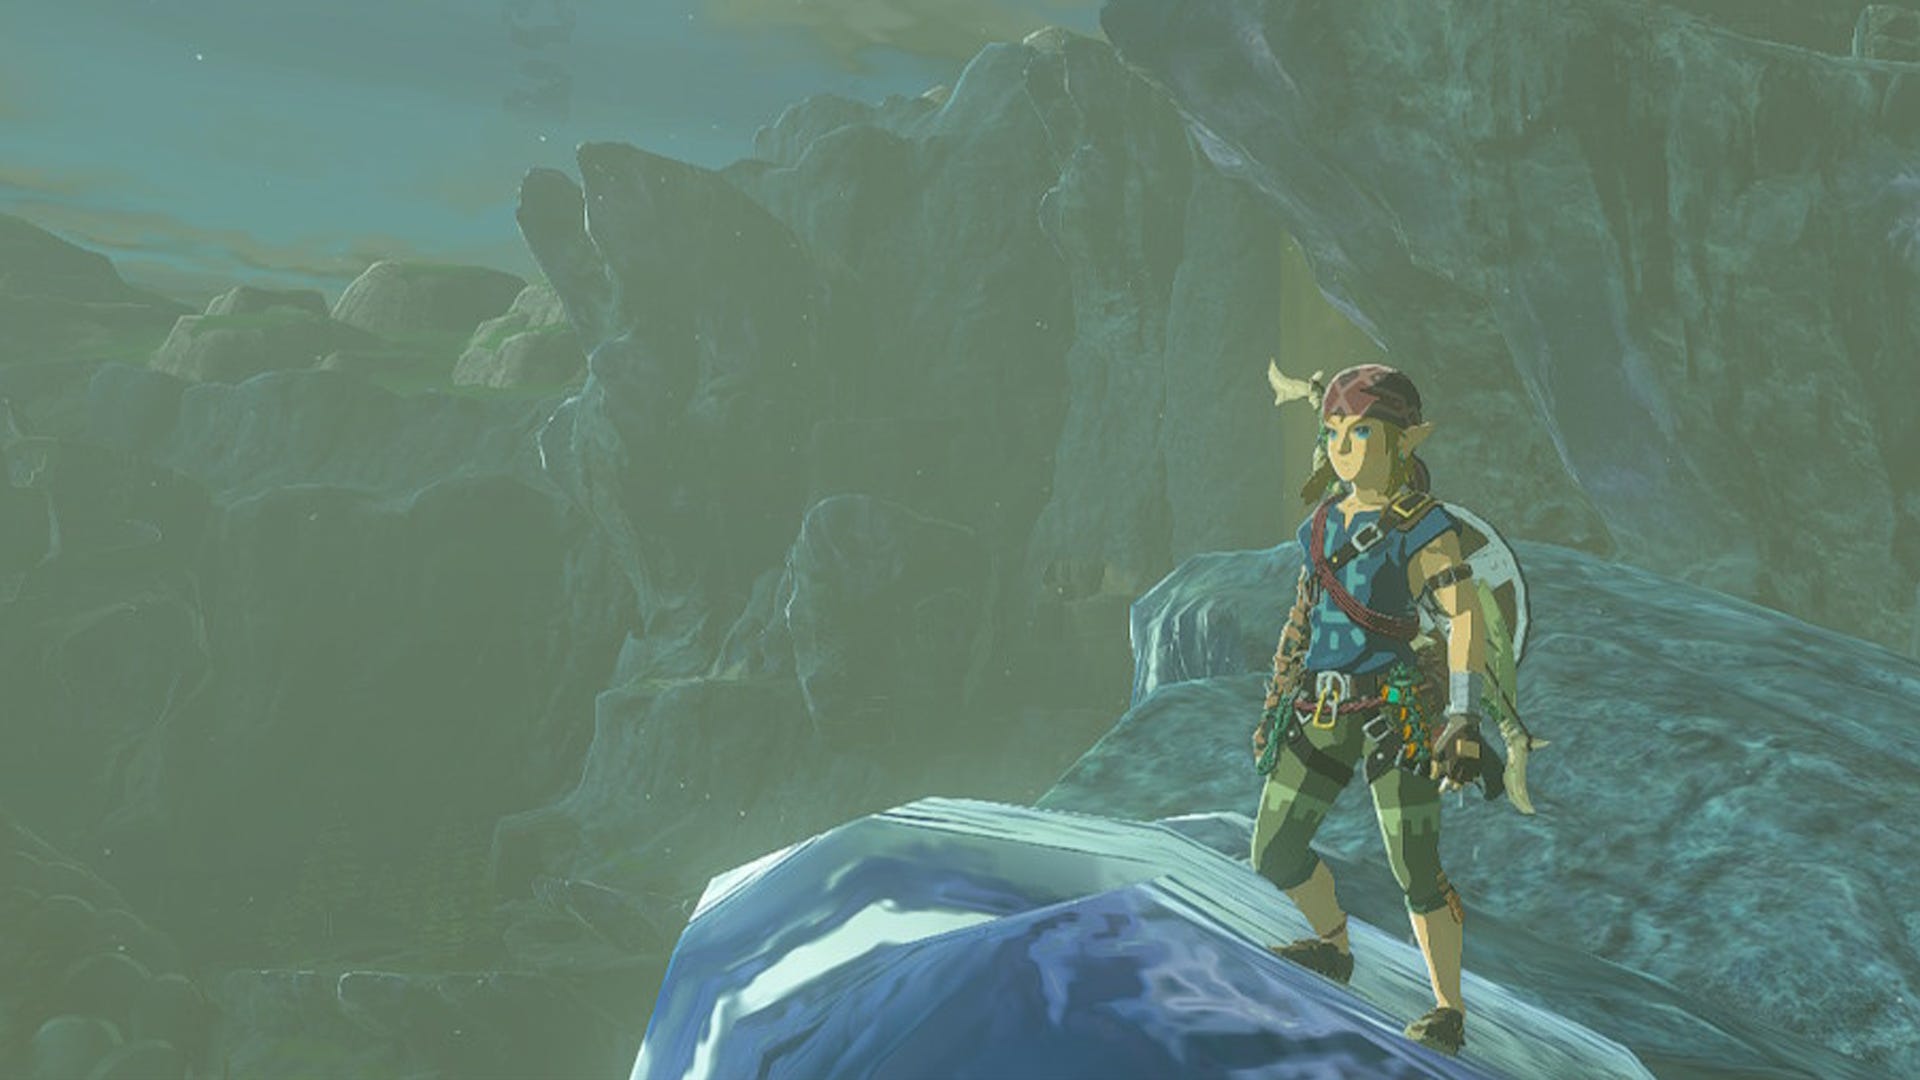

Climbing is as large a part of Zelda: Tears of the Kingdom as it was of the previous game. That means the Climbing Gear Set helps you tremendously when scaling Hyrule's peaks, by increasing Link’s climbing speed and making it less likely you'll run out of stamina before reaching the top.
So if you need to find out how to climb faster in Tears of the Kingdom, we’ve prepared this Climbing Gear Set locations guide, with a walkthrough for finding all three parts: the Climbing Gear, Climber’s Bandana and Climbing Boots.
On this page:
If you’d like to learn more about Link’s adventure, visit our Zelda: Tears of the Kingdom walkthrough.
Climbing Gear location in Zelda Tears of the Kingdom
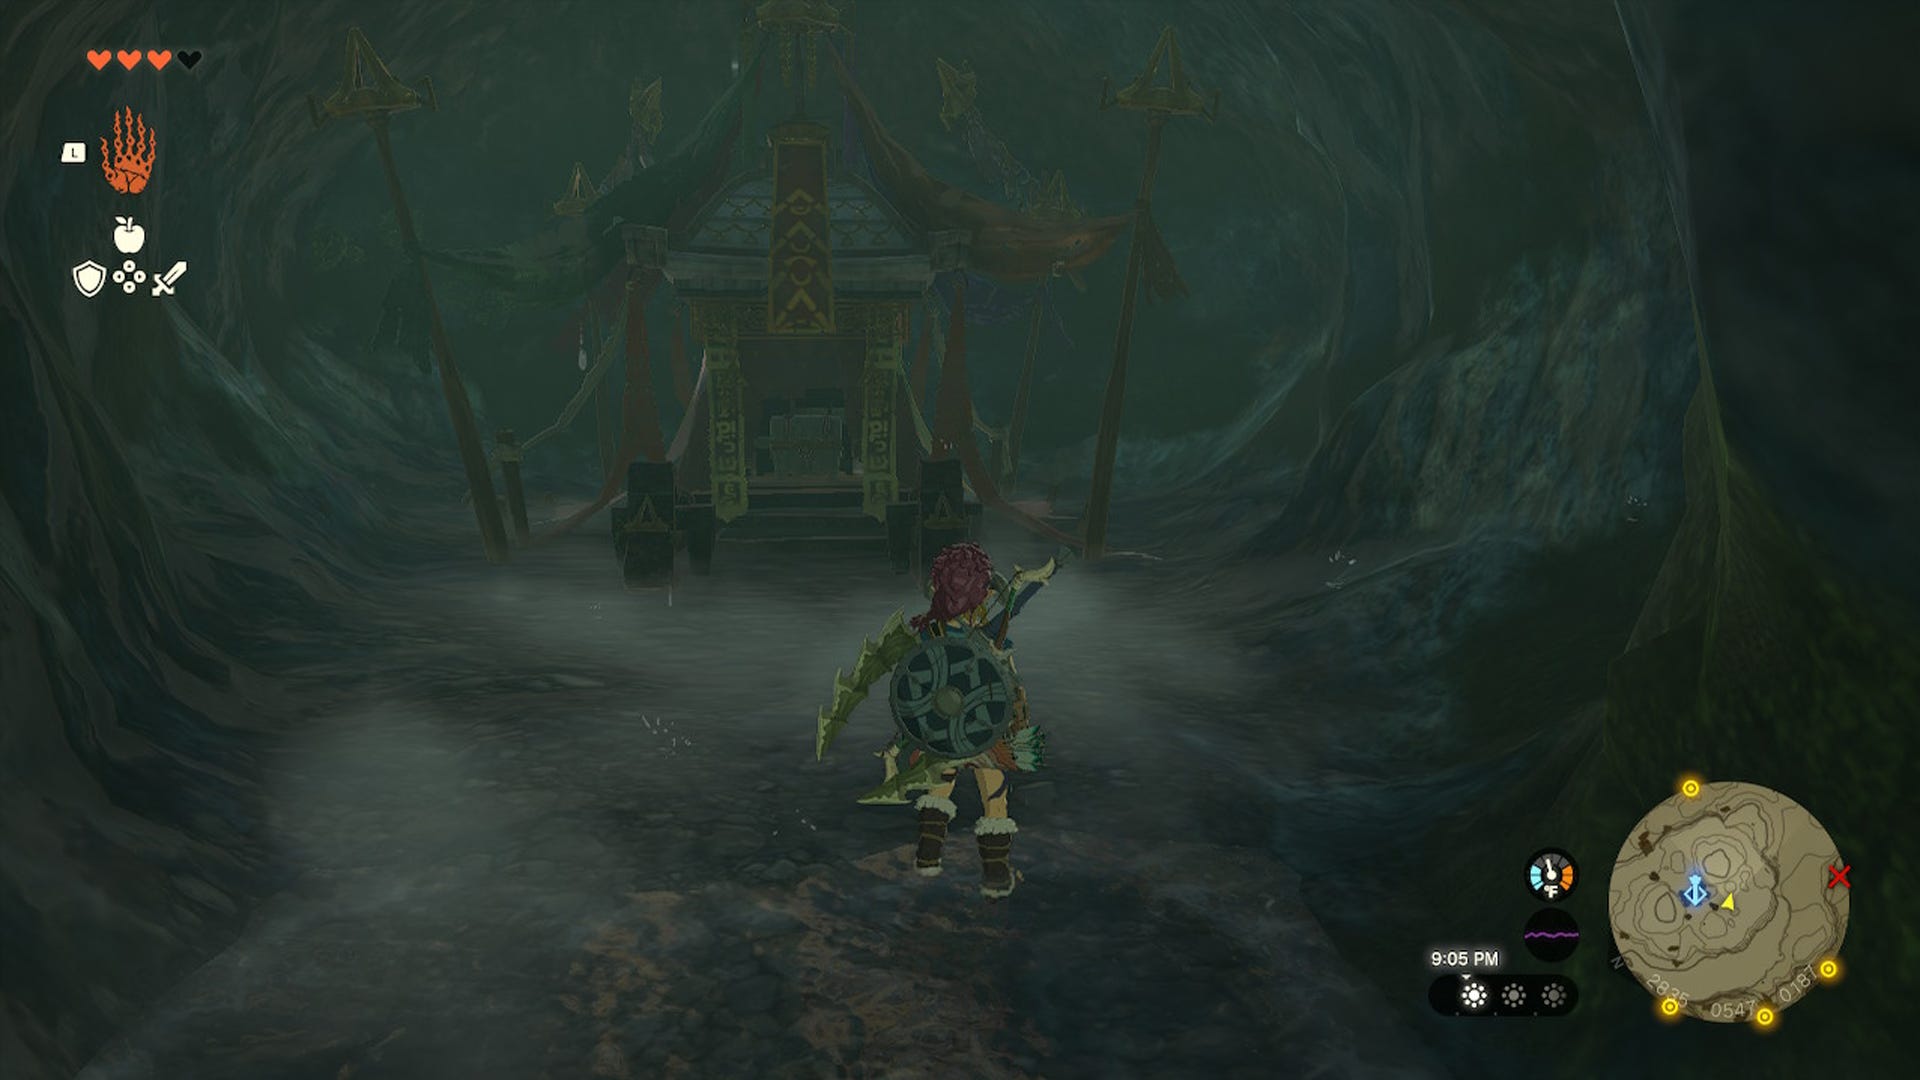
For the climbing armor chest piece, you’ll be looking for the Climbing Gear which can be found located at North Hyrule Plain Cave (-1187, 0641, 0072), northwest of Lookout Landing and southeast of New Serenne Stable Well. Take the west exit in Lookout Landing and keep following the path to the north. You will know the cave is close once you cross the Carok Bridge. From there, get out of the road still going north and you will arrive at North Hyrule Plain Cave.
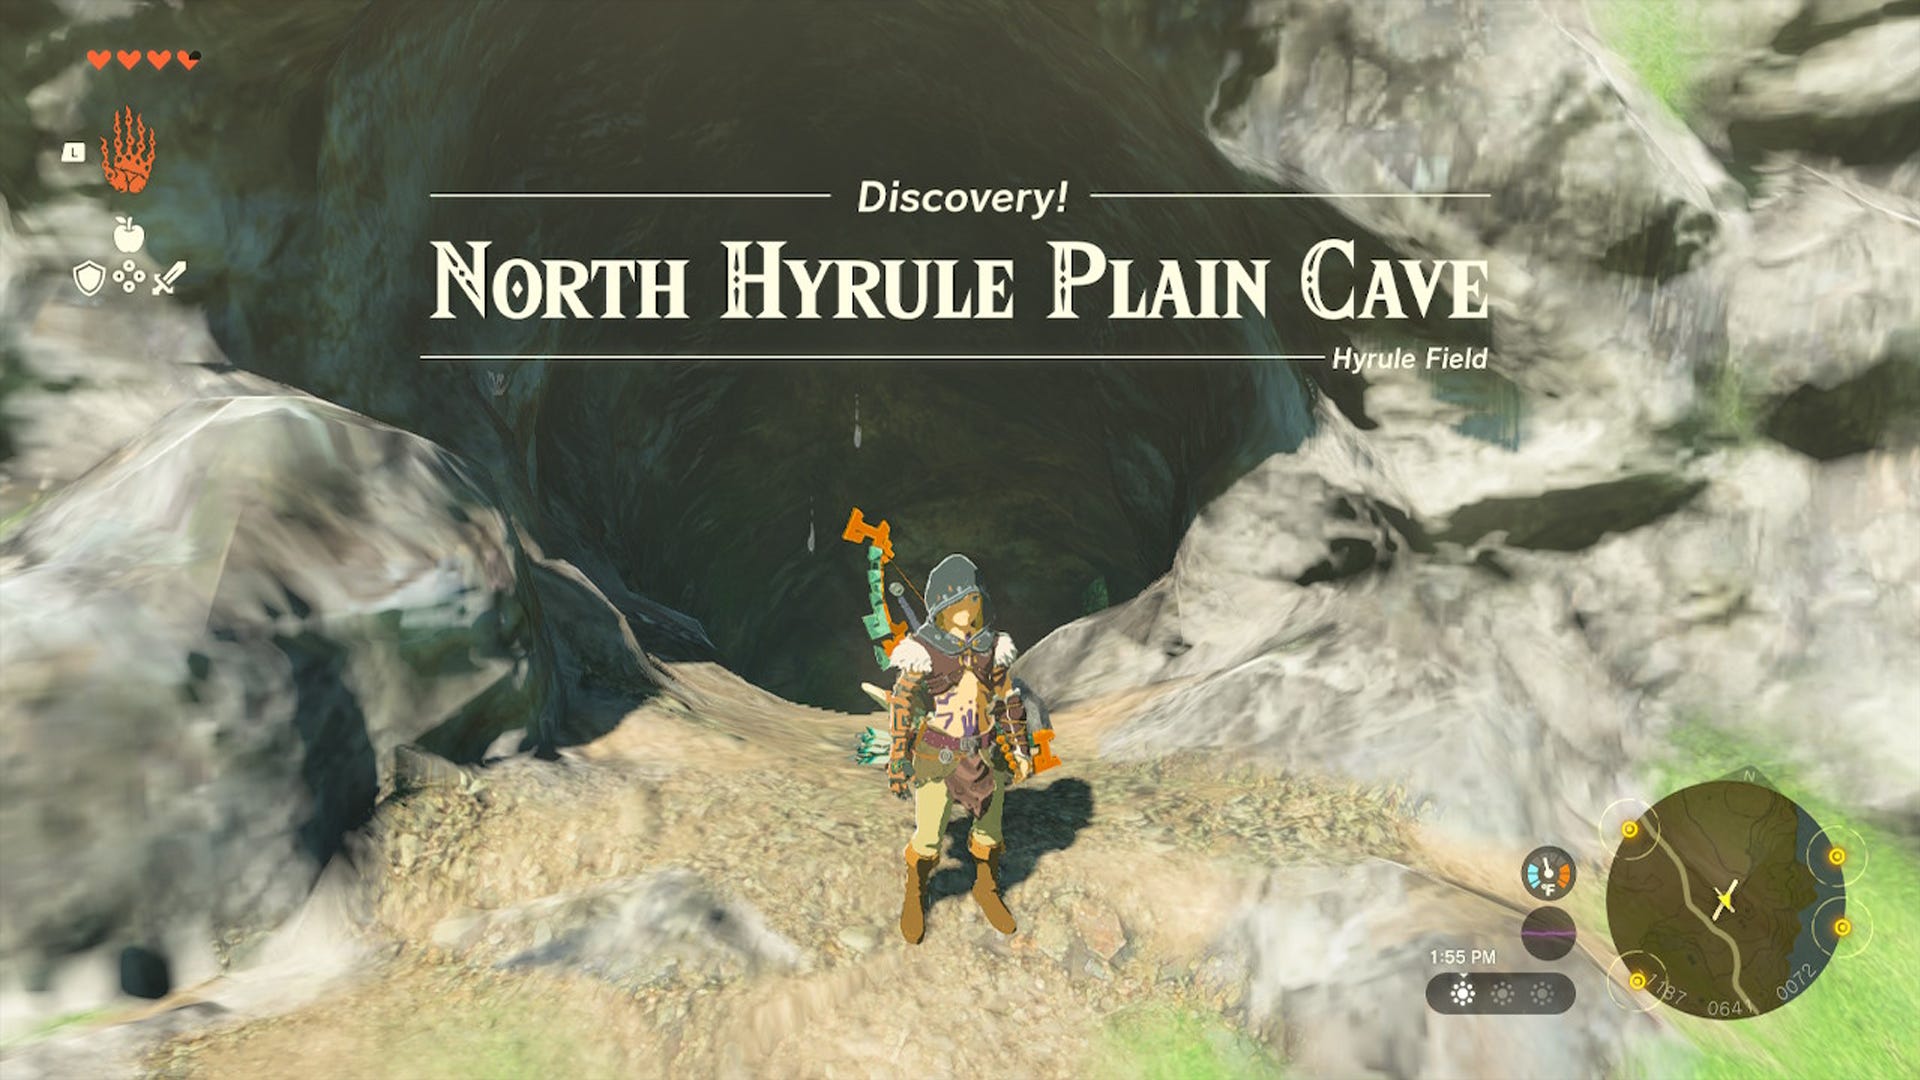

The location for this cave is given, together with the one for the chest piece of the Barbarian Set, by Meeshy, an NPC you can find near the Sahasra Slope Skyview Tower.
Exploring this cave is far from difficult. Since it’s pretty easy to find the right direction, and enemies are low-level, this cave is great for when you’re still in the early levels.
Right at the beginning, you'll find two Like Likes, one on the wall on the left side and a second one hanging on the edge of the larger section of the cave. Try to kill both of them by baiting their attacks and hitting their weak points.
Once the area is clear, go beneath the place where the hanging Like Like was and use the Ascend skill to get to the upper level. Keep going ahead by taking the path on the left.
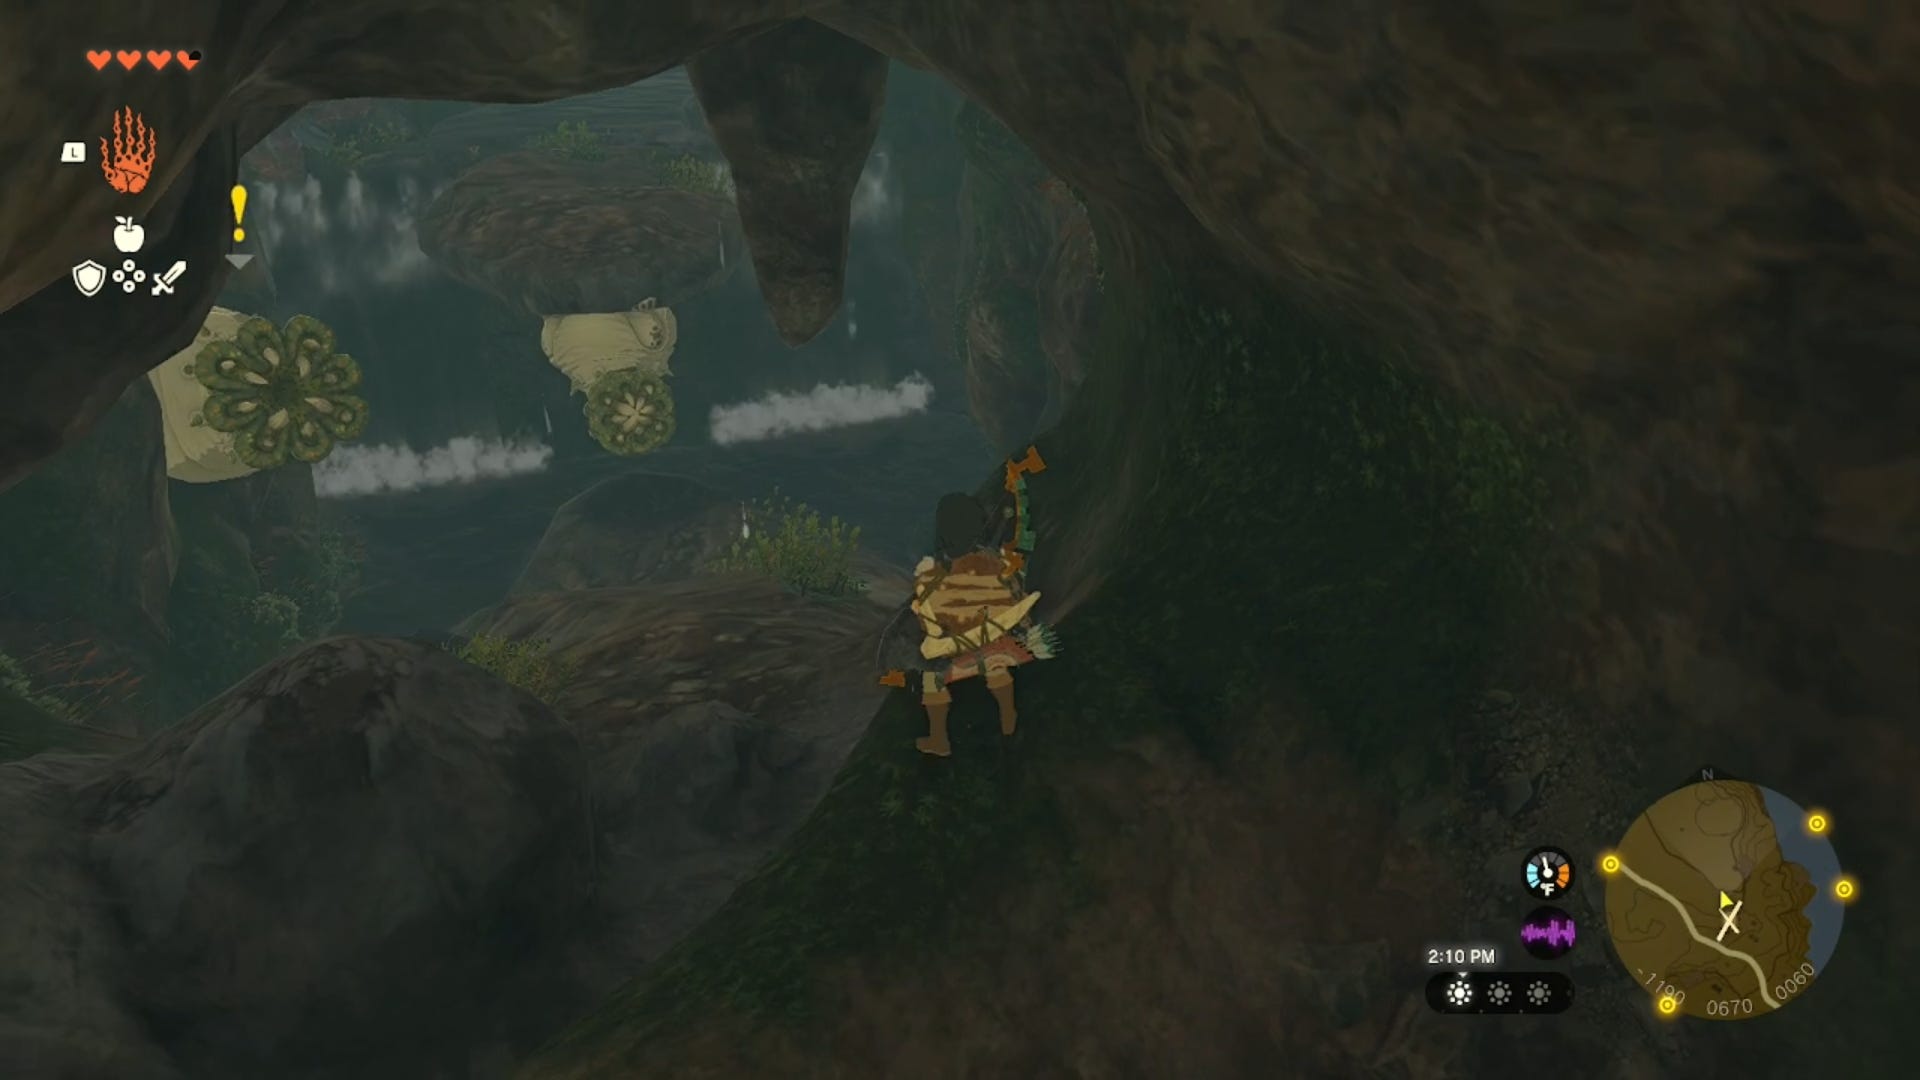
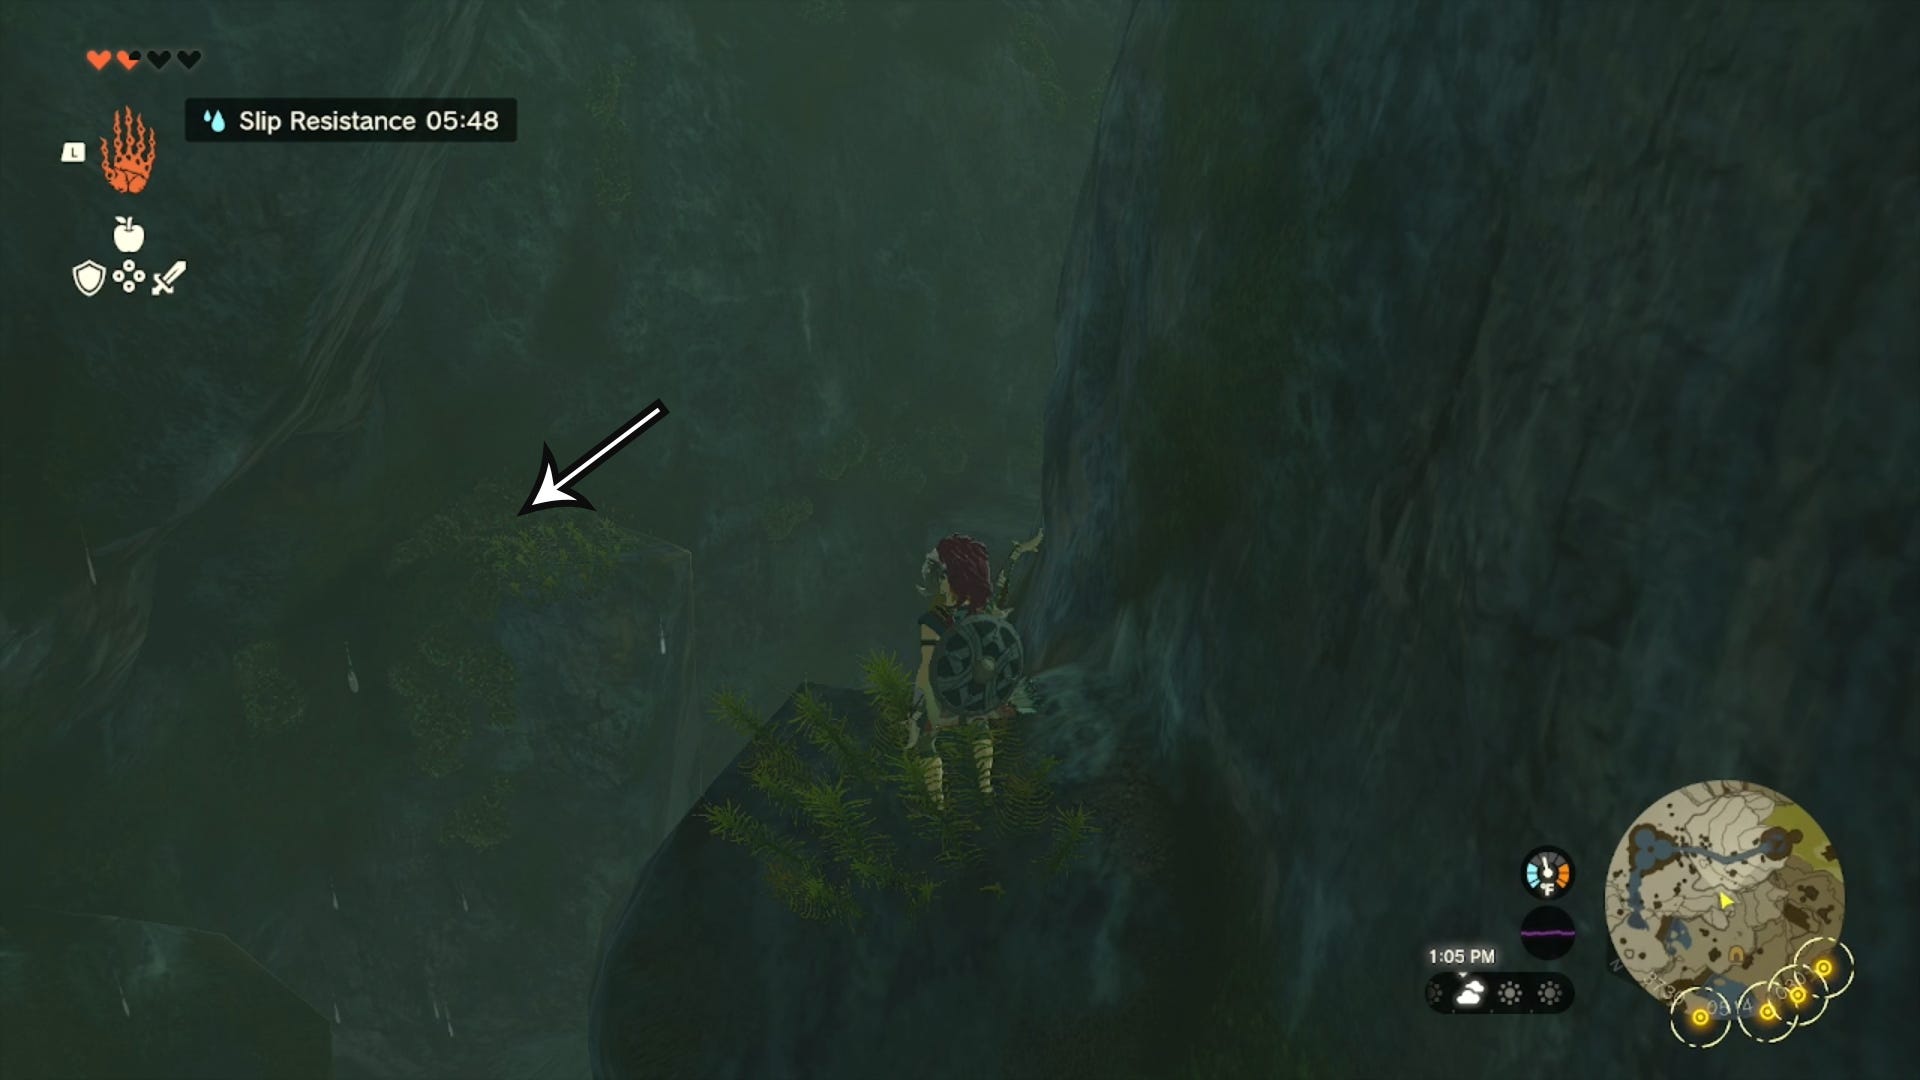
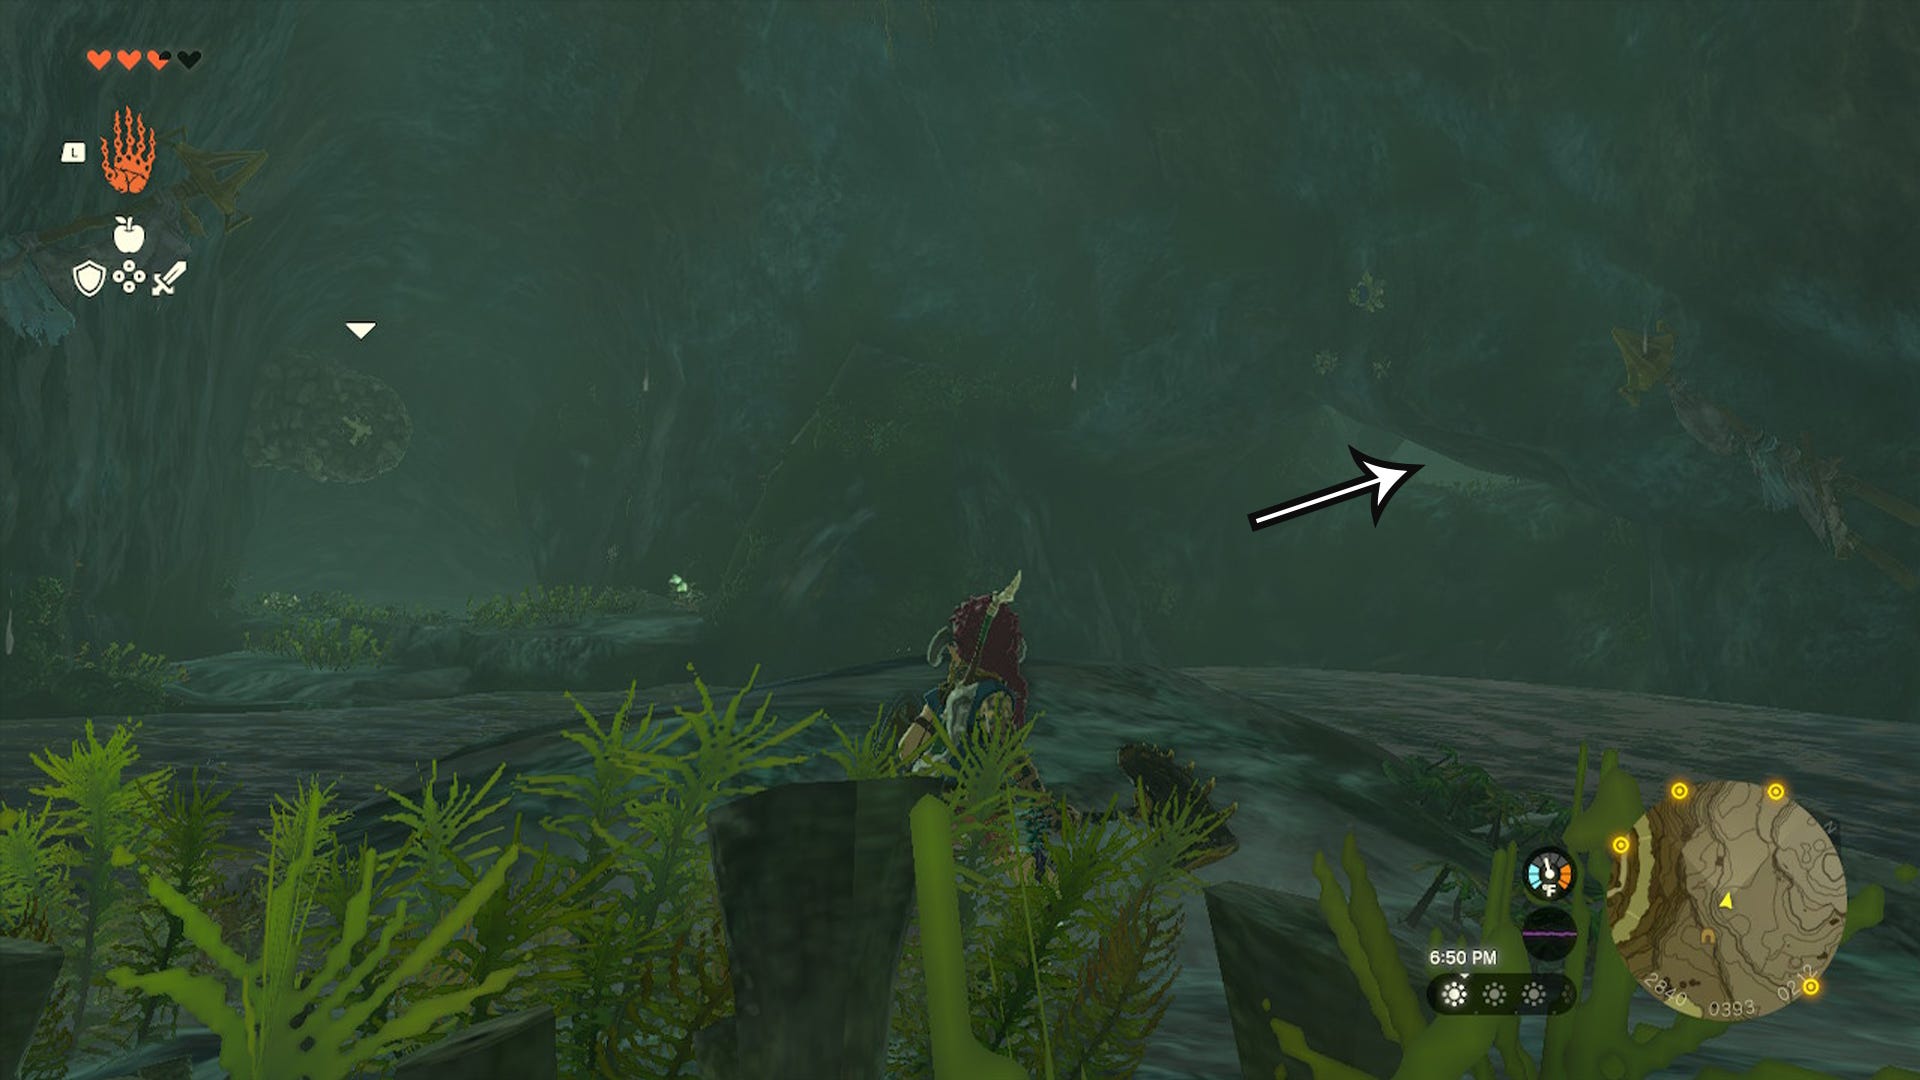
Eventually, you'll end up at a bridge near some small waterfalls where there’s a Horriblin on the ceiling. Nothing to worry about because this one is also pretty weak. Now, from this bridge, you are able to see the first waterfall.
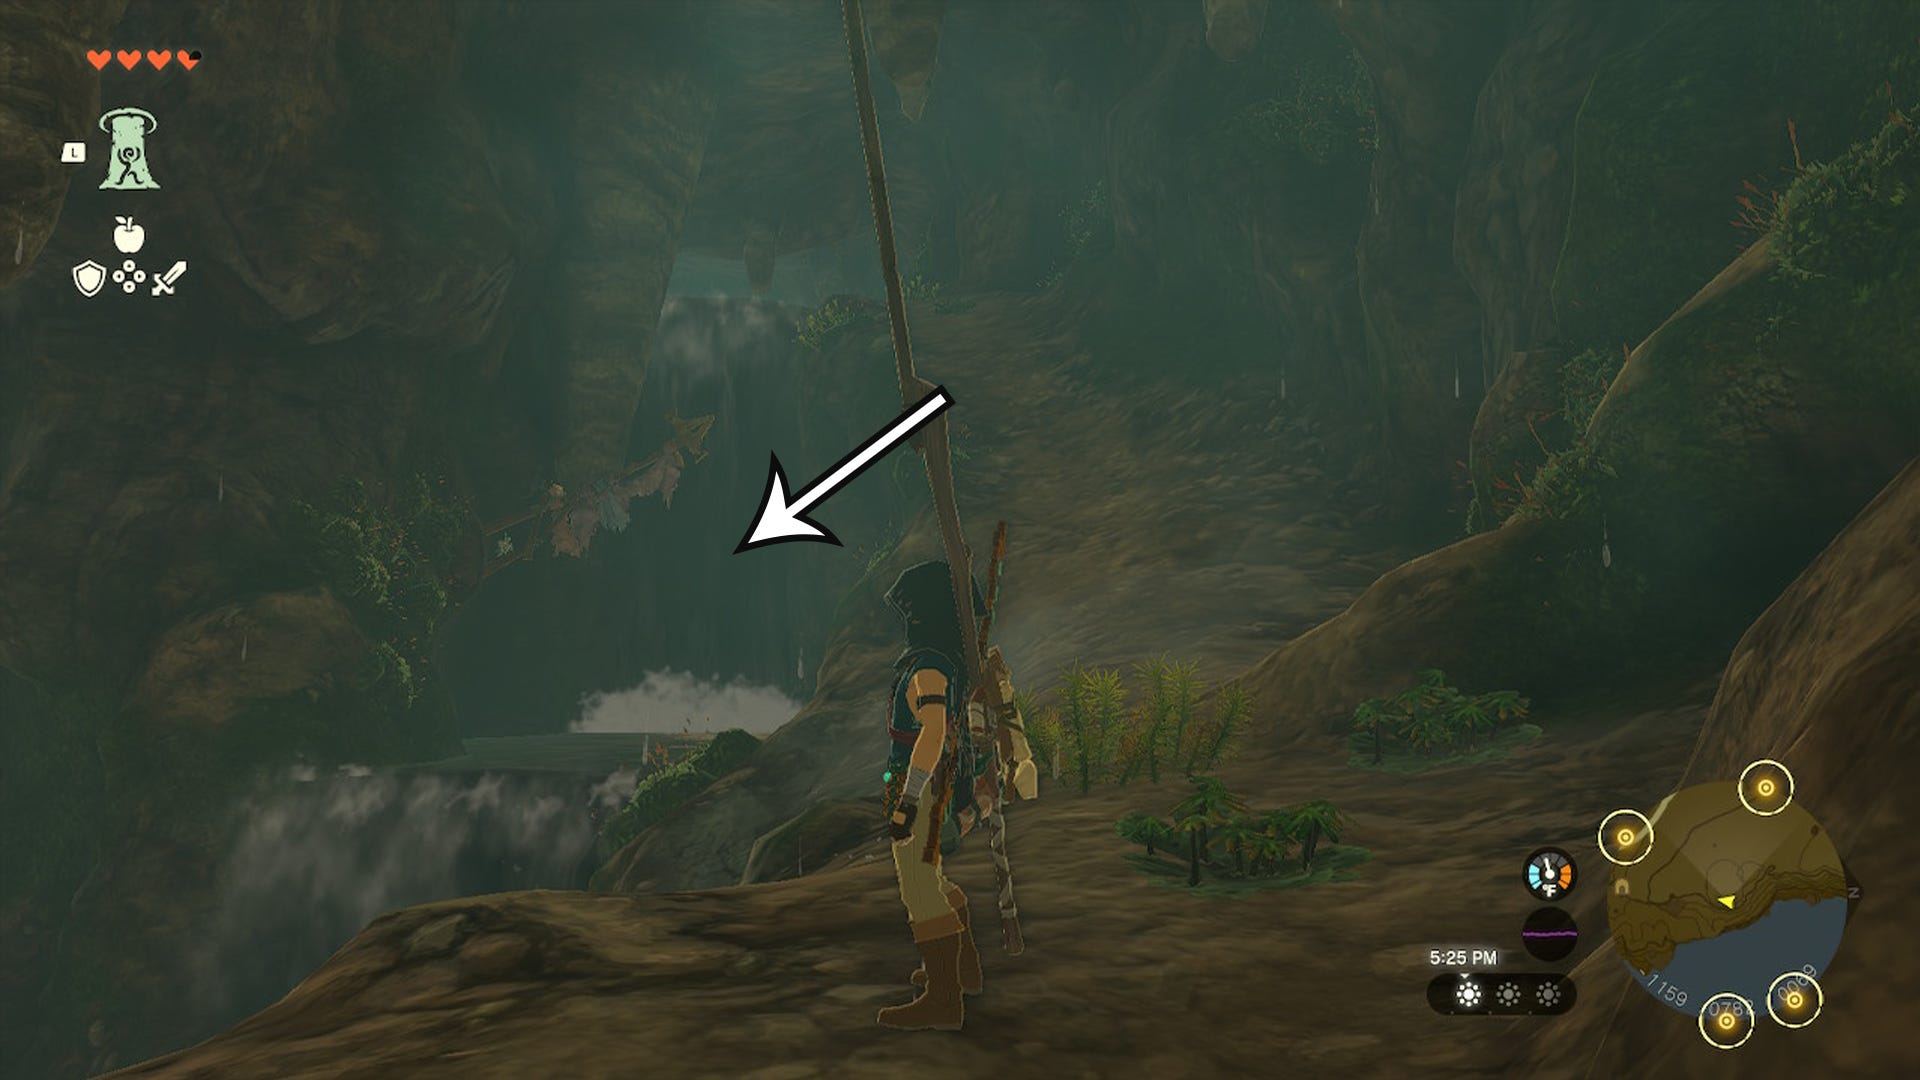
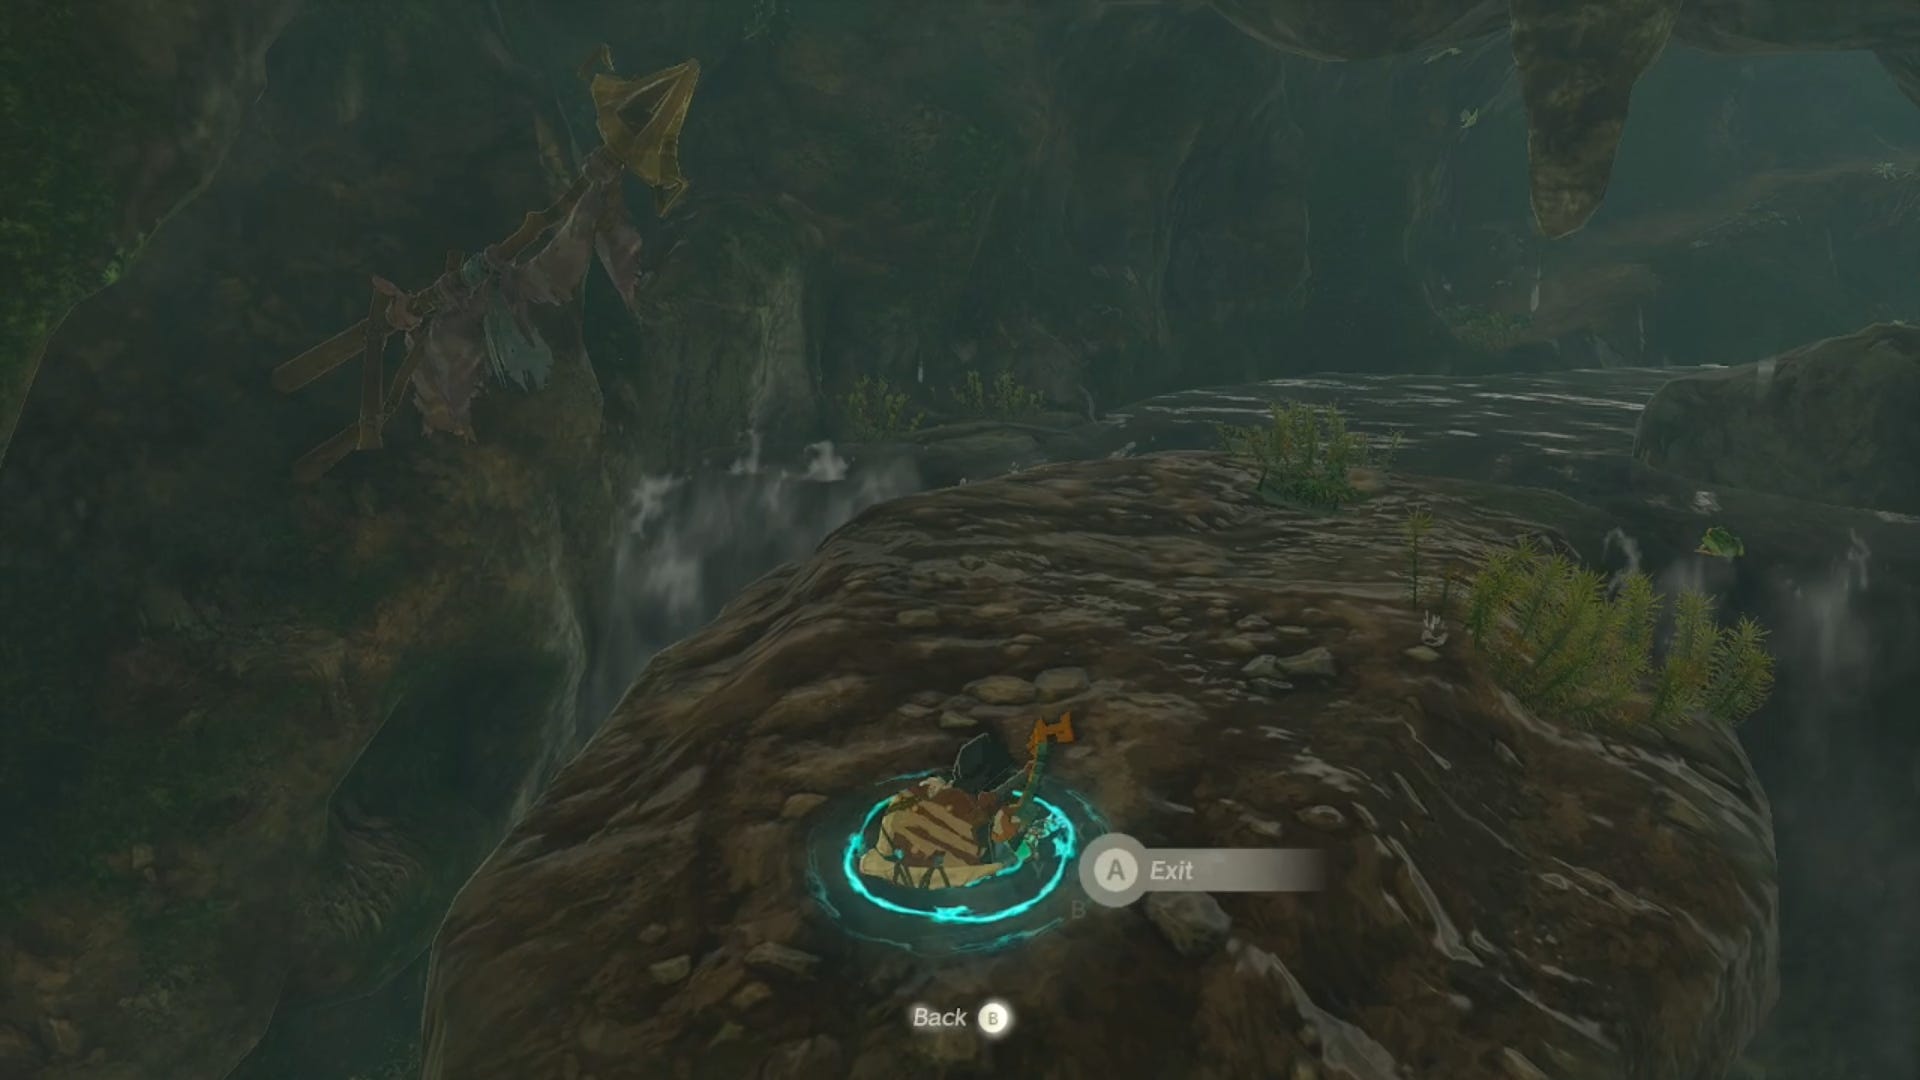
You have to get behind this waterfall, but instead of trying to swim your way there, which requires too much effort – and stamina! – you should take the path on the right and jump from it into the waterfall. You will find the chest with the Climbing Gear hidden there.
Climber’s Bandana location in Zelda Tears of the Kingdom
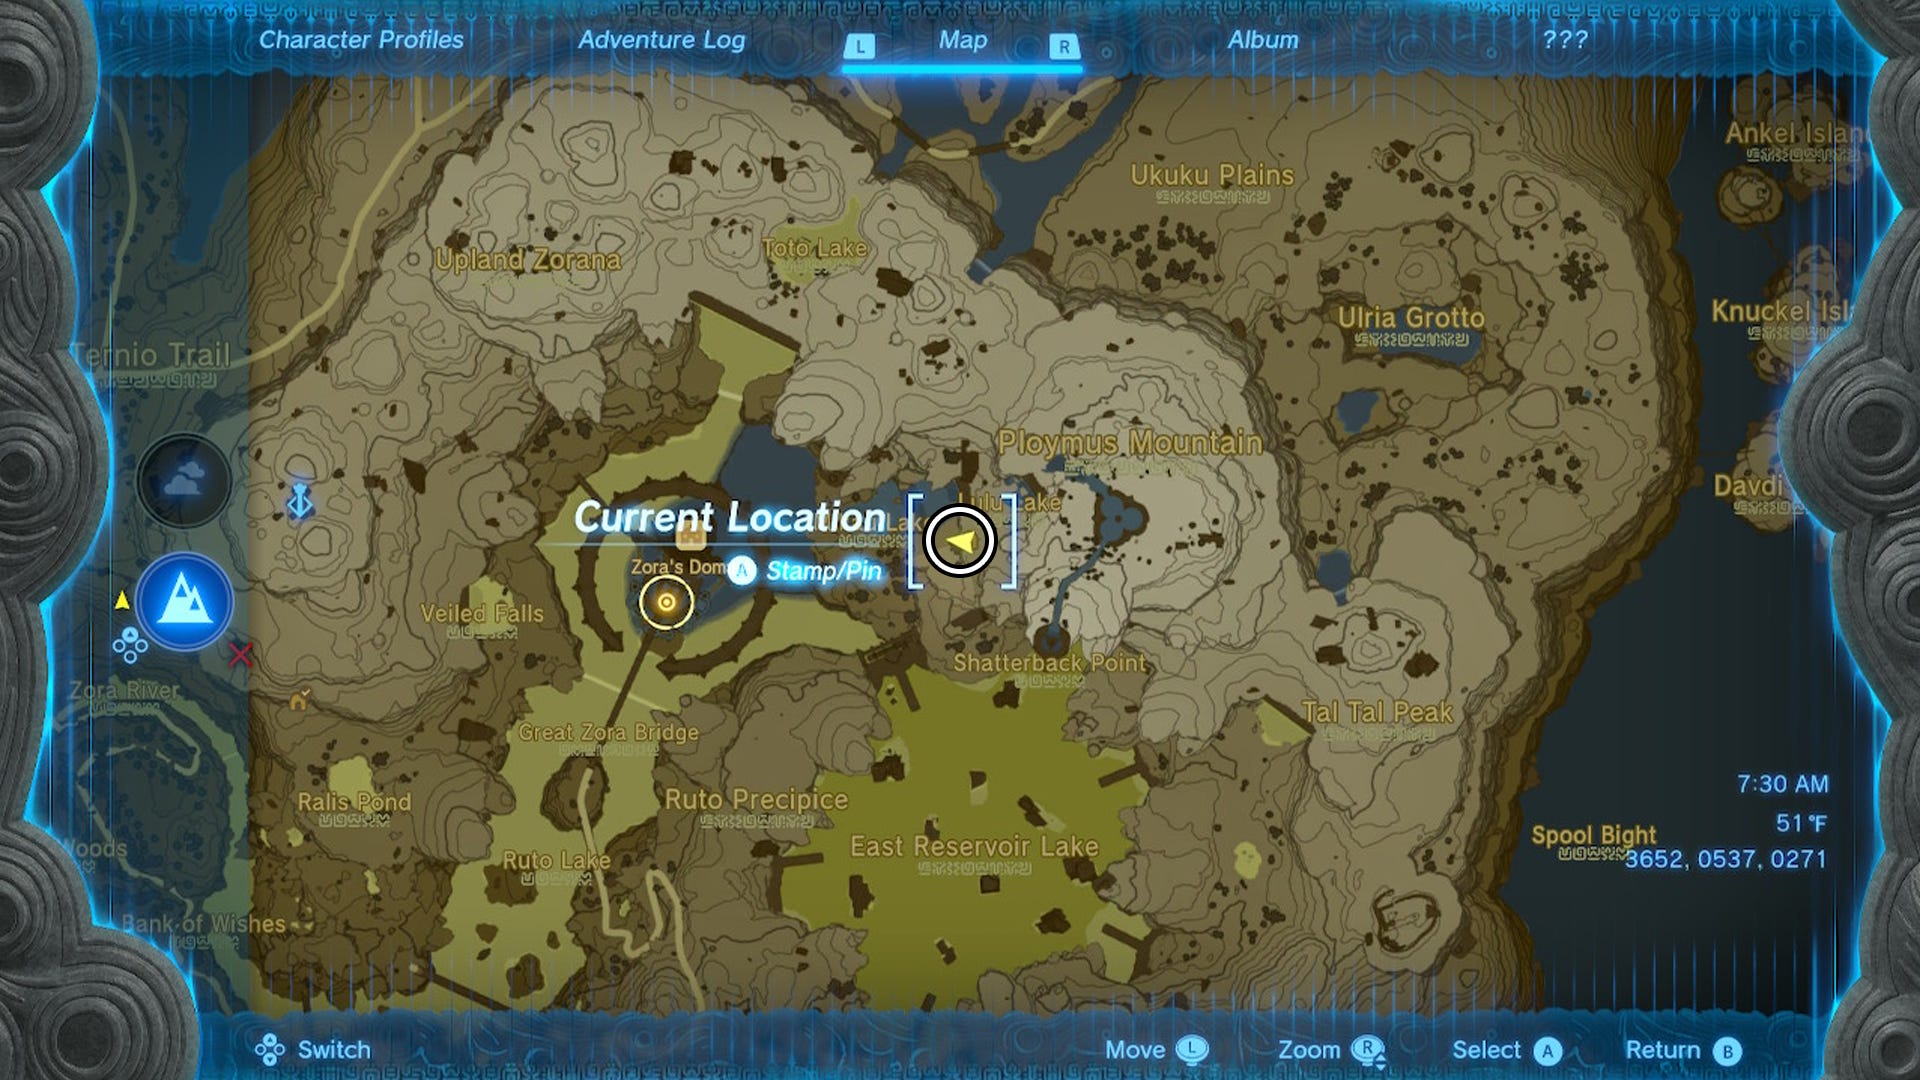
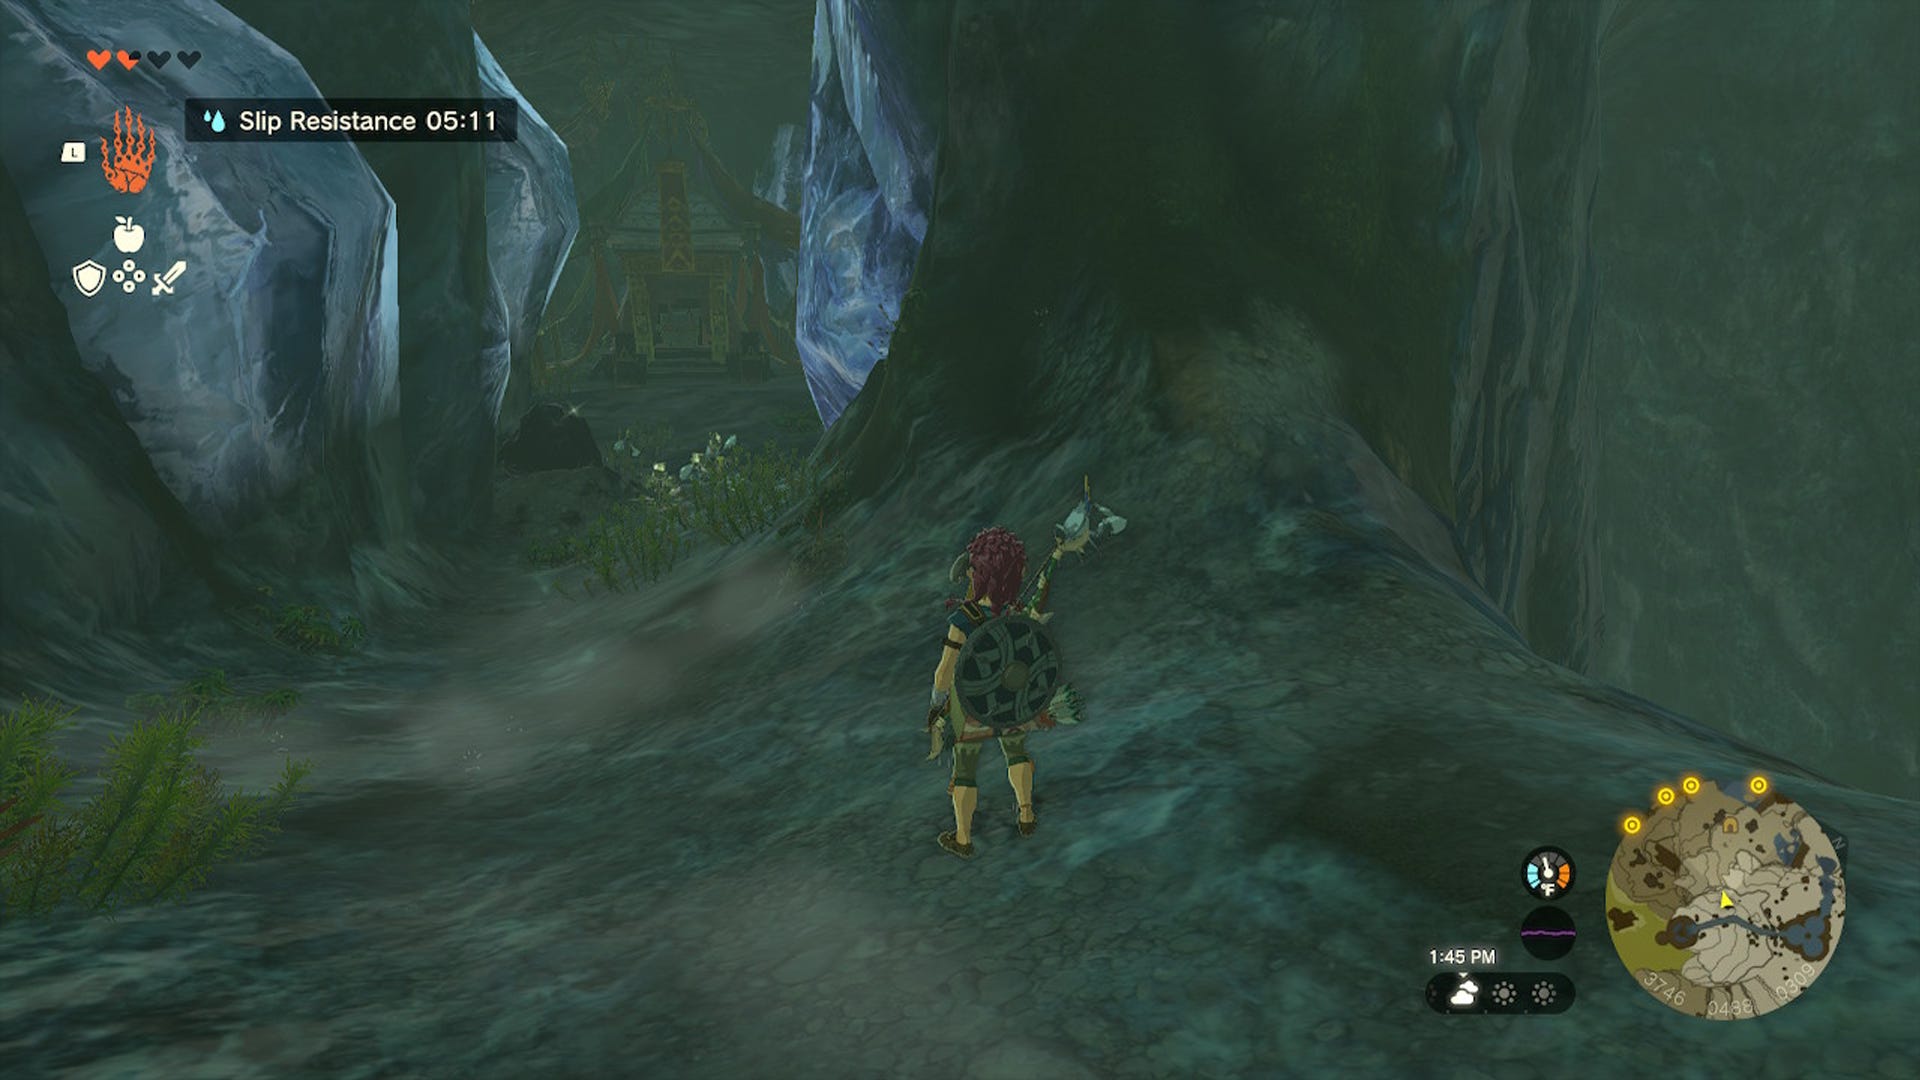
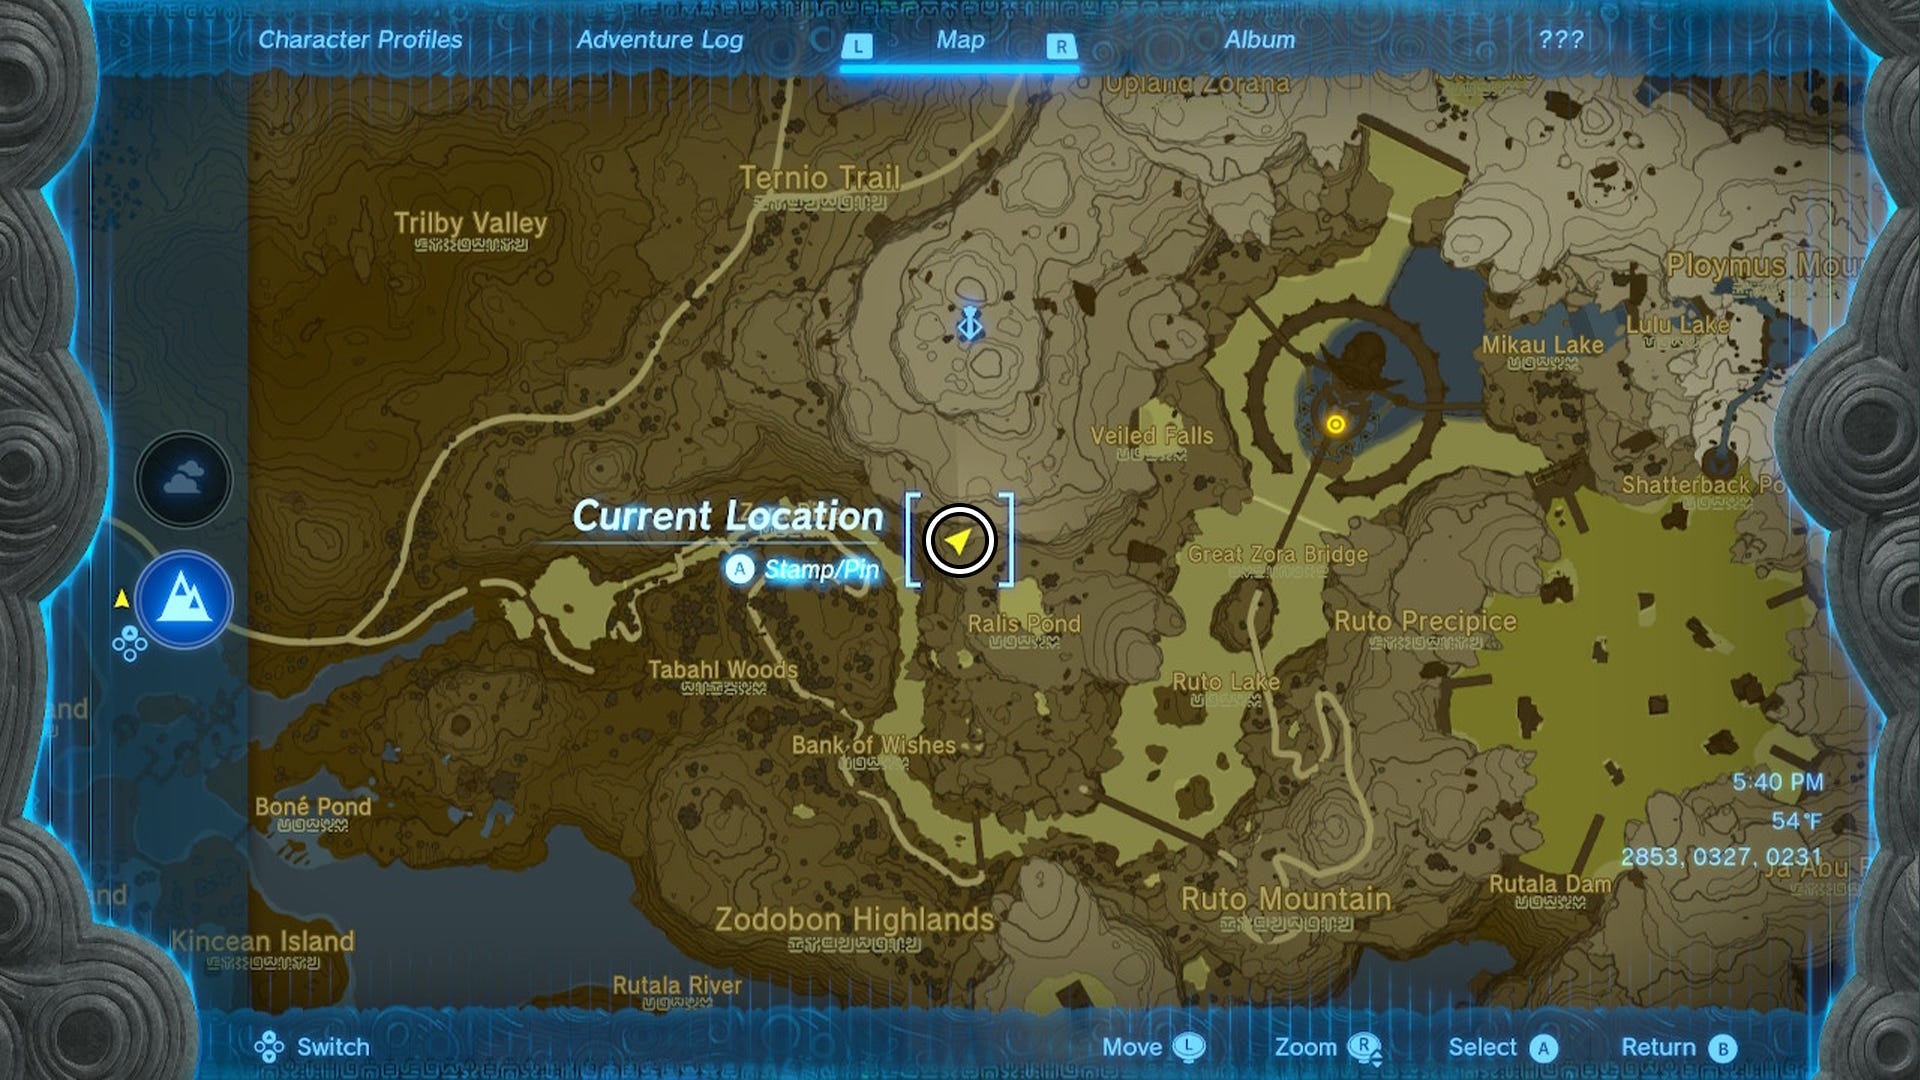
For the climbing armor head piece, you’ll be looking for the Climber’s Bandana which can be found located at the Ploymous Mountain Cave (3367, 0539,0272), between Zora’s Domain – in the west – and Lulu Lake – in the east. As you progress through the main story and get to the region of Zora’s Domain, you will have to go east and get near Lulu Lake.
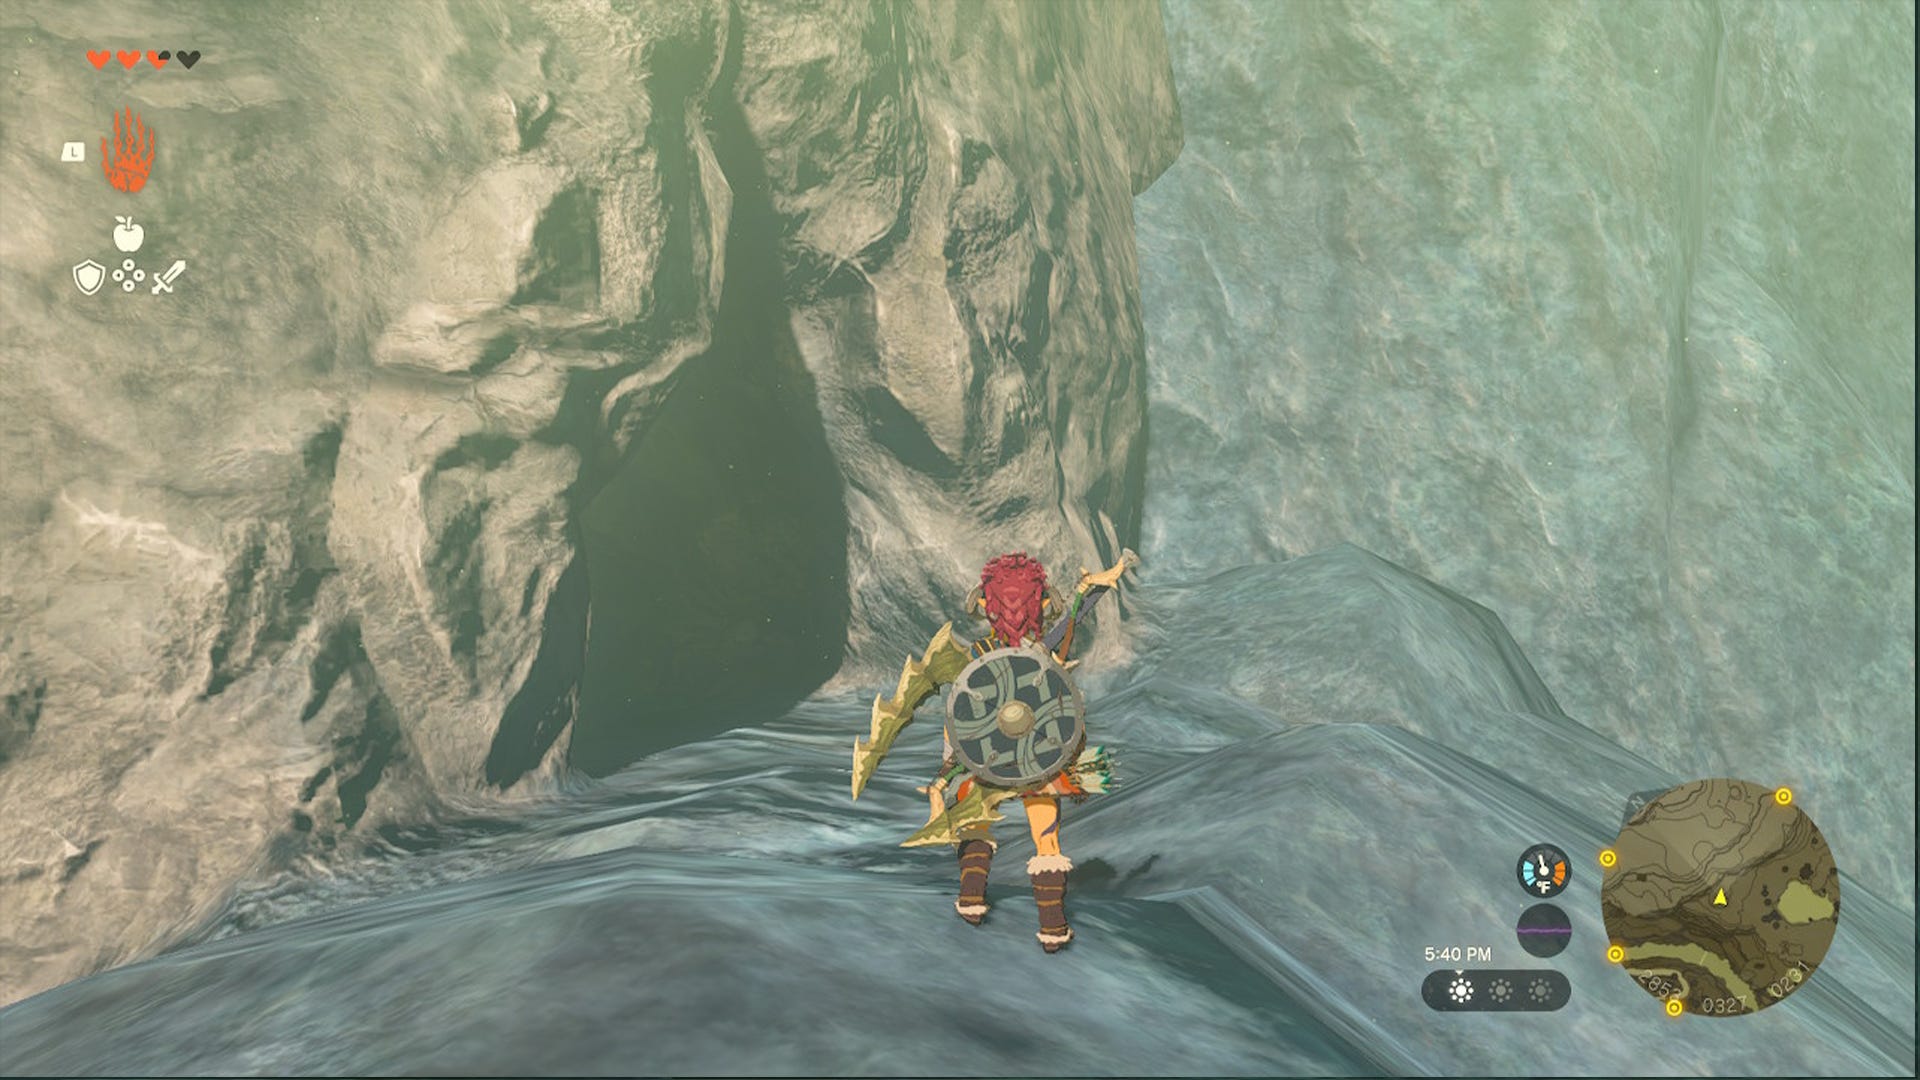
The entrance of the cave looks like a crack on the mountain’s wall and it’s close to the waterfall. Keep your eyes open for a Bubbulfrog, a creature who’s going to take you to the closest cave if you run after it.
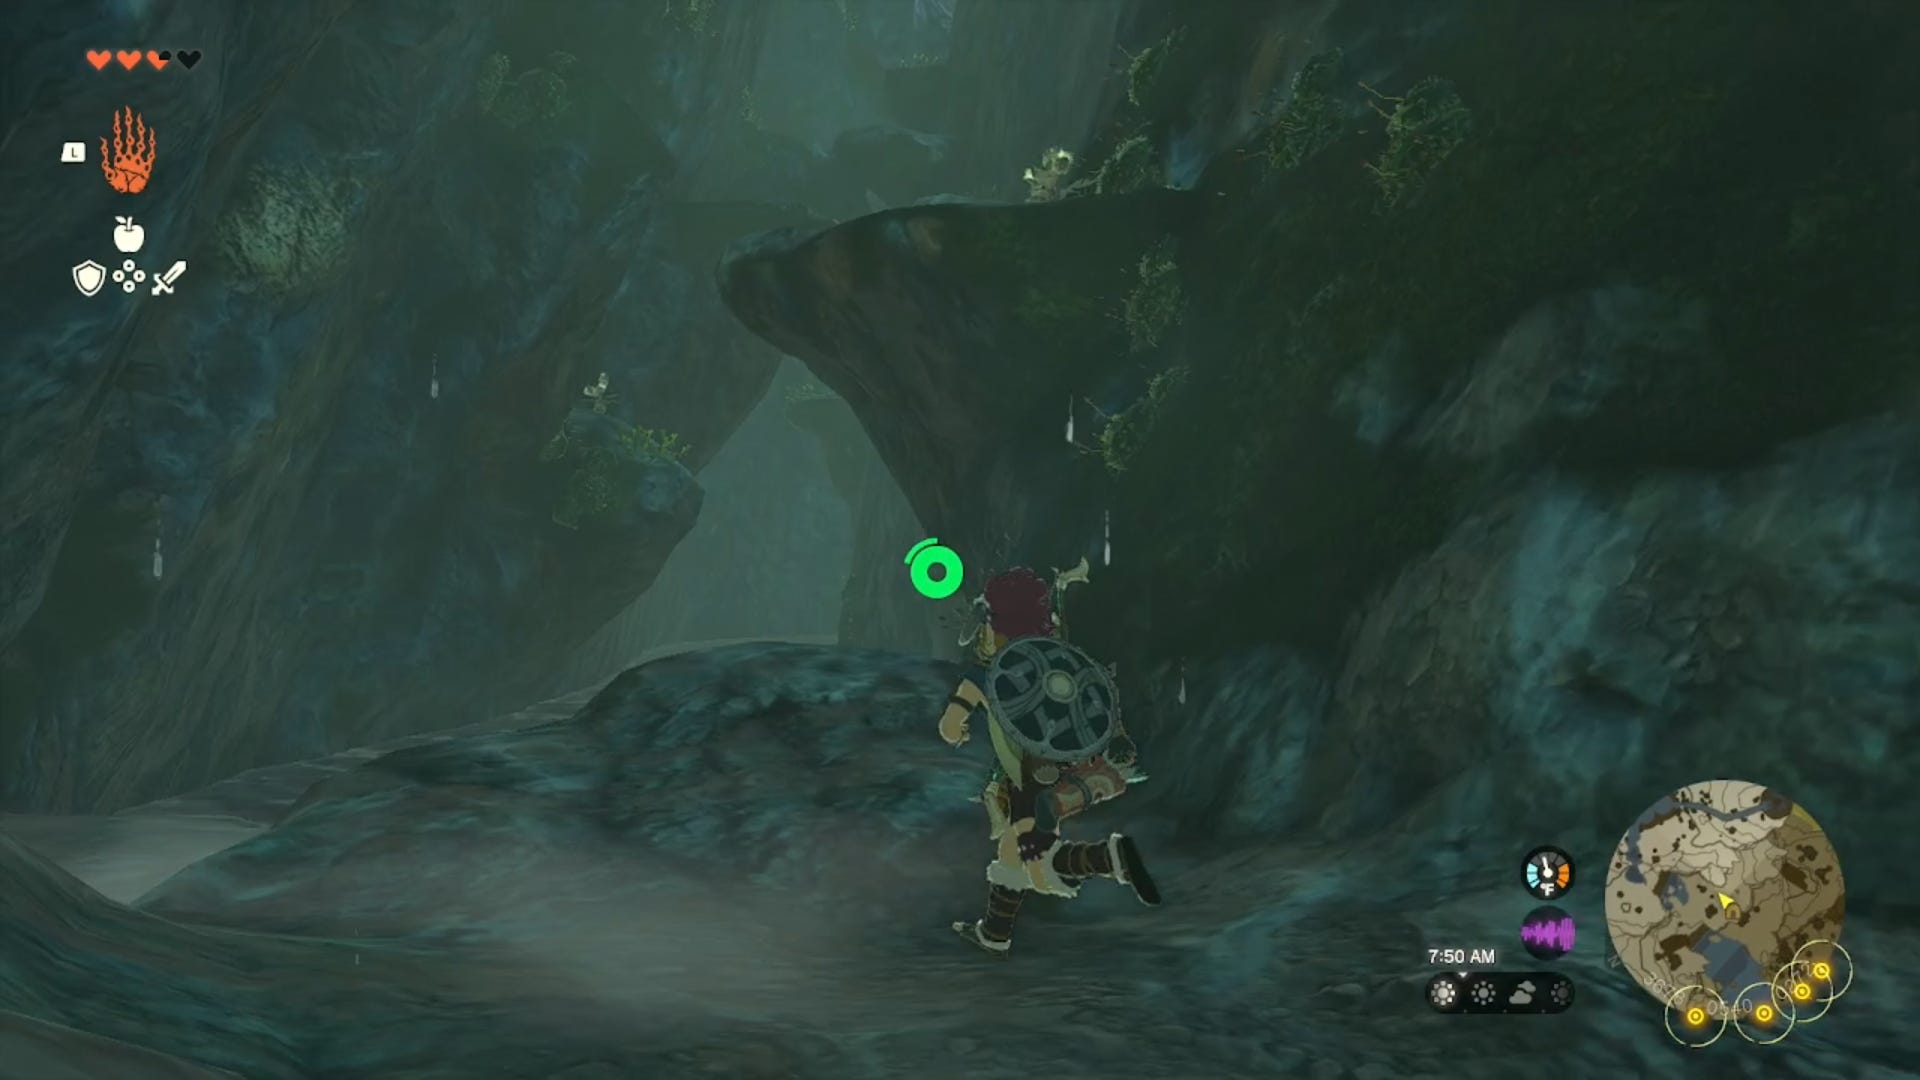
Ploymus Mountain Cave is not a complex cavern to explore, but it can be a little bit challenging – and quite annoying – due to the fact that all the walls are wet. The path is pretty straightforward but getting this piece of equipment depends on you having the patience to climb your way up to the chest.
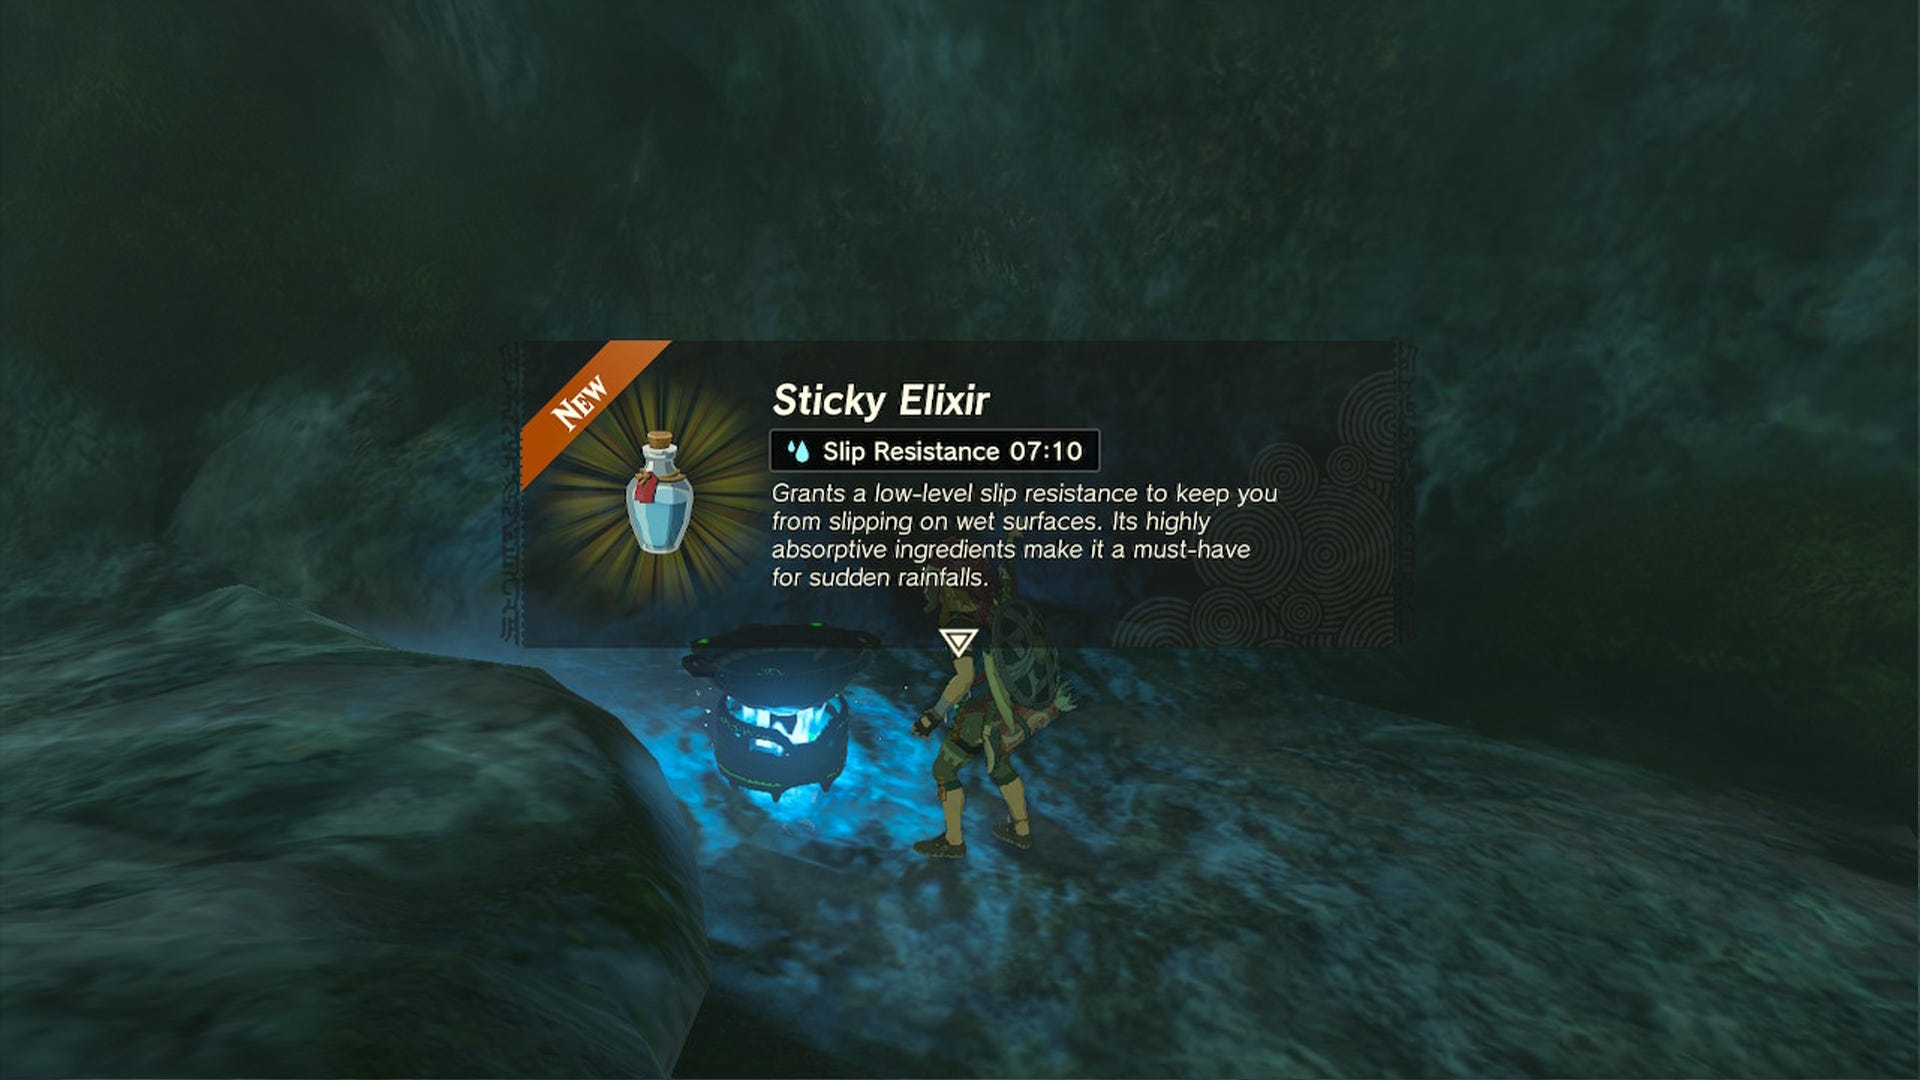
To make the process a little bit easier, we advise you to make a Sticky Elixir. This potion helps you to slip less when climbing wet surfaces. Although you’re still going to slip occasionally, this elixir will at least make the climbing a lot less stressful. You have to use at least one Sticky Frog or Sticky Lizard together with monster parts in a cooking pot to craft one of these. The number of ingredients increases the duration of the effect.
Now, while there isn’t a 'right' path to climb, we suggest trying to follow a sequence of rocks that are better positioned.
Start at the rock on the right side from where you'll have a good position to jump to a rock on the left and climb to another one, a little bit higher. Above this last rock, there is another one. Climb the wall and get to it to get to higher ground.
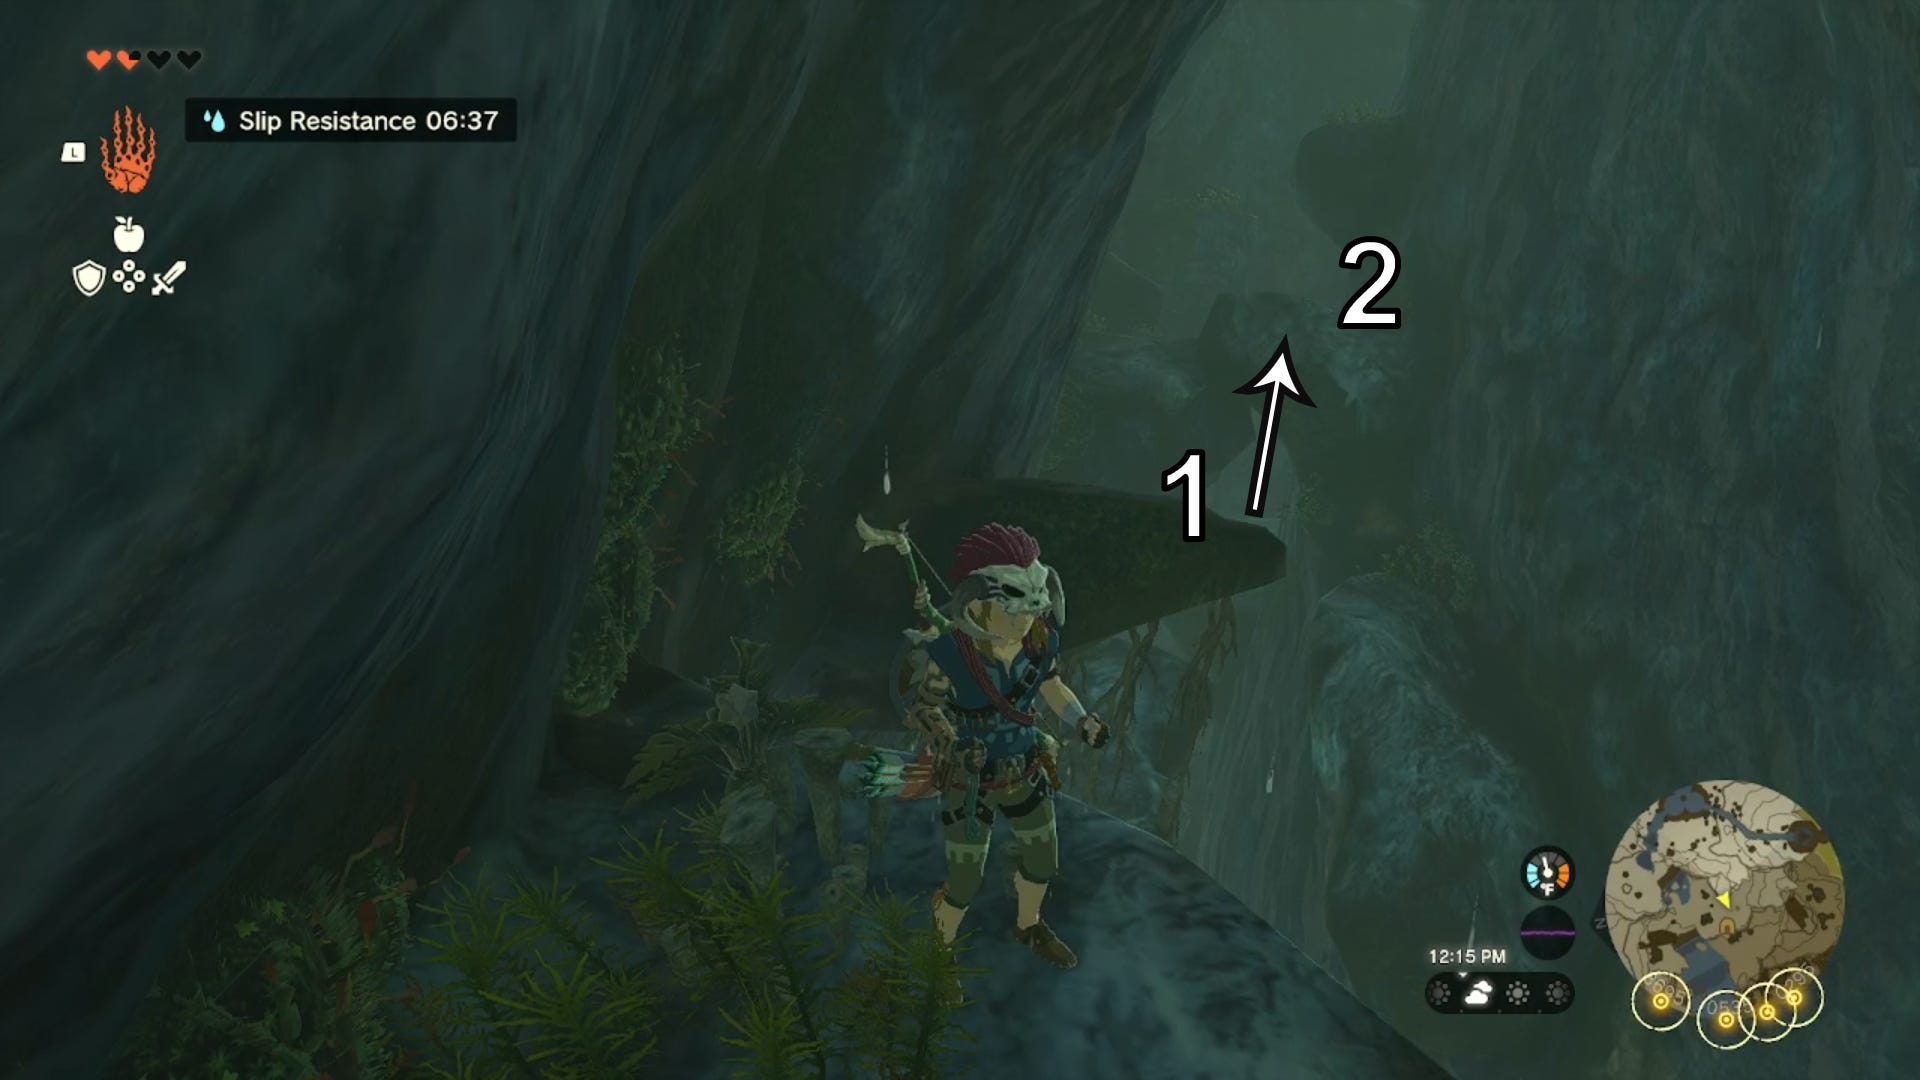
Jump and glide to the next rock (1) and then to two large rocks (2) that are connected. Go to the right side now and use the wall to climb to the next rock above you.
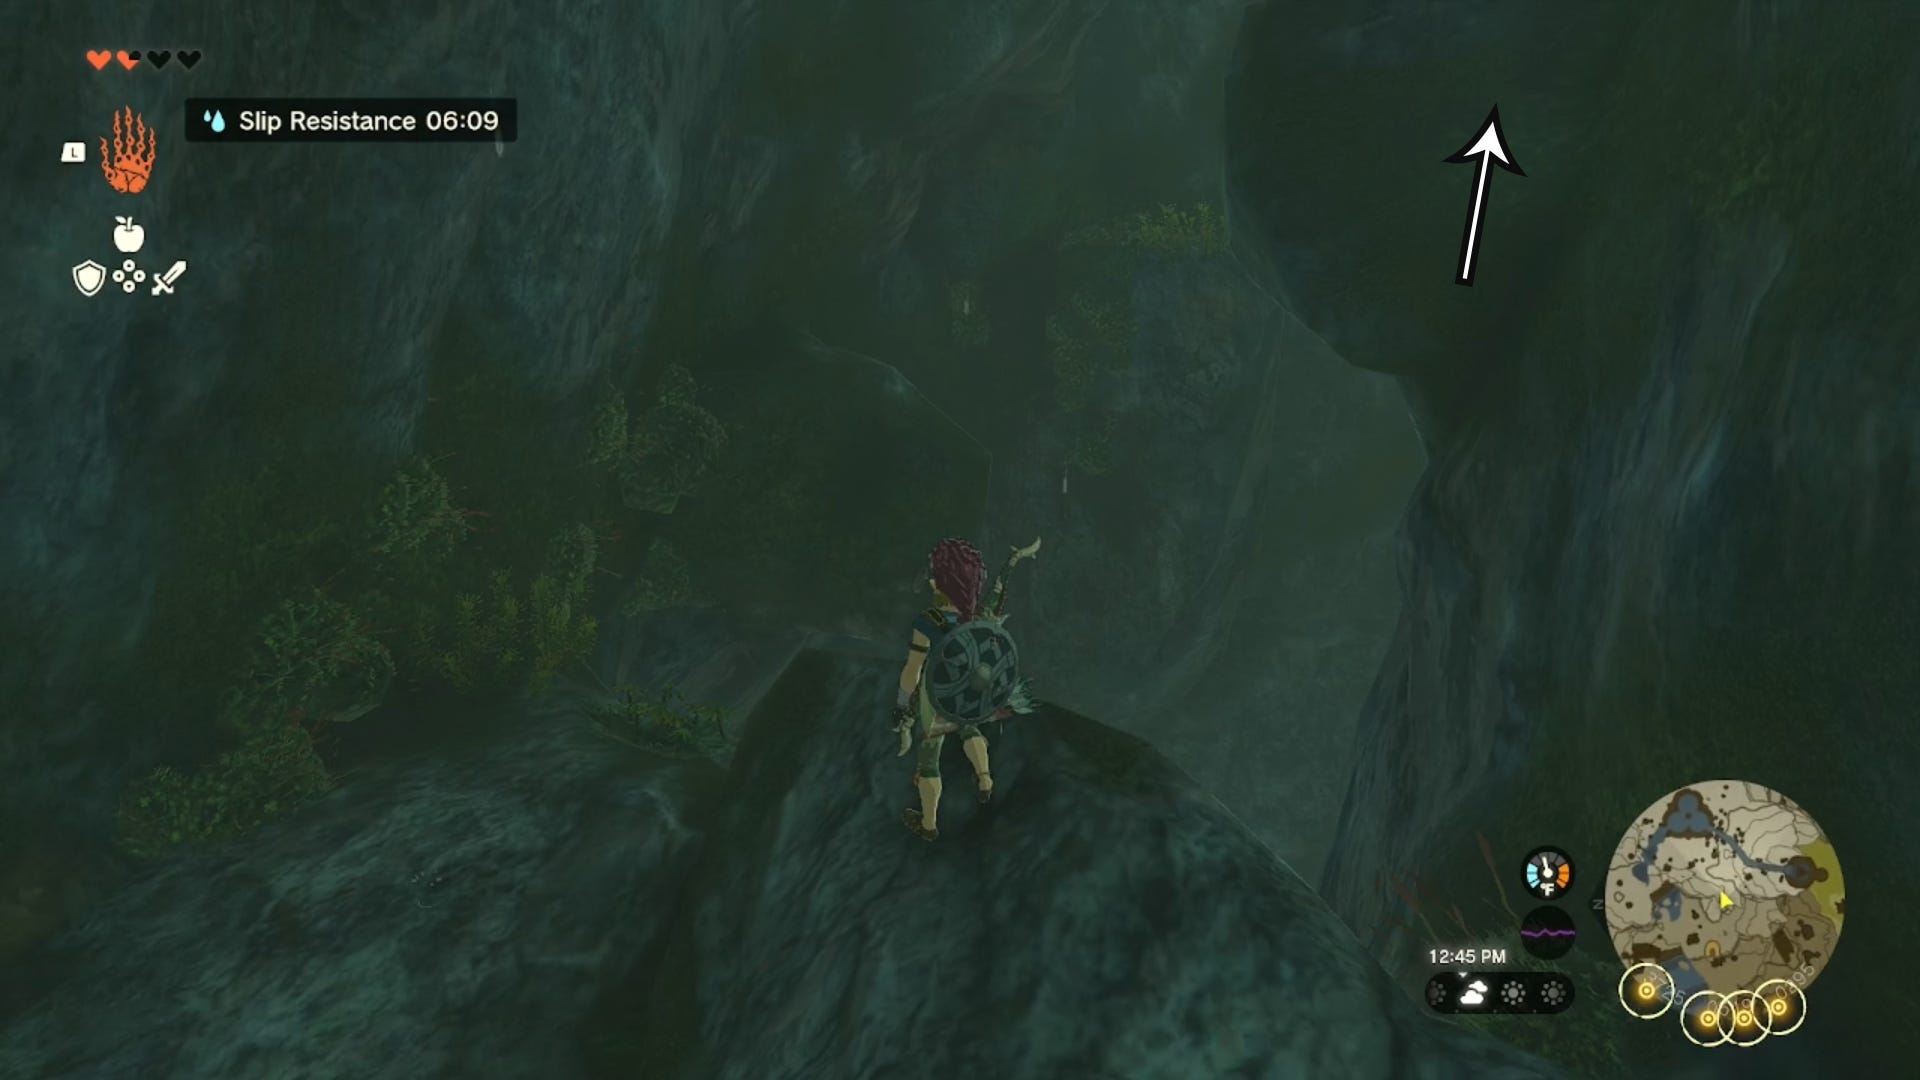
From there, it’s possible to jump and glide to a rock on the left side. Now, you'll just need to glide straight ahead to reach the final part.

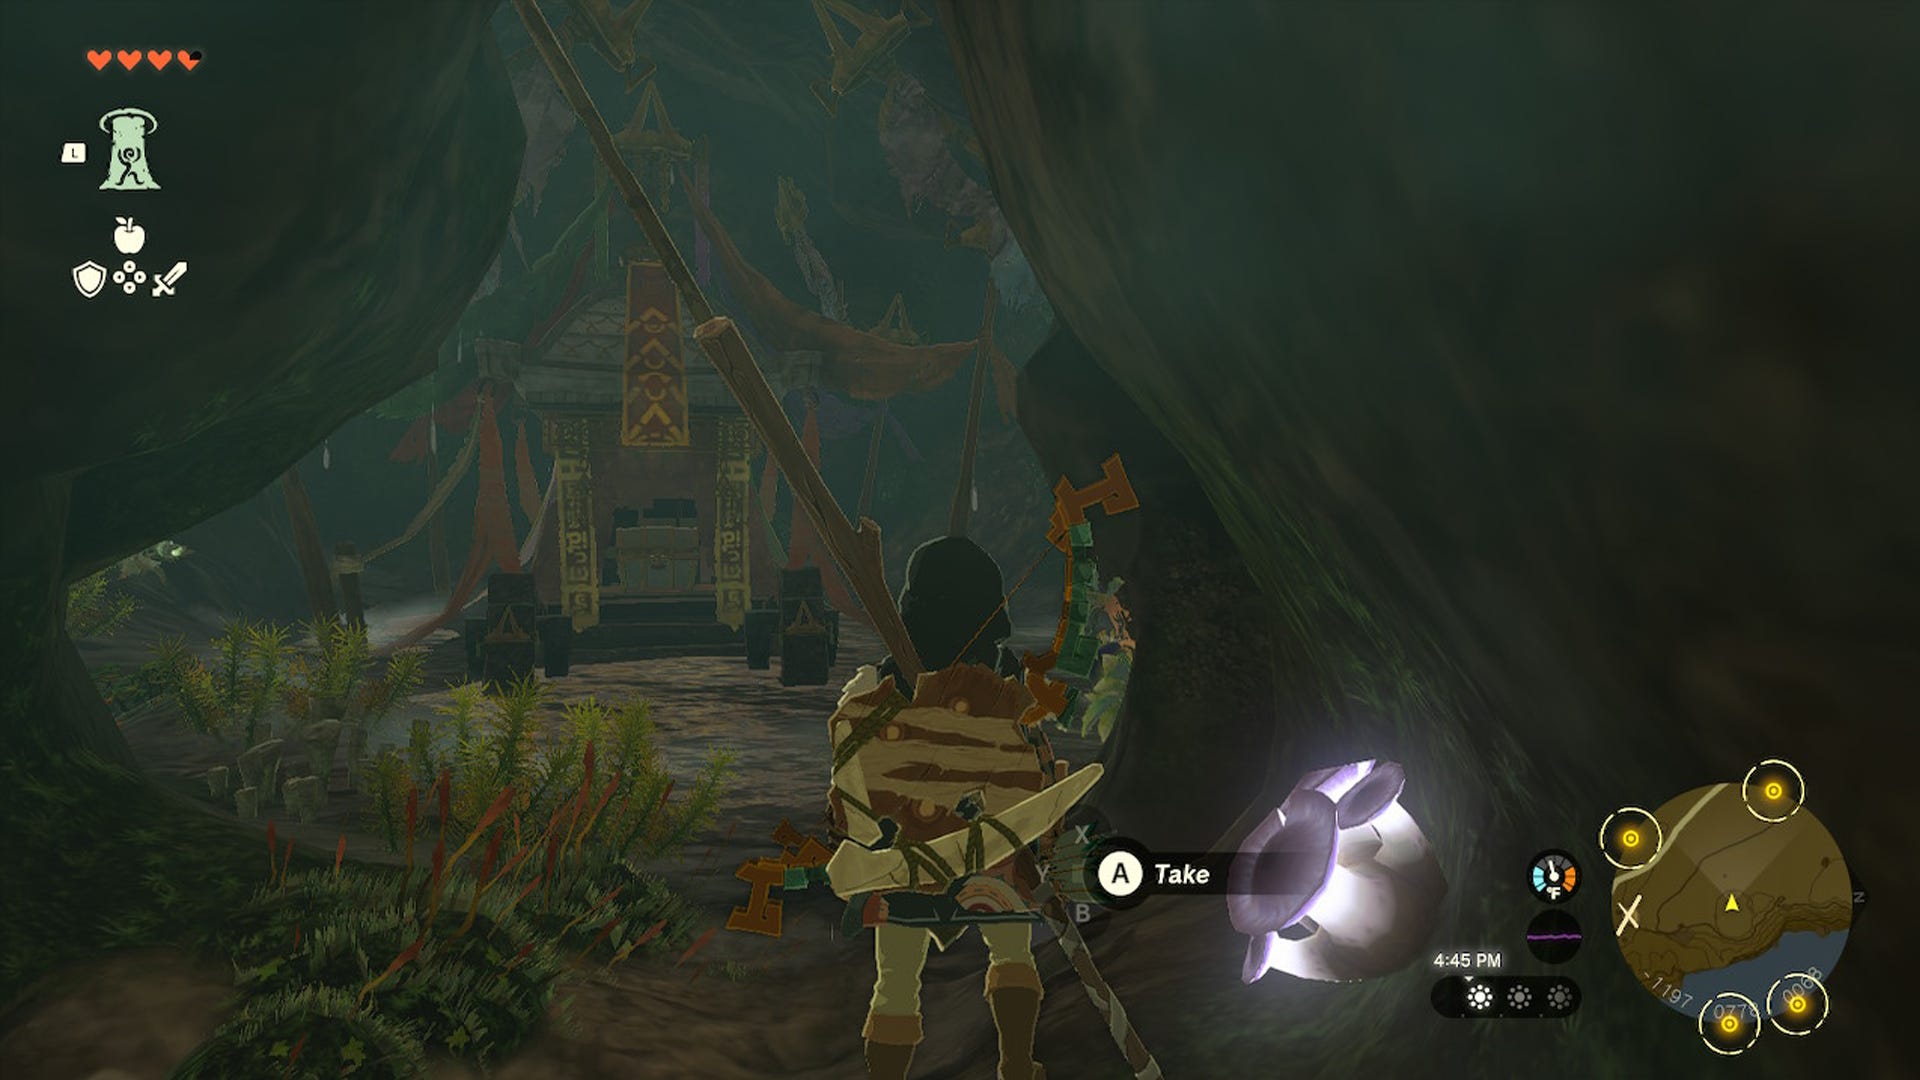
Climb this last section and, once on the top of it, you can go to your right to find the chest with the Climber’s Bandana.
Climbing Boots location in Zelda Tears of the Kingdom
For the climbing armor legs piece, you’ll be looking for the Climbing Boots which can be found located at the Upland Zorana Byroad (2860, 0349, 0227), a cave found in the upper areas of Upland Zorana, southwest of Zora’s Domain. The entrance of the cave is close to an area where you find a little lake and the edge of the mountain.
The easiest way of going to Upland Zorana Byroad is by gliding south from Upland Zorana Skyview Tower. In case you haven’t visited this tower yet, it's a great opportunity to unlock more of the map and find the cave!
Finding a way to get to this cave pays off since it’s an easy cave to deal with. You are able to avoid all the enemies inside of it and just go straight for the final prize.
In the first section, there is a small pond and two paths. One on the left where you can see a Rock Like Like – that will probably start shooting rocks at you! – and another one on the right, which becomes more visible once you get near it. Ignore the left path and go for the path on the right! Be careful, though, since there is also a Rock Like Like waiting for you on this path.

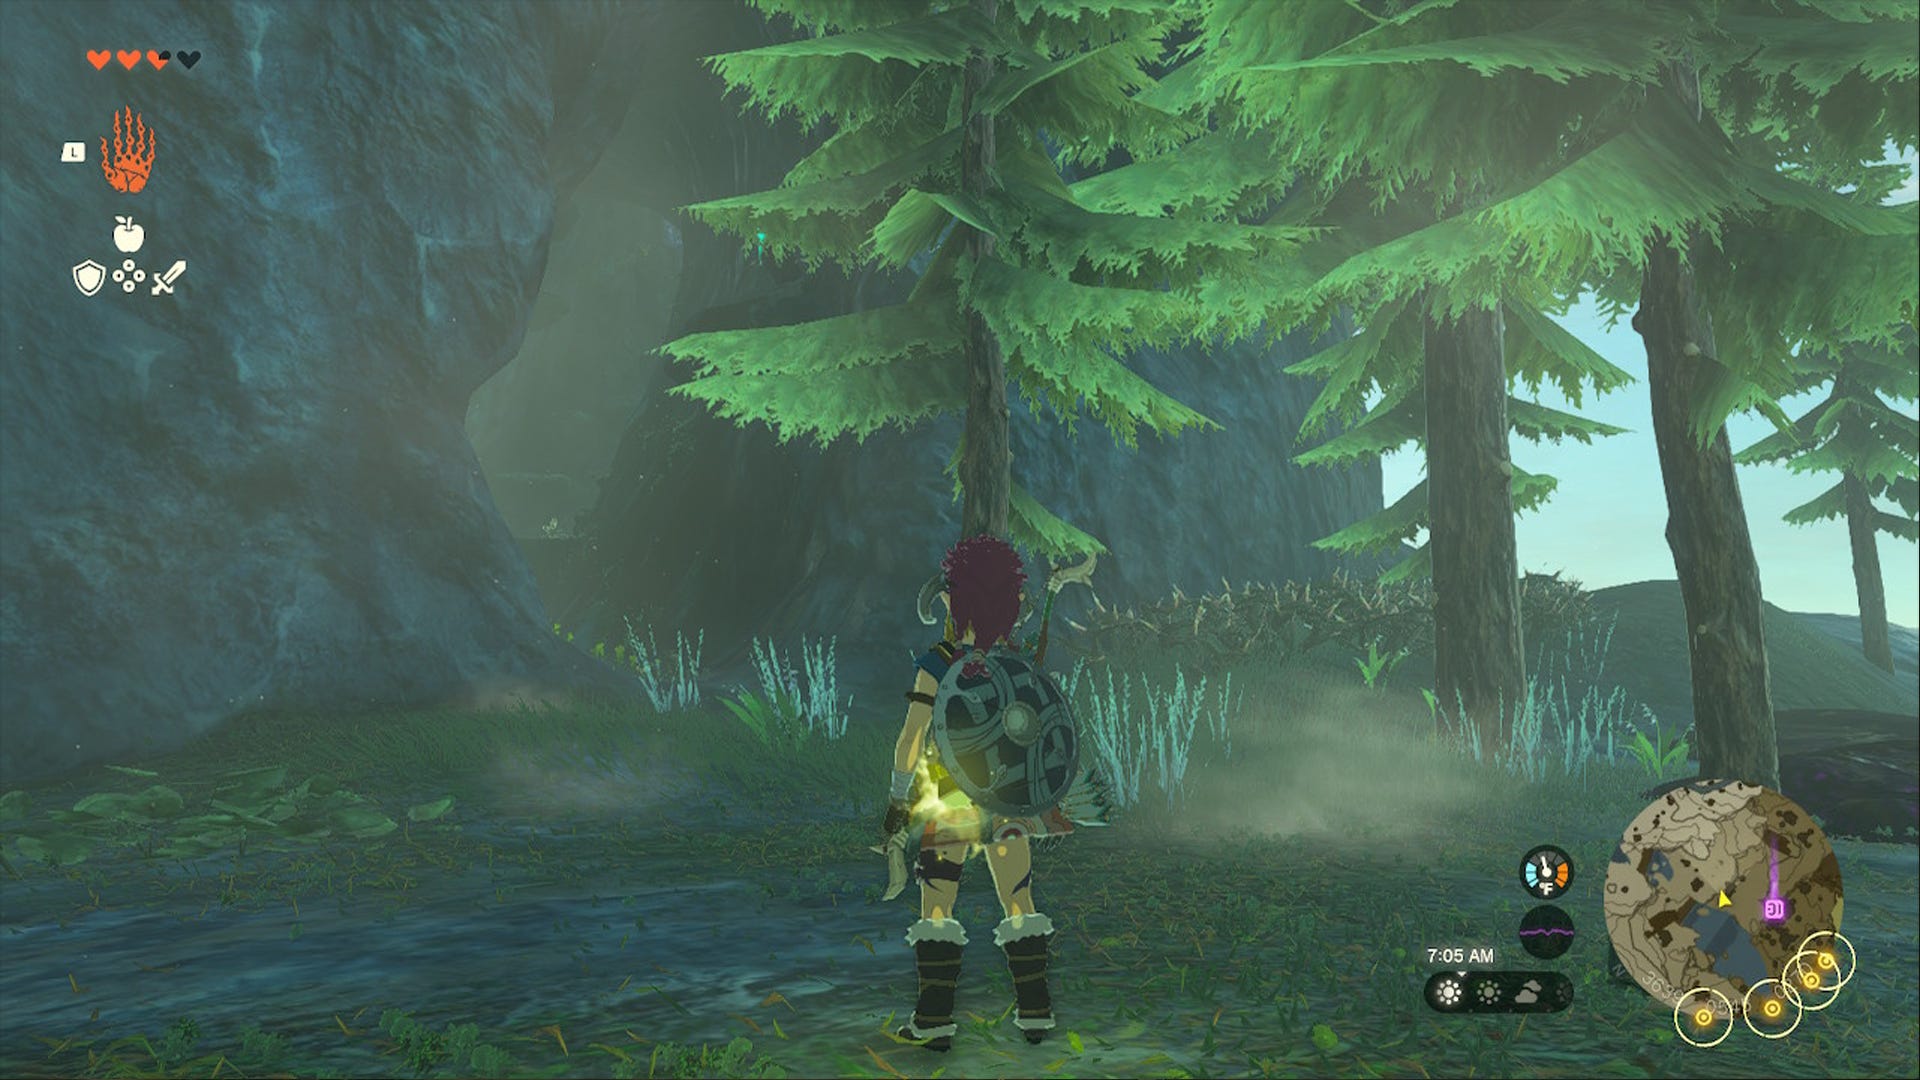
Ignore the Rock Like Like and go forward, following the path that starts going down. Eventually, you’re going to find roots blocking your way. Break them to access the last section of the cave.
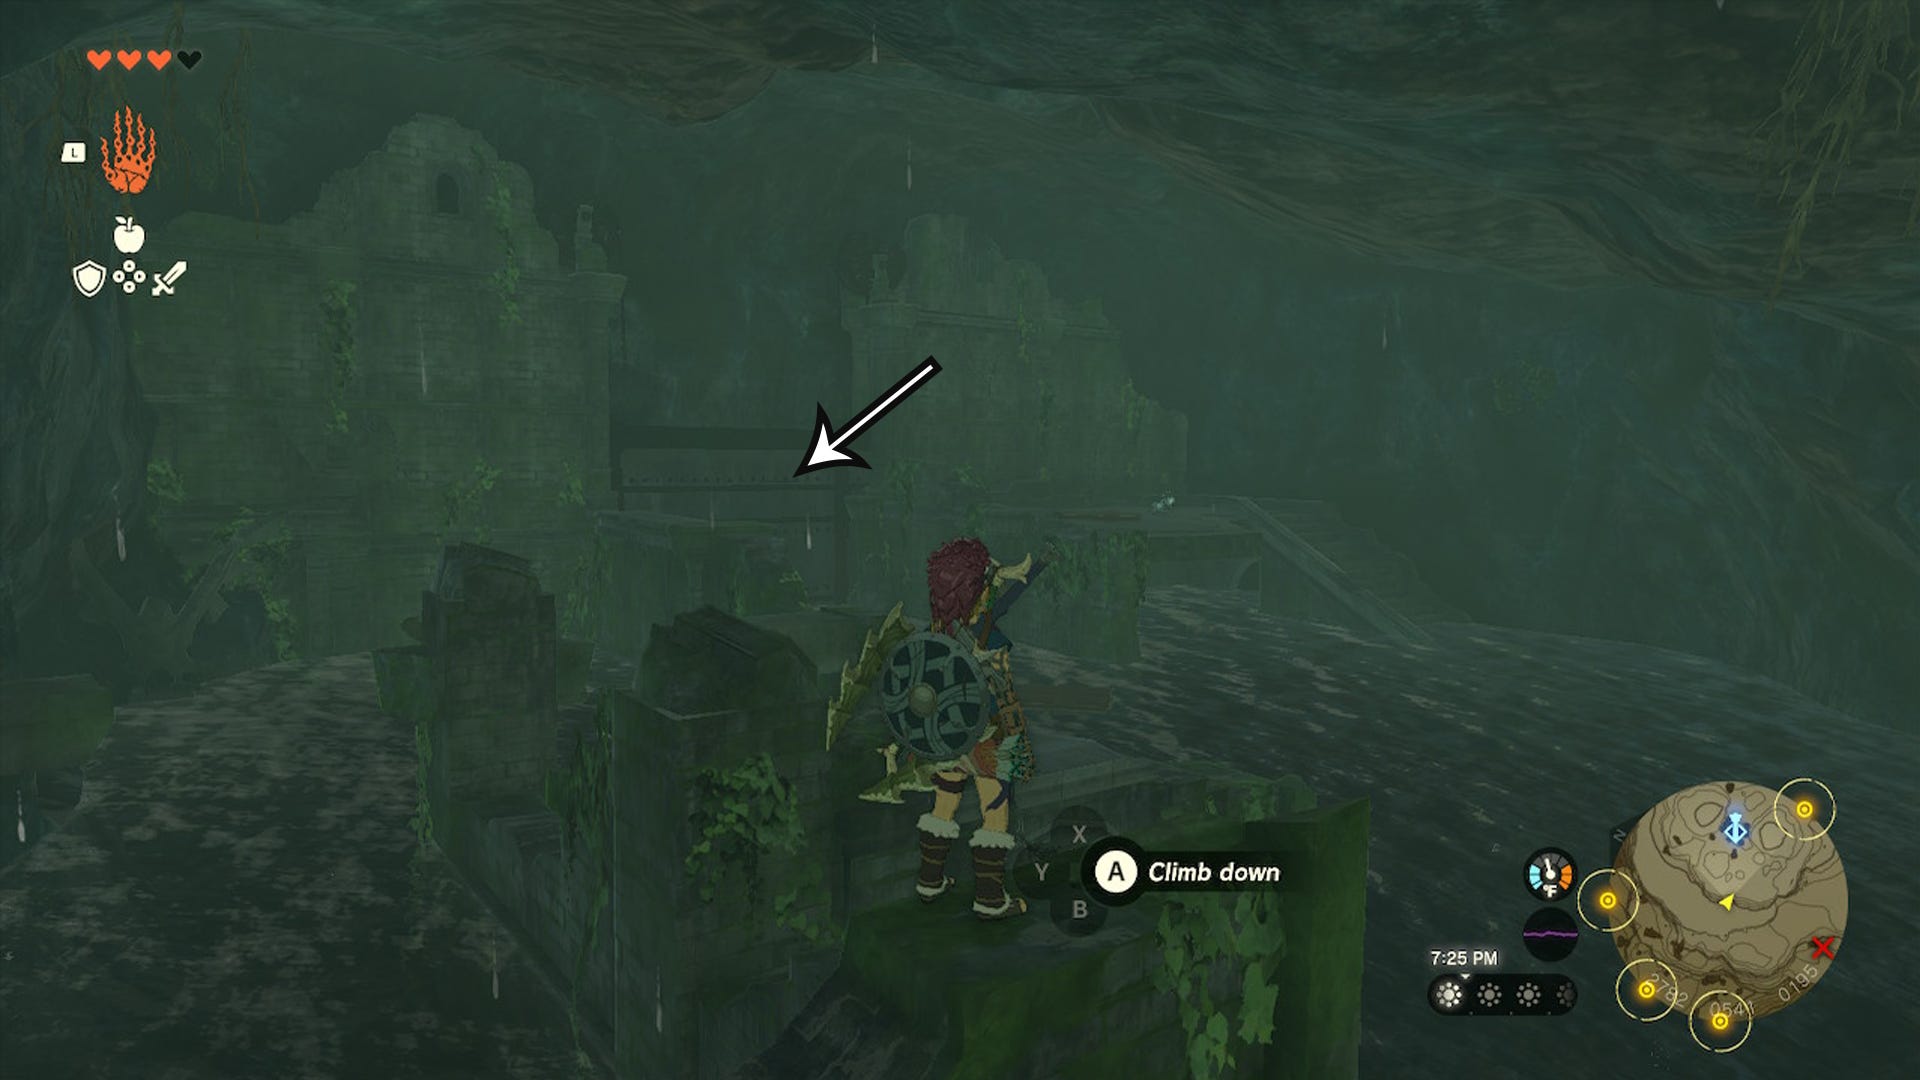
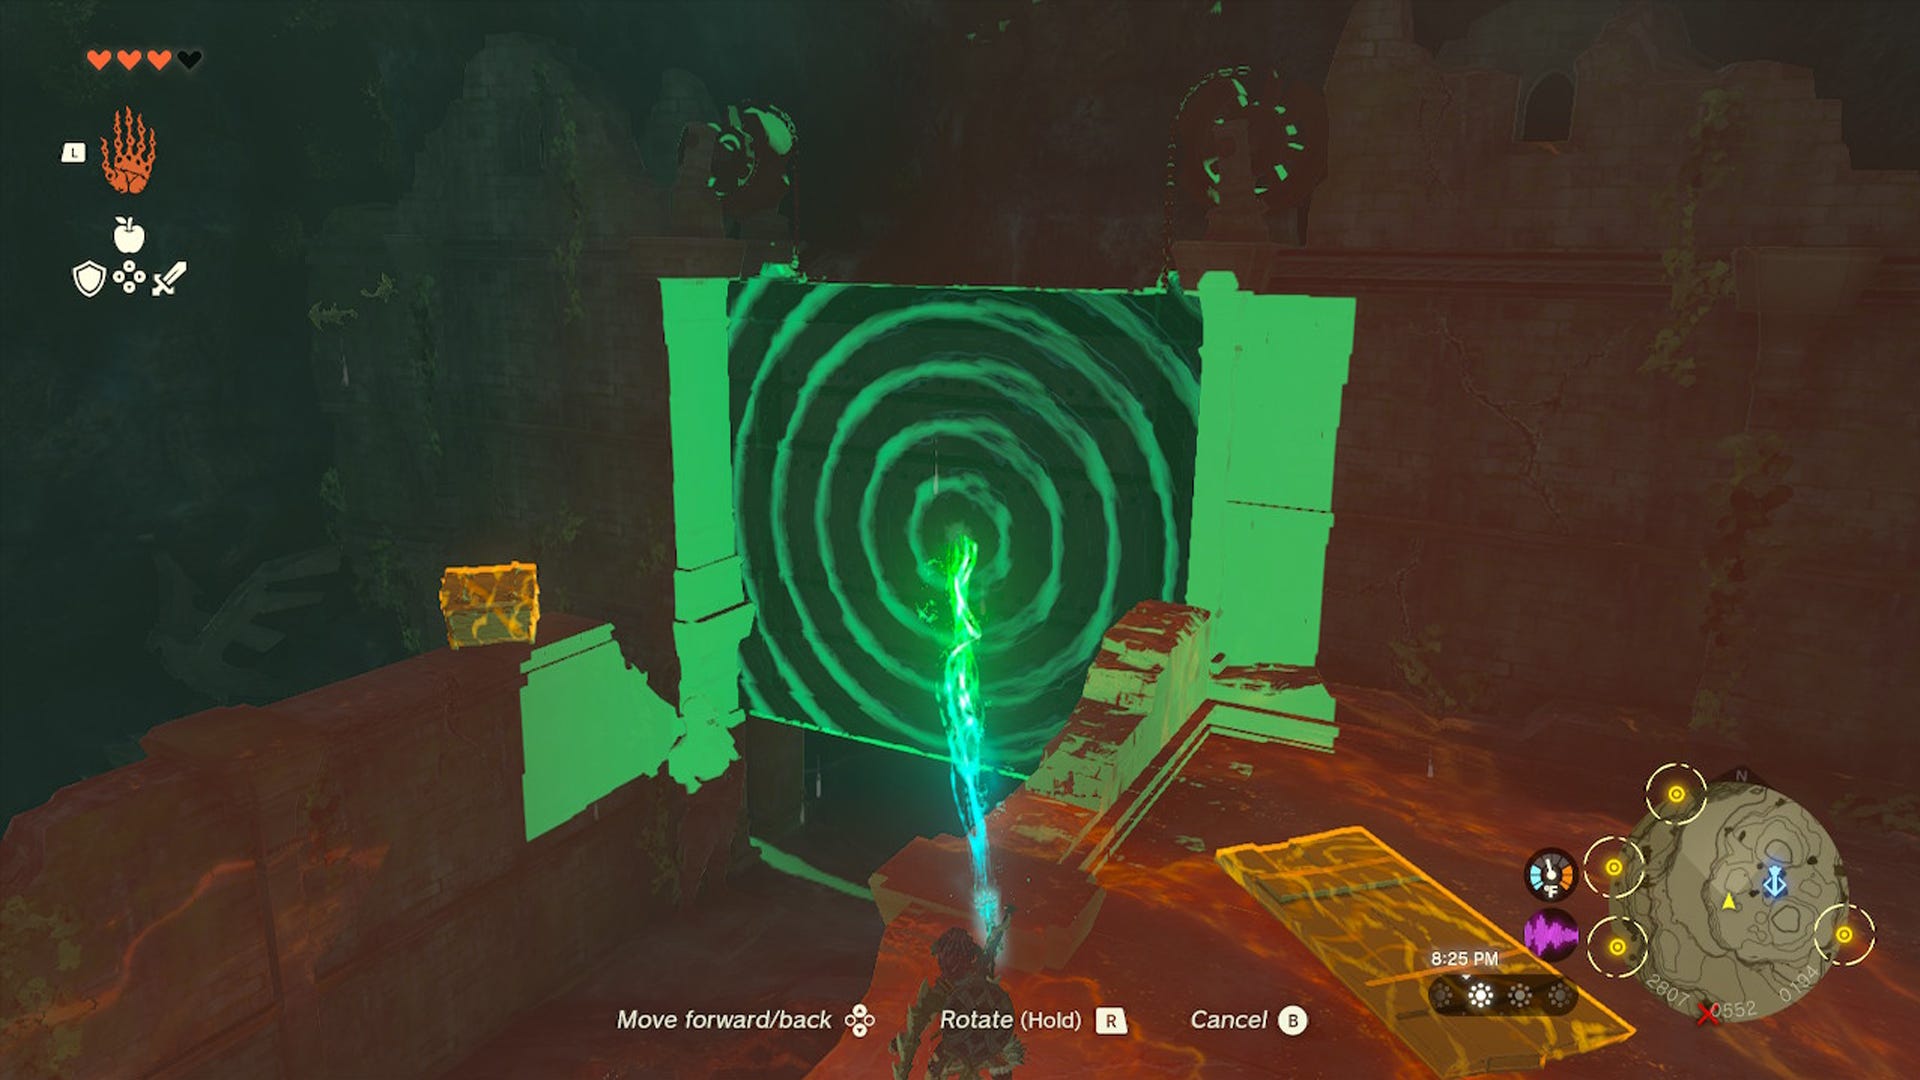
In this last area, there are ruins covered by water. Use the broken walls and pillars to traverse the place until you reach the side where there’s a metal gate. With Ultrahand, open the gate to lower the level of the water.
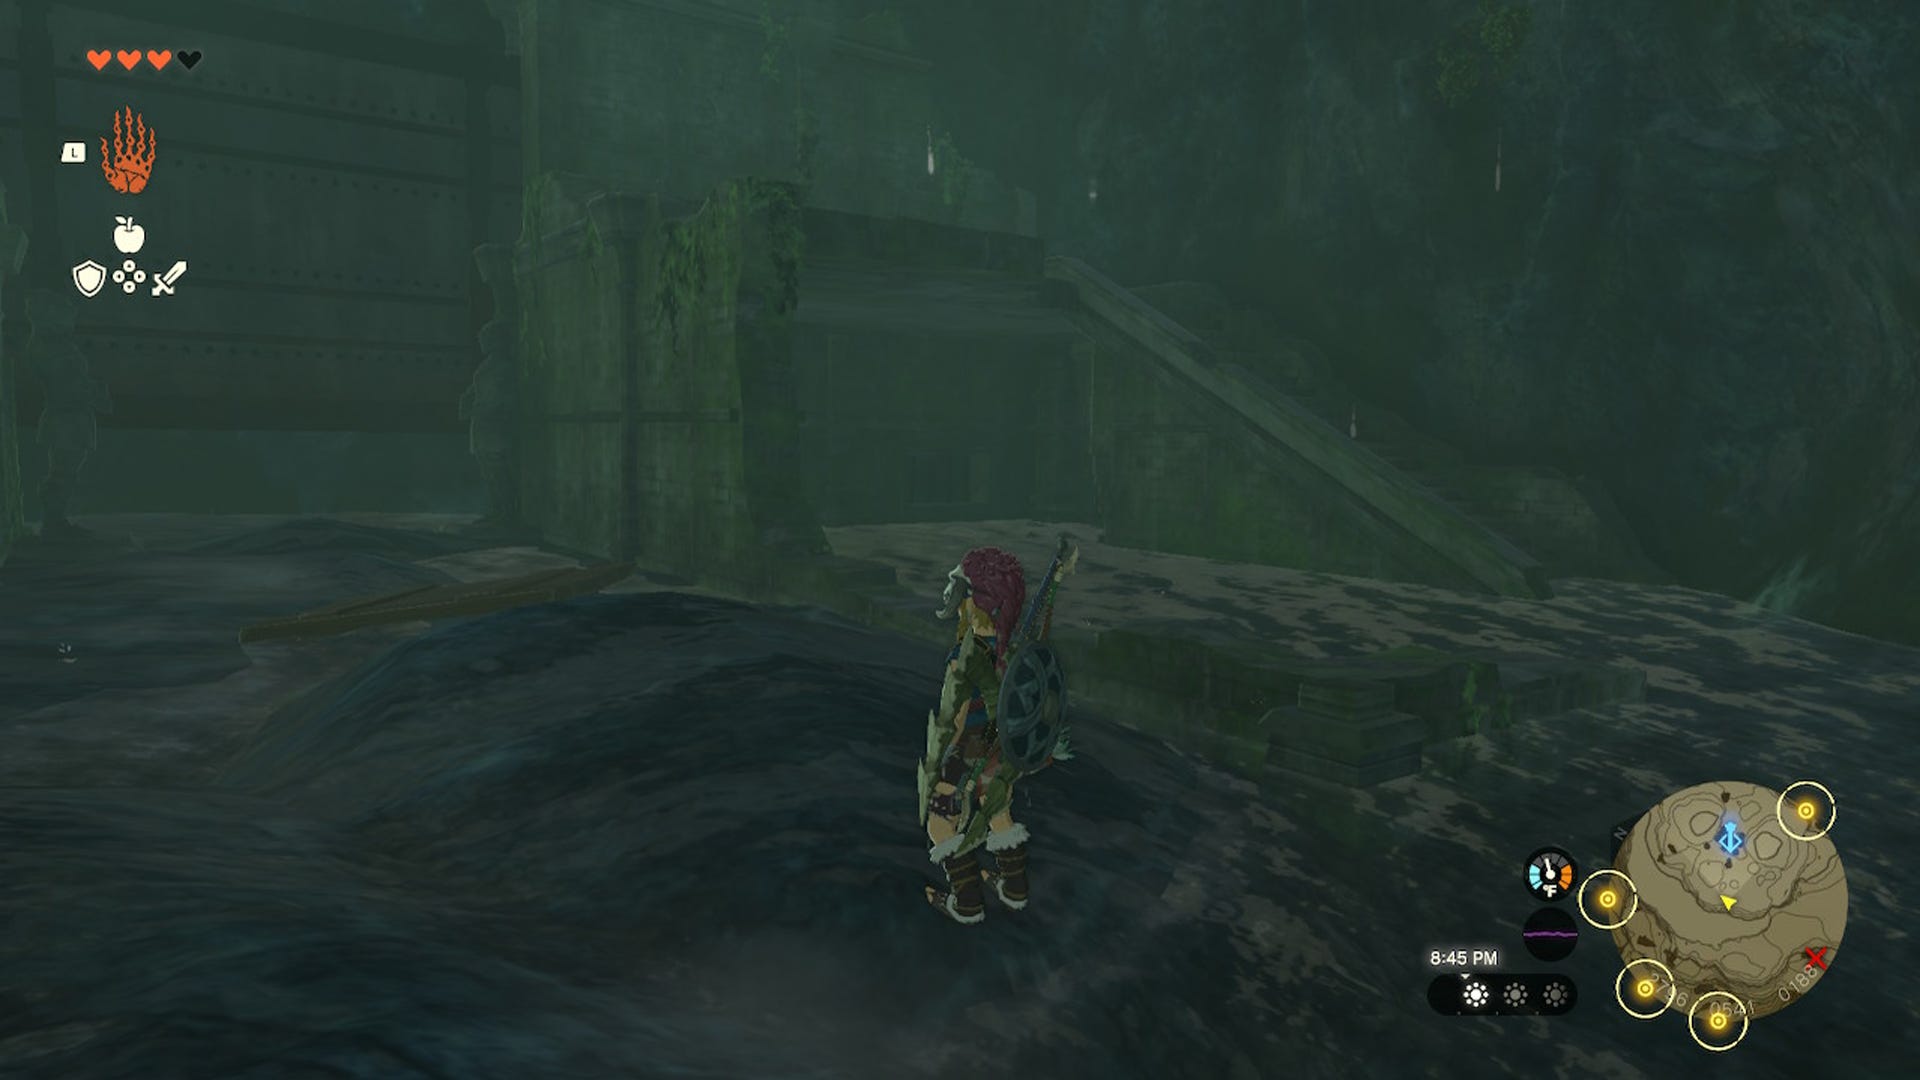
Now, you can access the structure on the right side of the gate, where there is an opening. Pass through it to find a room where you can get the Climbing Boots.
Enjoy climbing lots of places in Hyrule. Armor sets can help you more than just climb better though, for a full rundown, you'll want to check out our list of all Tears of the Kingdom Armor Sets.