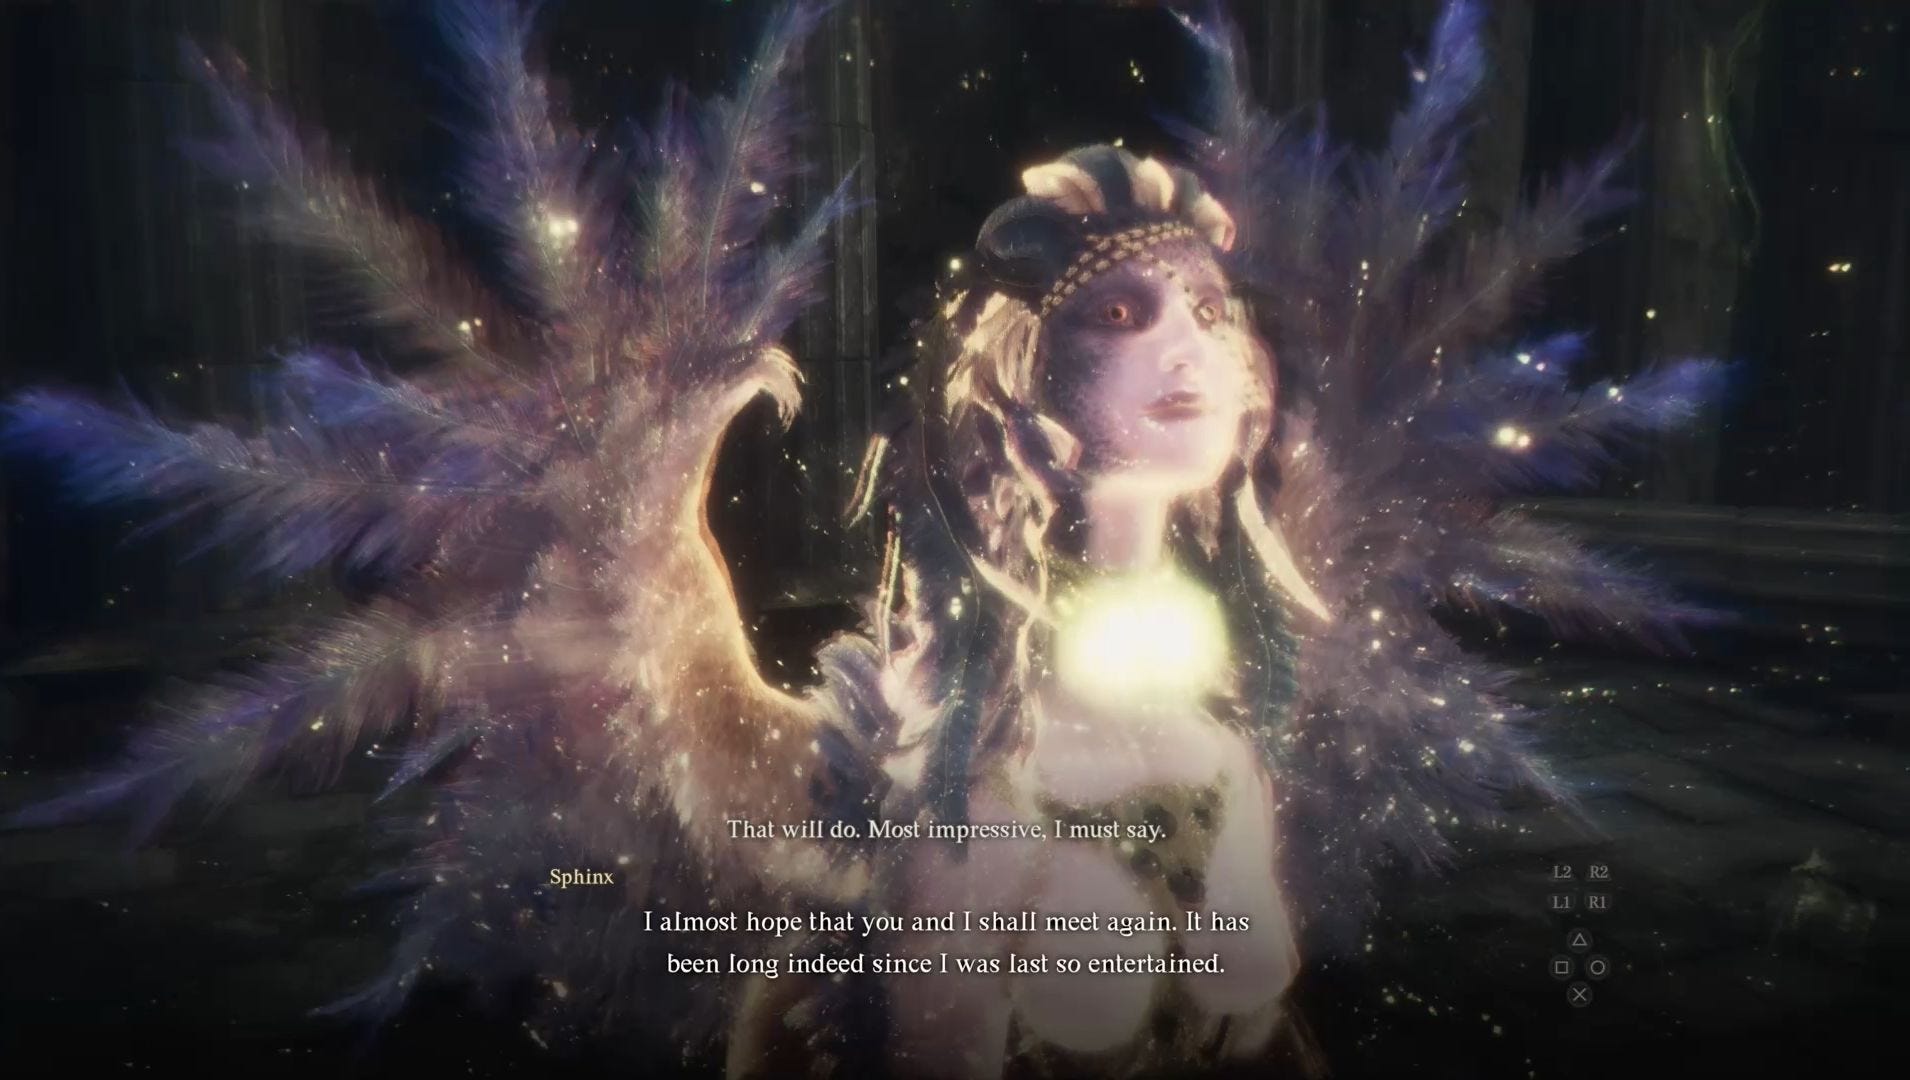
All Sphinx riddles solutions and Sphinx location in Dragon's Dogma 2
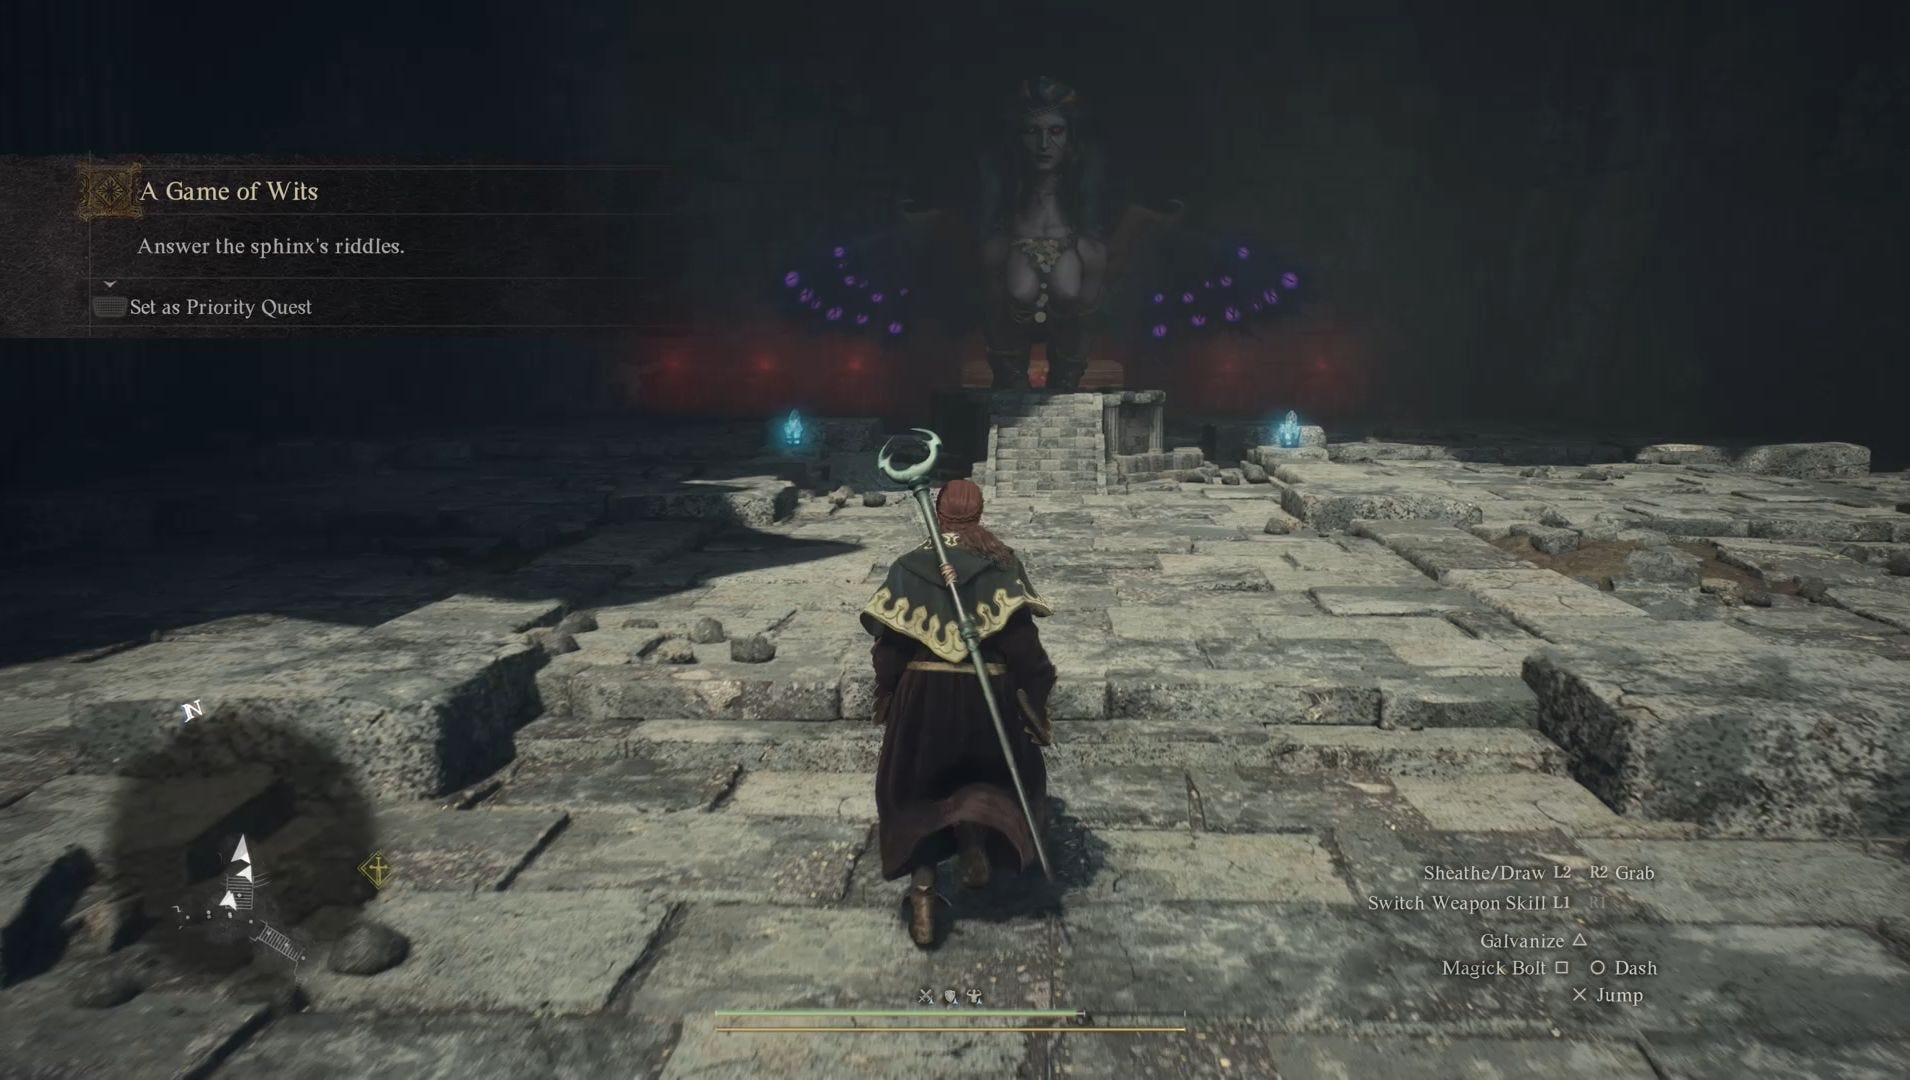
How to complete A Game of Wits for the Eternal Wakestone!

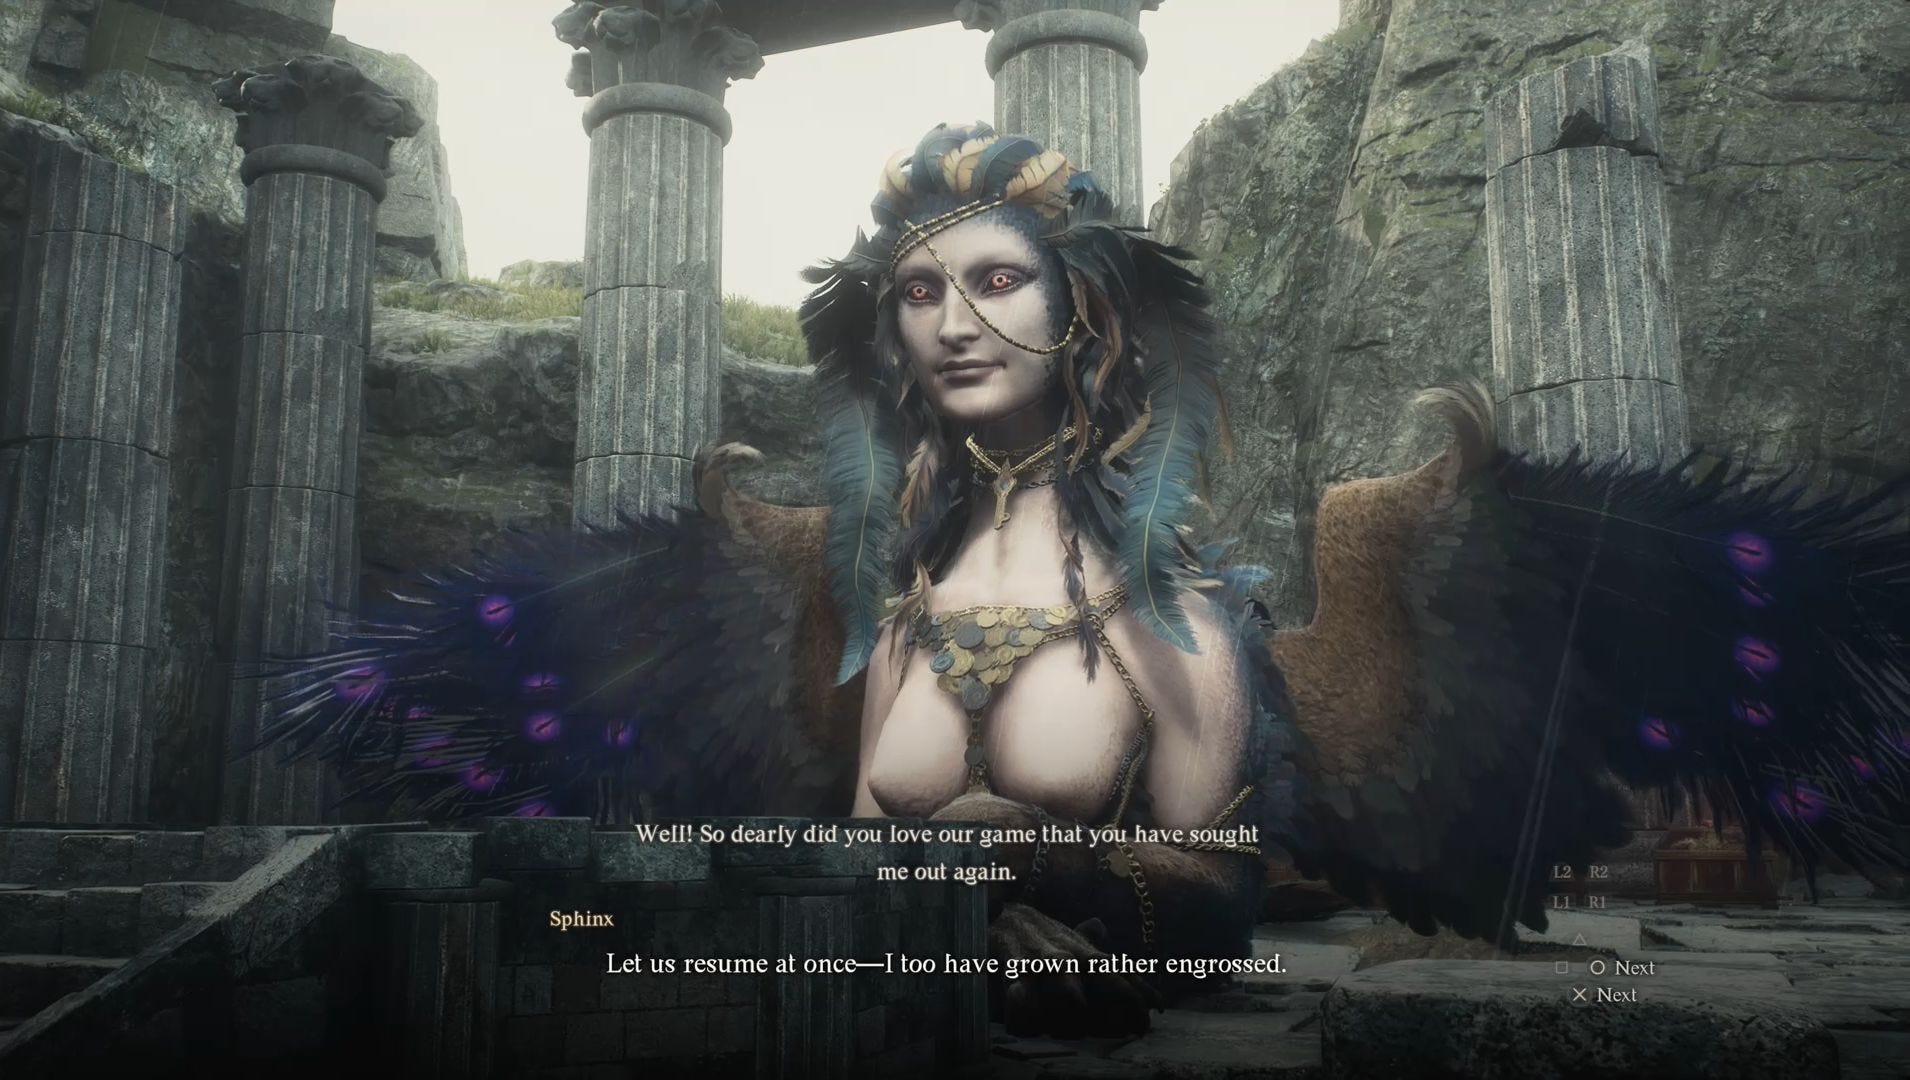
Knowing all of the Sphinx riddles solutions in Dragon's Dogma 2 will help you successfully complete the A Game of Wits quest. In doing so you'll get the Unmaking Arrow which, in turn, can be used to earn the Eternal Wakestone - an incredibly useful item to say the least.
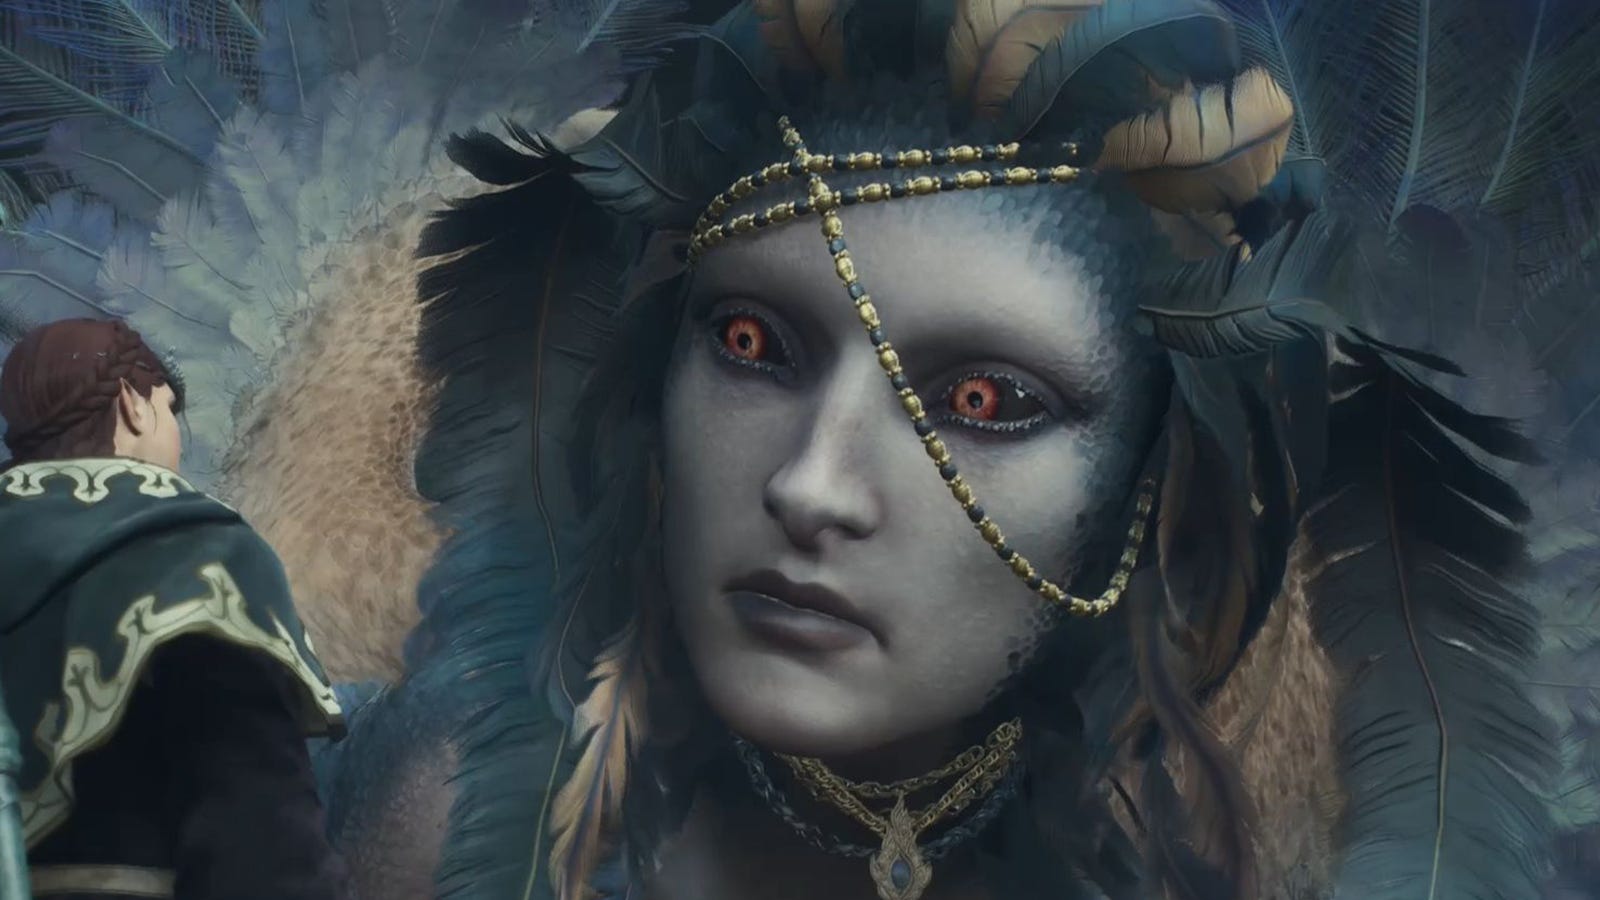
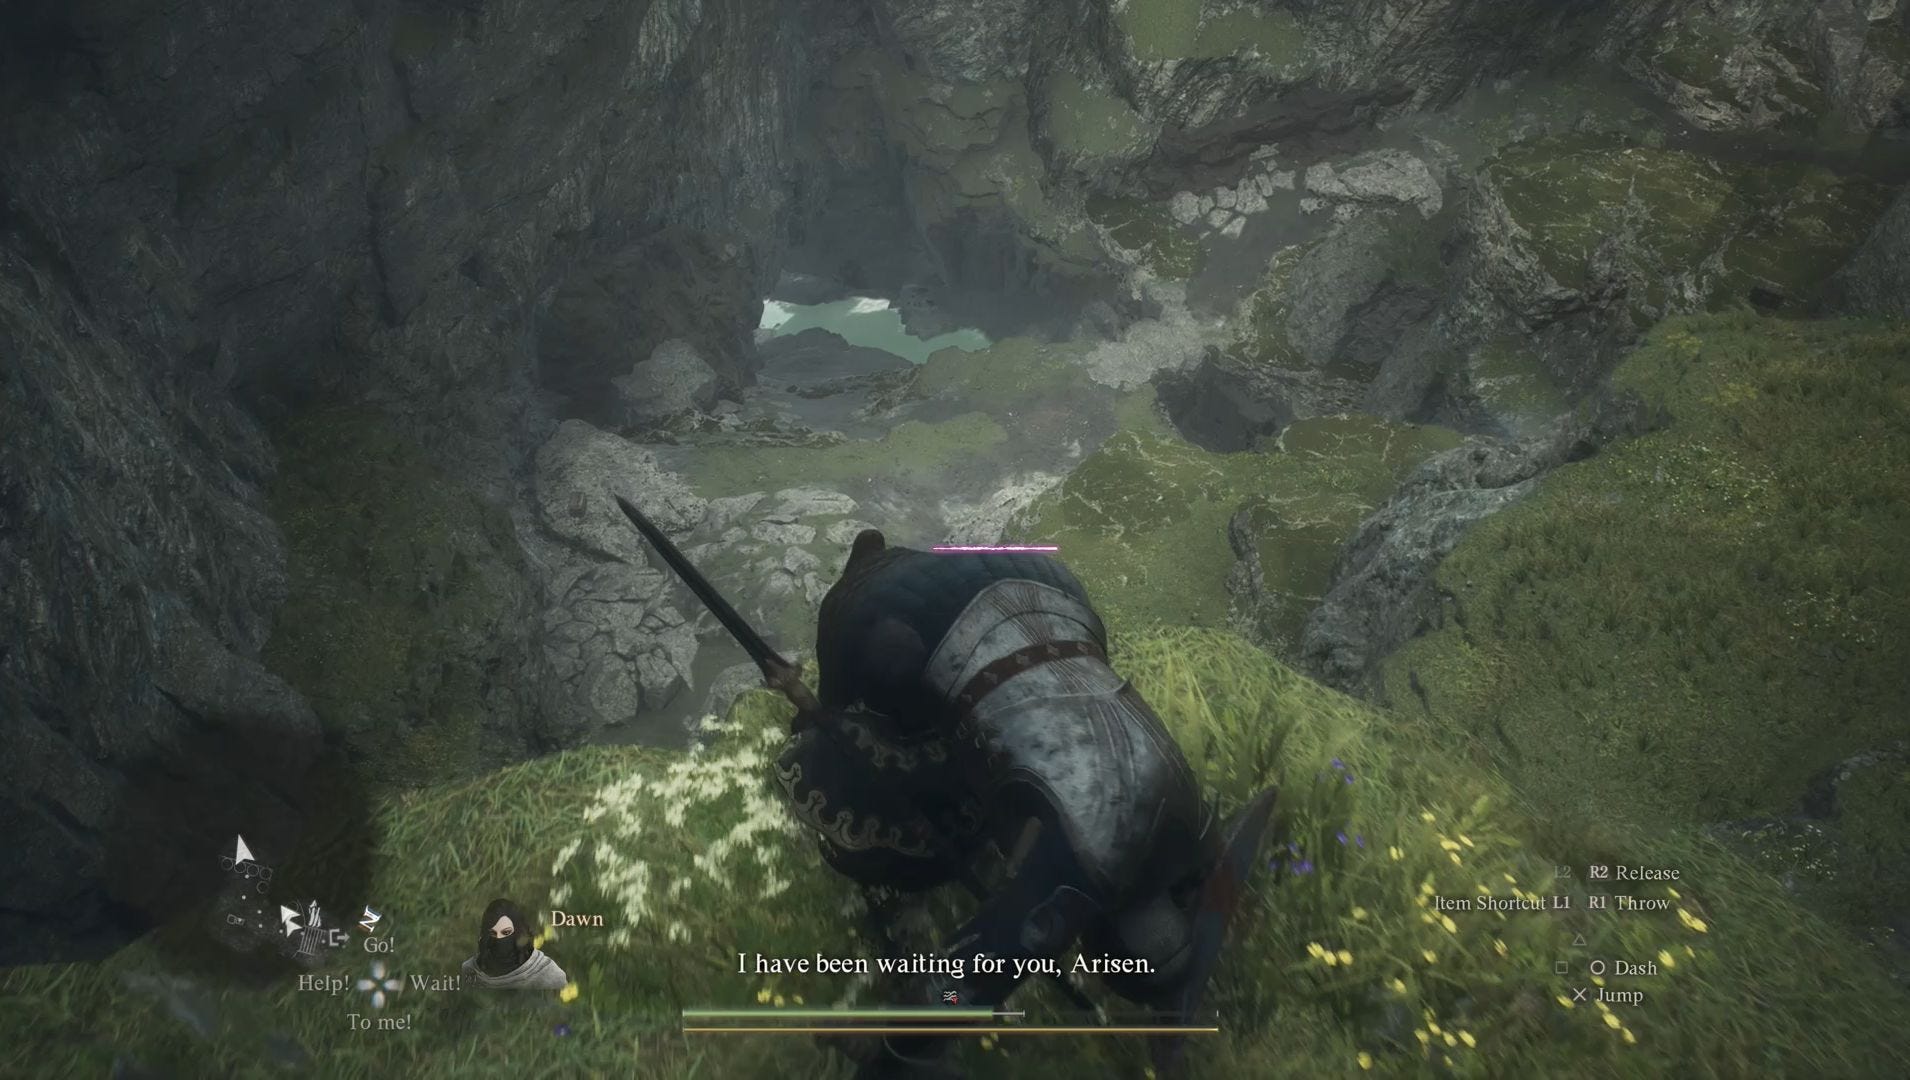
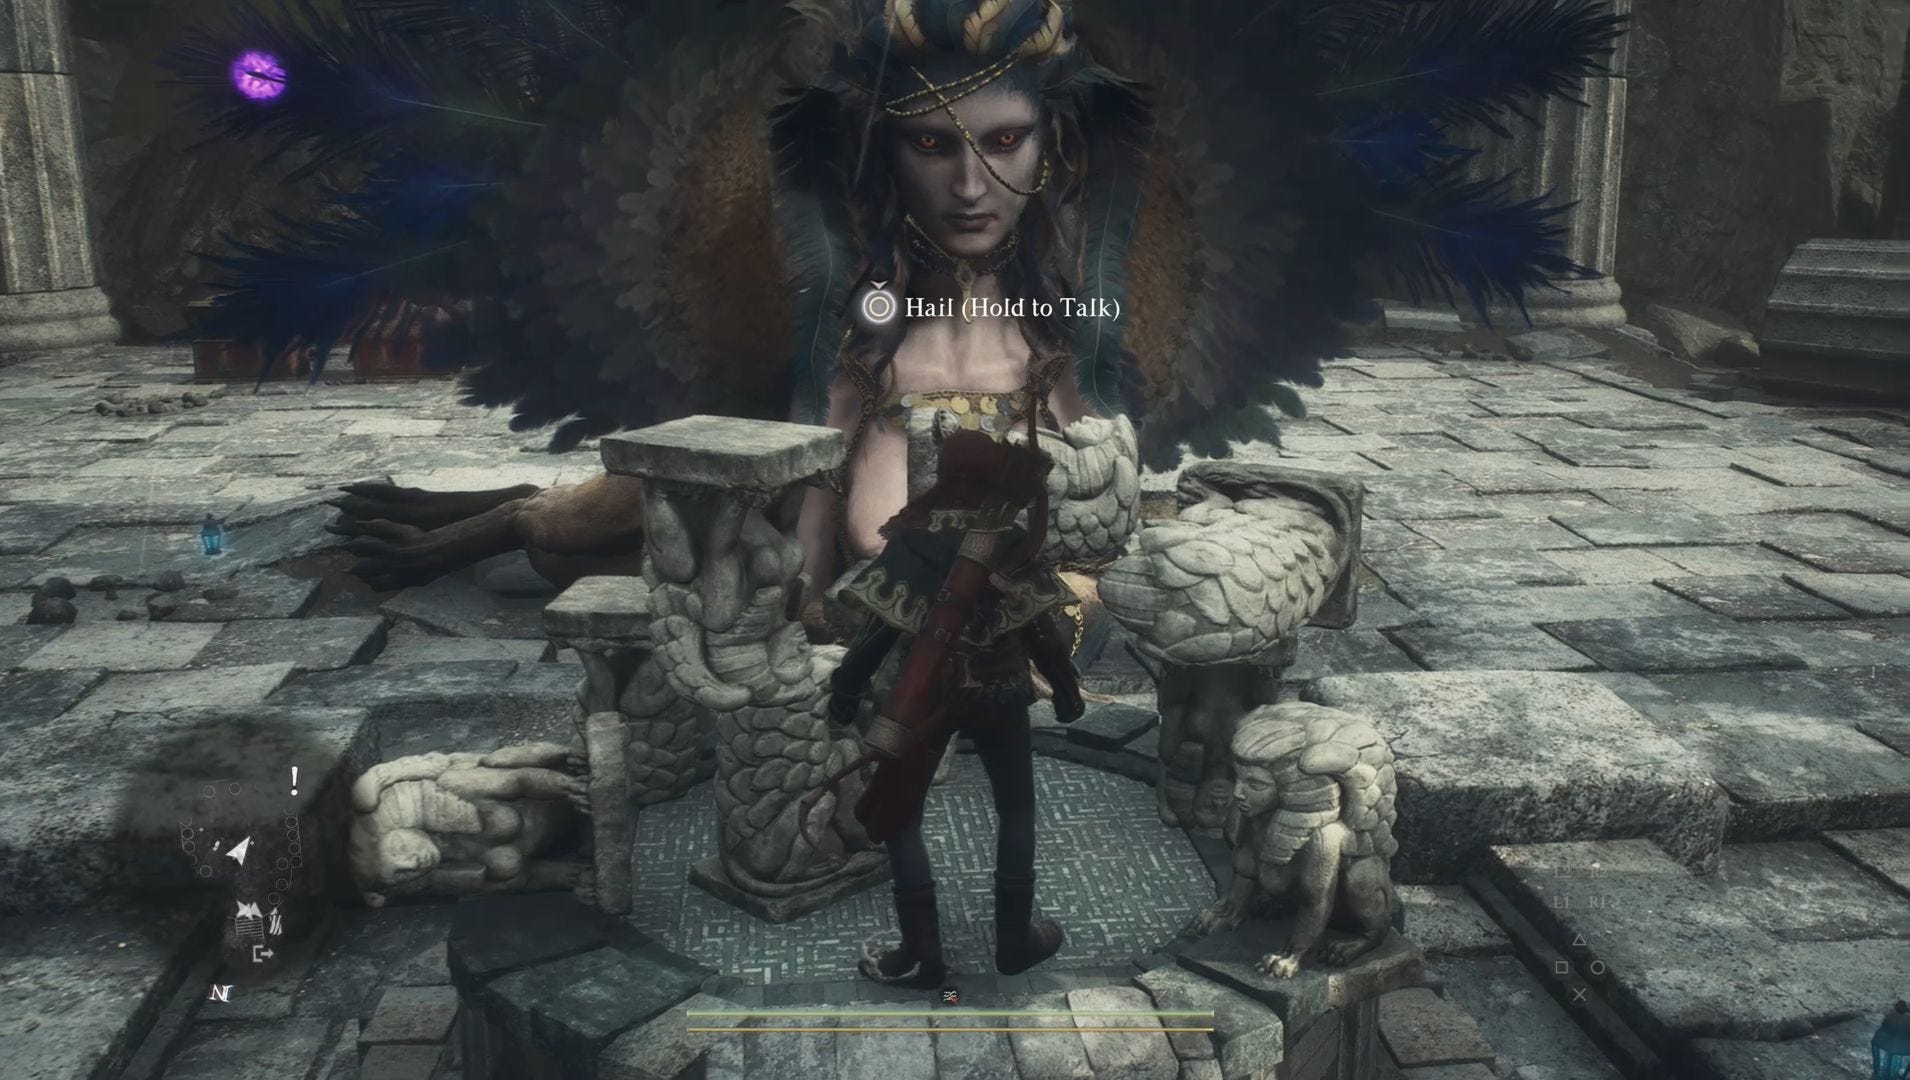
Before you can solve any riddles, however, you need to know where to find the Sphinx in Dragon's Dogma 2. Well, in truth, you need to know both of the Sphinx's locations as she moves from the Mountain Shrine to the Frontier Shrine.
Our A Game of Wits walkthrough is here to help you answer all of the Sphinx riddles in Dragon's Dogma 2, including guiding you to the Sphinx location (both times), how to defeat the Sphinx and even what will happen if you fail to solve a riddle...
On this page:
A Game of Wits walkthrough in Dragon's Dogma 2
Here's a quick breakdown of the A Game of Wits quest in Dragon's Dogma 2, which will send you across the world solving the Sphinx's riddles:
- 1. Find the Sphinx at the Mountain Shrine
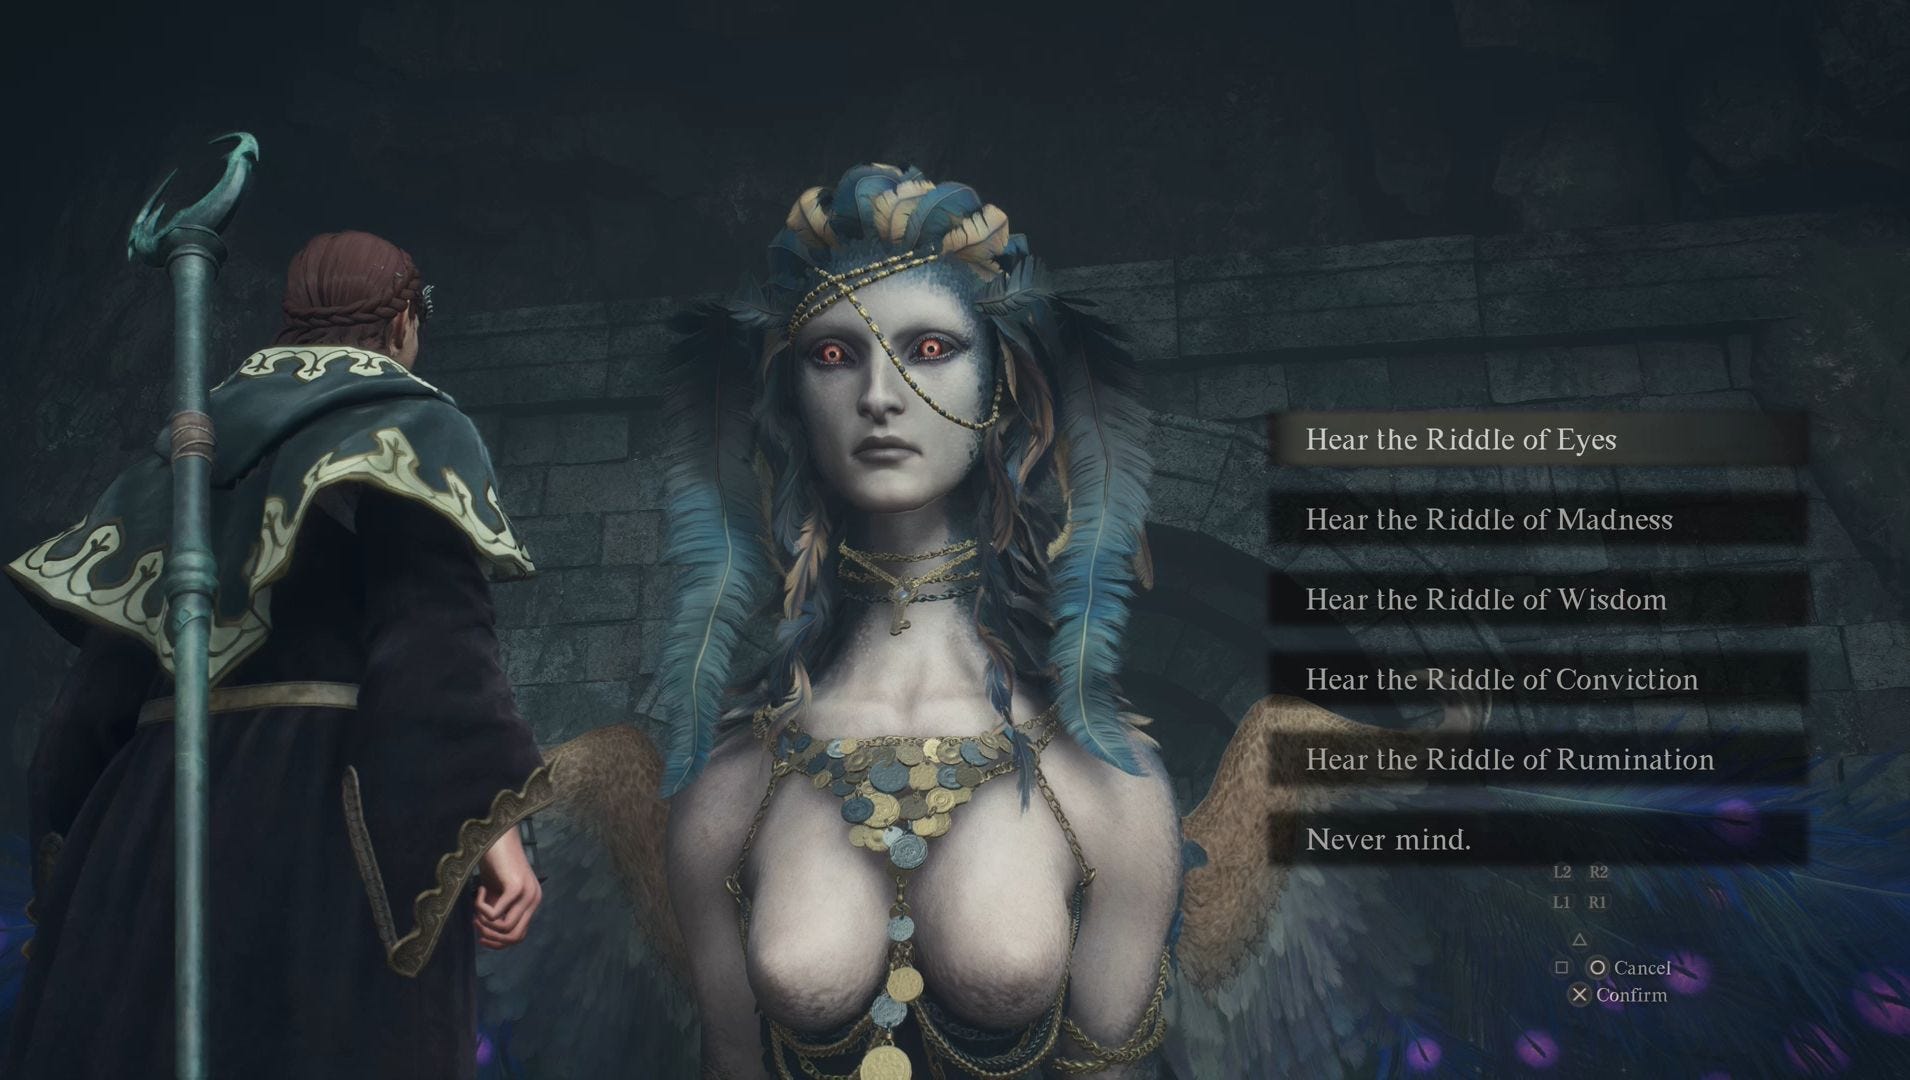
- 2. Solve the first five riddles in any order:
- Riddle of Eyes
- Riddle of Madness
- Riddle of Wisdom
- Riddle of Conviction
- Riddle of Rumination
- 3. Find the Sphinx at the Frontier Shrine
- 4. Automatically solve the Riddle of Reunion
- 5. Solve four riddle in an order selected randomly, ensuring your the Archer Vocation before solving the final riddle:
- Riddle of Contest - Melee-Vocation recommended
- Riddle of Futility
- Riddle of Differentiation
- Riddle of Recollection
- 6. Shoot the Sphinx three times to prevent her from leaving and begin final battle
- 7. Use the Unmaking Arrow on Sphinx
- 8. Open the golden chest for the Eternal Wakestone
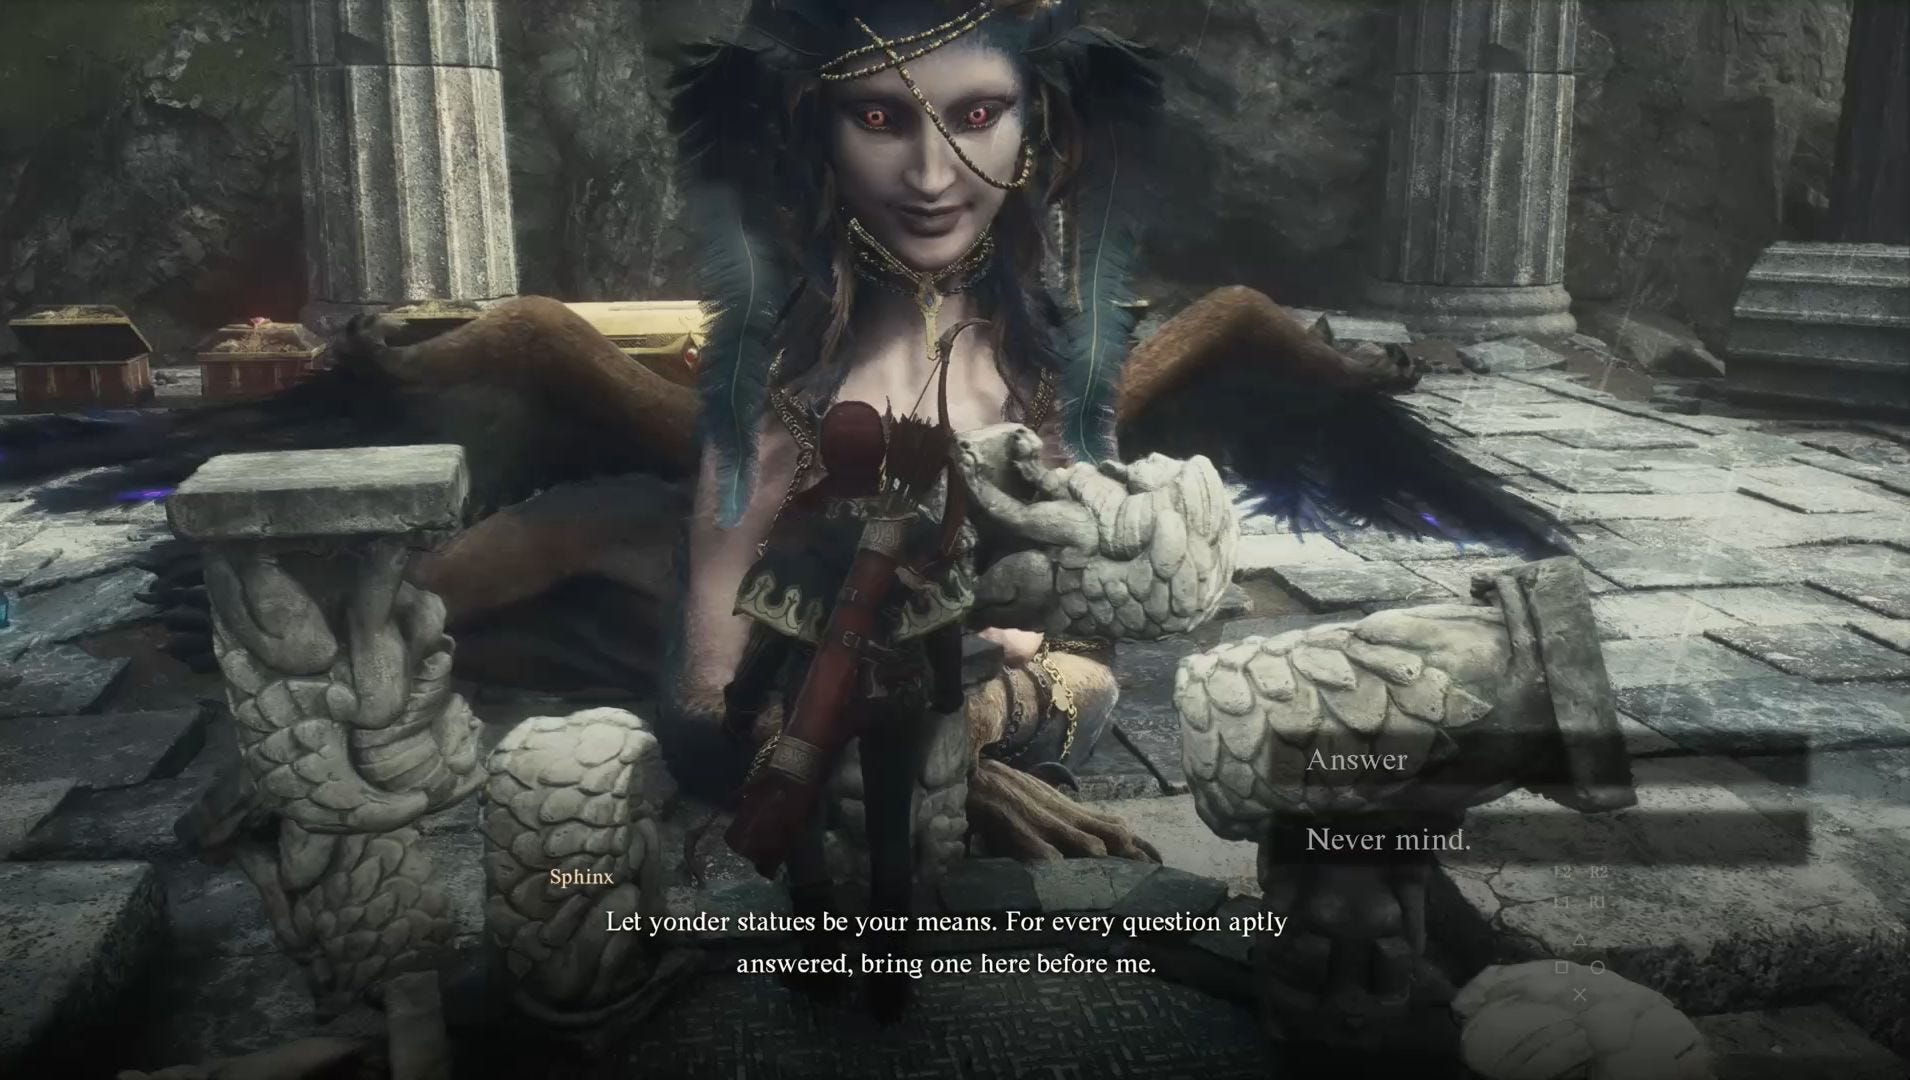
Below you'll be able to find detailed instructions on how to solve each of the Sphinx's riddles, followed by how to defeat her and how to find the Sphinx's location in more detail as well.
Keep in mind that failing to solve one of the riddles will prevent you from earning its reward and may cause the Sphinx to fly away depending on how far you've progressed in A Game of Wits. For this reason, it's a good idea to rest at an inn before you attempt to solve a tricky riddle. (Or follow our instructions.That would work too.)
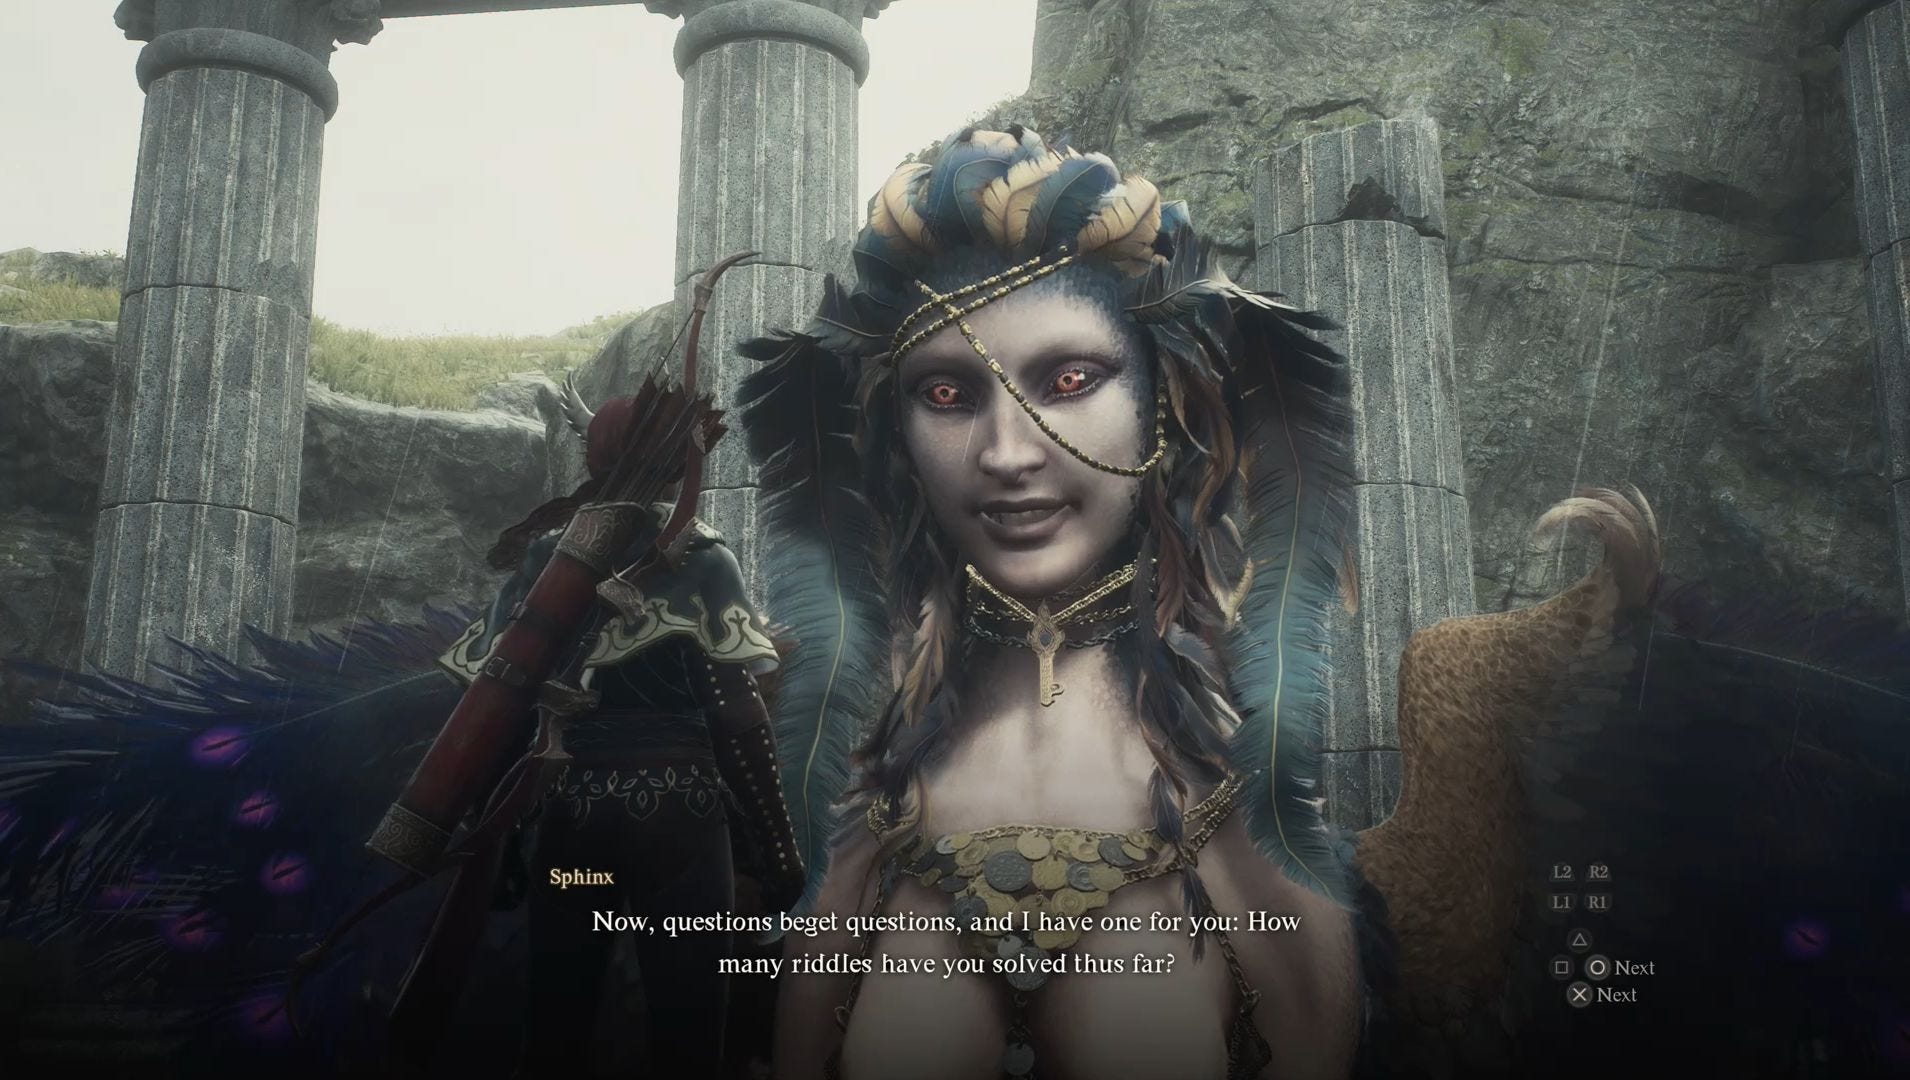
Sphinx riddle solutions in Dragon's Dogma 2
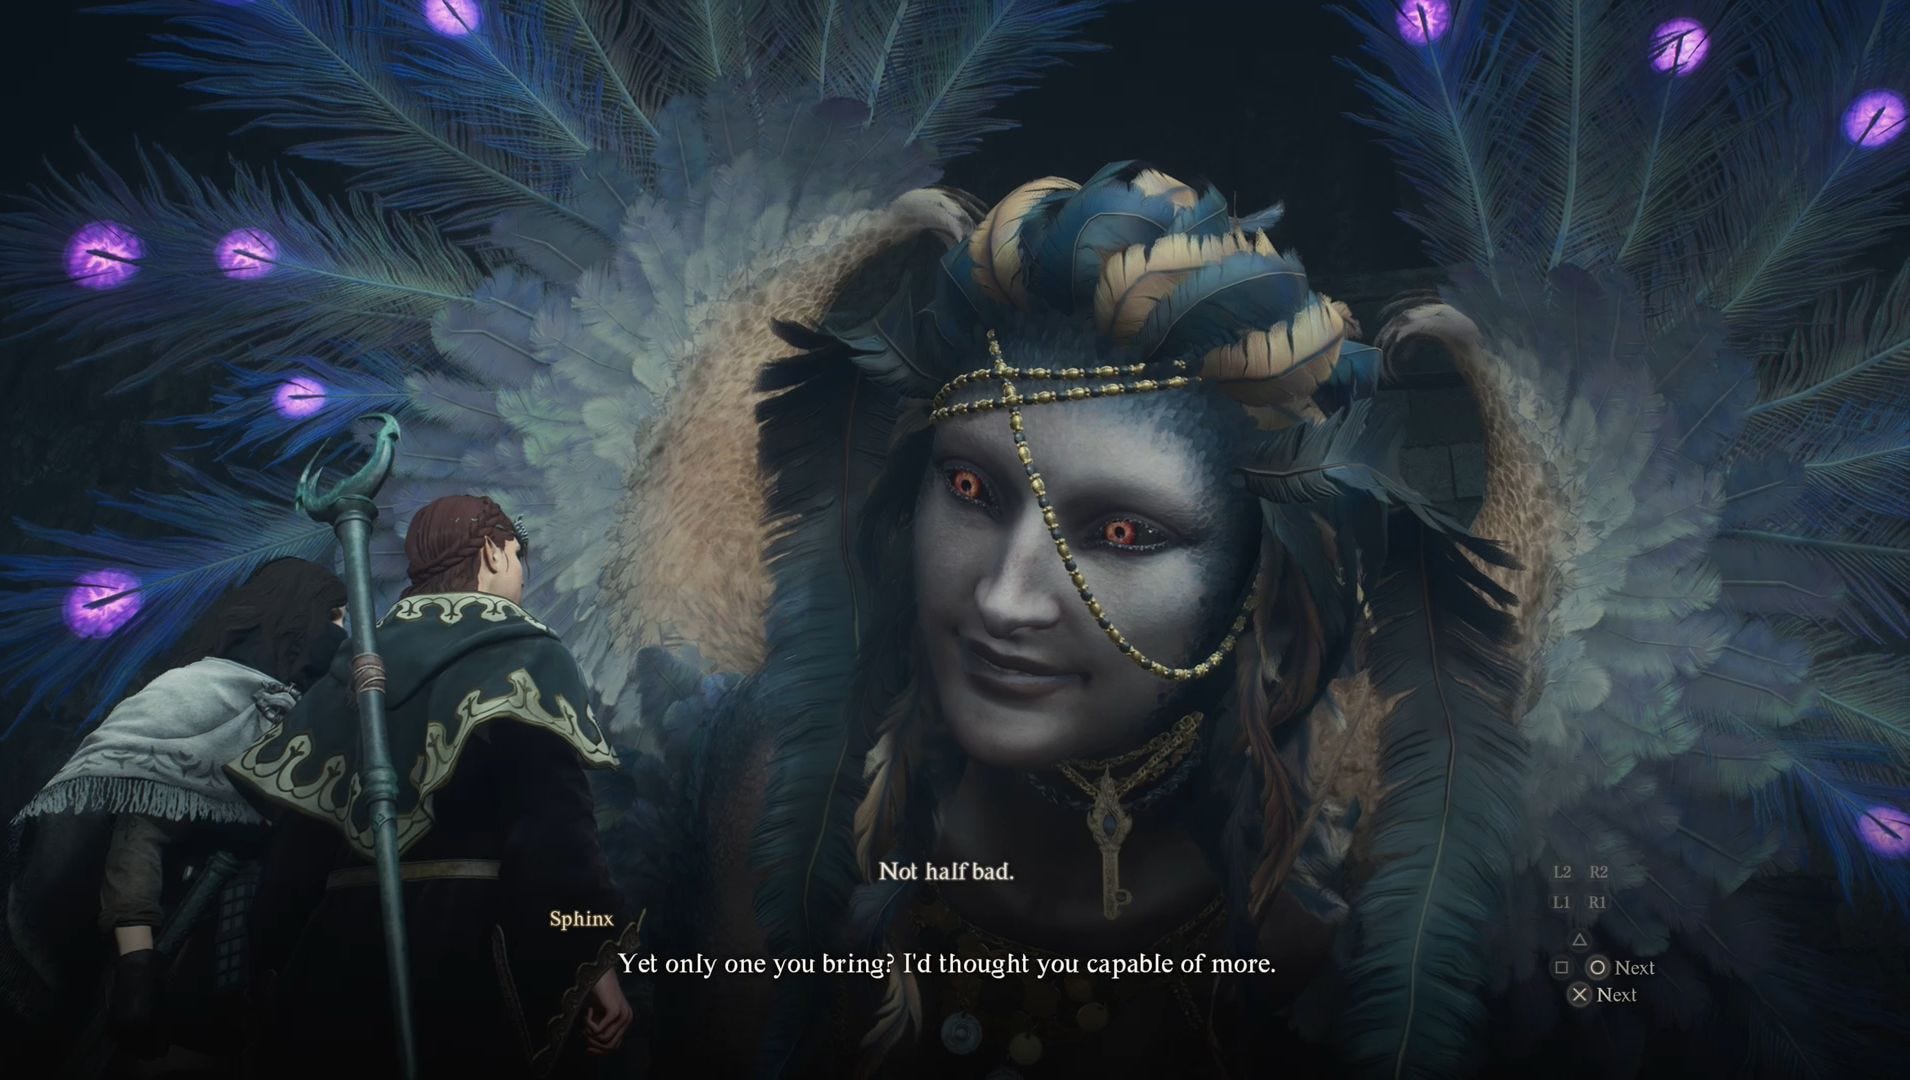
There are 10 Sphinx Riddles for you to solve in Dragon's Dogma 2. If you solve all 10 correctly, then you'll be able to solve one final riddle bringing the total number to 11.
To solve the riddles, however, you find the Sphinx first at the Mountain Shrine and, after you've tackled five of riddles, at the Frontier Shrine where you'll face another set of riddles. We tackle reaching these locations later on in this guide if you need help reaching them. It's also a good idea to place a Portcrystal at the shrine the Sphinx is currently at as a lot of the riddles involve you venturing out into the world.
The riddles you need to solve at the Mountain Shrine are the Riddle of Eyes, Madness, Wisdom, Conviction and Rumination. You can solve these riddles in any order you like.
While at the Frontier Shrine, you'll be tasked with solving the Riddle of Reunion, Contest, Differentiation, Recollection and Futility. It's important to note that, aside from the Riddle of Reunion, the Sphinx will give you the riddles in a random order at the Frontier Shrine rather than letting you choose which one you wish to tackle. We also recommend switching to the Archer Vocation before solving the final riddle so you can easily both begin the Sphinx battle and defeat her.
Here's a quick rundown of the 10 Sphinx riddles you need to solve followed by more detailed instructions:
- Riddle of Eyes
- Riddle of Madness
- Riddle of Wisdom
- Riddle of Conviction
- Riddle of Rumination
- Riddle of Reunion
- Riddle of Contest
- Riddle of Futility
- Riddle of Differentiation
- Riddle of Recollection
Riddle of Eyes solution
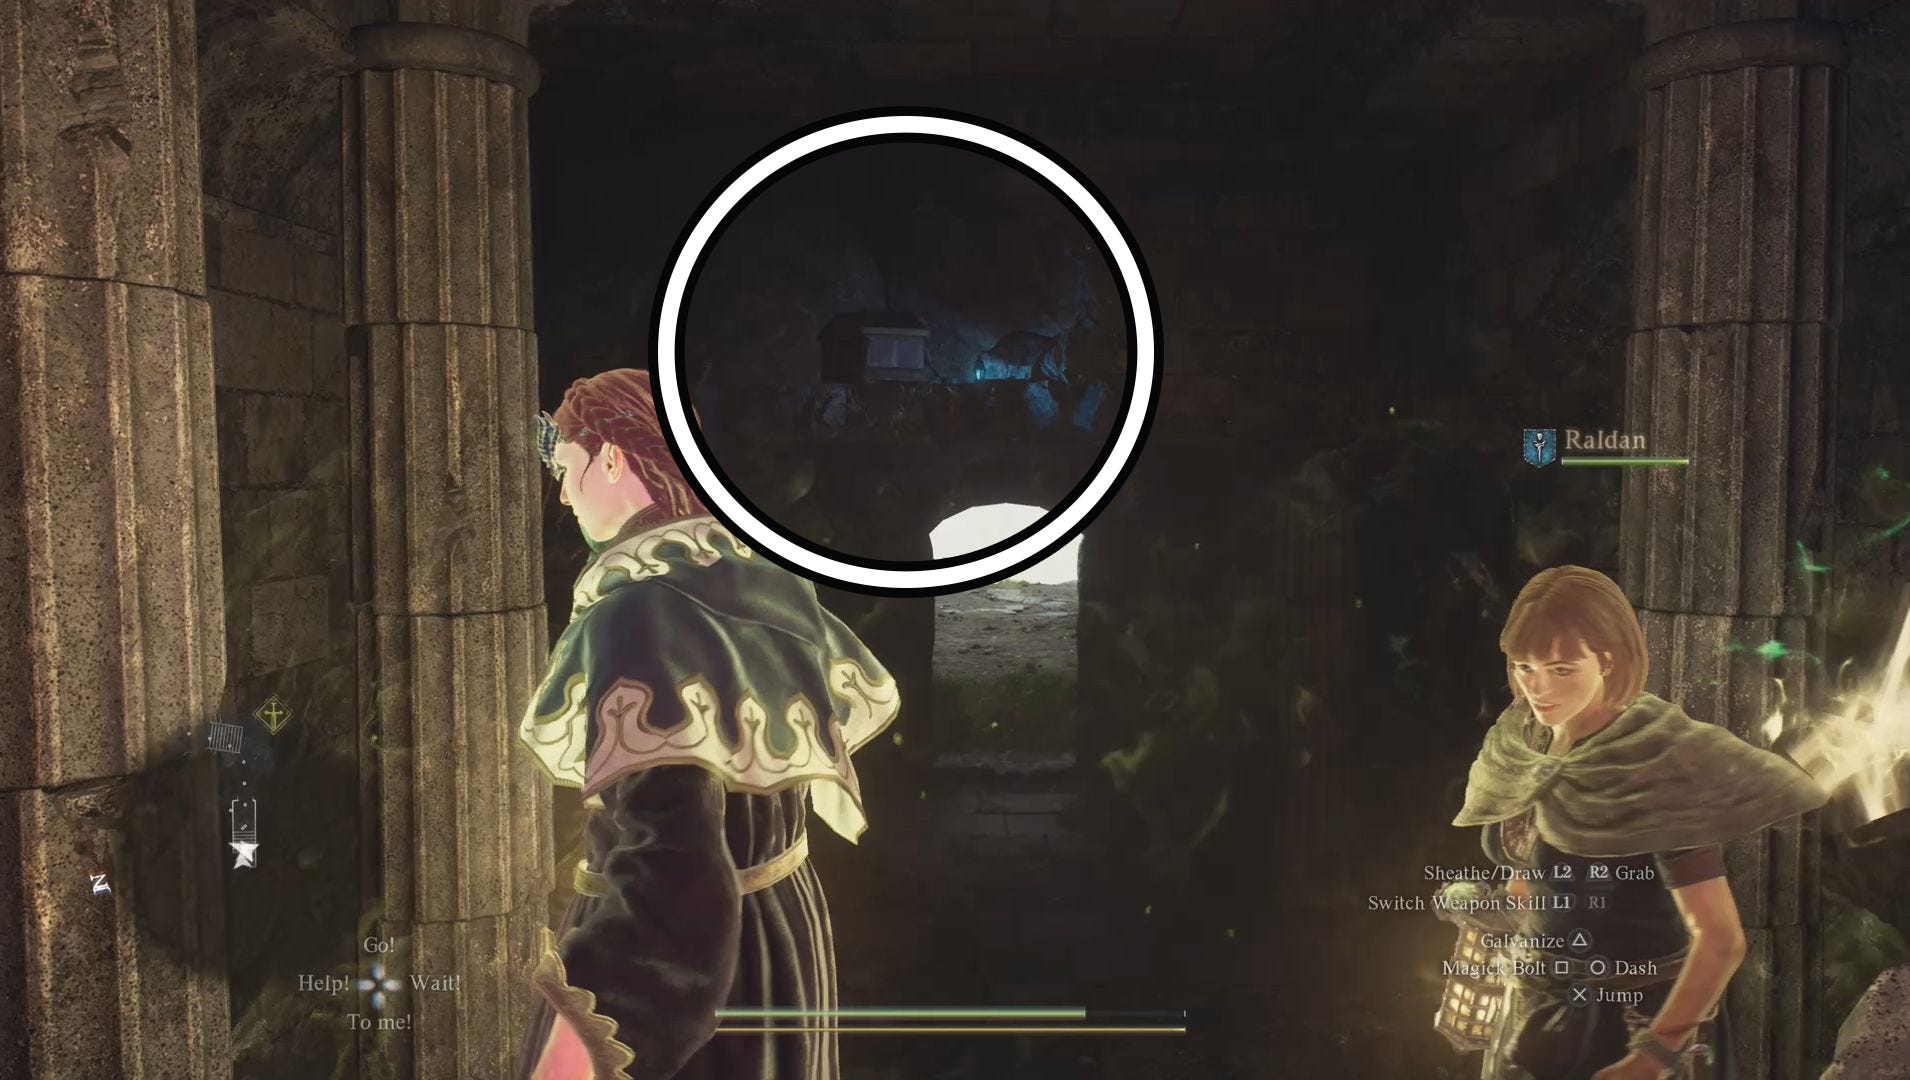
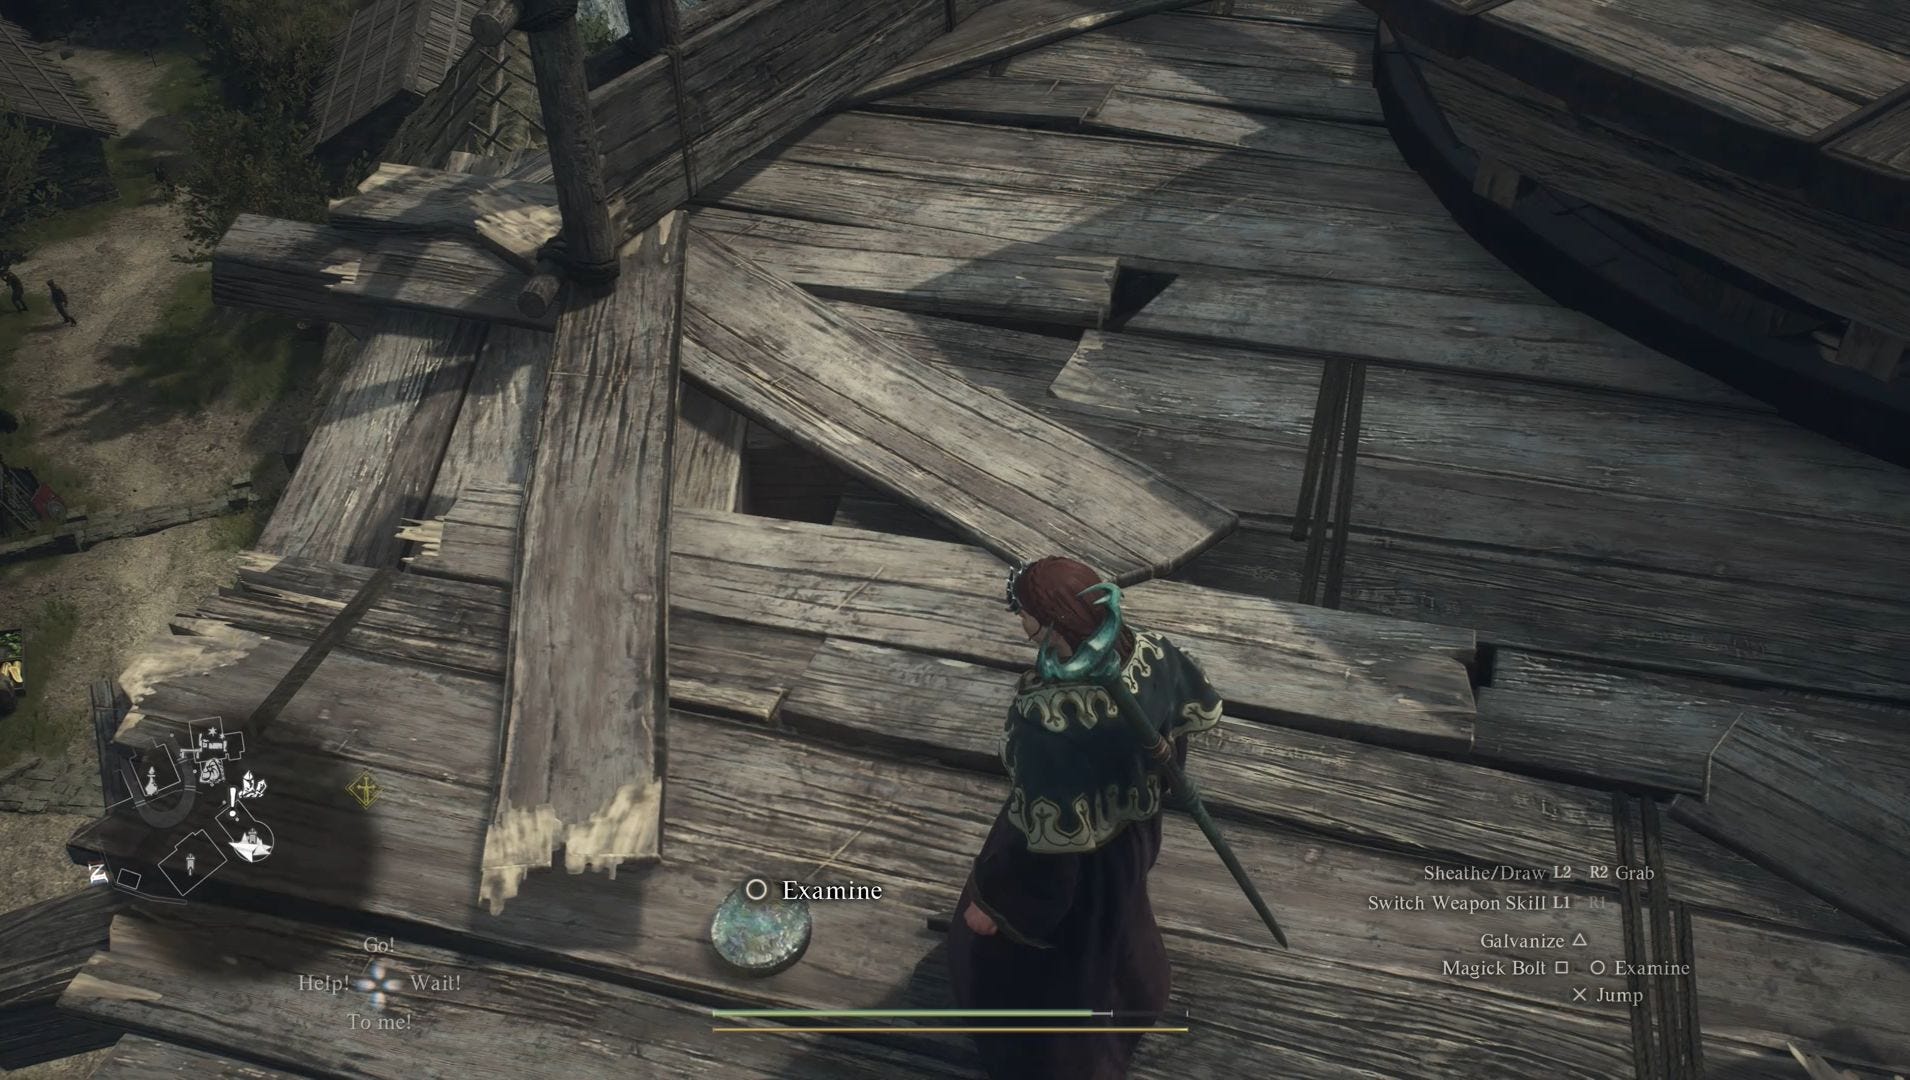
For the Riddle of Eyes, the Sphinx asks you to find the item of greatest value inside the cave at the bottom of the steps to her shrine. Thankfully, you don't have to venture very far into the cave at all to find the item of value.
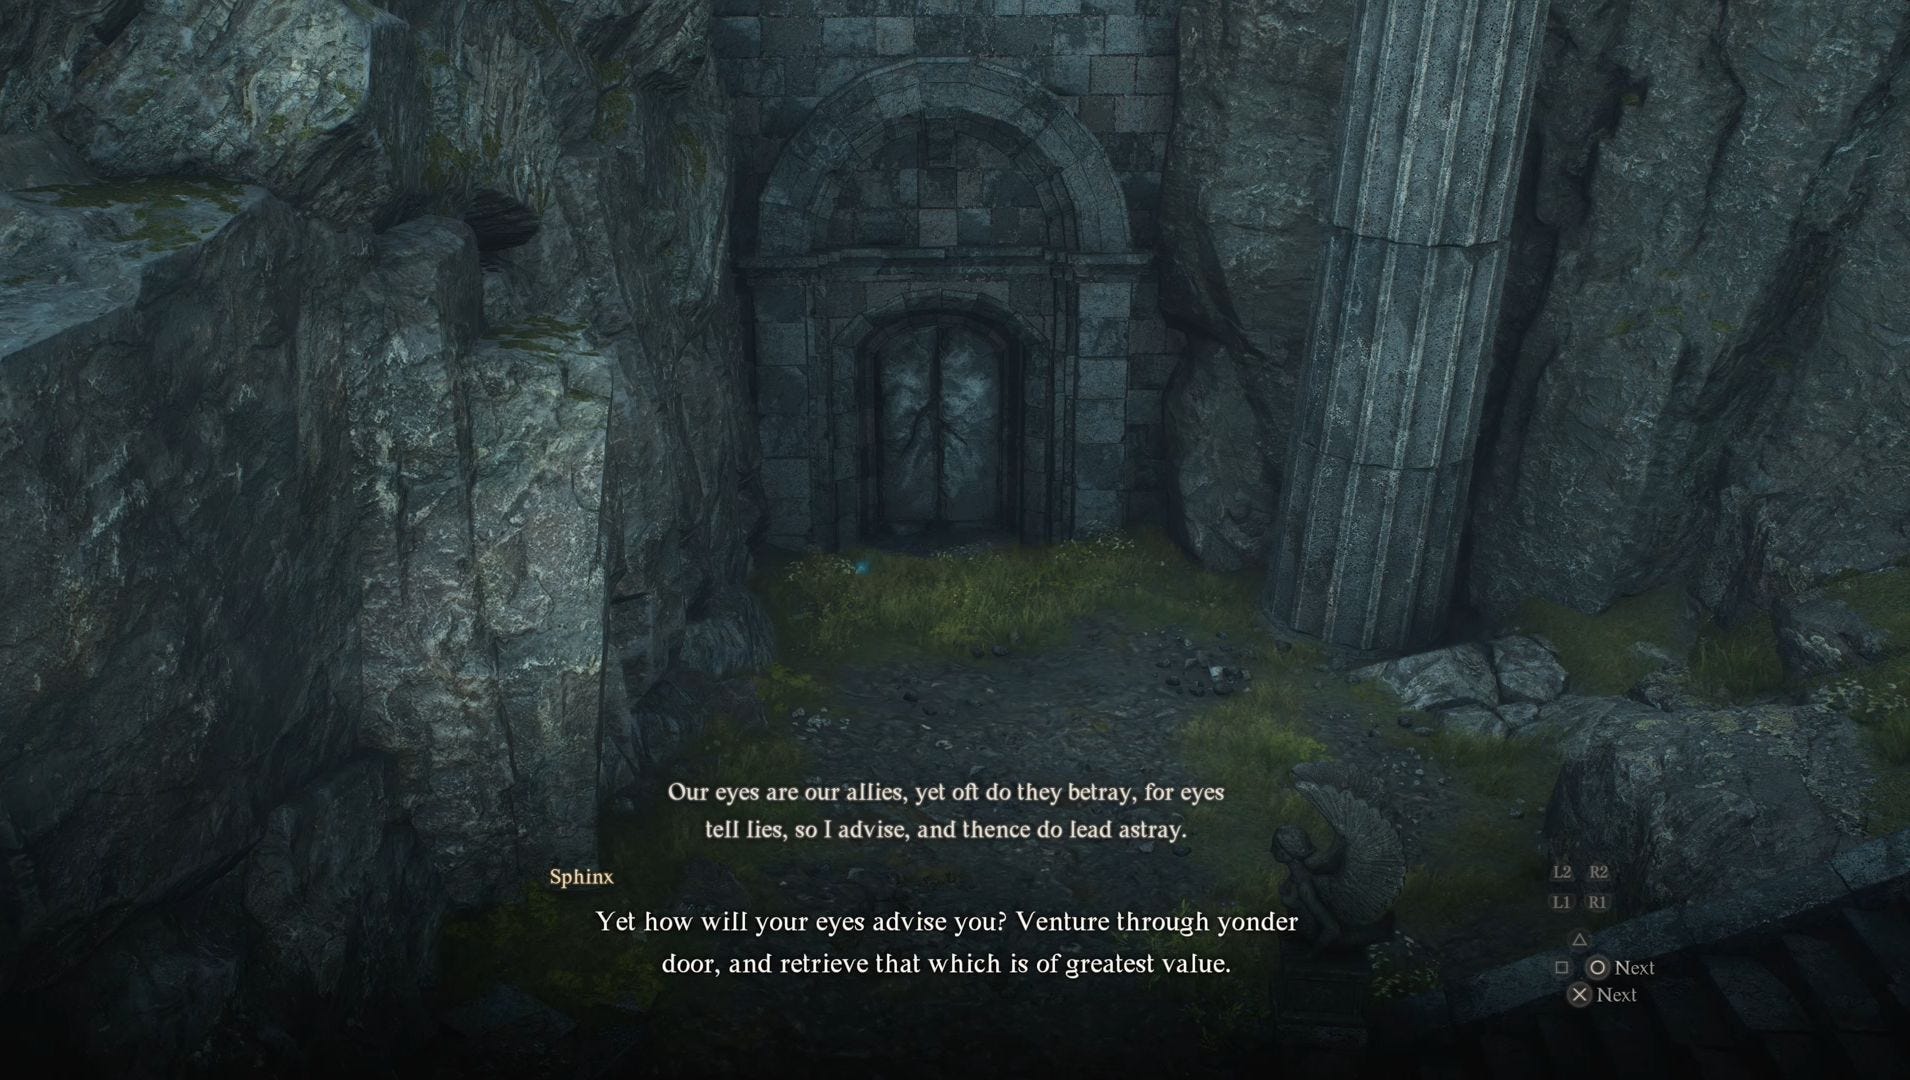
If you turn to your right at the entrance of the cave, you'll see a climbable rock. Use this rock, and the ones following it, to reach the chest which sits above the cave's doorway. Open the chest to find the Sealing Phial before returning to the Sphinx. Now all you need to do is show her the Sealing Phial and she'll open a chest containing a Wakestone.
The Sphinx will also let you keep the Sealing Phial, which allows you to capture and transport one NPC. Make sure you keep this item as it will come in handy during a later riddle, but, keep in mind, that it can only be used once.
You are free to explore the cave, but keep in mind it's full of goblins and other monsters. Plus the items inside the other chests are far from exciting...
Riddle of Madness solution
For the Riddle of Madness, you need to show the Sphinx you're beloved. Luckily, there are two ways to solve this riddle and we recommend using the first solution.
The first and, again, the one we recommend is showing the Sphinx your Main Pawn. Simply carry your Main Pawn onto the platform in front of the Sphinx before talking to her again. When prompted agree that your Main Pawn is your beloved and the Sphinx will accept this answer. (While also commenting that she expected you to have more loved ones, which is pretty harsh.)
We recommend using your Main Pawn because, not only is it a far quicker solution than the following one, but it doesn't involve using the Sealing Phail you receive from the Riddle of Eyes. The Sealing Phial can only be used once after all and it can be very helpful in a future riddle.
The second solution involves either romancing an NPC or bringing the one who has the highest affinity to the Sphinx. Successfully using this solution will take a lot of time as it involves completing a number of quests for your chosen NPC and giving them gifts. You'll know when you have a high affinity with an NPC because they will blush when talking to them.
To bring an NPC to the Sphinx, you'll need to use the Sealing Phail near them. After doing so, return to the Sphinx before using the Phial to release the NPC and place them on the platform. Though you can simply pick them up and use a Ferrystone to return to your Portcrystal at the Mountain Shrine. You then need to go through the riddle answer dialogue again and hope that their affinity is high enough to solve the riddle.

Again, we recommend using your Main Pawn rather than hunting down an NPC. The Sealing Phial can only be used once and is far better suited for a future riddle.
For solving the Riddle of Madness, you'll earn a Portcrystal.
Riddle of Wisdom solution
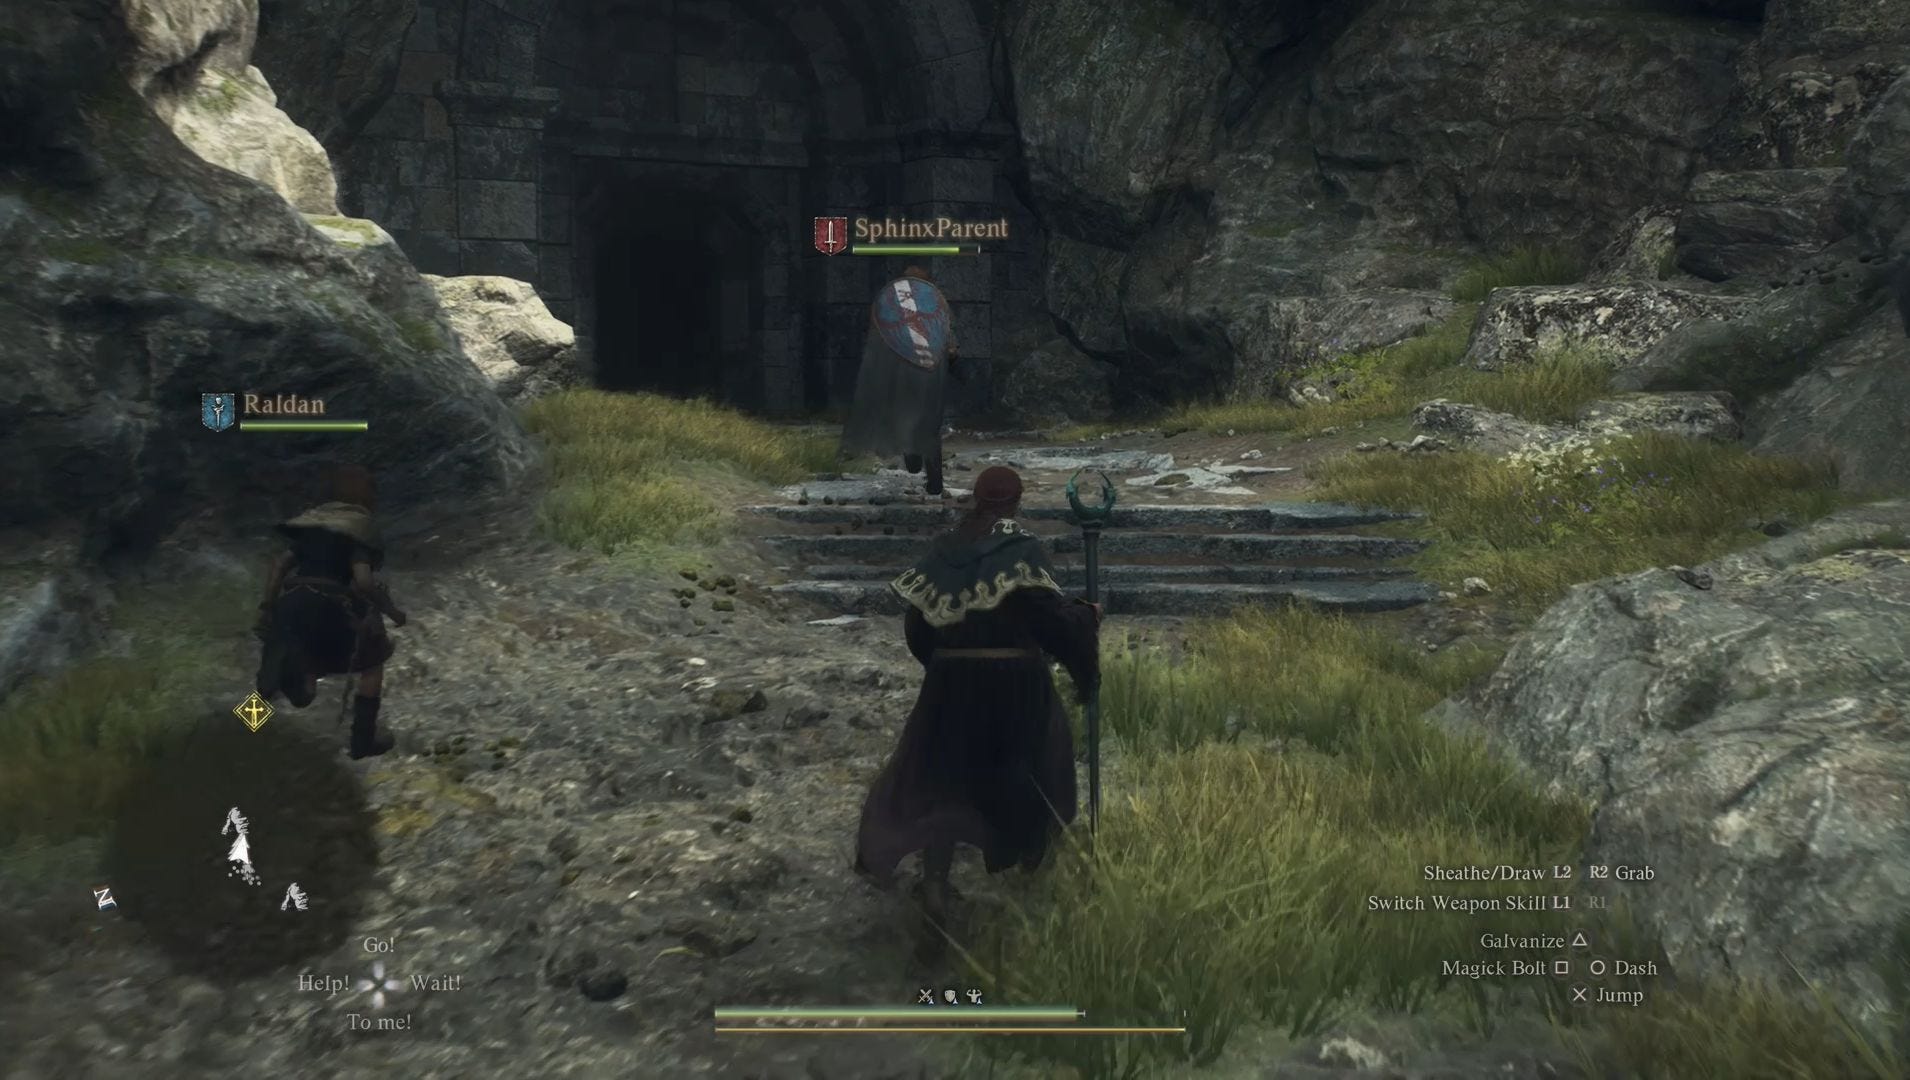
To solve the Riddle of Wisdom, you need to visit Harve Village which lies south-west of Vernworth.
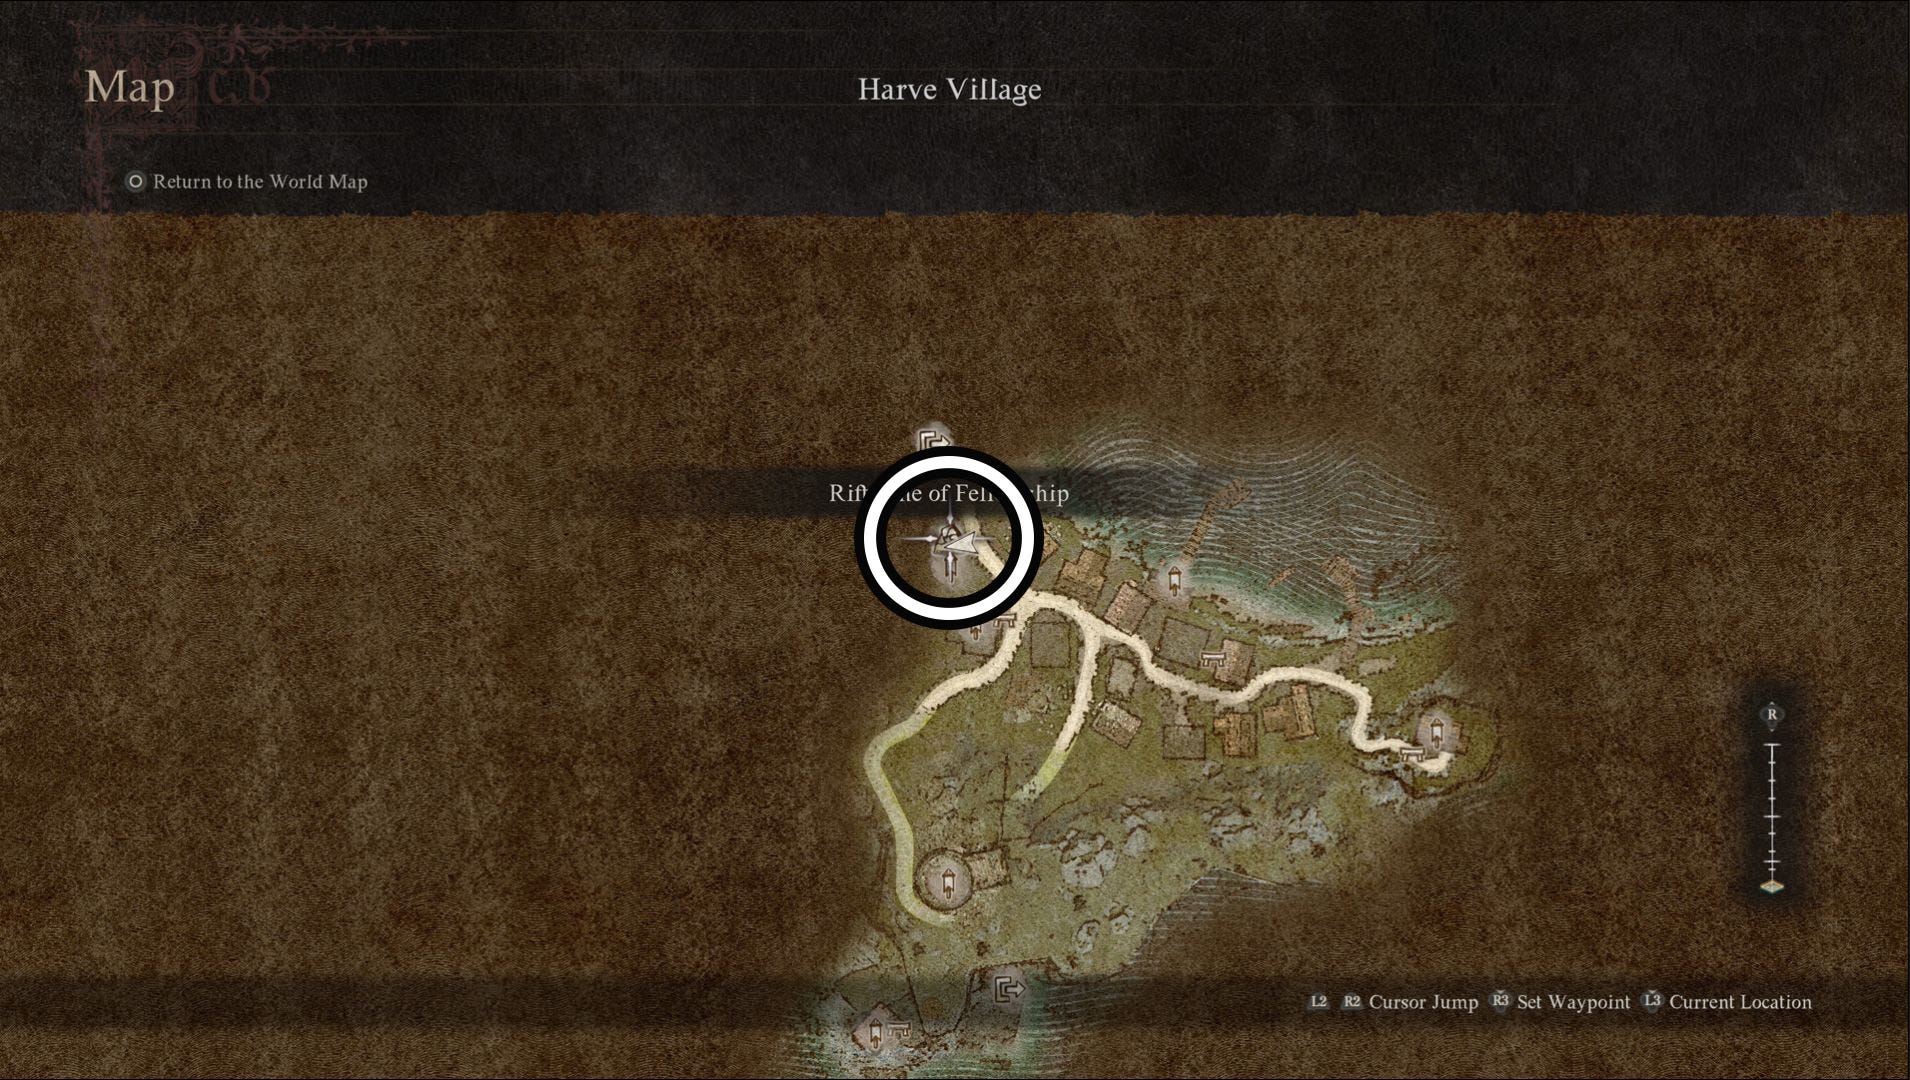
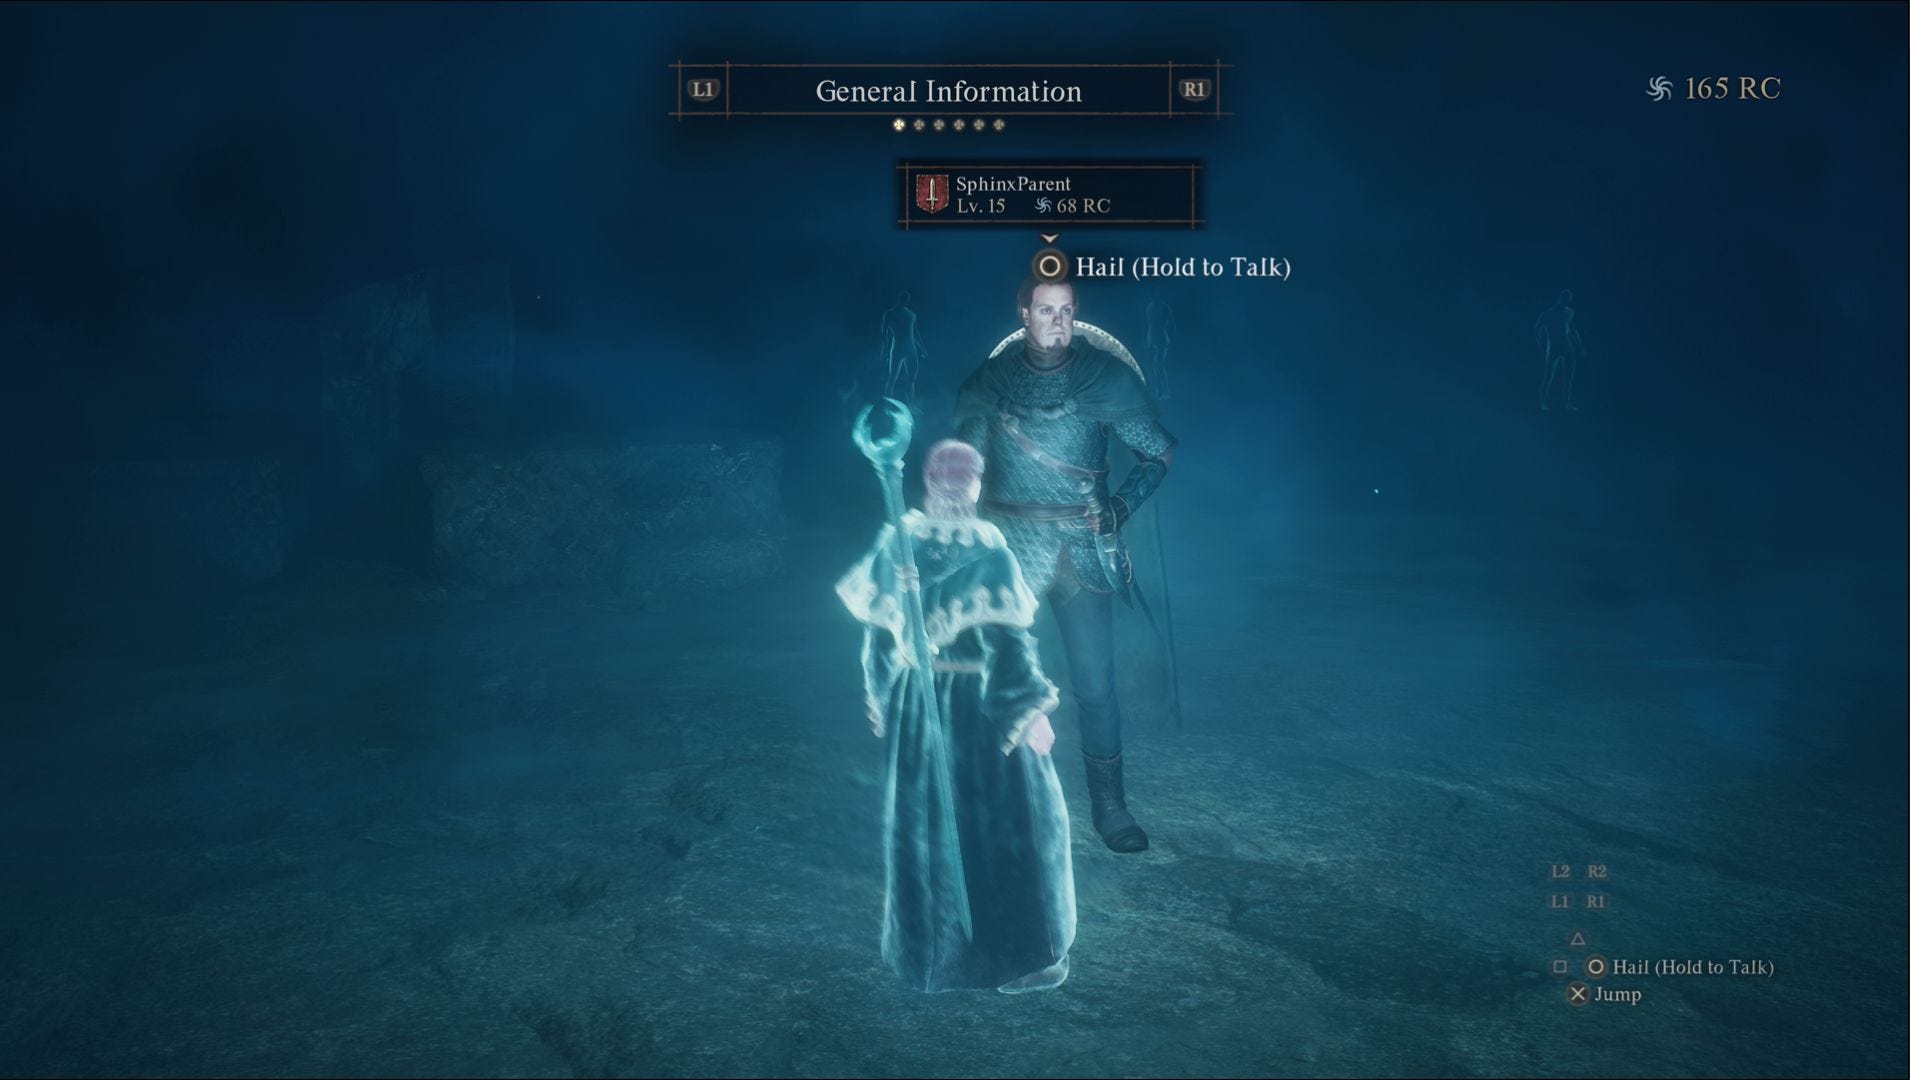
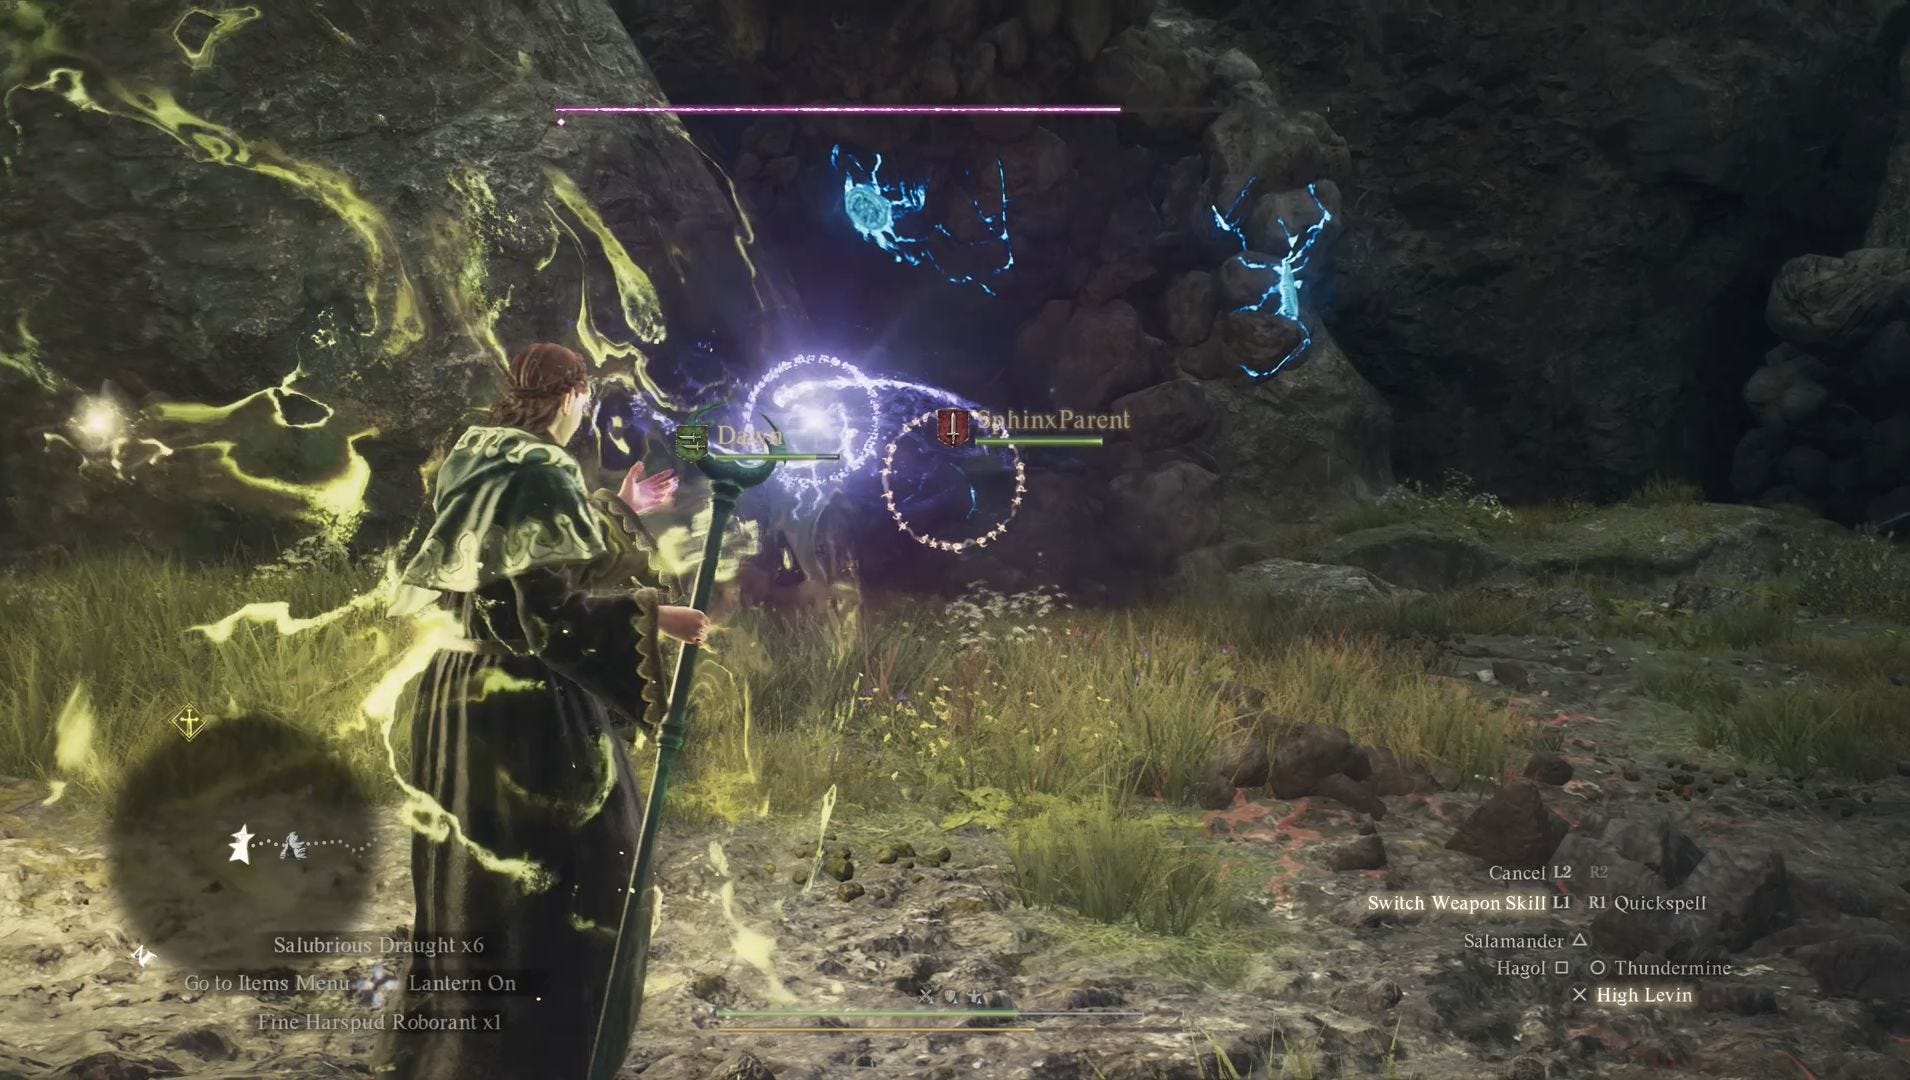
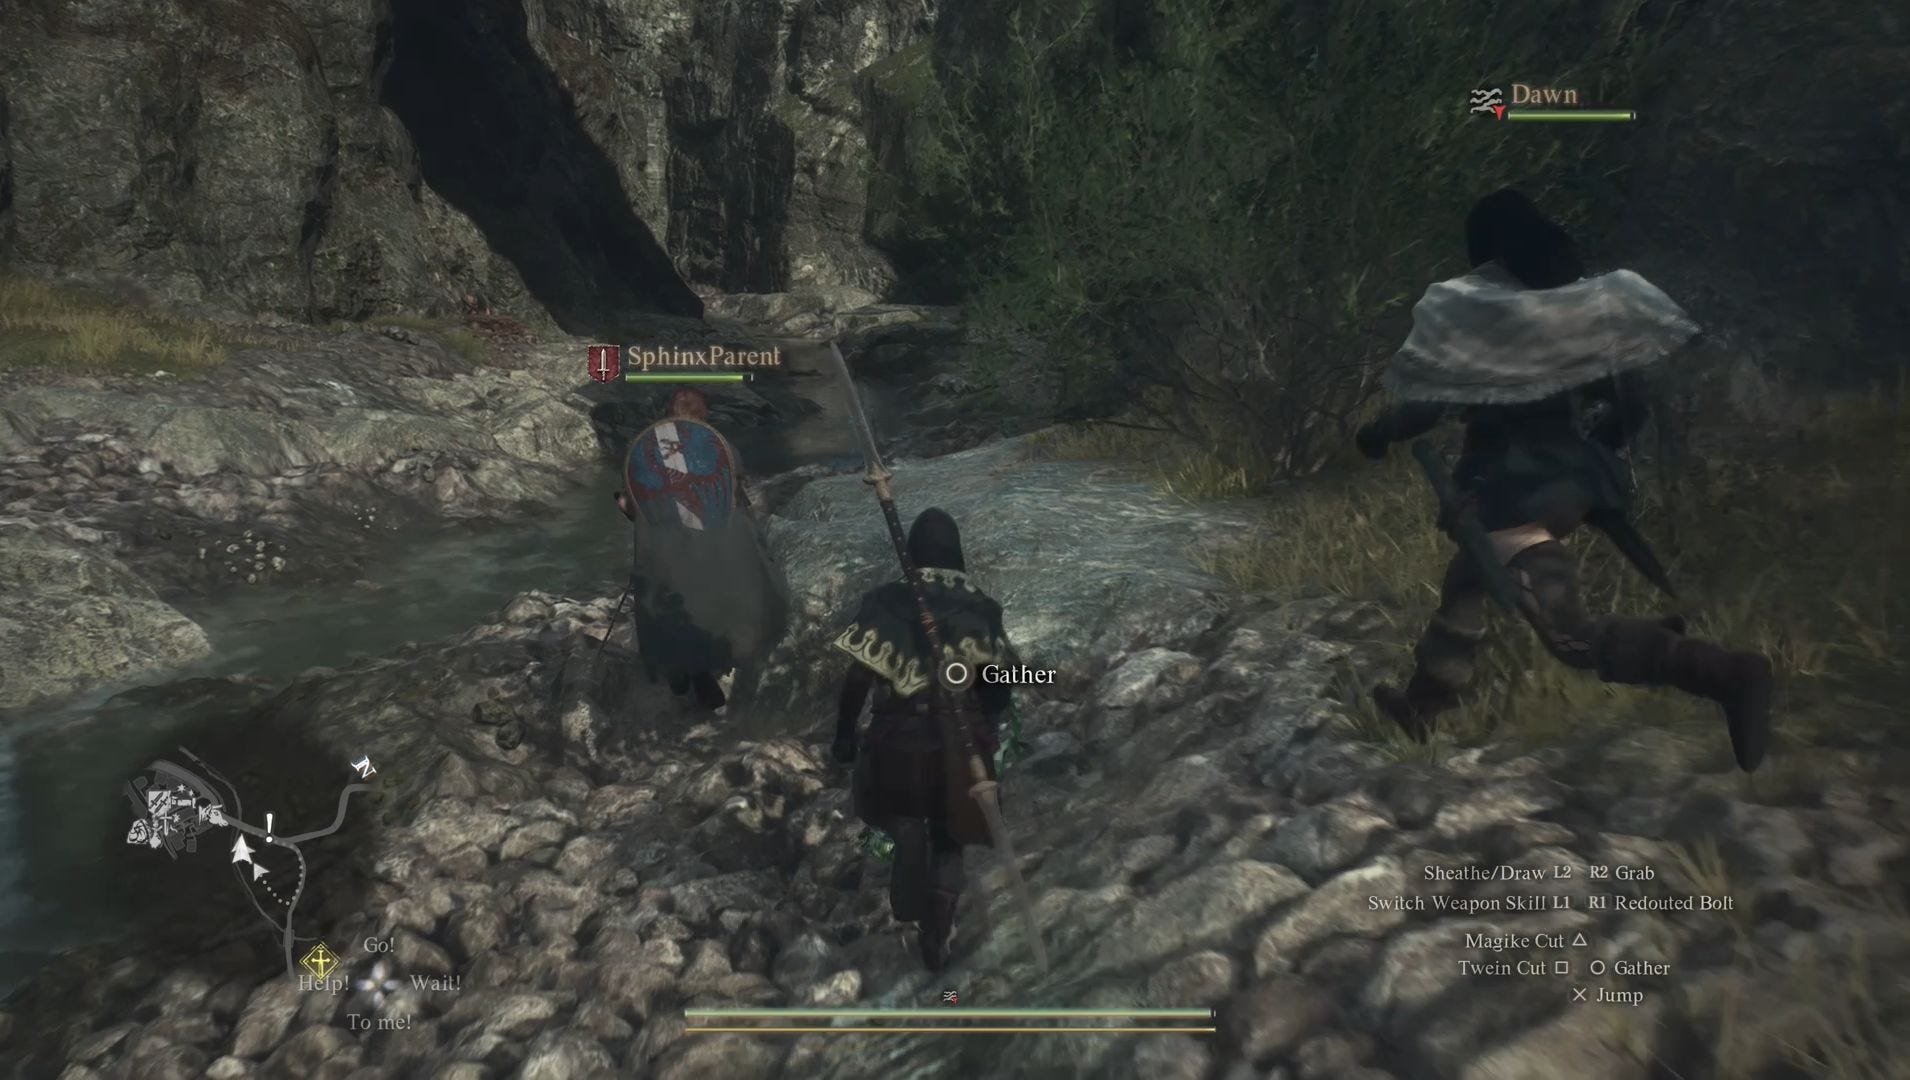
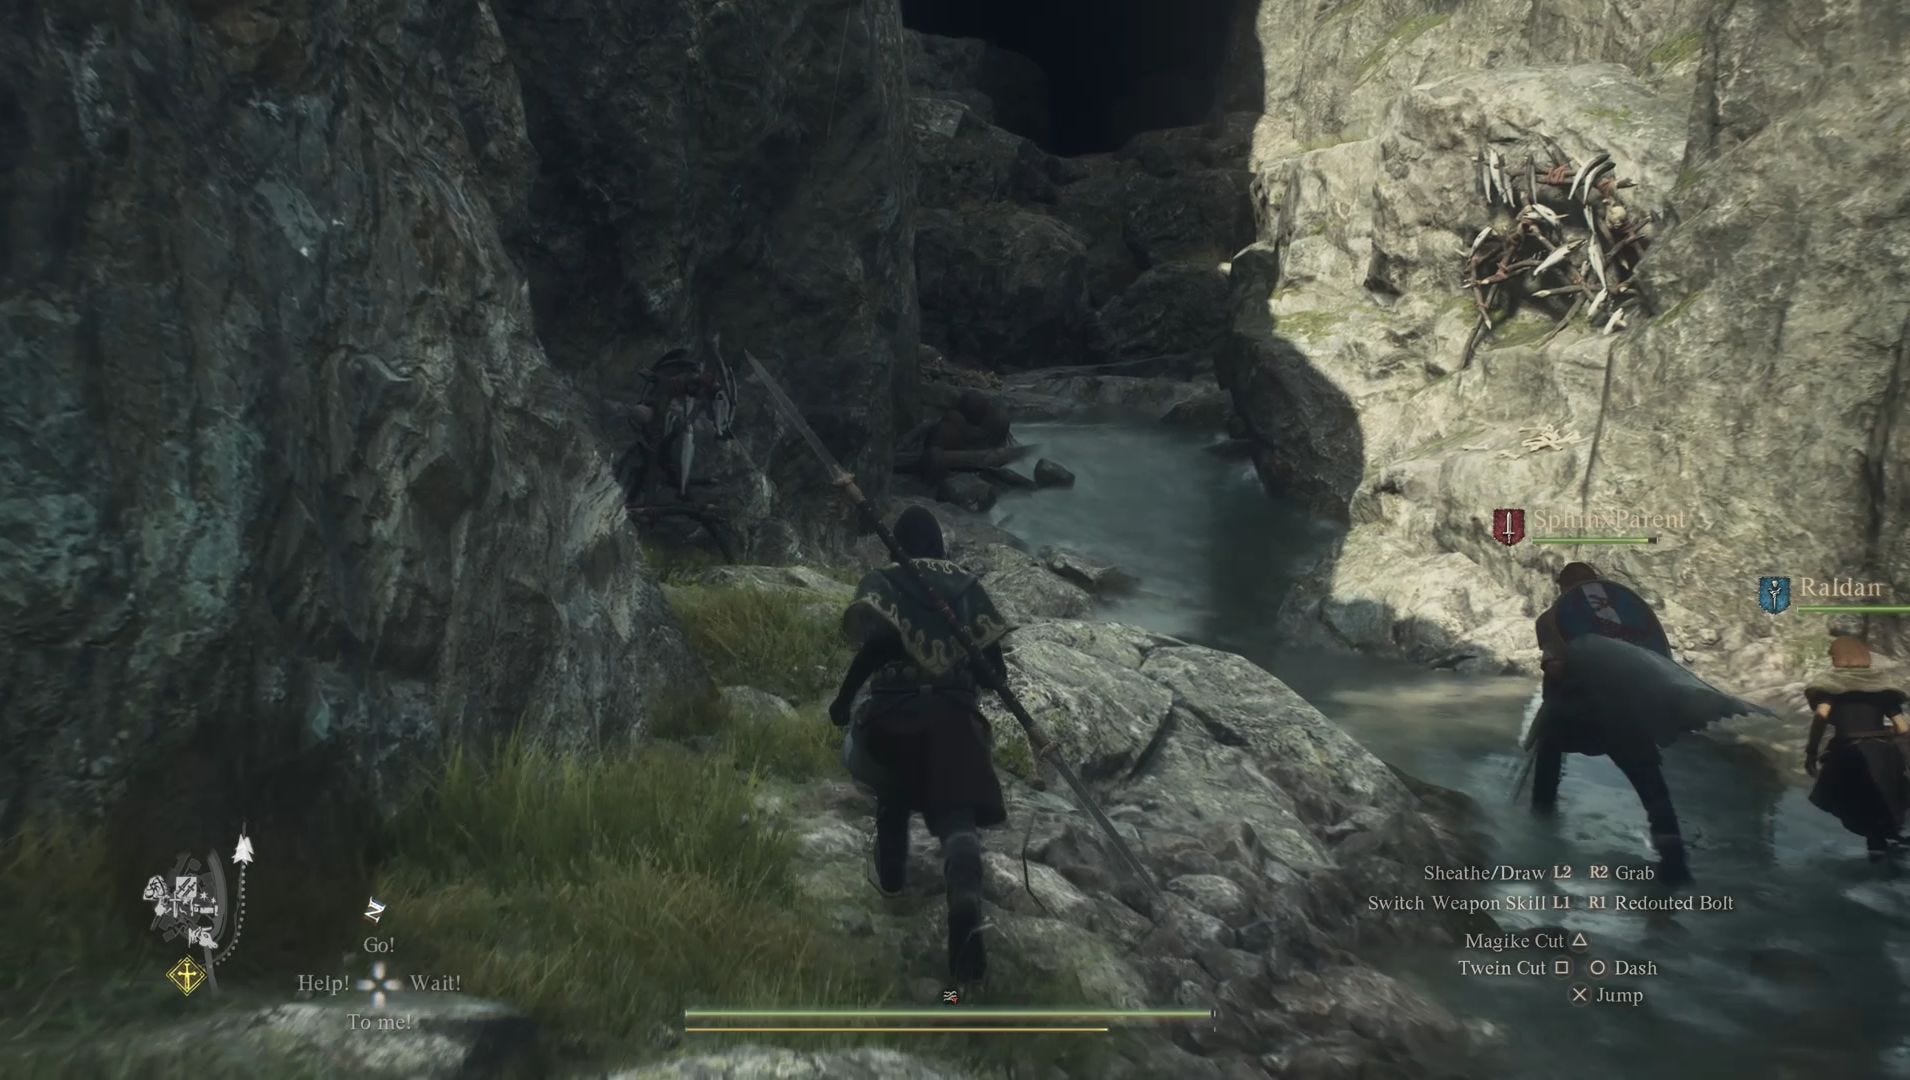
Here, just at the beginning of the village, you'll find the Riftstone of Fellowship. Upon interacting with this Riftstone a Pawn called either SphinxParent, SphinxMother or SphinxFather will appear. You'll need the RC required to add them to your party - for us it was 68 RC - and, after recruiting them, it's time to head back to the Sphinx.
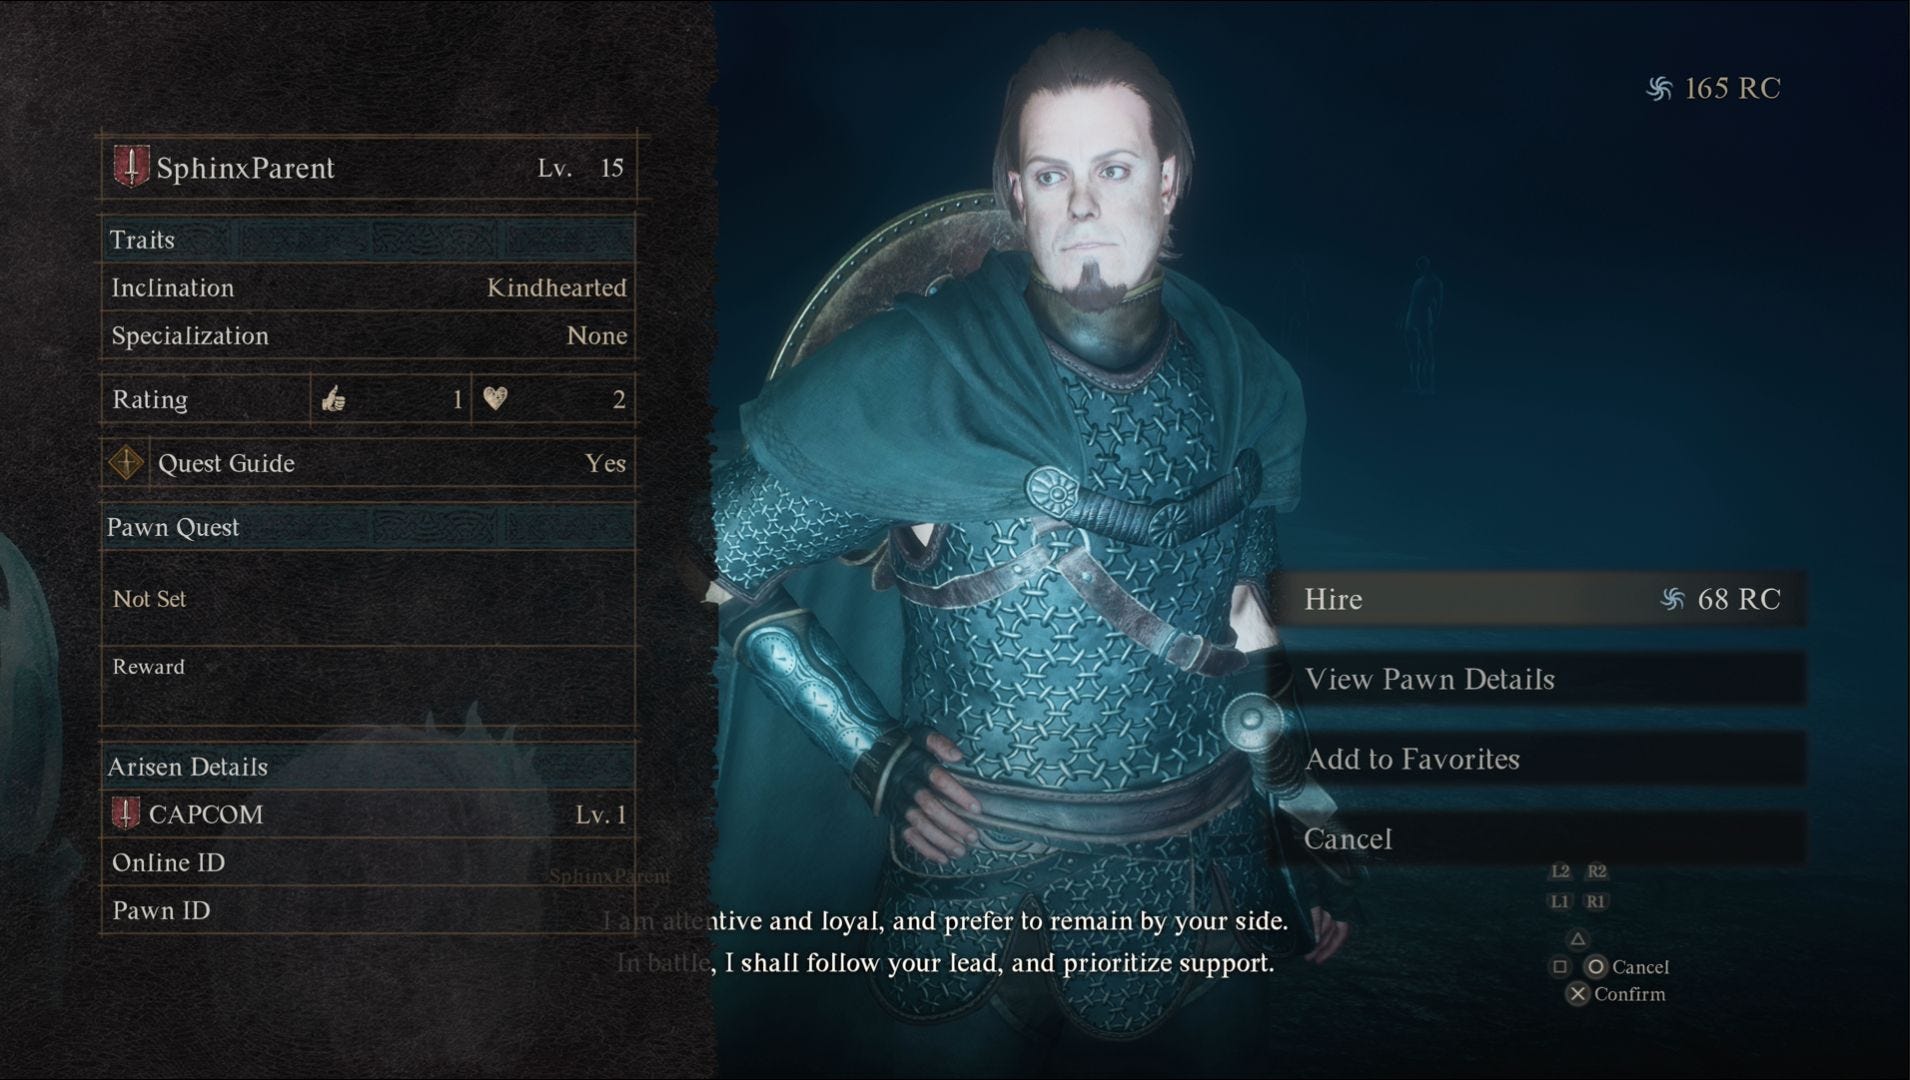
Once you arrive, grab ahold of the SphinxParent and place them onto the platform in front of the Sphinx. Now all you need to do is talk to the Sphinx, select 'Riddle of Wisdom' and, when prompted select 'Answer'.
Pleased that you solved her riddle, the Sphinx will open another chest which contains 1200 RC.
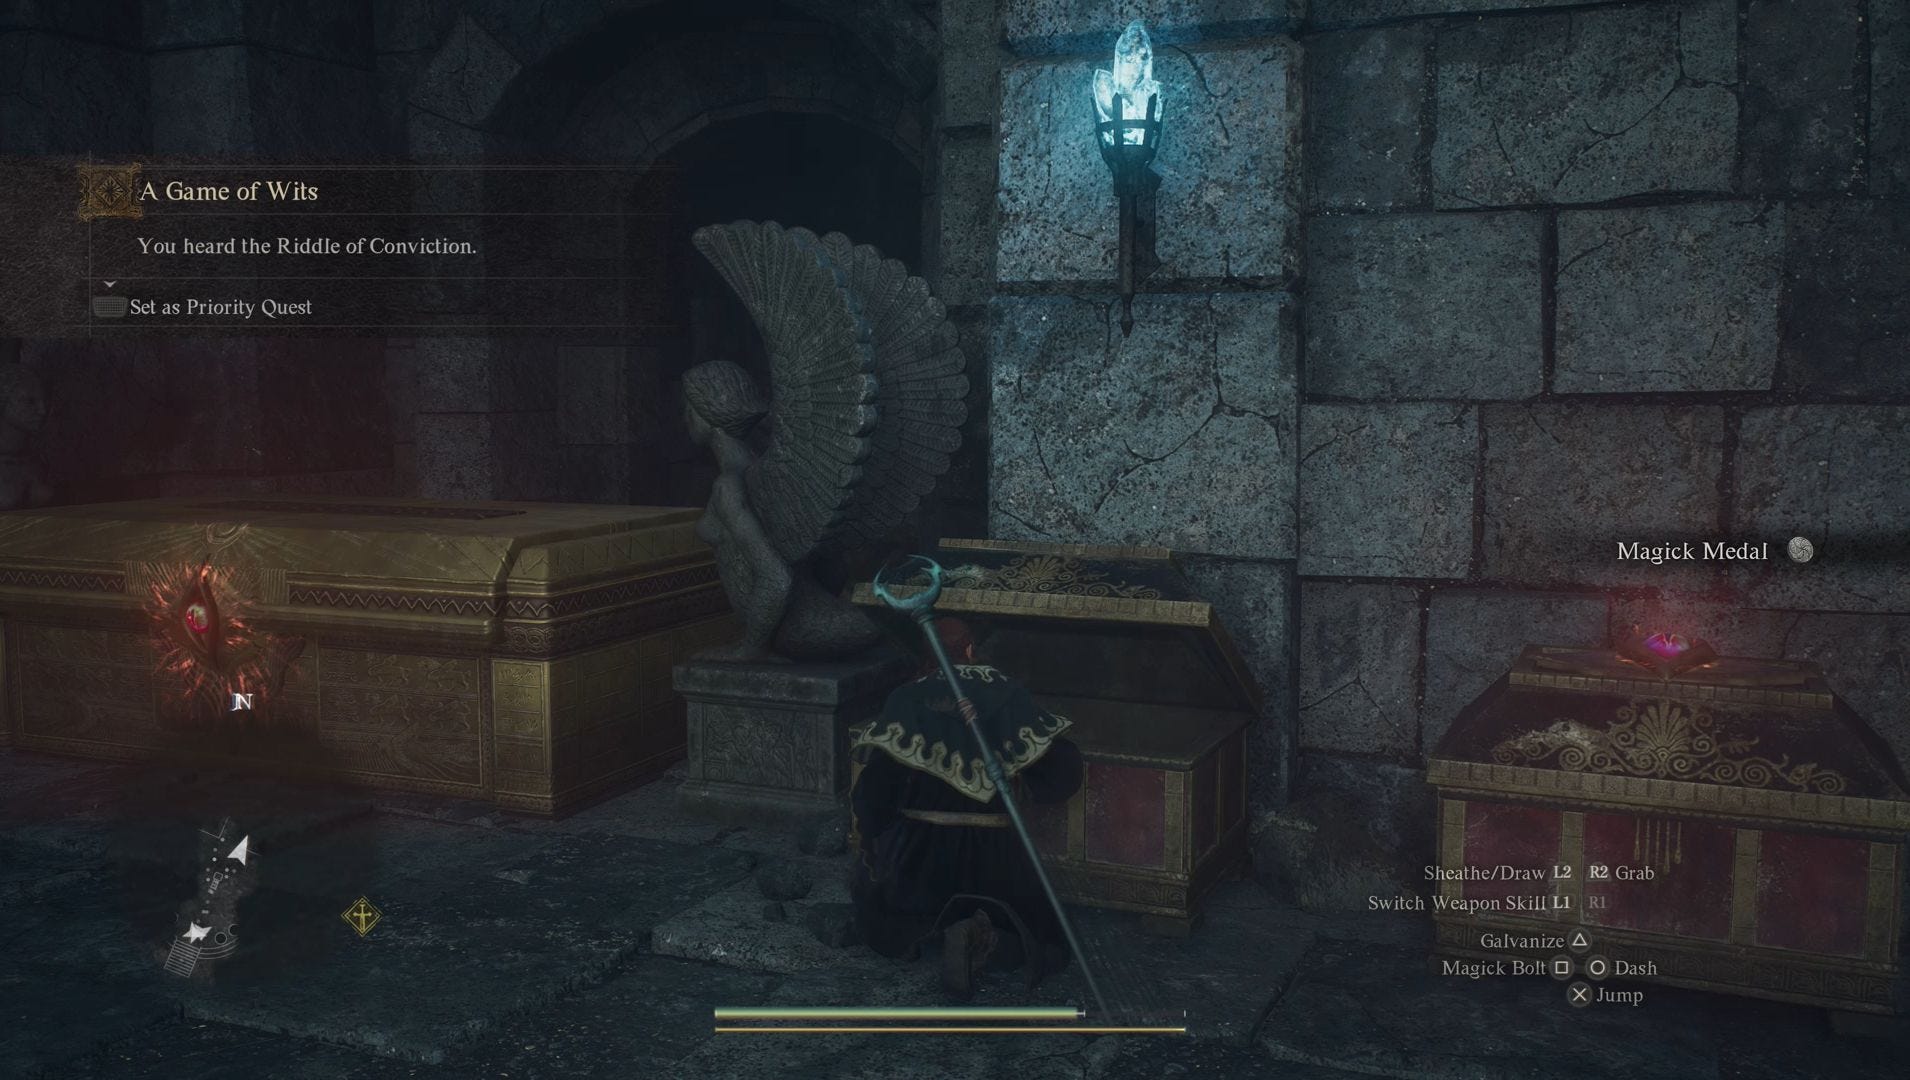
Riddle of Conviction solution
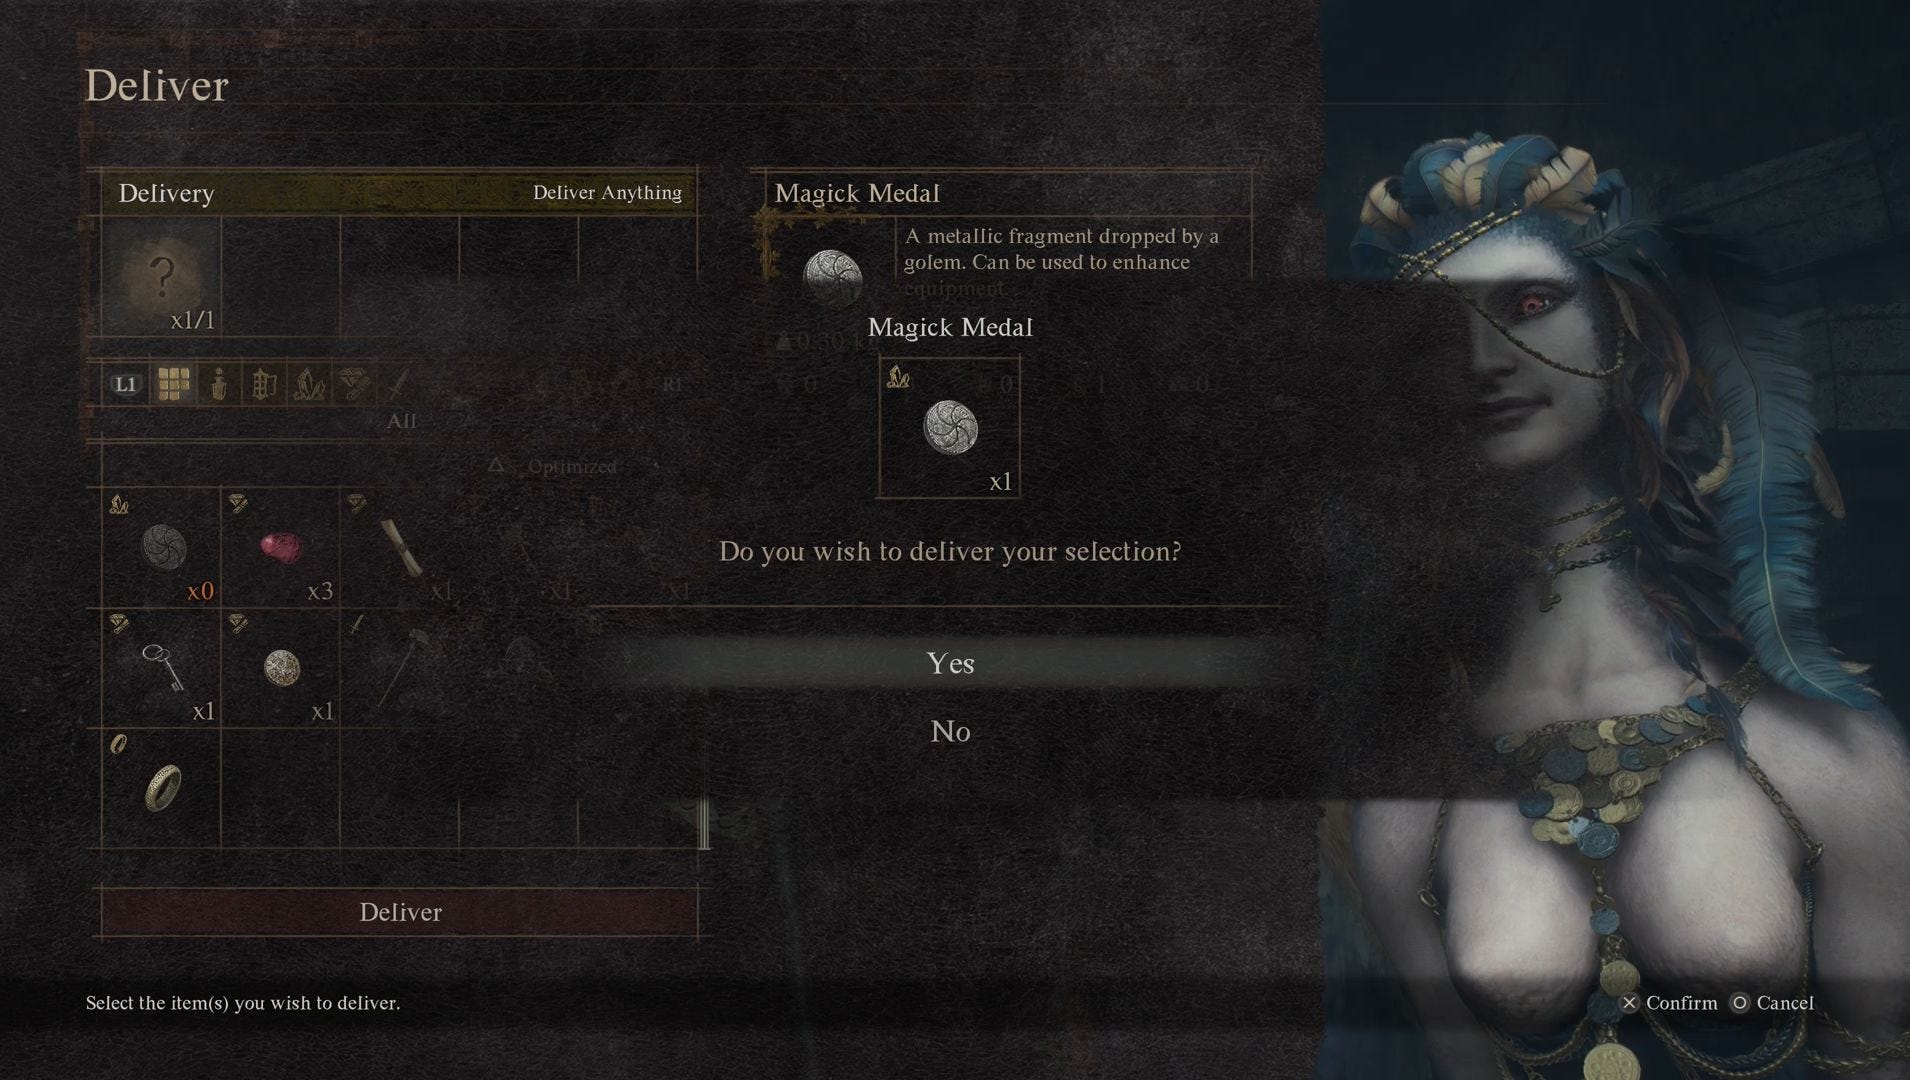
The Riddle of Conviction is a trick in two parts. Firstly, you can pick any item to hand over to the Sphinx and, when prompted, select 'Yes' to agree that it's your most prized possession. You can literally claim a piece of spoiled meat is what you value the most and the Sphinx will accept that answer.
After handing this item over, the second part of the trick will come into play. Head over to the chest the Sphinx has just opened and you'll find it contains the item you've just given her. (Though if you did hand over some spoiled meat, you should probably just throw that away.)
Riddle of Rumination solution
To solve the Riddle of Rumination you need to visit the location where you found your first Seeker Token and return to the Sphinx within seven days.
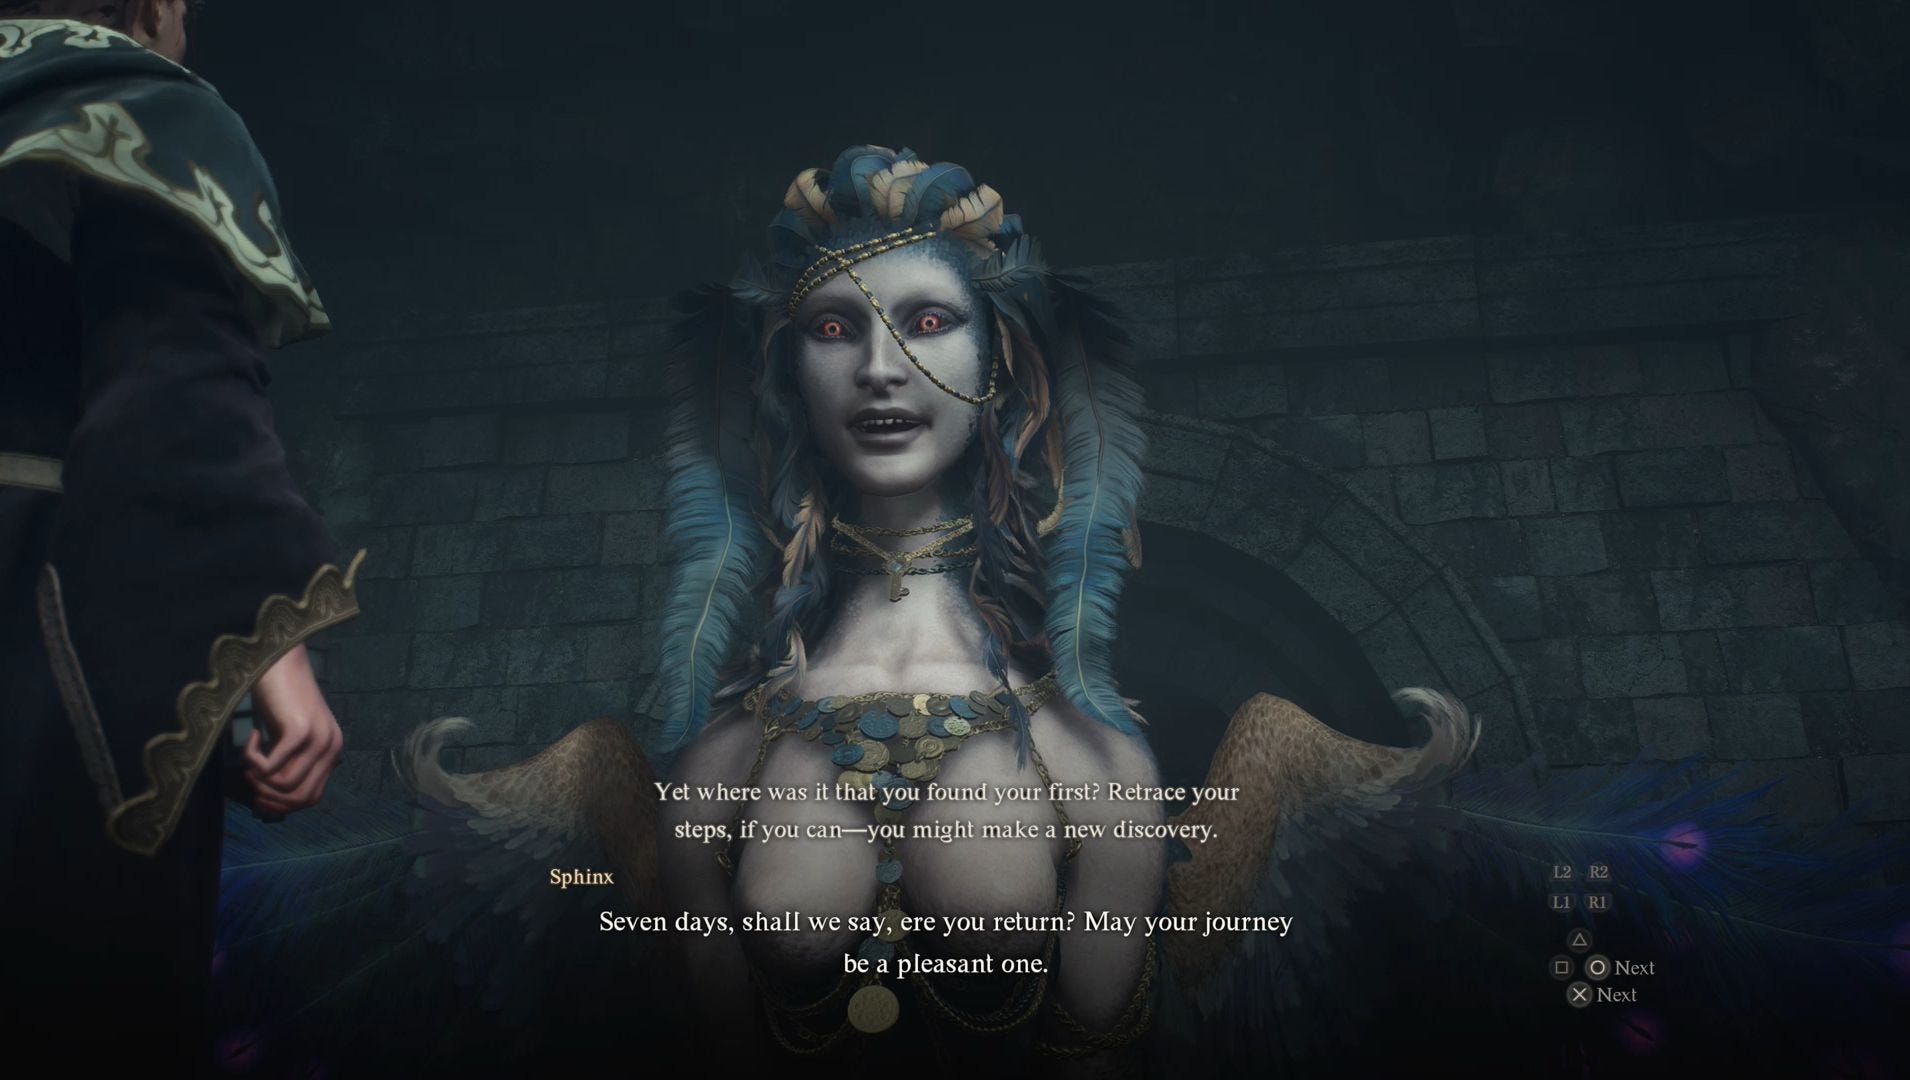
Now due to the nature of the riddle, we can't offer a solution as this all comes down to your memory. If you choose to follow the game's storyline, then there's a good chance you found your first Seeker Token in Melve or Vernworth. Yet, if you decided to venture into the unknown, then it could be further afield.
Remember to place a Portcrystal at the Mountain Shrine if you haven't done so already as this will greatly cut down on your travel time, so you can meet the seven day time limit the Sphinx sets you. If you don't hand a Portcrystal on hand, complete the Riddle of Madness if you haven't done so already.
When you do find the location of your first Seeker Token, you'll discover that a new token has been set in its place. This token has a strange aura though and is, in fact, a Finder's Token.
Now all you have to do is return to the Sphinx, show her the Token and she'll give you three Ferrystones. If this was your last riddle, the Sphinx will also depart for the Frontier Shrine. You can attempt to jump aboard her though if you don't fancy walking to the Fronter Shrine.
If you placed a Portcrystal at the Mountain Shrine, remember to pick it up! You can then place it at the Frontier Shrine.
You will need to visit the Frontier Shrine for the following riddles. Visit the following section to learn how to reach the Frontier Shrine.
Before embarking to the Frontier Shrine, however, it's a good idea to switch to a melee-focused as it will help you solve the Riddle of Contest.
After you've solved the Riddle of Contest, however, you'll want to switch your Vocation to Archer as this will be crucial to earning the final reward from the Sphinx. This is because she will begin to fly away after you've solved the last riddle and shooting her with an arrow three times is the quickest way to initiate the fight against her before she departs. If you miss this moment, then you'll lose your chance to earn the Eternal Wakestone.
It's also important to note that, aside from the Riddle of Reunion, the riddles you face will be given in a random order until the Sphinx attempts to depart again. We've organised the riddles below in the order we faced them in, but this might be different for you.
Riddle of Reunion solution
The Riddle of Reunion is by far the easiest riddle you can solve, because all it involves is talking to the Sphinx for the first time at the Frontier Shrine. Again, we have instructions on how to reach this shrine further along in the guide.
Go ahead and open the chest once you've talked to the Sphinx to be rewarded with 100,000 Gold. This is an incredibly useful reward if you've been wanting to buy a house, new weapons or new armour.
Make sure you take the time to place a Portcrystal at the Frontier Shrine!
Riddle of Contest solution
If you're using a range-based Vocation, it's a good idea to switch your Vocation to a melee focused one, such as Warrior or Mystic Spearhand, before undertaking the Riddle of Contest.
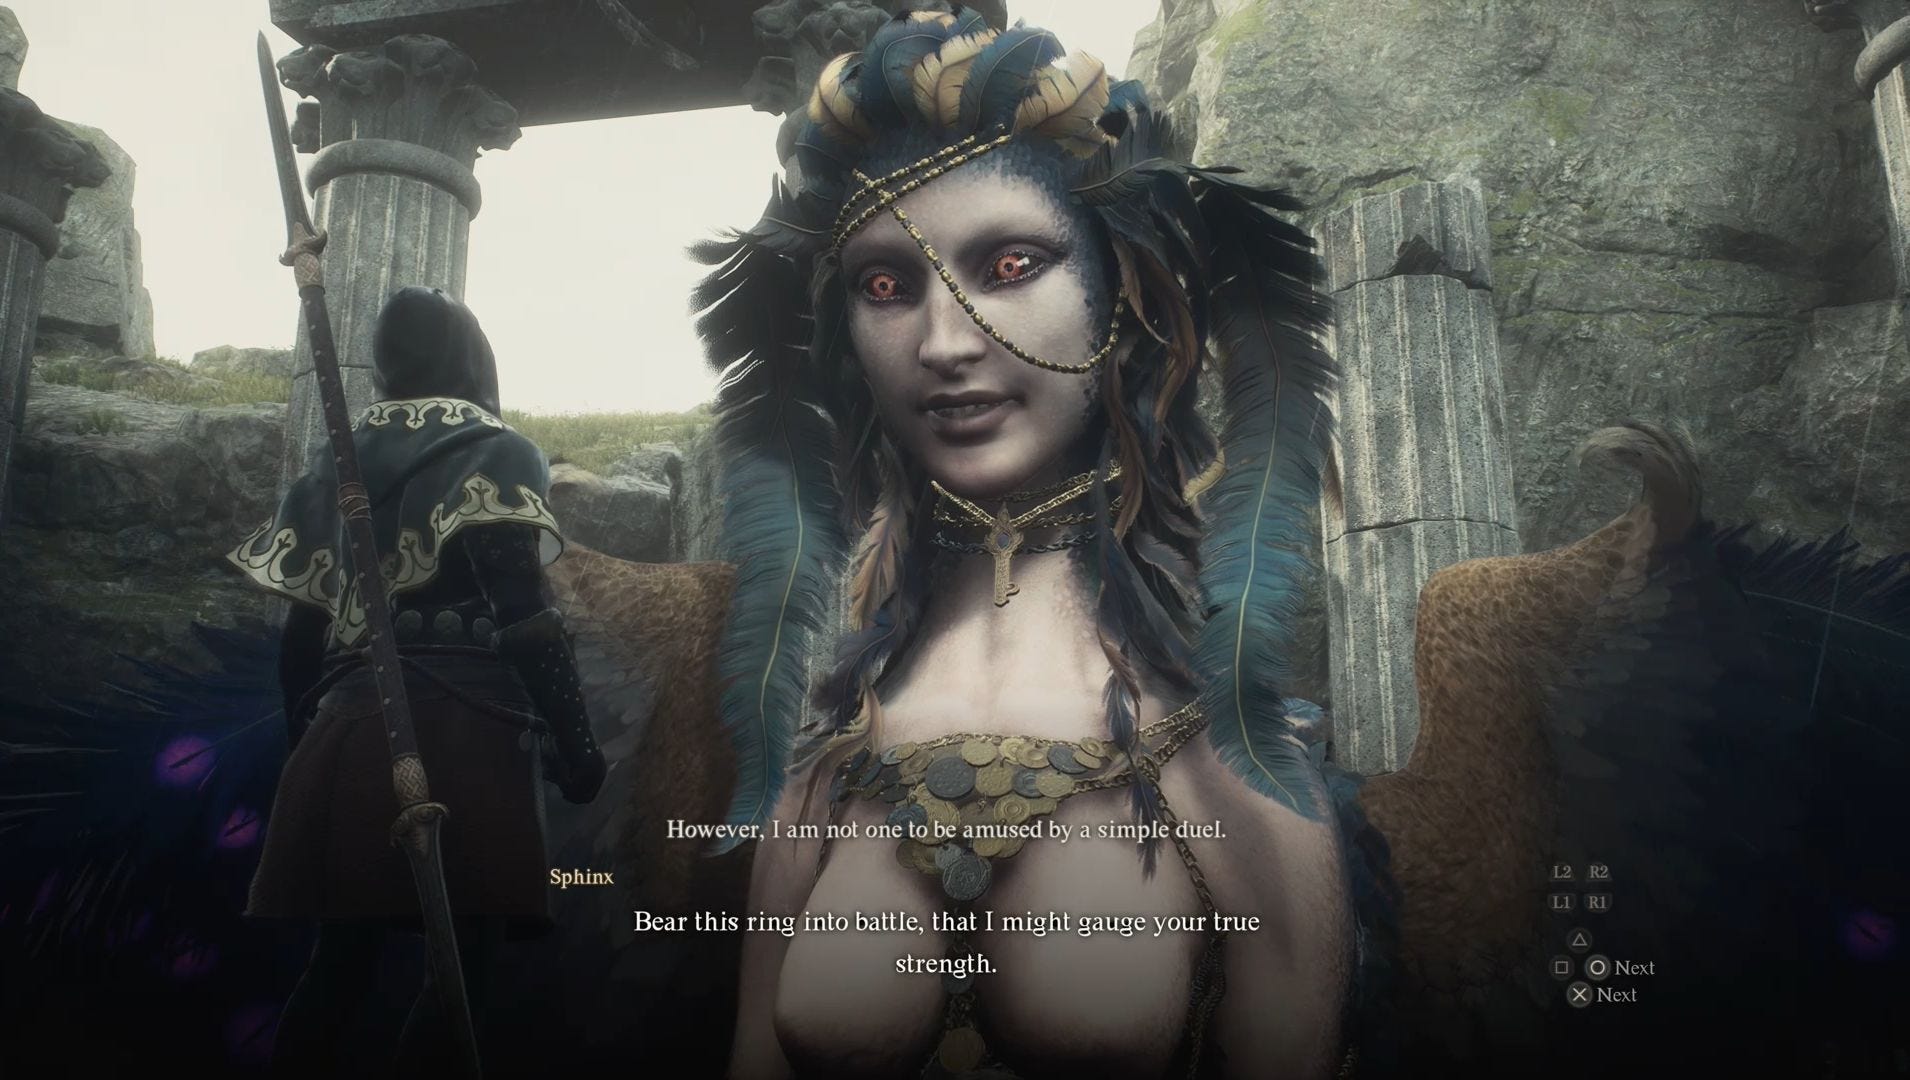
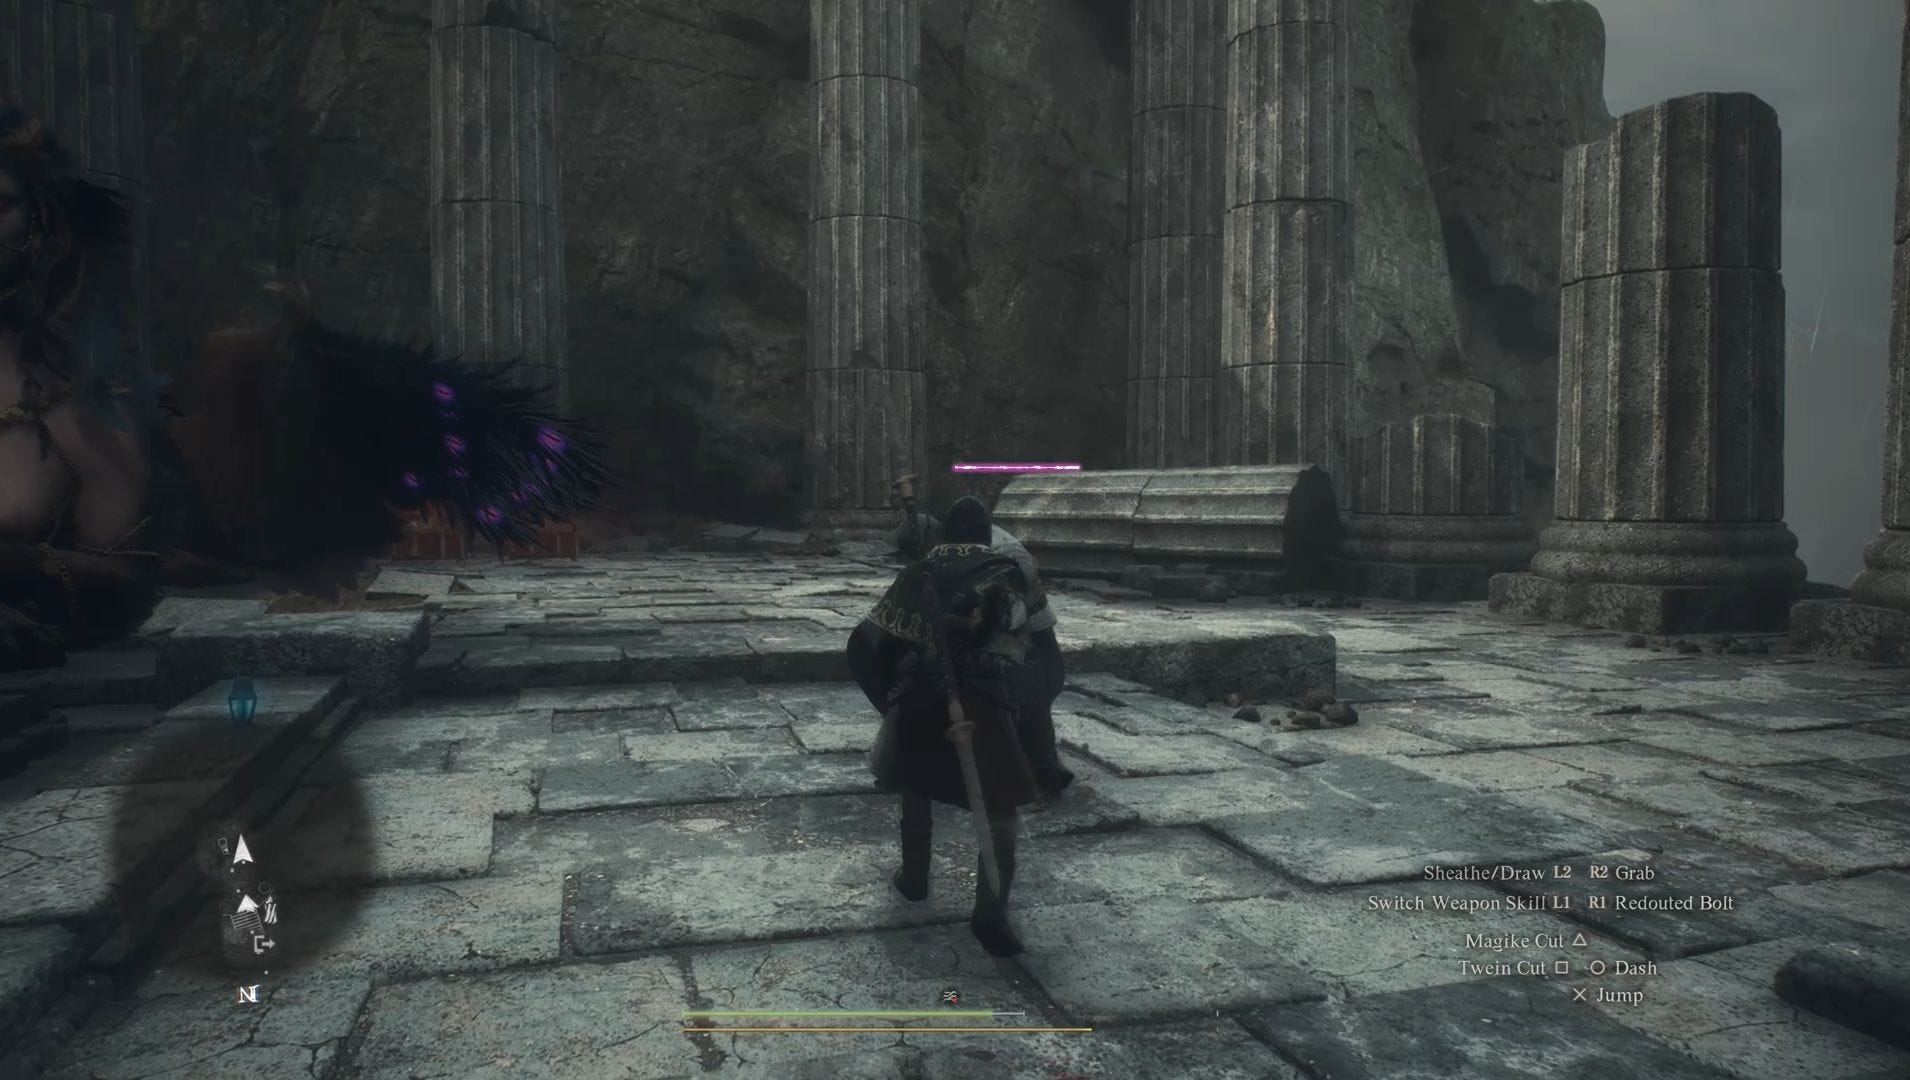
Now this riddle may seem simple on the service as all the Sphinx asks you to do is defeat a nearby soldier, but she's put a twist on this game. You'll quickly find that you've been forcibly equipped with a Ring of Derision which reduces the damage you can deal to near zero, but, thankfully, not exactly zero.
Now you can choose to try and outfight the soldier, slowly witterling down his health, but the far easier solution for this riddle is to stagger your enemy. Hence why we recommended switching to a melee-based Vocation. Once staggered, you can easily pick up the soldier before tossing him off the cliff to your right. This will defeat him and, in doing so, solve the riddle.
For solving this riddle, you'll be rewarded with a Ring of Ambition. You'll also want to ensure the Ring of Derision is unequipped after this riddle! It won't happen automatically.
Riddle of Futility solution
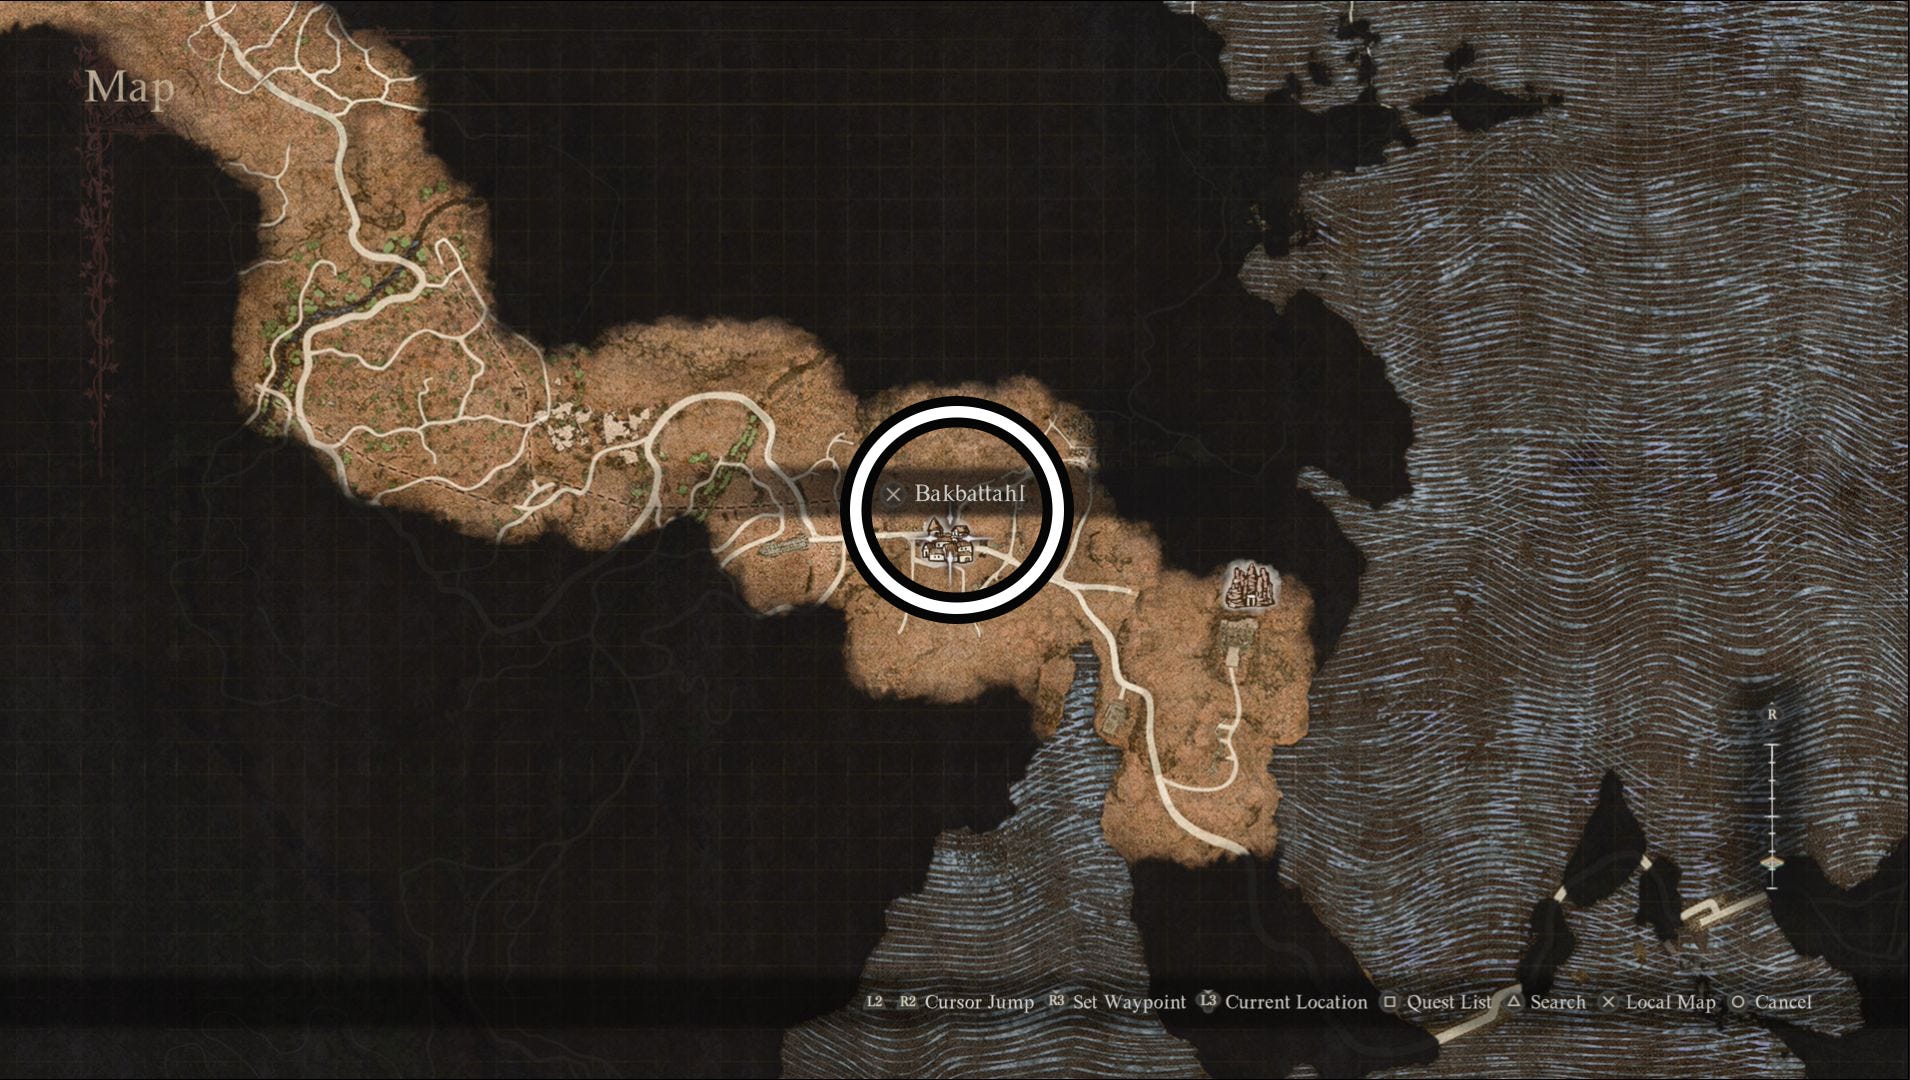
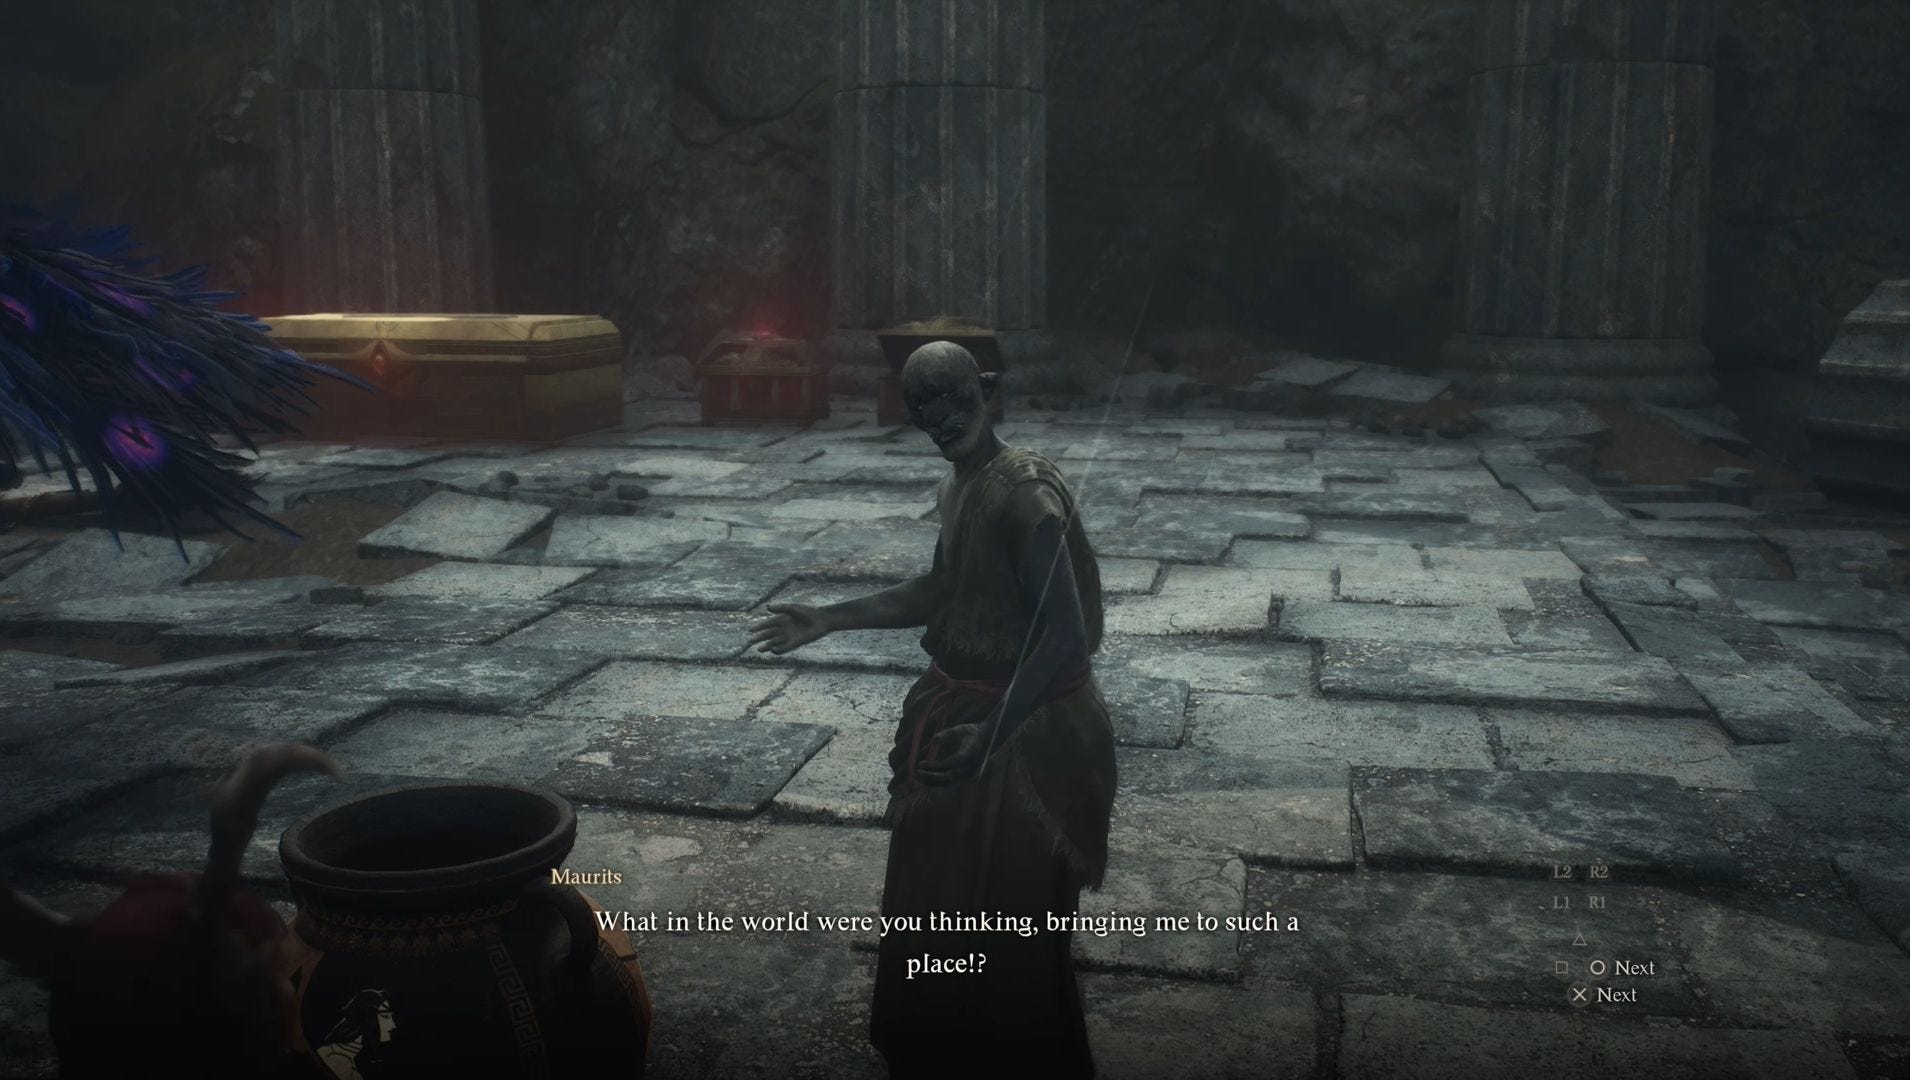
For the Riddle of Futility, the Sphinx asks you to deliver an amphora to Ser Maurits in Bakbattahl. The problem, however, is that the amphora will break if it takes any damage at all, so instead of taking it to Maurits, we need to bring him to it.
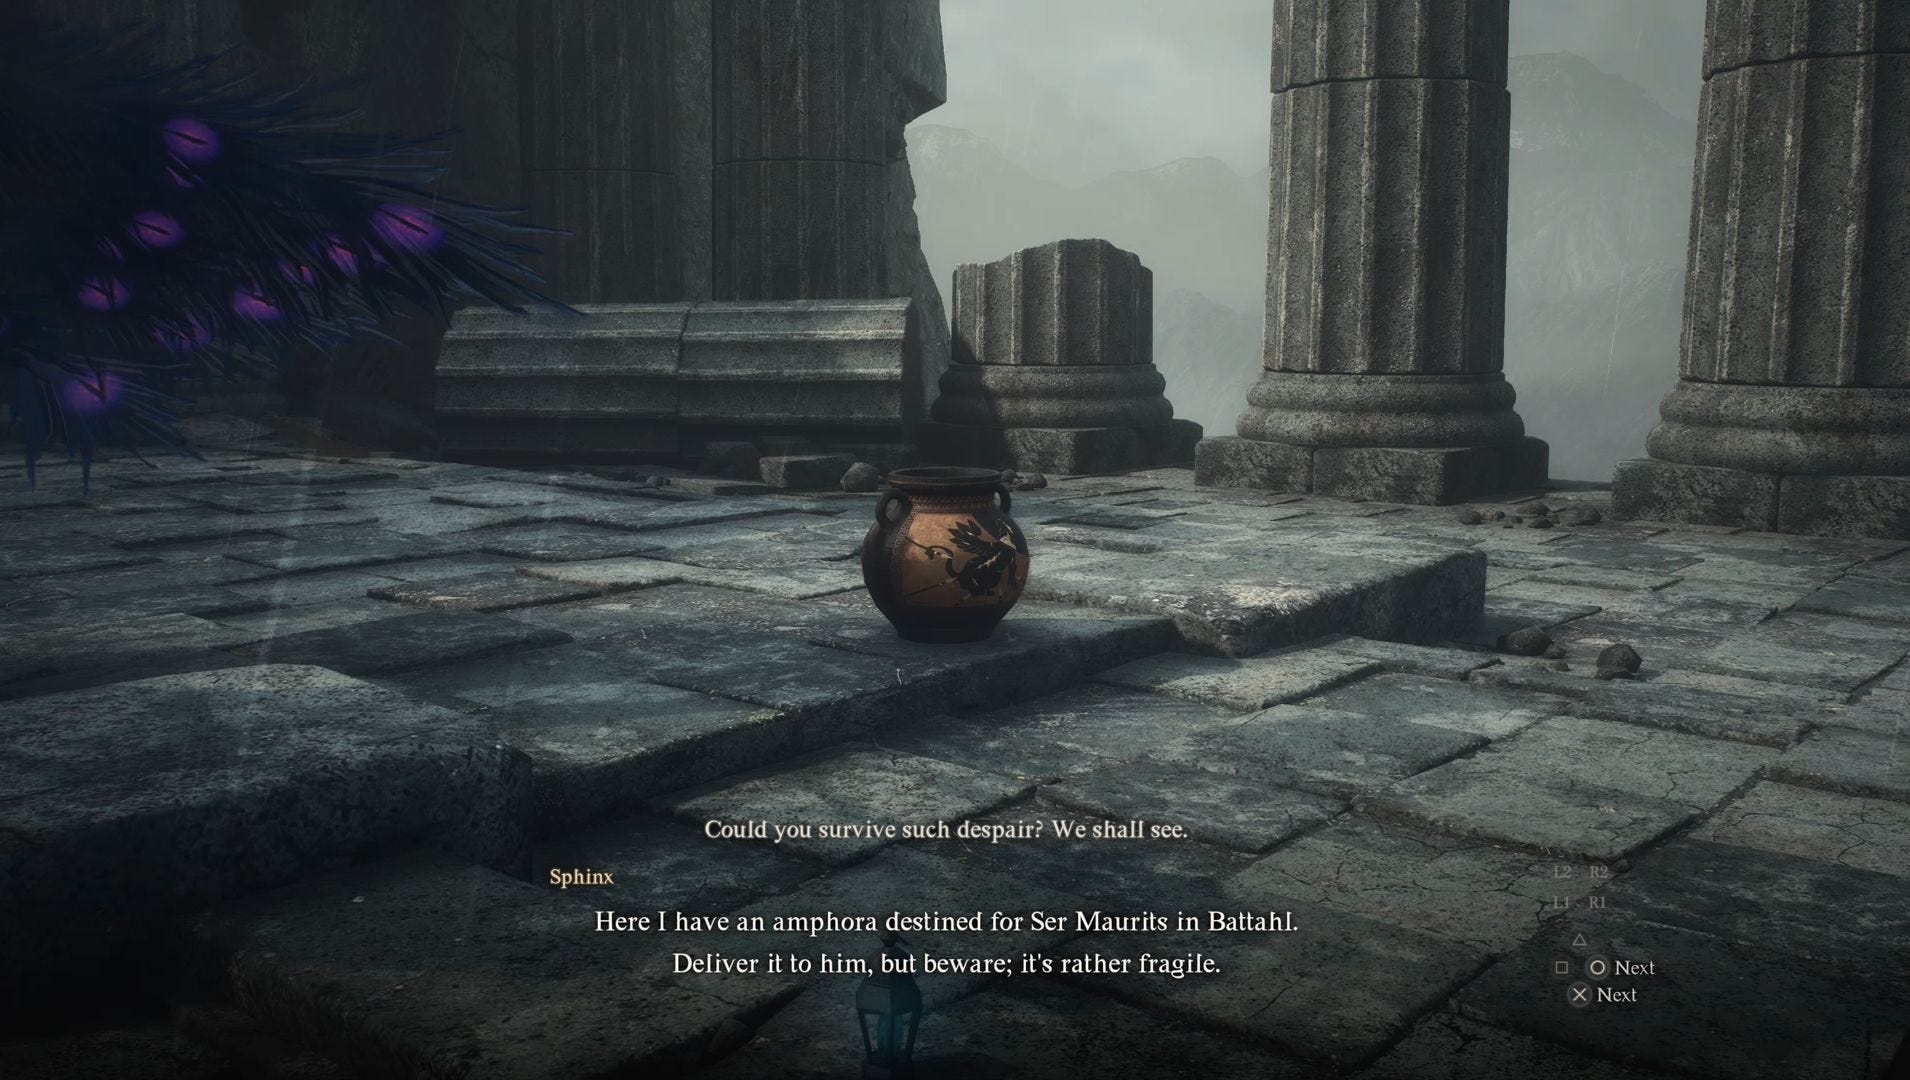
If you haven't done so already, make sure you place a Portcrystal at the Frontier Shrine before departing to Bakbattahl. If you don't have a Portcrystal placed at the Frontier Shrine, then this is one of the riddles you'll want to consider using the Sealing Phail for. Just remember - it can only be used once and there is another riddle you might wish to use it for.
How you reach Bakbattahl depends on how far you've progressed with the main story. If you've already gained the ability to enter Battahl via the Checkpoint then you can take that route. If you haven't, however, you can reach the city by heading west from the Frontier Shrine before following the road south into Battahl and then making your way to the city. Keep in mind, however, that the monsters in Battahl are quite dangerous and can easily defeat a low levelled player, especially an unprepared one. Still, if you manage your stamina well, you can make a mad dash to the city. (Though you may die a couple of times.)
Maurits can be found north of the first inn you encounter upon entering Bakbattahl. To find him, go past this inn and then take the first road to your left. You'll then want to continue following these stairs until you come to a set of stairs to your left.
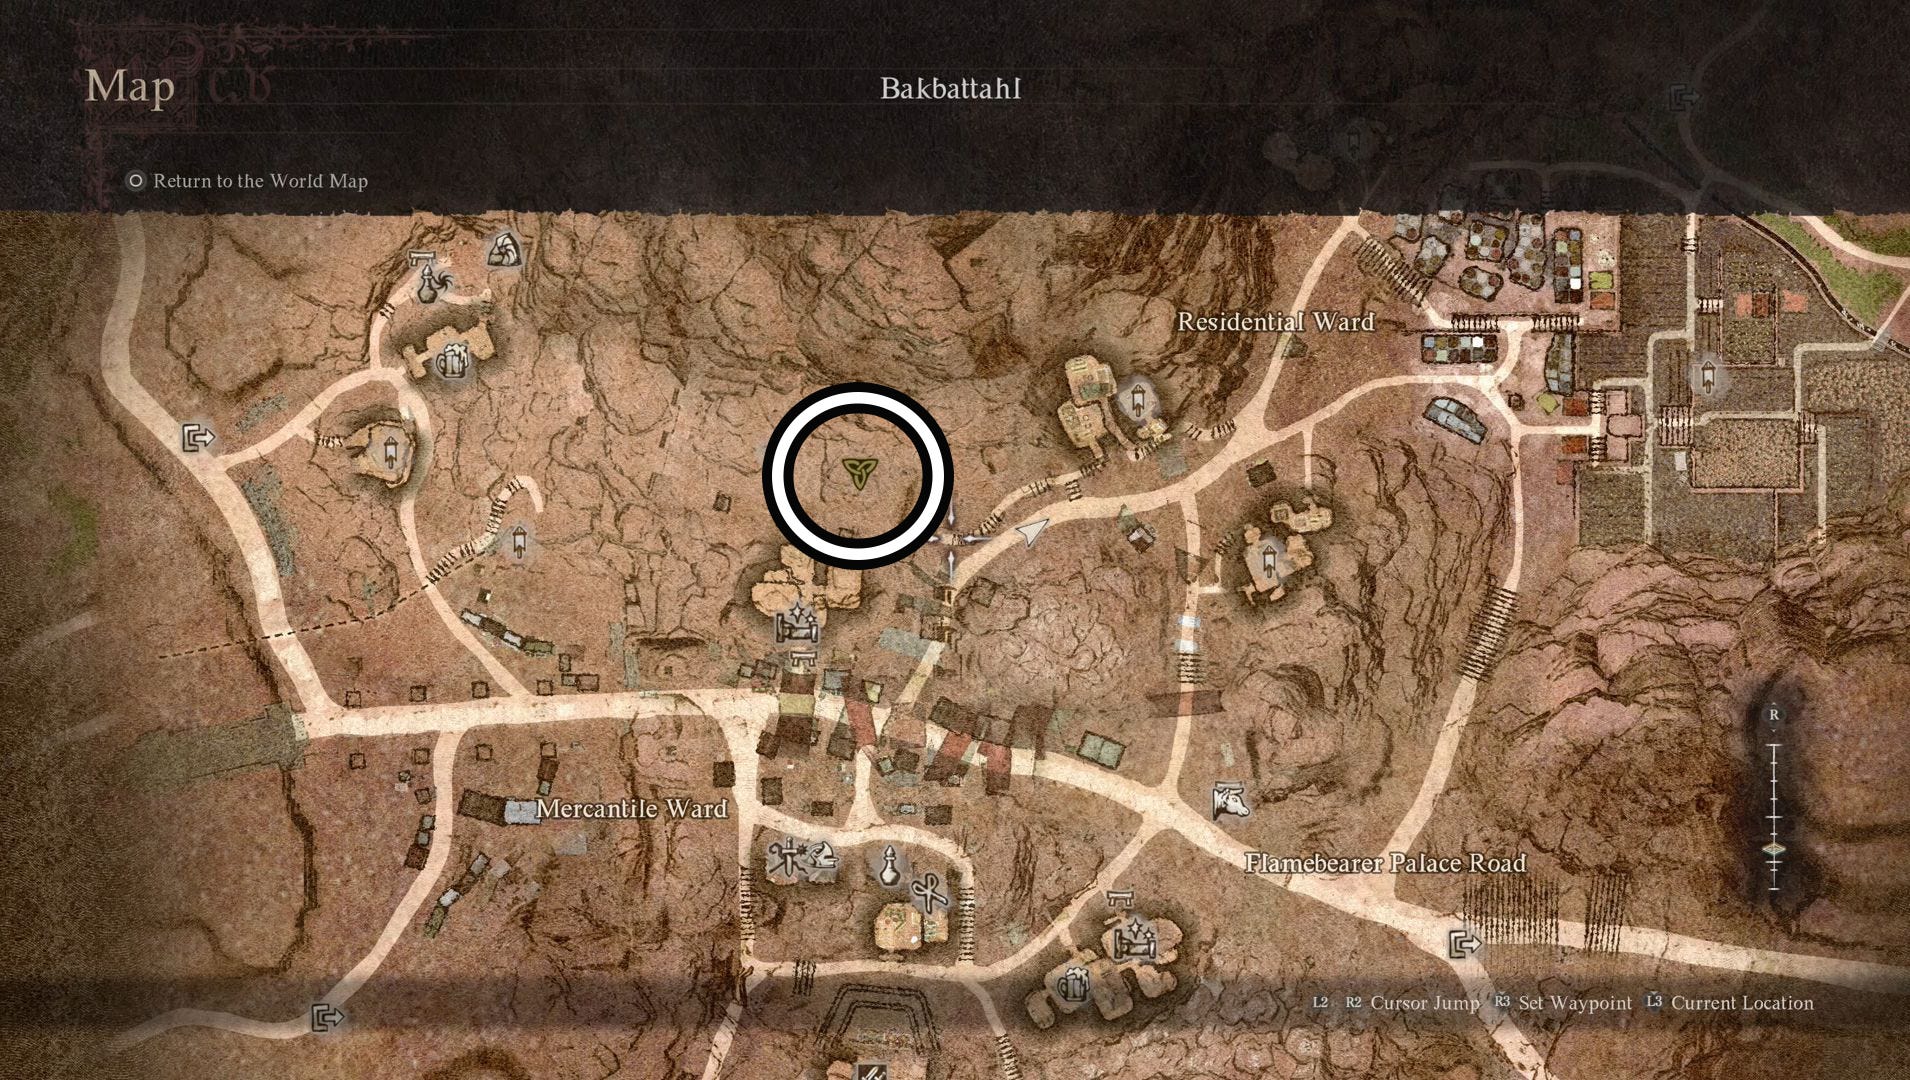
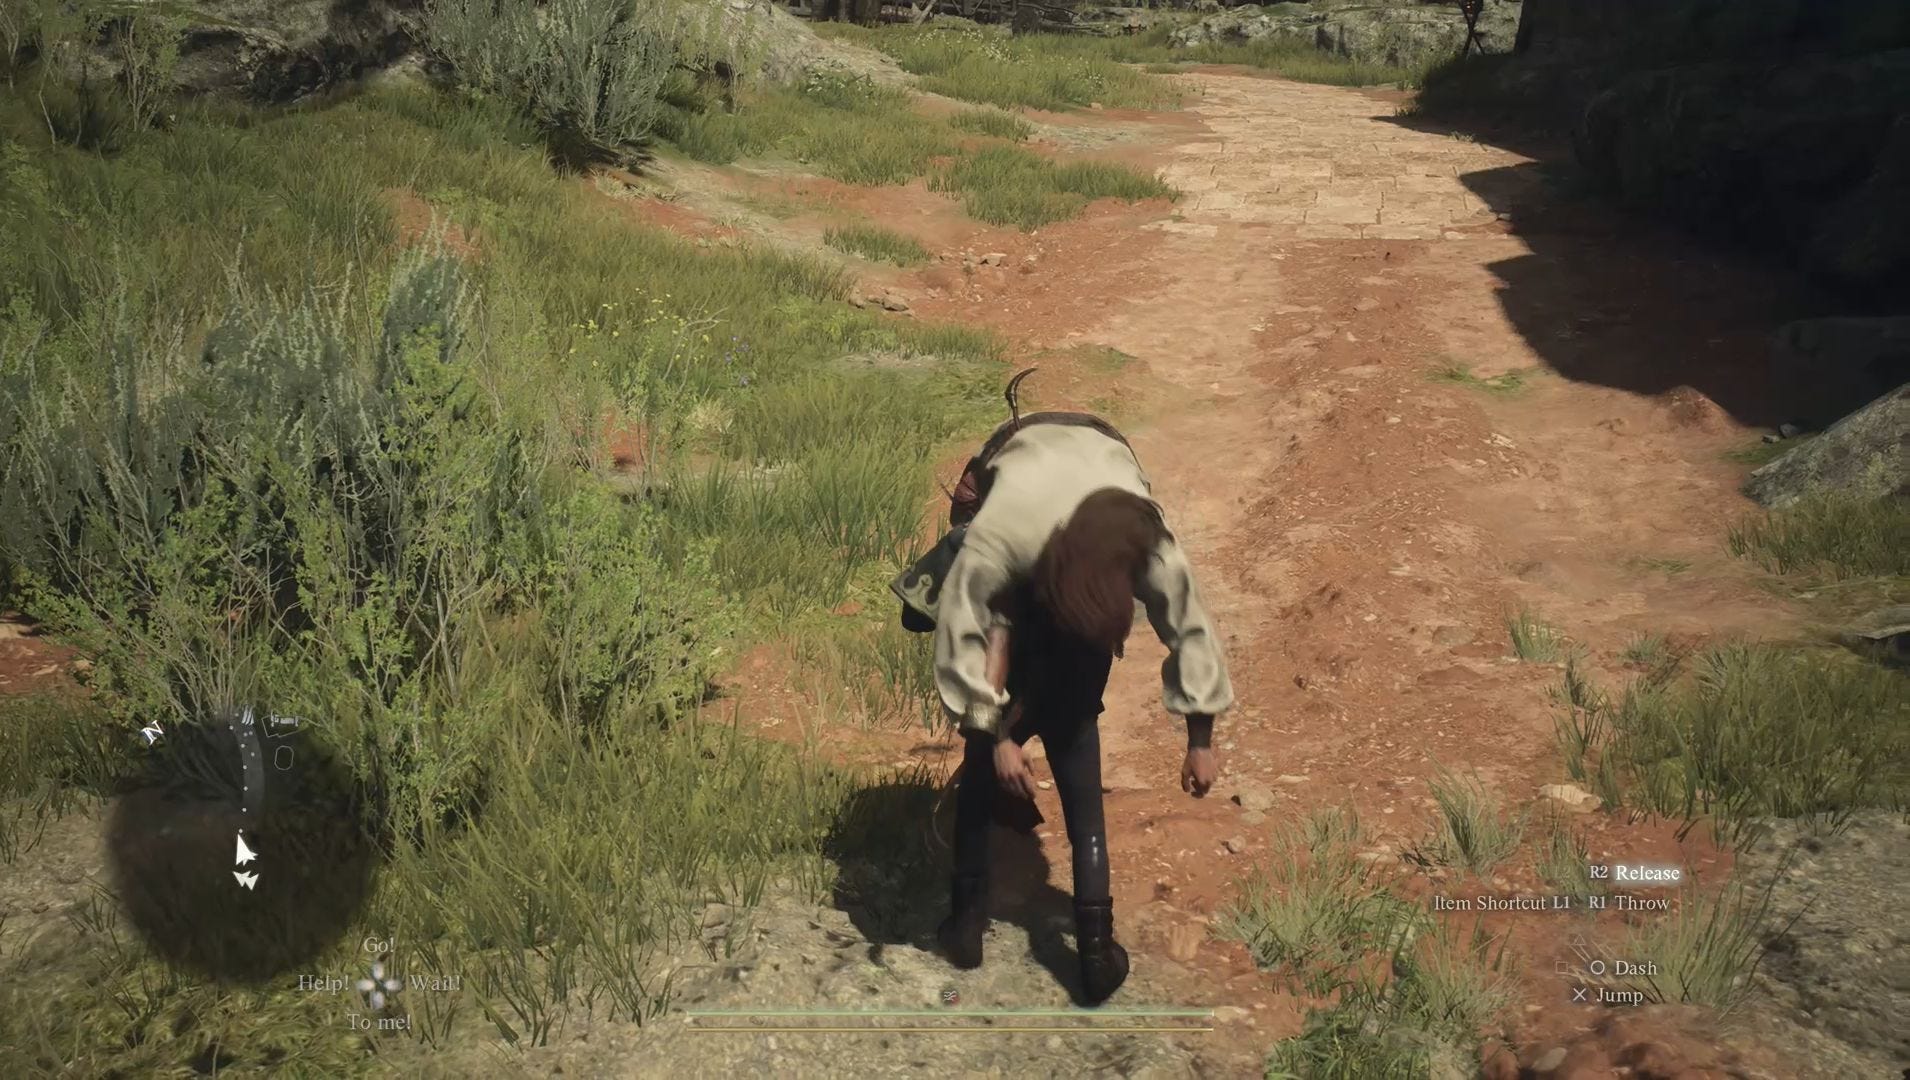
Go up these stairs and take the left-hand path. Keep going until you eventually find a mural of the Sphinx with Maurits standing next to him. Now you could use the Sealing Phial here if you didn't use it earlier, but you can also simply grab ahold of Maurits and walk until you're in an area where you can use a Ferrystone. (He may escape from your hold, but you can just grab him again instantly.)

Return to your Portcrystal at the Frontier Shrine and then place Maurits next to the amphora to complete the riddle. Your reward will be an Eternal Bond which can be used to greatly improve your affinity with an NPC - perfect for romance!
Riddle of Differentiation solution
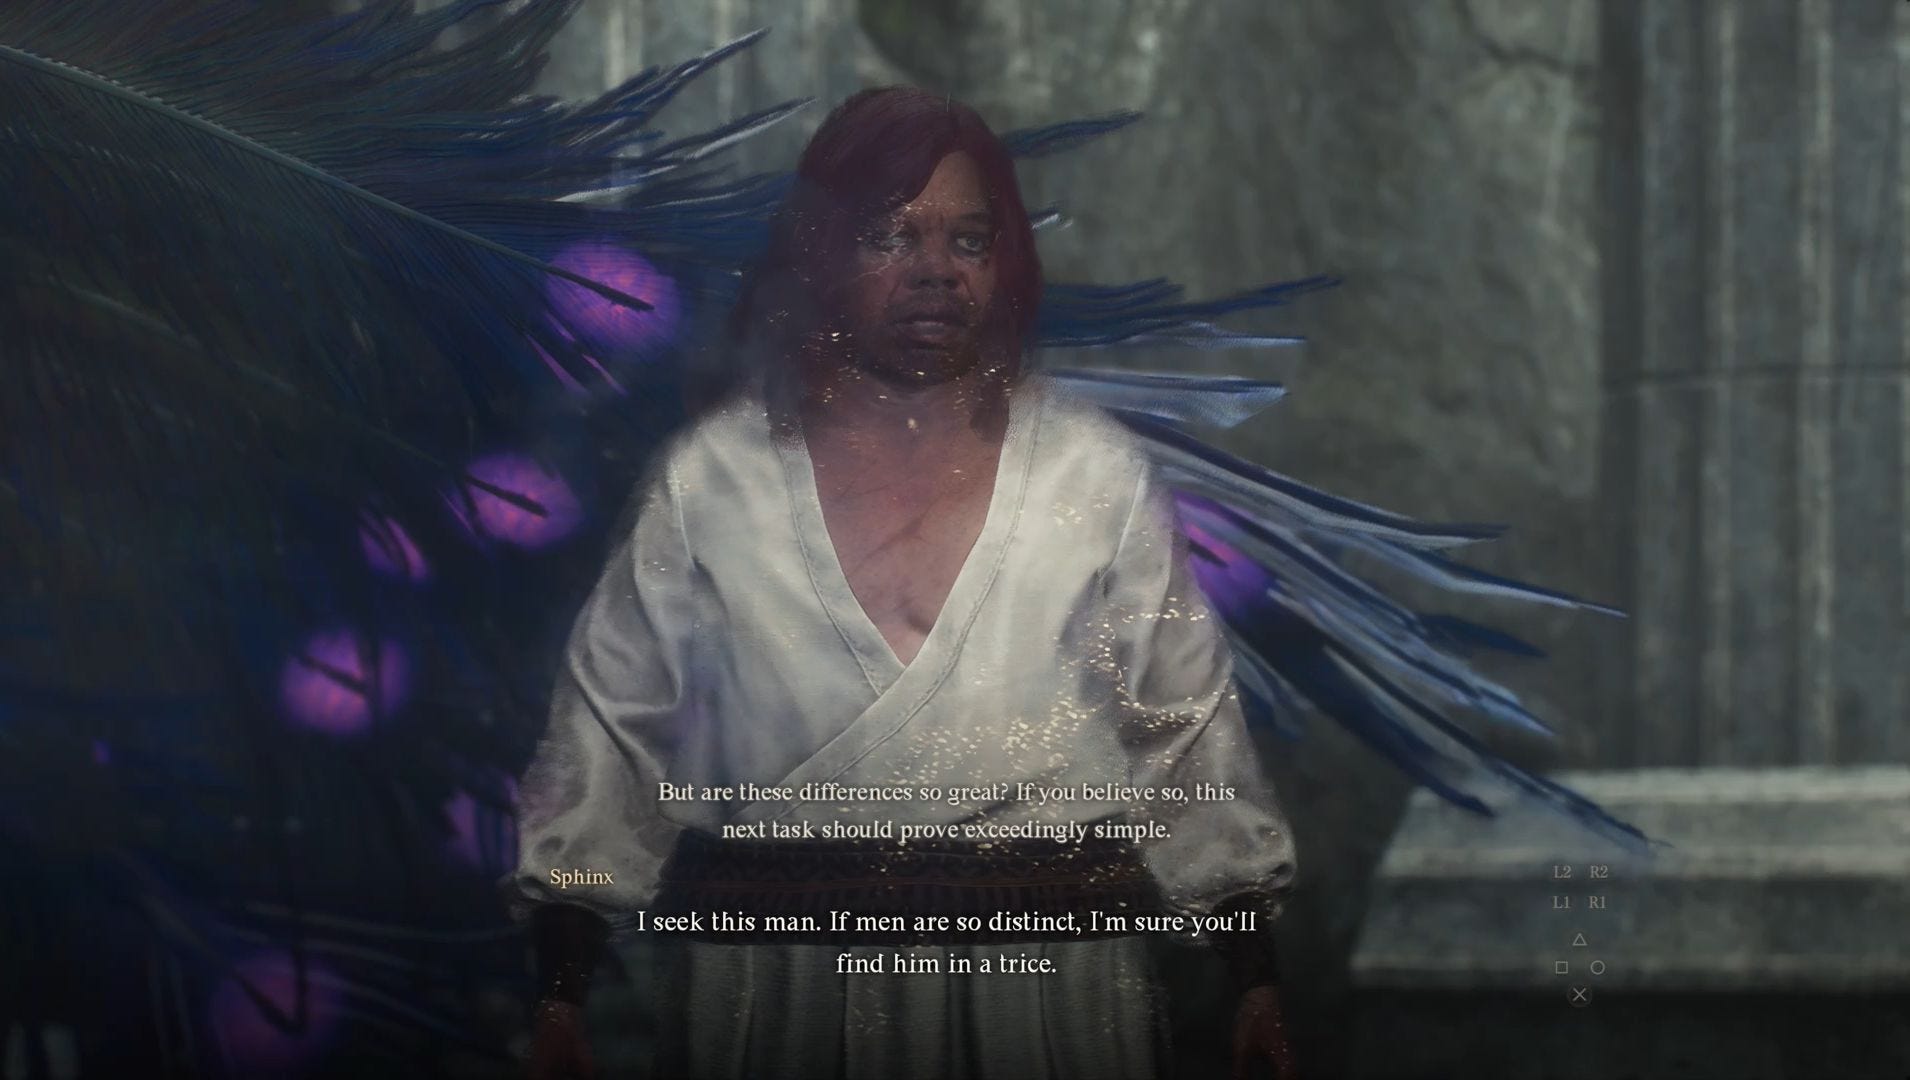
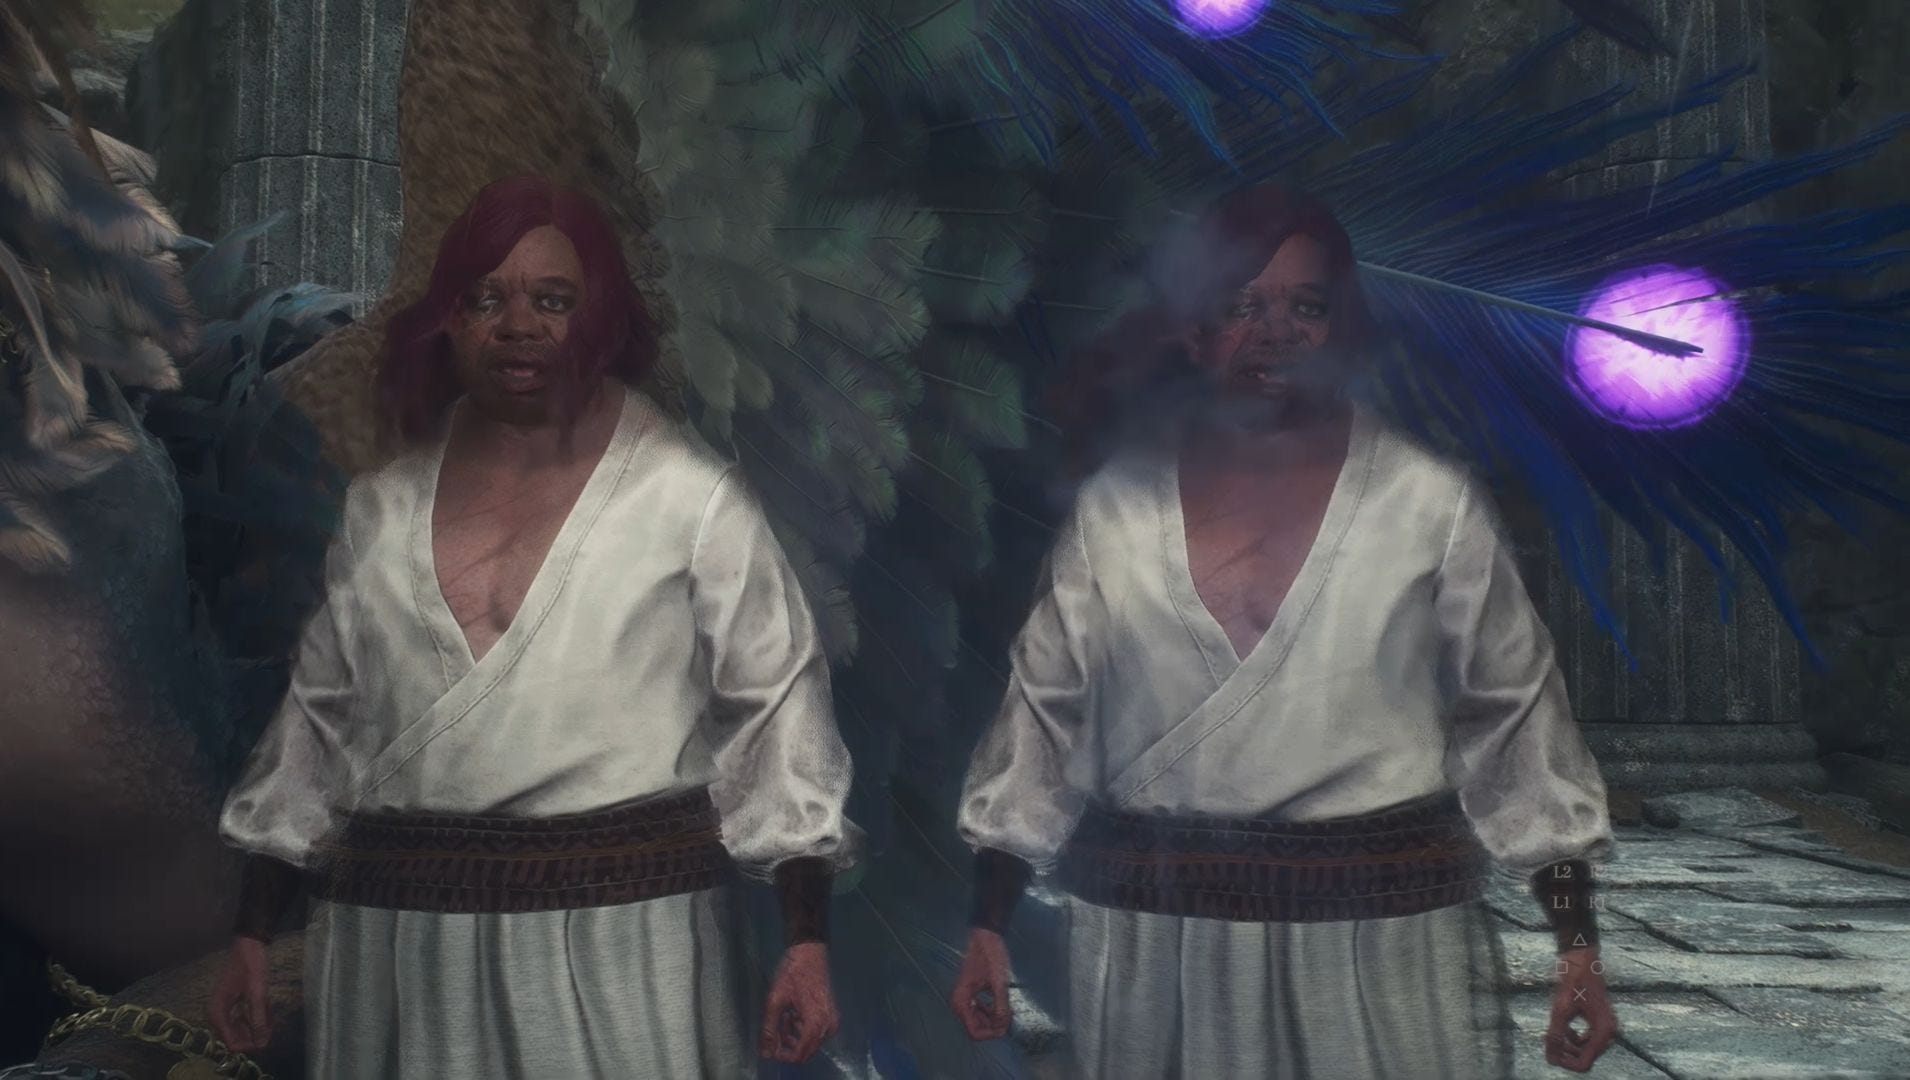
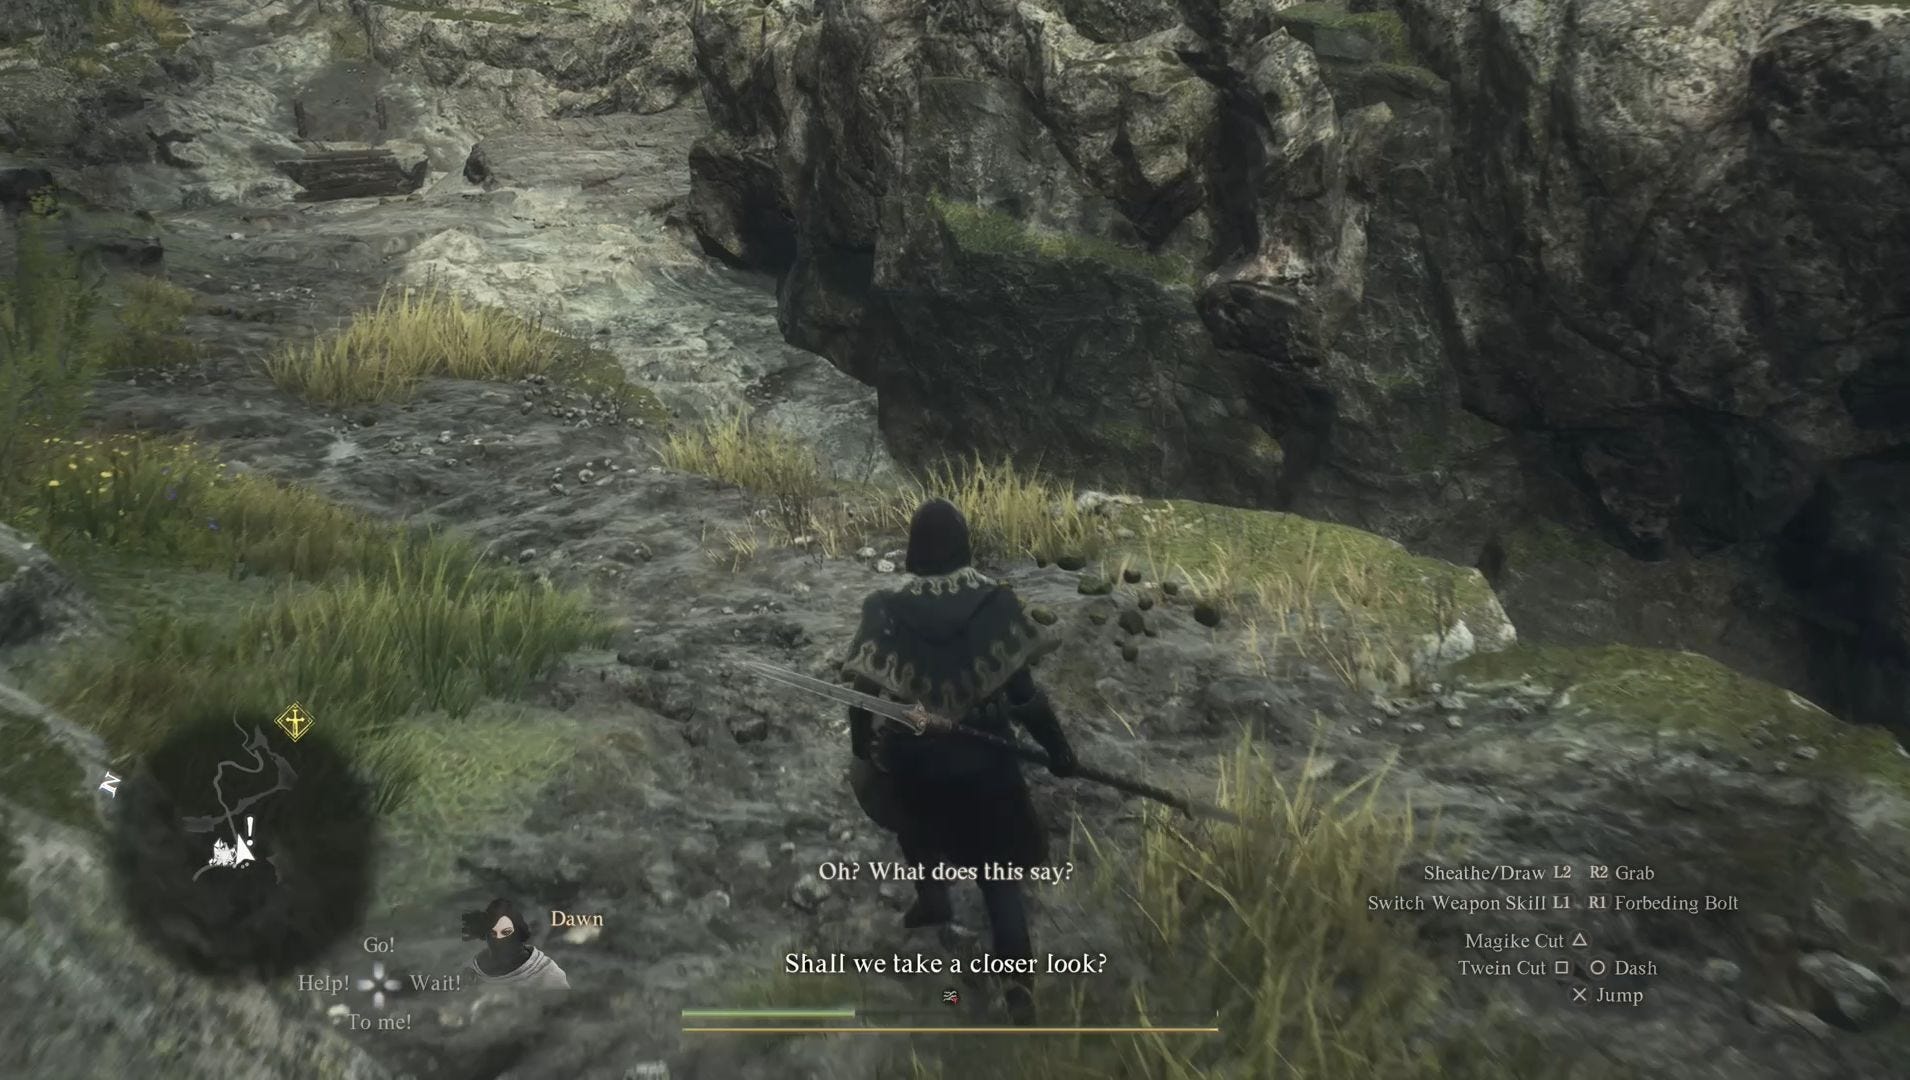
For the Riddle of Differentiation, the Sphinx will show you an illusion of a man and ask you to bring him to her. Don't go running off so quickly though because the Sphinx is once again trying to trick you.
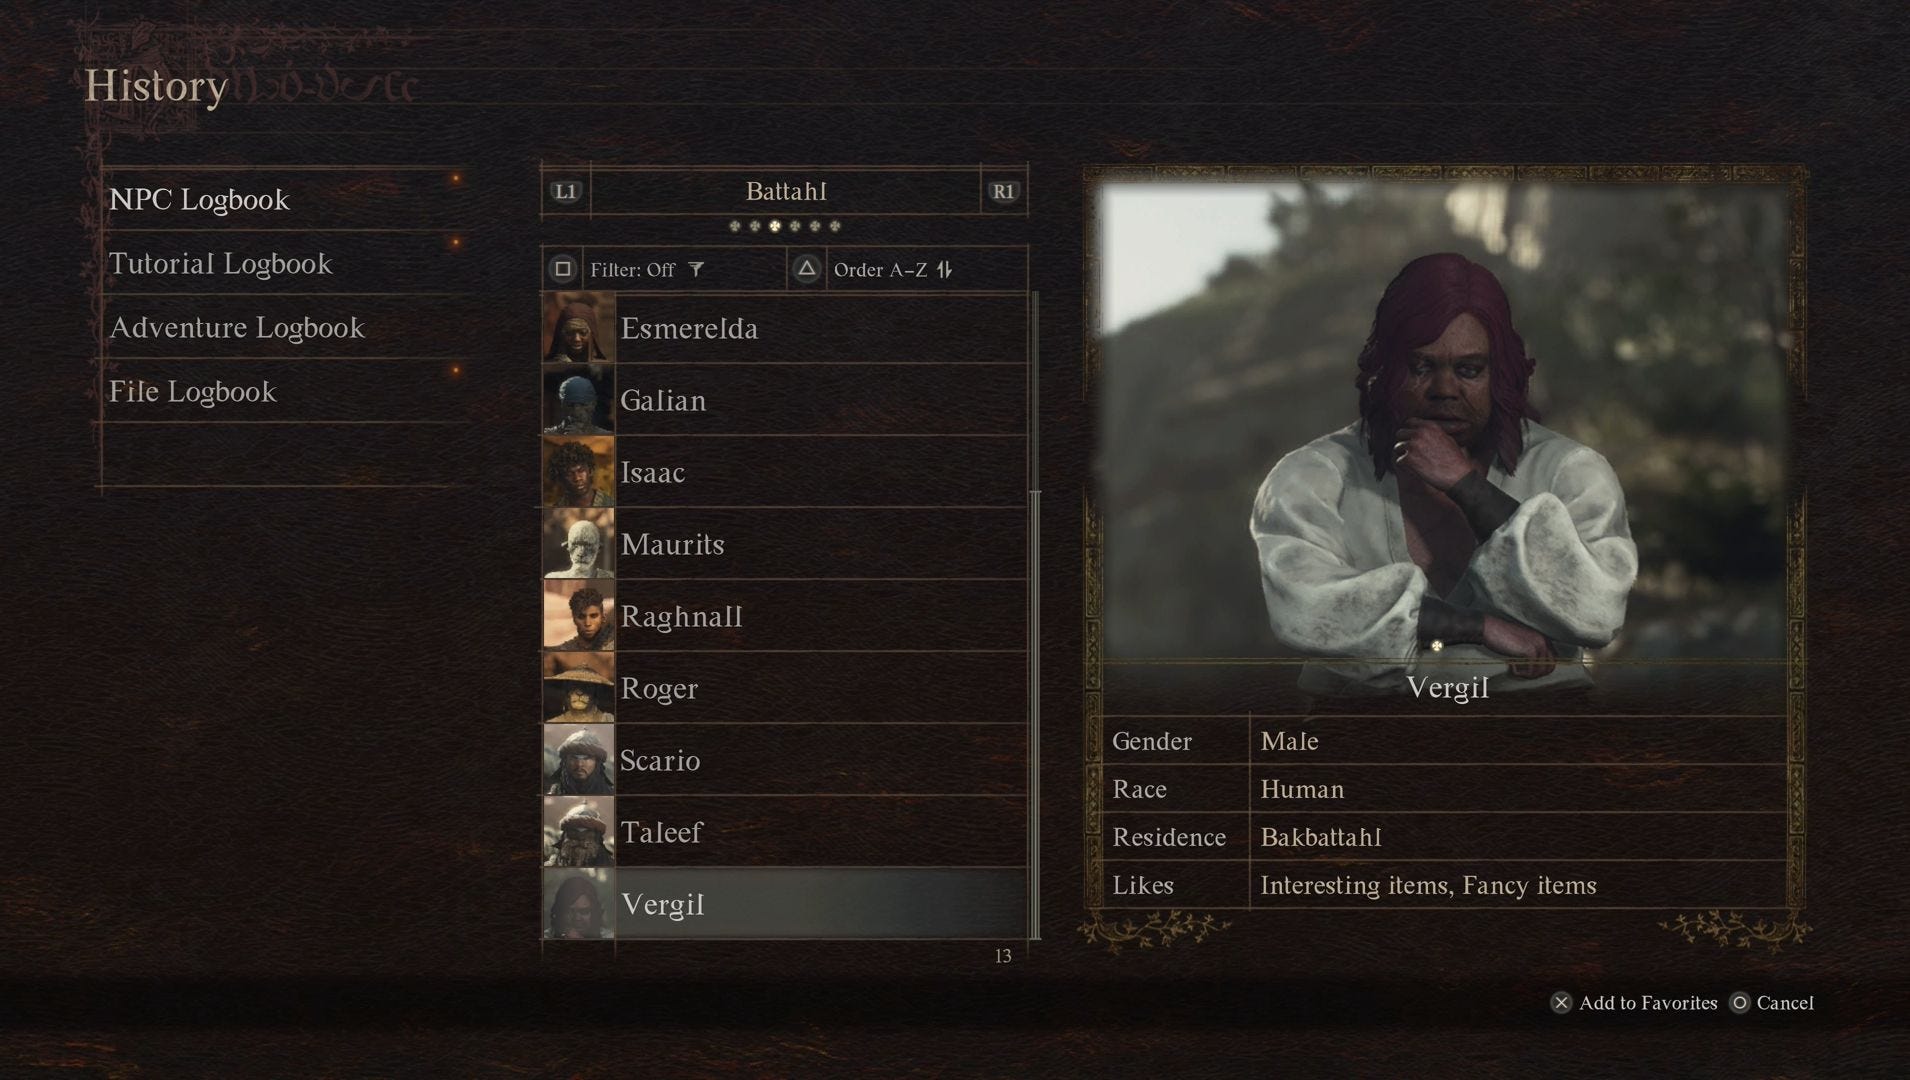
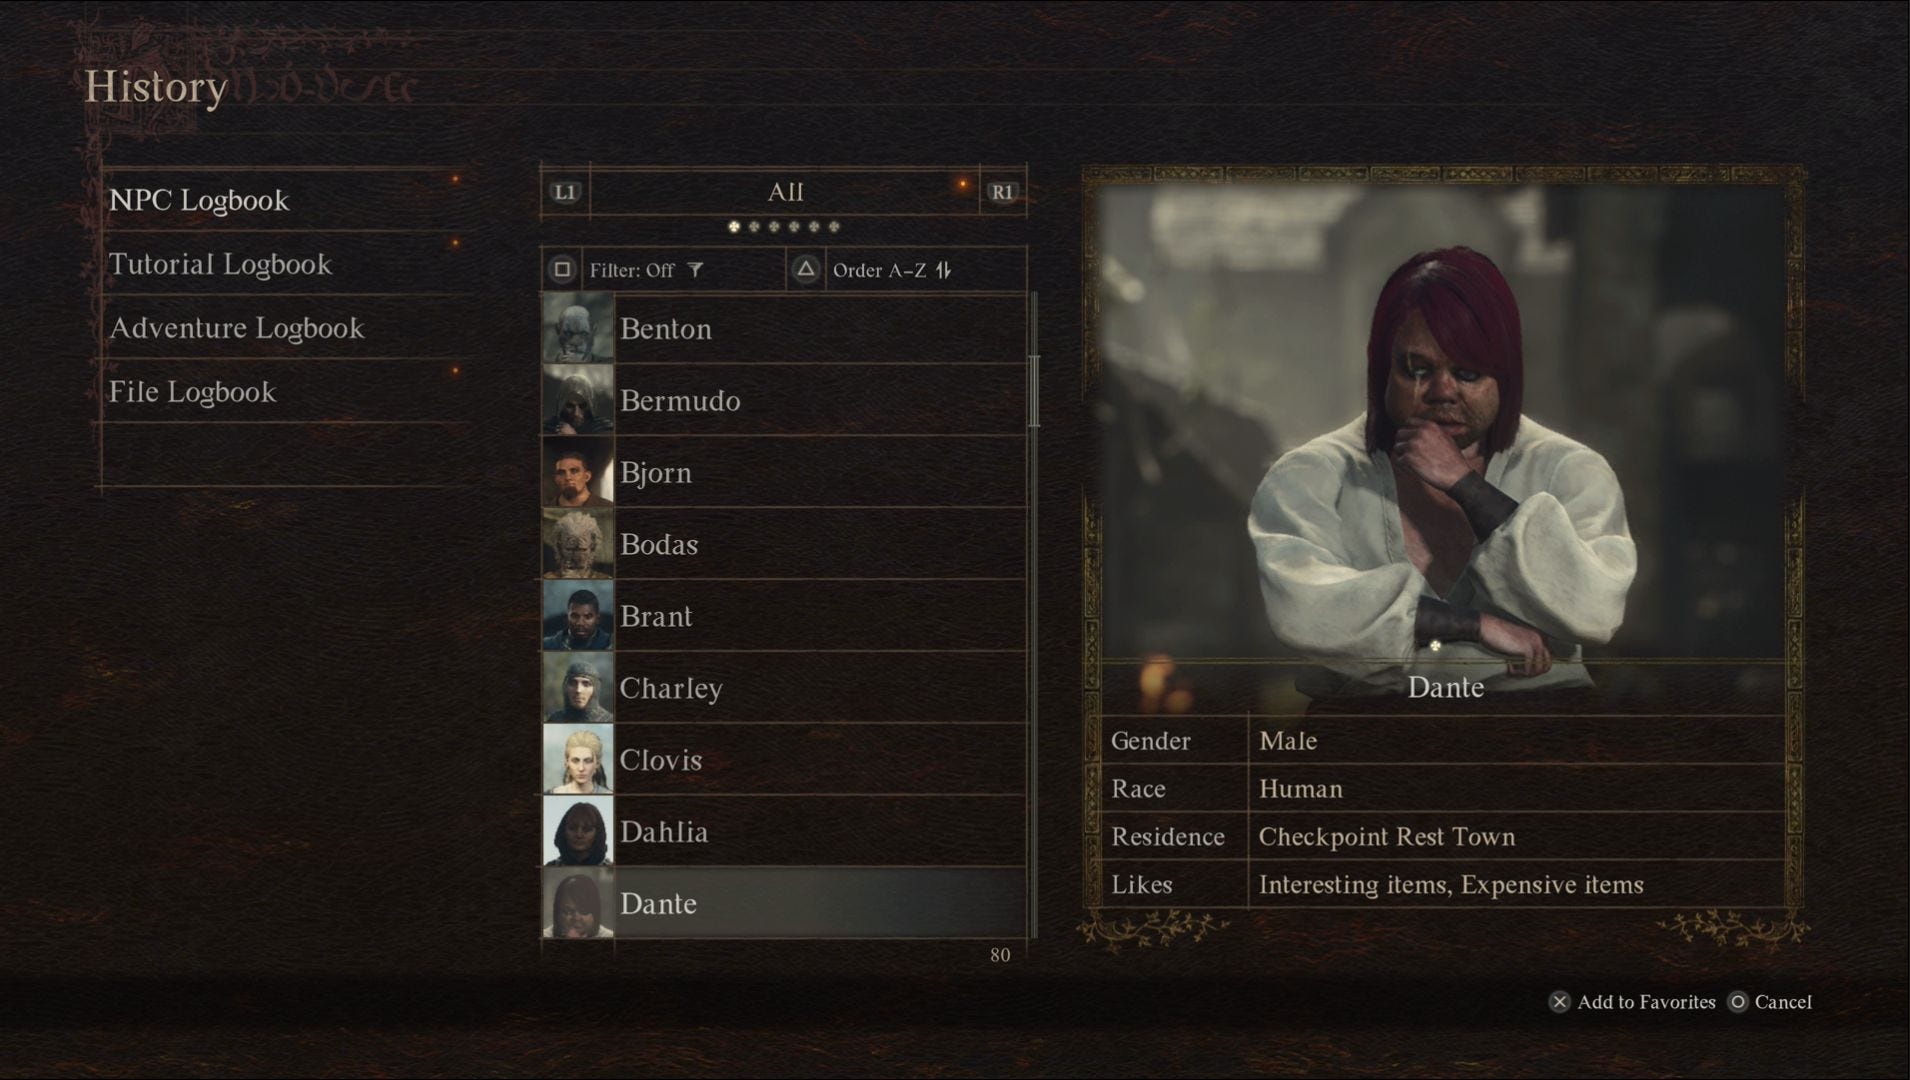
While this man may have a unique appearance, he is in fact one of twins - Vergil and Dante. They look very similar and even live on opposite sides of the Checkpoint Rest Town. Your chosen man is selected randomly, so it's important you know who you're looking for.
Vergil, with his long hair parted to the left, can be found on the Battahl side of the Checkpoint Rest Town. Meanwhile Dante, with shorter hair parted to the right, lives on the Vermund side of the Checkpoint Rest Town.
As you can tell by our descriptions, the way to tell these two men apart is by their hair. Vergil has long flowing locks and parts his fringe to the left. Dante has a straight pageboy cut with a fringe parting to the right. It's worth checking your NPC History to see whether you've encountered either man before and if they match the illusion the Sphinx shows you.
Once you've determined your man, head to the correct side of the Checkpoint Rest Town and find him. After doing so, either use the Sealing Phial or simply grab hold of Vergil / Dante and use a Ferrystone to return to your Portcrystal at the Frontier Shrine.
Now all you have to do is place Vergil / Dante on the platform in front of the Sphinx and go through her dialogue to submit the correct answer.
You'll receive the Whimsical Daydream, a Trickster Vocation weapon, for solving this riddle.
Riddle of Recollection solution
The Riddle of Recollection is the second riddle we can't give you an exact answer for, because it all depends on how many riddles you have personally completed and, since the Frontier Shrine riddles are given in a random order, we can't give you a true number.
What we can say is that you will have solved at least six riddles - five from the Mountain Shrine and the Riddle of Reunion. Now all you have to do is add on any additional riddles you've done at the Frontier Shrine to this number and you'll have your answer. For us, the answer was nine as this was the last riddle the Sphinx gave us.
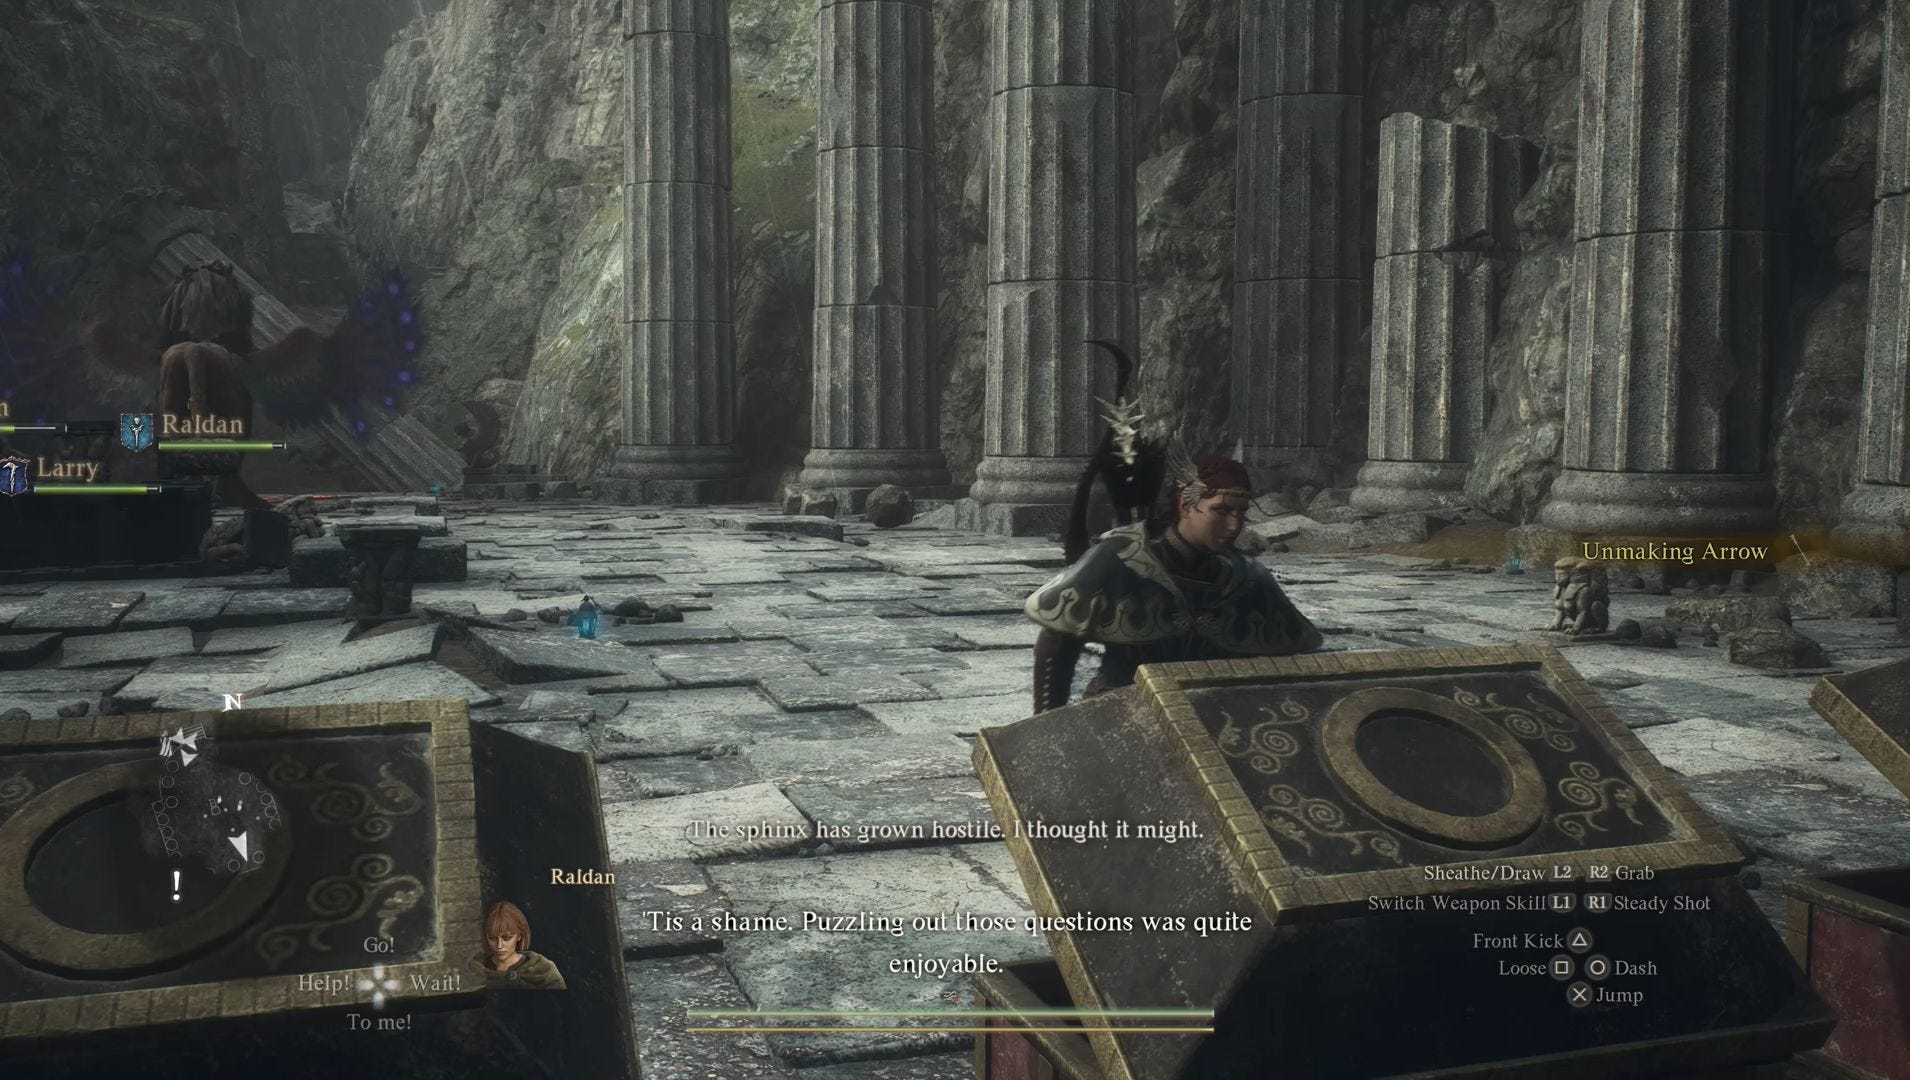
Once you have your number, carry the correct number of statues over to the platform in front of the Sphinx. It doesn't matter if you knock them over when attempting to talk to her, she will accept the answer as long as the right number of statues are around her.
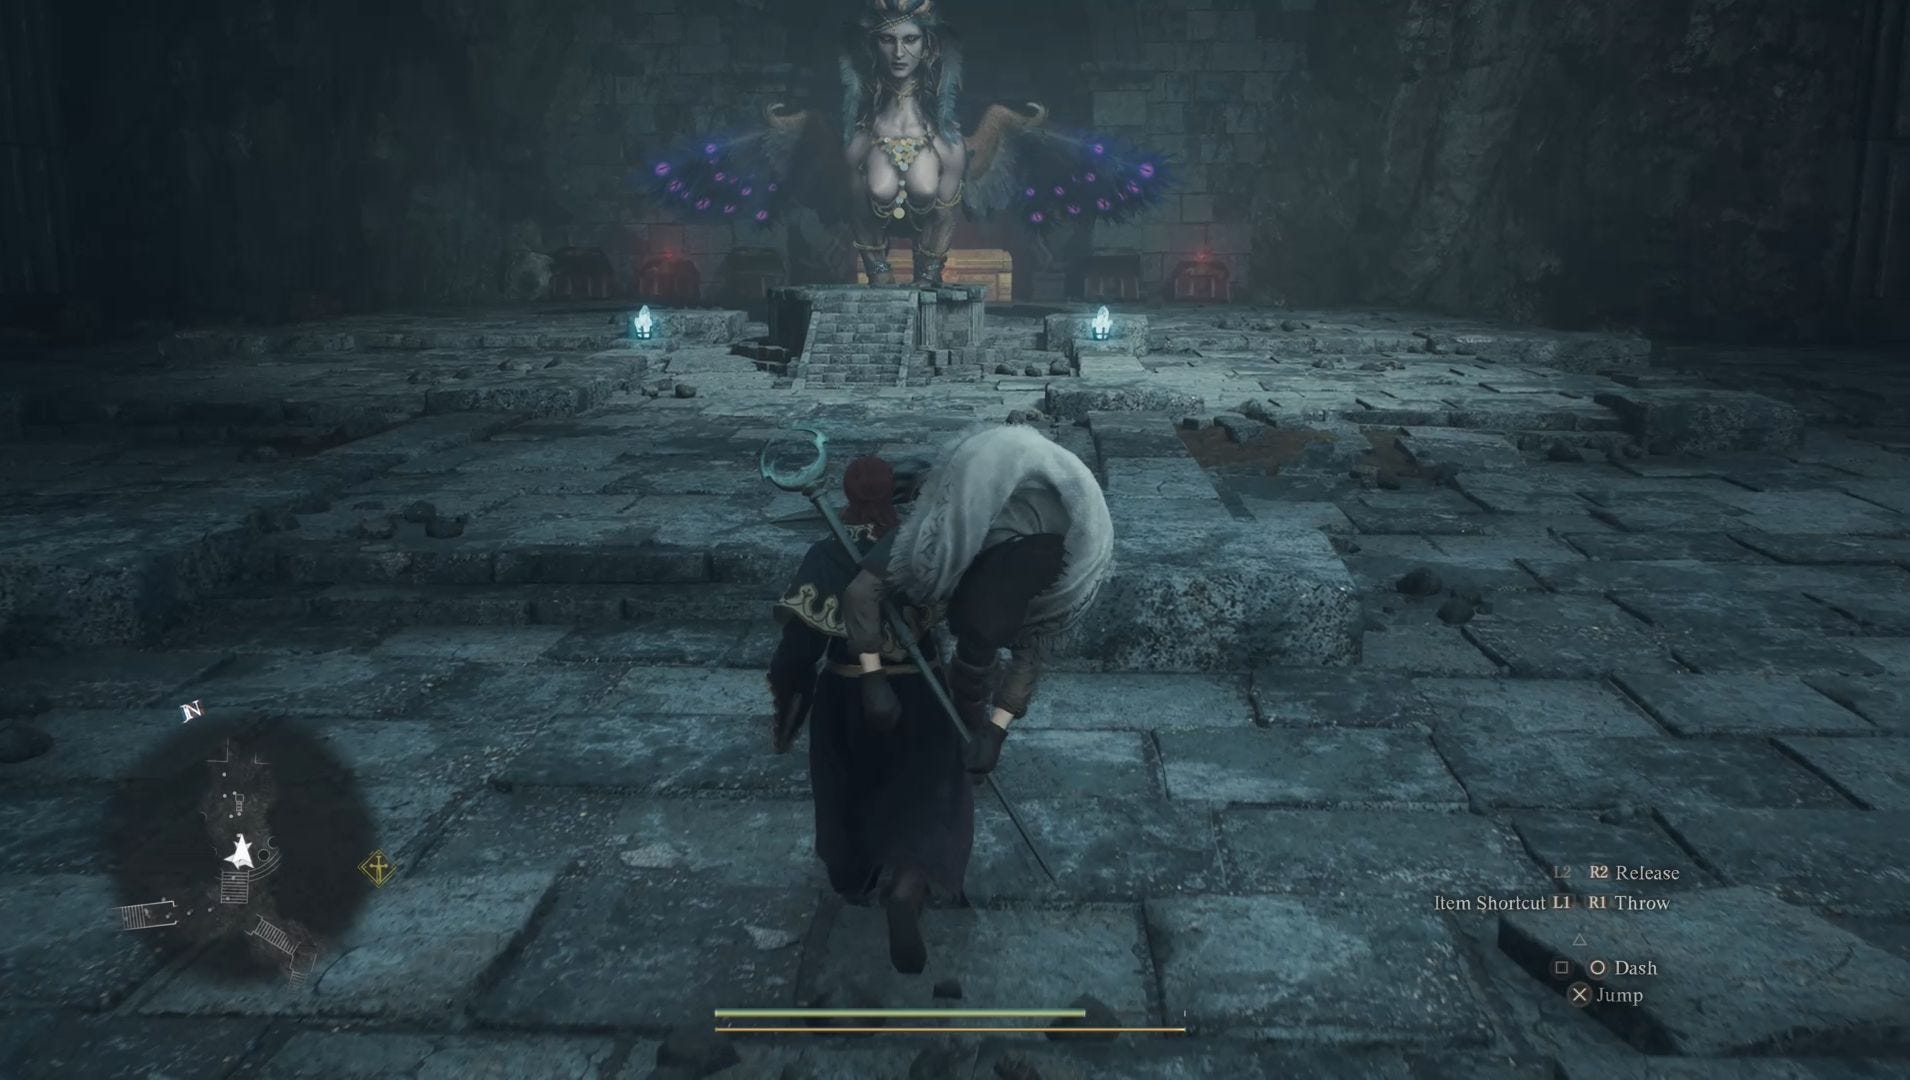
For solving the Riddle of Recollection, you'll receive the Unmaking Arrow. This very special arrow can instantly kill any monster it hits, but it can only be used once and after doing so the game will actually save to prevent you from using it again. We highly recommend using it to defeat the Sphinx, which we touch upon in the next section.
If this is your final riddle, we also highly recommend shooting the Sphinx with a regular arrow three times to begin the battle against her before opening the Unmaking Arrow chest to ensure the battle with the Sphinx has begun. You can still open the chest during this battle, so you don't have to risk losing out on earning the Eternal Wakestone.
How to defeat the Sphinx in Dragon's Dogma 2
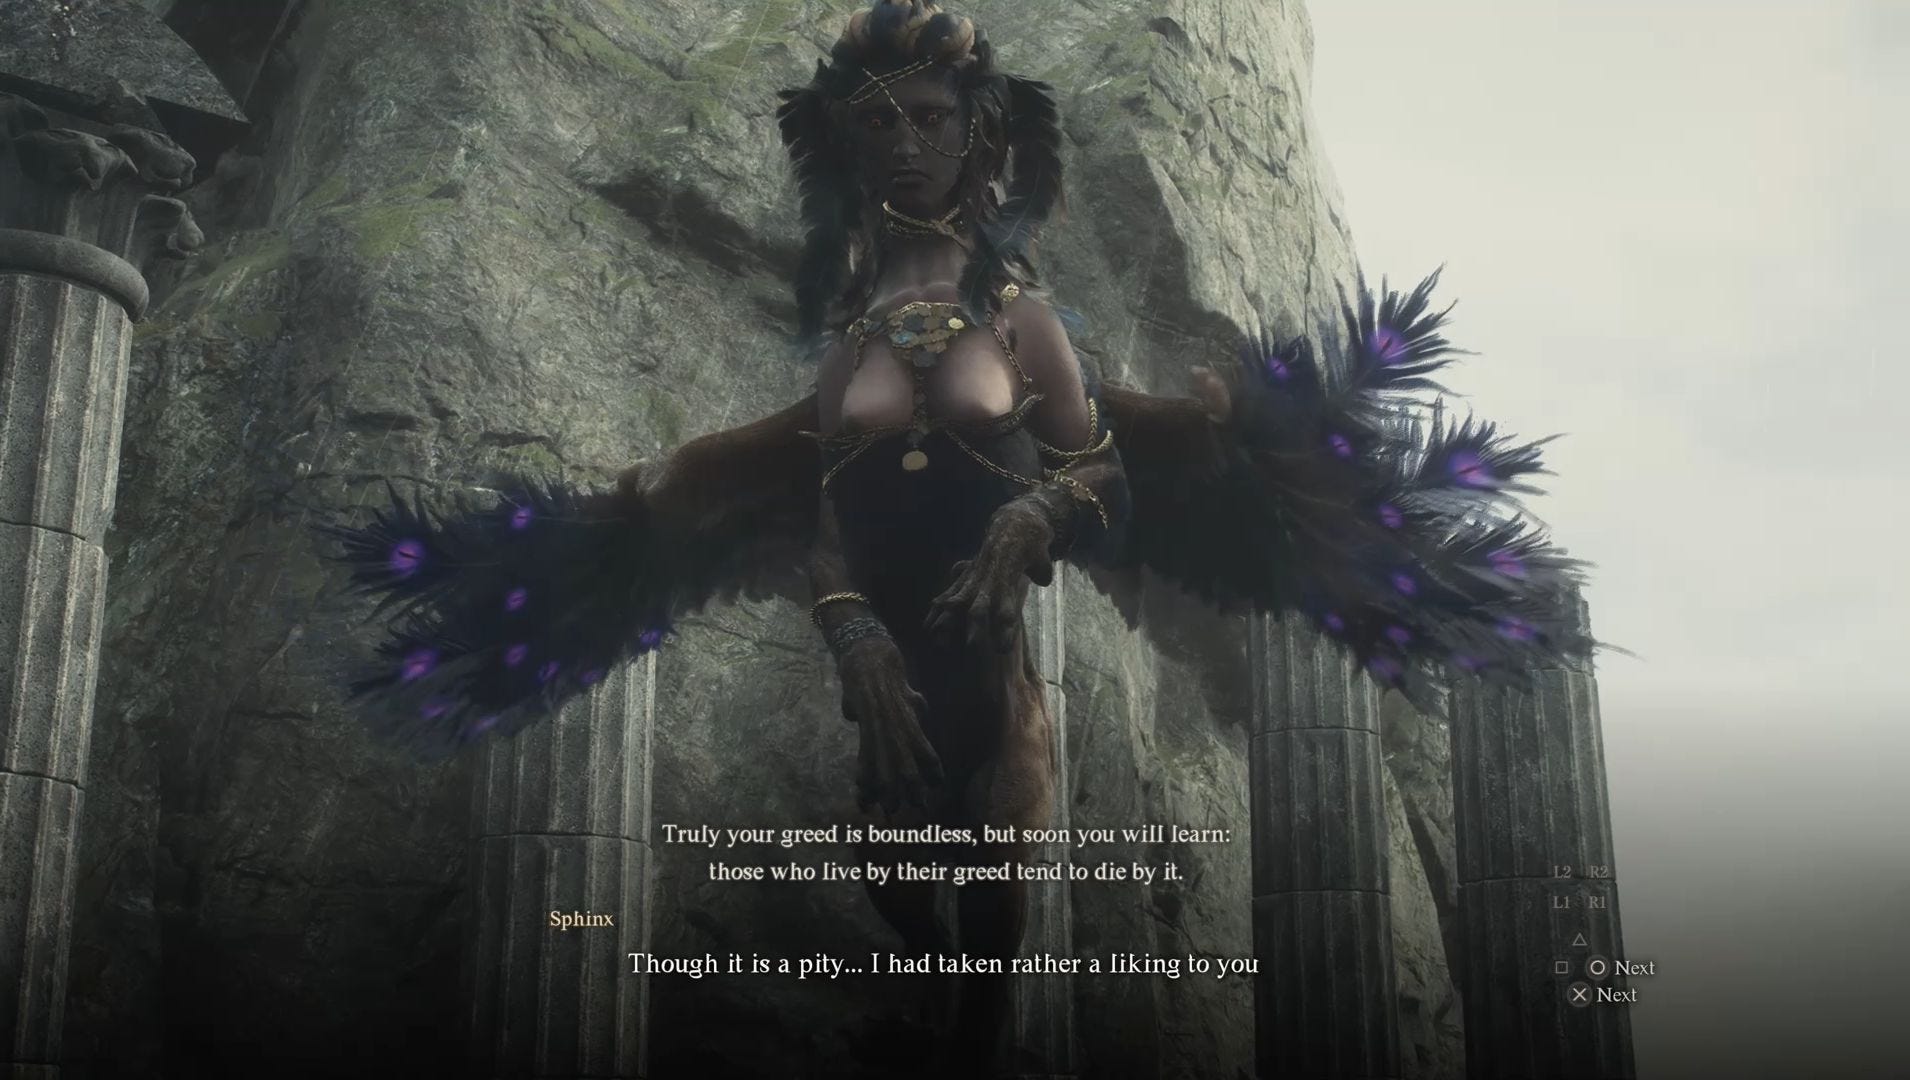
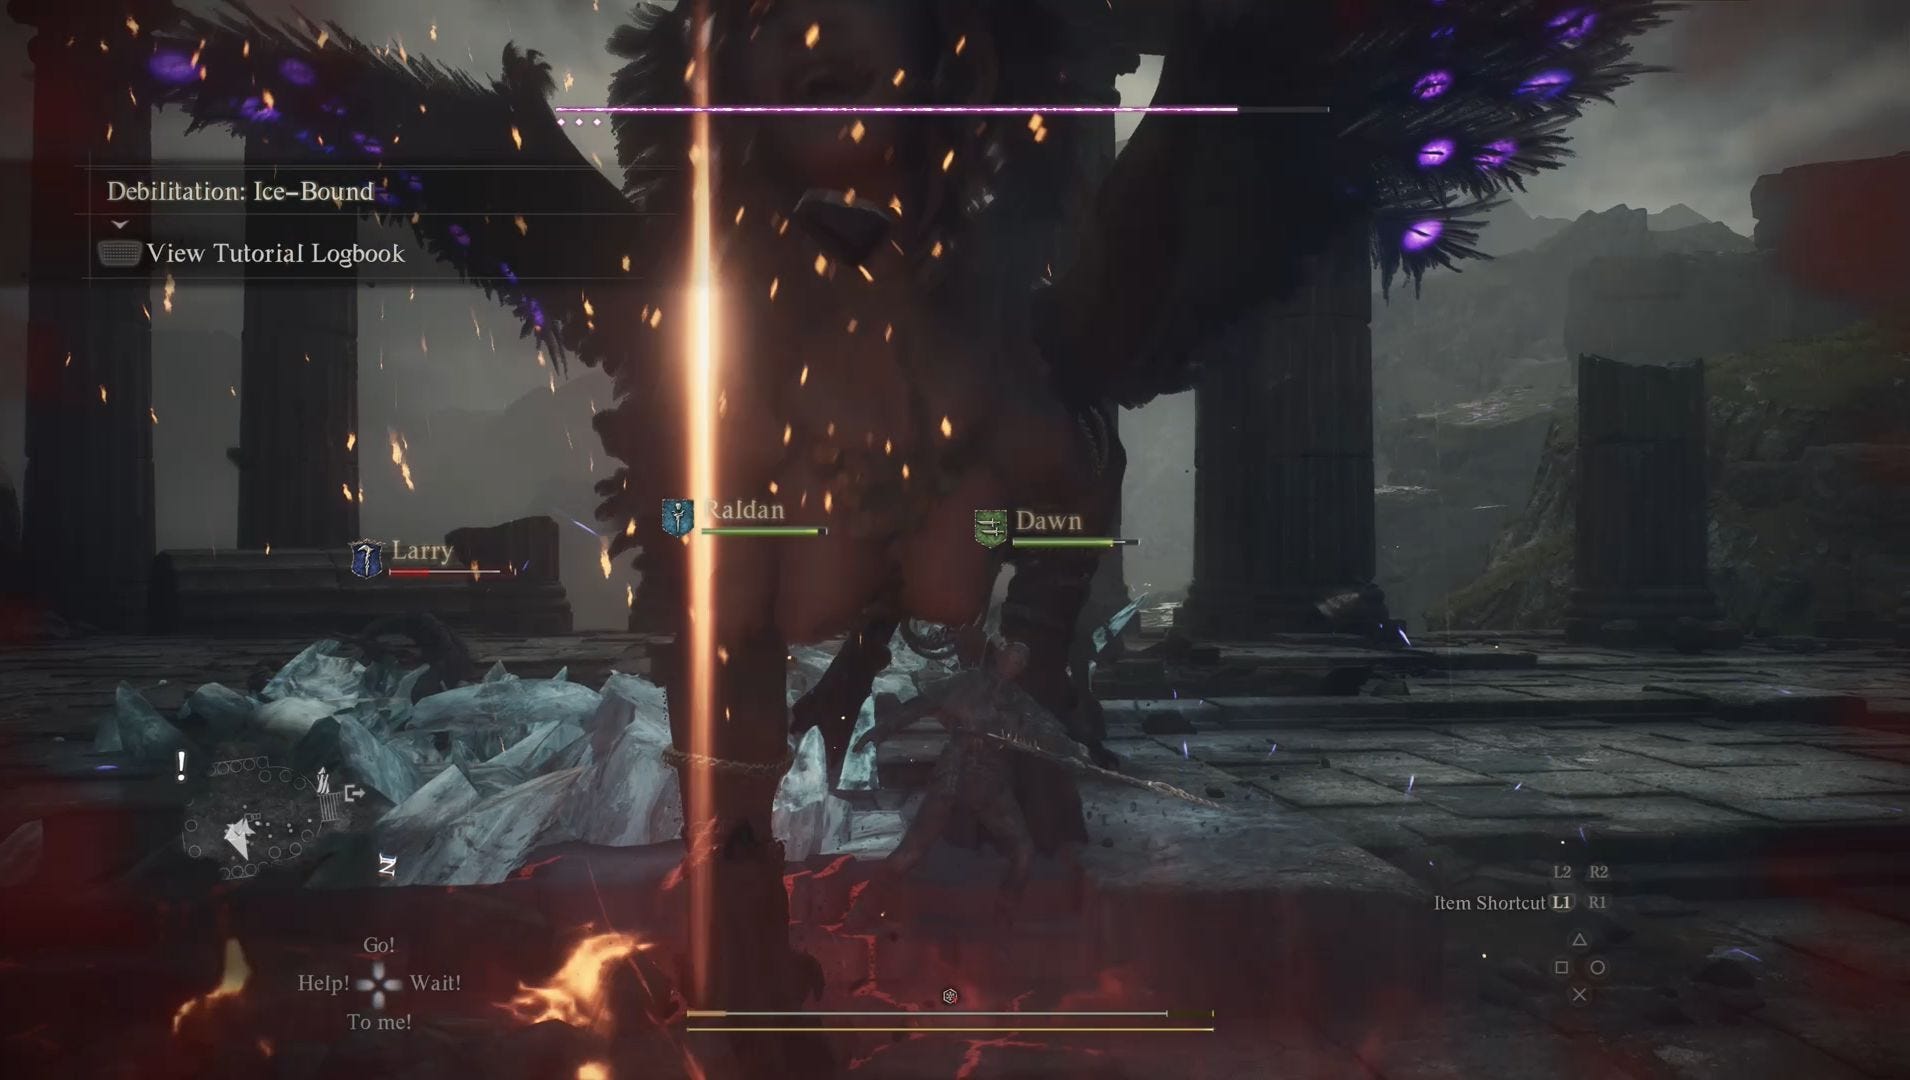
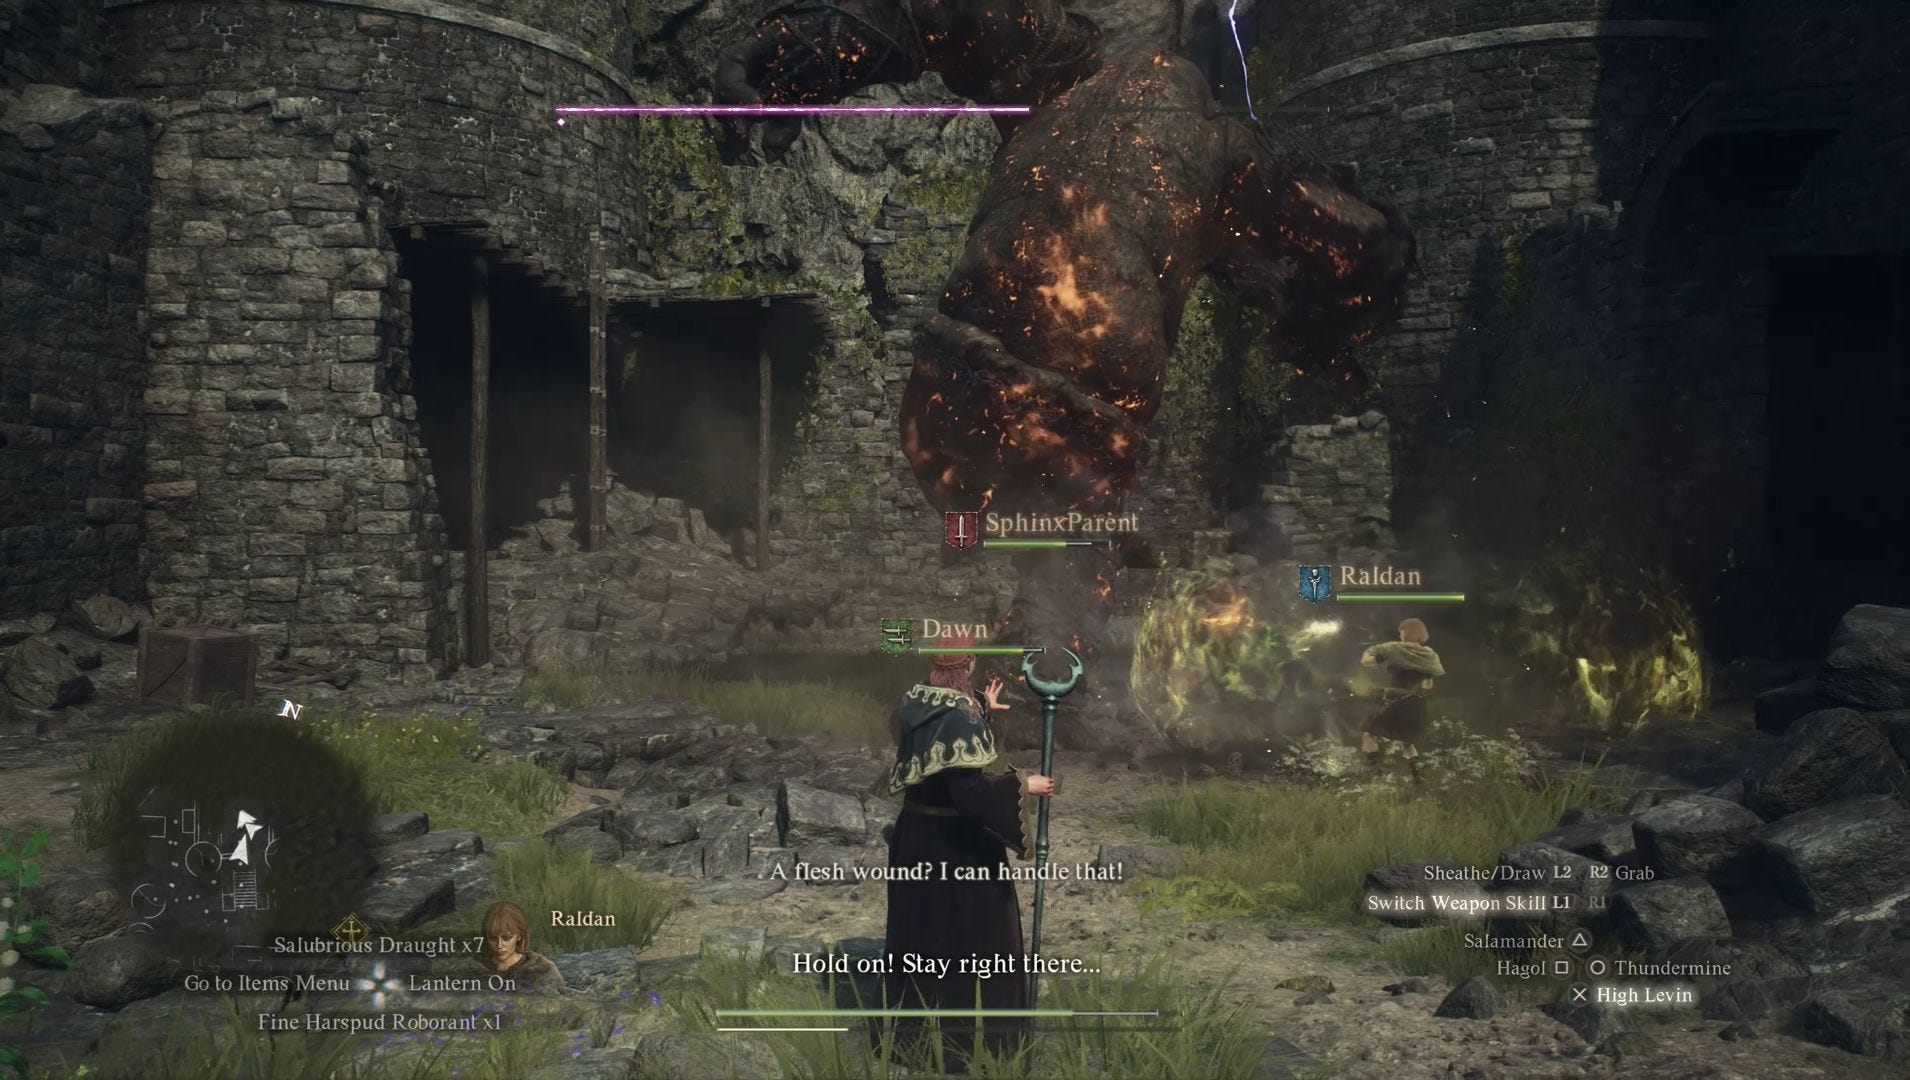
If you want to defeat the Sphinx and earn her final reward, the Eternal Wakestone, in Dragon's Dogma 2, you need to start a battle with her before she leaves the Frontier Shrine after solving your final riddle. If you don't achieve this, then you'll miss your chance to earn this incredibly useful item.
As we've already mentioned, the easiest way to do this is to have the Archer Vocation and shoot the Sphinx at least three times before she flies off. You'll know you've done this successfully when you receive a short cutscene where the Sphinx comments about how greedy you are.
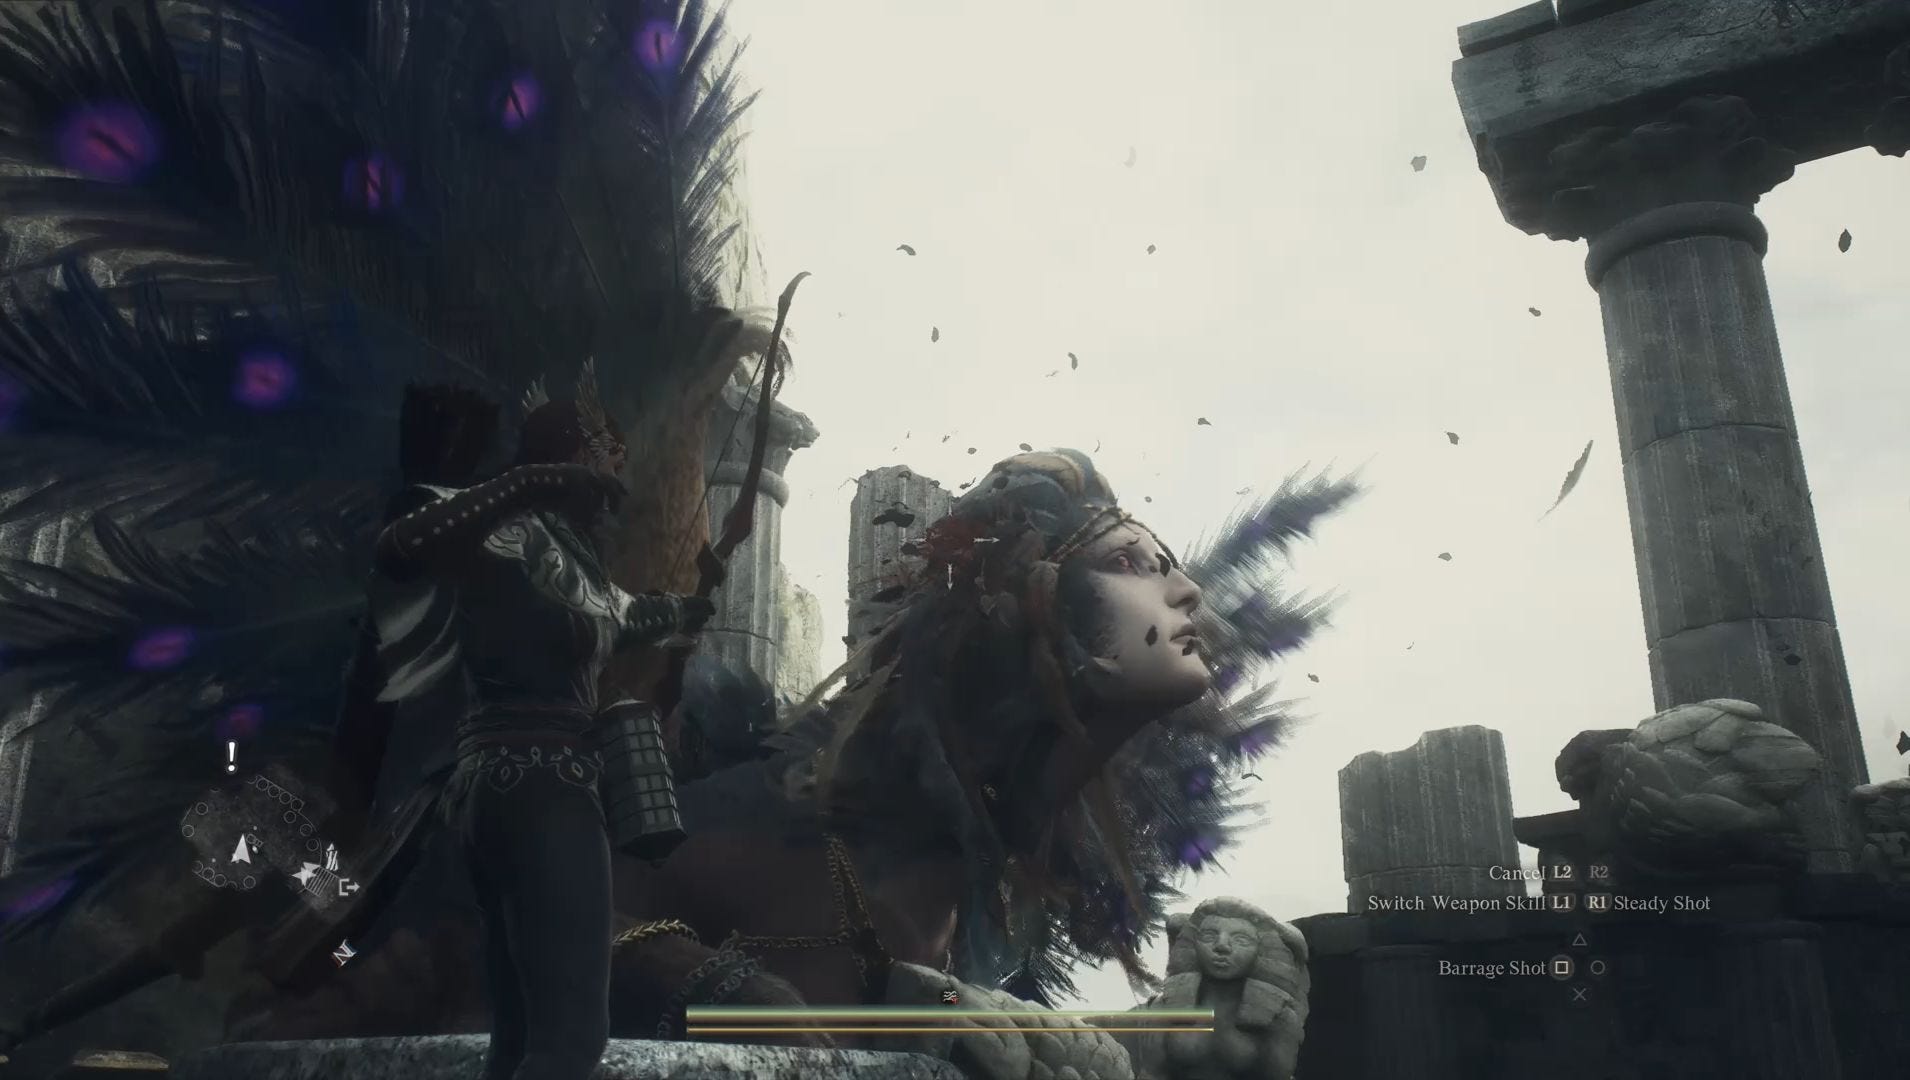
Once the battle with the Sphinx begins there's two ways to defeat her: the short way and the long way. We highly recommend using the Unmaking Arrow to defeat her. (Also known as the short way.) Since the reward for defeating the Sphinx is the Eternal Wakestone, one of the rarest items in the game, the Unmaking Arrow is a fair price to pay and its use ensures you successfully defeat her.
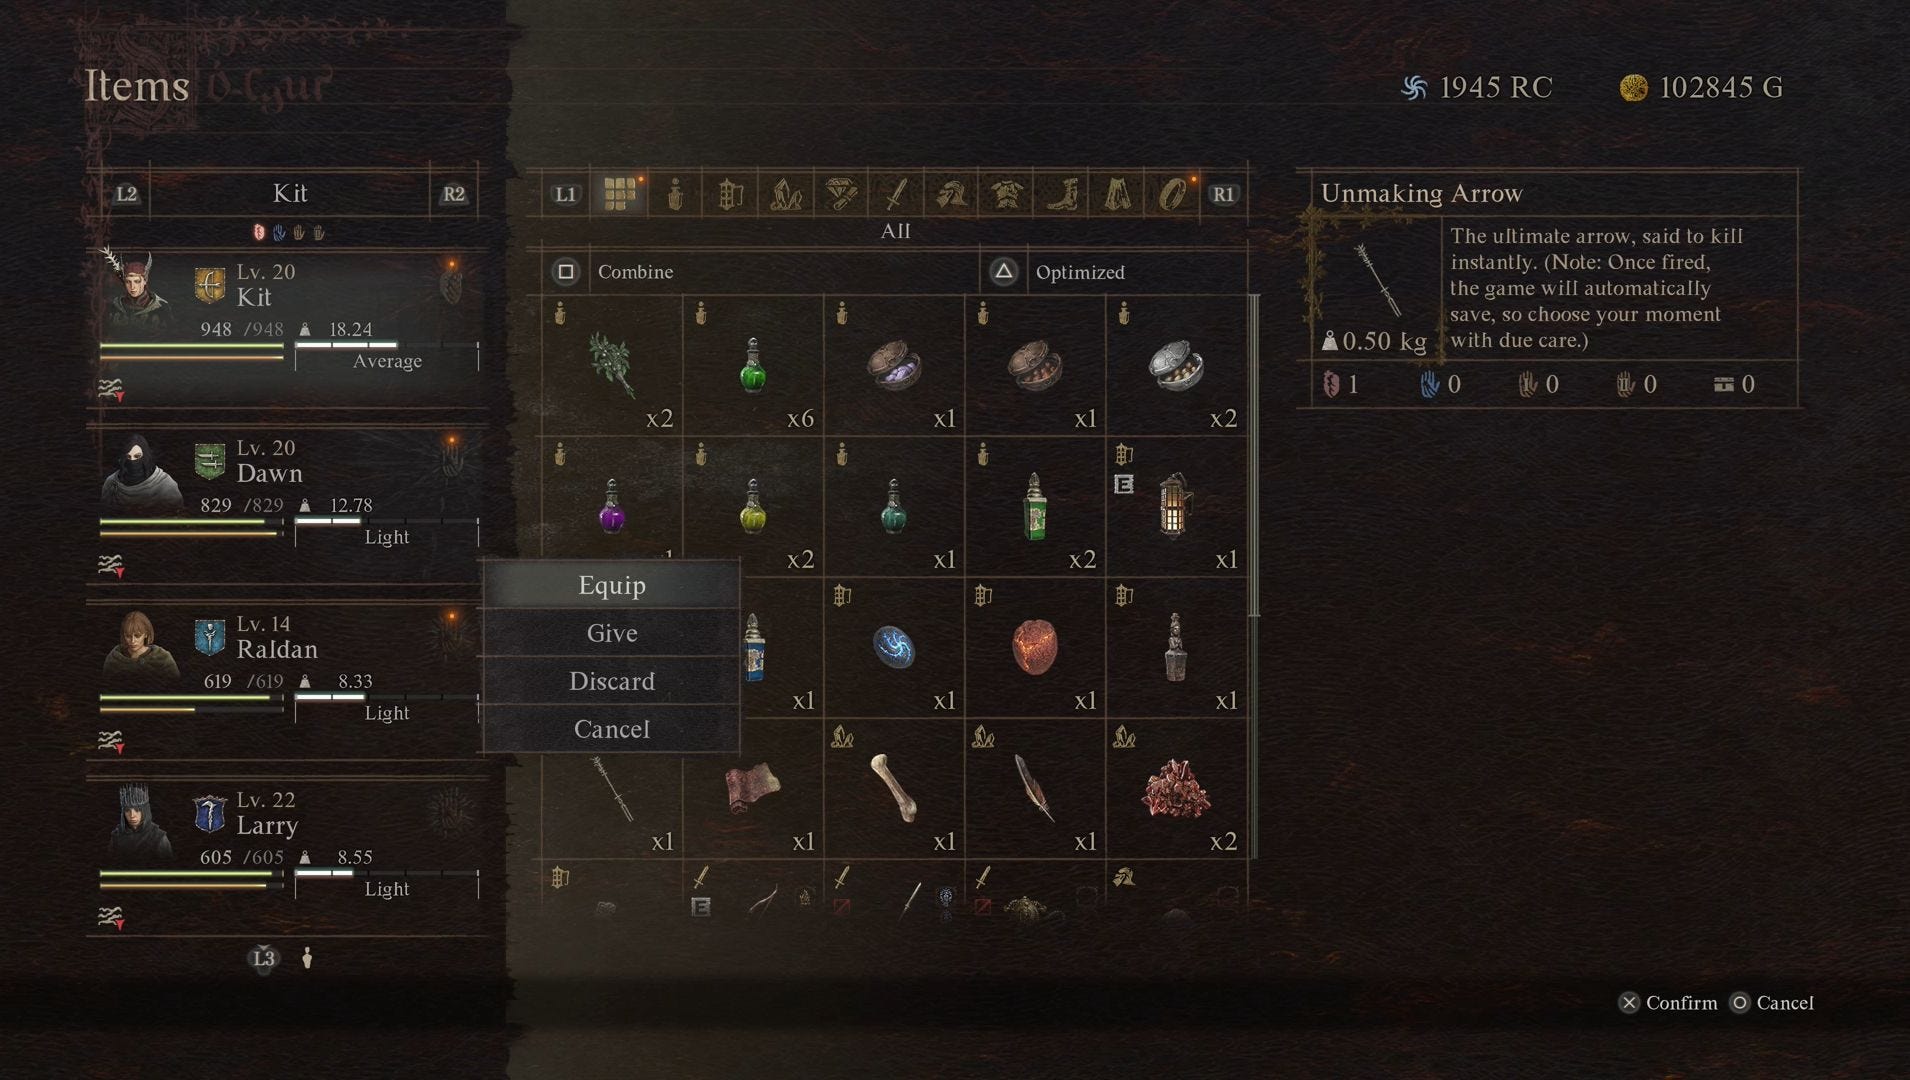
You must be an Archer to use the Unmaking Arrow and ensure the battle has truly begun by waiting for the Sphinx's health bars to appear on screen. Once that happens, open your inventory and equip the Unmaking Arrow. Now you need to make sure you hit the Sphinx. Some reports say you need to hit her in the wings, jewellery or torso, but we made a frankly awful shot to her legs and it did the trick.
Once you've defeated the Sphinx, she will vanish from this world leaving behind some bags of gold and the Key of Sagacity. You can now use this key on the golden chest to earn the Eternal Wakestone.
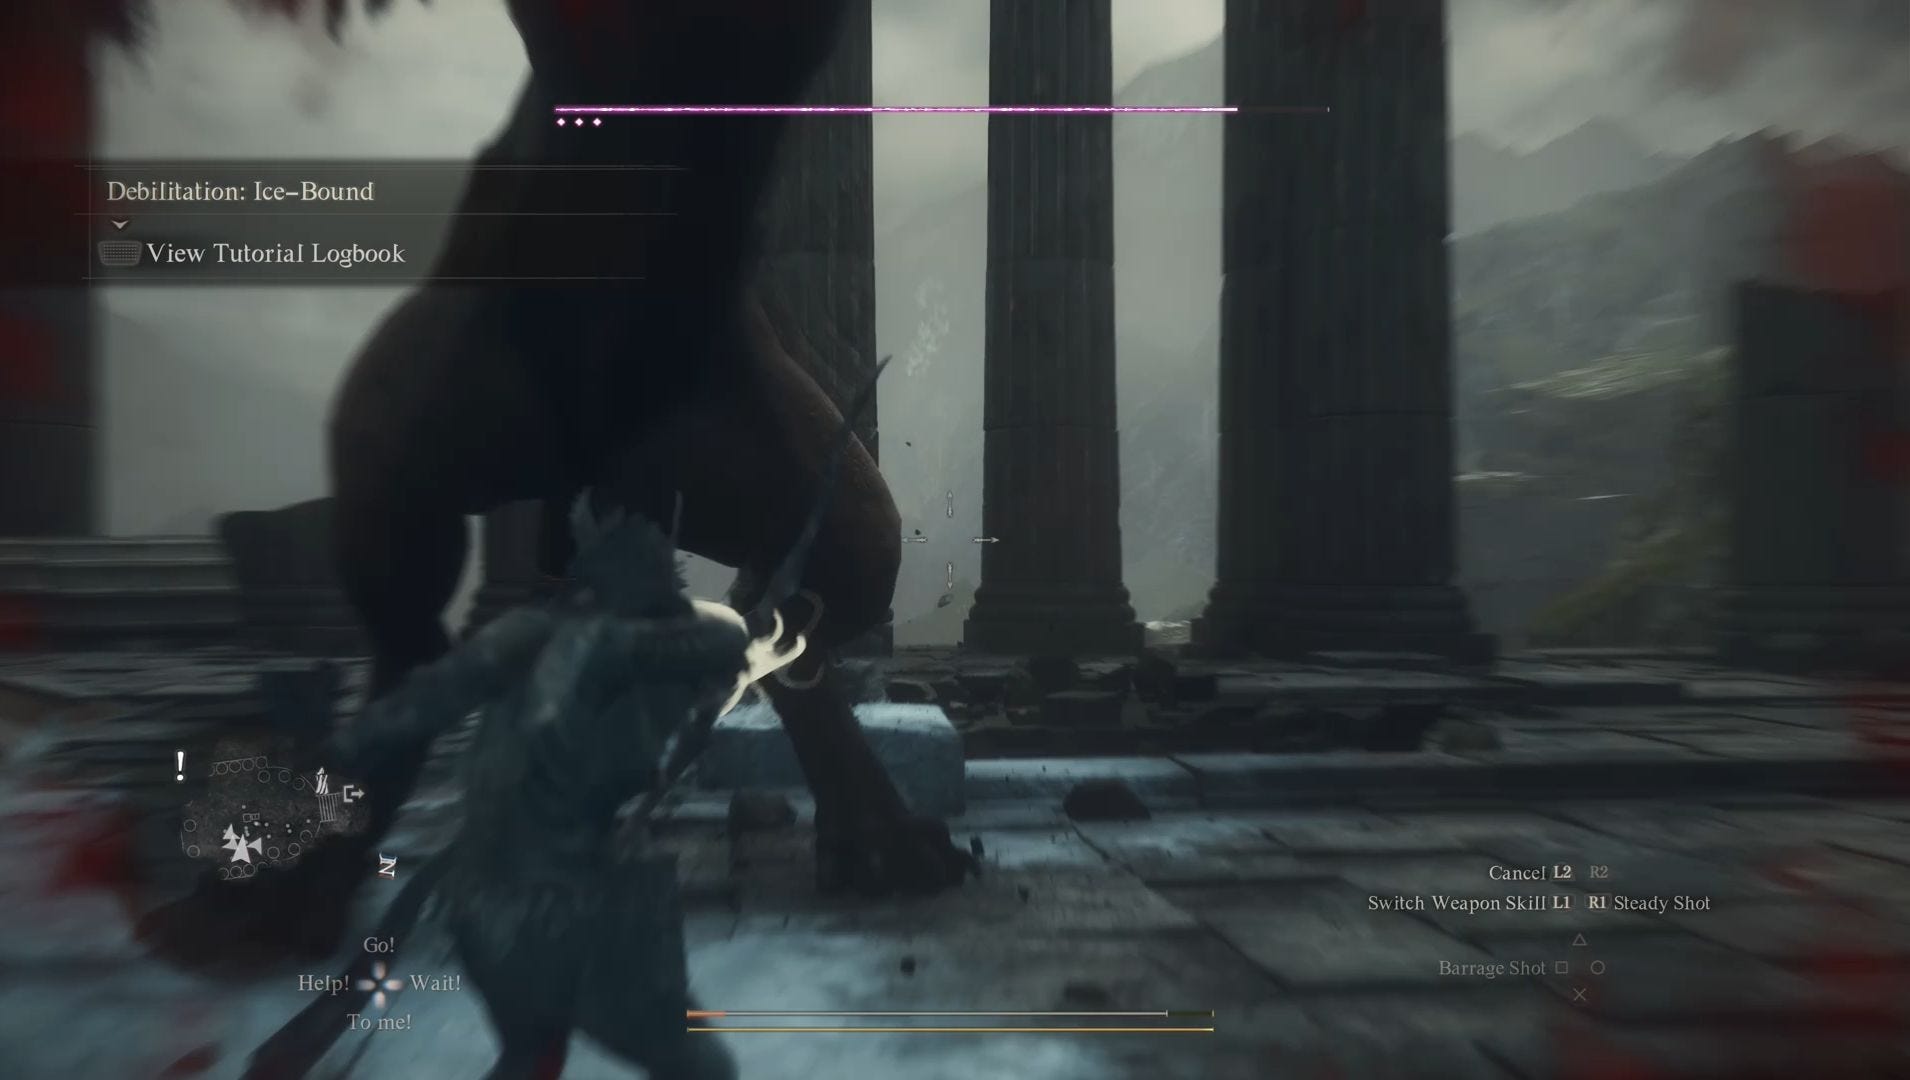
If you'd prefer to take the long way and battle the Sphinx normally be prepared for a tough fight. She has four health bars and will attempt to flee by flying away, so you'll have to shoot her in the wings to keep her in the fight. Again, we do not recommend defeating her this way as the Eternal Wakestone is too important to risk. You never know when a Pawn might become infected with Dragonsplague after all...
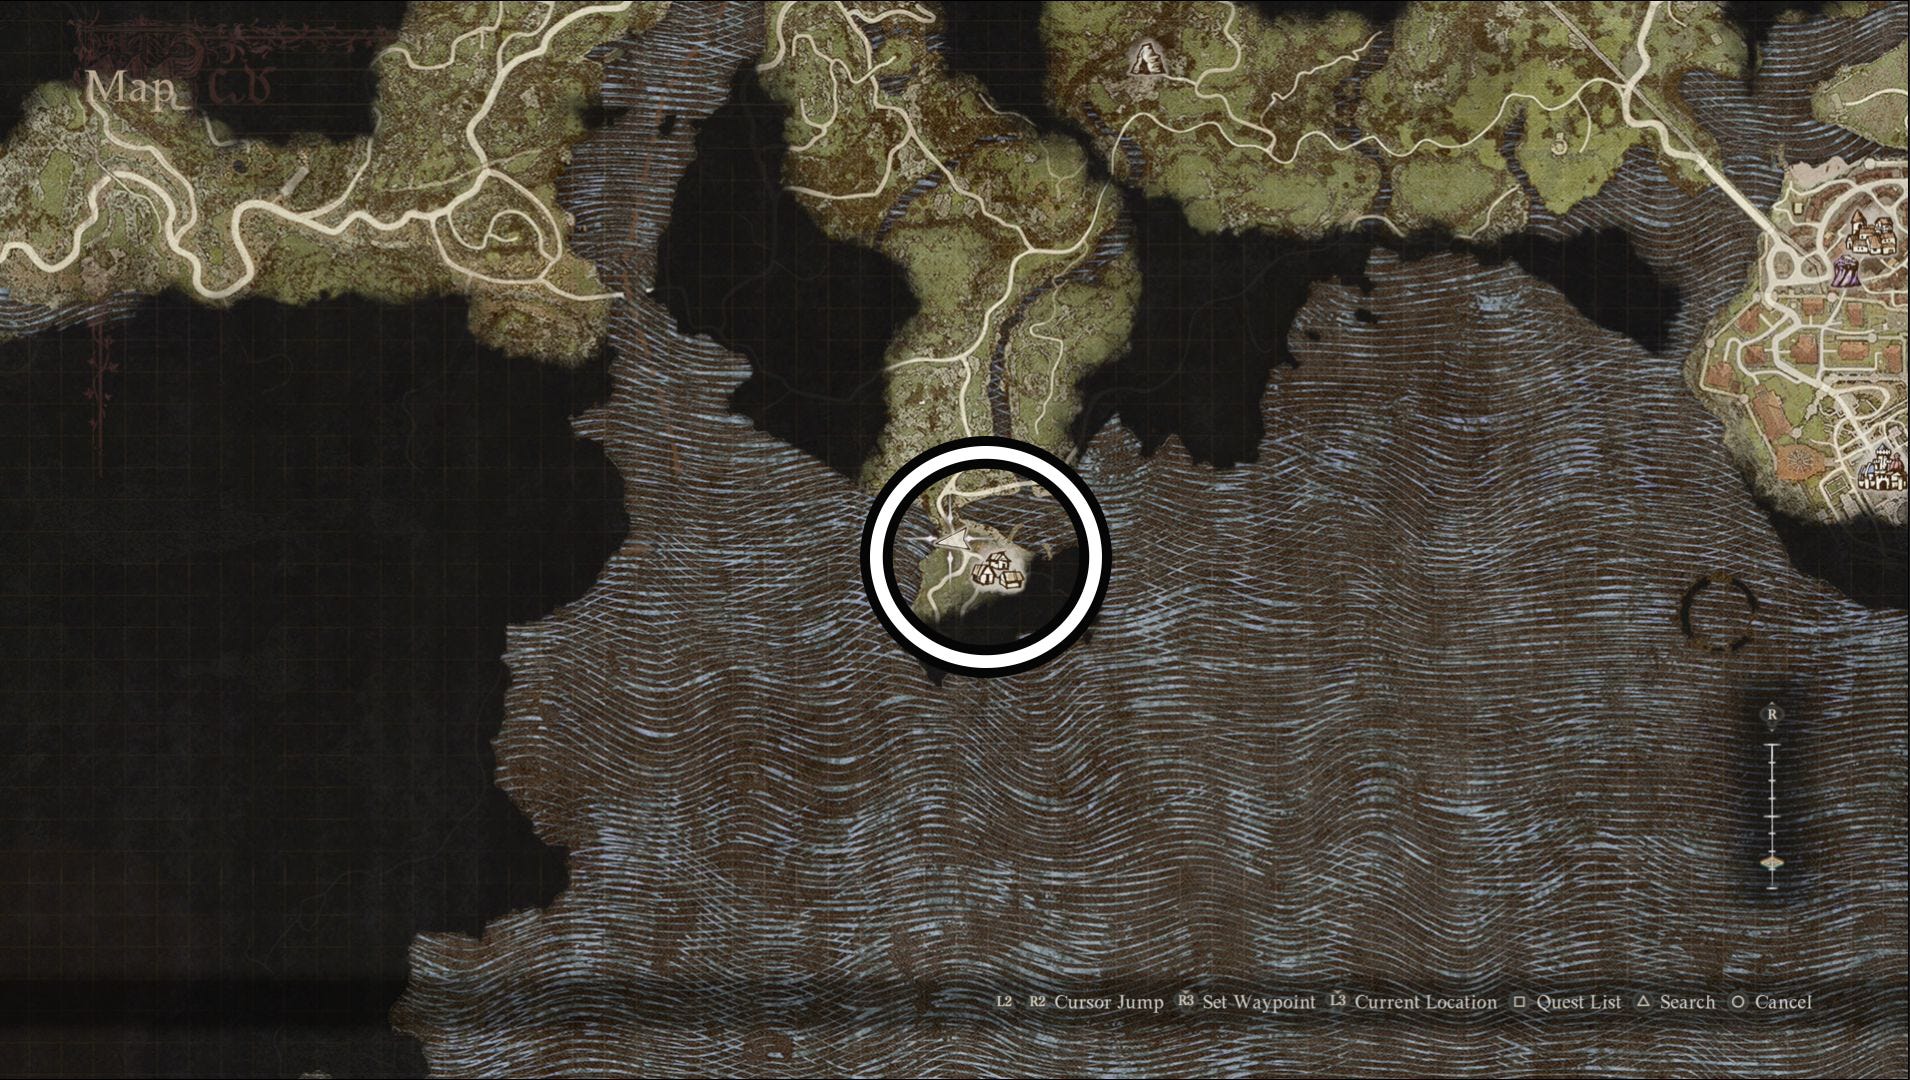
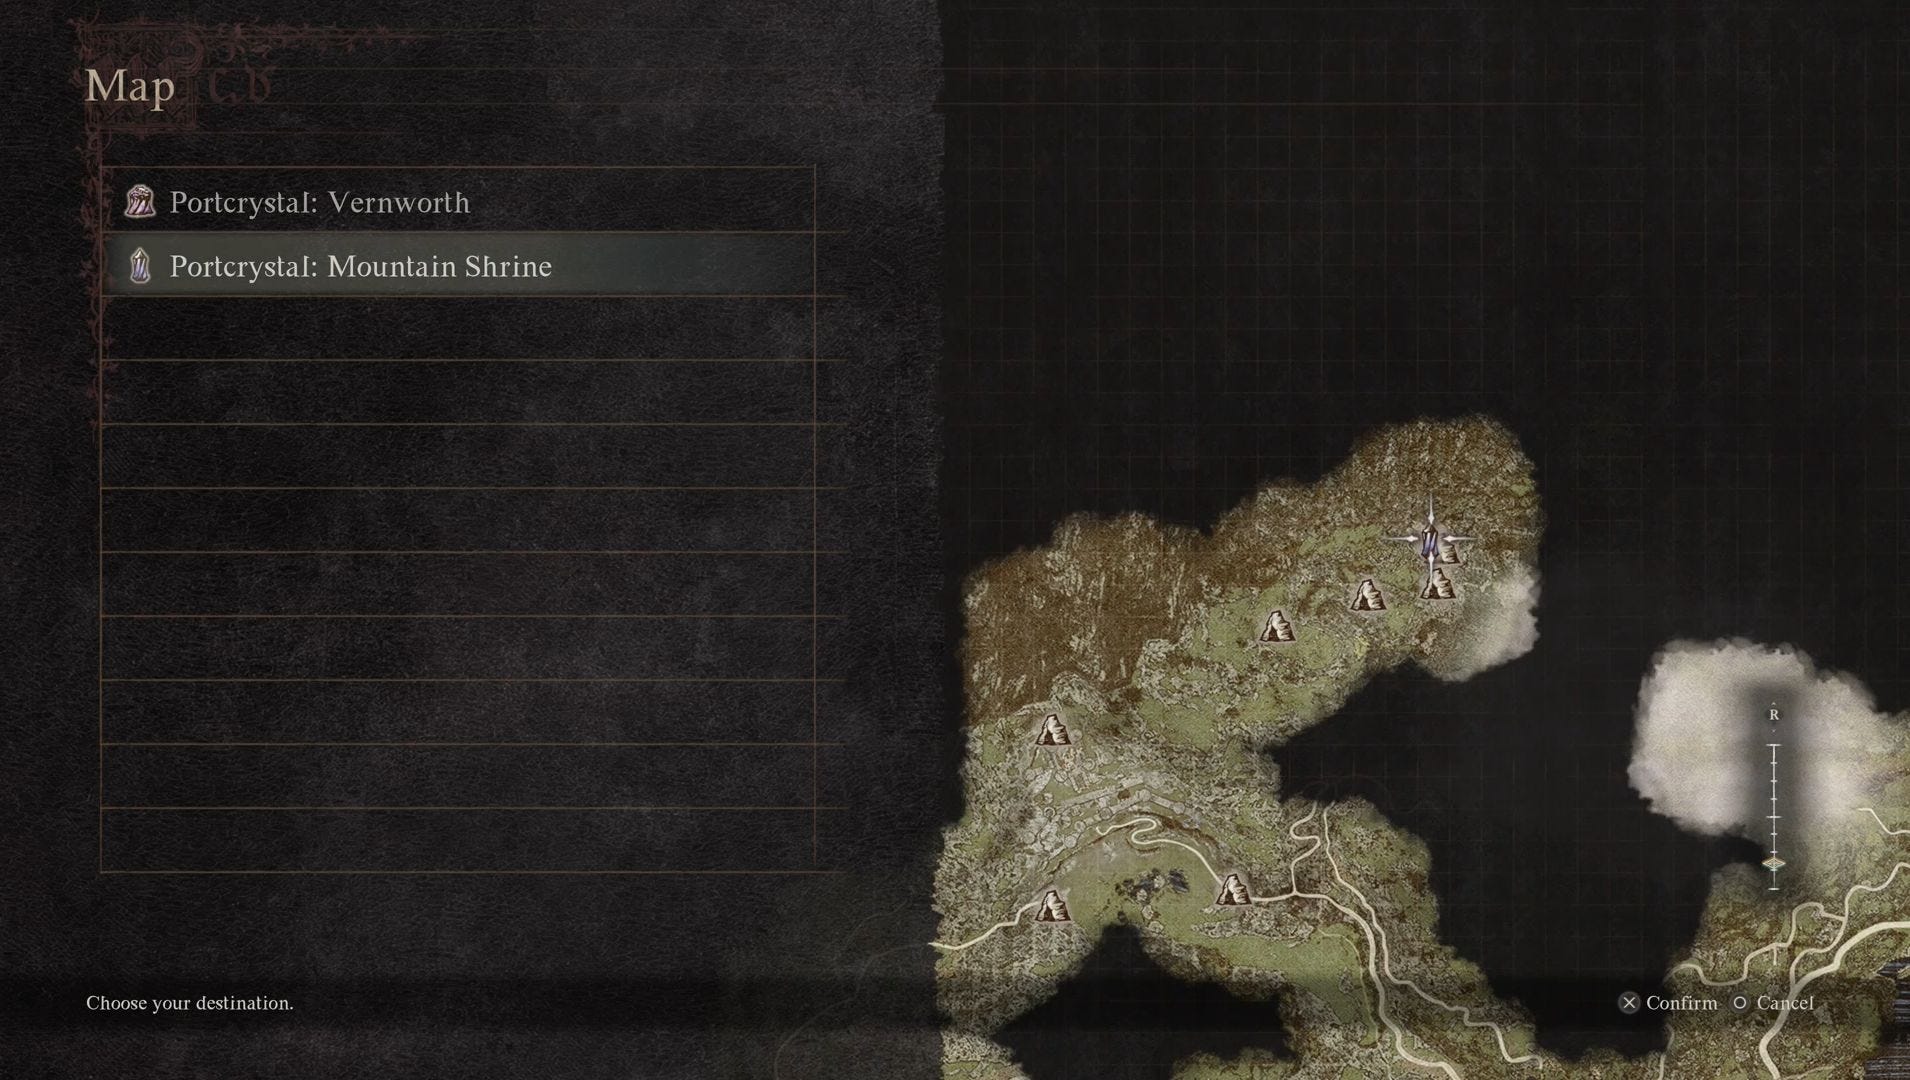
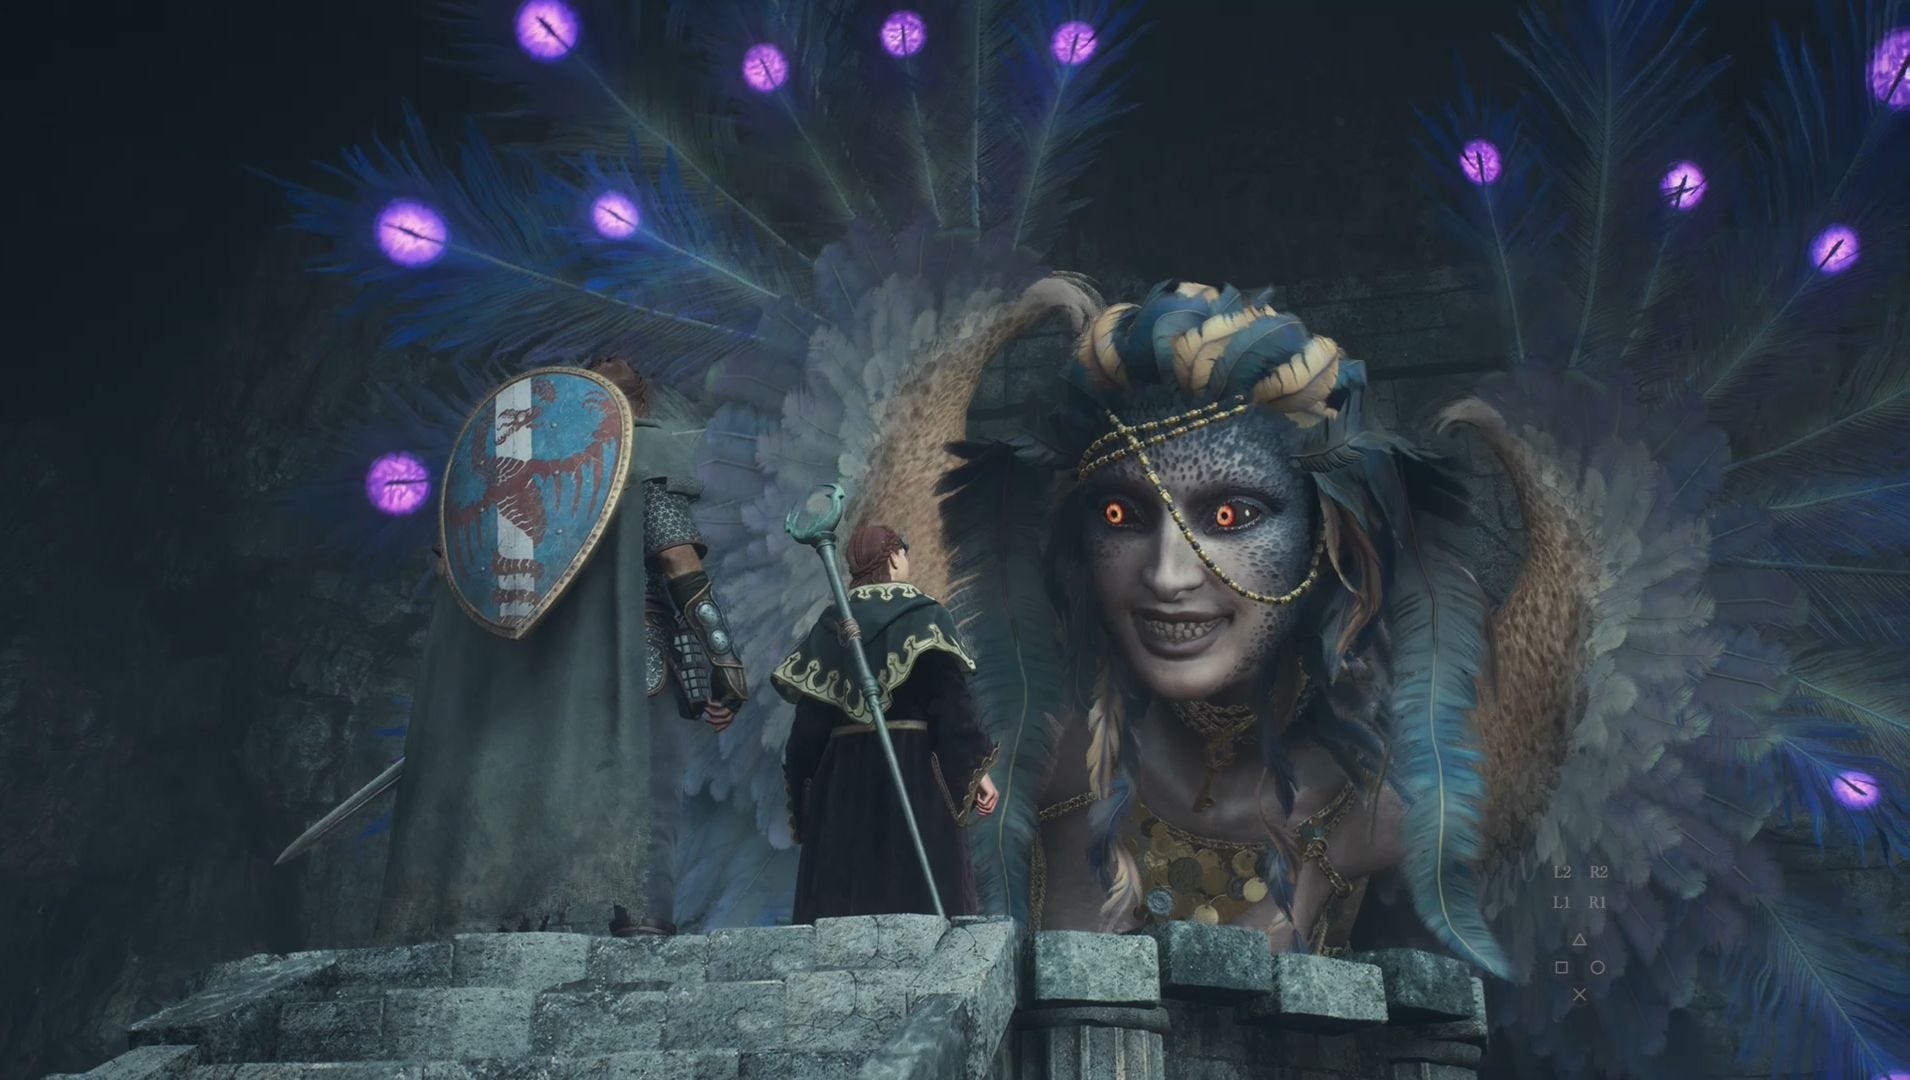
Sphinx location in Dragon's Dogma 2
The Sphinx appears in two locations in Dragon's Dogma 2 - originally at the Mountain Shrine for the first five riddles before moving to the Frontier Shrine after you've solved or failed those riddles. It's a good idea to place a Portcrystal at the Sphinx's shrine - moving it when she does - to make your time solving the riddles a little easier.
Below we walk you through how to find the Mountain Shrine and the Frontier Shrine to make your journey to the Sphinx a little easier.
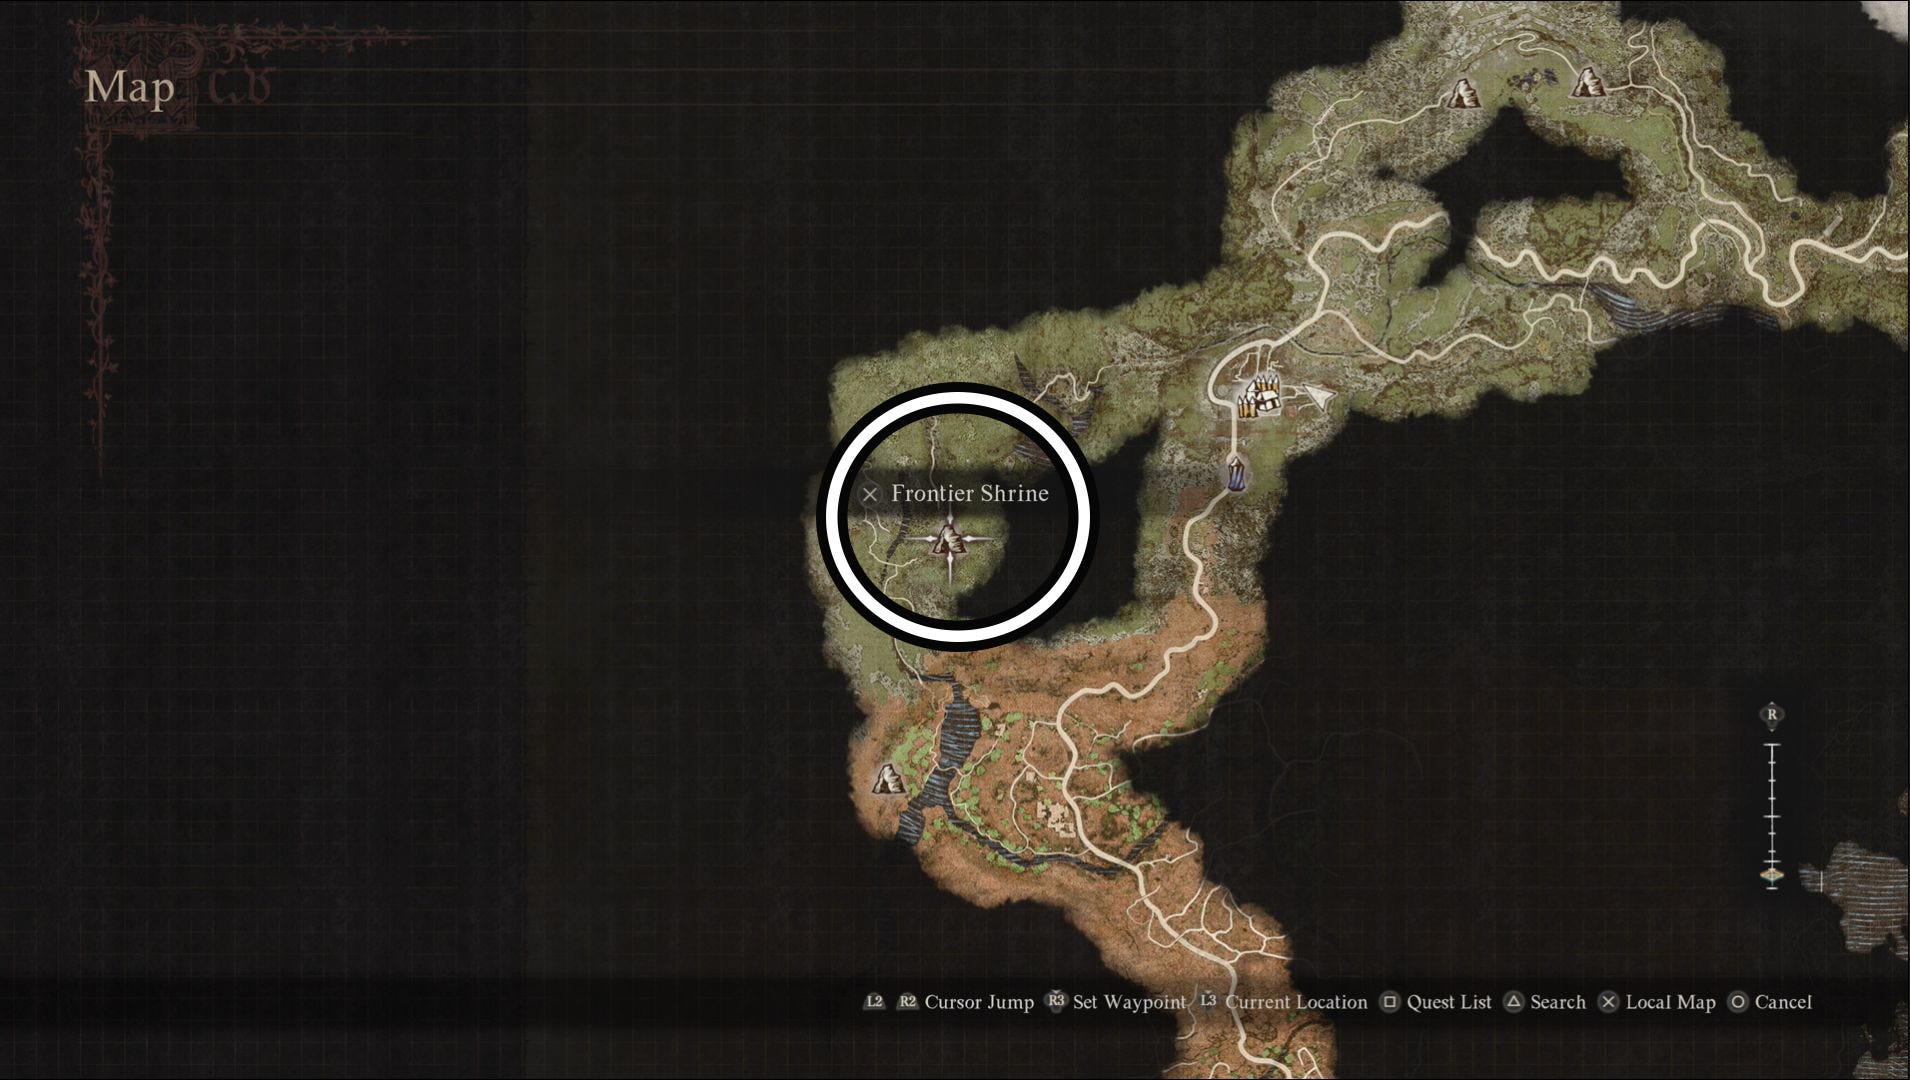
Mountain Shrine location
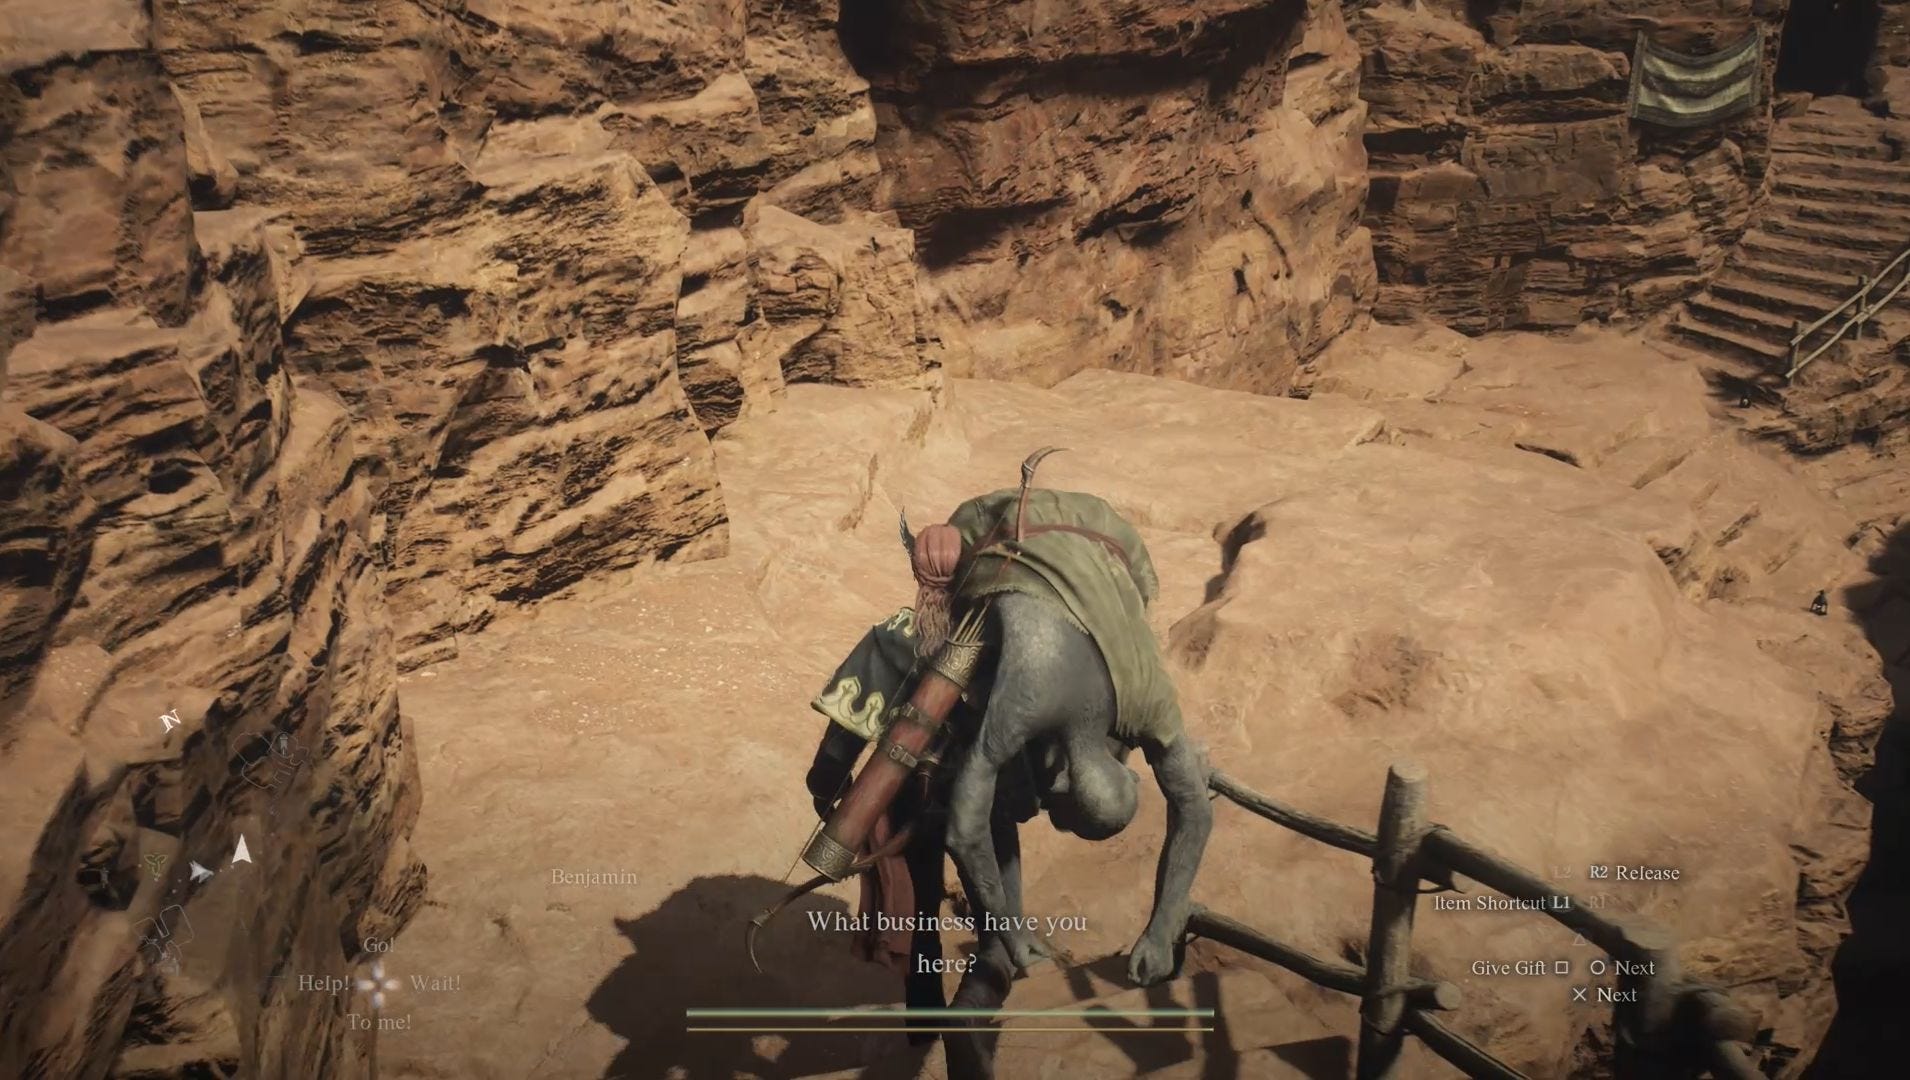
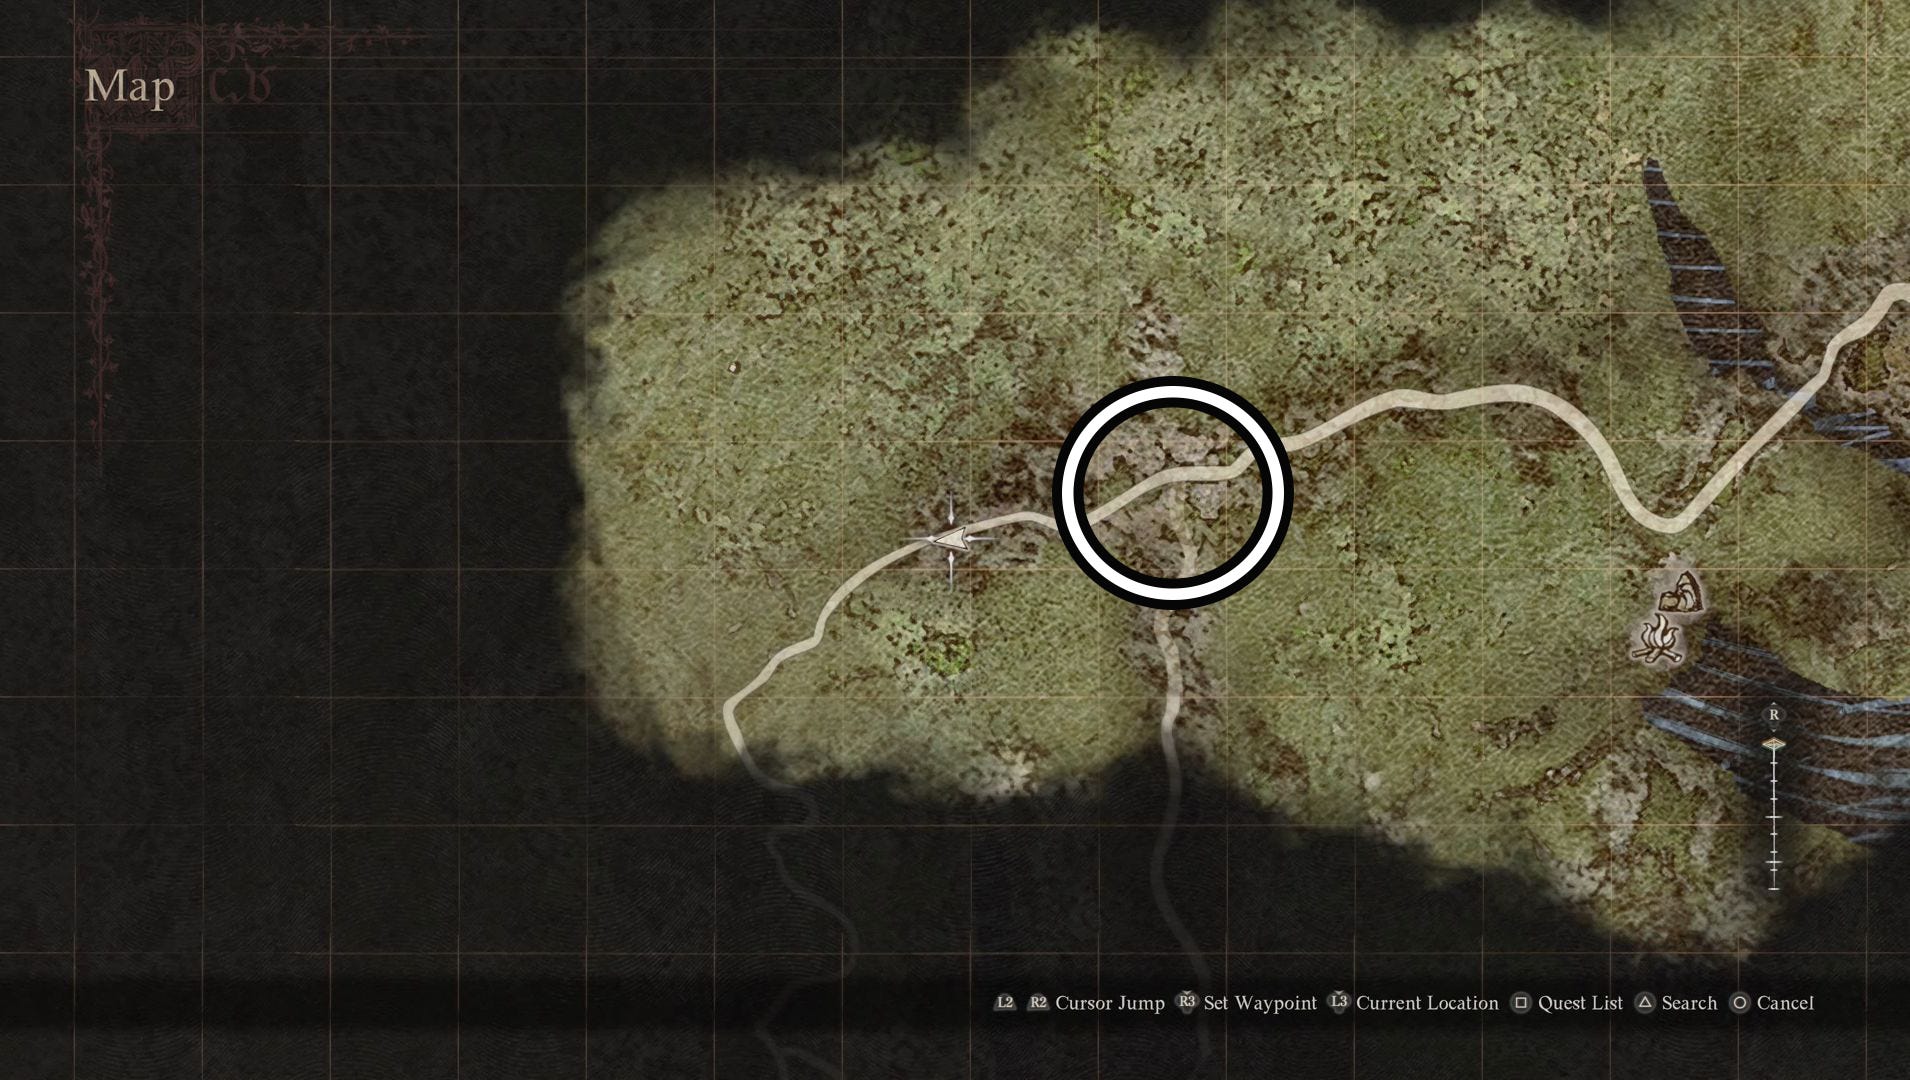
The Mountain Shrine sits in the north-western corner of the Dragon's Dogma 2 map - west of the Misty Marshes and north of the Ancient Battleground.
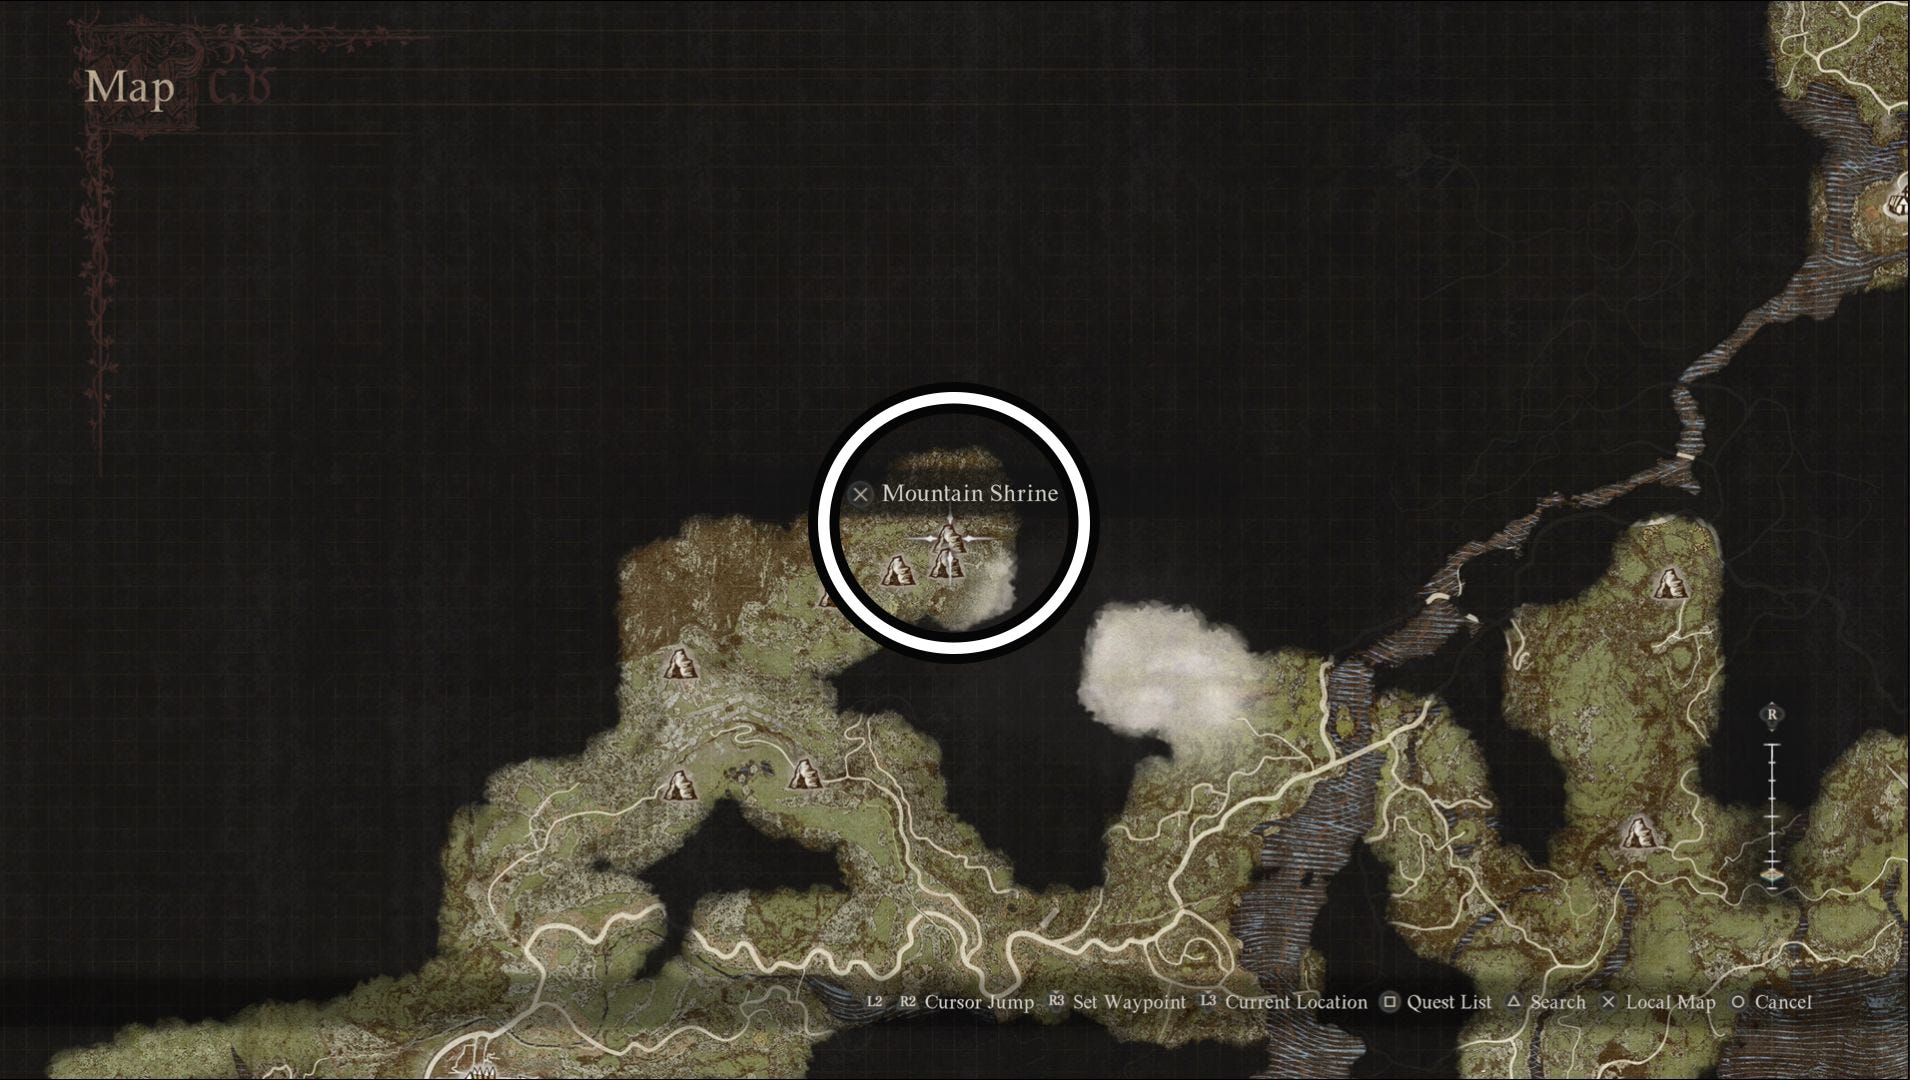
The easiest way to reach it is by entering the Ancient Battlegrounds through its eastern entrance which itself can be reached either by west from Vernworth or by going east and then north from the Checkpoint Rest Town.
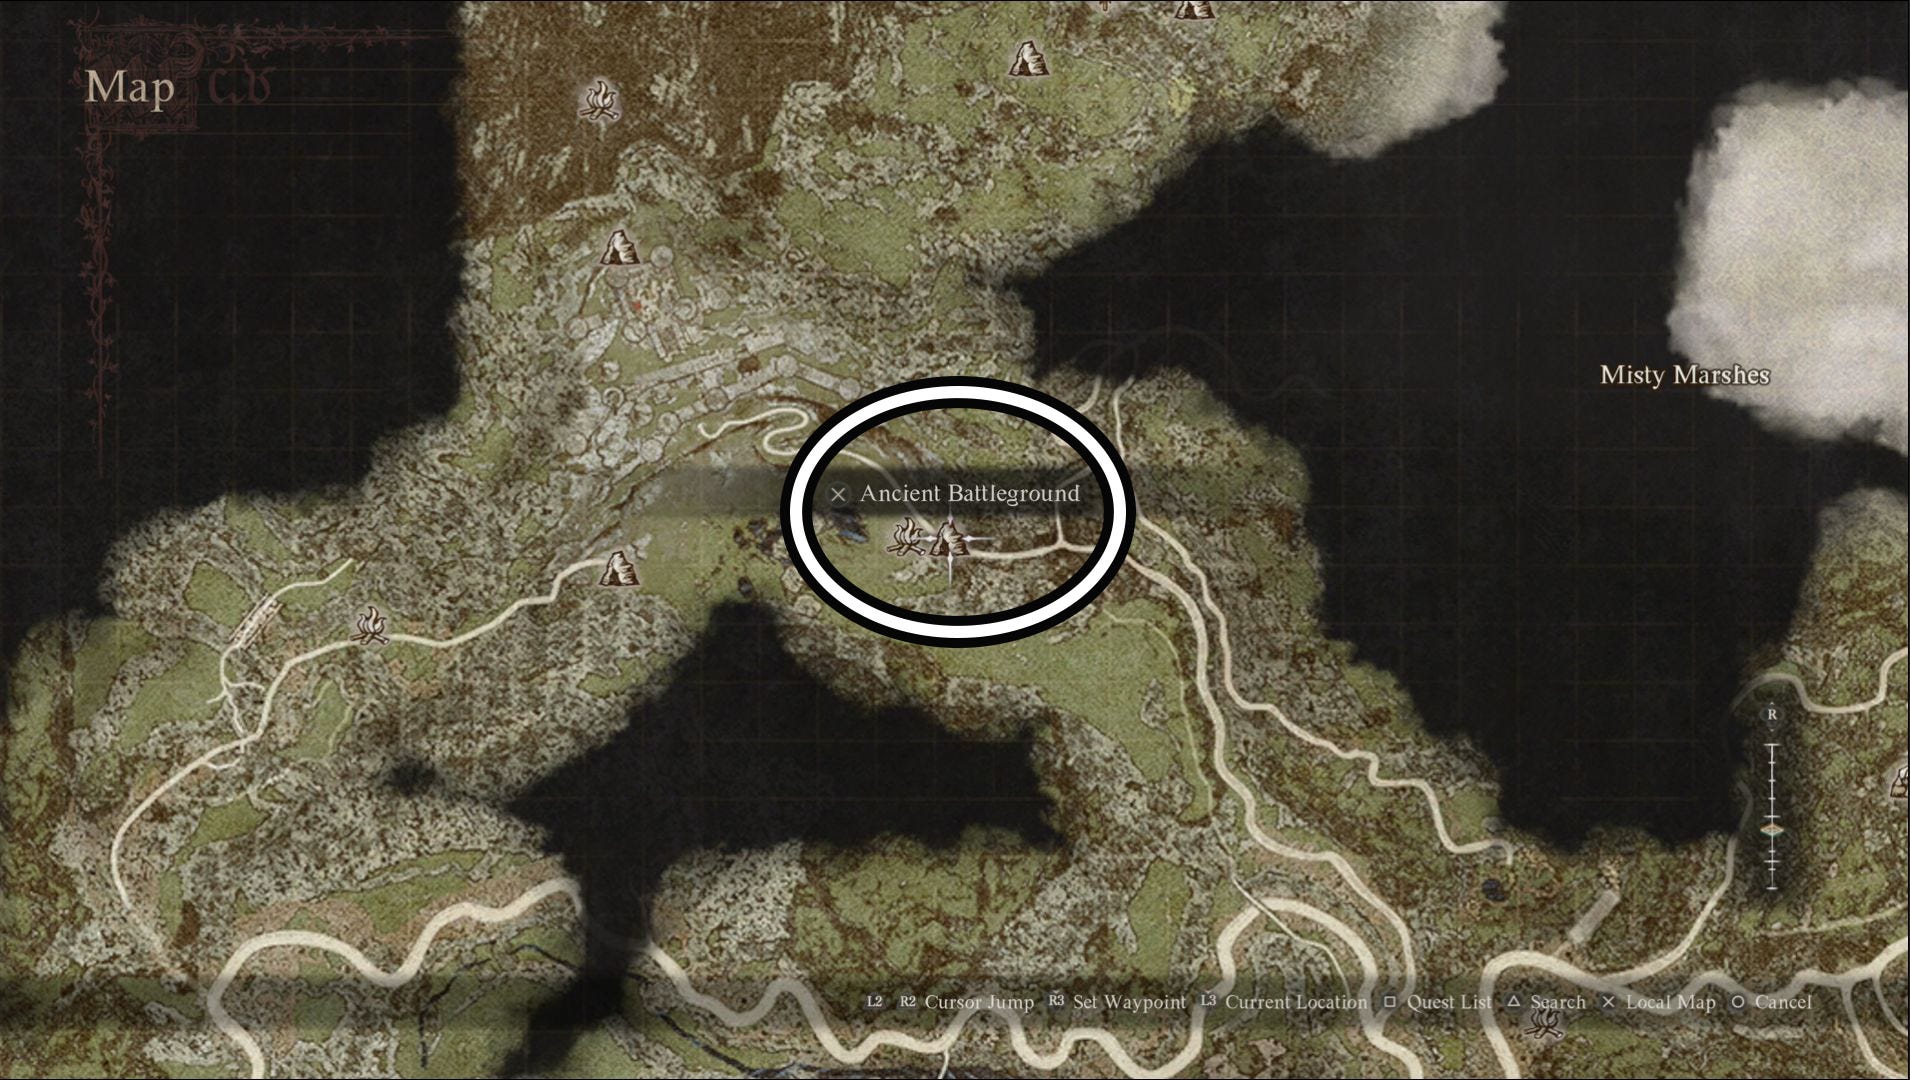
As you journey through the opening parts of the Ancient Battlegrounds via its eastern entrance, you'll encounter Oskar who is under attack. After saving his life, he'll ask you to escort him to the cenotaph of the battlegrounds. This is the Tolled to Rest side quest and we recommend accepting it as following Oskar will make part of your journey easier.
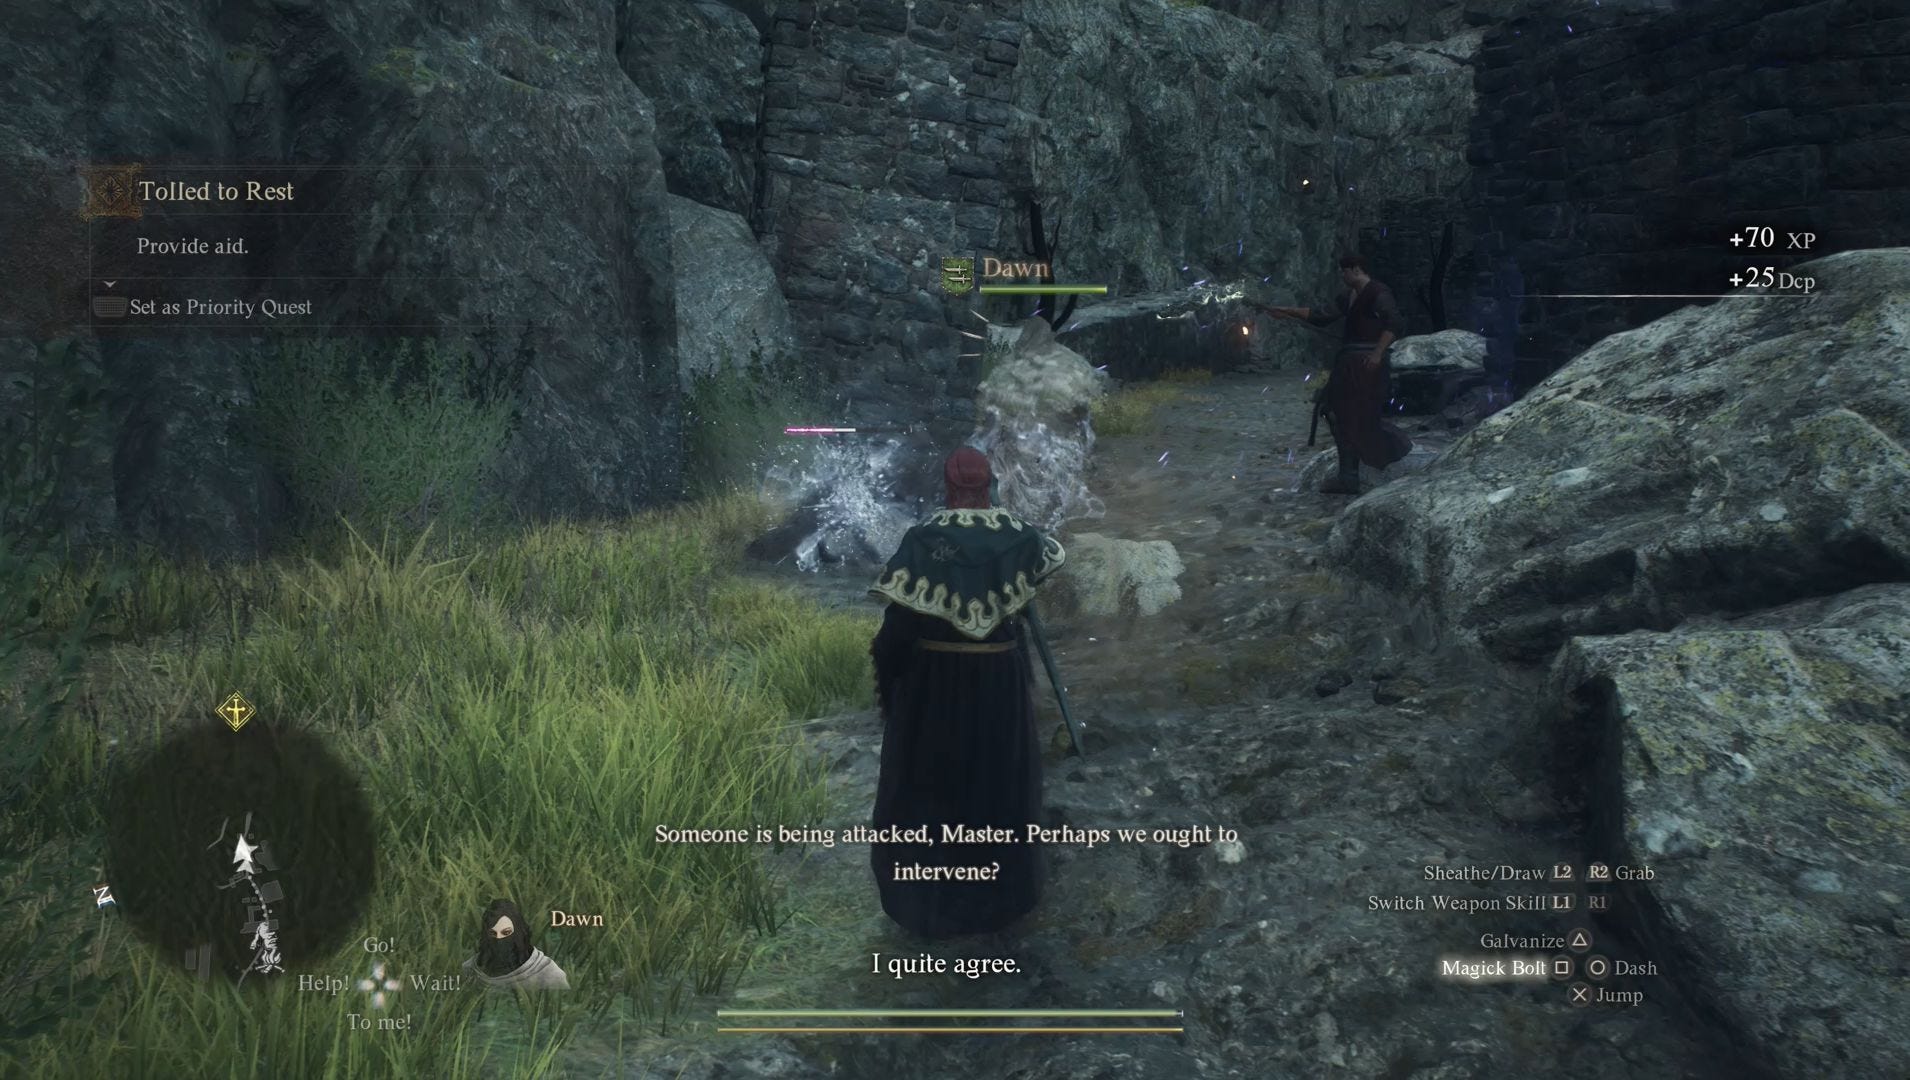
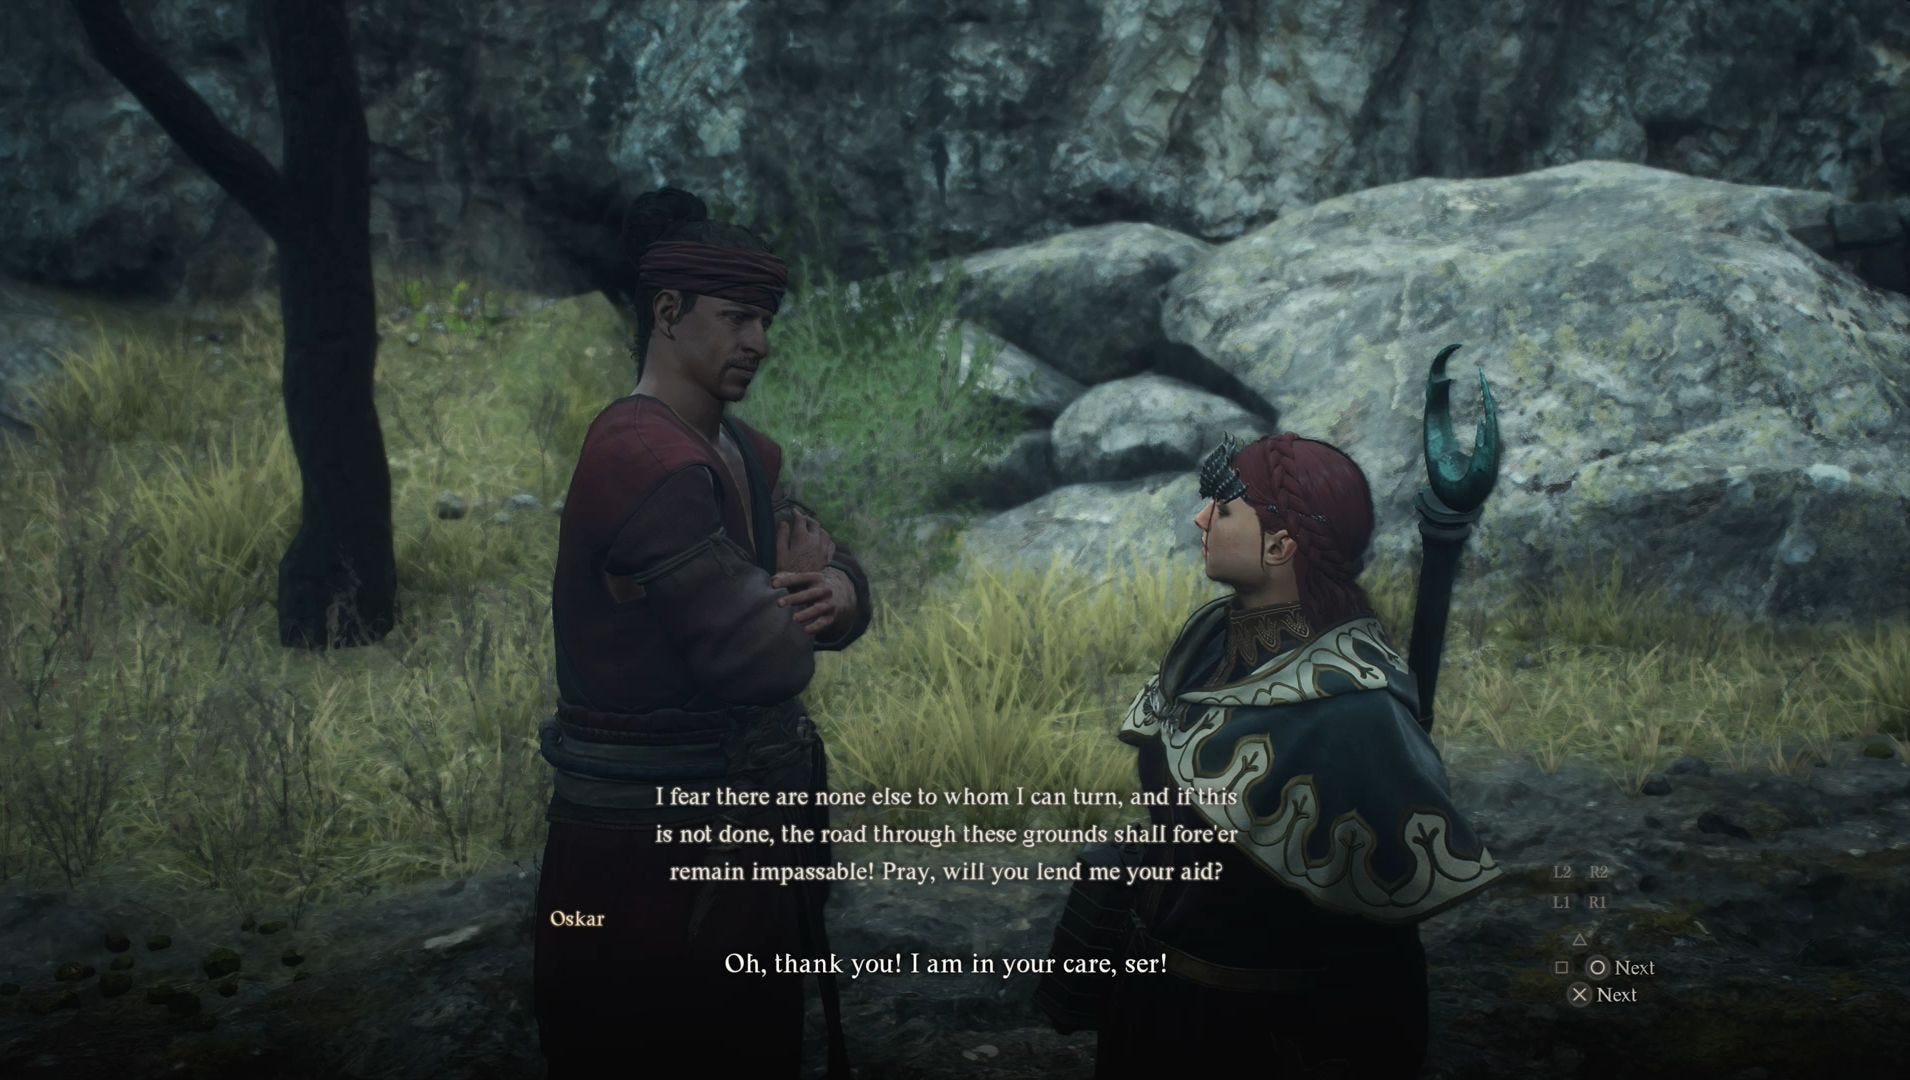
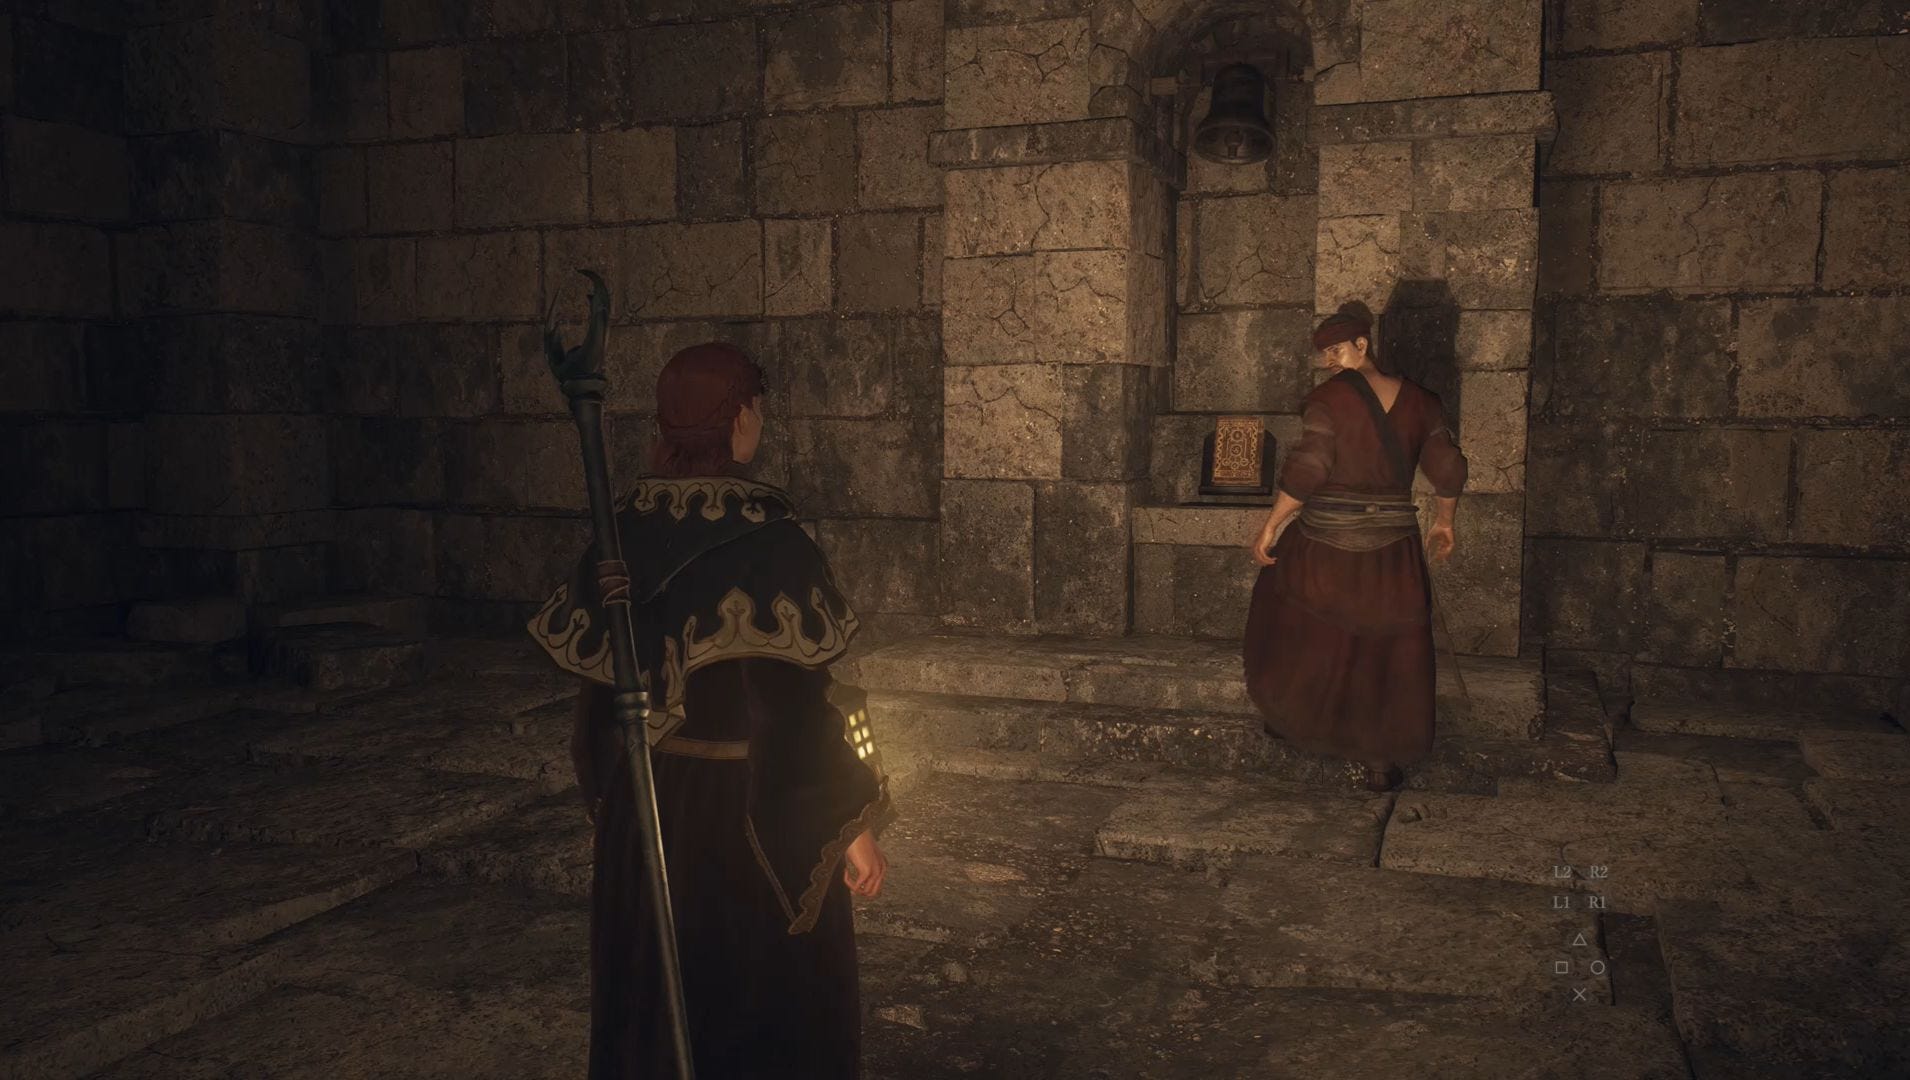
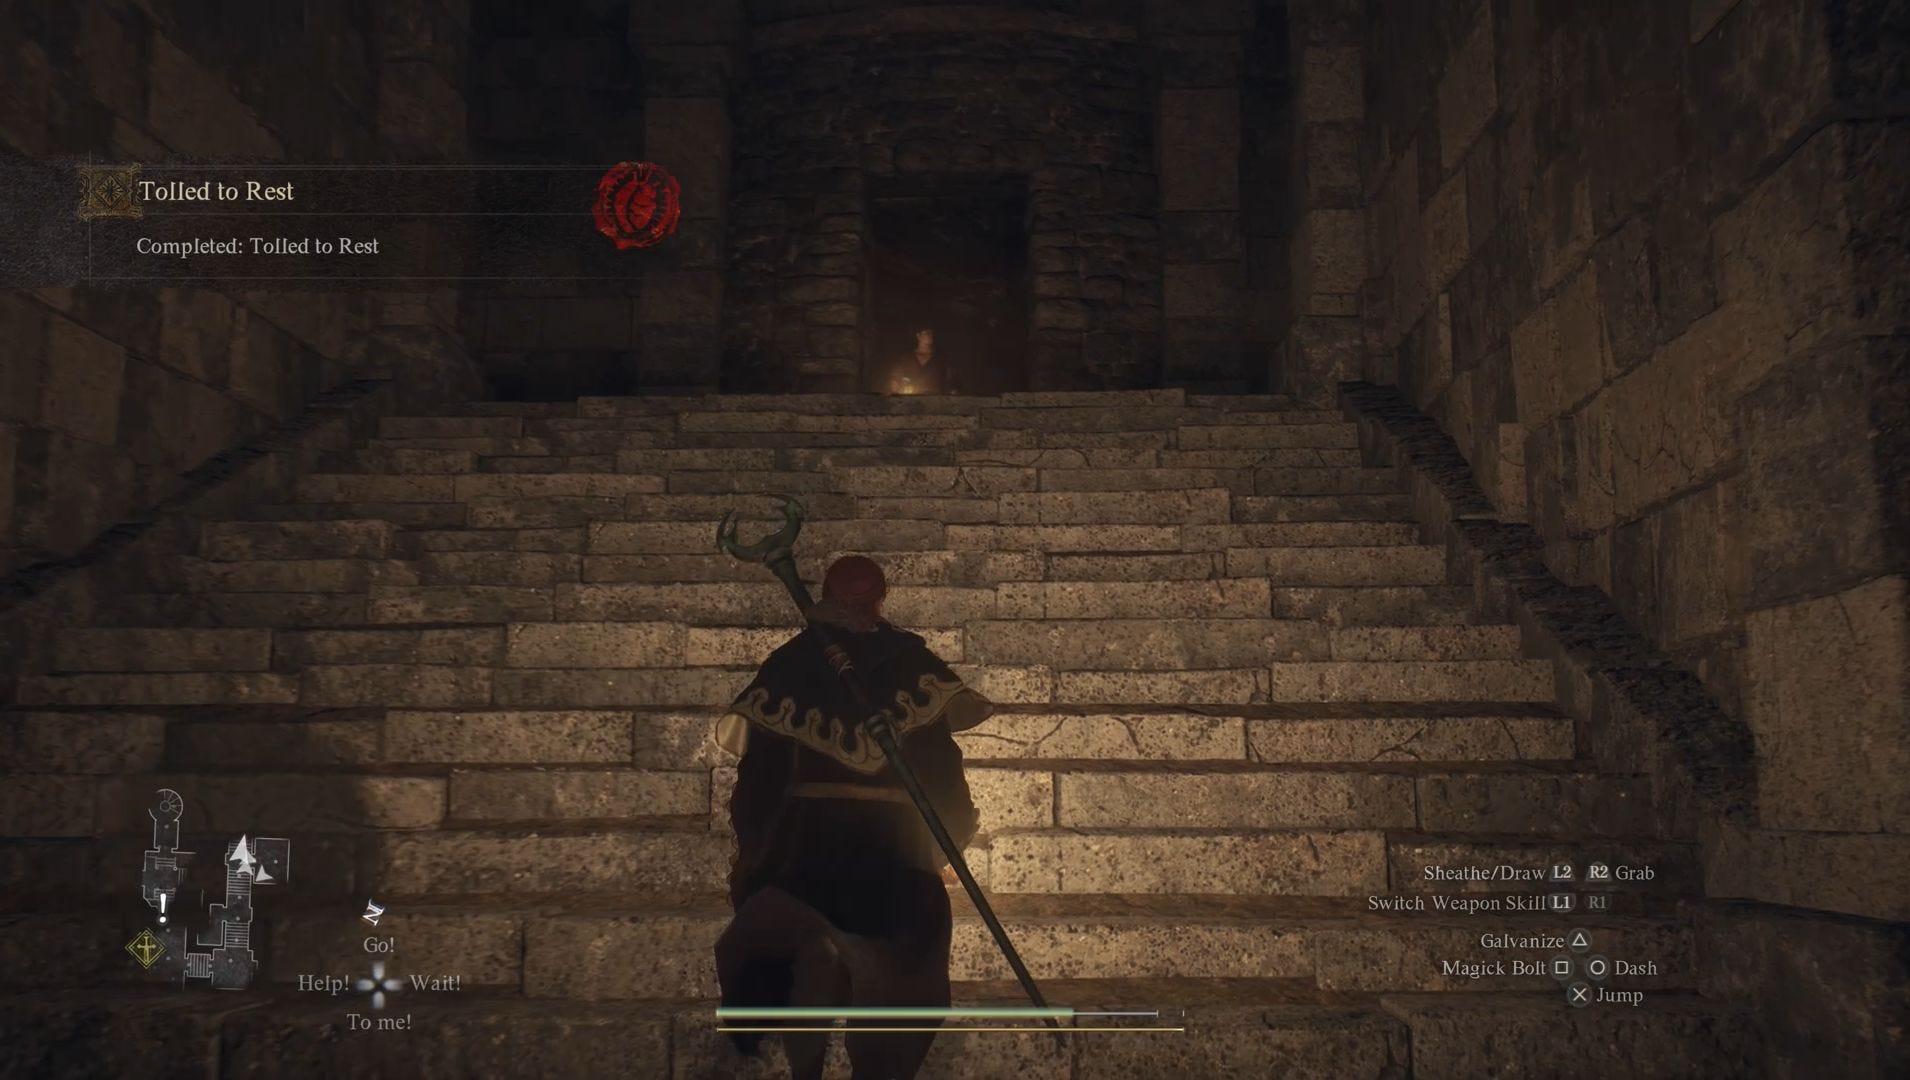
After accepting Oskar's quest, follow him into the castle and defeat any of the foes you encounter, which will include a number of undead foes. Eventually, Oskar will bring you to a home containing a bell, which he will ring and, in doing so, complete the quest. Oskar will then give you the Ancient Battleground Key, which can be used to reach some useful rewards, but for now we're going to focus on reaching the Sphinx. Though you might want to collect the other rewards in this room.
Once Tolled to Rest is completed, leave the room containing the bell and head right - continuing down the corridor you were previously on and climbing the ladder you find.
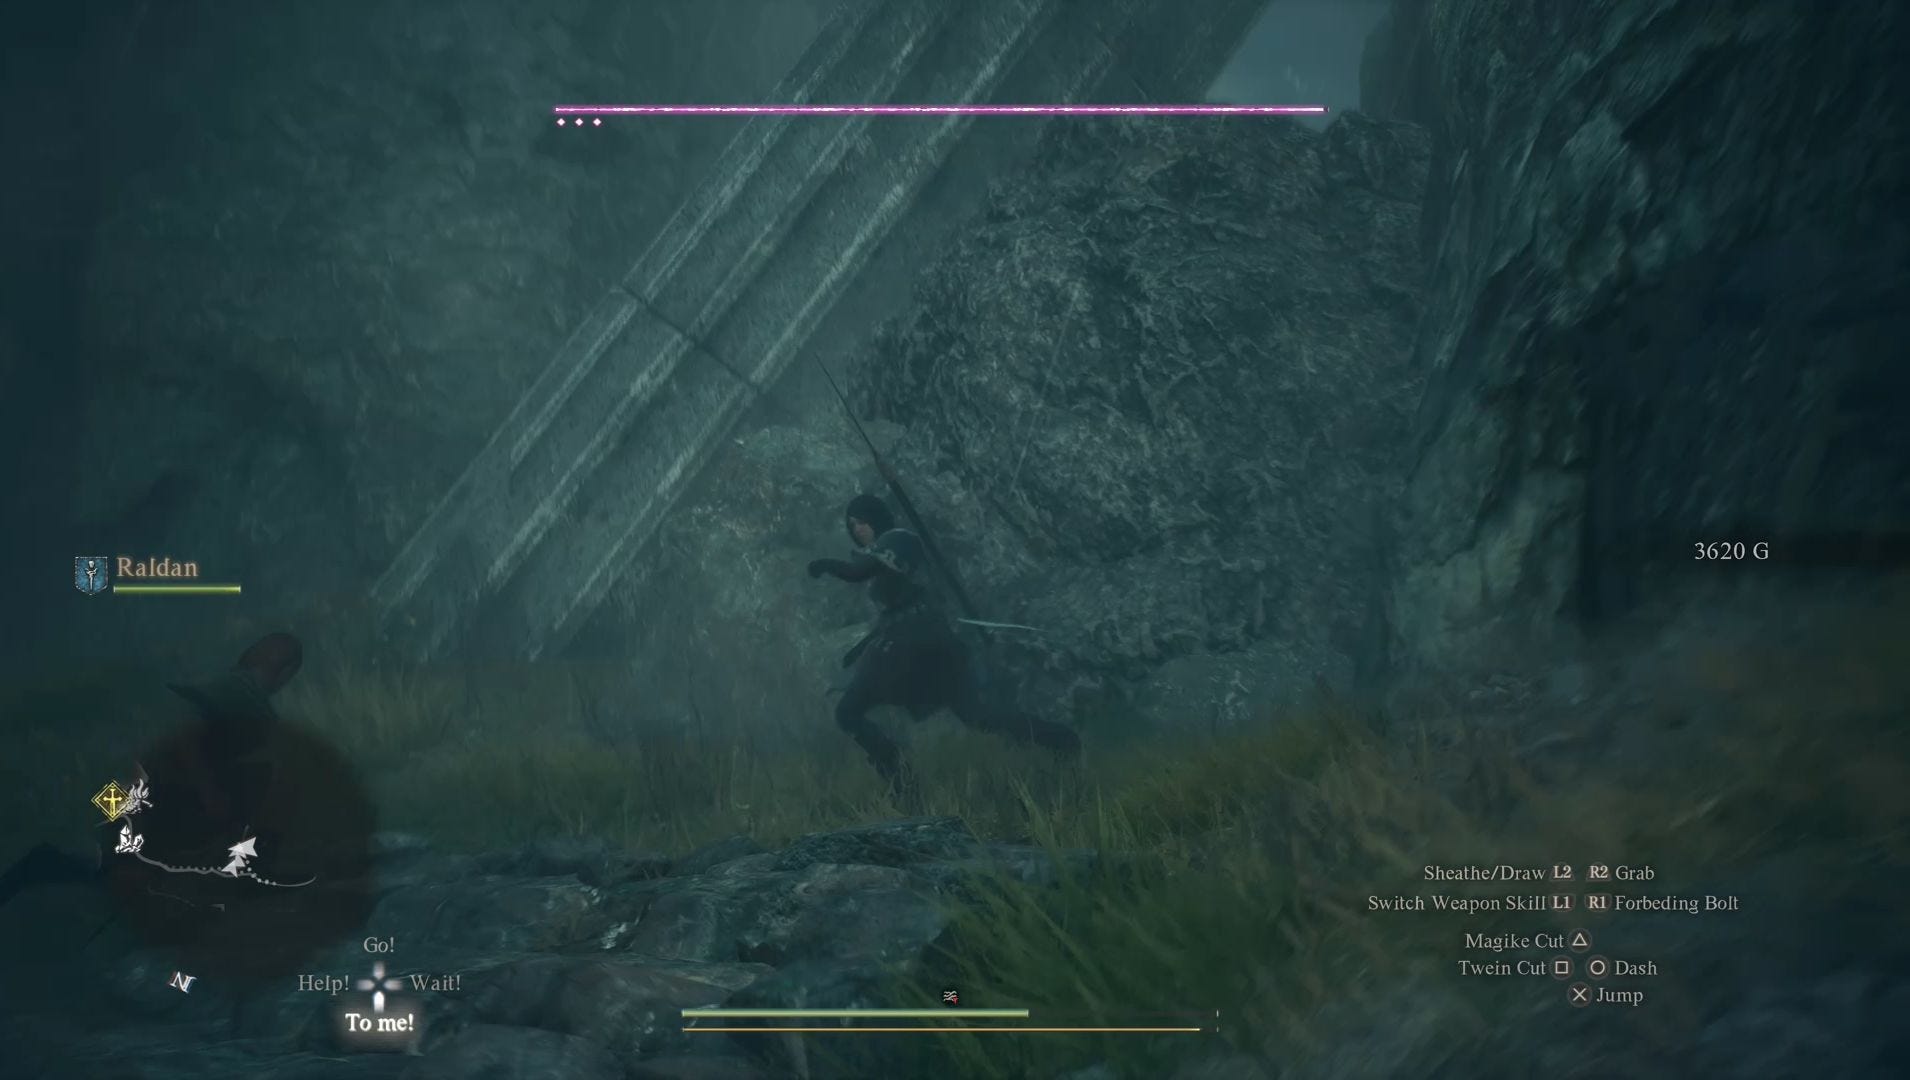
Head left after climbing the ladder and reaching the outside again, keeping an eye out for a set of stone steps as you do so. Climb these steps when you see them and defeat the armoured ogre in this area. If you're lucky, then the ogre will be asleep and you'll be able to get some quick hits in.
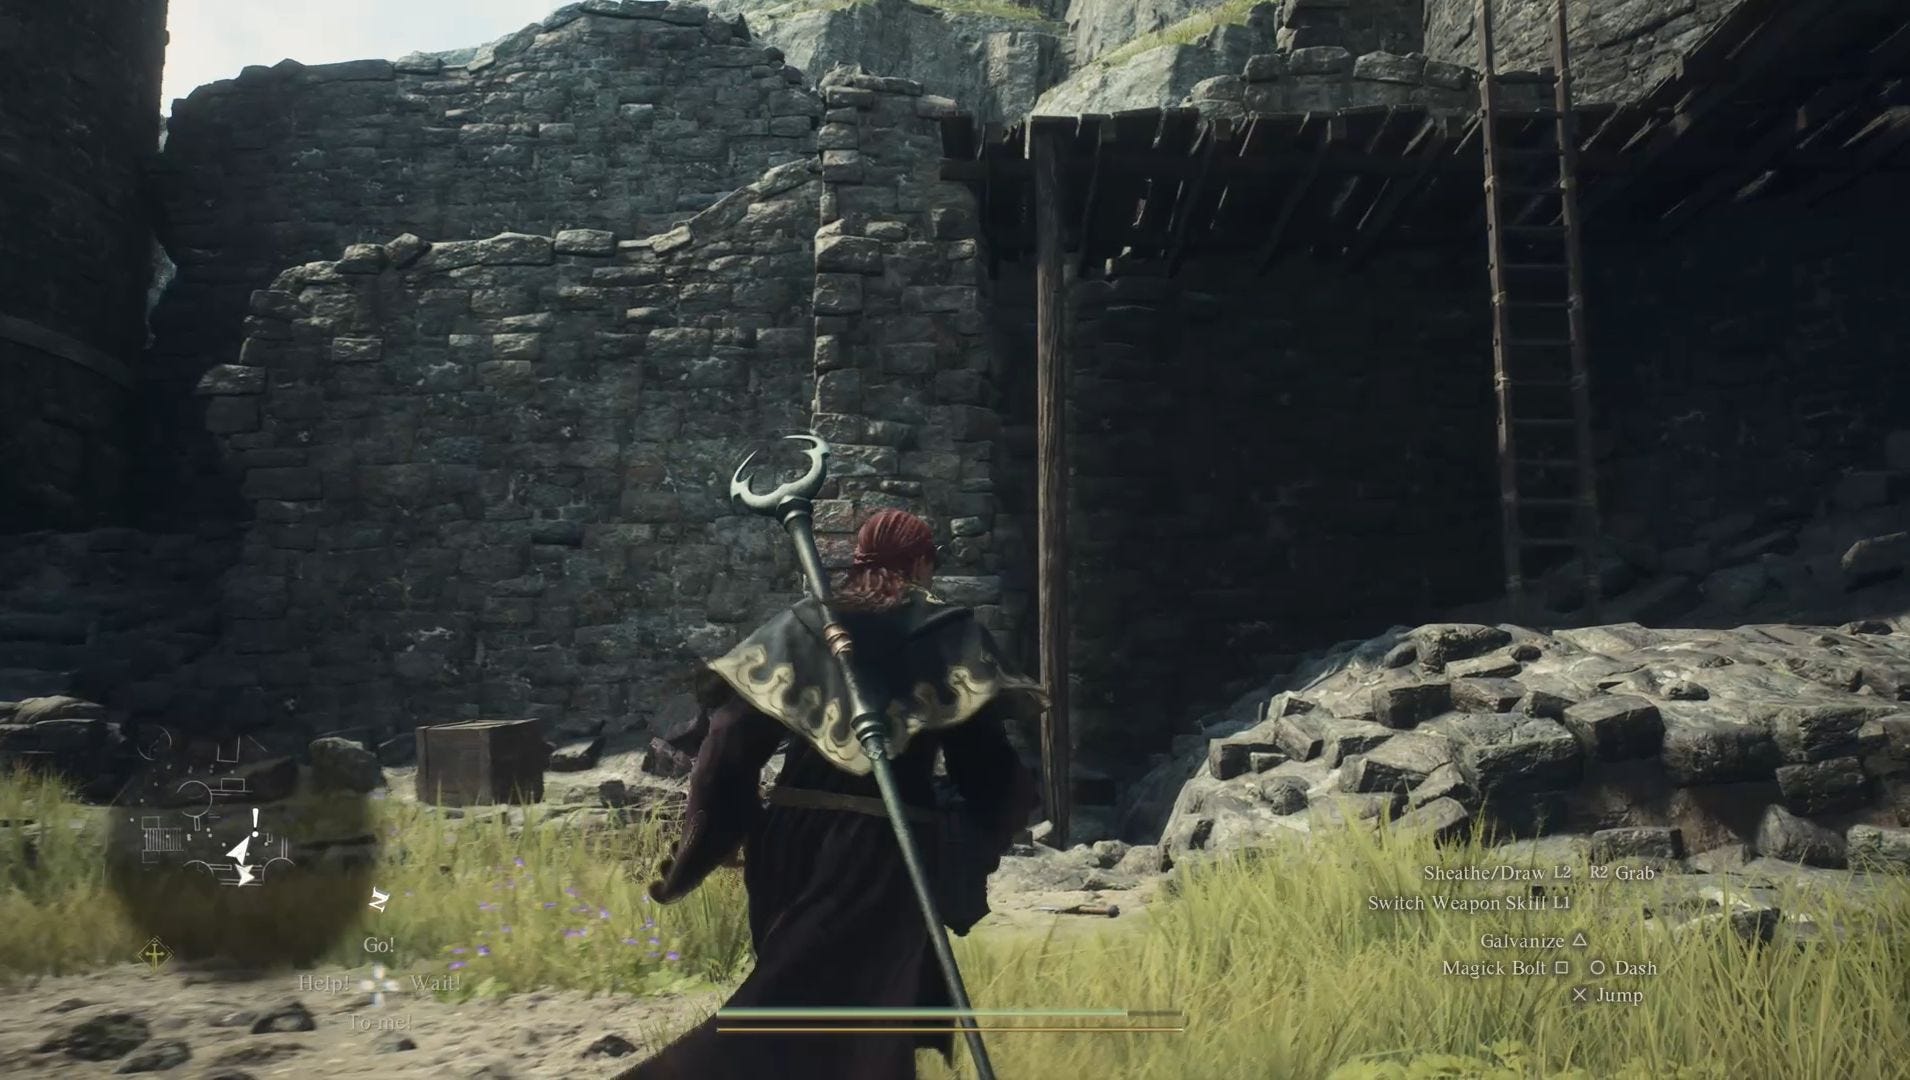
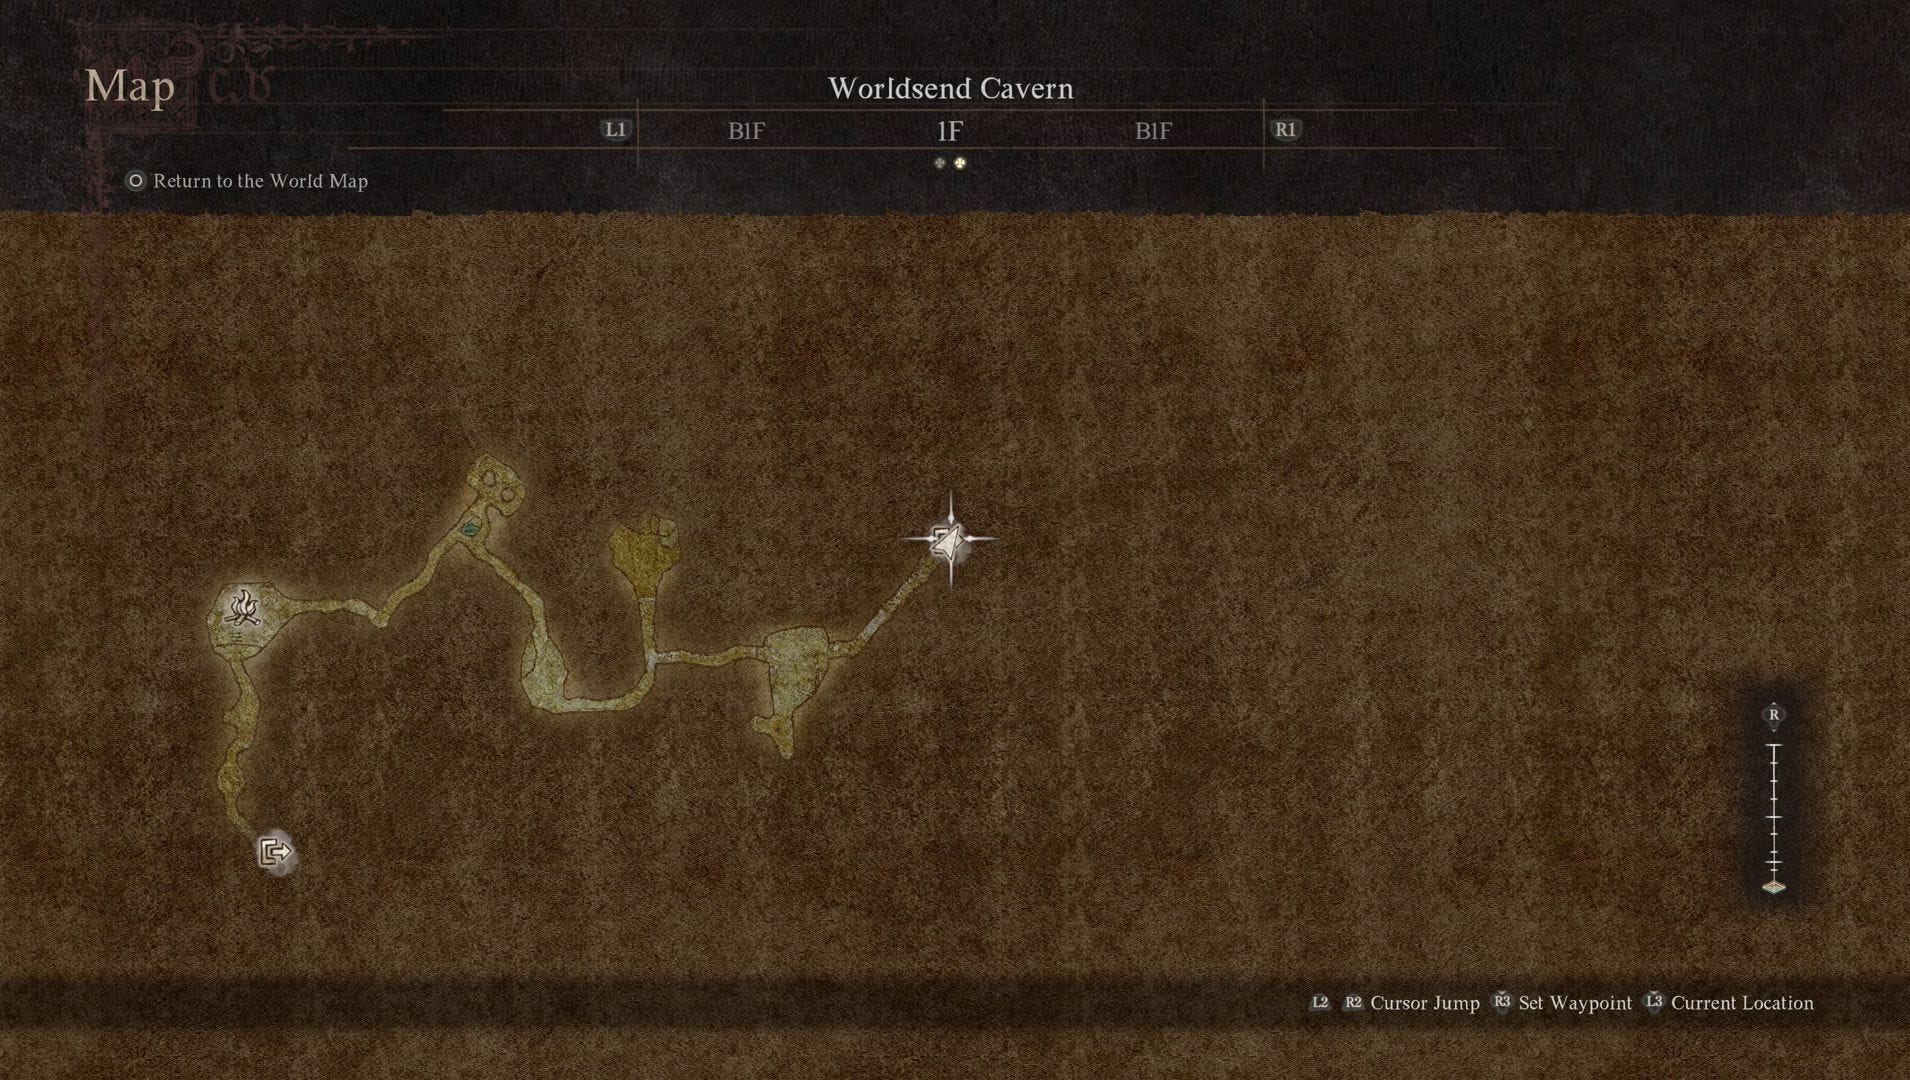
After defeating the ogre, climb the left-hand ladder and jump over the wall to reach the other side of the battlements. Here you'll find the entrance to the Worldsend Cavern.
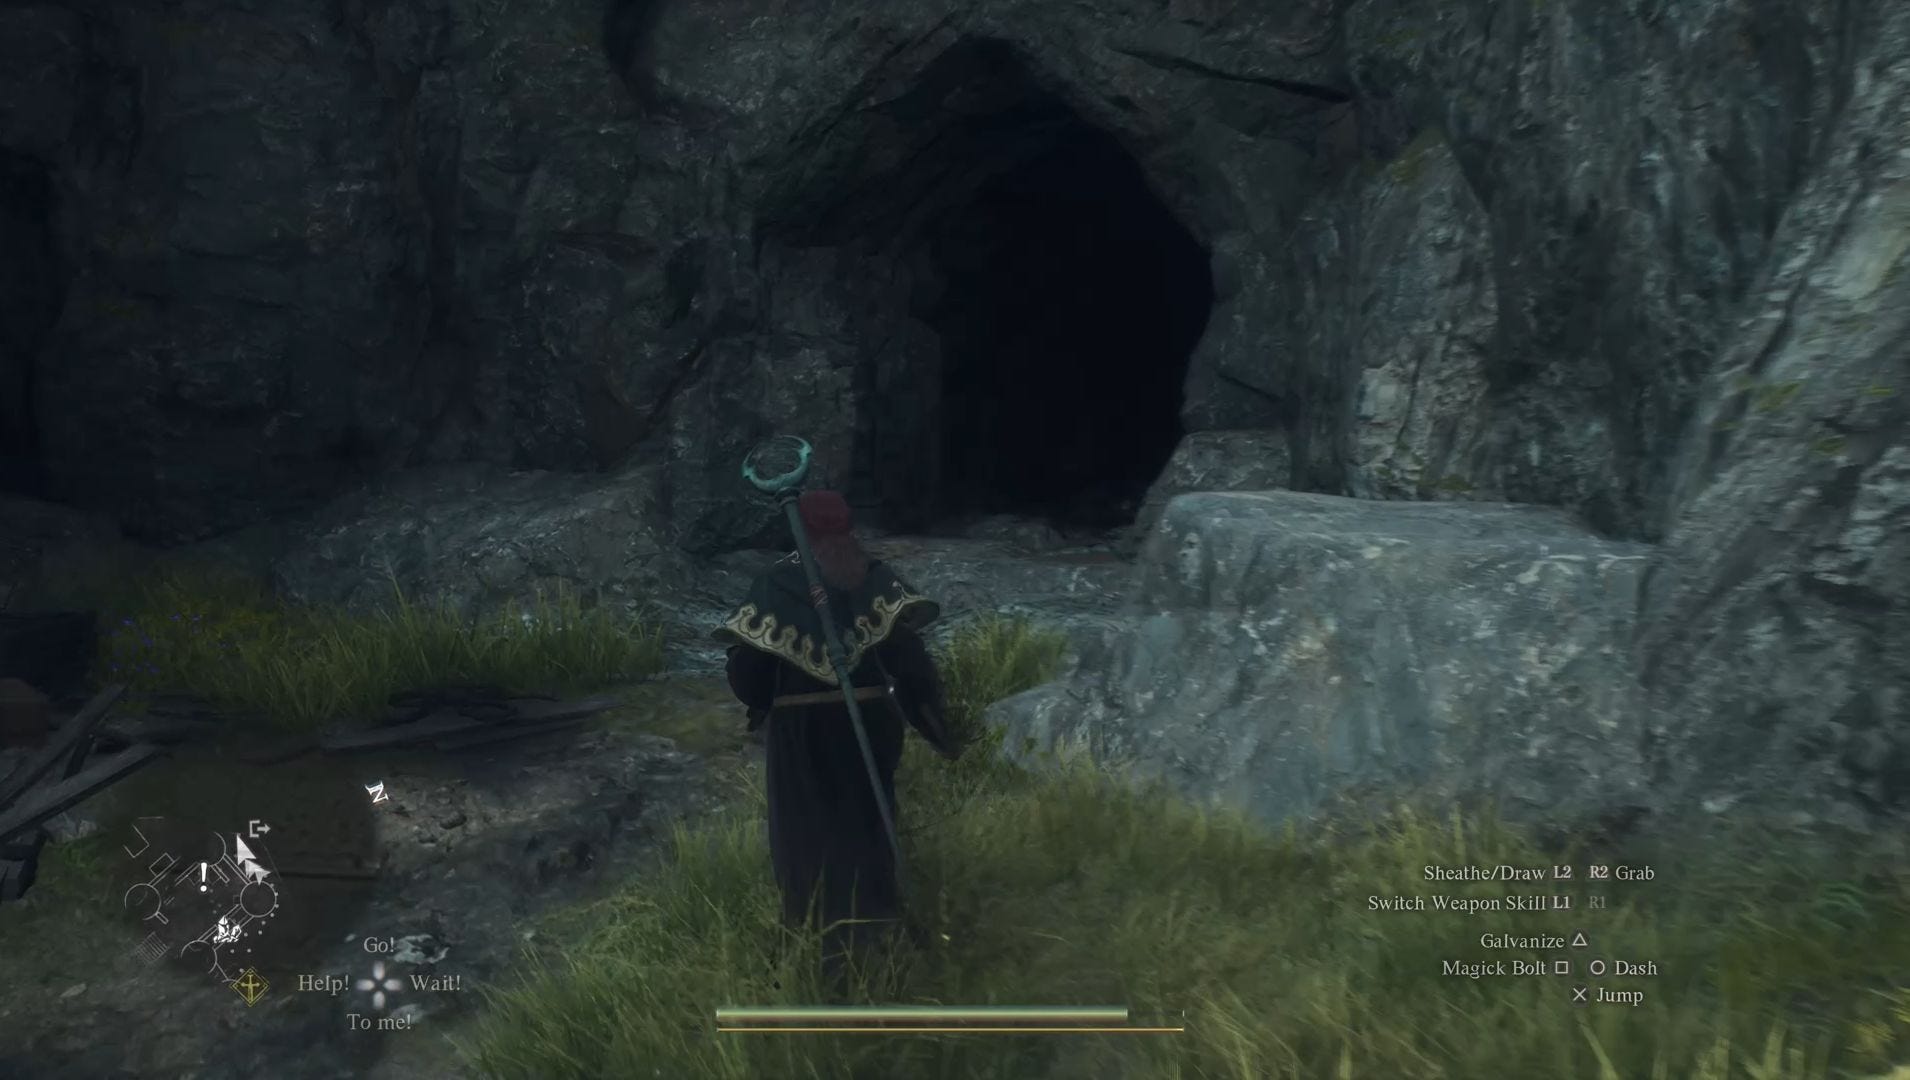
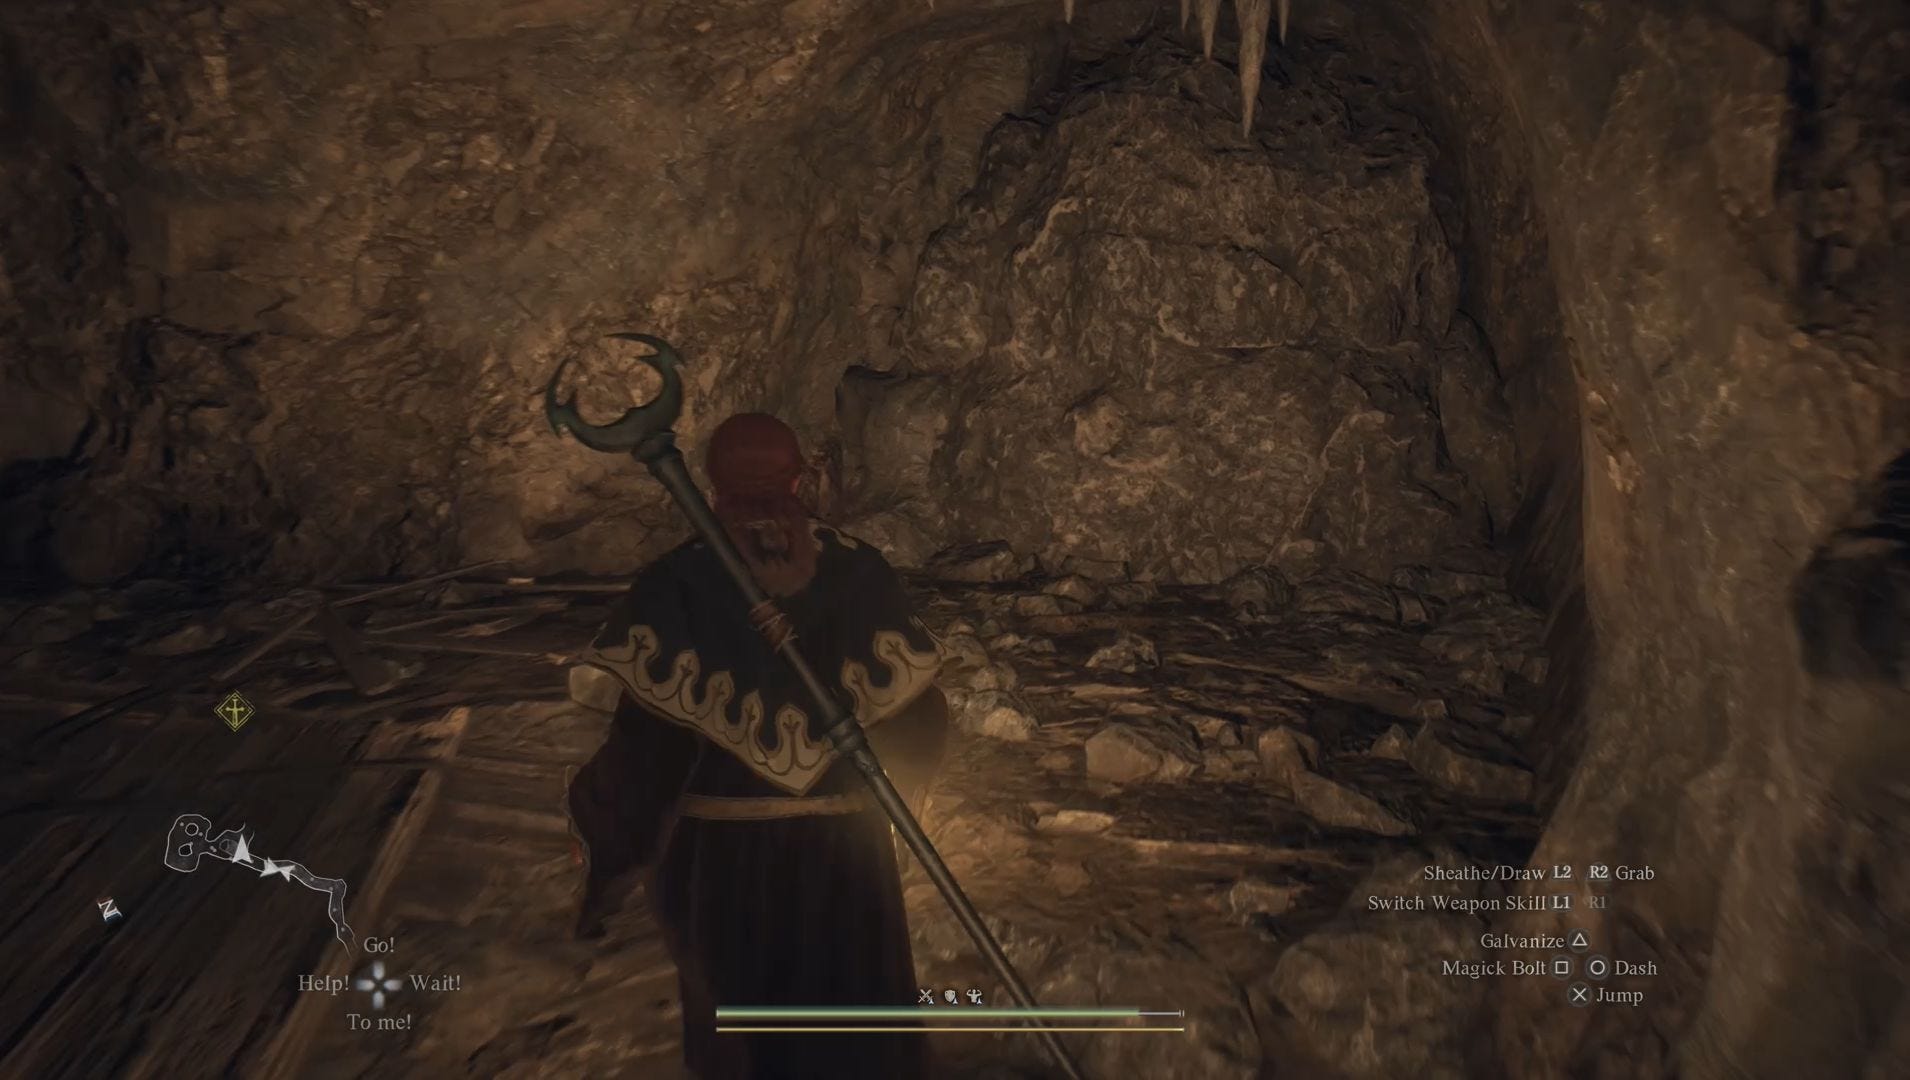
Thankfully, you don't need to spend much time traversing the Worldsend Cavern to reach the Sphinx and there's a campsite right at the beginning where you can heal. Though it might be accompanied when you arrive, so you better sort that out... It's also important to note that there's a number of undead enemies and phantoms awaiting you in the cavern, along with a golem at the end, so be prepared for a fight.
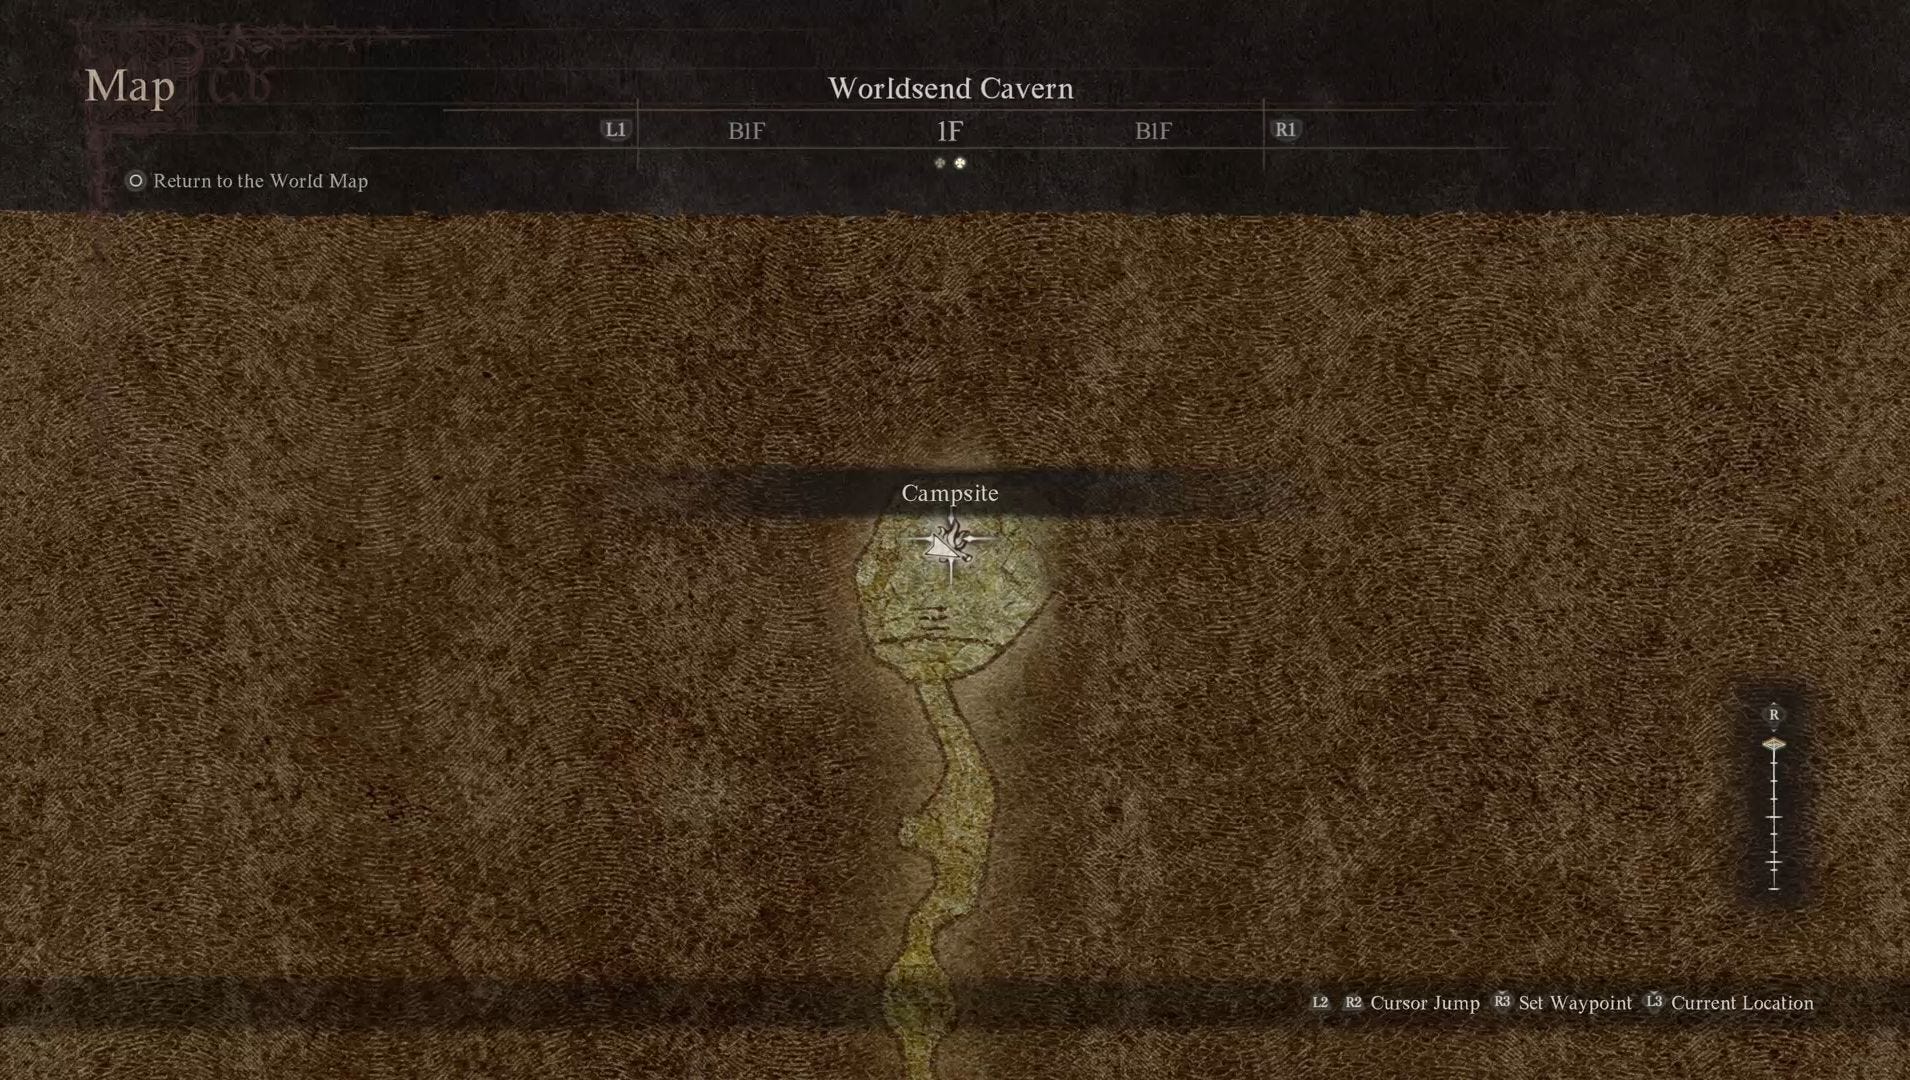
Once you're well rested, follow the tunnel until you reach a space containing a hole. Ignore the hole. Instead, look at your mini-map and you'll see there's a section of this room which branches off down another path but is blocked by a boulder. Thankfully, this boulder is breakable and doing so will allow you to continue further through the cavern.
With the boulder out of the way, you now need to continue heading straight - defeating any foes you might encounter. When you do emerge from the Worldsend Cavern, you'll find yourself in the Ancient Ruins but you're not safe yet, because, shortly after entering this area, a golem will appear.
To defeat the golem, you need to focus on the glowing blue spots which will appear on its body. For this reason, you may find it easier to defeat a golem when using a range-based class such as Archer. Though I didn't have much trouble defeating it as Sorcerer by ensuring I was aiming my attacks in the right place. Just keep an eye out for the golem's laser beam-like attacks, which, thankfully, it is easy to appreciate these attacks.
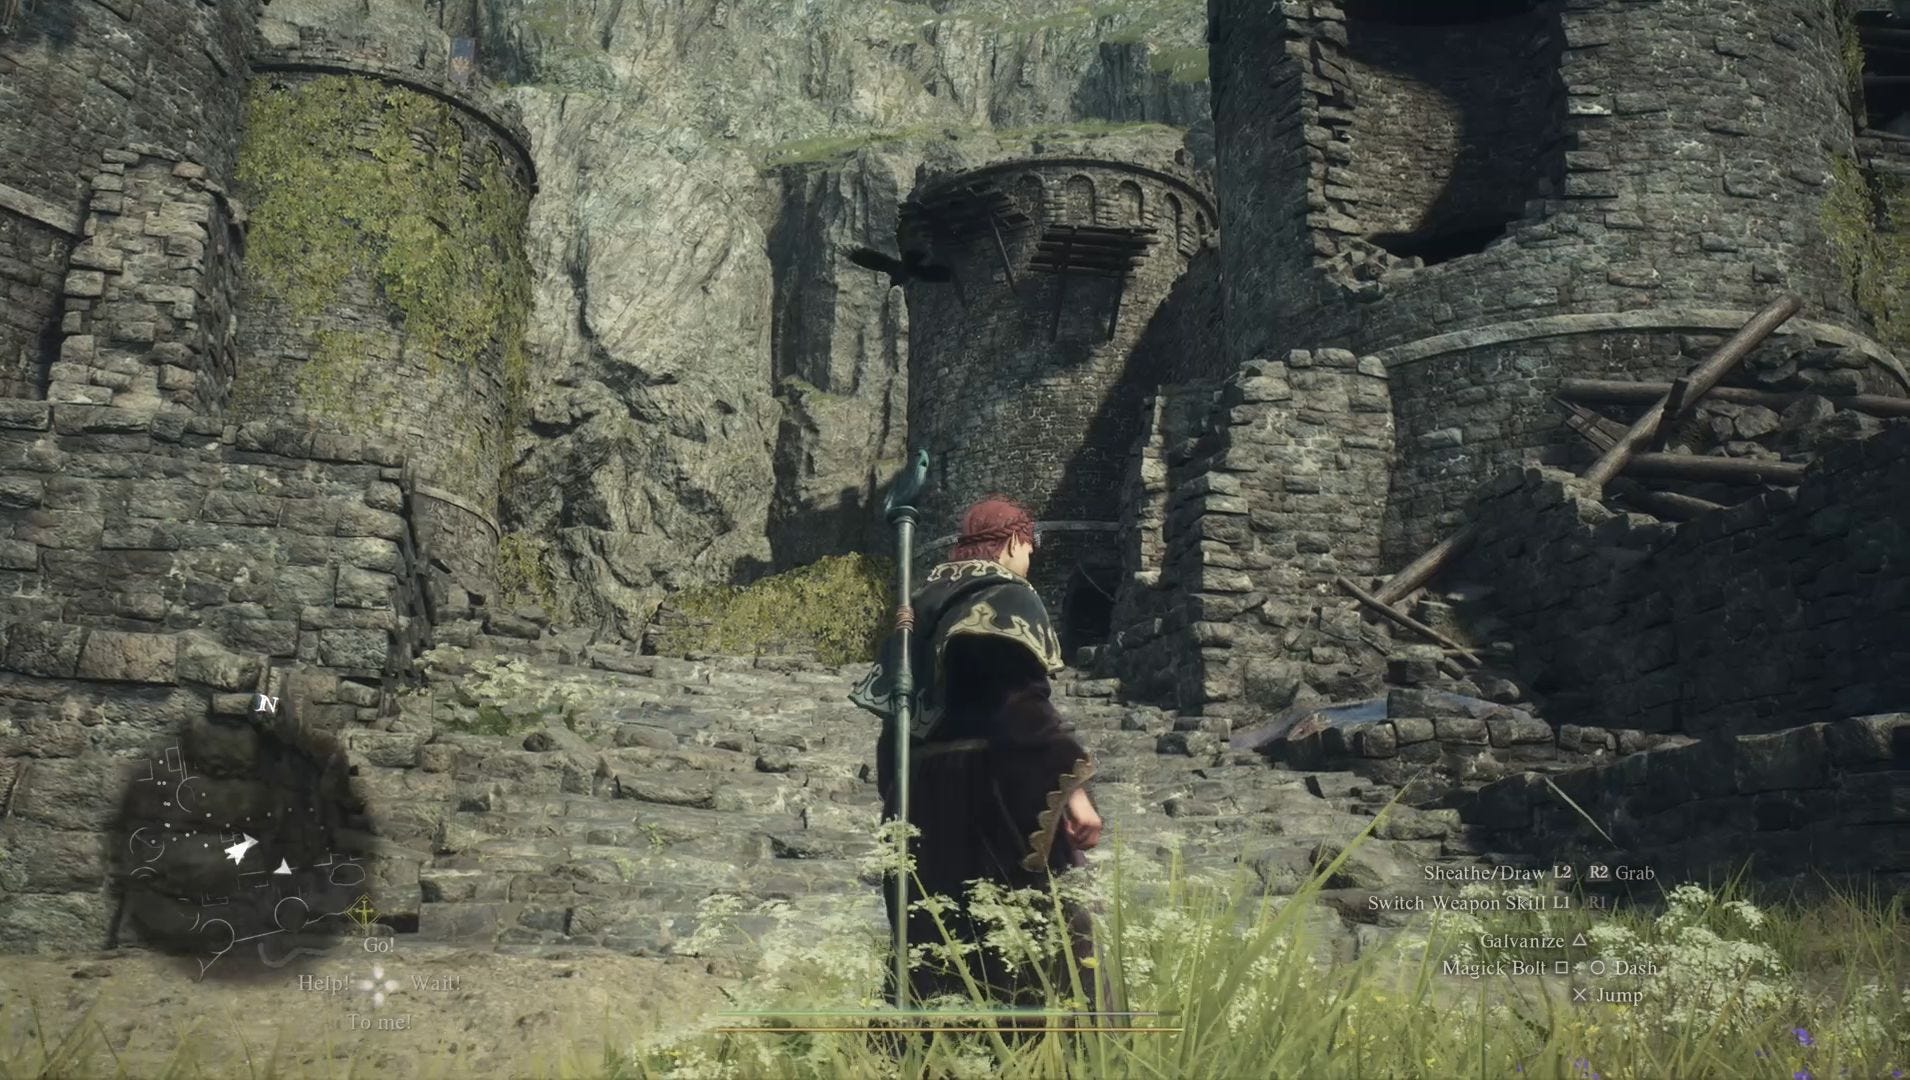
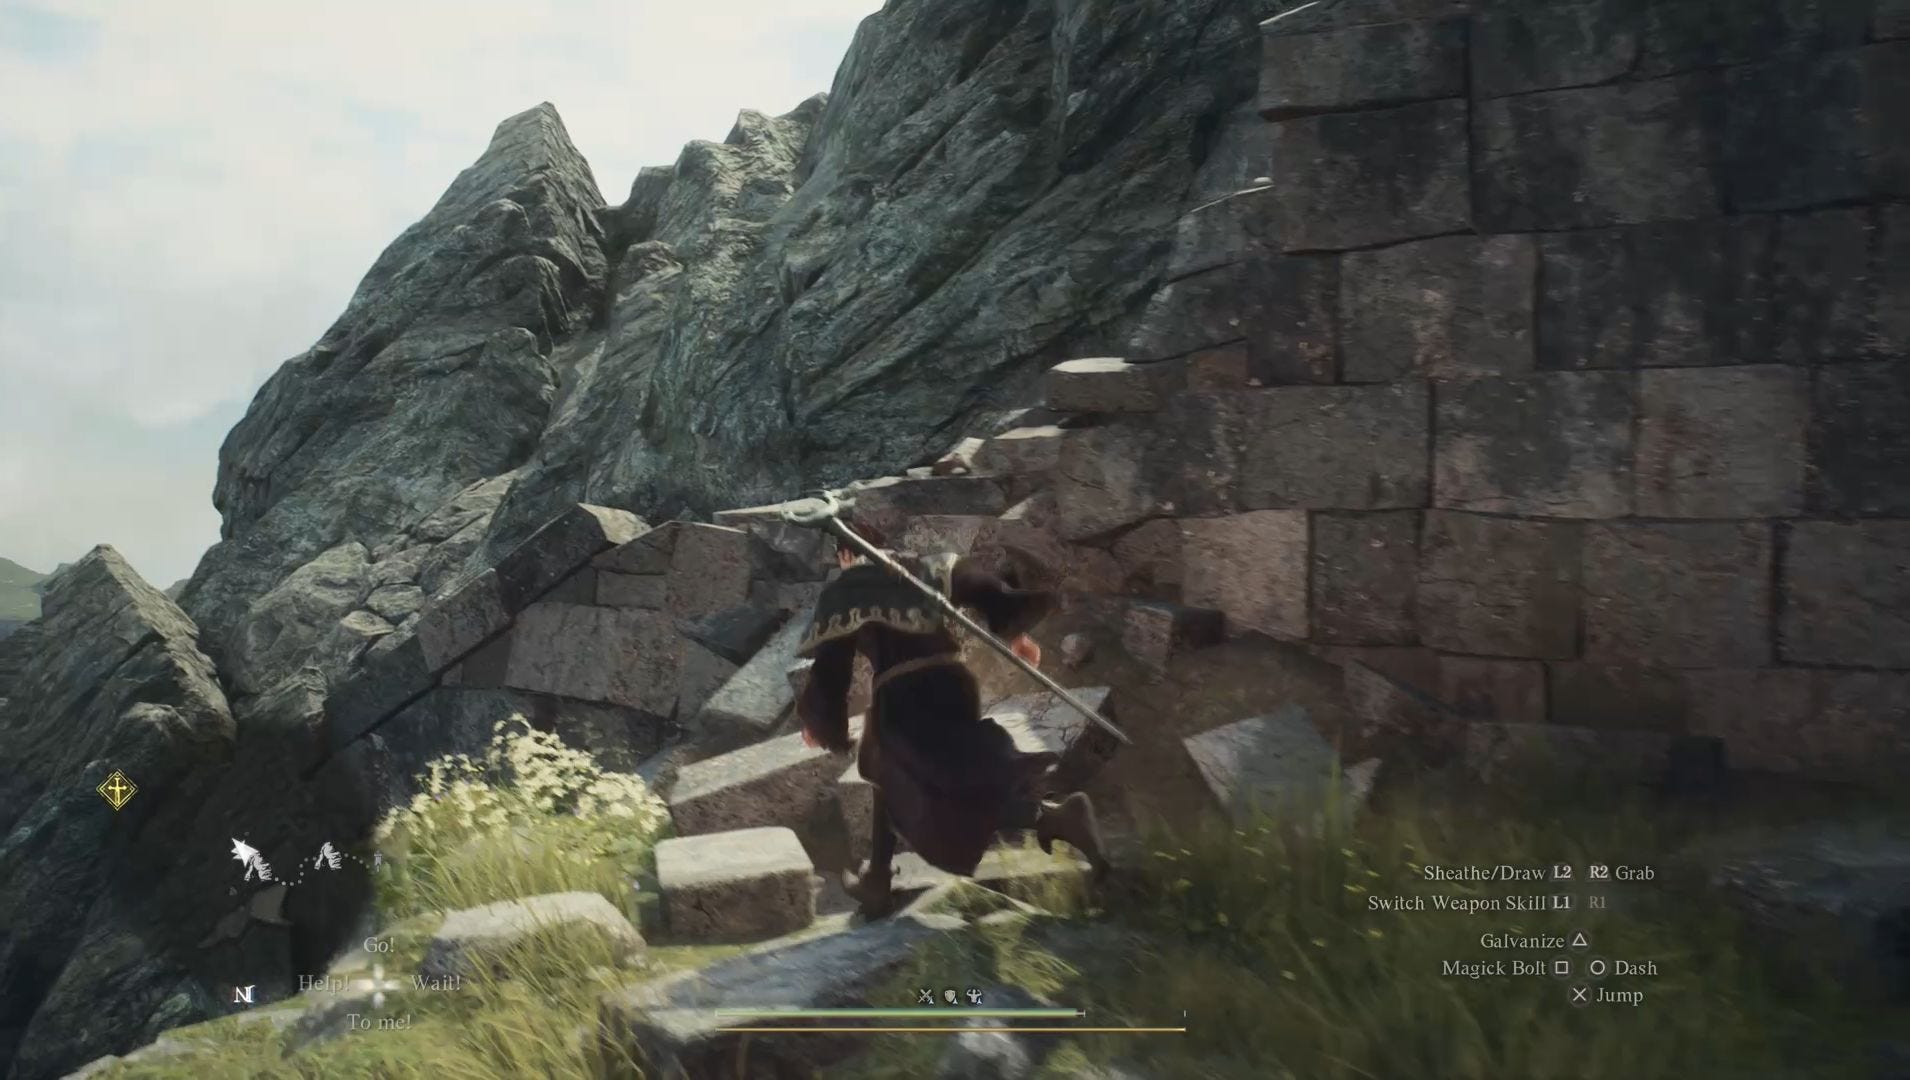
With the golem defeated, you can now safely continue through the Ancient Ruins, going down the Shrine Corridor, until you come to a cliff face. All you have to do here is look to your right to find a place where you can easily climb up onto the stairs which will lead you to the Sphinx. Don't forget to place your Portcrystal nearby!
Frontier Shrine location
One way to reach the Frontier Shrine in Dragon's Dogma 2 is to jump aboard the Sphinx as she departs from the Mountain Shrine. This, however, is easier said than done, so here's how you can reach the Frontier Shrine on foot.
To reach the Frontier Shrine, you first have to go to the Checkpoint Rest Town. This can be easily reached by taking the oxcart at the western bridge of Vernworth.
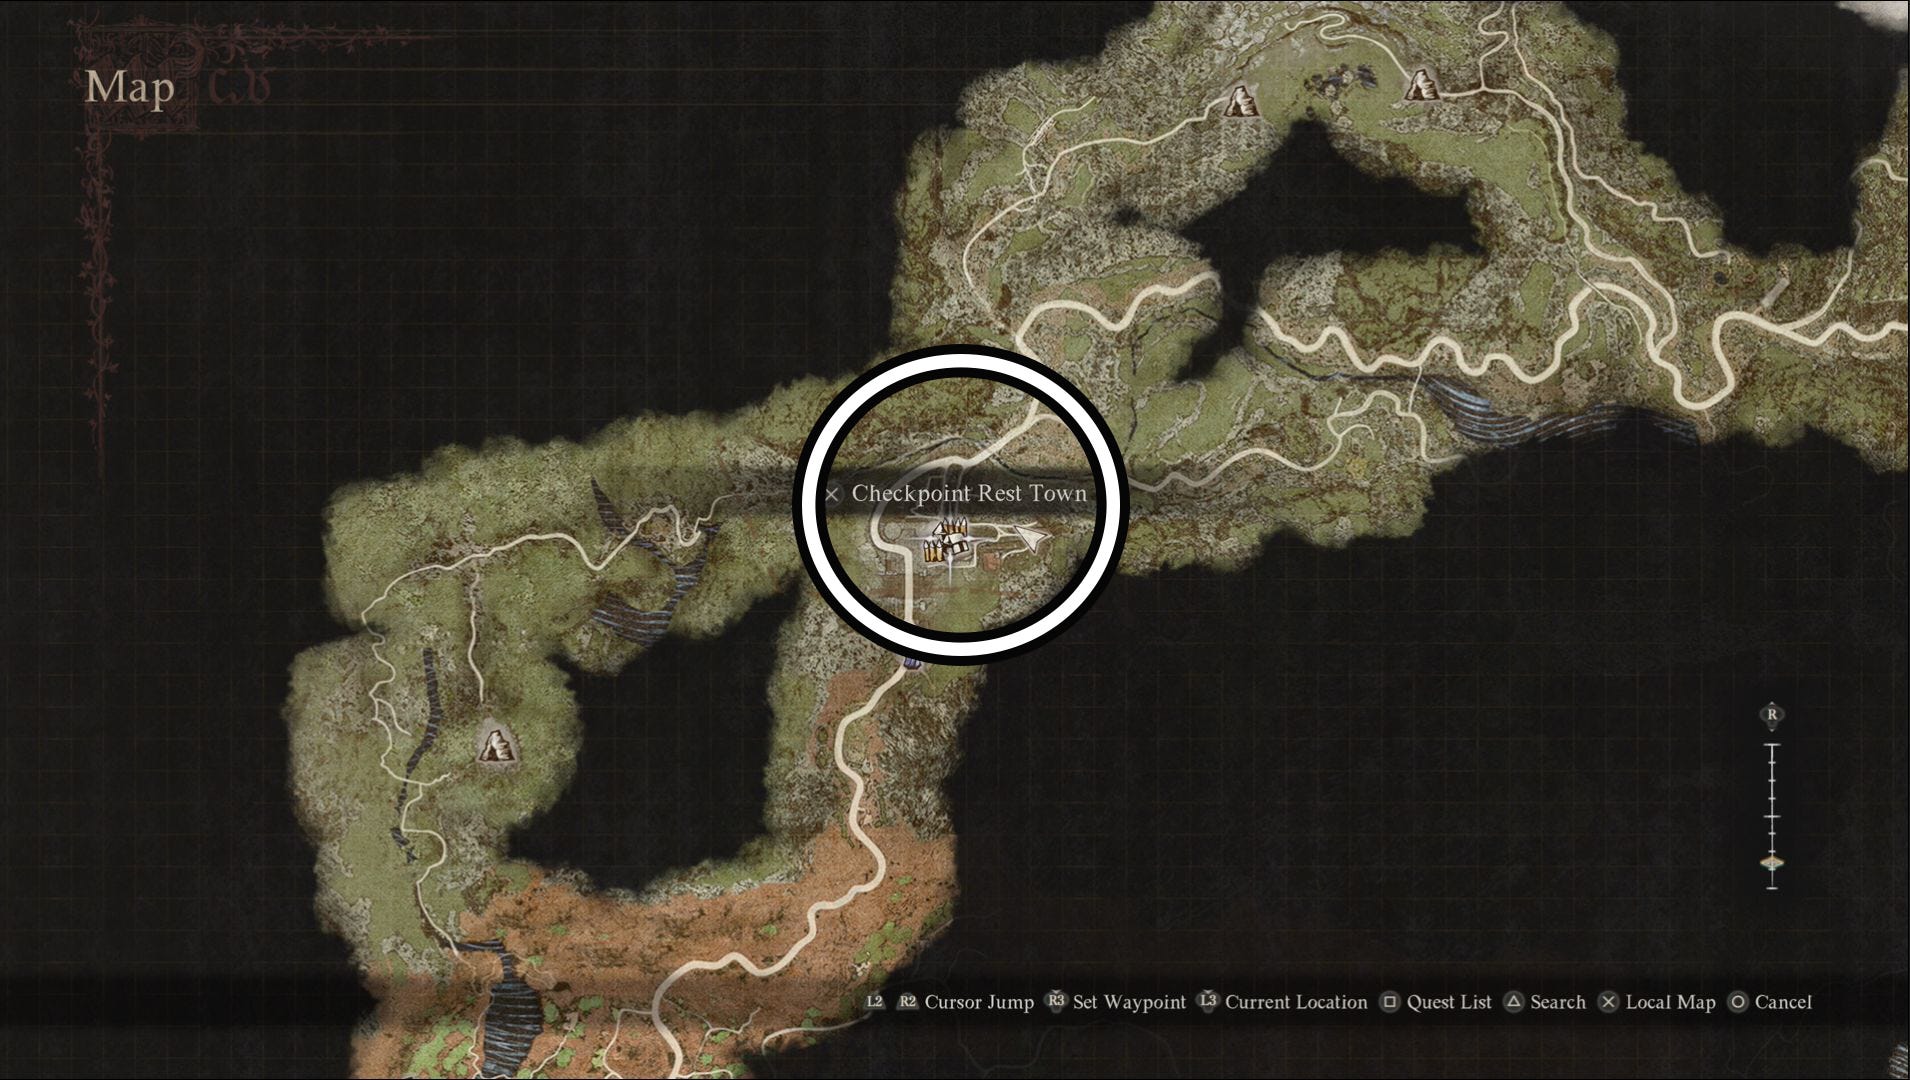
Before you depart from the Checkpoint Rest Town, however, it's a good idea to switch your Vocation to a melee-based one, like Fighter, if you're not currently playing as one as this will make one of the future riddles easier to complete.You'll also want to make sure you're stocked up on healing supplies as the journey to the Frontier Shrine will see you encountering some dangerous monsters.
Once you're at the Checkpoint Rest Town, head down to the riverbank before going west and walking beneath the bridge.
You'll now want to continue following the river until you reach a set of climbable rocks which will lead you into a short cave. This cave, and the area on the other side, is home to a number of rock-skinned saurians, so make sure you're ready for a fight. Fighting these monsters will probably lead you to a small watery-area, but to reach the Sphinx you actually need to climb some rocks in the cave.
These rocks can be found at the end of the cave - very close to the outside near the watery area we just talked about. Climb up them and follow the cliff until you come to a fragile bridge.


Now since this bridge can be destroyed, it's a good idea to get across it as quickly as possible and stay on the other side as you deal with the wolves who'll ambush you. Don't worry about your Pawns - they will magically appear by your side if they happen to fall down the cliffside.
After dealing with the wolves, you can continue following the path up the mountainside but you'll very shortly find yourself being ambushed by an ogre. It's a good idea to defeat this orge and then visit the nearby campsite. (You'll find a path that leads down to it close to the fragile bridge.) We highly recommend visiting this campsite, because you'll shortly find yourself under attack once again.
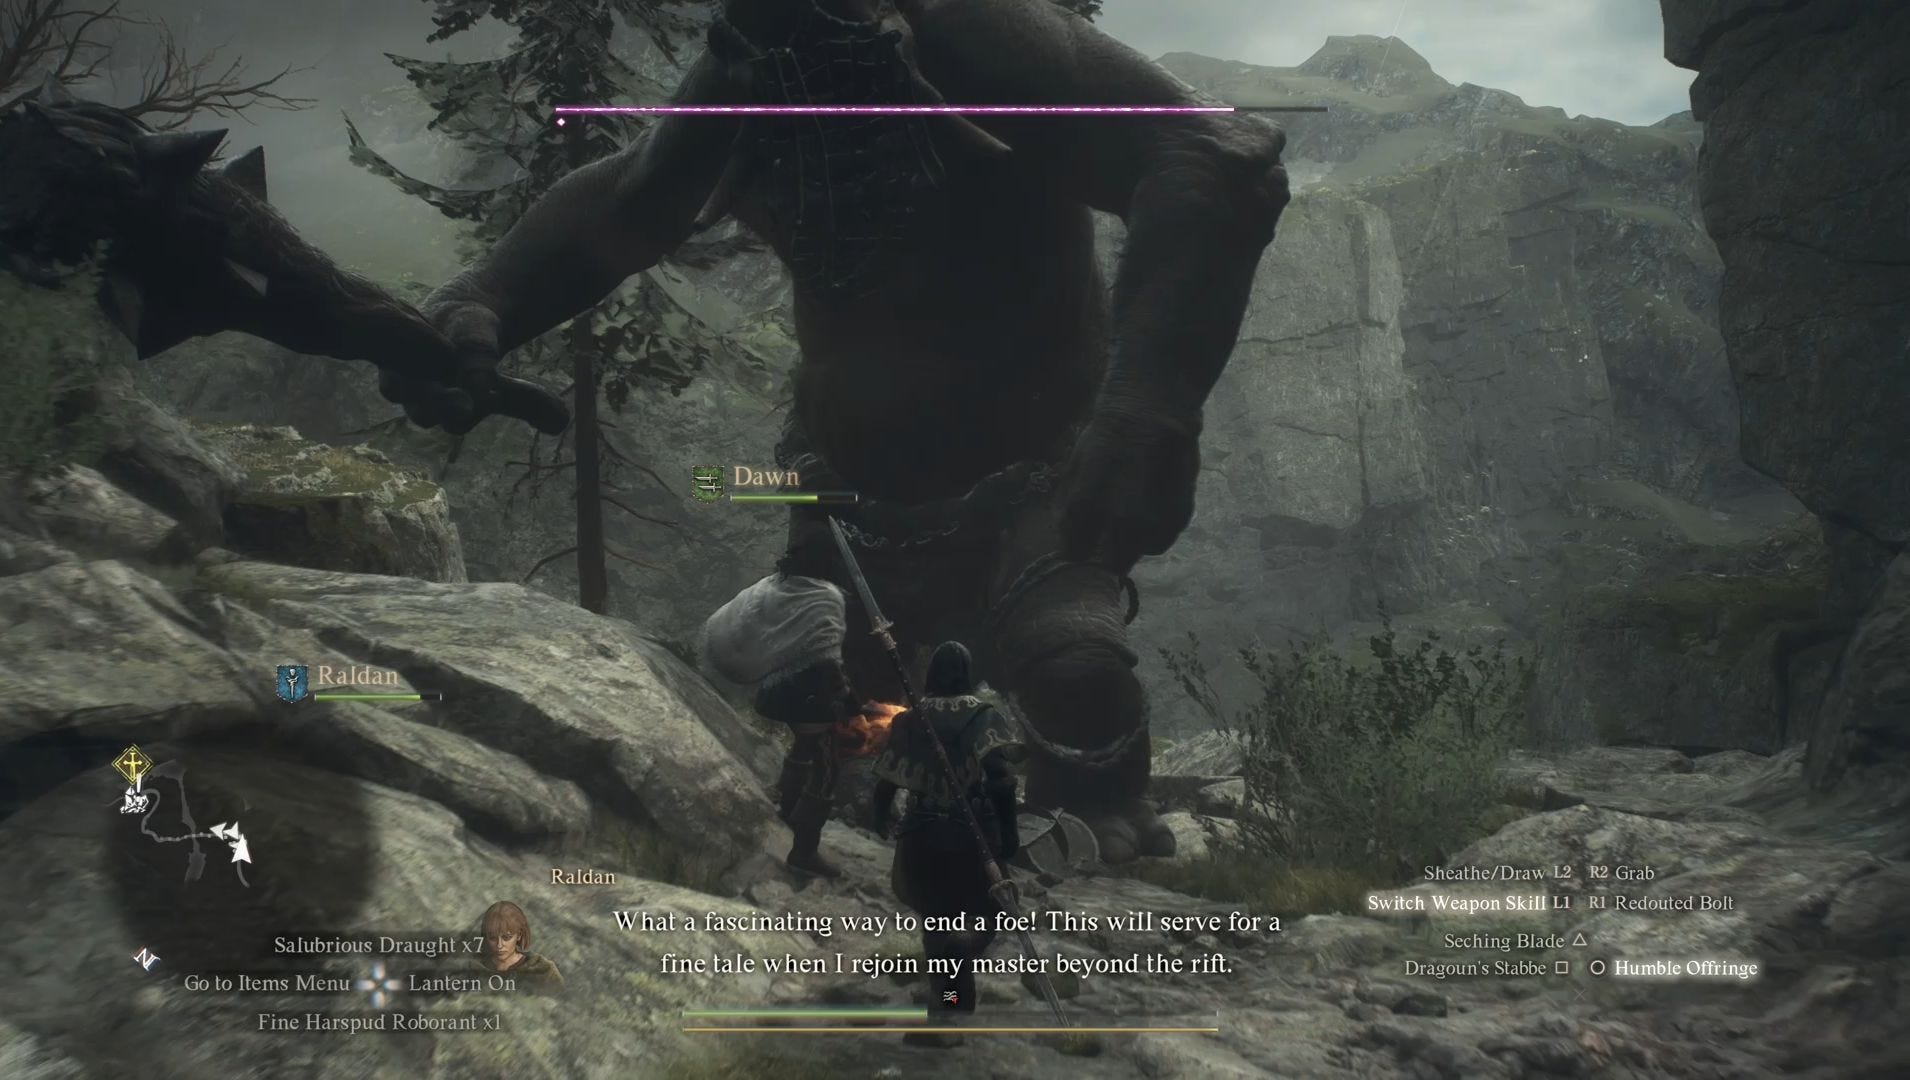
With the ogre defeated, you can safely continue up the path and go through a short cave. Now if the area beyond this cave is full of mist and heavy rain - which it most likely will be - you'll soon find yourself being attacked by a minotaur and a chimaera. You can either choose to defeat these two monsters or make a mad dash for the Frontier Shrine.
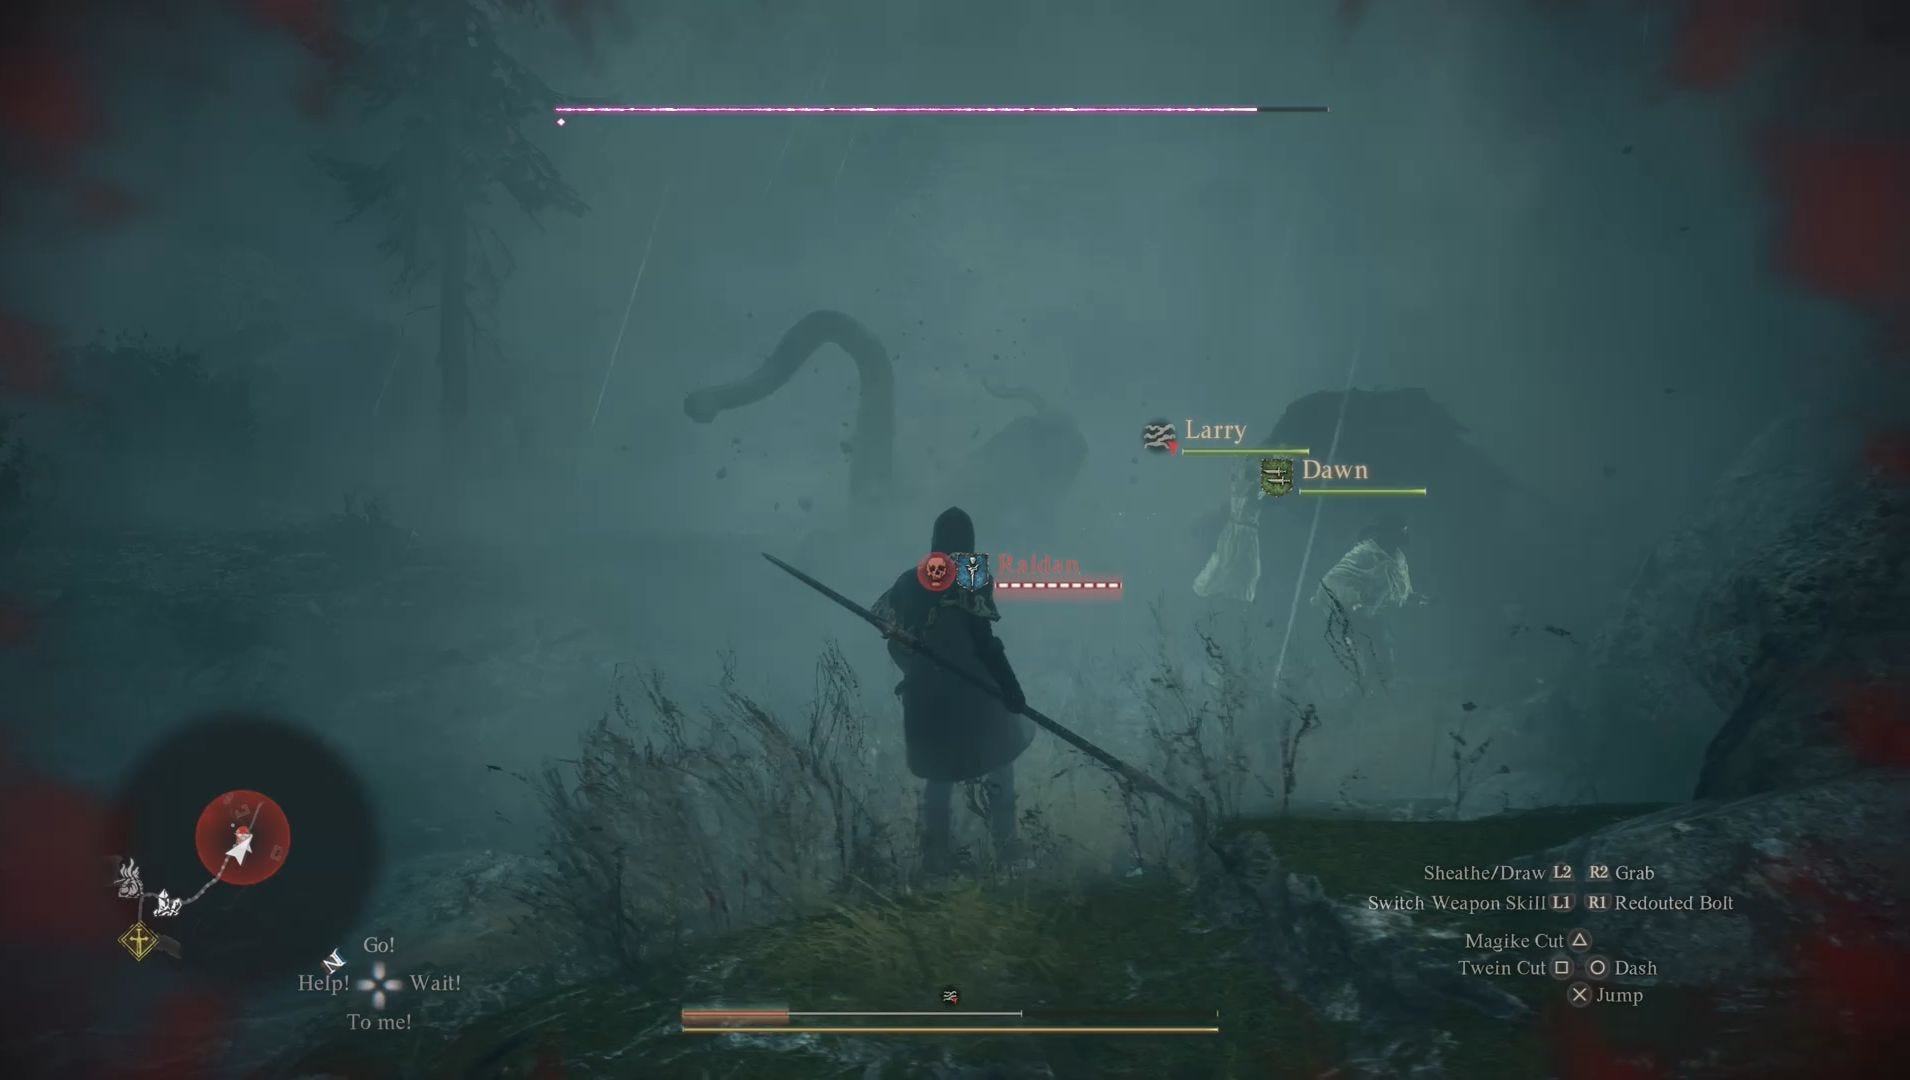
To reach the Frontier Shrine, you'll want to keep a close eye on your mini-map for a spot where the path branches off to the south. The weather makes it hard to see when this occurs, especially at night, so you may find yourself having to backtrack if you don't have one eye on the map.
When you find this branching point, head south and climb over the pillar. Now all you need to do is continue following the path until you reach the Frontier Shrine. Make sure you place a Portcrystal upon arriving!

What happens if you fail a Sphinx riddle in Dragon's Dogma 2?
Unlike in mythology, failing one of the Sphinx's riddles does not lead to instant death in Dragon's Dogma 2. Instead, you simply forfeit the reward for that riddle, lose the ability to earn the ultimate reward for solving the riddles and won't be able to earn the associated trophy in this playthrough. (Which, as a completionist, I'll admit is a form of instant death.)
Since you can only attempt to solve each riddle once, you need to be very careful with your save files if you think you're at risk of failing a riddle. This means saving before attempting to solve a riddle and quickly returning to the title screen without saving before autosave clocks in. A more reliable, but costly both in gold and travel, would be to save at an inn before attempting to solve a riddle. That said, you may find yourself losing other forms of progress using this method.
Good luck solving the Sphinx's riddles in Dragon's Dogma 2!