Zelda Tears of the Kingdom Timawak Shrine solution
Link didn't start the fire.
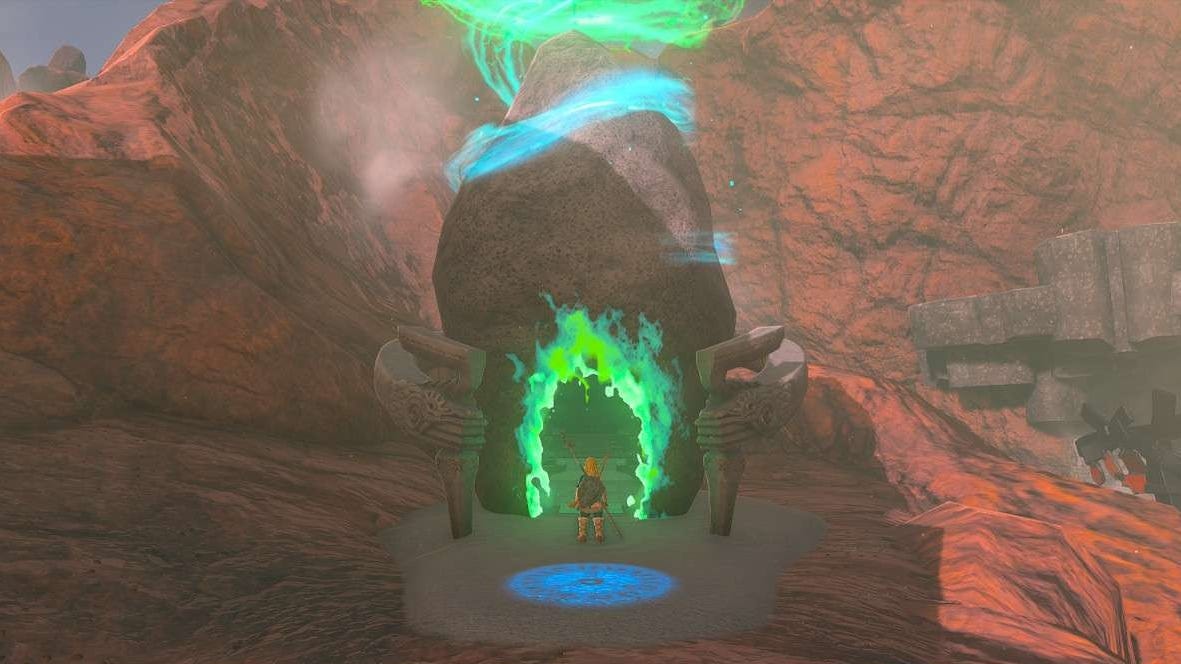

The Timawak Shrine in Zelda Tears of the Kingdom can be found in Eldin Canyon, just above Goronbi Lake.
Similarly to Zelda: Tears of the Kingdom’s other Shrines, Timawak Shrine serves up a puzzle that’ll get you thinking about the game’s abilities sandbox in different ways. In this case, it’s in a situation more perilous than others with lots of lava.
Prepare to put your Ultrahand ability to work with a bit of paragliding, and get ready to dive into our guide on how to complete the Timawak Shrine in Zelda: Tears of the Kingdom.
On this page:
If you want to learn more about Link's quest, visit our walkthrough and tips guide for Zelda Tears of the Kingdom.
Timawak Shrine location in Zelda Tears of the Kingdom
The Timawak Shrine can be found in Eldin Canyon, just above Goronbi Lake on the map.
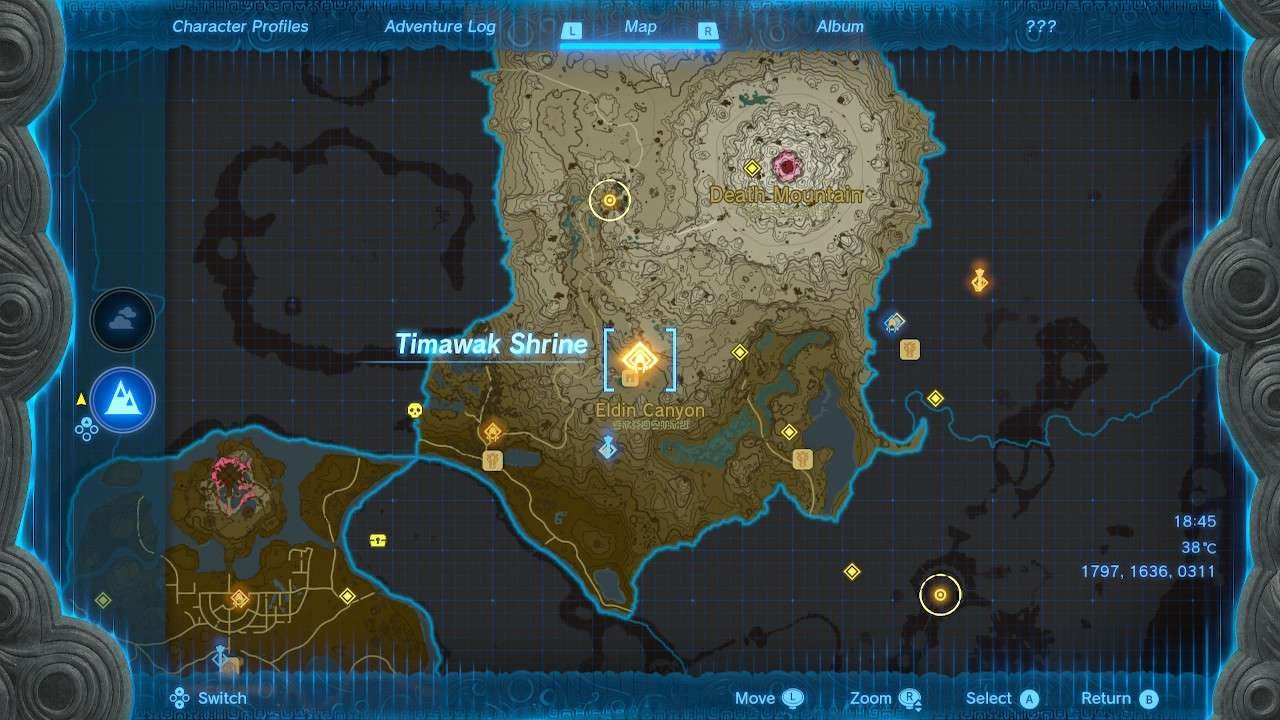

The images above show the Shrine’s exact location, but if you’ve yet to unlock this area on your map with the Eldin Canyon Skyview Tower, the coordinates for Timawak Shrine are (1799, 1638, 0311).
Timawak Shrine solution in Zelda Tears of the Kingdom
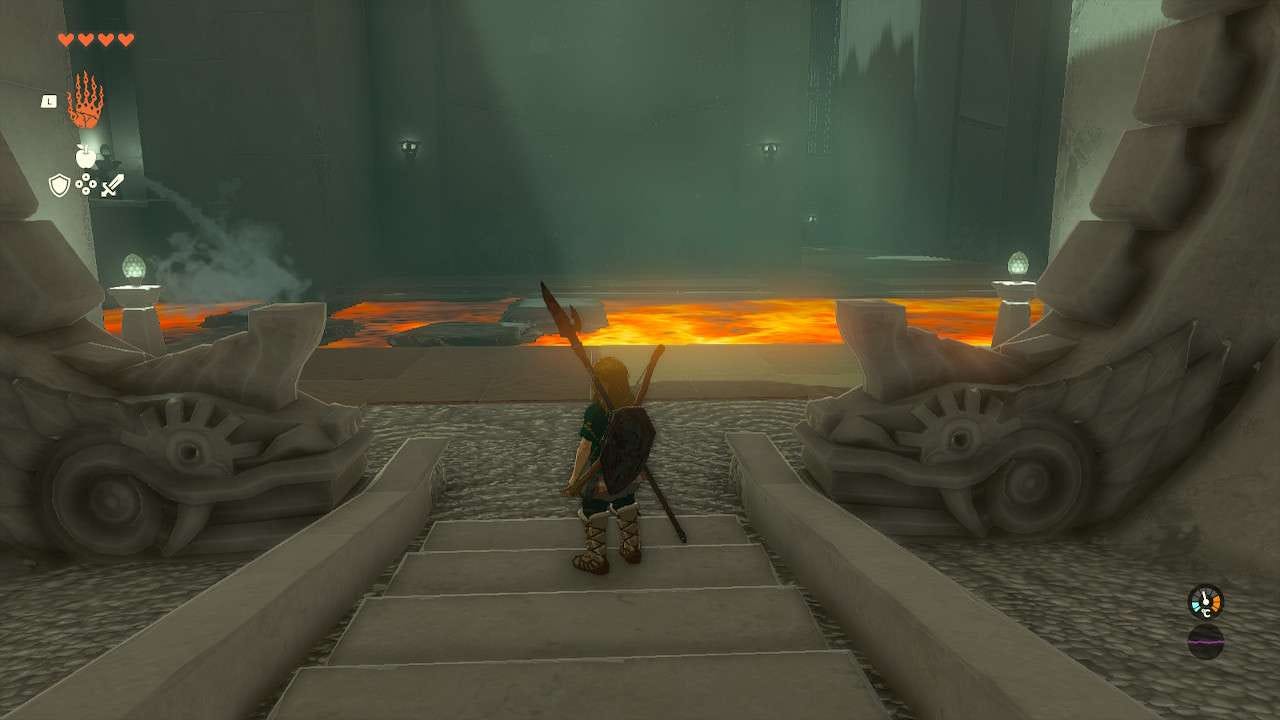
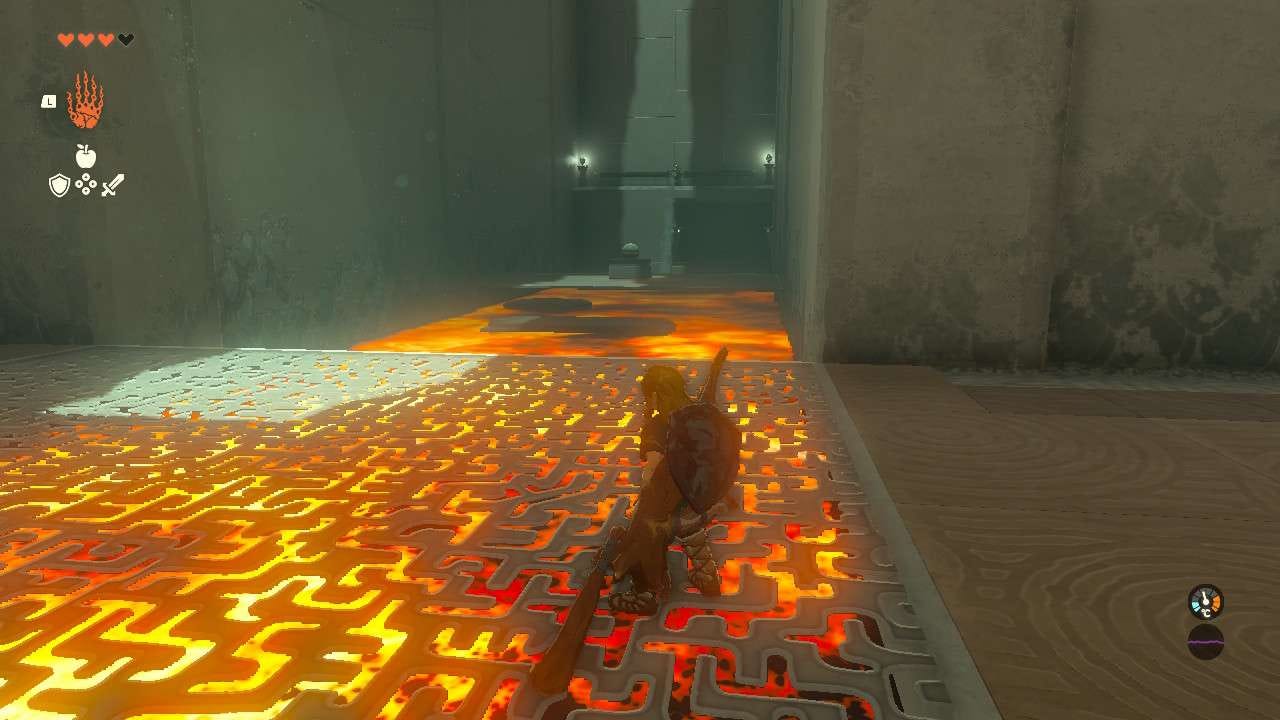
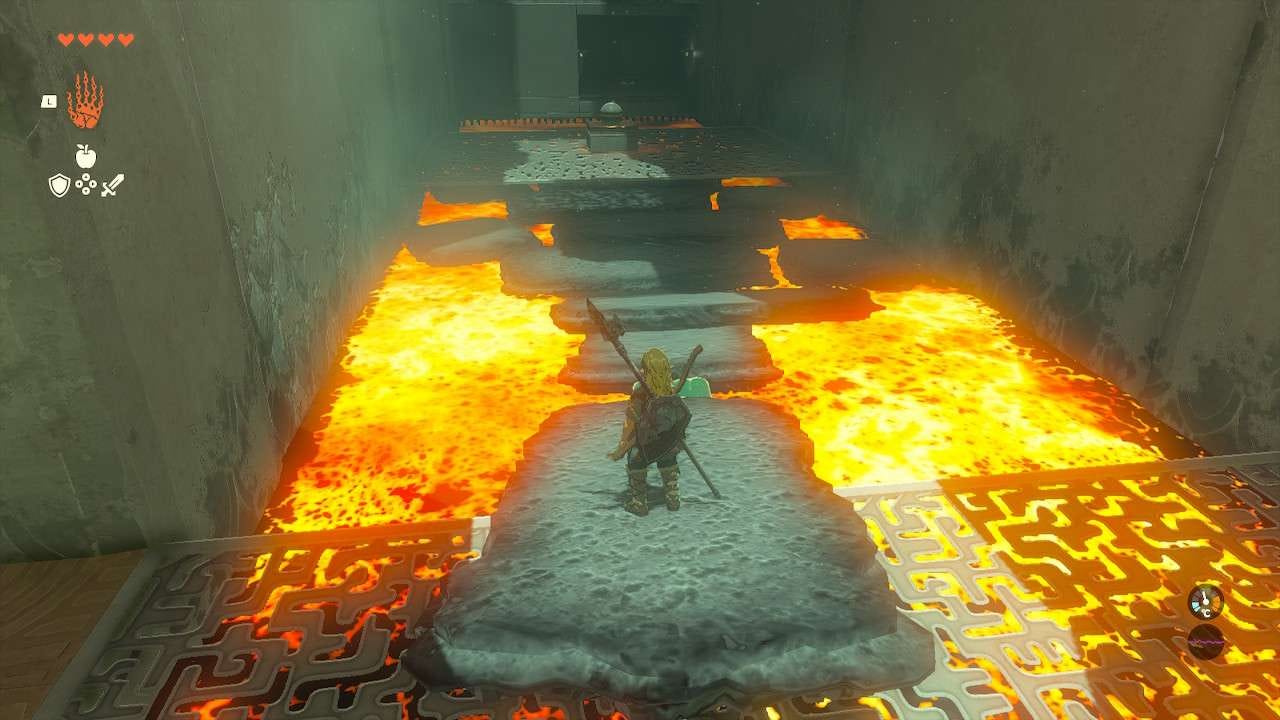
Very quickly after entering Timawak Shrine, you’ll notice this one is a bit more perilous than some of the other Shrines.
A river of lava awaits ahead, and your first goal is to cross safely to the other side – to do this, simply jump between the slabs forming on the surface of the lava until you reach safety on the other side.
Once across, around the corner is a singular enemy – take them down however you see fit.
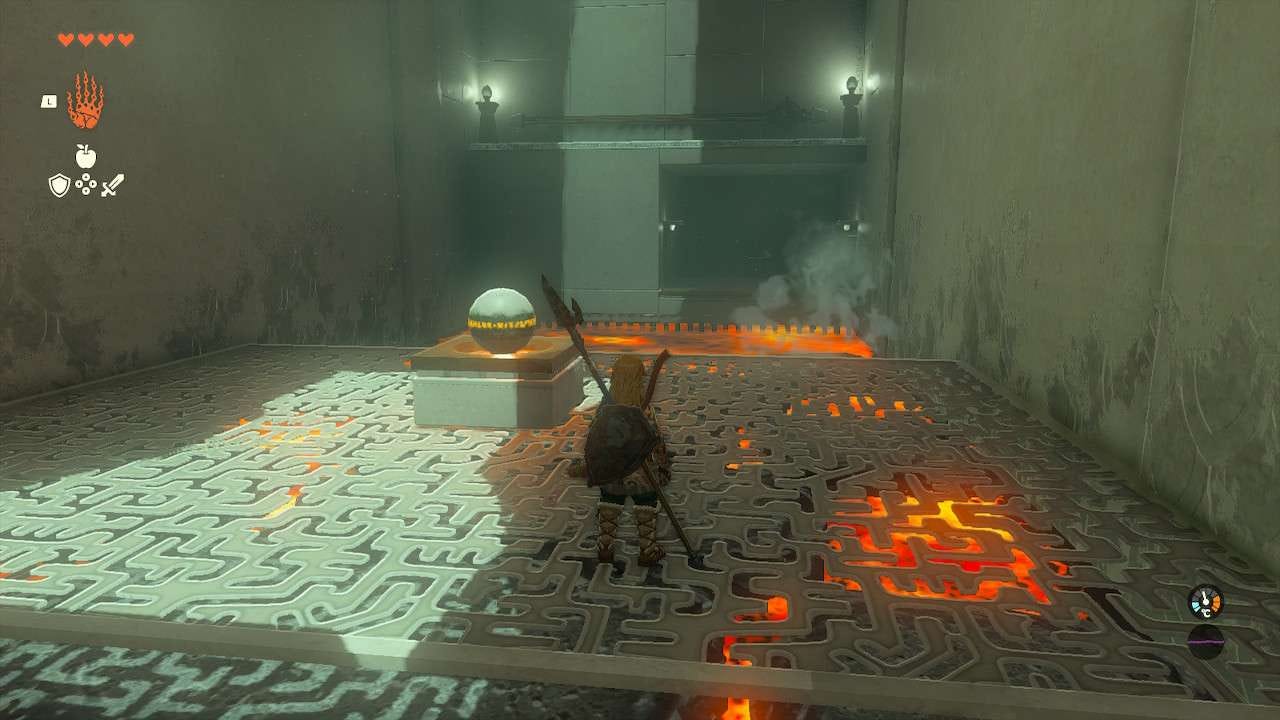
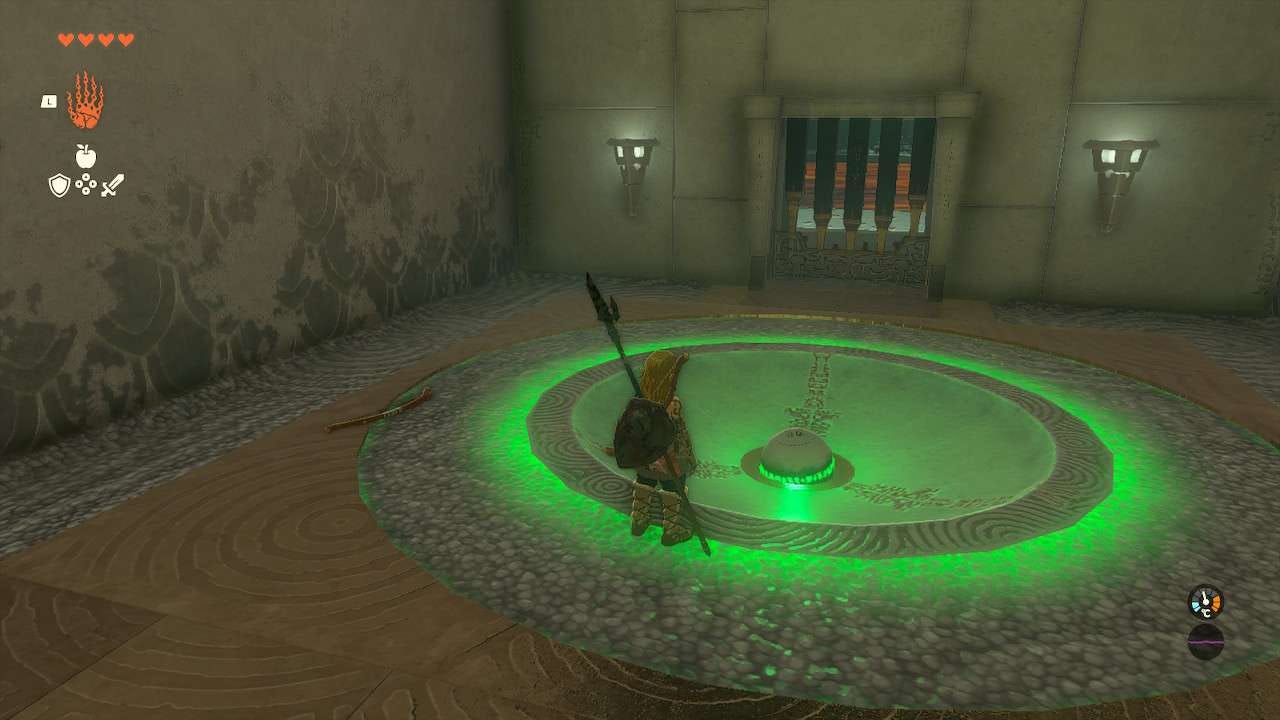
You’ll notice behind where the enemy was stationed, there’s a closed gate and an empty slot on the ground where an object needs to be placed – this is your next objective.
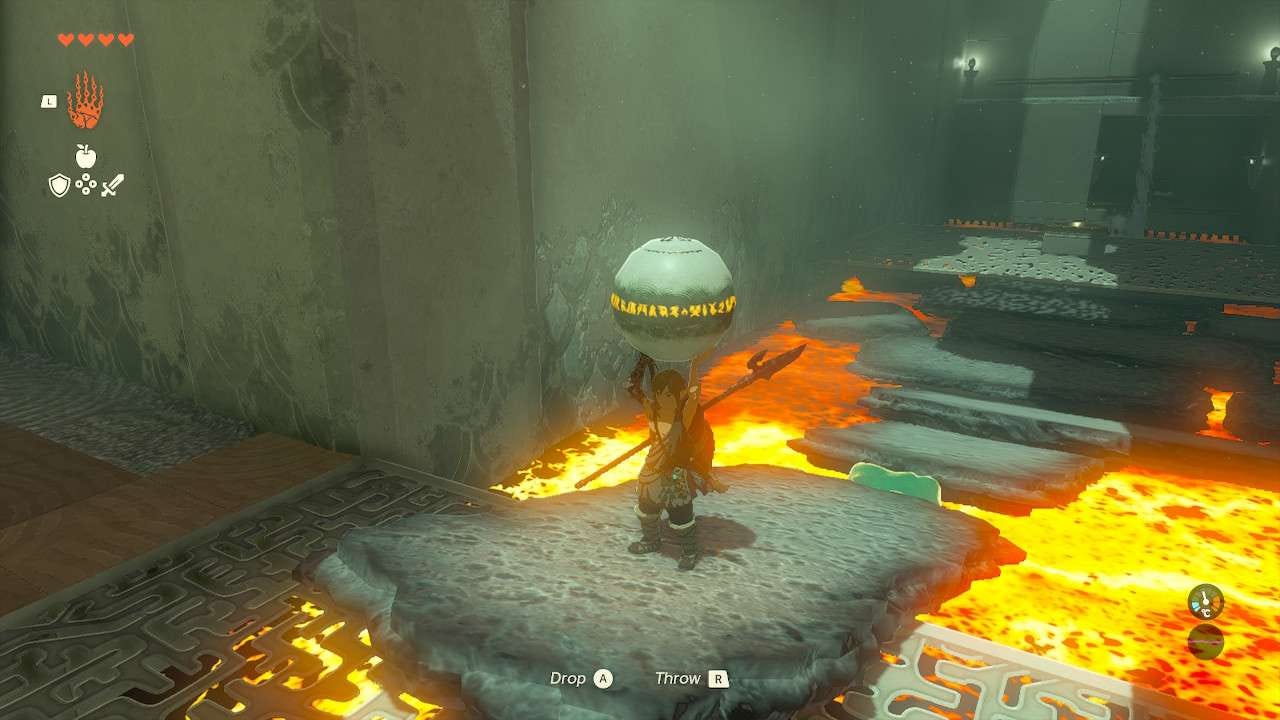
Standing on the metal grating near where you fought the enemy, off to the side you’ll see a connecting corridor with lava running underneath and on a platform above it, the orb you need to unlock the nearby gate.
To get across this gap however, platforming alone is not enough, so you’ll need to improvise.
Whilst you could technically stand on a slab and use Recall to reverse its movement to carry yourself across to the next platform, we’re going to use a safer method that’ll provide an extra bit of safety for our trip back.
Using Ultrahand, pick up one of the slabs – the wider of the two sorts – and move it on top of the metal grating, with half of it hanging over the lava, and the other half sitting firmly on the same level you’re on.
Once that’s done, it should be well-balanced and flat on the grating, and you’ll want to grab another slab and attach it to the end of the slab that’s hanging over the lava.
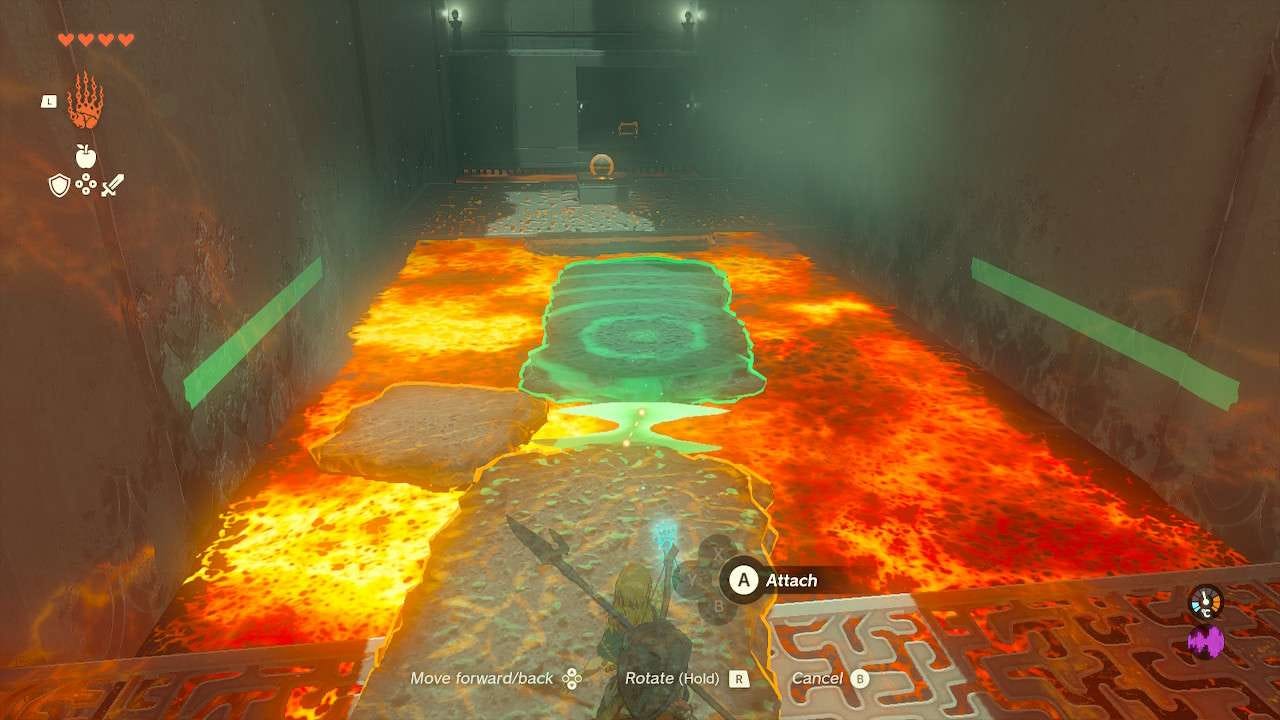
Doing so will shift the weight, tipping it into the lava, and from here, you could either attach more slabs using Ultrahand, or just simply wait as the slabs being created at the other end of the corridor make their way down and naturally get lodged in place by the blockage you’ve created.
Whichever option you go for, you’ll begin to have a safe path you can take to reach the orb, though just watch your step in case of any unintentional mishaps.
Before taking the key and returning to the gate however, be sure to look behind it and you’ll notice a secret chest hiding in an alcove at the back – you can continue your Ultrahand path, or just give it a few moments for the slabs to pile up and you’ll have a path there, though you might need a jump to close the gap between the final slab and chest, or attaching another slab with Ultrahand.
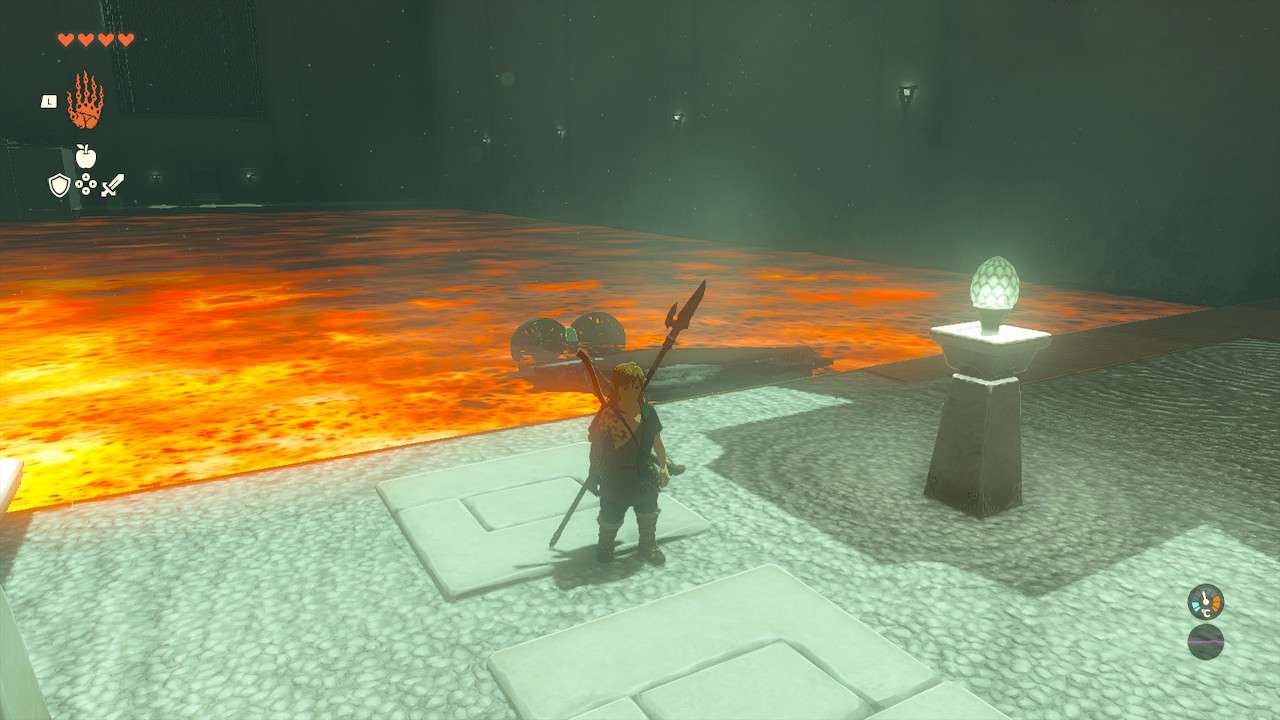
Once you’ve acquired your treasure, return along the path you created, picking up the perched orb along the way, and – after getting back to the gate – drop said orb into the opening on the ground to progress.
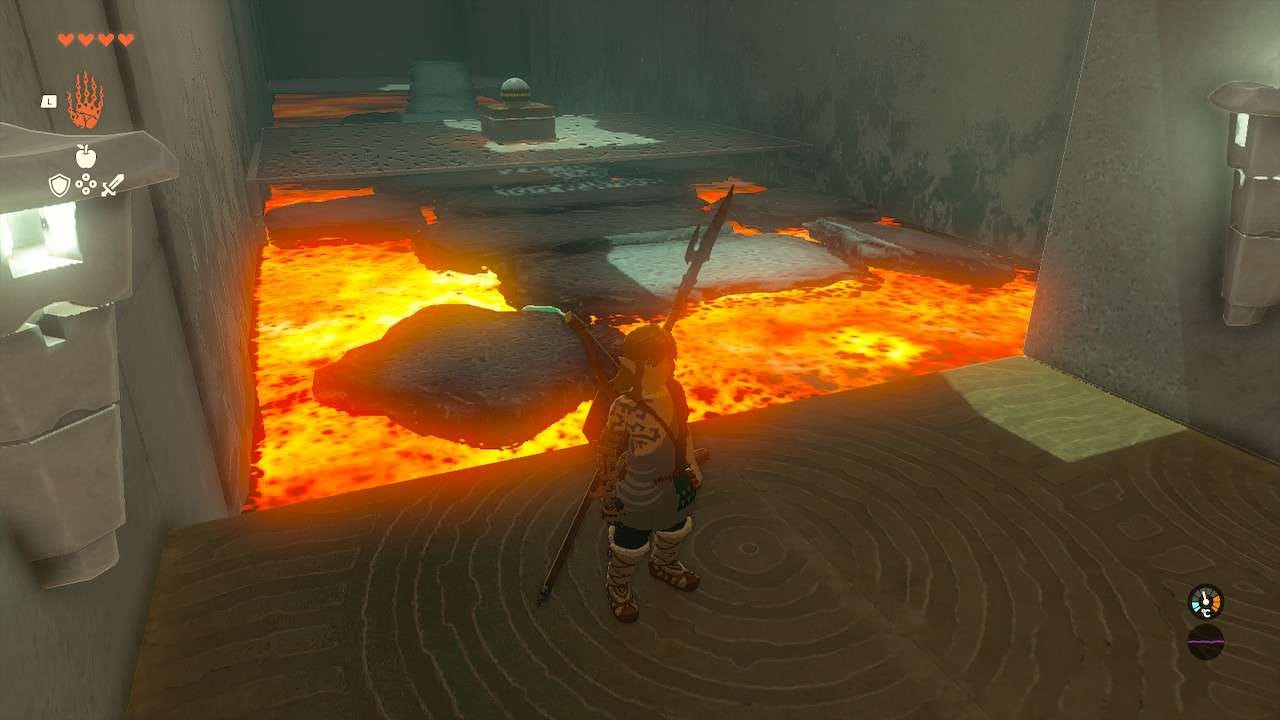
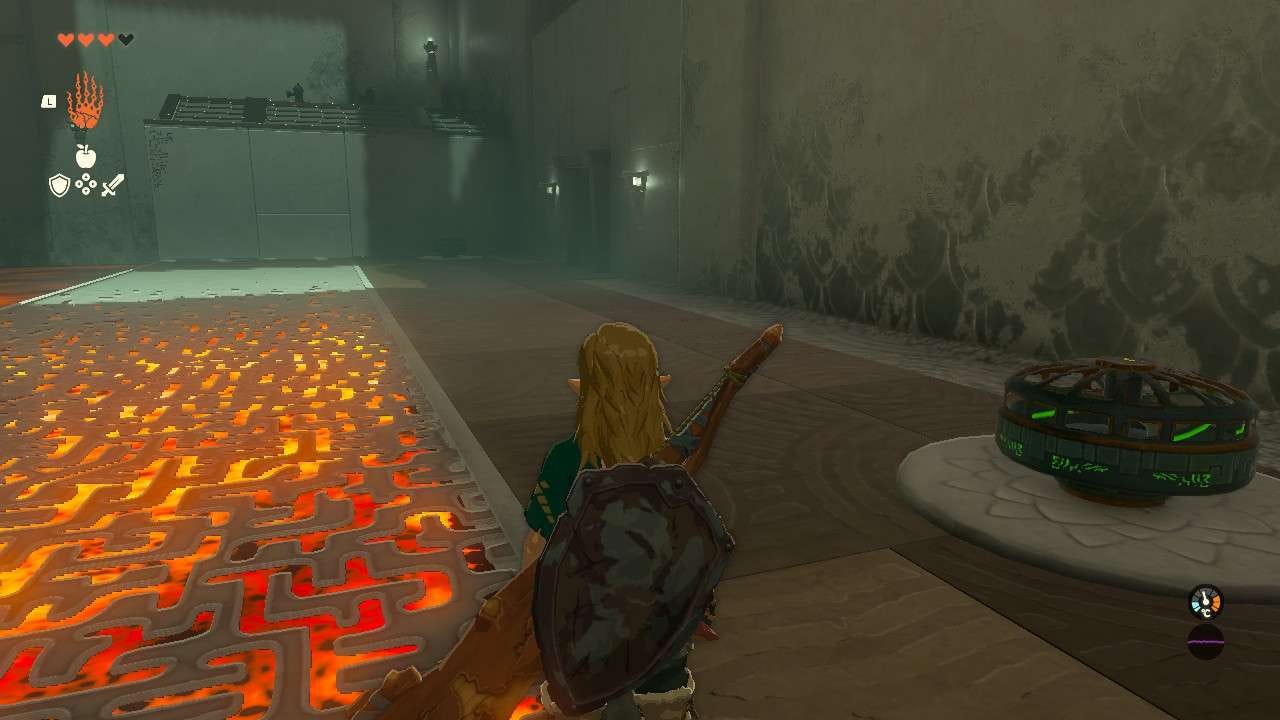
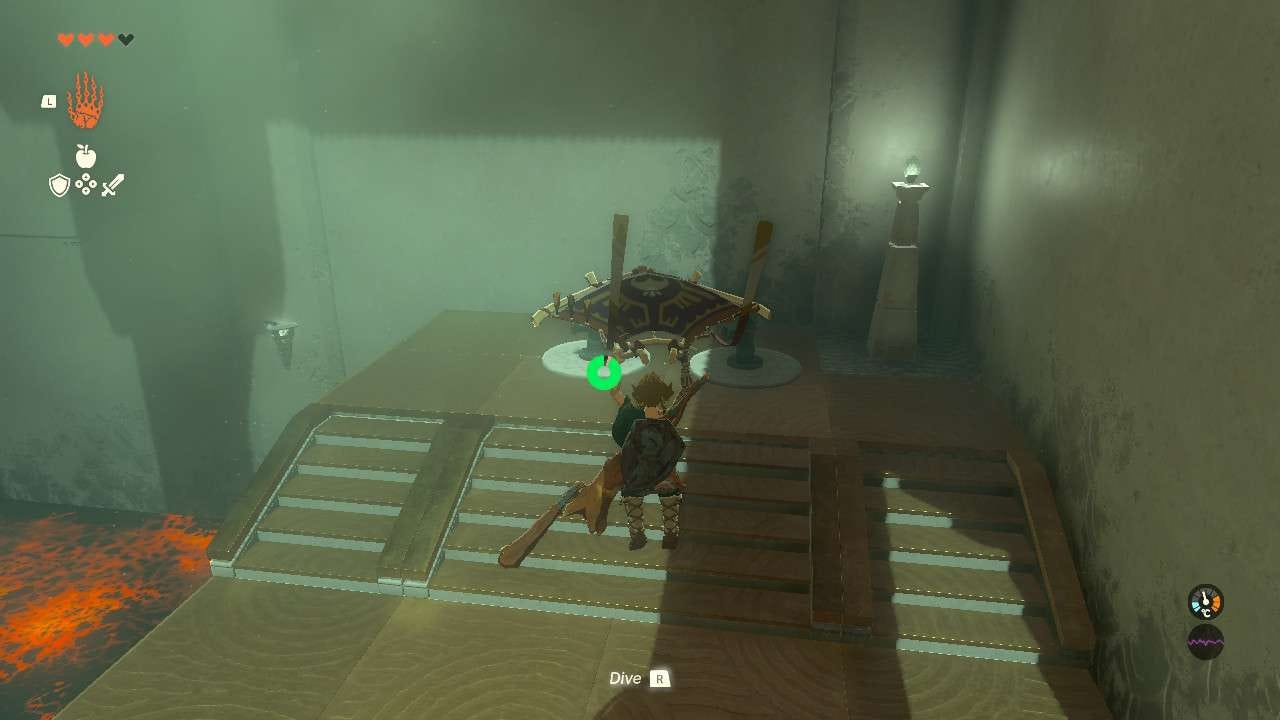
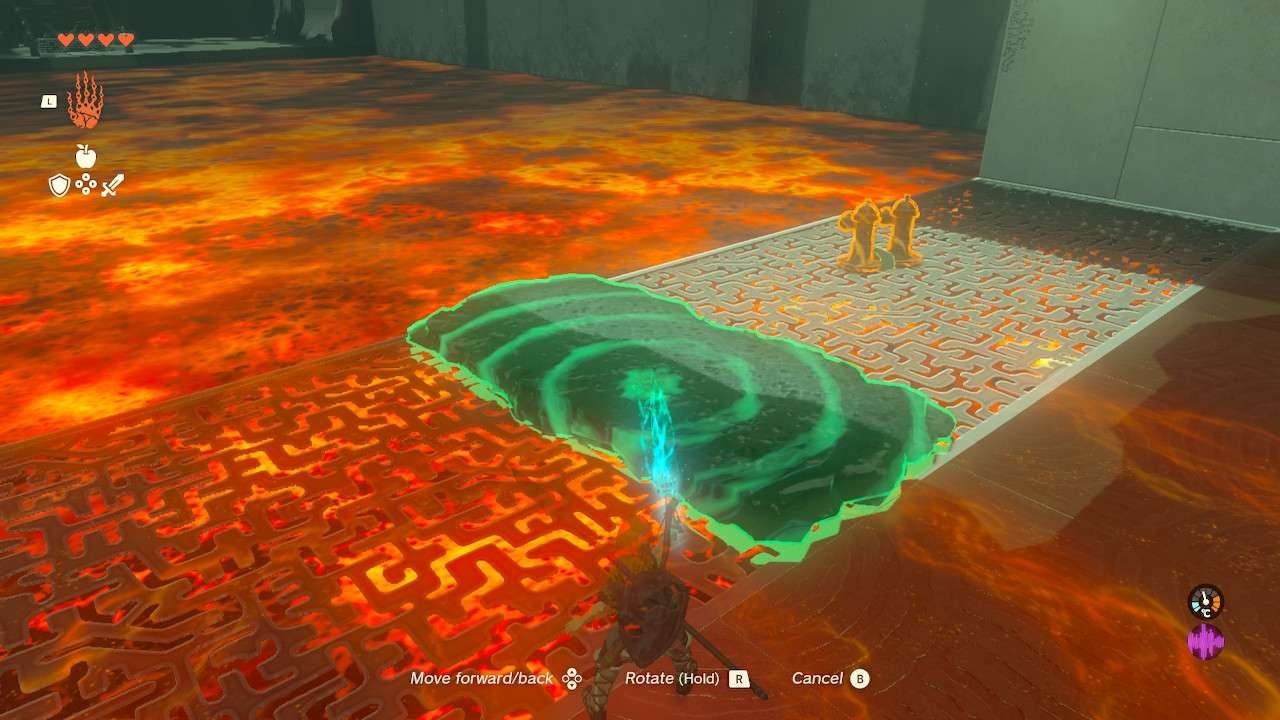
The next room is a little bit more tricky, and much more perilous with a huge river of lava to traverse.
As you enter, you’ll notice two fans, one in each of the left and right corners – this is where you’ll need your Paraglider.
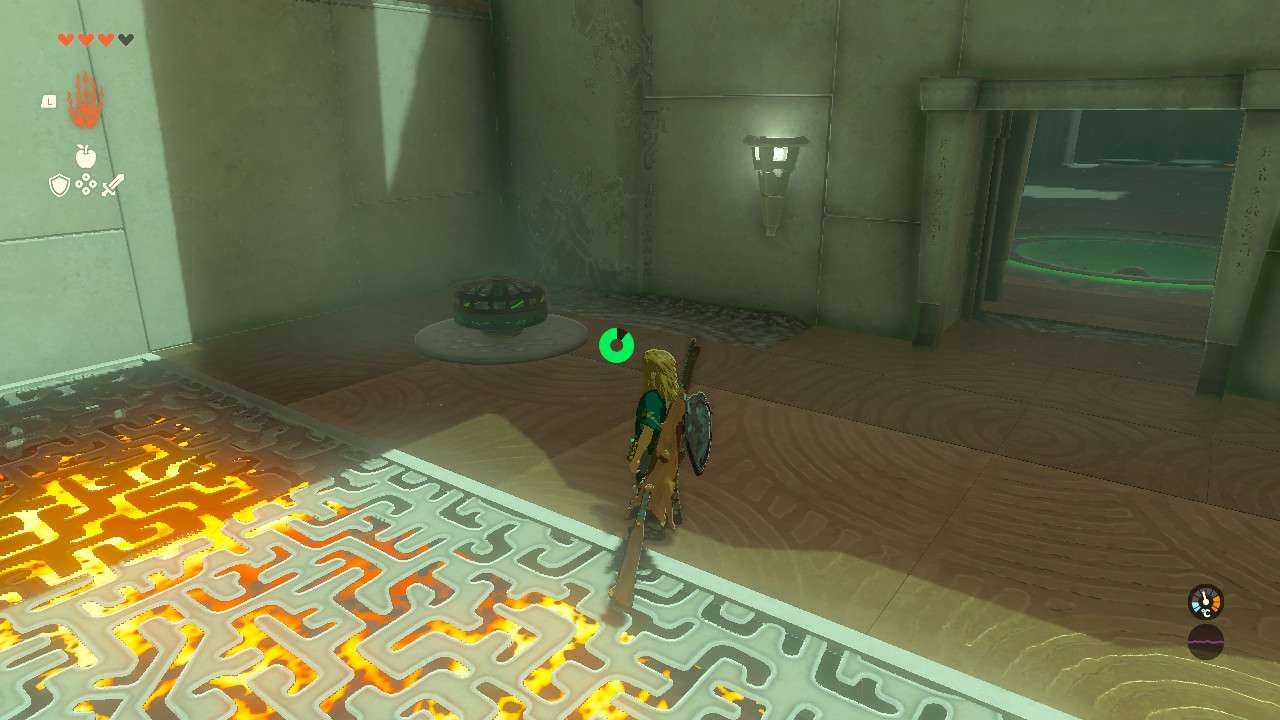
Activate the fan on your right by striking it with your weapon and it’ll create an updraft – jump above it and immediately press X to use the Paraglider and float up to the higher level on your right.
Up here you’ll notice two fire hydrants which you’ll need for this test – use Ultrahand and lower them both to the floor you just came from, then drop back down.
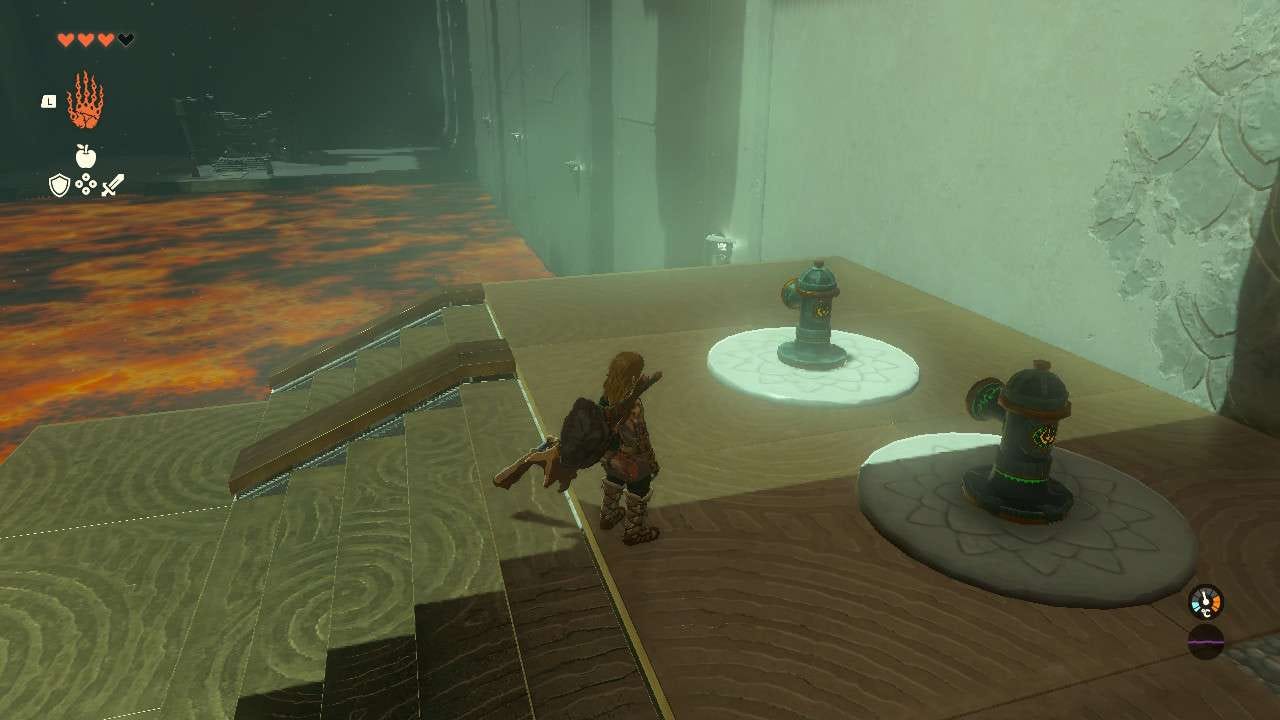
As with the fans, these fire hydrants can be activated with a weapon hit.
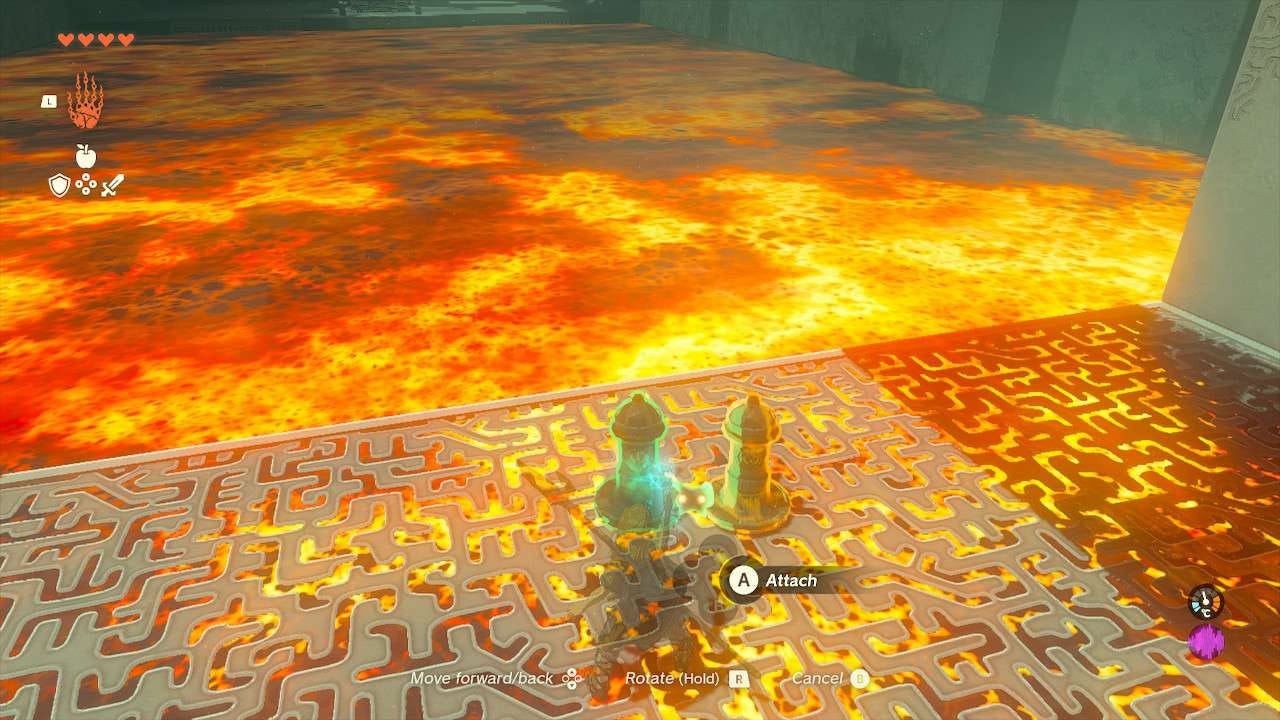
Whilst you could technically use a similar method from the previous room, there’s actually a much simpler approach for this room.
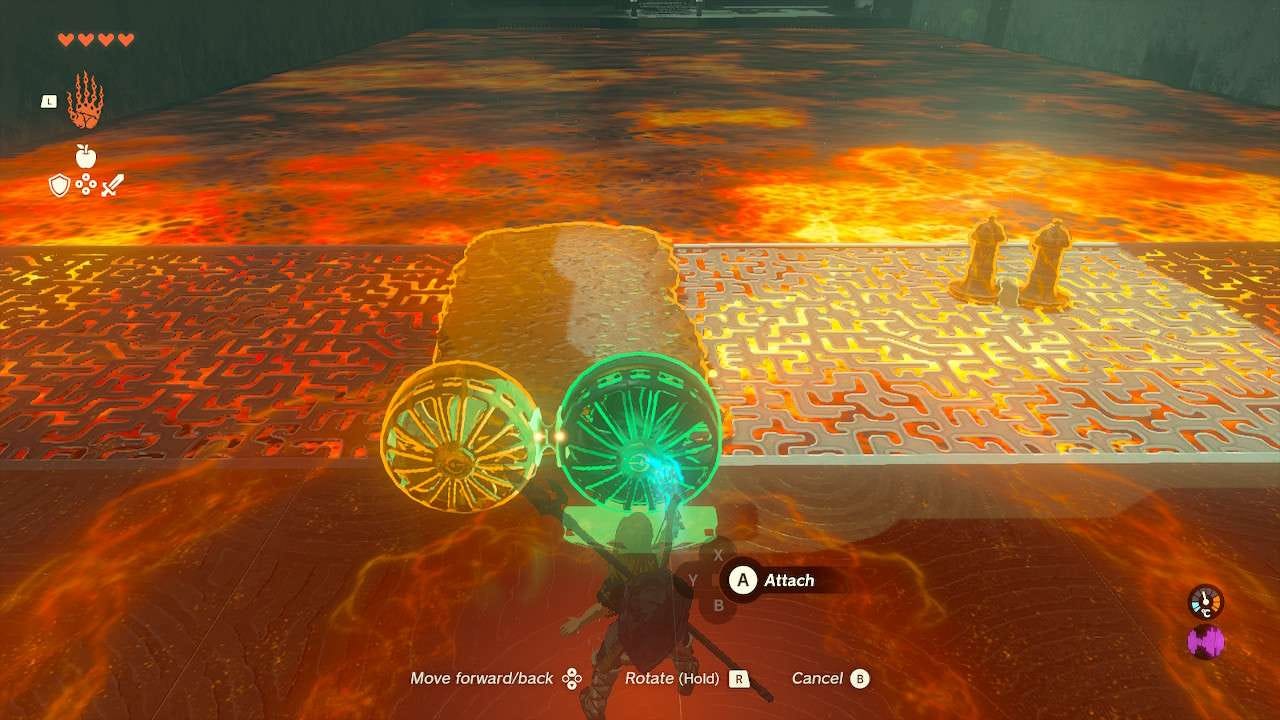
Take the two fire hydrants, ensuring they are both facing the same direction, and attach them together as one.
Using your weapon, activate them both and use Ultrahand to lift them up into the air to pour the water onto the lava, forming slabs like in the previous room.
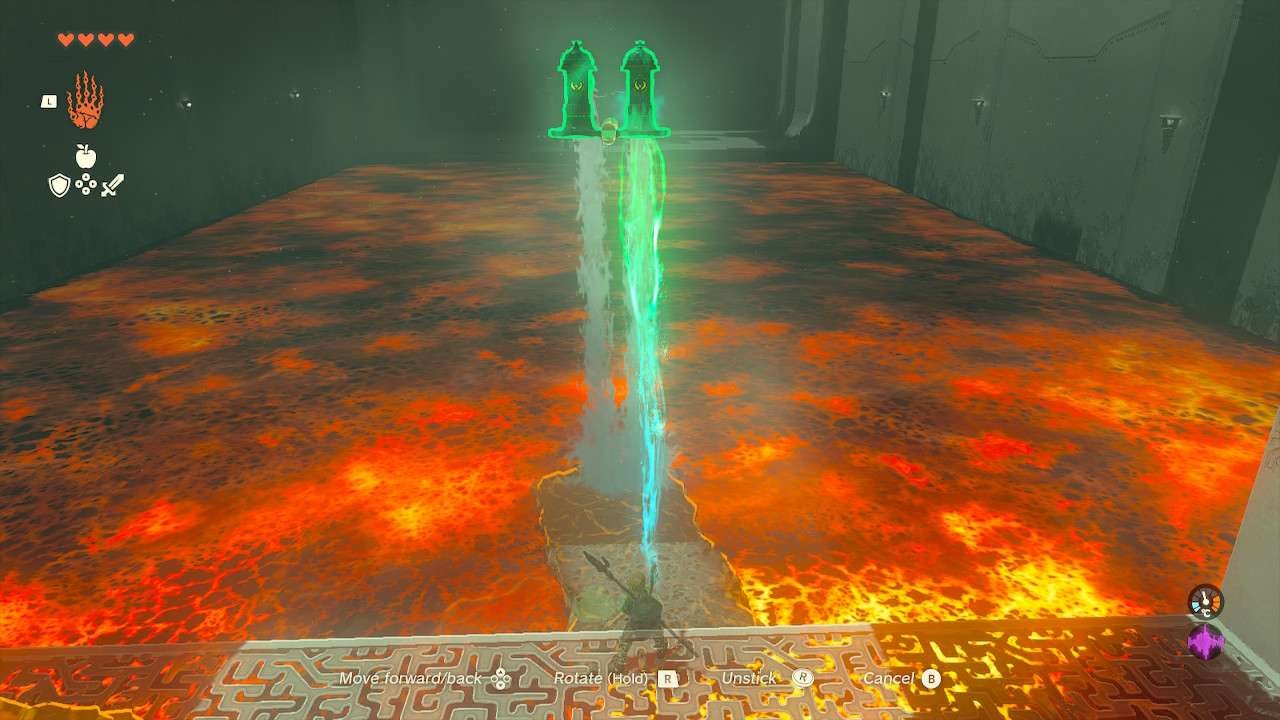
The goal here is to make one of the wider slabs, and then use Ultrahand to bring it up out of the lava and onto the floor you’re on.
This means you’ll have to make the slab, bring the fire hydrants to safety, and then quickly grab the slab before it moves away on the lava river underneath where you’re standing.
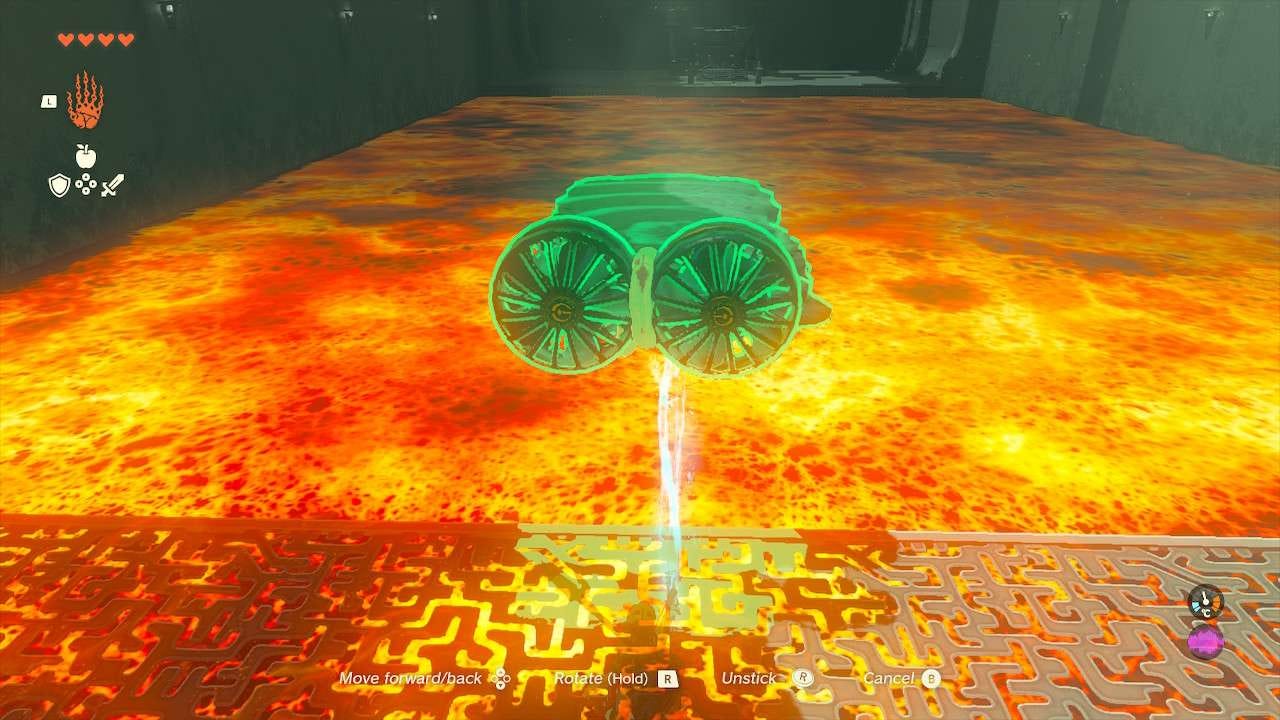
Once you’ve successfully grabbed one of the slabs, the two nearby fans will be needed, and it’s time to make a boat!
Make sure both fans are turned off, then attach them both next to each other at one end of the slab with their fans facing outwards.

Once that’s done, lift the boat into the lava, jump on top and hit the fans to take you directly to the other side of the room.
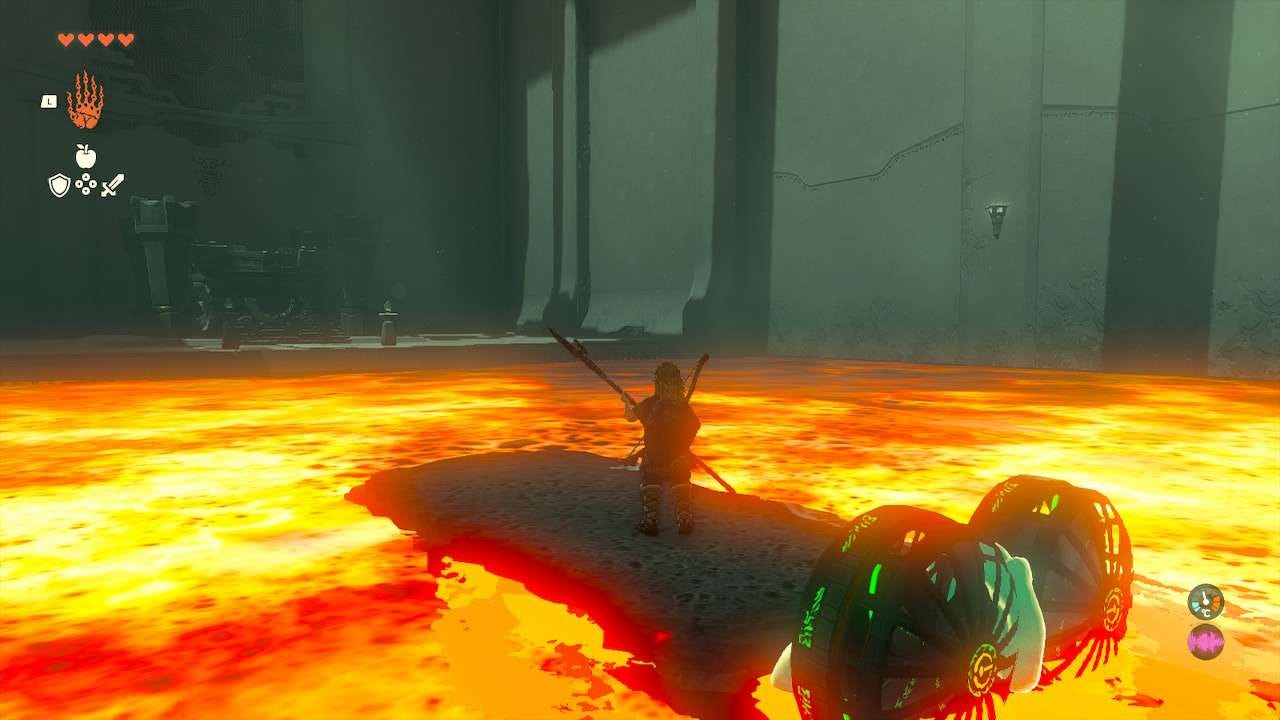
Once there, your Light of Blessing reward awaits!
If you’re on the hunt for more tips, tricks and guides, be sure to check out our Zelda Tears of the Kingdom walkthrough.