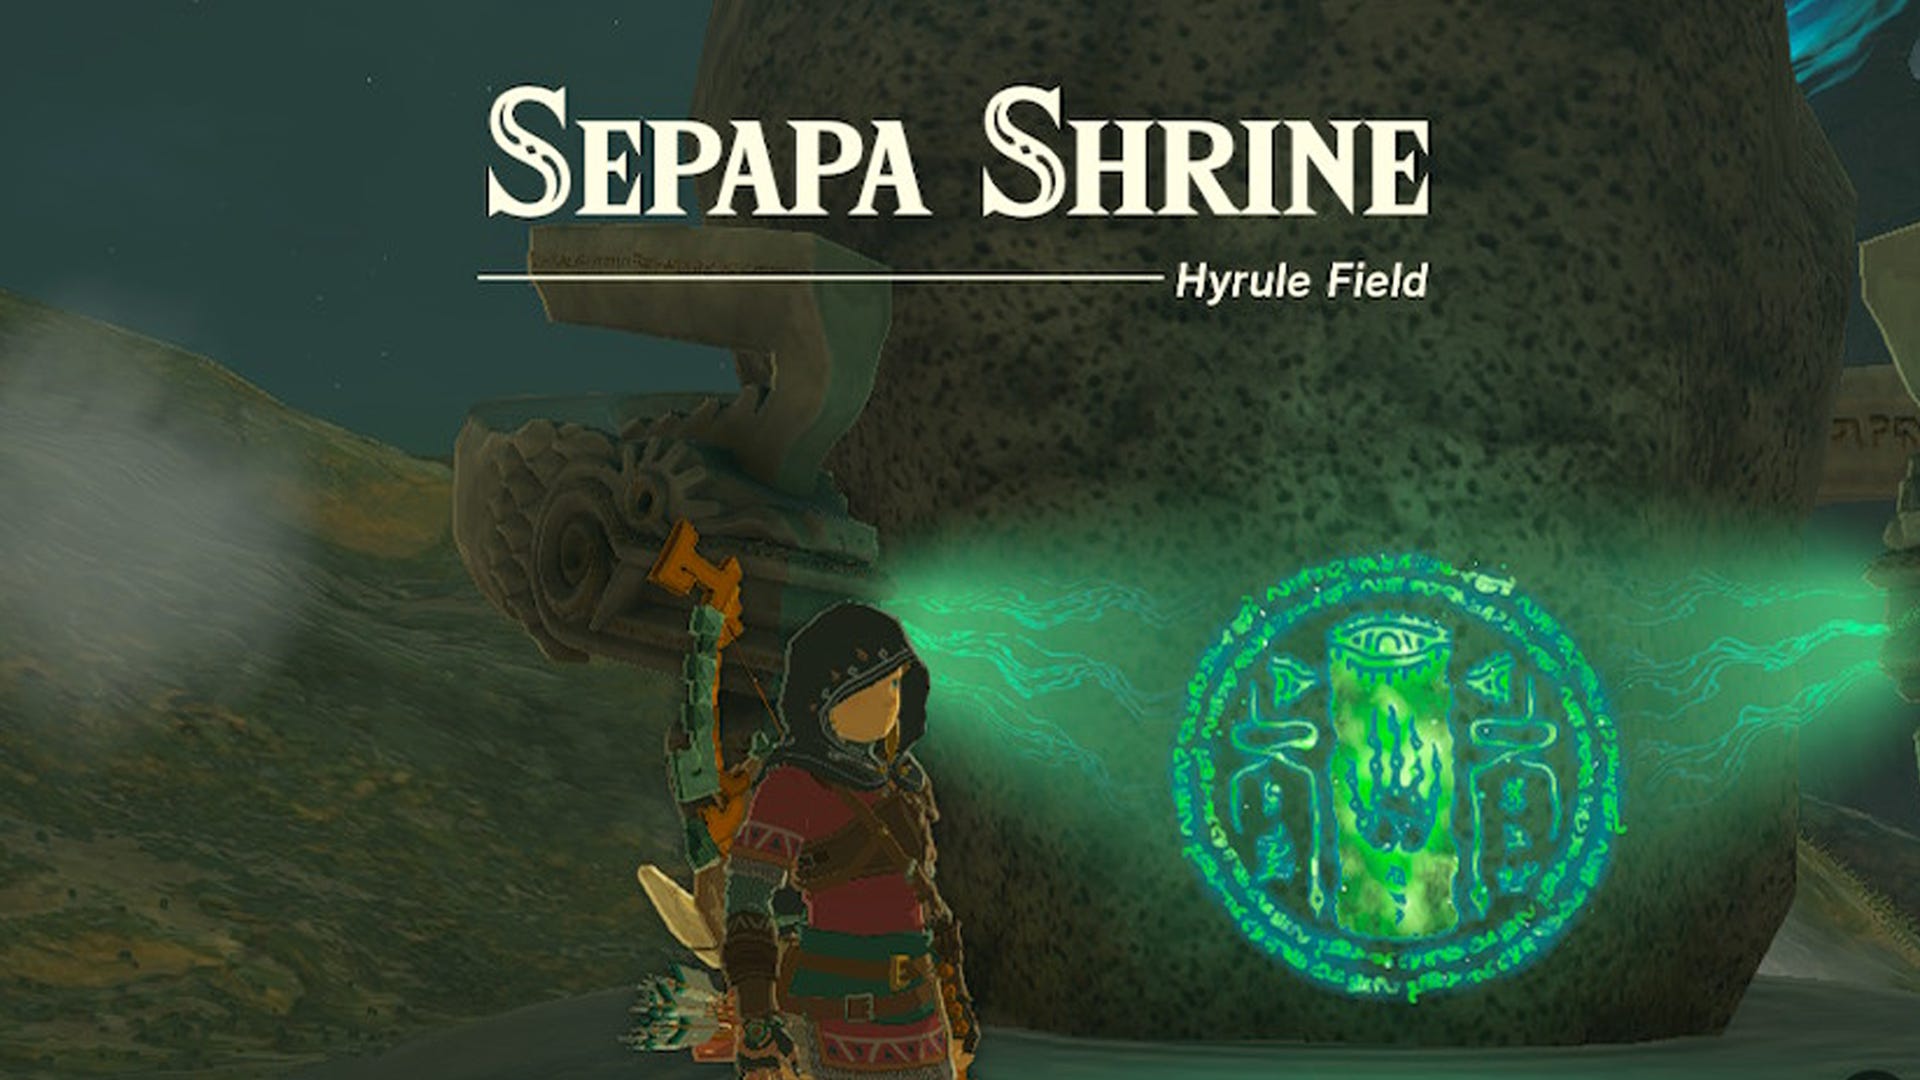
Zelda Tears of the Kingdom Sepapa Shrine solution
How to find and complete the Backtrack Shrine.

Thanks to its Backtrack puzzles, the Sepapa Shrine in Zelda Tears of the Kingdom forces you to quickly get to grips with the Recall ability.
To help you with this, we’ve prepared this Sepapa Shrine puzzle solution guide, explaining not only how to solve each part of the shrine, but also its location.
Bear in mind, you'll have to have completed the Nachoyah shrine and grabbed the Recall ability first.
On this page:
If you’d like to learn more about Link’s adventure, visit our Zelda: Tears of the Kingdom walkthrough, or if you need more shrine help, check-out our Tears of the Kingdom Shrine location guide.
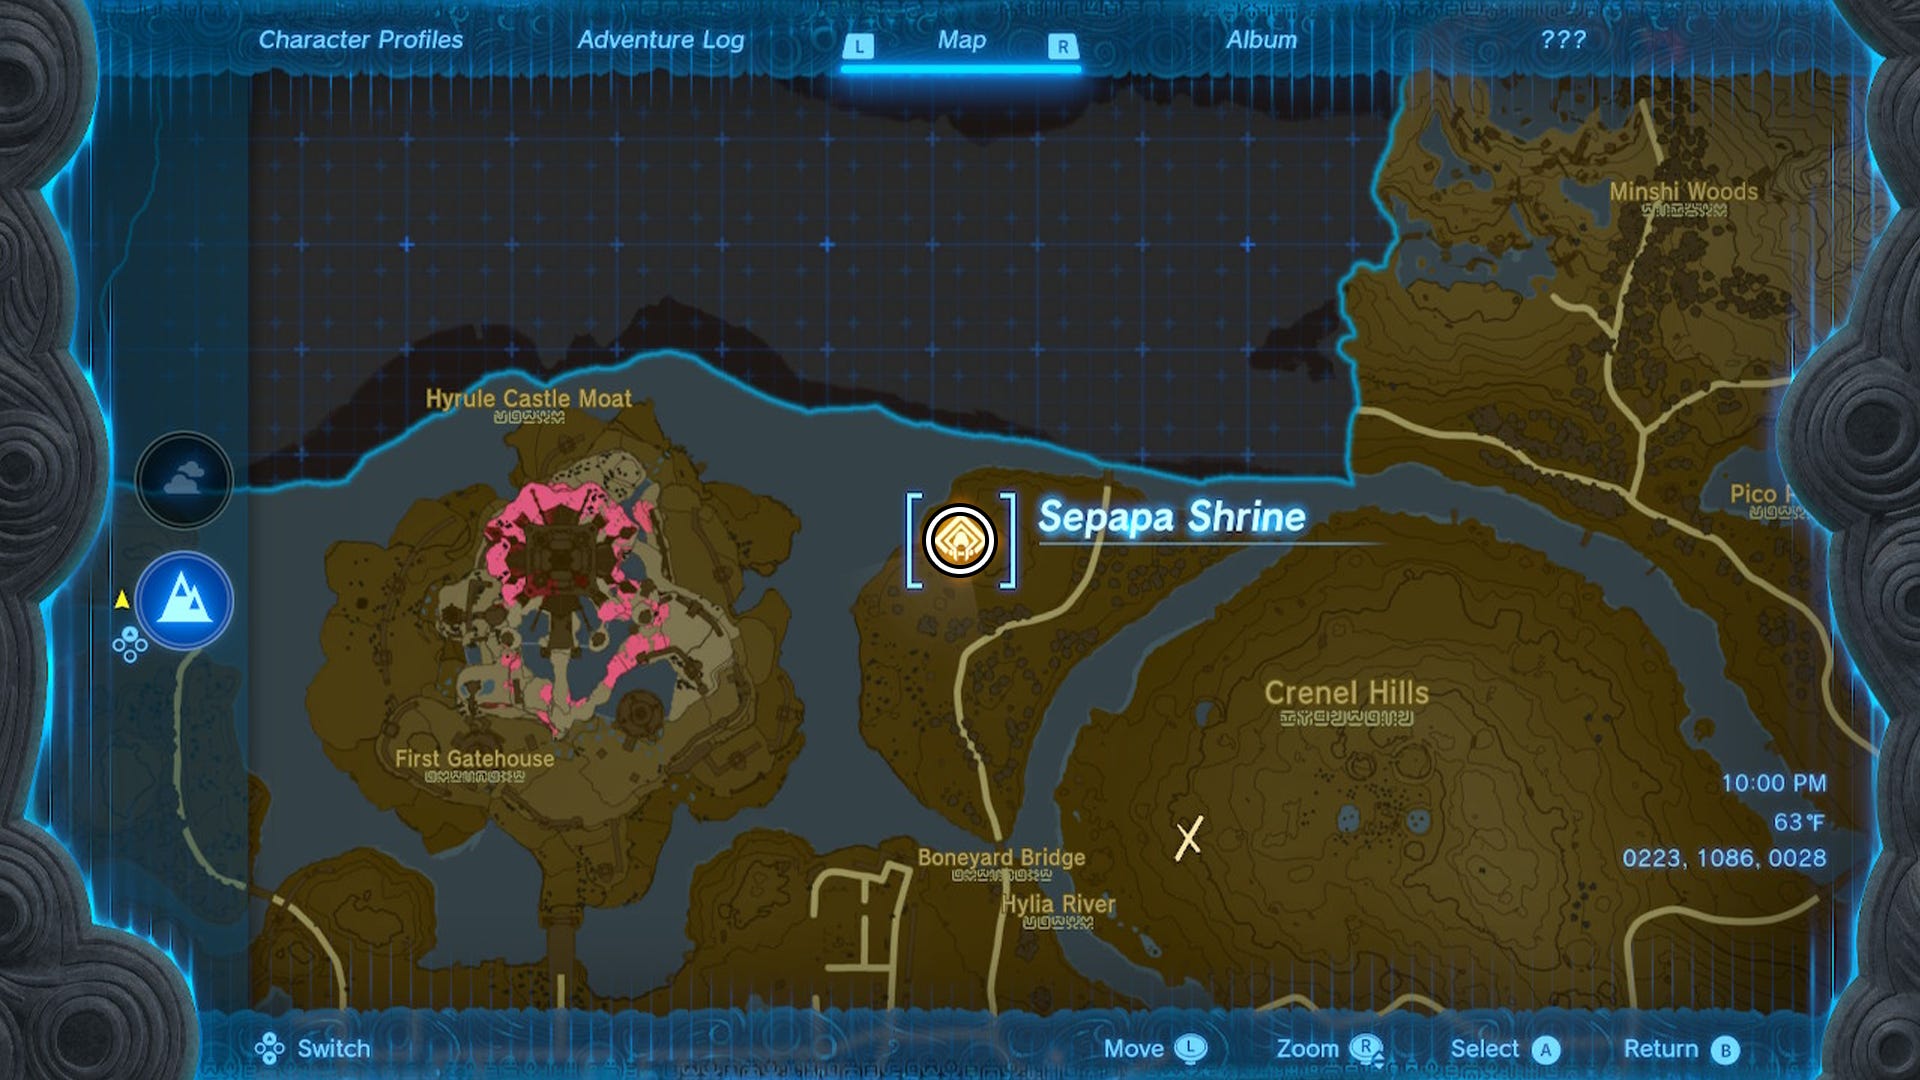
Sepapa Shrine location in Zelda Tears of the Kingdom
The Sepapa Shrine is located northeast of Lookout Landing at the coordinates 0223, 1084, 0028.
The best route to get there is by leaving Lookout Landing by the east exit and taking the road, always heading north where possible. You'll come across the Yamiyo Shrine, but still just keep going north. Once you pass the Boneyard Bridge it will take just a couple of minutes to reach the shrine.
Sepapa Shrine puzzle solution in Zelda Tears of the Kingdom
Sepapa Shrine’s Backtrack puzzles are made around the skill Recall, so you need to think about how to use the structure’s movement in your favor. Here is a breakdown of each section of the shrine and how to solve the puzzles:
Sepapa Shrine puzzle 1 solution
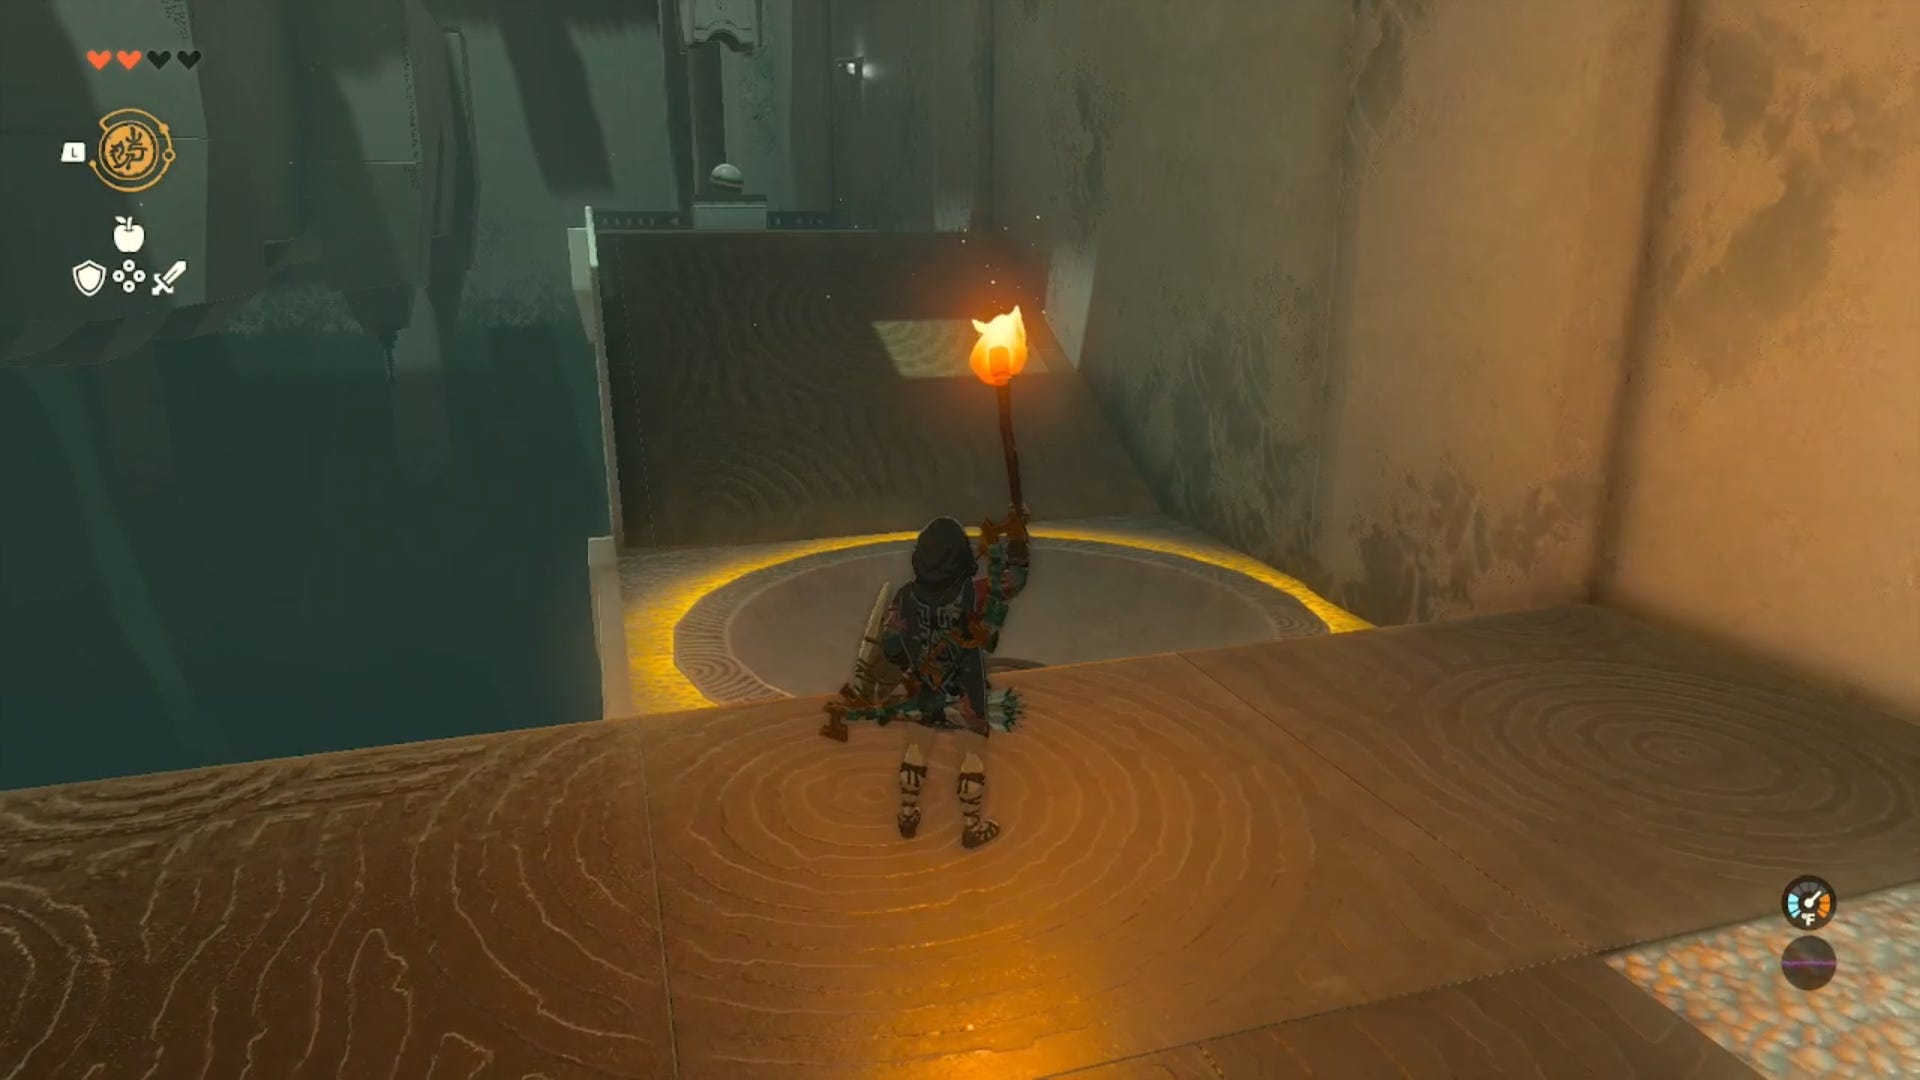
In this initial part of the shrine, you can see a platform moving counter clockwise as it passes through two gaps in a wall. This platform is your only way up to the next section, so you need to use the Recall skill to make it move clockwise.
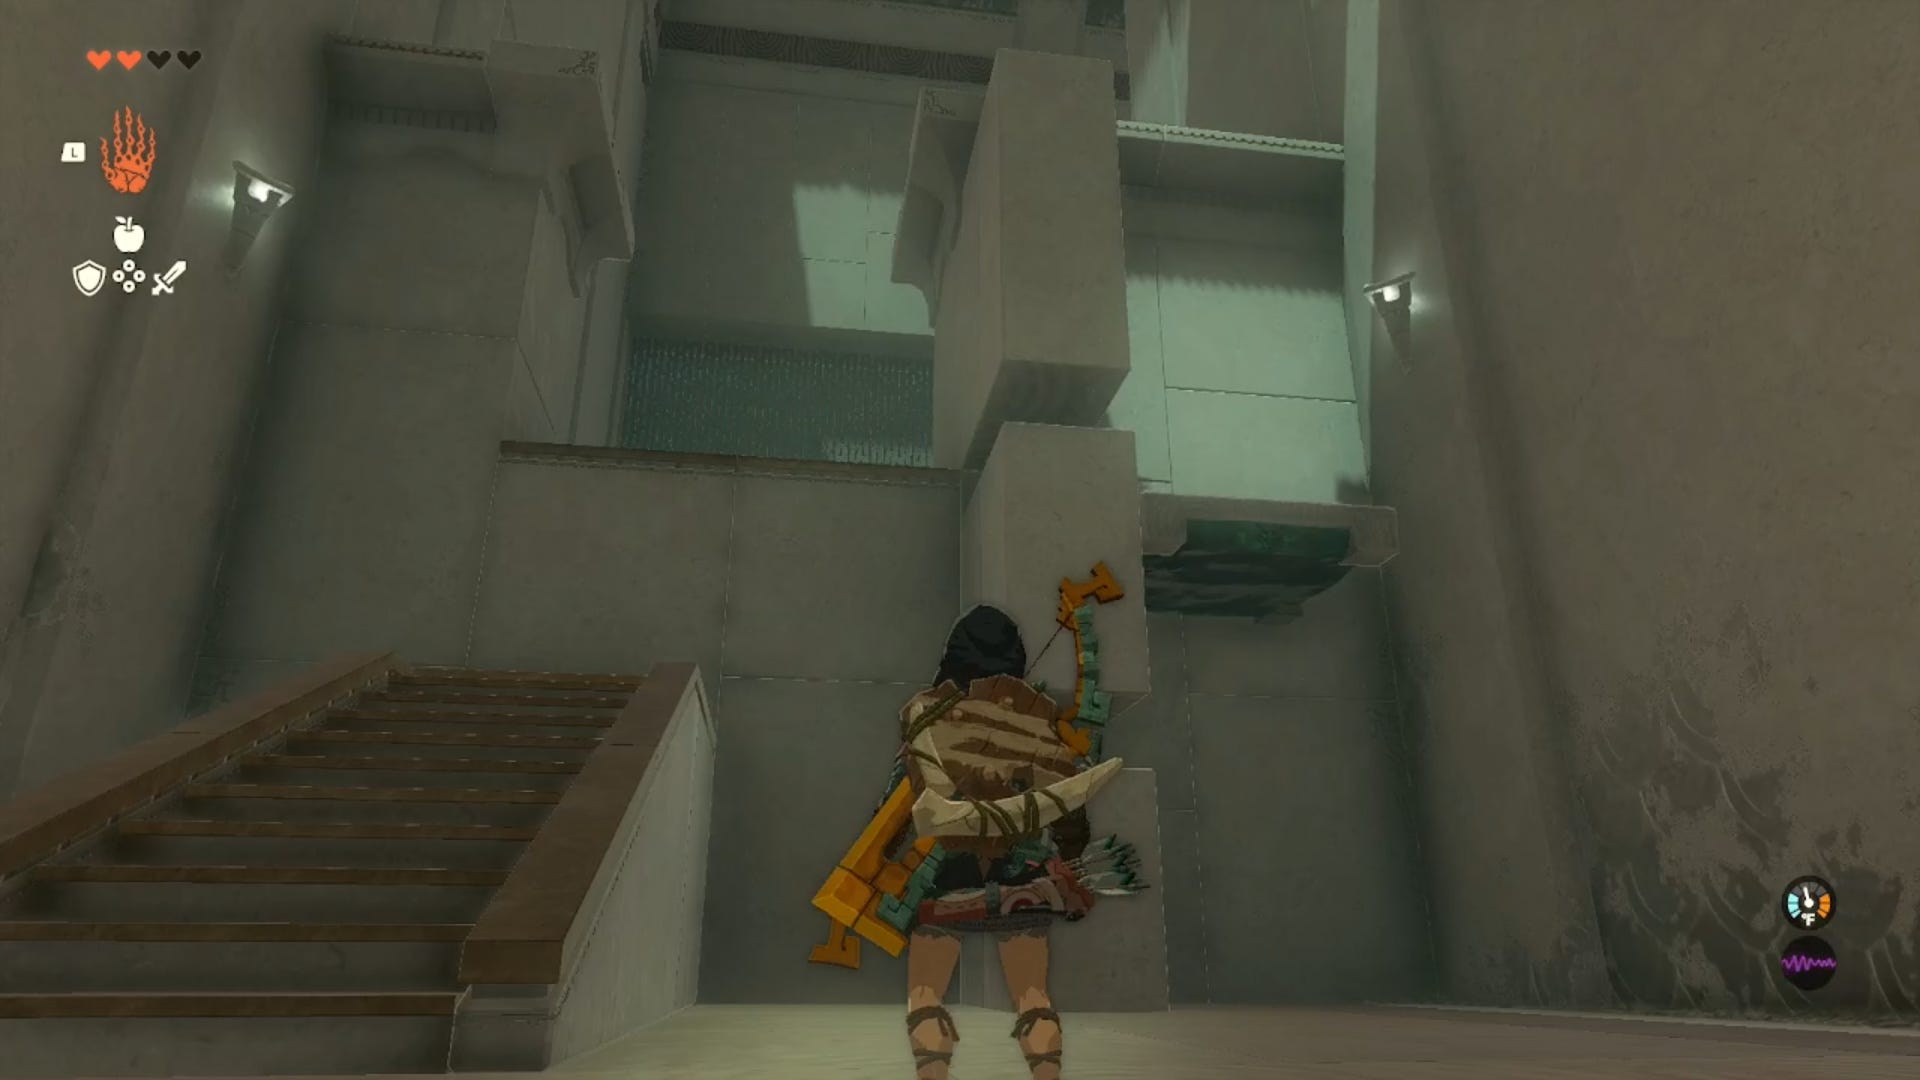
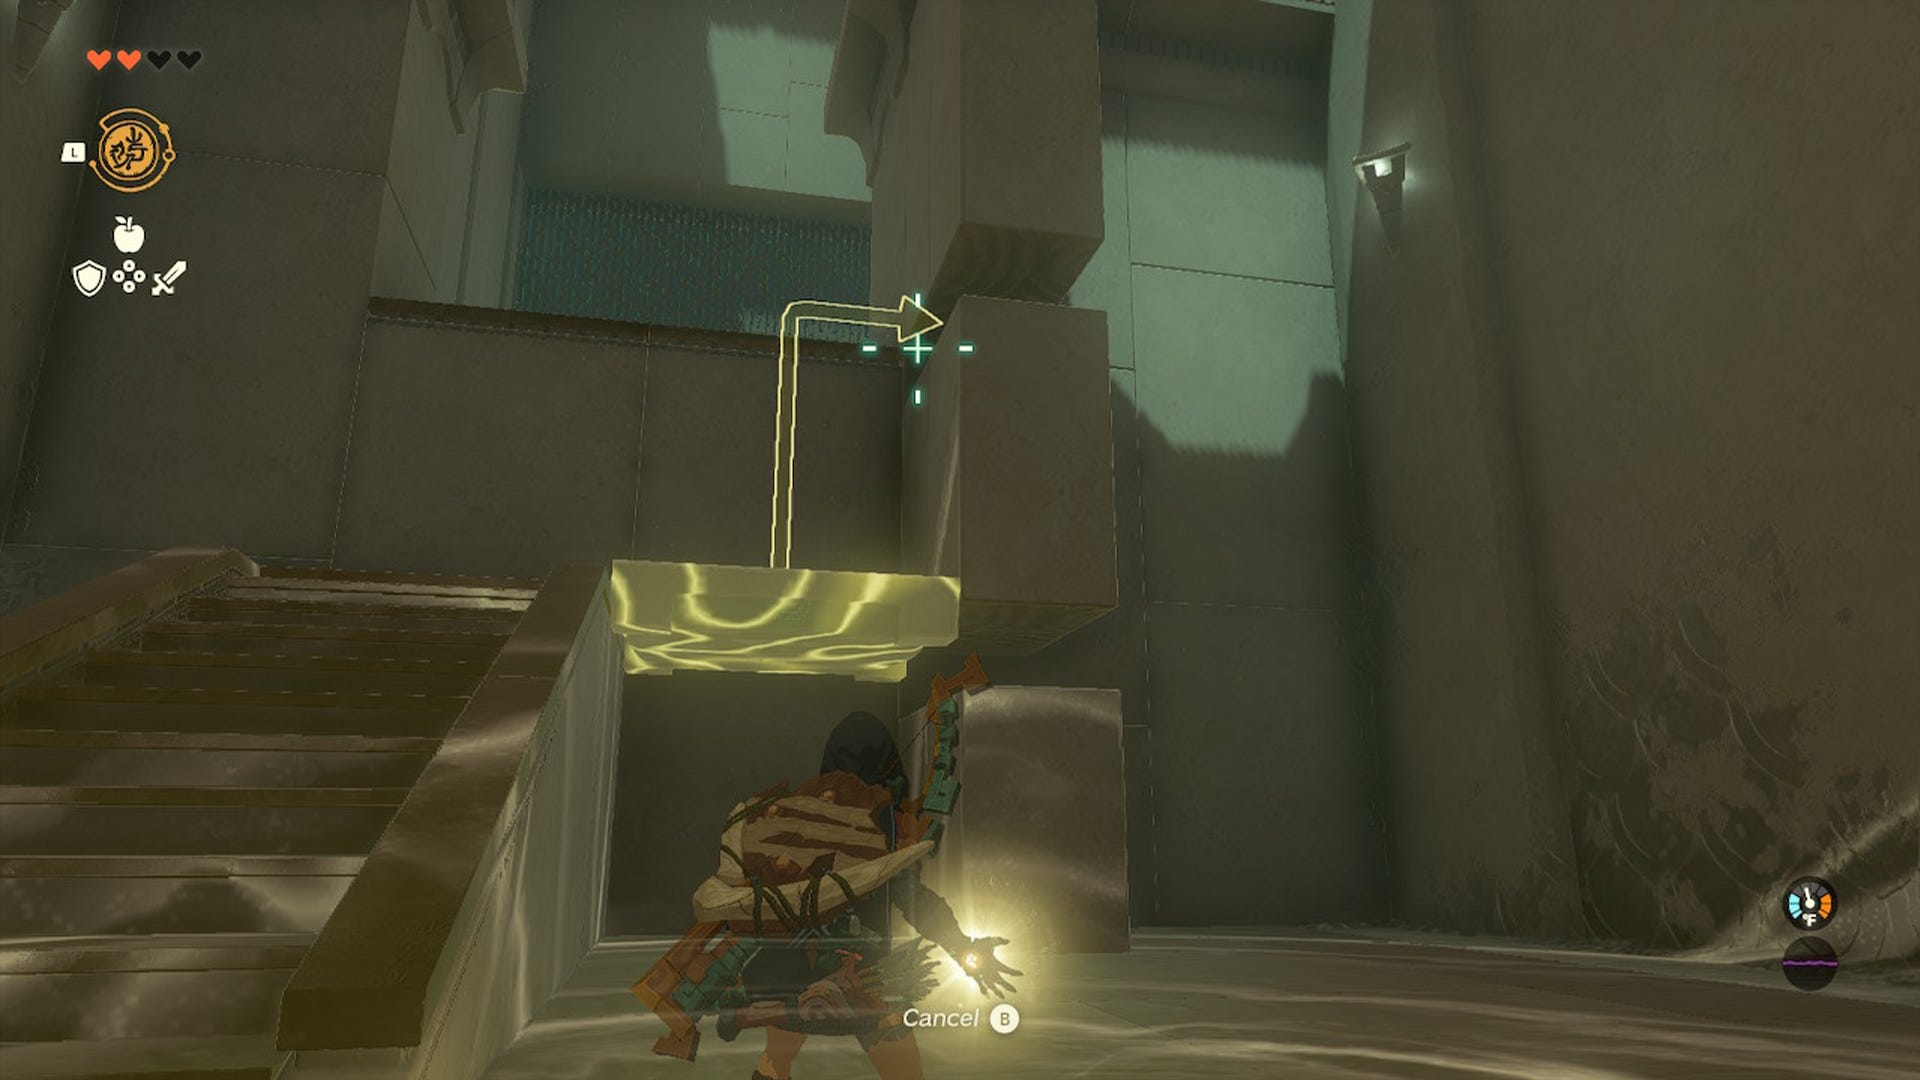
For this method to work, you must wait until the platform is about to pass or has already passed the lower gap to use Recall. After that, just be sure to quickly jump onto it and to the next area once the platform reaches the top.
Sepapa Shrine puzzle 2 solution
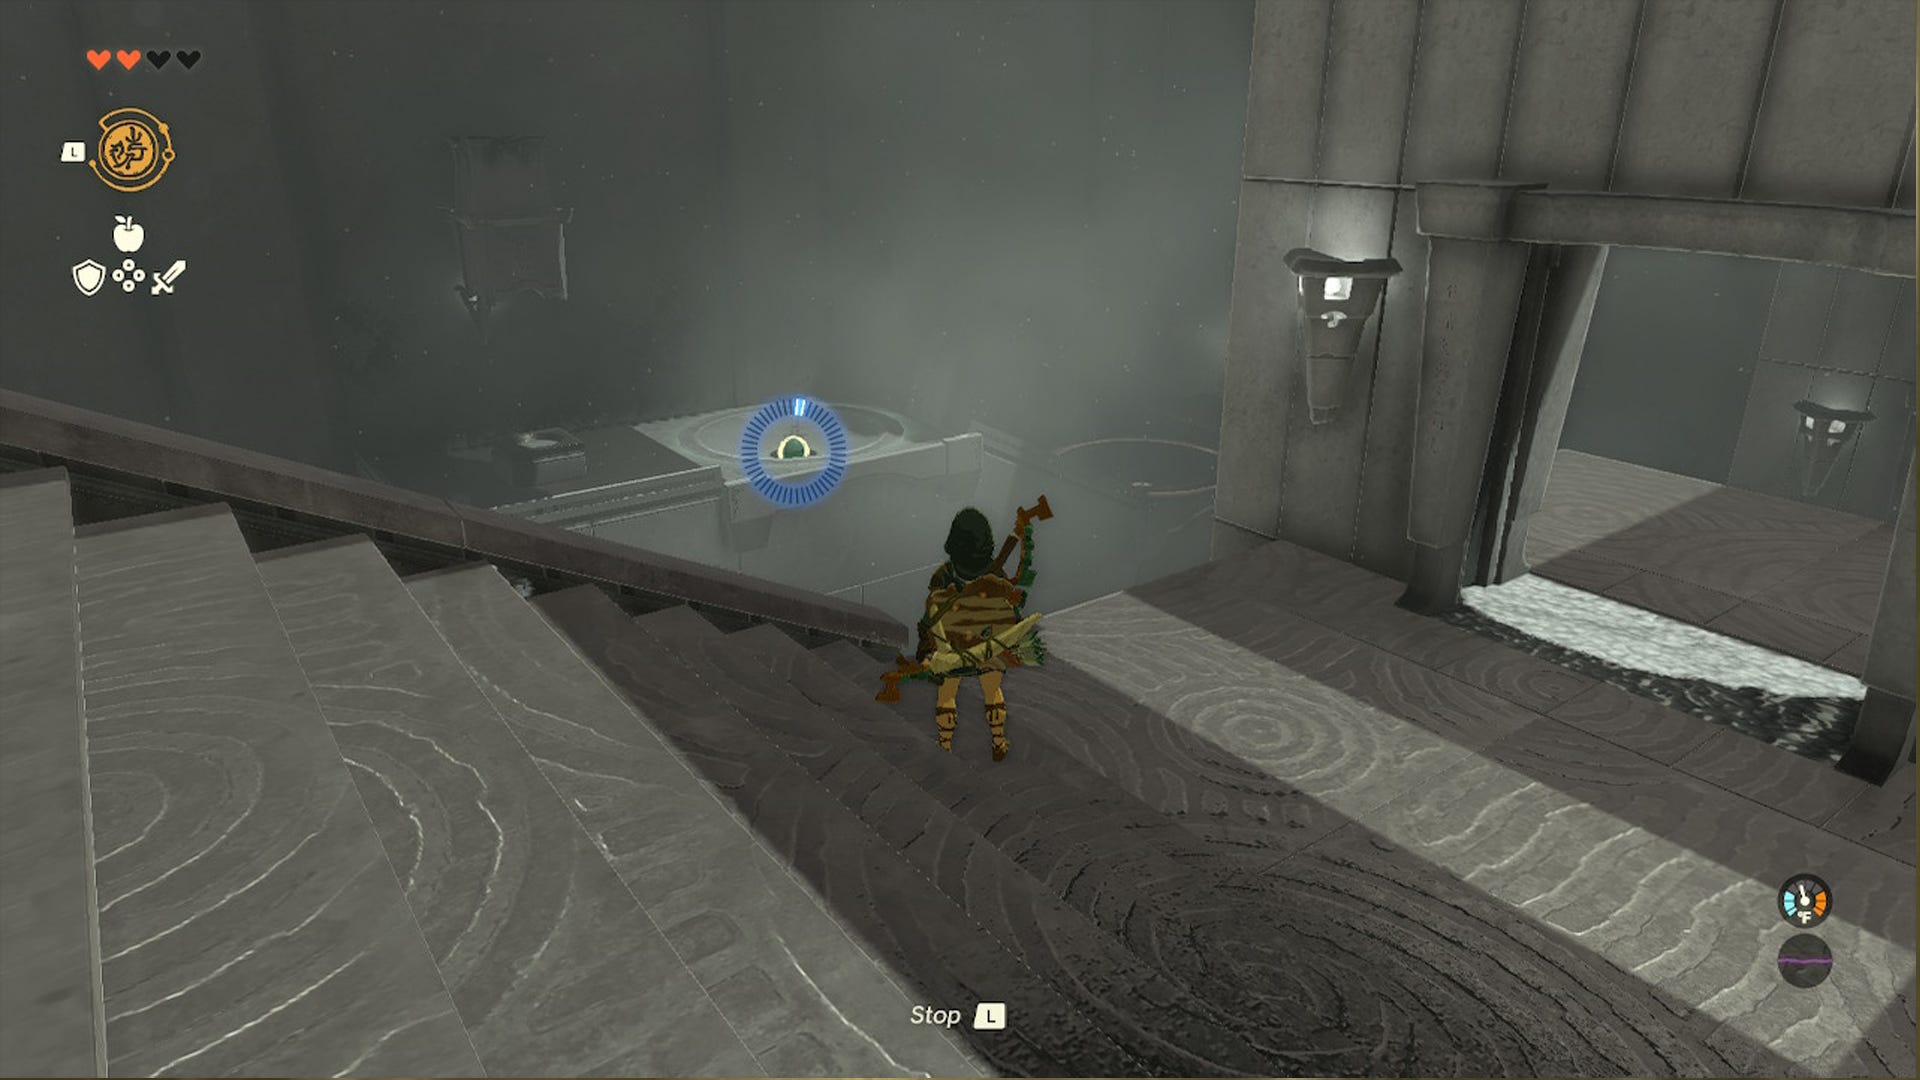
The second area of this shrine follows the same premise as the one before, but now your goal is to light two totems with fire to unlock a door. It’s in this part where you find this shrine’s chest as well.
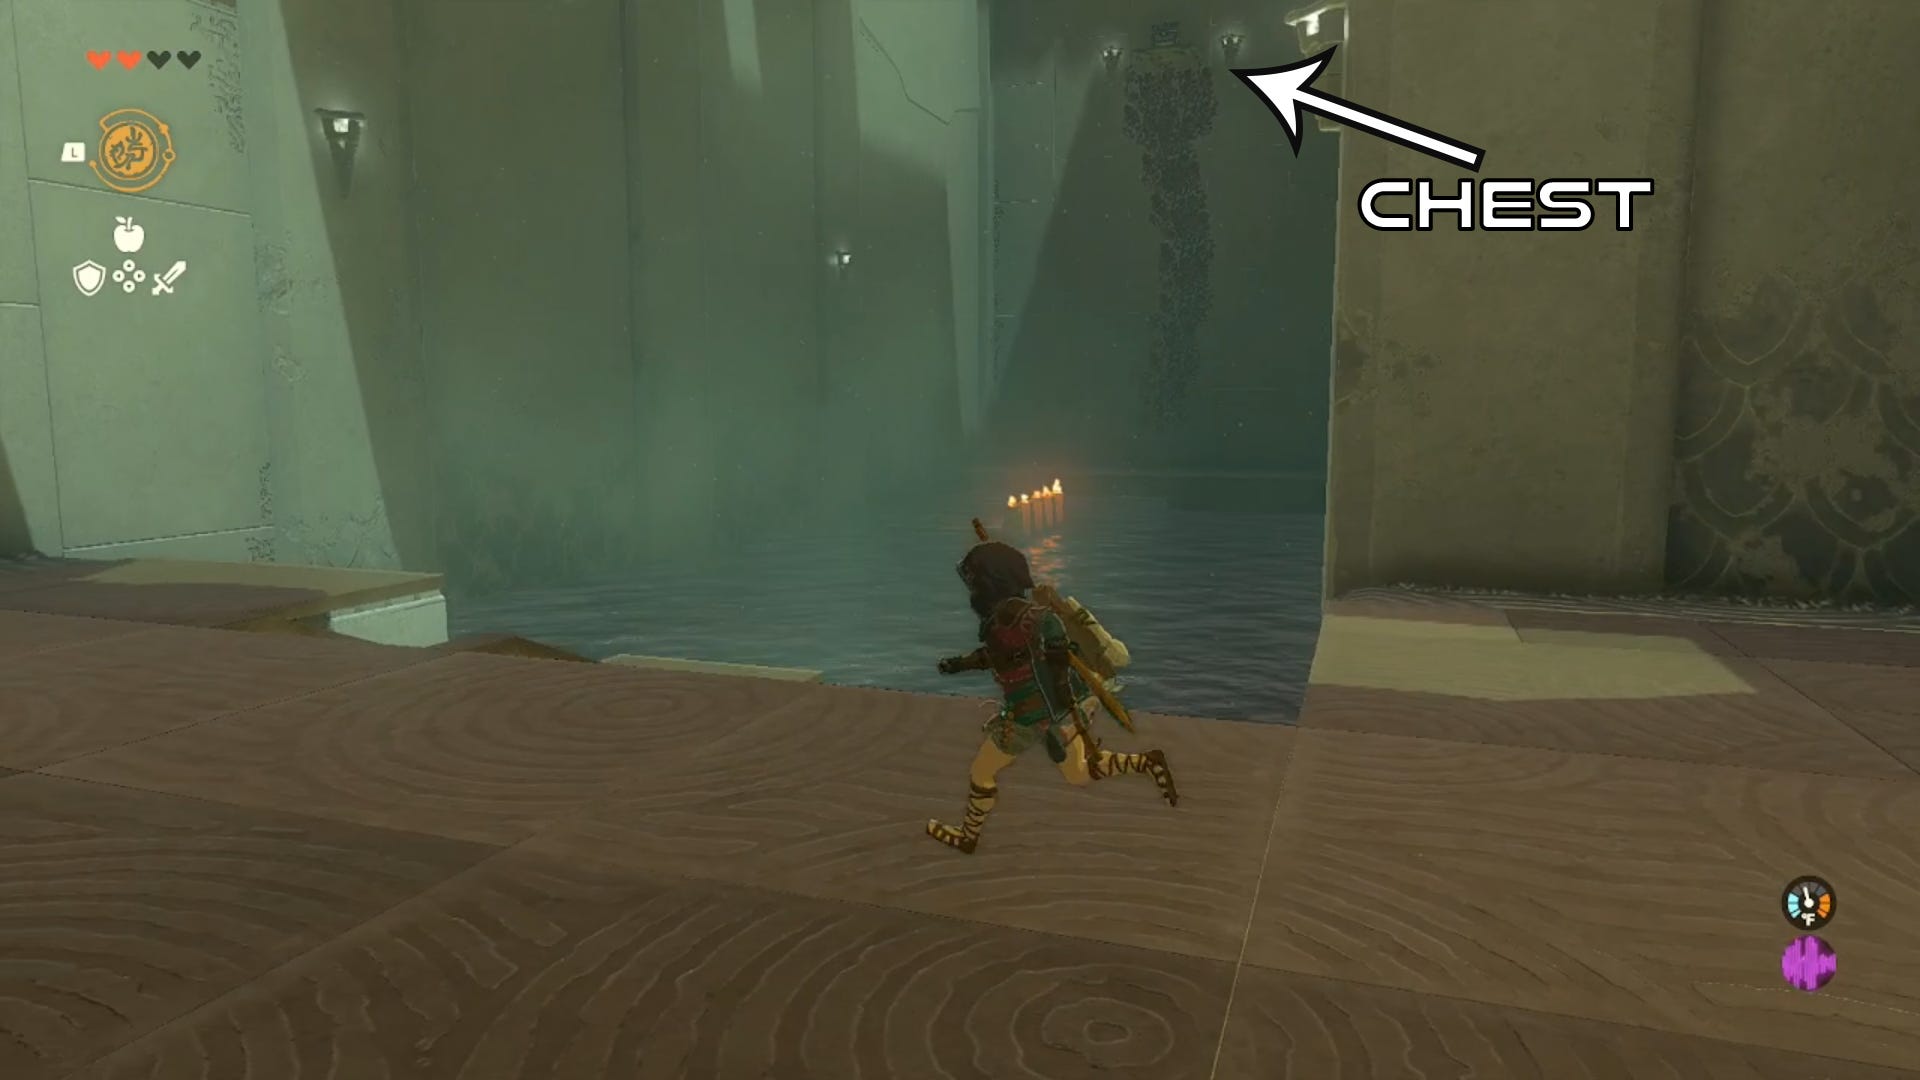
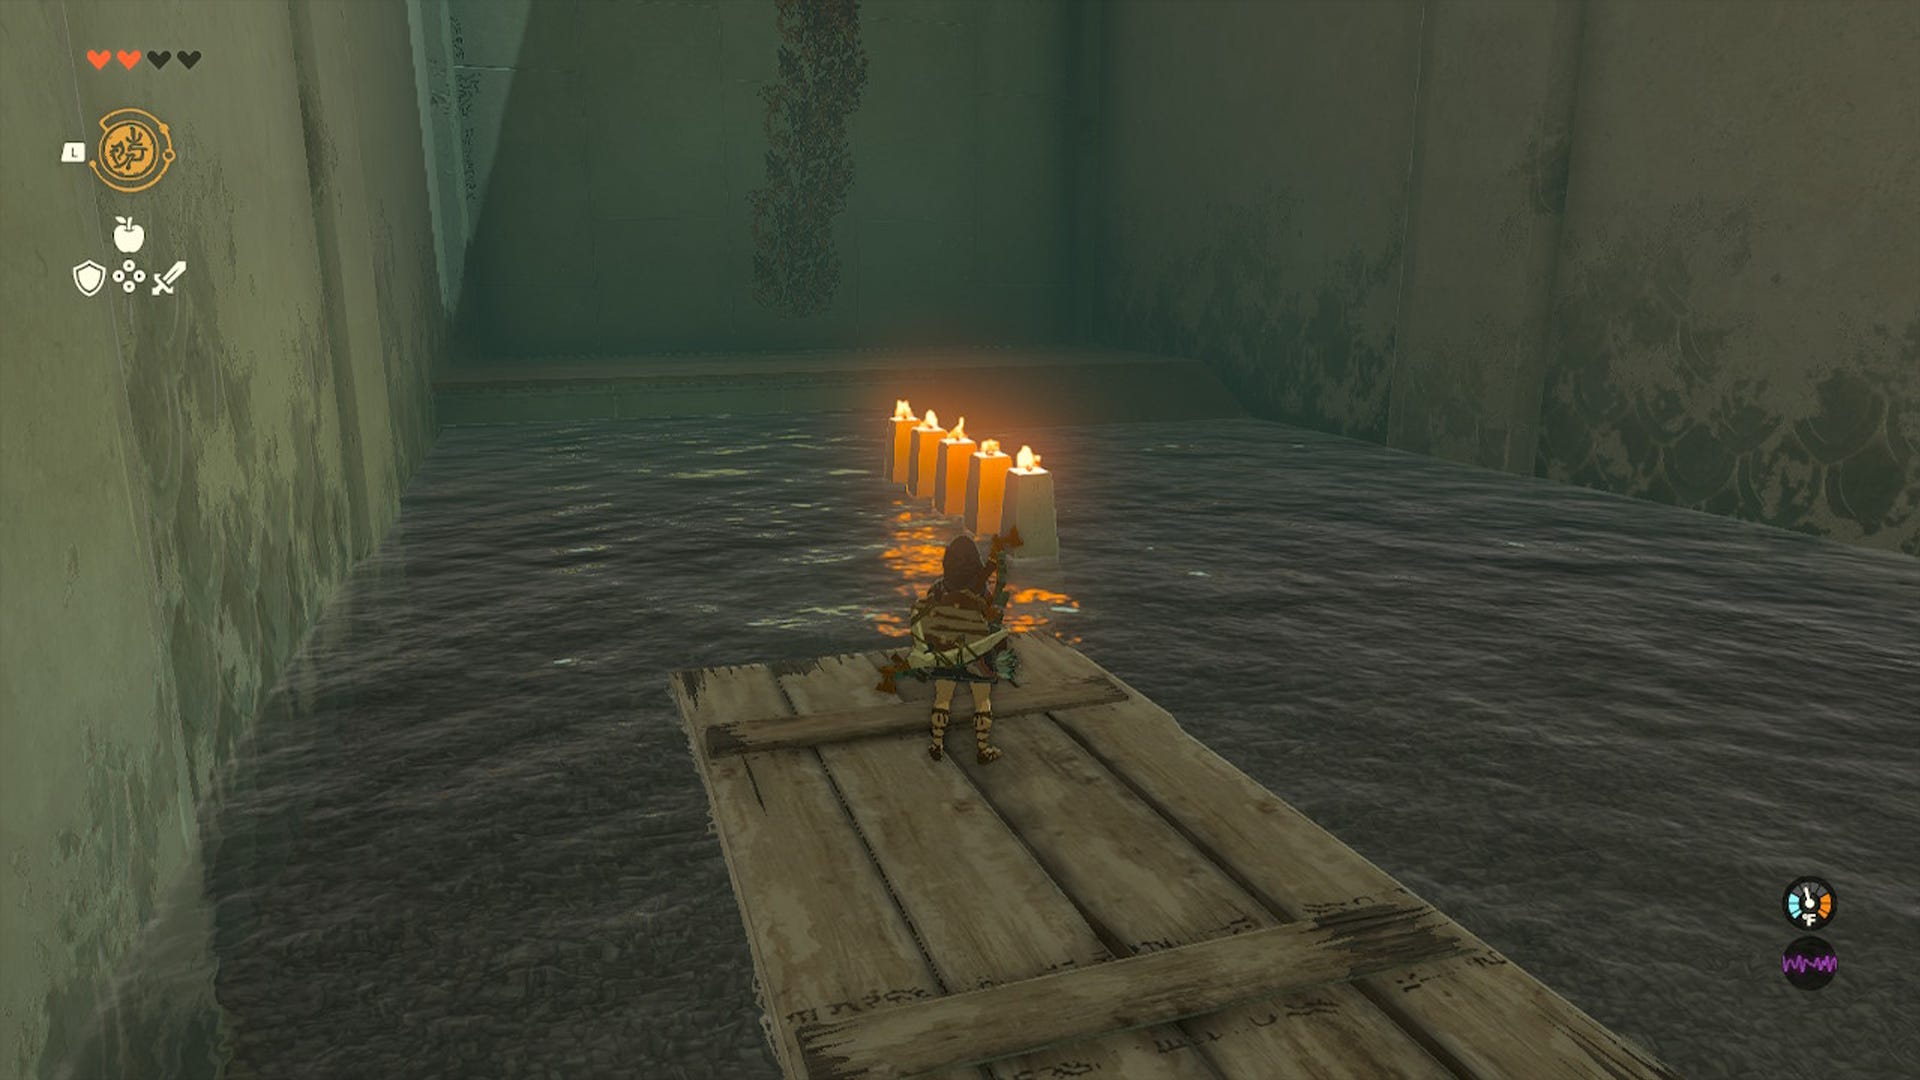
First of all, in case you don’t have one, you'll need to pick up the torch from the ground and then wait for one of the wooden boards that are floating along in the water. Be sure to jump on one of these and swing the torch once you’re close to the totems that are already lit in the middle of the water.
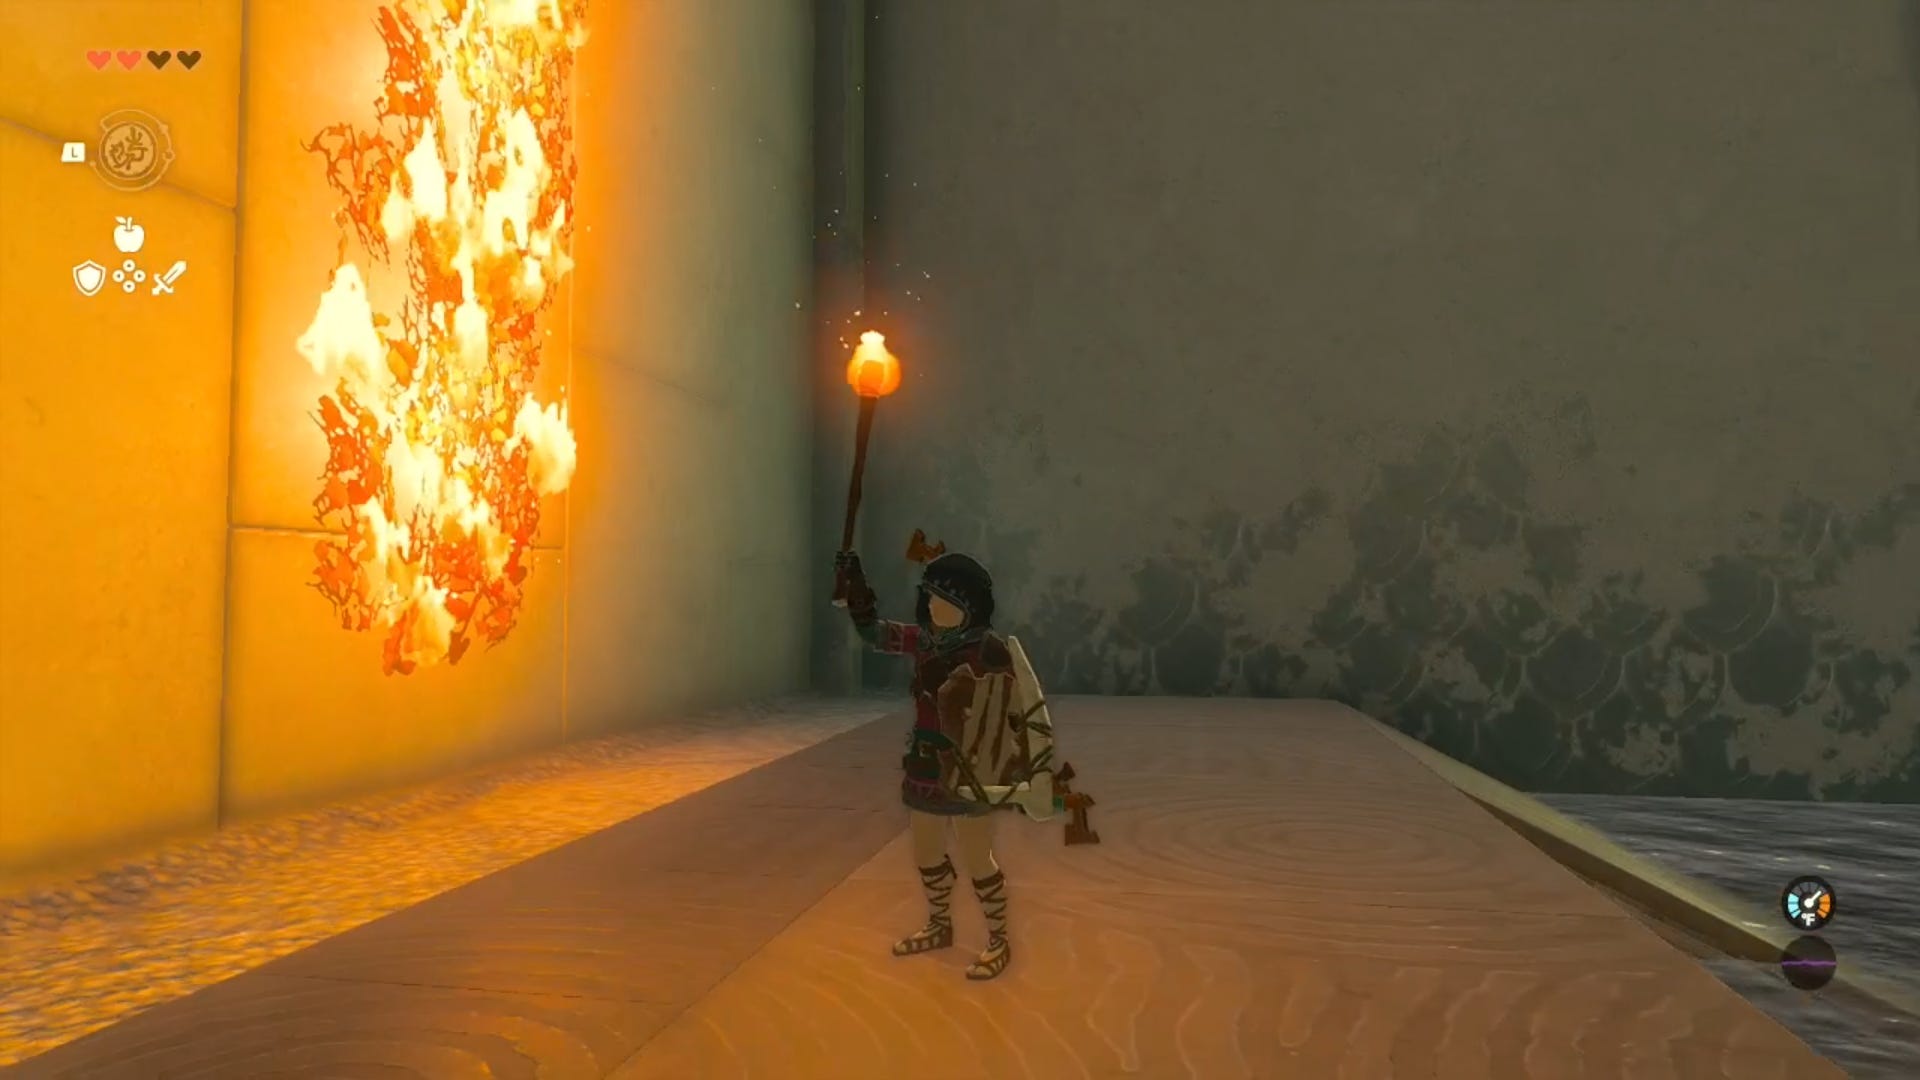
Jump off the board and put the torch close to the foliage on the wall to set it on fire. By doing so, the platform where the chest is will break, rewarding you with a Strong Construct Bow and giving you access to the treasure.
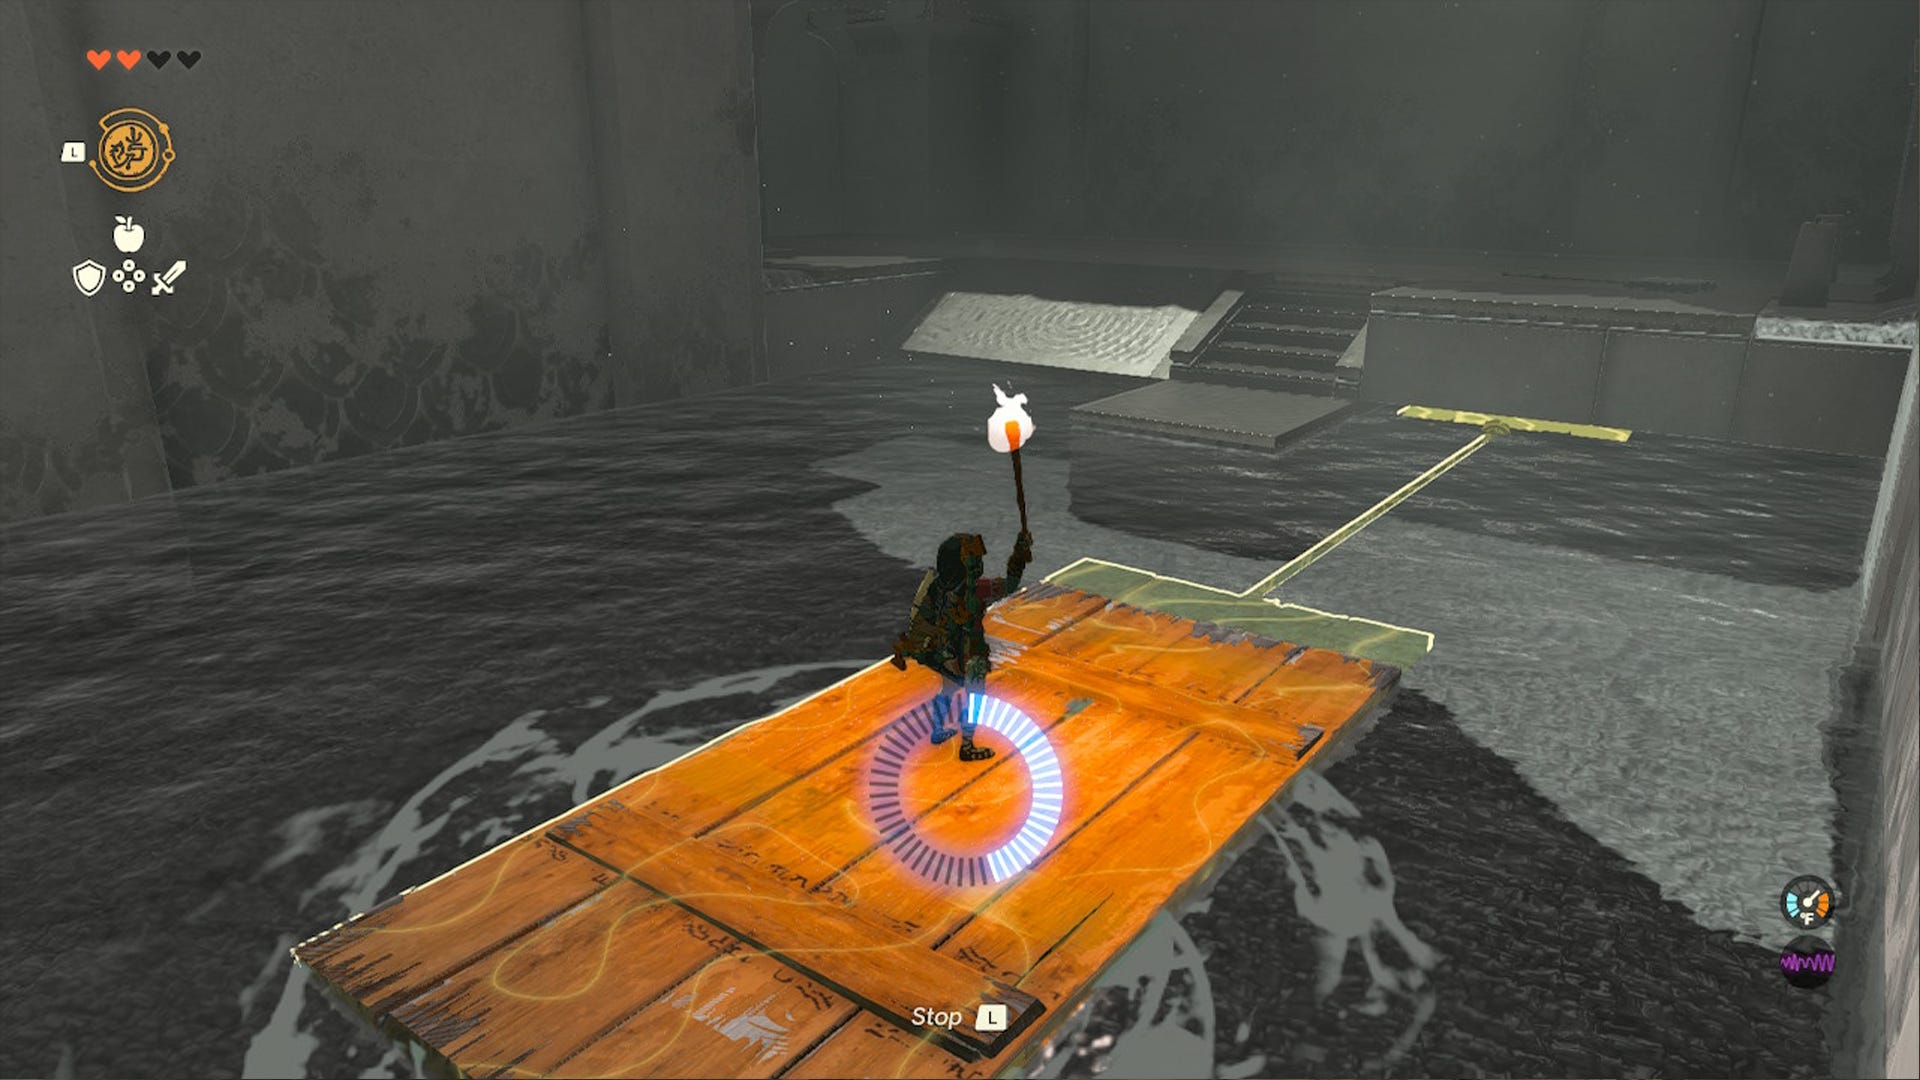
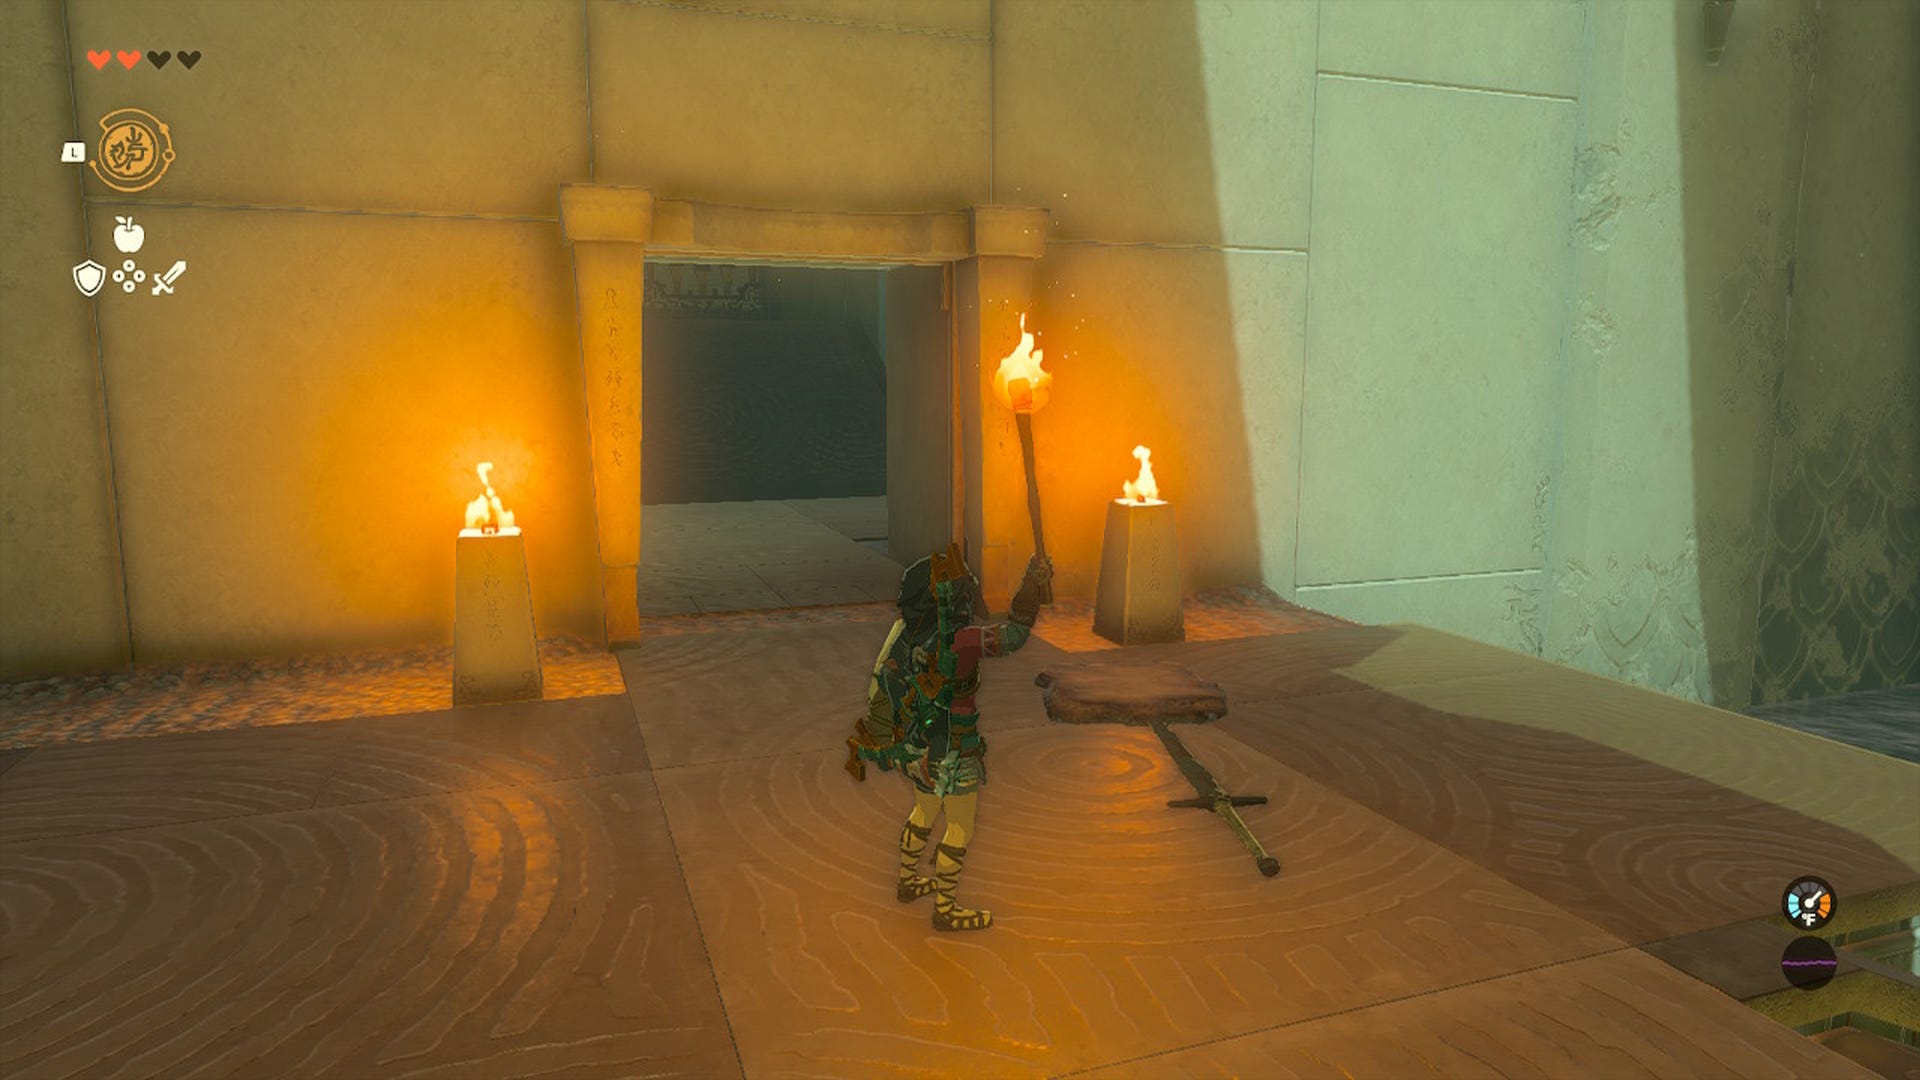
Once you have secured the chest, you'll need to wait for another wooden board to drift pass and then use Recall on it. Just be sure to hold the torch and swing it again so it’s lit when you jump back onto the initial platform. Now, just light both totems to access the next area.
Sepapa Shrine puzzle 3 solution
This is the last part of the shrine and your goal is to reach the statue at the top of the area. The path, however, has two gates locked. To pass through them, you must use a sphere that you find at the top of a series of ramps on the right side of the area and place it into the two holes you find in between ramps. The doors are kept open as long as the sphere stays put.
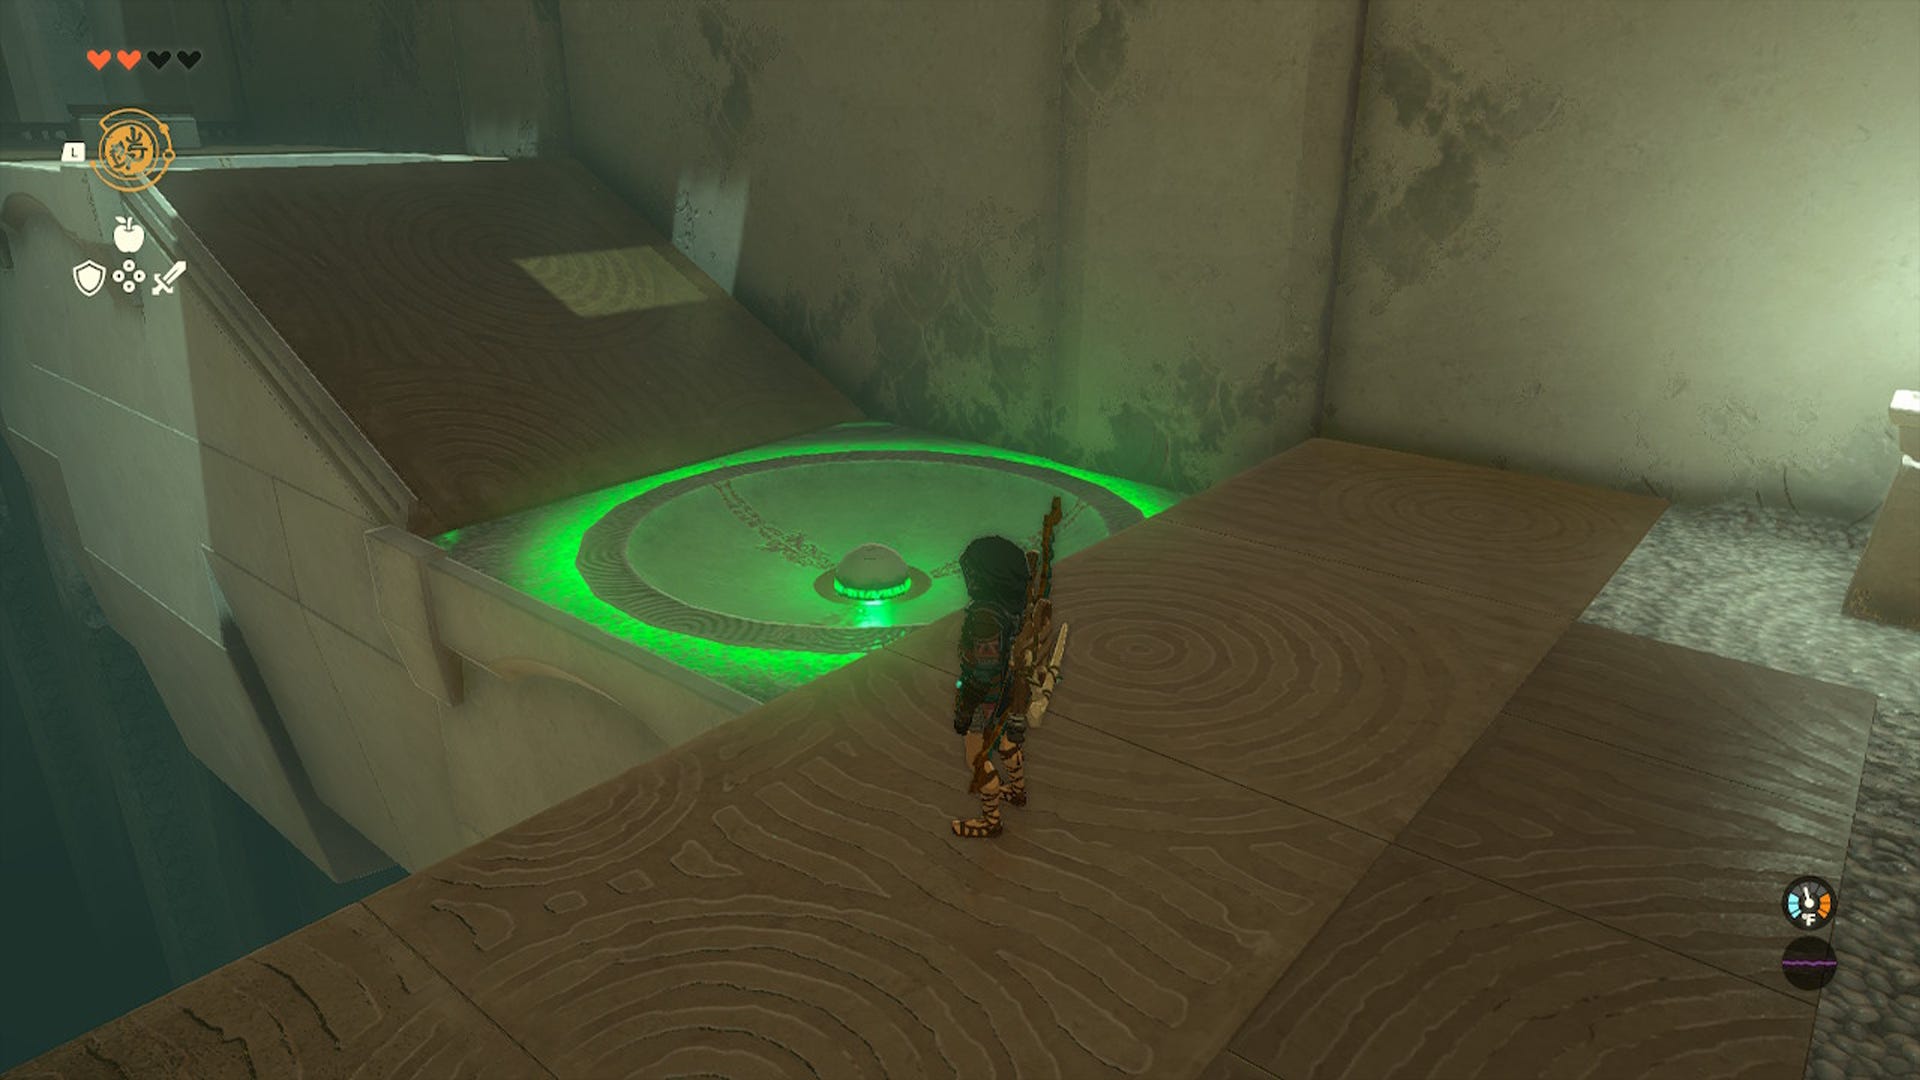
To solve this puzzle, first, you must pick up the sphere using Ultrahand and place it once into each of the holes for a brief moment. Once you've got to the end of the ramps, you'll need to remove the sphere from the holes, placing it on the side.
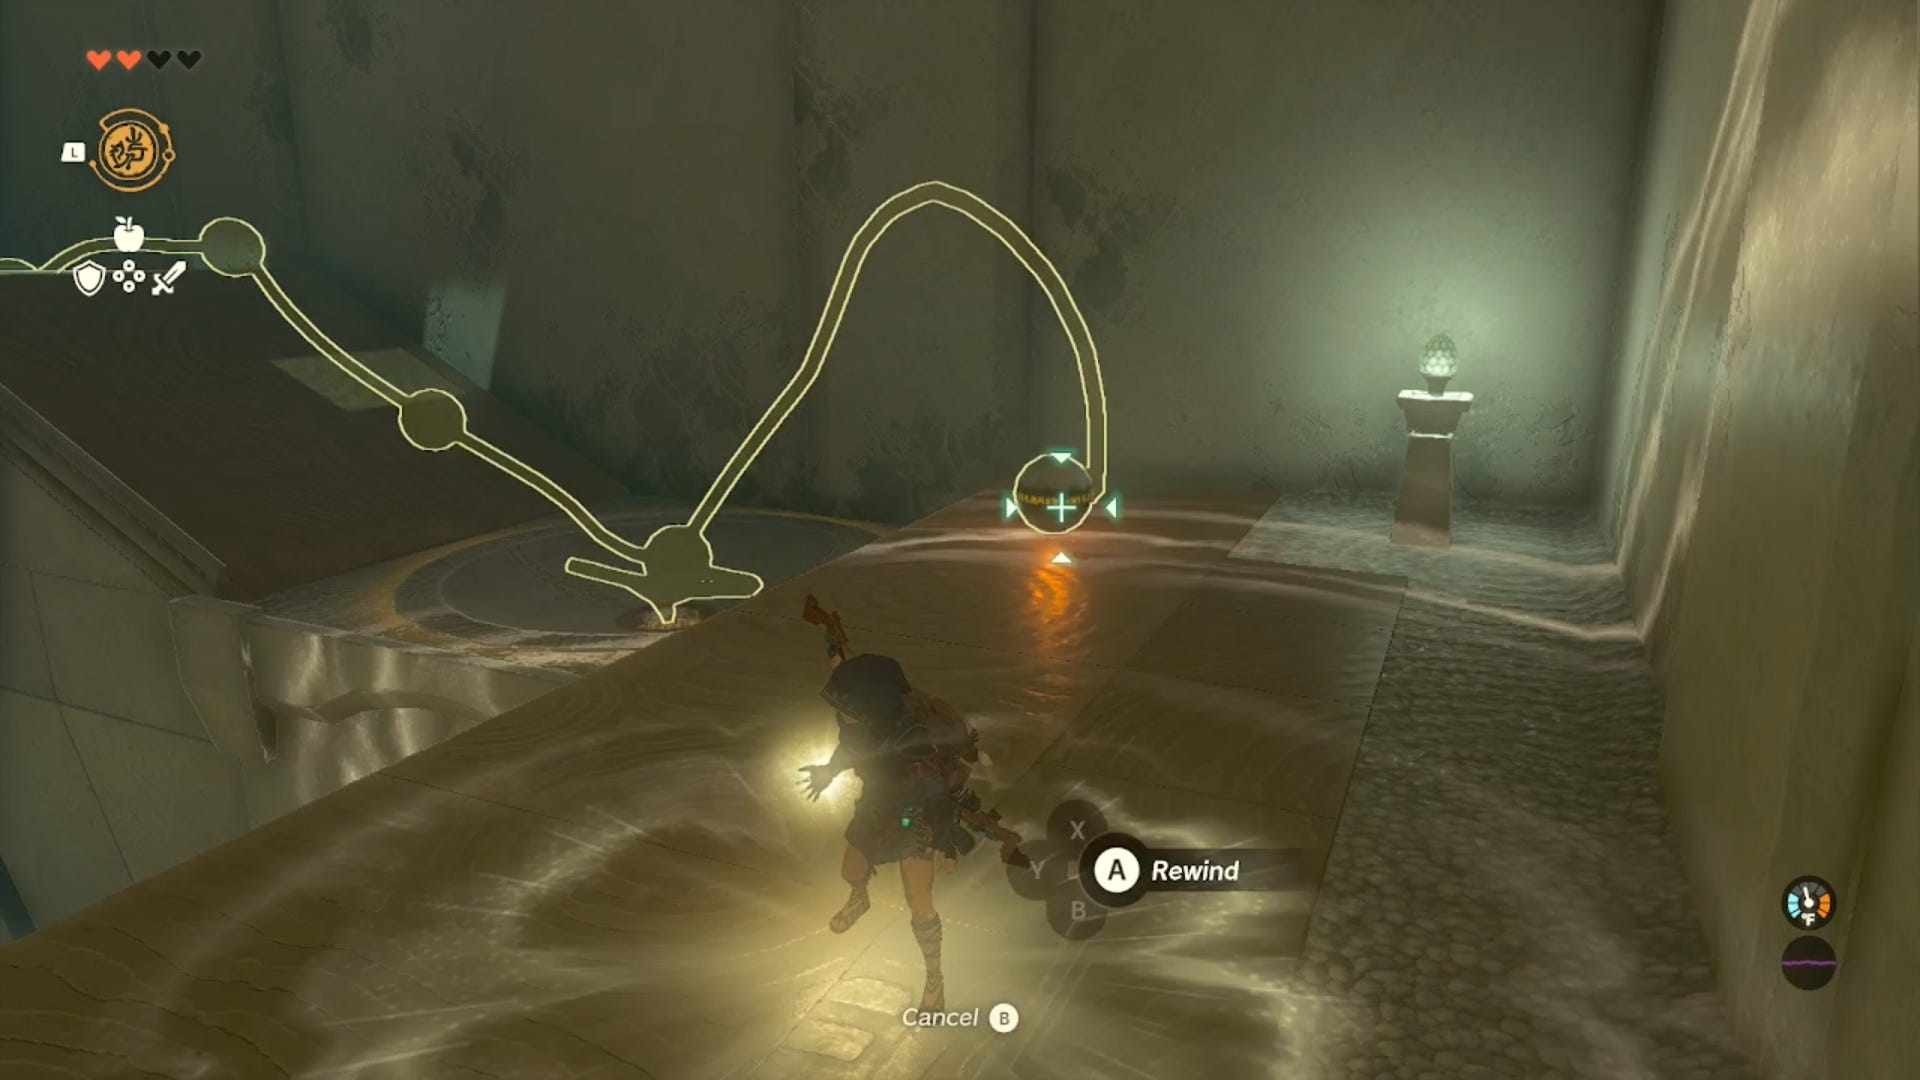
When you’re ready, use Recall on the sphere and run to the now open gates as the sphere makes its way back to its initial position. You can then access the statue to get your final reward.
Good luck completing the Sepapa Shrine and, if you’d like to learn more about Link’s adventure in Hyrule, visit our Zelda: Tears of the Kingdom walkthrough.