Zelda Tears of the Kingdom Mogawak Shrine solution
How to find and complete the Power of Water Shrine.
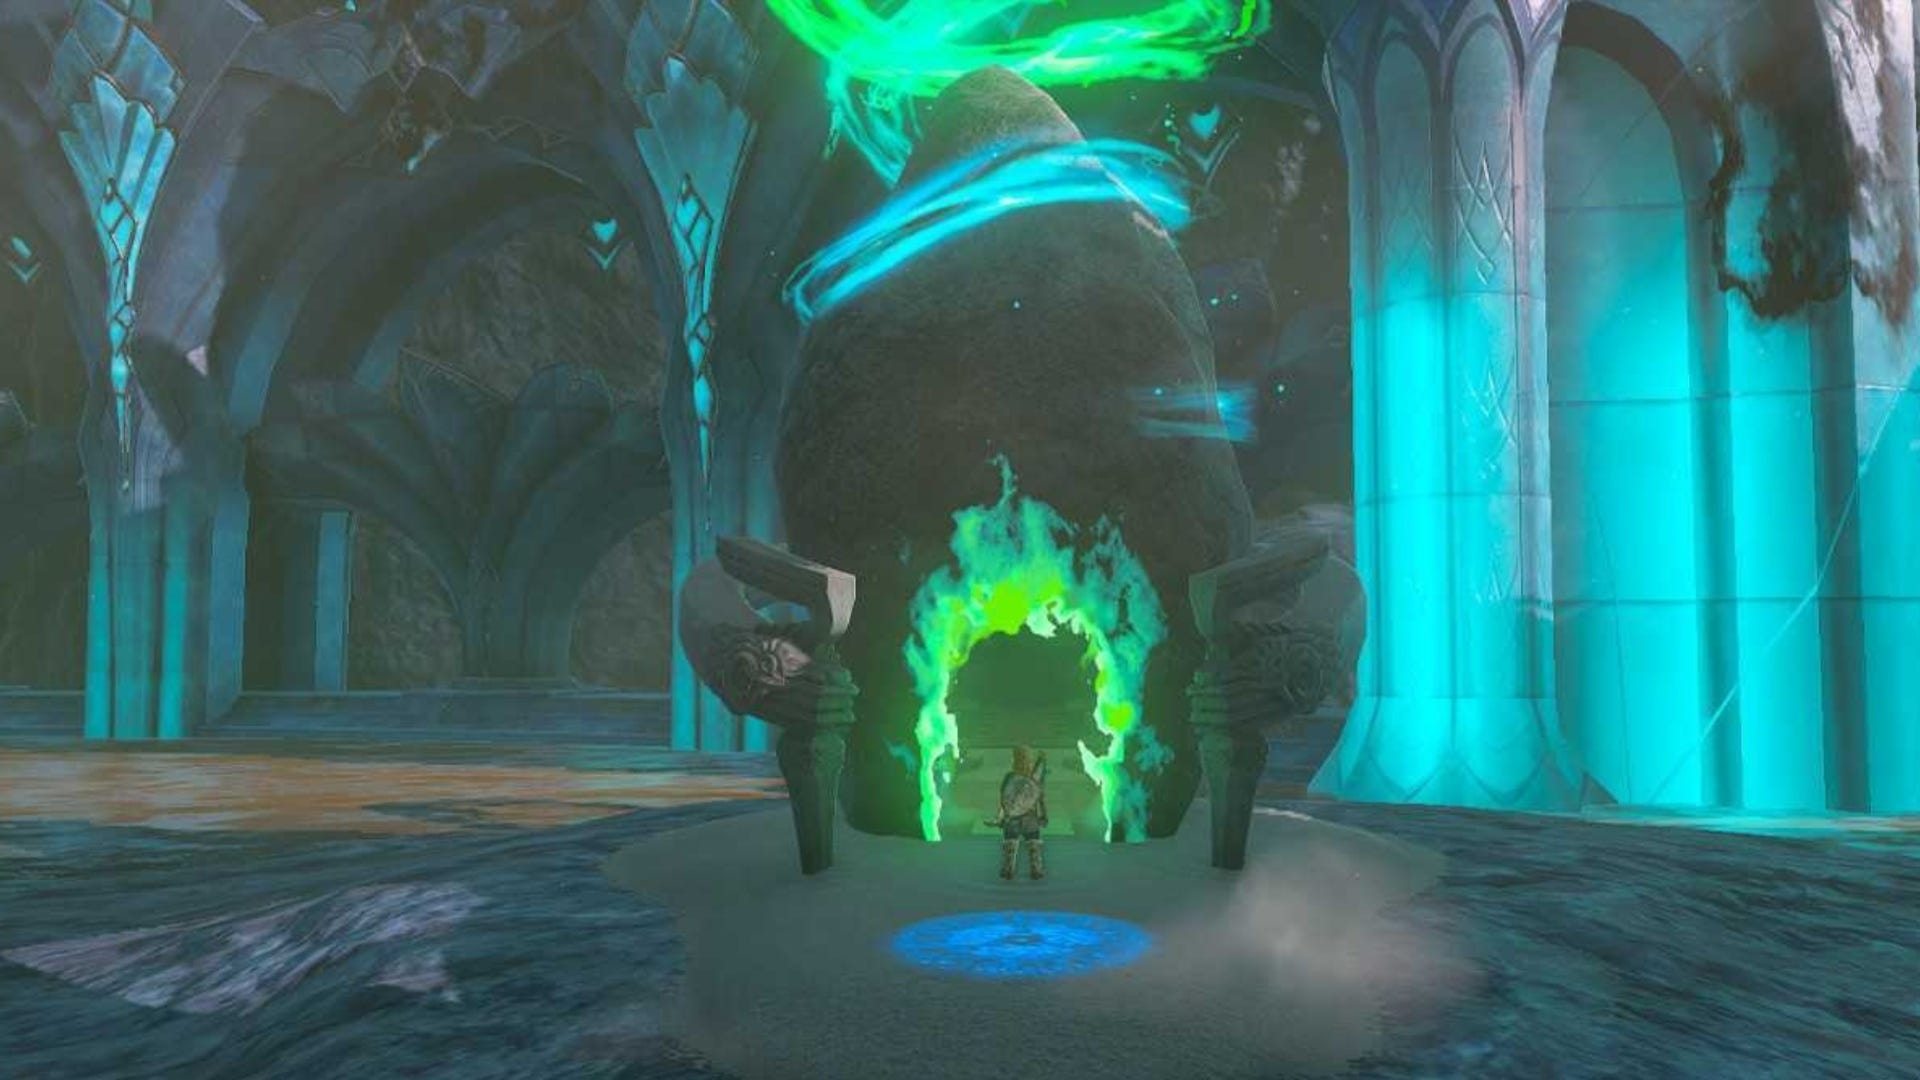

The Mogawak Shrine in Zelda: Tears of the Kingdom will show you that water has numerous uses across Hyrule. Also, this Shrine is right next to the Regional Phenomenon in Lanaryu, so it's one of the easier ones to find in this Region.
Just like the other Shrines in Zelda: Tears of the Kingdom, the Mogawak Shrine contains several puzzles that you need to solve to complete to get a Light of Blessing. Also, this particular Shrine has two reward chests for you to find and one chest contains a good weapon.
Without further ado, we're going to show you how to solve the Mogawak Shrine puzzle in Zelda: Tears of the Kingdom.
On this page:
If you'd like to learn more about Link's adventure, visit our Zelda: Tears of the Kingdom walkthrough.
Mogawak Shrine location in Zelda Tears of the Kingdom
The Mogawak Shrine in Zelda Tears of the Kingdom can be found in Zora's Domain. This is north of Lanaryu Great Spring, east of the Upland Zorana Skyview Tower, and west of the Lanaryu Sea.
The shrine's precise coordinates are (3298, 0424, 0112). We've marked its exact location on the map below:
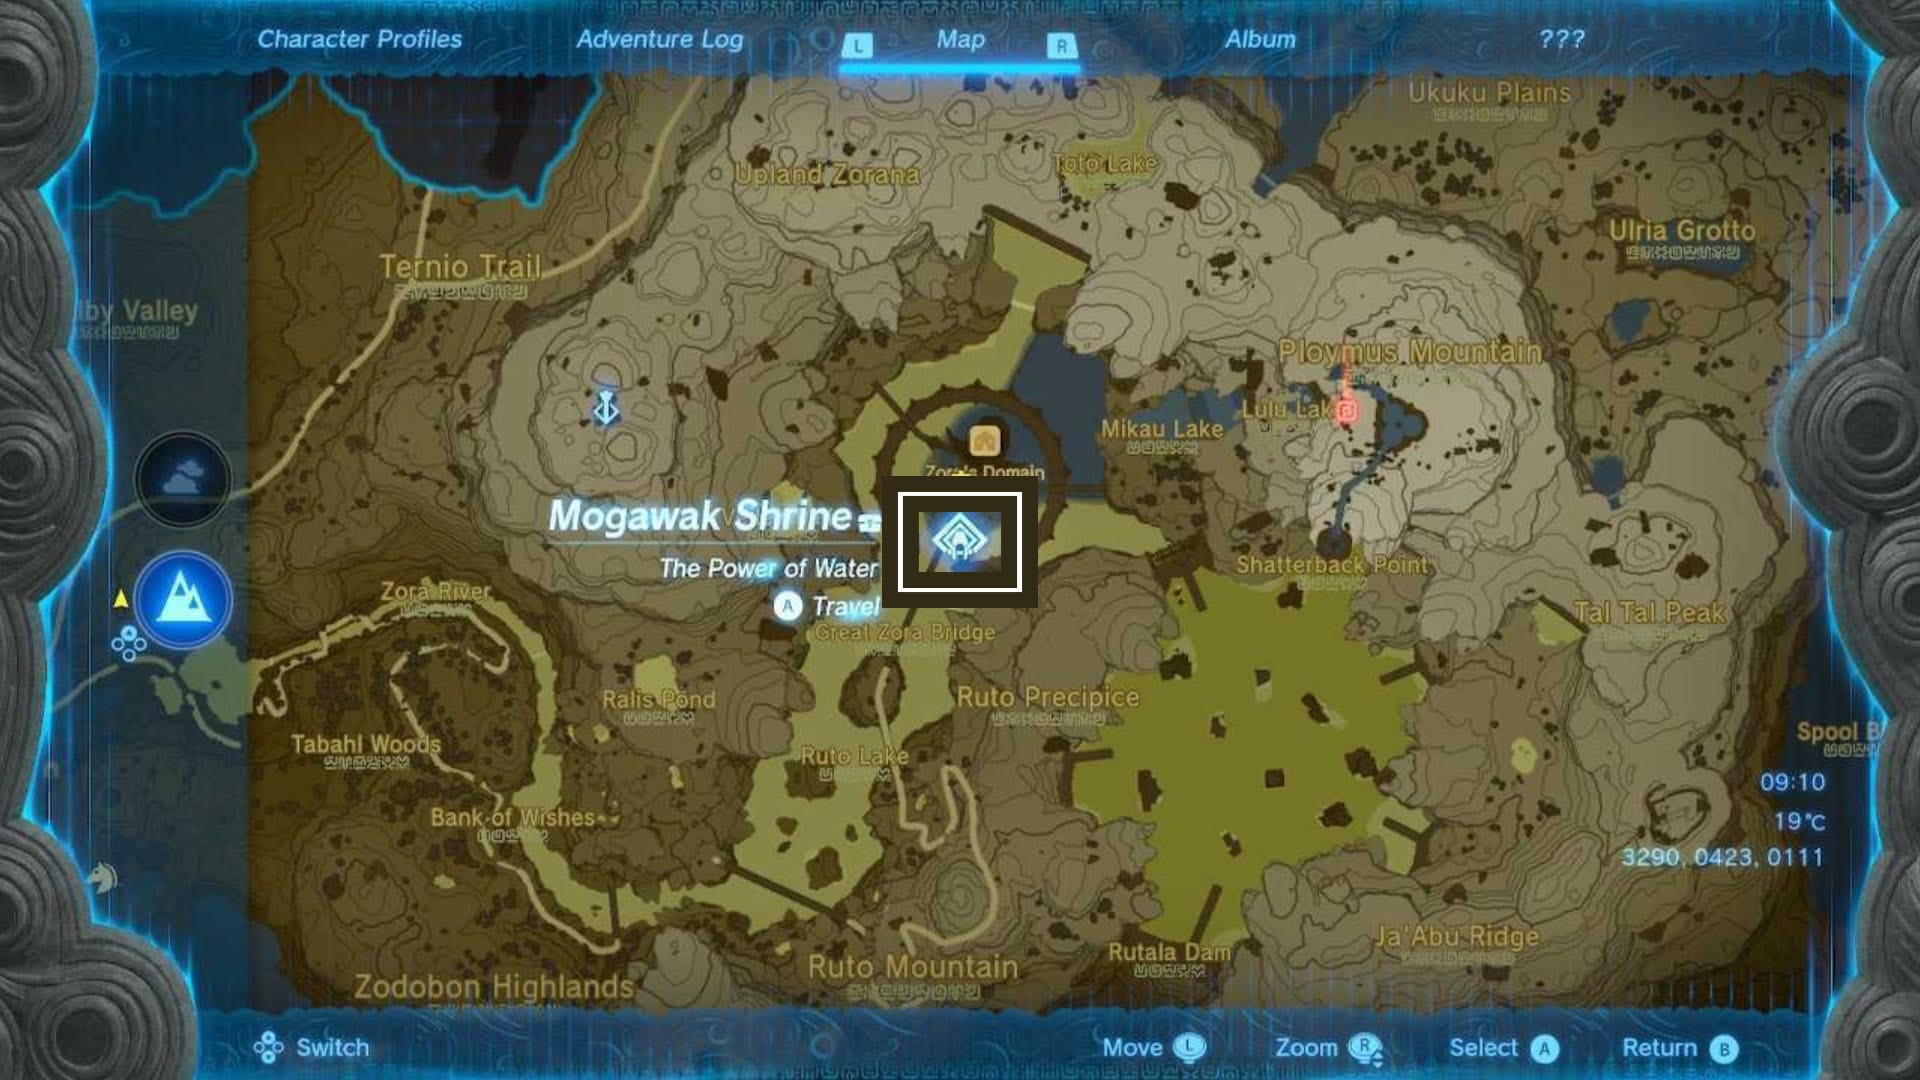
Getting to this Shrine is pretty easy compare to some others. When you get to the Zora's Domain, gently glide to the levels below the blue structures and you should be able to see the Shrine.
Mogawak Shrine puzzle solution in Zelda Tears of the Kingdom
To solve the Mogawak Shrine puzzle in Zelda: Tears of the Kingdom, you need to find a way to power the empty battery in the Shrine to bring a few pieces of equipment back to life.
The first thing you need to do is walk down the main steps of the Shrine to enter the main area. In front of you, you should see an empty battery. To your left, there will be a body of water and a chest locked behind a gate. We will come back to this later.
Then, to your right, you should see a body of water and a mechanism on the wall. Go here.
Once over here, head to the left side of the mechanism on the wall and look down in the water. You should see a chest that is deep underwater. Use Ultrahand to grab the chest and pull it to the surface where you are standing. This chest contains a Magic Scepter.
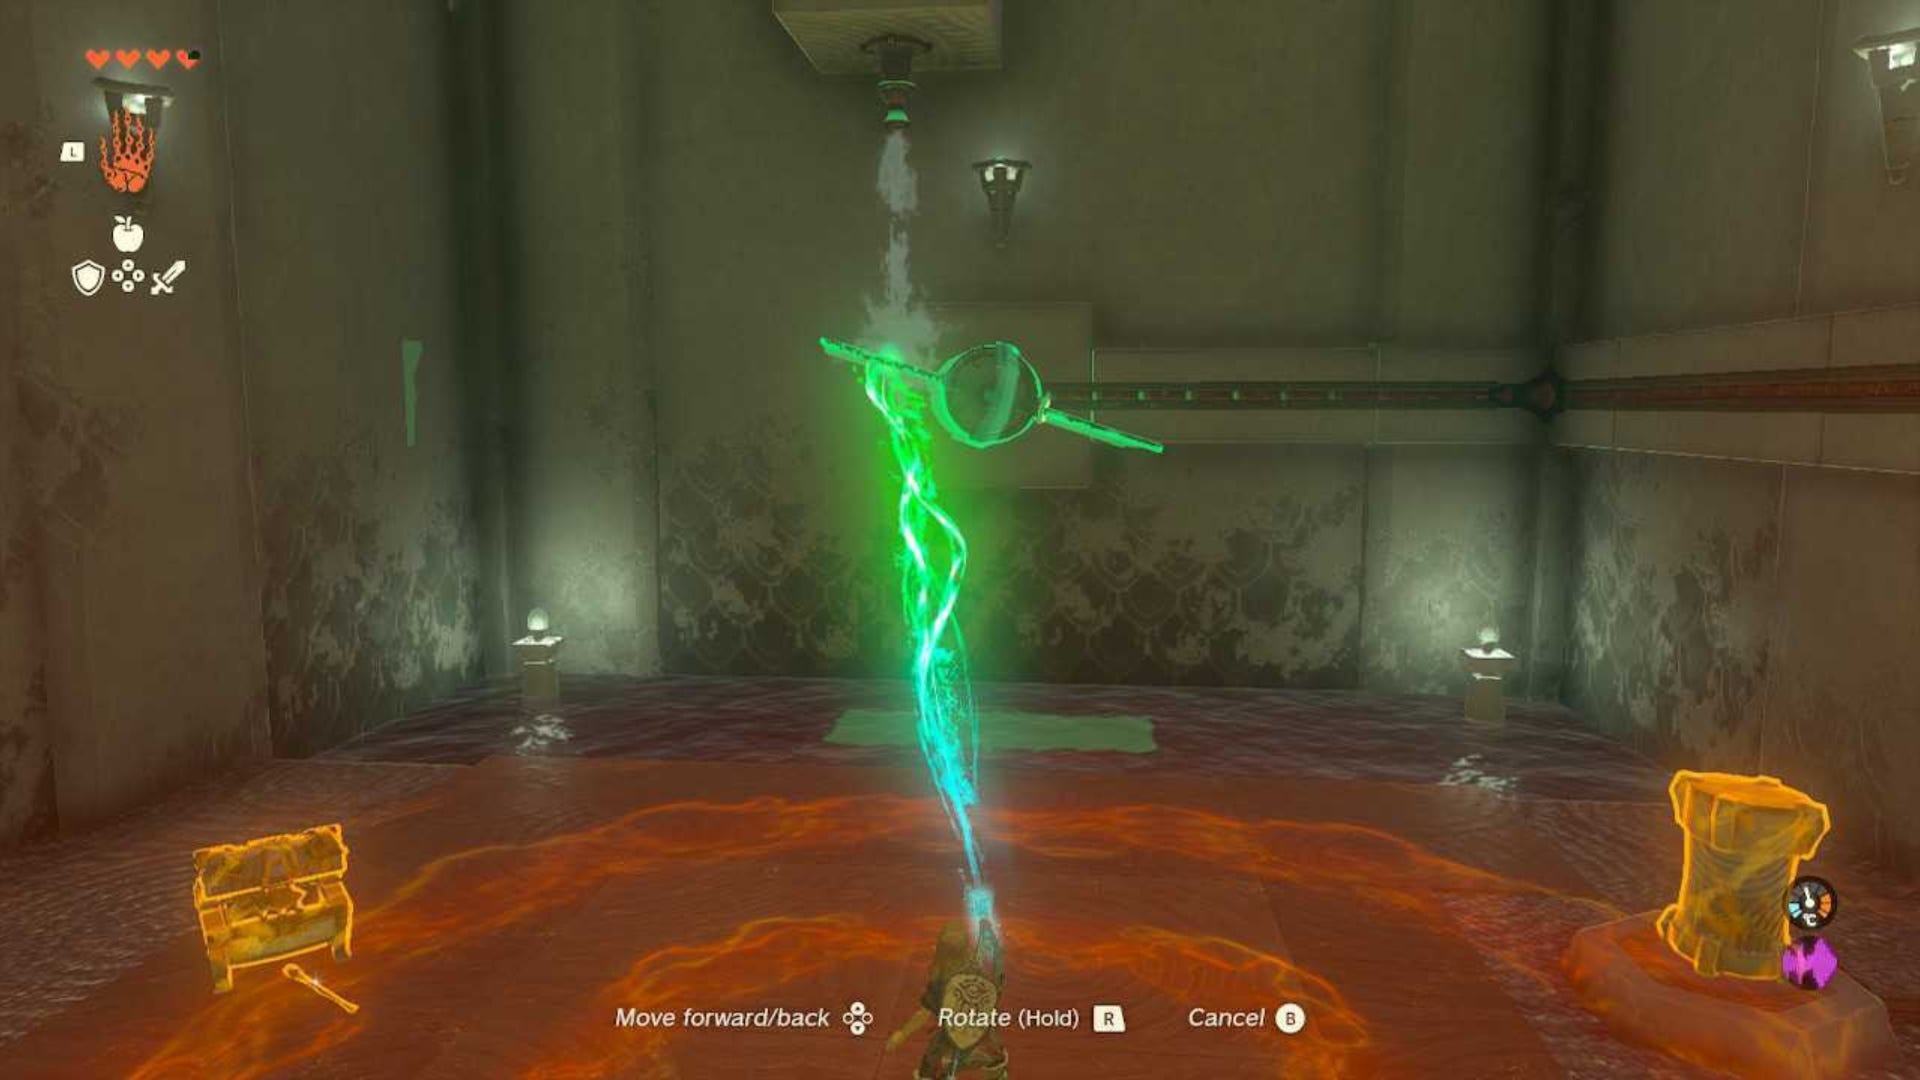
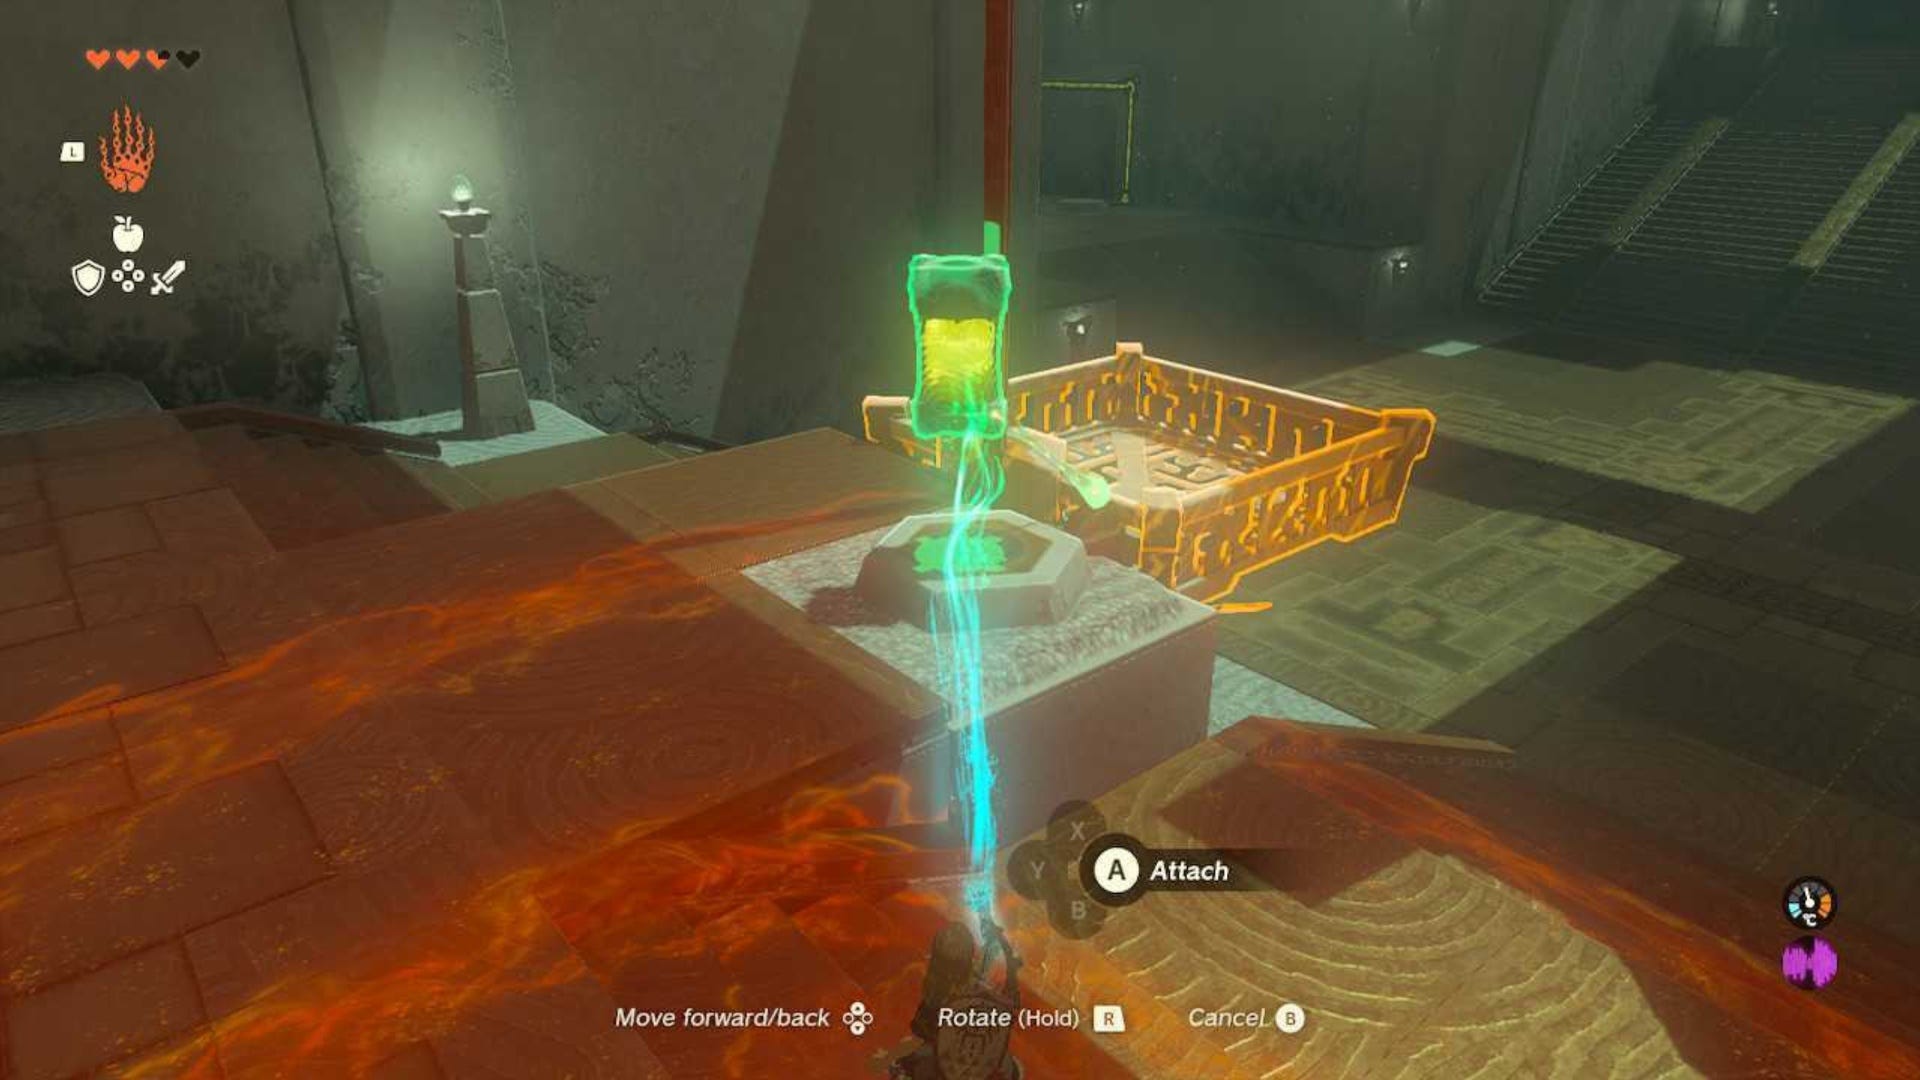
Then, look in the water on the right side of the wall mechanism. You should see a panel floating here. Use Ultrahand to pick up the panel, you then need to rotate this and stick it onto the top of the mechanism so it mirrors the panel that is already attached to the bottom of the mechanism. The end result should look like this:
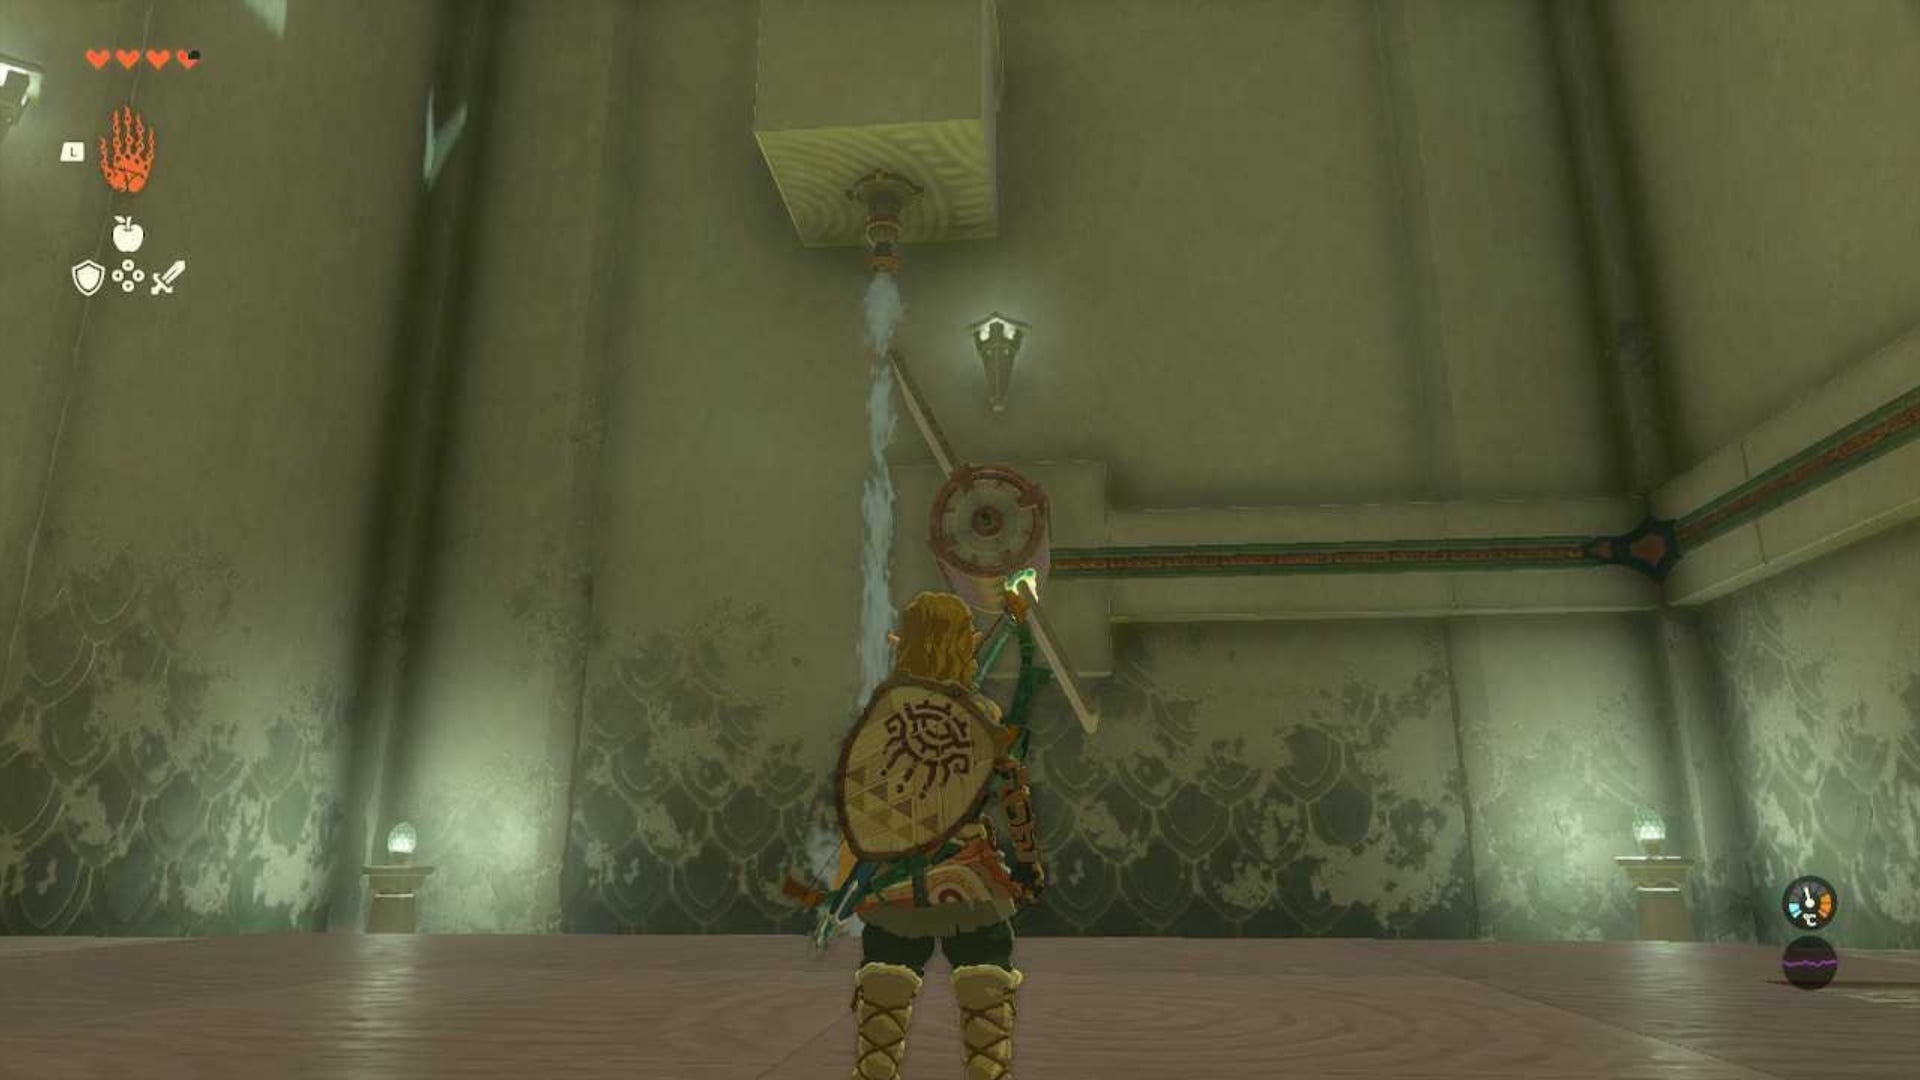
Ta-da! You've actually made a water wheel. So, now, you need to use Ultrahand again and pull the top panel towards the water flowing out of the pipe on the left. Be careful, you don't want to detach the panel, you just want to turn the mechanism slightly so that the water catches it.
Once the panel is under the water, let go of it and your water wheel should start to work. If successful, you should see the pipe leading from the mechanism on the right begin to light up.
Follow the pipe and you'll see that it leads to a panel on the floor. Go back and grab the empty battery you saw earlier. Then, use Ultrahand to move the battery onto the panel so that it's standing up.
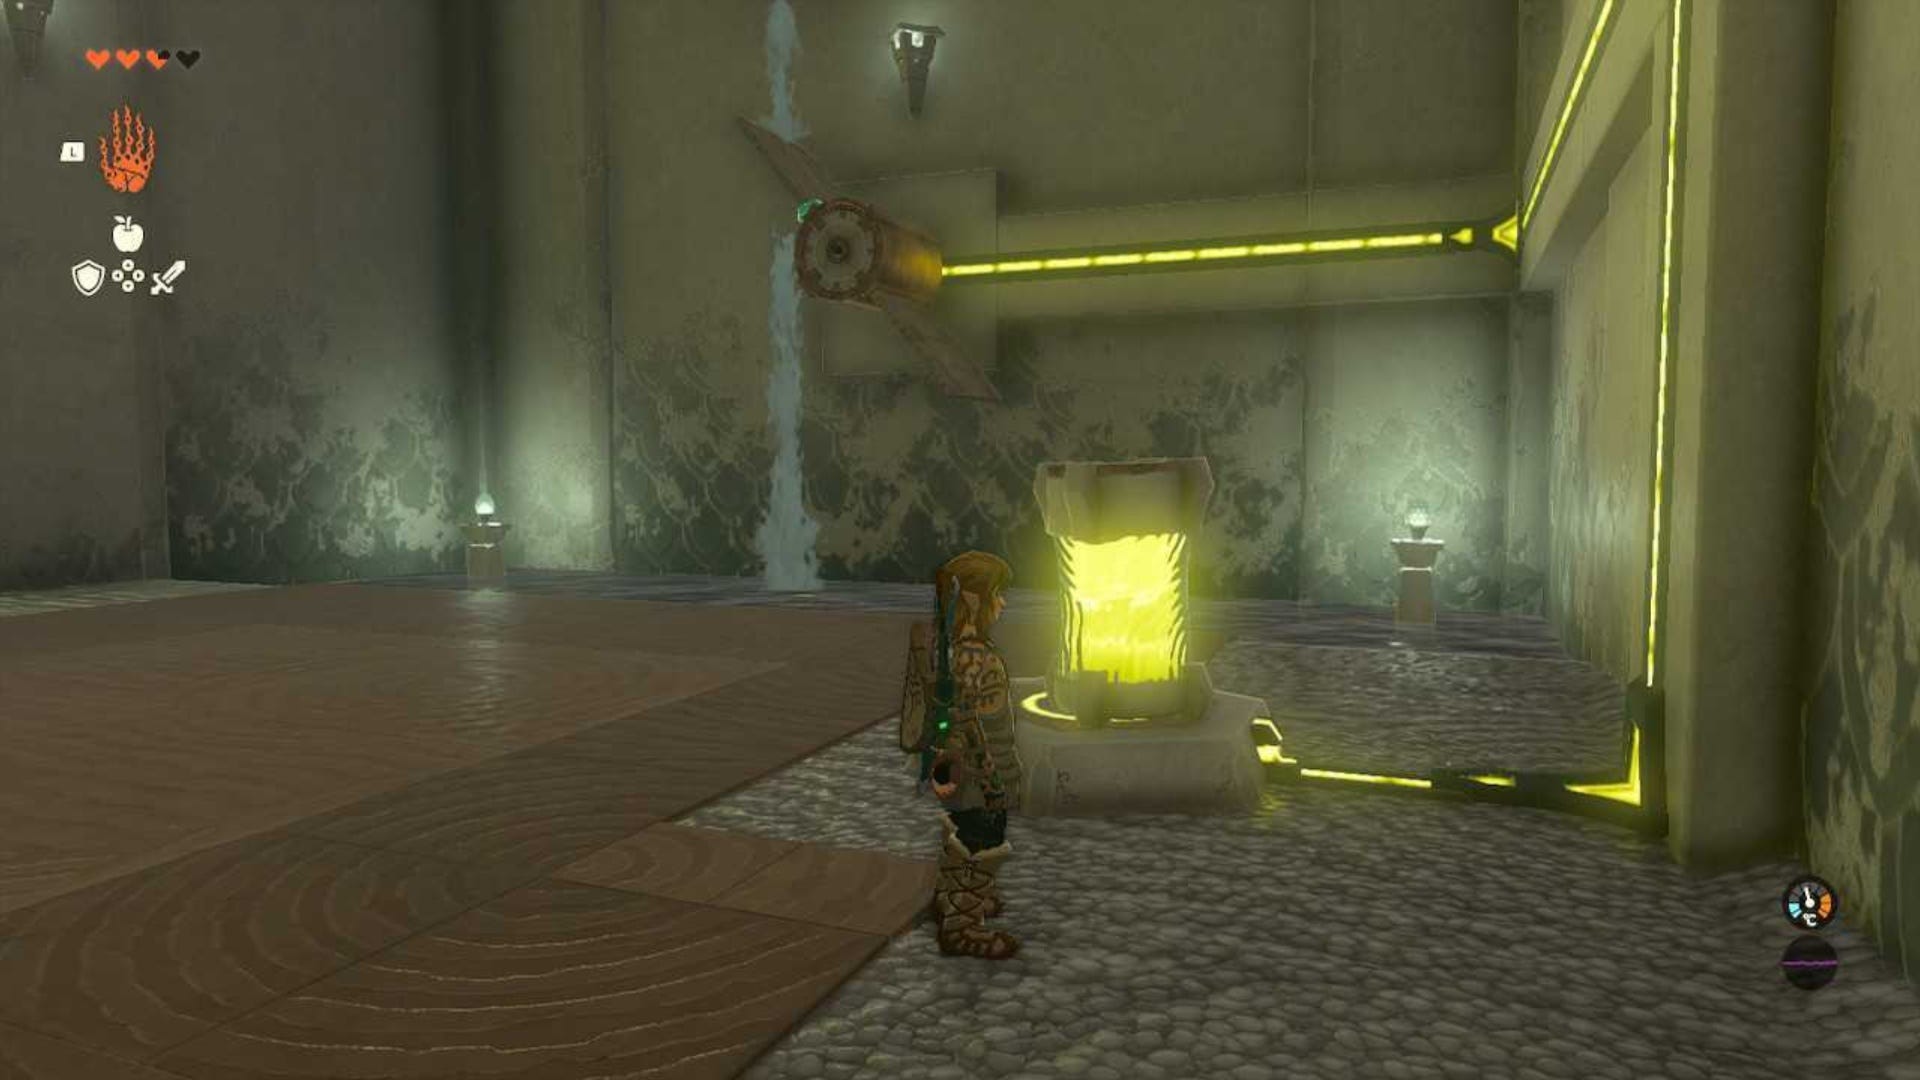
Wait a few seconds and the battery should charge. Now, it's time to go to get the chest behind the gate. Grab the charged battery and head over to the area on the opposite side of the room where the chest is behind a locked gate.
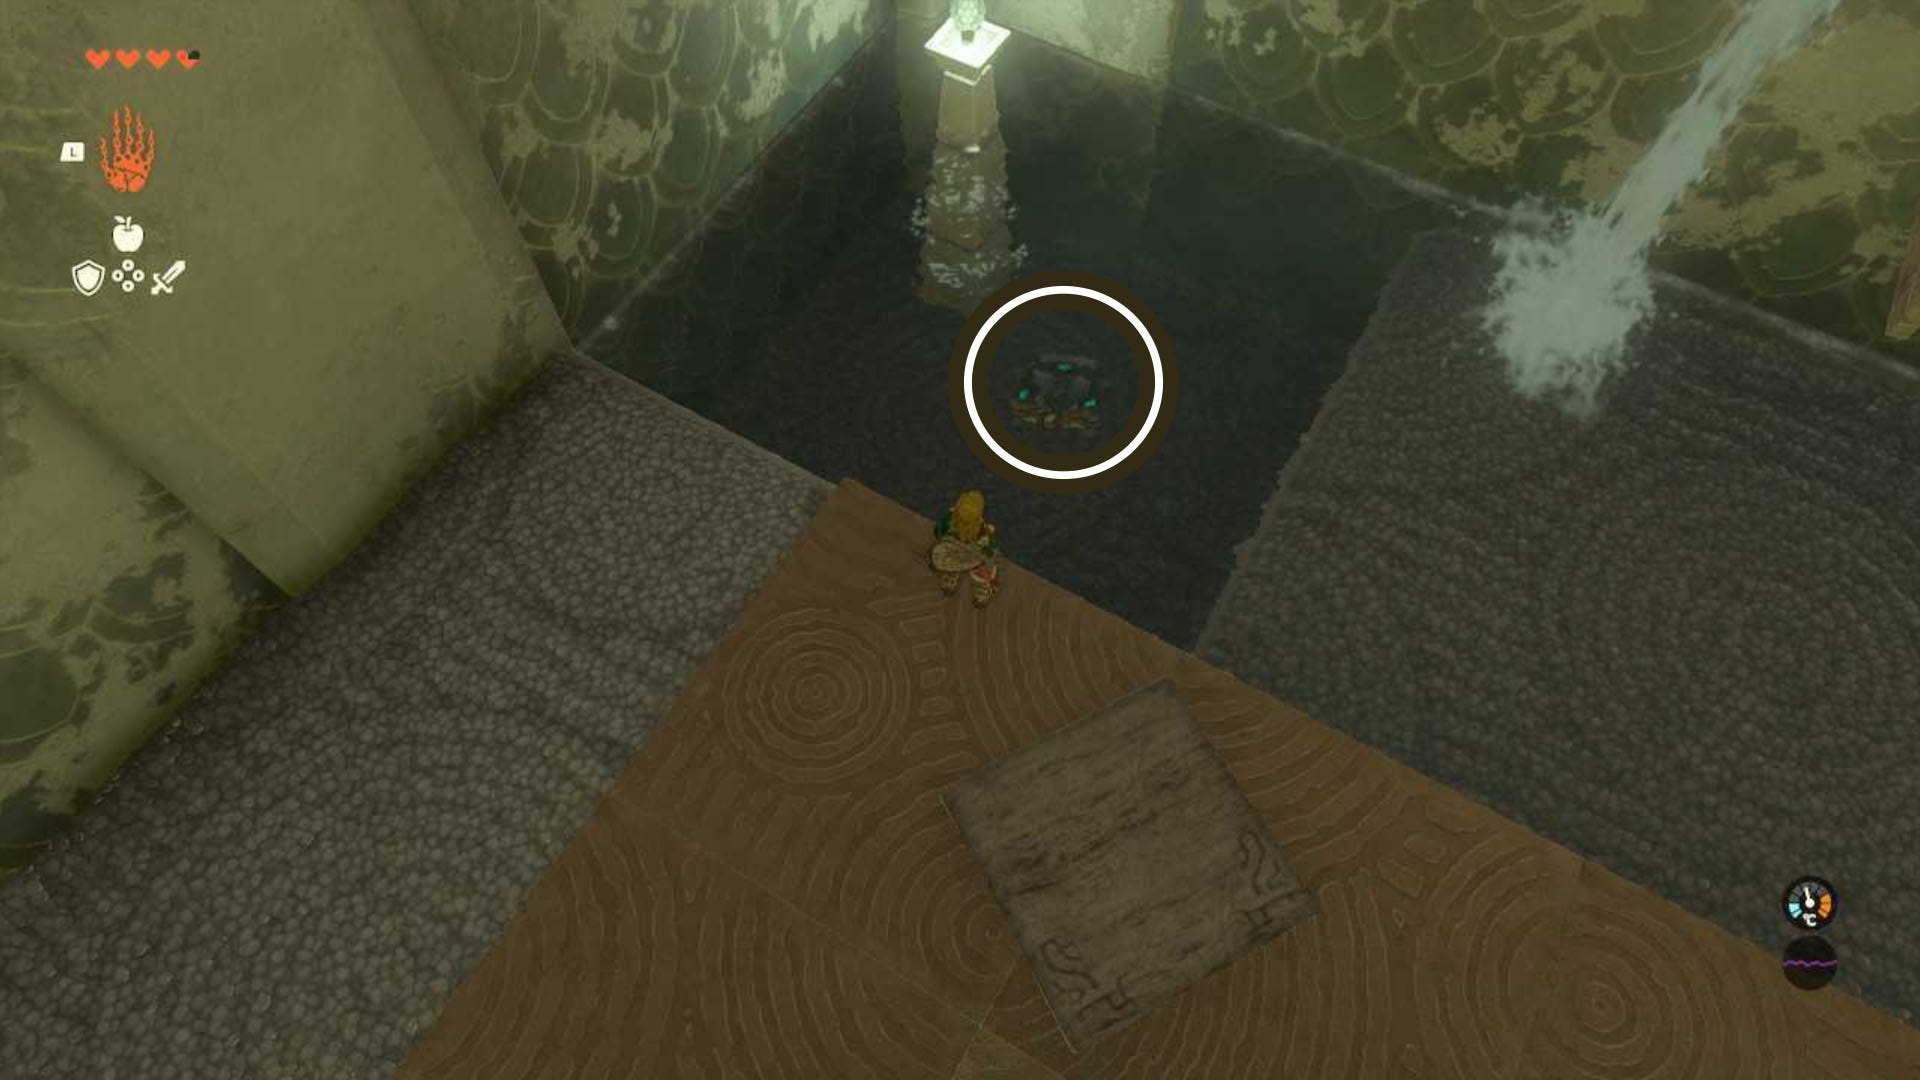
You should see another panel on your floor to the left when you face the gate. Place the charged battery onto this panel and this will send an electrical current to the ball in the water.
Quickly, use Ultrahand to arrange the balls in the water so that they are close to touching. They will not touch perfectly, but move them as close together as you can get them.
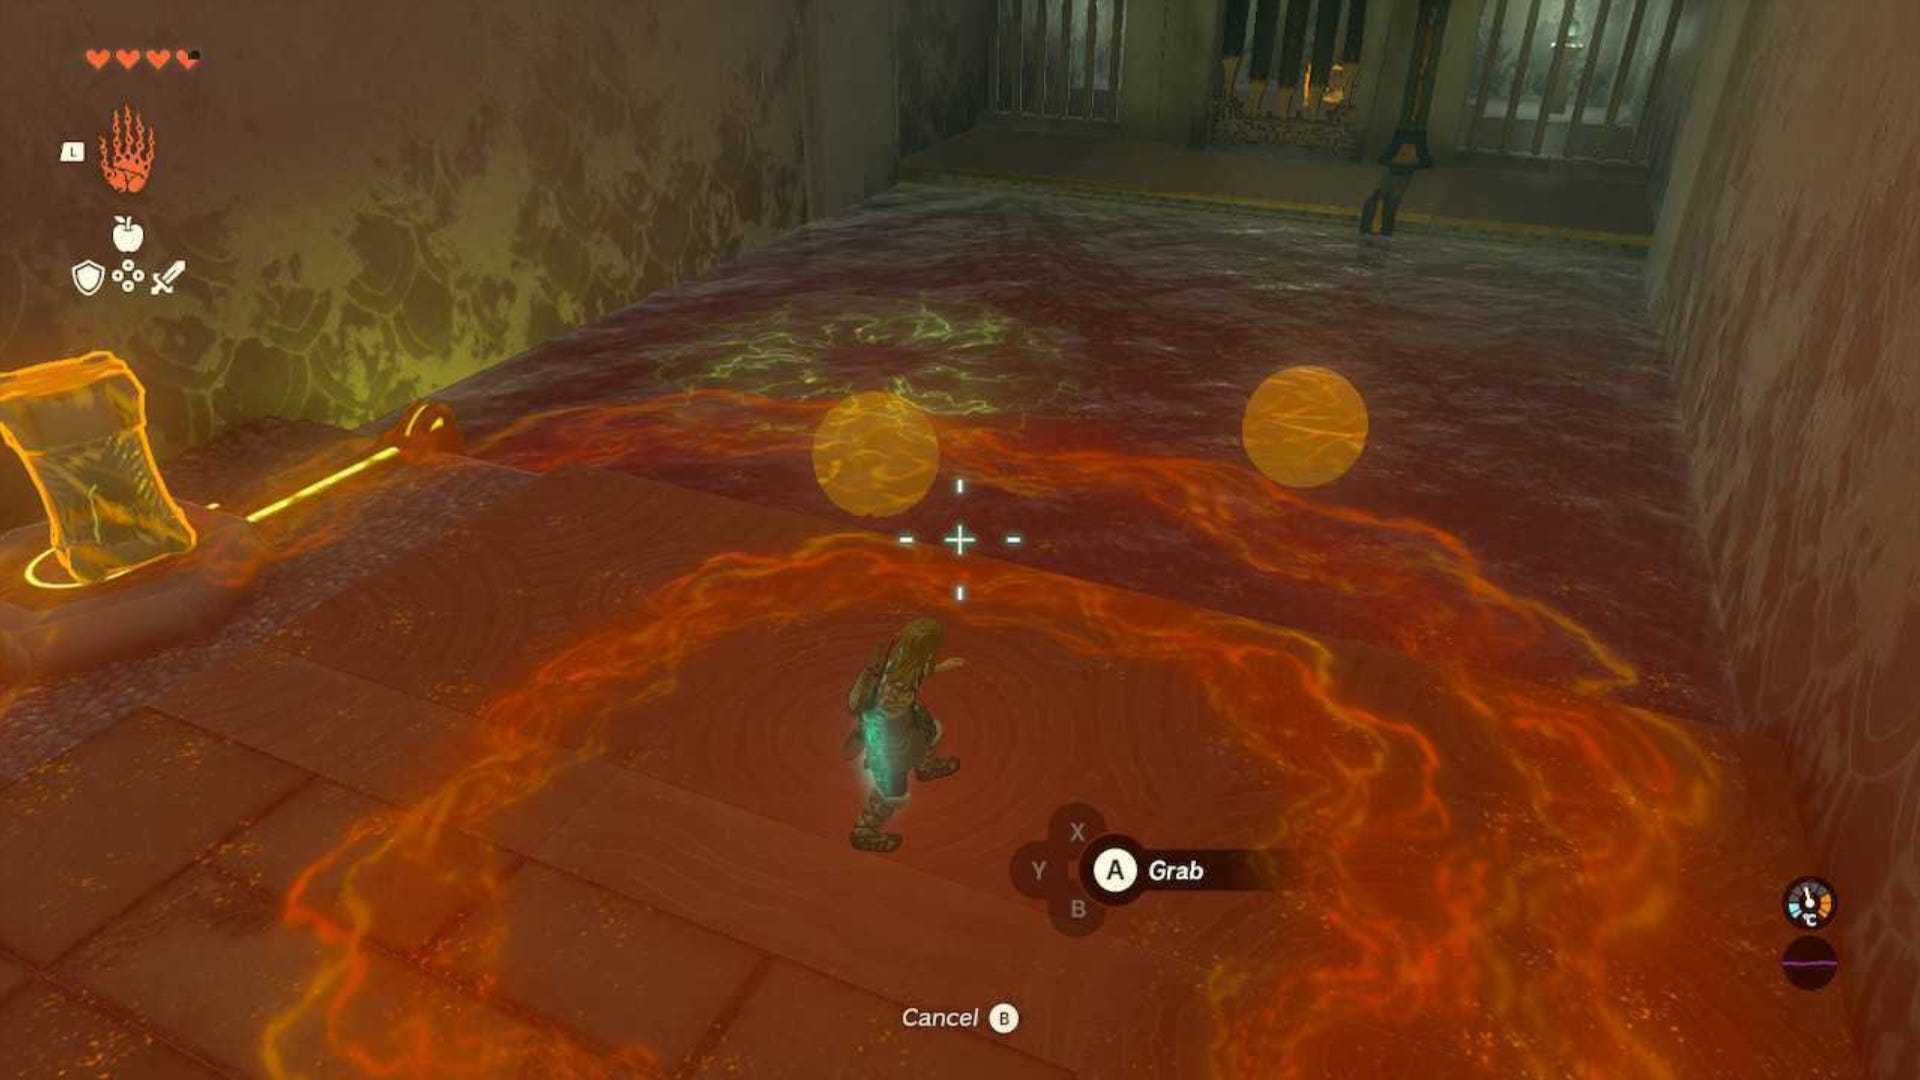
Don't worry if your battery runs out of charge, you can simply charge it again as you did previously. The balls won't reset while you do this.
The electrical current will jump from the charged ball to the next one, and this will open the locked gate. Carefully, make your way over to the gate to collect the chest. This chest contains some Opal.
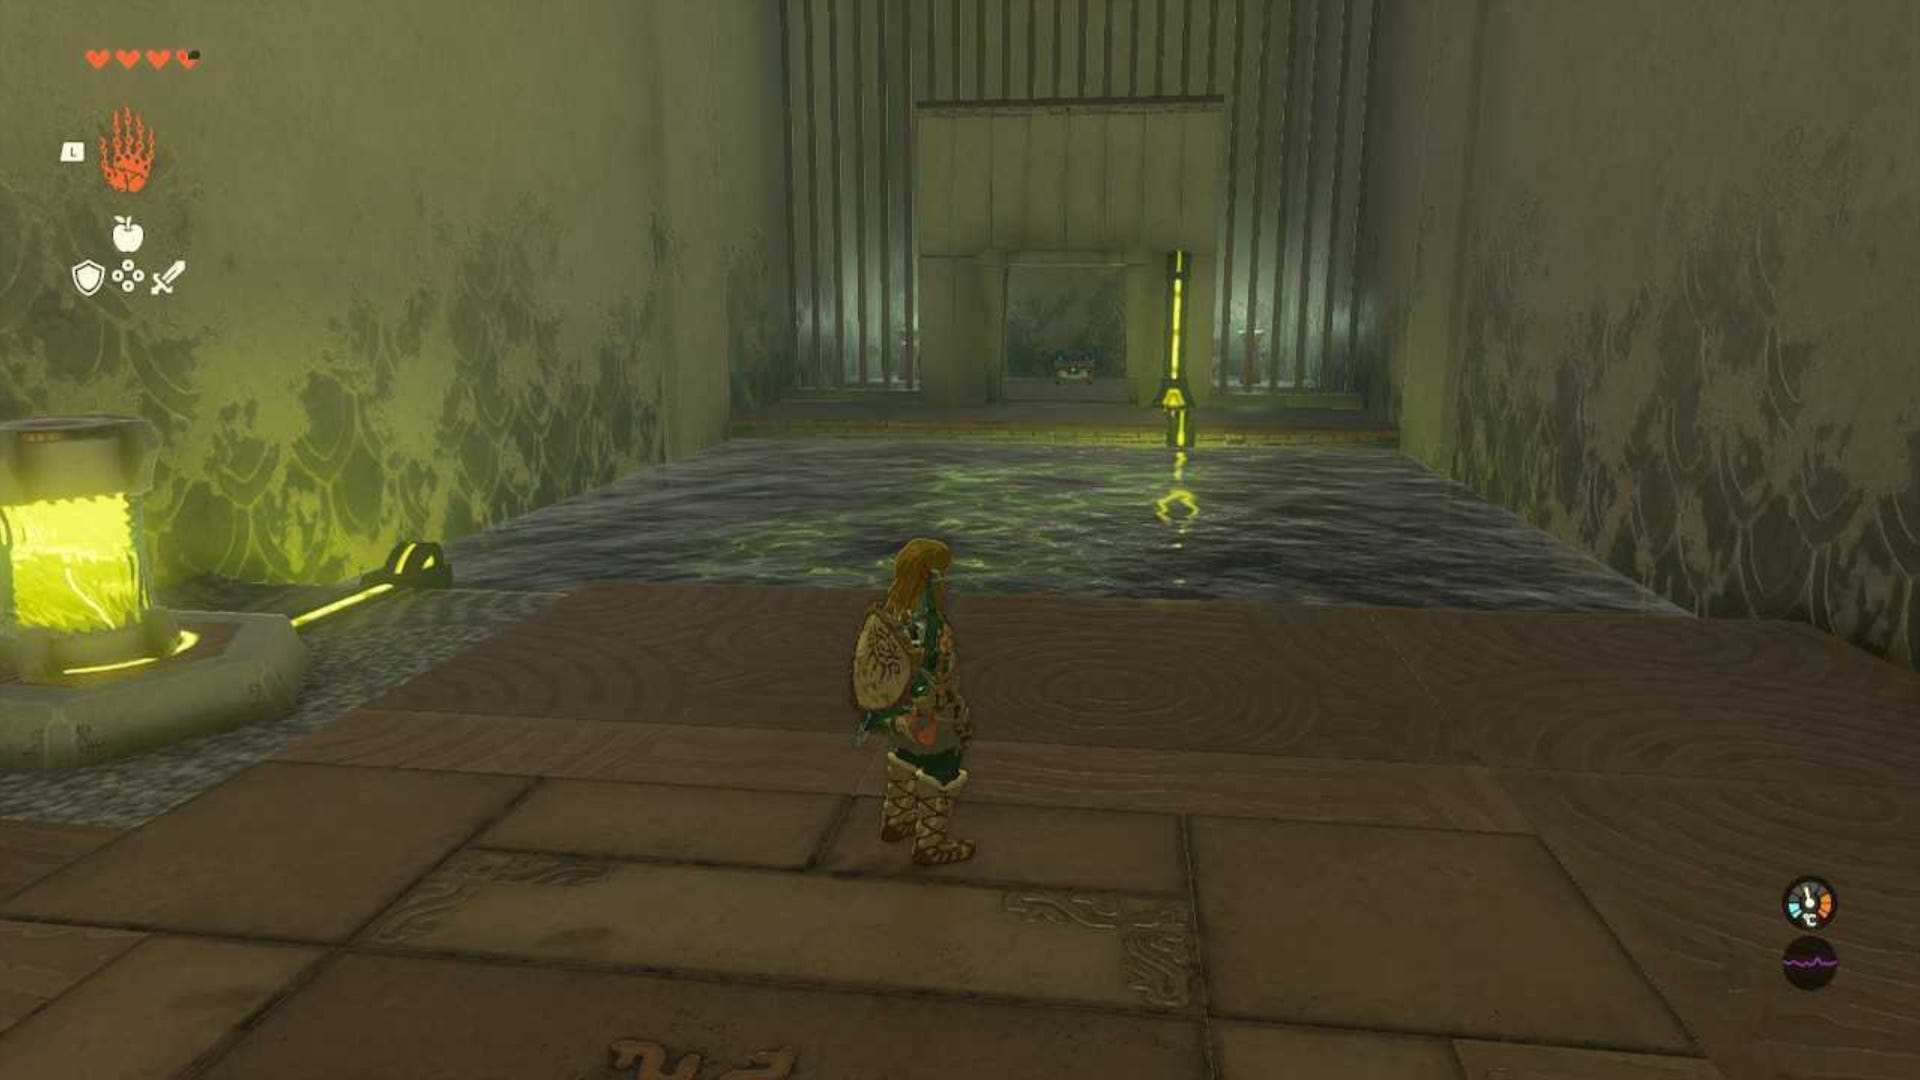
Finally, head back to the middle of the Shrine area again. Grab the battery and charge it again as you did earlier. Then, head up the ramp to the side of the elevator contraption in the middle of the Shrine and place the battery on the panel facing the elevator.
Now, we didn't manage to jump on it in time. So, we let the elevator rise up and we waited for the battery to drain. Once the elevator came back down, we jumped onto it and used the Rewind ability to lift it up once more.
Riding the elevator will take you to the final part of this Shrine where you can get your Light of Blessing.
That's it for the Mogawak Shrine in Zelda: Tears of the Kingdom, we hope you enjoy the rest of Link's adventure through Hyrule!