Zelda: Breath of the Wild - Death Mountain and Goron City, how to get fire resistance with Fireproof Lizards and free Flamebreaker Armor from Southern Mine
How to survive the extremes on the way to Divine Beast Vah Rudiana.

Zelda: Breath of the Wild's Goron City is a north east location next to a huge towering volcano that dominates the skyline, a required visit as part of completing Divine Beast Vah Rudiana.
It's home to extreme temperatures, and so you'll need fire resistance to survive the heat, which is where Fireproof Lizards and Firebreaker Armor comes in.
Here's how you make your way to the region's Eldin Tower, go north with fire protecting Elixirs, get free Firebreaker Armor and arrive at Goron City in one piece.
If you're after help for parts of the game, consult our Zelda: Breath of the Wild walkthrough and guide.

How to get fire resistance on the way to Goron City
To get Goron City, you need to go via the Maw of Death Mountain region. The easiest way is to go north from Inogo Bridge (which you'll have a travel point if you visited the Soh Kofi shrine next to it) and Lanayru Tower, which is the same region as Zora's Domain, and take the road going north from there.

Keep going to reach Foothill Stable on the right, and be sure to get waypoint at Mo'a Keet Shrine just up the hill behind to the east. Before you set off, it's recommended you chat to Gaile outside who can sell you some Fireproof Elixirs - three for 150 Rupees - which will help with the coming volcanic region. Consume one of these and you'll be safe for six minutes. You won't need one just yet, but hang onto it.
Continue north and you'll enter the Maw of Death Mountain region. Be prepared for more powerful foes and more fire elemental adversaries along the way, such as Stalmoblin at night and red Chuchus, which explode upon death - just be sure to stand back.
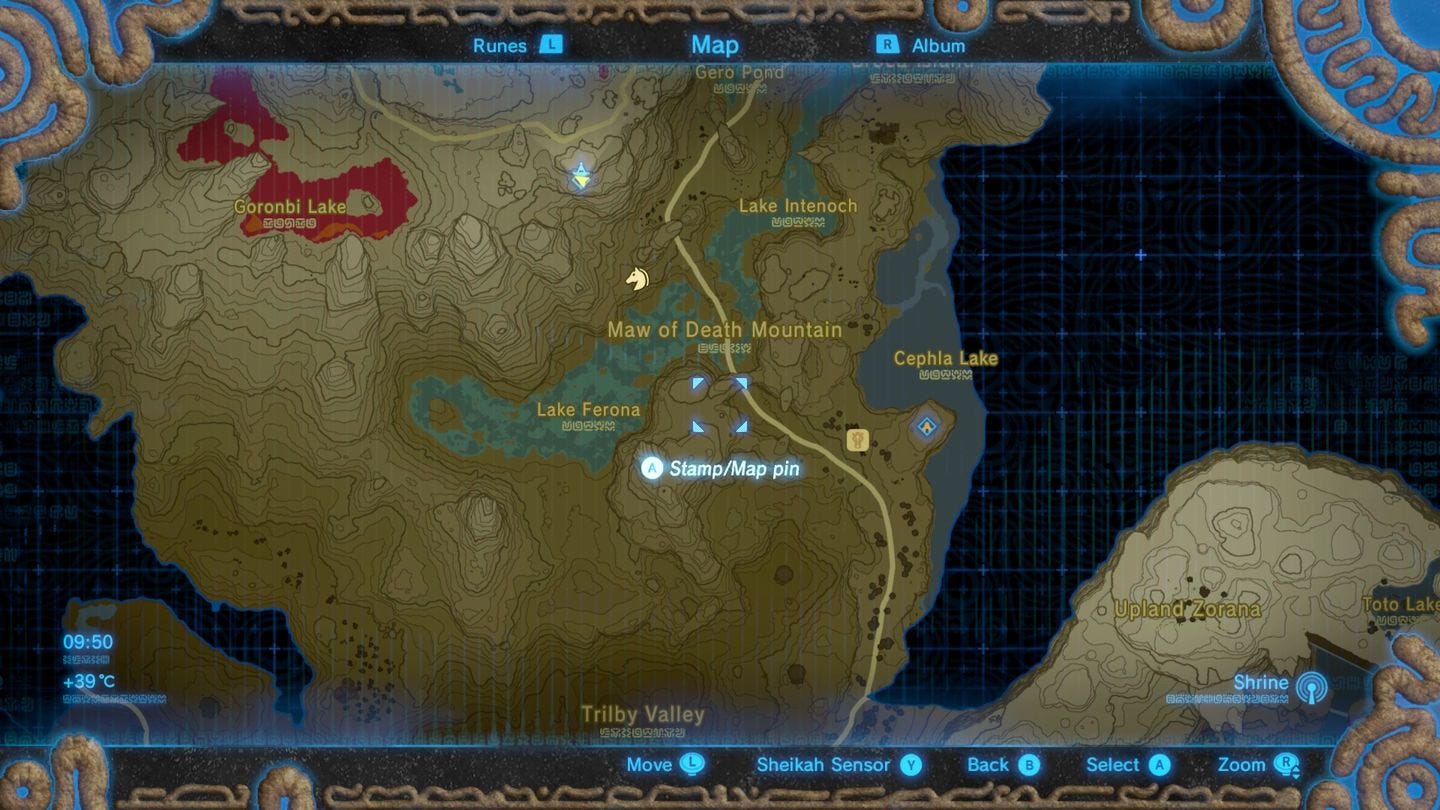
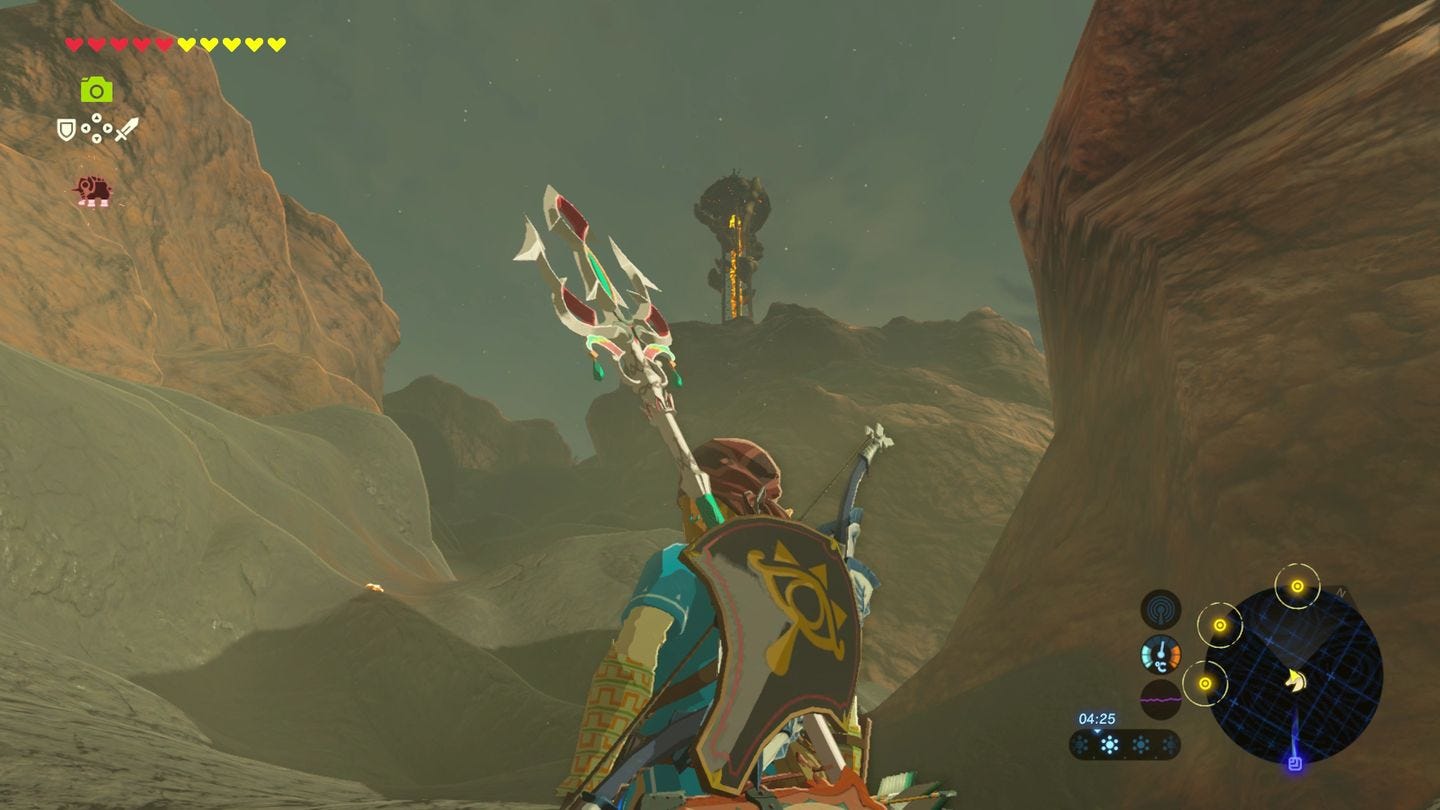
To reach the Tower, before you enter the canyon proper, there will be a fallen Guardian on the right. Opposite that to the west is a dark path going left and up. Take that all the way up, watching for Red Chuchus and falling boulders, passing a Bokoblin camp on the right, and Eldin Tower is easily accessible.
If you go north of here, you'll instantly start getting burn damage, and your wooden equipment will set ablaze if left out. It's here where you need fire resistance.
Again, Foothill Stable to the south (you can see it from the Tower) has Fireproof Elixirs for sale from Gaile outside. We recommend three, as although you can get armour fairly early in, it's best to be safe and also allows you to increase your heat protection if you stack them up.
Whenever you're ready, drop from the tower to the path below, and follow it north. A few notes about this fire-filled region:
- Any wooden objects equipment will begin smoking and catch fire it left out too long. Swap them out for metal-based objects instead.
- It's so hot that you can cook ingredients on the ground. You can't combine them, but if you want to give an individual Apple or Raw Meat some extra healing power, it's easy to do so.
- Wooden objects like arrows can be used and reclaimed after use, but it will burn up quickly, so grab it fast.
- Similarly, monster and animal parts that drop will disappear and burn too if you're not fast enough.
Continue on the path and go north. With the limited time you have with the elixir, ignore every enemy and keep going. You'll soon come to a cliff with an Ignio Tatus just before it.
While you could take it on with your current equipment, an issue comes with the time remaining on your Fireproof Elixir, and burn damage from climbing on top. Our recommendation is to flee, climb and continue north on the path.
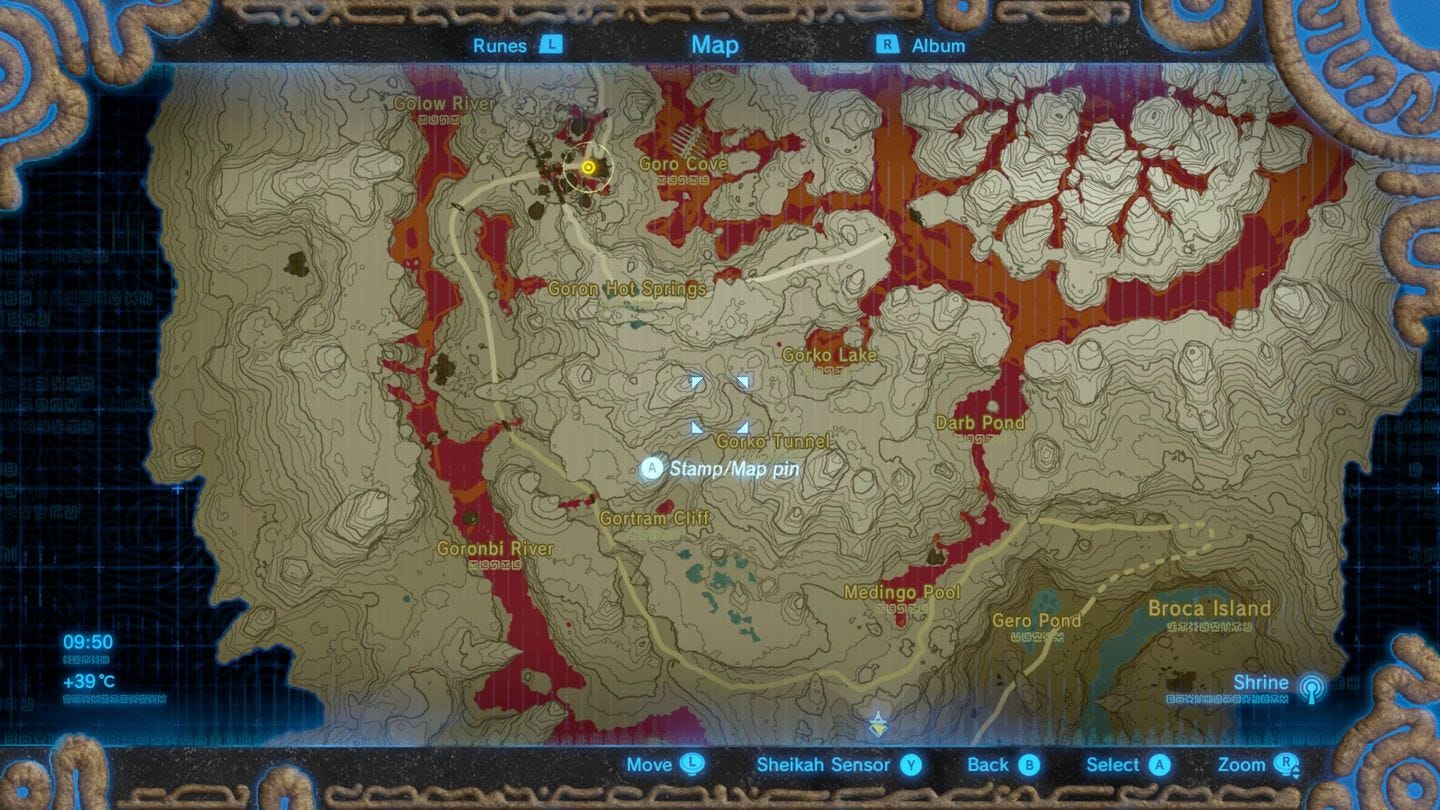
Southern Mine
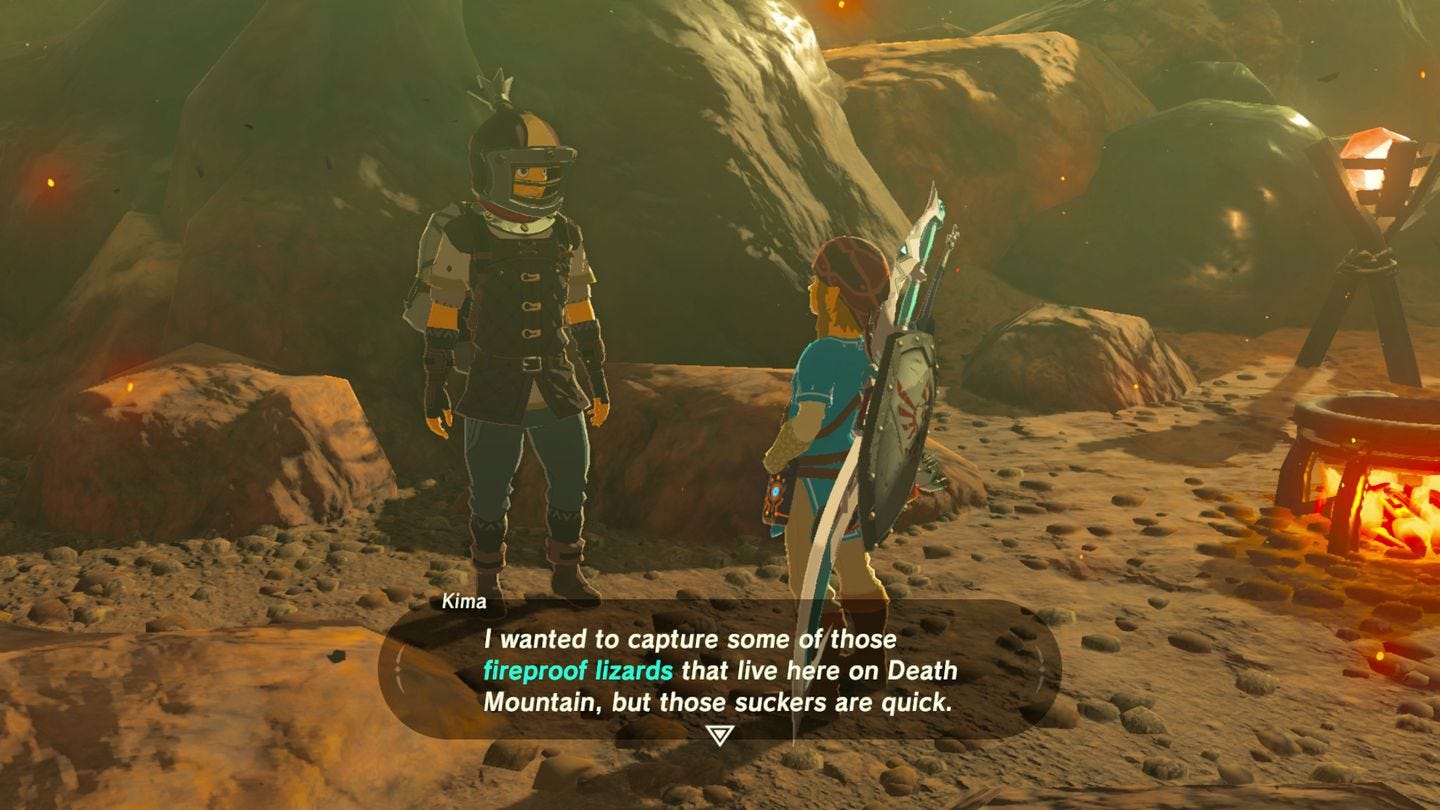
You'll very soon come to Southern Mine. There's not a lot here aside from chatting to the Gorons to get some background story info, though it's well worth chatting to the armoured Hyrulian Kima on the left as you get in for the Fireproof Lizard Roundup side quest, who tasks you with getting 10 Fireproof Lizards to get some Flamebreaker Armour.
The 10 Fireproof Lizards will be dotted around the Southern Mine area between the two bridges, both out in the open and hidden under rocks. Be careful as you go as they run away when close, so when you see one, shoot it with your bow.
We found a group of three in the south east, which we dispatched at once with a bomb, and be sure to check under rocks too, and tap the A button as soon as you lift to quickly collect it.

If you're struggling, taking a snap with your camera rune and tracking it with an upgraded sensor may help, and / or if you run out of time, we imagine (though haven't tested) that the Fireproof Lizards regenerate if you warp out and in again, so go back to the stable, stock up on Elixirs and return when ready.
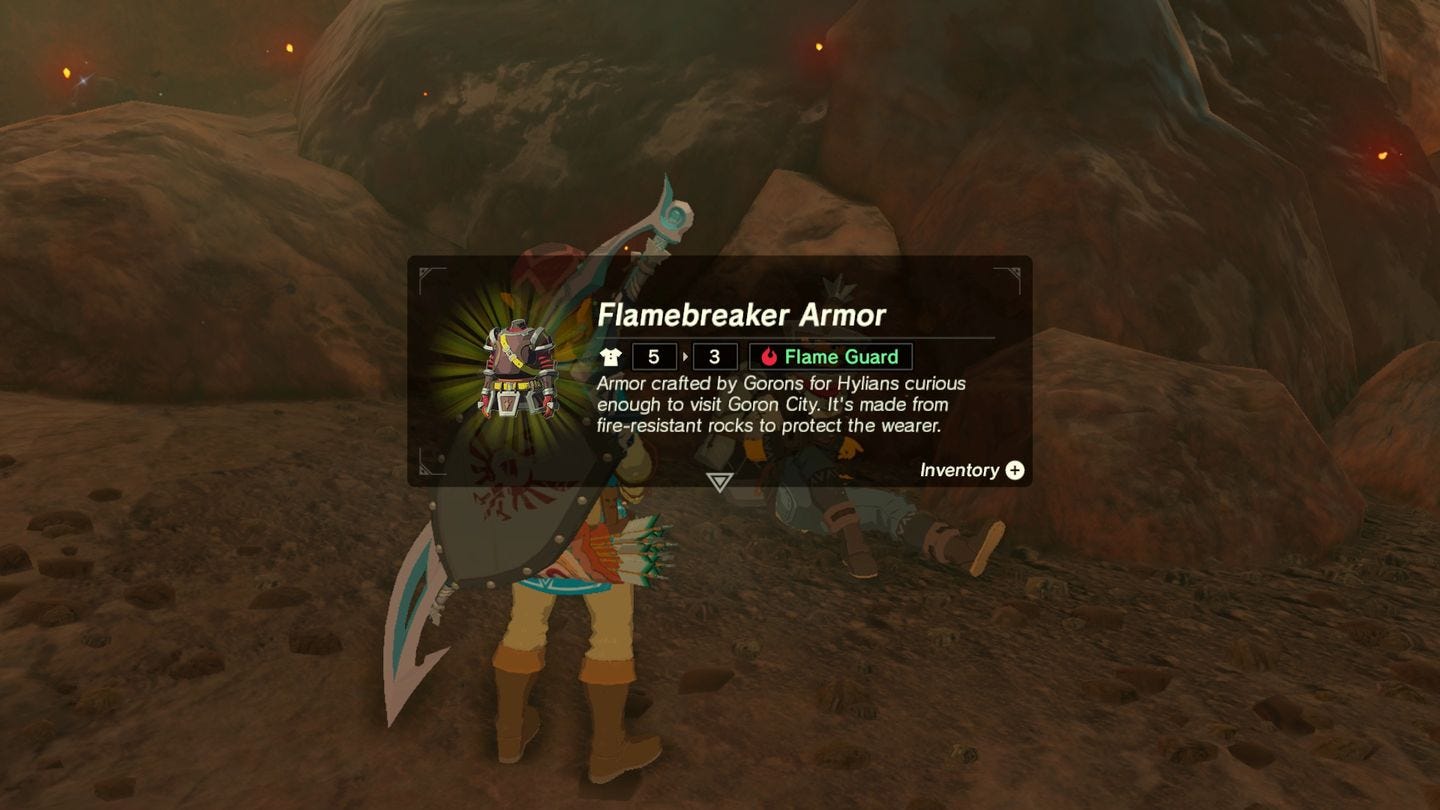
Trade in all 10 and you'l receive the Firebreaker Armour. It should also be noted you can buy it from Goron City - but at a very high price - and also use the Fireproof Lizards to make a Fireproof Elixir (the six minute strength is from two Lizards and on Bobokin Horn). If you see any Smotherwing Butterflies on the way, they can be used for Fireproof items, too.
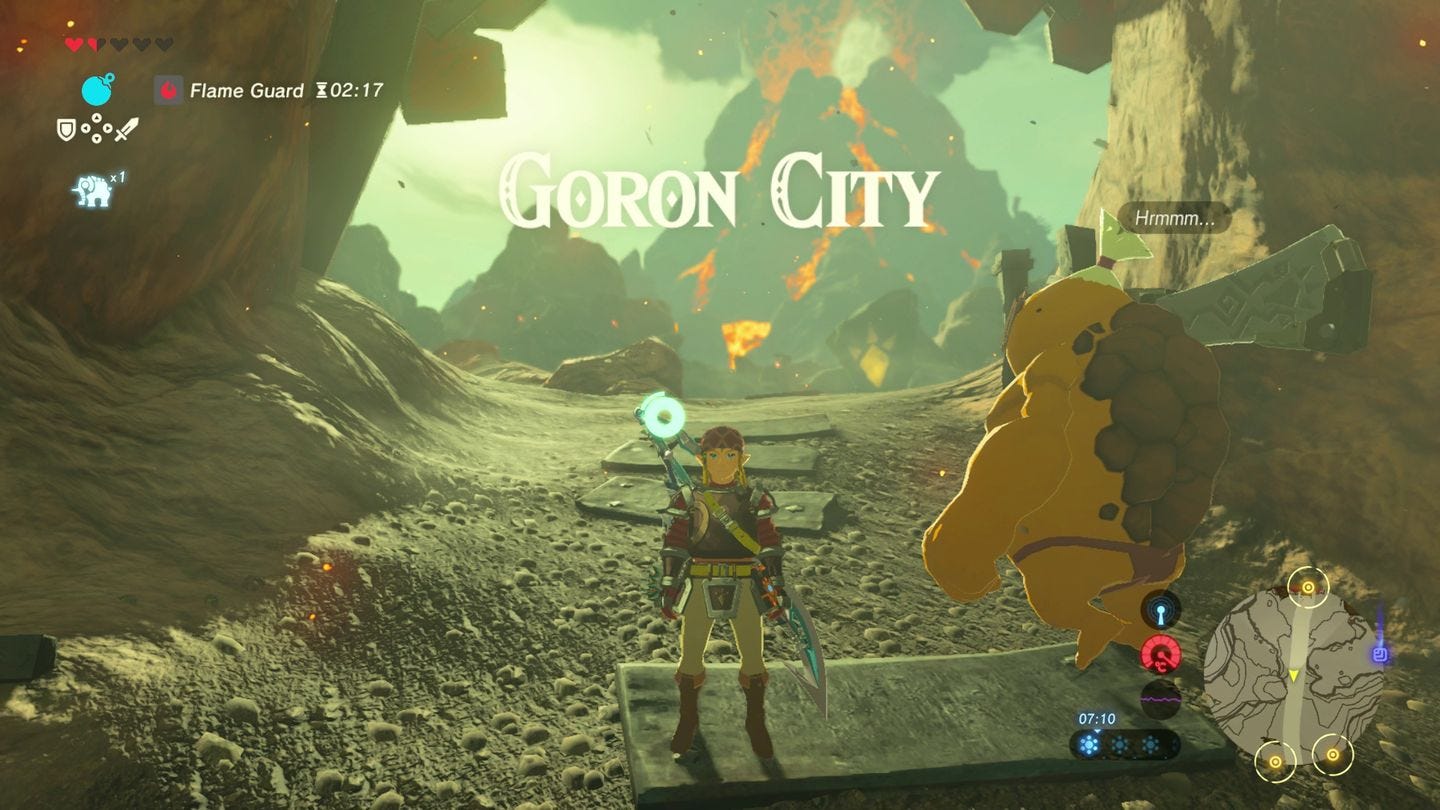
When you're ready, head north over the bridge. The path to Goron City is quite short - you'll be there in about a minute or two - with minimal resistance. You'll see a Moblin camp, which you can run past (we recommend using the wind gust to take you north a little faster) and you may hear an eruption, which will be followed by a fireball shower.
There is a rock overhanging on the left side of the path, which you should duck under and wait until the shower passes. Now continue on to Goron City.
Thanks to a new update, it's now possible to play Zelda Breath of the Wild in VR. Want help with the main game? Our Zelda: Breath of the Wild walkthrough can help complete Divine Beasts Vah Ruta, Vah Rudiana, Vah Medoh and Vah Naboris and more. There's also how to get the Master Sword, Hylian Shield and all Zelda Captured Memories and Great Fairy Fountain locations, while our Shrines locations and Shrine maps hub explains where to find and solve every puzzle room, including dragon locations and Labyrinth solutions. We also have a DLC 1 guide and DLC 2 guide, including all Tingle, Majora's Mask, Phantom, Midna outfit locations.

Goron City
Feel free to explore and chat to the villagers, pick up a few side-quests, use the cooking pot on the southern ridge and, if you haven't already, procure some Flamebreaker armour from the clothing vendor on the right as you enter. You'll need two levels of protection for the next area, so consider getting two items, or one and a Fireproof Elixir.
- Flamebreaker Boots - 700 Rupees
- Flamebreaker Armour - 600 Rupees
- Flamebreaker Helm - 2000 Rupees
When you're ready, chat to Bludo, the village chief who is at the east of the city (the Goron with the eye patch) who will give you the Vah Rudania quest. He tells you a Goron named Yubono is needed, who can be found at the Abandoned North Mine.
Go left of Bludo, up the winding path and you'll be headed in the right direction, passing alongside the Shae Mo'Shah shrine along the way - a handy fast travel point as you usual - then proceed on to the Abandoned North Mine which is just further ahead.