Valheim workbench: How to make and upgrade workbenches to higher levels explained
How to craft increasingly better items.

Workbenches in Valheim are one of the most important items in the game - without them, you cannot craft new building parts or gear pieces.
The workbench has several requirements before it can be constructed, but once set up, will open up the early game significantly - from allowing you to establish your first base to crafting weapons and armour important to taking down the first boss.
From there, you can upgrade the workbench to access gain new item types and upgrade your existing weapons and armour to more powerful variants.
On this page:
 19 Beginner's Tips to Get You Started in Valheim - Valheim Beginners Guide Tips & Tricks PC Gameplay
How to build a Valheim workbench in brief
Constructing a workbench in Valheim requires a number of steps. In short, it involves:
- Gathering wood and stone
- Crafting a hammer
- Crafting the workbench using the hammer
- Putting the workbench in a sheltered environment
All of this sounds fairly straightforward - but the last point in particular can prove confusing. Here's more specifics on how to get your first workbench up and running.
How to build a workbench in Valheim
To build your first workbench, you need several components - all of which require some stone and a lot of wood.
Wood can be found by interacting with branches on the ground, or by crafting an axe and cutting down the thin trees which are dotted around the Meadows biome.
Stone, meanwhile, is found by interacting with small rounded rocks dotted on the ground. If you're struggling to find them, head to more open parts of the Meadows, as they can be harder to see from a distance in the more forested areas.
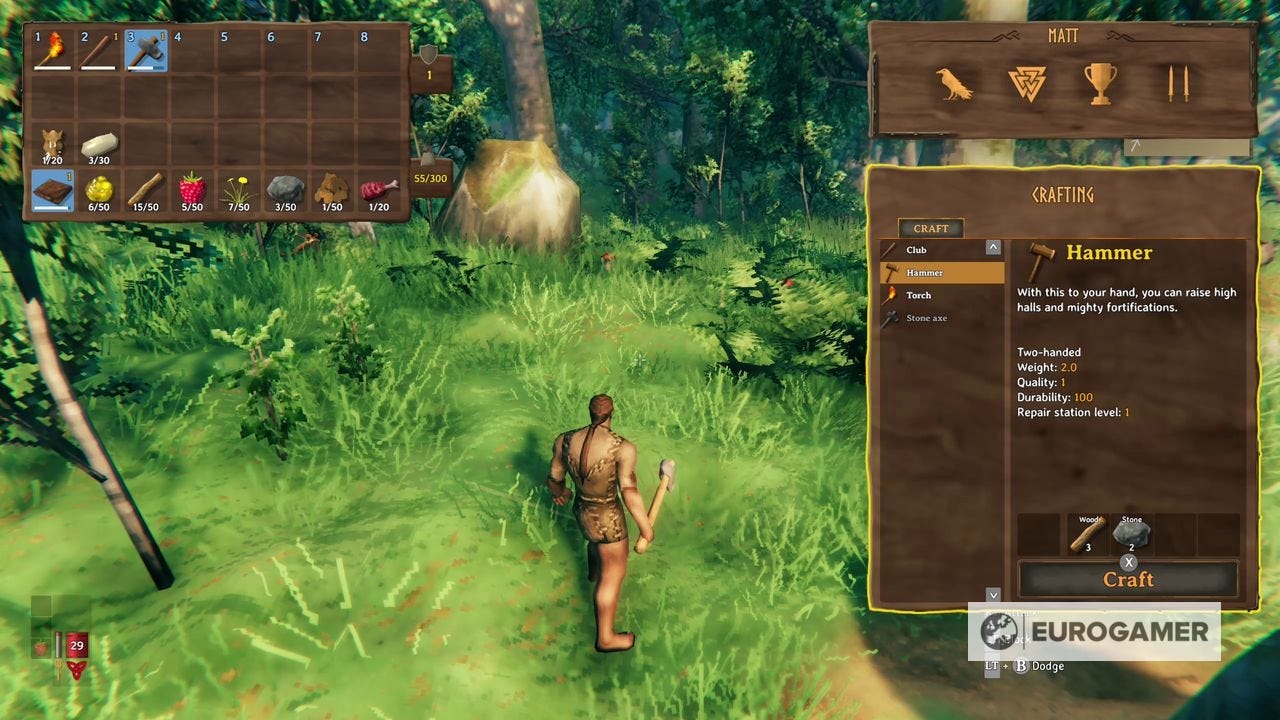
When you are ready, craft a hammer, which requires:
- 3x Wood
- 2x Stone
Equip the hammer, and press the on-screen prompt (in the lower right corner) for the Build menu. Now go to the crafting tab, and select workbench.
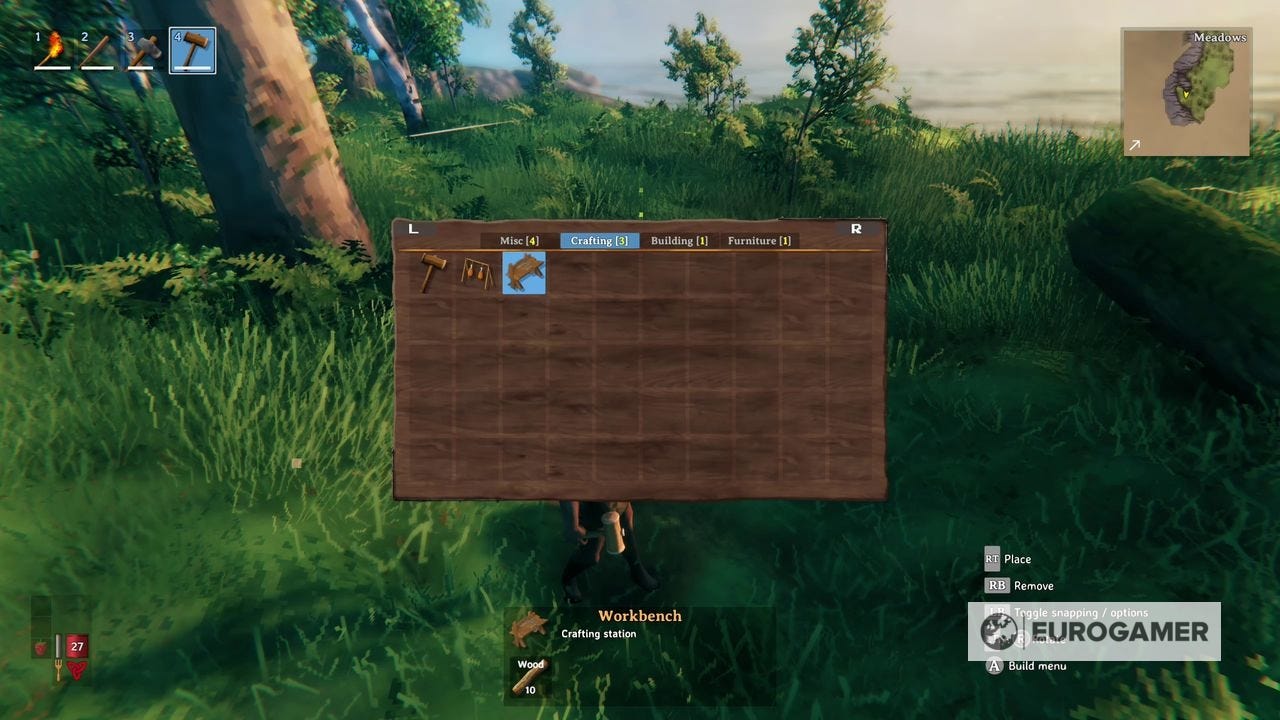
To craft a workbench, you need the following resources:
- 10x Wood
Once crafted, it opens up a slew of new crafting options - from flint-based gear to building parts (walls, roofing) which allow you to construct a home base.

That, however, is technically not all you need. To use the workbench, you need a roof. In other words, it needs to be placed inside a structure.

There are two ways to do this. One is to build a structure around it from scratch, which you can do with the hammer in proximity of the workbench. This doesn't have to be a complete shelter - as long as you have a floor, wall and roof over the workbench itself, you're good to go.
The other is by placing it into a ruined structure that's already available. This something we'd recommend for your very first base, especially as it will be cheaper on resources, and takes less time.

We found a handful of ruins not far from the first boss rune (remember each Valheim map is procedurally generated, so each game will be different - but chances are, your Meadows biome will offer something similar). This location also acts as a useful respawn point position during the early game once you have constructed a bed.
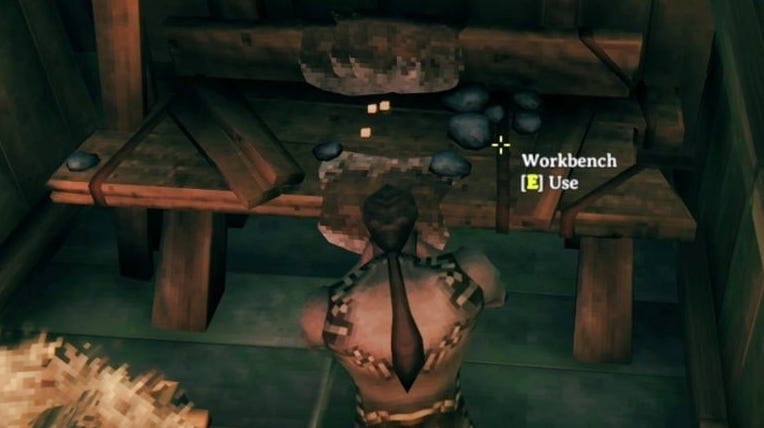
Once you have found a suitable ruin, place the workbench inside, then repair all the panels around you. From there, you can now make use of your workbench.


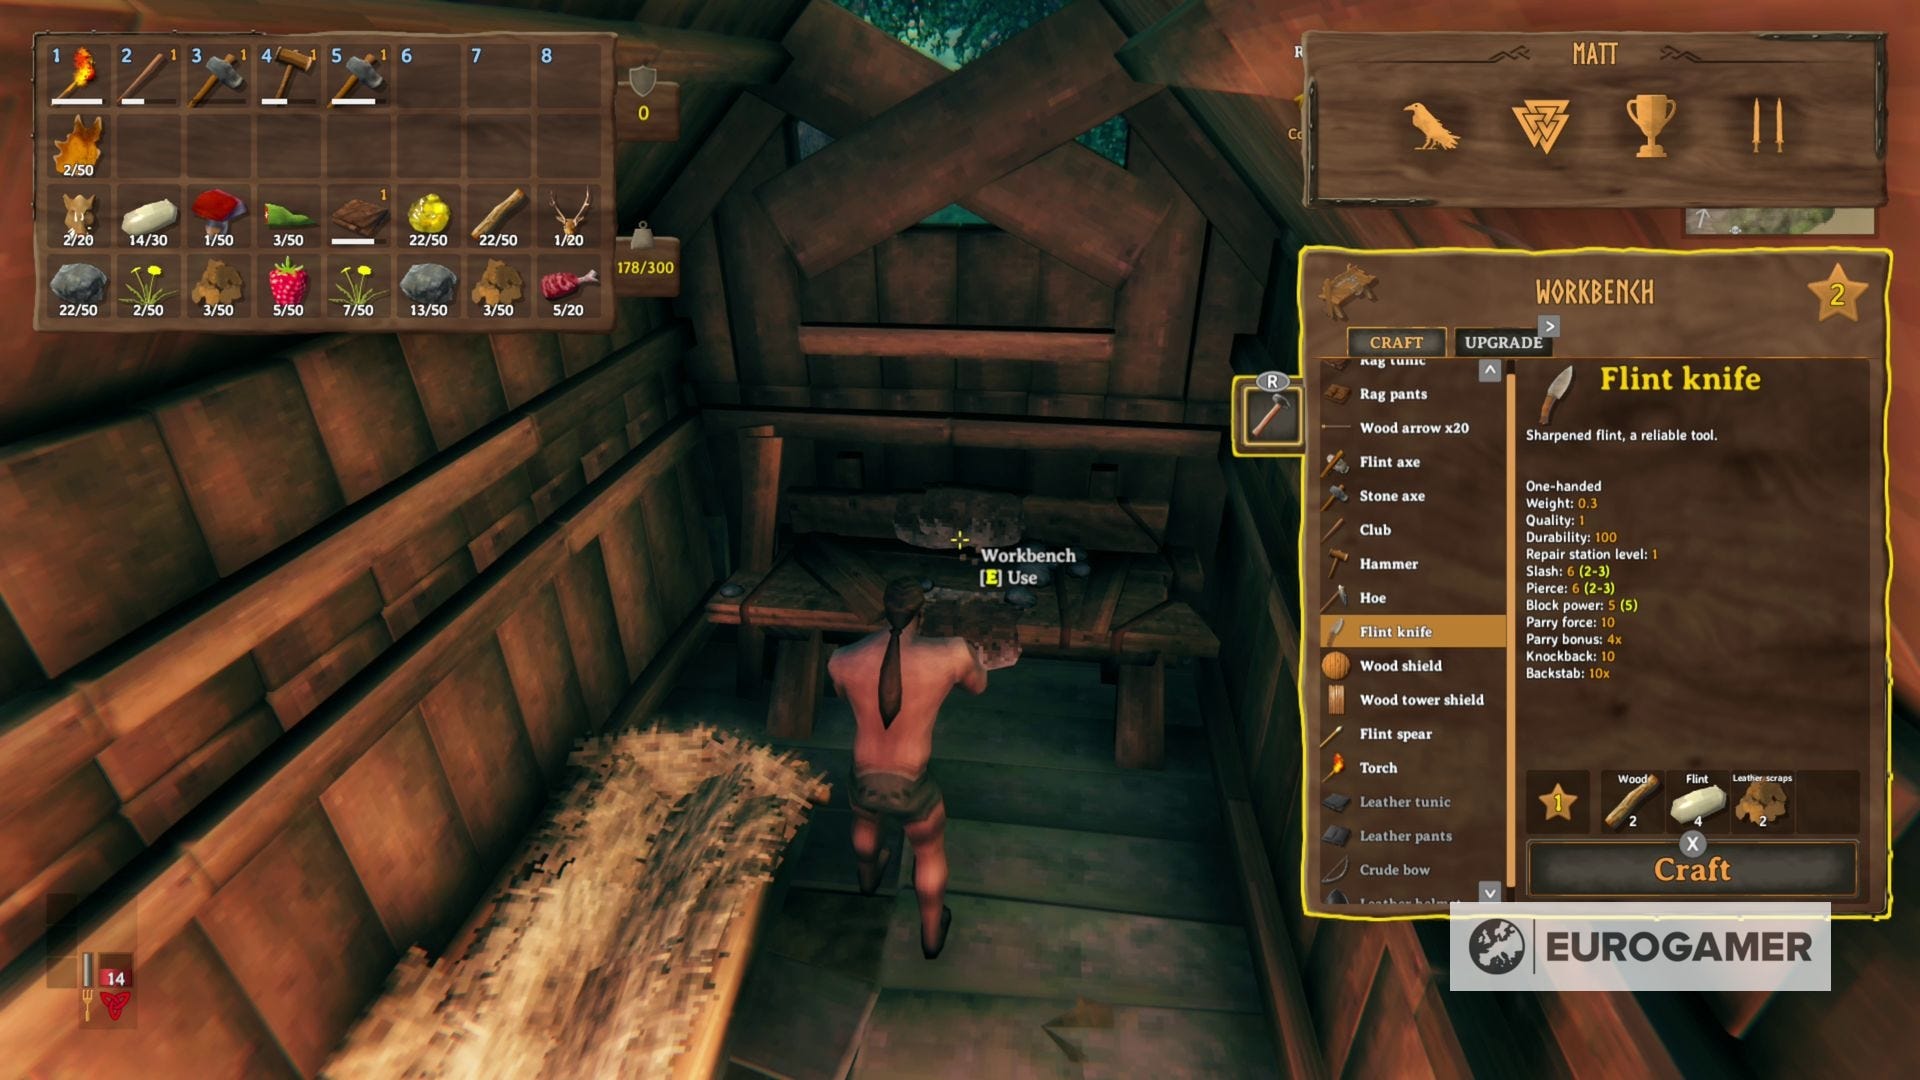
How to upgrade your workbench in Valheim
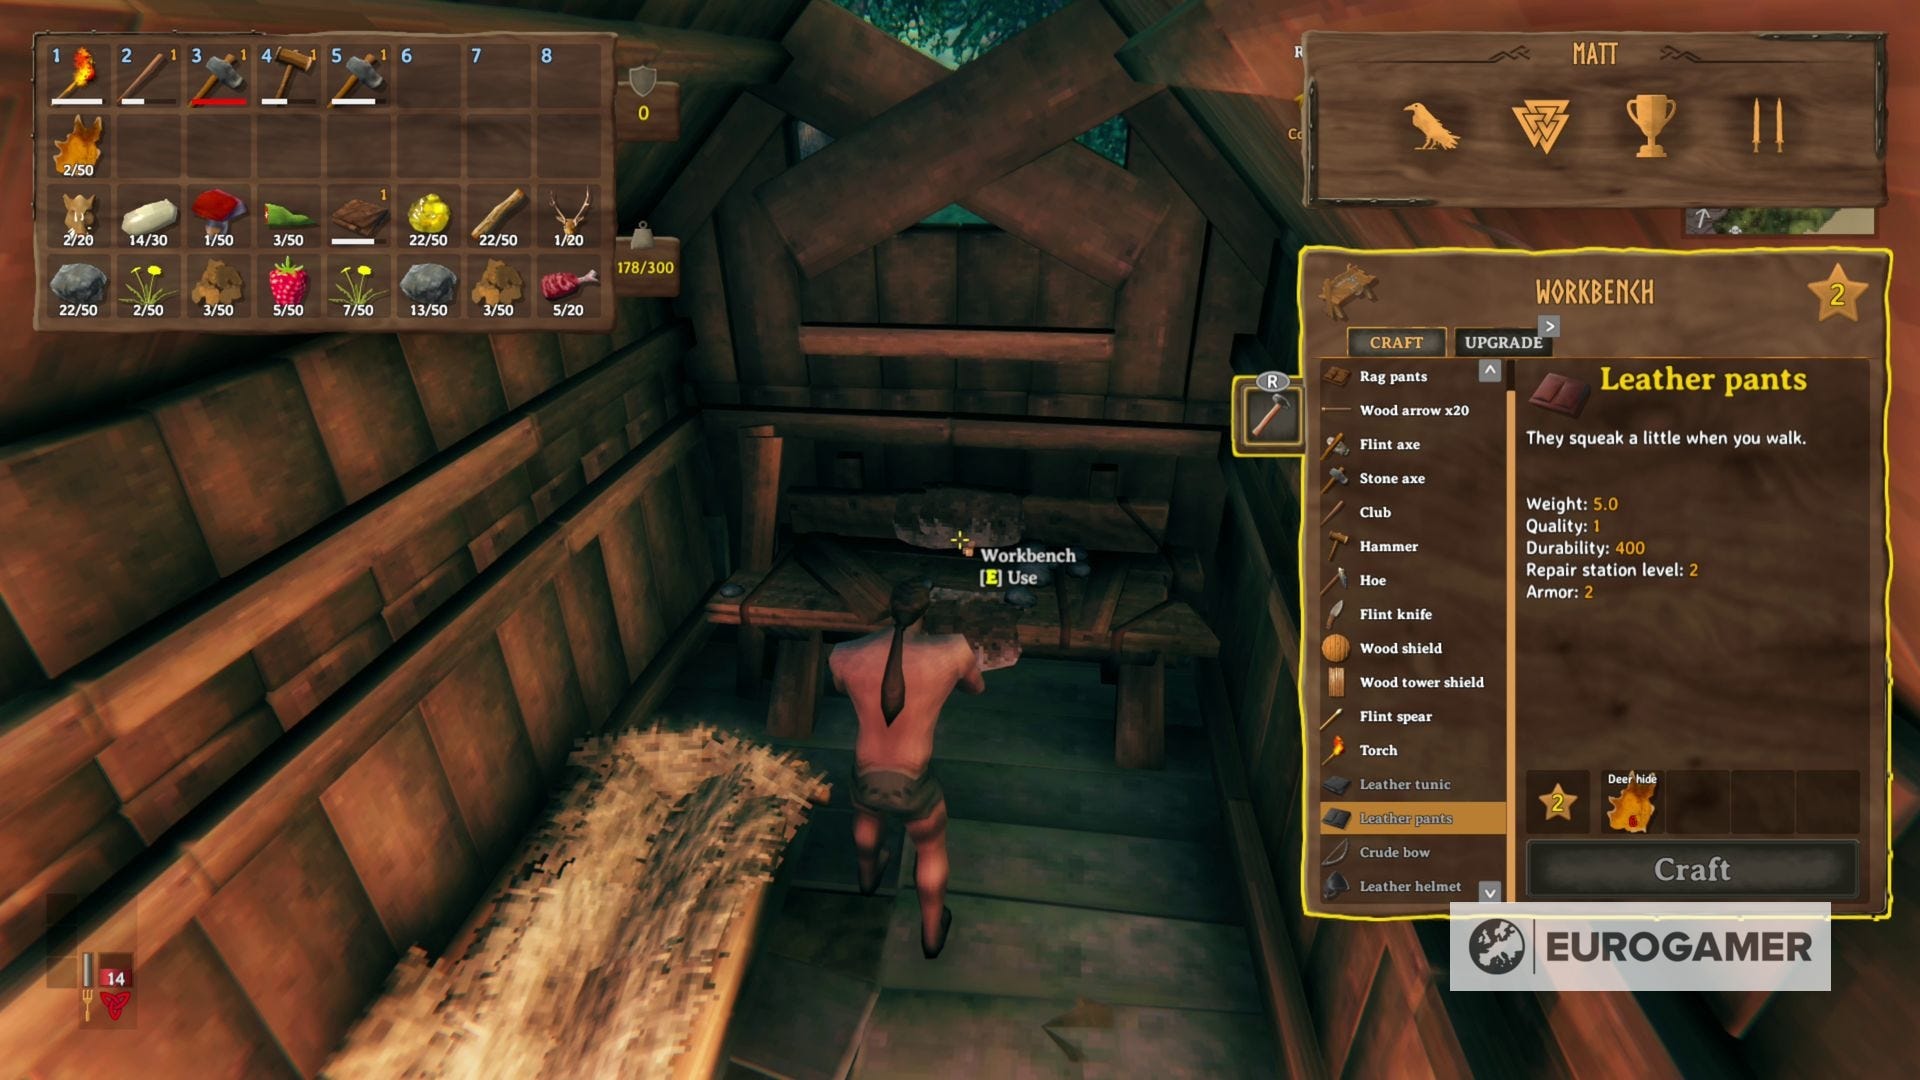
Your crafting options will be expanded heavily compared to those you can access with just the hammer, and will continue to expand as your workbench level increases.
You can find the workbench level currently available via the star in the upper right corner of that menu, and the workbench requirements for a particular item by the star next to the components needed.
To upgrade your workbench in Valheim, you need to construct a specific item for each level. To craft it, have the hammer equipped in proximity of the workbench, then check the Crafting tab.
Now place the item within the vicinity of the workbench. Though this needs to be within a small radius, the good news is this can through a wall - so if you have a small building with not much room indoors, it can be placed outside provided it's close enough.

More crafting level upgrade items become available as you unlock more resources throughout the game - for example, the forge and its various metals such as iron will be needed for later workbenches.
Valheim workbench level requirements explained
As explained above, each new workbench level requires a new item to be built, which appears in the Crafting menu when you reach the previous level.
The level requirements are as follows:
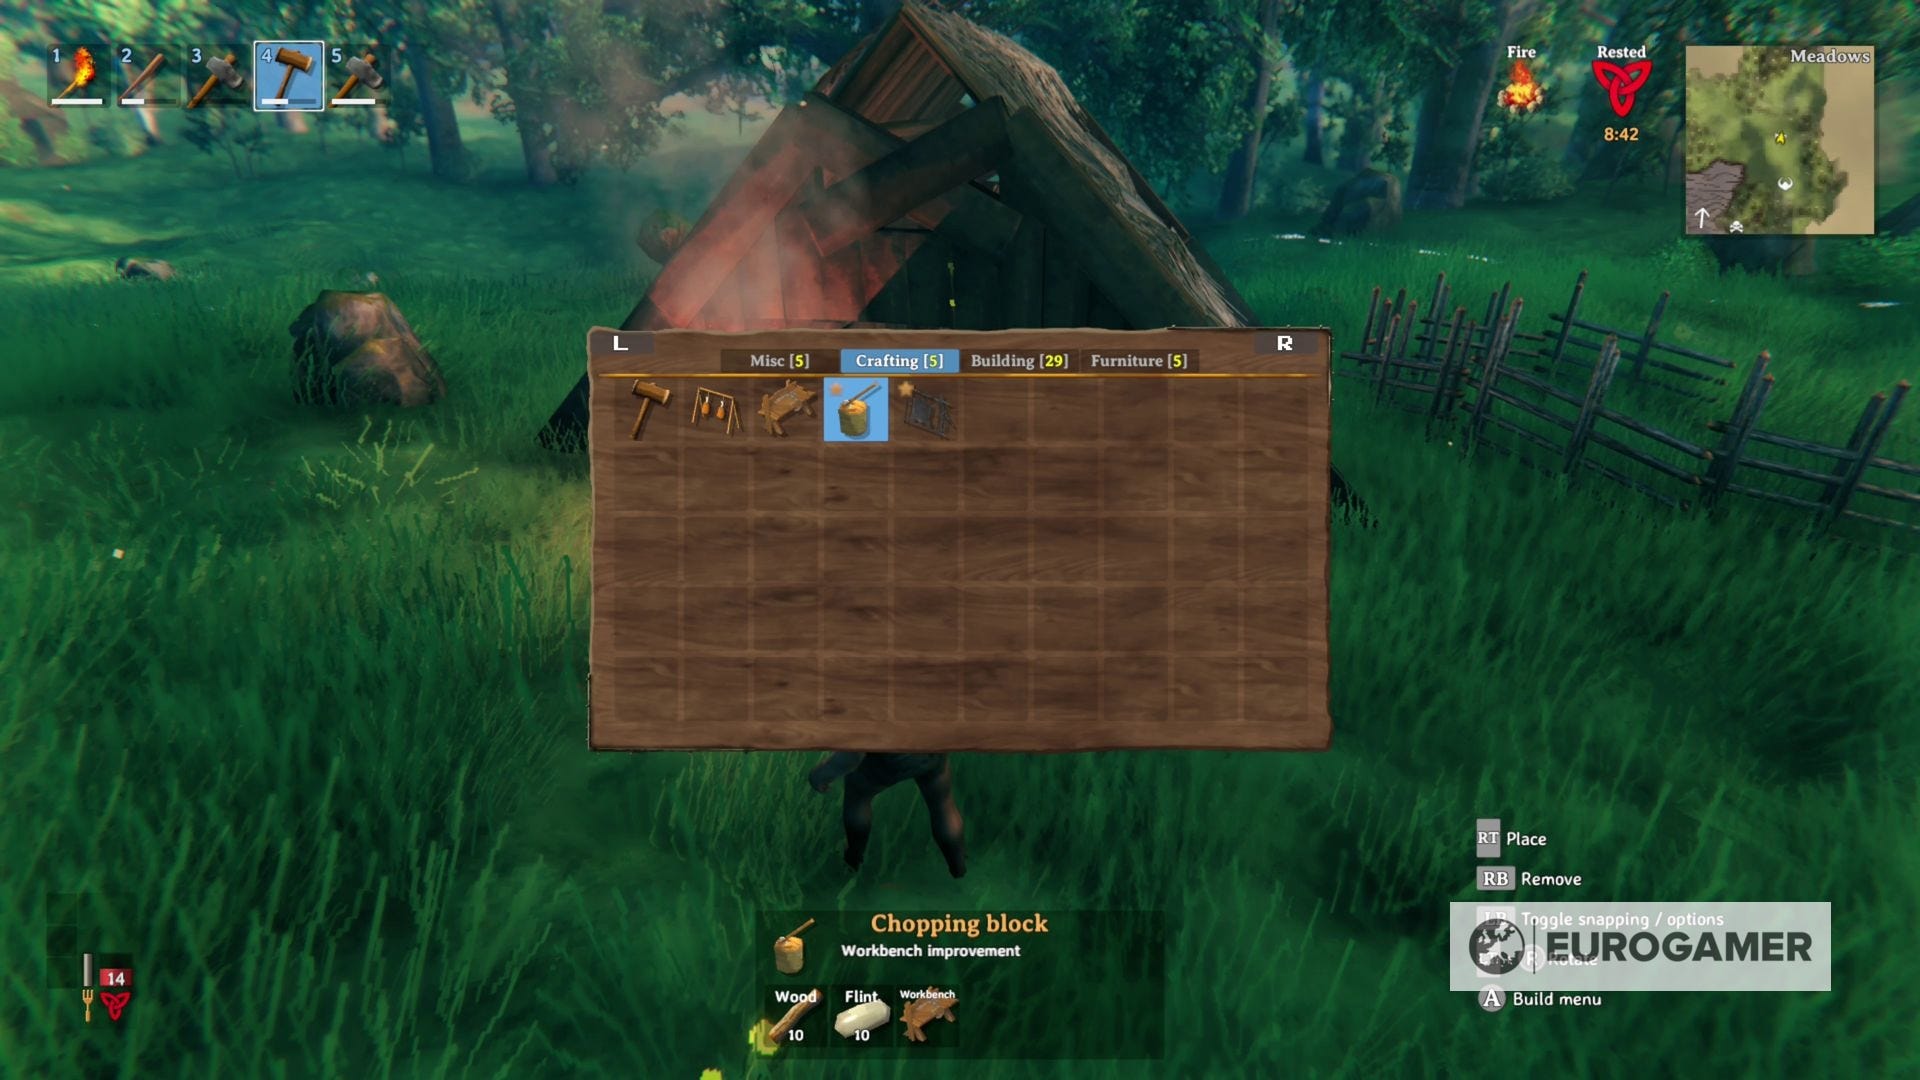
Workbench Level 2 requirements
You need to build a Chopping Block near the workbench. This requires:
- 10 wood
- 10 flint

Workbench Level 3 requirements
You need to build a Tanning Rack near the workbench. This requires:
- 10 wood
- 15 flint
- 20 leather scraps
- 5 deer hide

Workbench Level 4 requirements
You need to build a Adze near the workbench. This requires:
- 10 fine wood
- 3 bronze (forge required)
There are likely more upgrades out there - which we'll update when we find them.
Best of luck with all your crafting needs!