Valheim boss guide: How to summon, locate and defeat bosses explained
Our explainer on how to start and win each challenging encounter.

Valheim bosses are special enemies which act as the primary obstacles to overcome as you explore the world.
Valheim presents itself as a survival and sandbox game, delivering a variety of challenges by building, hunting, and killing enemies - all of which lead to challenging boss encounters.
Each boss requires specific requirements before they can be summoned - as well as certain things to prepare to help you survive the battle to come.
This page explains how to summon bosses in Valheim, their biomes, rewards, and of course, how to beat each boss with our strategy recommendations and preparation advice.
On this page:
- Valheim bosses explained: How to locate and summon bosses
- Valheim boss order and summon offerings list
- Valheim first boss Eikythr: How to beat Eikythr and how to summon the first boss explained
- Valheim second boss The Elder: How to beat The Elder and how to summon the second boss explained
- Valheim third boss Bonemass: How to beat Bonemass and how to summon the third boss explained
- Valheim fourth boss Moder: How to beat dragon boss Moder and how to summon the fourth boss explained
- Valheim fifth boss Yagluth: How to beat Yagluth and how to summon the fifth boss explained
 19 Beginner's Tips to Get You Started in Valheim - Valheim Beginners Guide Tips & Tricks PC Gameplay
If you're looking to work with friends on bosses, our page on Valheim dedicated servers can explain how to keep a persistent game up and running.
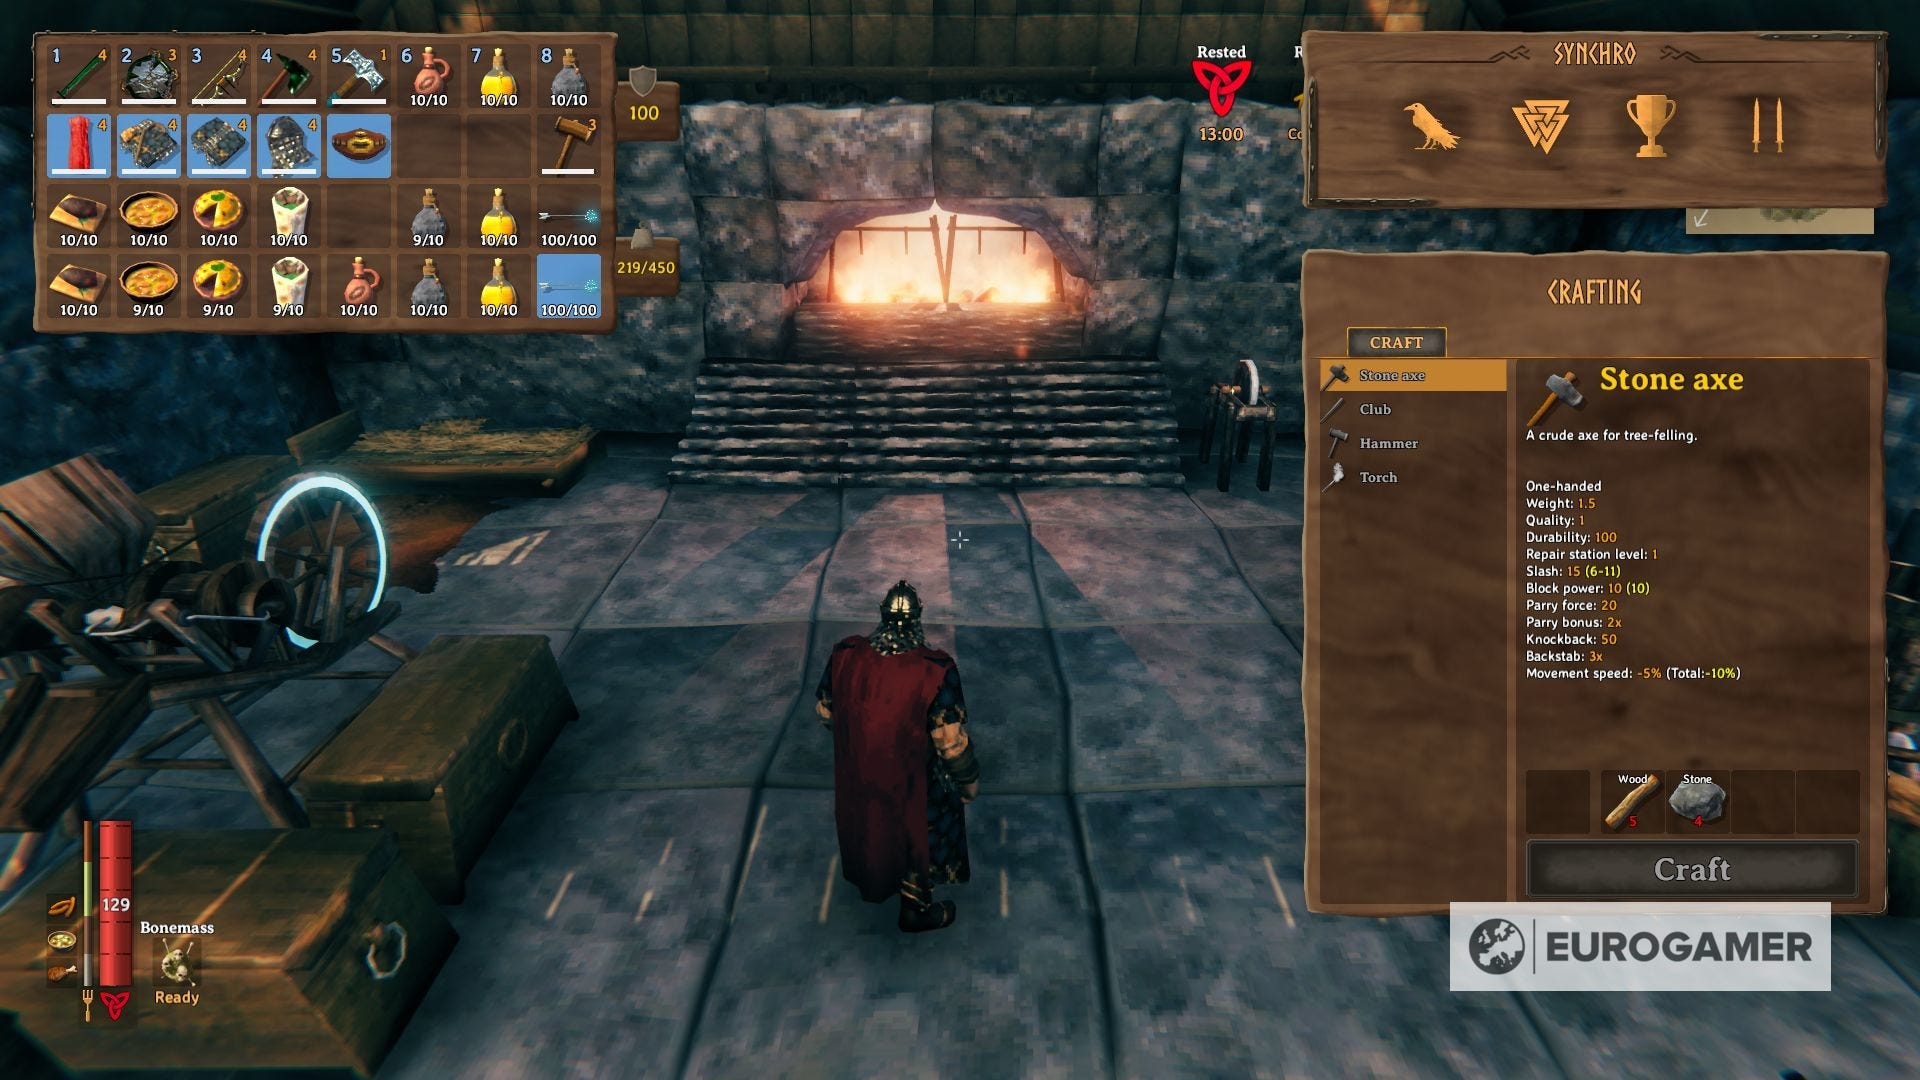
Valheim bosses explained: How to locate and summon bosses
Each biome in Valheim has one boss to find, and can be located by looking for a runestone - which will mark on your map the boss location - or by exploring until you find the boss altar itself.
Remember that each Valheim map is procedurally generated, which means every map in the map in the game is unique. As such, there is no way to easily locate a boss in Valheim aside from putting the work in to find it.
Also, know if you're playing with friends, you won't get it marked on the map unless you do it yourself in your own map.
Either way, know that each biome will have the boss somewhere, though it's highly recommended you tackle them in order due to the rewards you receive in each (see next), as well as items such as keys which can help you gain access to them.
Once you located the boss altar, you need to gather certain items to sacrifice on the altar and summon said boss.
Defeating them will unlock one special ability called Forsaken Power, which will make your life easier in different ways, depending on the power. They will also have two guaranteed dropped items that will help you to progress into further tiers of equipment, tools, and weapons available for crafting, to be prepared to proceed to the later, hostile biomes in Valheim.
Finally it's worth noting that, since bosses serve as significant story progression checkpoints within the game, each one also activates somewhat random story-based events. These are presented as groups of enemies raiding your base in specially organized attacks until you defeat the related boss. We outline what these could be during each boss strategy section below so you can be prepared.
Valheim boss order and summon offerings list
While are you free to roam Valheim's map at your own pace, the game will naturally take you from one biome to the next based on the boss rewards and the various resources they unlock, or keys which allow access to certain areas you cannot get anywhere else.
The recommended Valheim boss order is as follows:
| Boss order | Boss name | Biome | Summon offering required |
|---|---|---|---|
| 1st | Eikhytr | Meadows | 2 Deer Trophies |
| 2nd | The Elder | Black Forest | 3 Ancient Seeds |
| 3rd | Bonemass | Swamp (Swamp Key required) | 10 Withered Bones |
| 4th | Moder | Mountains | 3 Dragon Eggs |
| 5th | Yagluth | Plains | 5 Fuling Totems |
Valheim first boss Eikythr: How to beat Eikythr and how to summon the first boss explained
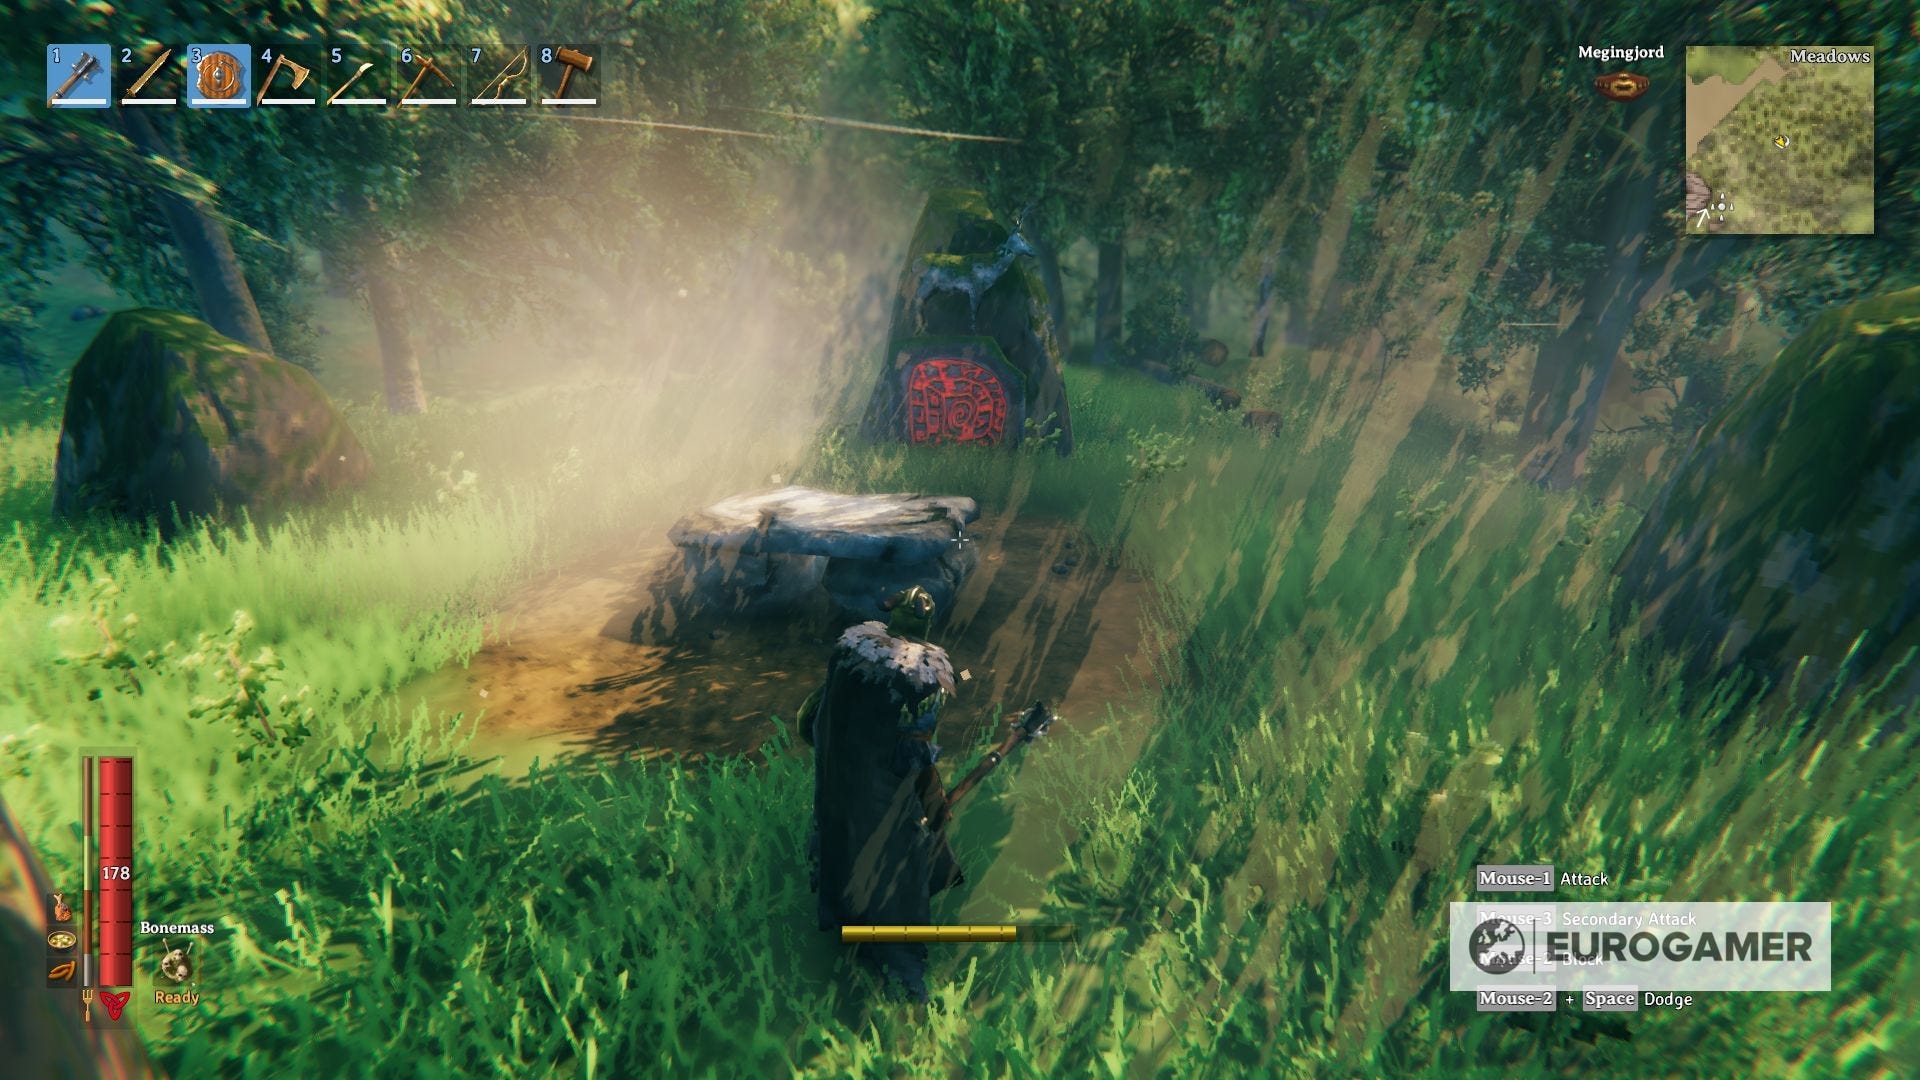
Eikythr is found in the Meadows, after offering a sacrifice to a Mystical Altar, and is the first boss you should fight in Valheim.

Since there are multiple altars in the region, chances are that you will encounter one while exploring, but the easiest way to find the location is to interact with the small runestone right beside the first sacrificial stone in the player spawn point.
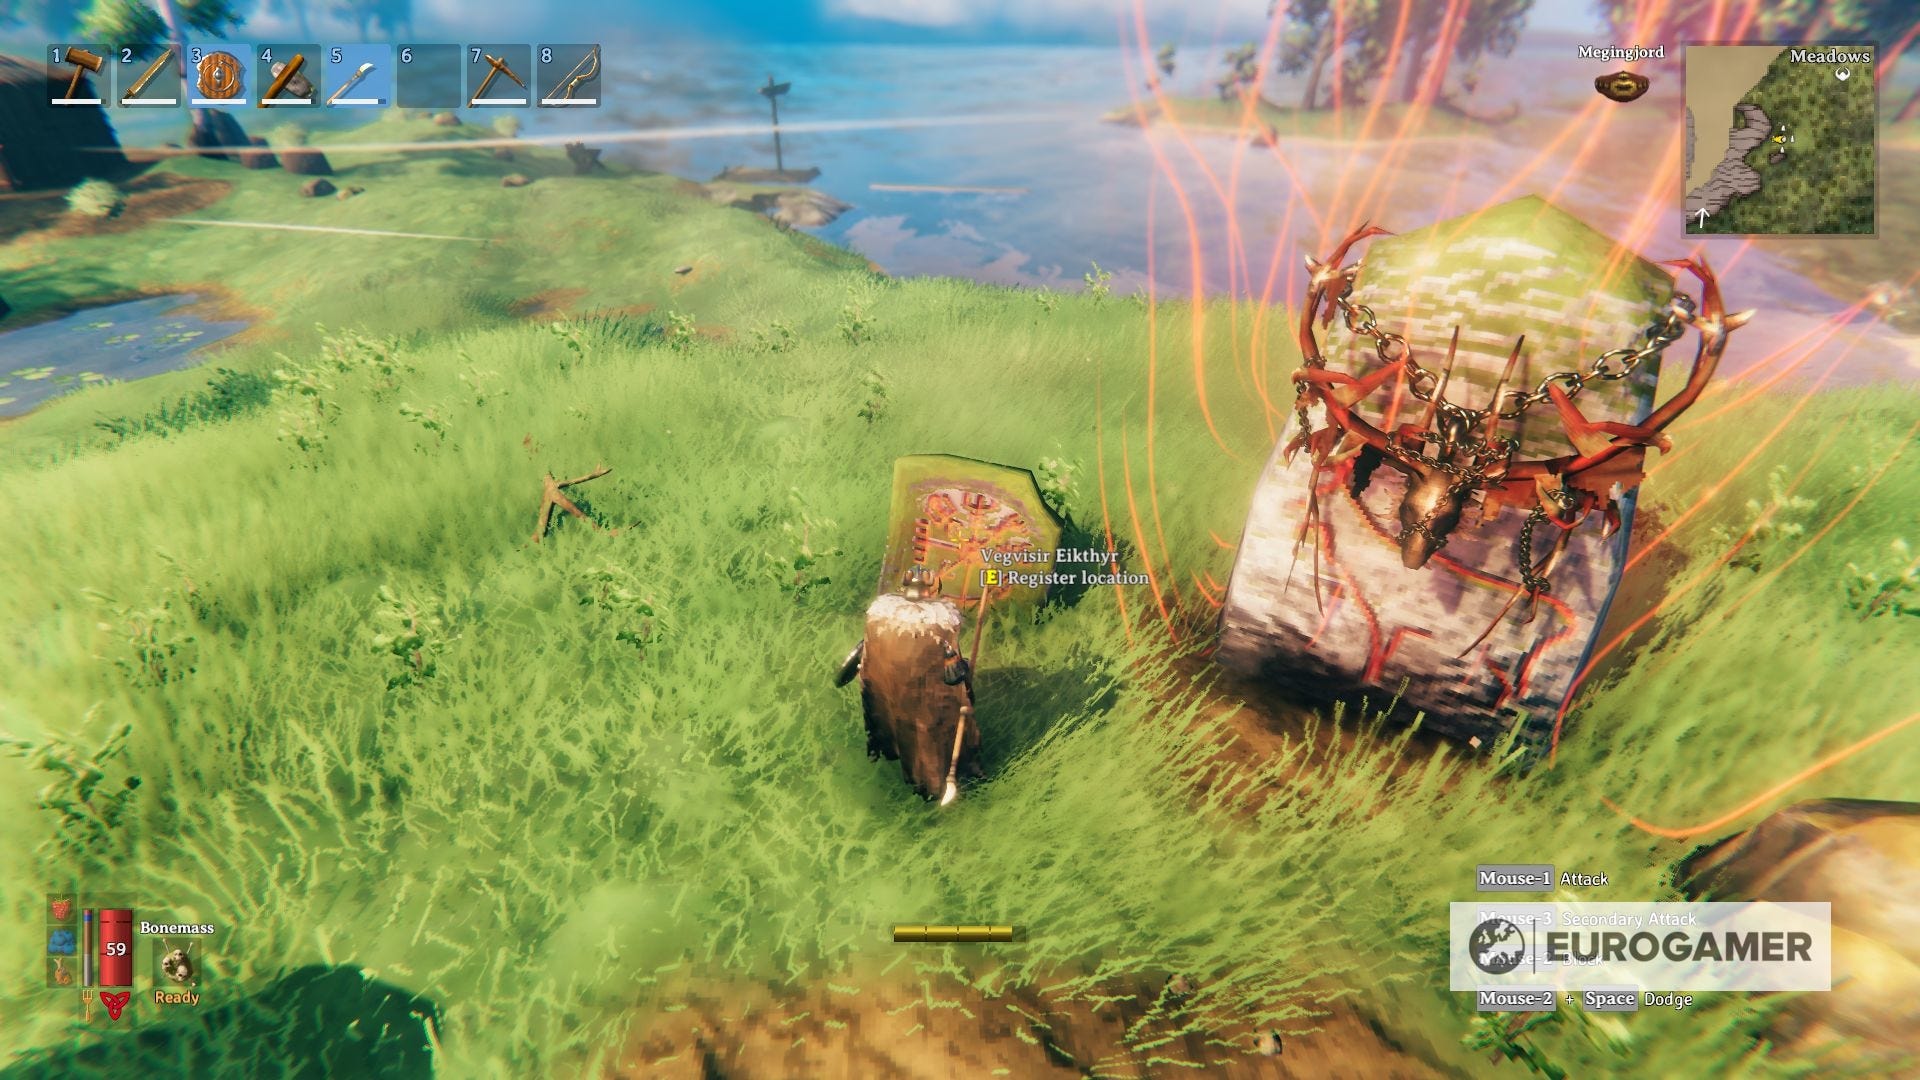
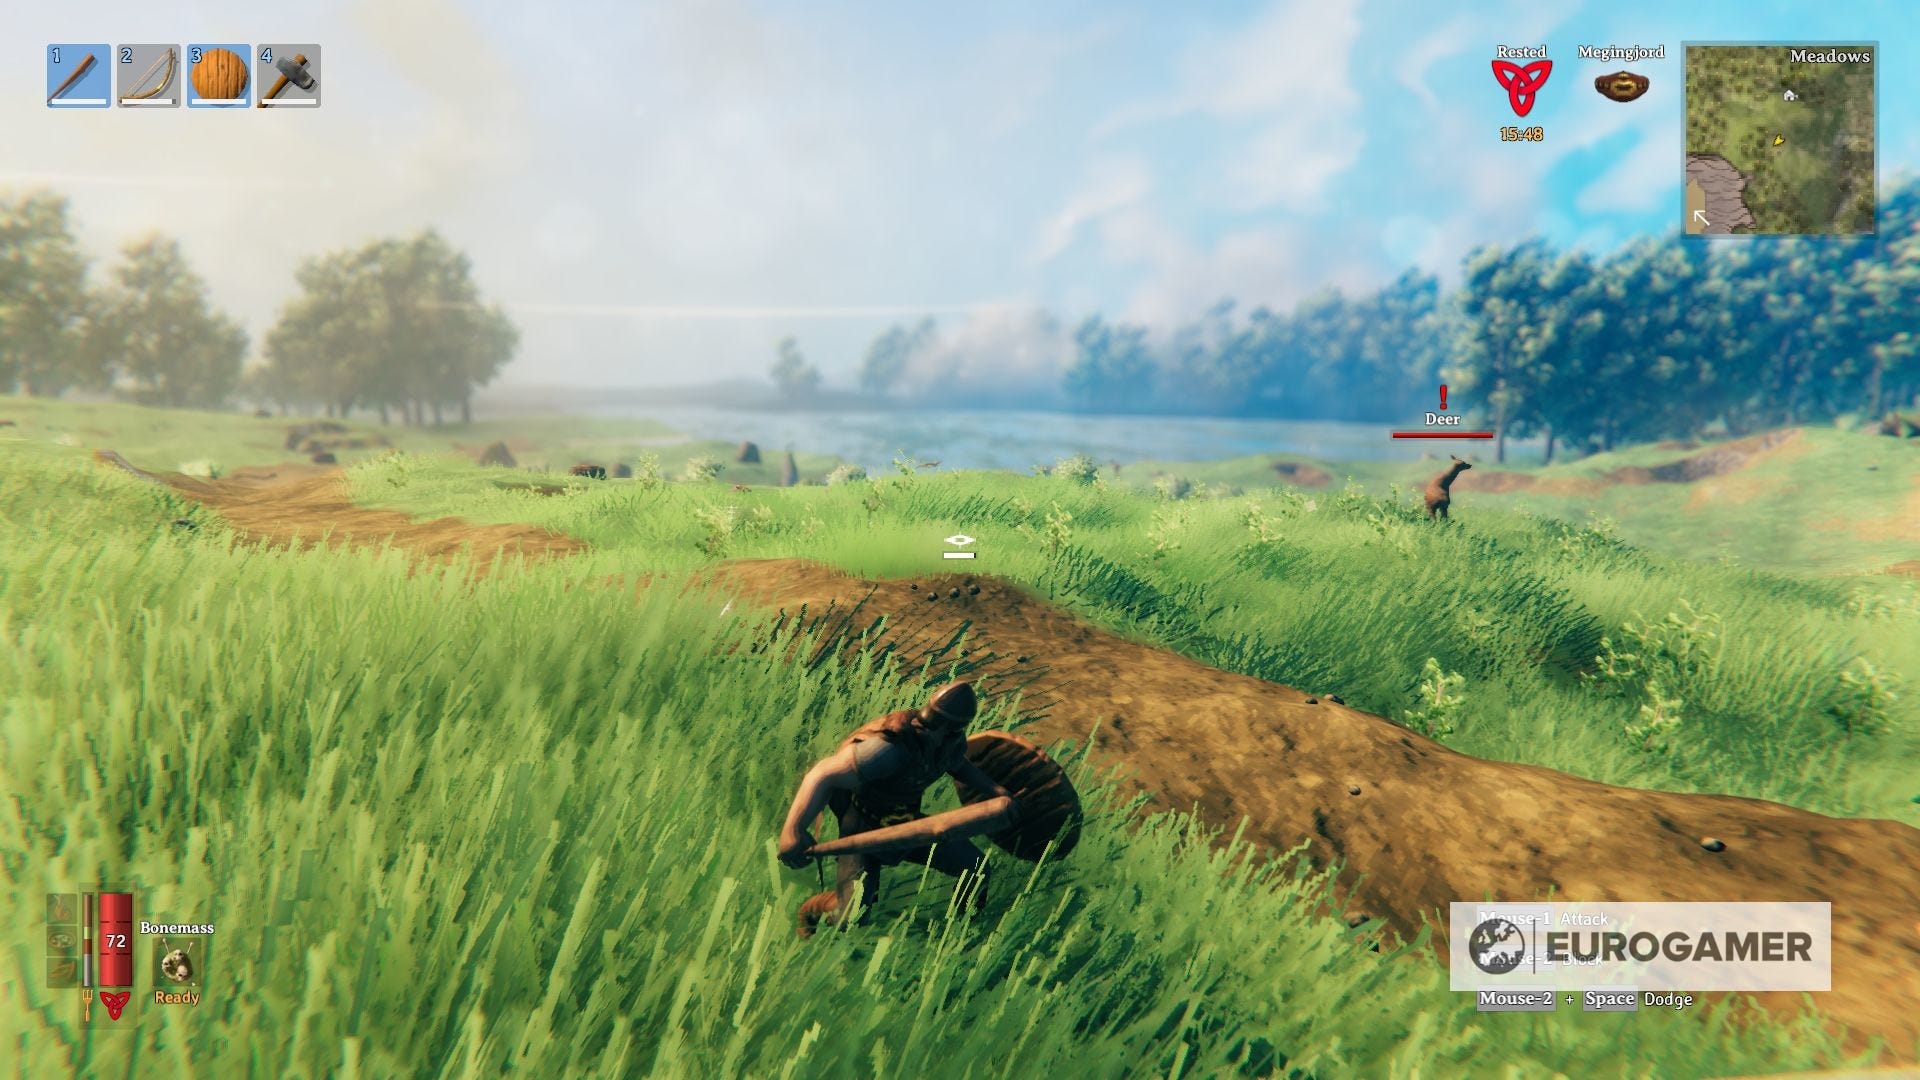
How to summon the first boss: To summon Eikythr you need to offer 2 Deer Trophies to the Mystical Altar. These Deer Trophies are rewarded by killing Deers and have a 50% drop chance, so you just need to hunt a few until you have enough.
Eikythr rewards: After you defeat this boss, you will get the following guaranteed drops:
- Eikythr Trophy: The first and most obvious reward will be the Eikythr Trophy. Once you place it in the corresponding sacrificial stone it'll unlock the Forsaken Eikythr Power, which grants 60% less stamina drain when running and jumping for 5 minutes, with a cooldown of 20 minutes.
- Hard Antlers: Additionally, you will get 3 of his antlers, which will unlock the recipe to craft our first Pickaxe, allowing you to mine Copper and Tin nodes. This will enable you to craft Bronze, necessary to craft the next tier of weapons and armor.
Eikythr story events: Before and after you take down Eikythr, the following may take place:
- Until you defeat Eikythr, Boars and Necks will raid your base in random intervals of 90 seconds.
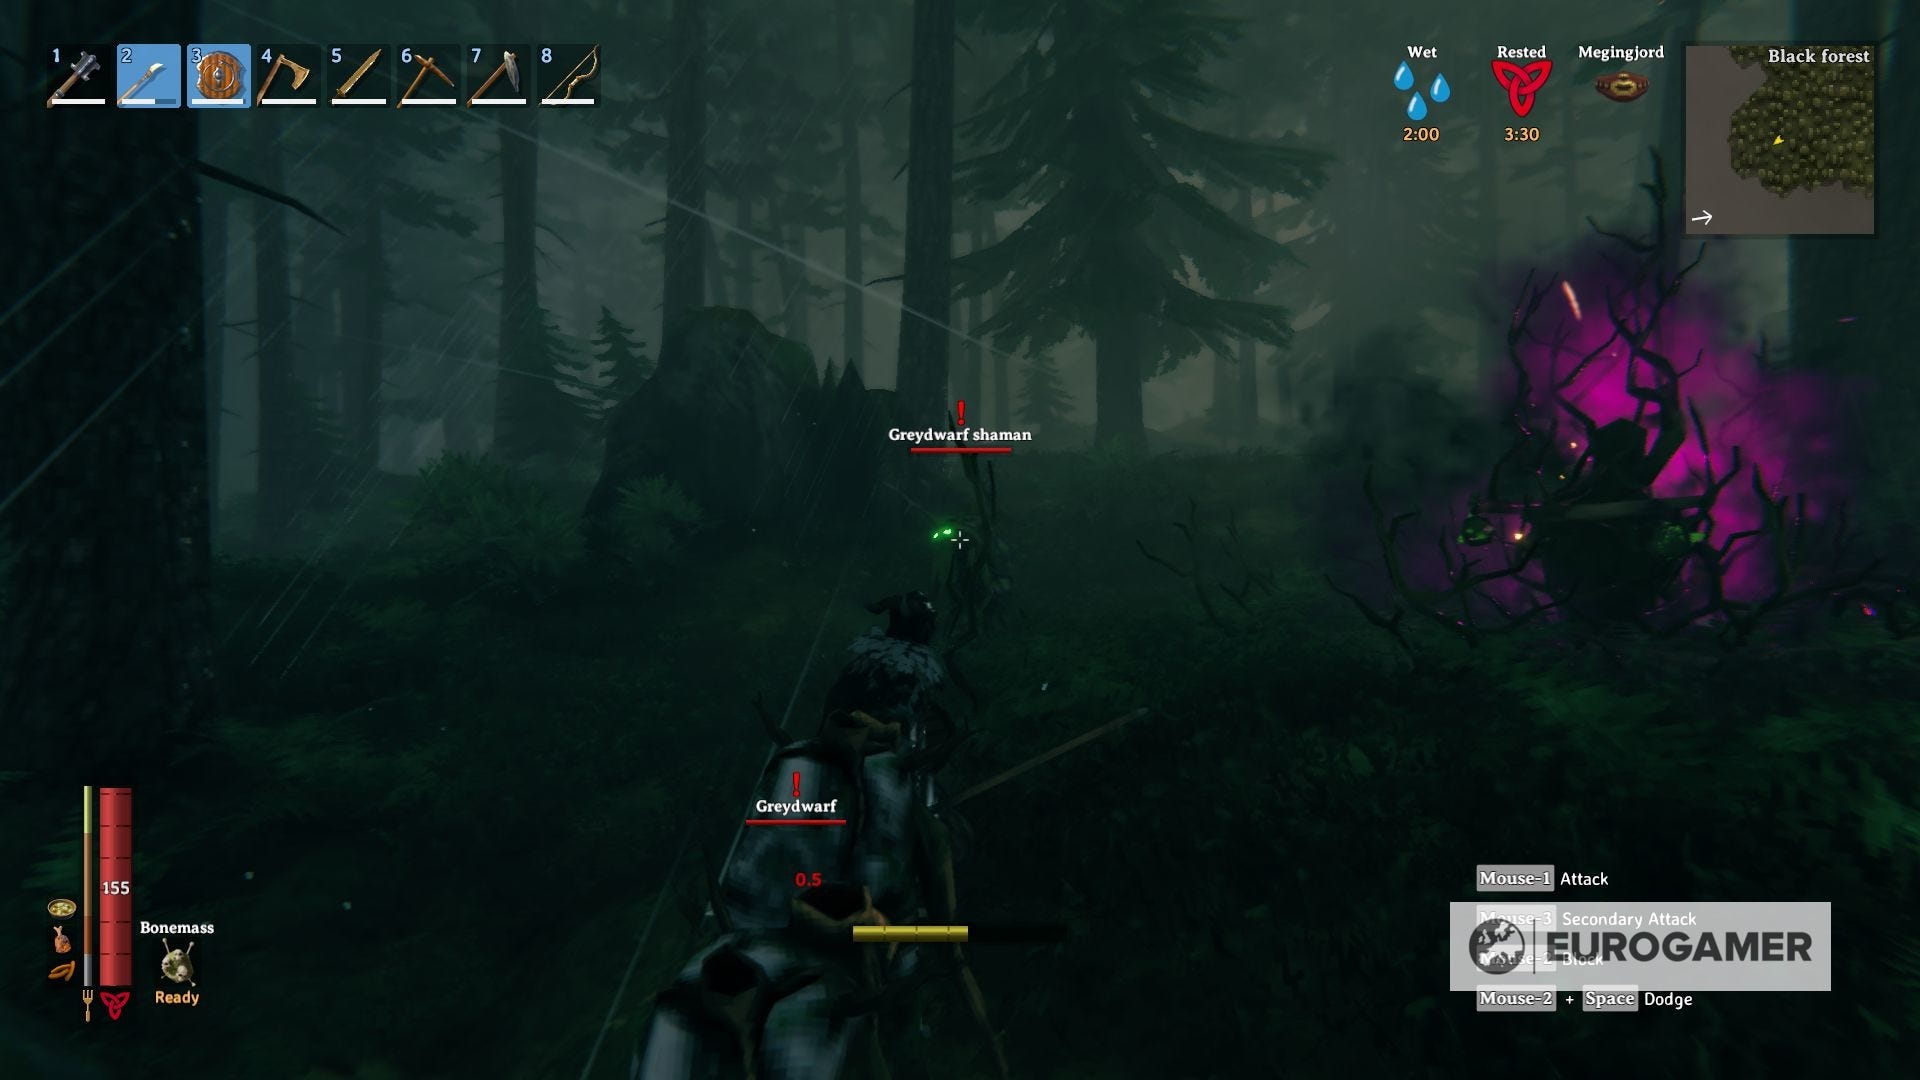
- After defeating Eikythr and until you defeat The Elder, Greydwarfs, Greydwarf Brutes, and Greydwarf Shamans will raid your base in random intervals of 120 seconds.
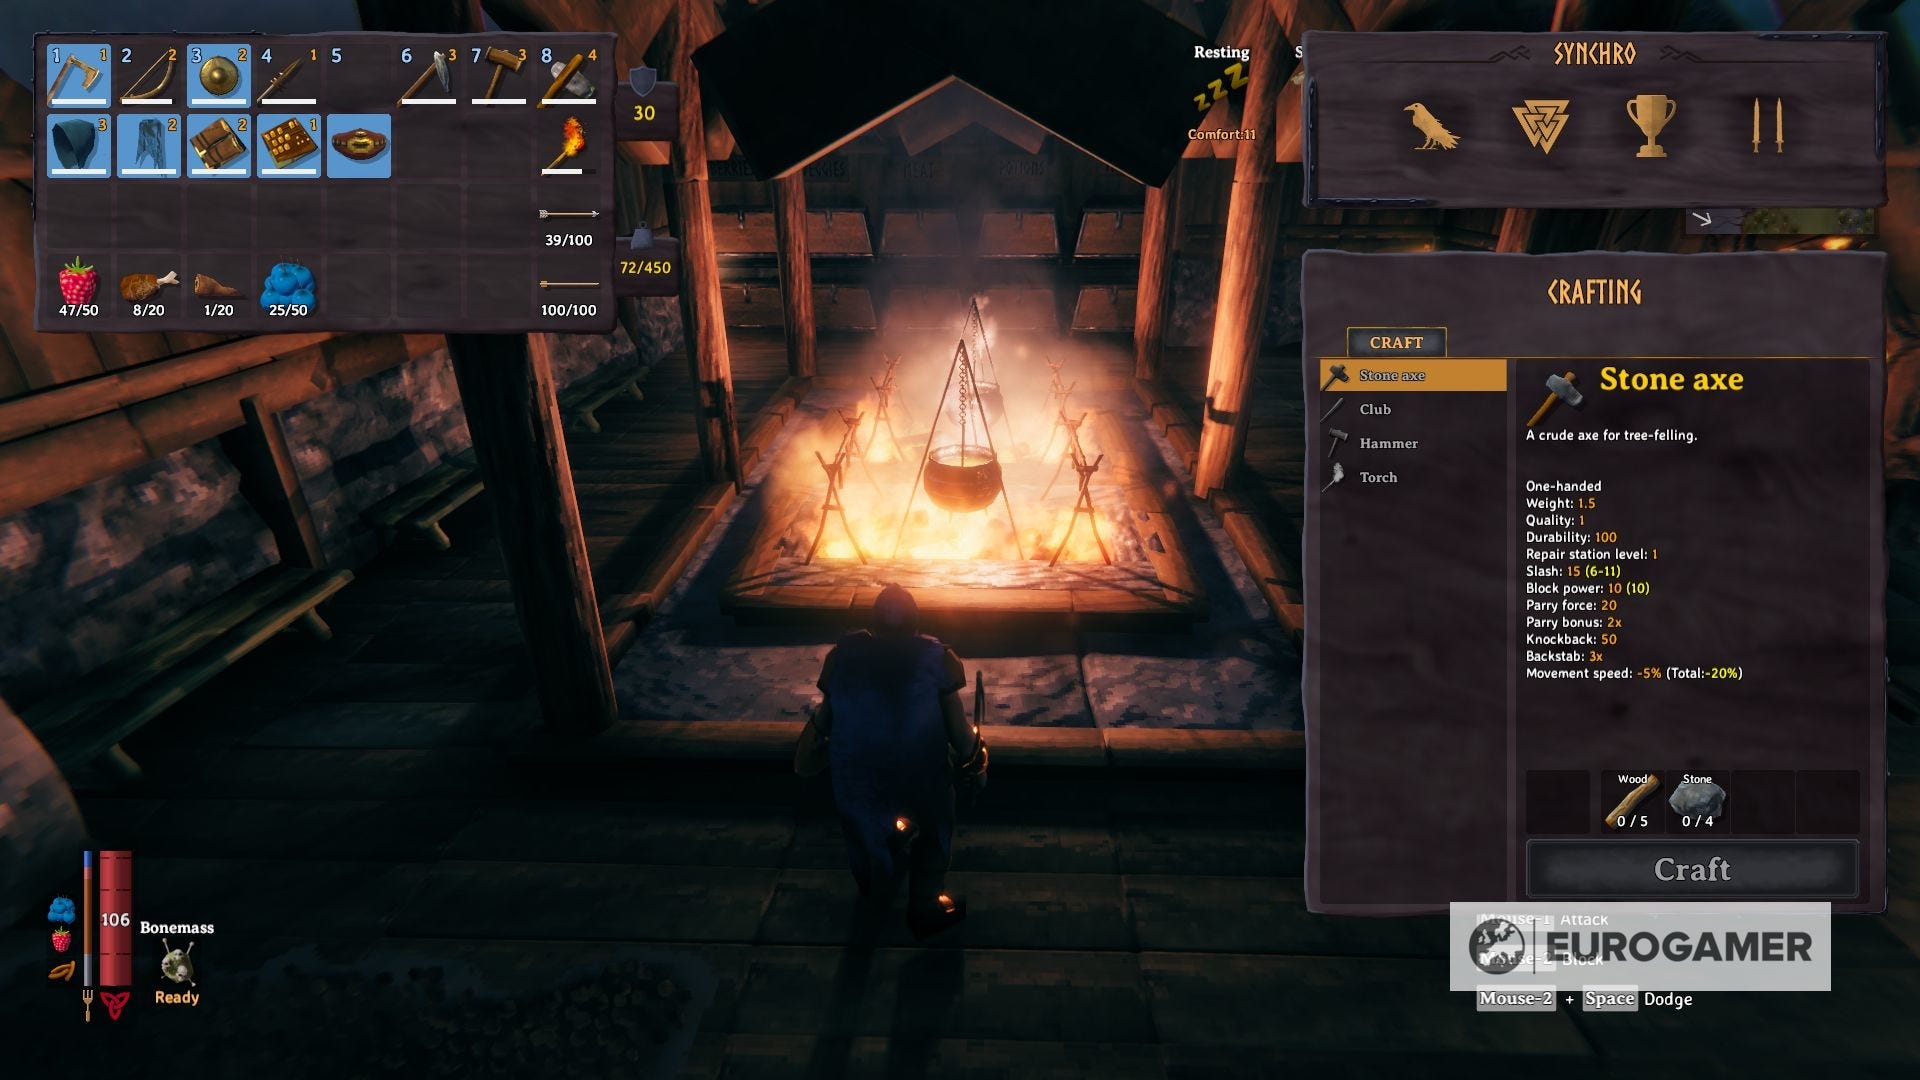
How to prepare for Eikythr: If you feel confident enough at blocking, it's recommended to craft the Wooden Shield and a Flint Spear with your workbench, but if you want to keep a safe distance you can also kill this boss using a Crude Bow.
It is also recommended to eat Cooked Meat, Grilled Meck Tail, and Raspberries, so your HP and Stamina are high enough to endure Eikythr's attacks. Having the Rested effect active also helps a lot.
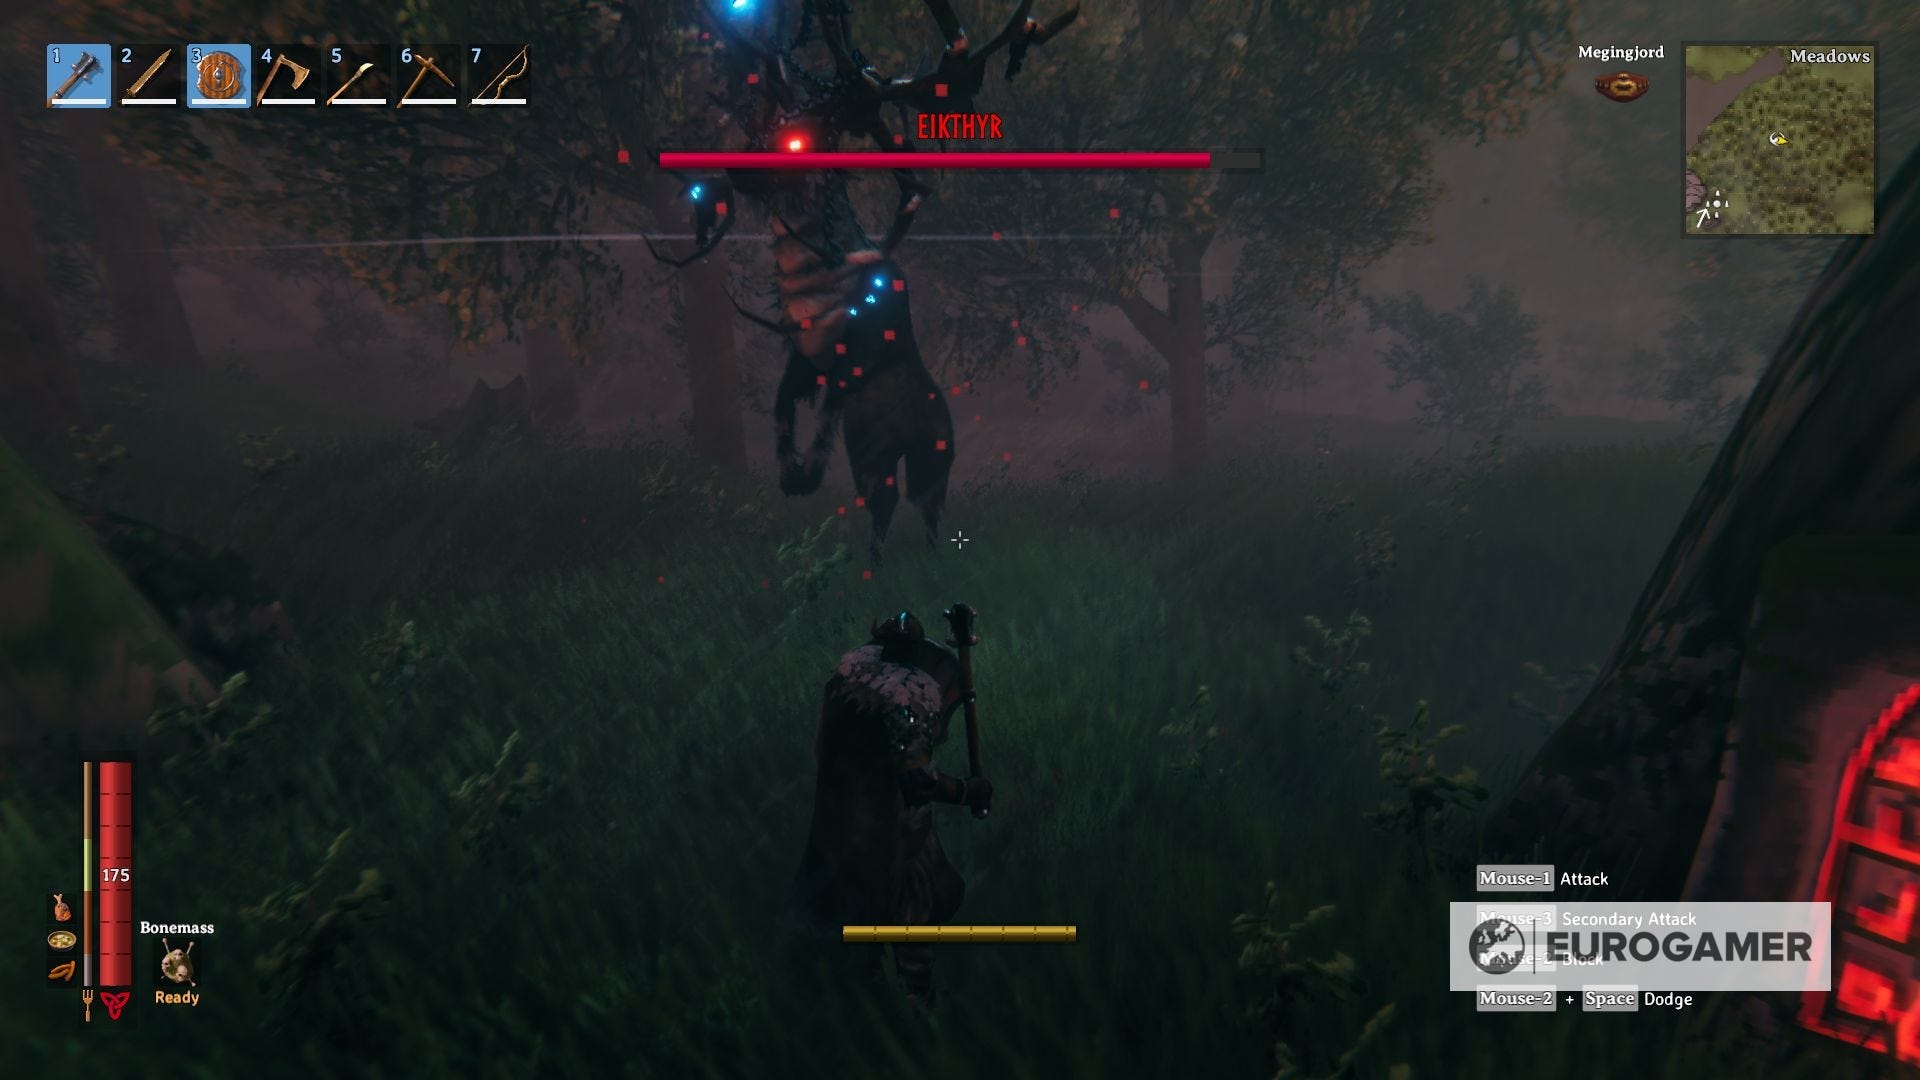
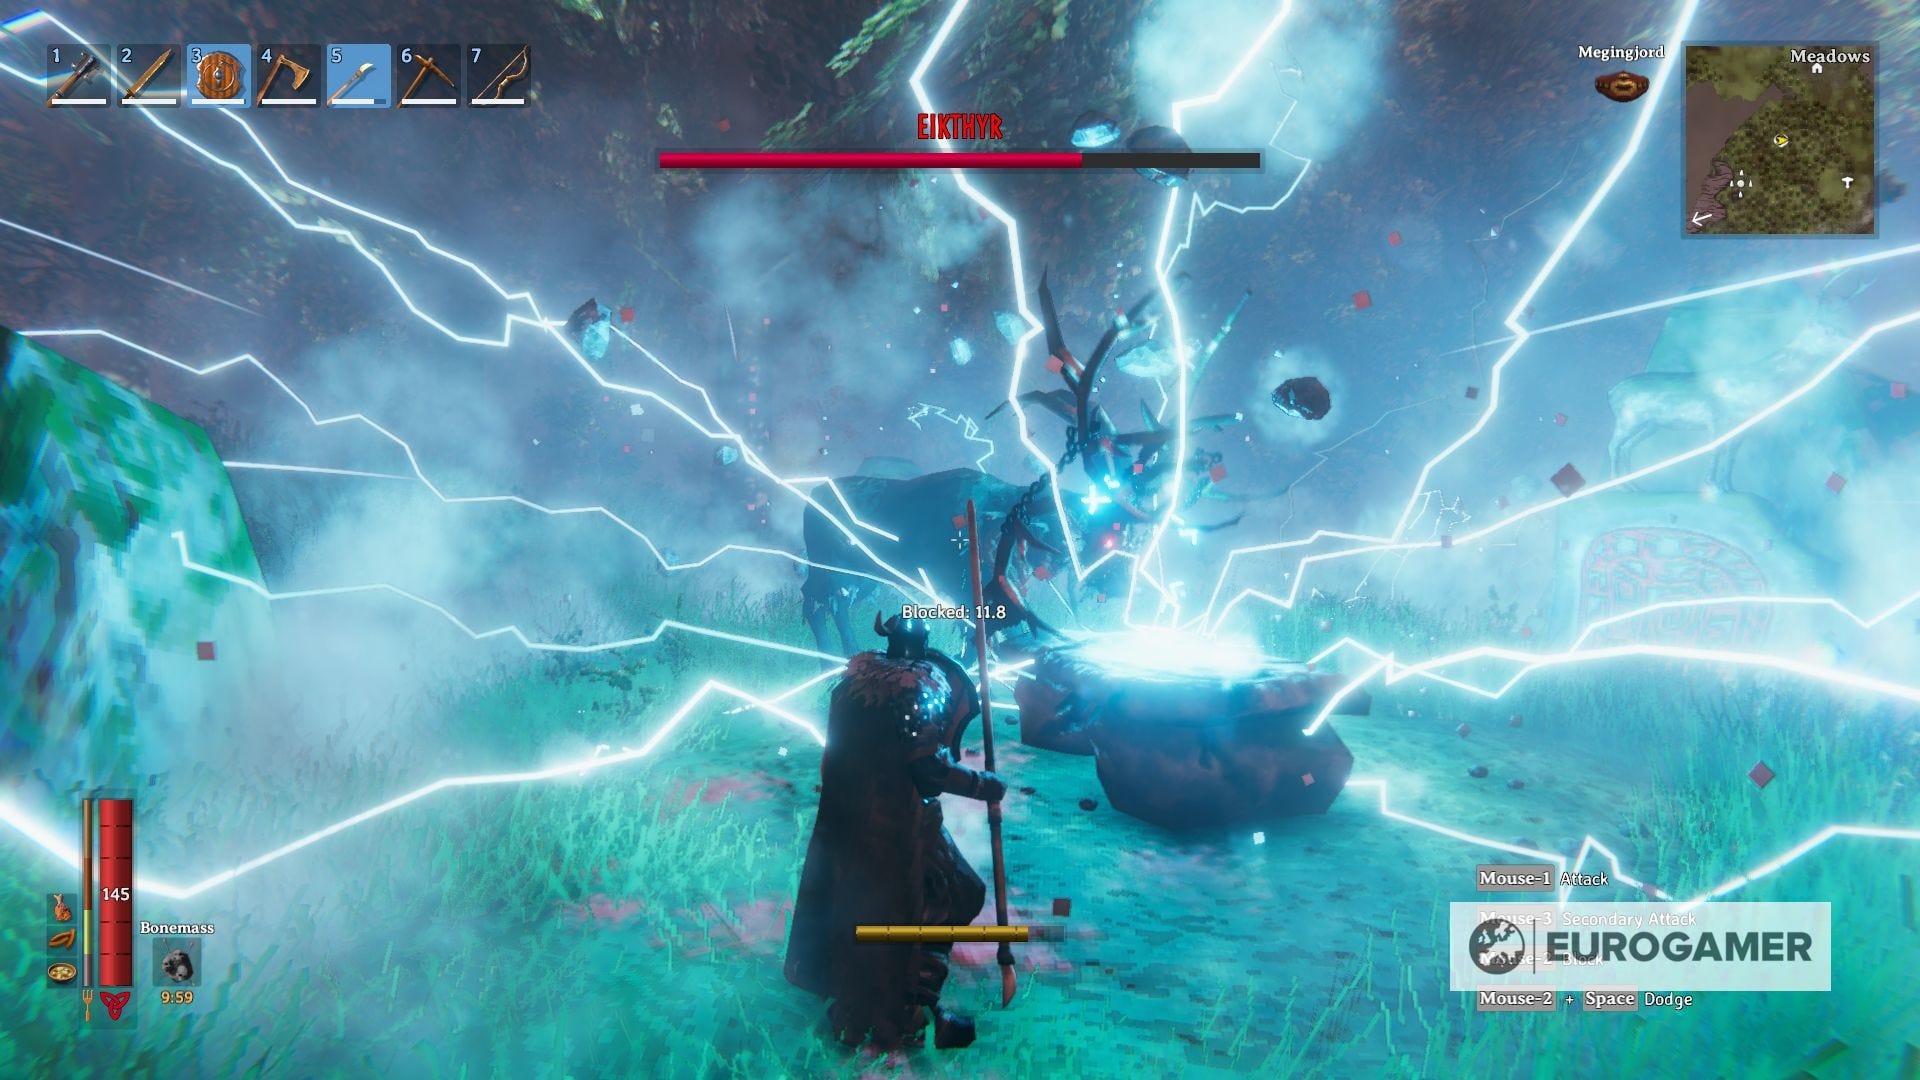
Eikythr Strategy
Eikythr presents a very basic challenge and uses powerful moves that make evading or parrying a key part of the fight. The first movement is a frontal, melee swipe attack using its antlers, easily blockable and not too strong.
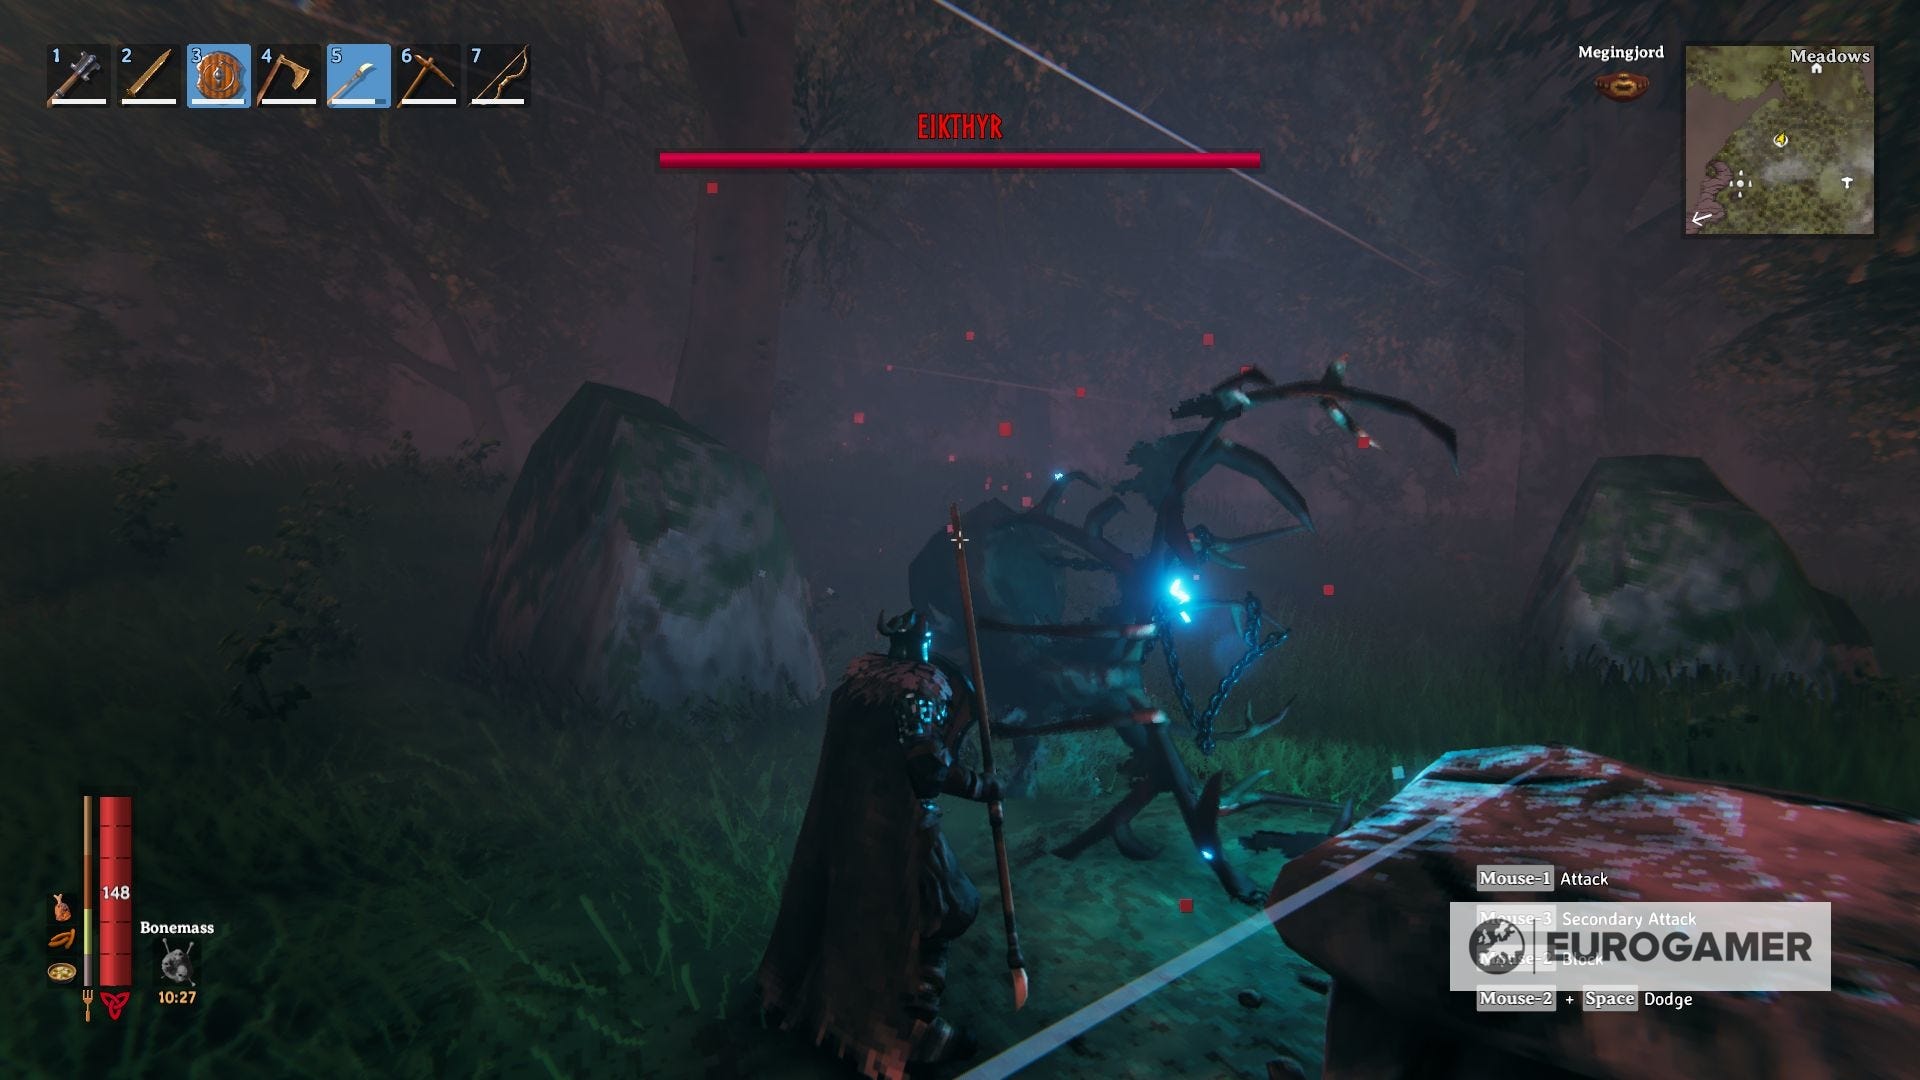
The second one is a ranged lightning bolt, a bit stronger but also fairly evadable. A good strategy to adopt is to flank the monster and poke it with a lance whenever it's possible since these movements are frontal ones.
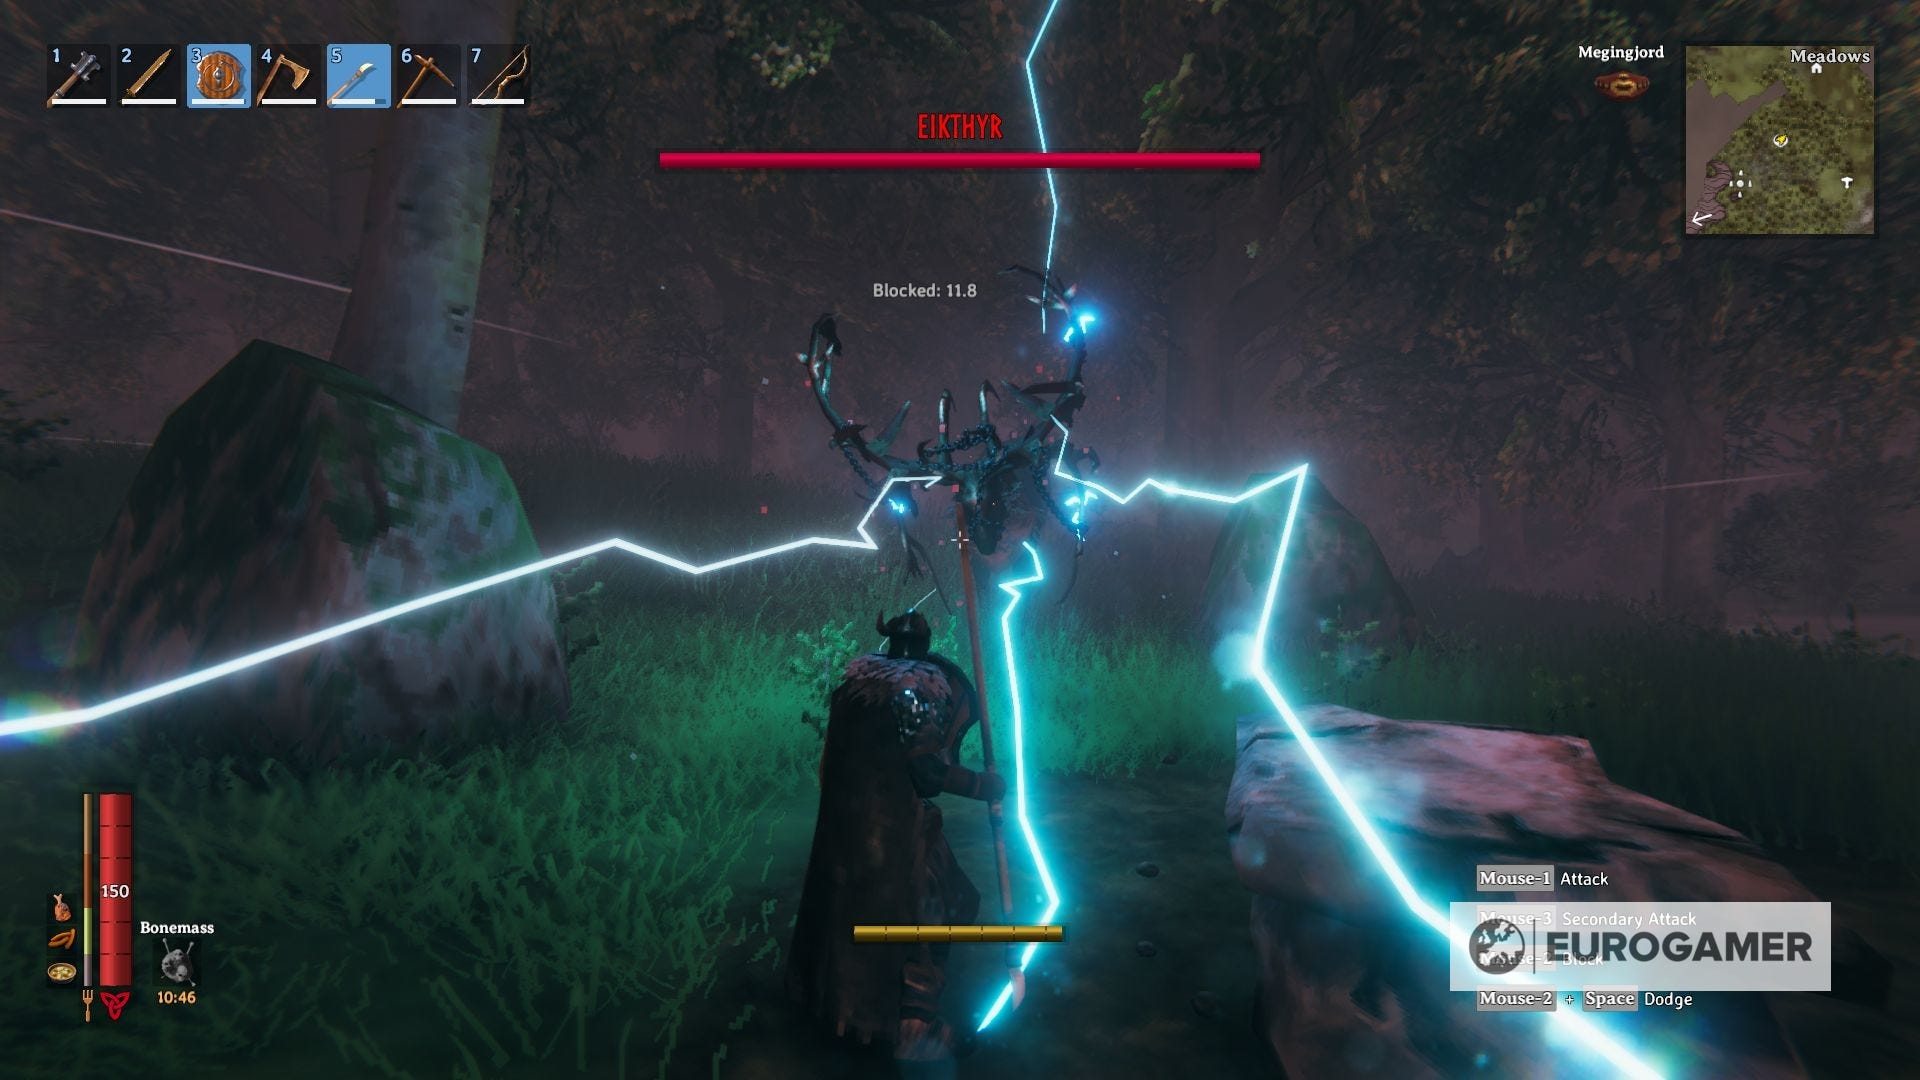
The third movement, however, is the strongest, a stomp that ends with an AoE lightning attack. It's recommended to not rely too much on evading for this one since the area of effect can catch you by surprise.
If you chose the ranged approach you won't have problems with this one, you just need to keep your distance at all times and shoot whenever it's possible. Overall, be patient and you will prevail.
Well done on taking down your first boss! With your rewards, you can now make it into the next biome, the Black Forest, in search of The Elder.
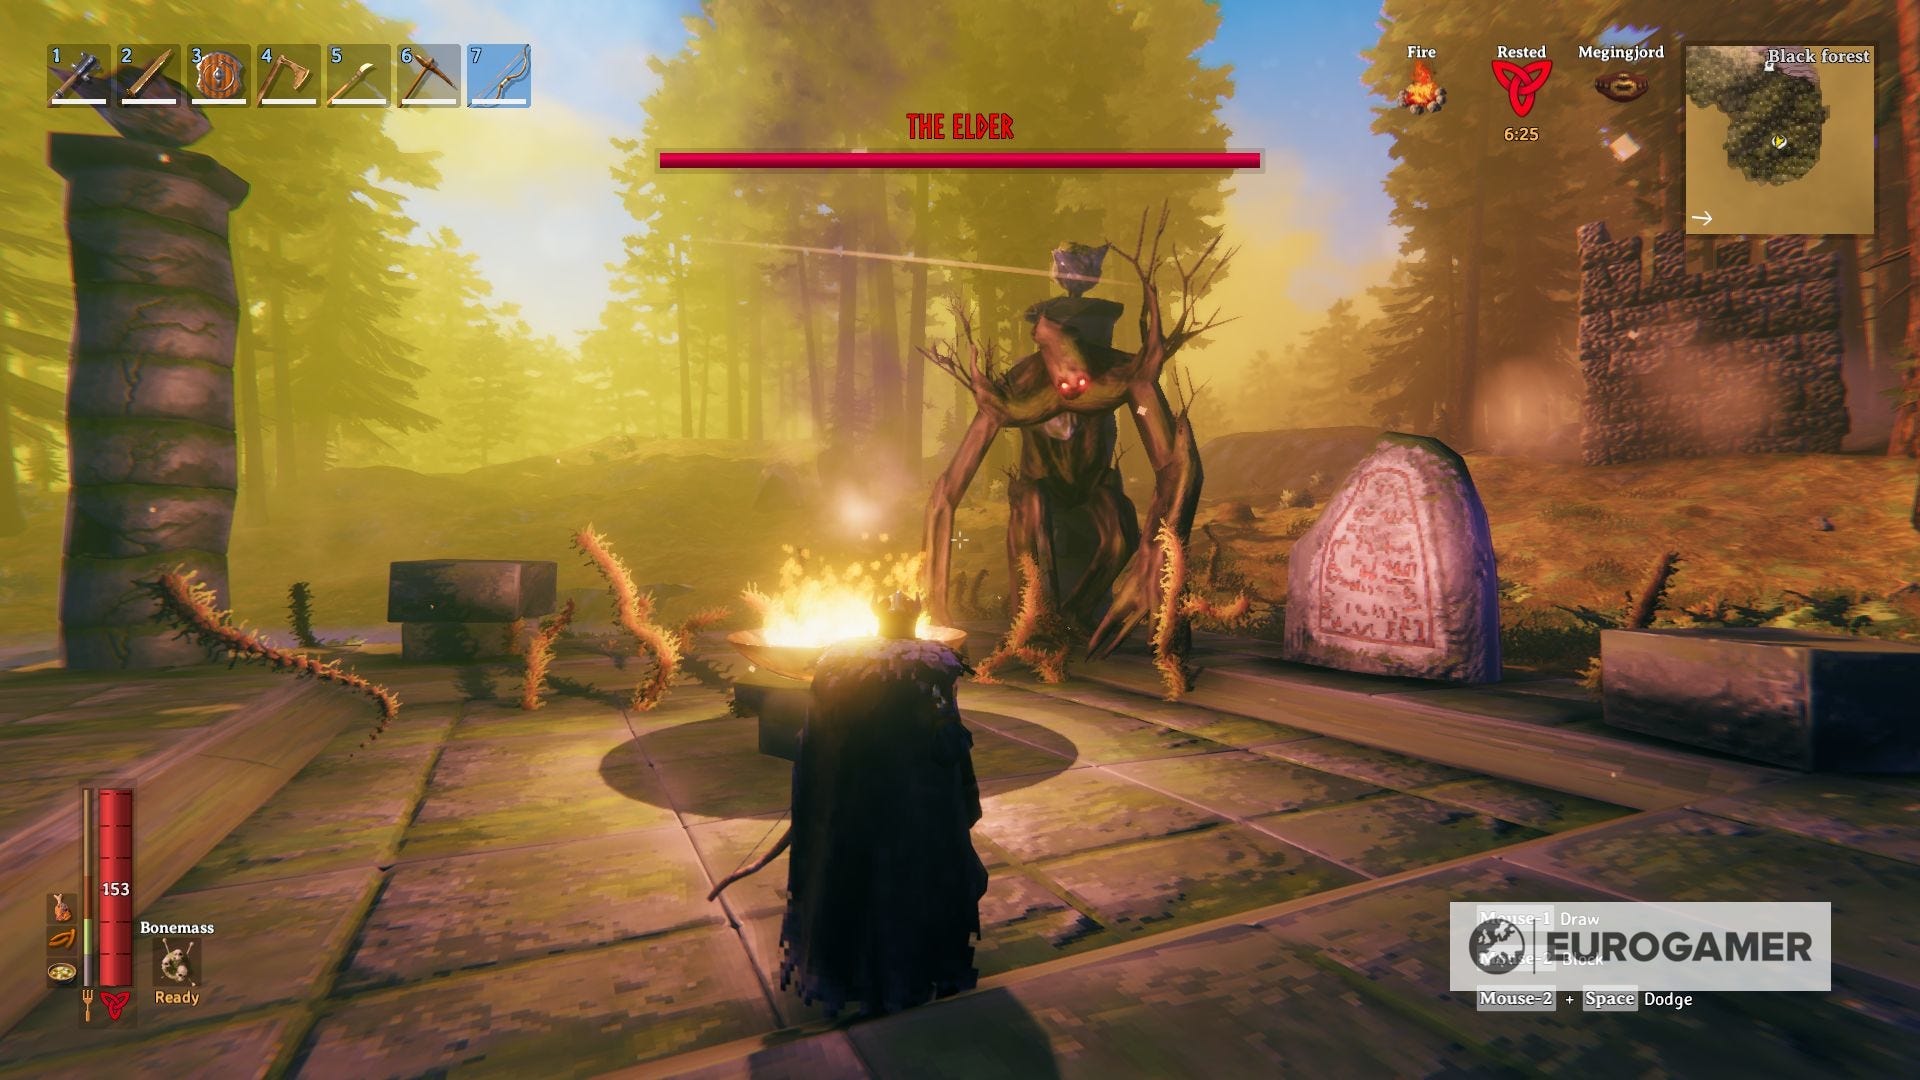
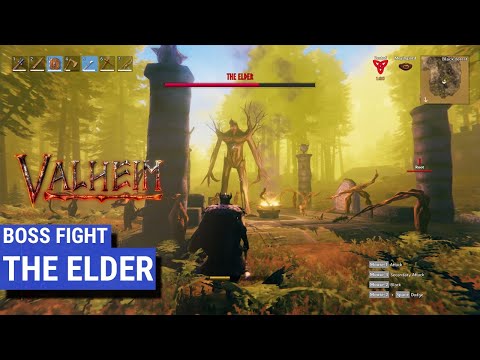
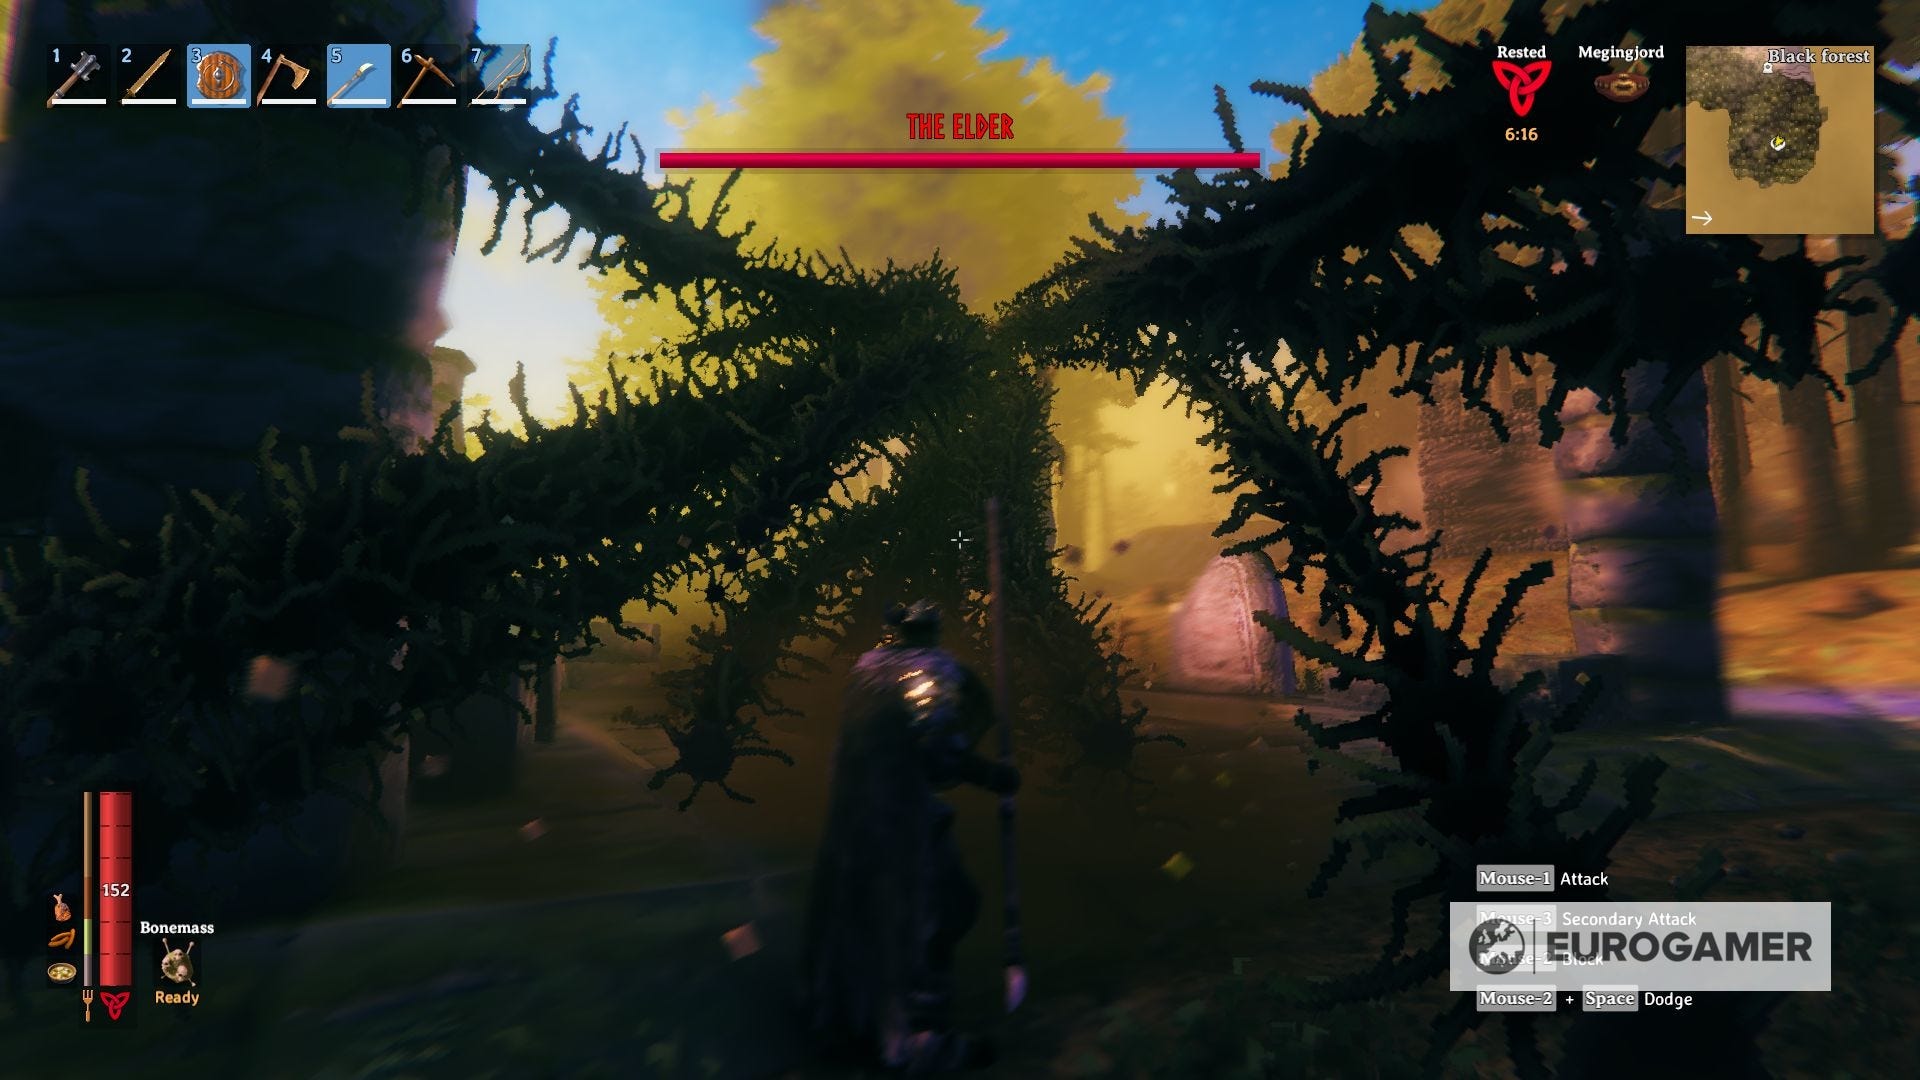
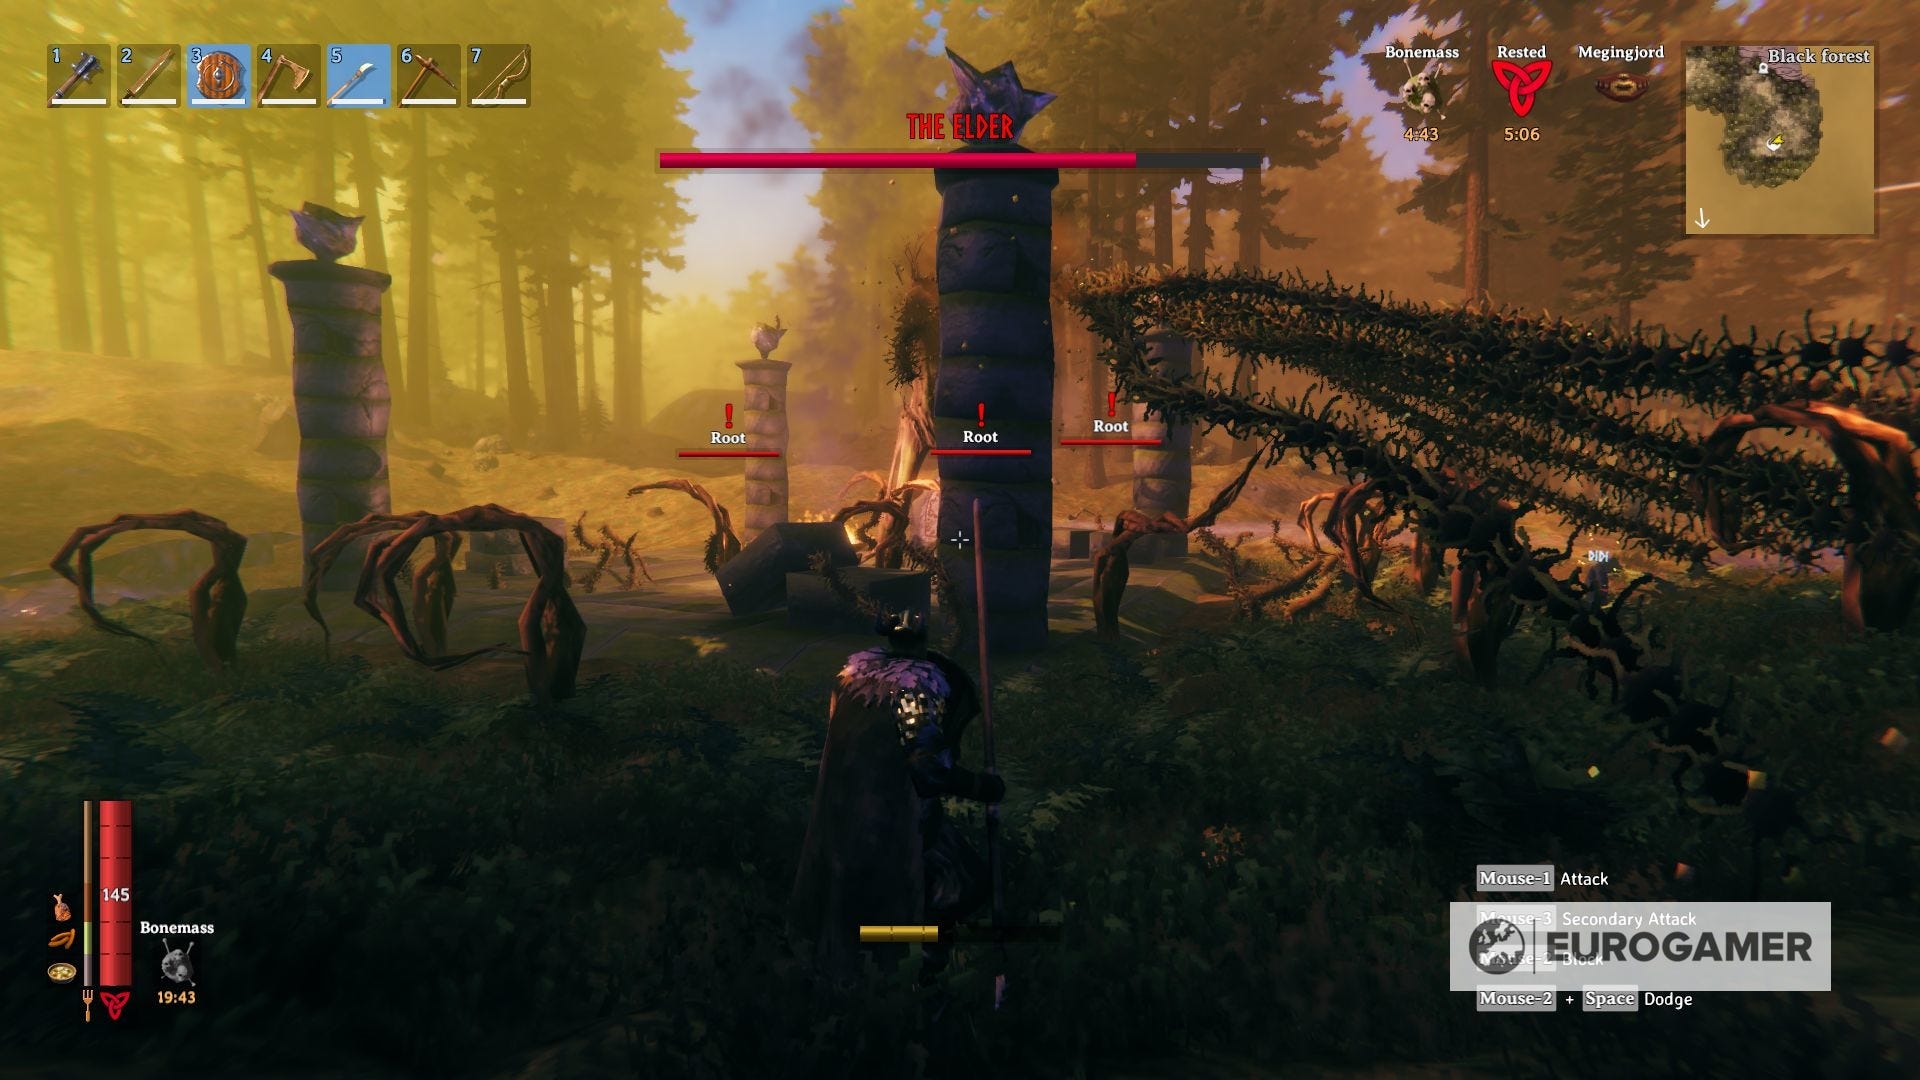
Valheim second boss The Elder: How to beat The Elder and how to summon the second boss explained
The Elder is found in the Black Forest, and is the second boss to take on in Valheim.
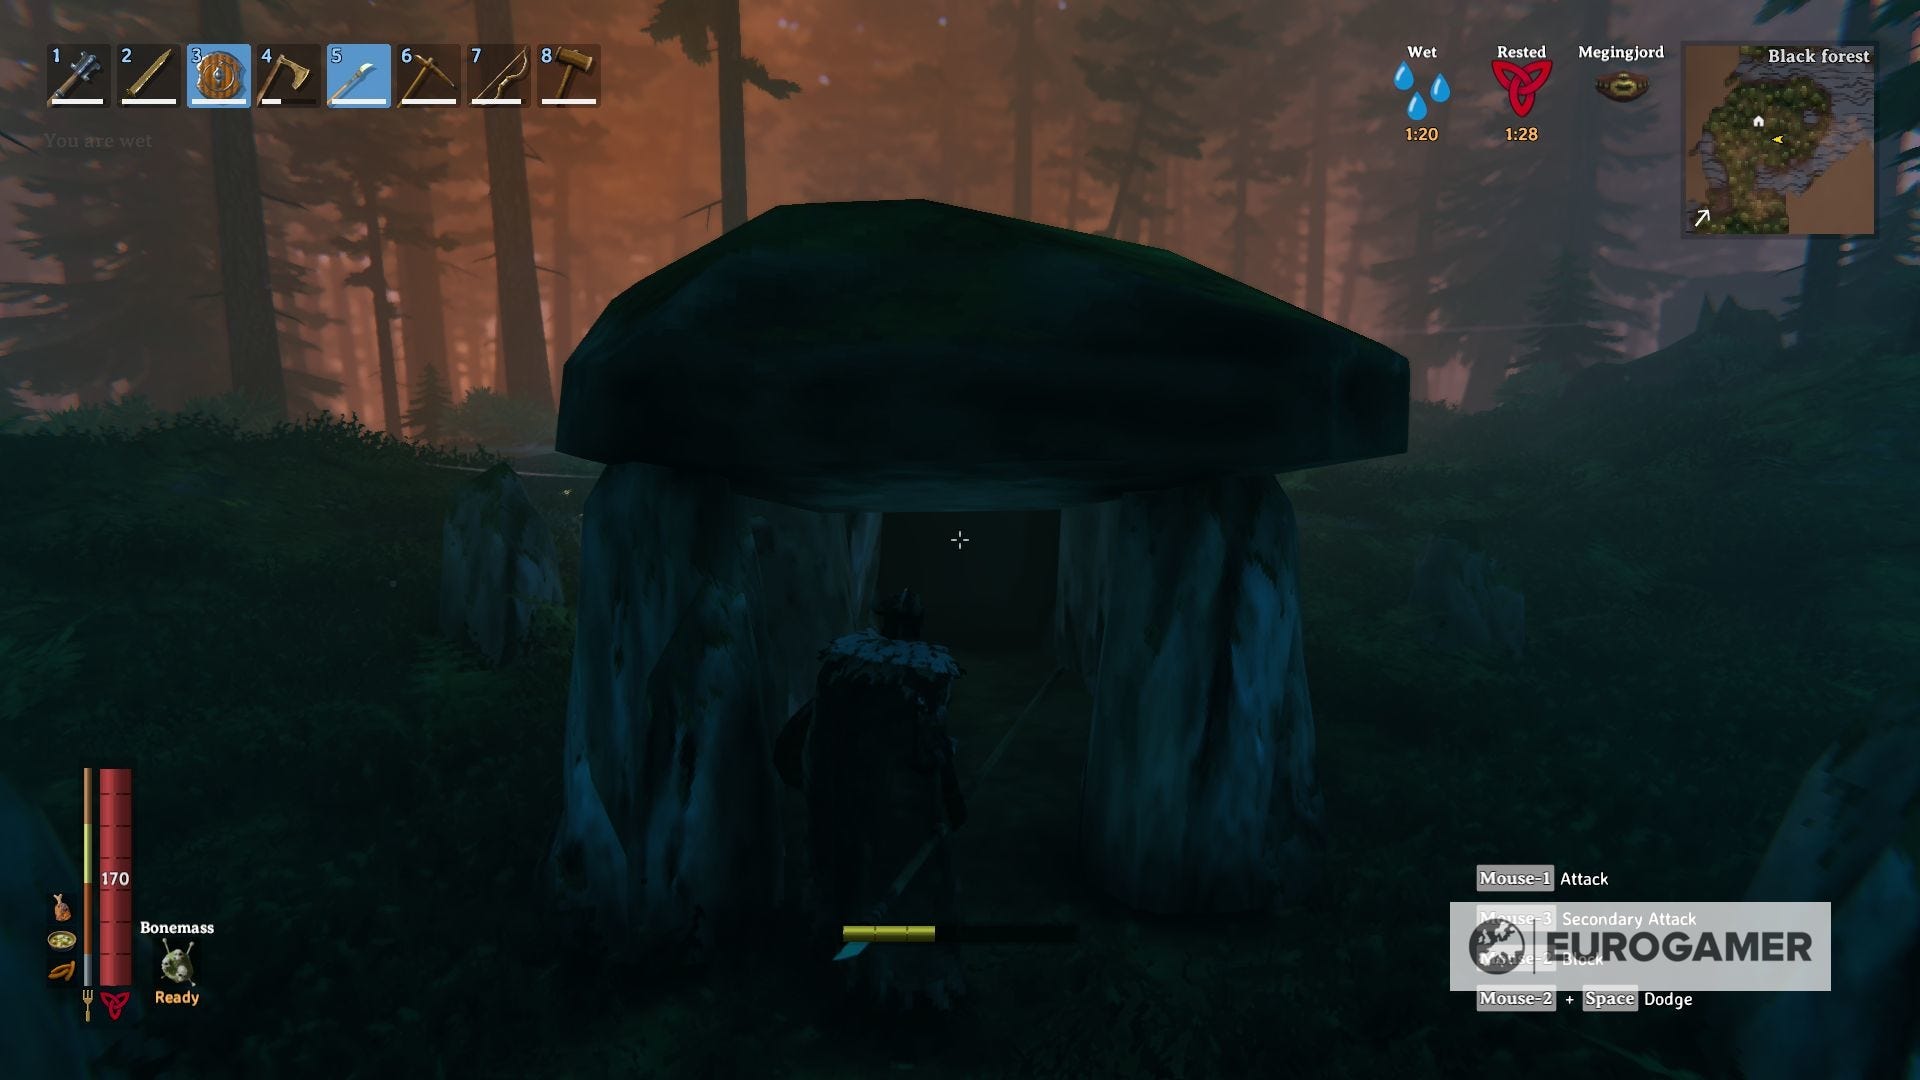
To find The Elder, look for runestones that will give you his location being found inside the Burial Chambers or sitting randomly in any stone ruin around the Black Forest biome.
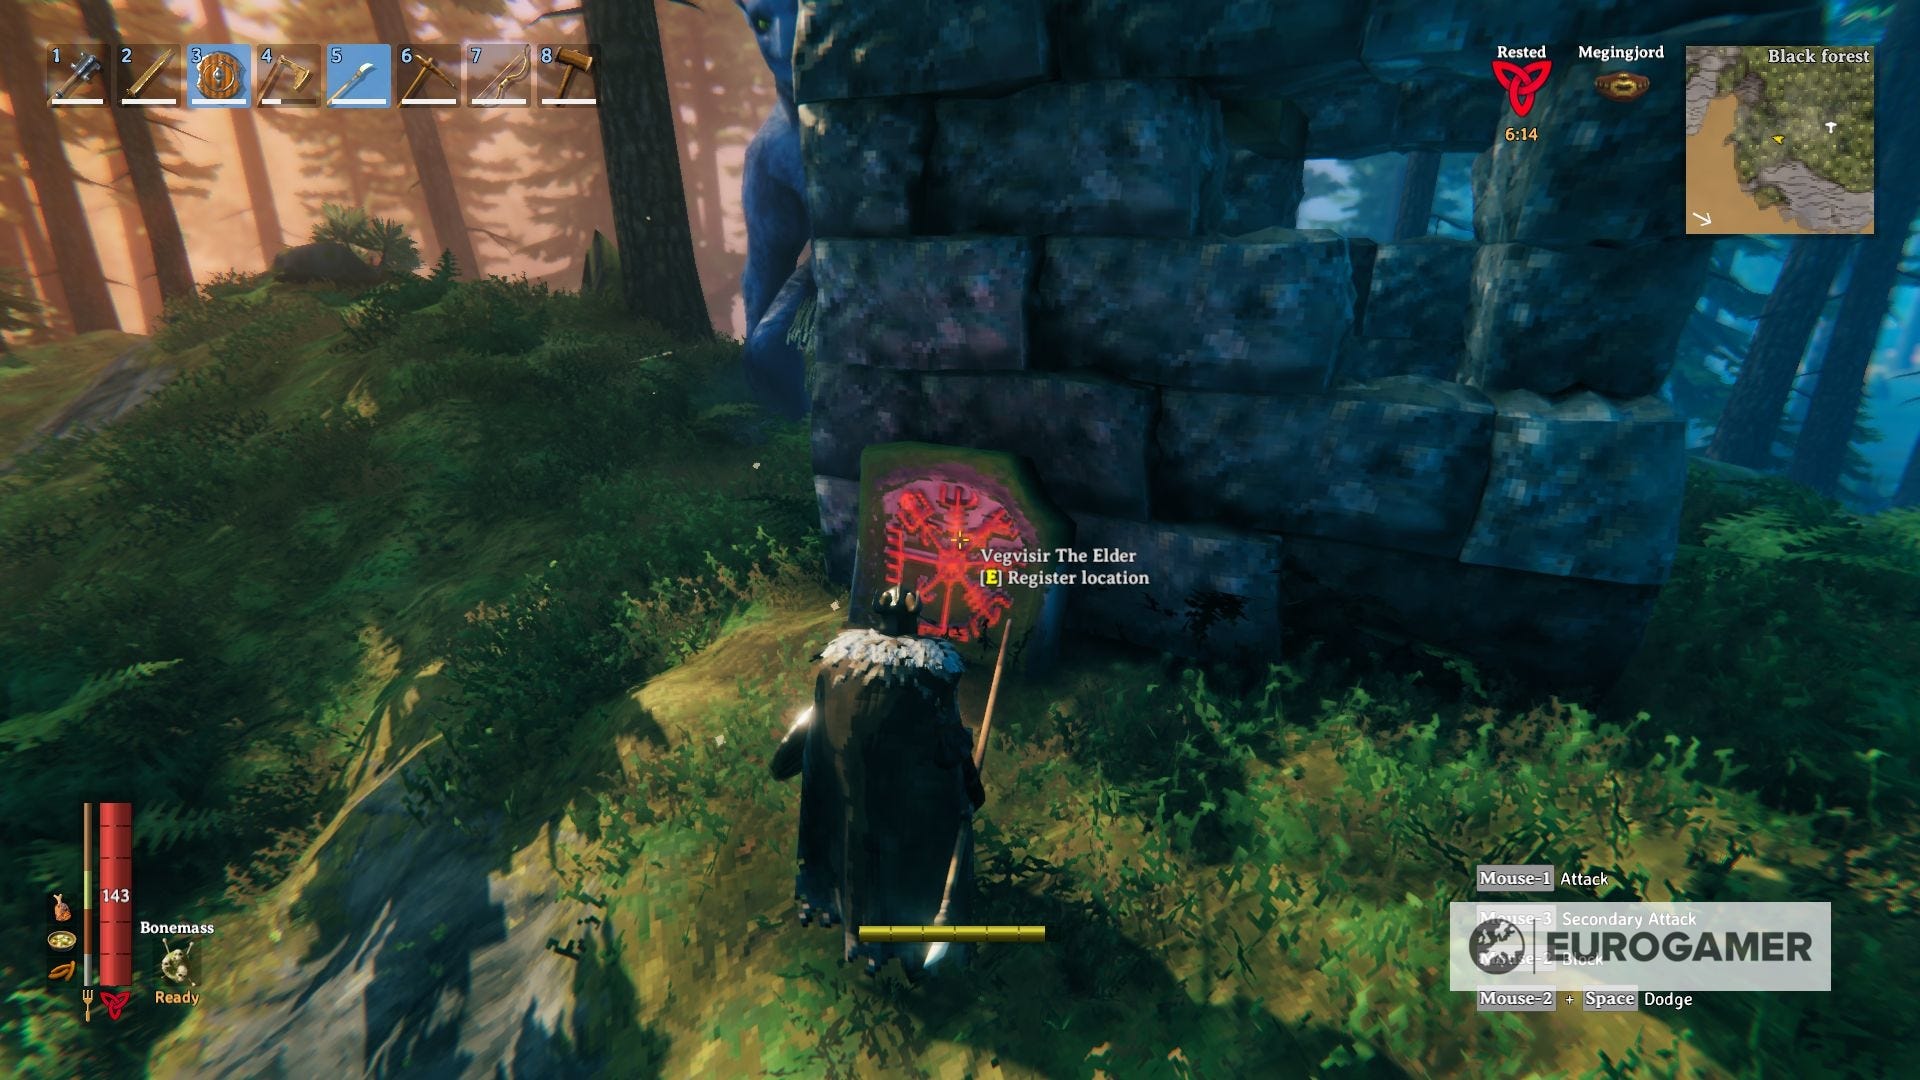
How to summon the second boss: Once you located the Sacrificial Altar, you need to offer 3 Ancient Seeds on the fire bowl to summon The Elder.
These seeds are rewarded by killing Greydwarf Brutes and Shamans, with a 33% drop chance, and they're also guaranteed drops whenever you destroy a Greydwarf Nest. You can also find them in random chests across the Black Forest, but that's just not as reliable as the former methods.
The Elder rewards: After you defeat this boss, its respective story-based events will cease, and you will get the following guaranteed drops:
- The Elder Trophy: This trophy, once it's placed in its respective sacrificial stone, will unlock the respective Forsaken Power. This ability will allow you to chop trees faster for 5 minutes, with a cooldown of 20 minutes.
- Swamp Key: This key will enable the player to enter into any Sunken Crypt in the Swamps, which is necessary to get the location of the next boss, as well as the only way to get Iron in Valheim.
The Elder story events: Before and after you take down The Elder, the following may take place:
- After defeating Eikythr and until you defeat The Elder, Greydwarfs, Greydwarf Brutes, and Greydwarf Shamans will raid your base in random intervals of 120 seconds.
- After defeating The Elder and until you defeat Bonemass, Draugar and Skeletons will raid your base in random intervals of 150 seconds.
- After defeating The Elder and killing at least 1 Troll, Trolls will raid your base in random intervals of 80 seconds.
How to prepare for The Elder: Similar to the Eikythr fight, you need to have the Rested boost and eat enough food to have your HP at least over 100 points. Don't even try until you can't reach this, otherwise, the boss attacks will be too much for you to endure.
You should also prepare some Fire Arrows since he's weak against that element, making the fight way easier if you take a Bow with you.
The Elder Strategy
The Elder has stronger moves than the previous boss, but they're fairly easy to comprehend, and once you know how to protect yourself or evade them, it's just a matter of finding windows for you to approach the boss and attack him.
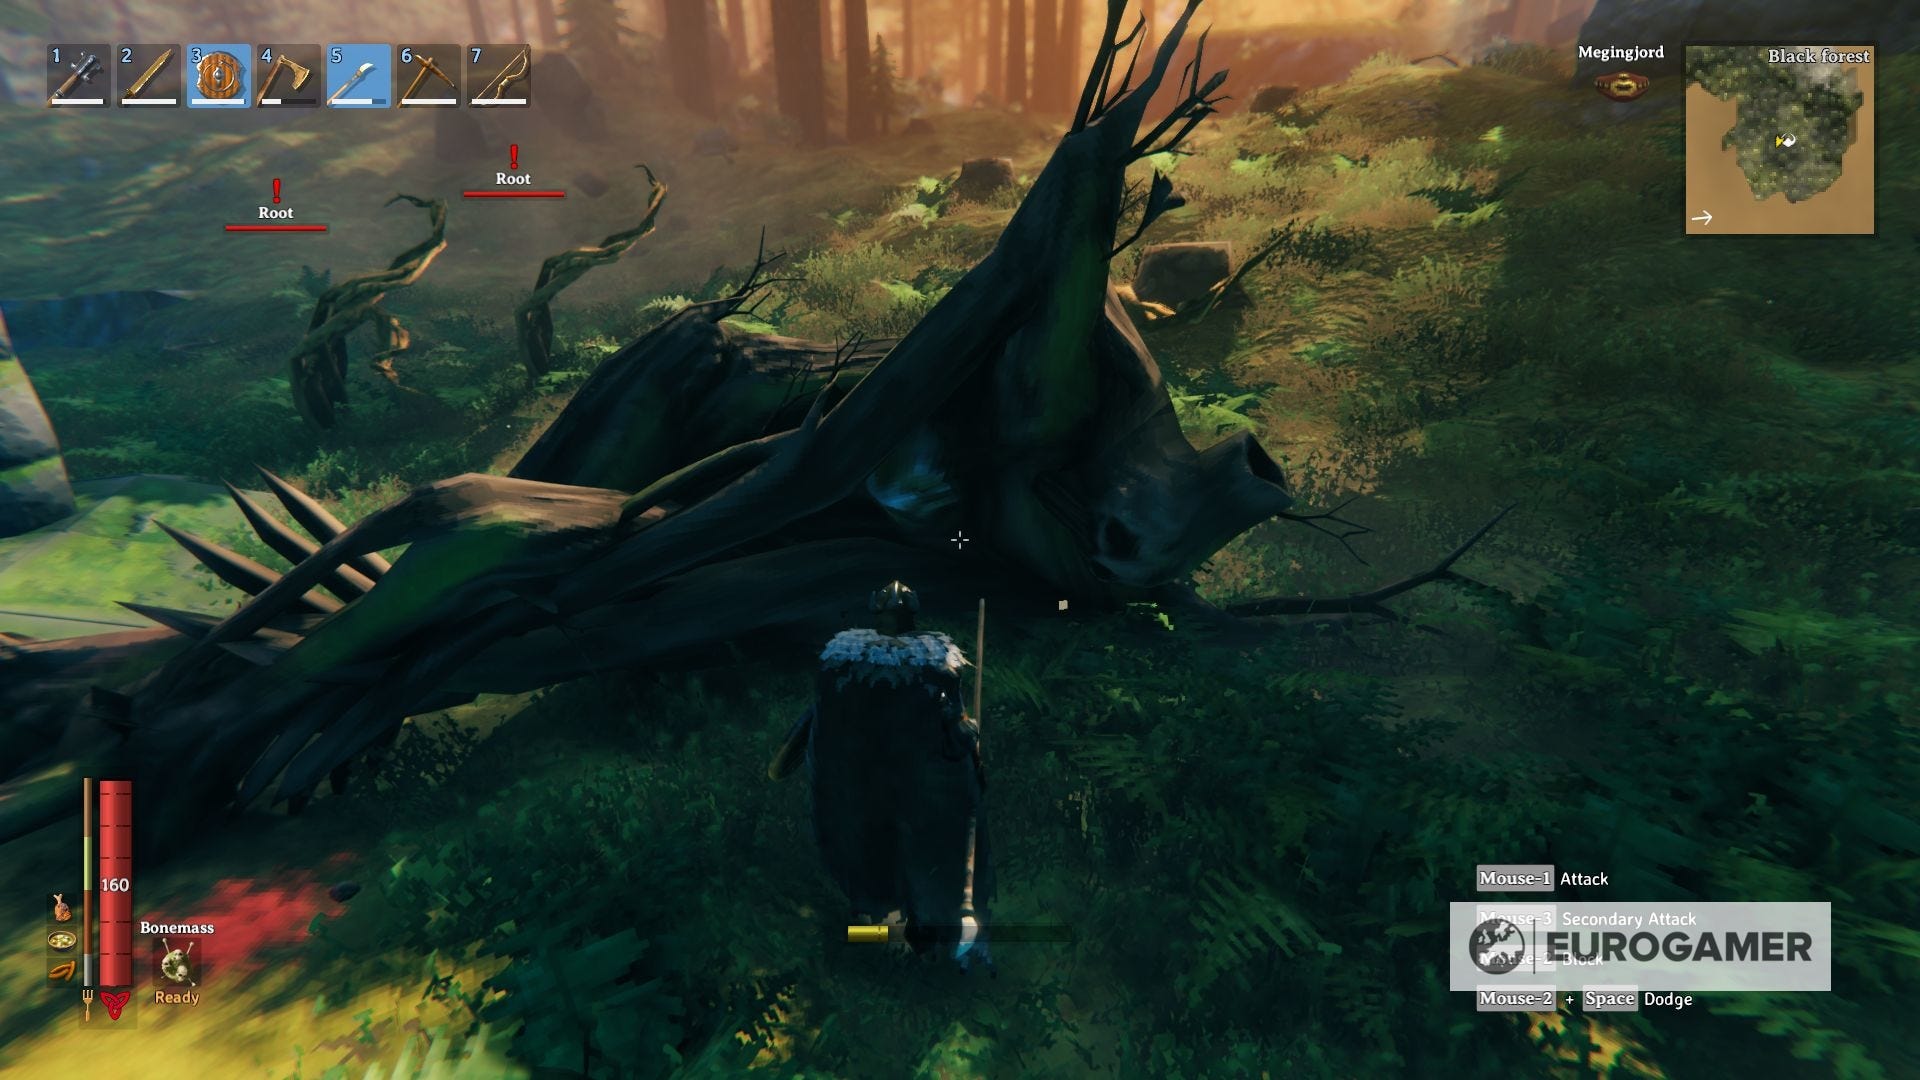
The first of the moves it's a ranged Vine Attack in a straight line, directed to the player. It can be easily blockable and also entirely avoidable if you remain behind one of the four pillars in the altar since he won't be able to reach you.
The next move is a stomp that he will use whenever you're in the melee range. Easily avoidable but it does hit hard and causes area damage, so don't get too comfy about it.
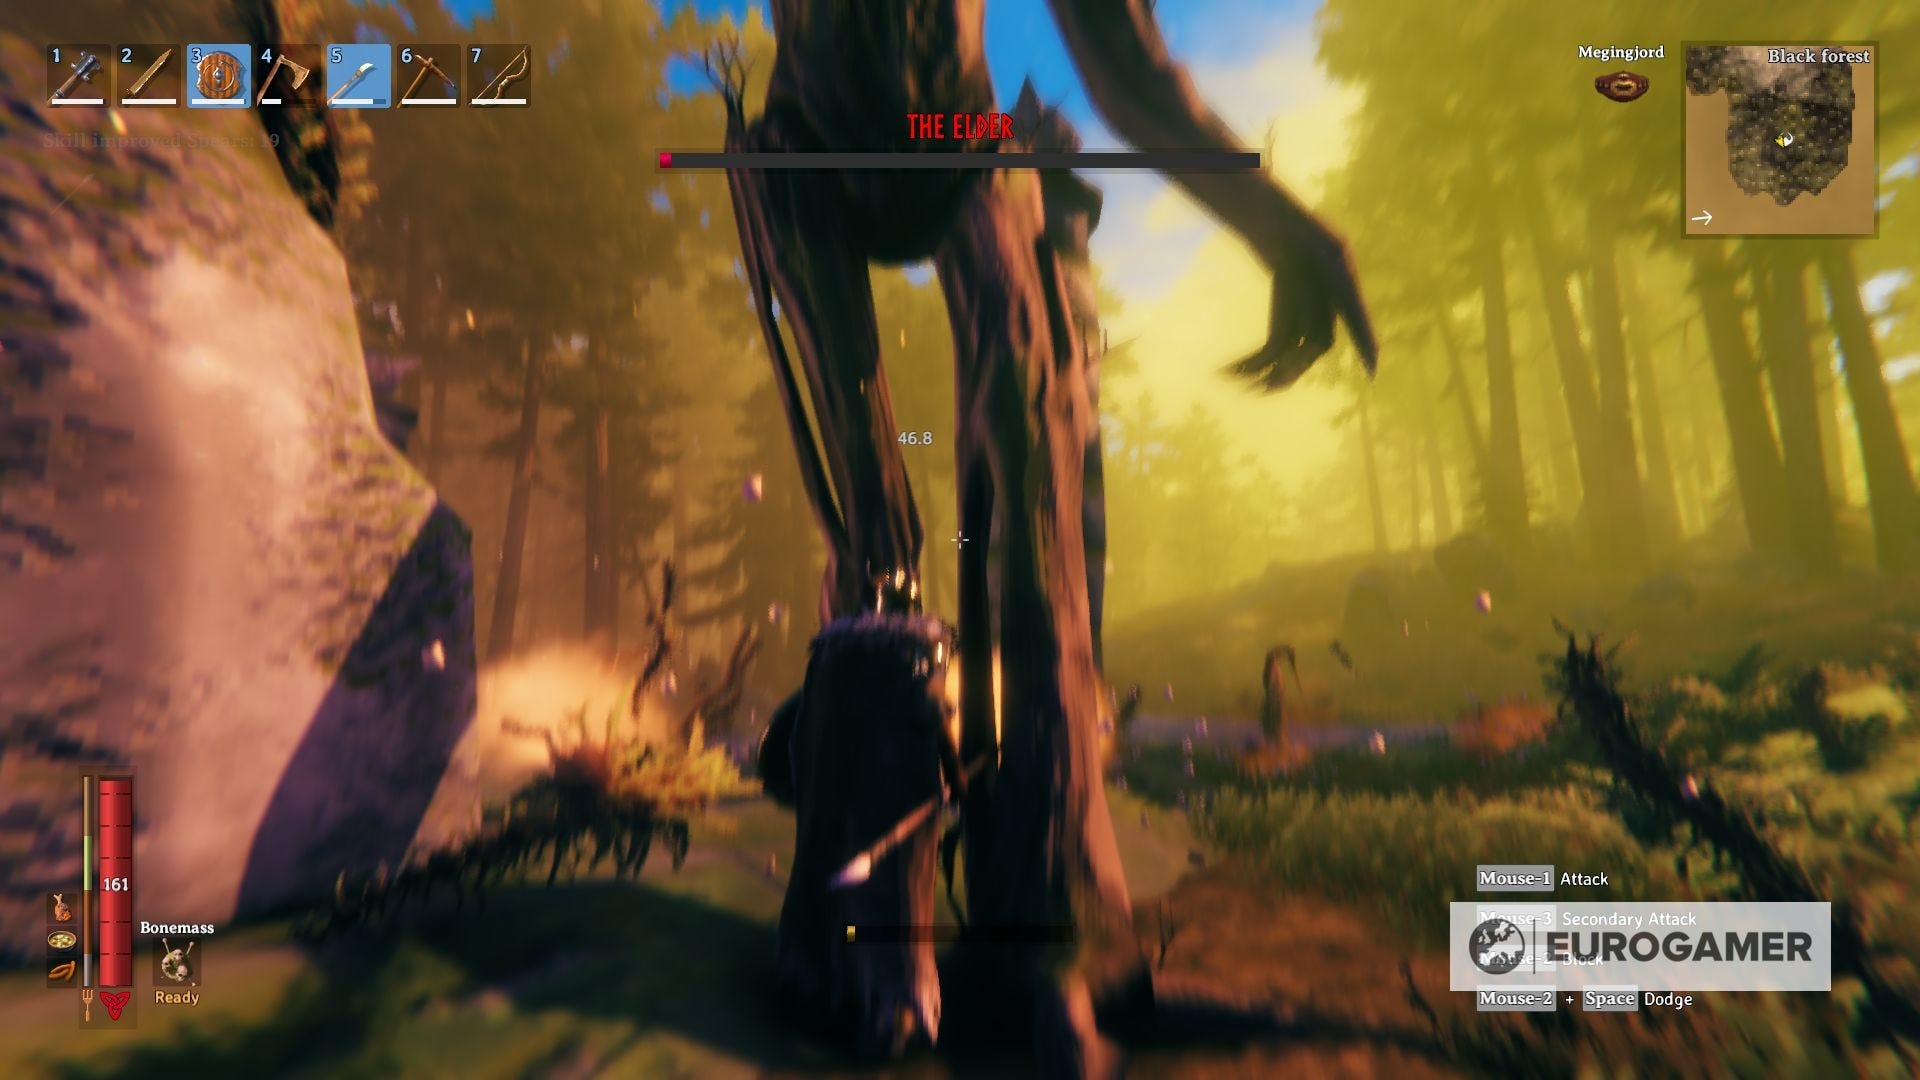
Alternatively, keep an eye on the Roots he summons because, while destructible, they hit hard and may overwhelm you if you remain too close. Same as Eikythr, be patient, whether you're going melee or ranged, and you should be fine.
Congrats! With the Swamp Key in hand, it's time to head to the Swamp in search of the next boss, Bonemass.
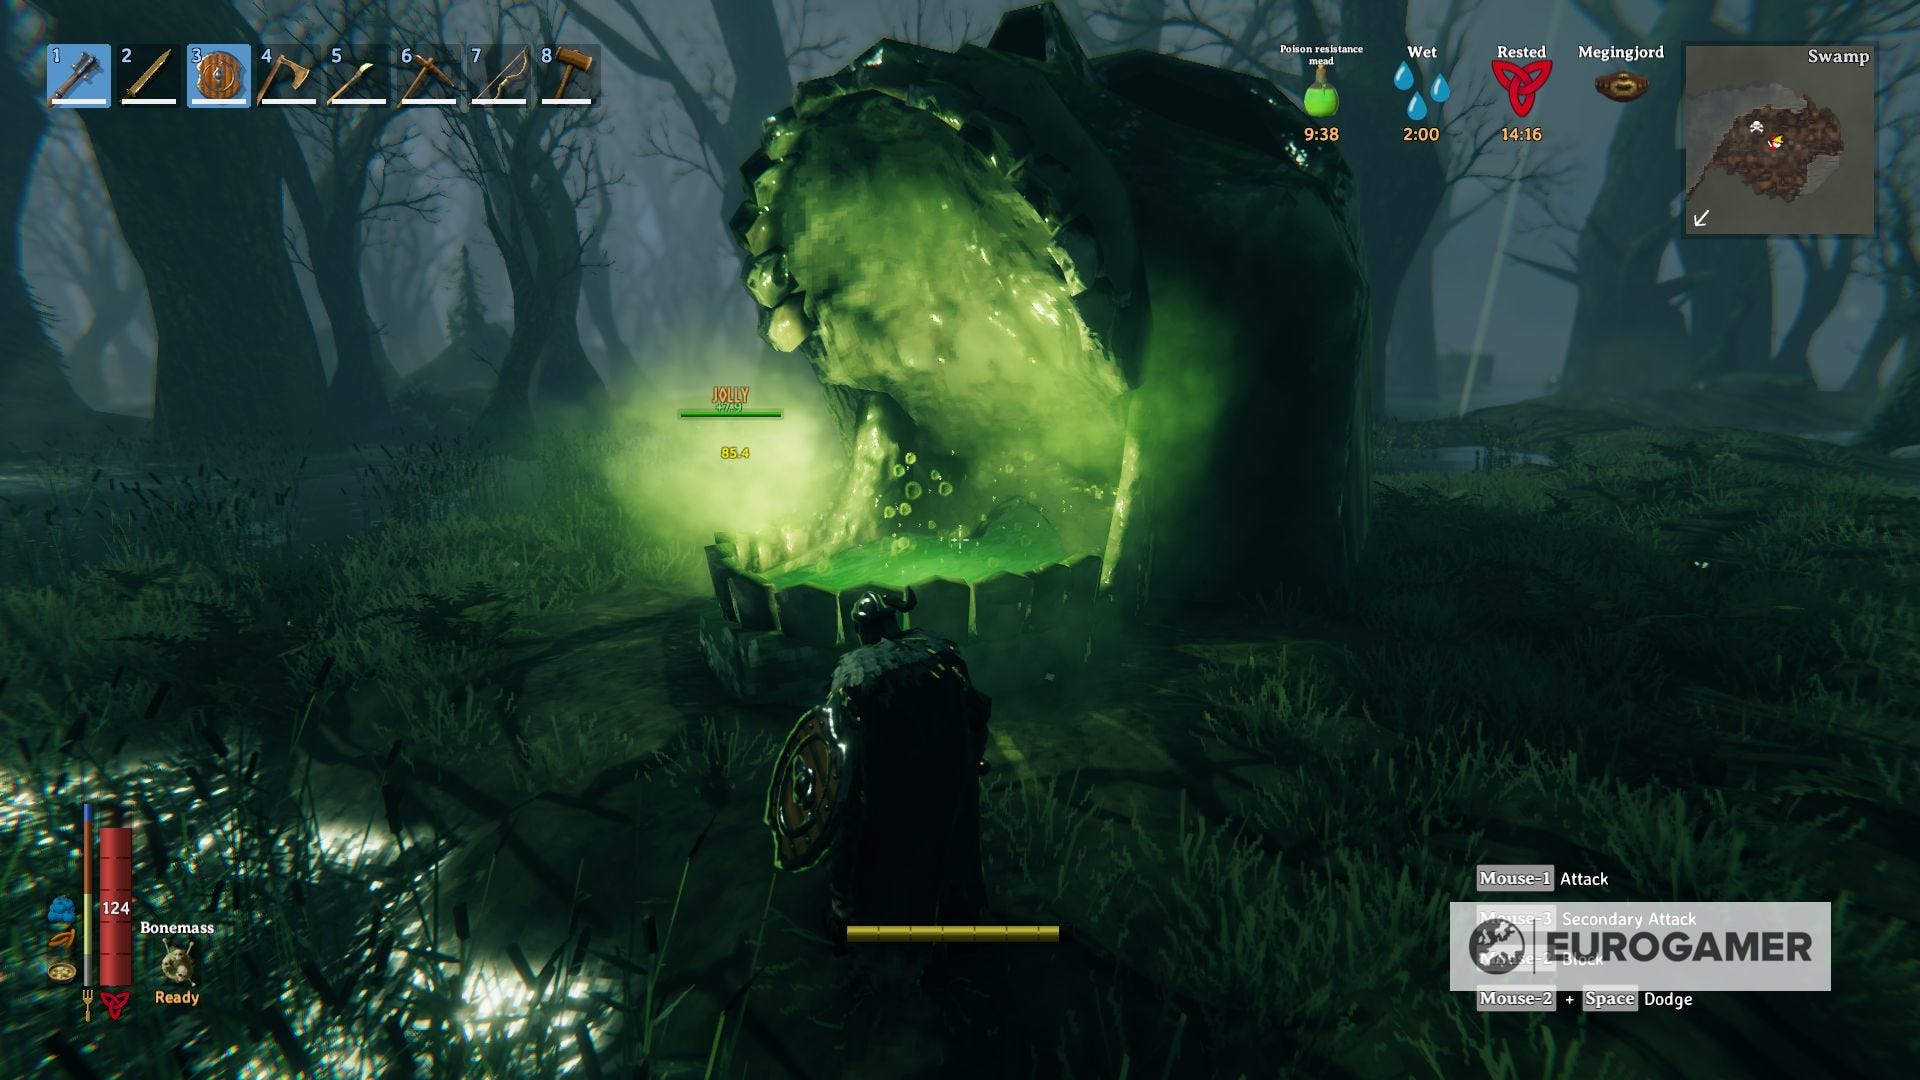
Valheim third boss Bonemass: How to beat Bonemass and how to summon the third boss explained
Bonemass is found in the Swamp, and is the third boss to take on in Valheim.

After we defeated The Elder, we'll obtain a Swamp Key. This item will enable us to travel into the many Sunken Crypts that appear in the Swamp biome, where a randomly placed Runestone will give you the location of the altar.
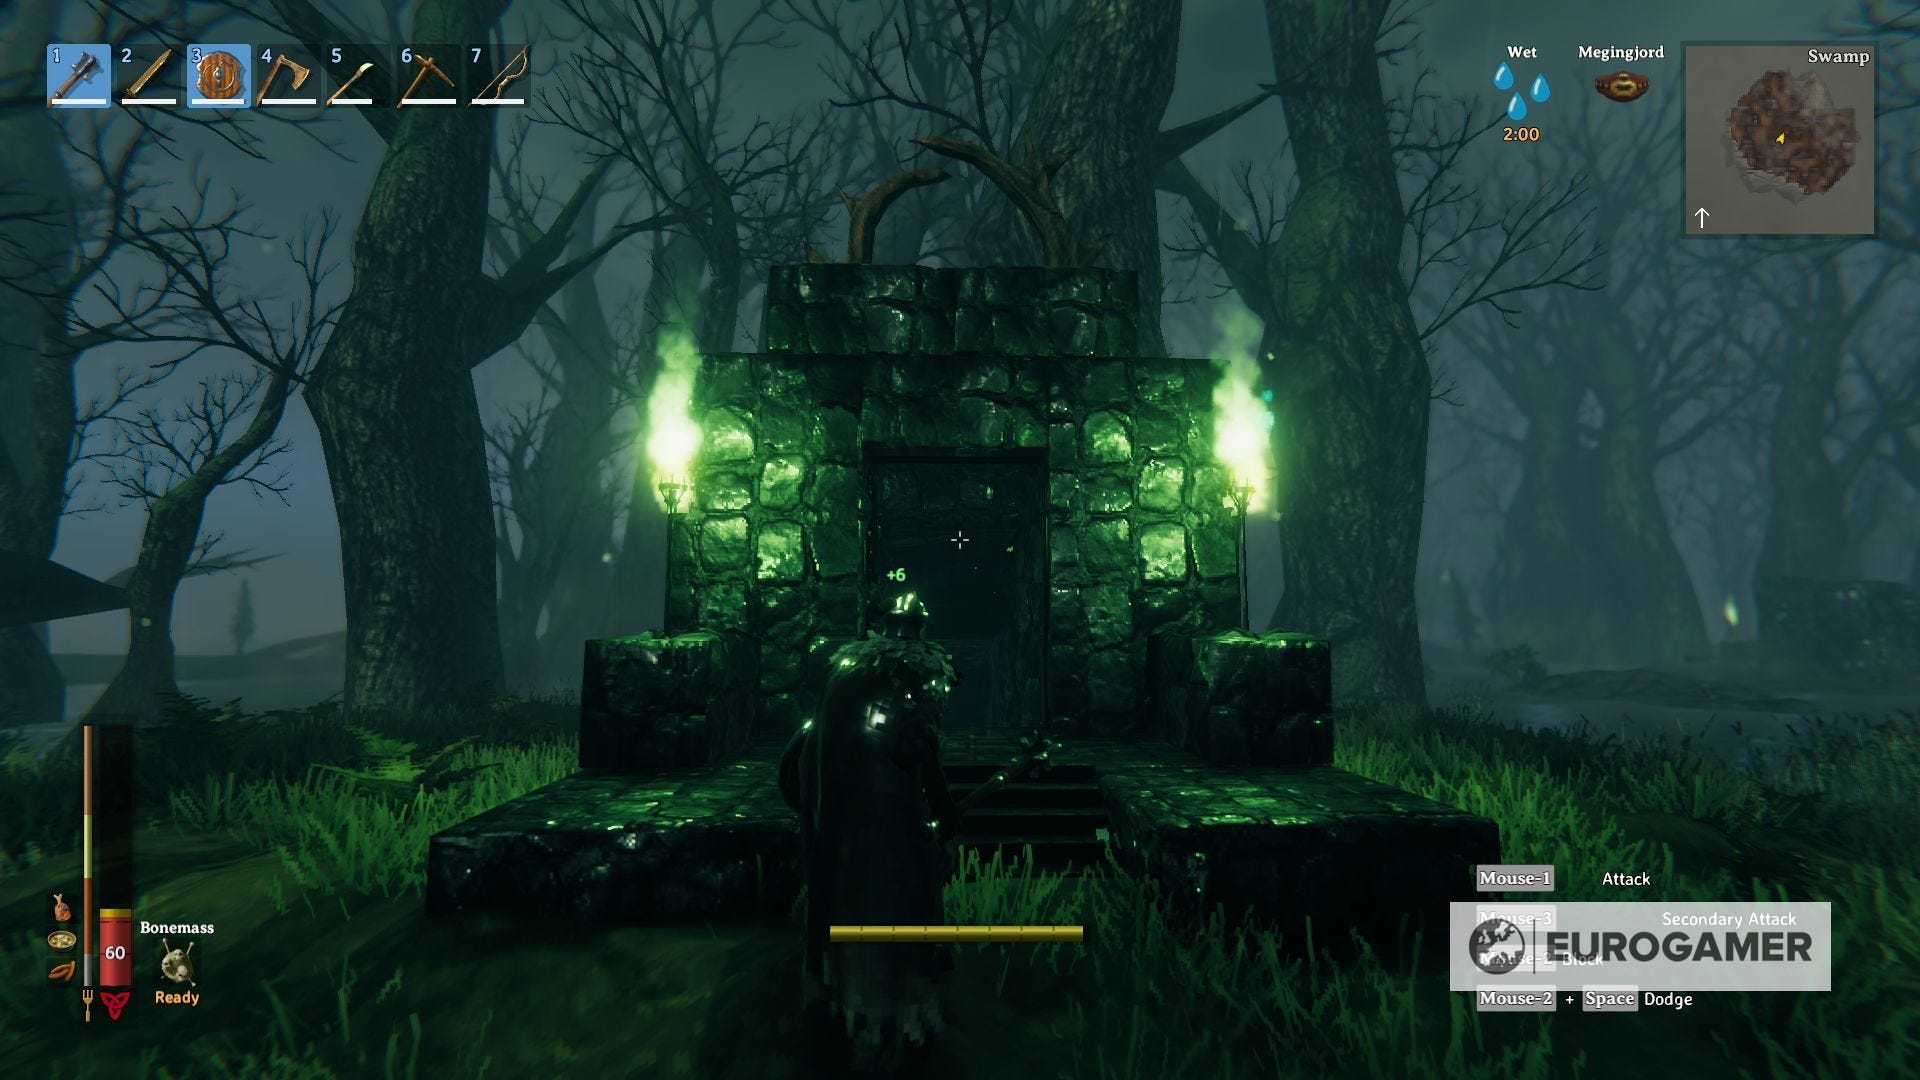
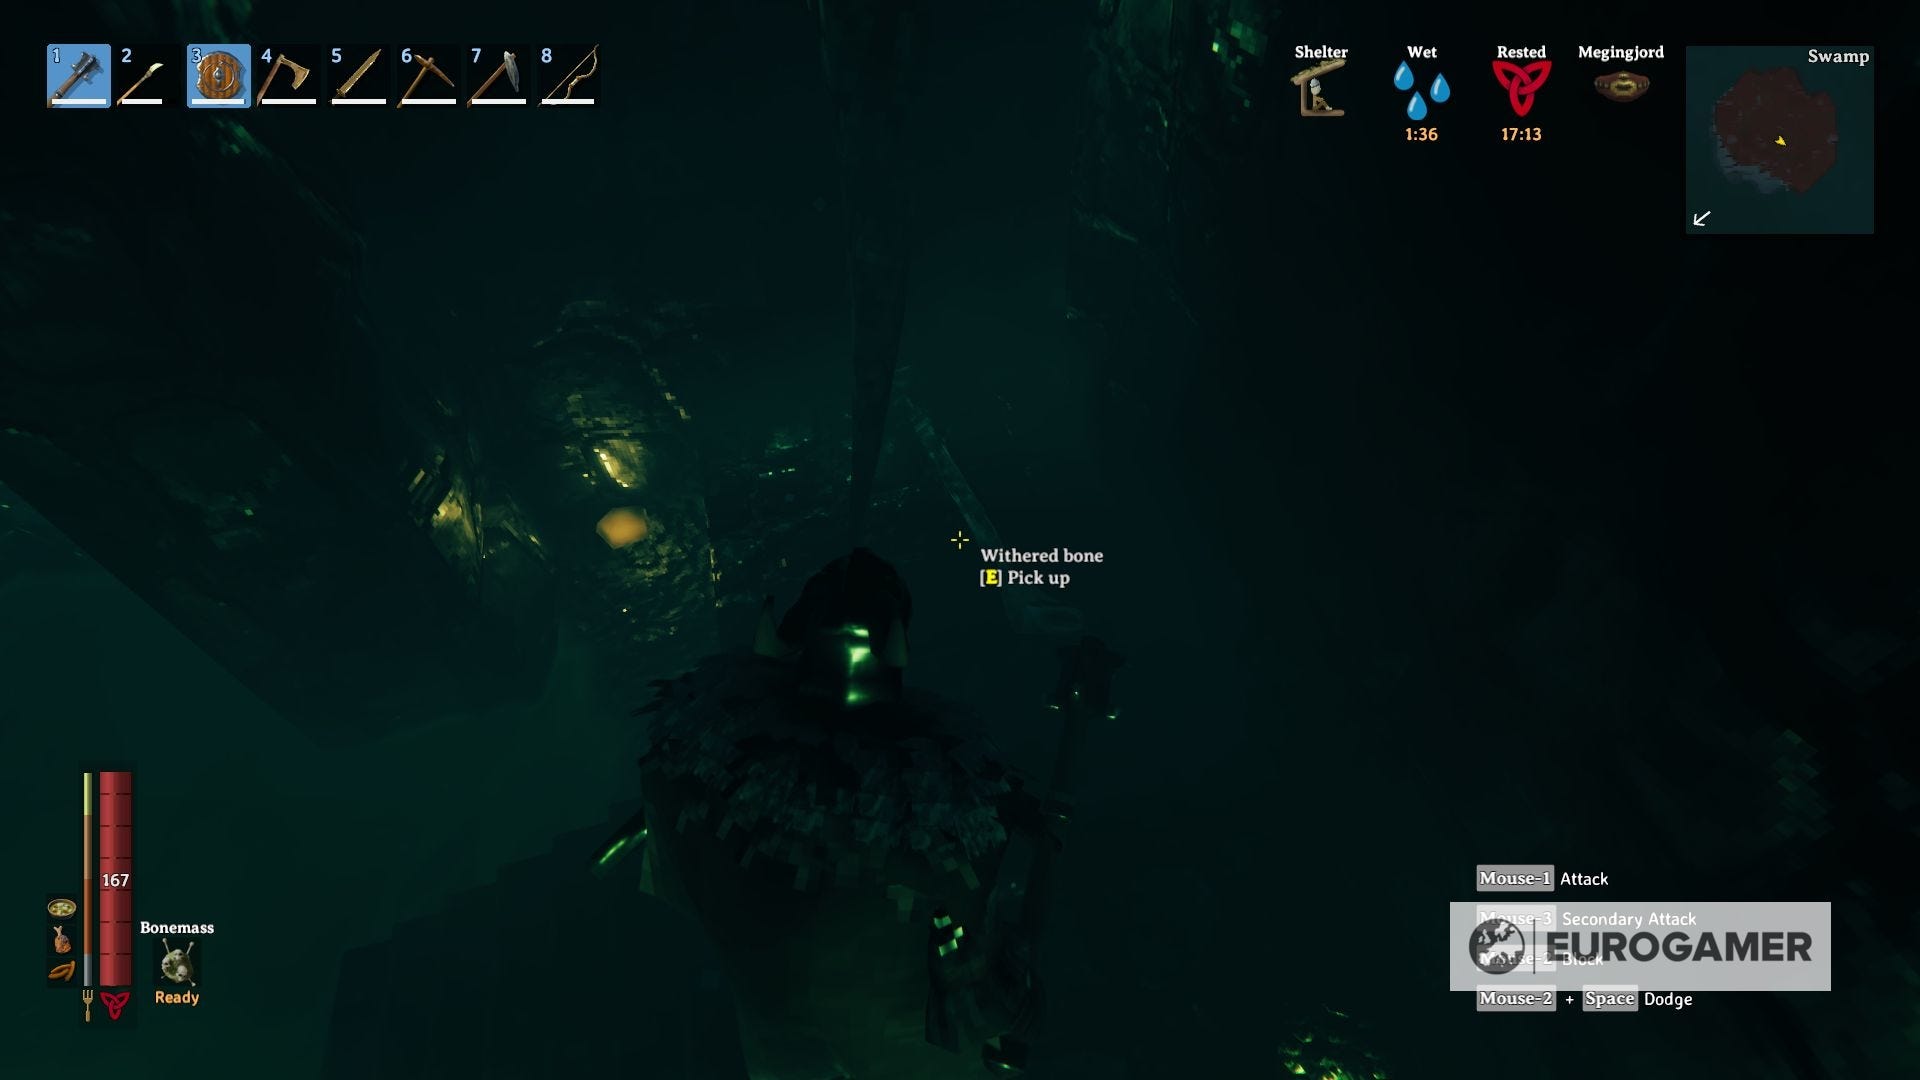
How to summon the third boss: To summon Bonemass you need to offer 10 Withered Bones to the Sacrificial Altar. These are found within the Sunken Crypts, either after destroying Muddy Scrap Piles with a 4% drop chance or laying on the floor randomly.
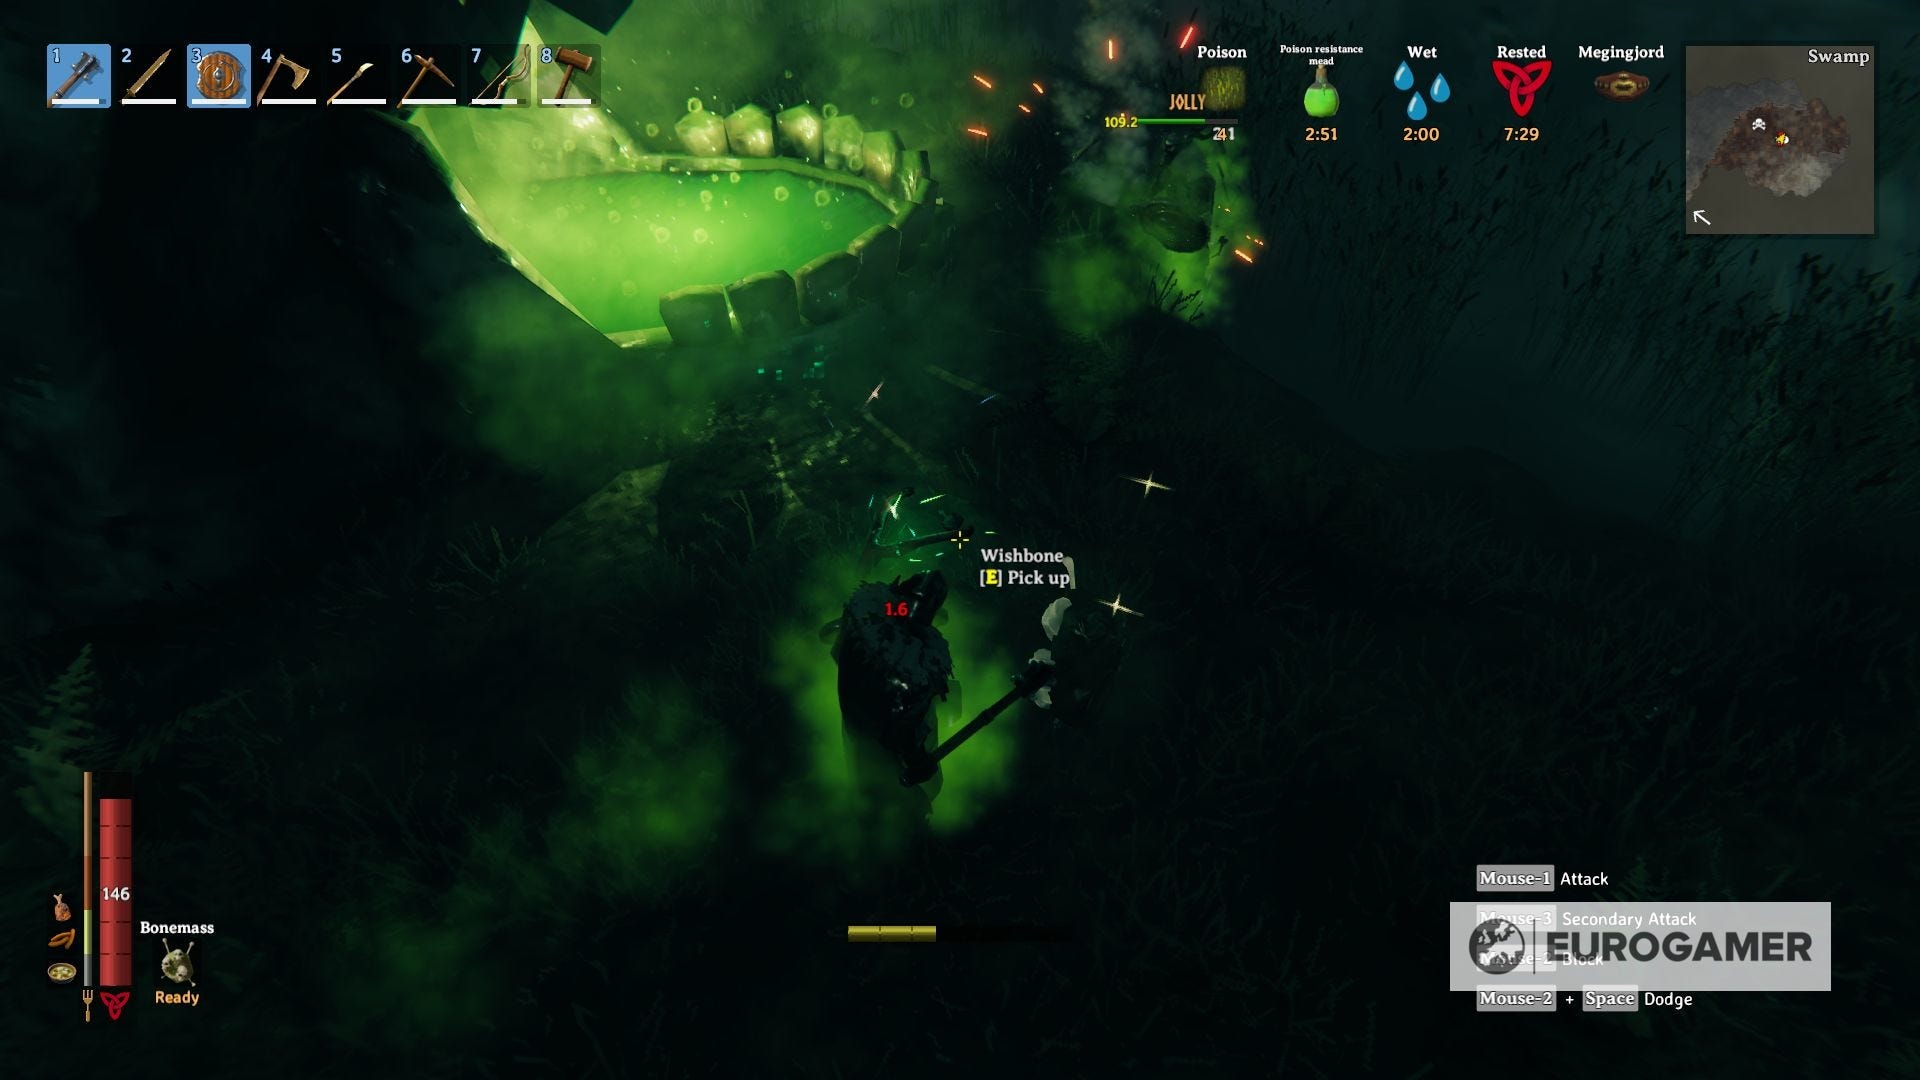
Bonemass rewards: After you defeat this boss, its respective story-based events will cease, and you will get the following guaranteed drops:
- Bonemass Trophy: This trophy, once it's placed in its respective sacrificial stone, will unlock the respective Forsaken Power. This ability will give you a boost on your resistances against all the types of physical damage for 5 minutes, with a cooldown of 20 minutes.
- Wishbone: An equipable item, this Wishbone will enable you to find buried secrets, such as Muddy Scrap Piles in the Swamp (useful for iron farming), Silver Nodes in the Mountains, and Buried Treasures in the Meadows. Whenever you get close to a buried secret, you will see a green particle effect around your character, accompanied by a ringing sound that will only get more intense the closer you get.
Bonemass story events: Before and after you take down Bonemass, the following may take place:
- After defeating The Elder and until you defeat Bonemass, Draugar and Skeletons will raid your base in random intervals of 150 seconds.
- After defeating Bonemass and until you defeat Moder, Drakes will raid your base in random intervals of 150 seconds. You will also get the Freezing applied regardless of your location.
- After defeating Bonemass, Skeletons and Rancid Remains will raid your base in random intervals of 120 seconds.
- After defeating Bonemass, Blobs and Oozers will raid your base in random intervals of 120 seconds.
- After defeating Bonemass and killing at least 1 Surtling, Surtlings will raid your base in random intervals of 120 seconds.
How to prepare for Bonemass: Ok, we're now threading into more difficult territory. Bonemass has poison-based moves, and as such, having Poison Resistance Mead in your inventory is extremely important.
As always, the Rested bonus is a must, and in terms of food you will need to keep your HP as highest as possible, so having several types of meat such as Sausages and Cooked Meat it's highly advised, and a few bottles of Medium Healing Mead, just in case.
On the Equipment side, we need to have two things present: Bonemass is extremely weak to Blunt and Frost Damage, so an Iron mace, Banded Shield, Iron Armor set, and Frost Arrows are a must. Again, don't even try if you can't meet the criteria, it's always better to wait until you're well prepared.
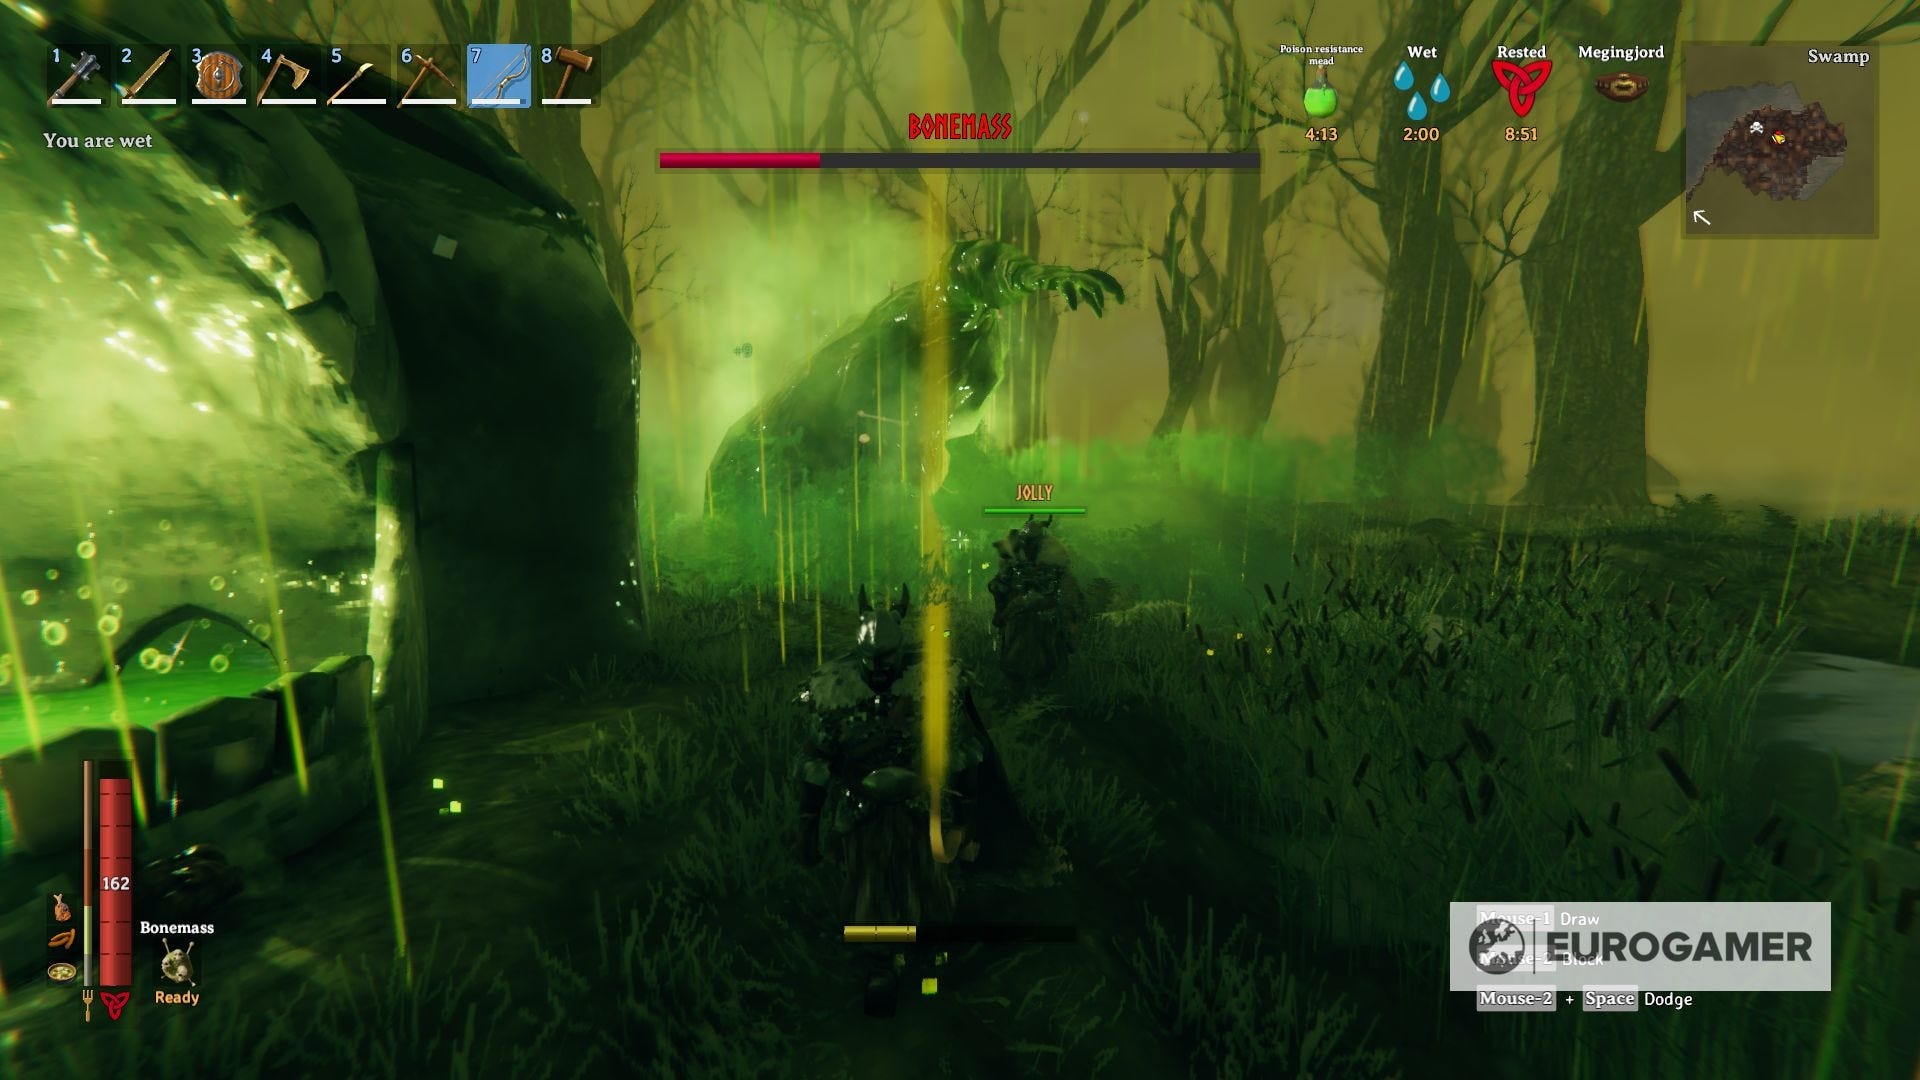
Bonemass strategy
This will be a way harder battle than the previous two, so you need to be extra careful. While being patient isn't a bad choice in this fight, you need to be quick and mind how you spend your stamina, because you don't have the luxury of staying too long in the poison clouds that this enemy uses. Use your Mace to hit him hard and fast.
The first move is a straight punch to your face. Nothing really fancy, but it hits like a truck, so evade or parry, and fast.
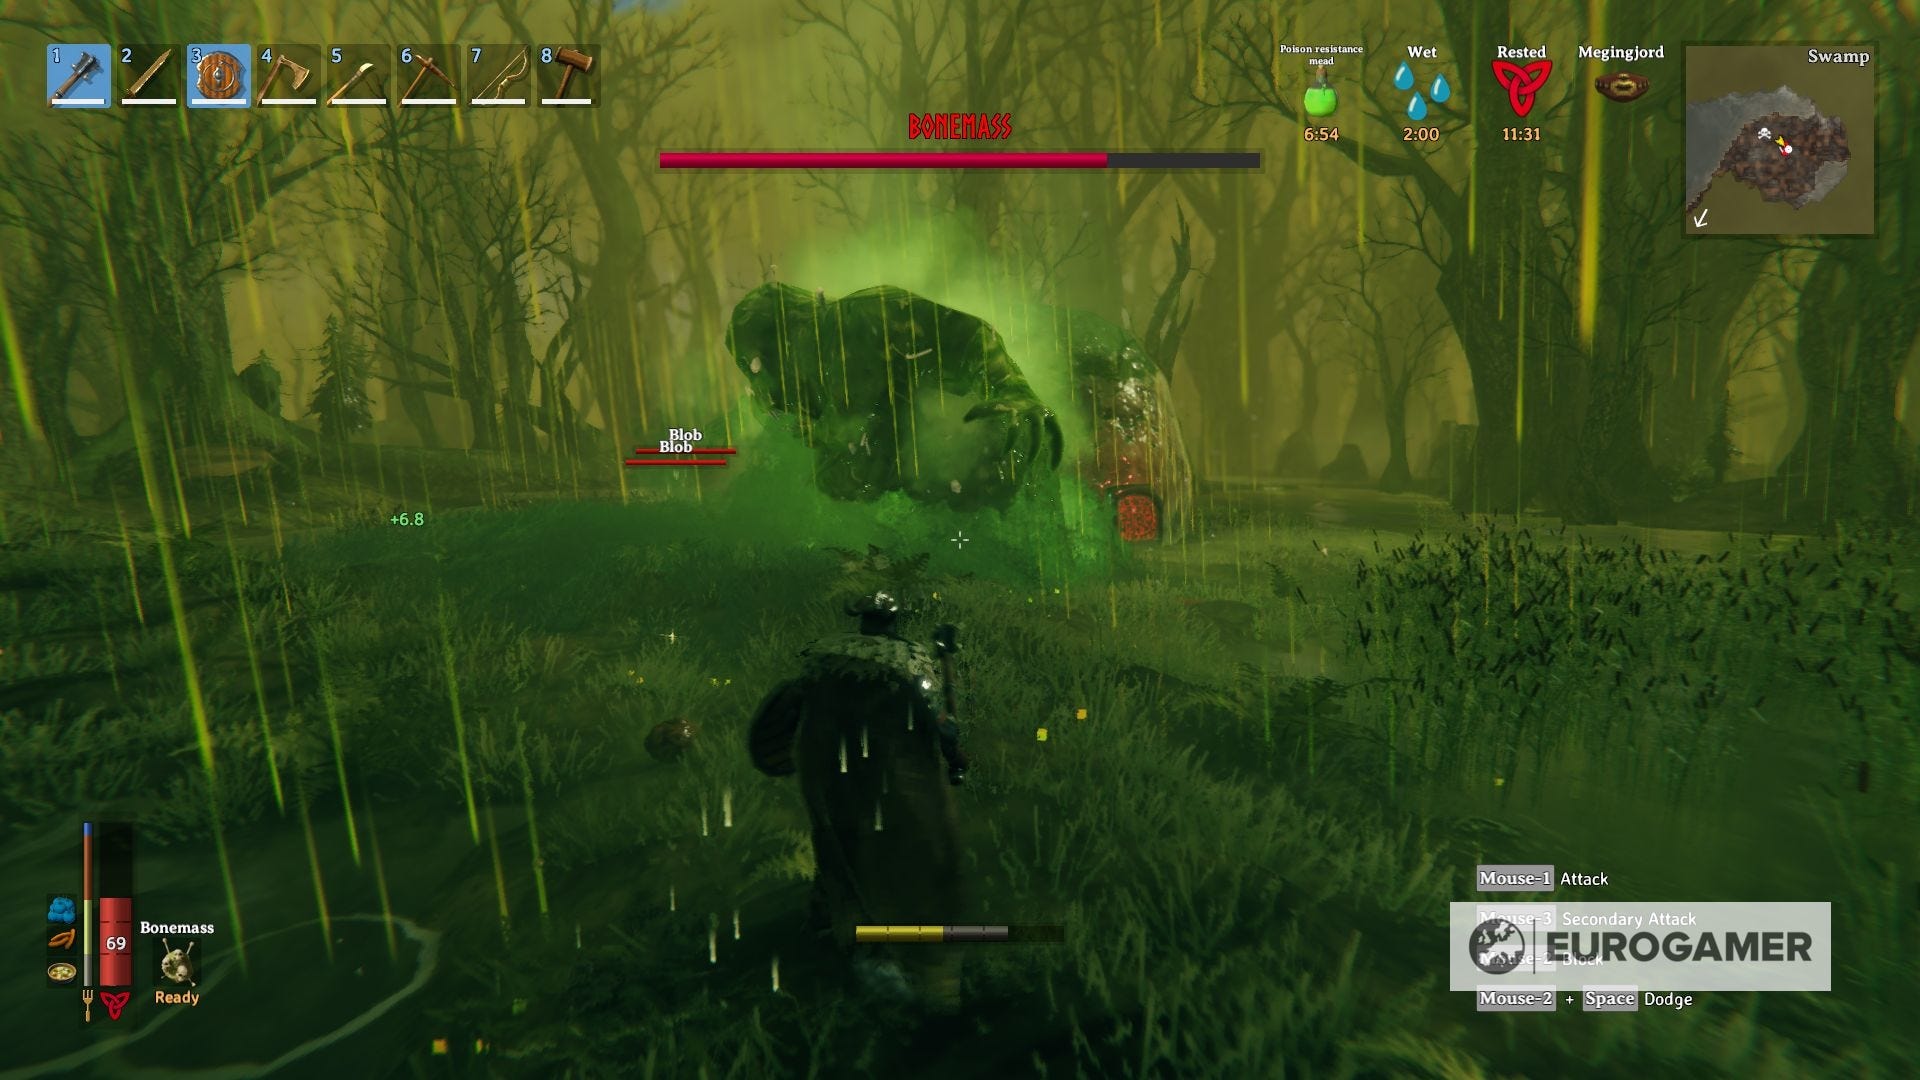
The second move will be Bonemass throwing a ball of goop up in the air. It won't be aimed at you, but once it touches the ground, 4 random enemies will spawn right there. Is highly advised to stop and deal with them quickly, or you can get easily overwhelmed if too many enemies are summoned.
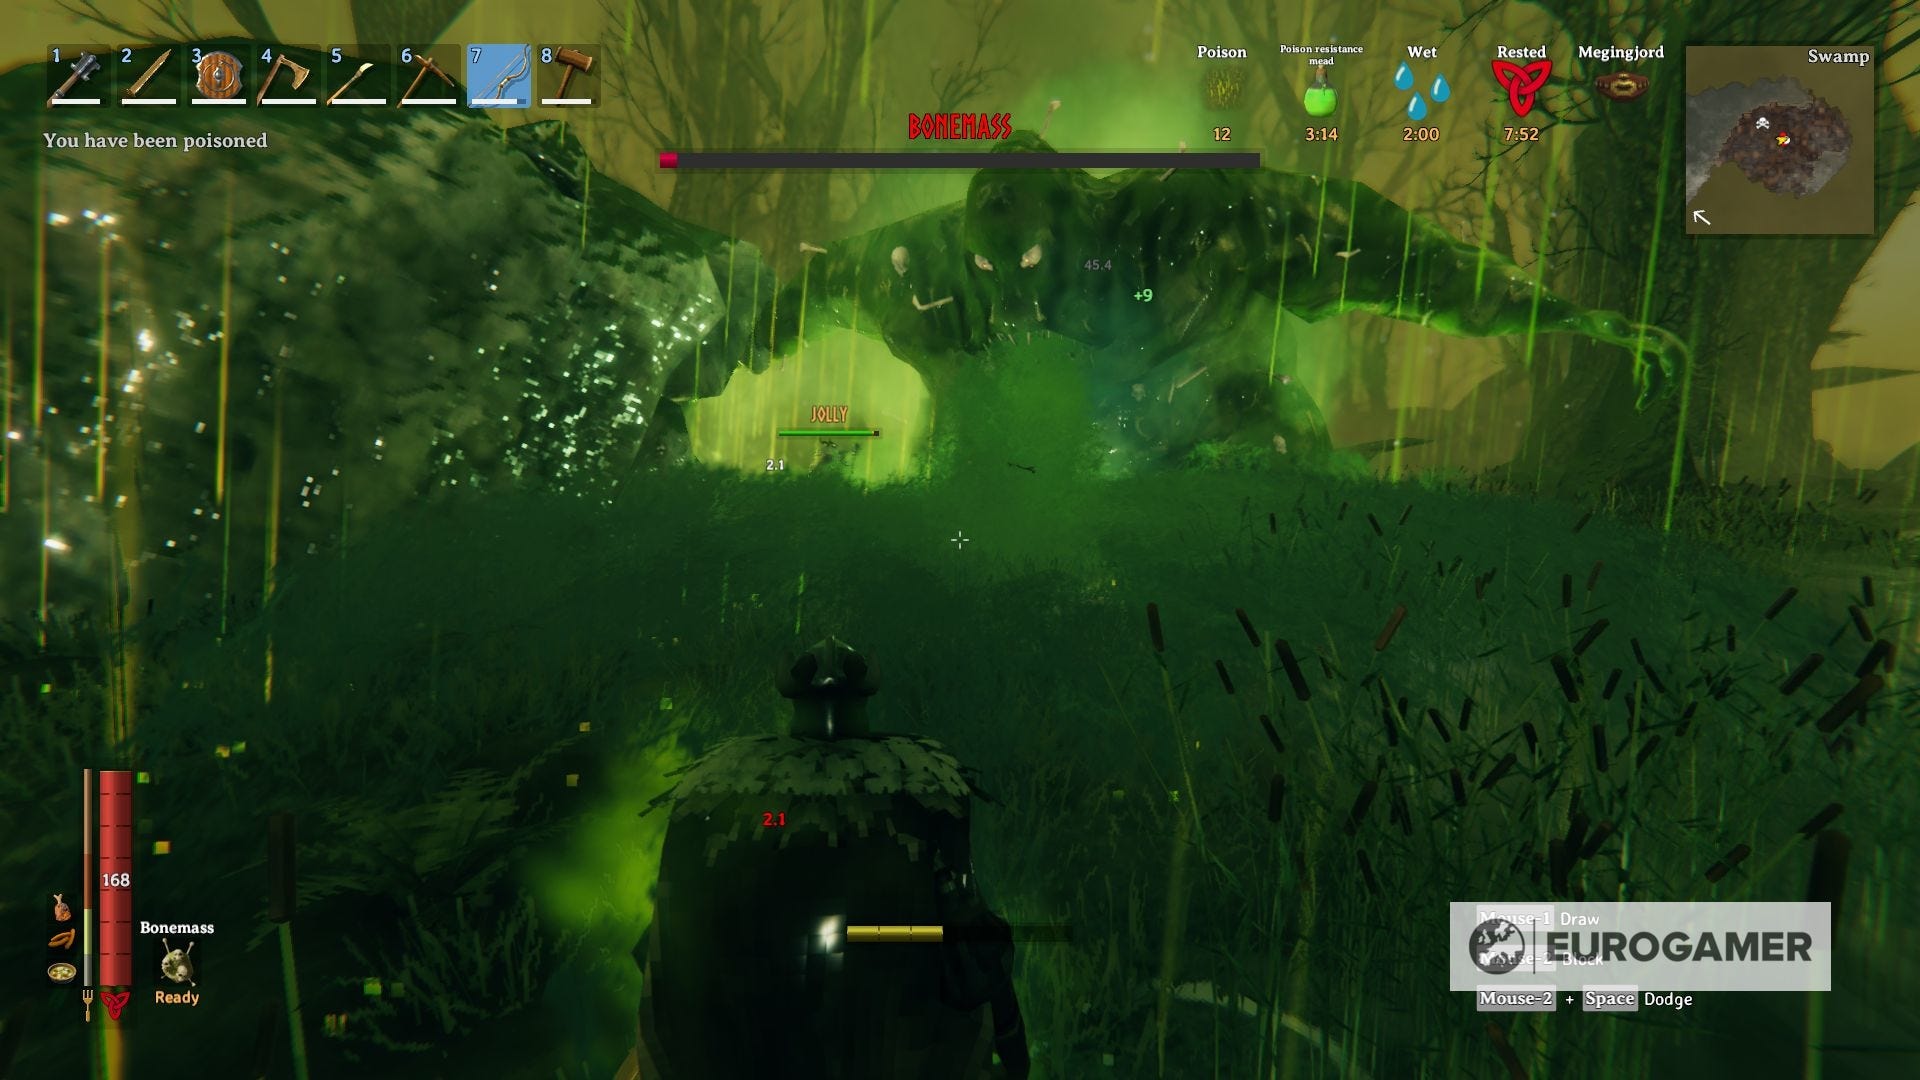
The third, and by far the most annoying of all them, will be a charged attack, where Bonemass will gather a poison cloud, only to release it as a wave of poisonous ooze shortly after.
Even if you have a Poison Resistance Effect active you still will get poisoned, so don't linger within that wave, just run away until it's safe to approach the boss again. Speed is key in this fight, but if you're well equipped and fed, you can do it.
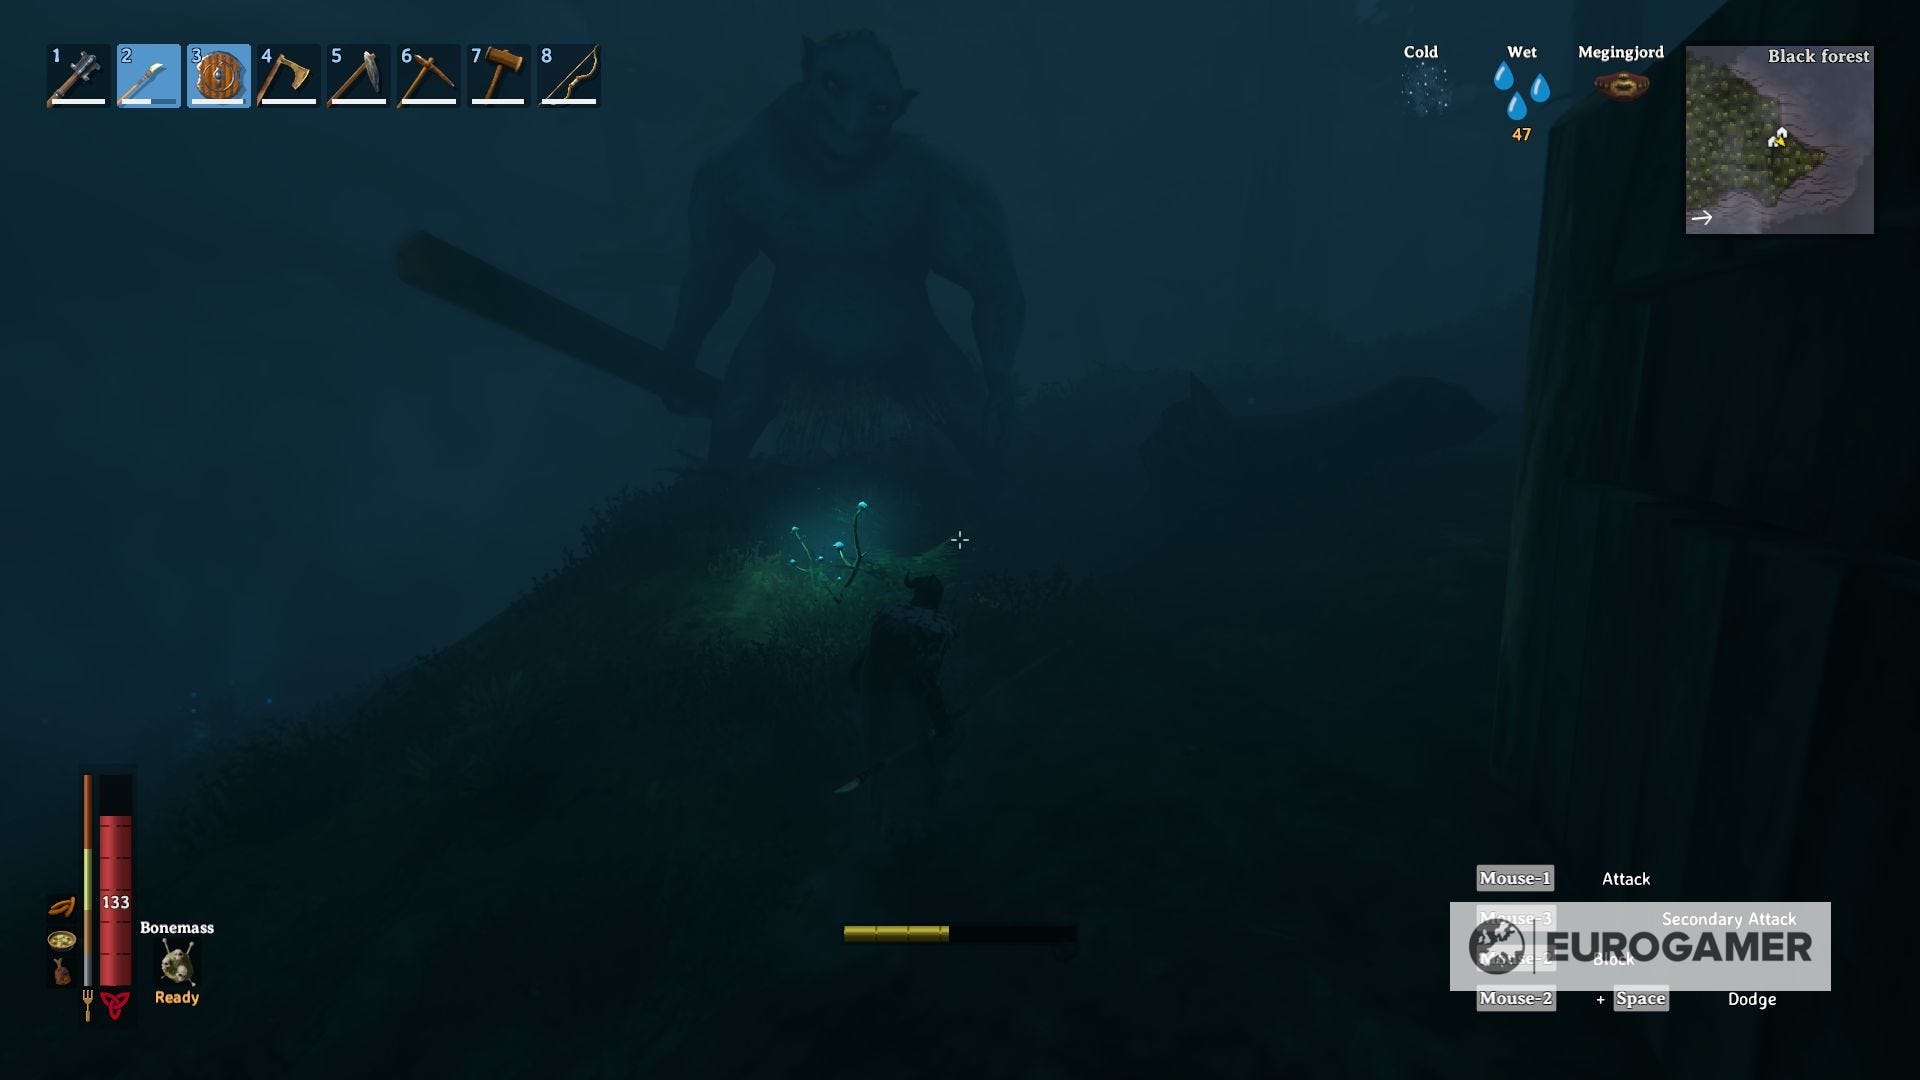
Valheim fourth boss Moder: How to beat dragon boss Moder and how to summon the fourth boss explained
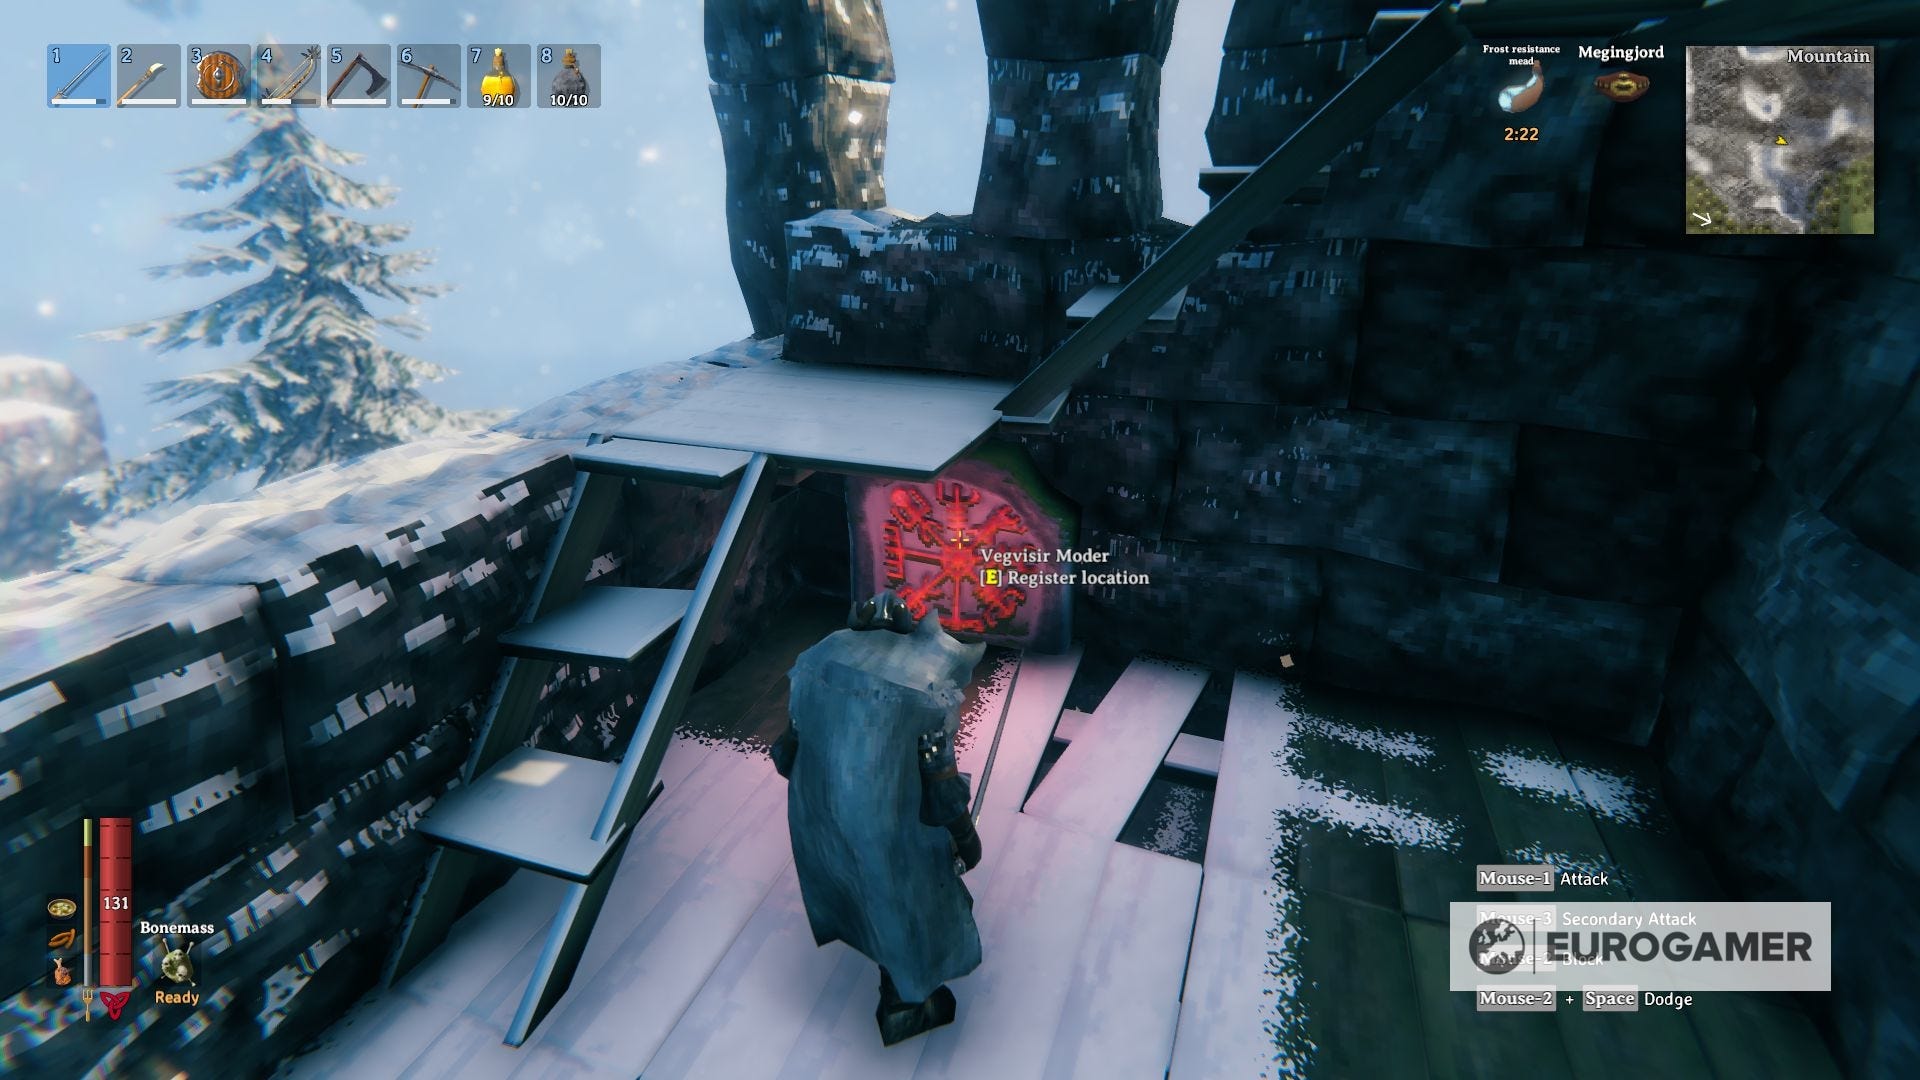
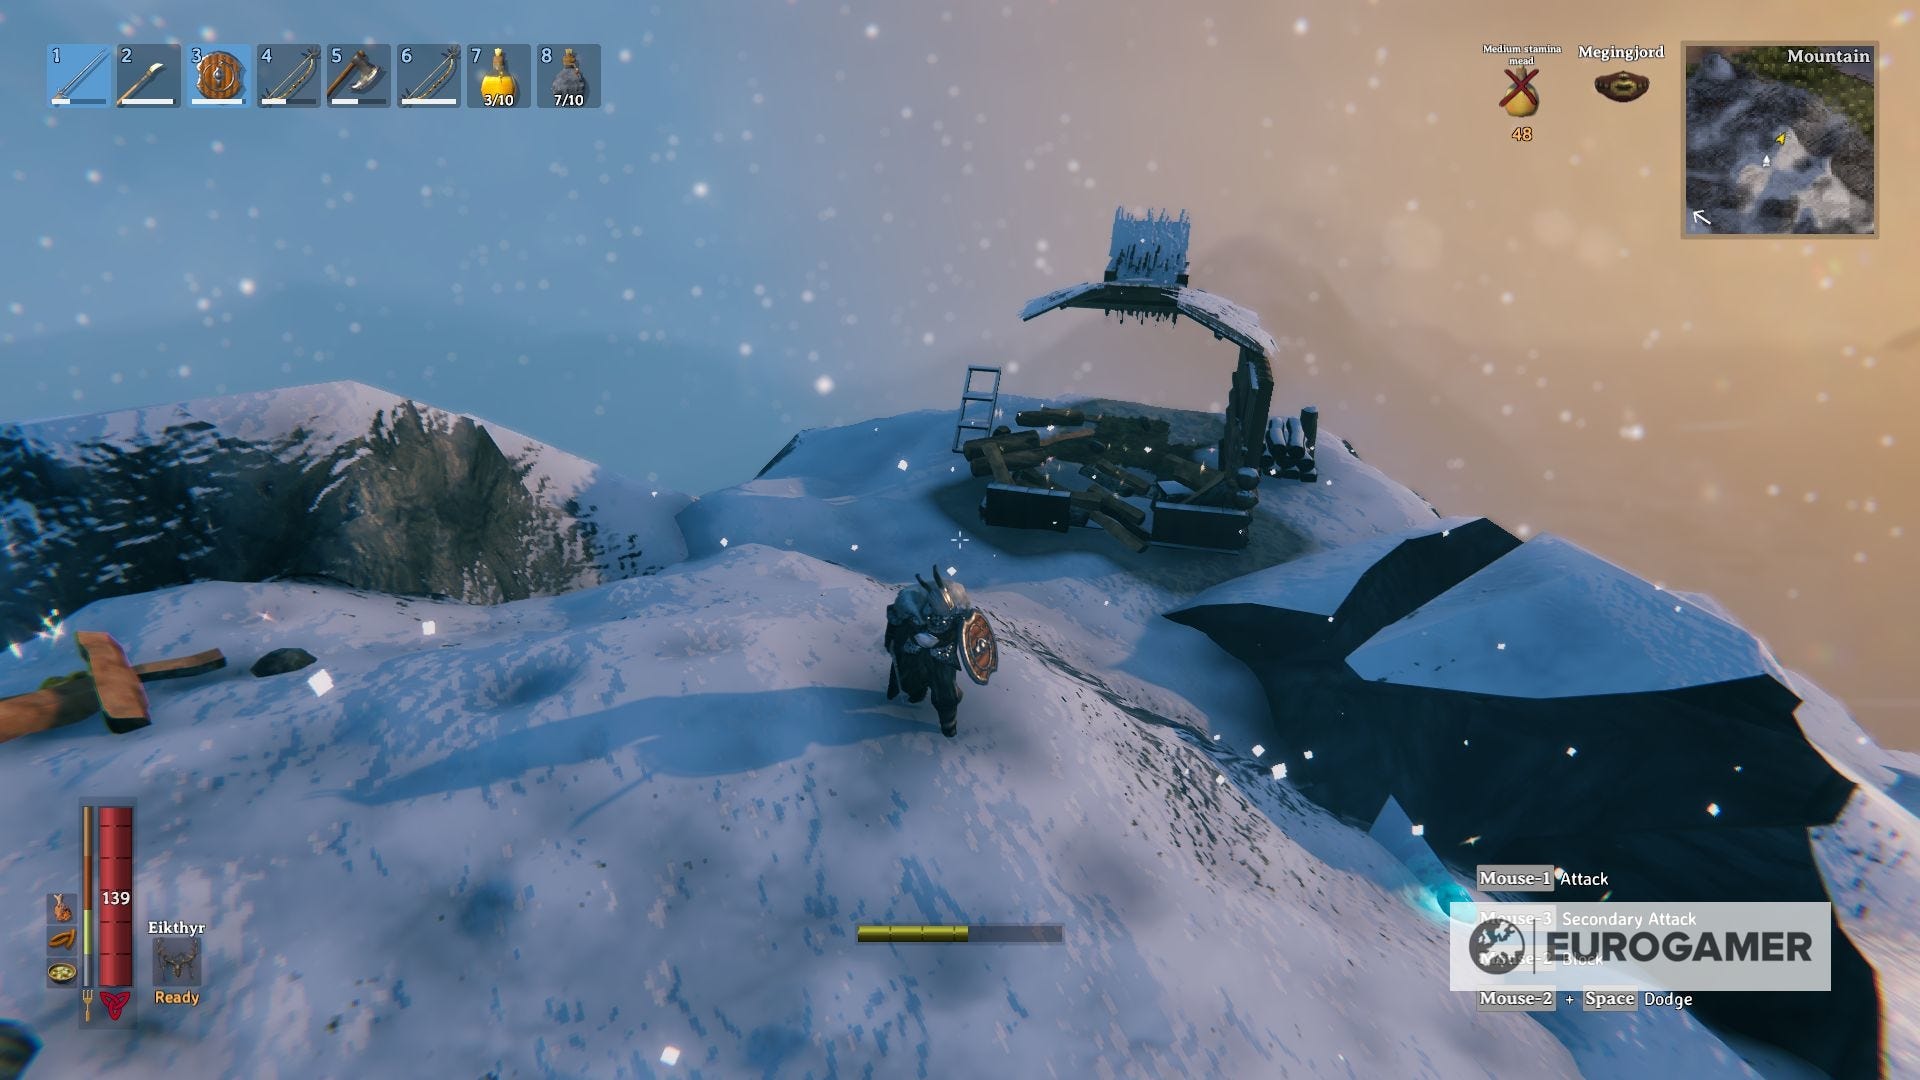
Moder is found in the freezing Mountains biome, with the runestones that will give you her location sitting randomly in some of the many abandoned forts around.

It is advised to craft some Frost Resistance Meads in the Fermenter before you head into this place to fight against the Freezing debuff until you get to craft the Wolf Armor set, which will take care of it automatically.
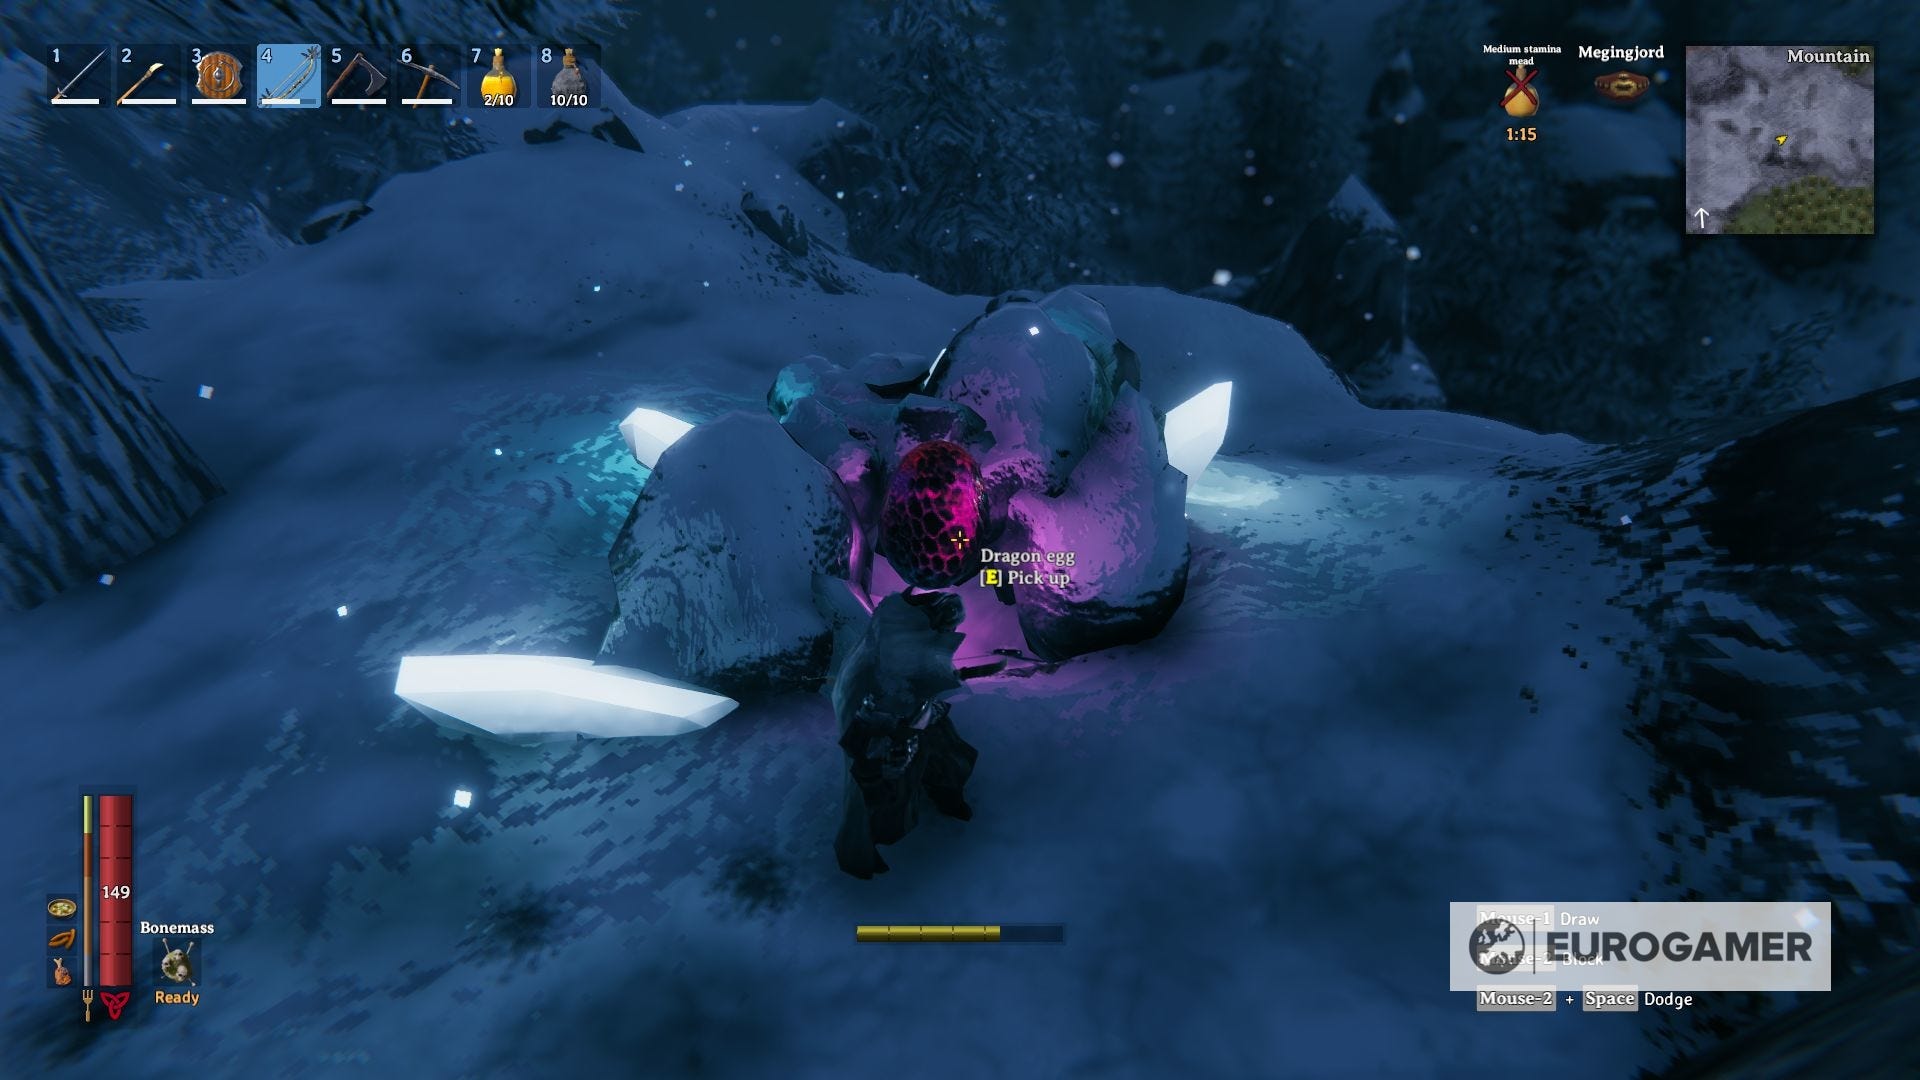
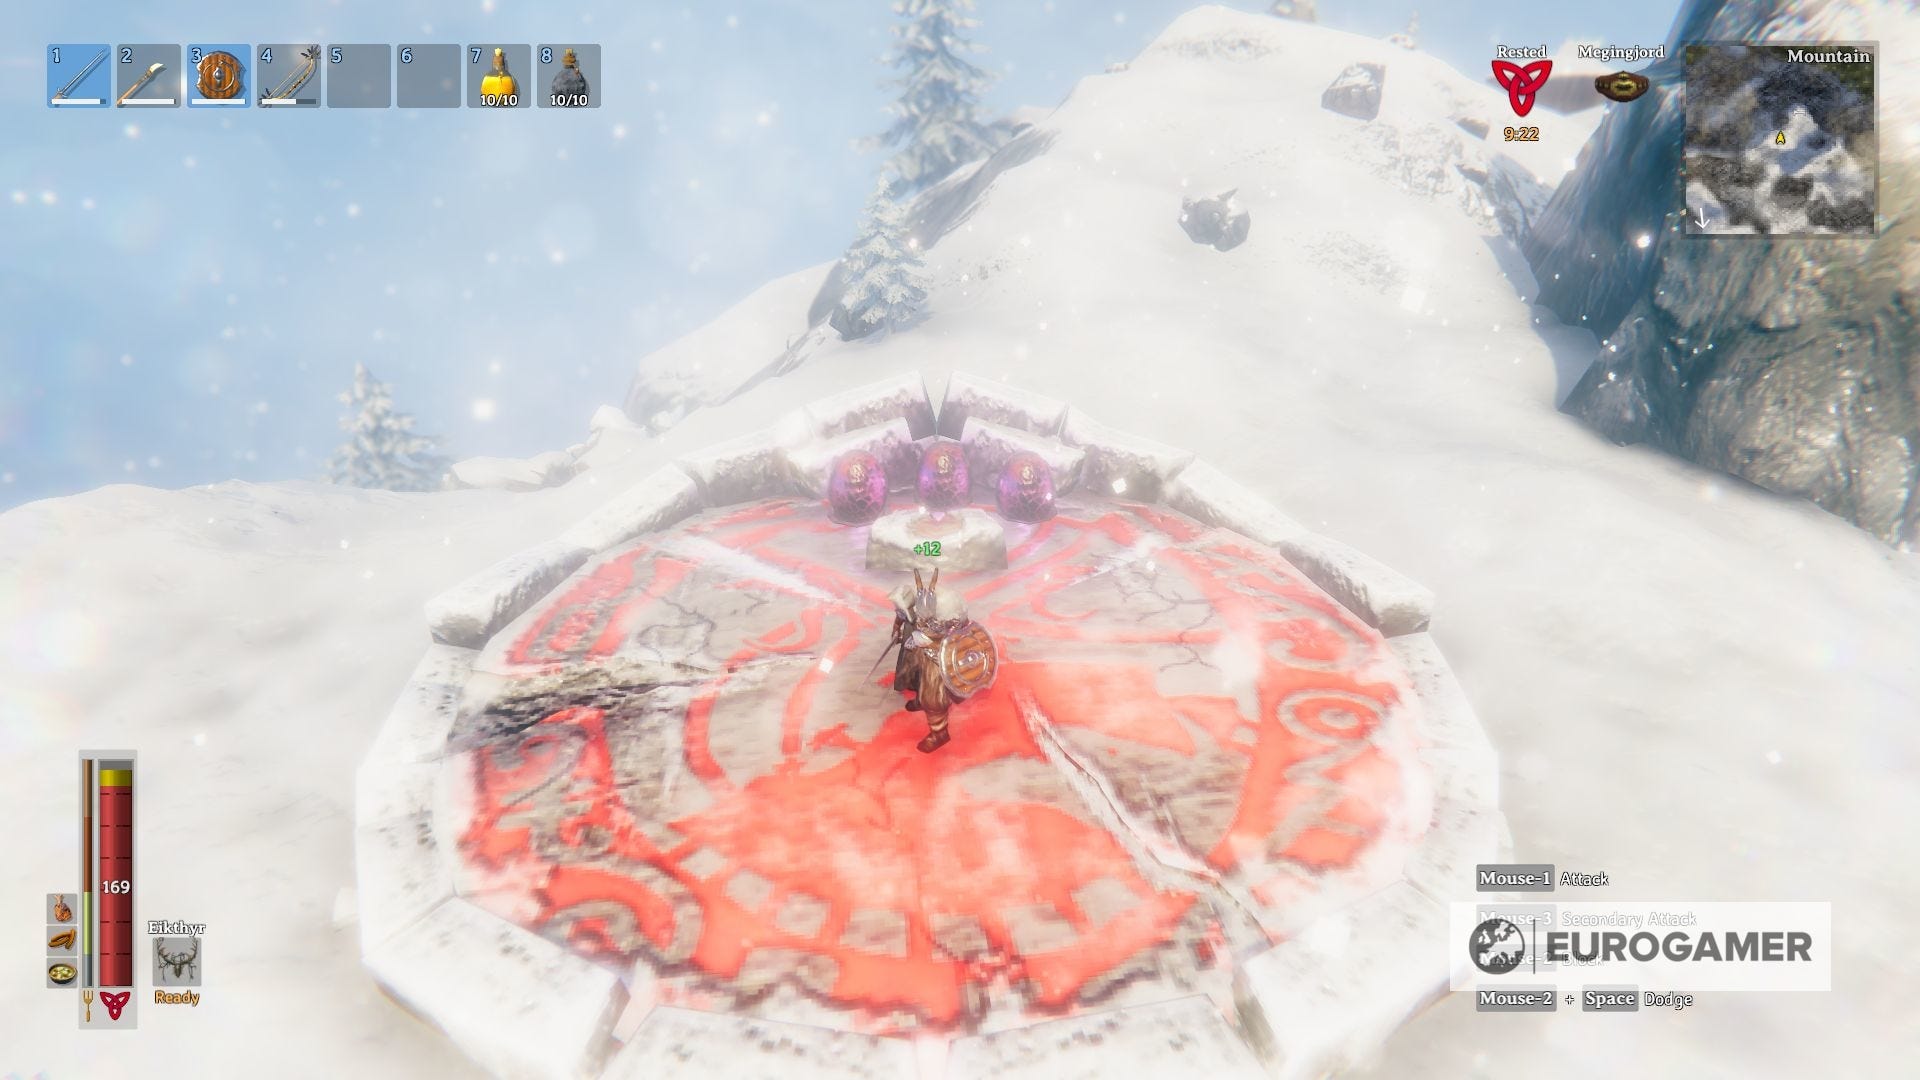
How to summon the fourth boss: Once you located the altar, summoning Moder is certainly a difficult task. First, you need to explore the Mountains until you find a Dragon Egg. These are, by far, the heaviest object in the game (200kg) so you can just carry two at a time, with minimal equipment.
You can carry one at a time to the altar, or play with a group of friends. Either way, once you got 3 Dragon Eggs, offer them to the altar and you will summon Moder.
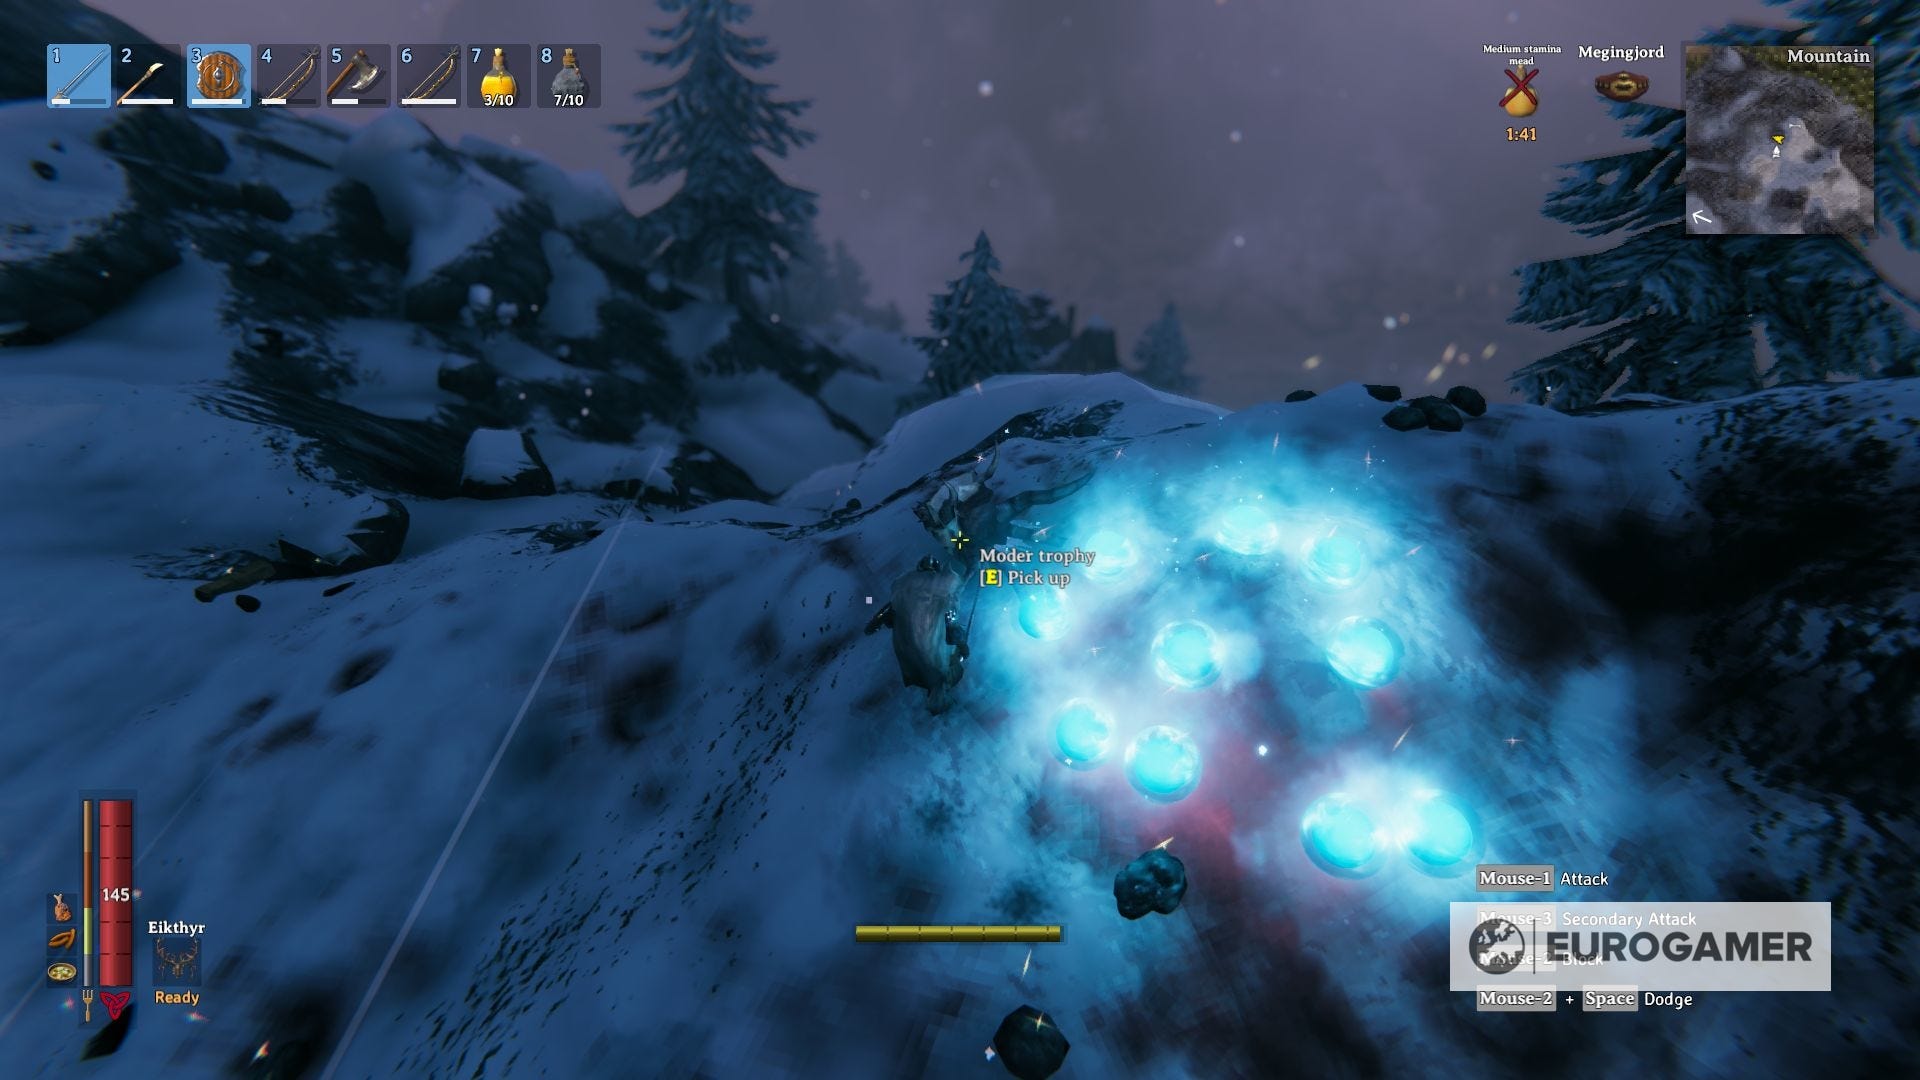
Moder rewards: After you defeat this boss, its respective Story-Based Events will cease, and you will get the following guaranteed drops:
- Moder Trophy: This trophy, once it's placed in its respective sacrificial stone, will unlock the respective Forsaken Power. This ability, when activated, will always give you a tailwind while sailing for 5 minutes, with a cooldown of 20 minutes.
- Dragon Tear: Dragon Tears will unlock the recipe to make an Artisan Table, crucial to you since it will allow you to craft a Windmill and a Blast Furnace, both necessary to access the next Weapons and Armor category.
Moder story events: Before and after you take down Moder, the following may take place:
- After defeating Bonemass and until you defeat Moder, Drakes will raid your base in random intervals of 150 seconds. You will also get the Freezing applied regardless of your location.
- After defeating Moder and until you defeat Yagluth, Fulings, Fuling Berserkers, and Fuling Shamans will raid your base in random intervals of 120 seconds.
How to prepare for Moder: Forget about trying your luck this time. From now on fights will be very difficult, so you want to farm all the possible materials in the Mountains until you get a full set of Wolf Armor, a Drake Helmet, and Silver weapons, as well as Fire Arrows.
Upgrade them all as much as you can or you will be in a very tight spot. On the food side, Turnip Stew, Cooked Meat, and Sausages will give you enough boosts to your health and stamina, and not only Frost Resistance Meads are mandatory, but also you need to have enough Medium Health and Medium Stamina Meads.
Another thing that may help, it's to put a workbench near the altar and level the surrounding ground as much as you see fit. These biomes can present as a very tricky terrain to move within a fight, and you don't want to get stuck with no stamina trying to dodge attacks.
It's worth noting that Moder inflicts massive damage to structures, so you should keep that in mind and not set bases too close to the altar.
Moder Strategy:
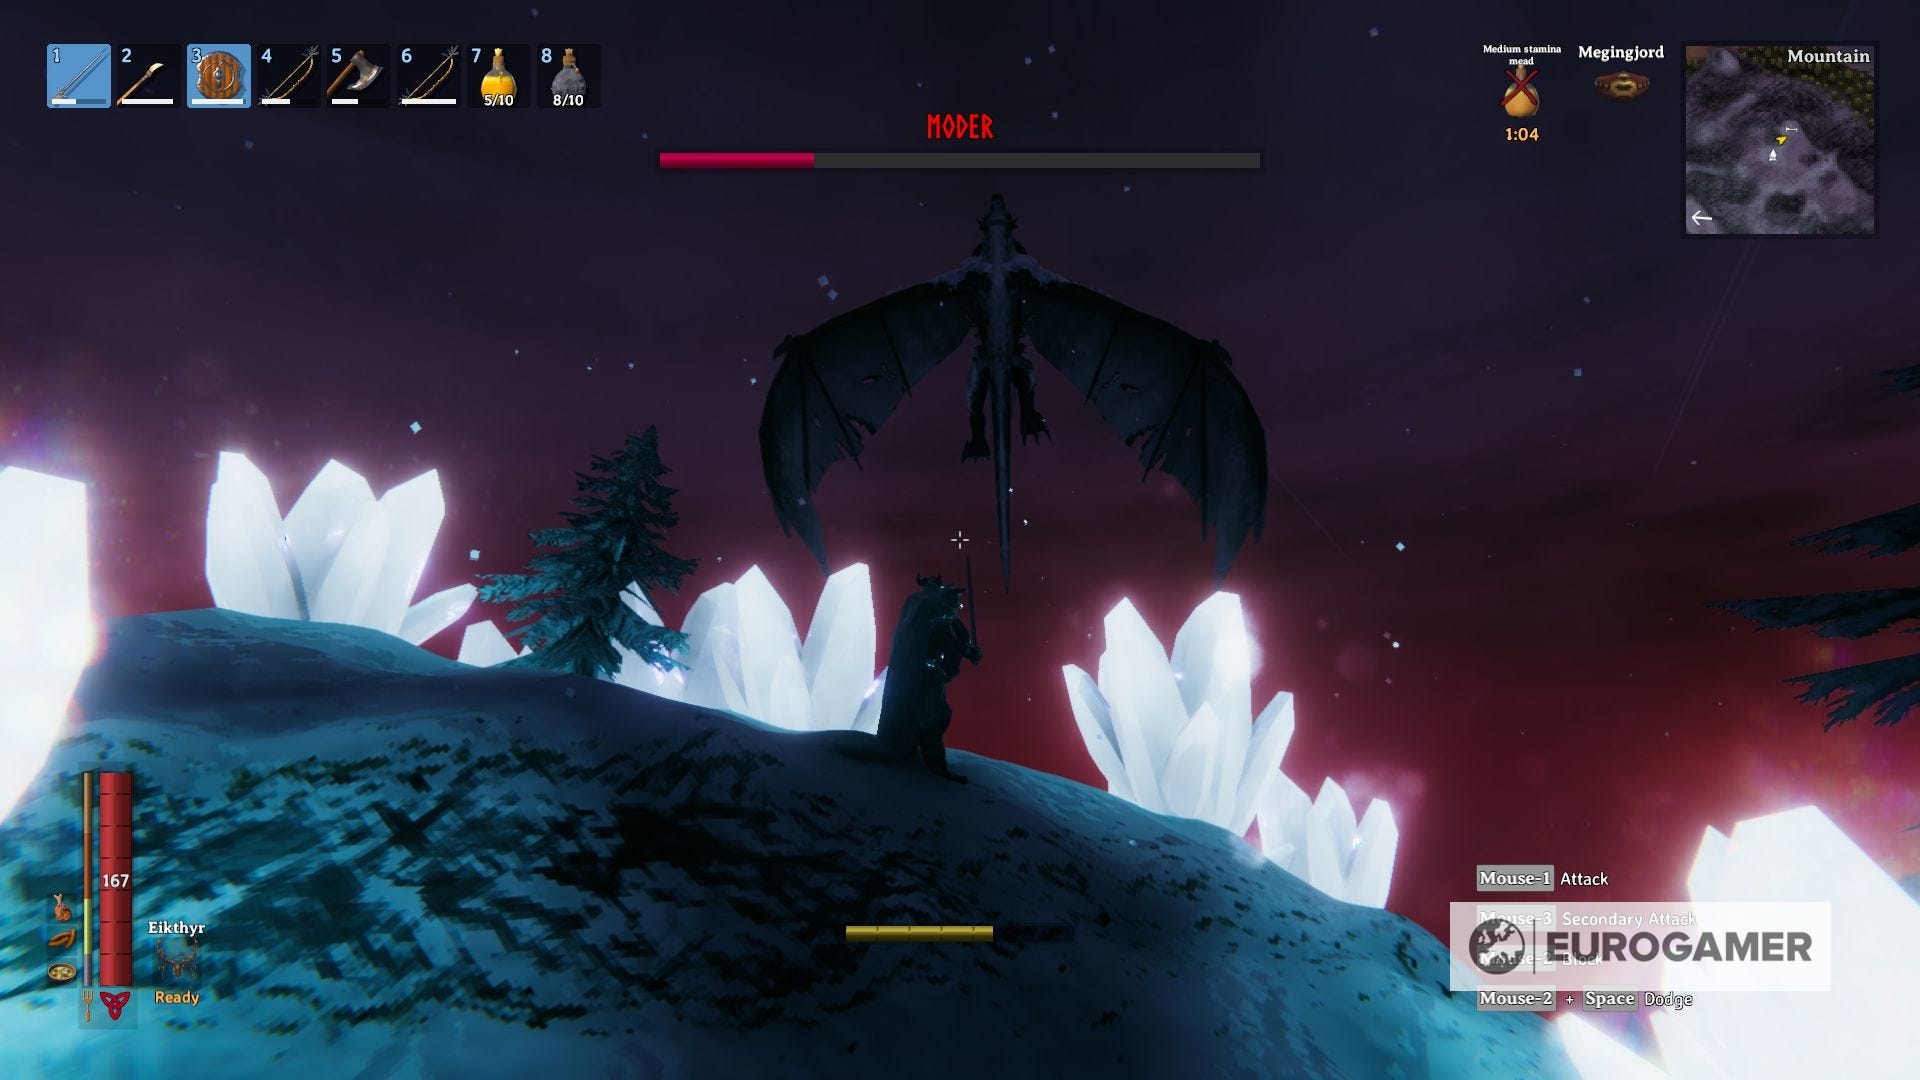
Moder is the most mobile boss battle of them all, and you have to be prepared to act as fast as her. She will change the approach, taking some time to fly around you and attack from the air, and then landing to properly hit you like a truck.
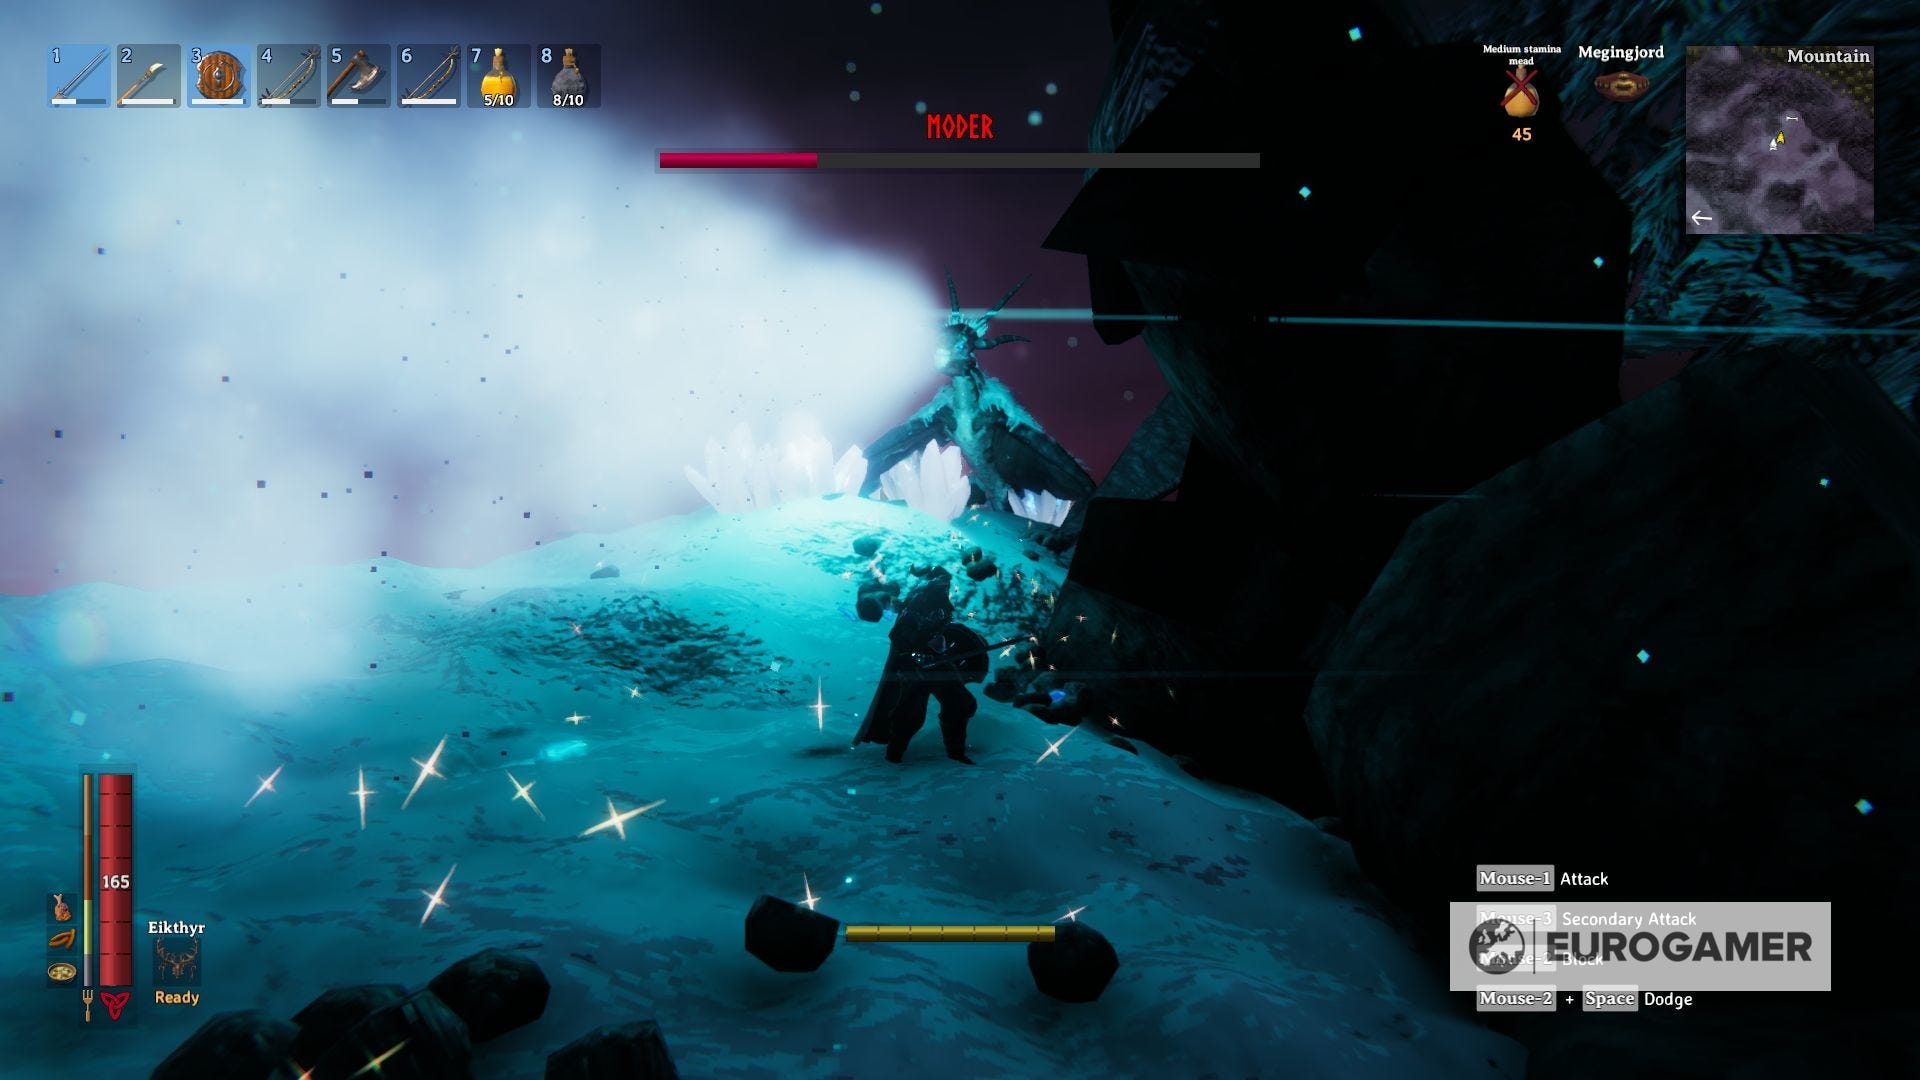
As soon as she takes flight you must prioritize attacking her with fire arrows, which she's weak to, and eventually, she will land. Once she's in the ground, try to keep your distance, since her mobility is significantly worse on foot. And if you approach her more closely, do it from the sides and you should be safe enough.
You need to be prepared for the following moves; the first, and the most annoying, is a mid-air attack. While flying, she will shoot ice projectiles that will slow your movement for 15 seconds if they impact on you, or form ice crystal formations whenever they land, blocking your path. Keep your distance from those, because they will explode after a bit, or hit them quickly to destroy them before that.
The second move, once she landed, will be the most basic one, just a claw swipe against you. It does a lot of damage, but it's easily blockable. Not much to say about this attack, as a general rule you should try to flank Moder at all times.
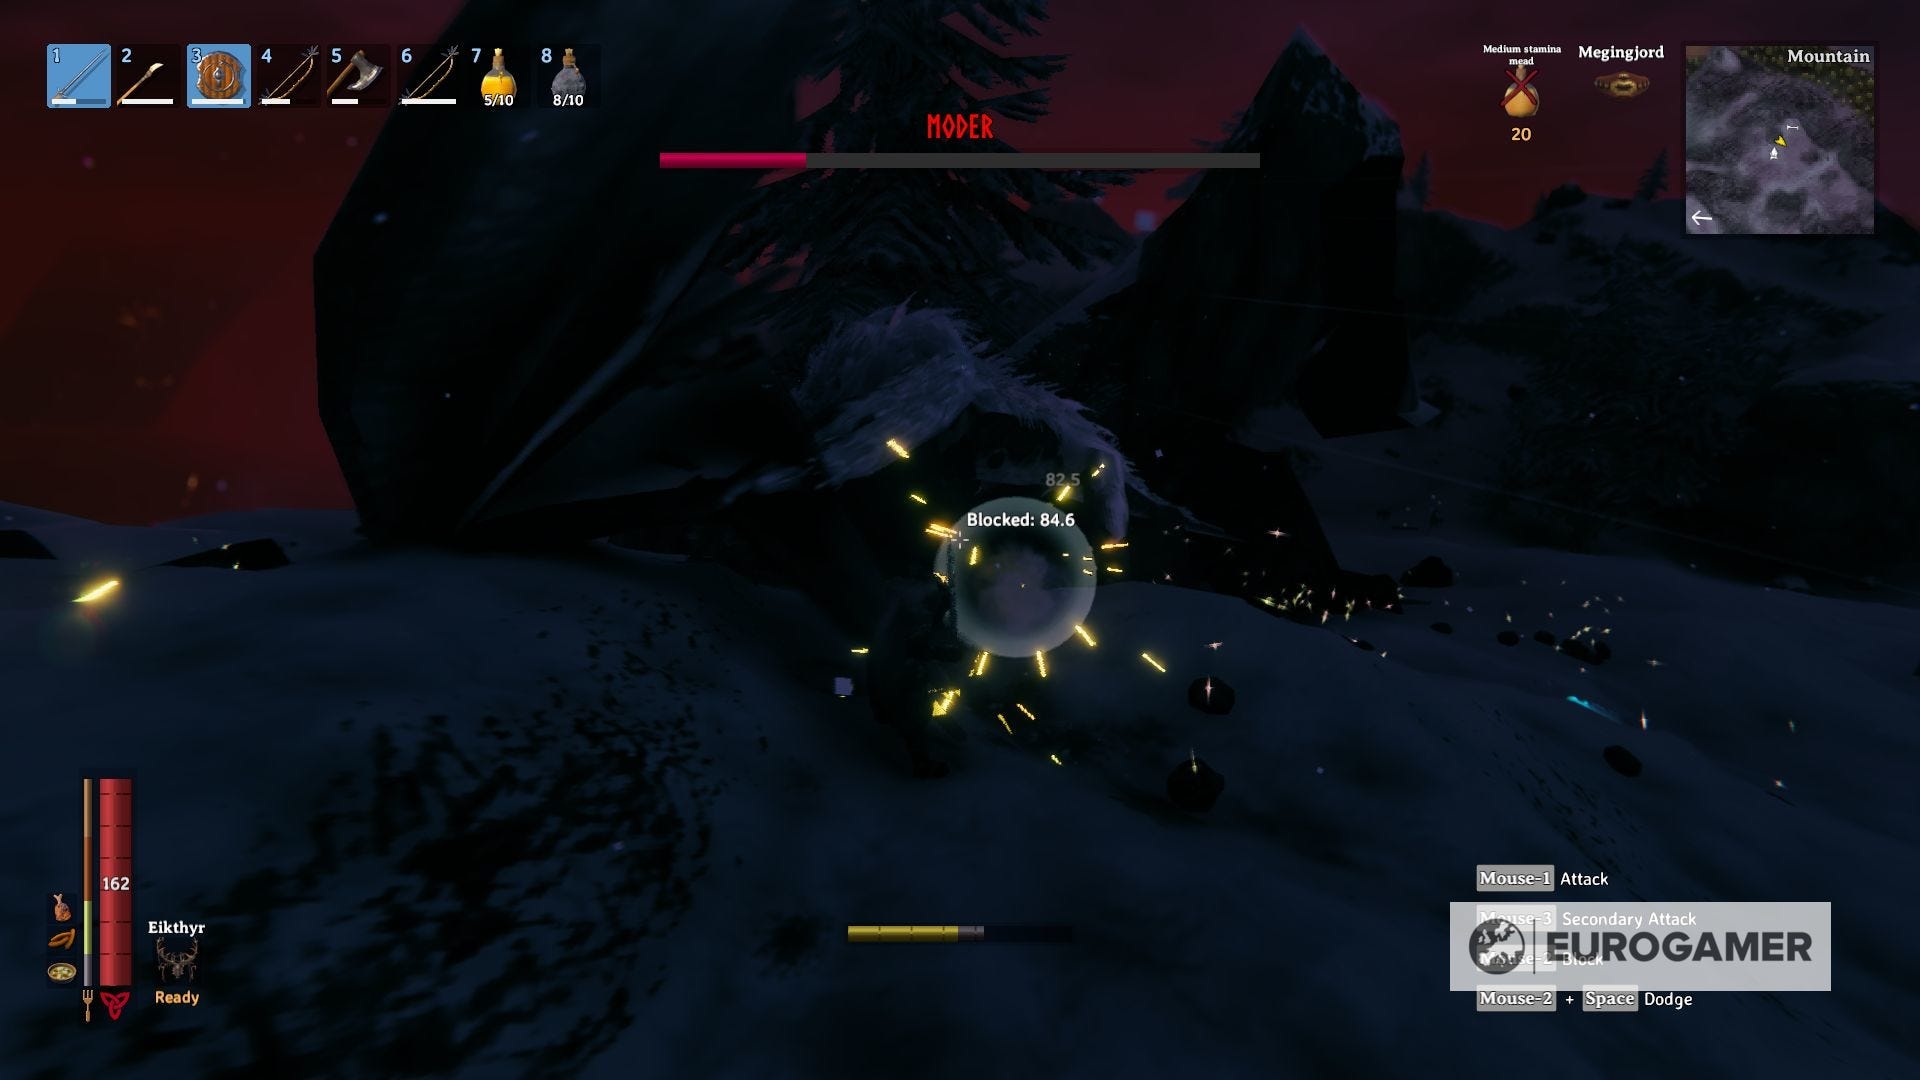
By far the strongest move, her third attack is an ice breath attack on a straight line. It extends a long distance, but since it doesn't spread that much, it's easily avoidable and it leaves Moder's defense open enough time for you to inflict a good amount of direct blows.
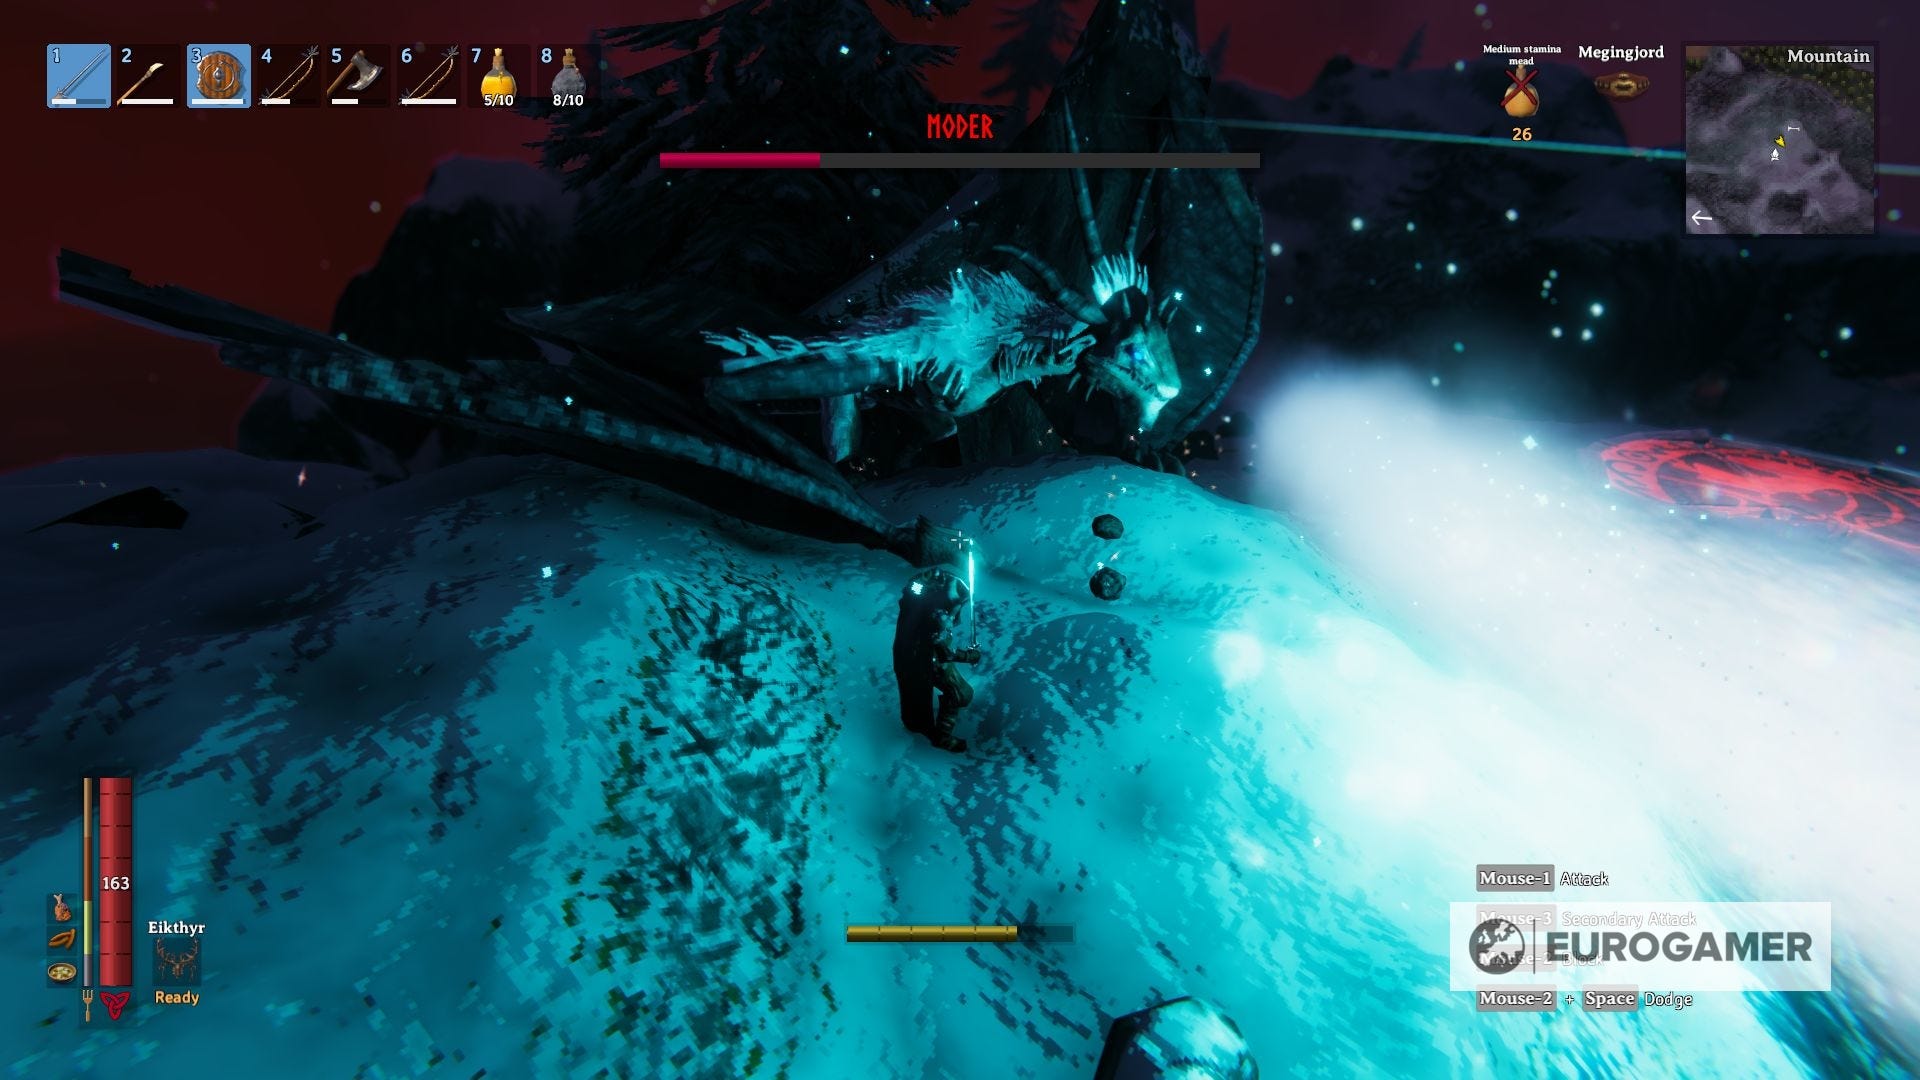
This attack also slows your movement for 15 seconds when it hits you, so it's important to evade it and not end up being the vulnerable one in the fight.
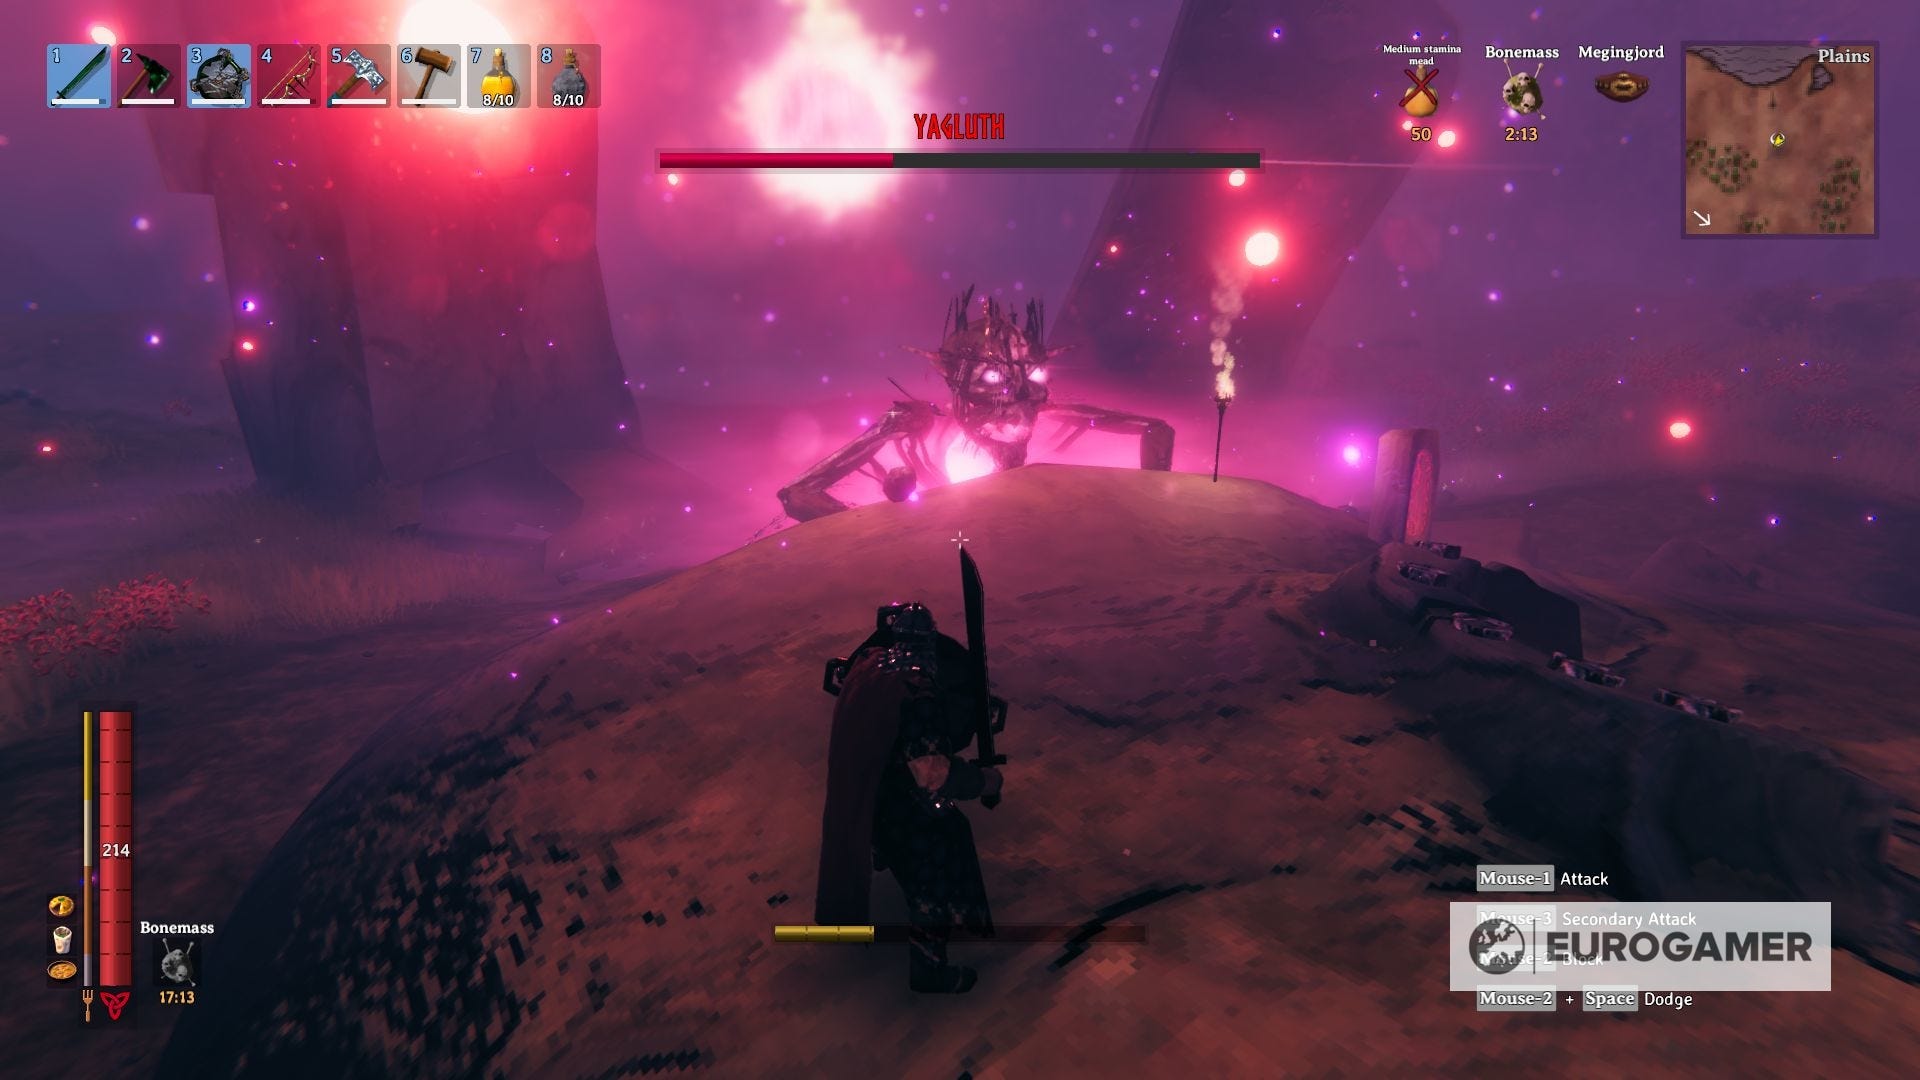
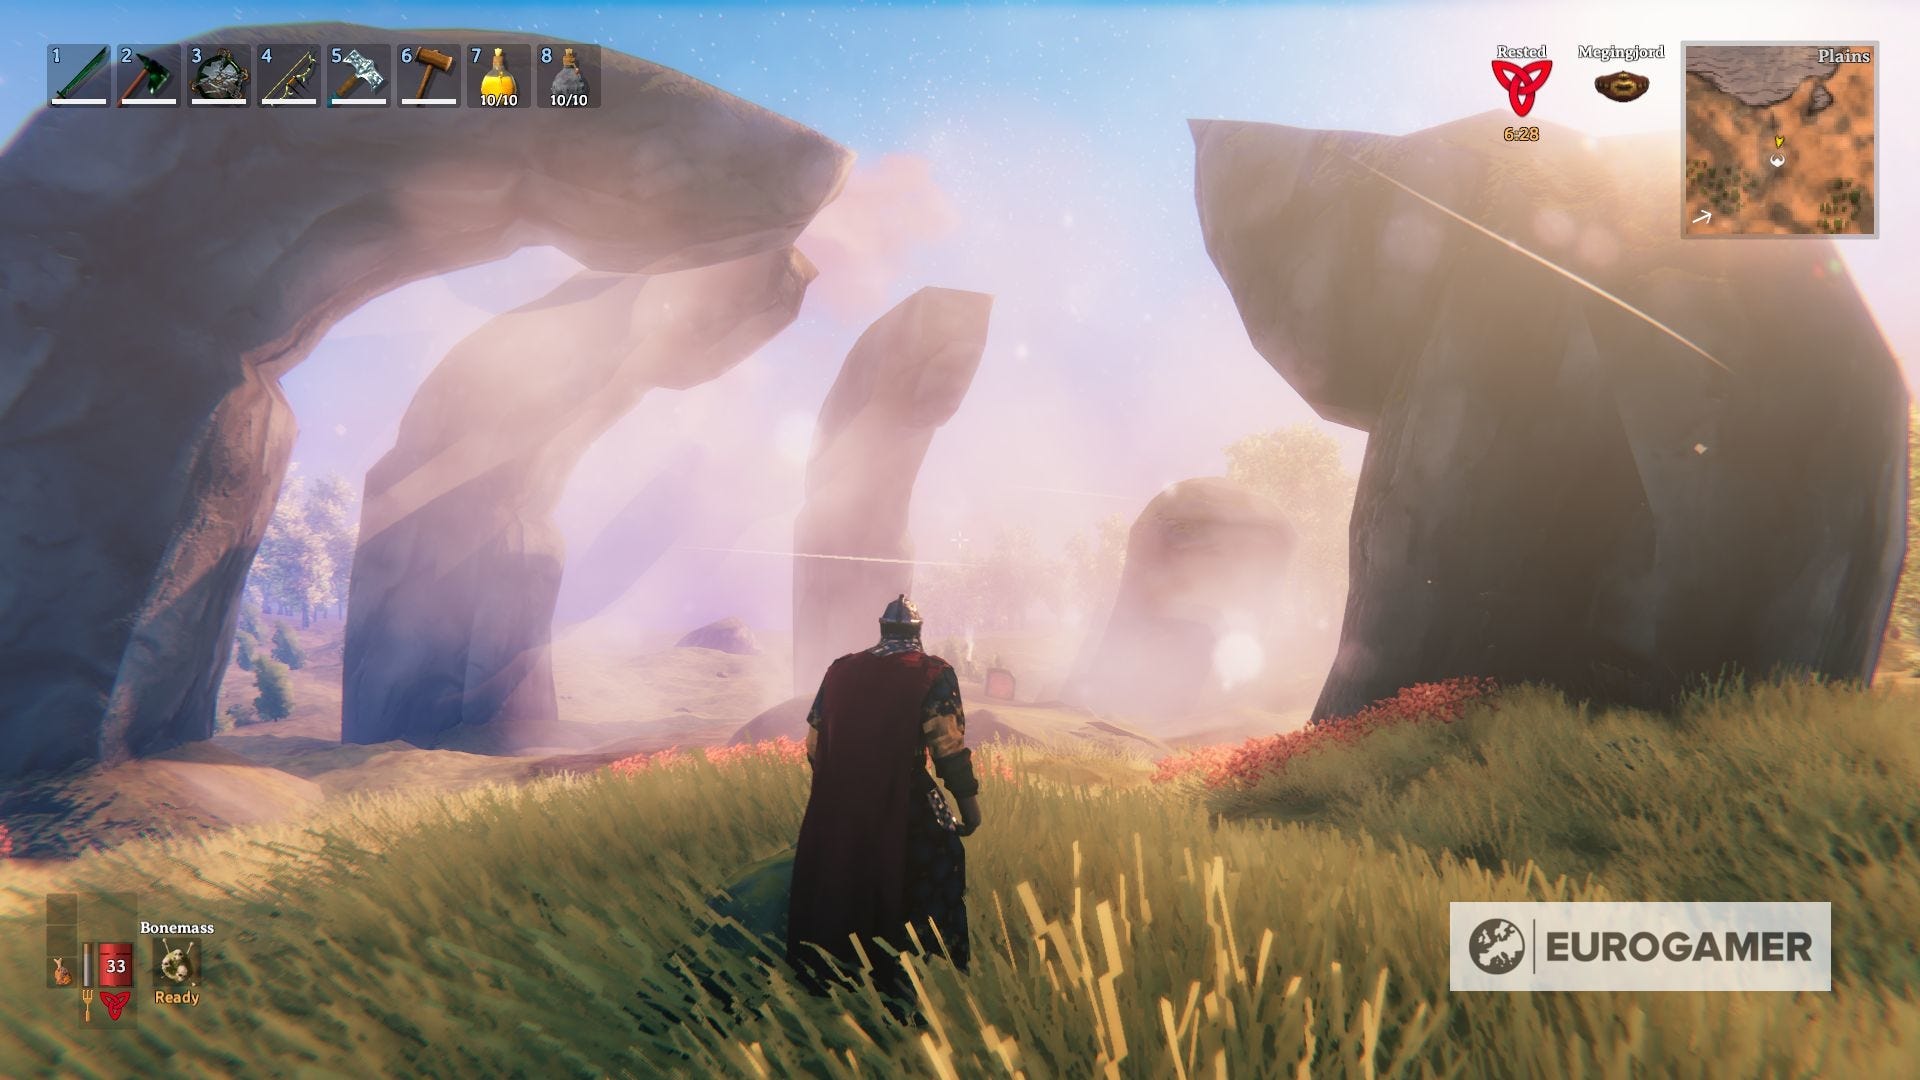
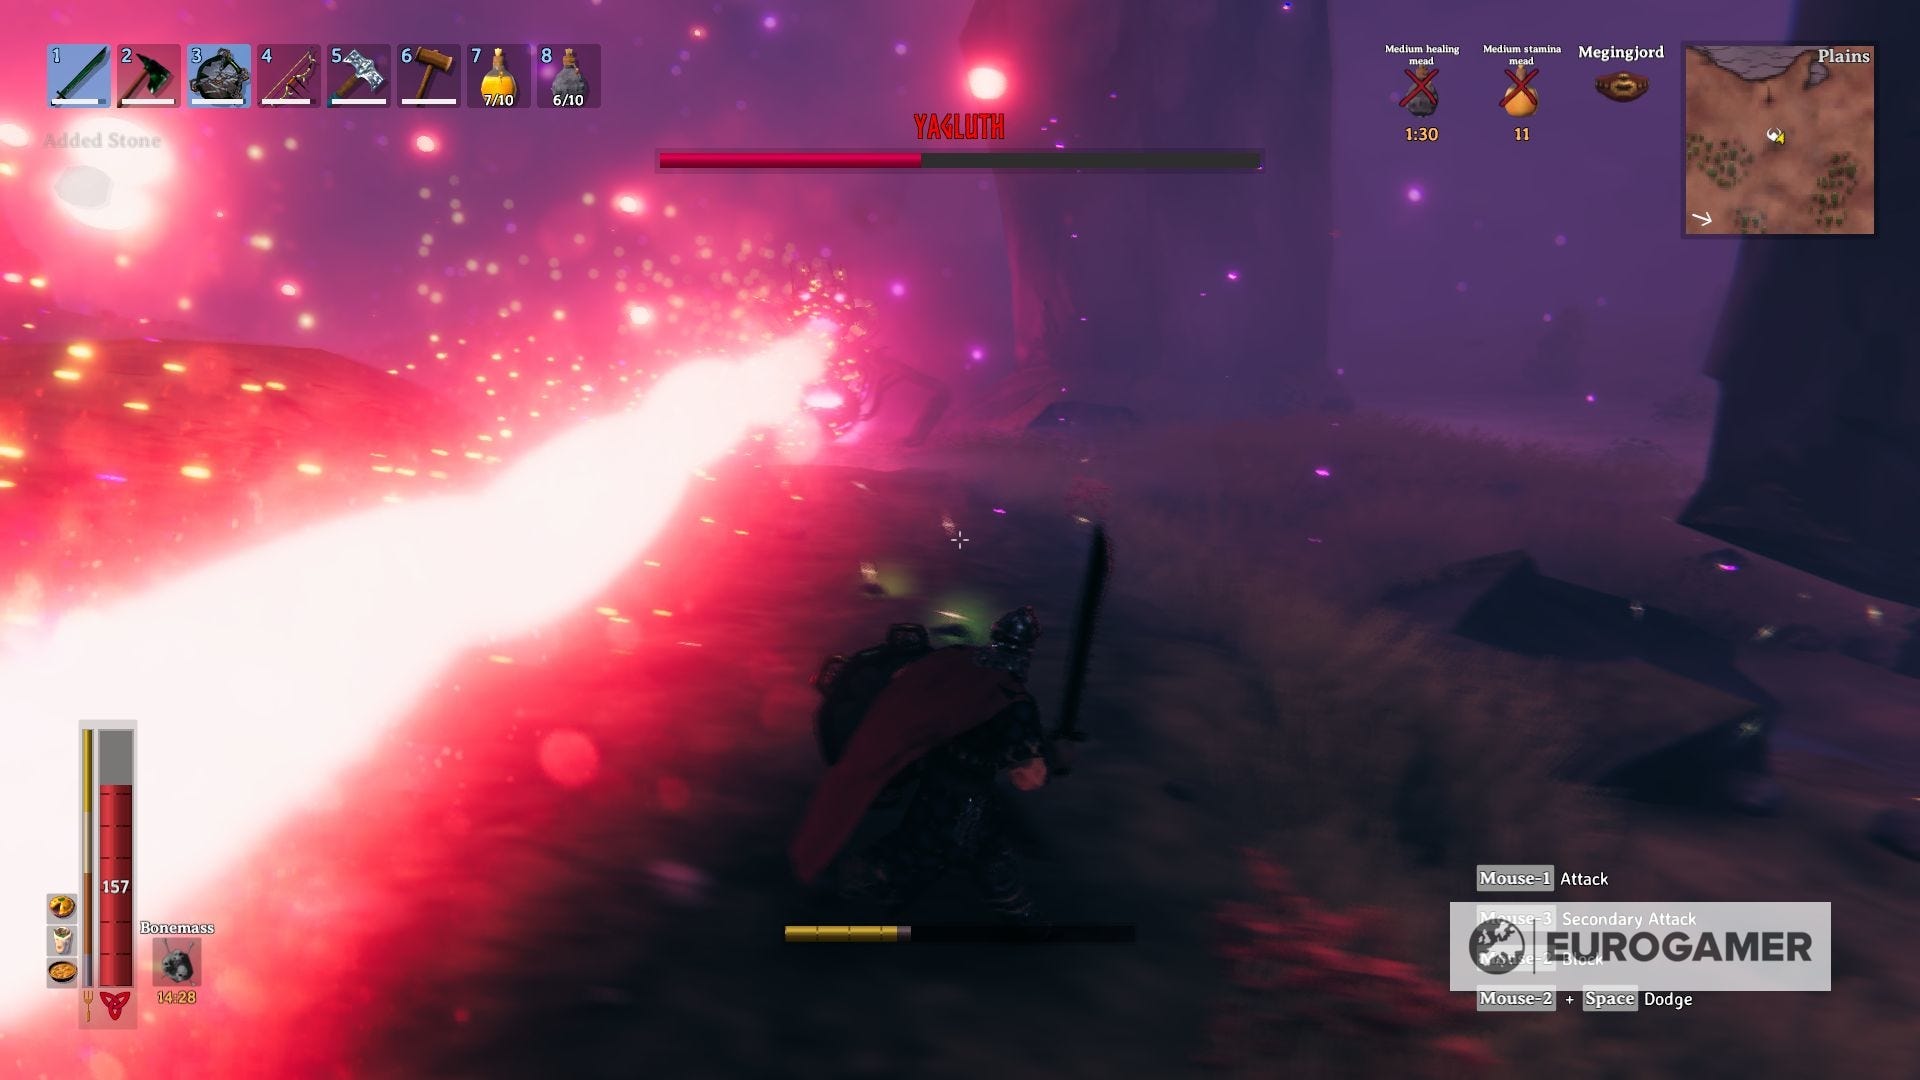
Valheim fifth boss Yagluth: How to beat Yagluth and how to summon the fifth boss explained
Yagluth is found in the Plains, the most difficult biome to explore so far. While there isn't any natural ailment like low temperatures, the monsters here are by far the most challenging to defeat.

Only proceed to this area once you feel safe and equipped enough to face Loxes, Fulings, and the extremely aggressive Deathsquitoes.
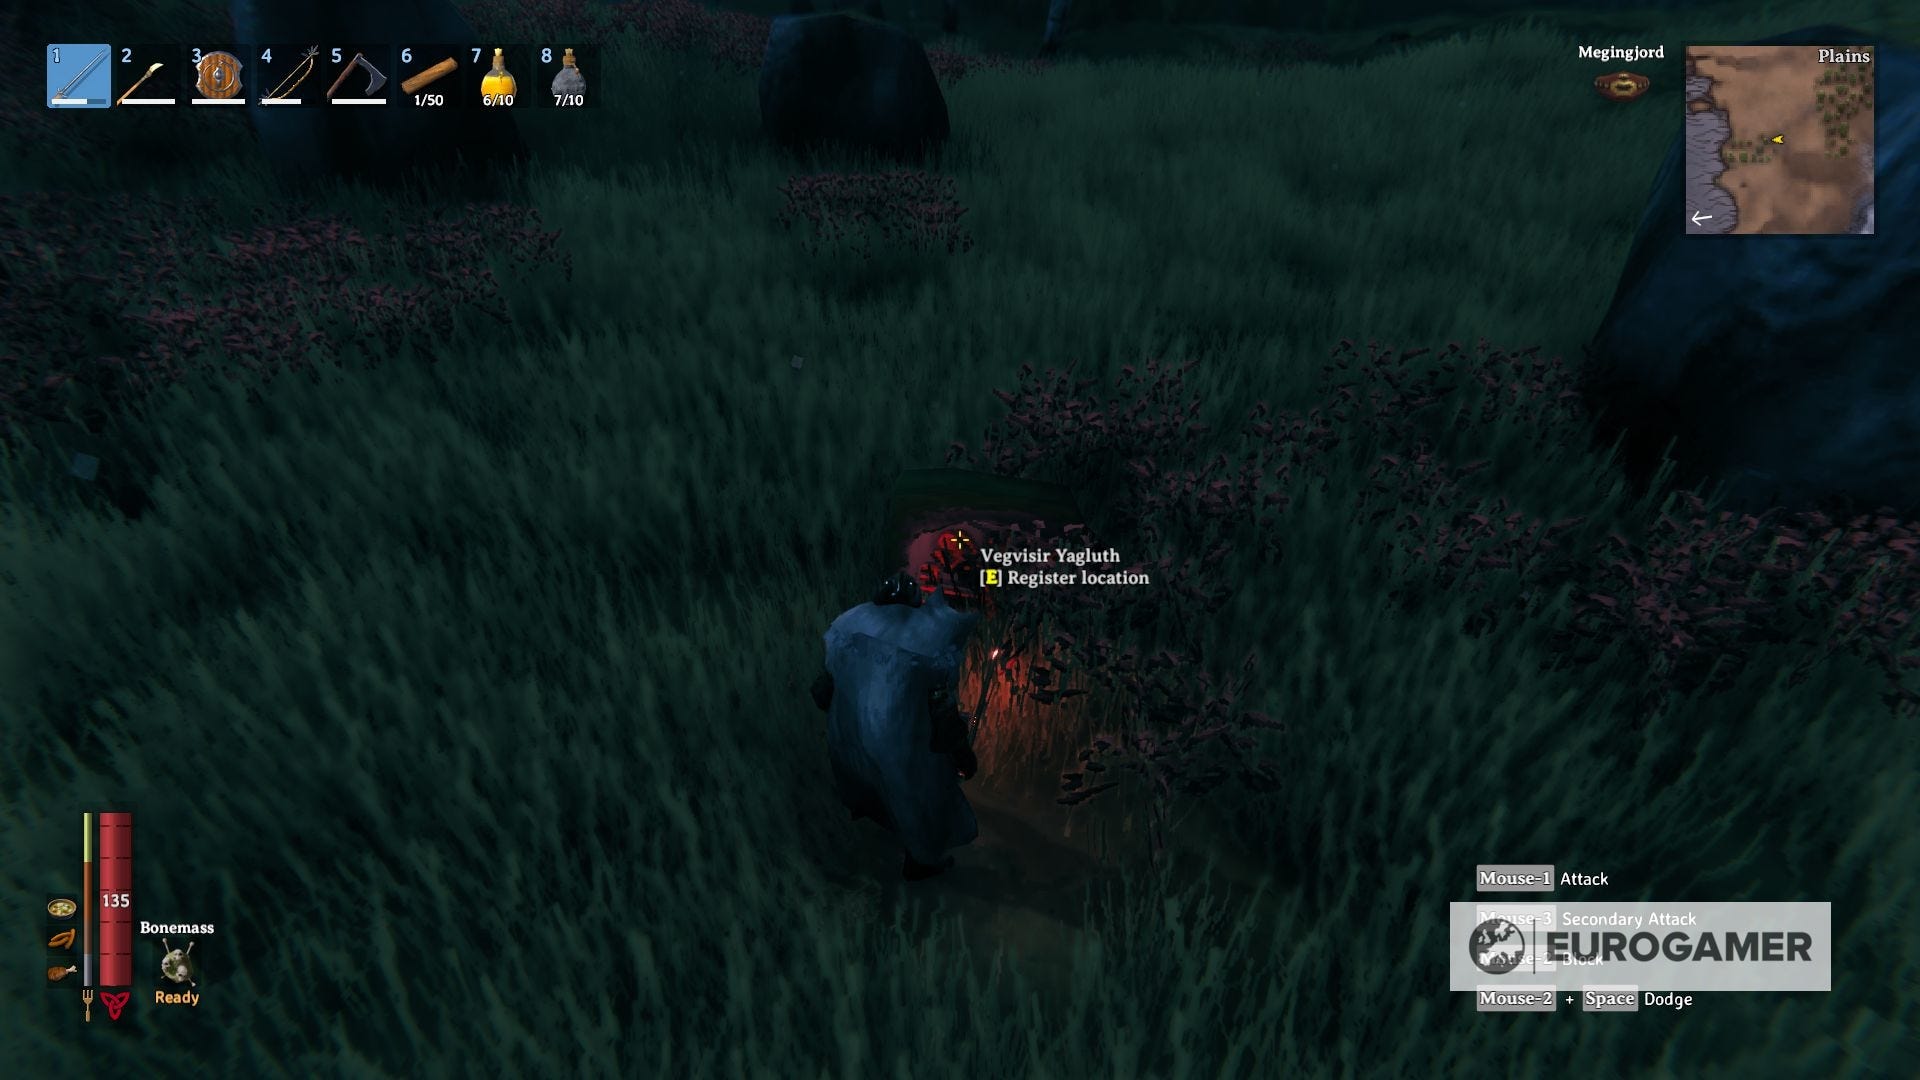
The runestones that mark the location of this boss can be found nearby random groups of rocks and also in complex stone formations. Keep in mind, runestones in this biome are way rarer to find than in the rest of the biomes. Cover as much terrain as you can, keep your eyes open, and hope to find one as soon as possible.
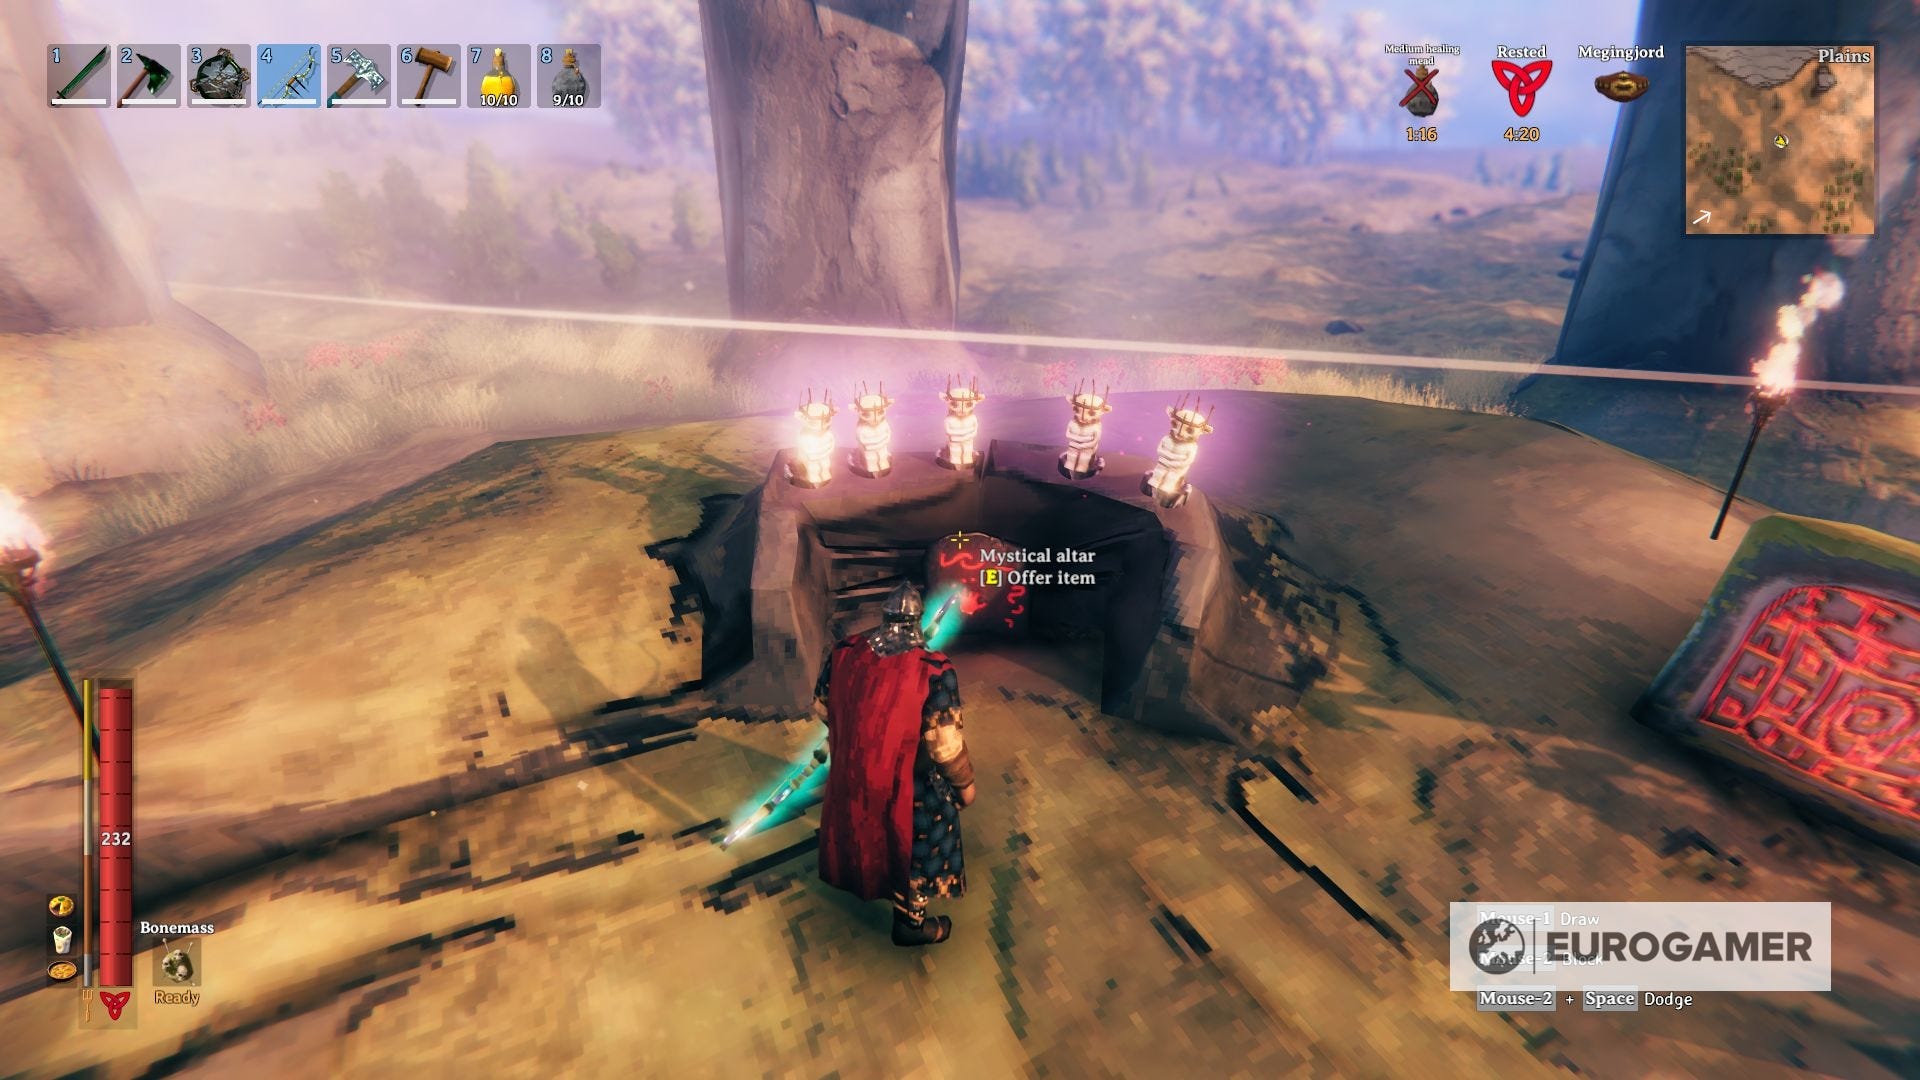
How to summon the fifth boss: Once you located the altar, the next step is to gather 5 Fuling Totems. This is no easy feat, since it means that you have to find and clear 5 Fuling camps where they have totems you can steal after killing the residents.
A good strategy to get this is to clear them from afar with a bow, which can take a while but it's less risky. After you got them, you need to place each one of the totems on the altar, and you will be able to summon Yagluth.
Yagluth rewards: After you defeat this boss, its respective Story-Based Events will cease, and you will get the following guaranteed drops:
- Yagluth Trophy: This trophy, once it's placed in its respective sacrificial stone, will unlock the respective Forsaken Power. This ability will boost your resistances against Fire, Lightning, and Frost for 5 minutes, with a cooldown of 20 minutes.
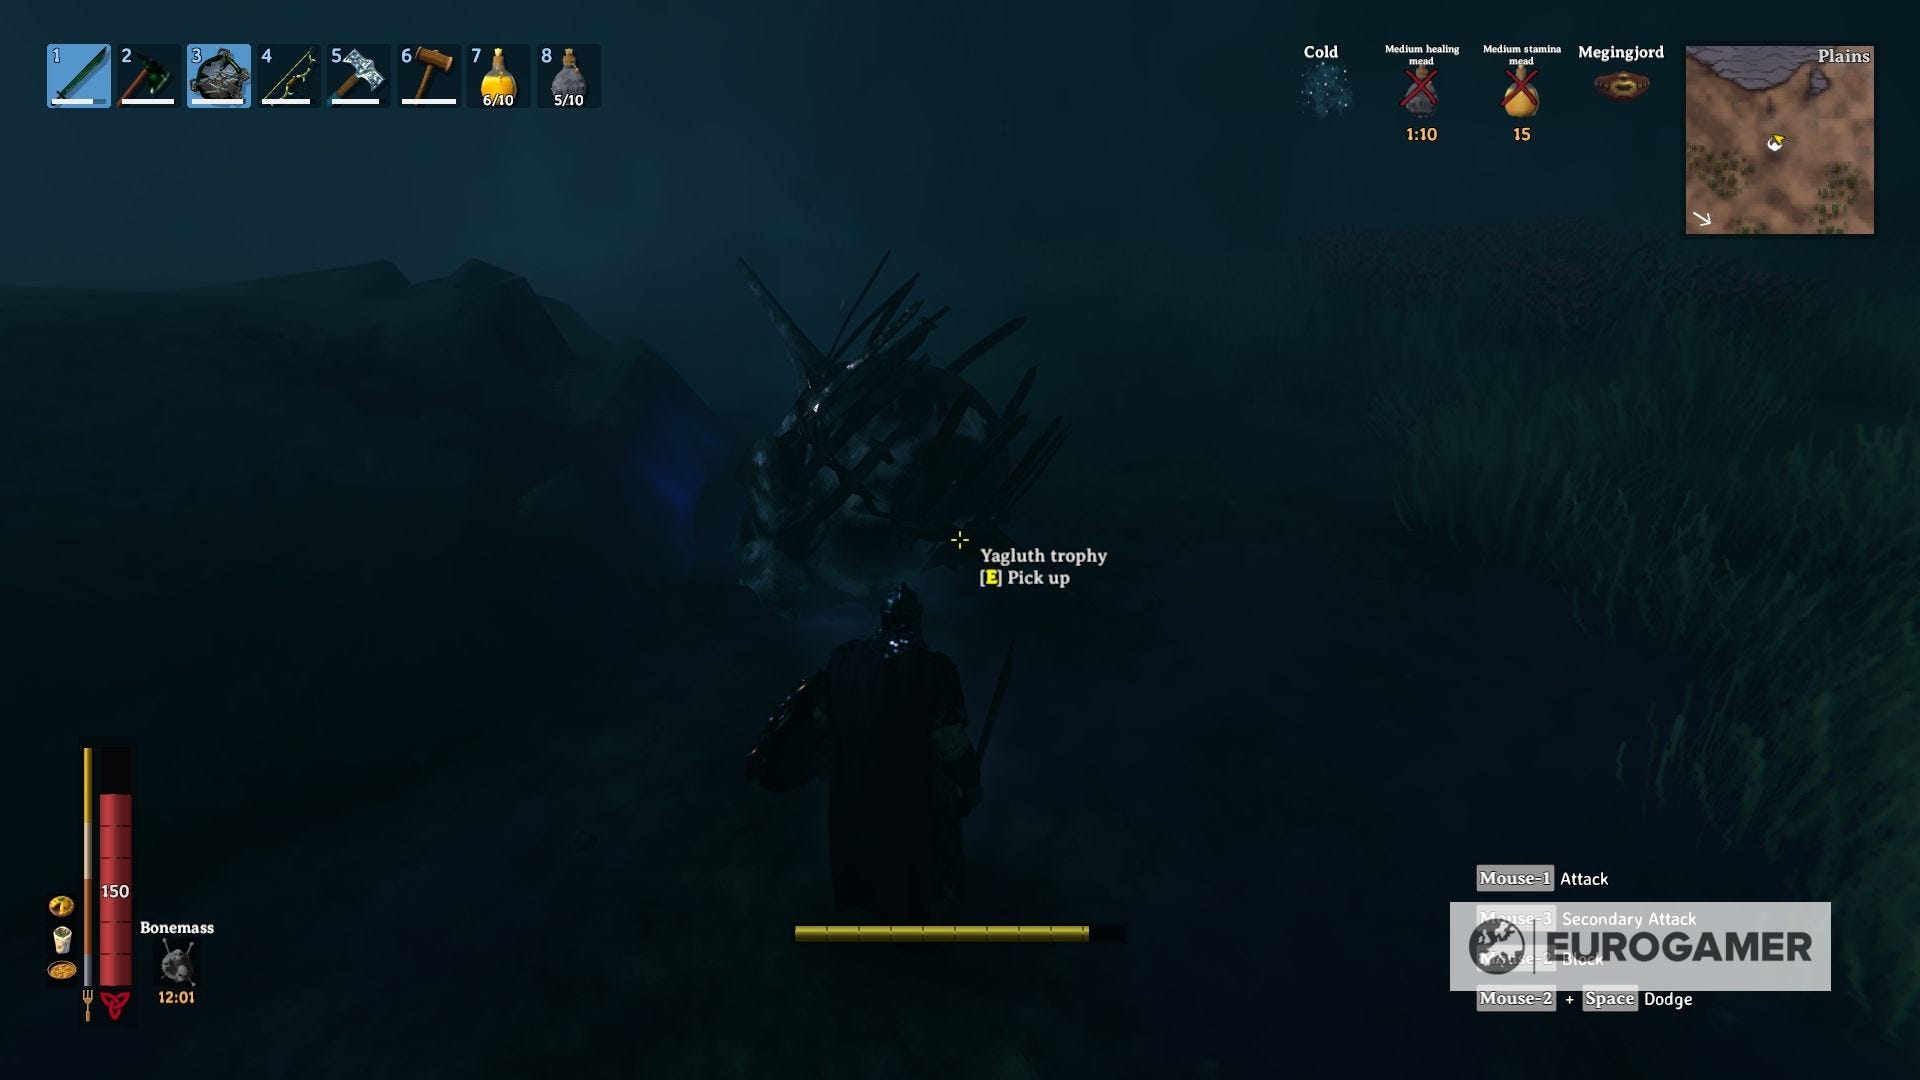
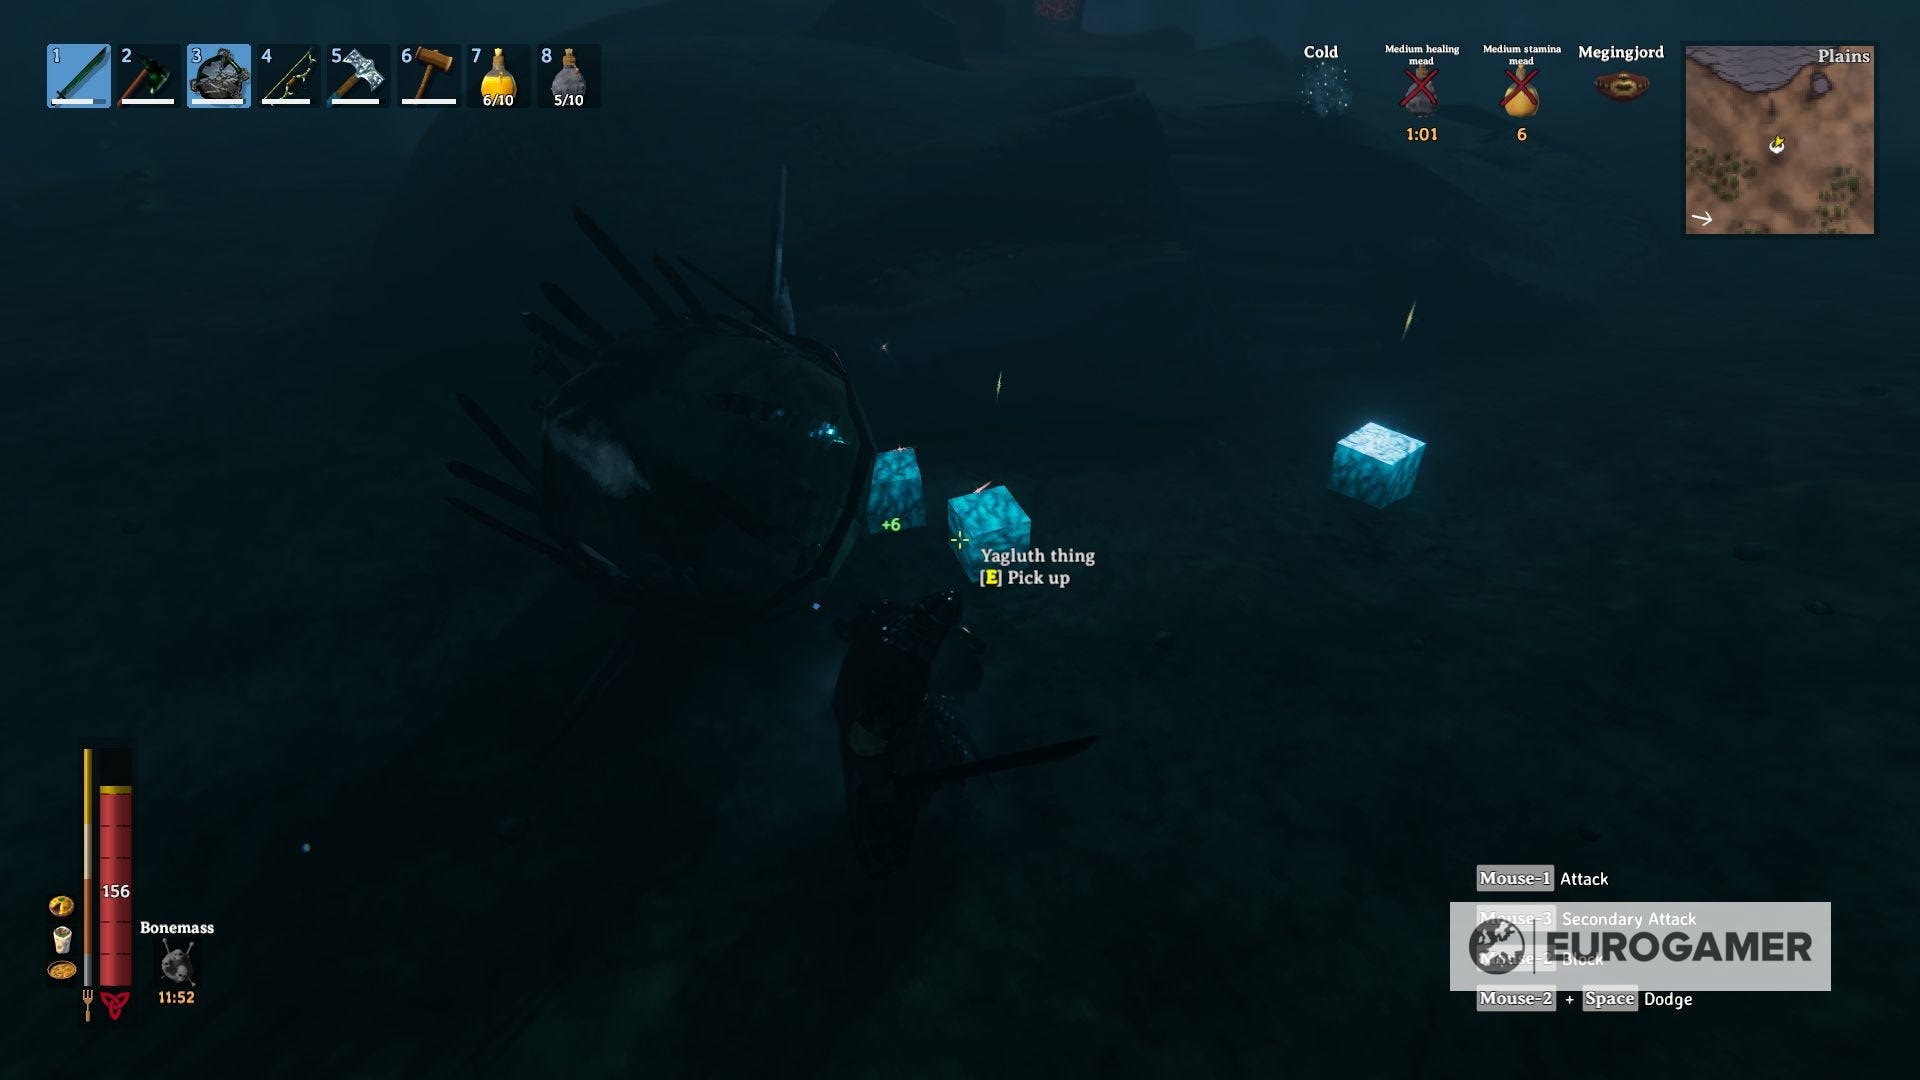
- Yagluth Thing: Yeah, you did read correctly, that's the name of the item. Since Valheim it's still an early access game, this item is just a placeholder for now.
Yagluth story events: Before you take down Yagluth, the following may take place:
- After defeating Moder and until you defeat Yagluth, Fulings, Fuling Berserkers, and Fuling Shamans will raid your base in random intervals of 120 seconds.
How to prepare for Yagluth: Ok, this is it. You reached the end. Yagluth awaits for you, and you can't rush into this encounter, since the final boss requires as much preparation as you can, in terms of food, armor, and weapons.
I can't stress this enough, in terms of preparation there is no such thing as "too much", take as much time as you need for leveling combat skills (max them if you can), cooking the best food, crafting the best equipment, and enhancing it as much as you can.
For the equipment, you have no other option but to get the best of the best, which means Black Metal Weapons, and the whole Padded Armor set. You will also need to craft the Draugr Fang bow and craft enough Frost Arrows.
Crafting and upgrading all this equipment will take a fair amount of time since it involves getting materials of several biomes and upgrading all your work installations to the max.
On the food side, the recommended foods are Lox meat pie, Blood Pudding, Fish Wraps, and Serpent Stew, with special emphasis on Fire resistance barley wine, to endure the flames that Yagluth will use against you. Don't forget to take Medium Stamina and Medium Health meads too, and you should be good enough for the fight.
Yagluth strategy
Yagluth is extremely strong and won't spend a single second without attacking you, so you need to be constantly in movement and reacting as quickly as you can. That being said, he's also extremely slow and he can't climb surfaces, so you can use any column of the altar as protection, or circle around the inner altar for cover.
Both the three movements this boss uses are strong, but as long as you keep your distance and shooting frost arrows from afar, you should be able to get the timing soon and see your openings to attack him with a melee weapon until you defeat him.
The first movement will begin when Yagluth raises a glowing fist in blue color. Once he punches the floor, it will create an explosion, and whoever is in the radius will take damage. Just move away enough to not be hit by it and you should be alright.
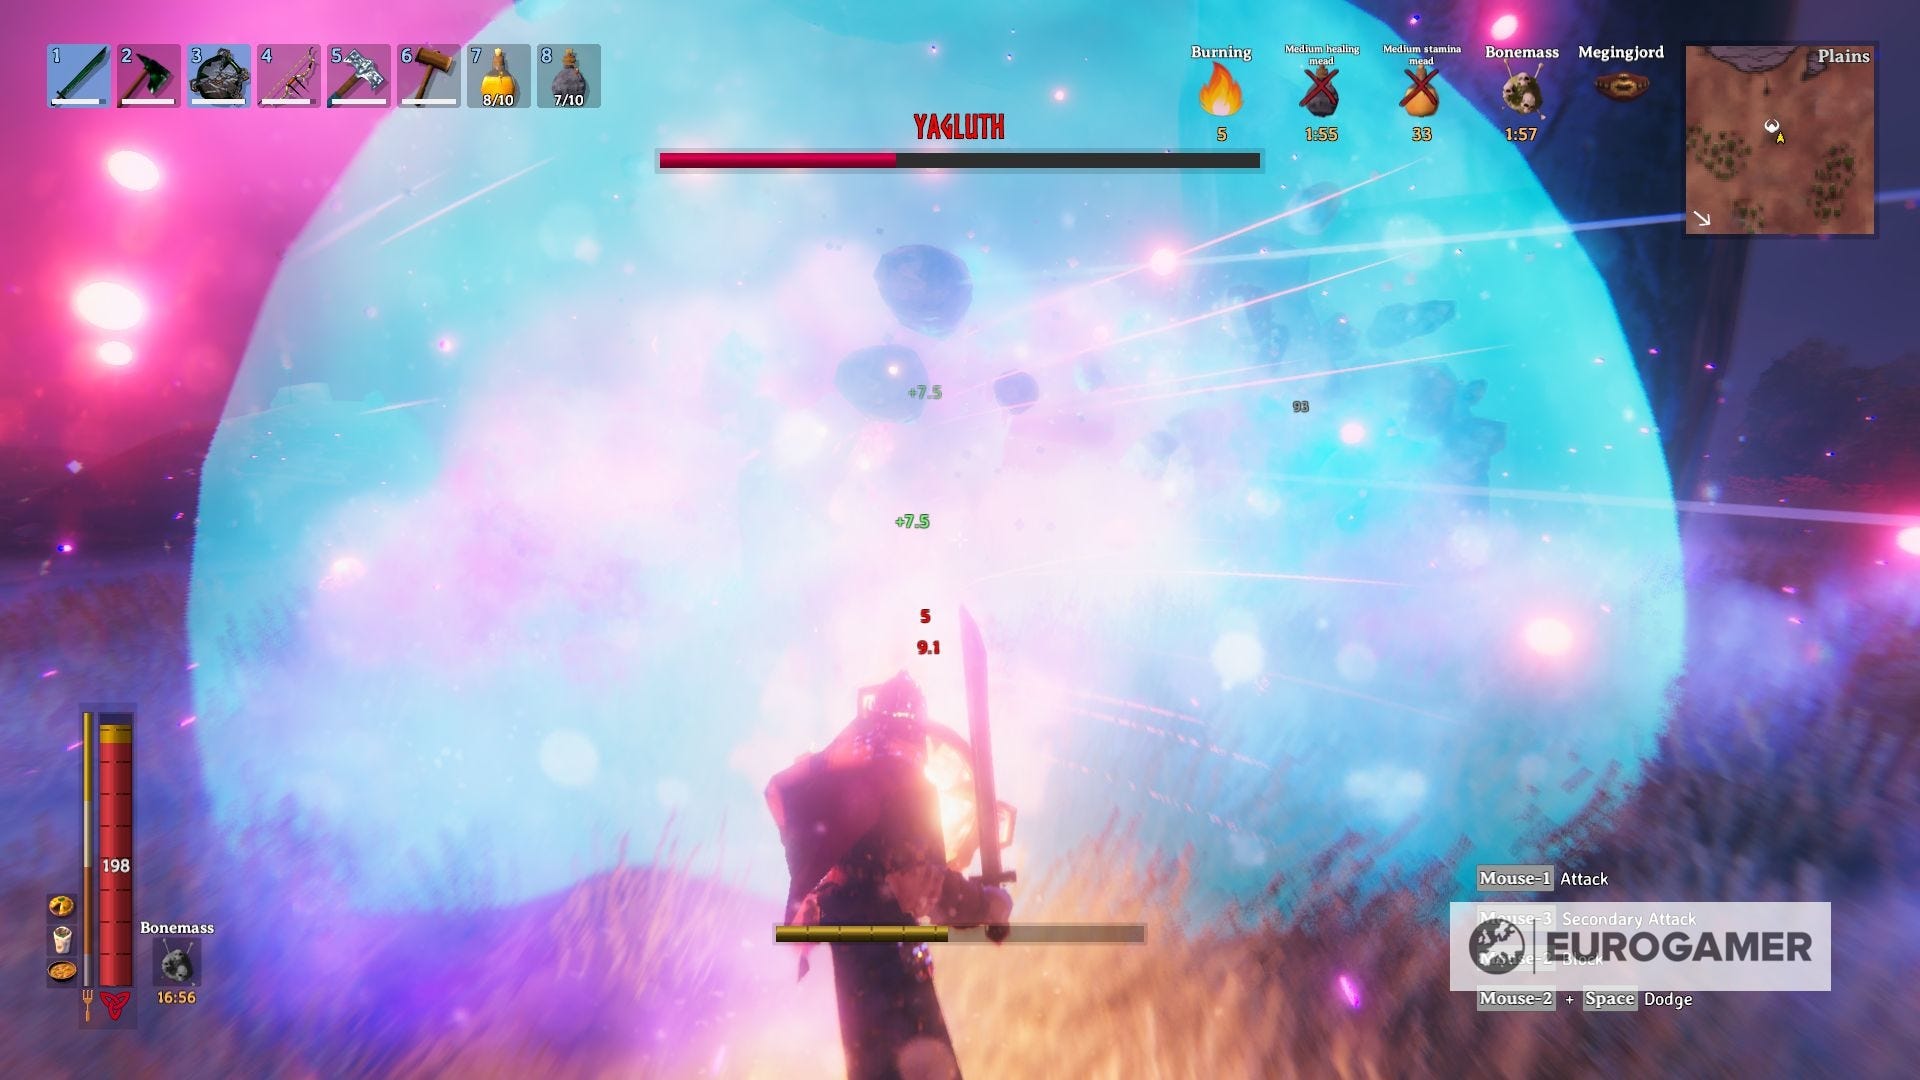
Next is a rain of meteors. Yeah, meteors. Yagluth's fist will glow in orange color, and once he slams it against the floor, meteors will rain and explode whenever they land, not only inflicting damage but also fire debuff, causing continuous damage. To be honest, there isn't a way to get out of this one but running away as fast as you can until you're safe.
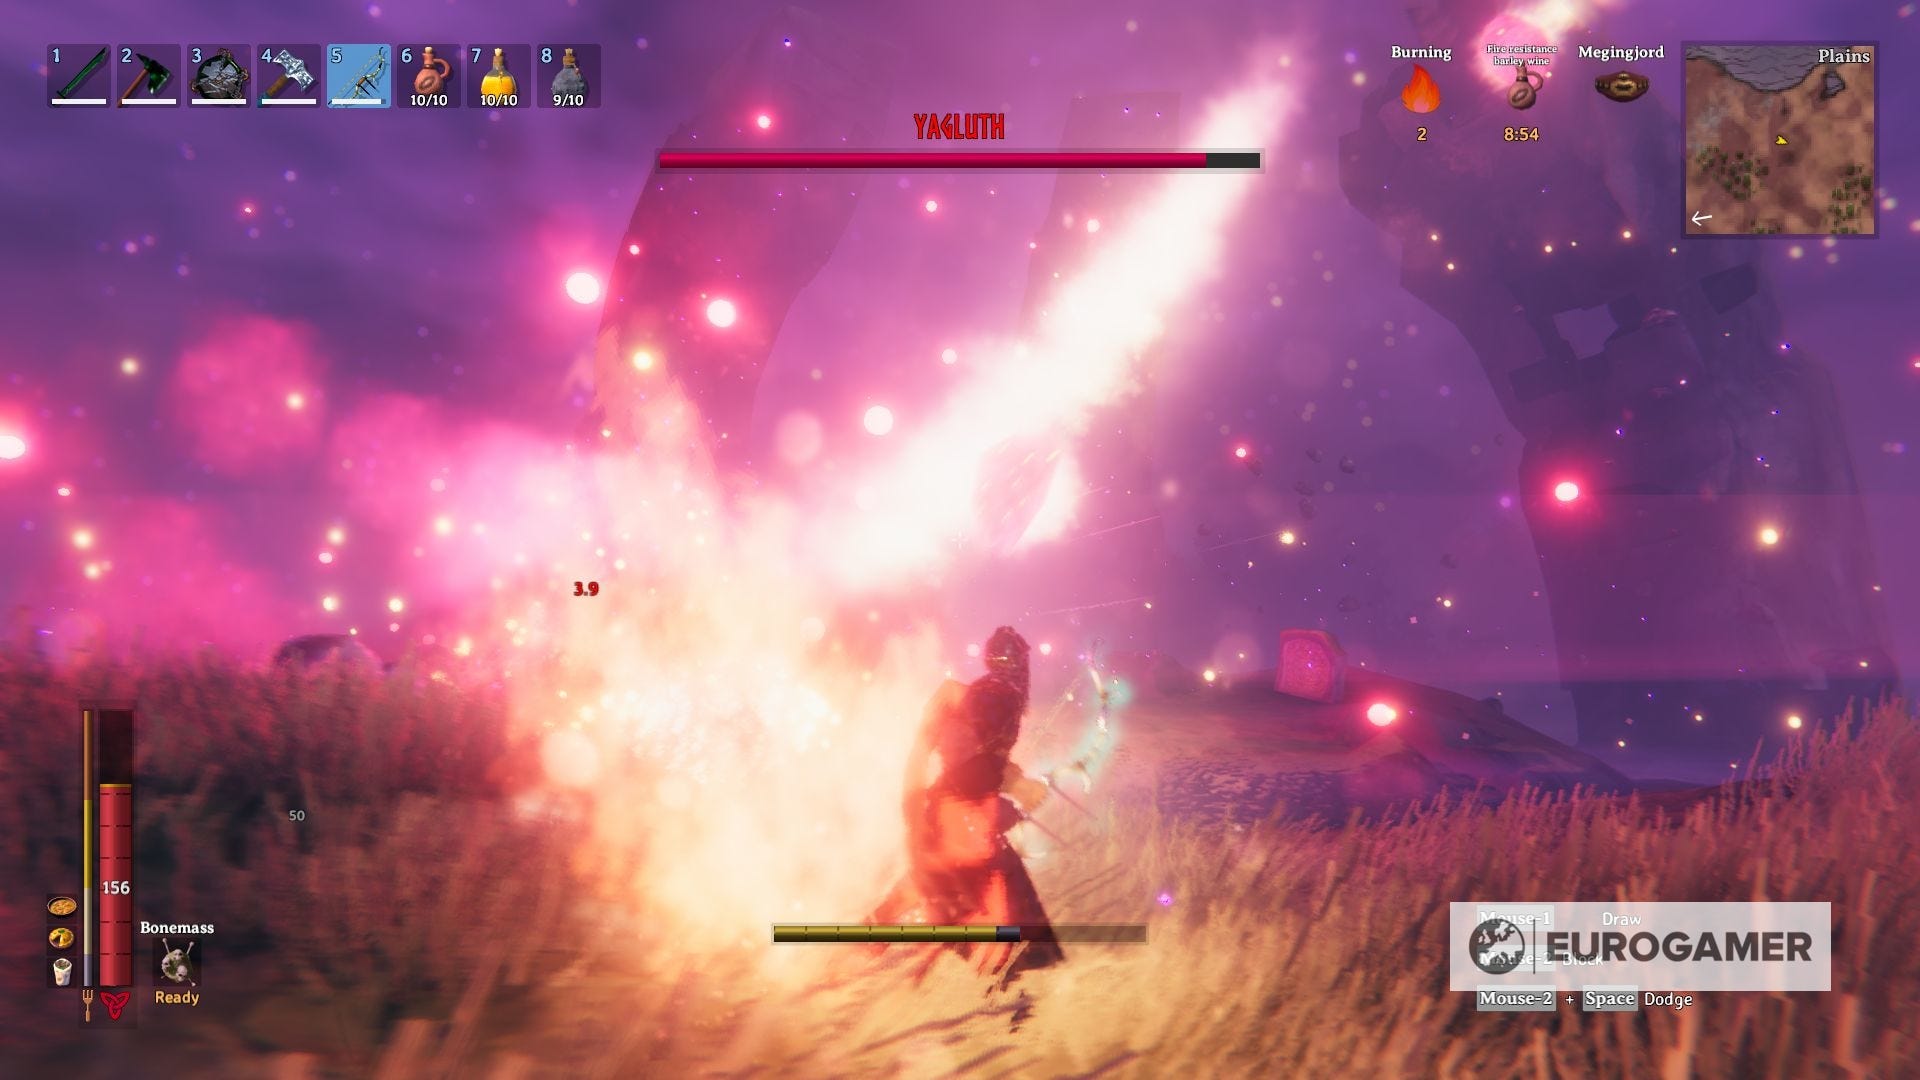
The final attack is a straight breath of fire, which will not only inflict you a Burn debuff but also a massive amount of damage if you don't block or evade. Flank Yagluth or get cover behind a column, and be careful to not be too exposed because he will redirect this attack if needed.
Best of luck!
That's all of the bosses available in Valheim so far! Until more arrive, if you're looking to work with friends for a fresh challenge, our page on dedicated servers can explain how to keep a persistent game up and running.