Valheim building guide: How to build a house, chimney building and unlock stone buildings explained
How to start your first home - or upgrade to a more serious fortification.

Building in Valheim is a vital, and at times, complicated process.
Not only is having a shelter important to help you survive against the elements and creatures which may roam around, it's also where you will begin crafting your resources into useful weapons and items to help you explore new biomes.
From there, the process begins again, and we explain how and where to build in Valheim to suit each new harsh environment.
Or, if you're like us and prefer to play it slow and steady, then there's plenty of building upgrades to focus on too - from adding a chimney to stone building construction.
On this page:
- Where to build in Valheim explained
- How to build a house in Valheim
- How to build a campfire and hearth in Valheim
- How to build a chimney in Valheim
- Valheim building decay and building integrity explained
- How to remove a building in Valheim
- How to unlock stone buildings in Valheim
- Building in later Valheim biomes, from the Black Forest to the Plains
If you're looking to share your buildings with your friends, our page on dedicated servers can explain how to keep a persistent game up and running.
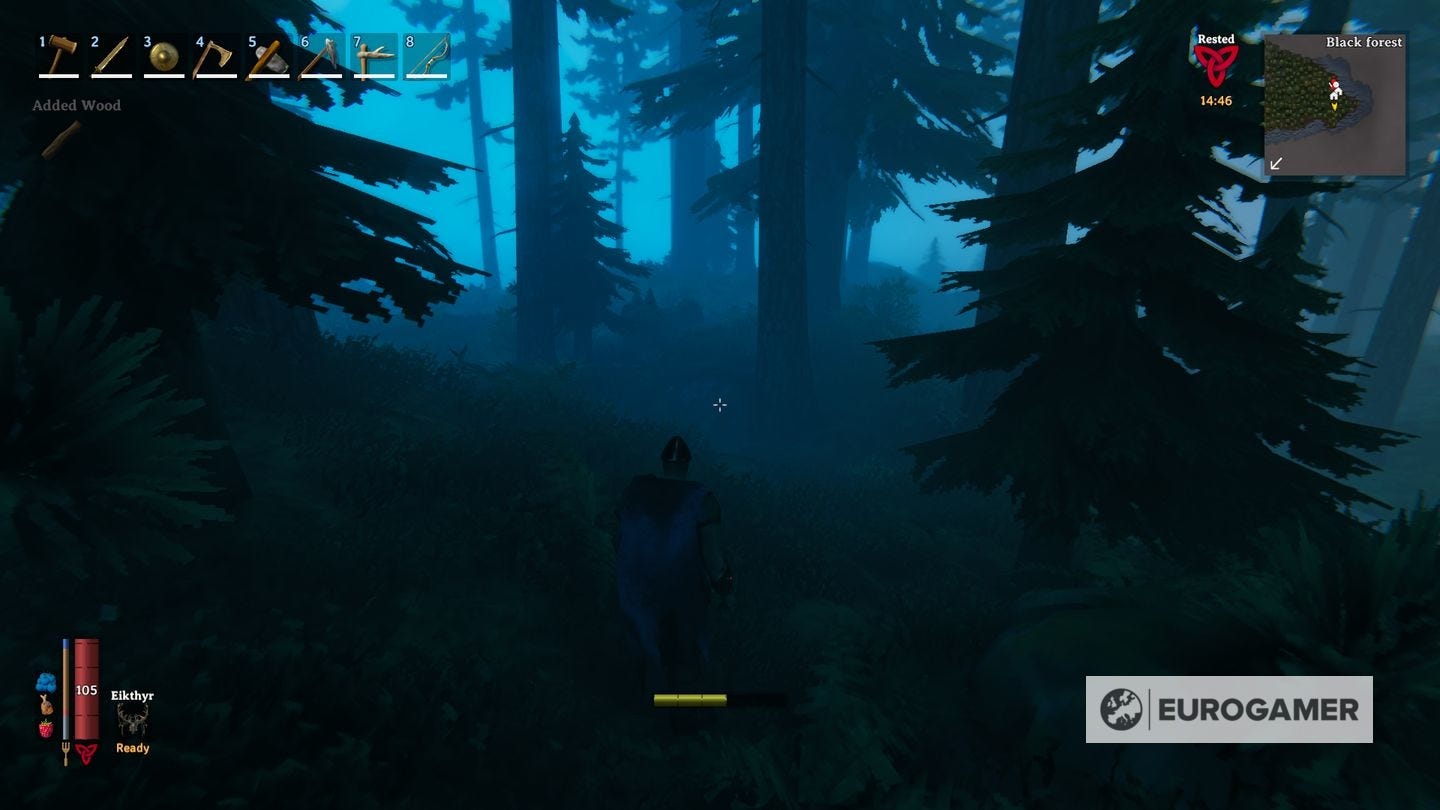
Where to build in Valheim explained
When you start Valheim, you will find yourself defenseless against those different monsters and ailments that the game will present, so before you decide where to build a proper home let's focus on a simple shelter to survive the first night and start farming materials.
First sure you have enough resources for the workbench, which is the first major goal in the starting Meadows area.

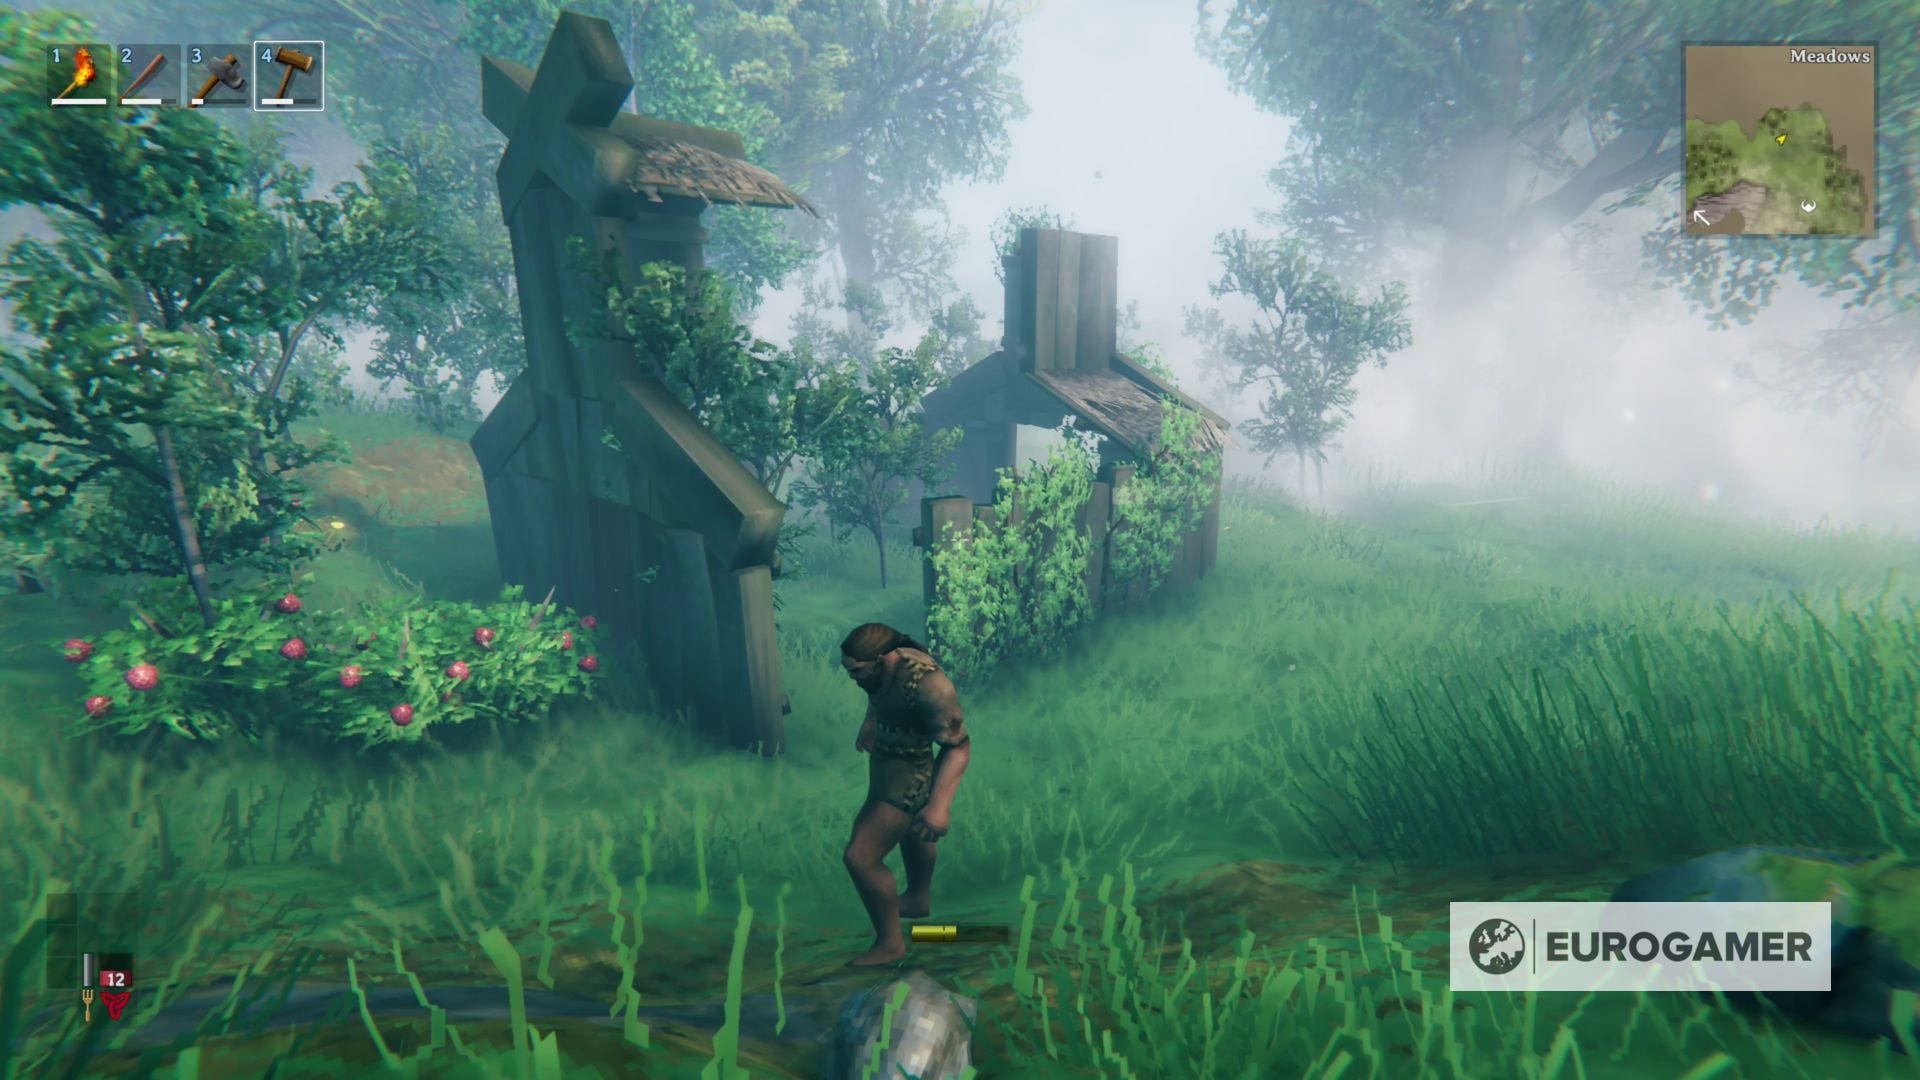
Since the workbench requires a roof over it to work, it's also where you ideally want your first building to be. In the Meadows, there is no bad first place to build - though we recommend somewhere that is open (so avoid dense tree areas), or if you find a ruin, repairing that to make your first shelter cheaper and faster to create.
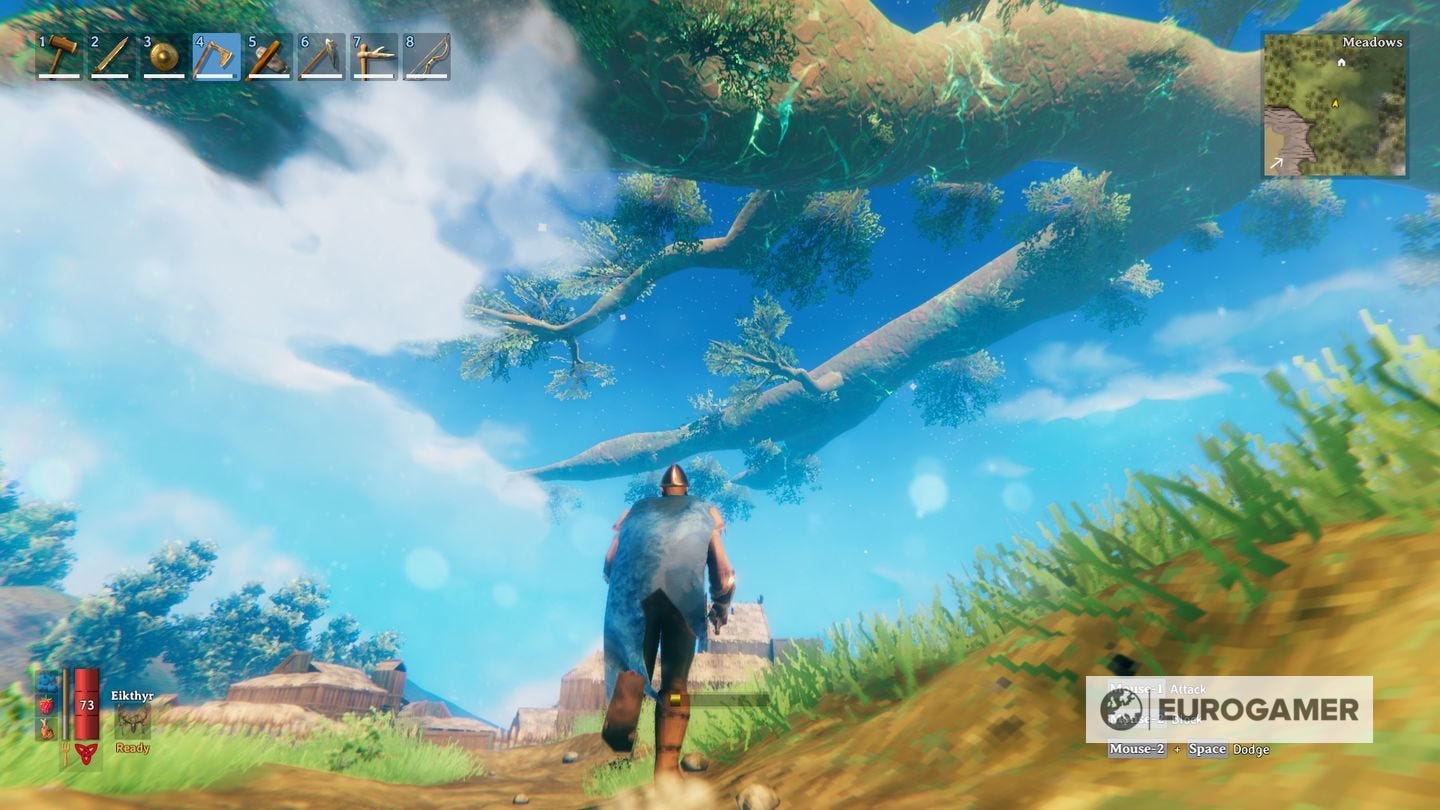
After getting more comfortable and have ideally defeated the first boss, you can finally move onto different biomes. We explore this in a later section, so if you are just getting started, don't worry about this until you're ready to venture out into the world with better resources behind you.
How to build a house in Valheim
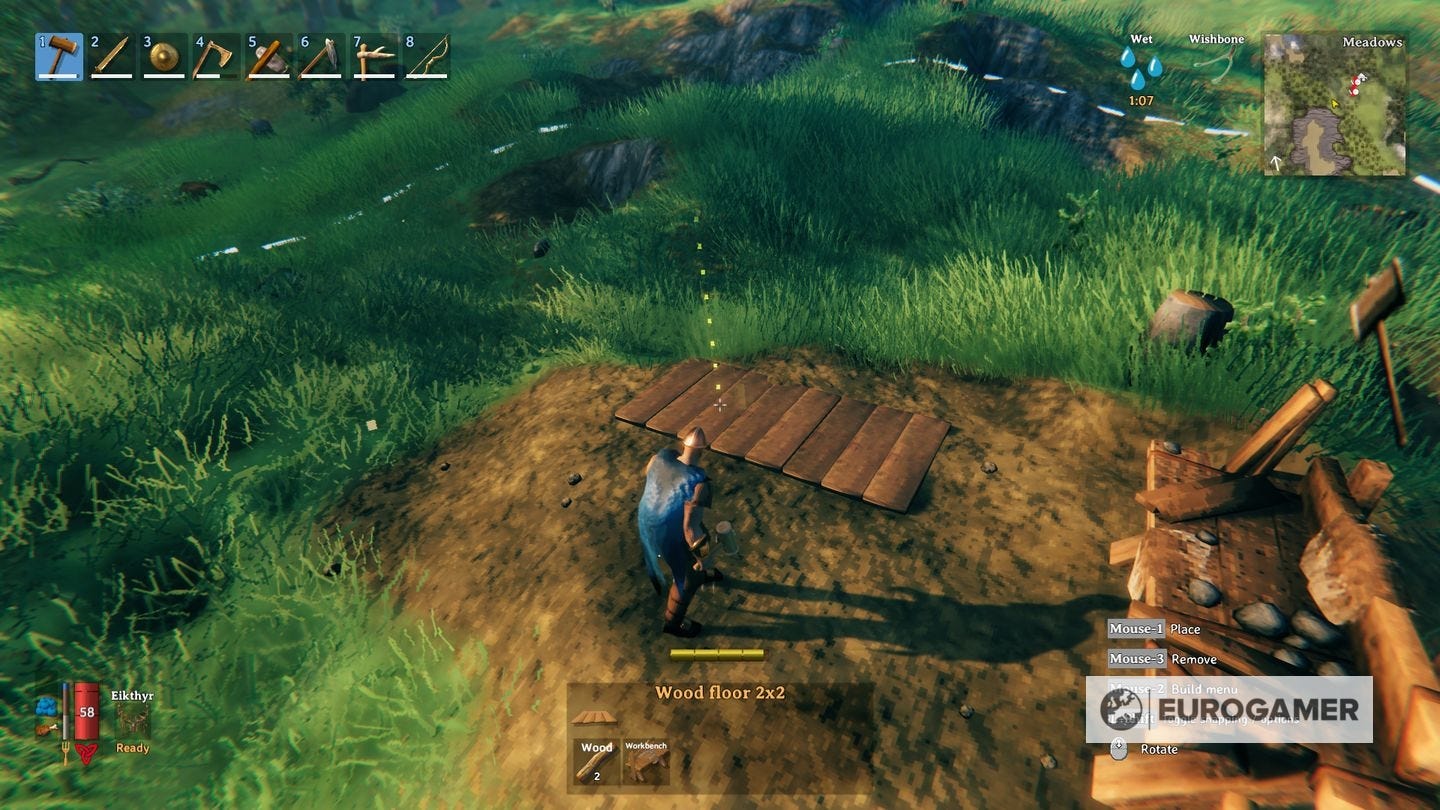
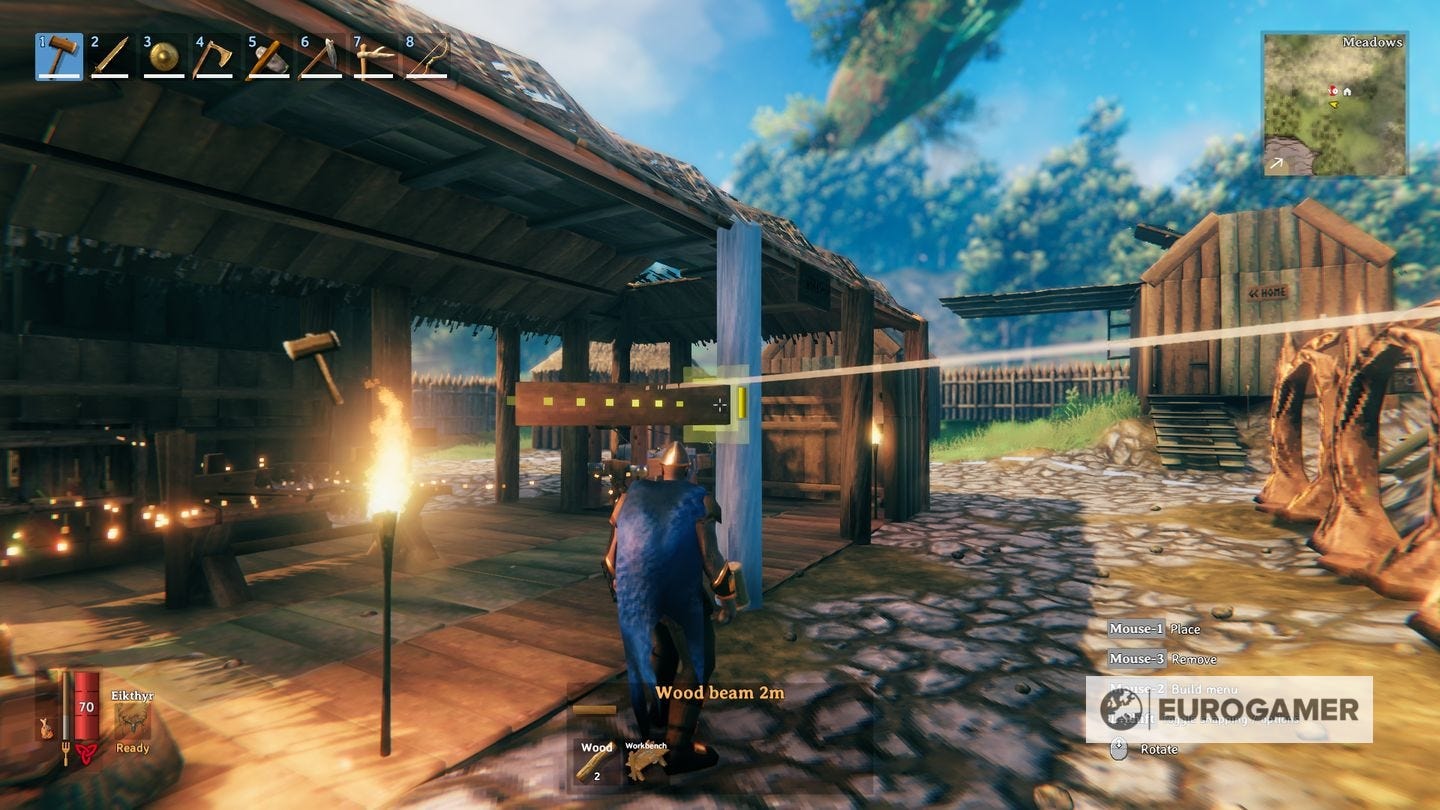
After you have chosen the place to build your new home, and placed the workbench, equip the Hammer into the quick bar, and use it to display a new pop-up menu that will show up different tabs.
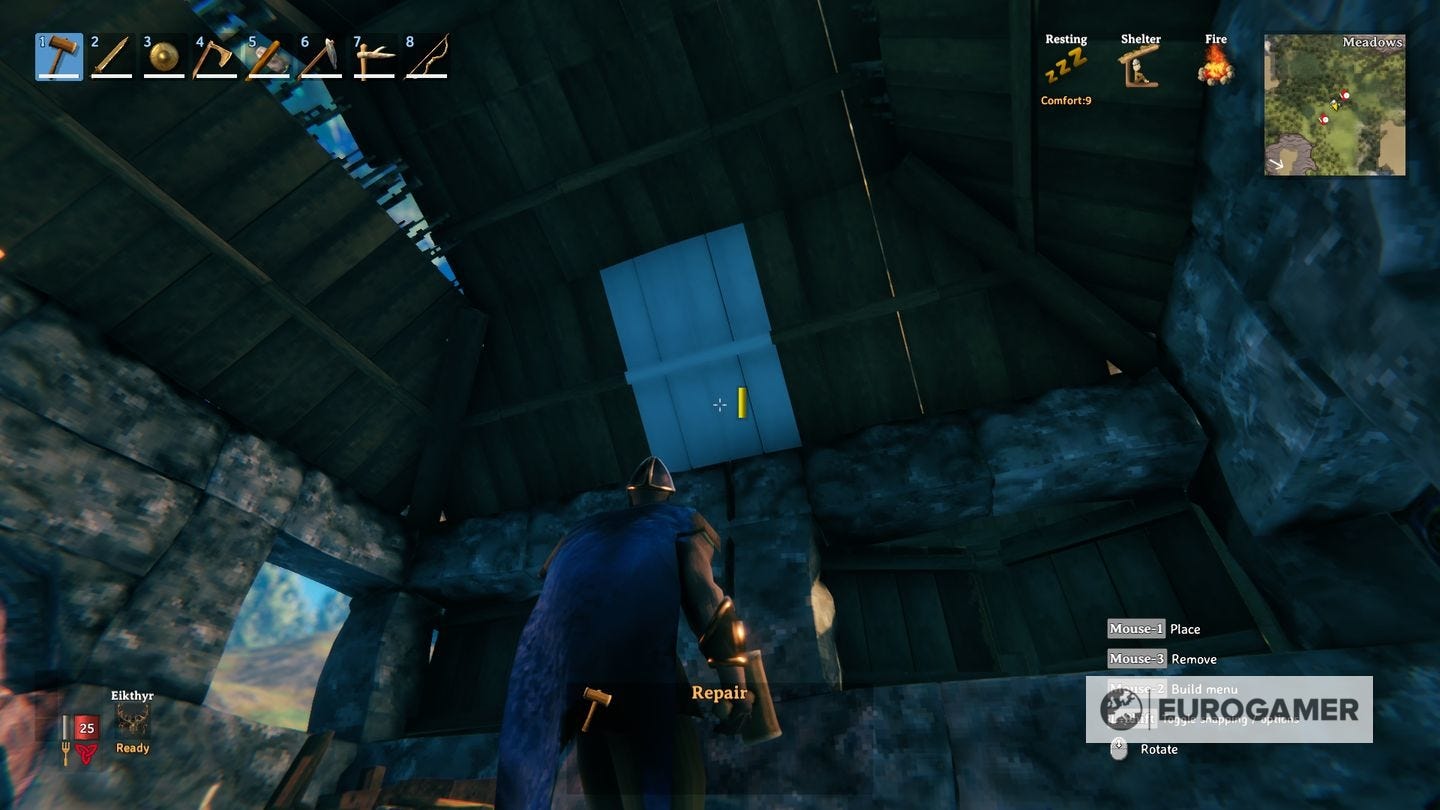
Select the 'Building' tab and you will see all the different construction components you can build. To begin with you have to use wood; keep in mind that any wood-based construction will require a certain level of attention, since natural events such as rain will erode the durability of any wood component that it's not covered by a roof, compelling you to repair them now and then.
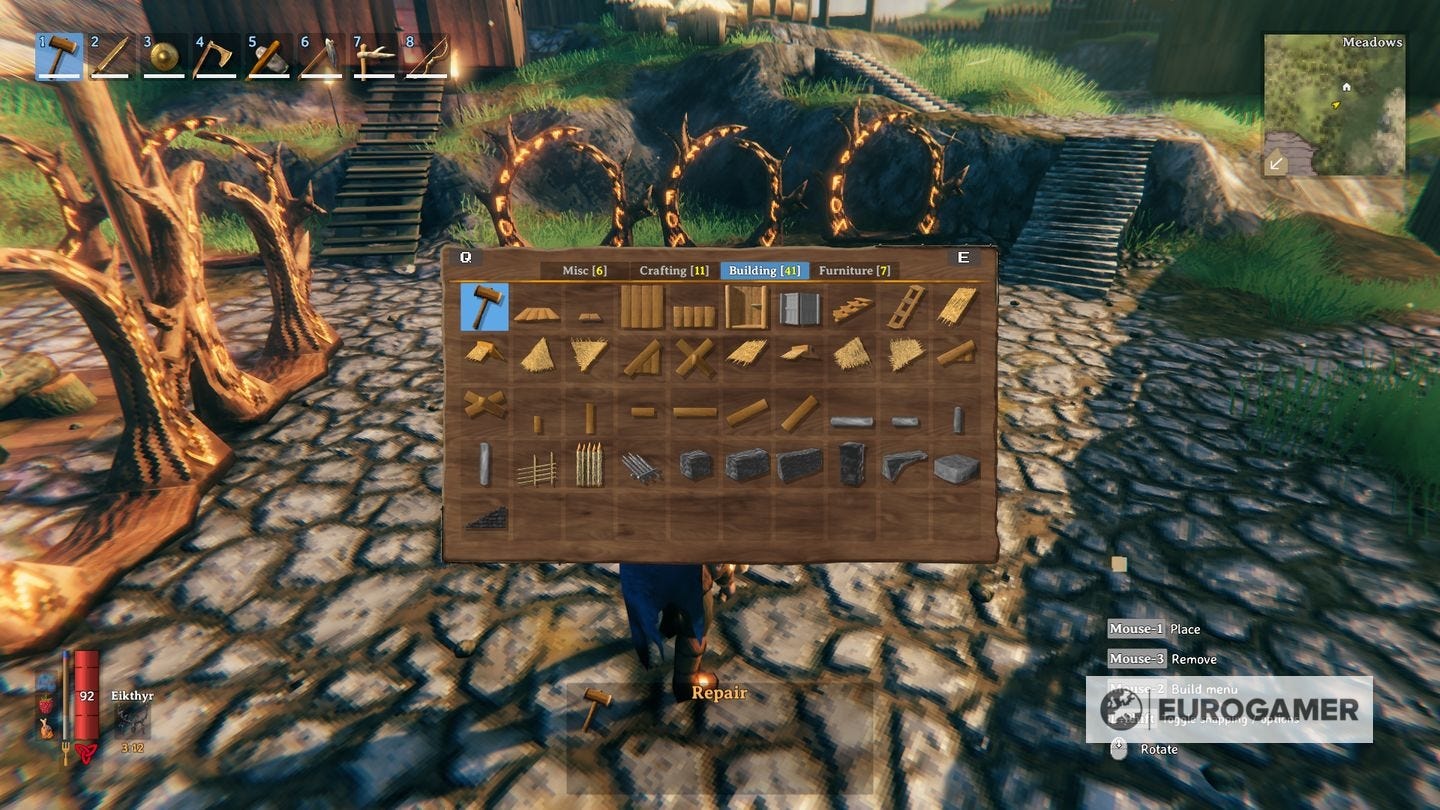
Once you selected your component of choice, you will have to place it, whether is on the floor or attached to another part you already built.
Crafted building parts will snap to each other at the same height, but they won't have the same perfect alignment with a natural spawn building.
You also have a specific area to operate, limited by your workbench. A solution to this is placing several workbenches around to extend that area, but most of the time you won't need that much terrain for building.
As for what you house needs, we recommend the following:
Flooring: Every building needs a strong foundation, so you need to start there. You can either choose a leveled ground spot or level it yourself using the Hoe. Either way, this is the starting point of any building, so spend as much time as you need planning it.
Walls and Doors: Right after laying the foundations of your home, the next logical step is to set walls that separate you from the outside dangers. You can leave some spots open as a form of window, which, while not being exactly defensive, gives you a better view of the situation outside if you need to leave, or a nice way to attack monsters from afar using a bow. Of course, every home needs a door and since monsters can't open doors, they certainly can save lives.
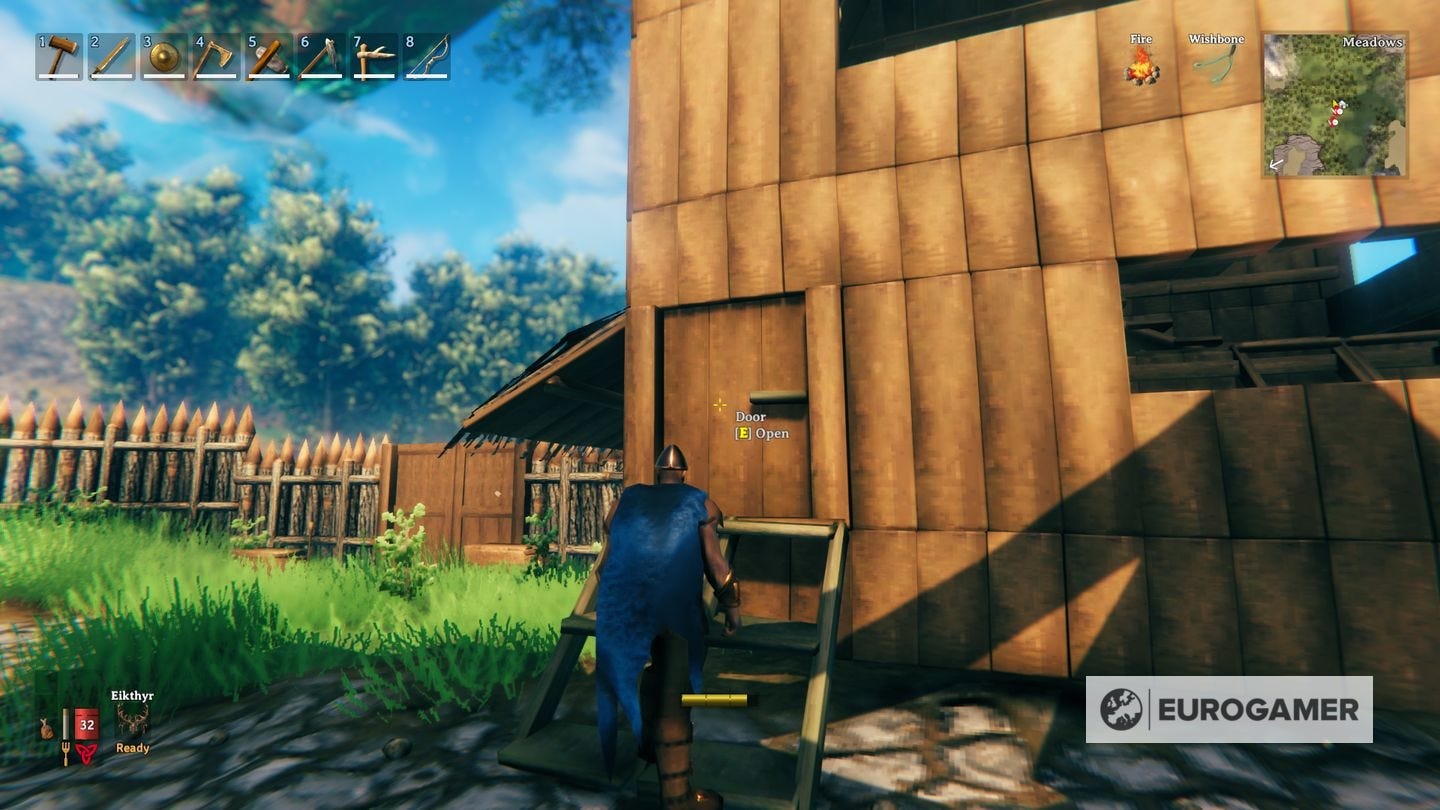

Roofing: Building a roof on any building is extremely important since it's the main form of protection you will know in the game. Being under a roof makes gives the player the Sheltered status and will protect the durability of any wood-based component built under it, as well as preserve both the player and the wood parts from the rain debuffs and erosion damage.
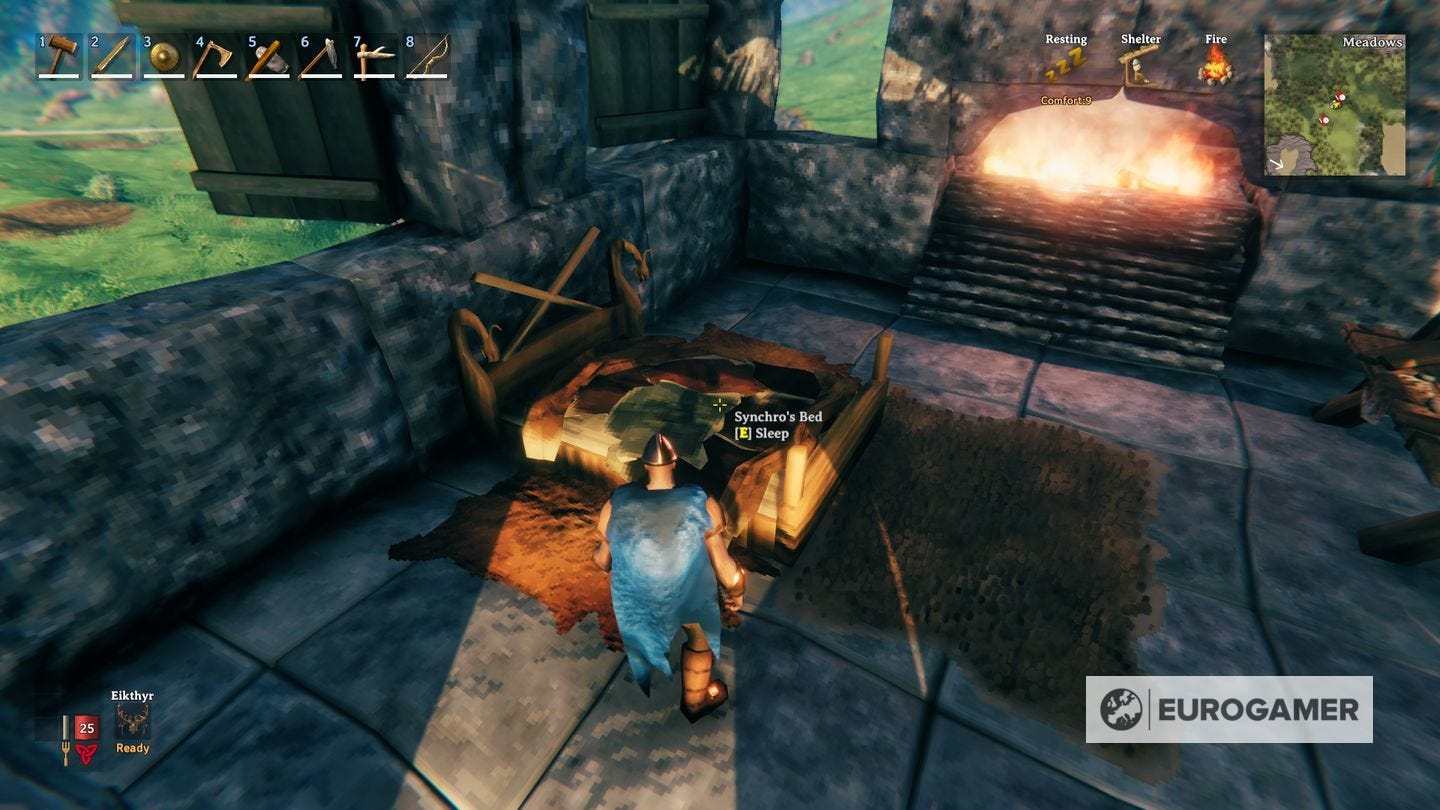
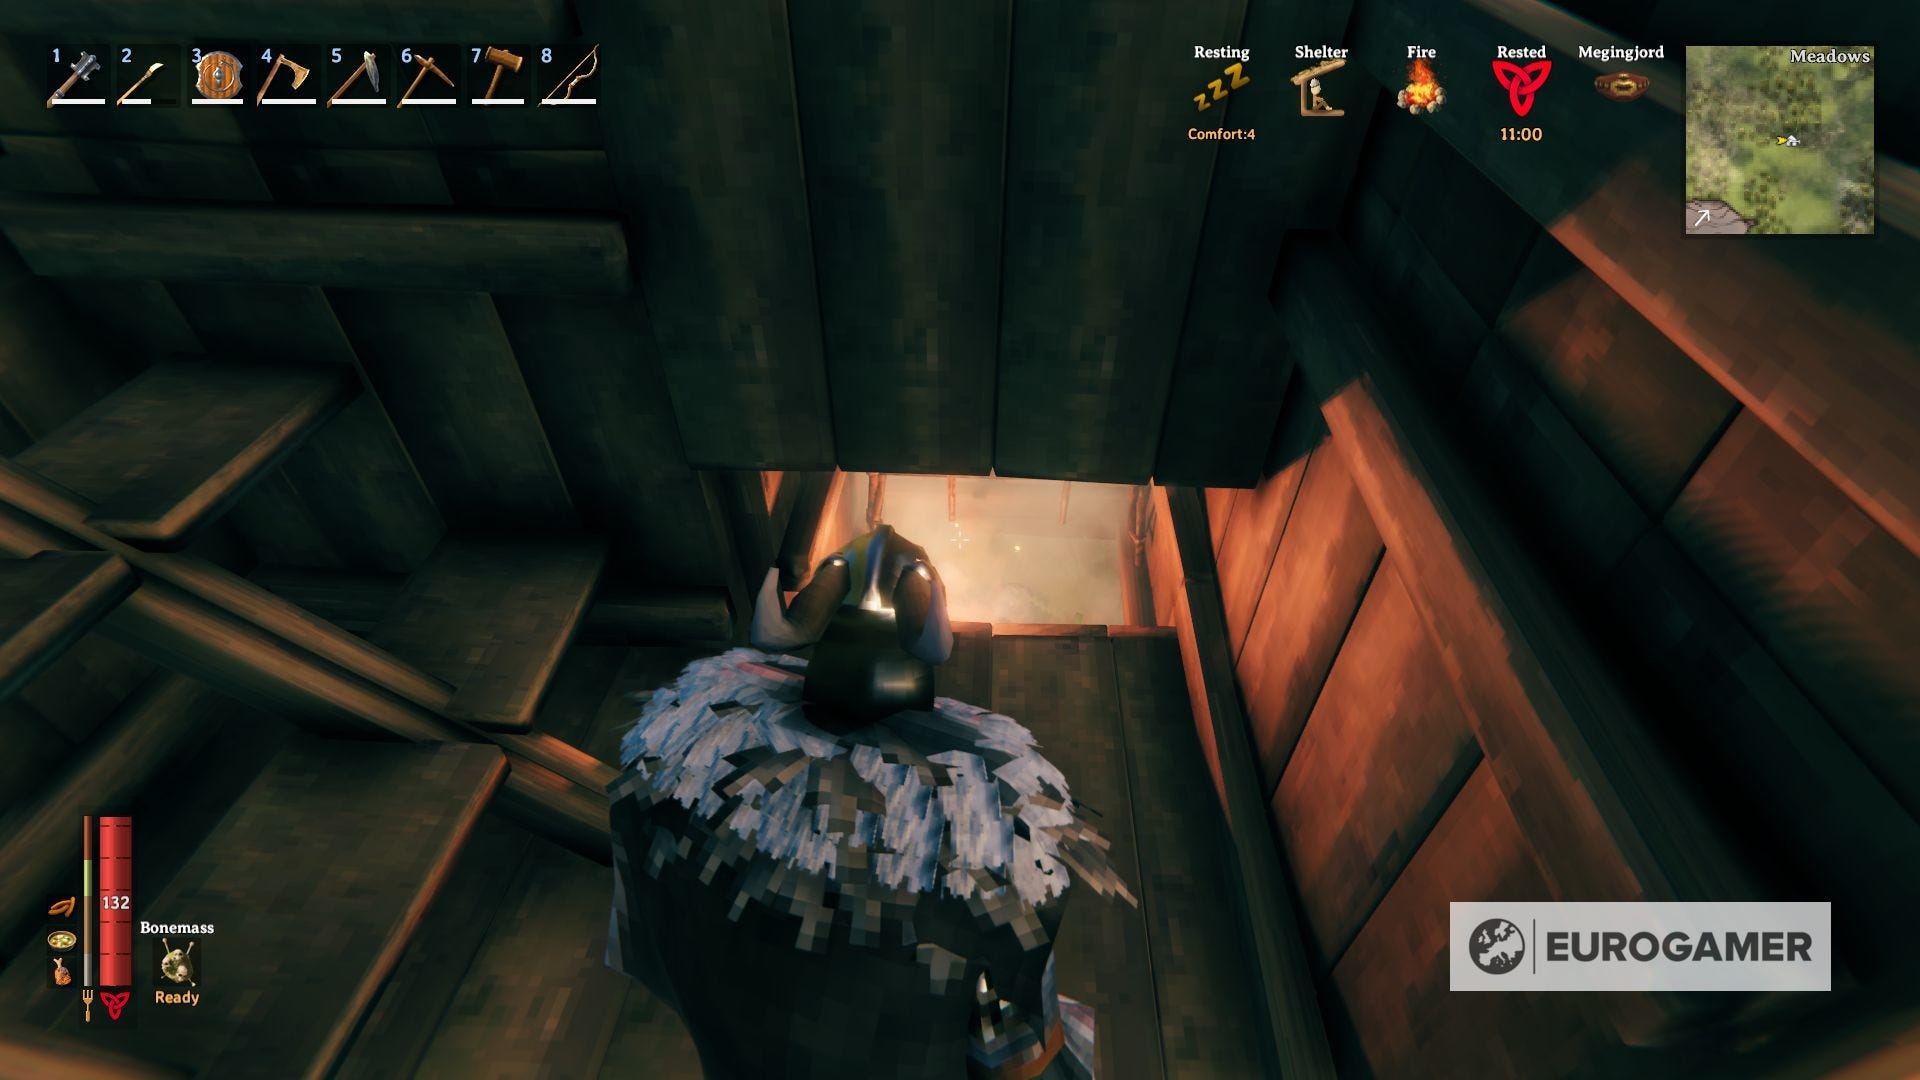
A Bed: Beds are the priority as soon as you properly finished the home, since not only do these give you the Rested buff but also they're your spawning point. They also make you skip time straight into the morning if you're playing alone and it's nighttime. Keep in mind, you can have only one spawning point activated at a time no matter how many beds you have placed out there, and you can only use the bed if you're sheltered by a roof and have a heat source nearby (we explain more on campfires and hearths in the next section).
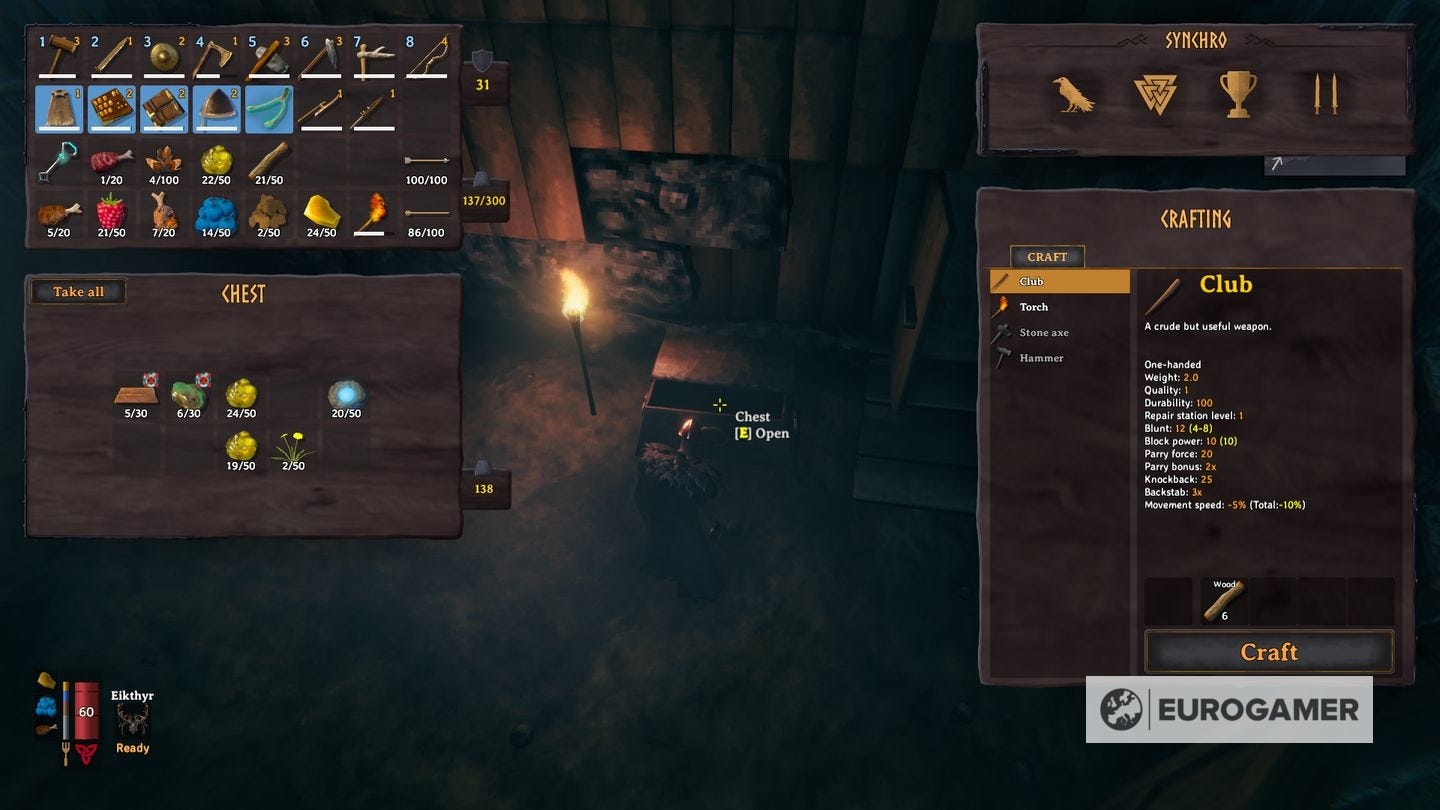
Chest: It is also recommended to build as many chests as you need since you will need as much space as you can have to store materials, trophies, and treasures. They don't have a lot of space, but they're easy to craft and you can have as many as you want, so craft them at your convenience.
Fencing: While fences aren't part of a home per se, it's useful to surround your house with an extra layer of defensive precautions to protect ourselves and our items. Easy to build and easier to place, fences and sharp stakes will stop any incoming enemy attack to a certain degree. However, you will have a hard time if some trolls come by to say hi.

How to build a campfire and hearth in Valheim
Now that you learned the basic mechanics and how to build in general, it's time to maintain the heat in our homes.
Why is fire necessary? First, you need a heat source nearby to build your bed. Another important mechanic to keep an eye on are the Cold and Wet Debuffs, which affect the health and stamina regeneration stats. To deal with them, a source of heat placed nearby will counteract or rapidly remove said effects.
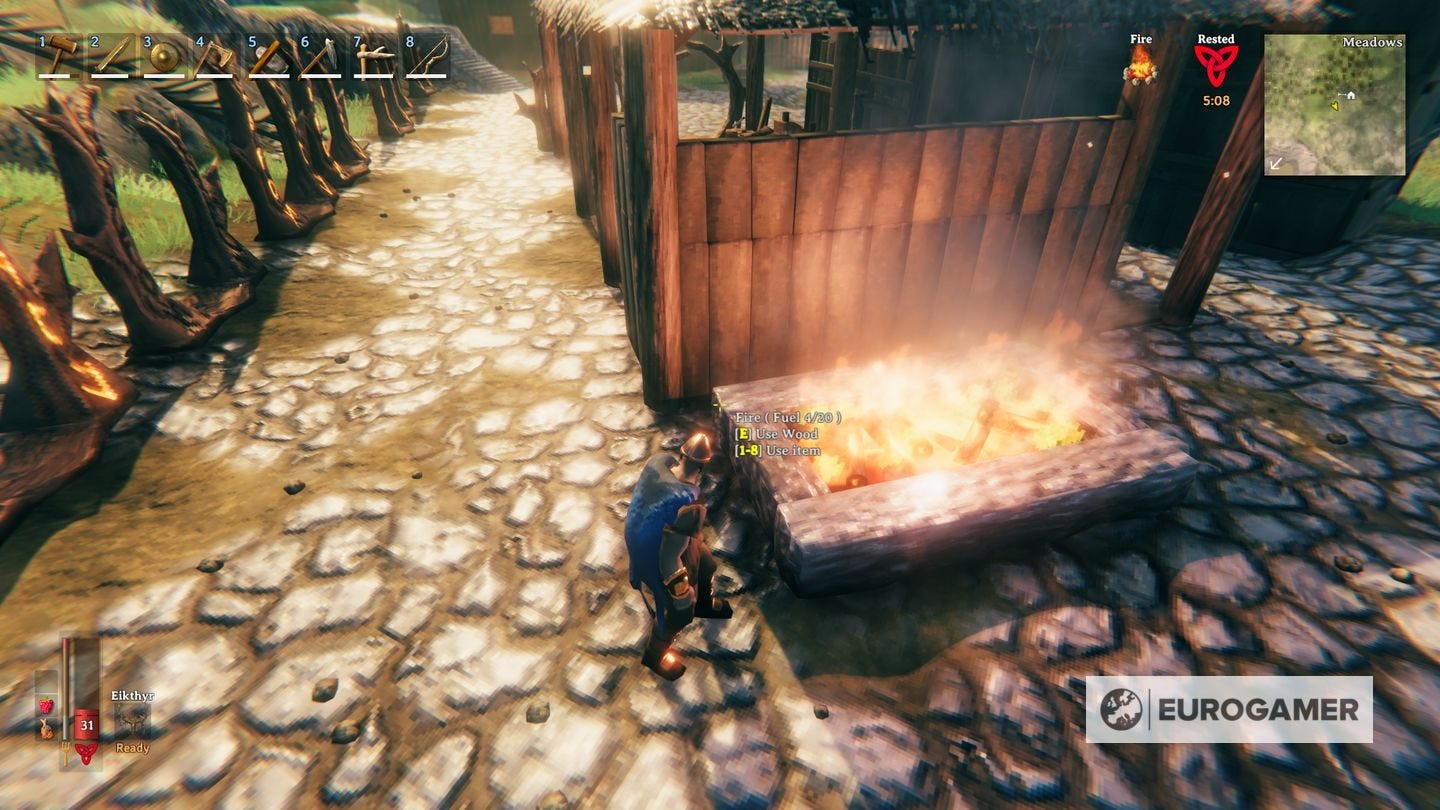
It's because of those effects that you need to build a source of heat such as the Campfire, or a Hearth. Keep in mind, though, you need to fuel them with wood, and if built in doors, consider building a chimney around them (more on that in the next section).
How to build a campfire in Valheim
Campfires are the most basic heat source that can be created. The materials are the following:
- Stone x5
- Wood x2
To build a campfire, you need to select the hammer, right-click to display the crafting menu, and go to the Miscellaneous tab, where you will see the different heat sources you can build. You can only place a campfire on the ground, natural rock, or stone-based building components.
It can be extinguished by rain, so it needs to be protected with a roof placed over it, and you can also put a Cooking Station on top of it to be able to cook meat.
How to build a hearth in Valheim
On the other hand, to unlock the Hearth recipe you need to have unlocked iron, and to build it, the following materials:
- Stone x15
Note you can only place a Hearth within the area of effect of a Stonecutter. However, the Hearth has a bigger area of effect than the Campfire, and more Cooking Stations can be placed over it.
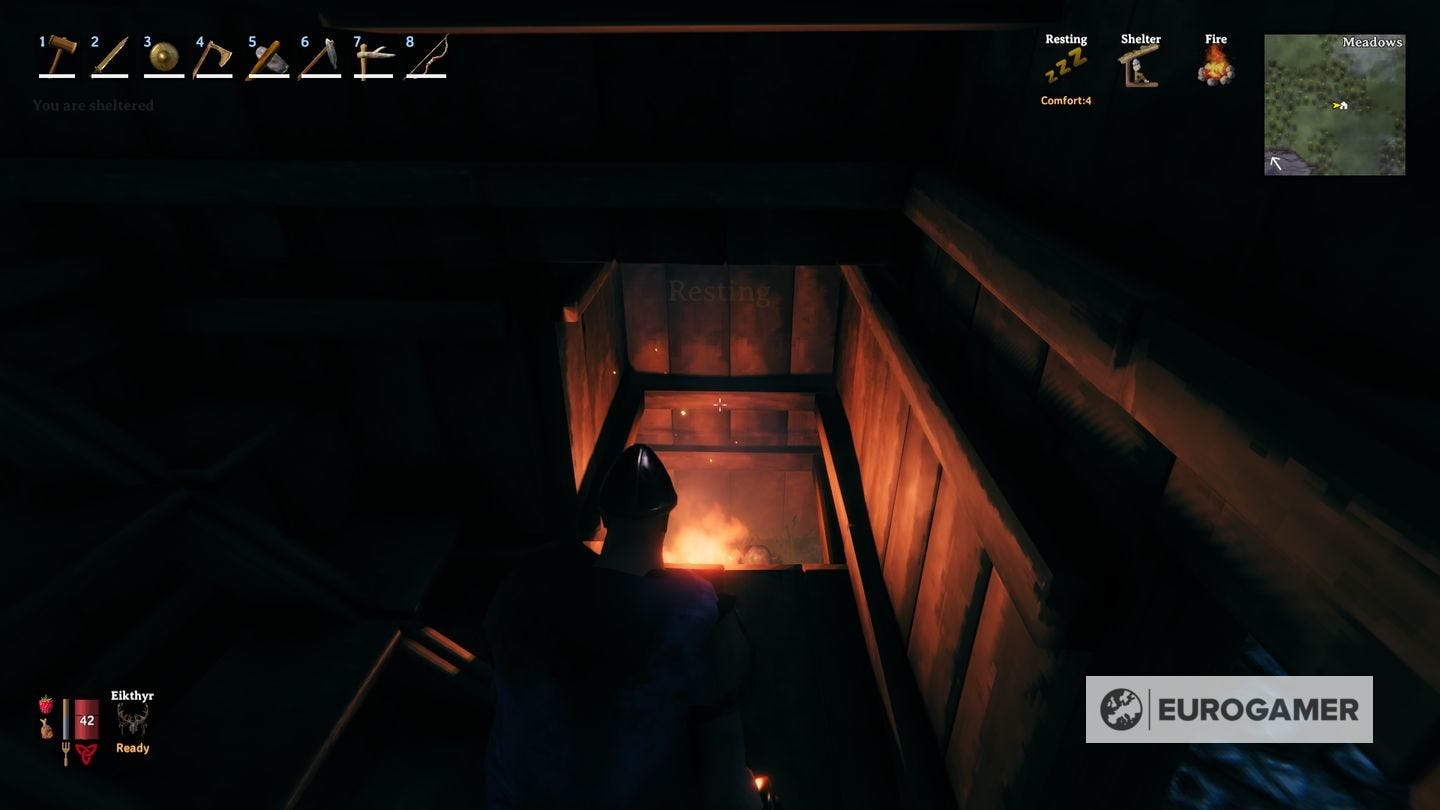
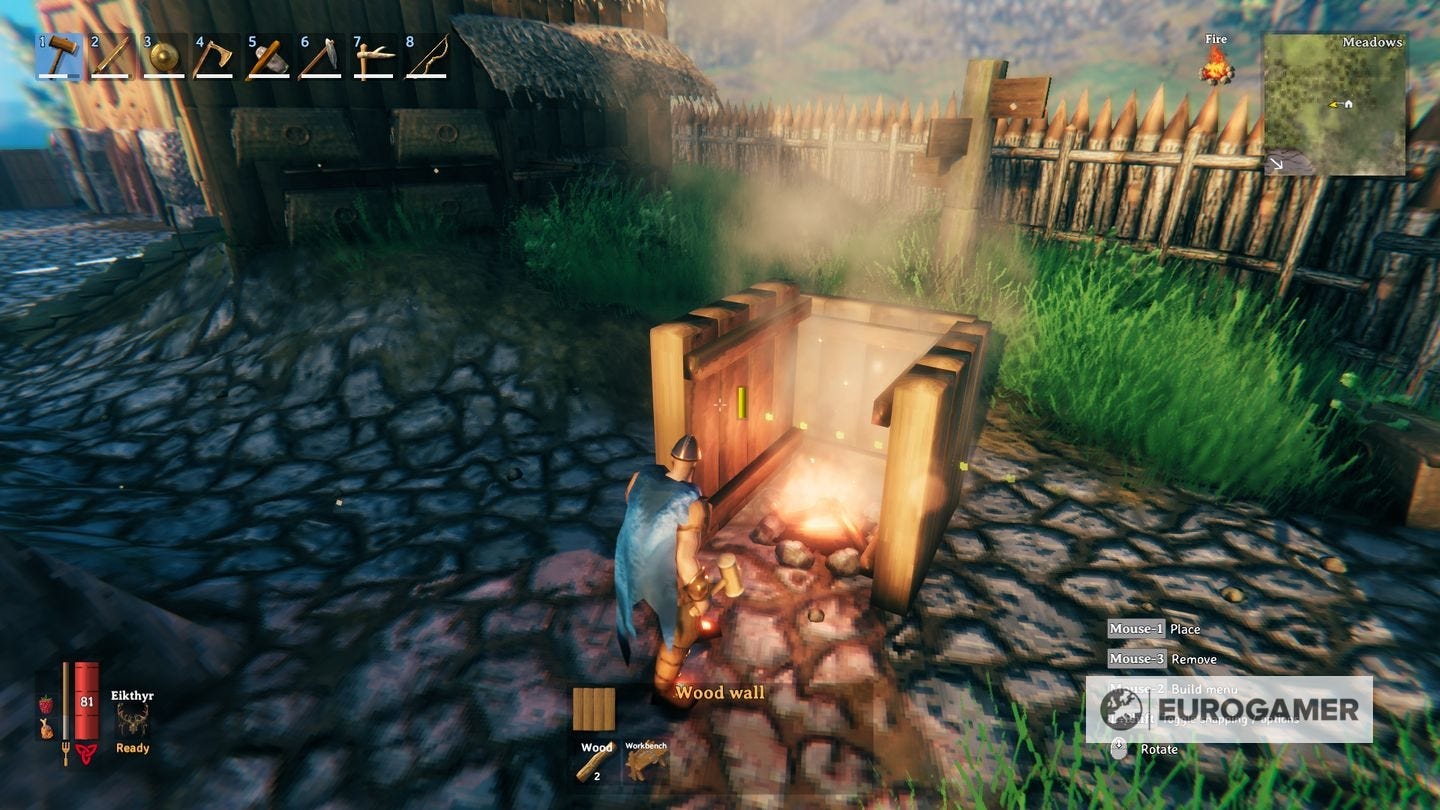
How to build a chimney in Valheim
If you build a fire indoors, it will produce a column of smoke that will spread across the whole house if it's not redirected out of the closed space, inflicting the Smoked debuff to the player. This debuff inflicts 2 points of damage continuously until the player leaves the cloud of smoke.
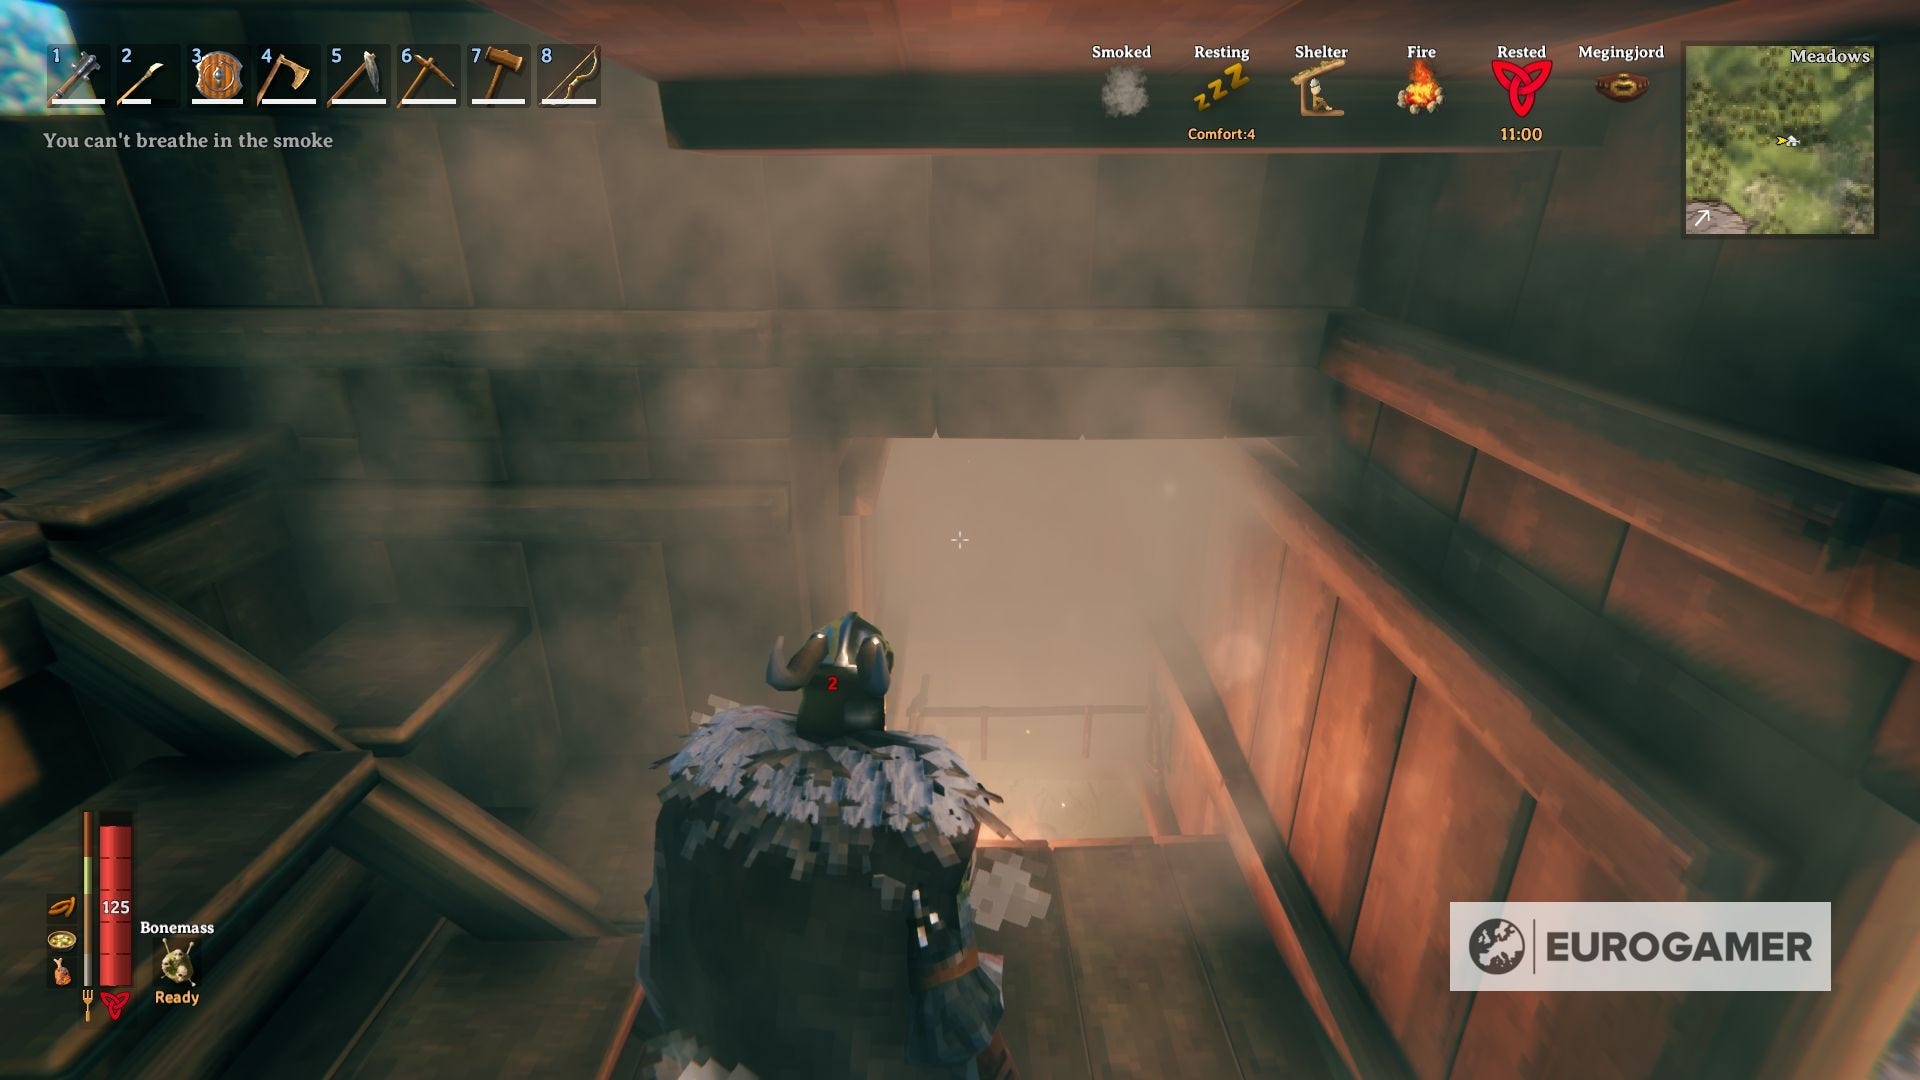
Building a chimney is pretty intuitive, and while you can take many approaches to the desired shape of the chimney you want to build, the base concept always involves the same basic steps. You need to create a way for the smoke to leave your house while covering the fire with a roof at the same time, thus creating a ventilation system that still protects your fire from rain.
Surround the heat source of your choice with walls, leaving the front part open to be able to interact with the fire and keep fuelling it.
Add more walls on top, creating a column that you will extend until it reaches the adequate altitude for it to further redirect the smoke out of the house.
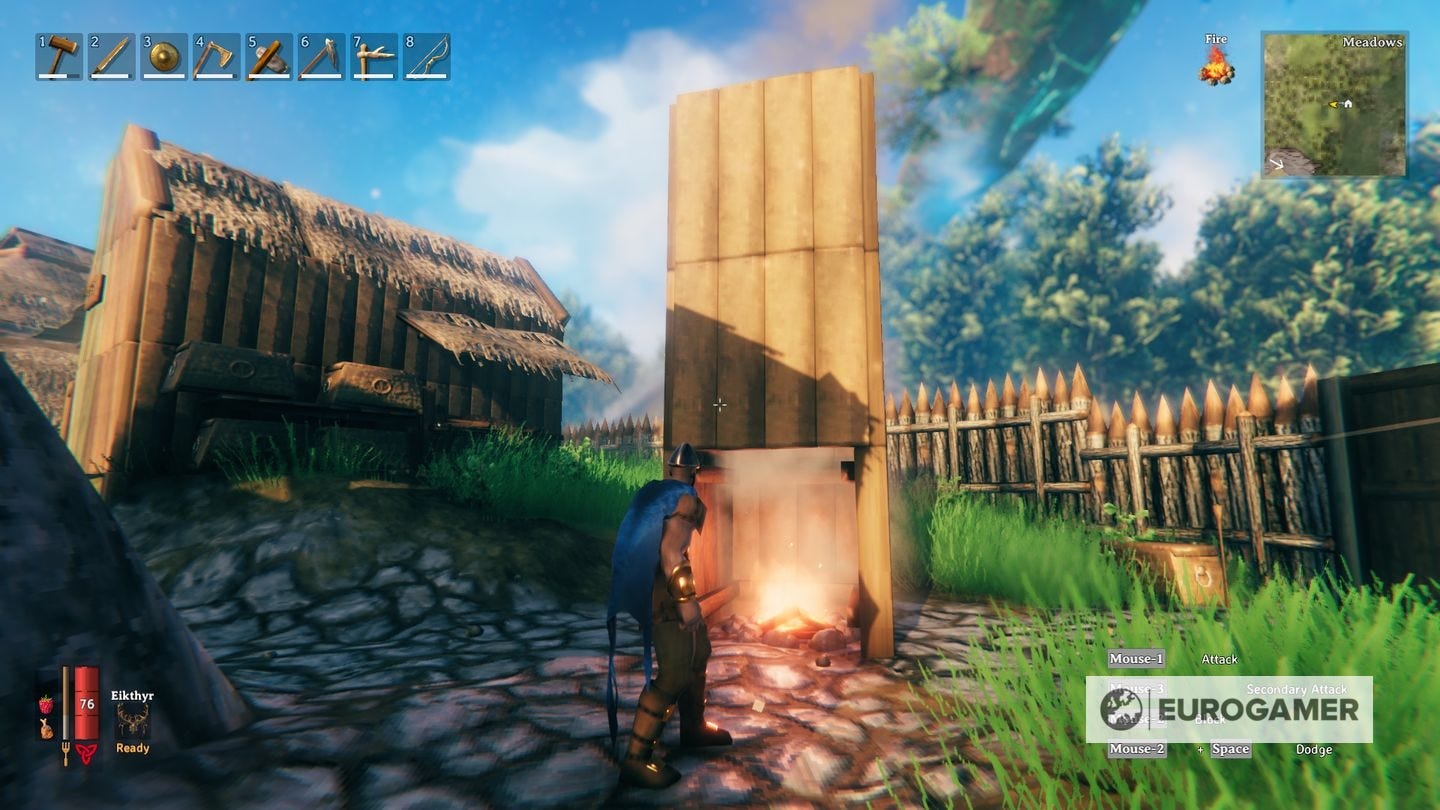
Once you get there add a wood roof, with the 45° one being the most suitable since it leaves more room for the chimney to exhale. Don't cover the top entirely, though, leave enough room for the smoke to escape. As you can see, this fulfills the chimney's purpose of redirecting the smoke out of the house, while also having the fire protected from the rain.
Another example of how a chimney works can be seen using a Hearth as a base for a stone chimney. Being bigger than a campfire, the size of the Hearth leaves more room to ventilate, so building the roof for this chimney is less difficult and the altitude, in this case, less necessary.

Valheim building decay and building integrity explained
Beyond the basics, there are more advanced things to consider with maintaining and explaining your building over time:
Building decay in Valheim
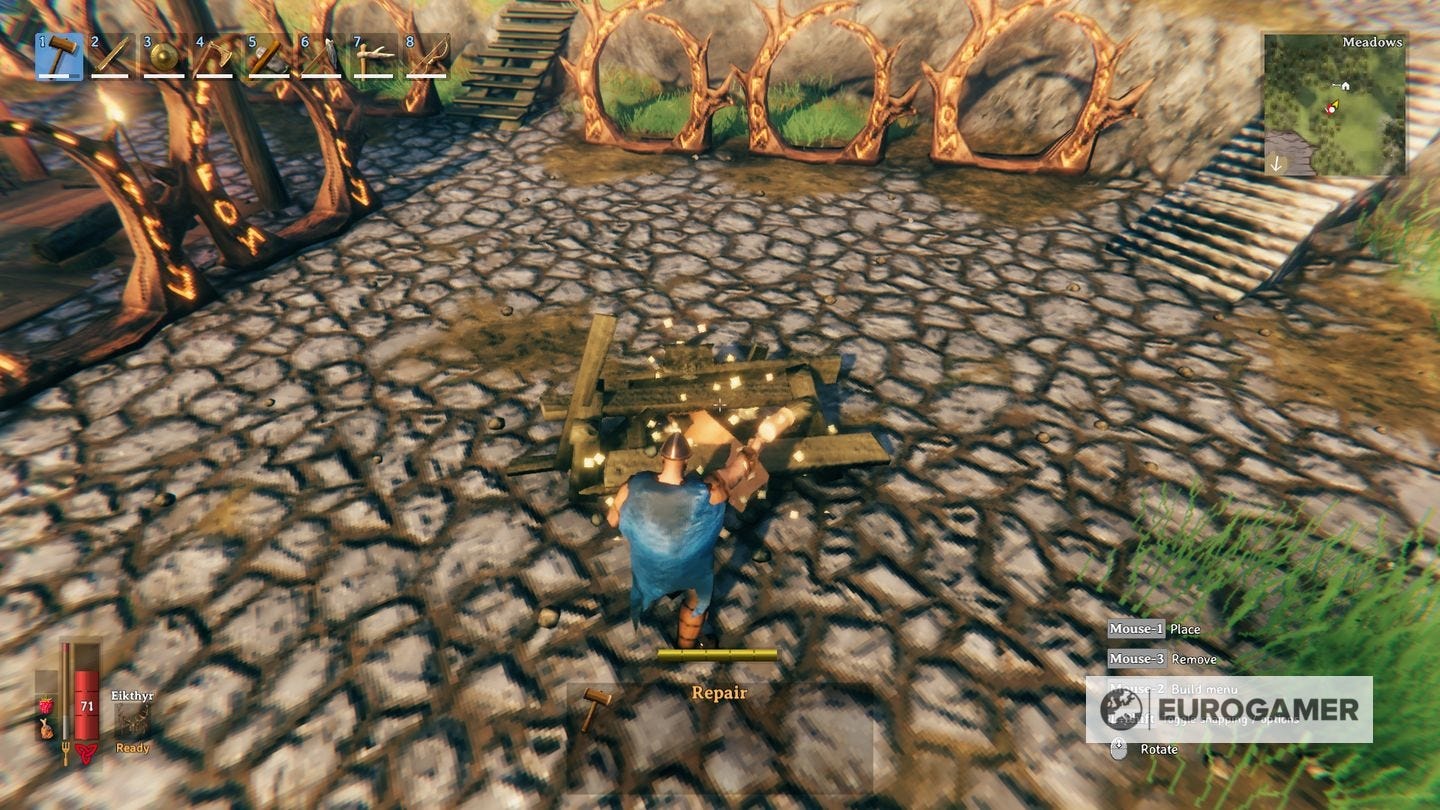
Any wood-based construction will require a certain level of attention, since any kind of contact with water will damage it, changing its color and shape, and affecting its total durability.
Natural events like rain will erode any wood component that it's not covered by a roof, and buildings that are in contact with water bodies such as rivers, lakes, or the ocean, will have their foundations damaged.

Thankfully, the damage that wood suffers this way will only bring its durability to 50%, so as long as we keep an eye on it, things should be fine.
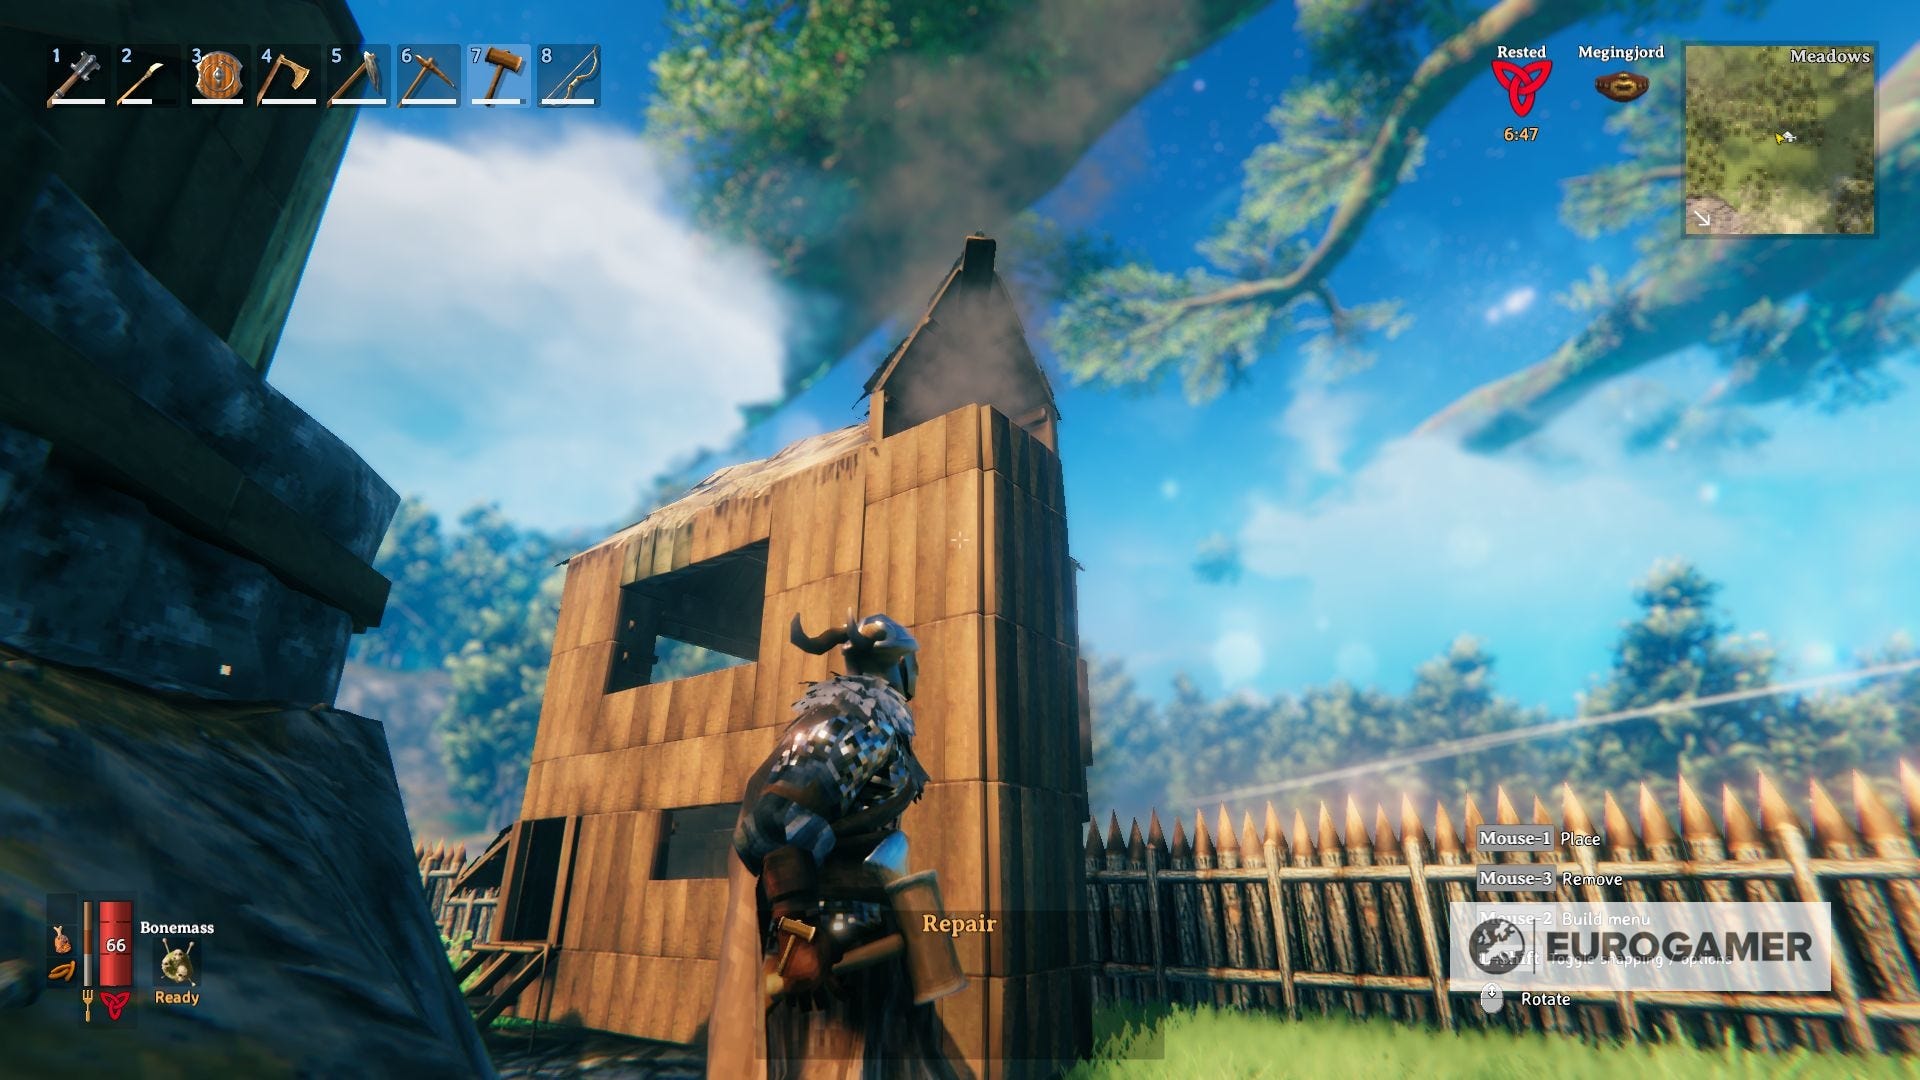
As such, now and again it's worth looking over your building with the hammer equipped, highlight any pieces to see if they need repairing. If you're struggling with this, then moving onto stone buildings is a good idea - which we explain more about in a later section.

Building integrity in Valheim
Building Integrity is the mechanic related to the possible height that our construction projects can reach. It's the level of stability that a structure maintains, which changes depending on how long the chain of connected building components is from the ground to the roof.
With the more "grounded" components being blue and the farthest, and less stable ones being red, once a building component reaches a red level of integrity, you'll be unable to build upon that, so it's important to keep that in mind at the moment of designing a home.
As with building decay, stone buildings are useful here in that they have better integrity and can be built higher - there's more on unlock this in a later section.
How to remove a building in Valheim
Finally, to scrap any building, you need to select the Hammer and just press the mouse wheel while aiming at the soon-to-be-destroyed component.
You will receive your components back unless either they are damaged, in which case you will receive half the materials back.
Alternatively, if you're destroying something another player built, then you won't receive anything at all. Keep in mind that if you're trying to clean an entire area, you'll need to leave the workbench untouched until the very end, otherwise, you'd have to build another one to keep scrapping things.
How to unlock stone buildings in Valheim
Not only do stone components in buildings have a way better overall durability than wood, but they also allow the player to reach new heights.

If you place a wood component over a stone one, they will get a reset in their level of integrity, counting as if you just placed that wood part on the ground. This brings a whole new level of building for us to be creative in terms of design, and of course, it certainly looks better.
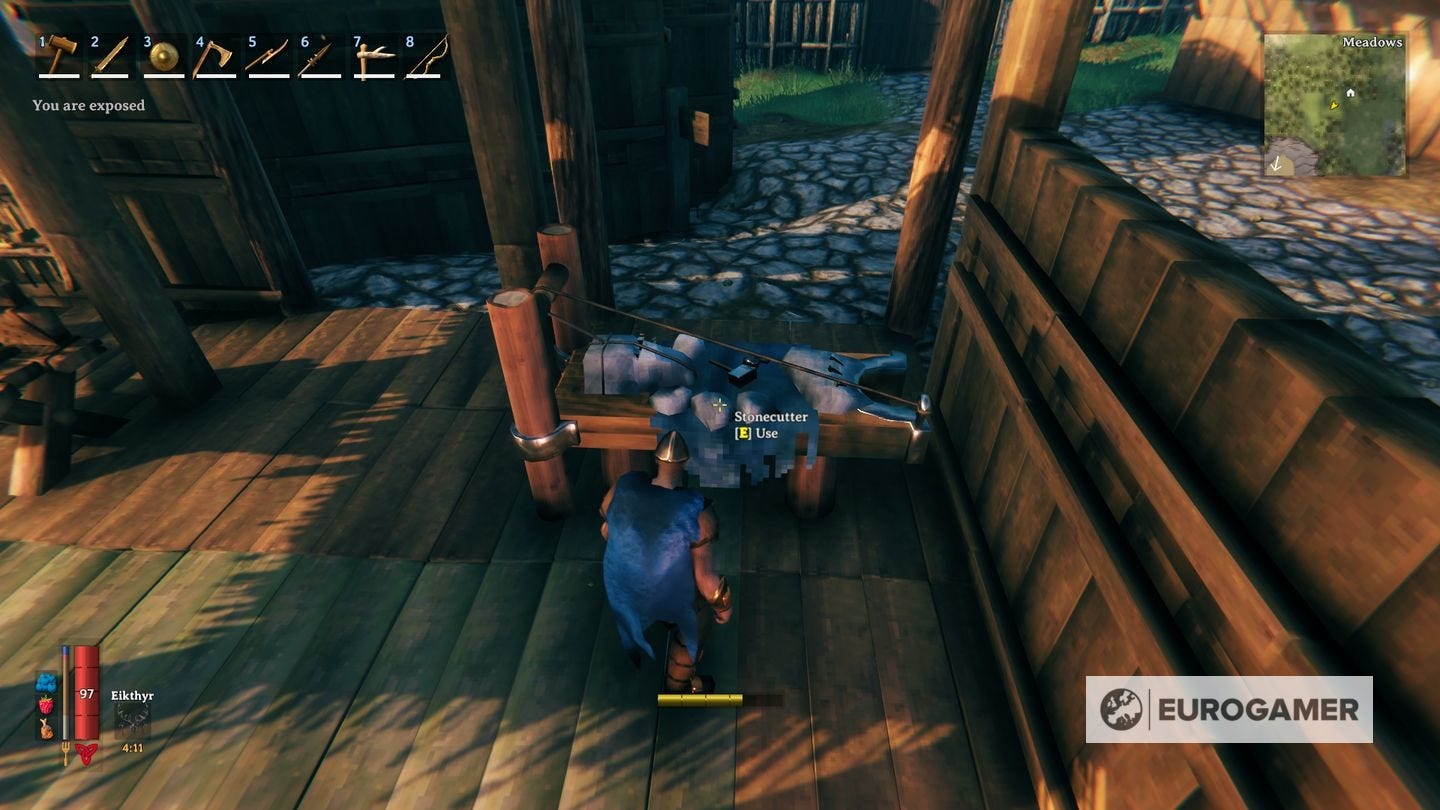
Now, building using stone as prime material is an entirely different story than using wood. First and foremost you need to build a Stonecutter.
To do that, you have to proceed into the Sunken Crypts, where you will find and extract iron from the Muddy Scrap Piles.
Keep in mind, the Crypts are available only after beating the second boss battle, so be patient and upgrade your equipment as much as the game allows before that.
Once you got your hands on that material, you will be able to craft a Stonecutter using the following materials:
- Wood x10
- Iron x2
- Stone x4
The Stonecutter will enable us to build a wide array of new components, and not only stone components are more sturdy against the elements, but they also count permanently as "grounded", which will extend our reach in terms of Building Integrity.
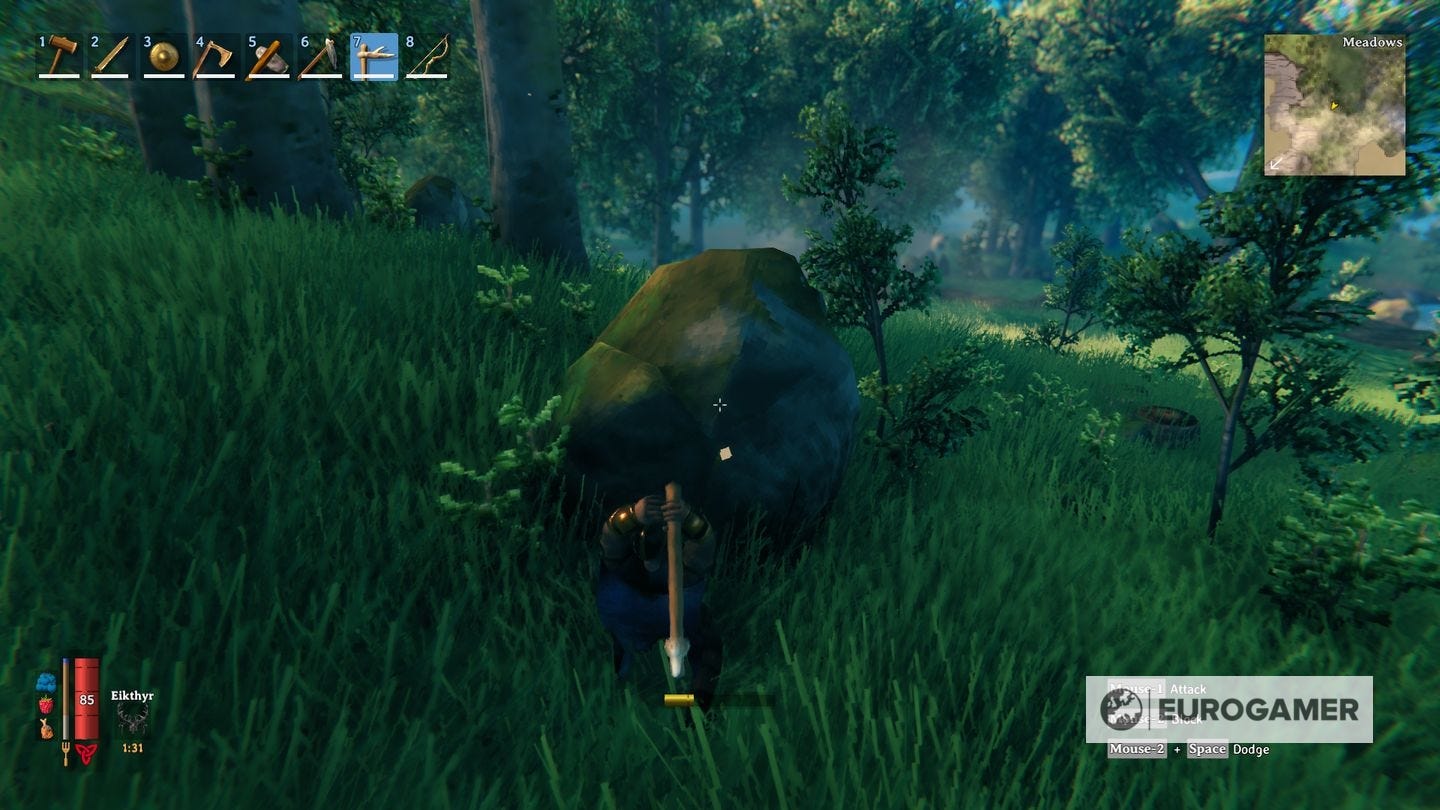
Remember to get stone, you can either pick up stones from the floor in zones such as the Meadows or, once you got our first Picaxe, you can get it by mining different boulders spread around almost any area.
Building in later Valheim biomes, from the Black Forest to the Plains
As you progress through Valheim, you will find the need to progress through different biomes. Each one has a variety of considerations when it comes to materials and learning how to survive.
Black Forest
These are large forests crowded with Pine and Fir trees, displaying hills full of rocks and several burial Crypts to explore. There you can find nodes of Copper and Tin and come across skeletons, trolls, and greydwarfs, so while it's useful to have a home in this biome, you should build a well-guarded house, not only as a structure itself but also by adding defense mechanisms like fences or spikes.
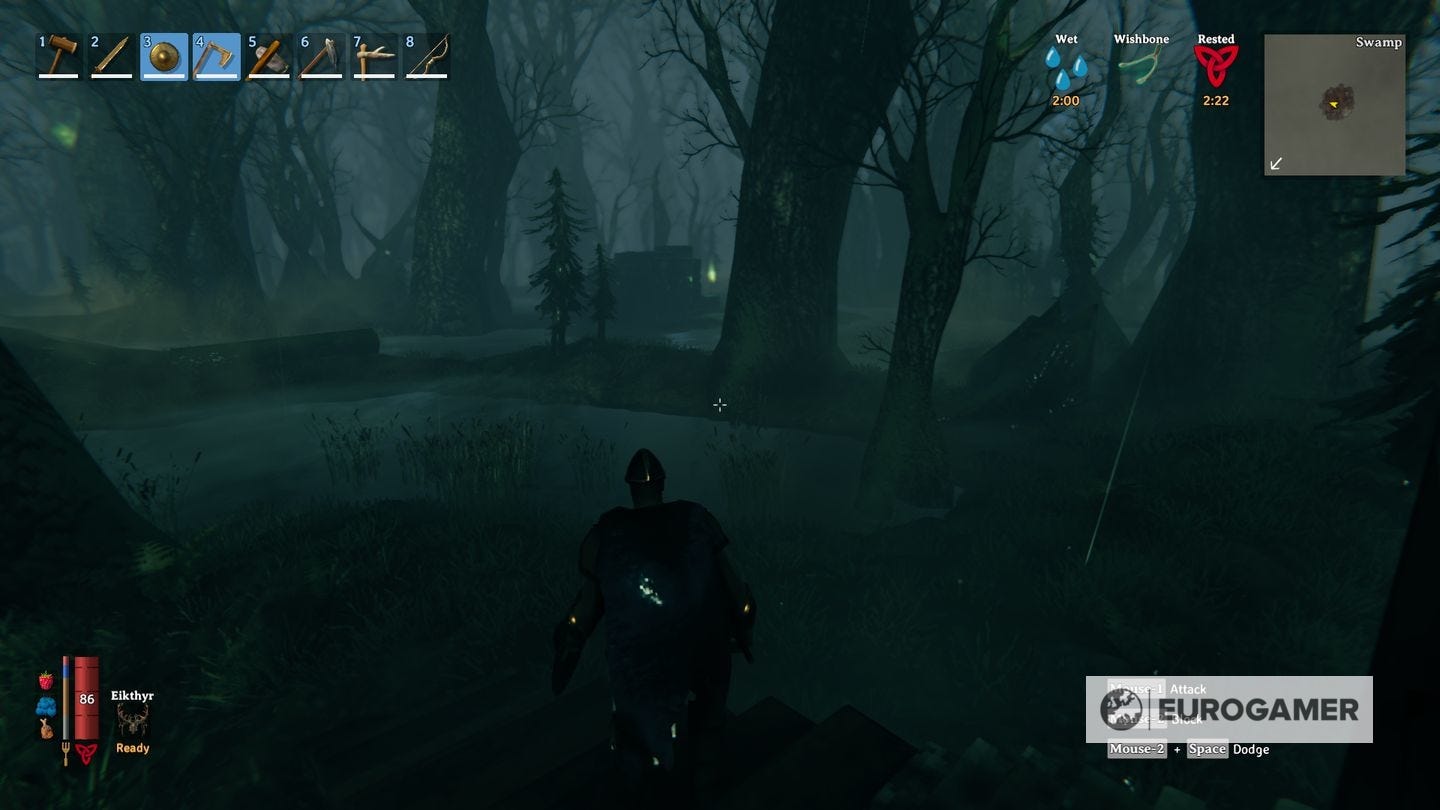
Swamp
Very dark and muddy places, the swamps are full of enormous trees that block the light from getting in, and it's within the Sunken Crypts laying around where you can grab scrap Iron. You can find hostile monsters, some of them very poisonous, and fire geysers protected by Surtlings, small flaming creatures that shoot fire. Not the most friendly or suitable place to build a home, but an interesting one for sure.
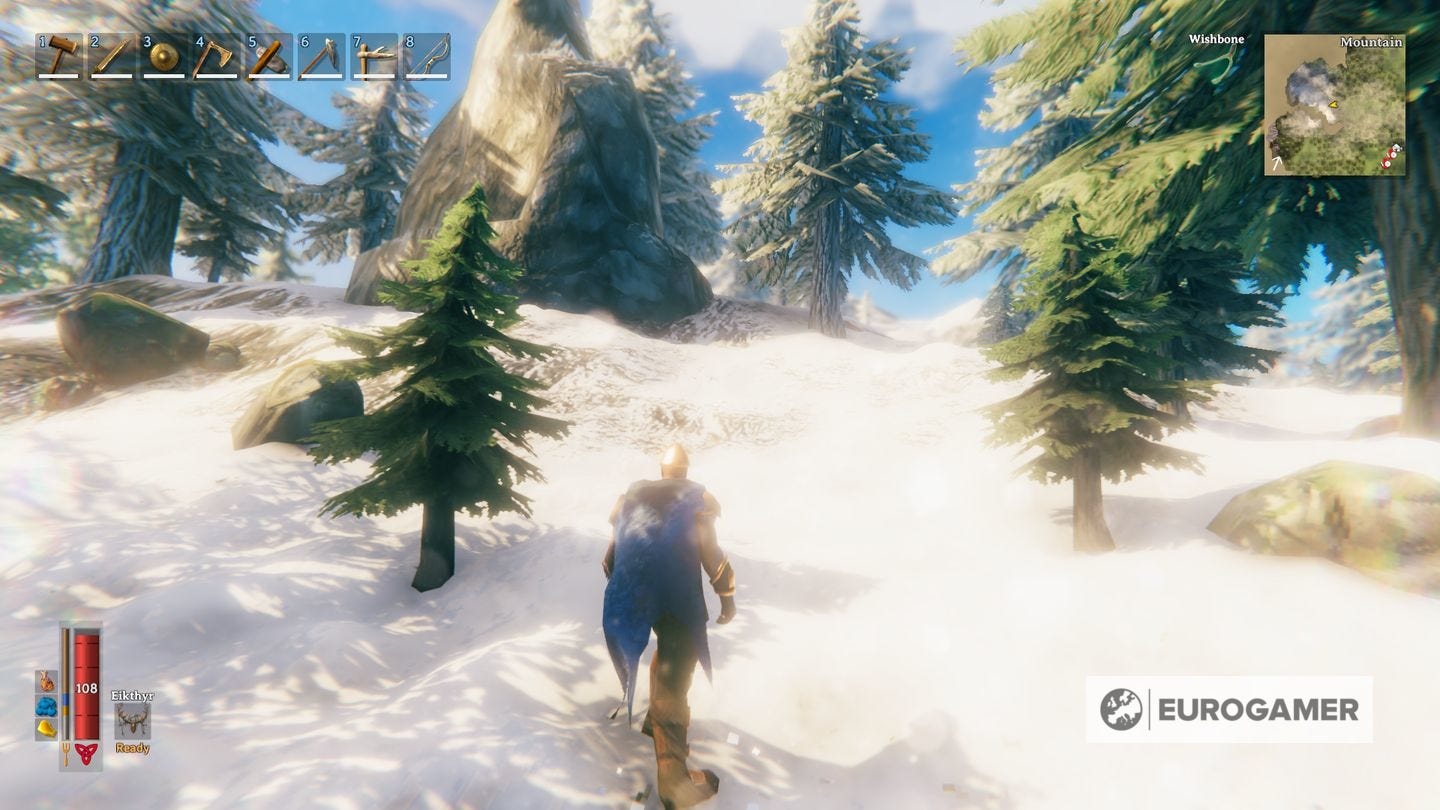
Mountain
These biomes are rough places. These peaks are entirely covered in snow, and you continuously get the Freeze debuff applied to your character. This can be easily negated by setting a campfire, wearing a lox/wolf cape, the wolf armor chest, or drinking a frost resistance mead
This, of course, doesn't solve the presence of stone golems, packs of wolves, and drakes. If you plan to live here and do some mining on the precious silver and obsidian nodes, it's highly advised to come prepared to fight for your life, before you can even set up a place that shelters you from this unforgiving weather.
Ocean
The ocean biome its not a place you will build a house in, but it's worthy of being mentioned. Any large body of water is considered an ocean biome. You can find sea serpents, fishes, or leviathans, and you can only access this place by boat or raft since swimming will drain your stamina.

Plains
Intended to be the last biome for you to visit due to the game's natural progression, the Plains biome is a very open area that displays different rock formations and is inhabited by the goblin-esque Fulings and the strong, scary Deathsquitoes.
By far the most dangerous place in the game, not only you will need to progress enough to get comfortable in this area, but you will also need to build a very fortified place if you intend to stay long.

If you're looking to share your buildings with your friends, our page on dedicated servers can explain how to keep a persistent game up and running.