All Cosmo Canyon Cache locations in Final Fantasy 7 Rebirth
How to find all chests at each Cosmo Canyon Cache.

Finding all of the Cosmo Canyon Cache locations in Final Fantasy 7 Rebirth is an optional side task that we highly recommend doing while you're in the region.
Just like the previous regions you've been to in Final Fantasy 7 Rebirth, Cosmo Canyon Caches each contain two or more chests filled with loot to help you on your adventure to stop Sephiroth. However, you will need to get the Cosmo Canyon Chocobo before you can get to most of them.
Without further ado, we're here to show you all of the Cosmo Canyon Cache locations in Final Fantasy 7 Rebirth, how to get to some of the harder locations, and how to find all of the chests at each one.
On this page:
All Cosmo Canyon Cache locations in Final Fantasy 7 Rebirth
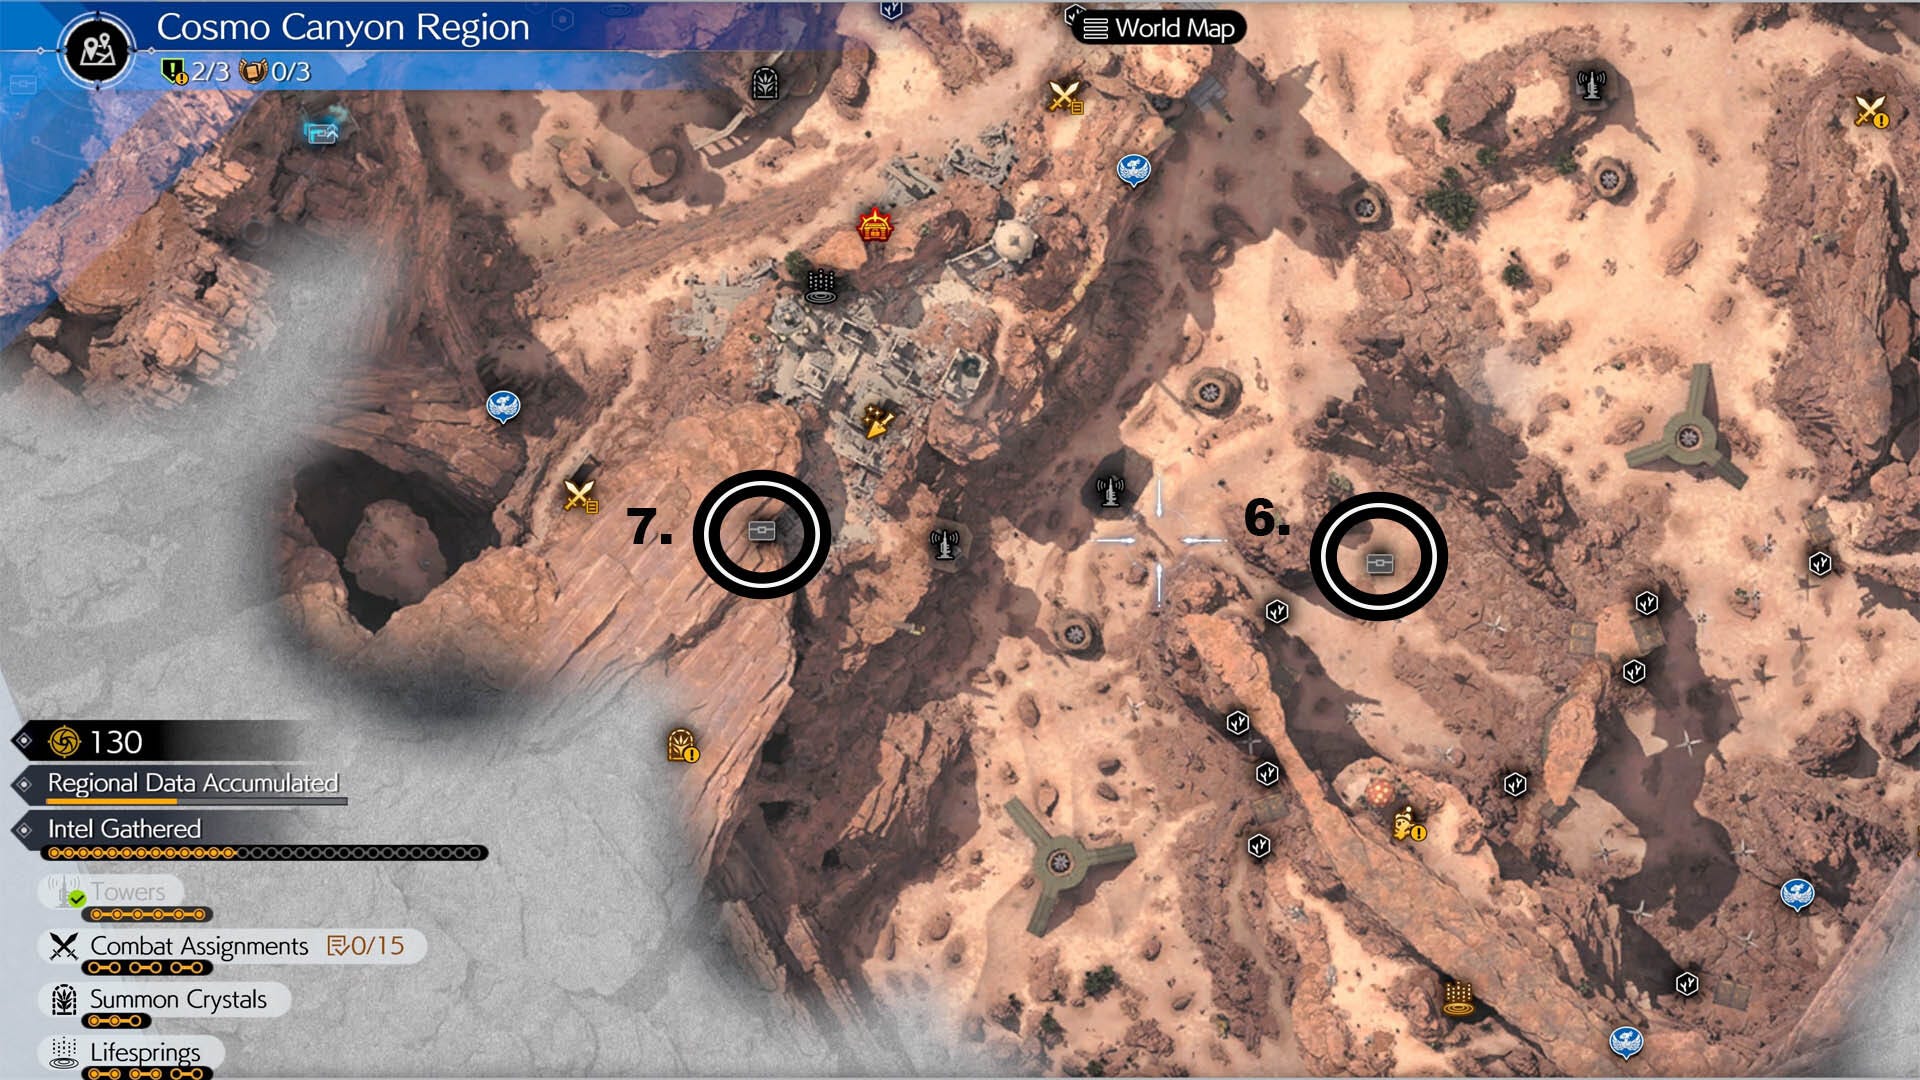
Here are all of the Cache locations in Cosmo Canyon in Final Fantasy 7 Rebirth:
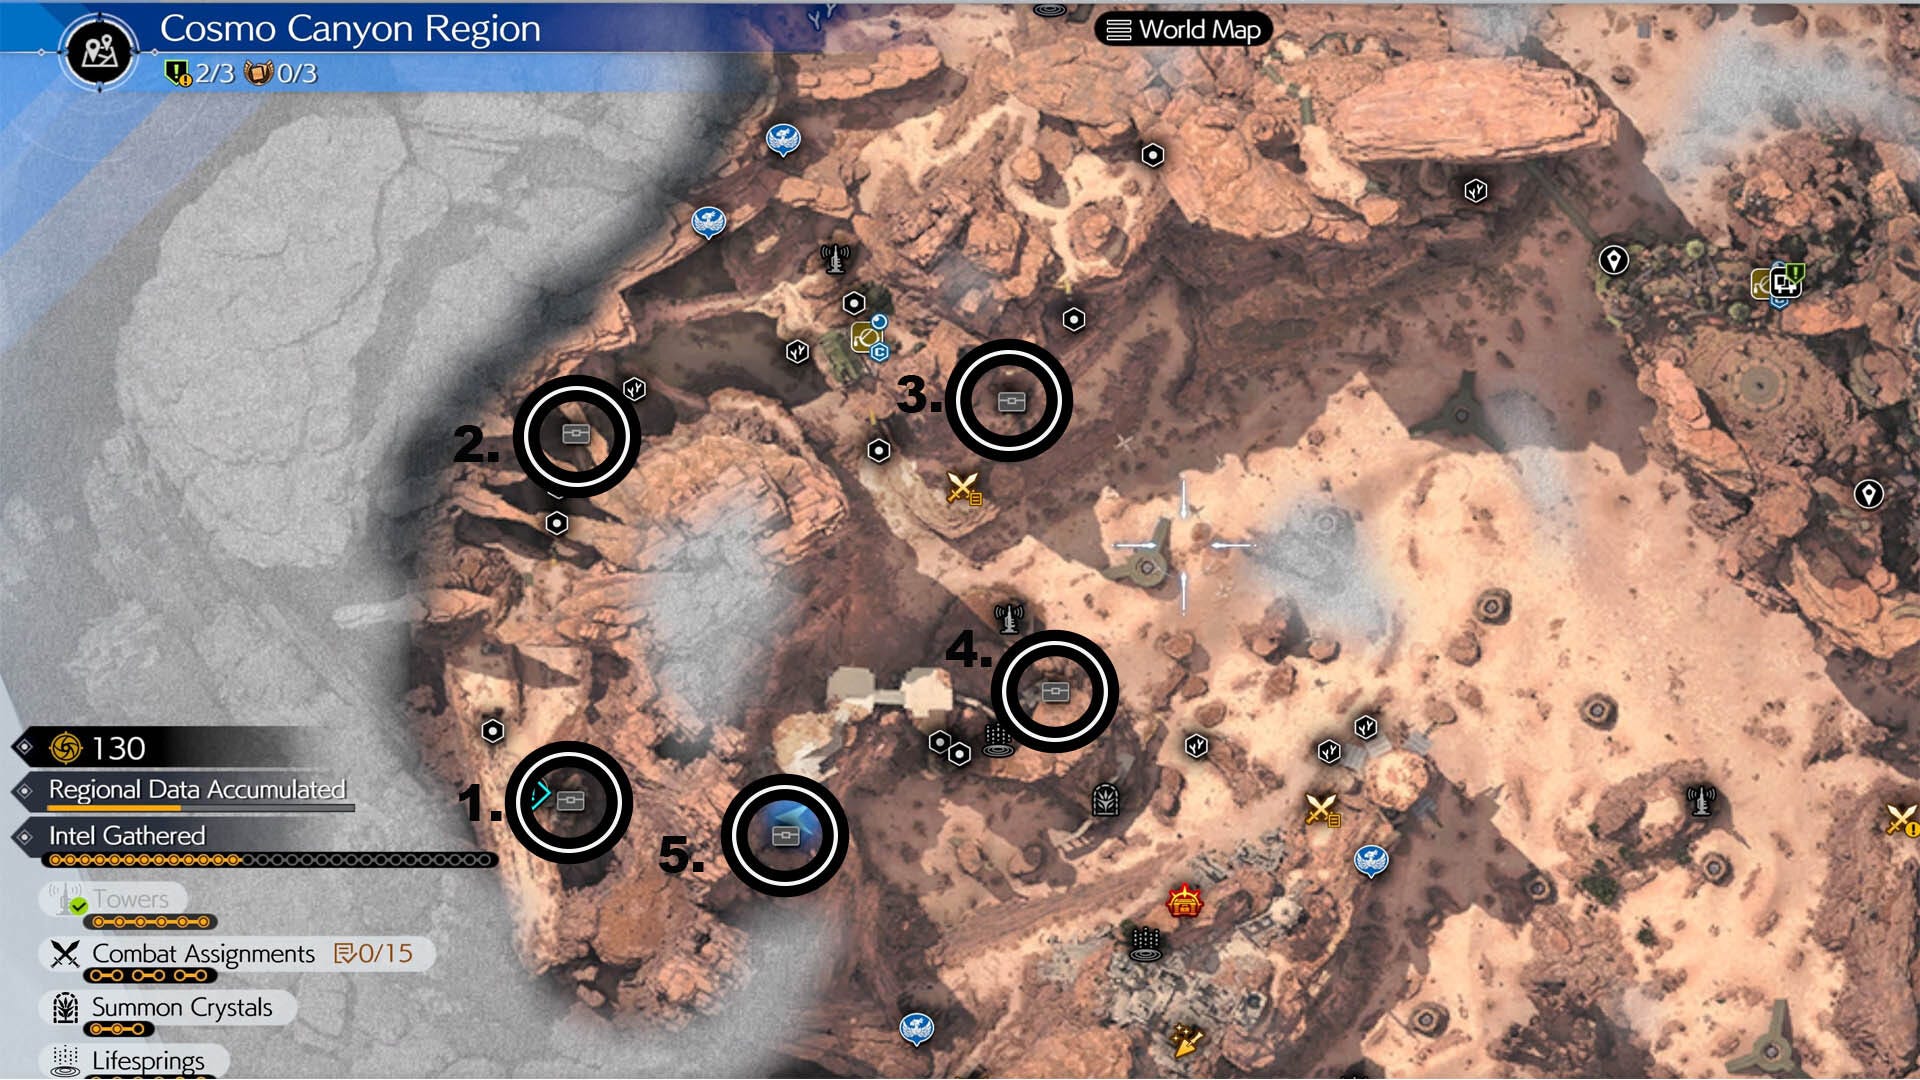
- Salt Miner's Shack
- Galeswept Valley
- The Celestica
- Ancient Baths
- Font Shrine
- Oldewyrm Clearing
- Capital Ruins
How to get all Salt Miner's Shack chests in Final Fantasy 7 Rebirth
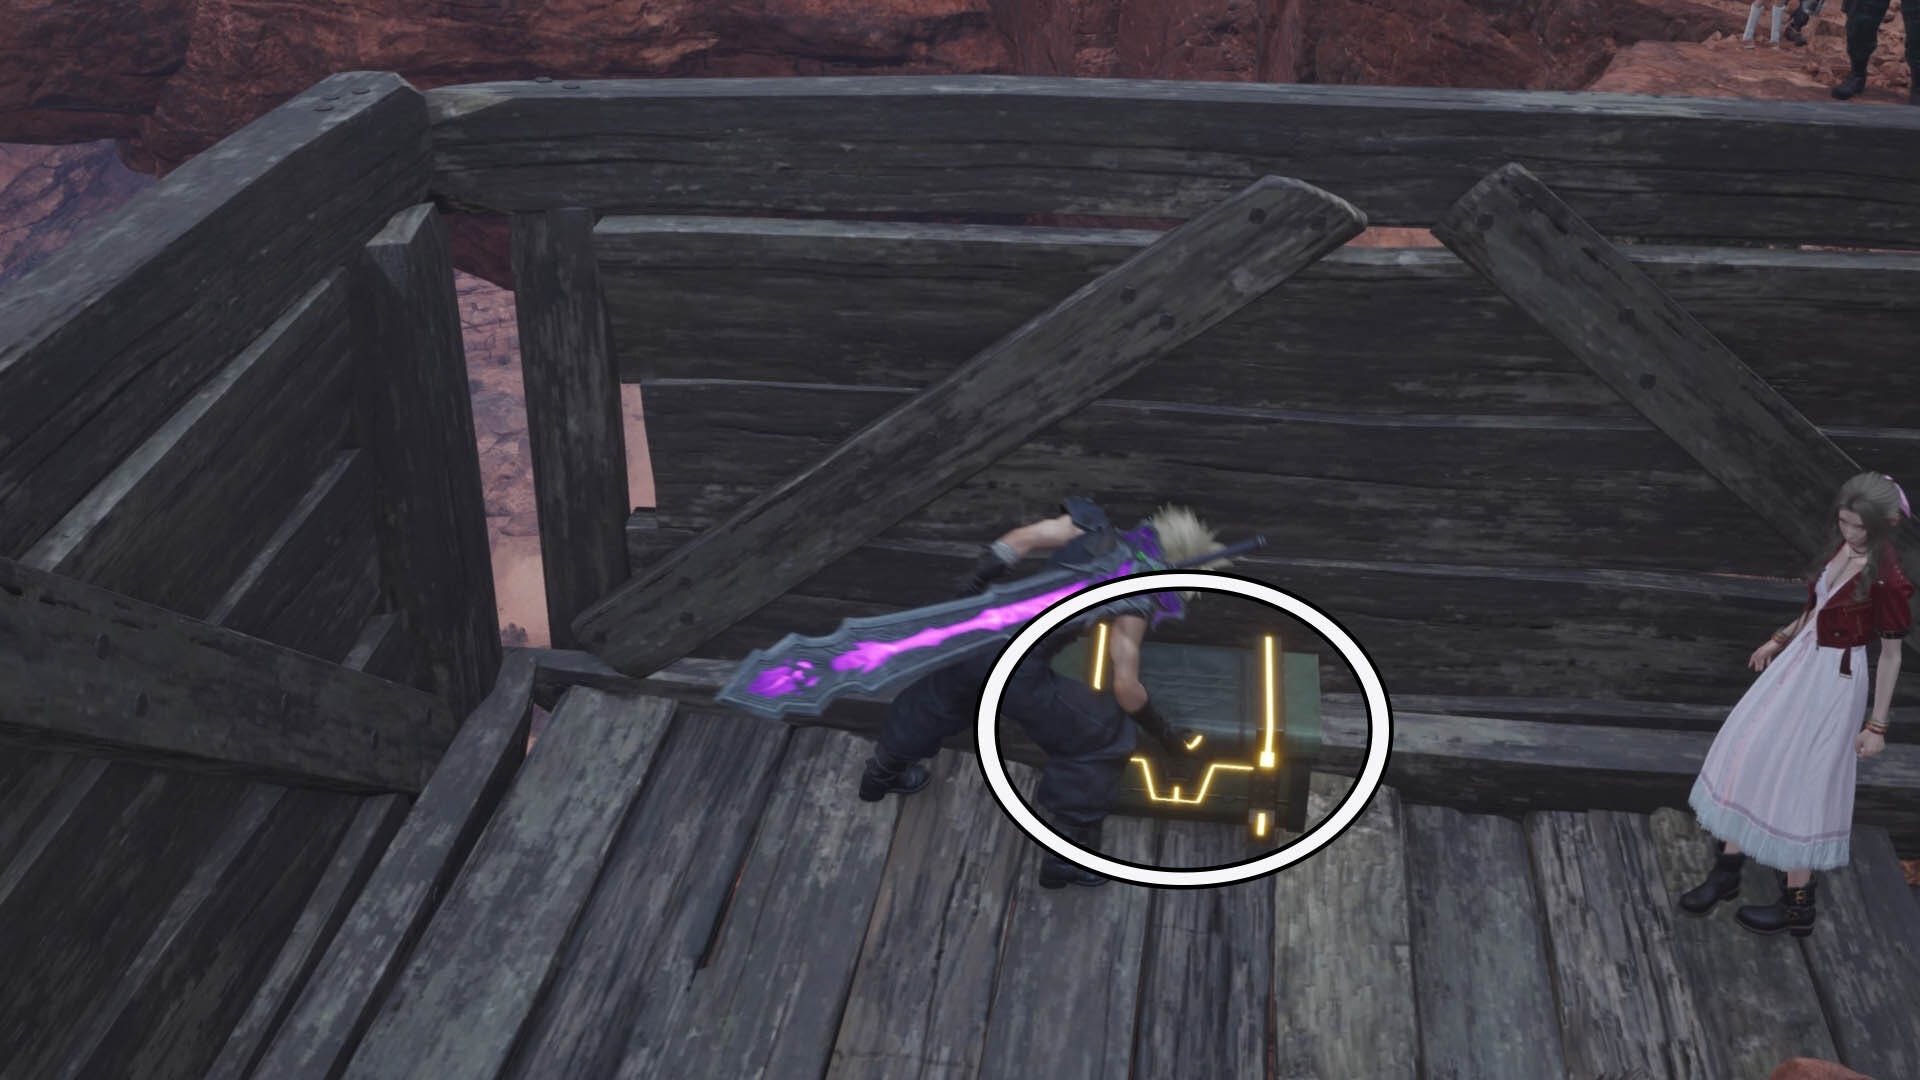
There are two chests at the Salt Miner's Shack cache. The first one is tucked behind the raised hut that's directly behind the phone booth for calling Cid.
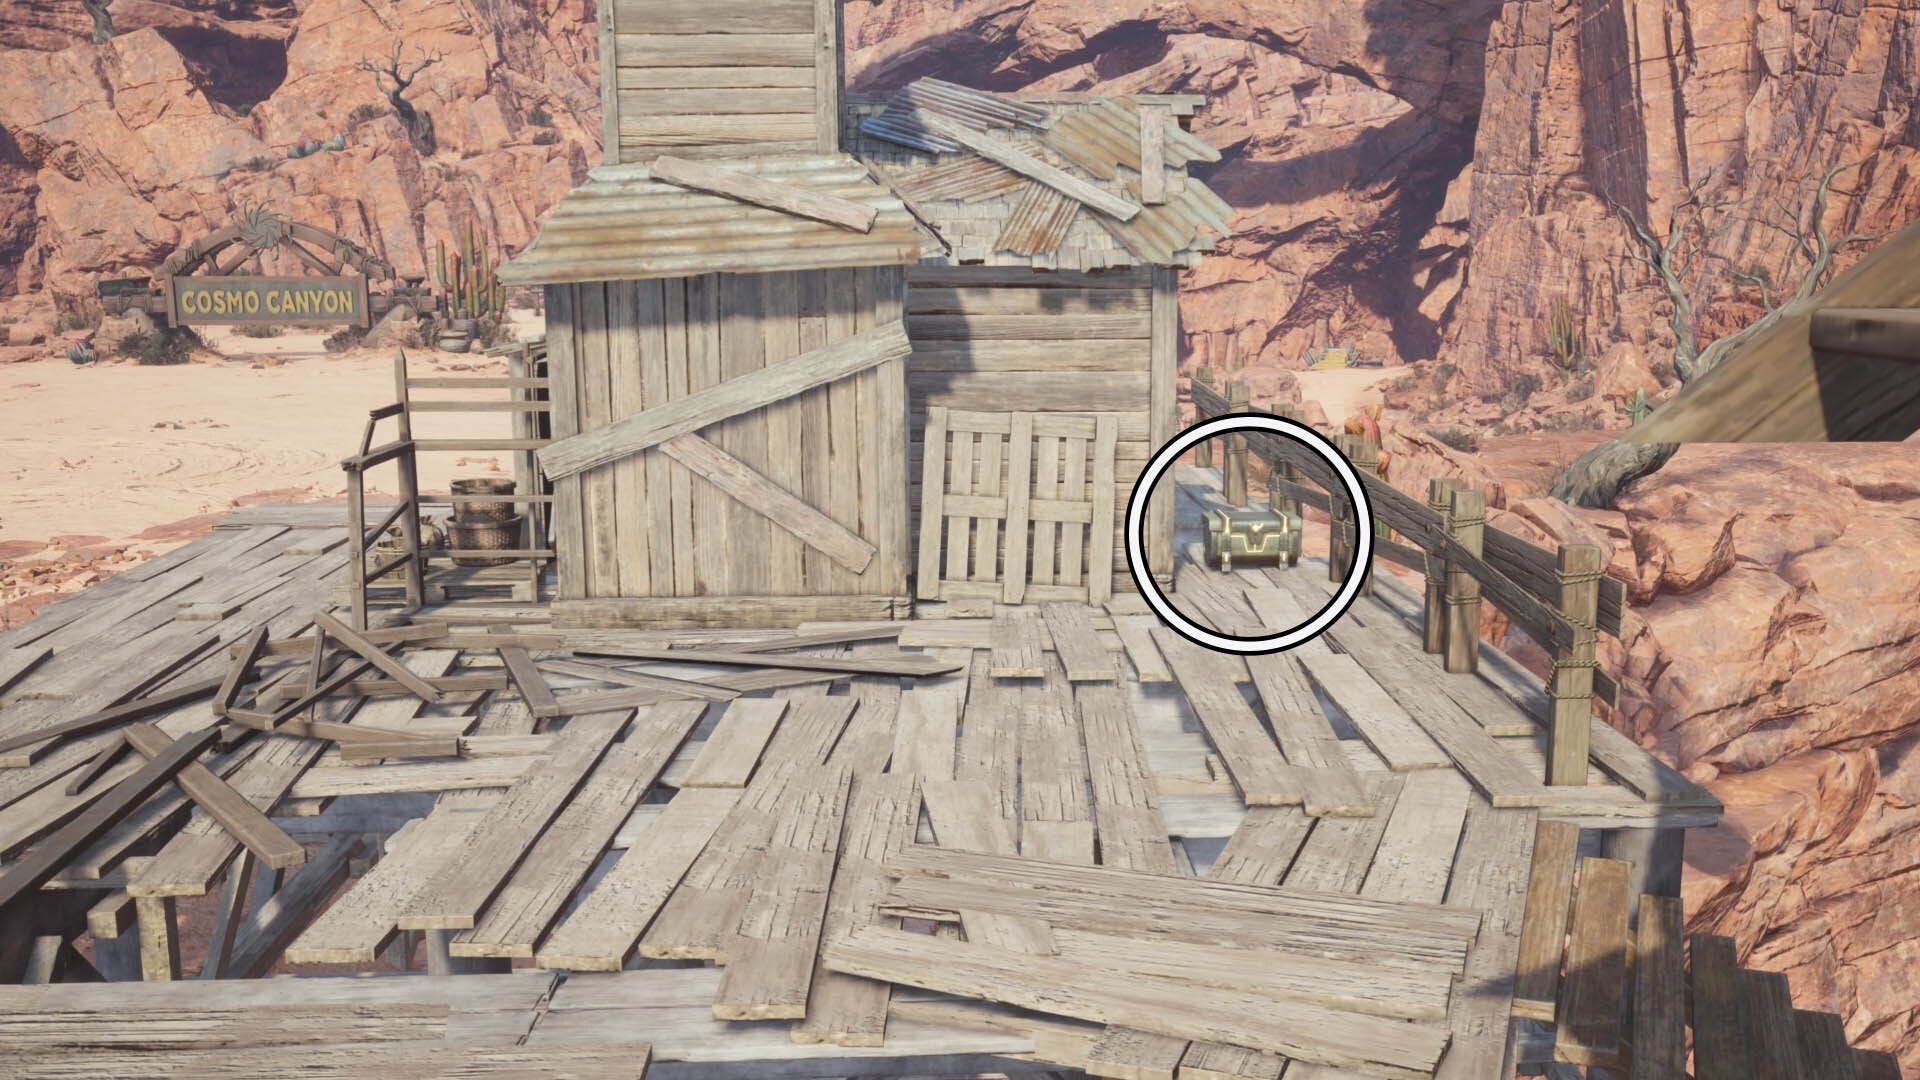
To find the second chest, head down the steps behind the hut mentioned above and then look to your left. You should see another hut with a dark brown door and some platforms to the right of it.
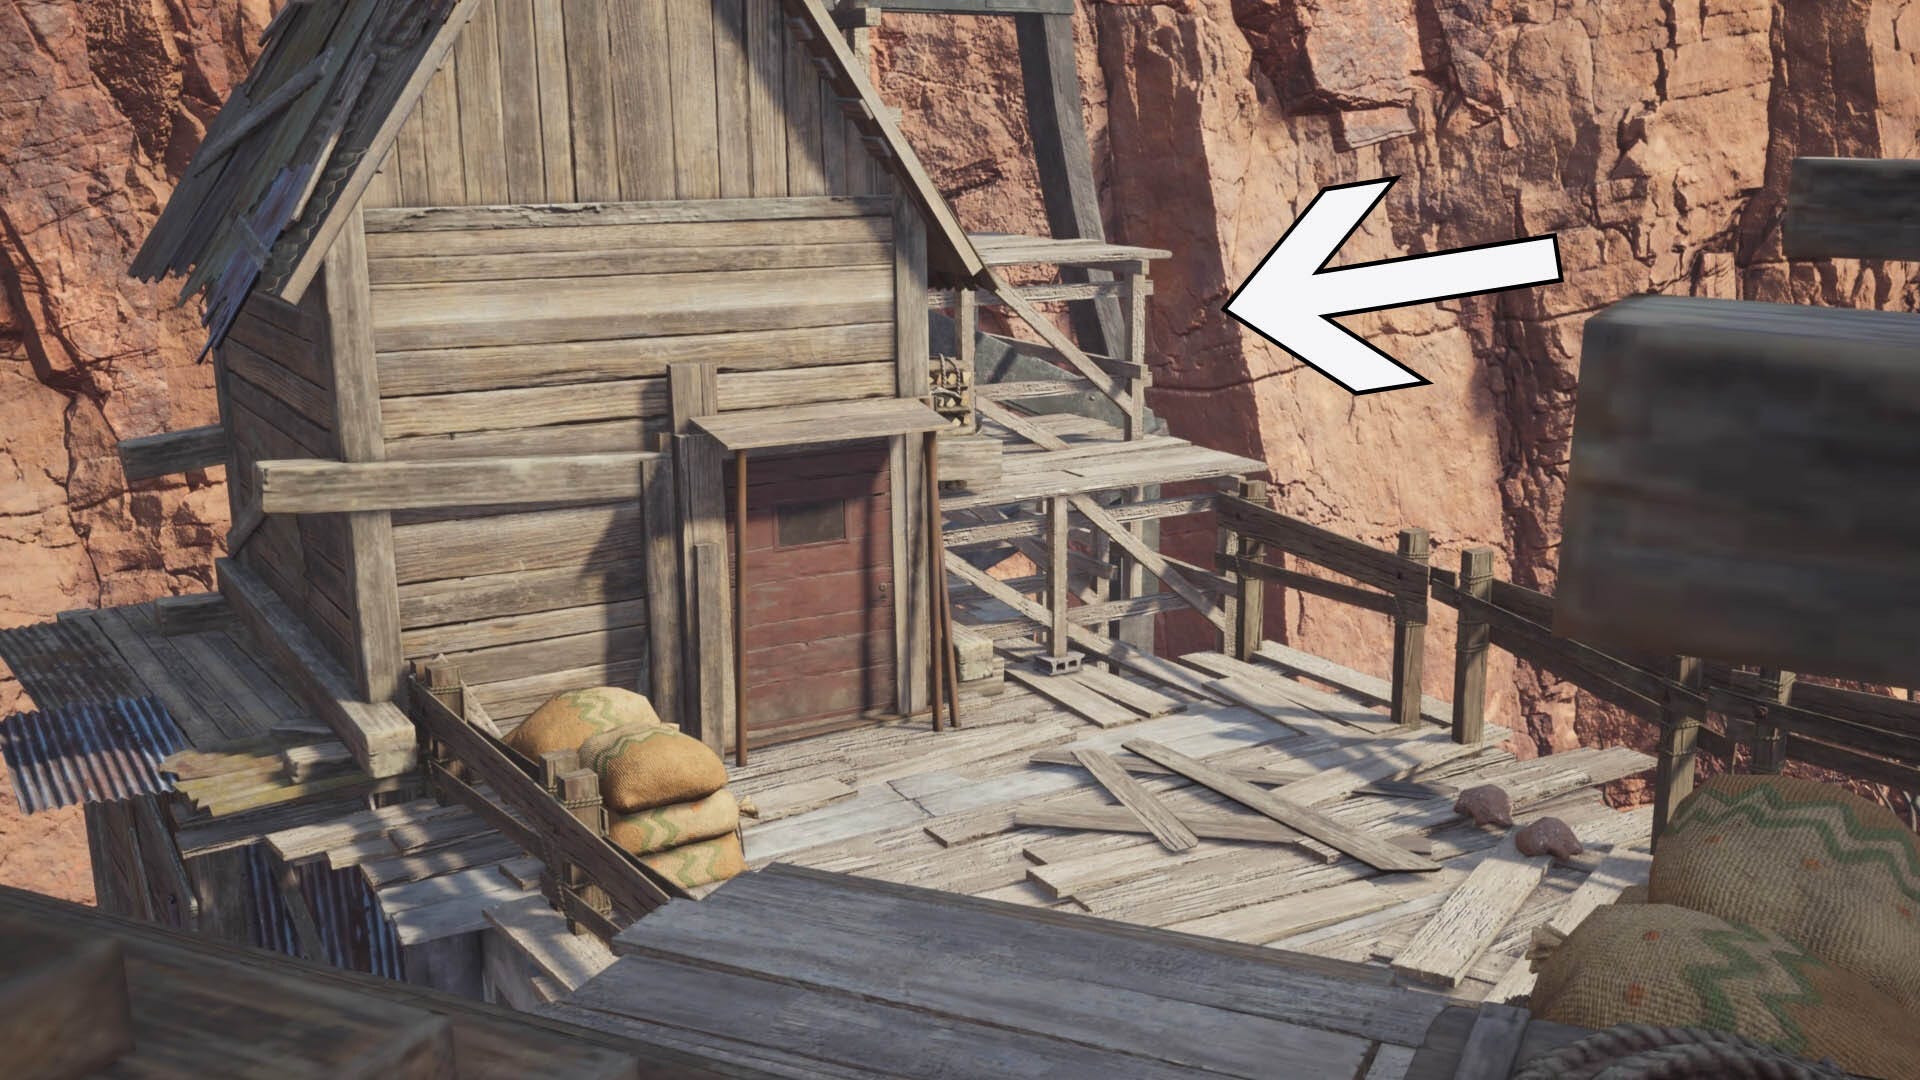
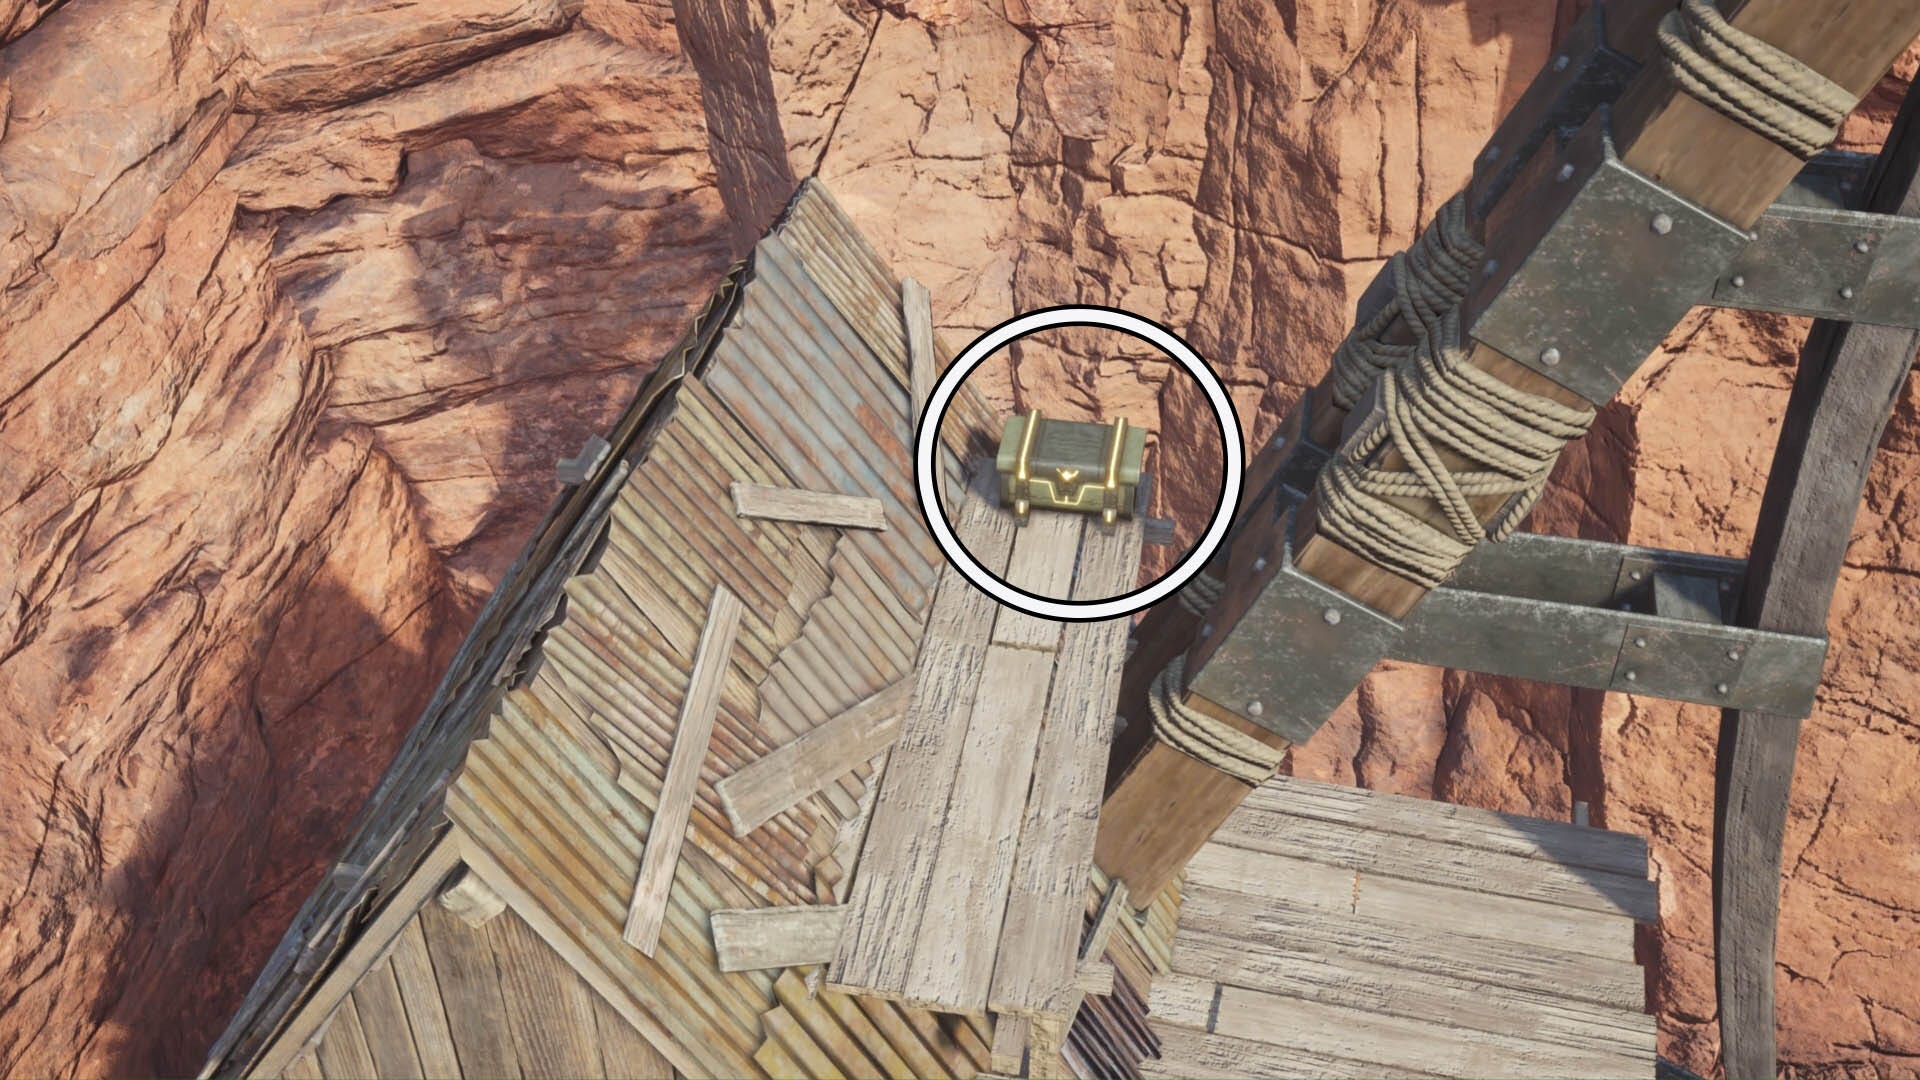
Climb these platforms to find the second chest on the roof of this hut.
How to get all Galeswept Valley chests in Final Fantasy 7 Rebirth
There are two chests at Galeswept Valley, however your first task is getting to the Cache location. We found it best to use your Chocobo to glide from the ramp next to Kamaria's Chocobo Ranch to reach the cache area. If you're stuck, aim for the Gliding Range No.2 marked on the map below:
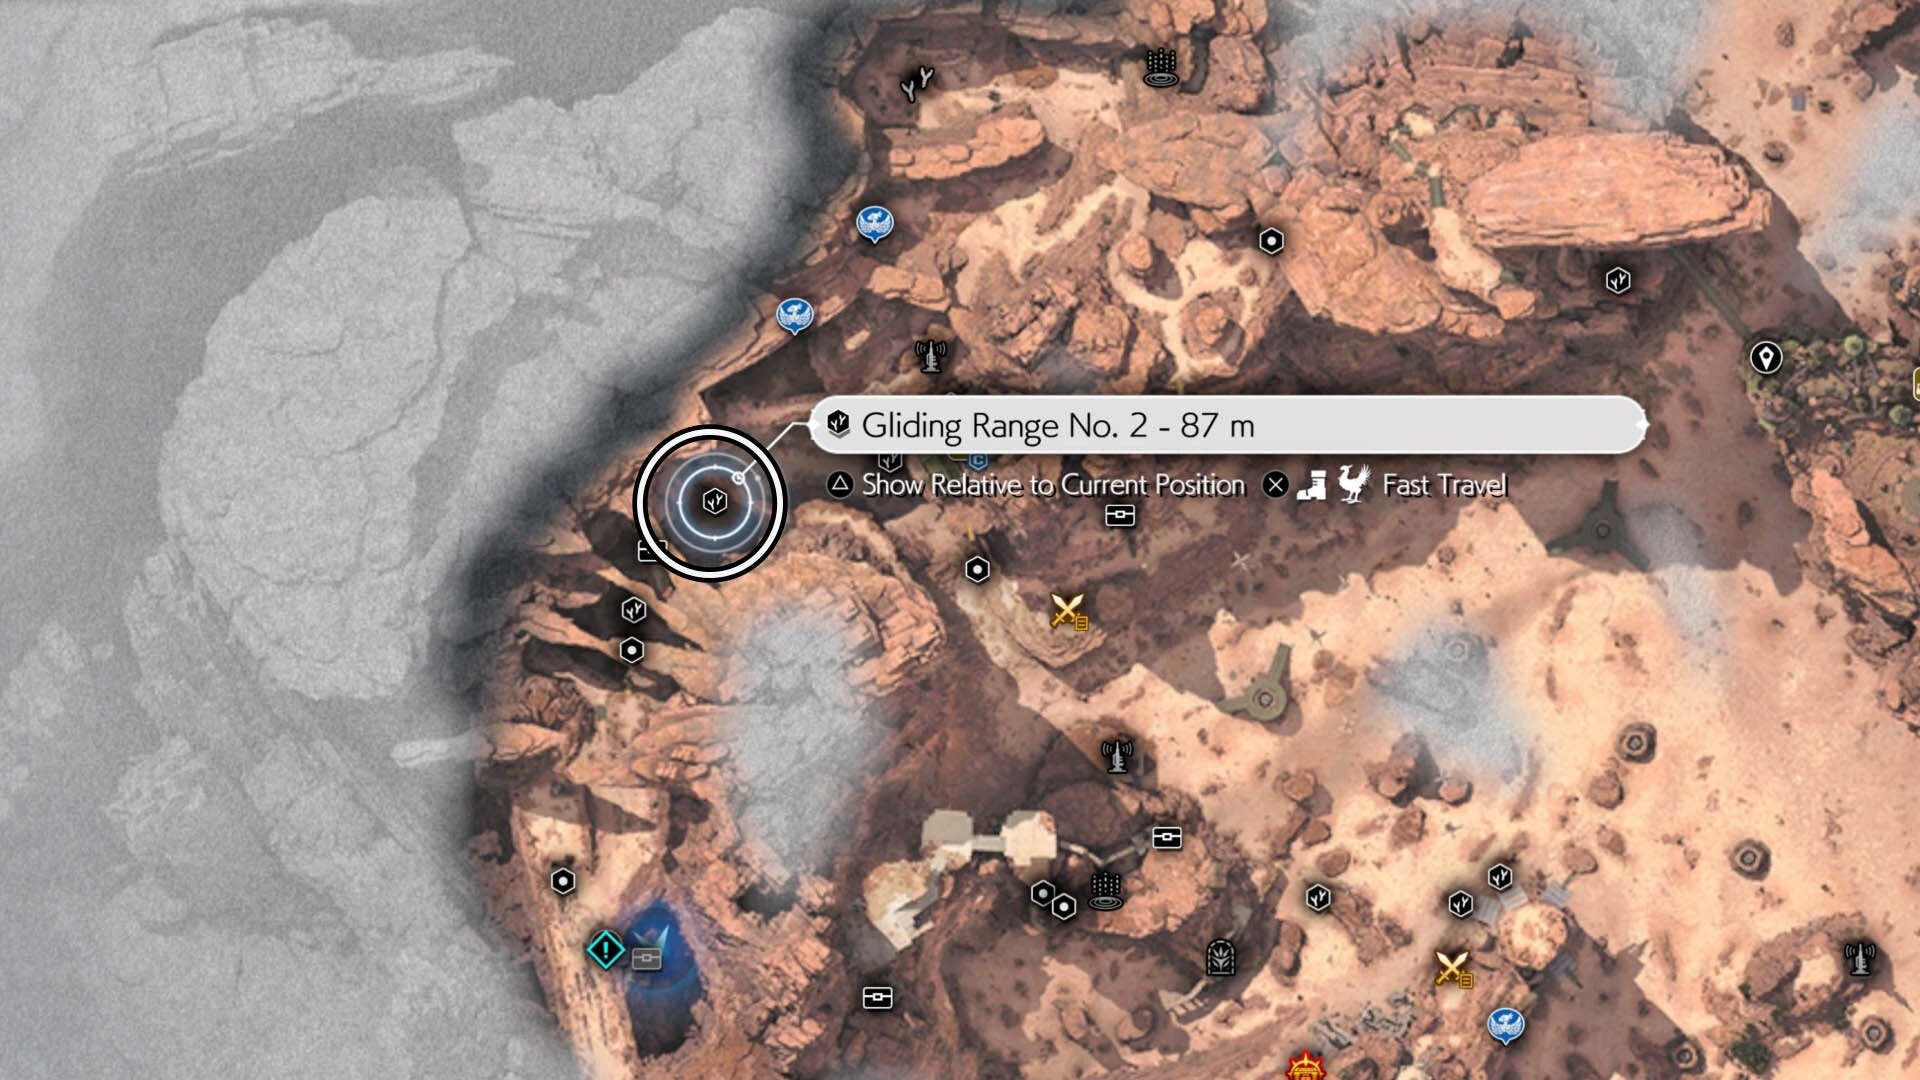
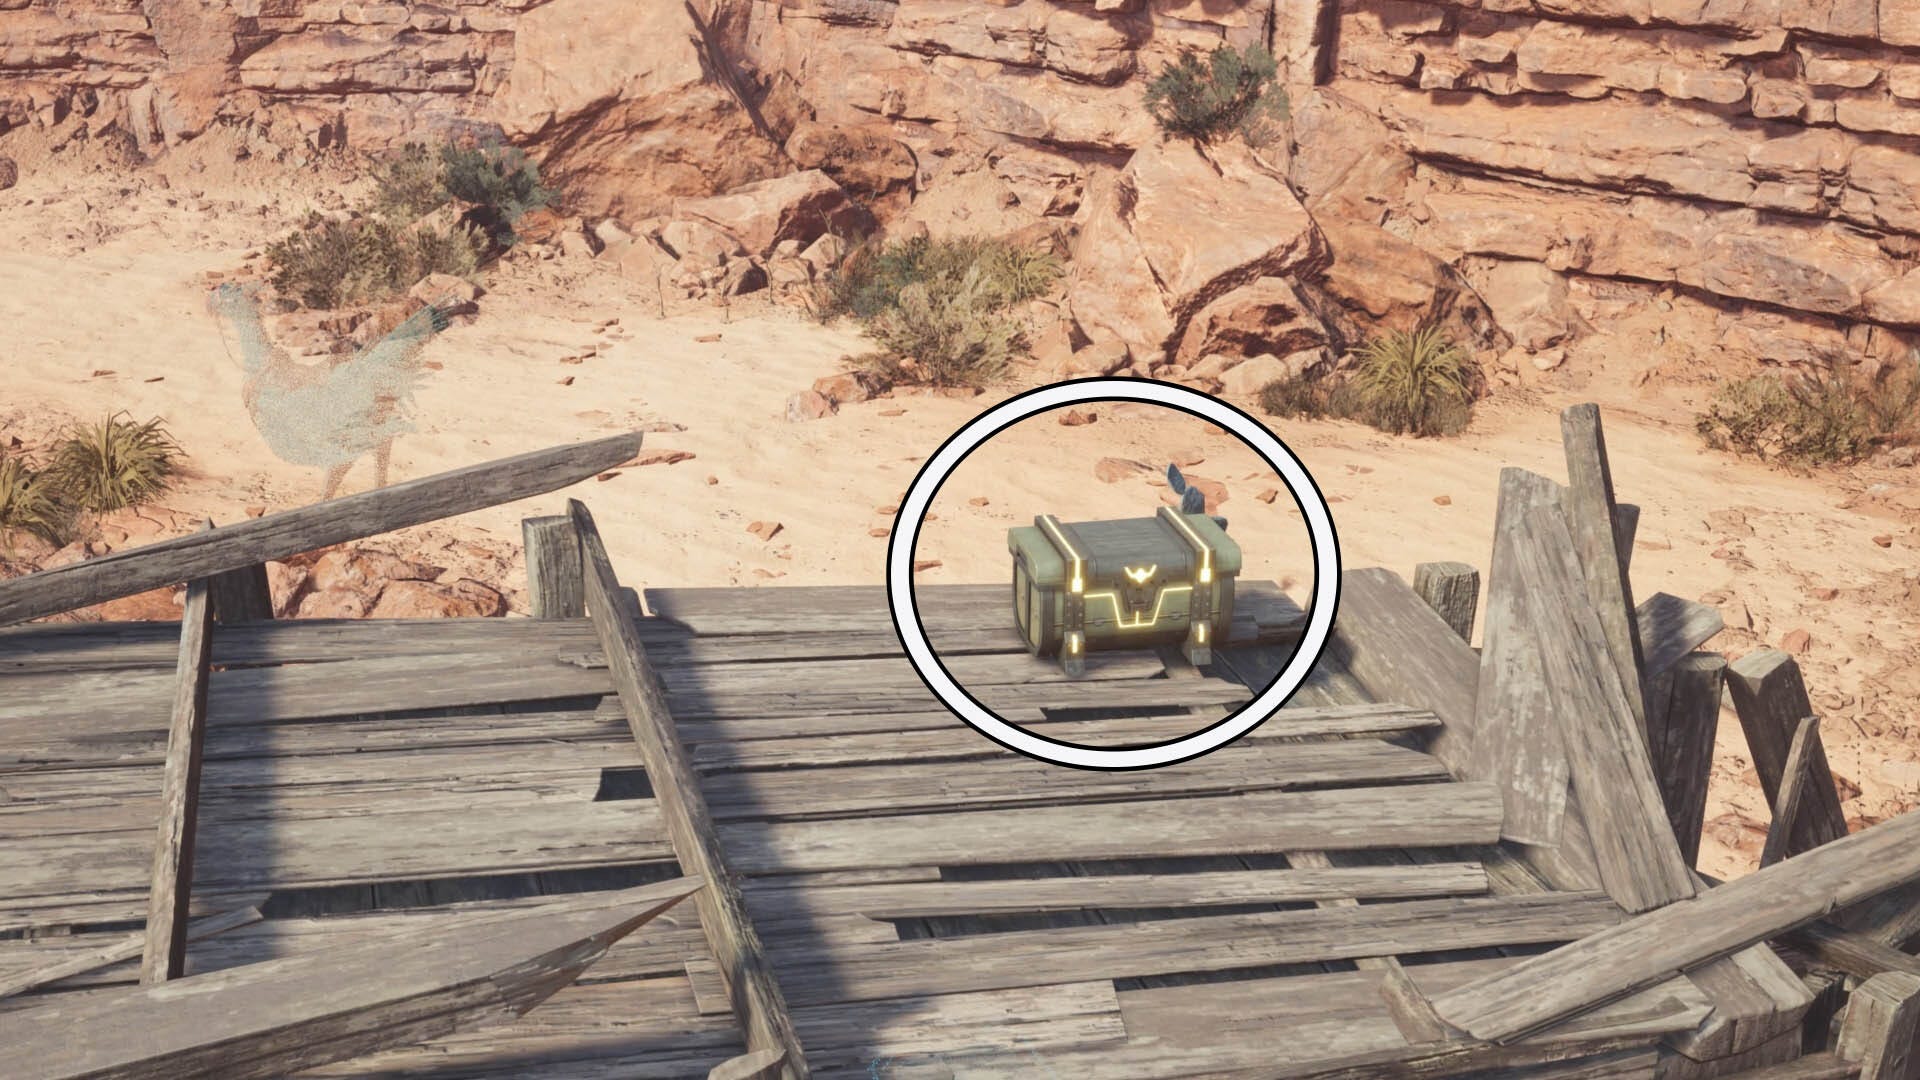
After ariving in the Cache area you should discover Gliding Range No.2. From this point, look to your left and you should see some wooden panels.
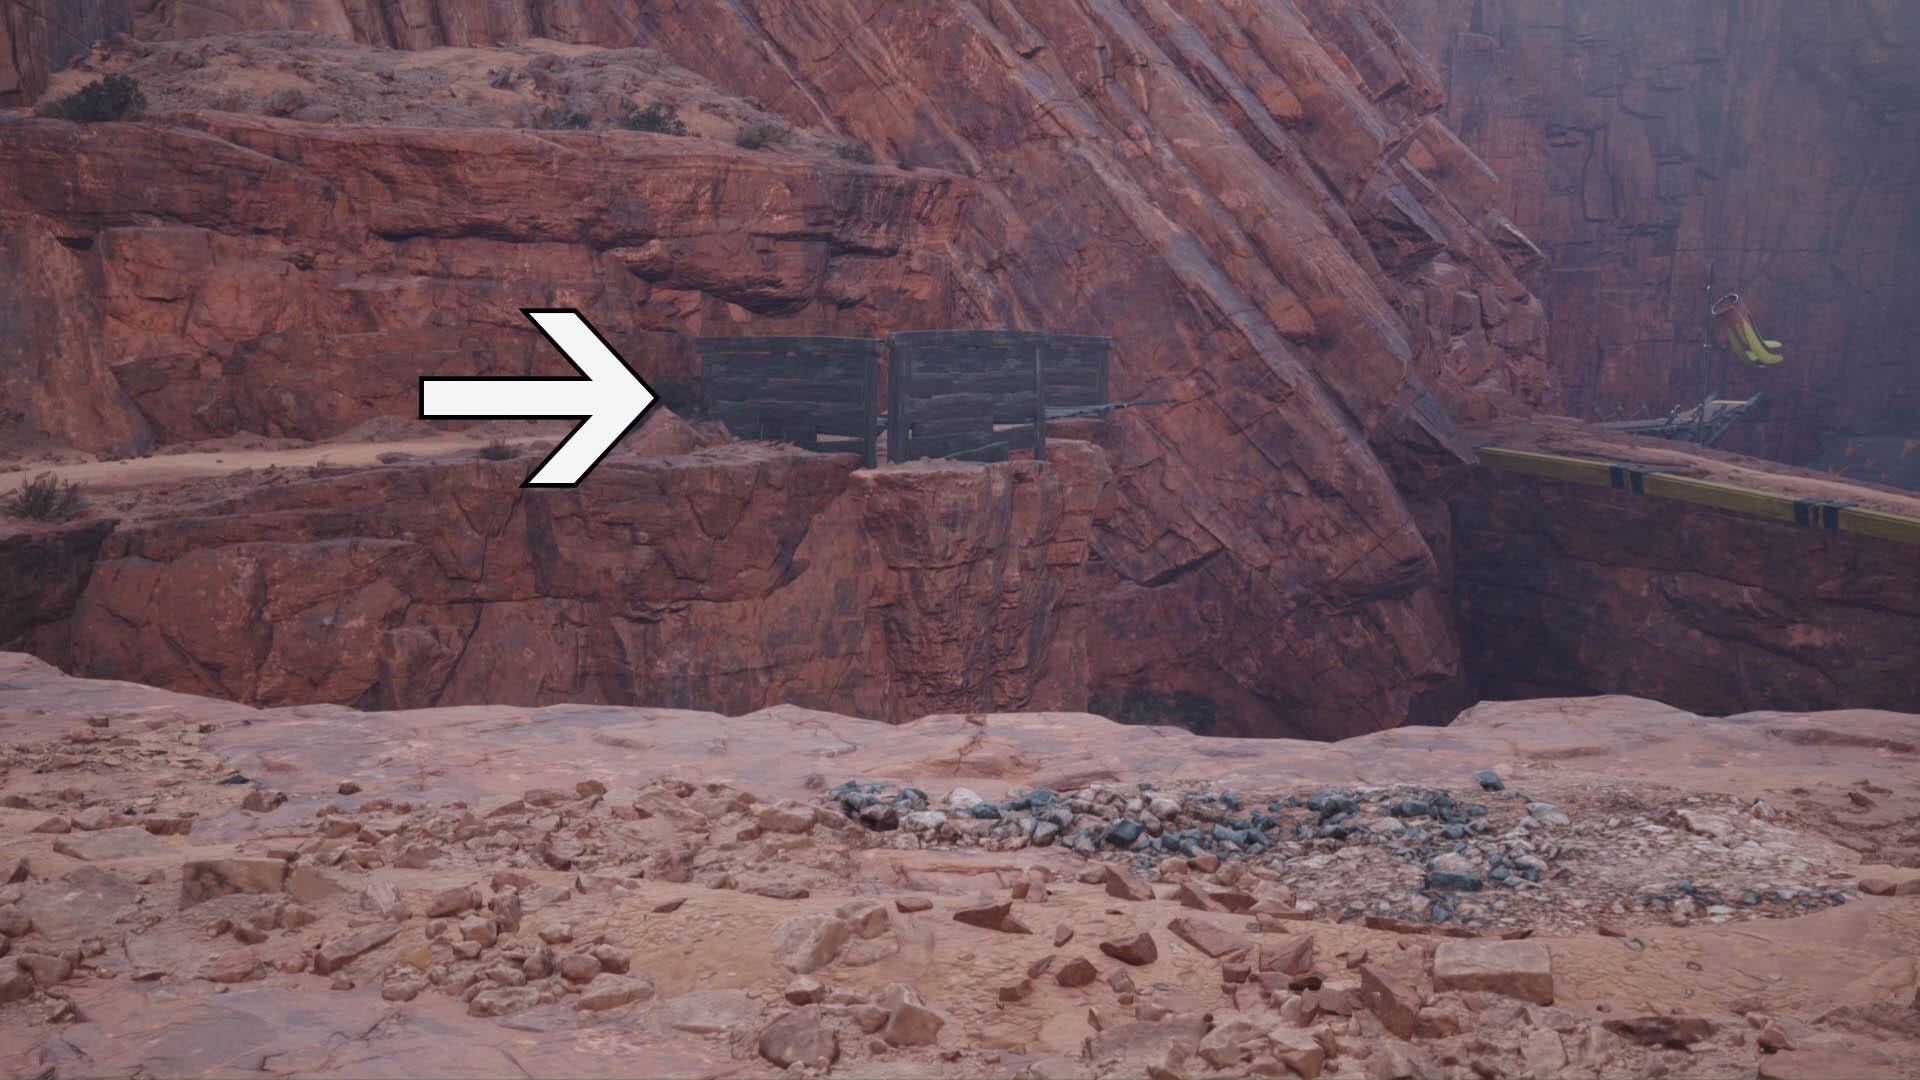
Head over to them and you will find the first chest tucked against the inside of one of these panels.
To find the second chest, use Gliding Range No.2's launch ramp to glide across to the next area opposite you. Then, head left and use the next ramp to glide across to the area opposite you here. Once you land, you'll find the next chest on your right against the canyon wall.
How to get all The Celestia chests in Final Fantasy 7 Rebirth
There are three chests at The Celestia Cache but you first need to find a way to get there! To reach this Cache head to Gliding Range No.5 (which is just outside the bridge leading to the main Cosmo settlement). From this launch ramp, glide around to the south west (look at your compass at the top of your screen) towards Kamaria's Chocobo Ranch.
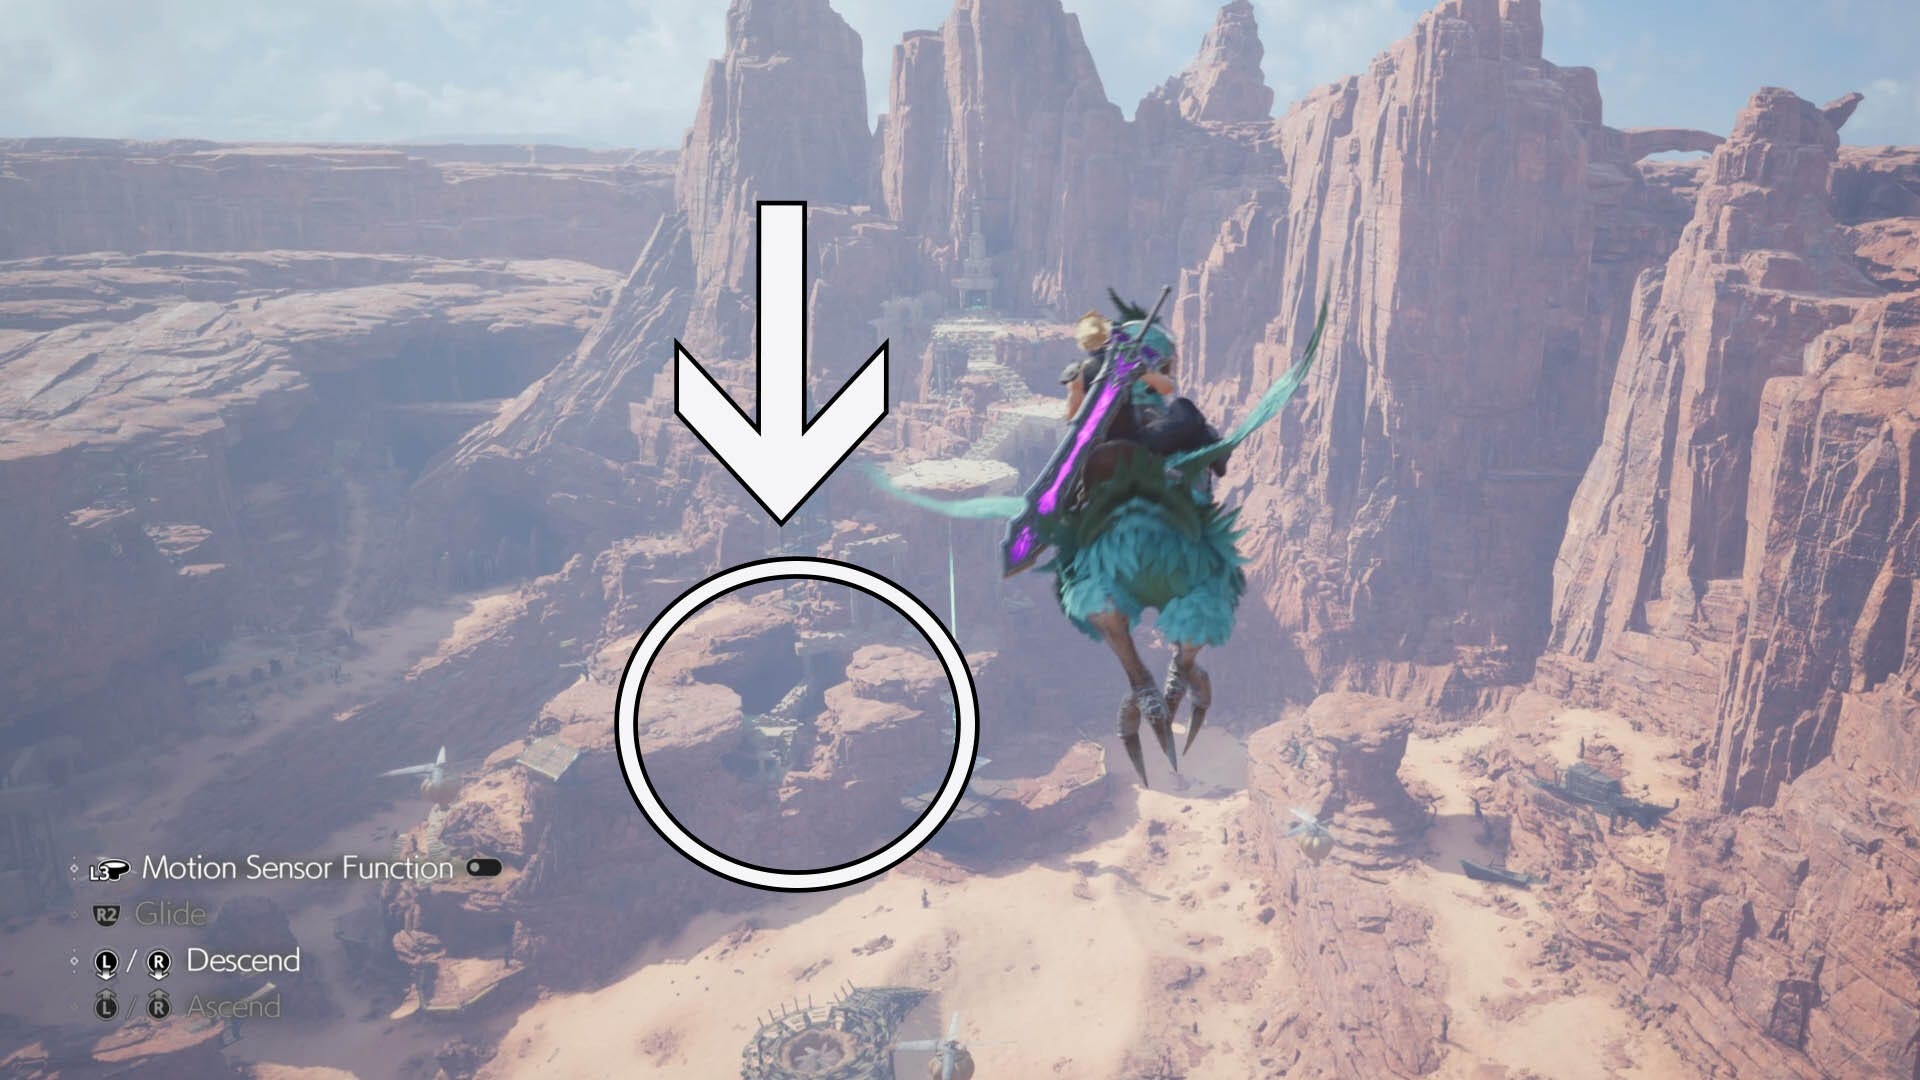
Keep an eye on the ground below you as you glide, when you see a large wooden ship sitting on a raised platorm land your Chocobo. This is The Celestia, well, what's left of it anyway.
The first chest can be found inside the body of the ship against the wall.
To find the second chest, head around the ship until you find some climbing holds going up the side of it. Use these to get to the top of the ship and the chest will be sitting right in front of you.
The third chest can be found next to some Shinra boxes against the canyon wall in the direction of Kamaria's Chocobo Ranch.
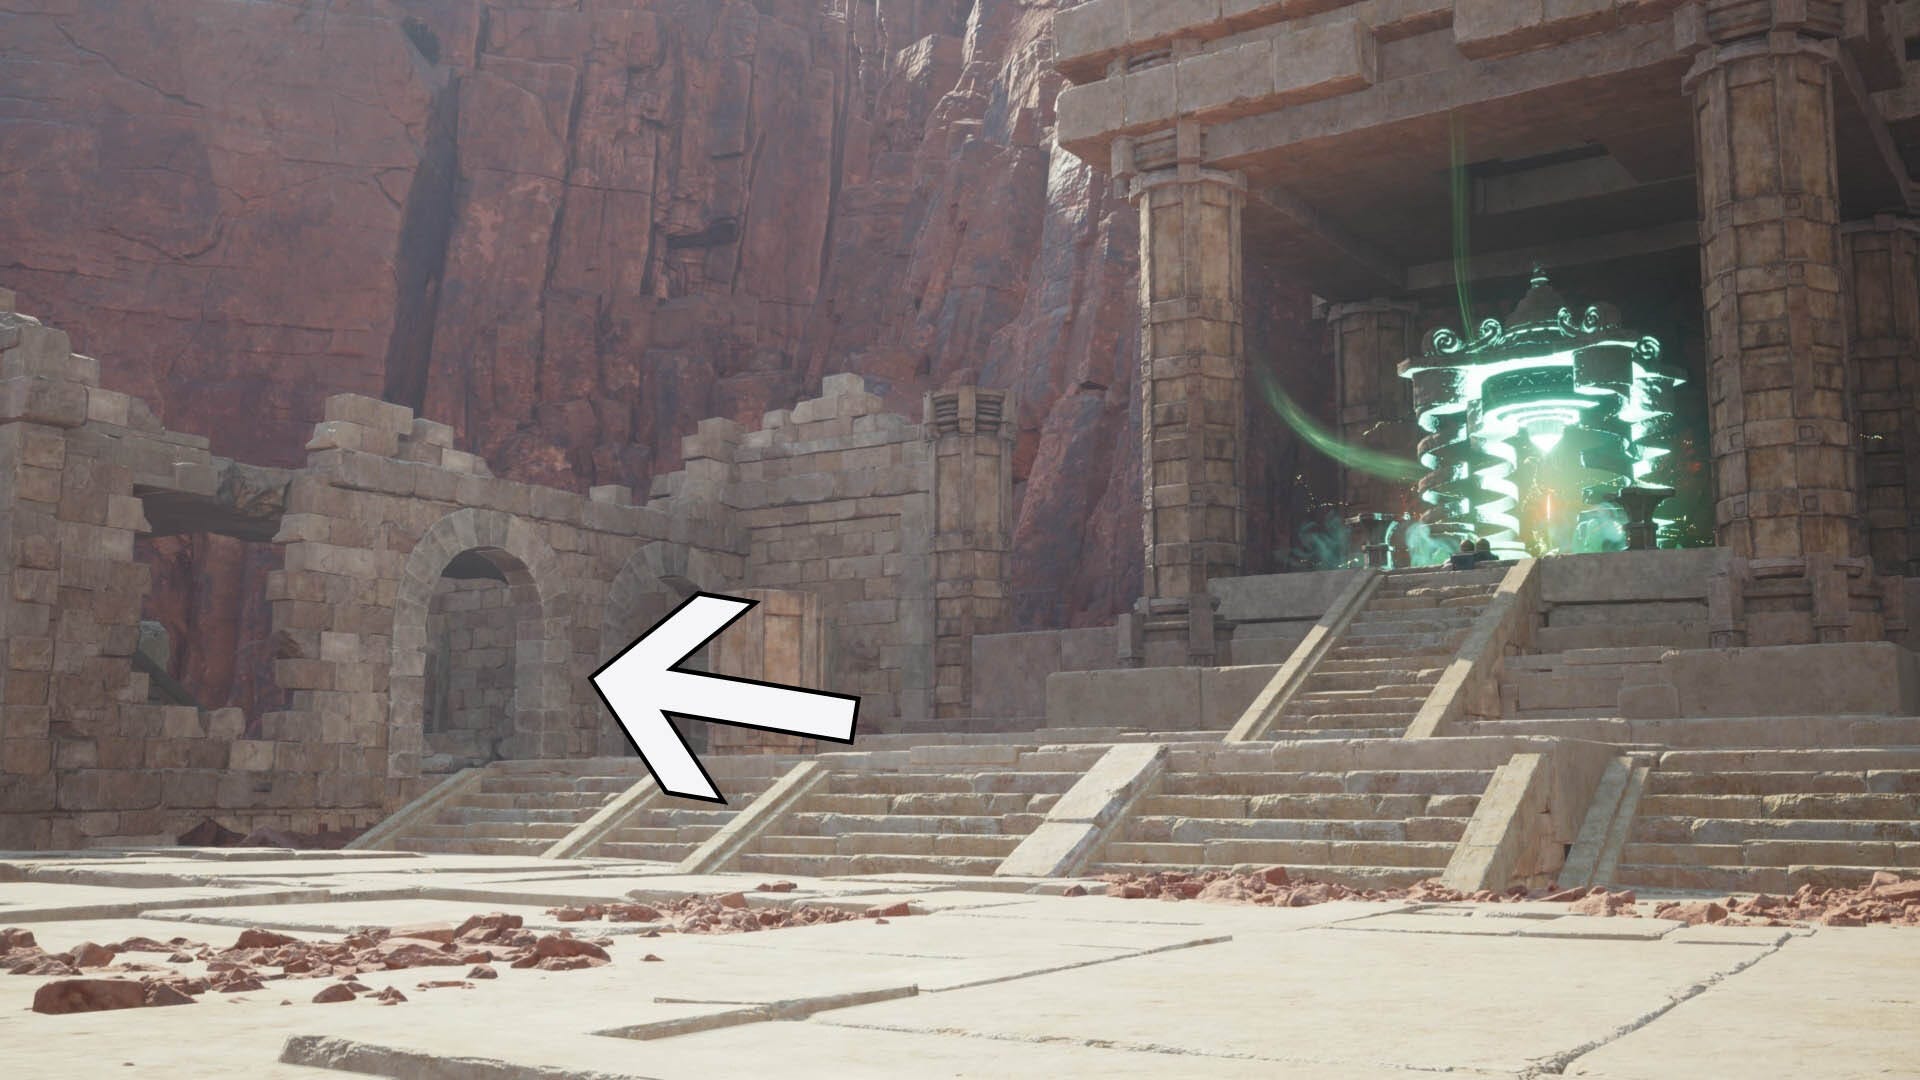
How to get all Ancient Baths chests in Final Fantasy 7 Rebirth
There are two chests at Ancient Baths. To get to this cache, head to Gliding Range No.5 again and then glide across from you in a south-south west direction to an area of ruins behind the Remnawave Tower.
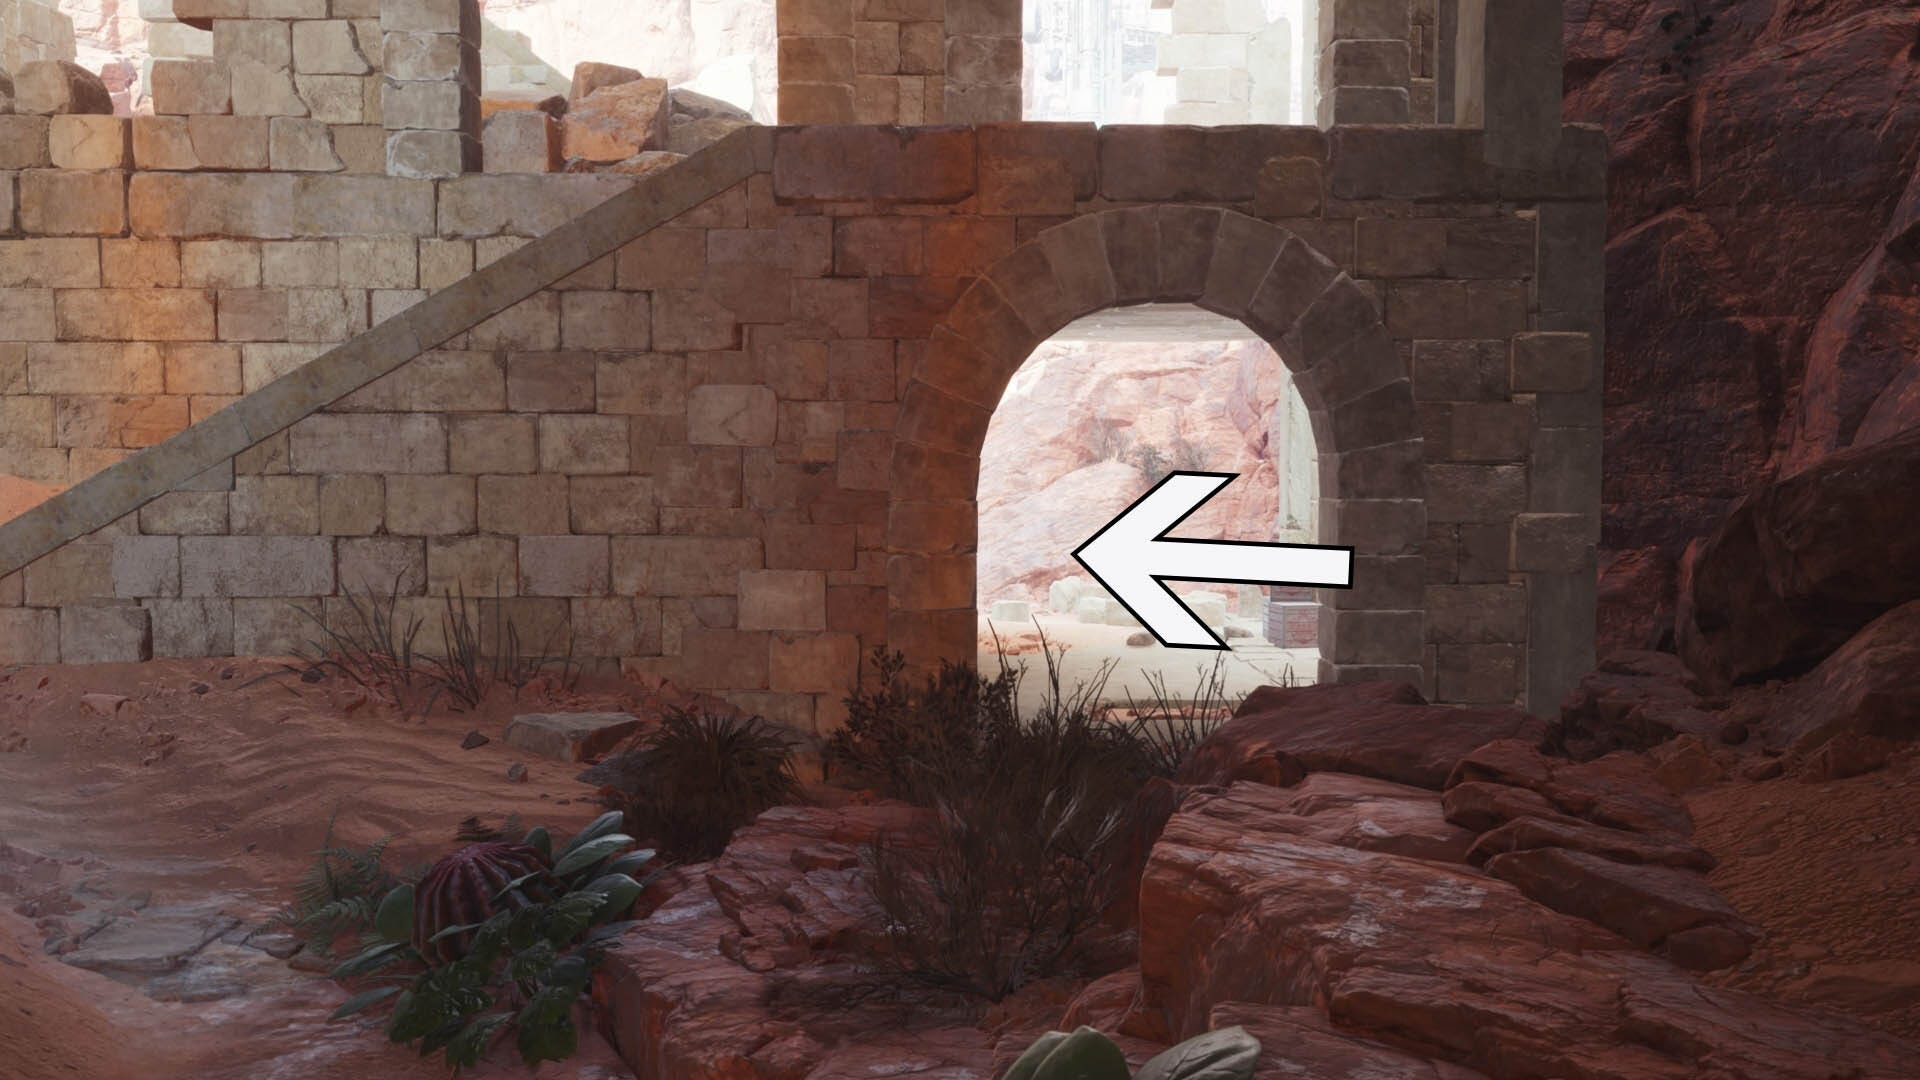
To find the first chest go into the cave-like area and through the arch underneath the stairs and turn left. The chest will be here the moment you step through the opening.
The second chest can be found at the top of the stairs here on a ledge facing north-north east.
How to get all Font Shrine chests in Final Fantasy 7 Rebirth
There are two chests at the Font Shrine Cache but, like many of the others on this list, you need to get there.
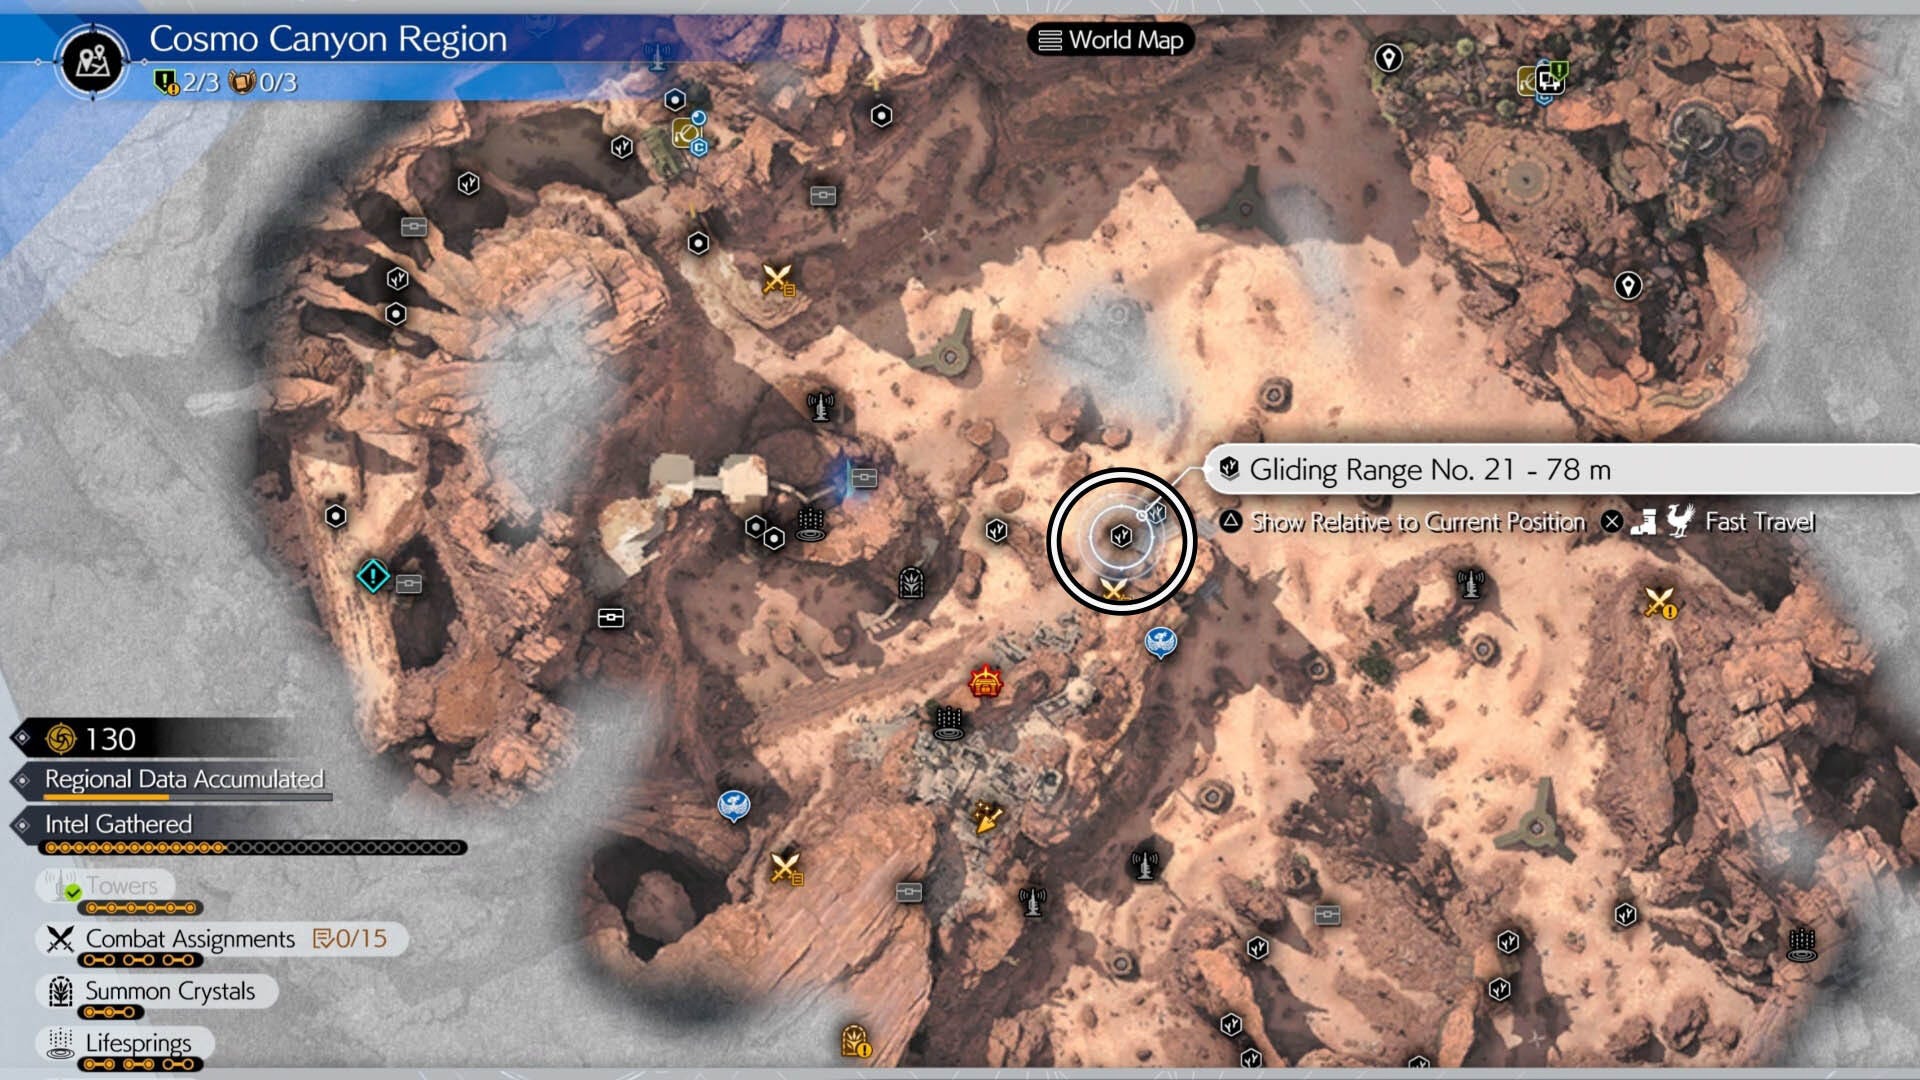
To get to this Cache head to Gliding Range No.21 and glide across to the landing area opposite you by using the airborne fan to keep you afloat.
From here, use the Ruins Elevator to the back and left side of this area.
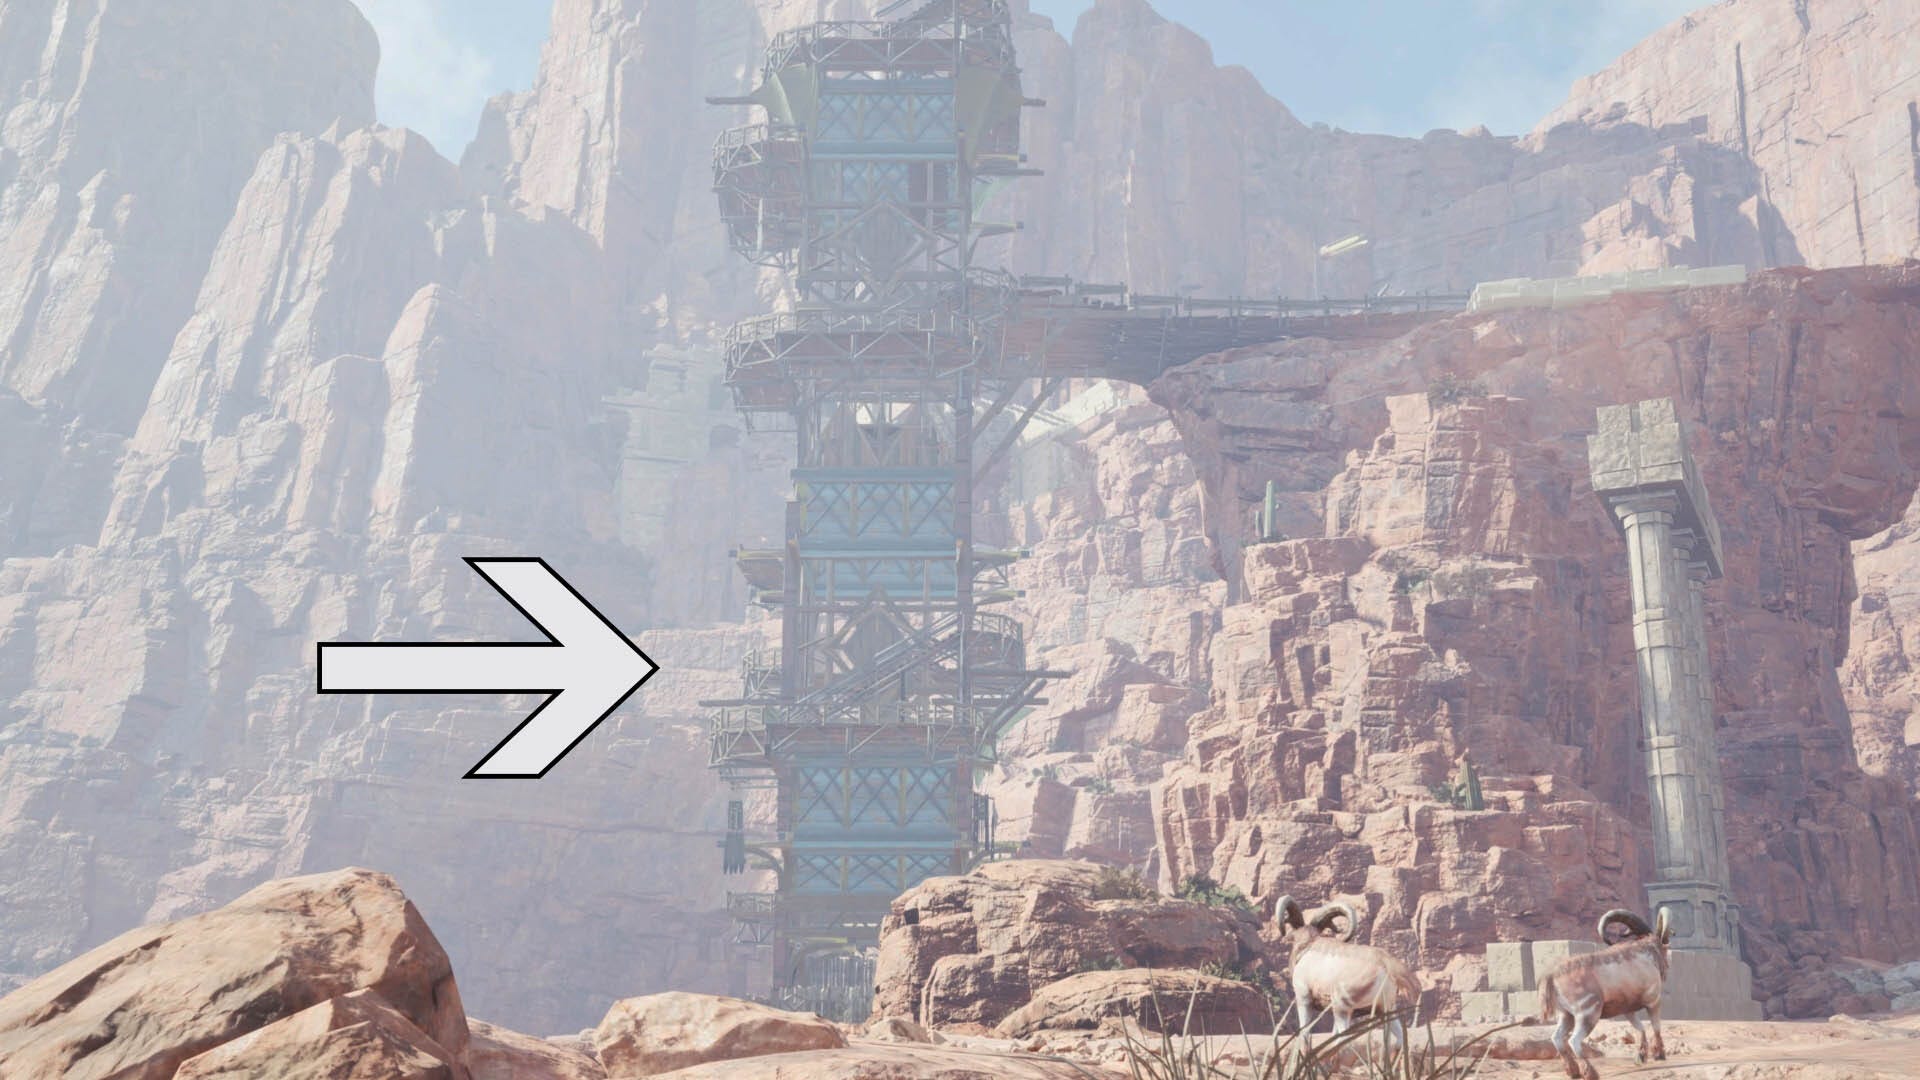
From the top of this, head out to the open area and follow the stairs to your left. You'll encounter a few enemies, but keep following the stairs up until you reach the Shrine at the top.
From the Shrine, look to your left. Head through the stone arch here and you'll be at the Font Shrine Cache area.
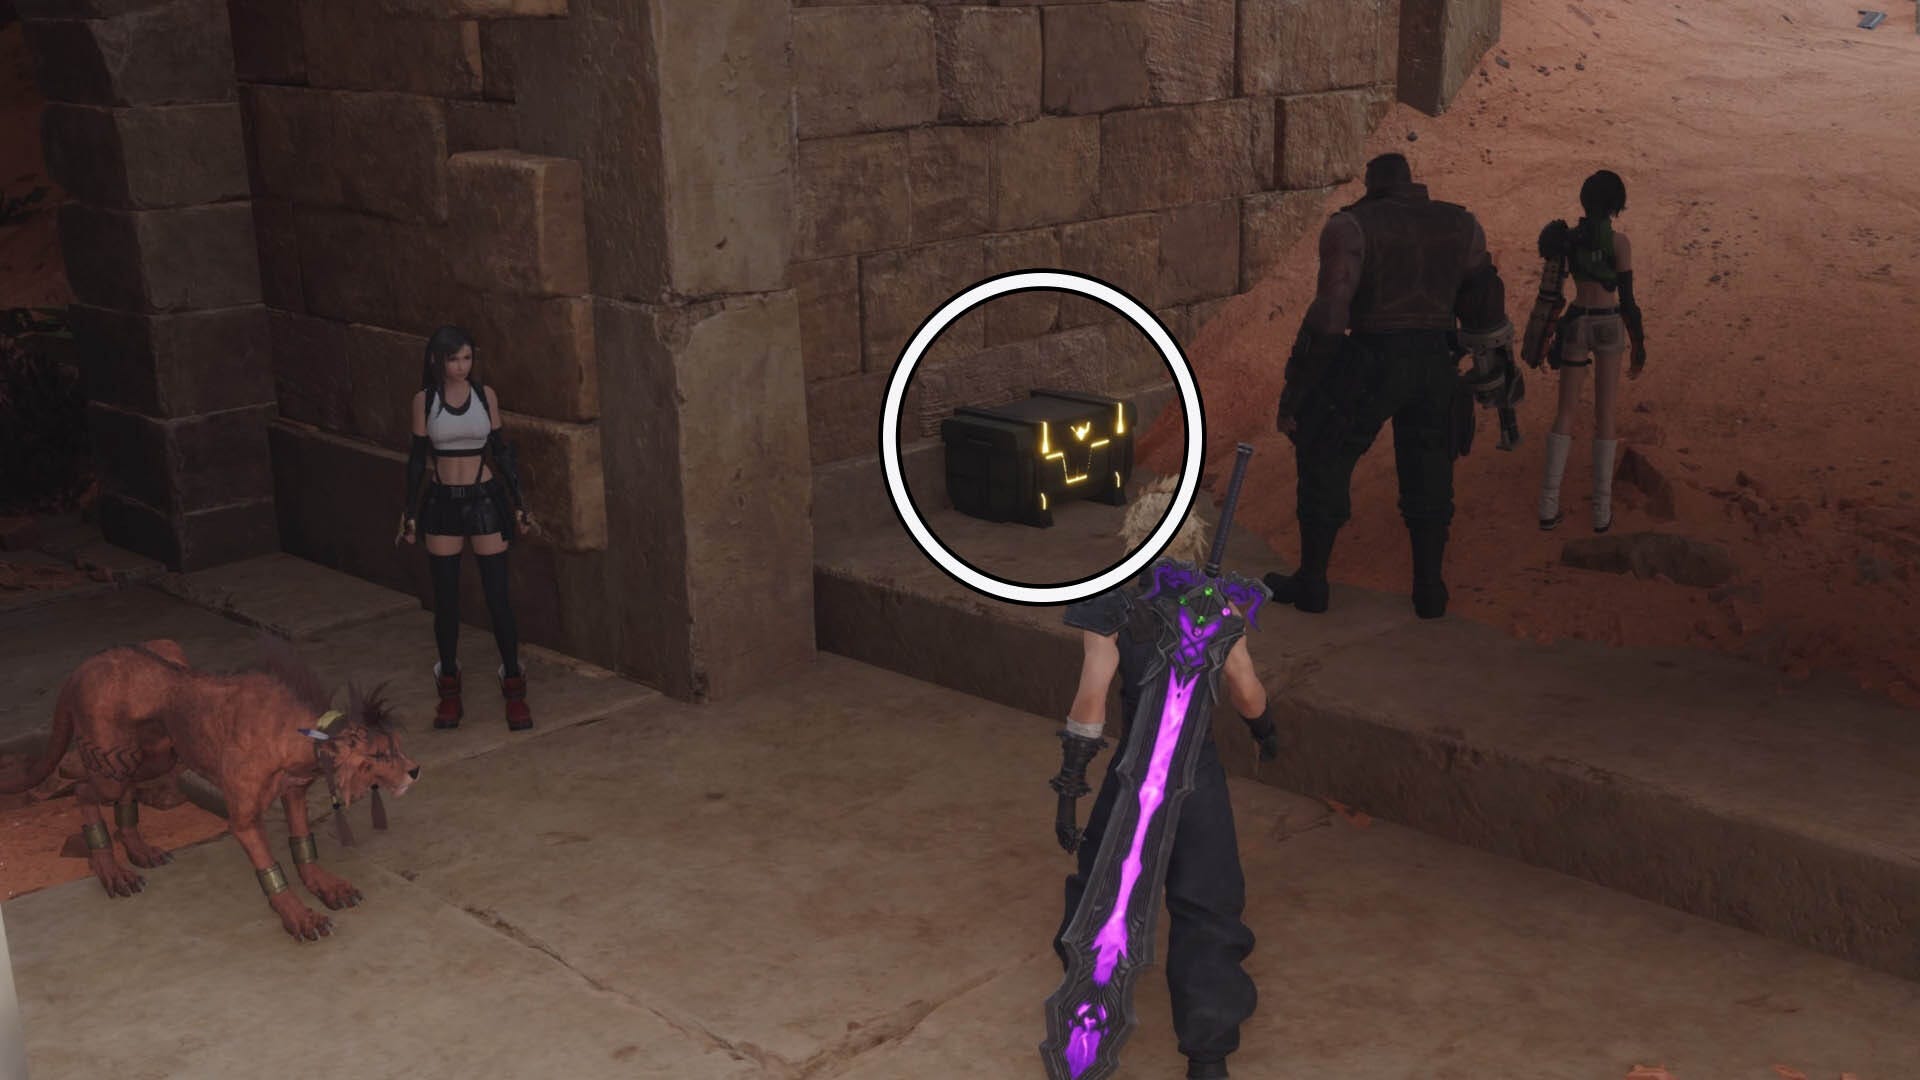
The first chest can be found on a ledge on the opposite side of the stairs.
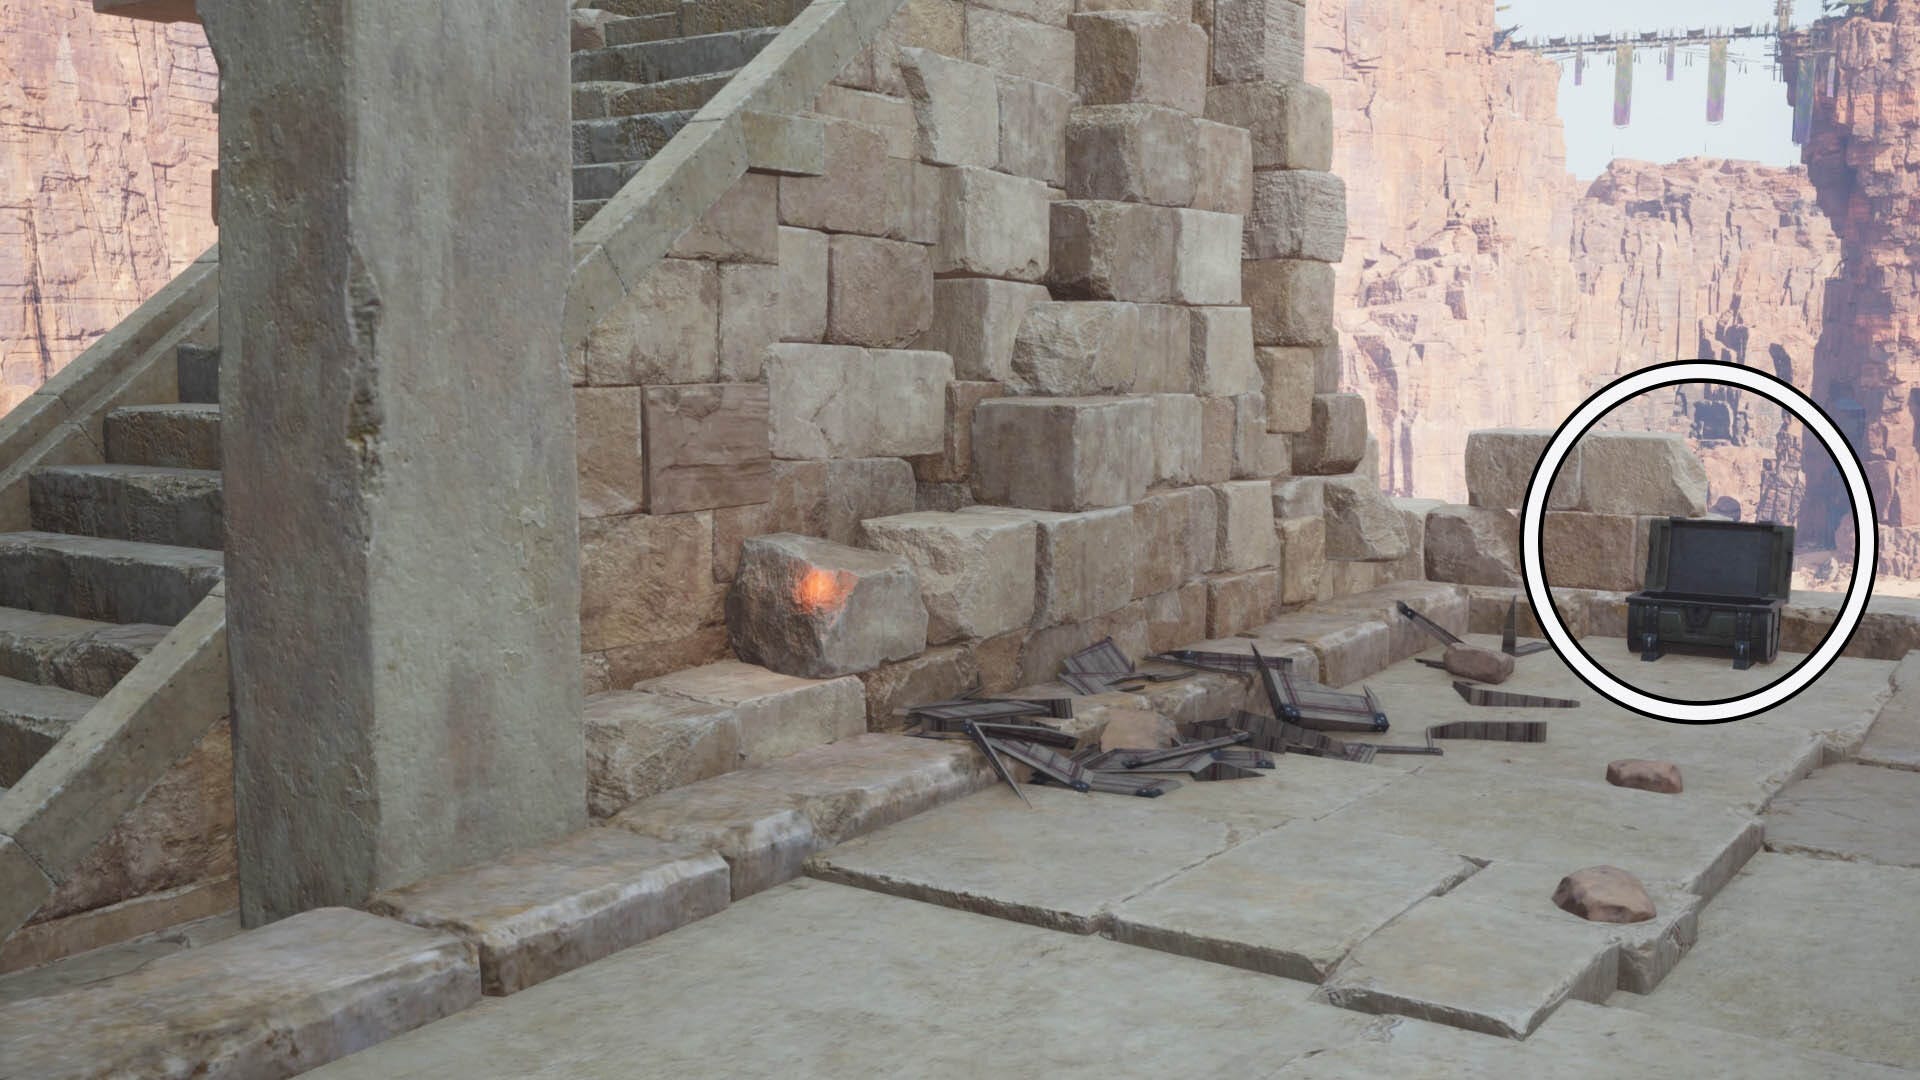
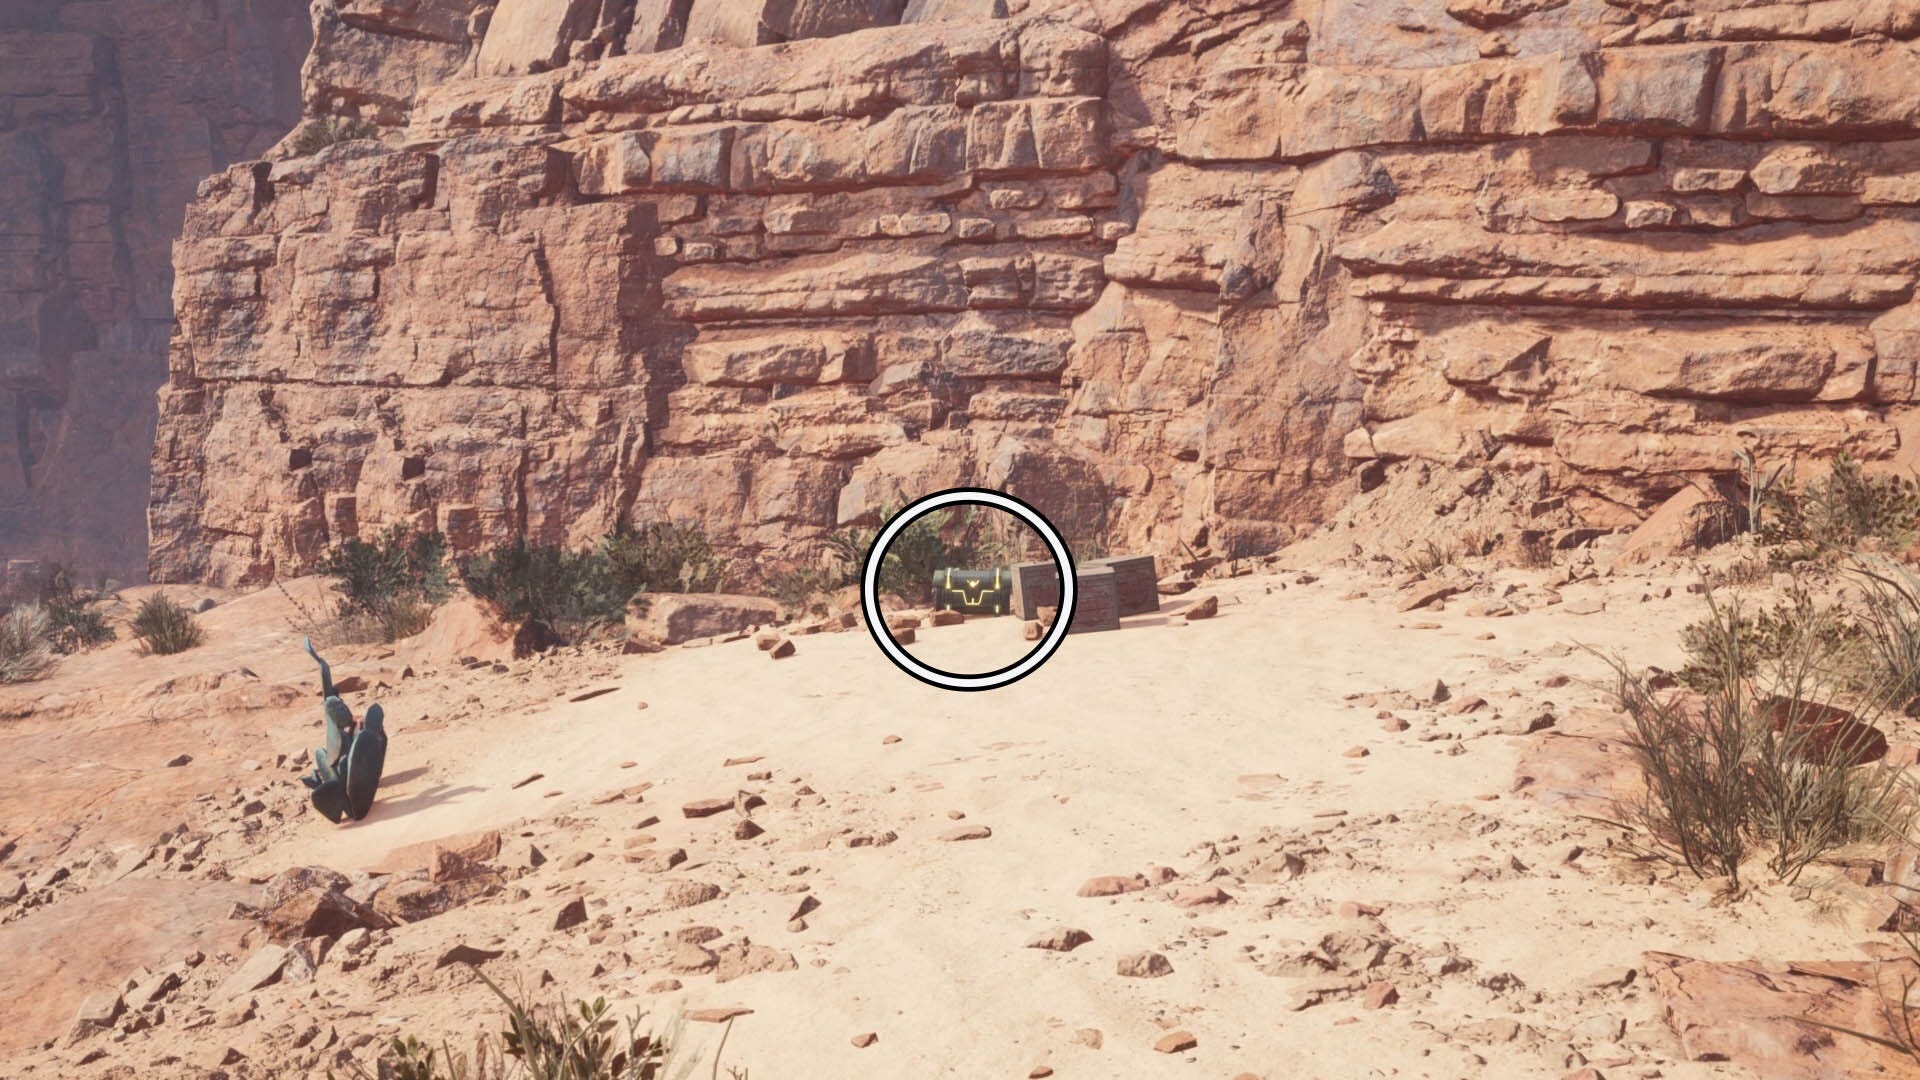
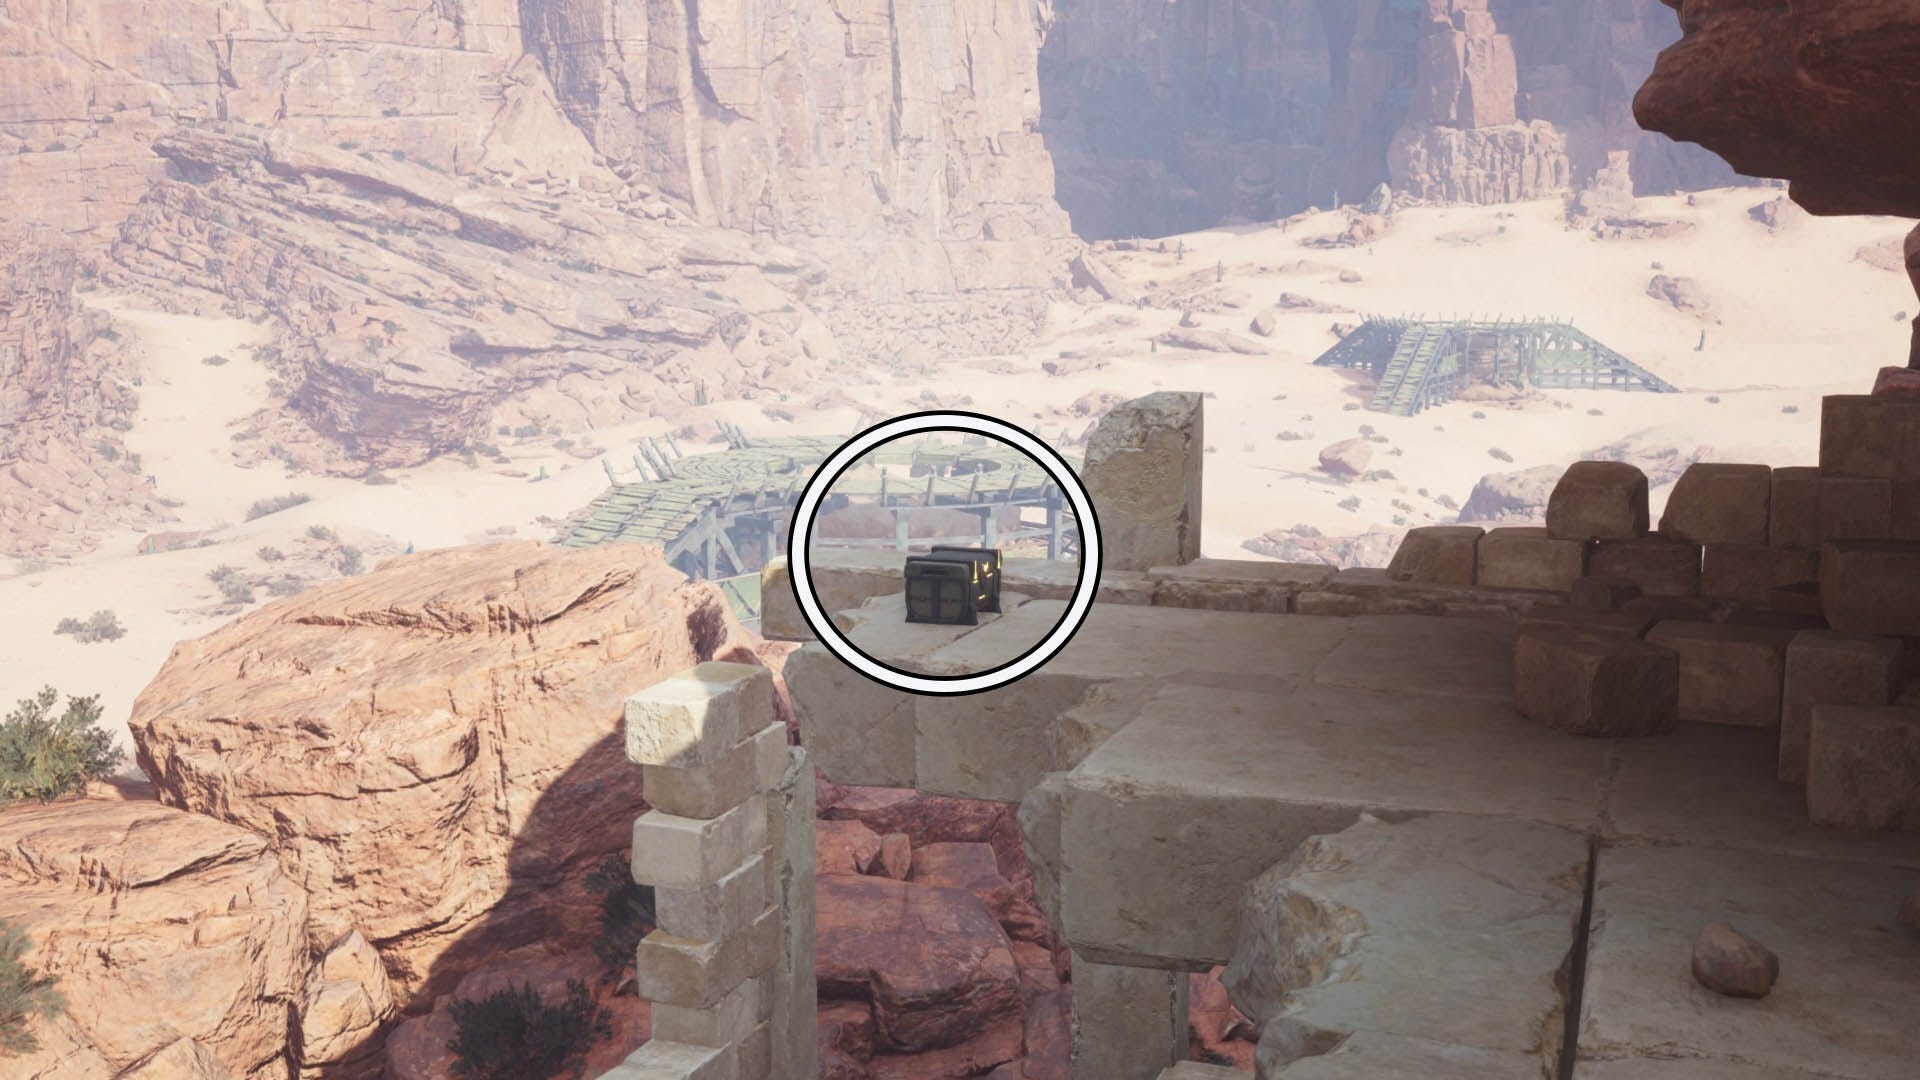
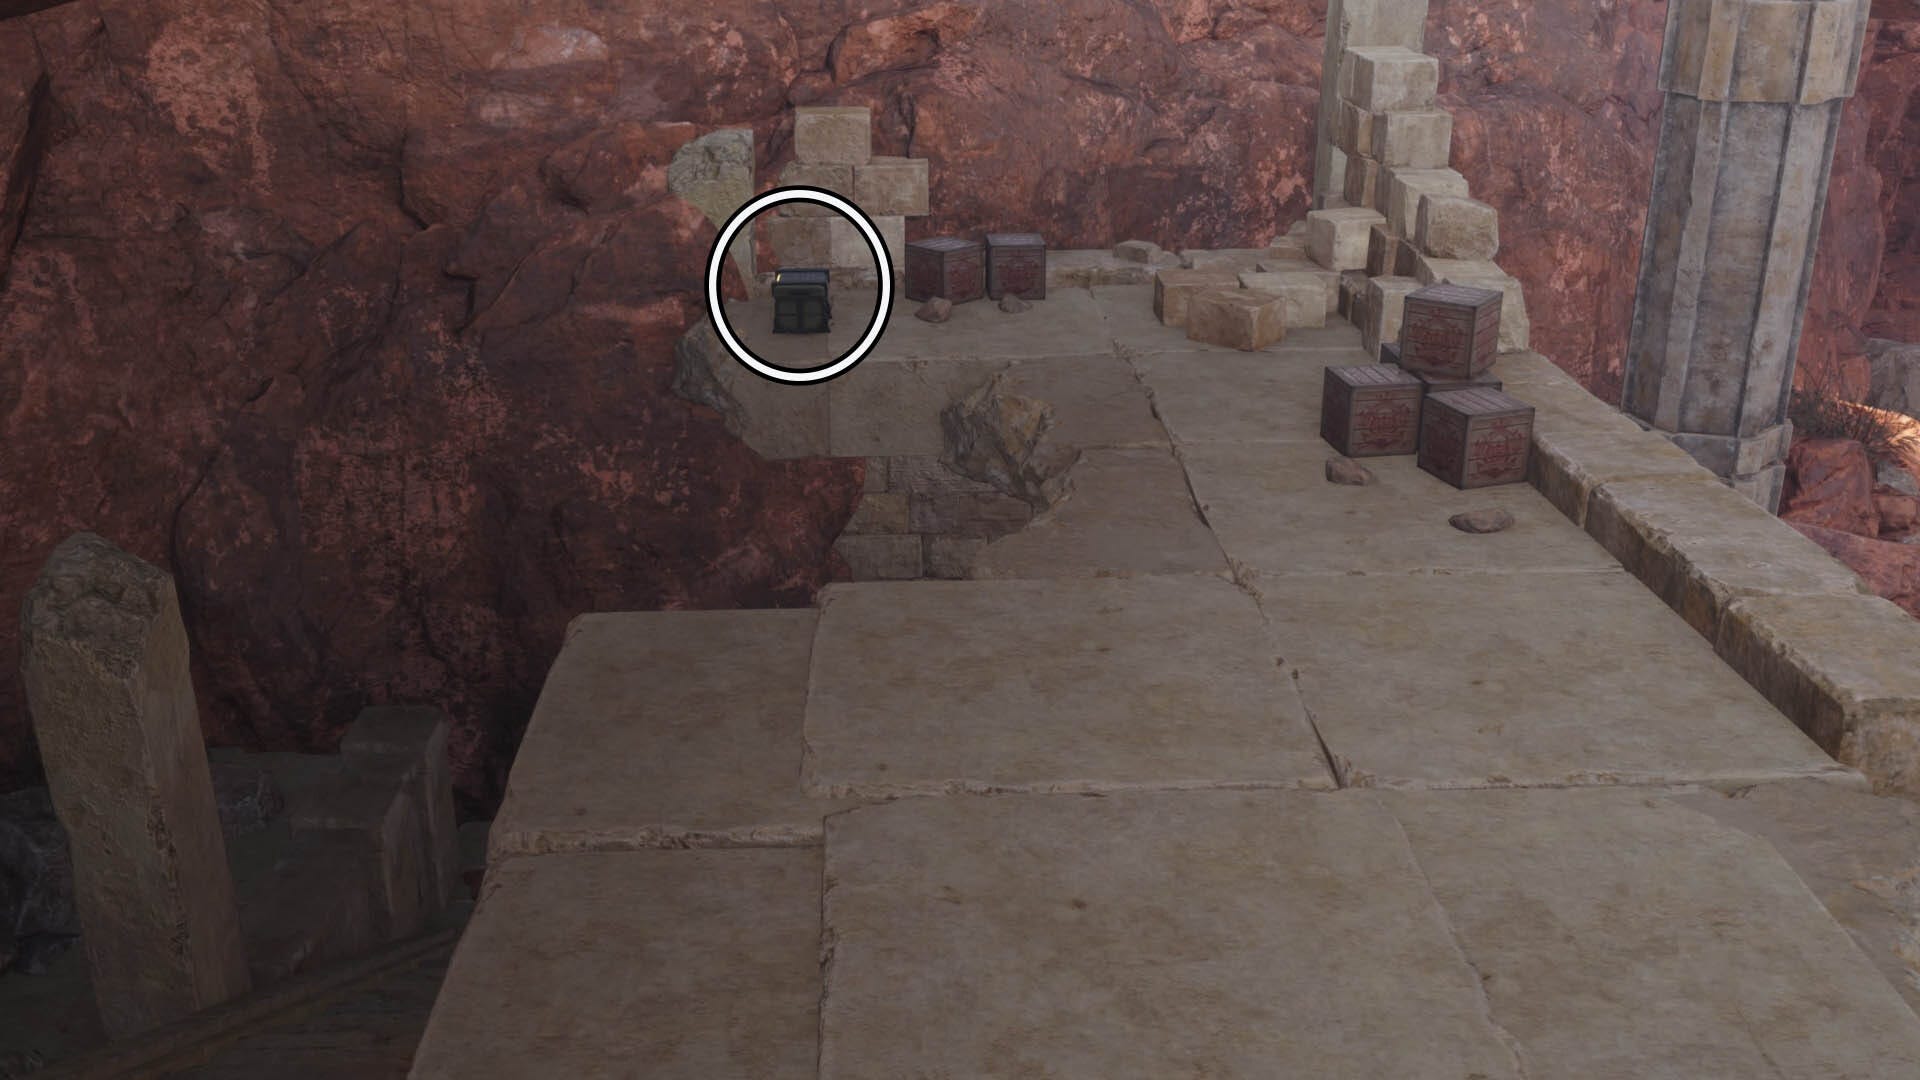
To find the second chest, head up the stone steps here and follow the path around. When you step off the stone ruins and are facing the canyon wall, look to your right. The chest is here but it's hidden by some Shinra boxes.
How to get all Oldewyrm Clearing chests in Final Fantasy 7 Rebirth
There are three chests at the Oldewyrm Clearing Cache. We highly recommend discovering this location, then using Fast Travel to spawn there again before looking for the chests - it makes finding them a lot easier.
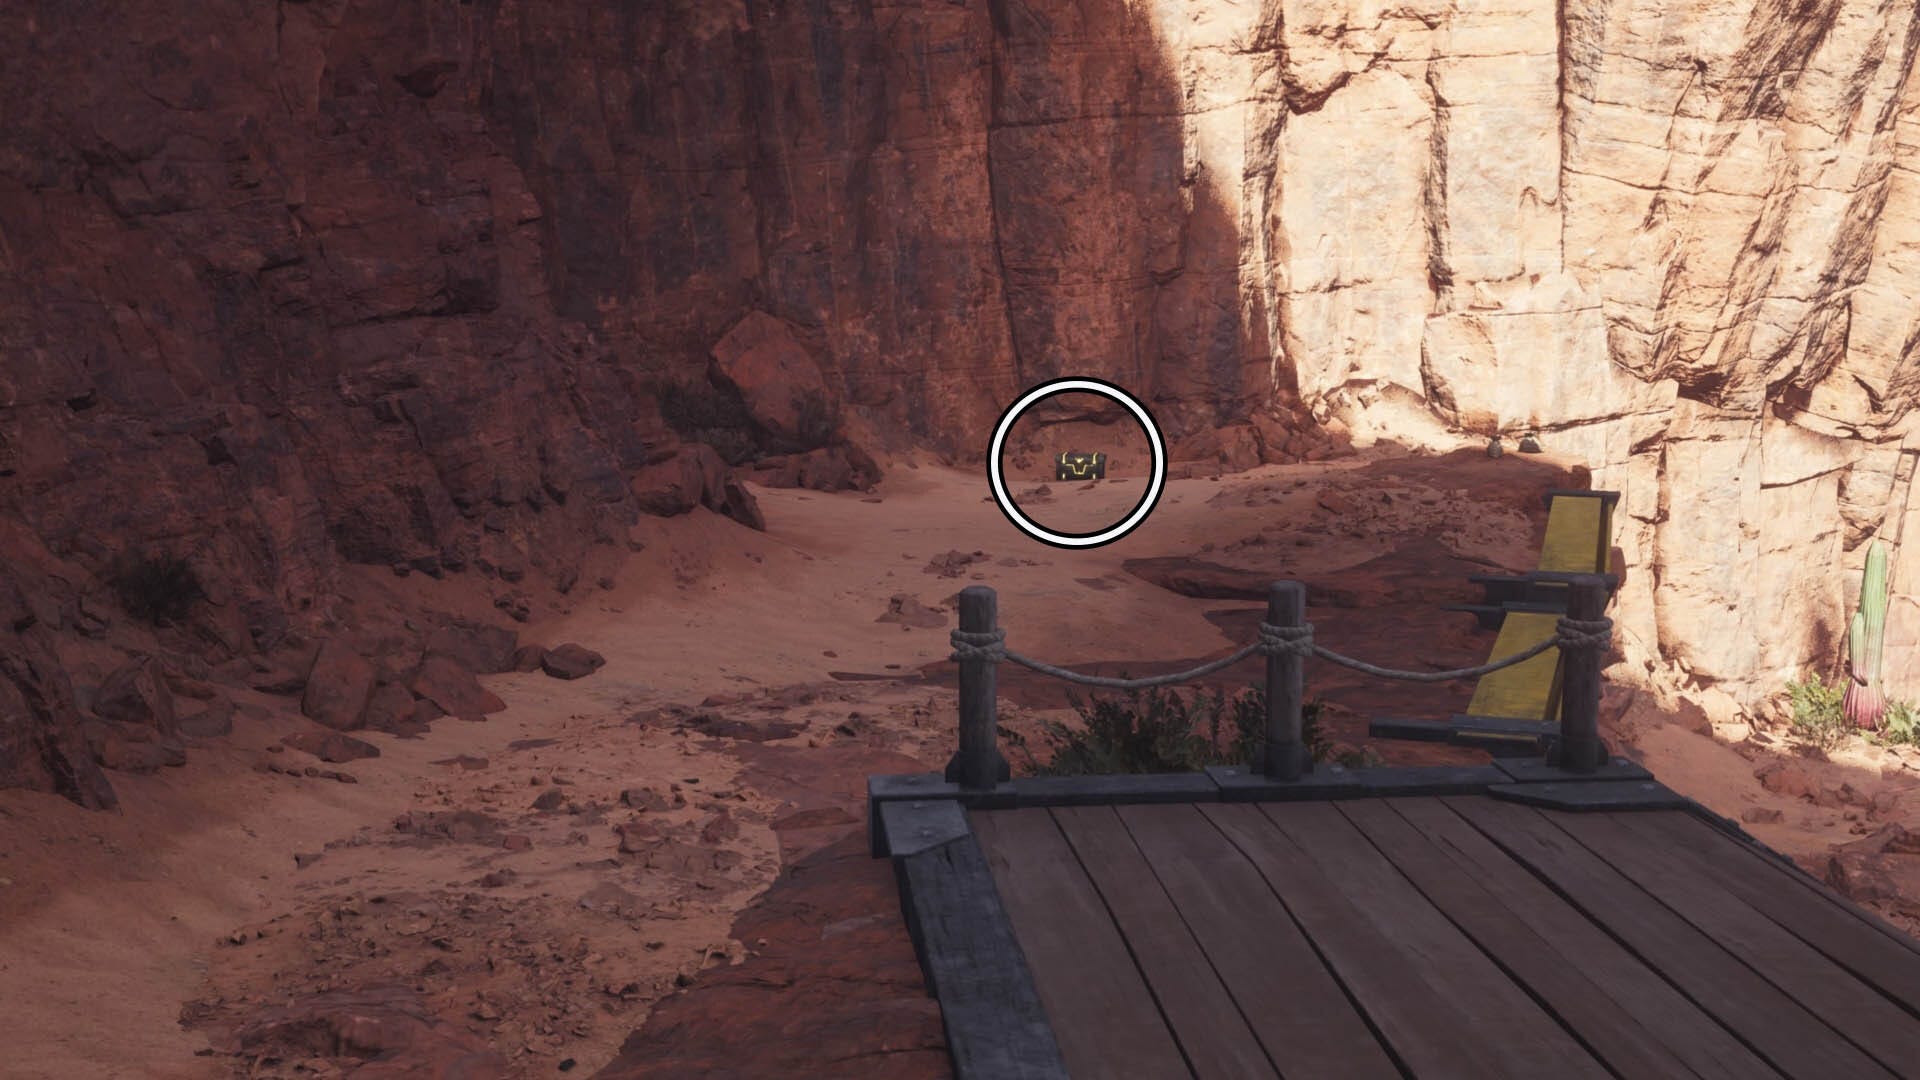
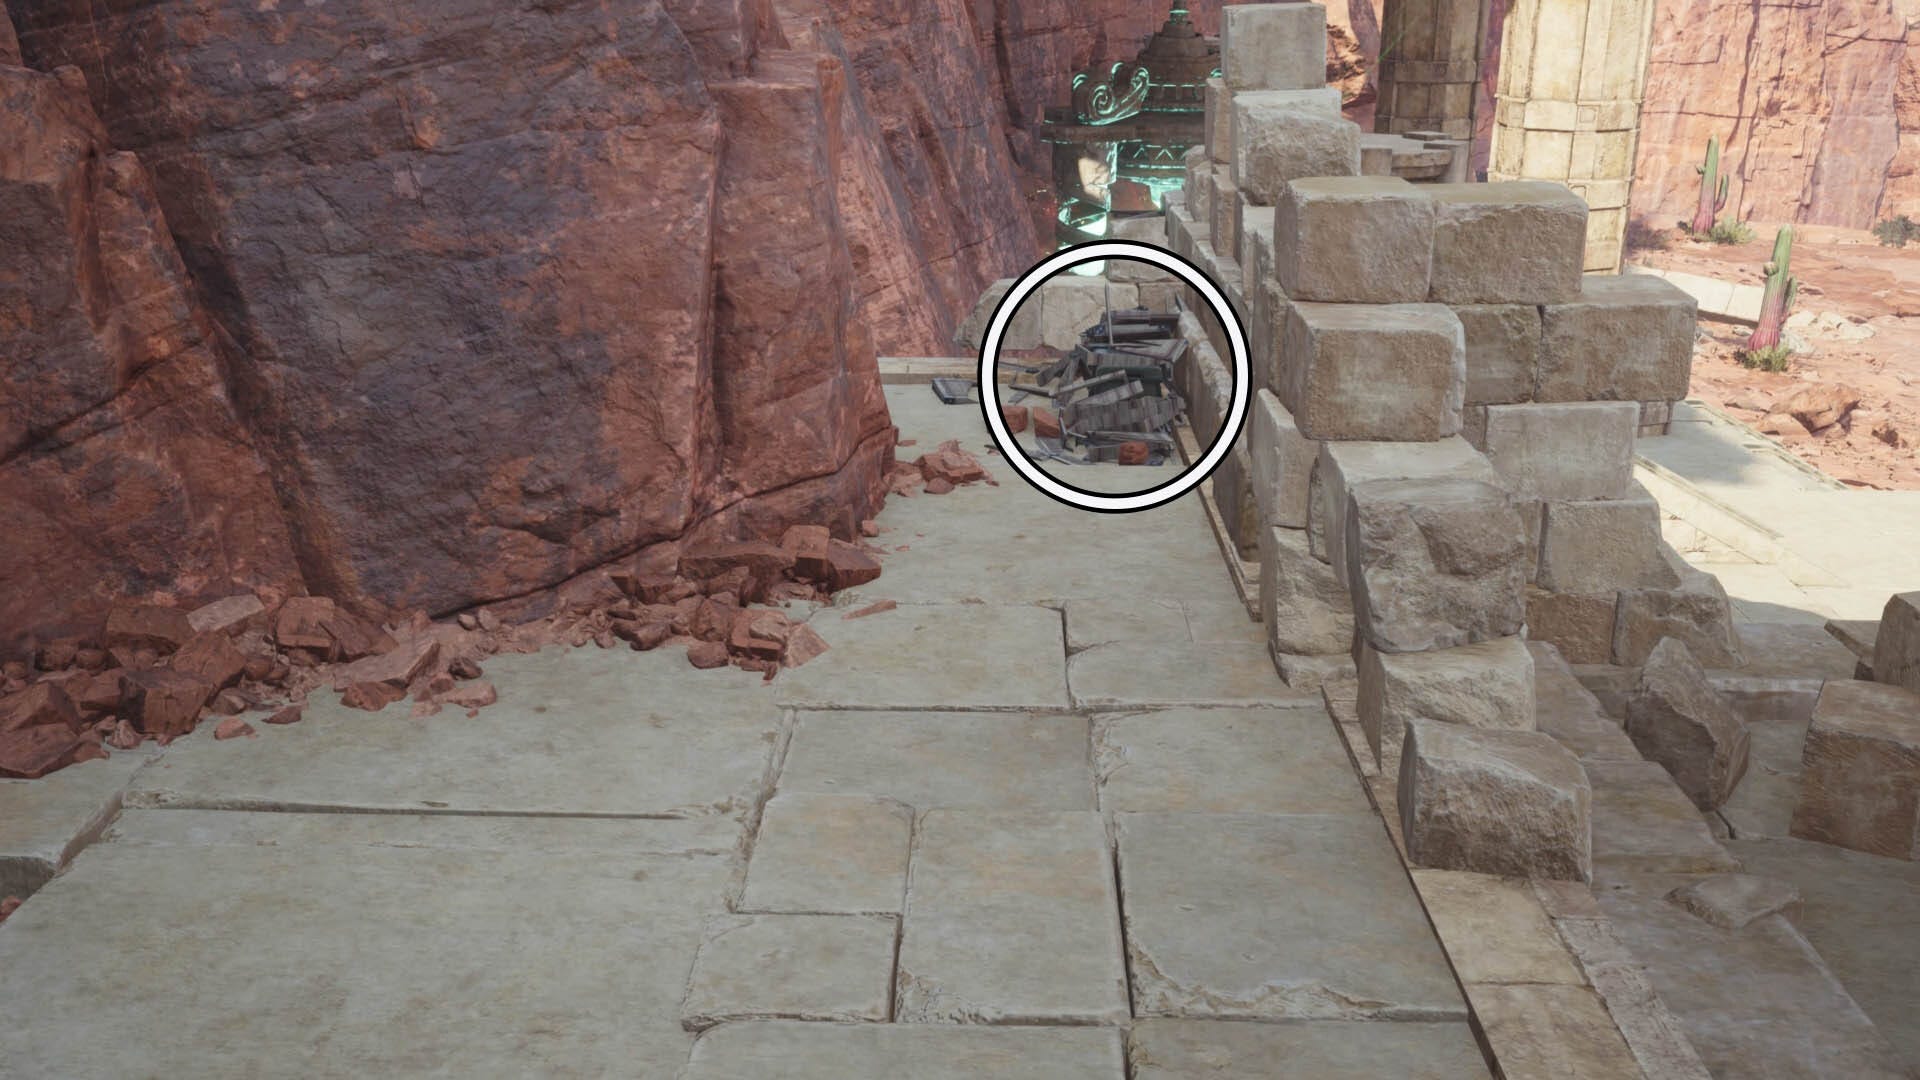
The first chest can be found on wooden slats against the north eastern canyon wall. This is easier to locate if you Fast Travel to the location and look to the right.
The second chest can be found to the north-north west. You should see a wall with climbing holds on it opposite a tent. Head here and climb up using the holds, once to get to the top look to your right to find the chest.

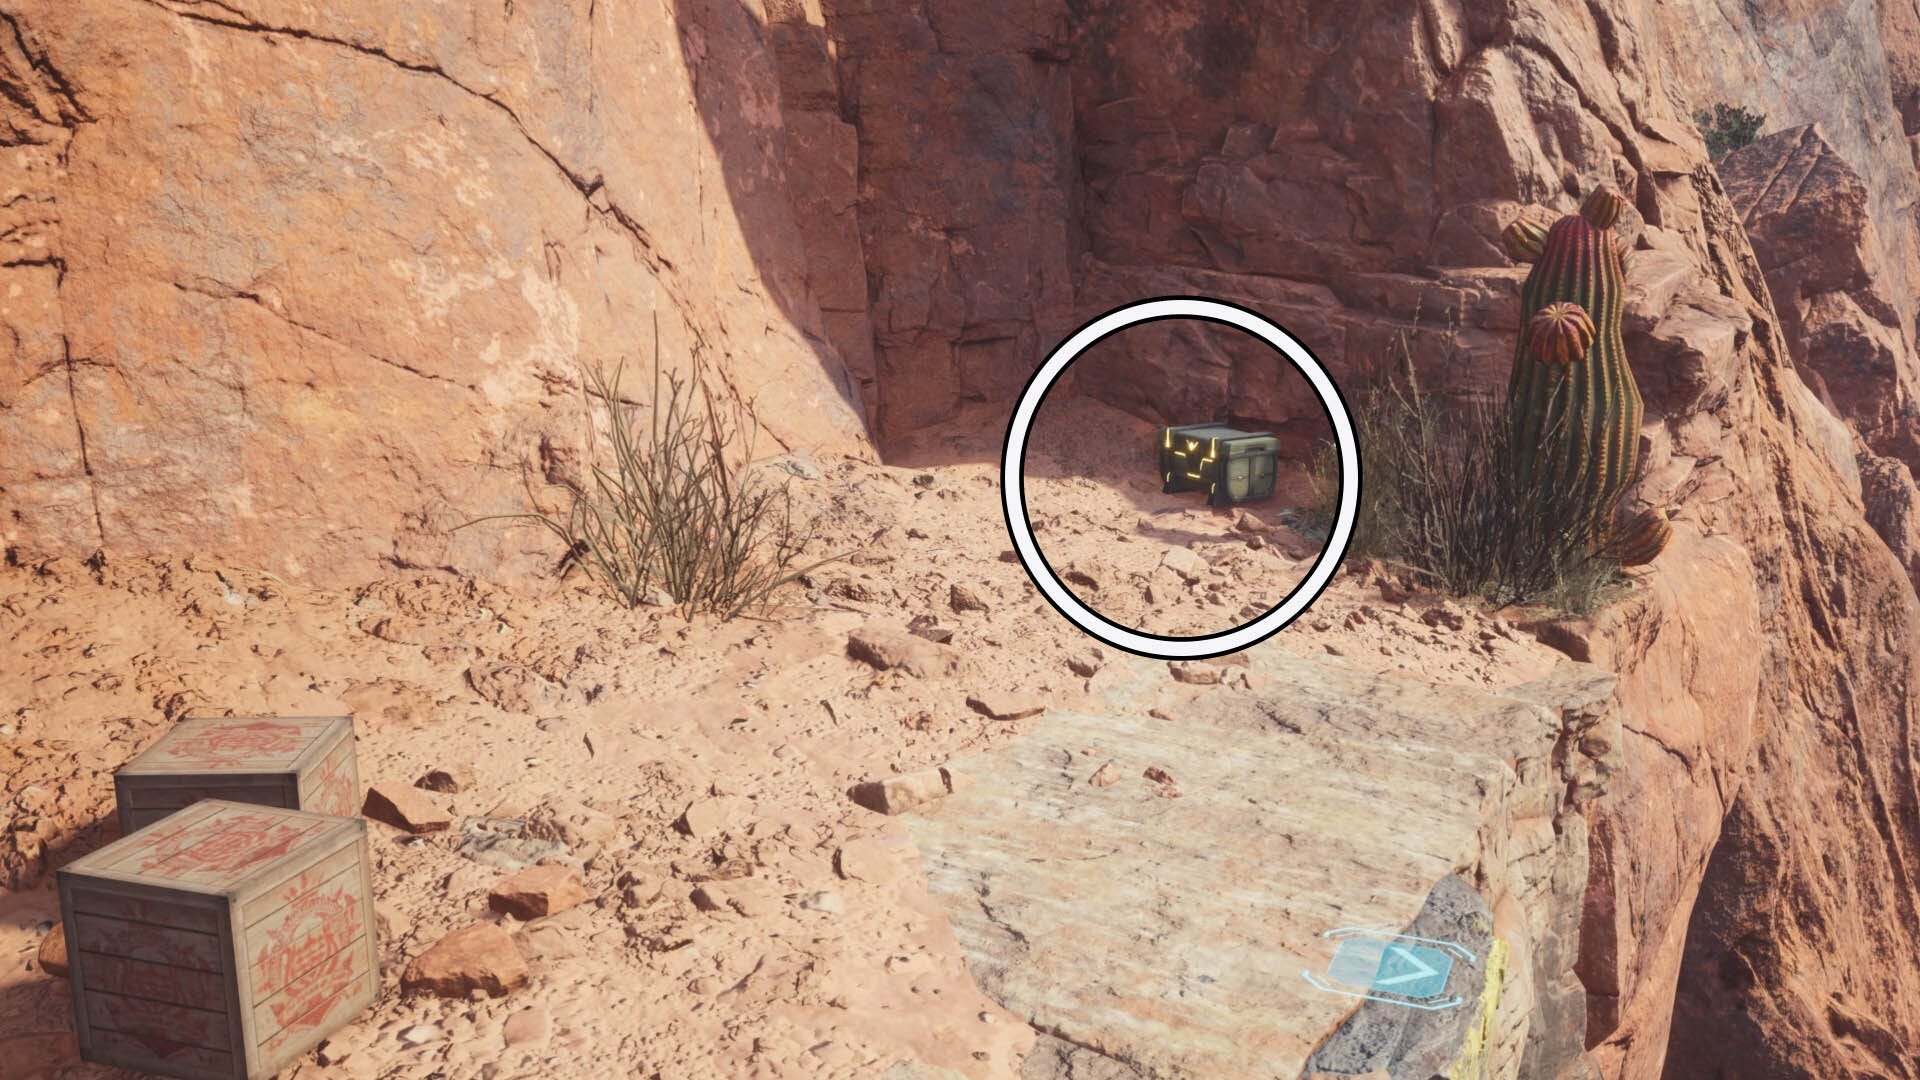
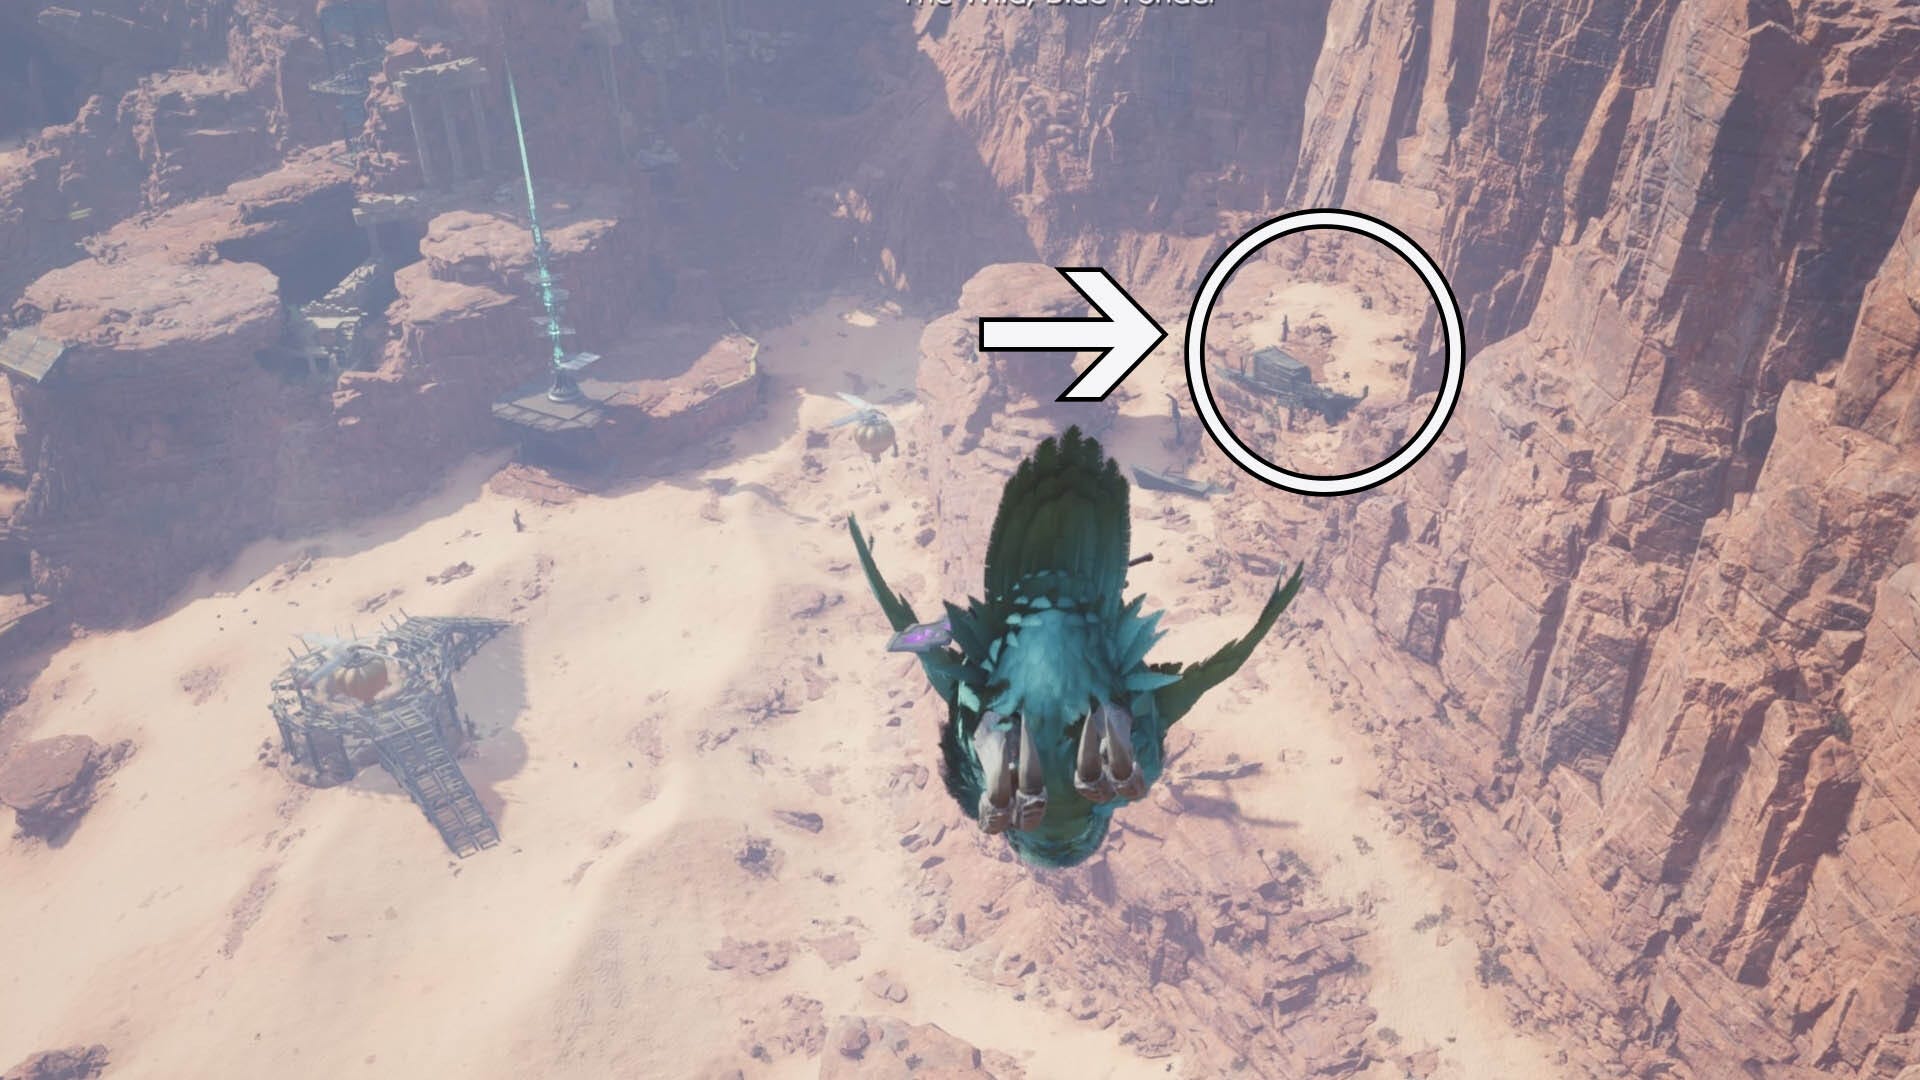
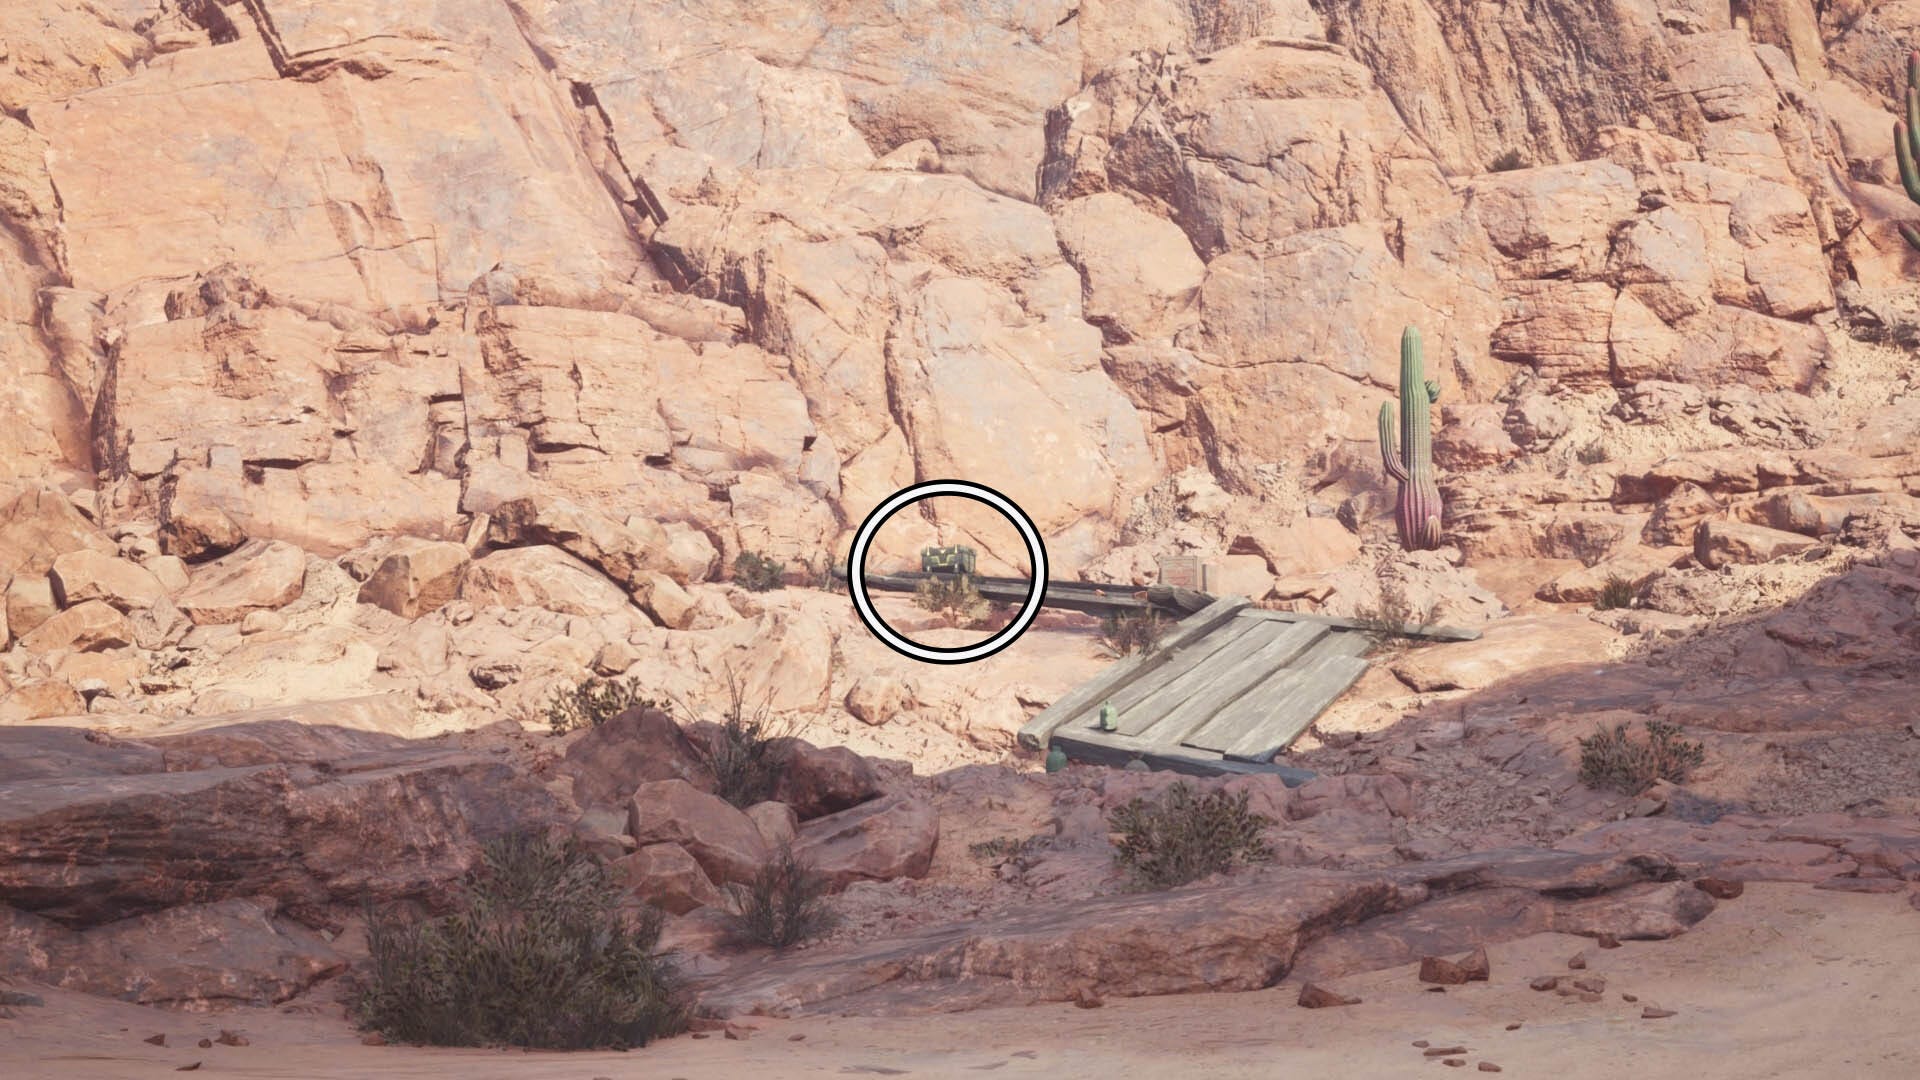
To find the third chest for this area, grab your Chocobo and head to Gliding Range No.7. We highly recommend putting a pin on your map like we've done in the image below so you know where you're aiming for:
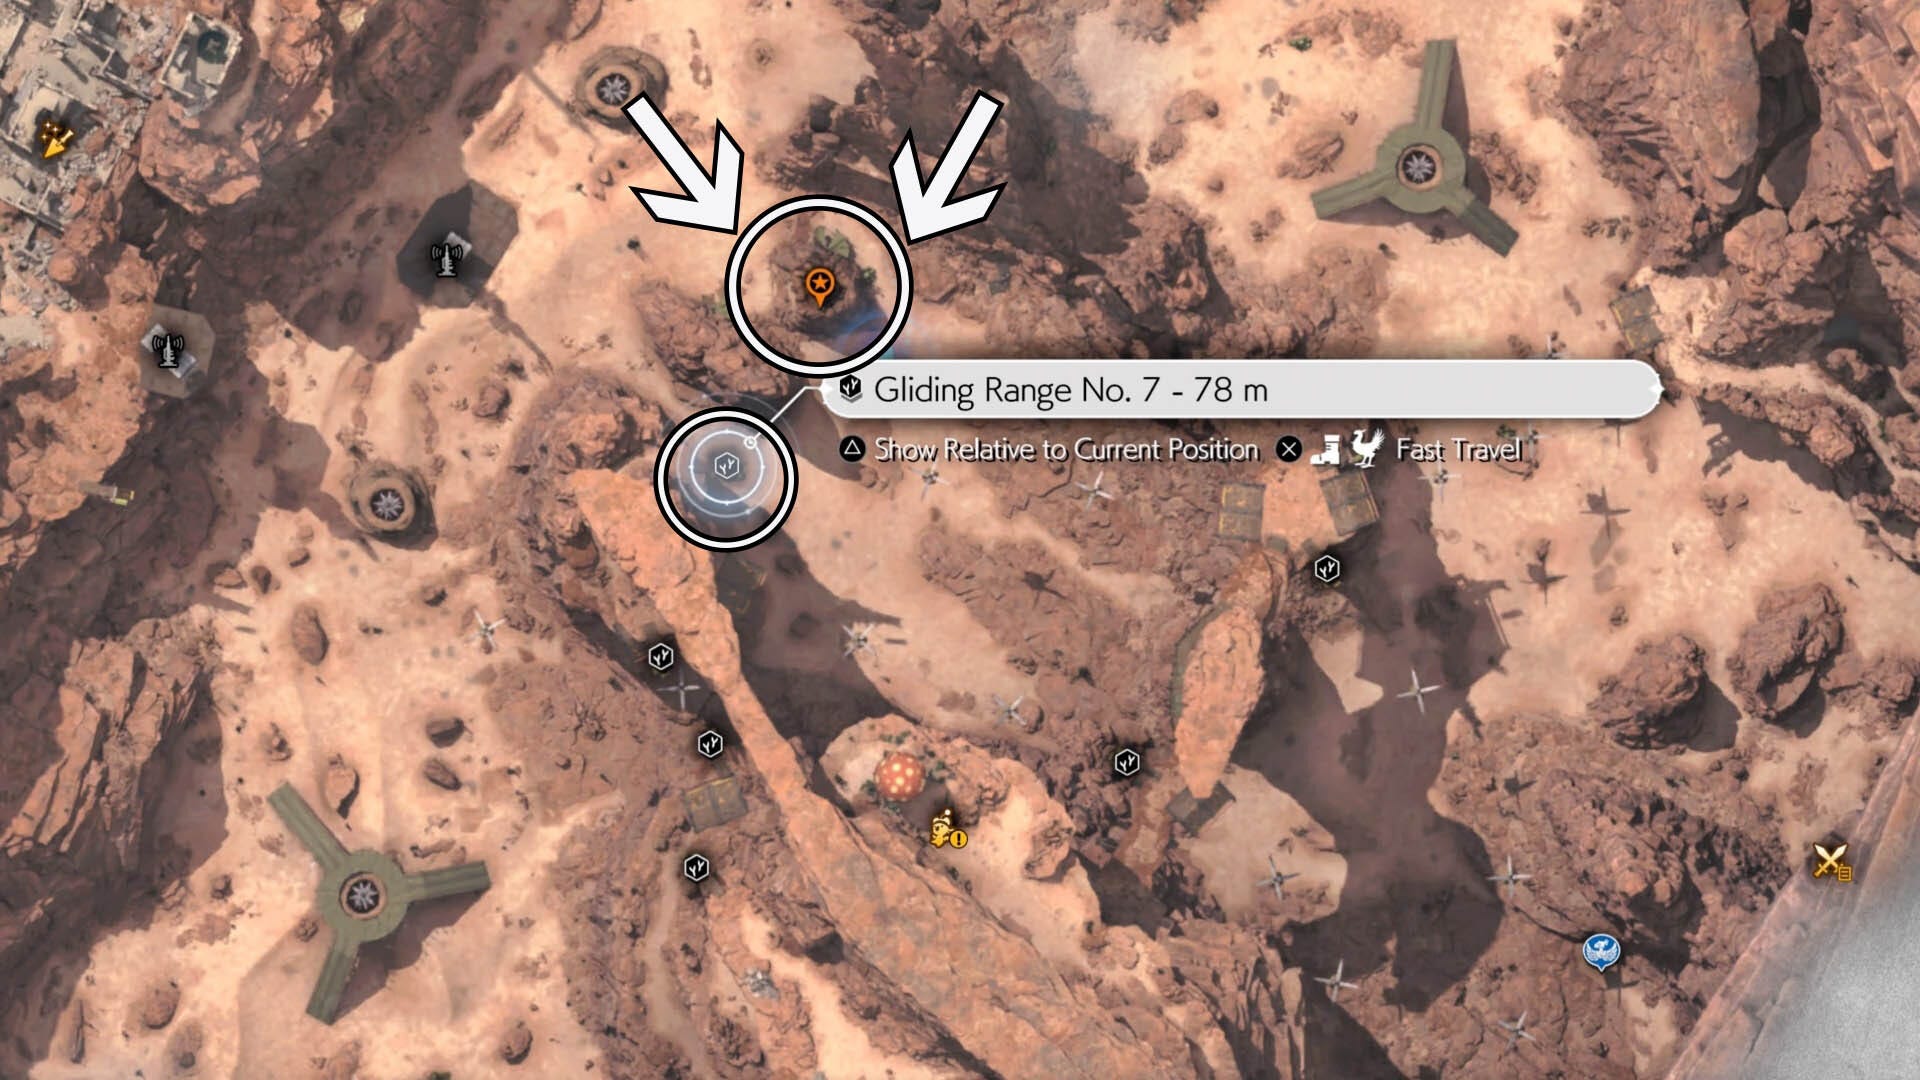
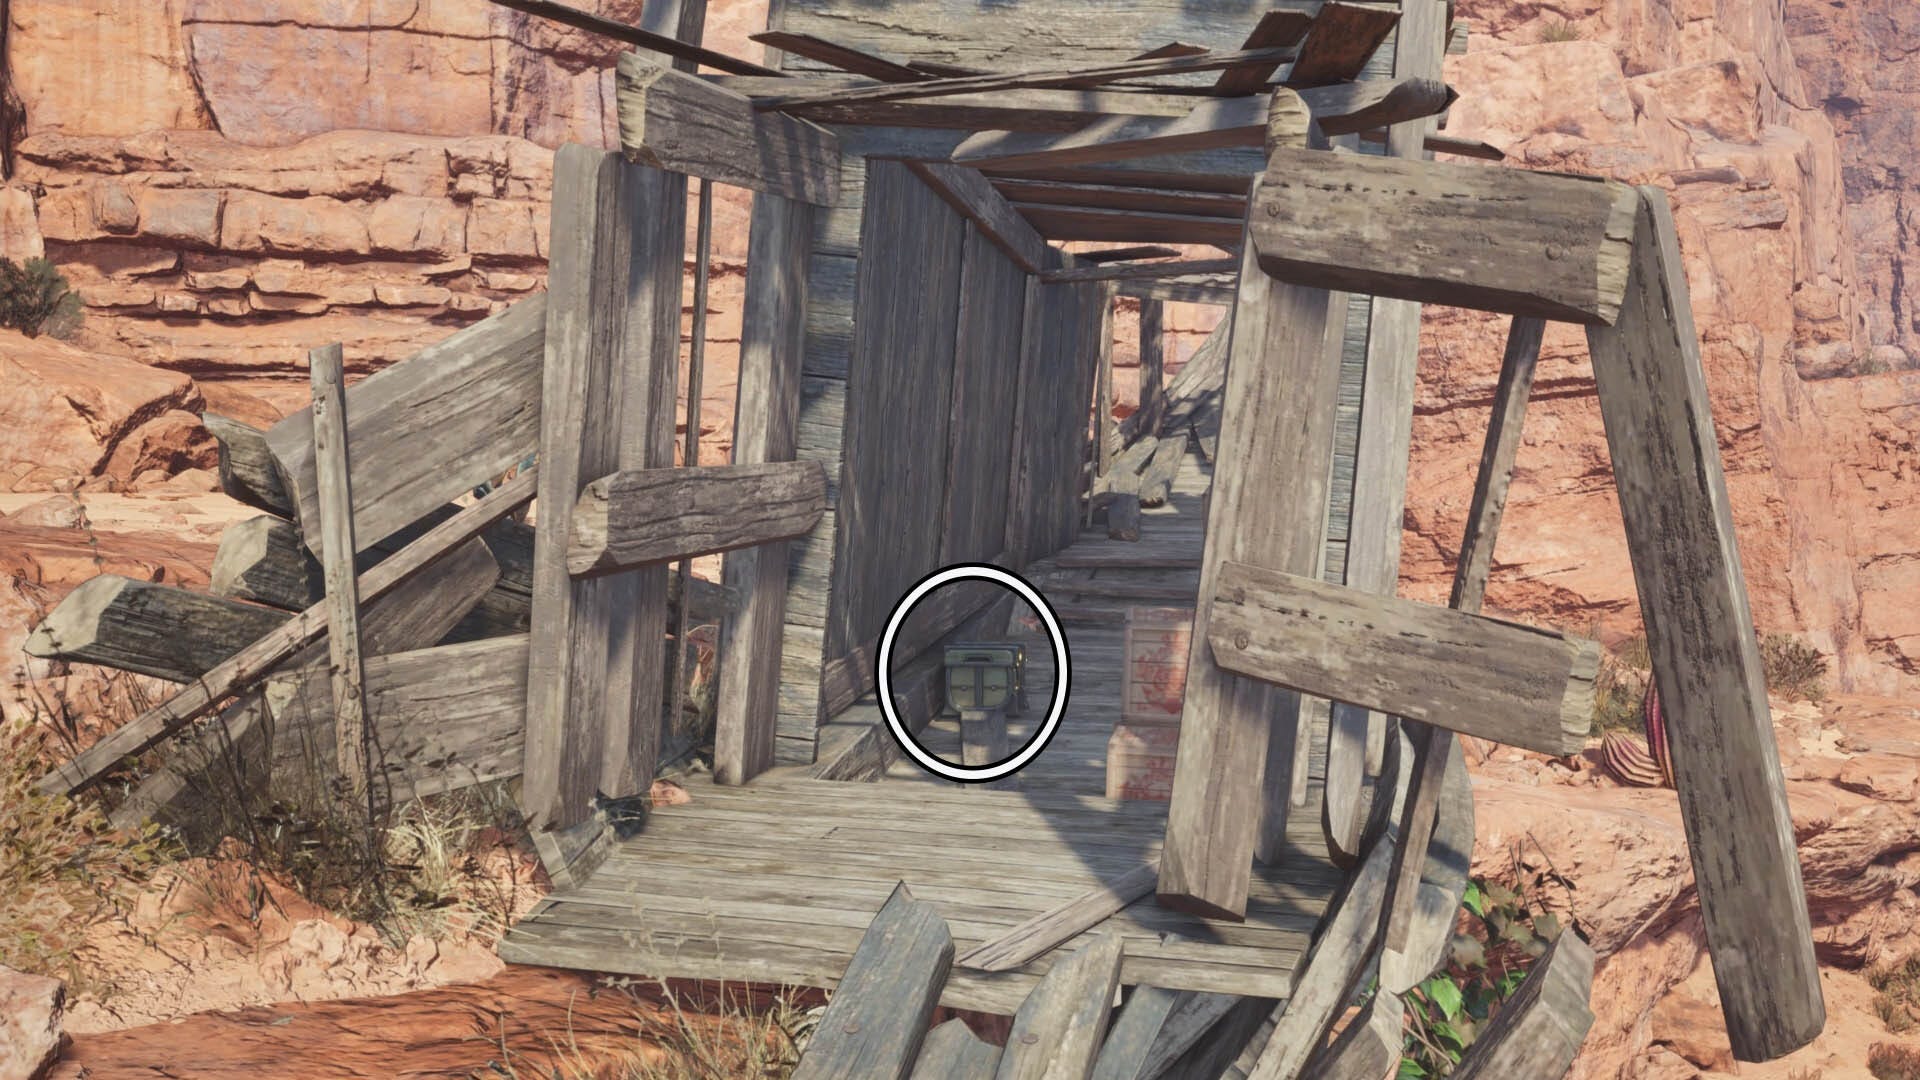
Glide off the launch ramp and across to the point you've pinned on your map. You should see an opening in the top of a large mound. Drop down into it and you can find the chest against the partitions here.

You can either Fast Travel out of this area or use the lever to create a small opening.
How to get all Capital Ruins chests in Final Fantasy 7 Rebirth
There are two chests at Capital Ruins, but the biggest challenge is getting there. If you've already discovered the Ancient Capital Remnawave Tower then you can easily Fast Travel to the right area. If you've not, then this is what you need to do.
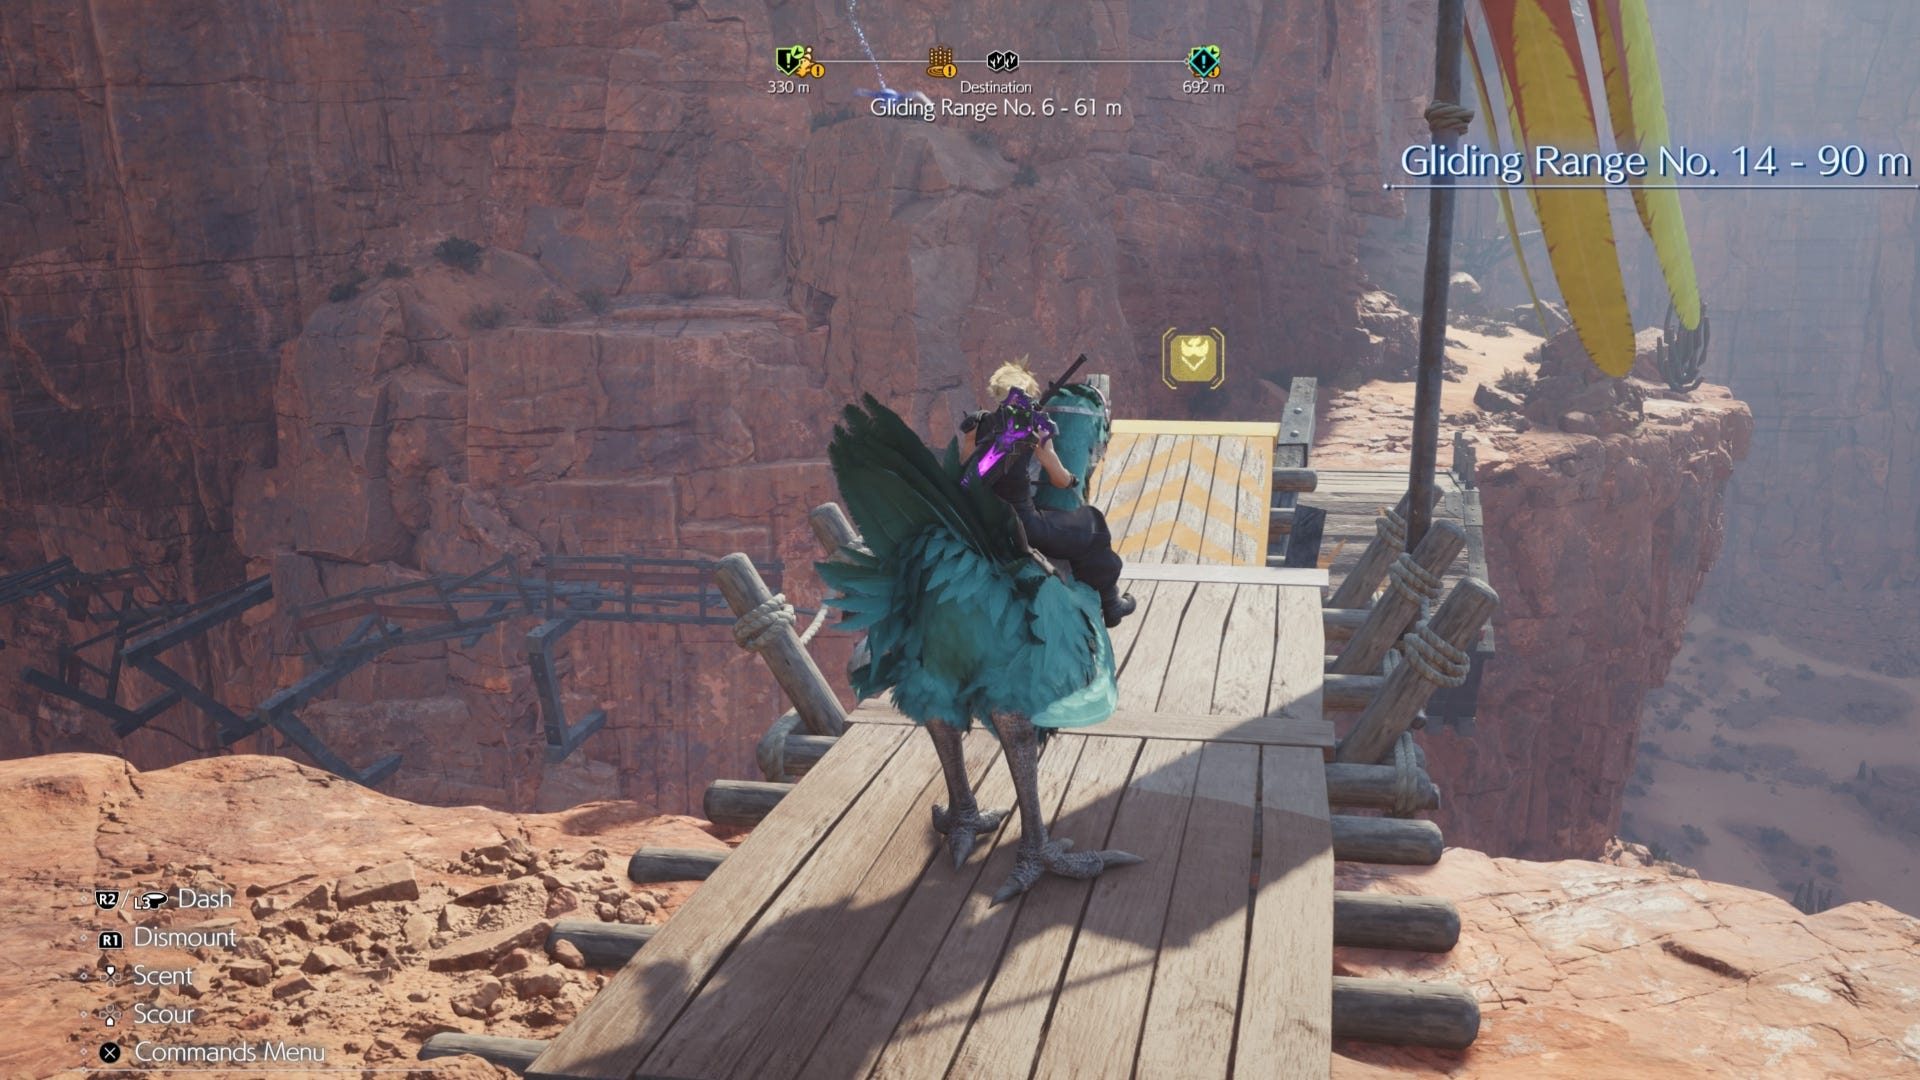
head to Gliding Range No.6. Once at it, jump off and glide across to the wooden landing pad directly opposite you.
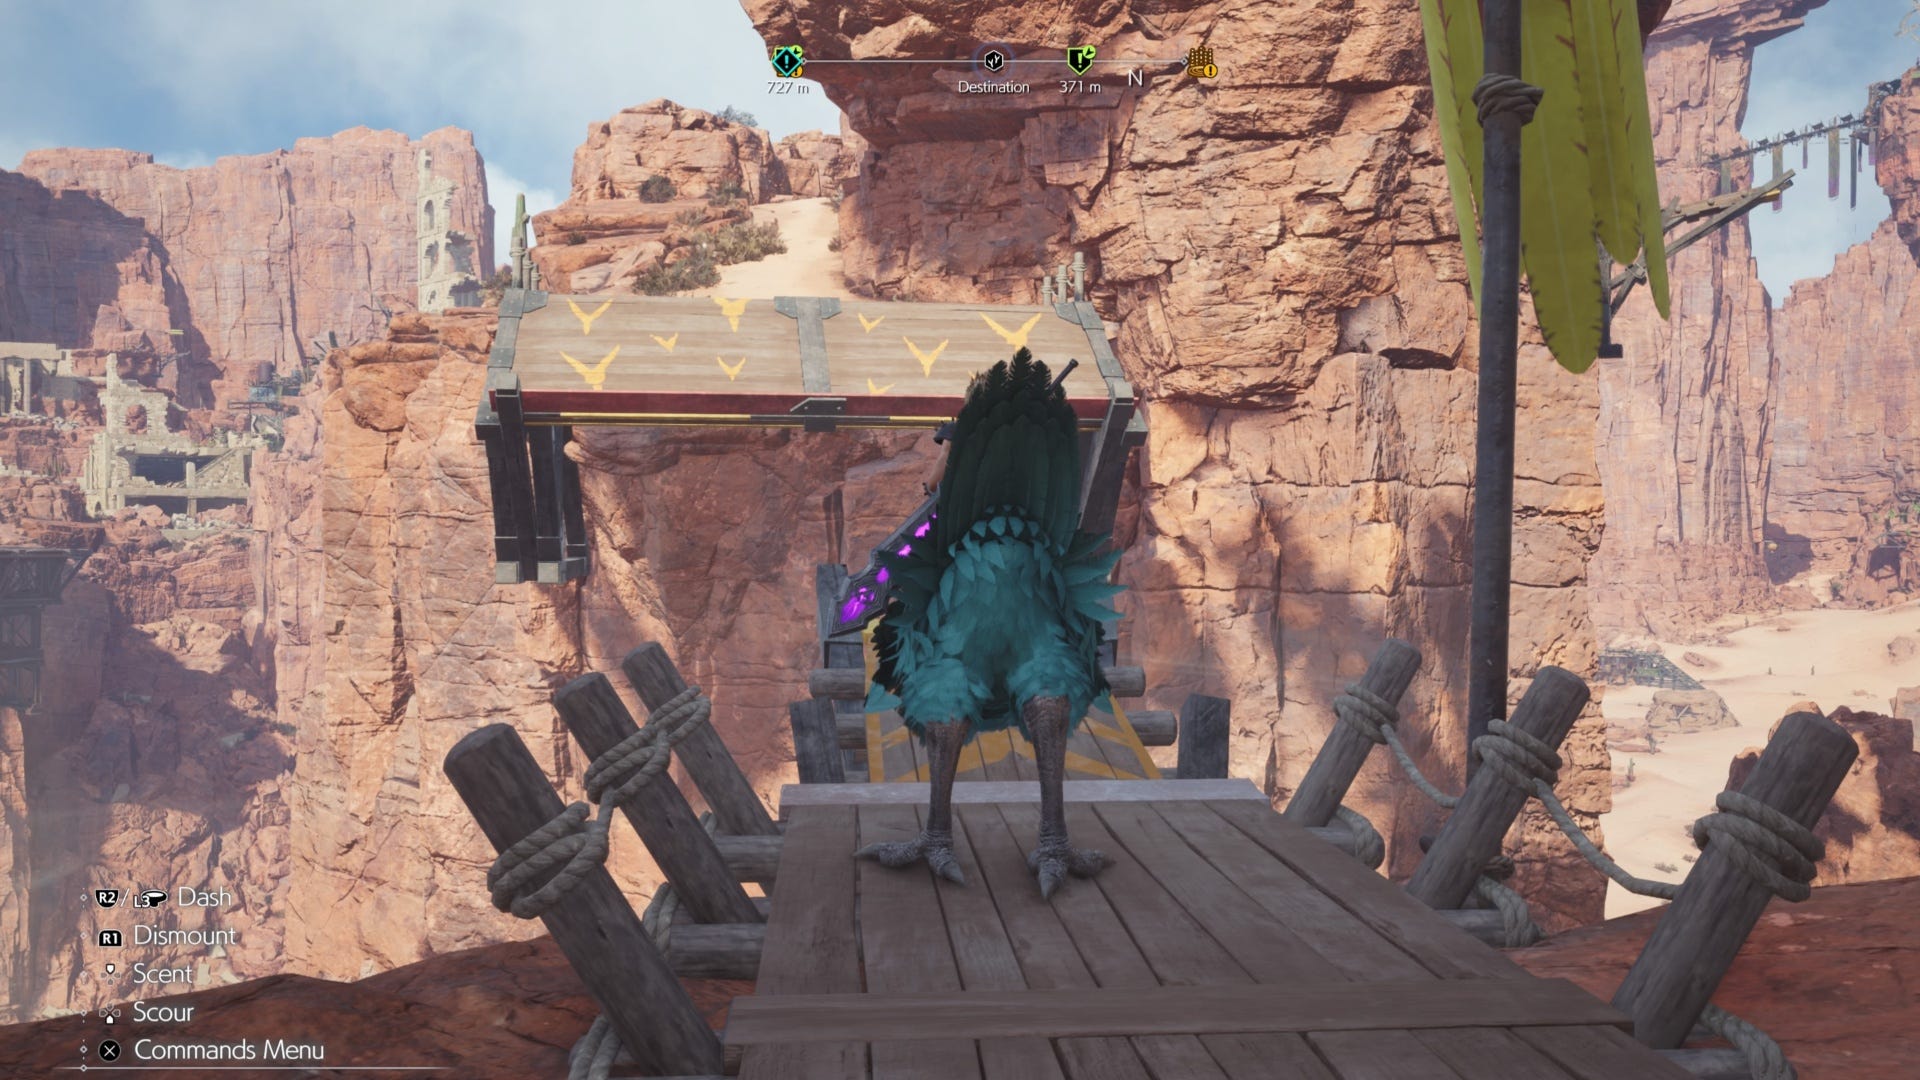
When you've landed, follow the path here around to the right until you reach the launch area for Gliding Range No.7. Here, jump off and glide to the wooden landing pad directly opposite you again, this time using the fans to keep your Chocobo in the air.

Once you land, look to your right. You should see some small wooden steps leading into a rock.
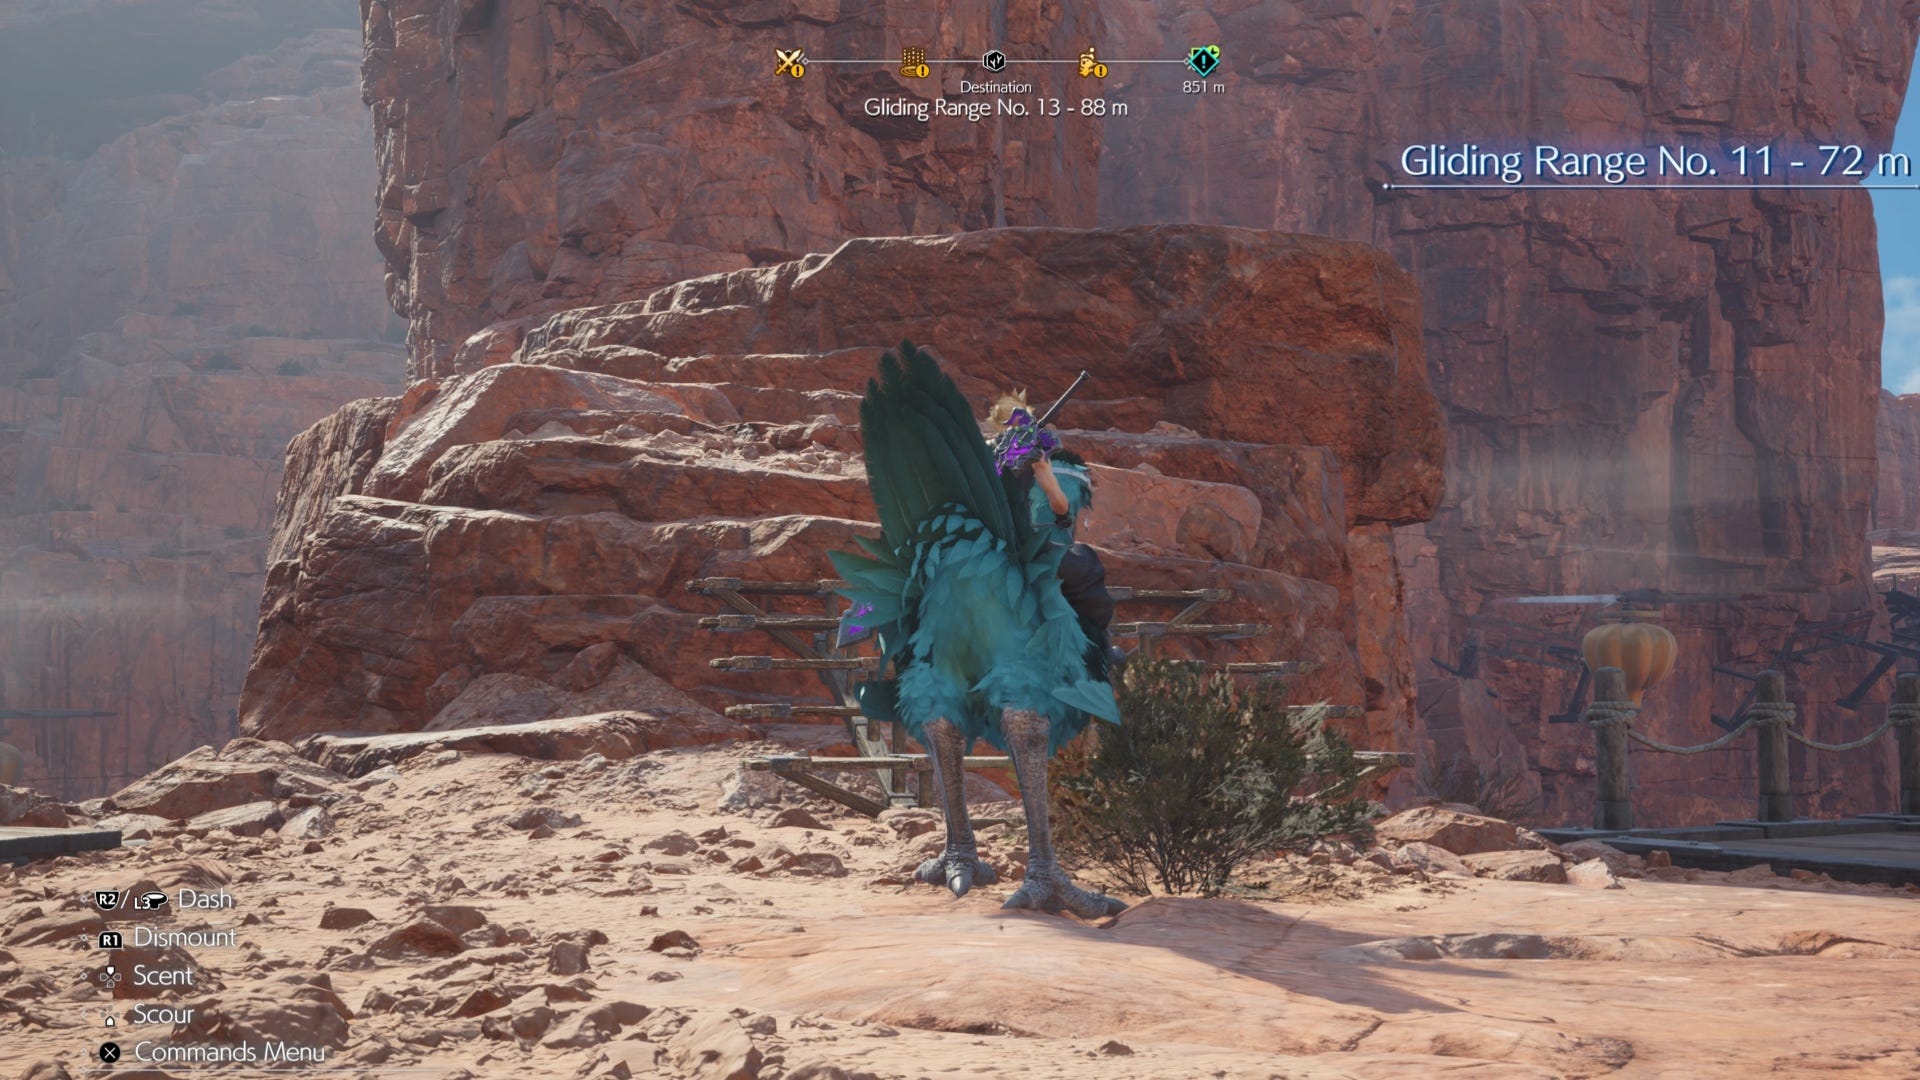
Climb these steps and hop up onto the rock. You should then see a wooden path around the outside of the inner rock formation, follow this to reach the launch area for Gliding Range No.13.
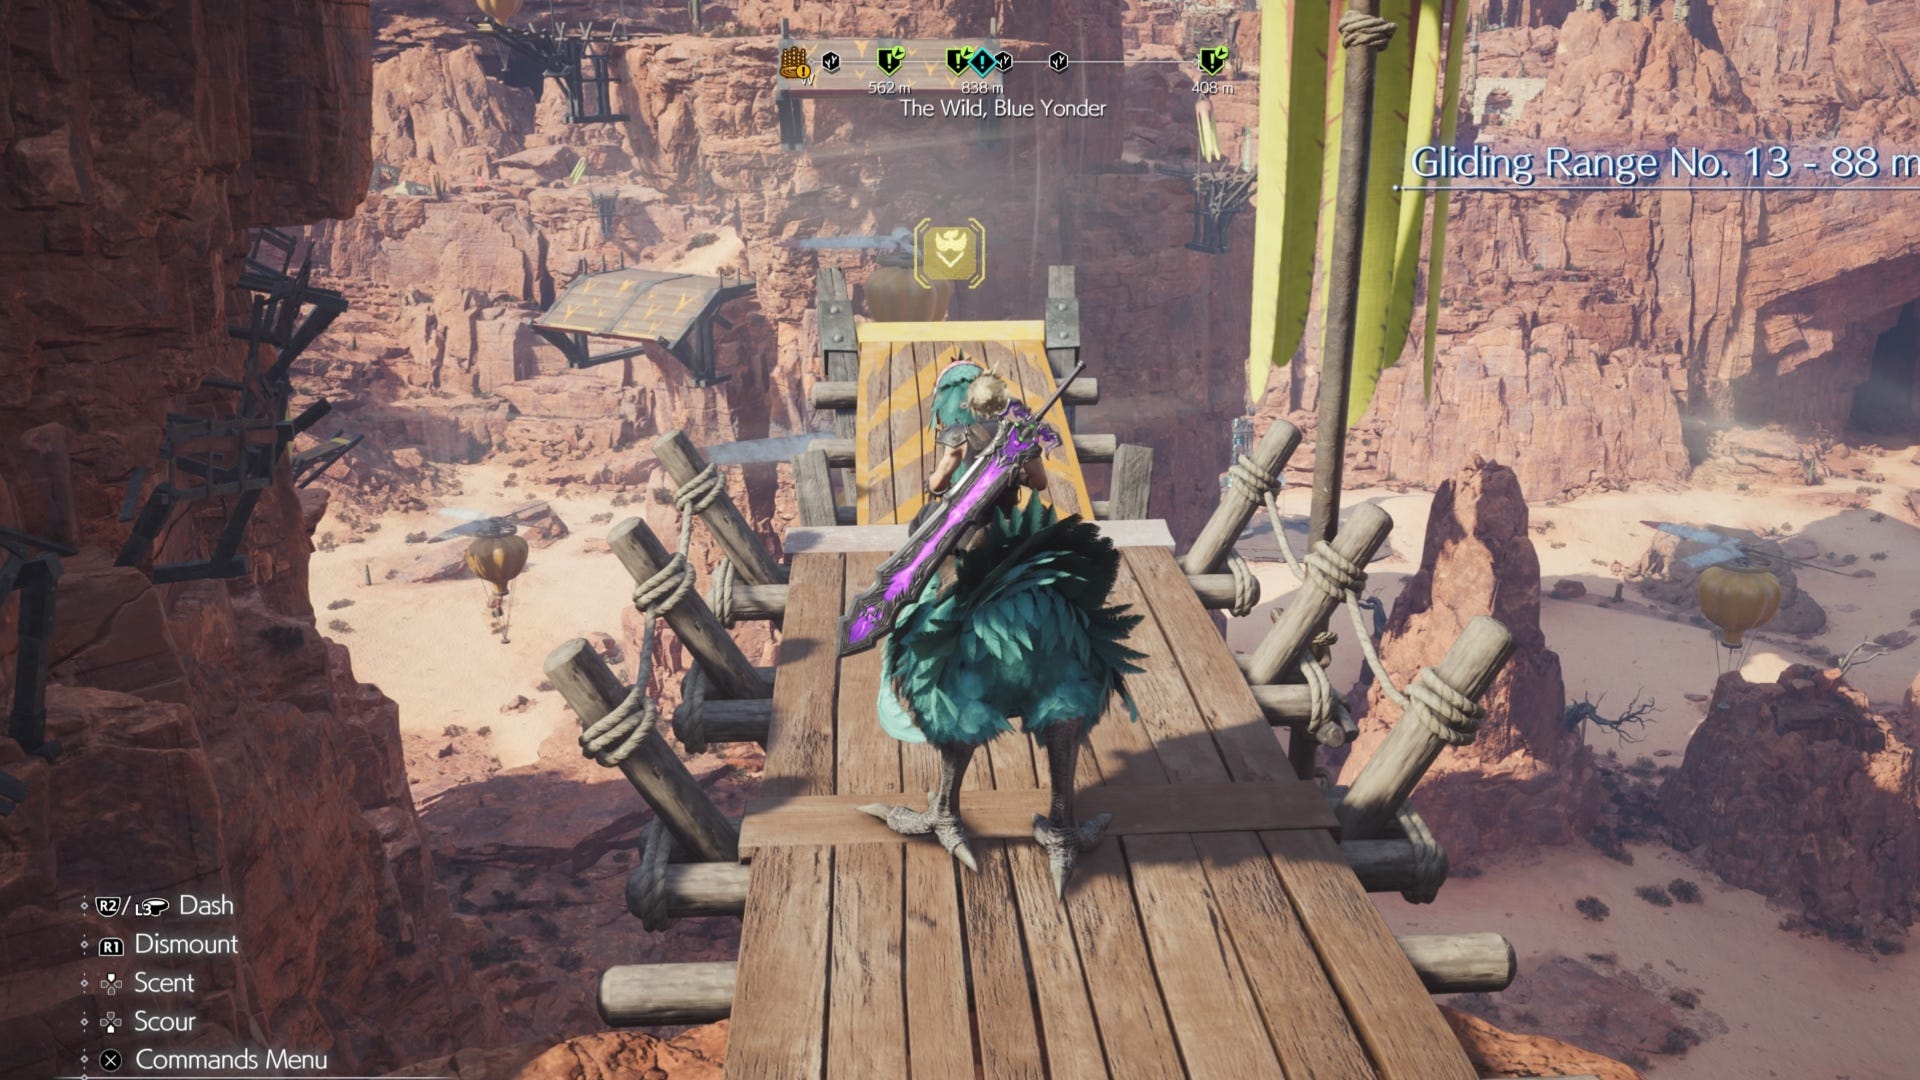
Here, again, glide across to the landing pad opposite you using the fans to keep your Chocobo in the air. Once you're across the gap you should find that the launch area for Gliding Range No.14 is on your left. Use this to glide across to the next area opposite the launch ramp.
When you land, follow the path here past the first launch ramp on your right and past the Blustercave Lifespring (you can do this if you want to though.) Keep following this path around and upwards until you come to the launch ramp for Gliding Range No.16.
Here, you should be able to see a Remnawave Tower across from you. This is where you want to go. So, again, use the fans to glide across to this area.
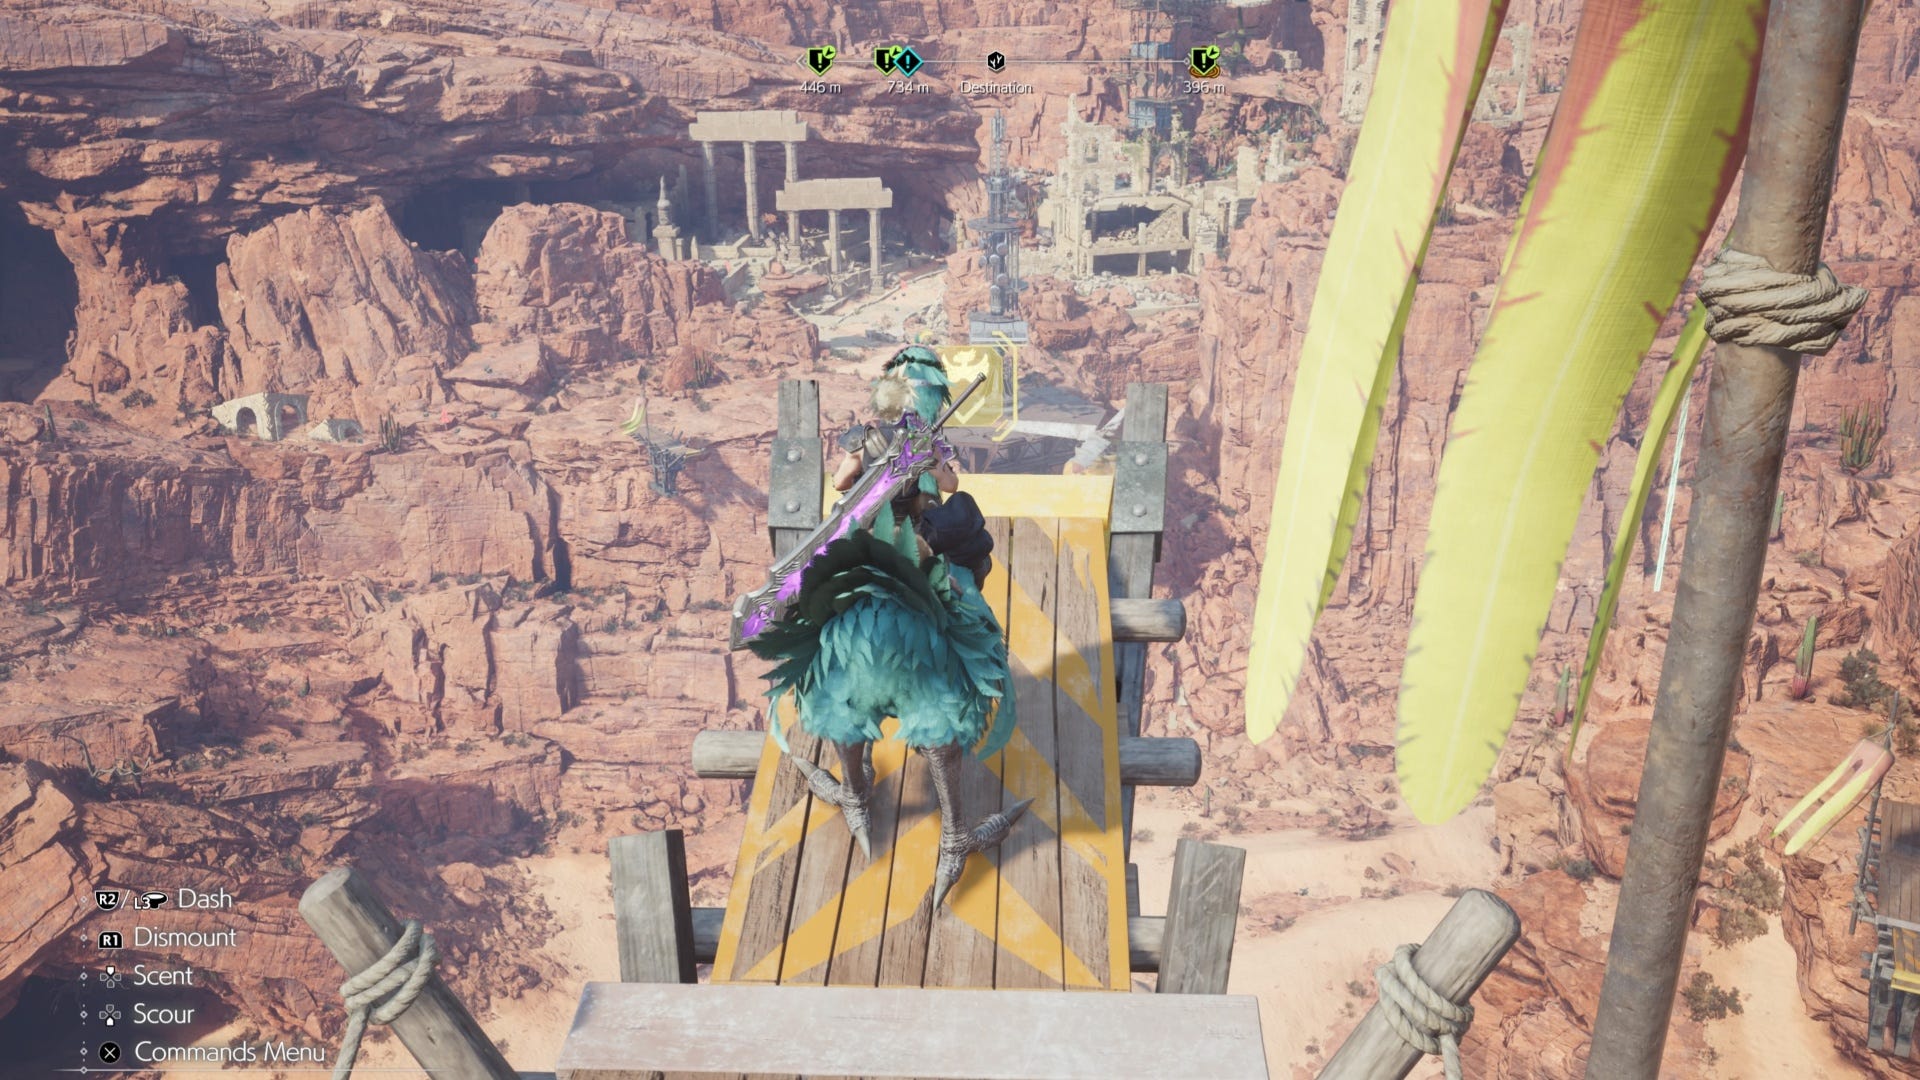
Once you're here, head to the location marked on the map in the section above to discover the Capital Ruins Cache.
When you're at the Cache area, you can find the first chest against a wall at the top of the stairs. You should be able to see the Remnawave Tower in the background.
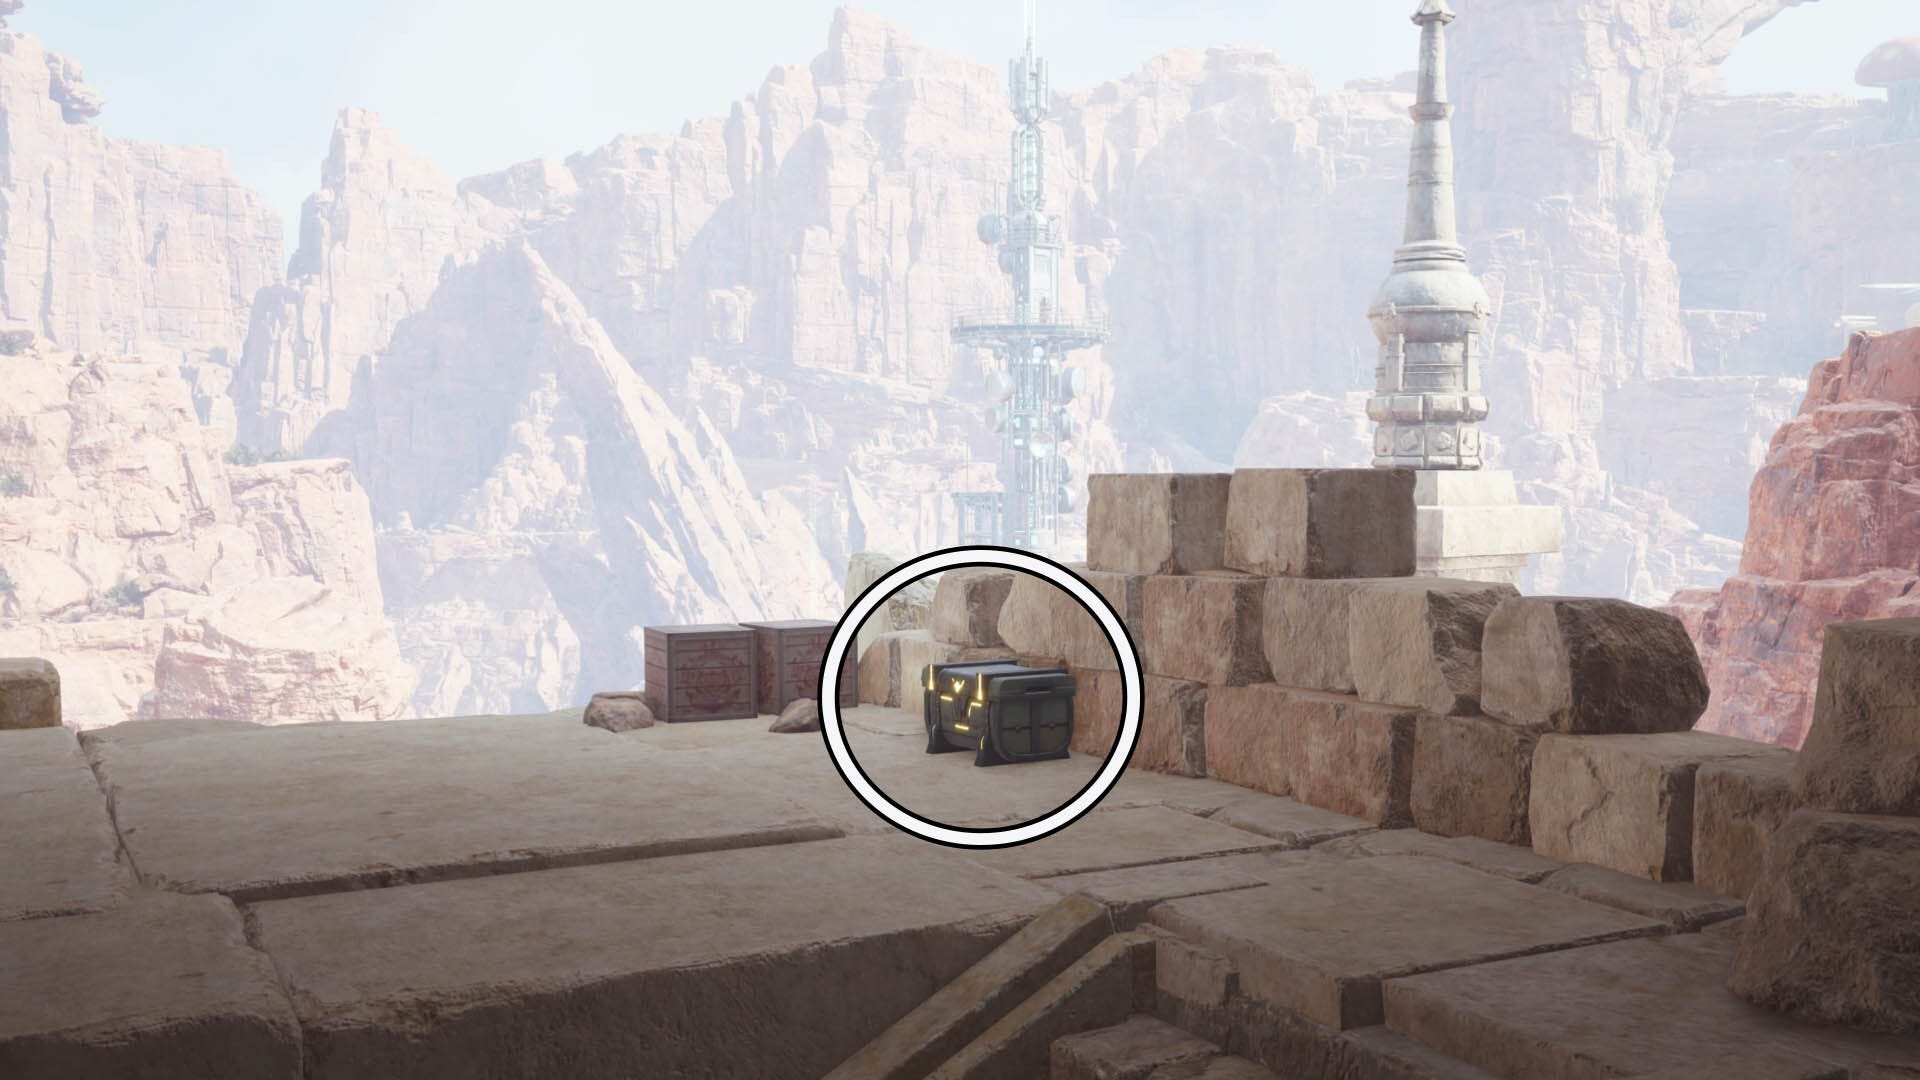
From the first chest, turn around on yourself until you're facing the opposite direction. The chest will be across from you on the other side of this small platform.
That's it for now! While you're in the region, check out our page listing all of the Cosmo Canyon Chocobo Stop locations. Also, if you're in the mood for some photography then check out our Absence of a Sign walkthrough too.