Zelda Tears of the Kingdom Sahirow Shrine solution
How to complete the Aid From Above puzzle.

The Sahirow Shrine in Zelda: Tears of the Kingdom is all about dodging lasers and not accidentally falling to your death.
There’s some tricky timing involved in the later parts of the shrine in Zelda: Tears of the Kingdom, so it can be a difficult one to complete without knowing what you’re doing.
This guide will help out by explaining the Sahirow Shrine puzzle solutions for the Aid from Above puzzle . We’ll also let you know where you can find the Sahirow Shrine location and how to get the chest. Not the shrine you're looking for? Check out our guide to all shrine locations in Zelda: Tears Of The Kingdom.
If you’d like to learn more about Link’s adventure, visit our Zelda: Tears of the Kingdom walkthrough.
Sahirow Shrine location in Zelda Tears of the Kingdom
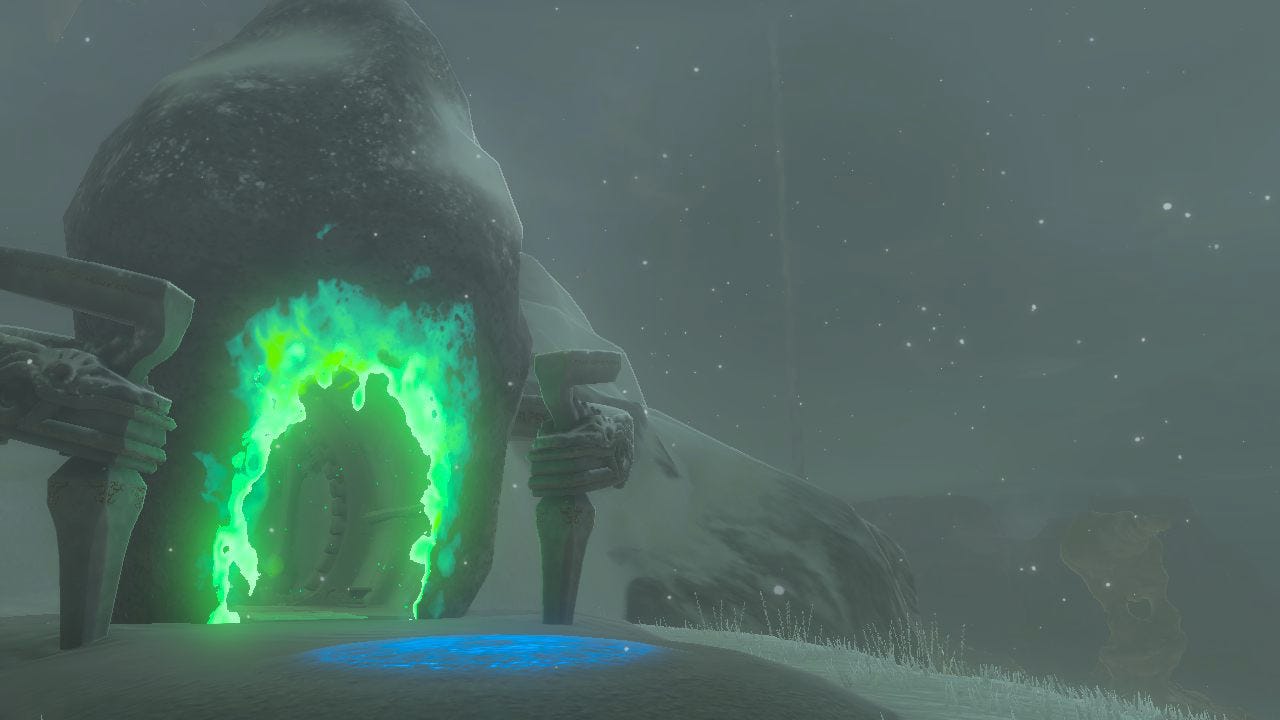
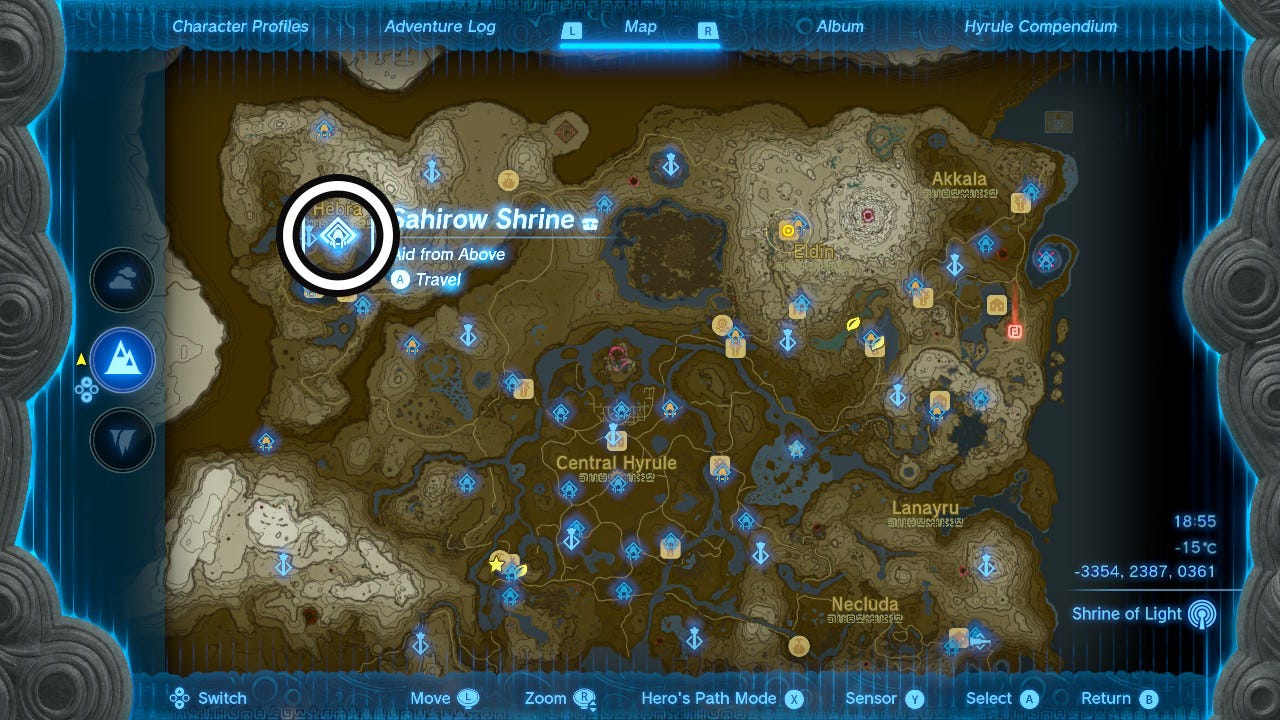
The Sahirow Shrine can be found in the Hebra region in Zelda: Tears of the Kingdom. This is in the northwest. The Sahirow Shrine is close to the Rospro Pass Skyview Tower - just to the east. Here’s what it looks like on the map. The coordinates are (-3354, 2387, 0361).
Do be aware that this is an area of extreme cold, so bring the appropriate clothes, food, and/or elixirs. It won’t be a problem in the Shrine itself, however.
Sahirow Shrine puzzle solution in Zelda Tears of the Kingdom
There are two main areas that make up the Sahirow Shrine and its Aid From Above puzzle in Tears of the Kingdom:
Sahirow Shrine puzzle one
Enter the shrine and jump over the first laser here.
If you still get tripped up on Zelda: Tears of the Kingdom’s many controls, this may be a good place for a refresher. Don’t forget that it’s X to jump, and left stick press to crouch walk. You’ll need to be able to remember these with quick timing for the final puzzle of this shrine, so practice here, if you like.
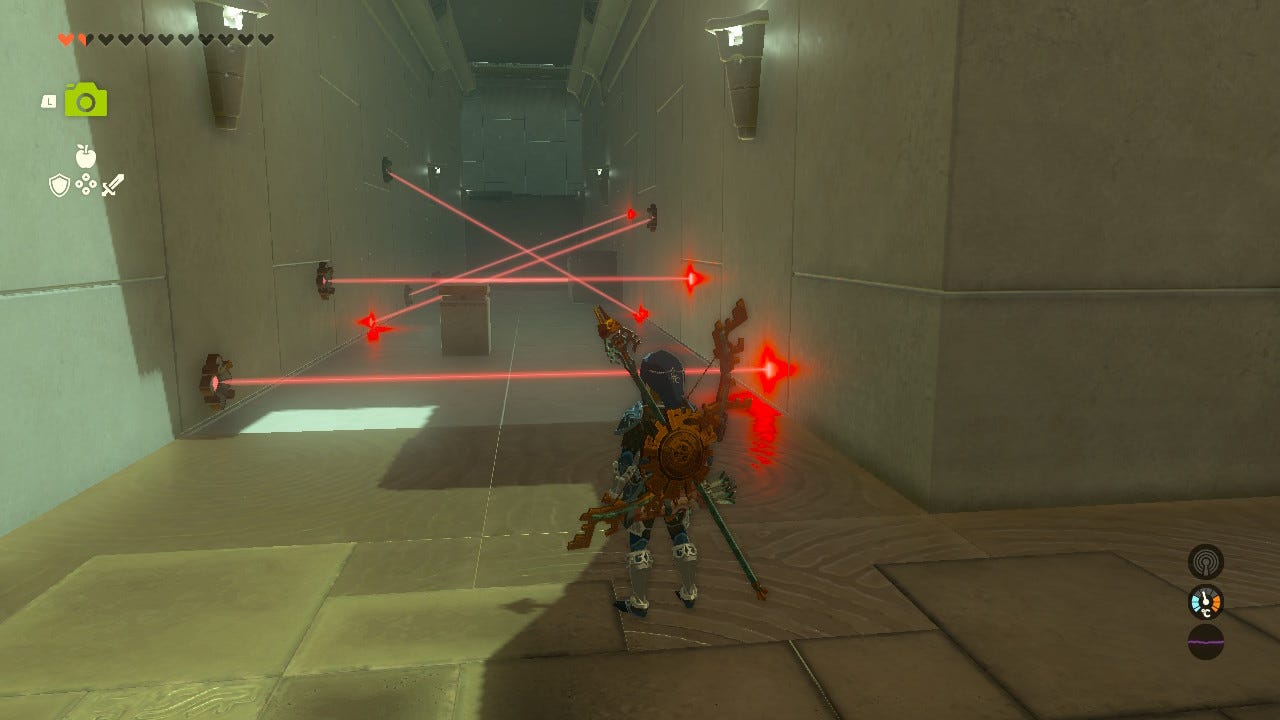
In the next area, jump the first laser. Now, crouch walk under the straight laser and the three angled ones. Climb the platforms against the right hand wall and jump over the final three lasers. You may catch the final one with a normal jump, but this is ok. You’ll learn that when the laser is activated, the floor opens, sending Link falling to his death. But if you only trigger the last one in this set, you’ll already be across to safe ground.
Sahirow Shrine puzzle two
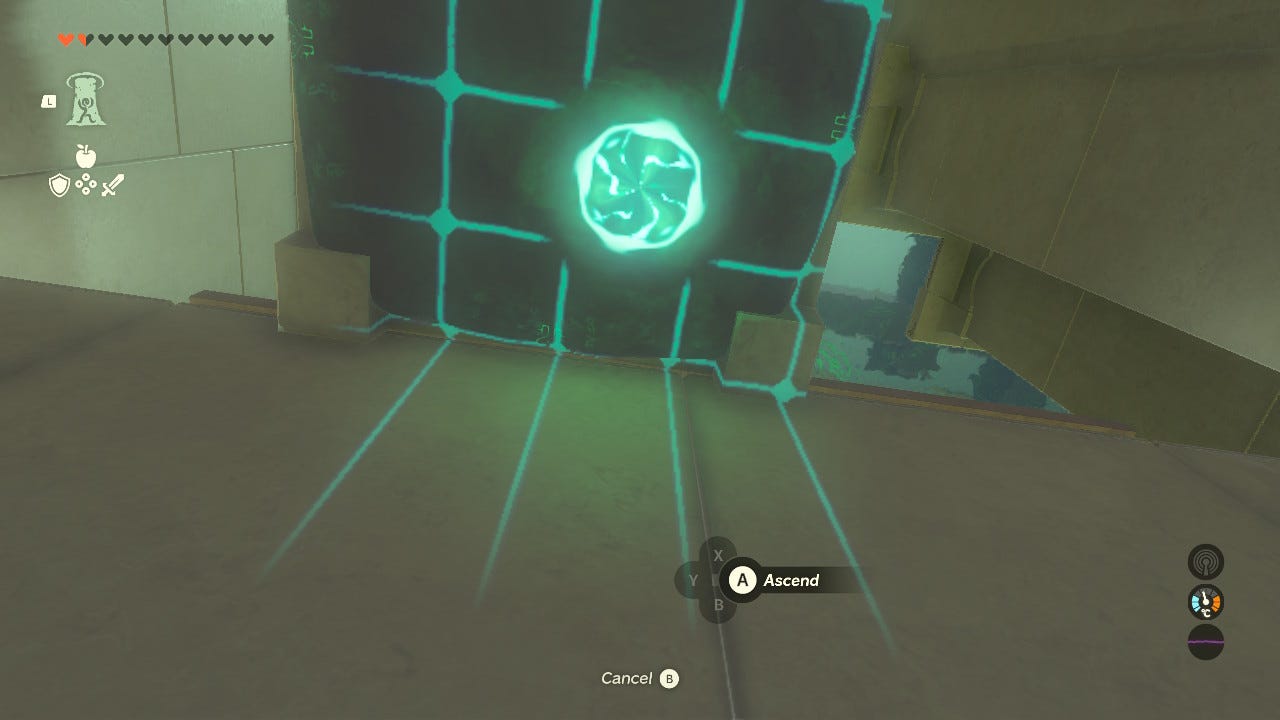
In the next room you’ll find a moving platform you need to use Ascend beneath. The best way to do this is to stand still and look upwards with Ascend activated and wait for the platform to be above you - the Ascend grid will turn green at the right moment.
How to get the Sahirow Shrine chest
Head towards the laser on the right, crouch walk underneath it, and then block it using the metal block here by moving it with Ultrahand. Make sure you’re not too close (on the white panelling on the floor) as that floor is going to open up!

The gate behind you will open, so go and get the chest for a Spicy Elixir. This will raise Link’s cold resistance for 8 minutes and 40 seconds.
Either remove the block and go under the laser, or jump back to continue with the rest of the shrine. Be careful, because this is the section which requires timing.
First, you’ll need to jump an oncoming laser, continue through an open doorway, and then duck a second one.
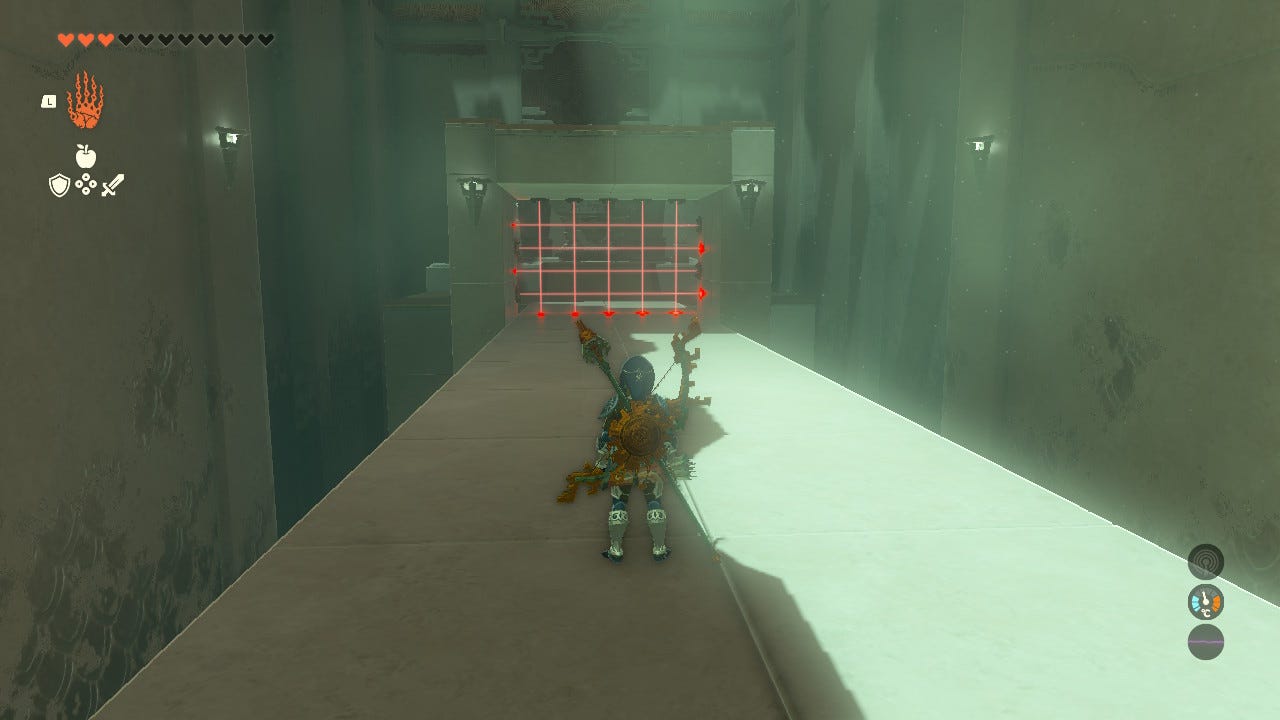
Finally, after you pass through another doorway, a platform with a grid of lasers will begin to move towards you. Activate Ascend, look upwards, and use it as soon as possible when the platform reaches you to climb to safety.
Congratulations! You can now move to the end and receive your Light of Blessing. If you’d like to learn more about Link’s quest, visit our Zelda: Tears of the Kingdom walkthrough.