How to get the Rubber Armor in Zelda Tears of the Kingdom
Strap on some Rubber and become strong against shocking enemies.
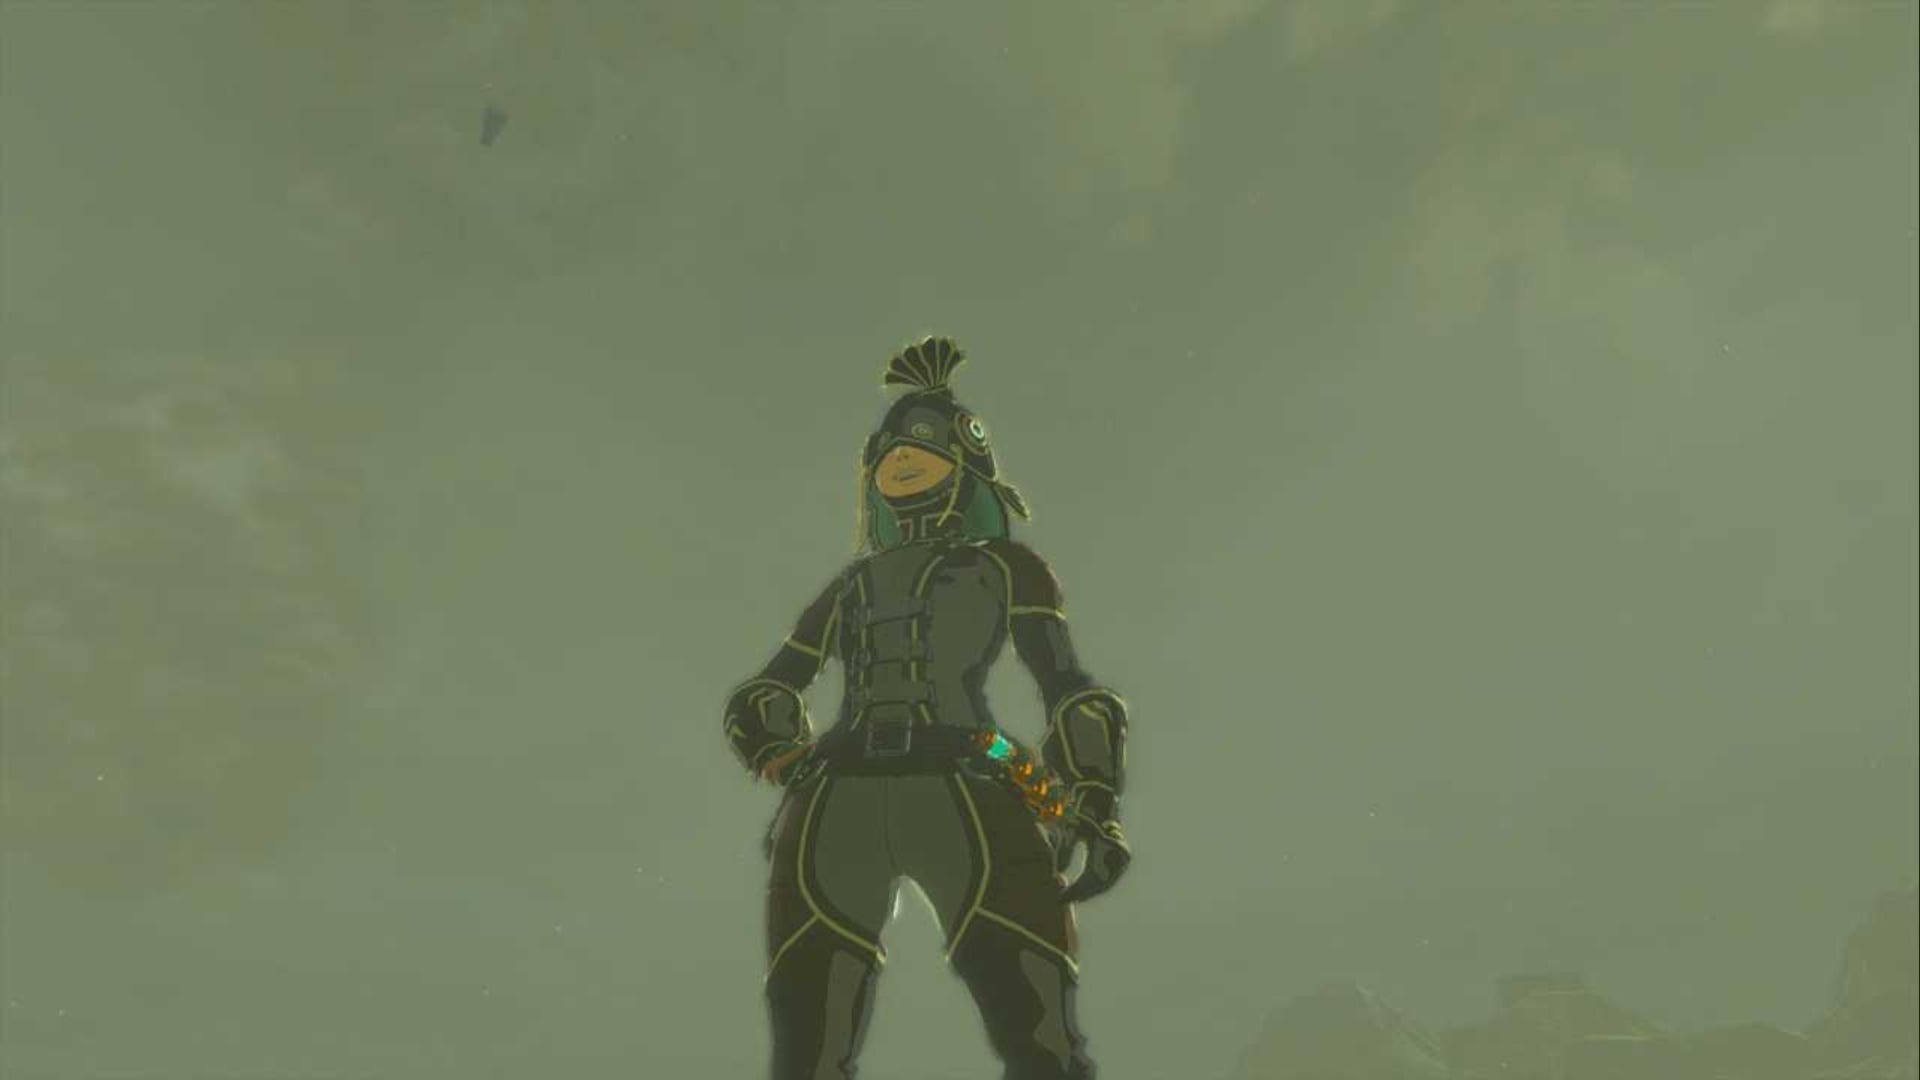

The Rubber Armor set in Zelda: Tears of the Kingdom comes in three pieces, a helm, a chest piece, and tights. Each individual piece has its own perks and benefits, but the armor is at its most powerful when you combine all three pieces together.
As with some other armor pieces across Hyrule in Zelda: Tears of the Kingdom, each part of the Rubber Armor set is hidden in chests deep within caves across the Kingdom. It's quite a trek to find them all, but this piece of armor is worth it.
Without further ado, we're here to show you how to get the Rubber Armor in Zelda: Tears of the Kingdom.
On this page:
If you'd like to learn more about Link's adventure, visit our Zelda: Tears of the Kingdom walkthrough.
Rubber Armor explained
The Rubber Armor set in Zelda: Tears of the Kingdom boosts Link's shock resistance level and, if you have the entire set on, can make your worries about being hit by lightning a thing of the past. Well, in Hyrule at least anyway.
The armor can be upgraded at a Great Fairy Fountain up to four times. Each time you upgrade a piece of armor, it will increase its defense stat and make the piece or pieces stronger.
Here's a list of each upgrade for the Rubber Armor and how much it will cost:
| Armor Piece | Upgrade One | Upgrade Two | Upgrade Three | Upgrade Four |
|---|---|---|---|---|
| Rubber Helm |
|
|
|
|
| Rubber Armor |
|
|
|
|
| Rubber Tights |
|
|
|
|
How to get the Rubber Helm in Zelda Tears of the Kingdom
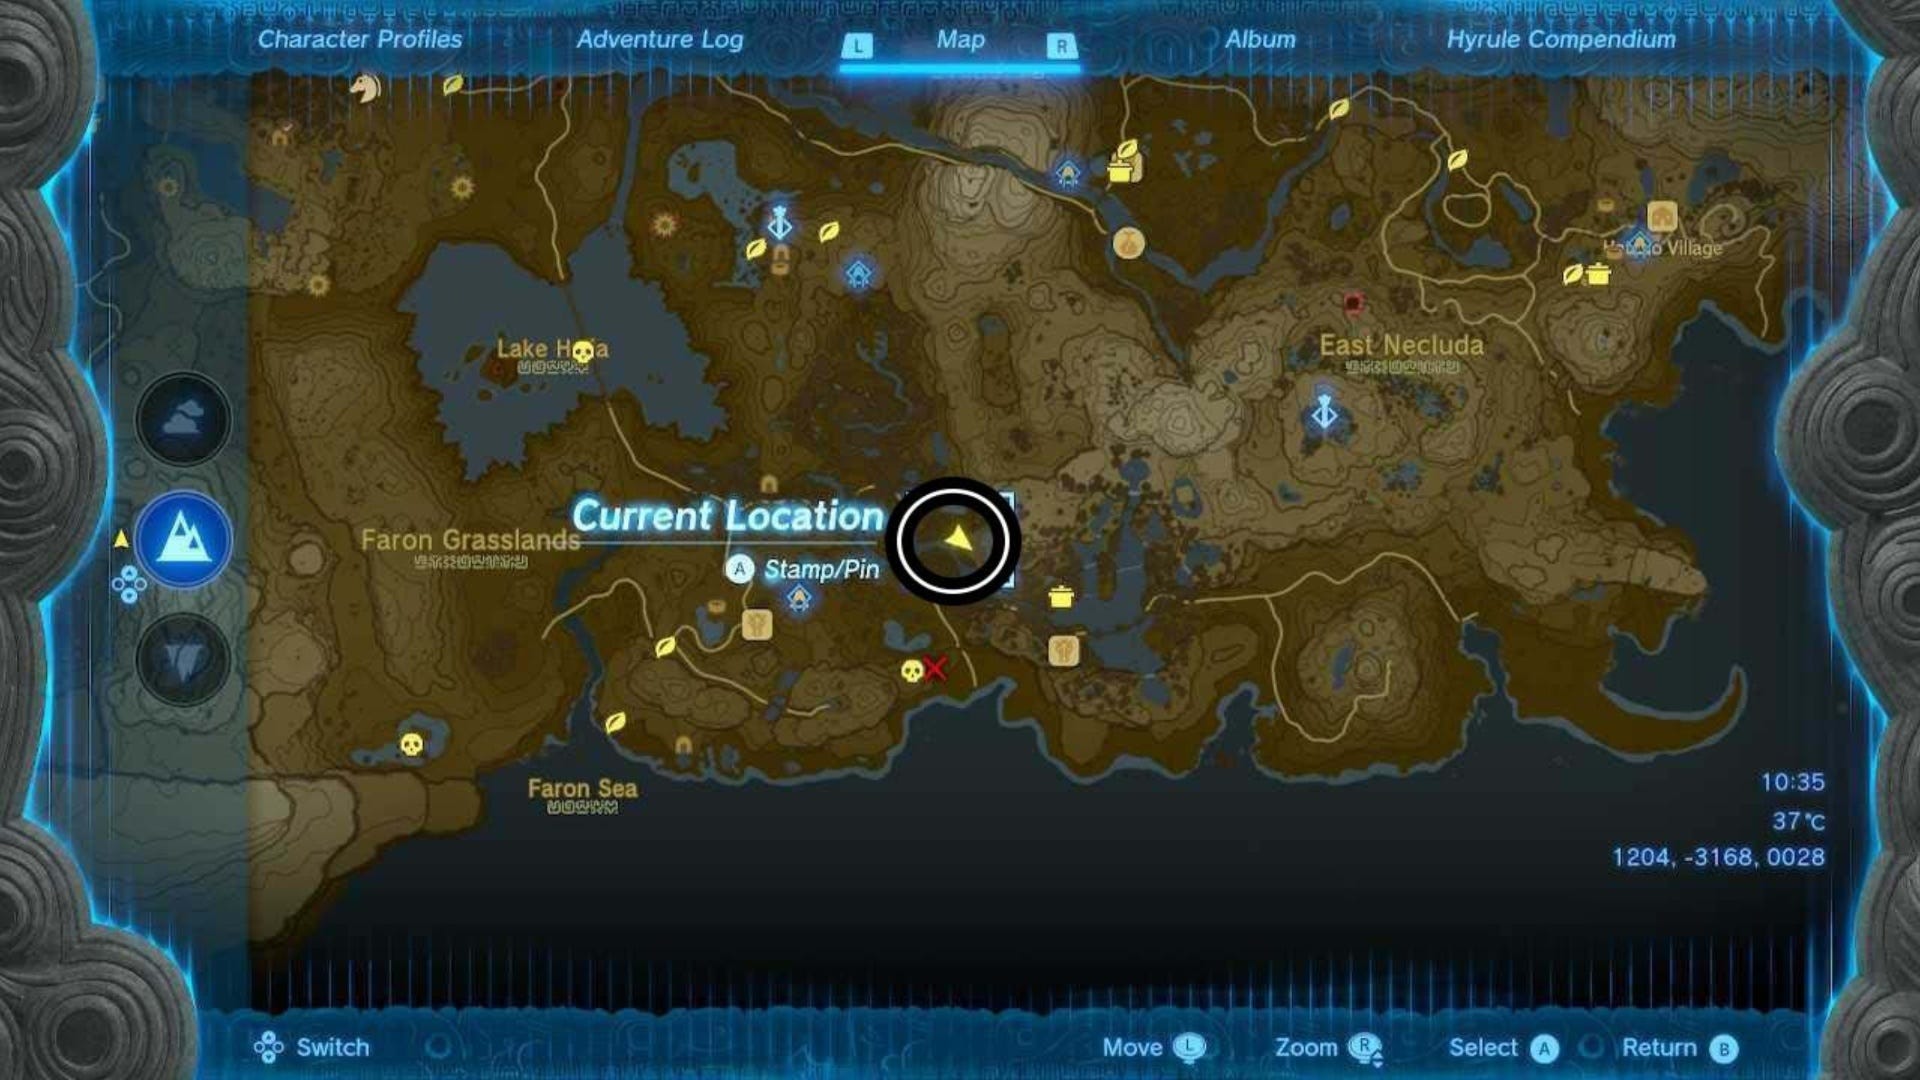
The Rubber Helm in Zelda: Tears of the Kingdom is in Sarjon Woods Cave in Sarjon Woods. This is north east of Utsushok Shrine and Highland Stable, and north west of Lakeside Stable.
We've marked the entrance on the map below, and the coordinates for the Sarjon Woods Cave entrance are (1204, -3168, 0028.)
Once you get to the entrance of the cave, you'll see that it's covered in vines.
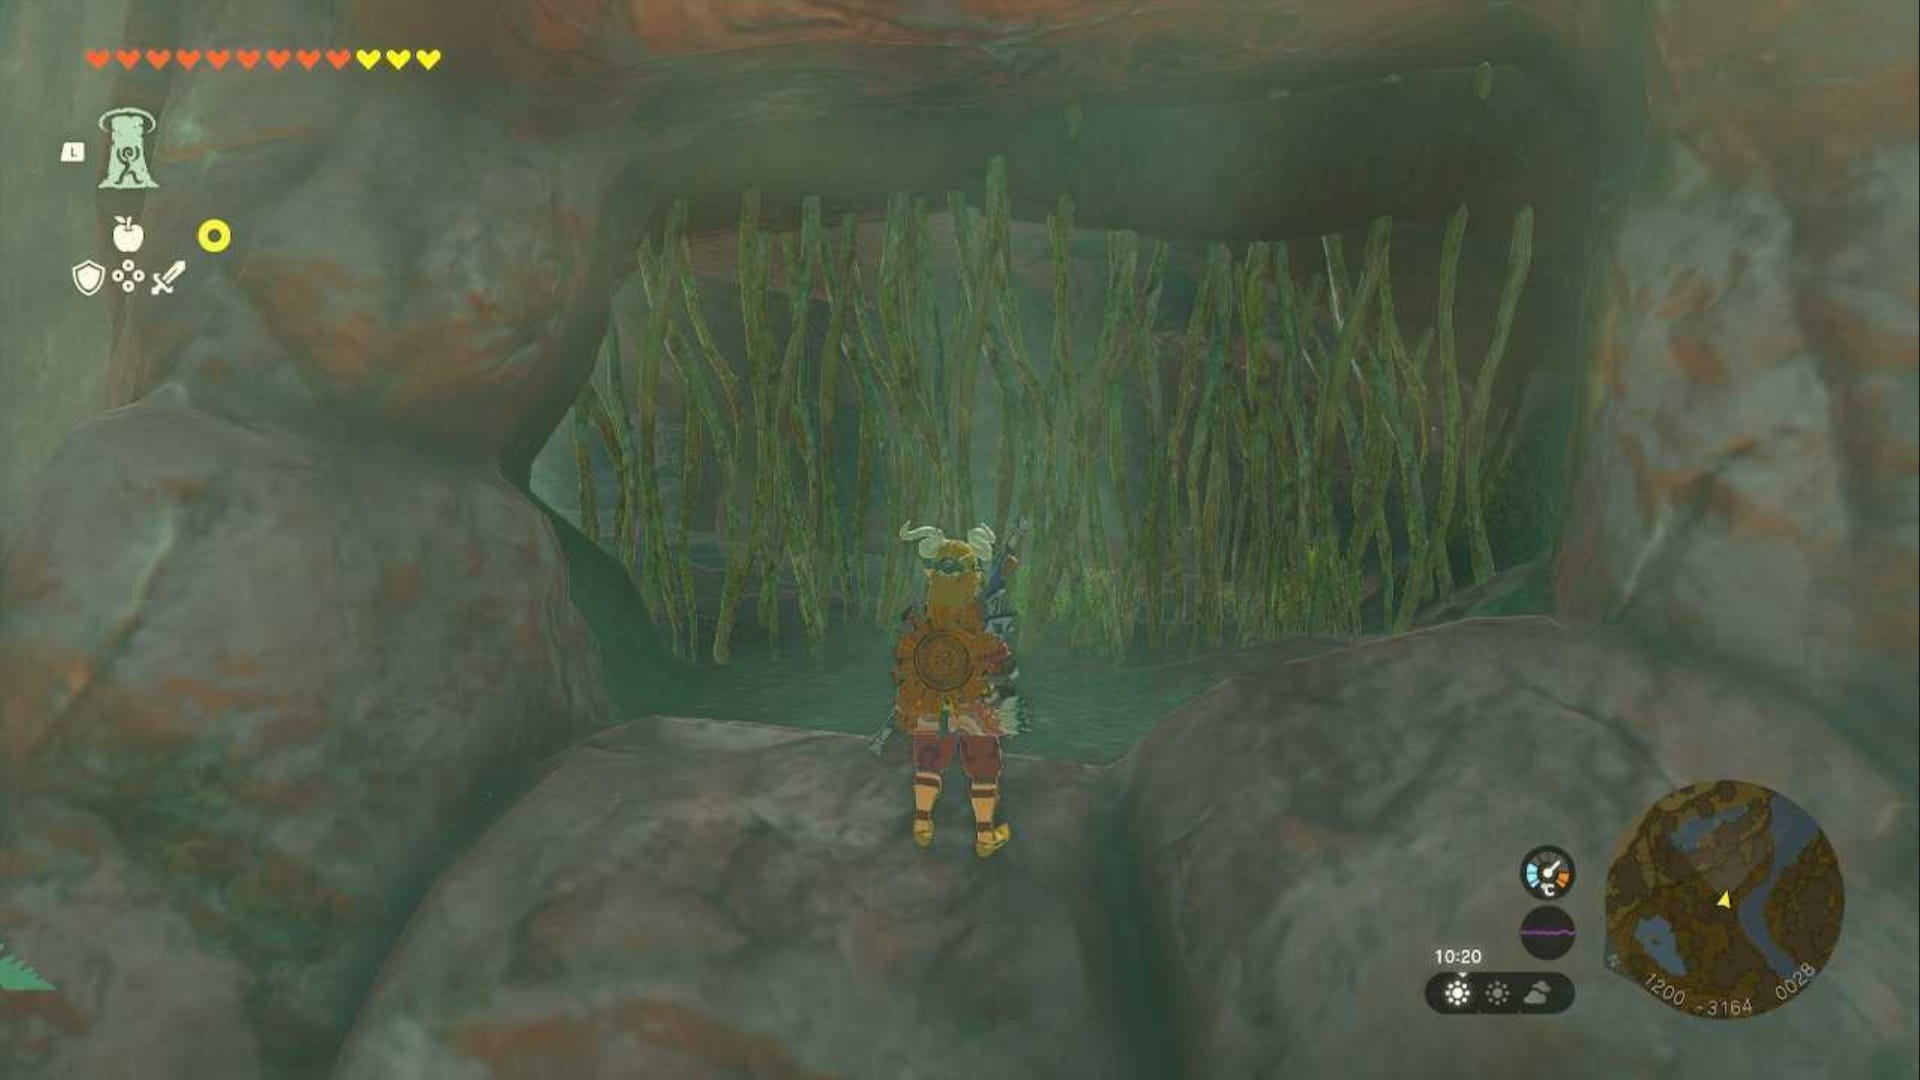
Burn through this set and the second set of vines to get into the cave where you'll then see a river.
Make sure you have plenty of stamina and stamina-boosting meals or elixirs as you'll be swimming for a while.
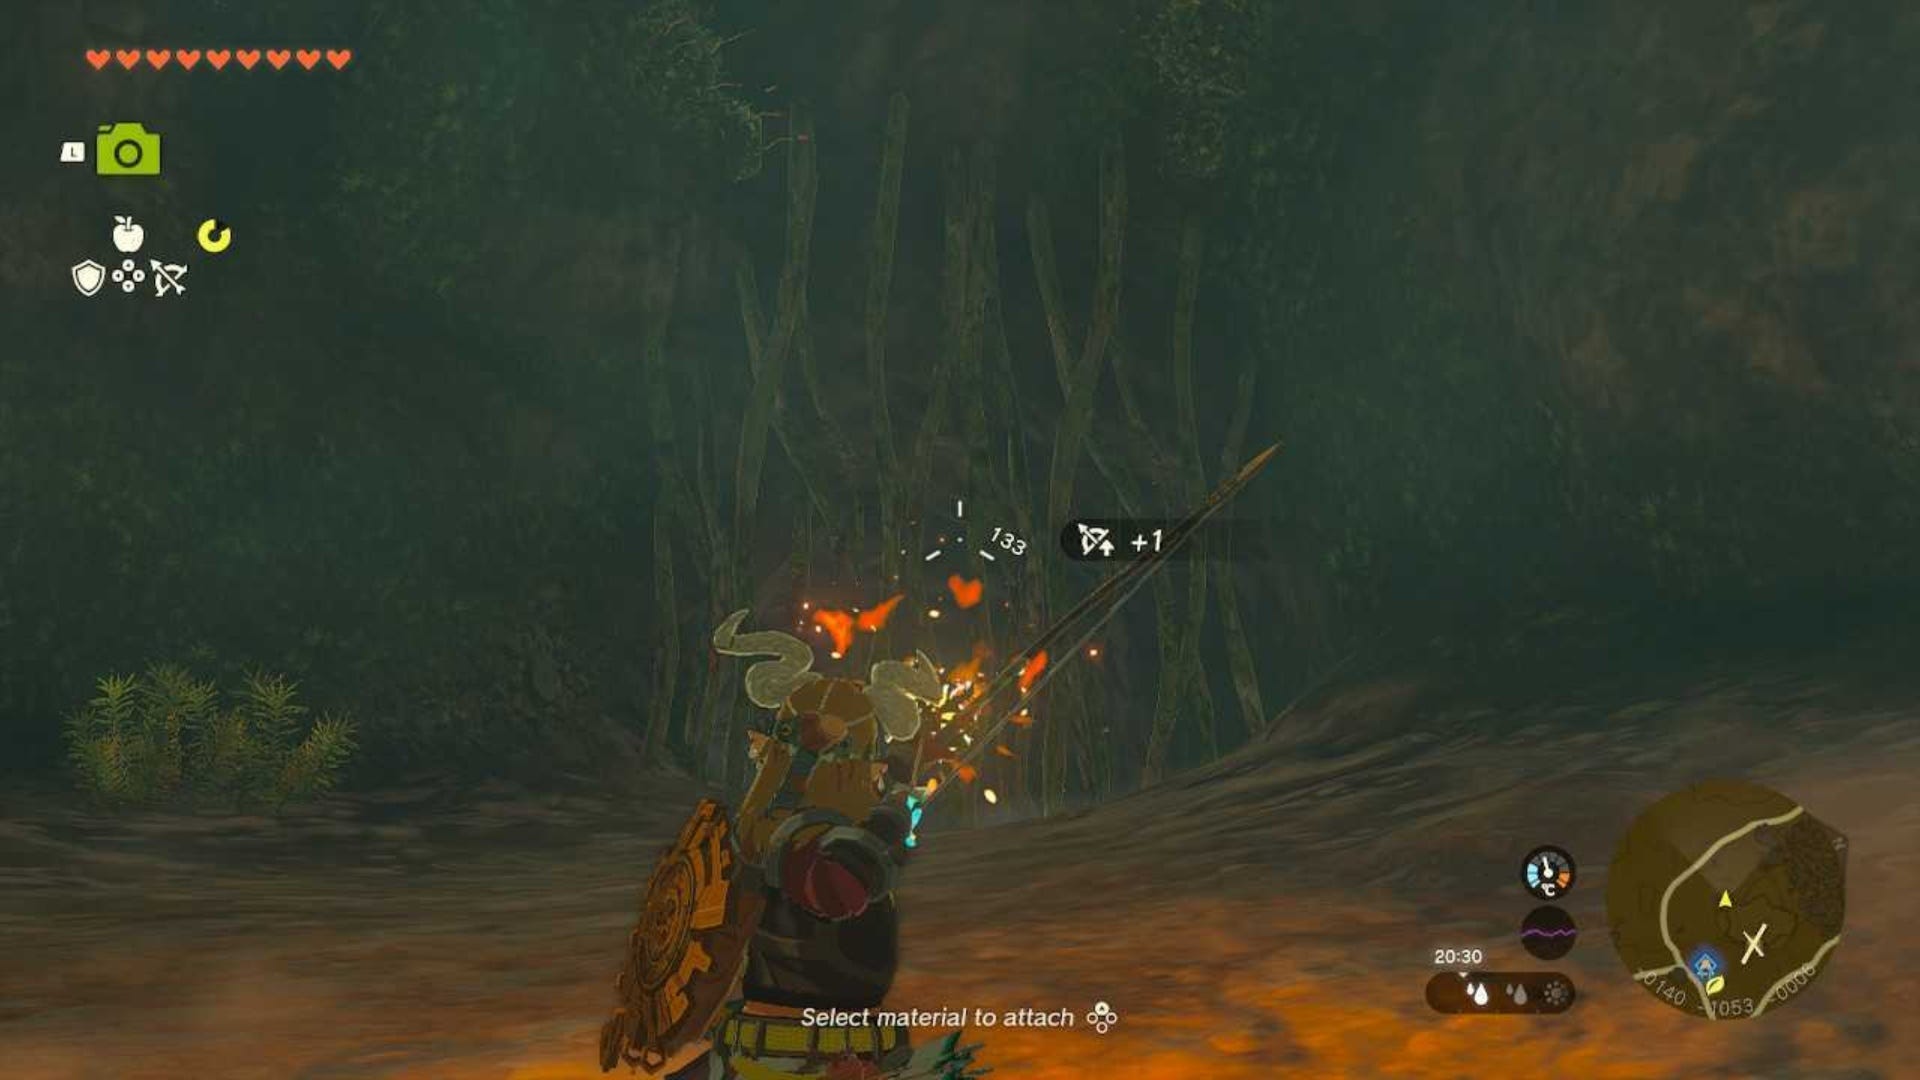
When ready, jump into the river and swim forwards following the current until you come across a Black Horriblin on the ceiling and more vines blocking your path through the river. You can try to swim through the gaps between the vines, but if you don't have enough stamina we recommend stopping at one of the ledge's on the side of the river and using an arrow to take down the Horriblin before it hits you.
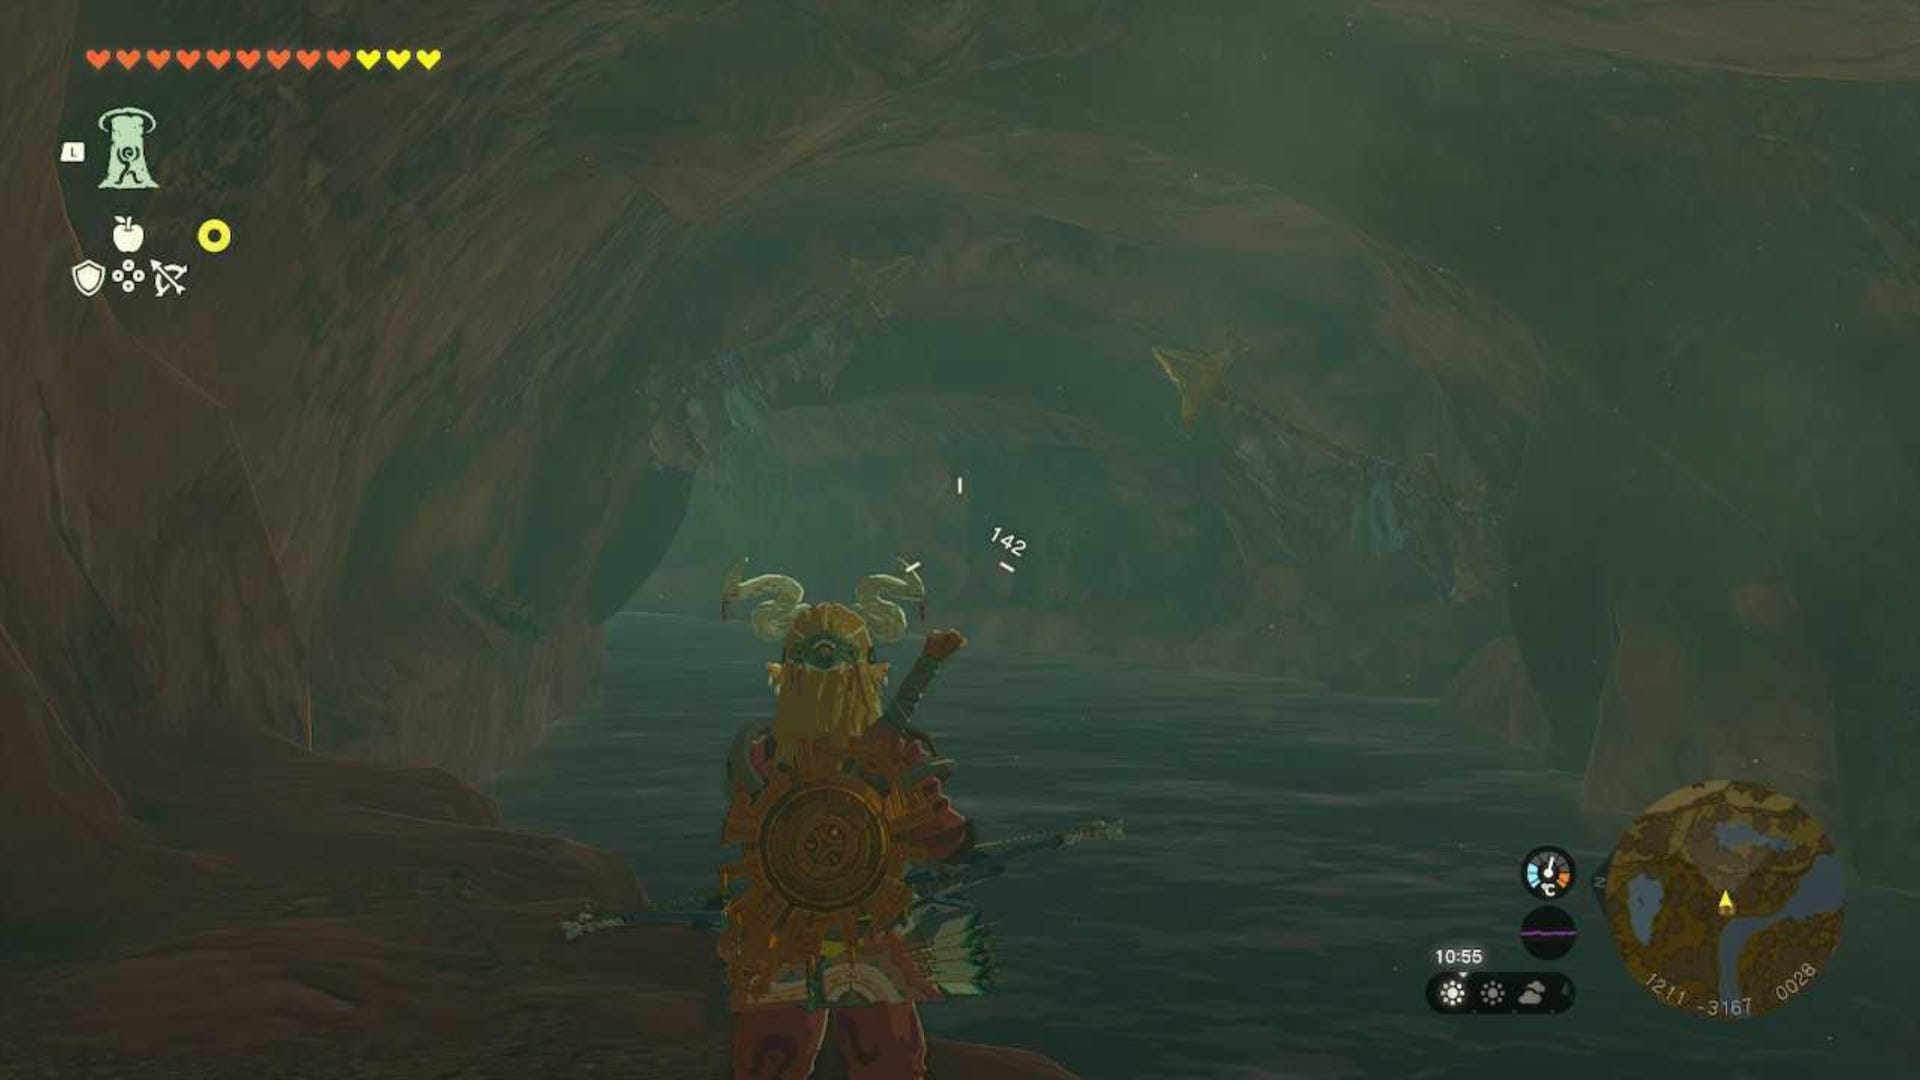
Horriblins can't swim, so one arrow to the face should knock it into the water where it will drown and stop bothering you.
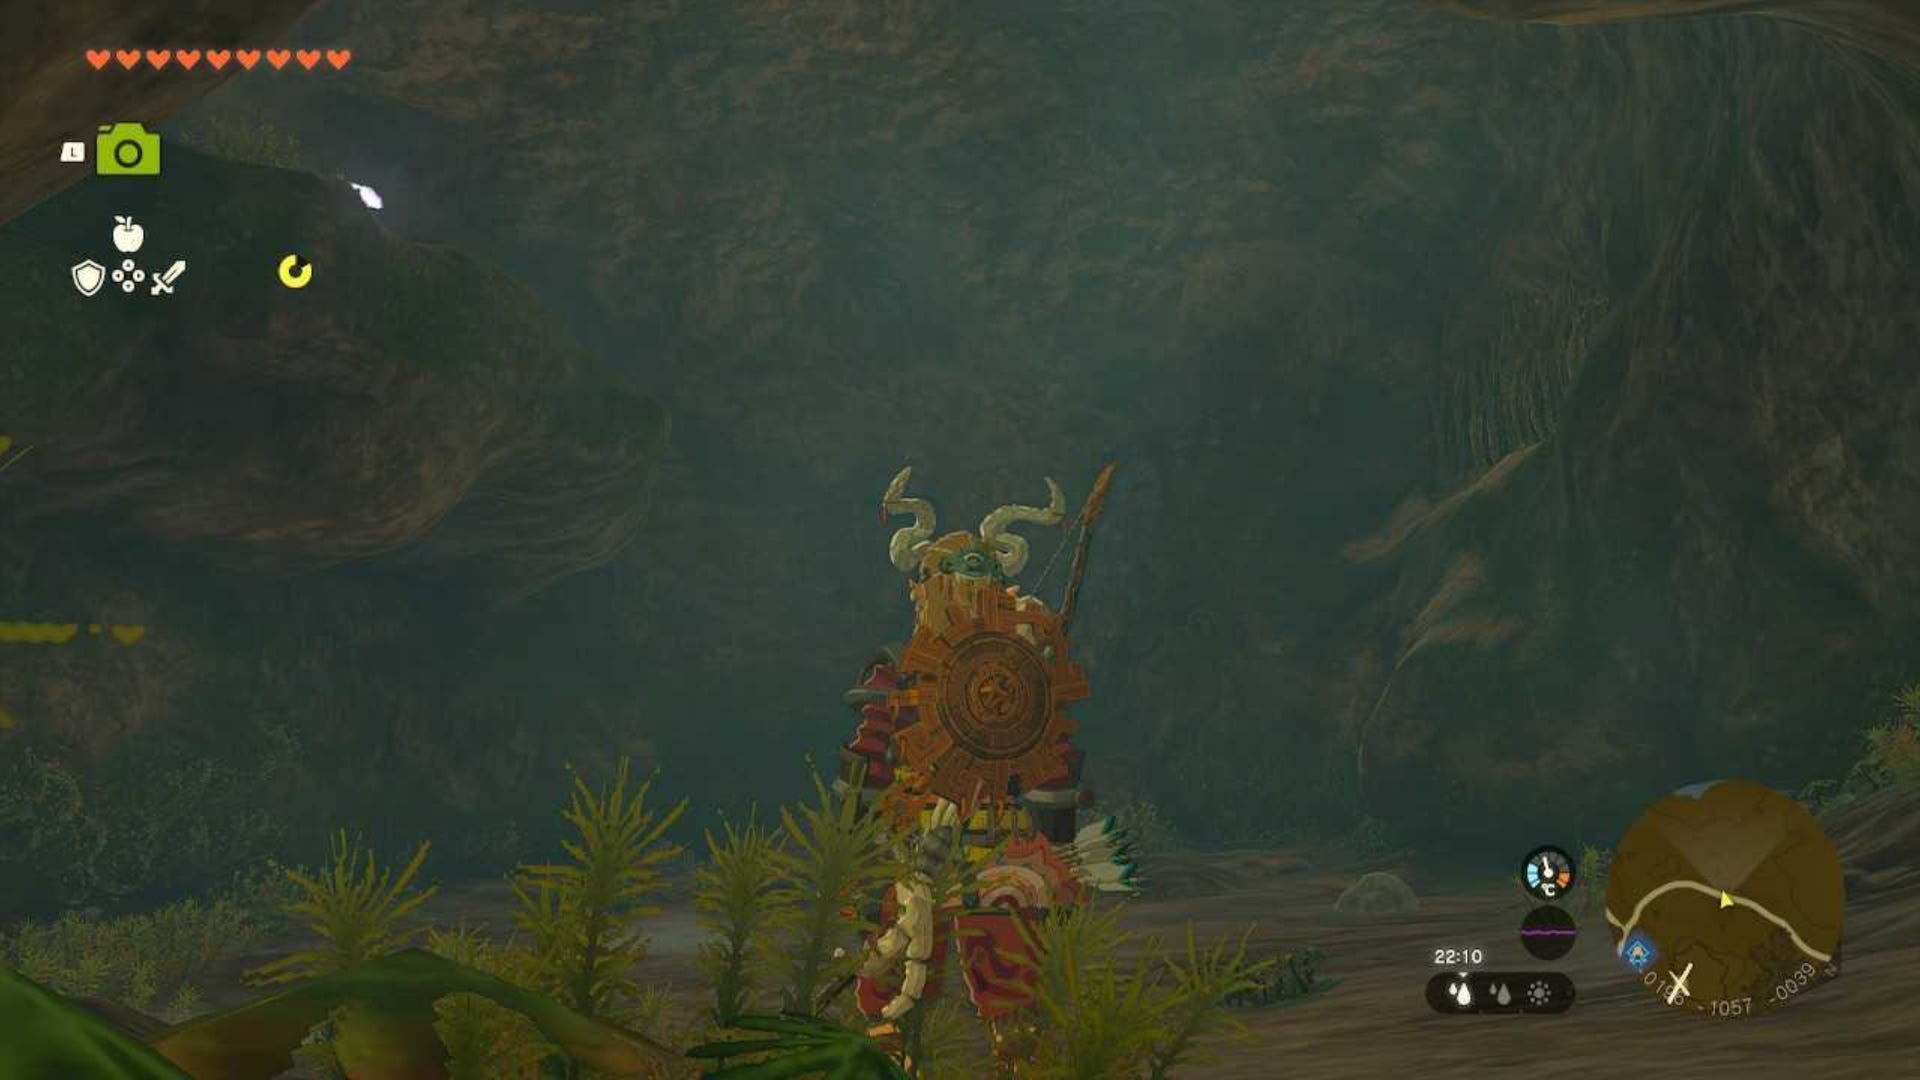
Once ready, get back into the water and swim forwards following the current again. Rinse and repeat the steps of finding vines, getting out onto ledges to rest, shooting Horriblins and dodging a Like Like until you come upon a set of five small waterfalls dropping down into a big pool at the end of the cave.
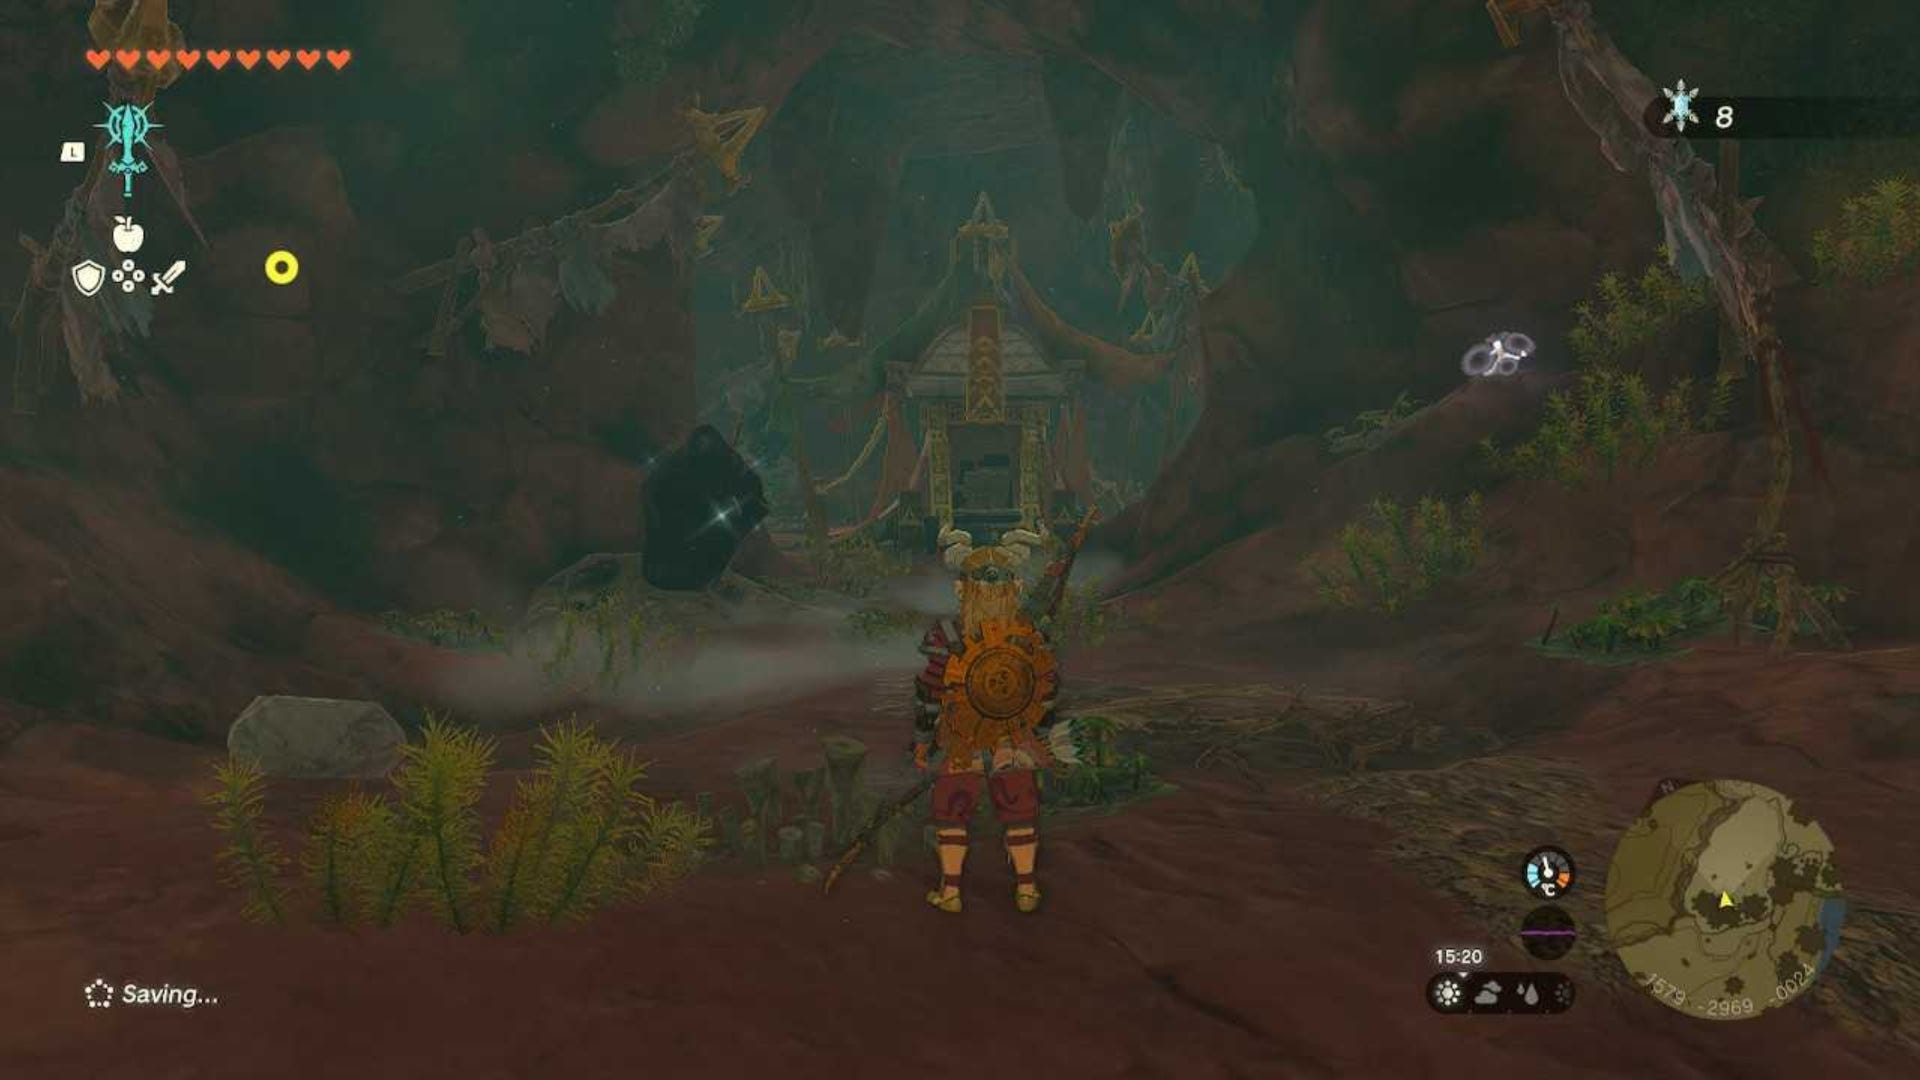
Once you are in the pool below, look opposite you (with your back to the waterfalls). You'll see a chest here and the Rubber Helm is in here.
How to get the Rubber Armor in Zelda Tears of the Kingdom
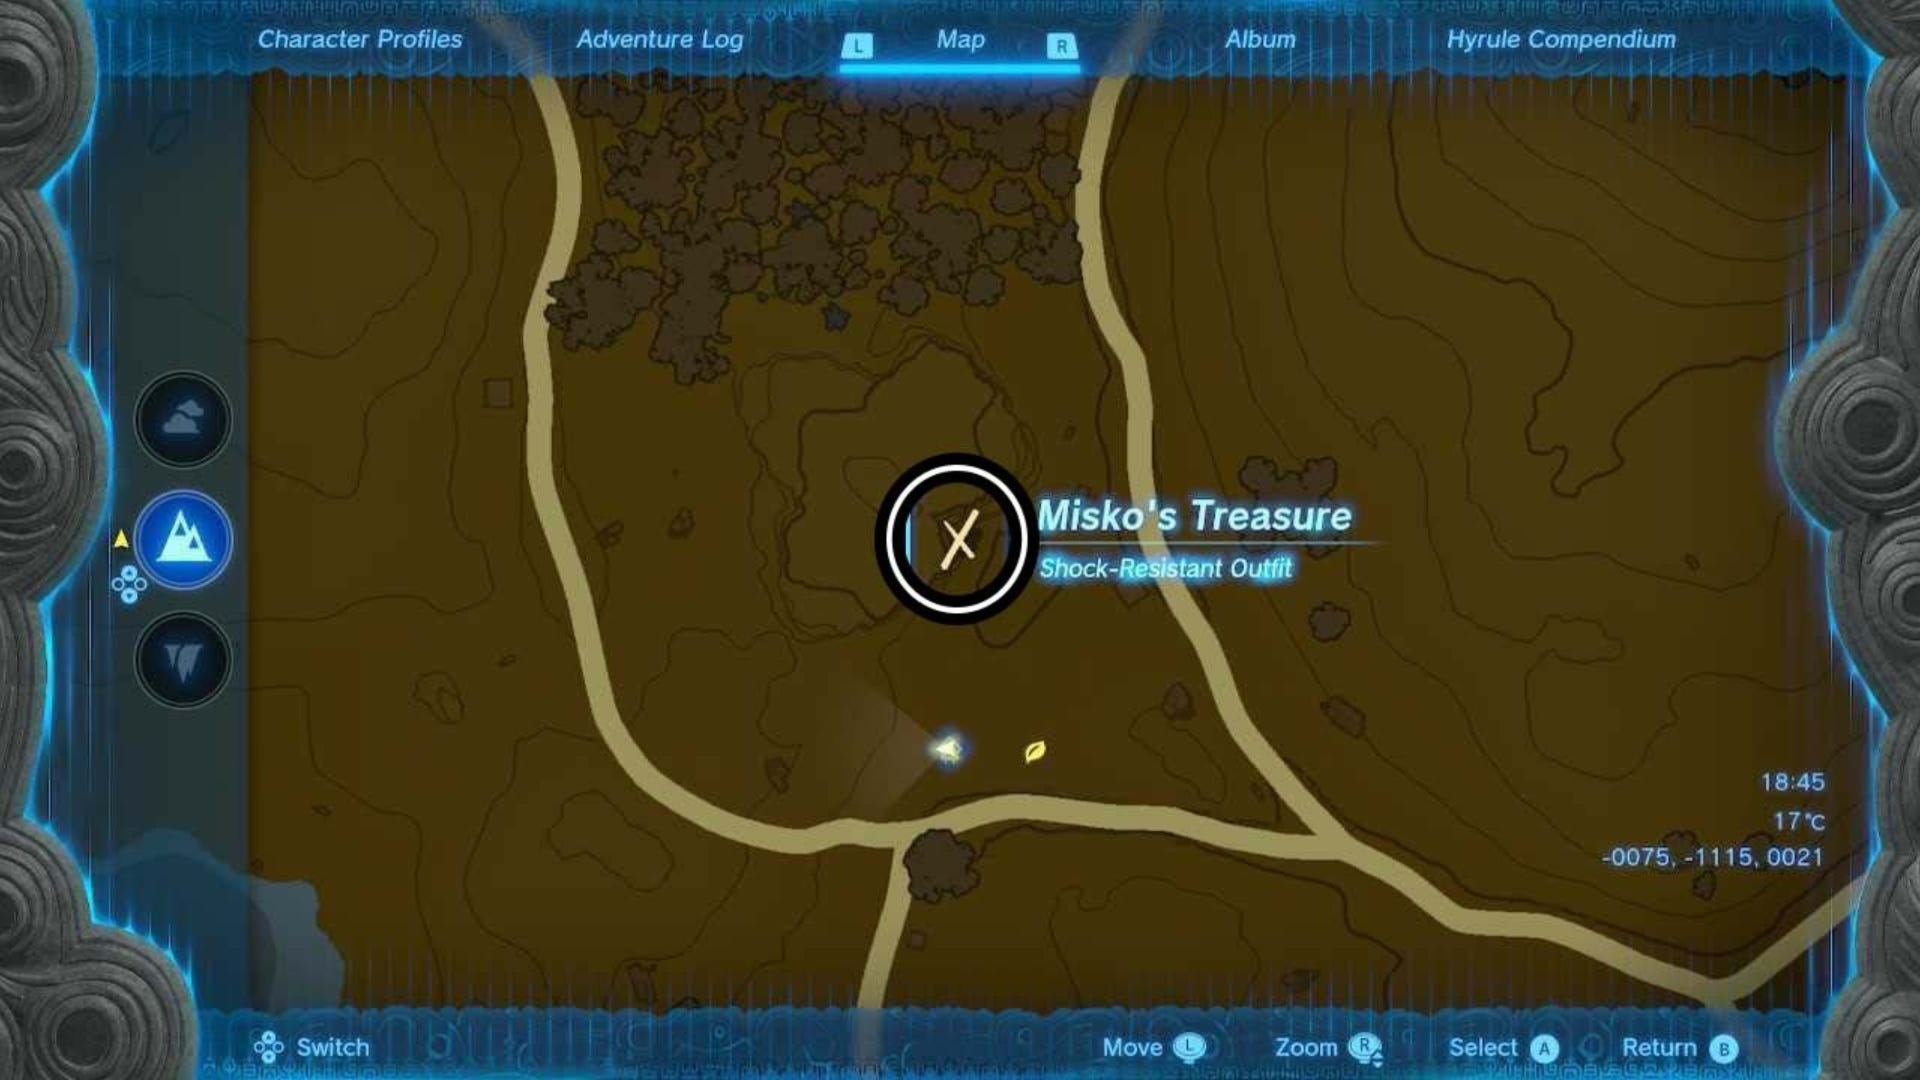
The Rubber Armor chest piece in Zelda: Tears of the Kingdom can be found in Whistling Hill Cave in Hyrule Field. This cave is north of Teniten Shrine and is actually marked as an 'X' on your map if you've started looking for Misko's Treasure.
We've marked the exact cave location on the map below and the coordinates for the Whistling Hill Cave are (-0064, -1052, 0019.)
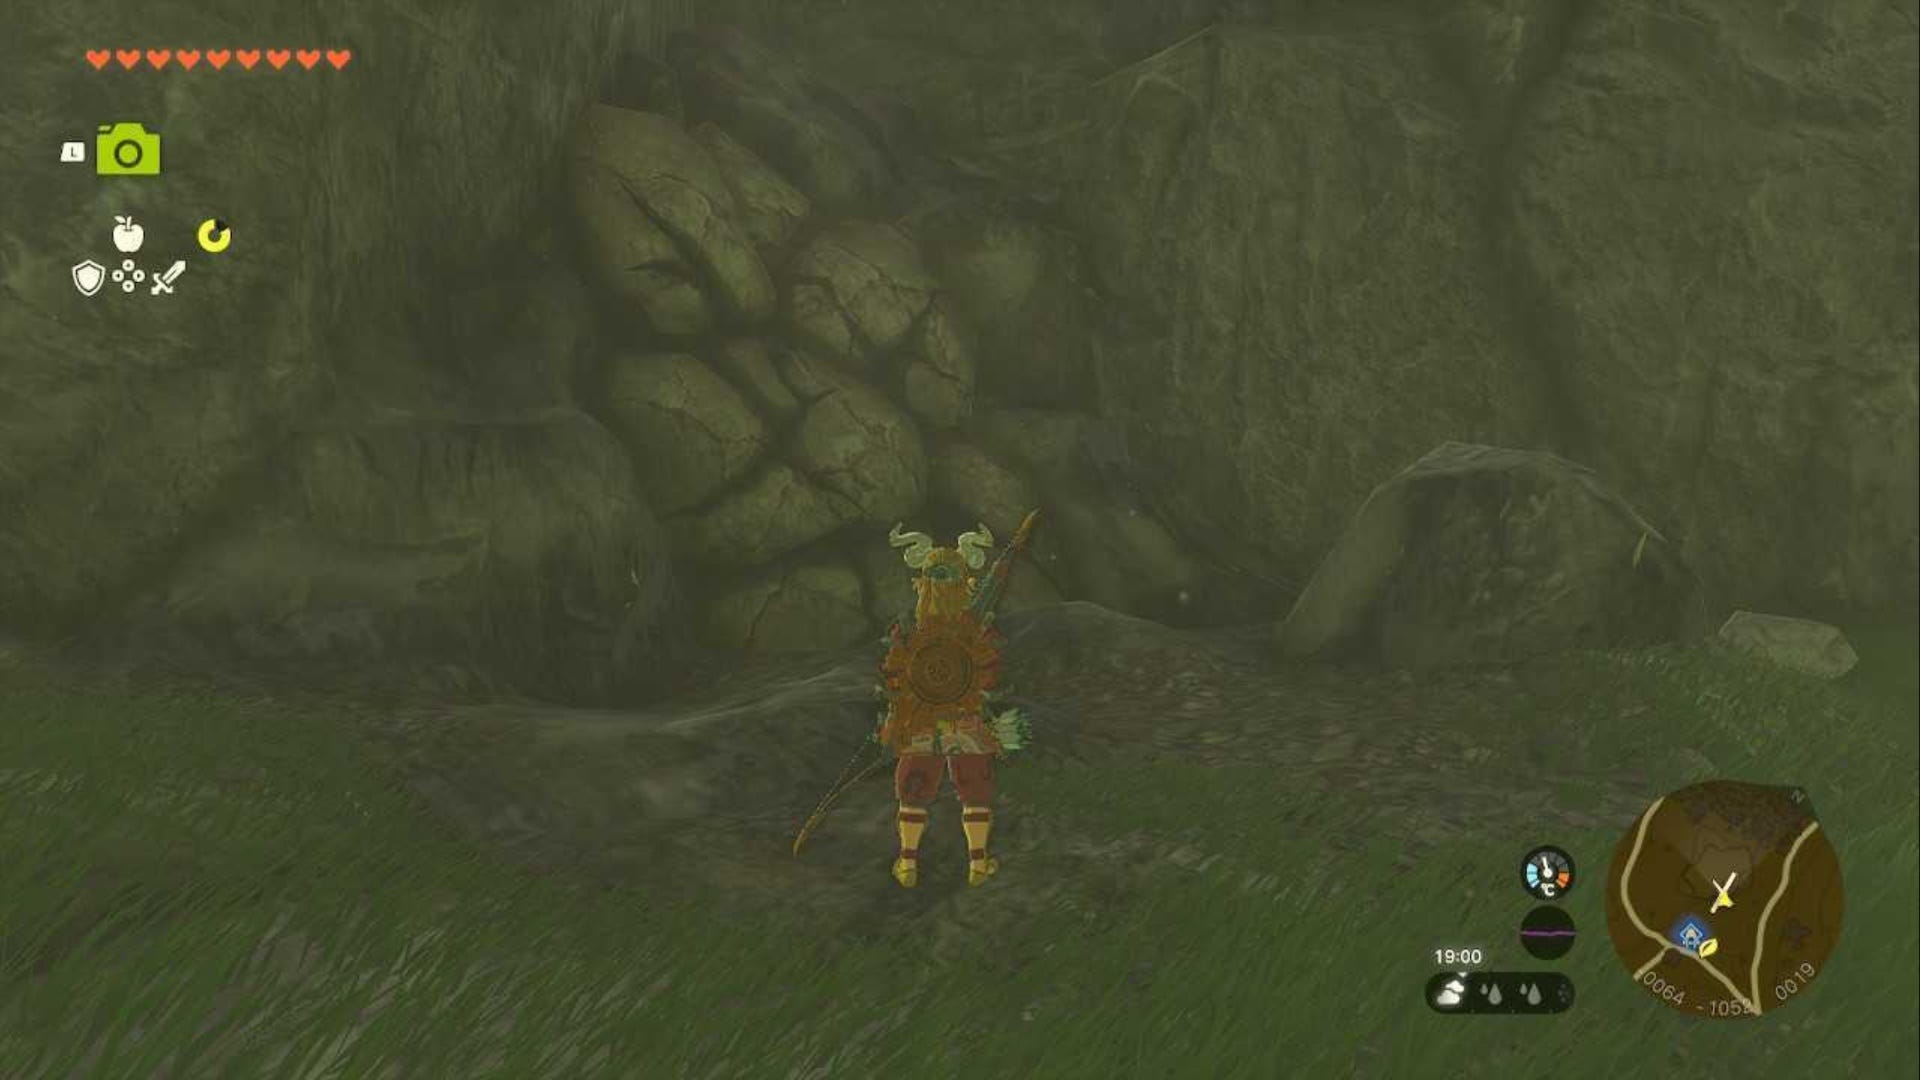
When you get to the cave entrance you'll see that it's blocked by boulders. Smash these using a hammer (you can make one by Fusing a rock to a stick) and enter the cave.
Follow the path around and down, battling a few Keese on the way, until you drop down into a larger room of the cave. To your left will be a blocked doorway and to your right will be a doorway covered with vines. This time, you need to head towards the vines.
Set fire to them to burn through them and then do the same for the second set in your way. Then, walk to the edge of the path here and look down. You should see some Stalkoblins down here.
Carefully drop down here and deal with the trio before moving forward. Follow the path through to yet another larger room in the cave.
When you're in this larger room, you should see a stone ledge on your left. Stand under it and use Ascend to pop through the top of it.
Once you're on top, be careful, as there's a Like Like at the top of the ramp leading to the next area and it likes to spit out boulders at you. Wait for the Like Like to stop spitting out rocks and run up the ramp here to get behind it.

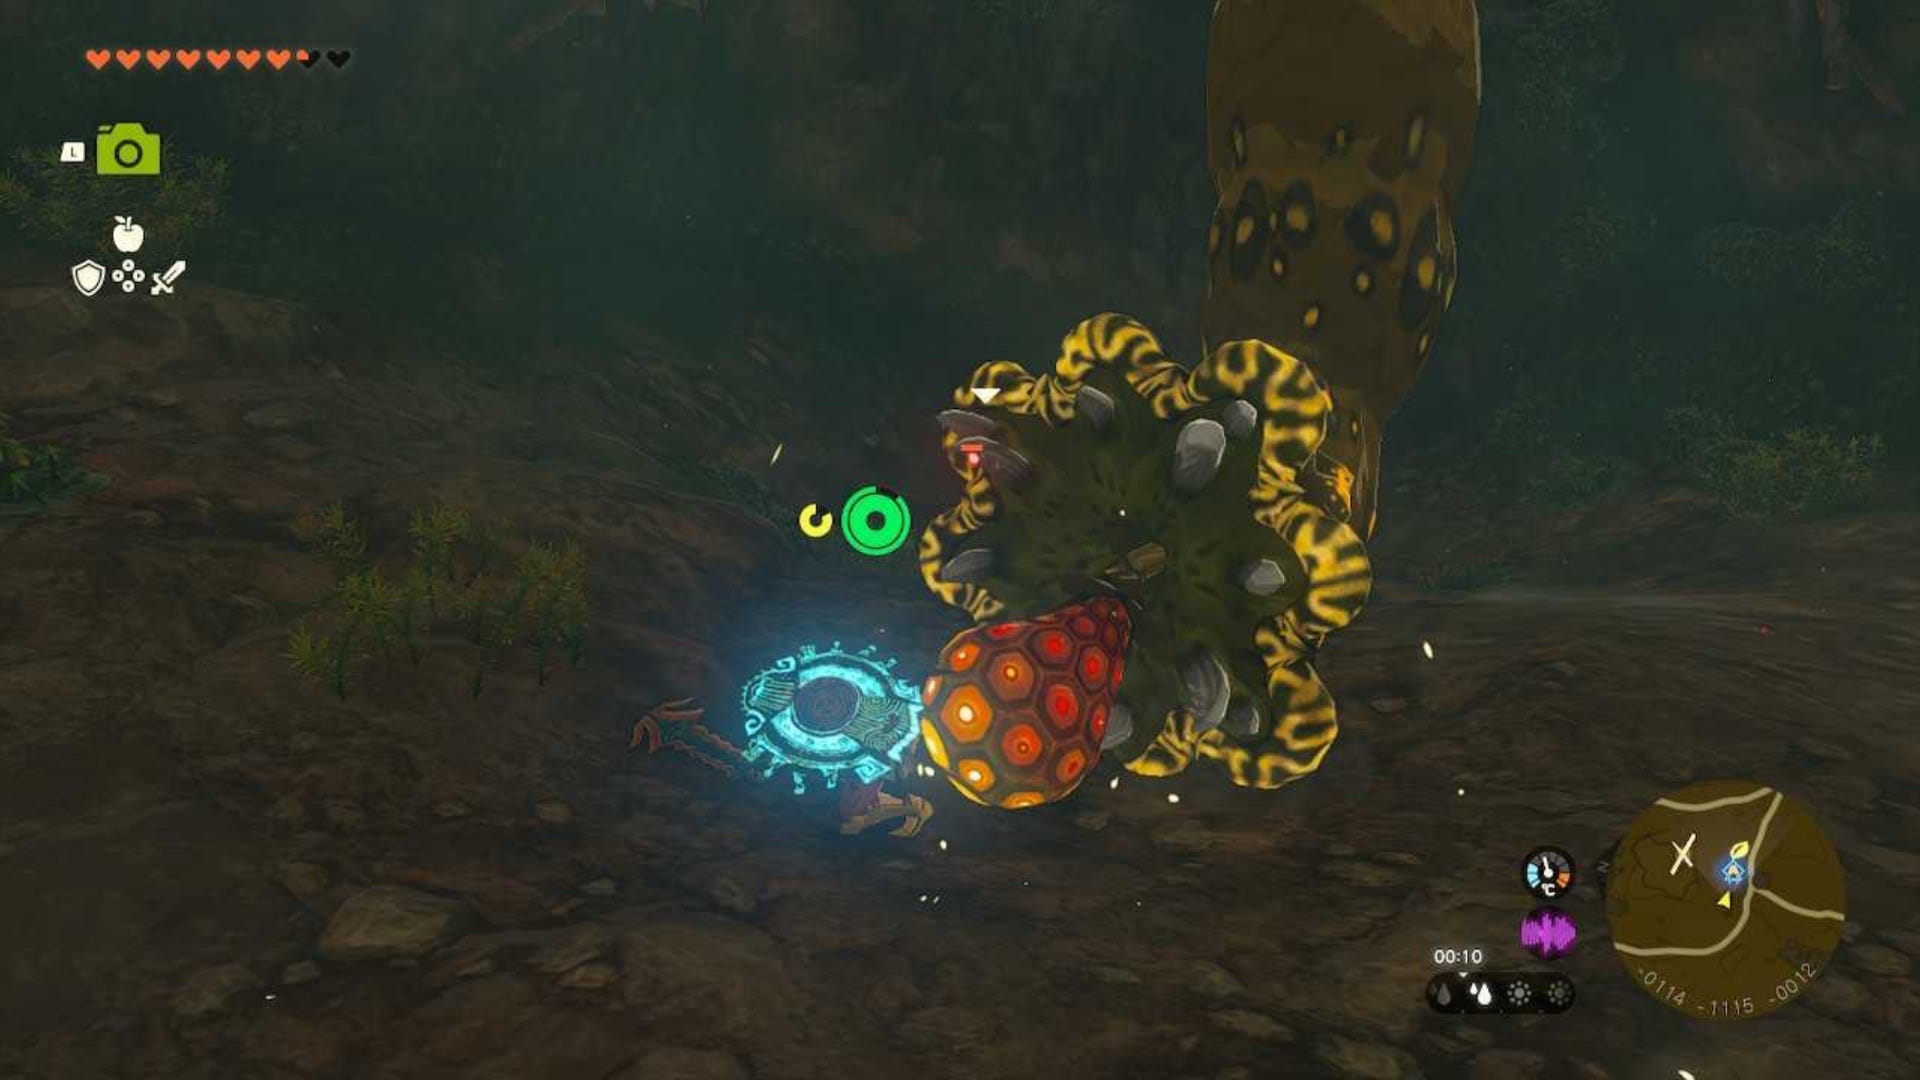
Once you're past the Like Like, follow the path until you come to another doorway blocked by boulders. As you did earlier, smash your way through them and you'll be in another large room with a Shock Like, but you can't run away from this one. You must defeat it.
Shoot it with an arrow, preferably one with an elemental ice or fire attachment, and wait for it to expose the jiggly thing in its mouth. When it does, hit this with an arrow to get the Shock Like to flop to the floor. When it does, run over and attack the exposed jiggly bit with your melee weapon. Rinse and repeat to defeat.
Once you've beaten the Shock Like, look up to where it was on the wall and you should see another higher area blocked with rocks. Stand back (the middle of the room is safest) and fire a Bomb Flower at the rocks to break them.
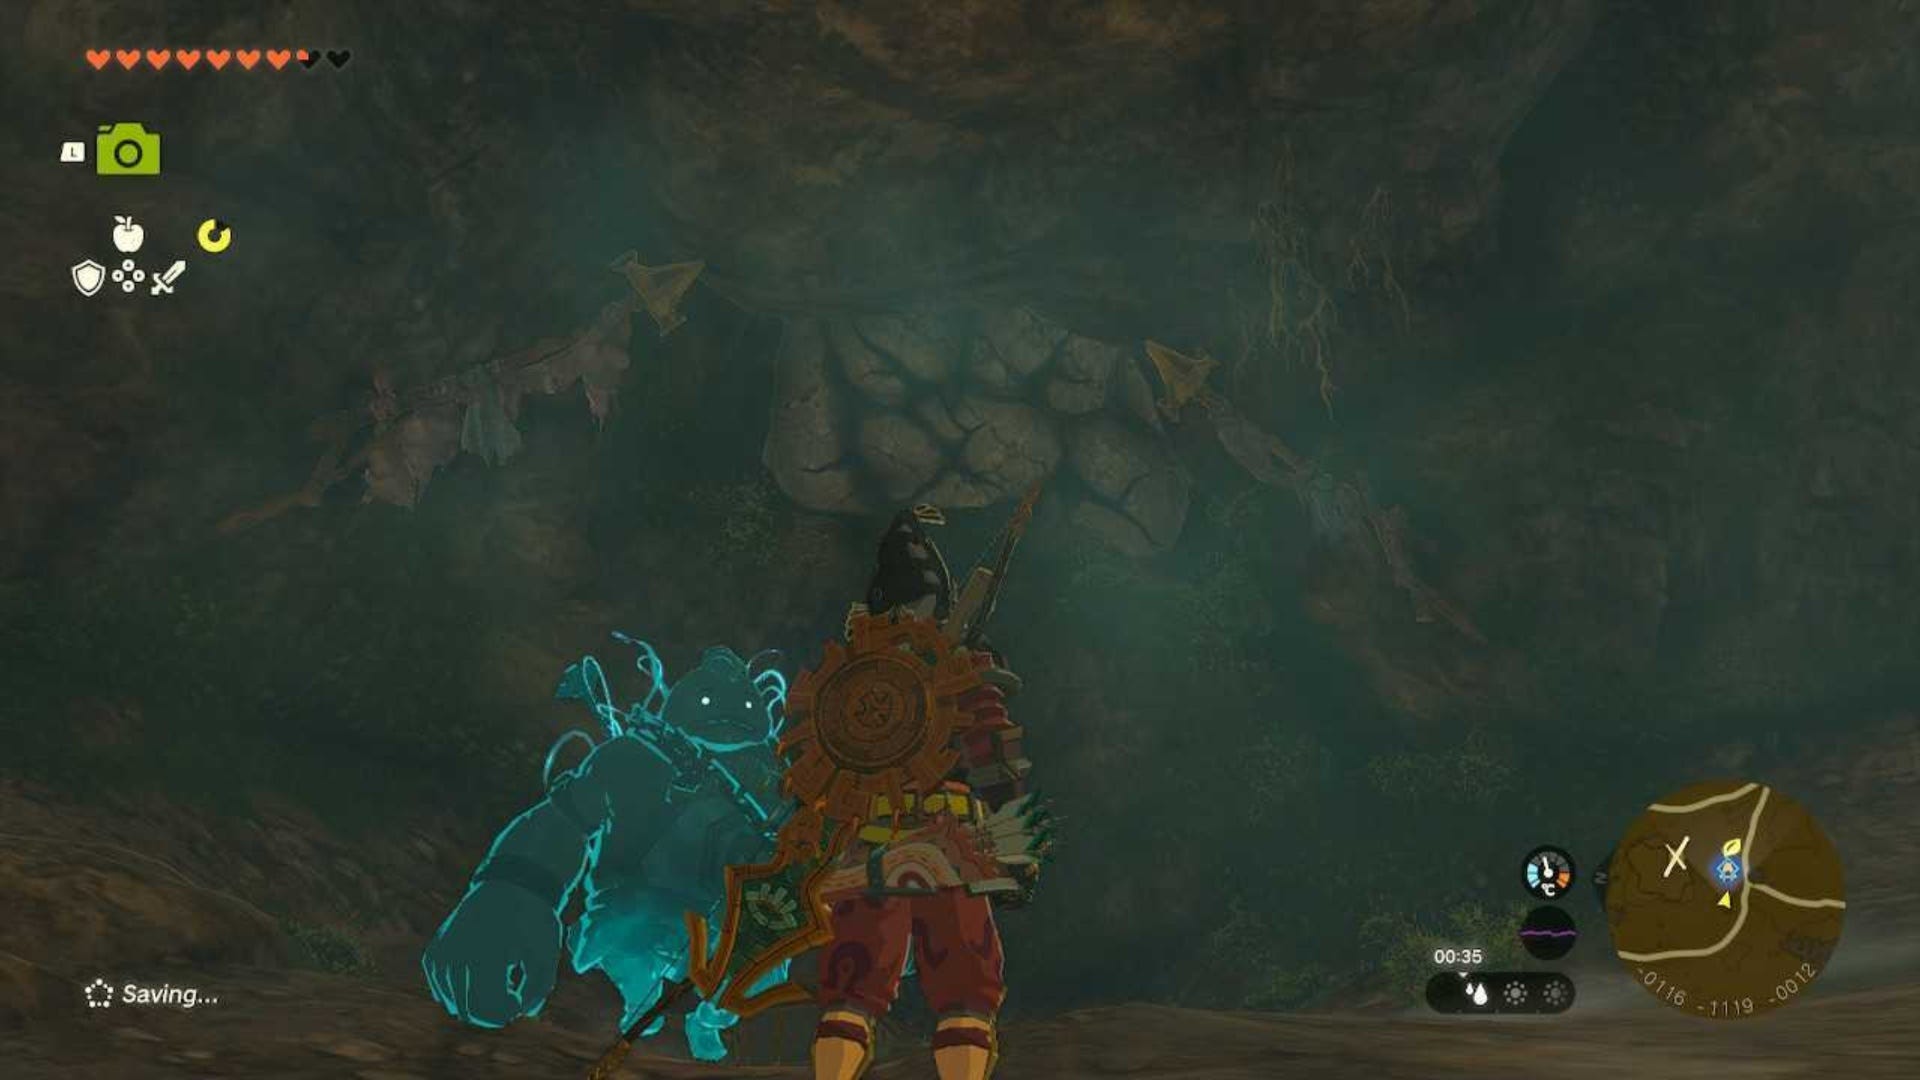
Once you've broken the rocks, climb up into the newly revealed room and you'll find the Rubber Armor chest piece in a chest here.
How to get the Rubber Tights in Zelda Tears of the Kingdom
The Rubber Tights in Zelda: Tears of the Kingdom are in Horon Lagoon Cave in Lanayru. This is north of Mount Lanayru, south west of Lanayru Sea and south east of Mogawak Shrine.
We've marked the cave entrance on the map below and the coordinates for the Horon Lagoon Cave are (4238, -0261, 0004.)
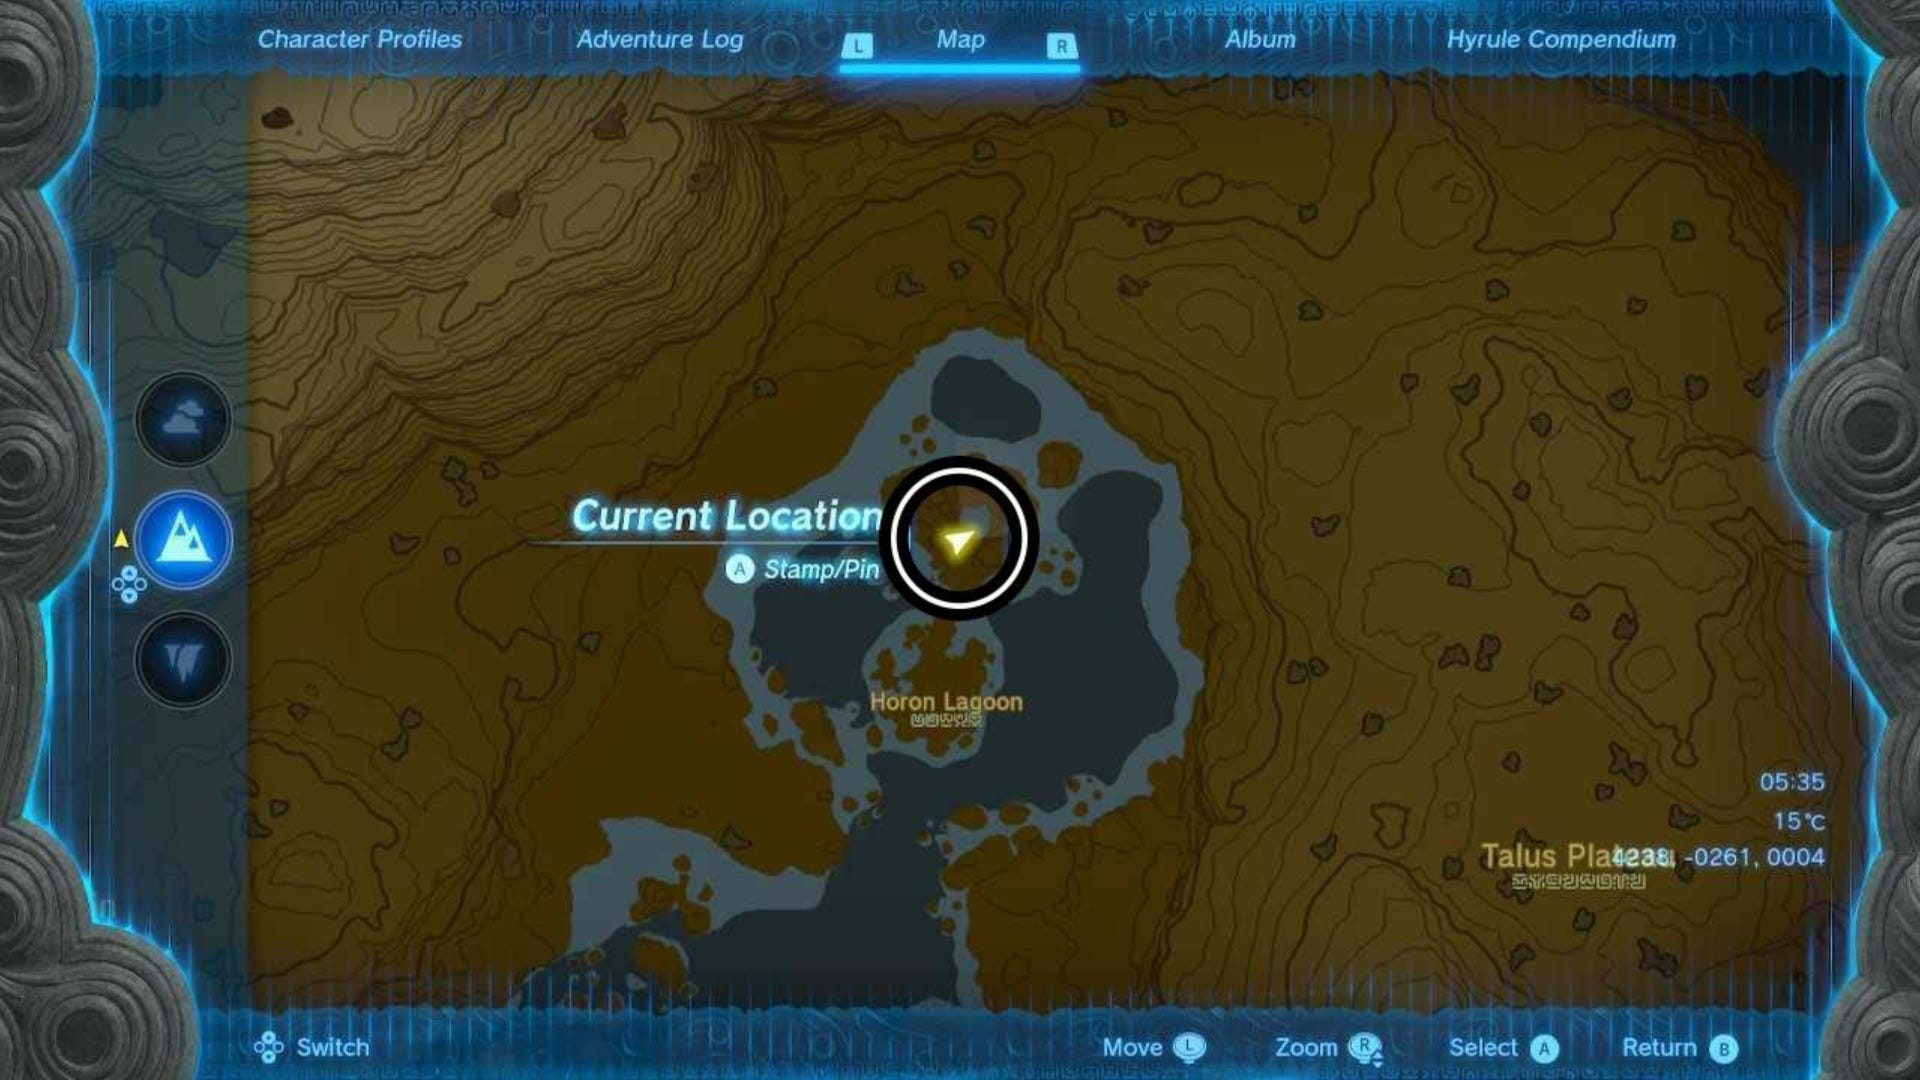
When you get to the coordinates, you'll notice that the cave entrance is actually a big hole in the ground.
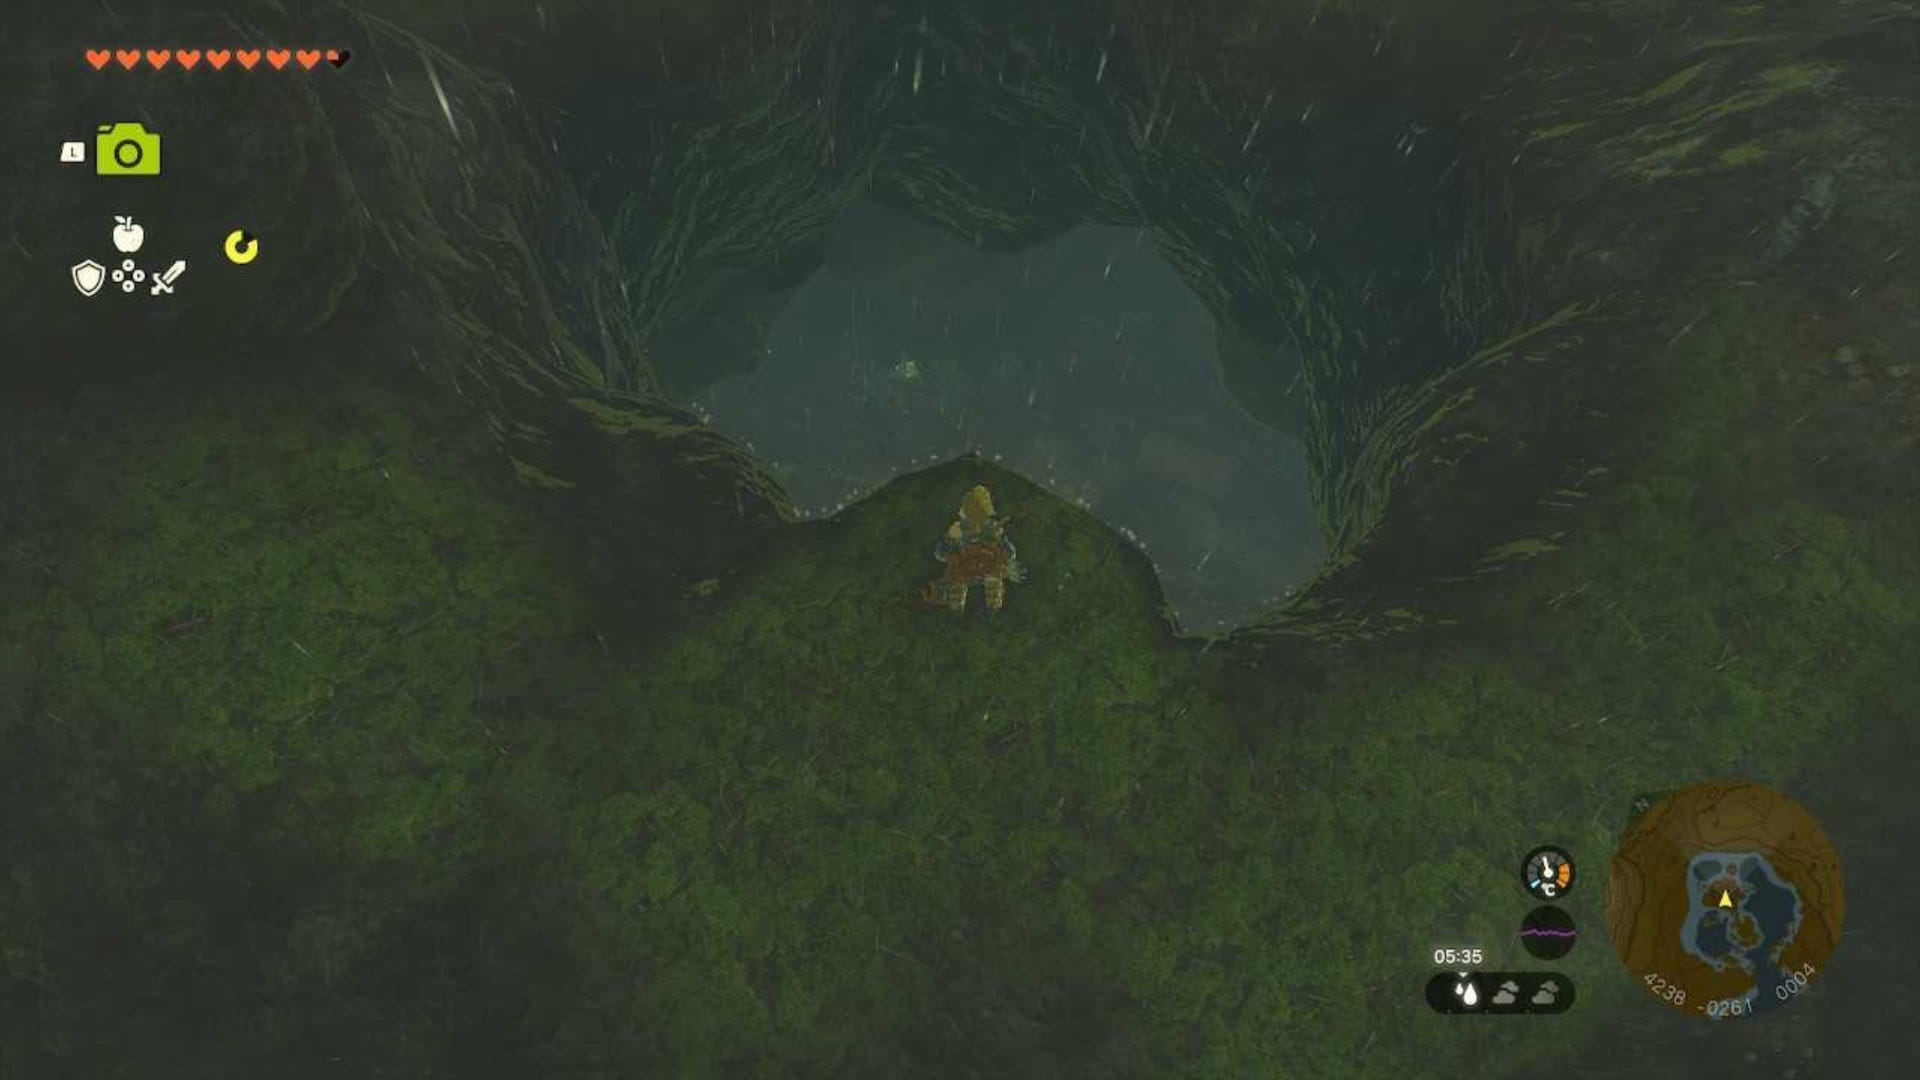
Simply plop down into the cave and get ready to fight a Black Horriblin. Deal with the Horriblin and then follow the water here, swimming south.
Stop at the first rock mound in the middle of the water if you need to recharge your stamina, you're going against the current here so you'll use up more stamina in a short space of time.
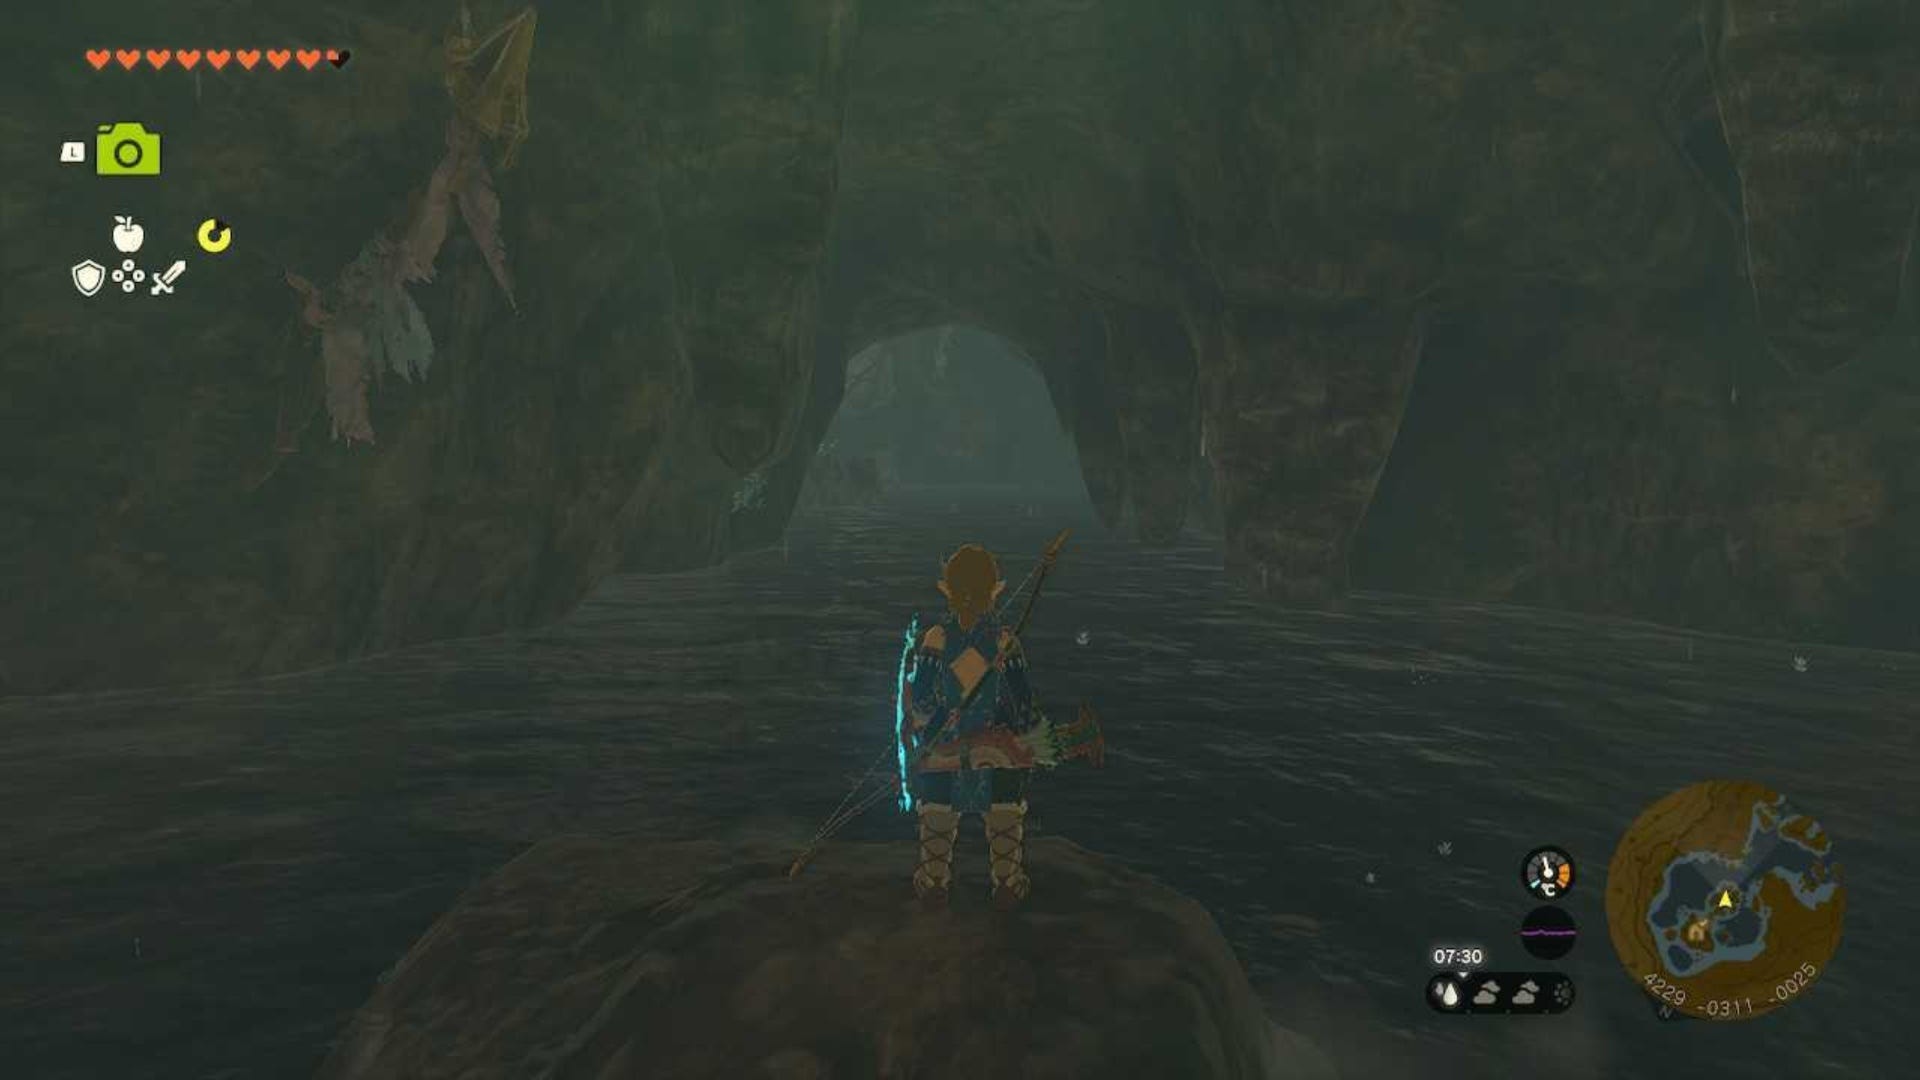
Keep swimming south into the next room and there will be a large rock in the middle of the water with spikes around the edge. Keep heading to the southern side of this rock and climb up the opening here to get safely onto it.
Once on the rock, look south again and you should see another opening blocked by rocks. Attach a Bomb Flower to an arrow and fire it at the rocks to break them down.
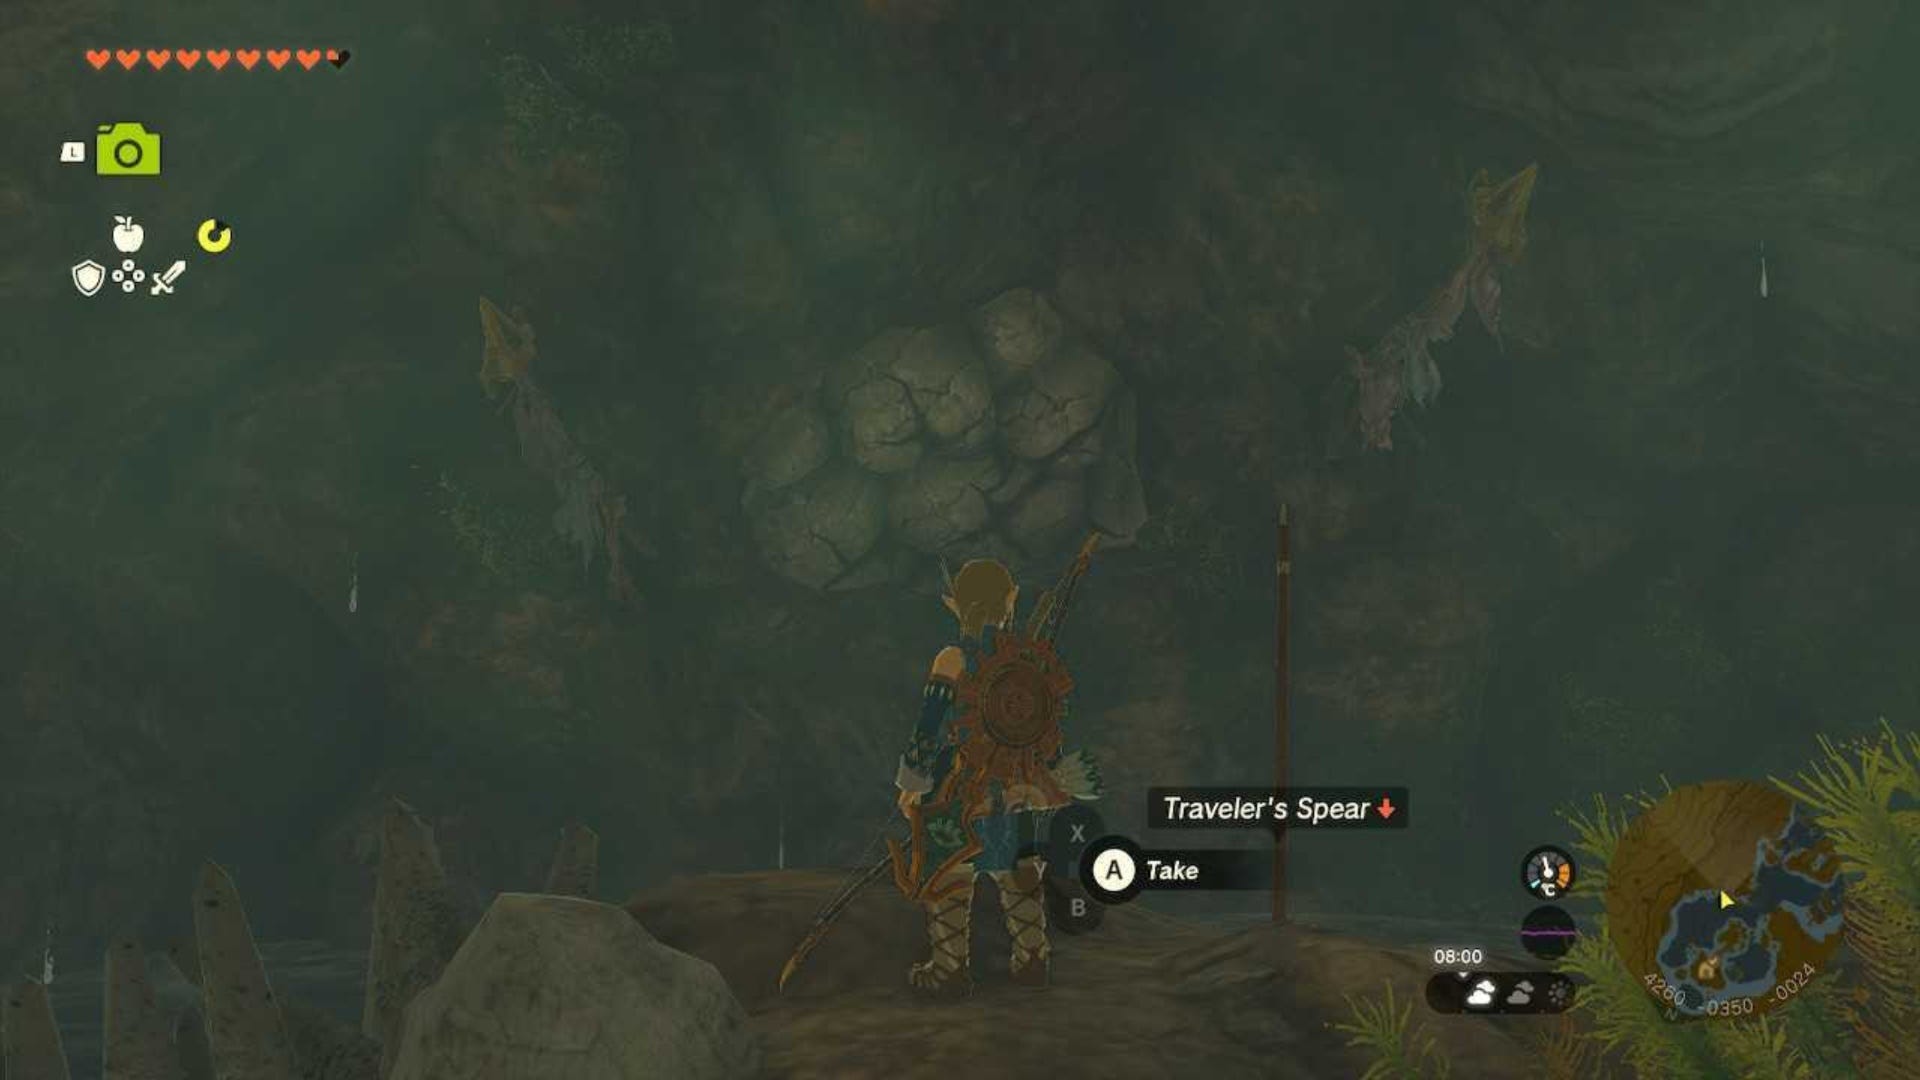
Then, make your way over to the newly made opening and climb into it. You'll find the Rubber Tights in a chest here.
Congratulations on finding all three pieces of the Rubber Armor! Perhaps you're itching to get more Armor? If so, check out our guides that show you the Phantom Armor and the Zora Armor locations across Hyrule.