Destiny 2 Devil's Ruin quest: Where to find all Parts Long Lost locations in Twilight Gap
How to get the Season of Dawn exotic sidearm.

Destiny 2's Devil's Ruin is an Exotic quest for those who have purchased the Season Pass for Year 3's Season of Dawn.
It was released on the weekly reset for January 7th 2020, as well as the Legend difficulty for Season of Dawn's activity, Sundial.
As with a previous season exclusive exotic, Leviathan's Breath, earning Devil's Ruin is a very brief affair - it can be completed in less than an hour, and done entirely solo.
On this page:
How to get Devil's Ruin in Destiny 2 in brief
Here's a quick rundown of the steps needed to obtain Devil's Ruin:
- Complete a run of the Sundial
- Visit Saint-14
- Visit Twilight Gap and find 10 weapon parts
Once the above steps have been completed, Devil's Ruin is all yours. As we said - it's brief!
How to get start the Devil's Ruin quest in Destiny 2
To begin your quest to get Devil's Ruin, you have to complete a match of Season of Dawn's seasonal activity - the Sundial. Any difficulty will do, so you can choose Normal and matchmake with strangers if you wish.
Once it's complete, you can pick up the quest alongside the usual reward you'll choose at the end of the Sundial activity.
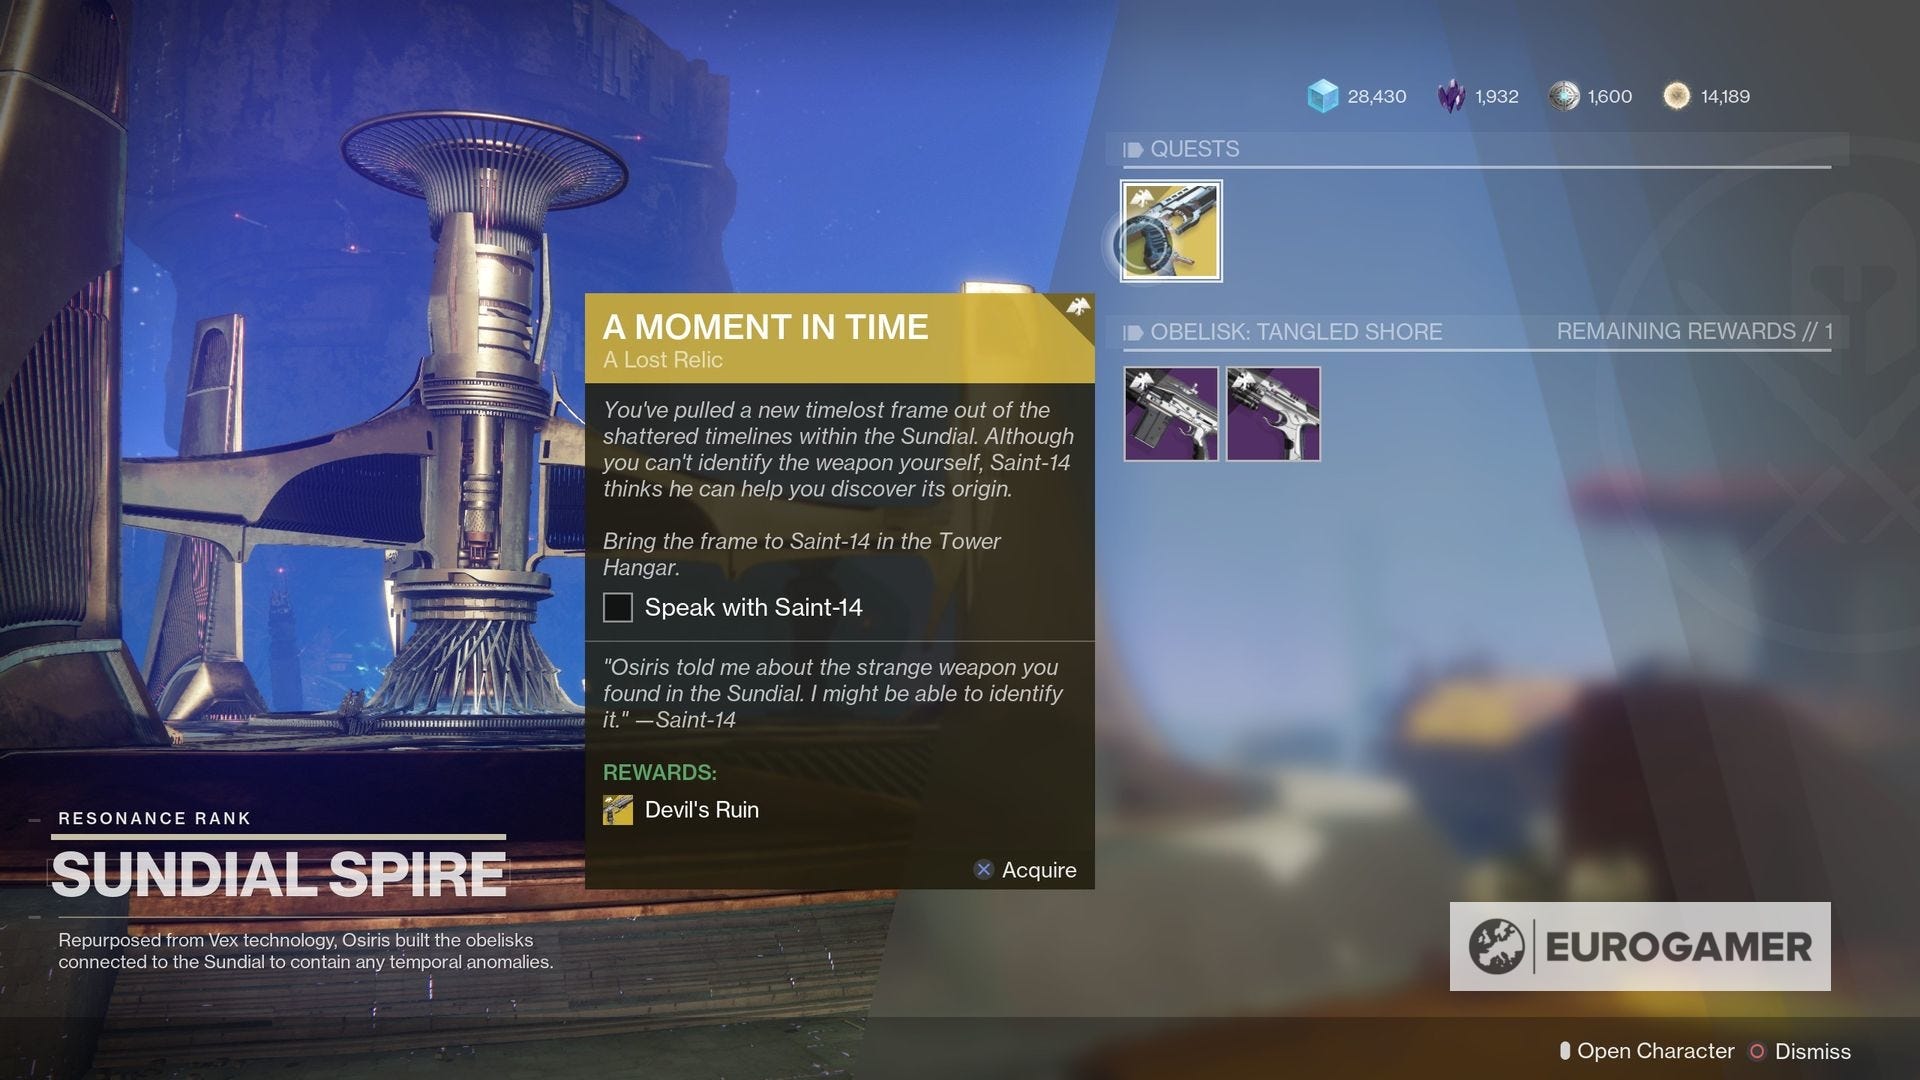
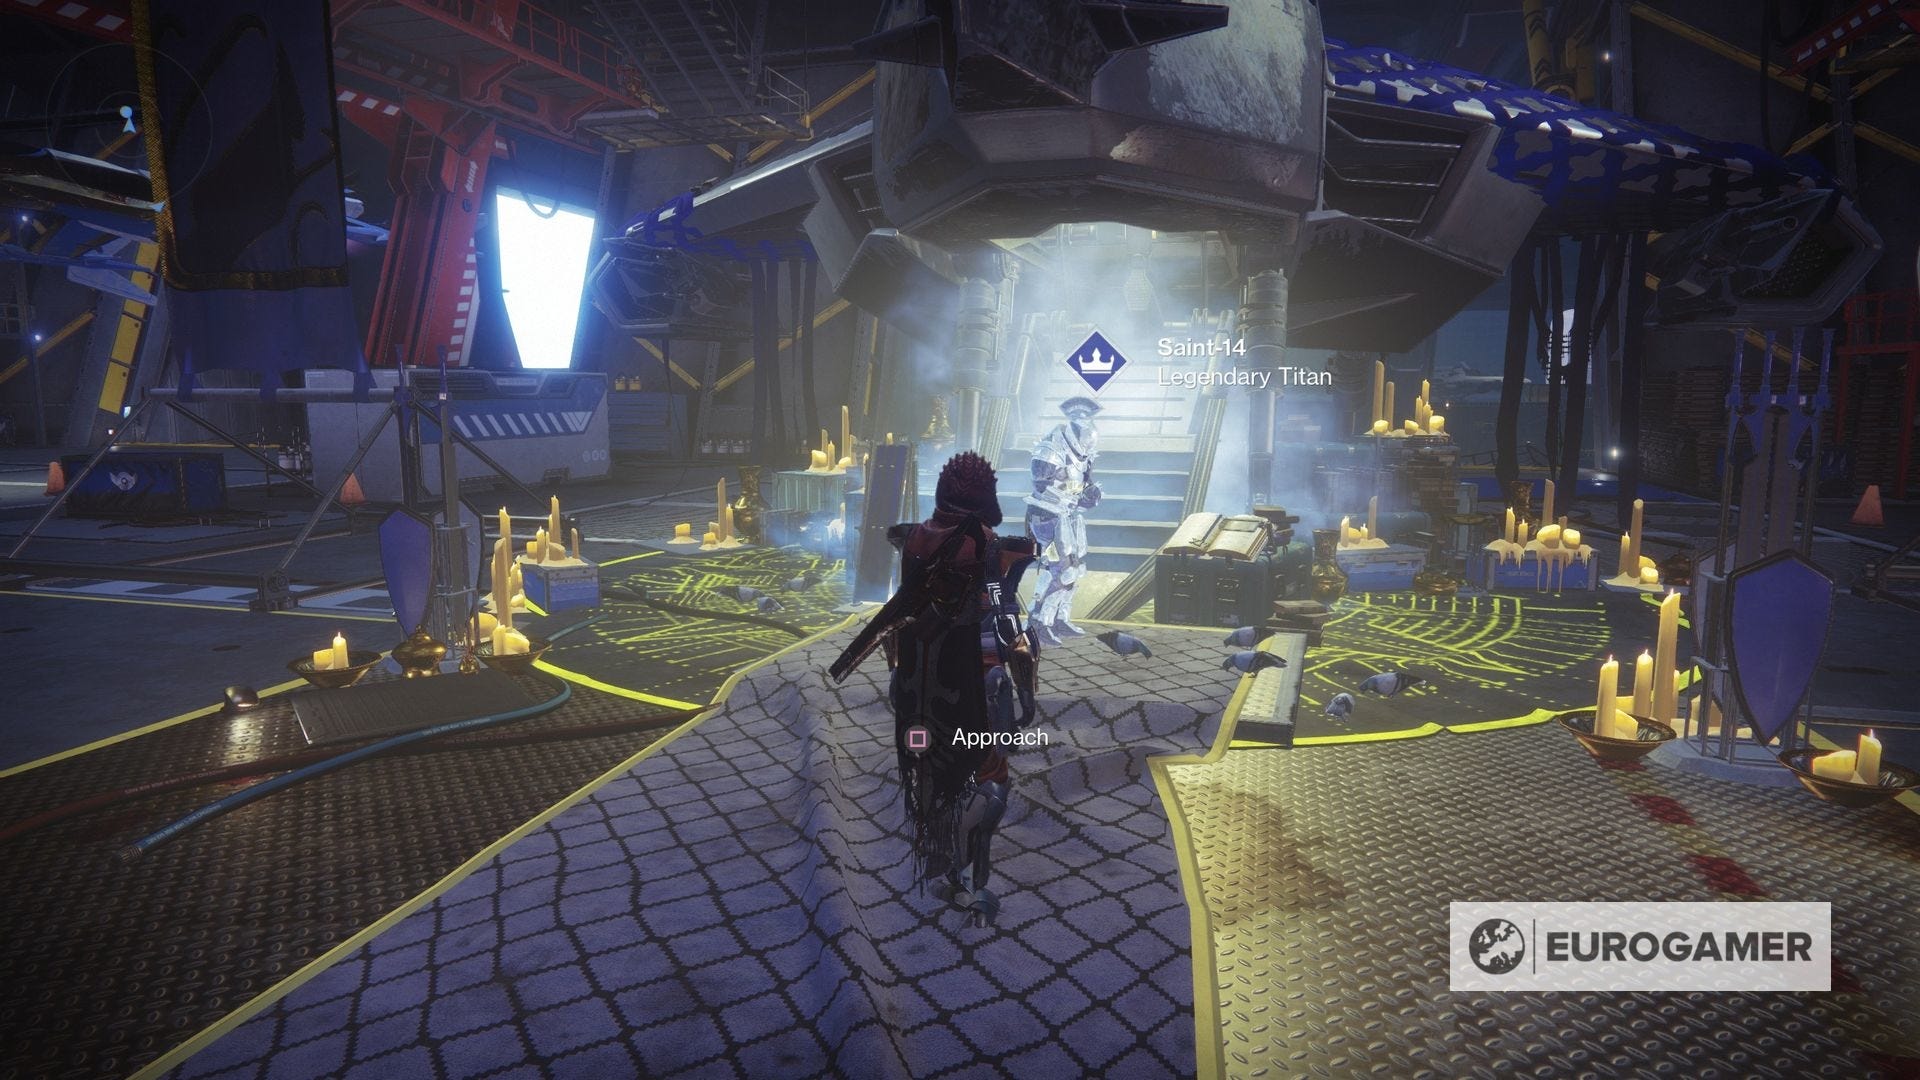
Now head to the Tower and visit Saint-14. He's a vendor added during Season of Dawn, and can be found in the Hangar area; from where you begin, turn left, then head through the corridor. Now go straight on through the Hanger to see him.
The Season of the Deep is here alongside the Into the Depths quest. You can know go fishing too! Don't forget to keep an eye on the Lost Sector and King's Fall challenge rotation schedule!
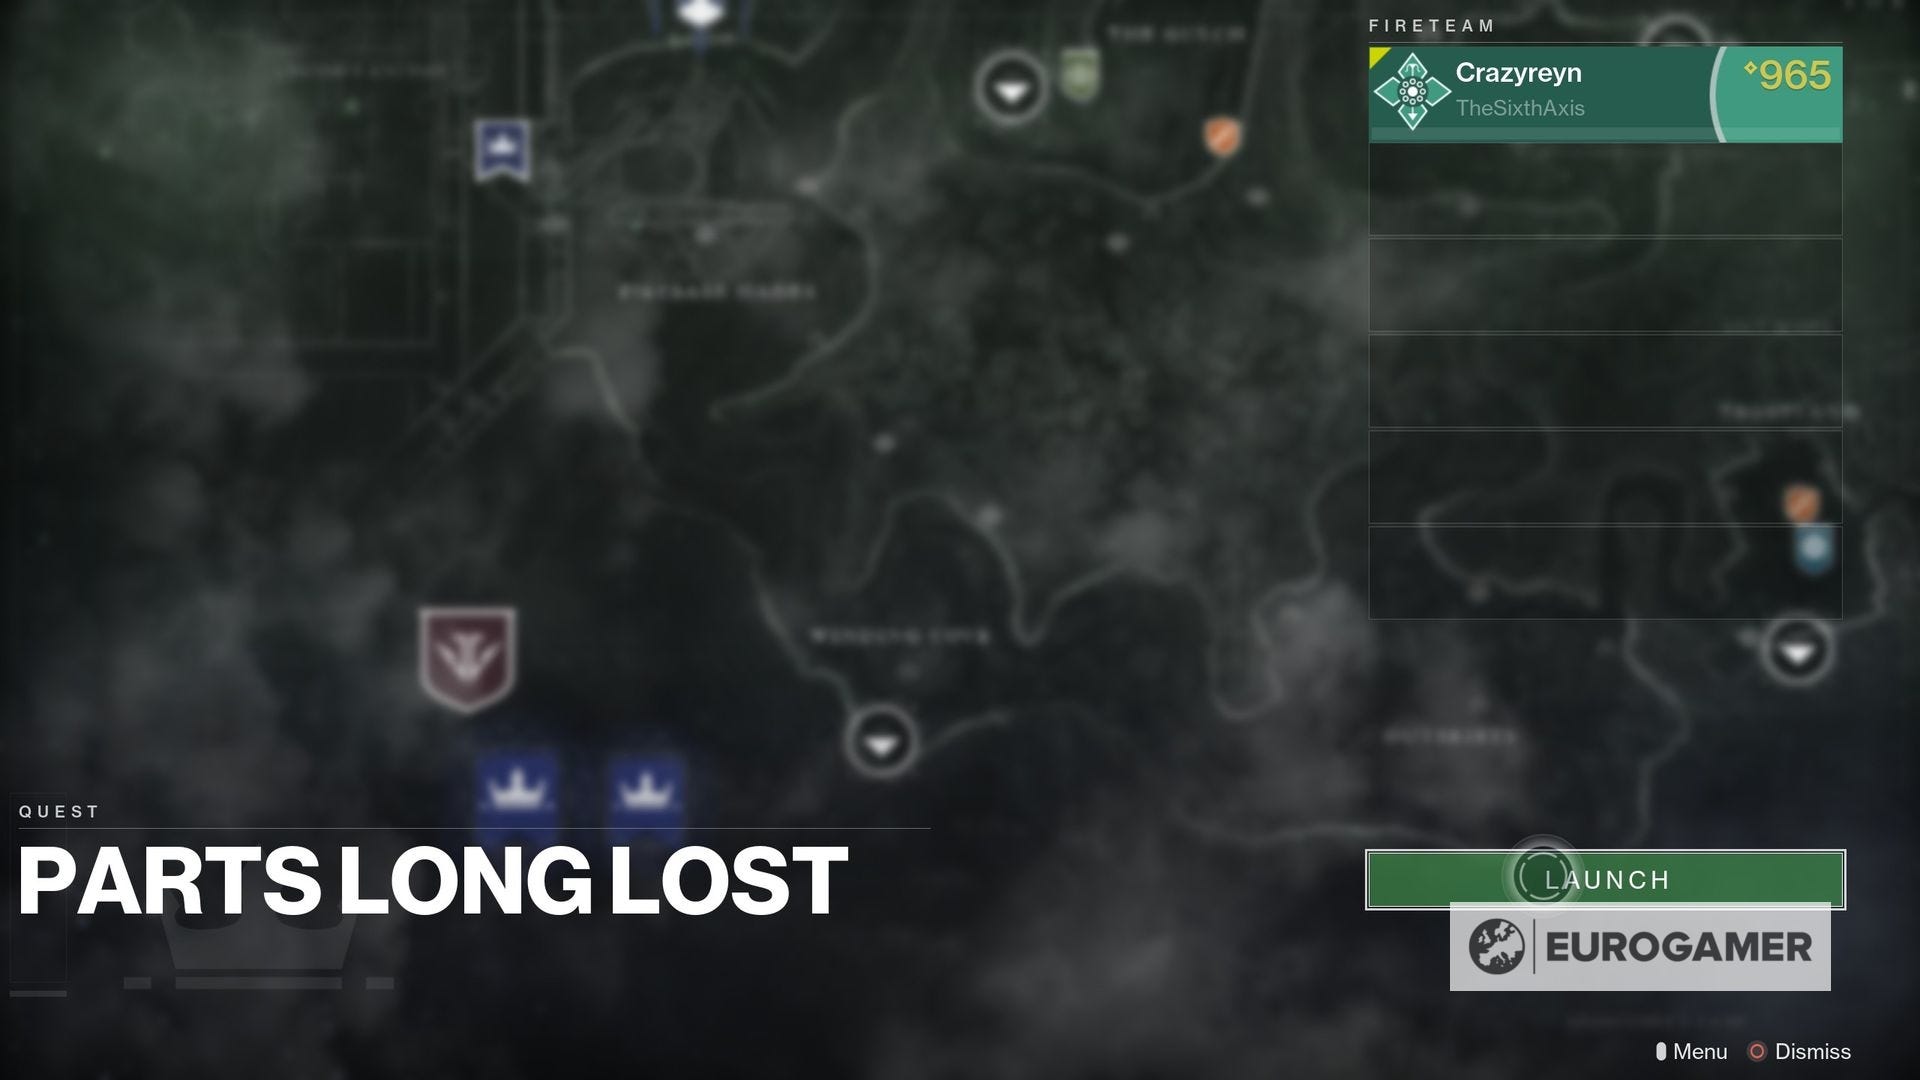
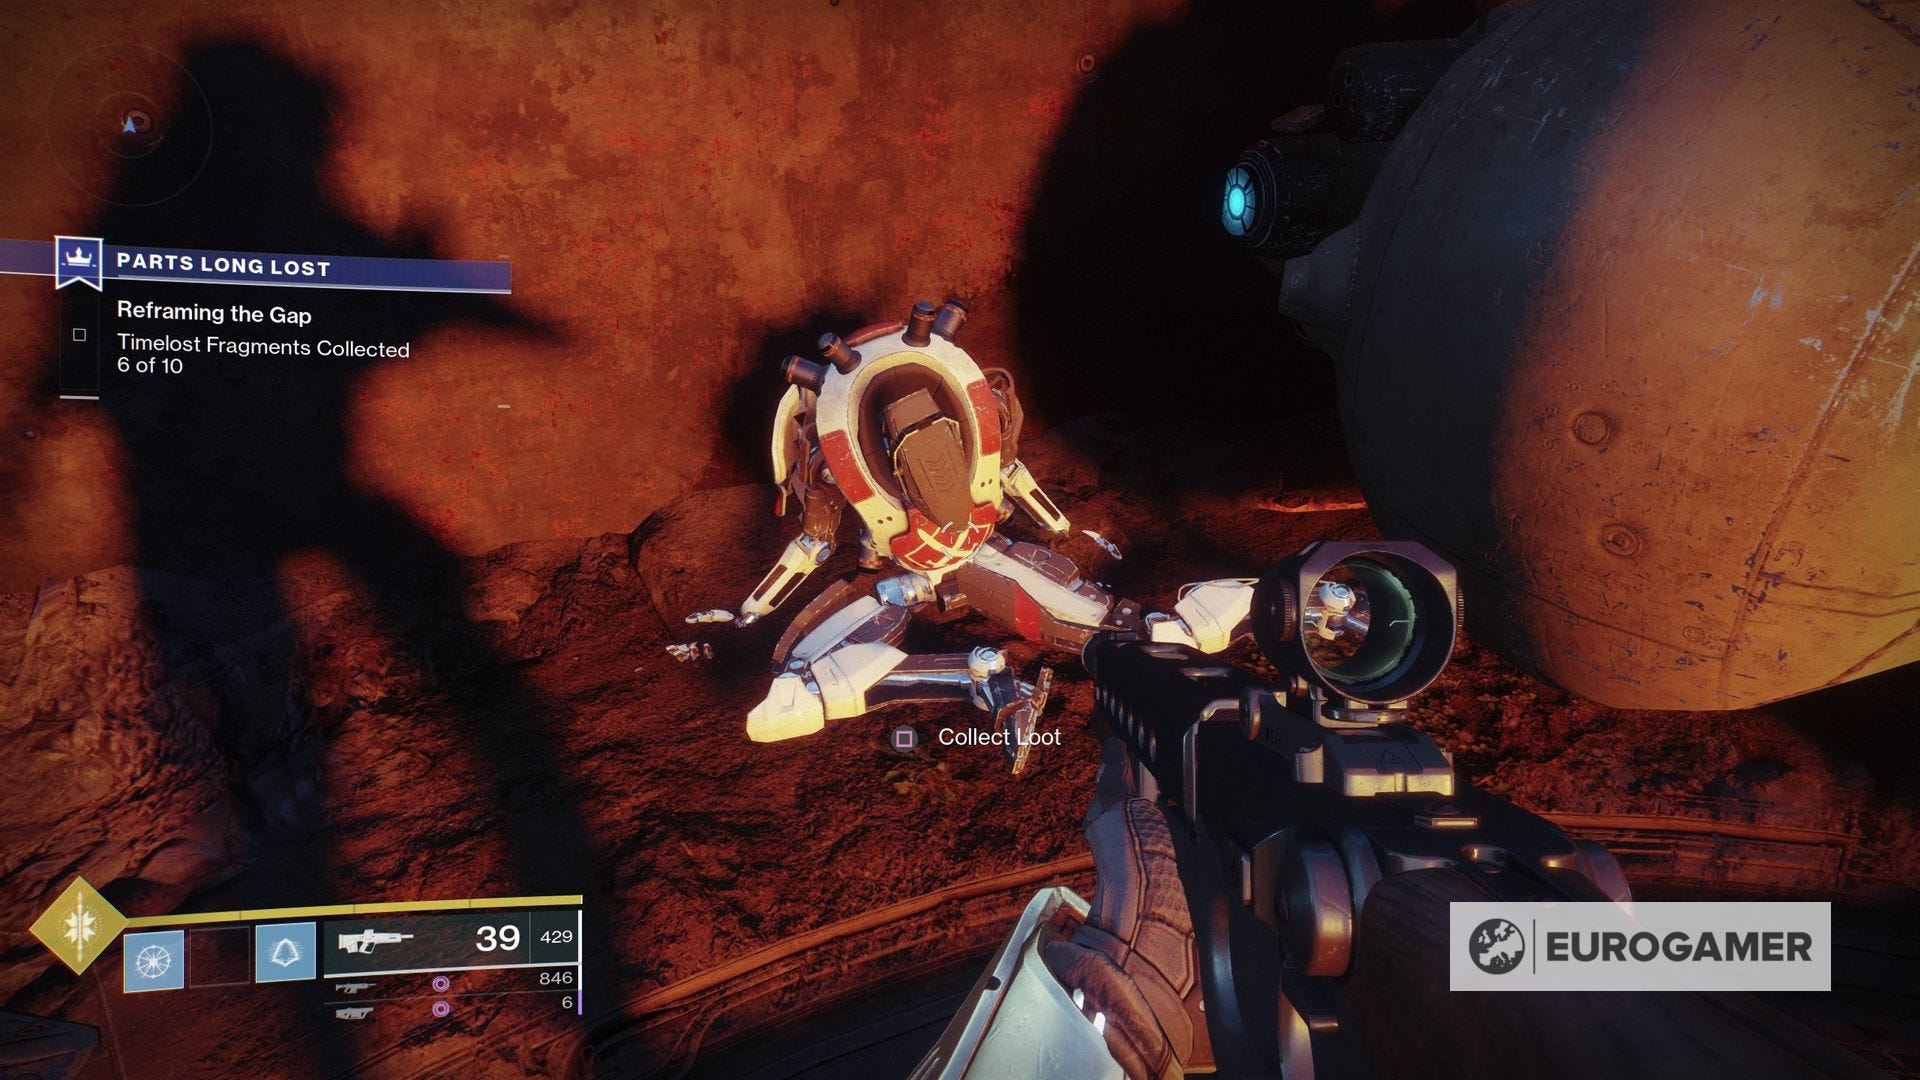
Where to find all Parts Long Lost locations in Twilight Gap
Speaking to Saint-14 will then see a new mission added to the map in the bottom left of the EDZ on the Director screen - Parts Long Lost.
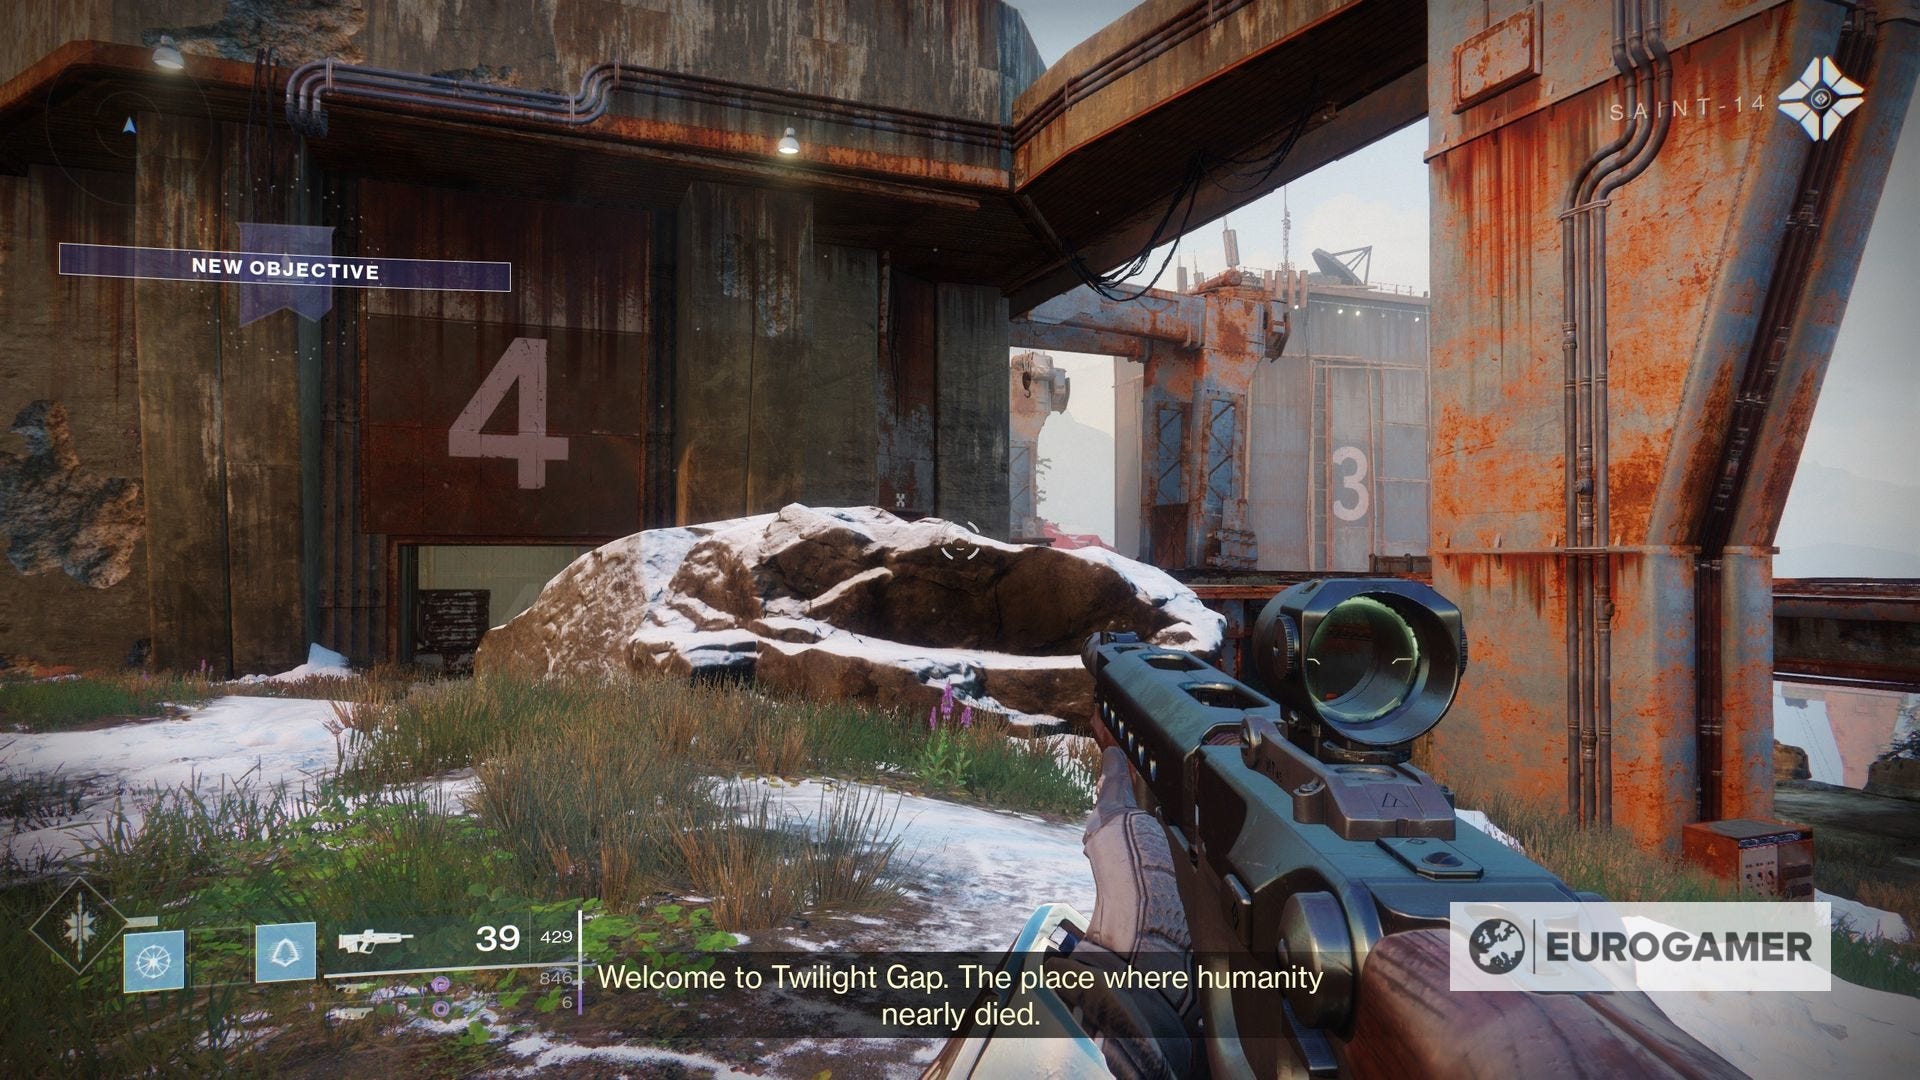
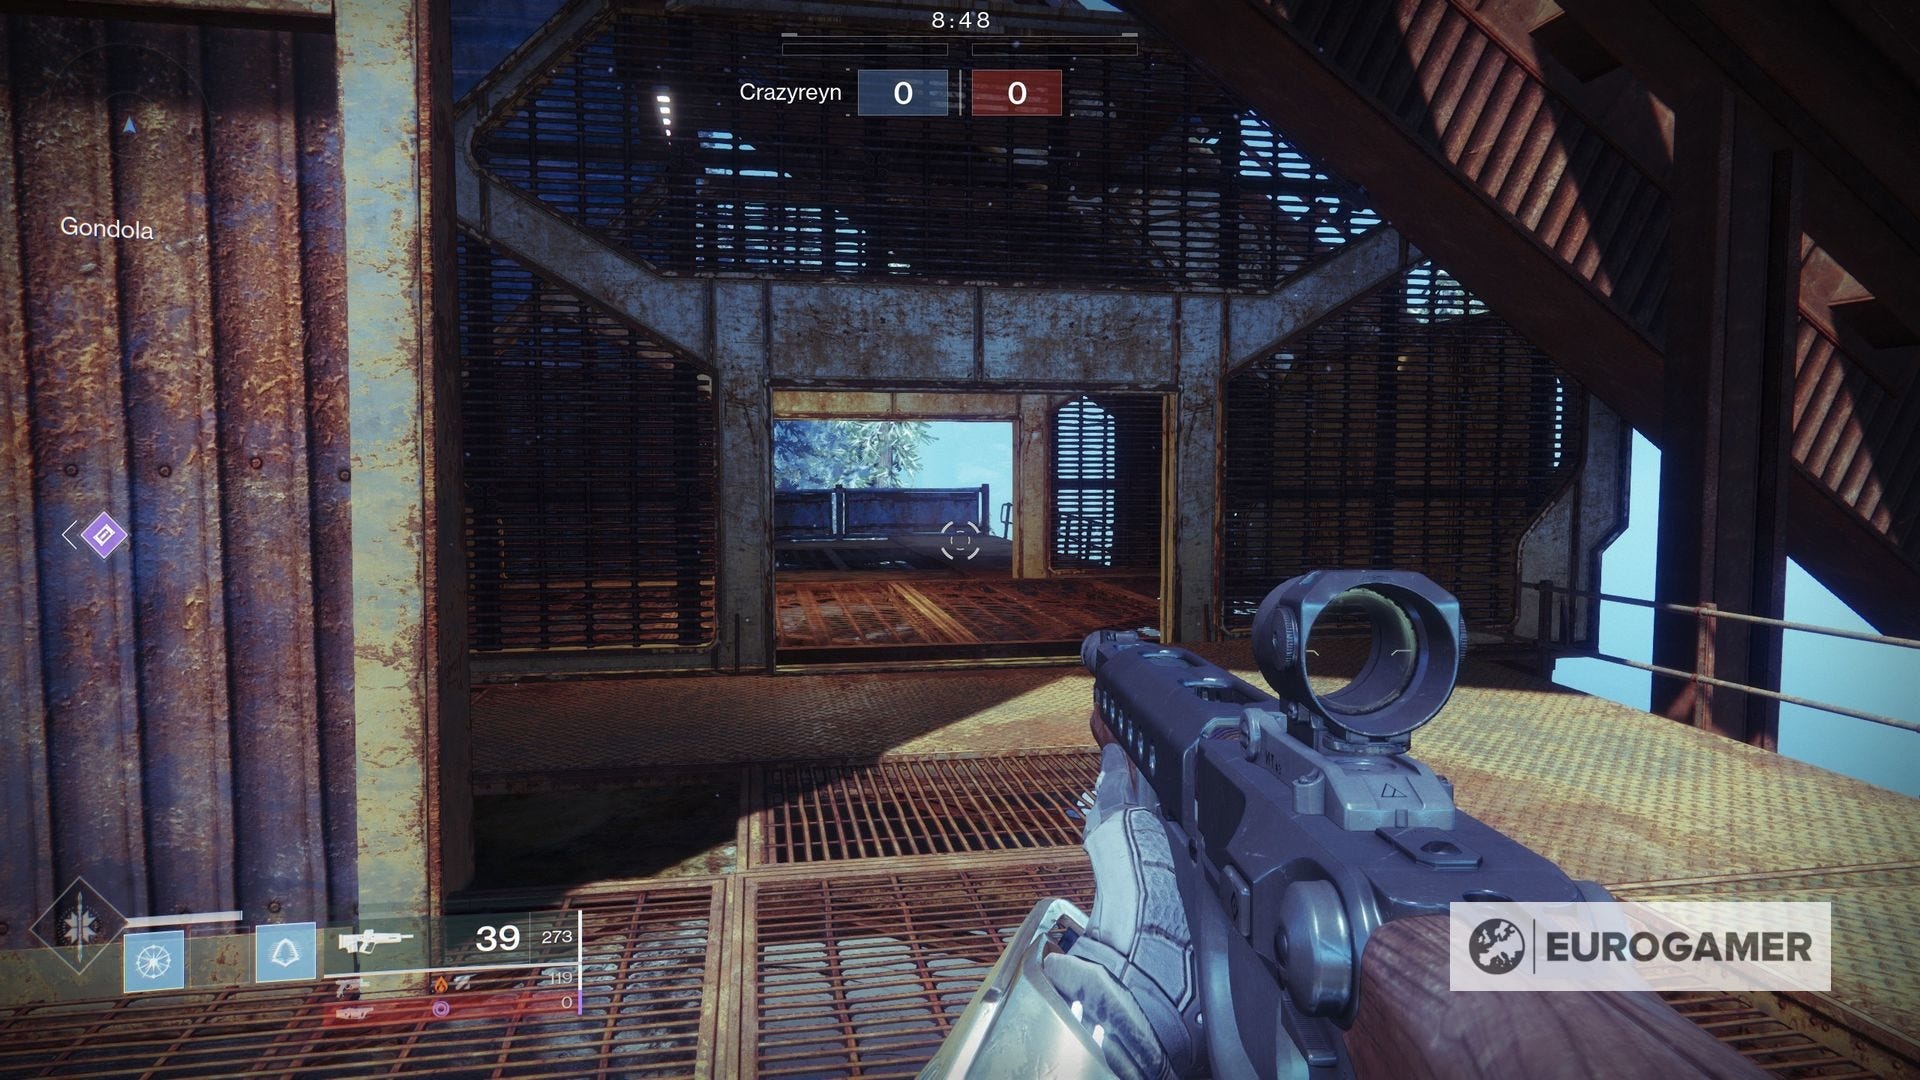
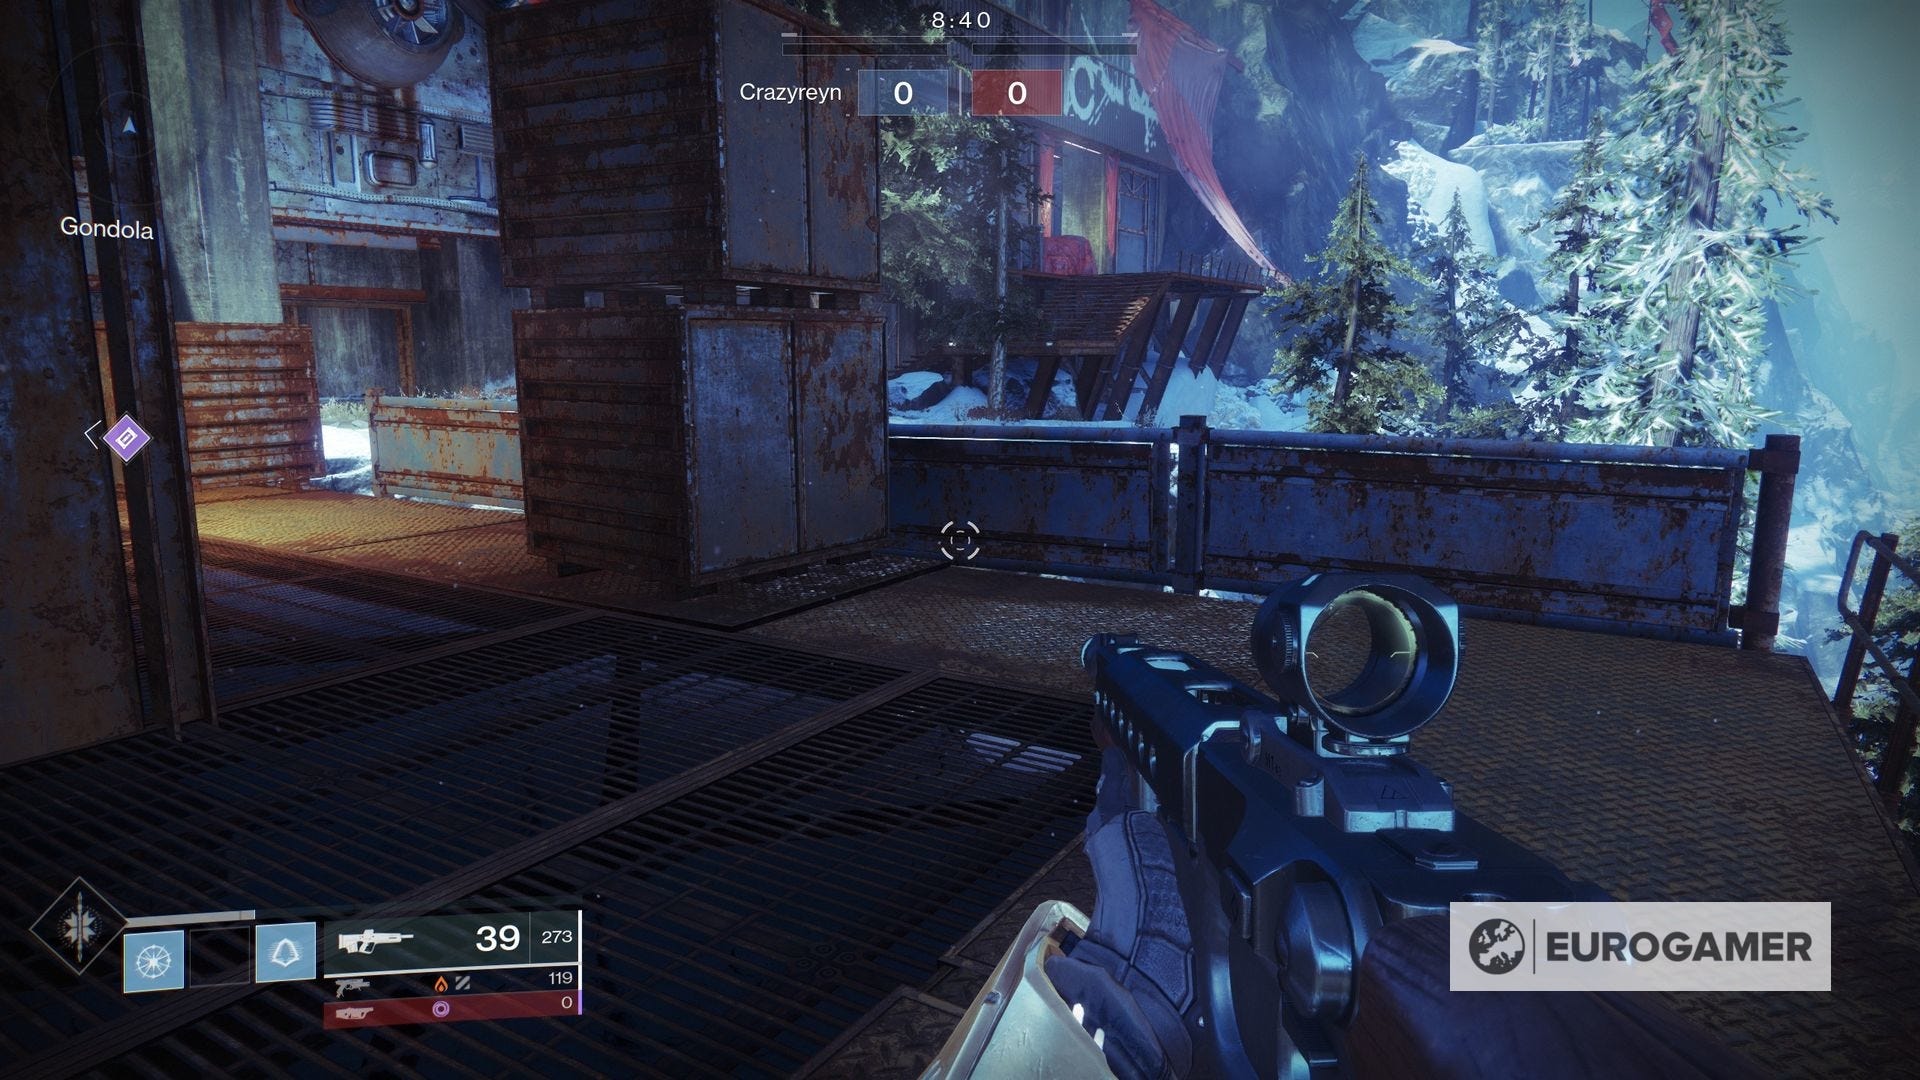
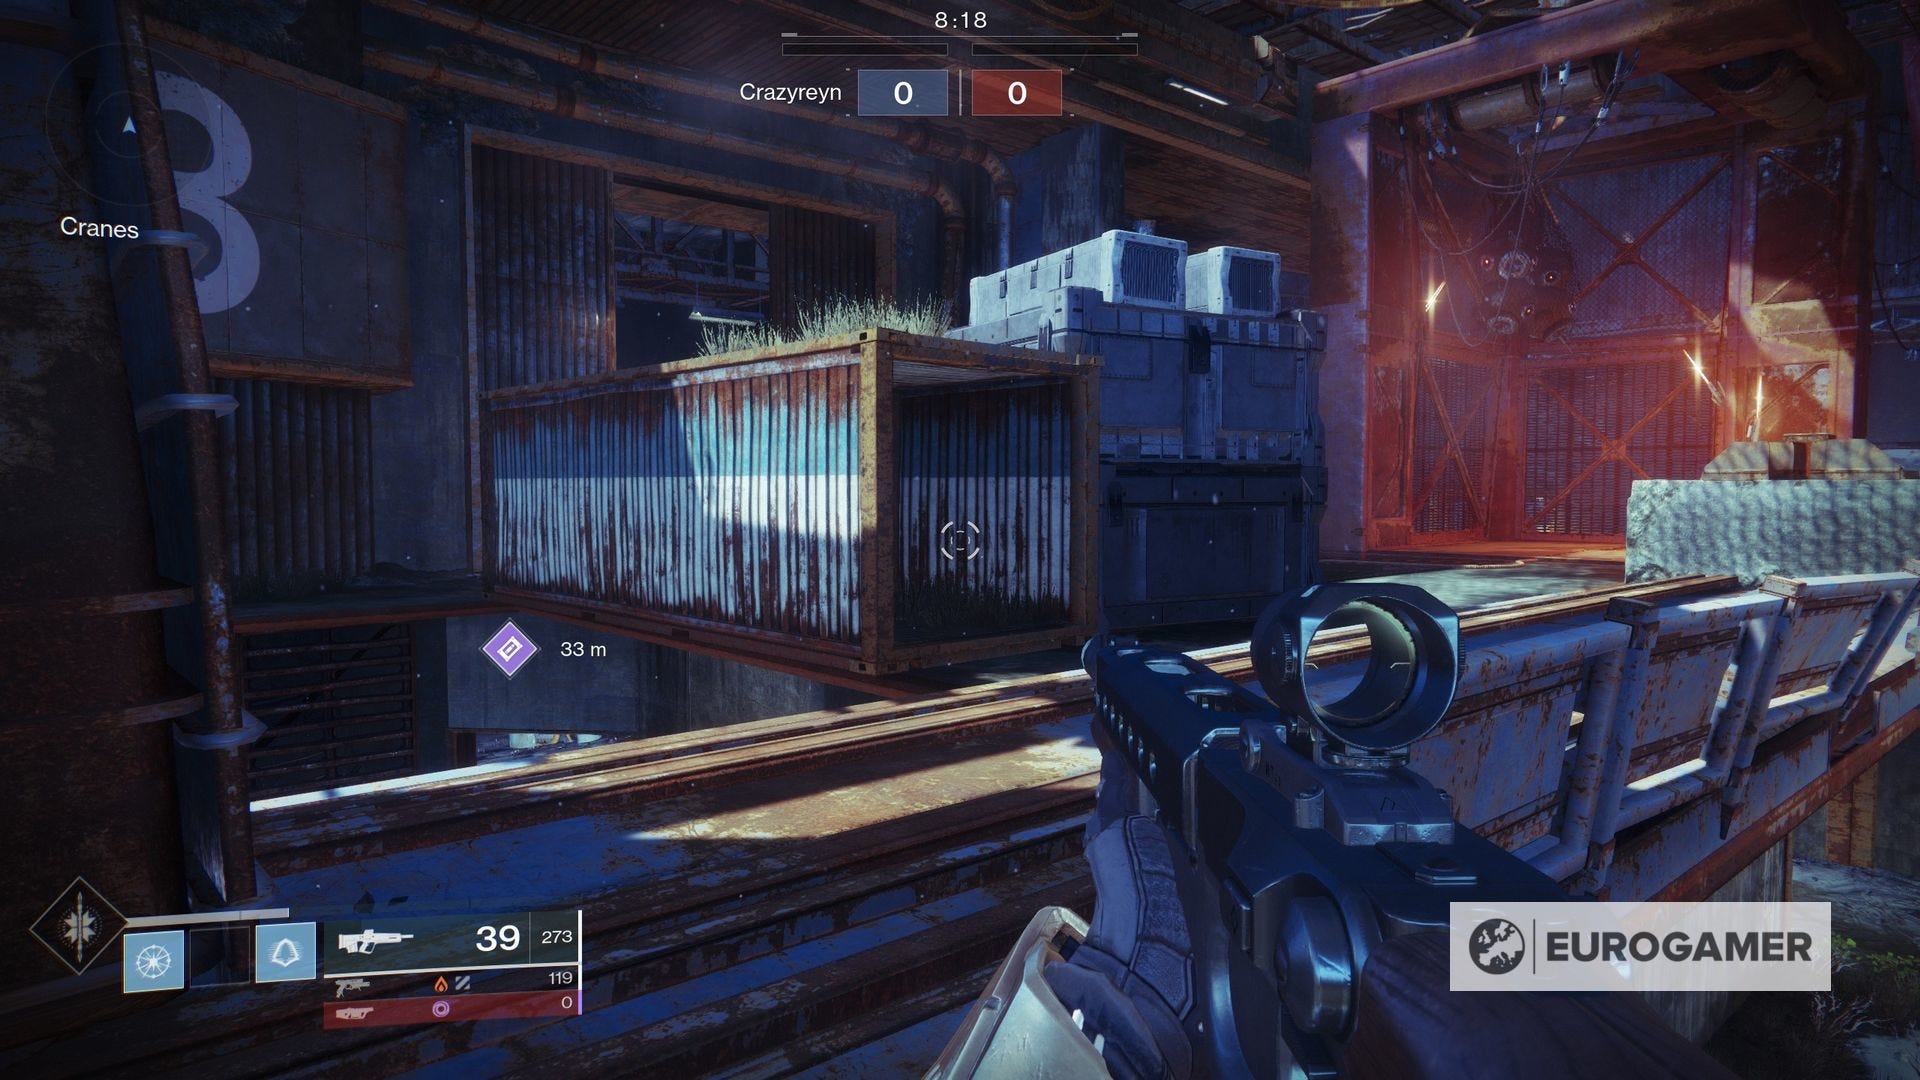
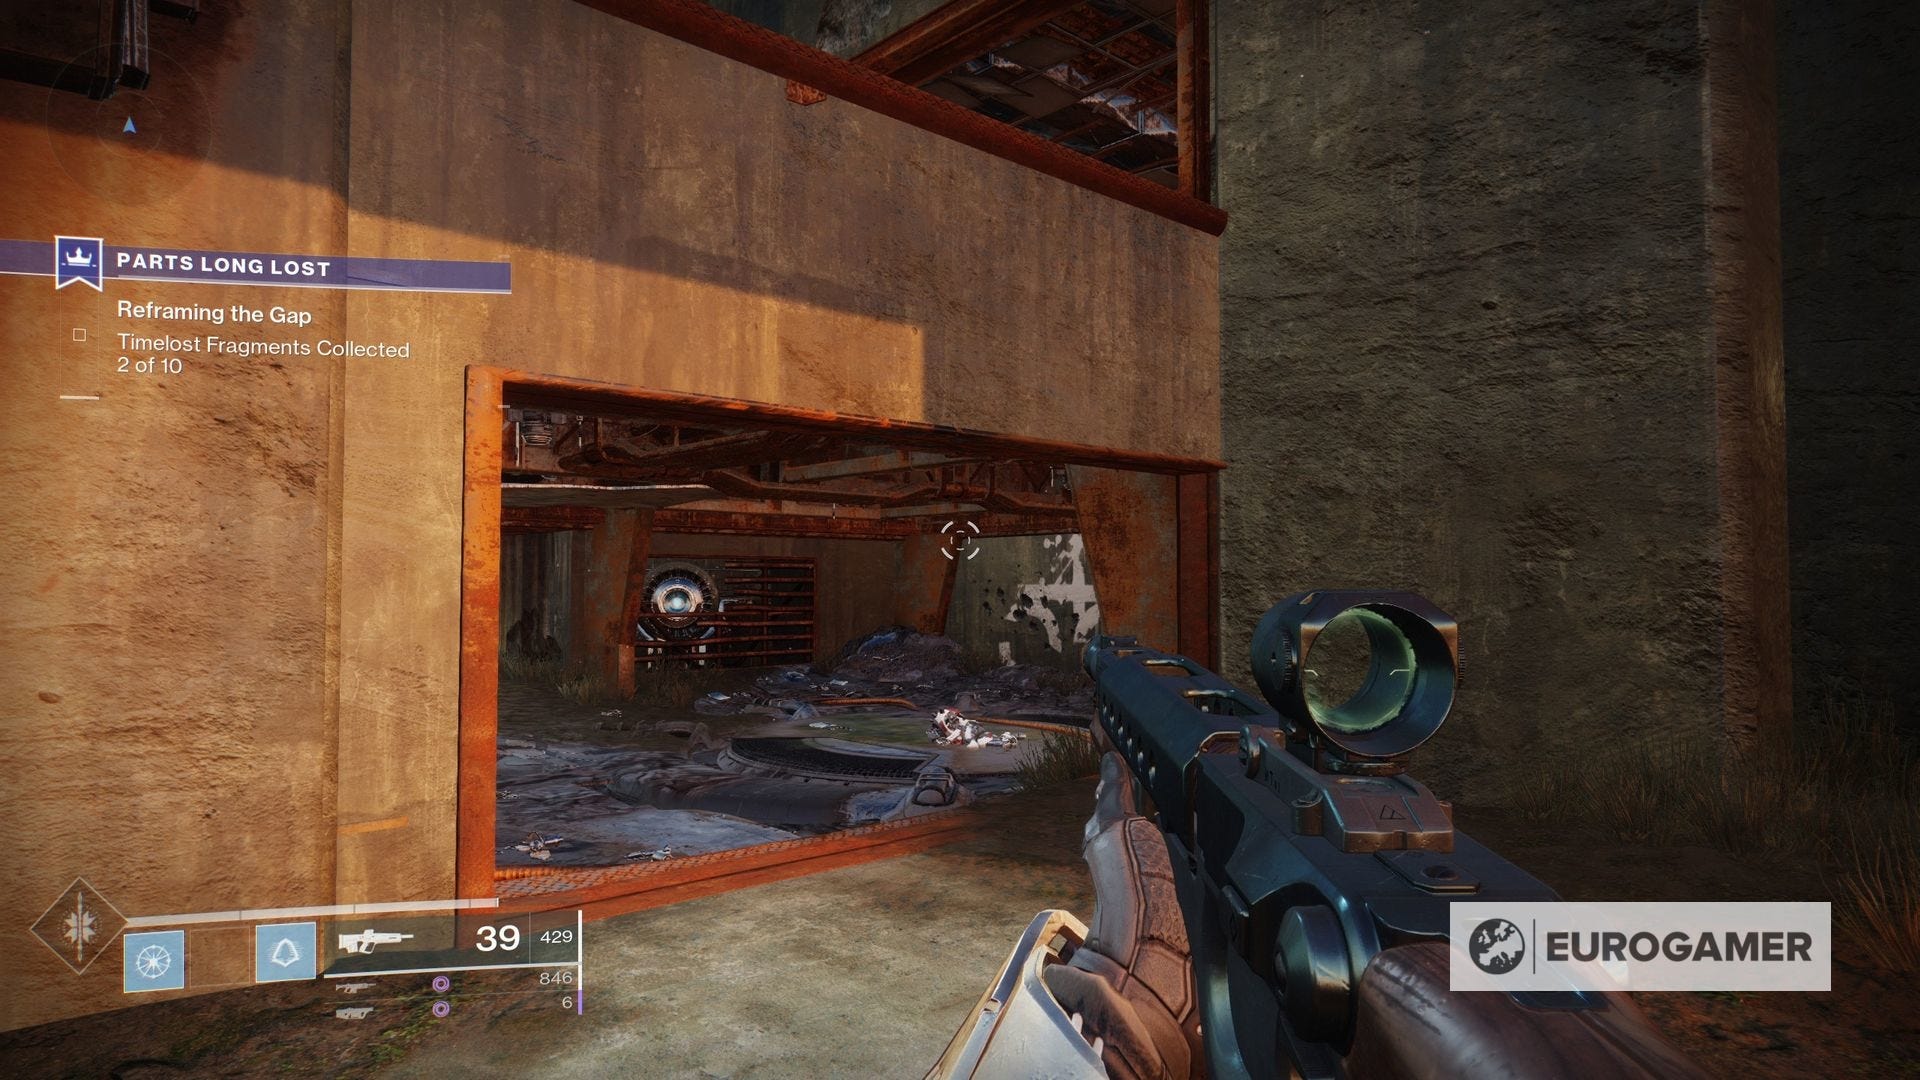
This sees you head to a special version of Twilight Gap, the Crucible map from the original Destiny that was reintroduced with the arrival of Shadowkeep.
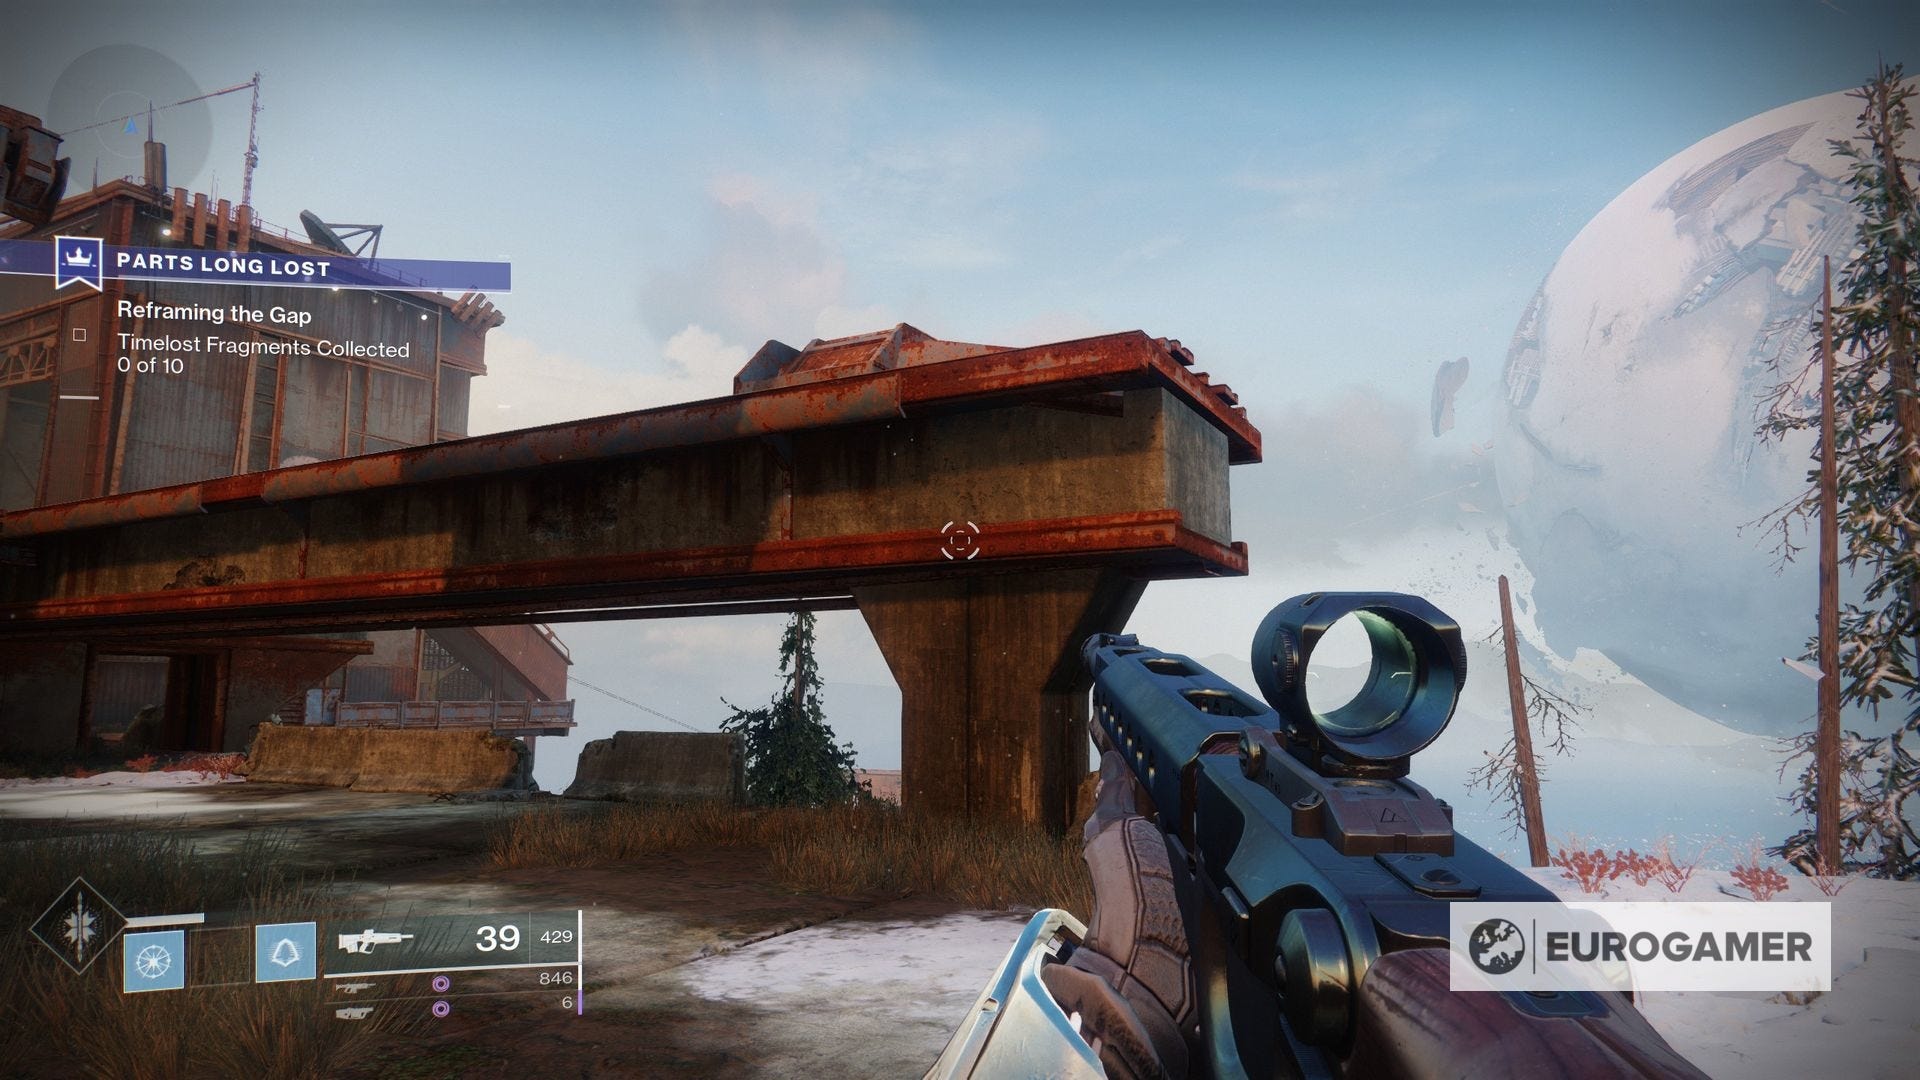
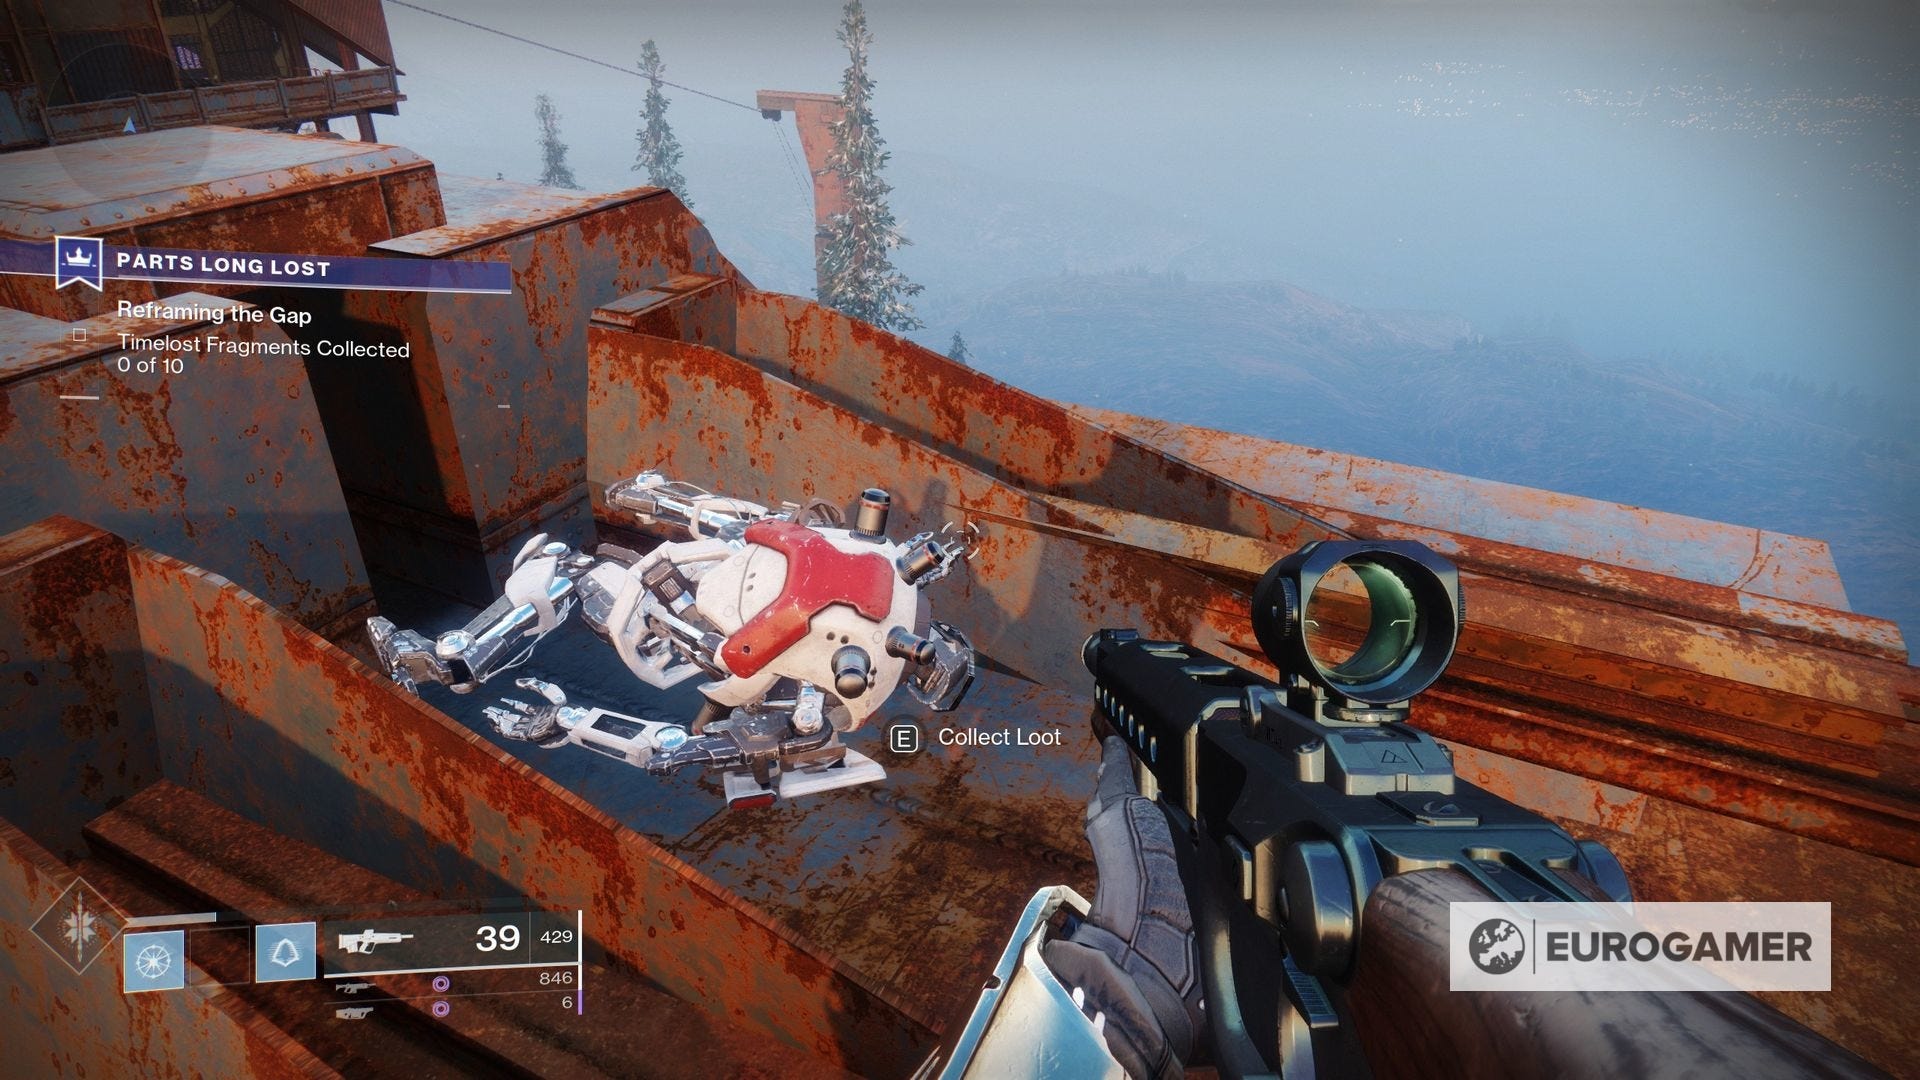
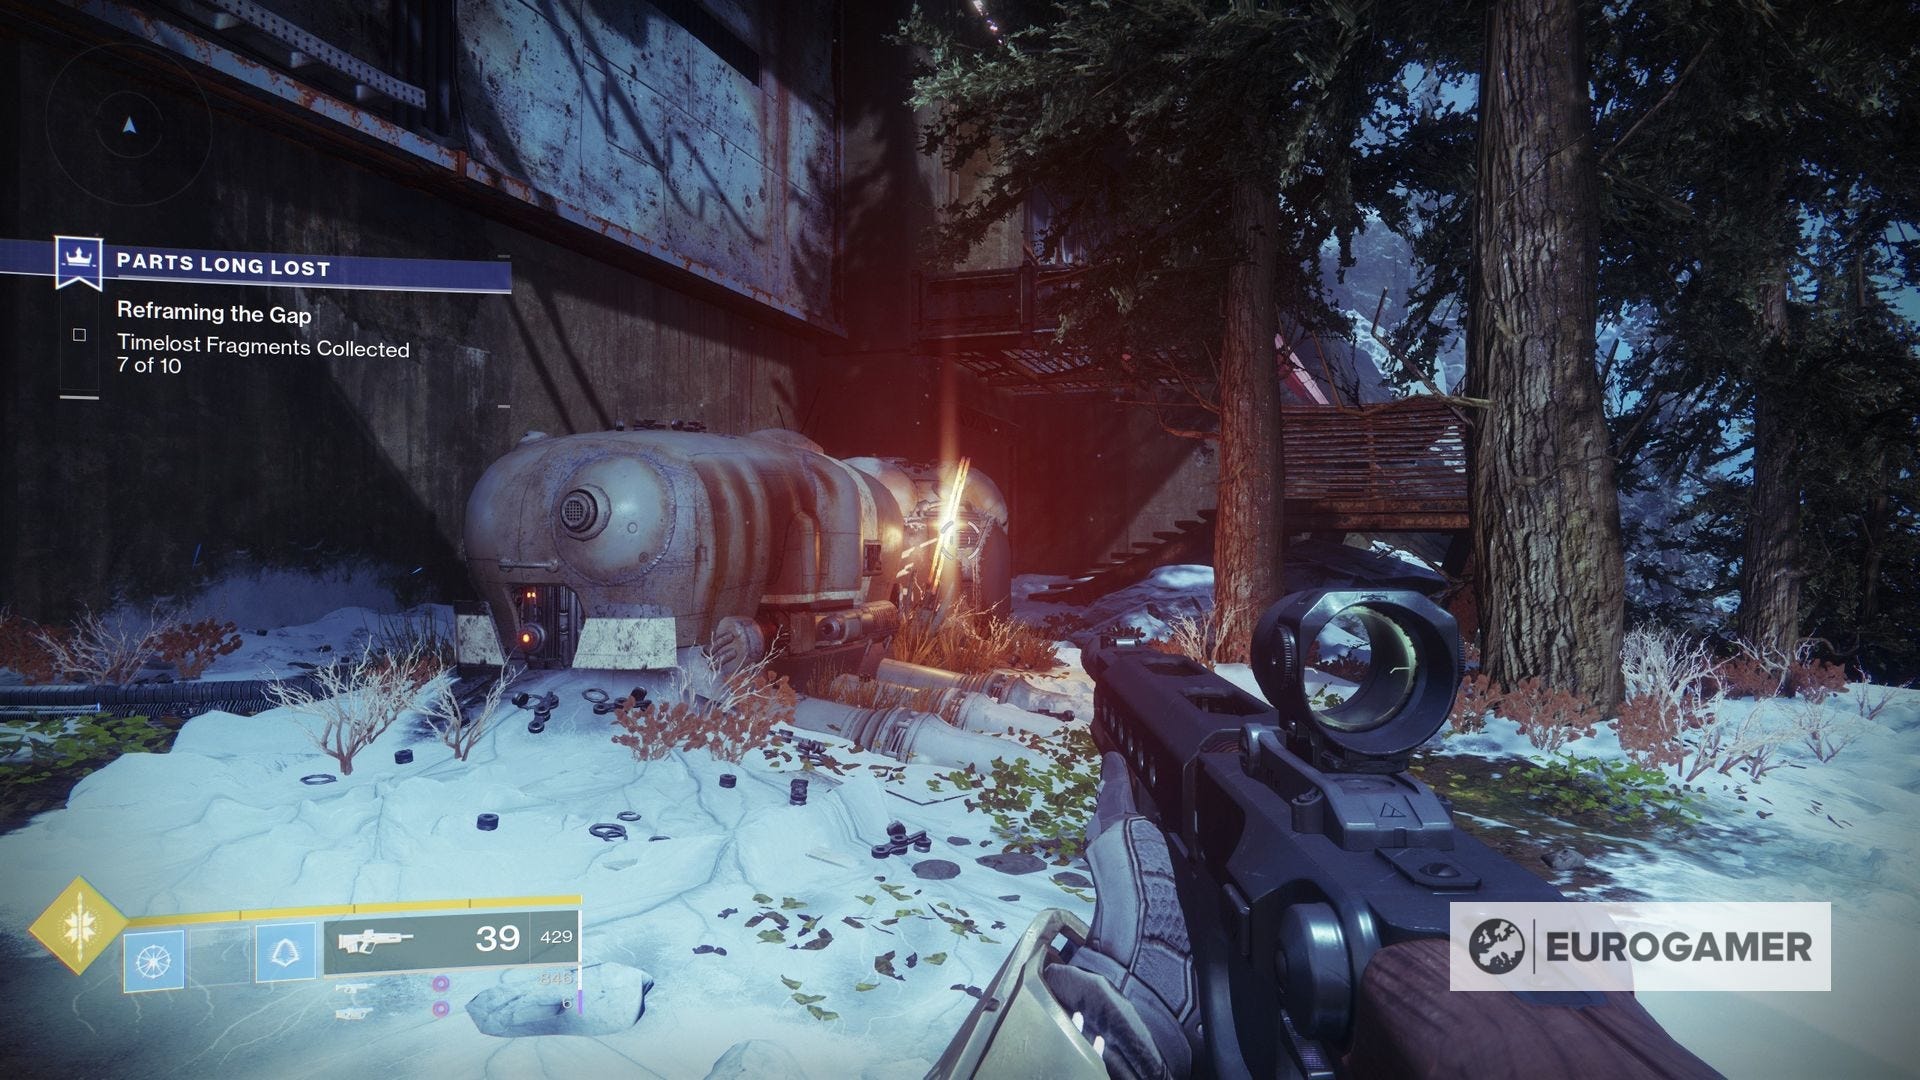
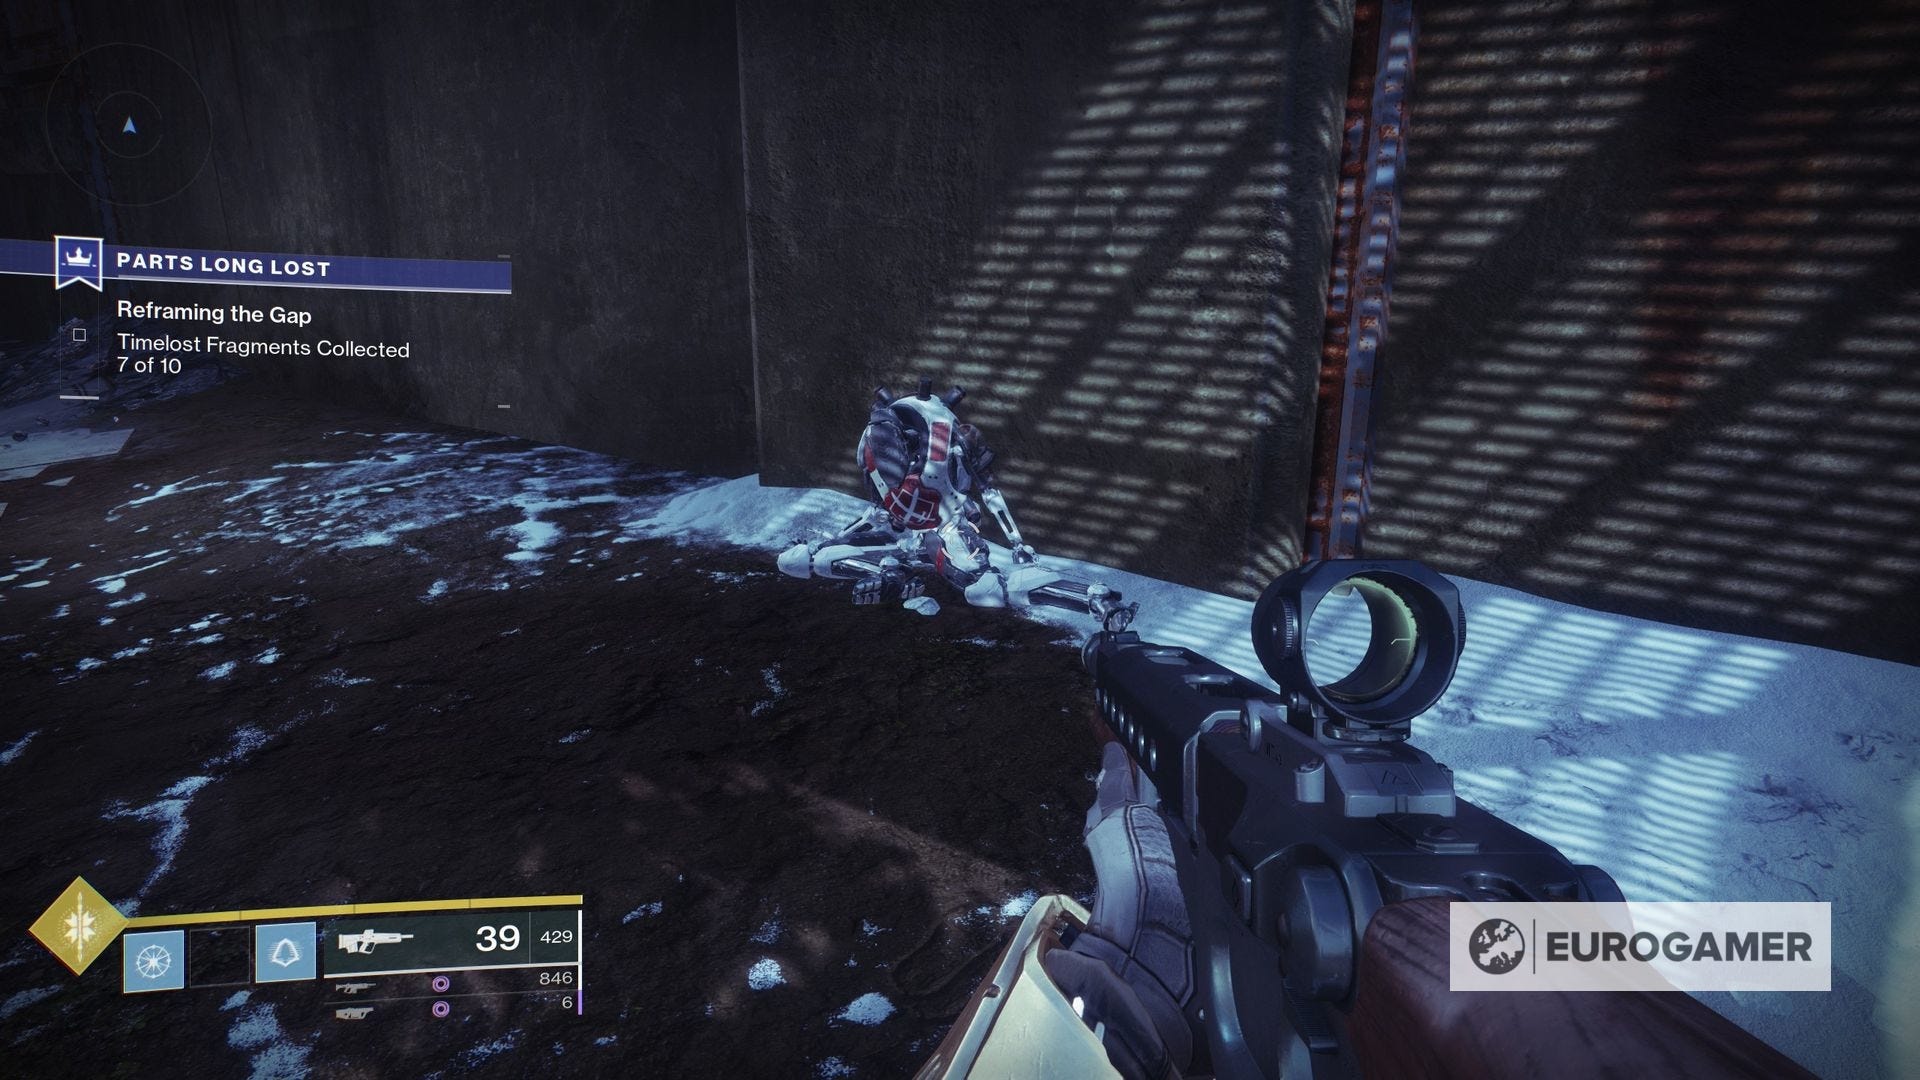
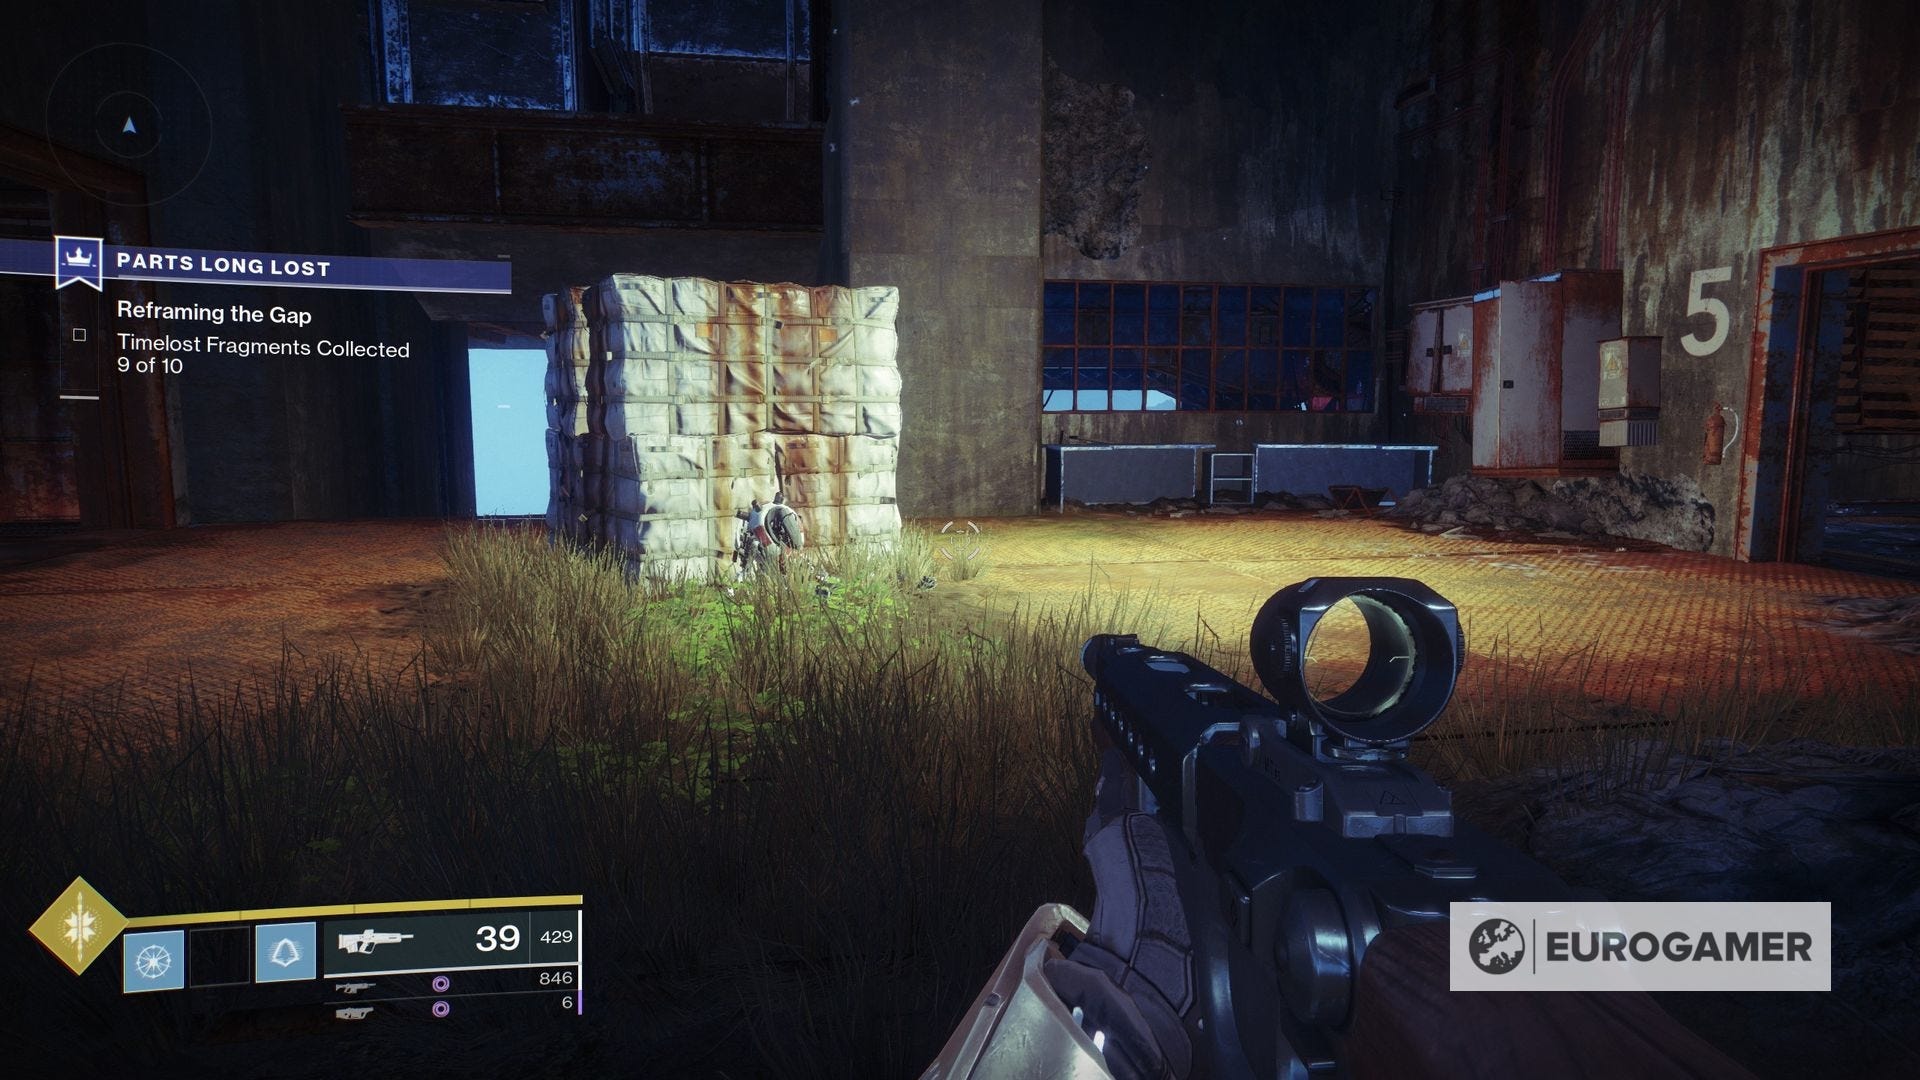
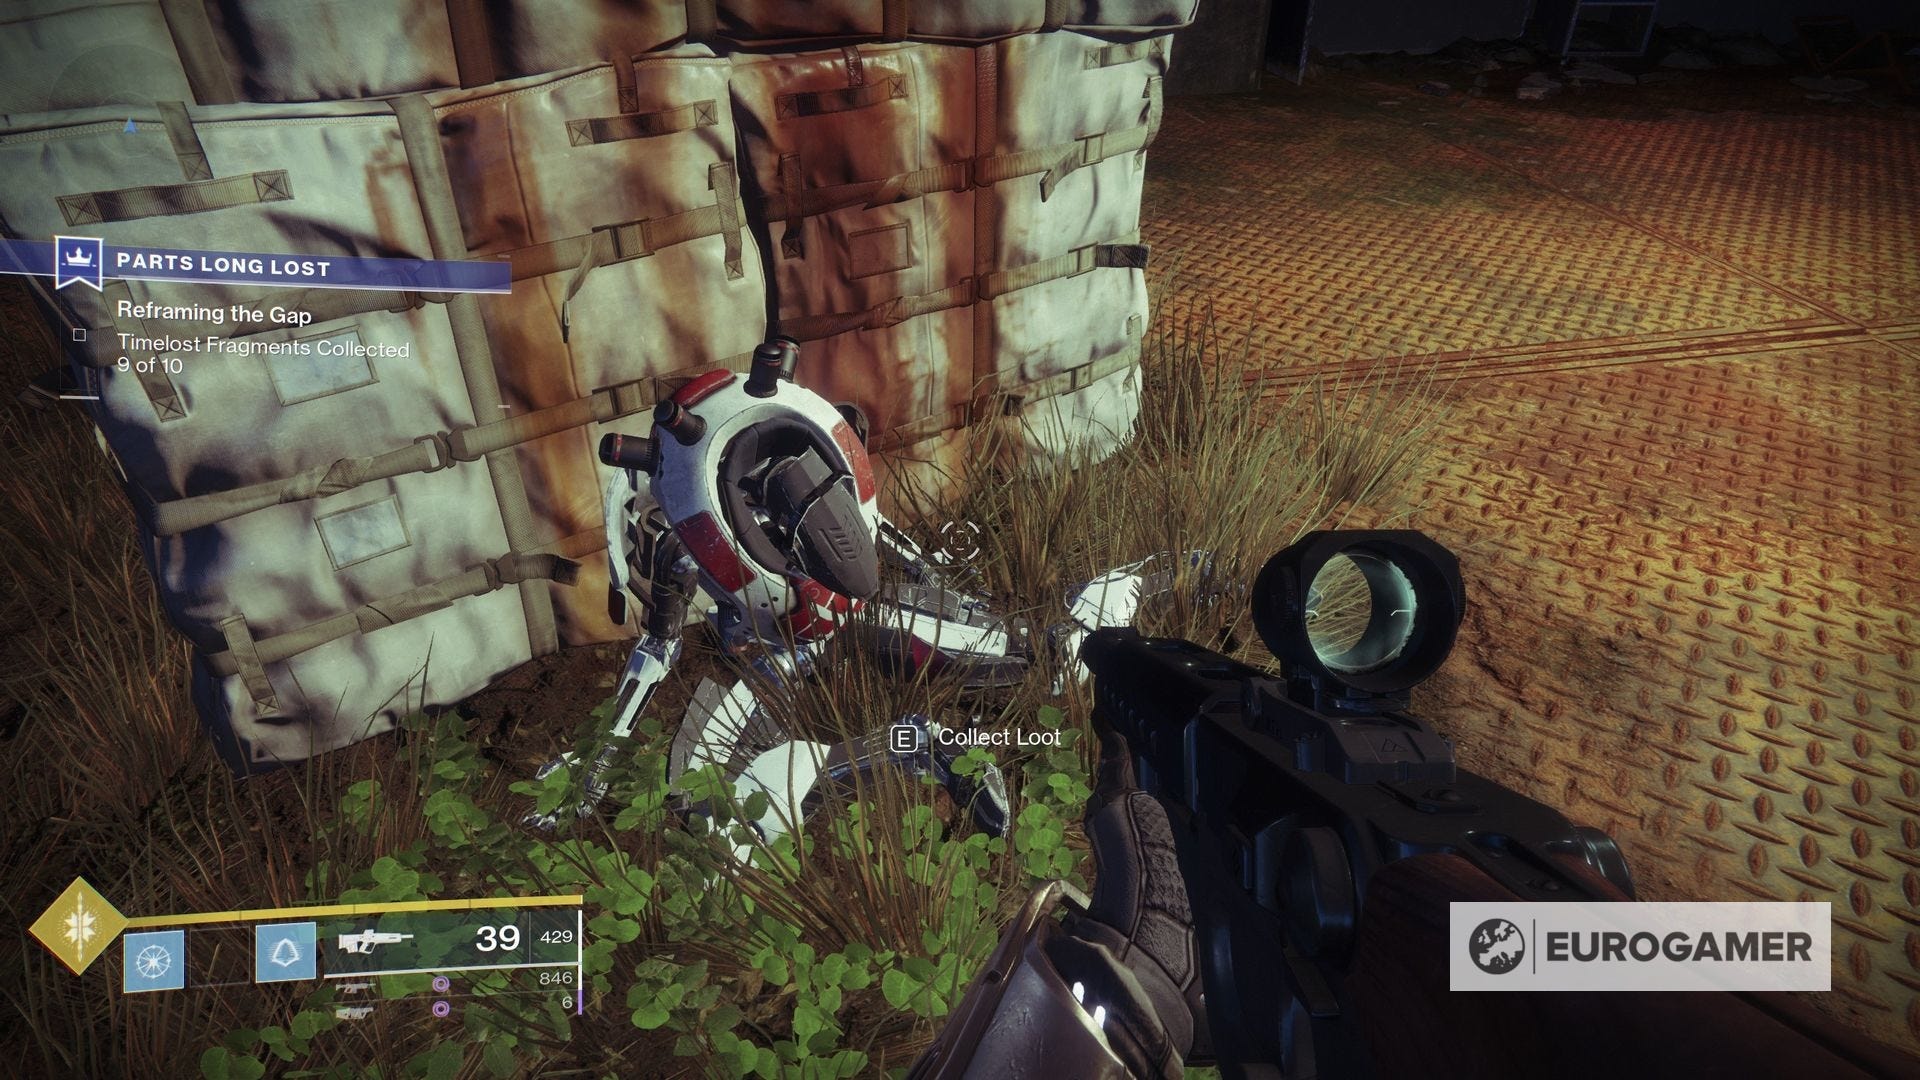
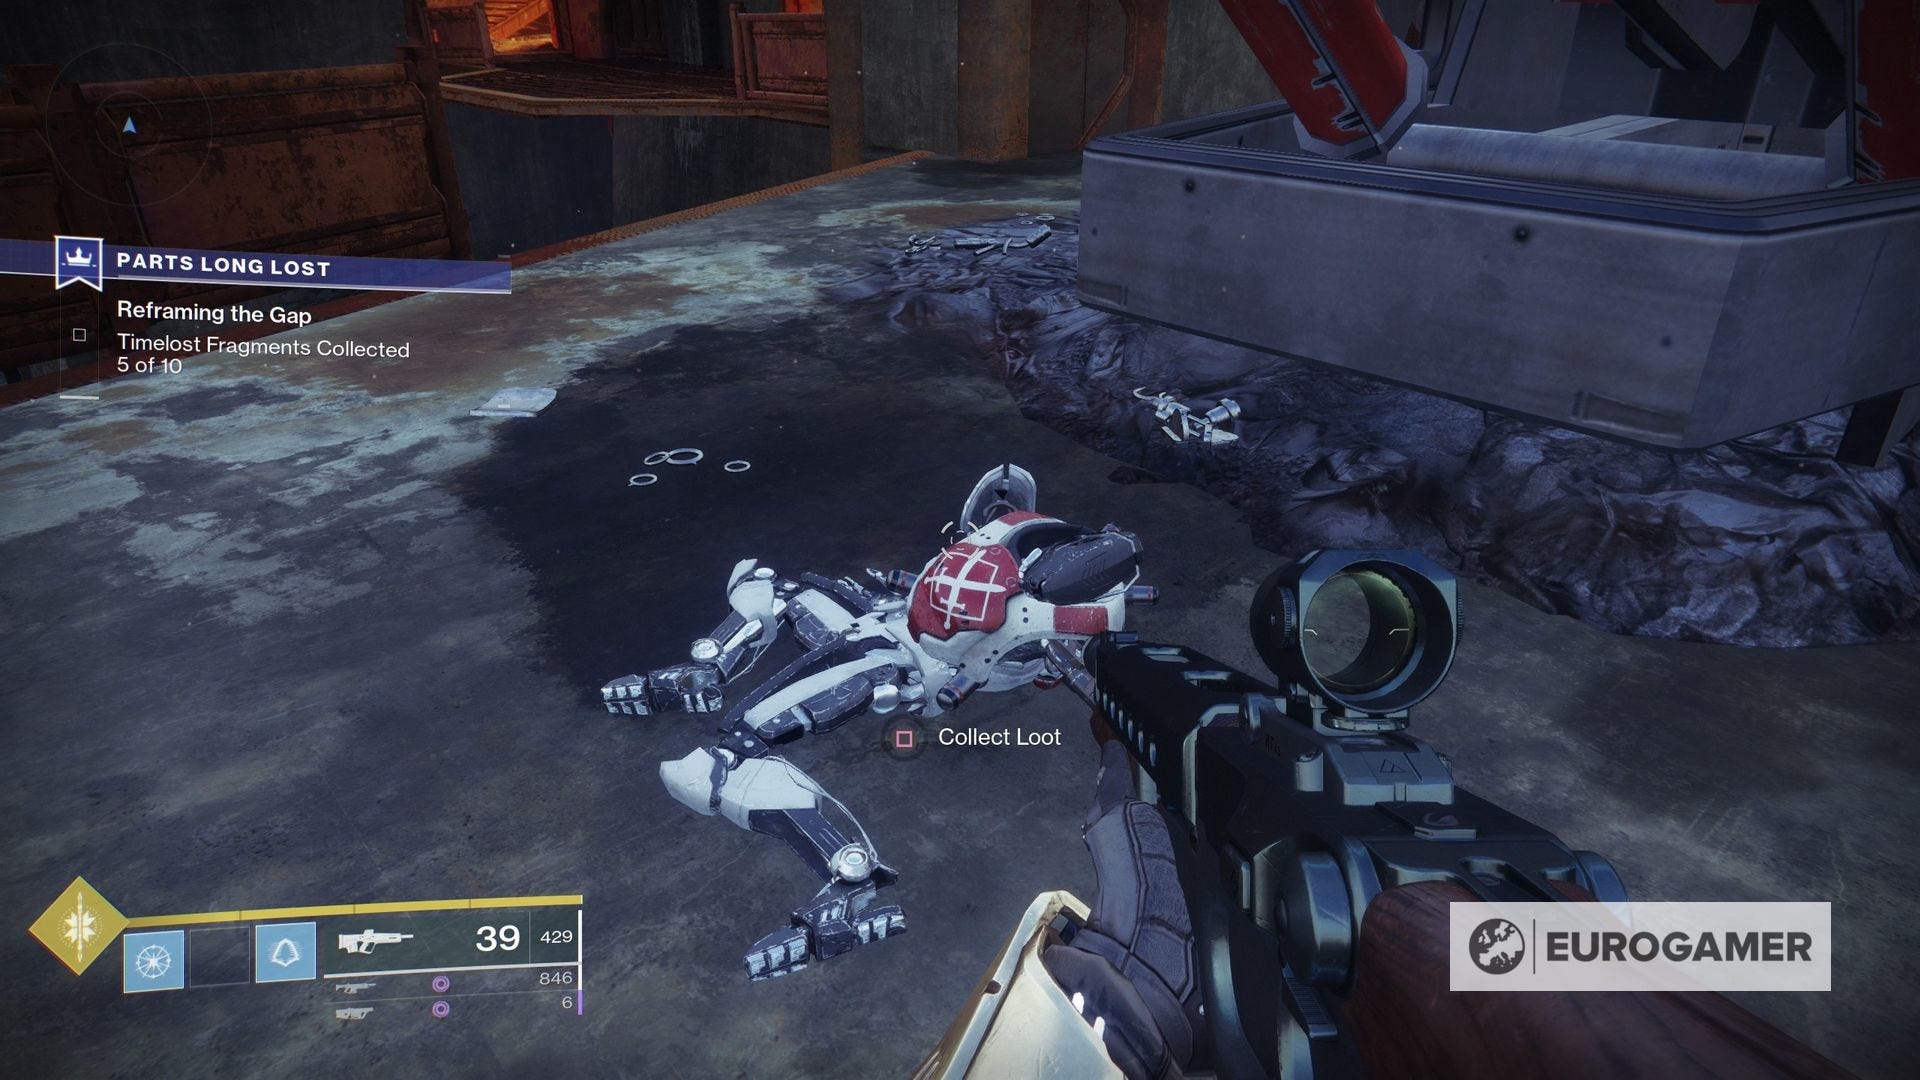
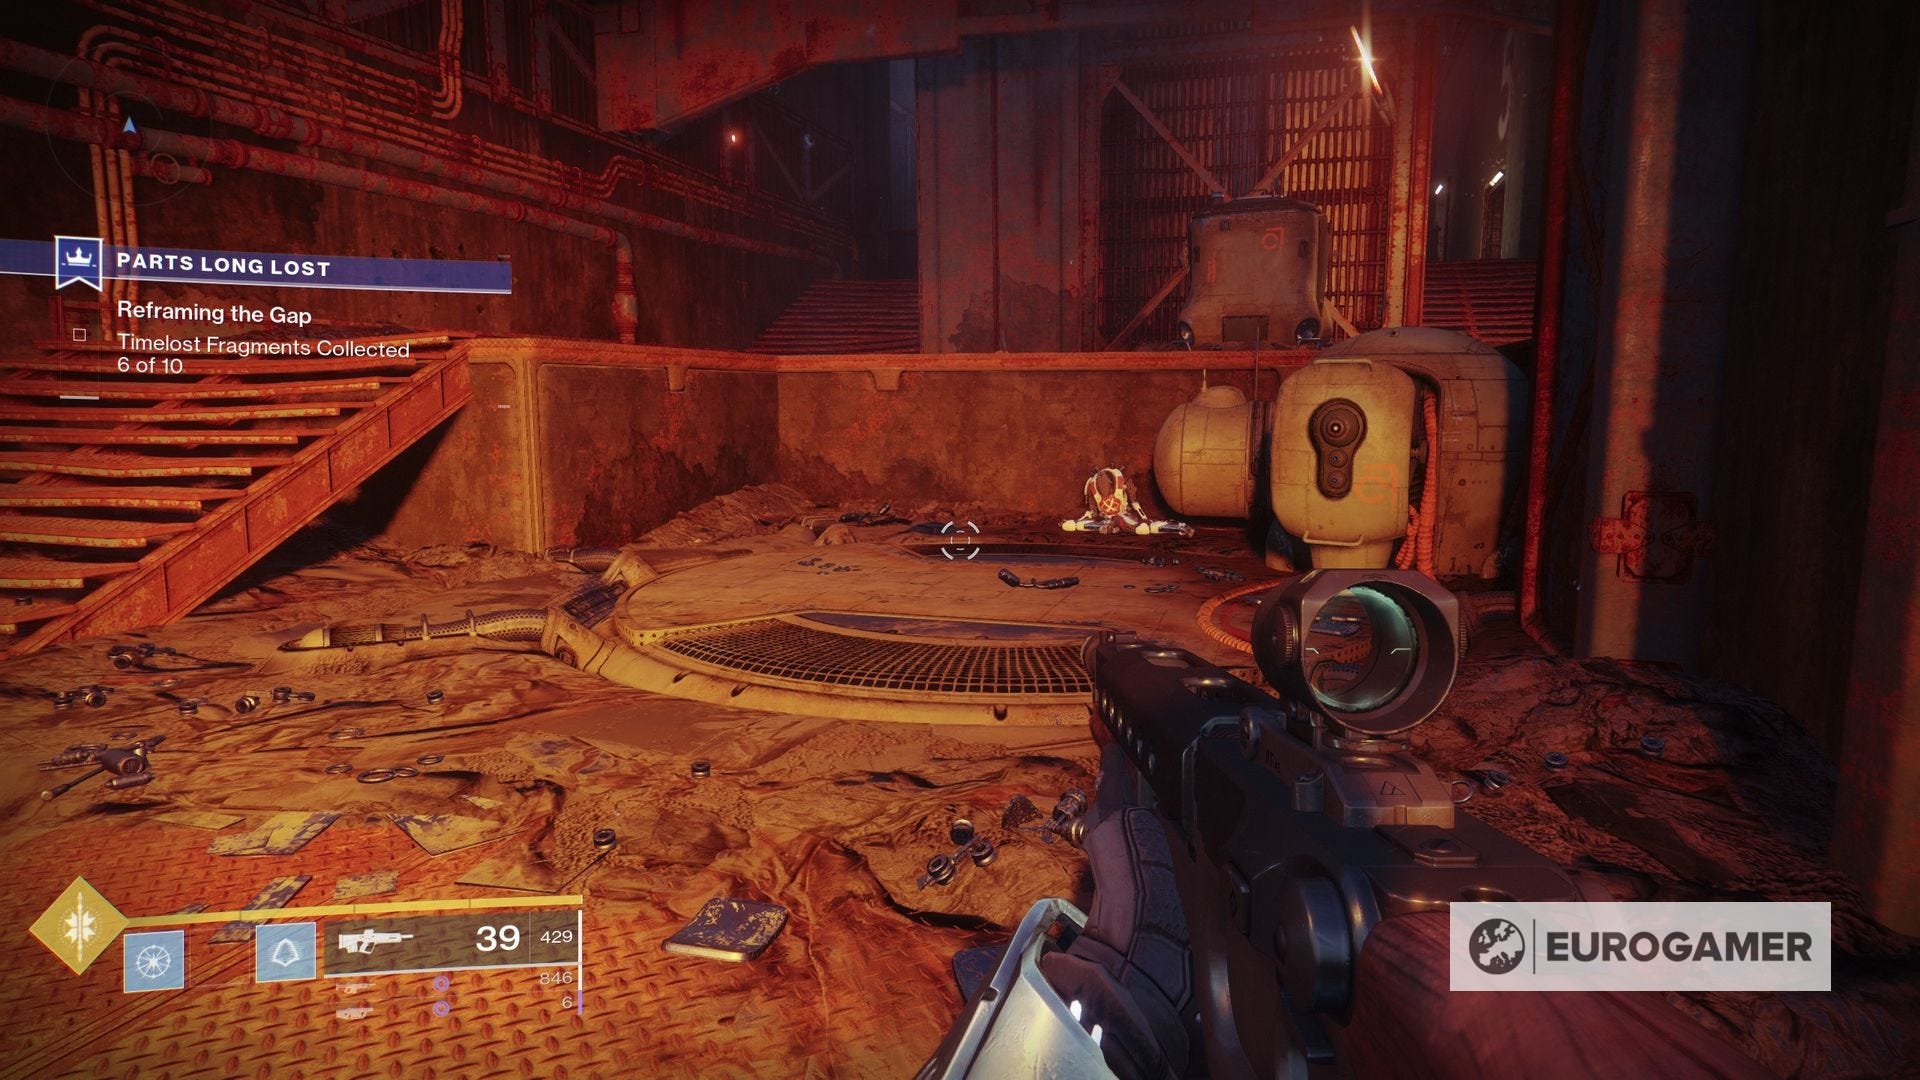
There are 10 bodies you must find across the map, each giving you a weapon part. If you're familiar with the map, then you will likely have an idea of the various hotspots these bodies will appear.
Here is where to find them all, in order from where you enter the map:
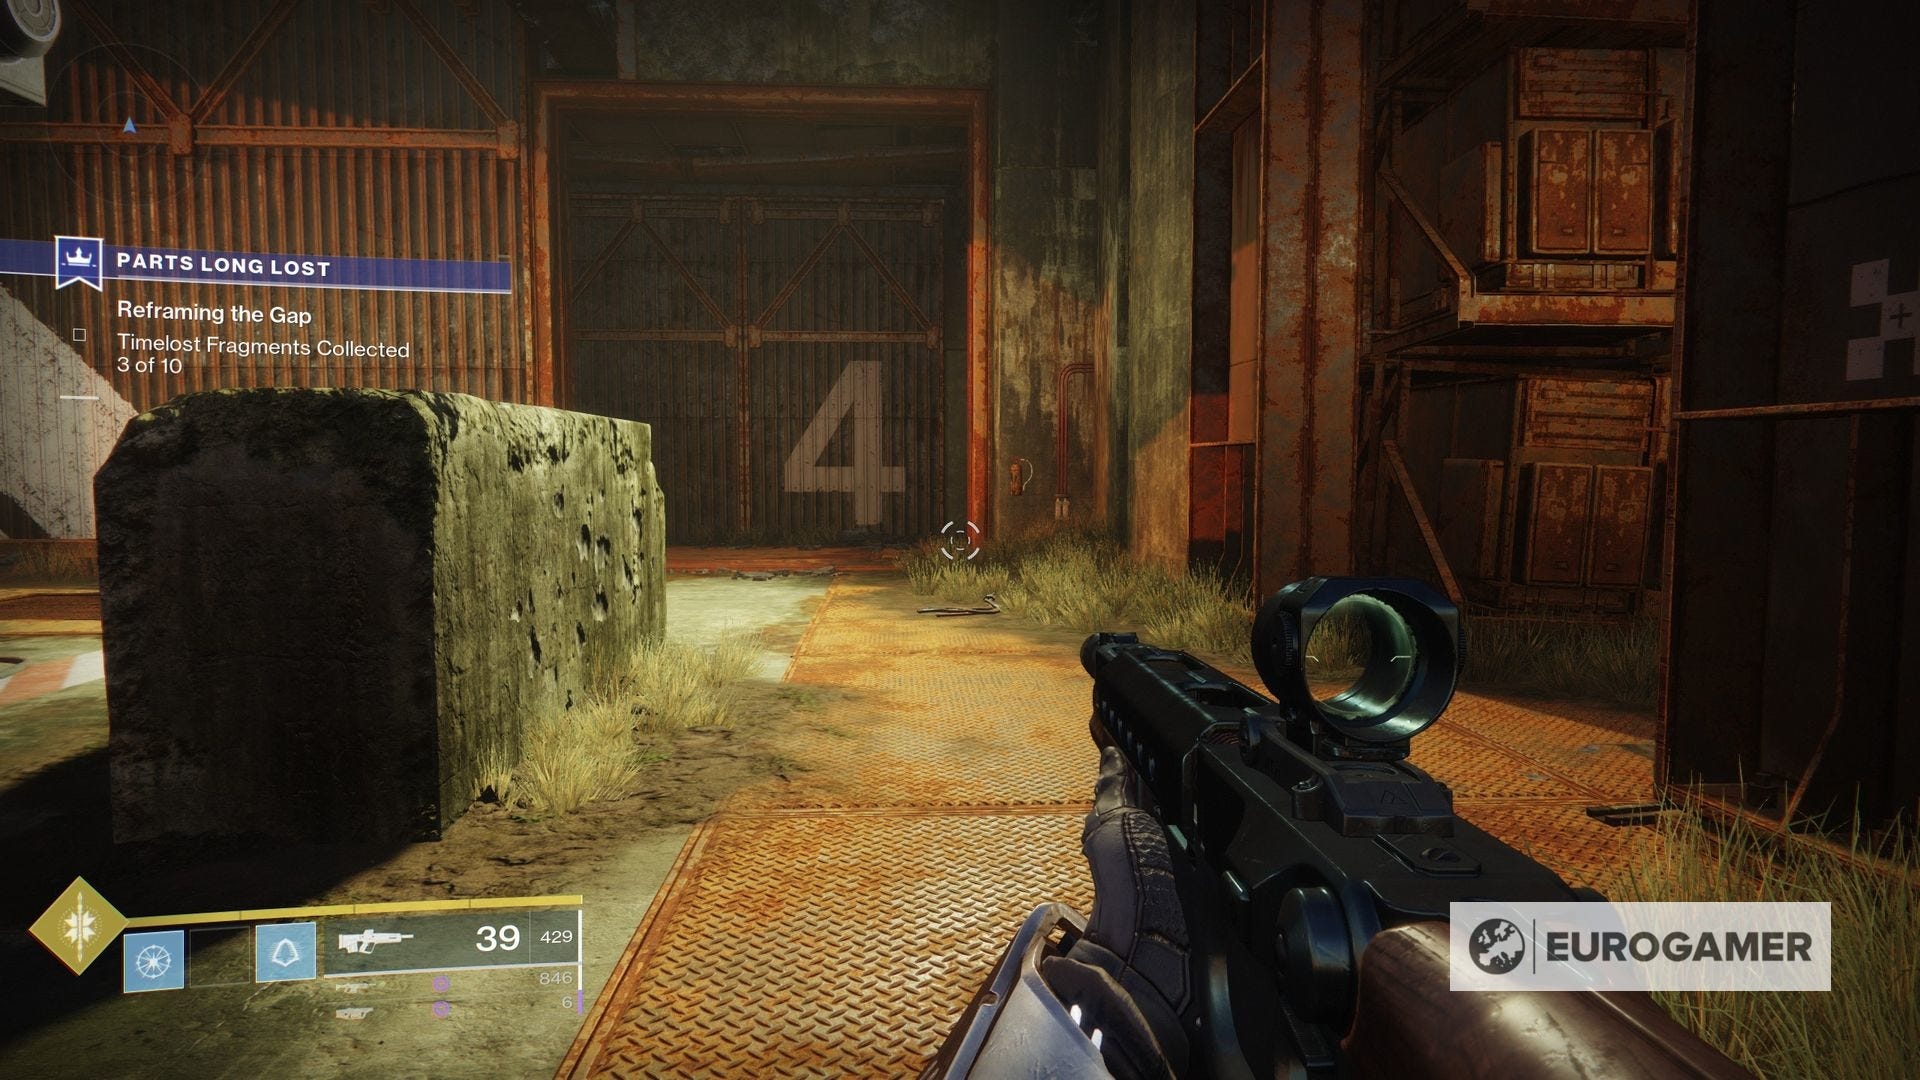
1. From where you start, there is a boulder right ahead of you, before the hanger door with the '4' above it. On the other side of the boulder is the first part.
2. Also from where you begin, turn right to see a girder-like platform running next to the cliff. The part is on top, at the end.
3. From where you begin, go straight ahead into the '4' hanger. Take the first right inside, where you can go back outside towards the '3' hanger. But as soon as you emerge, look left to see a part against the wall.
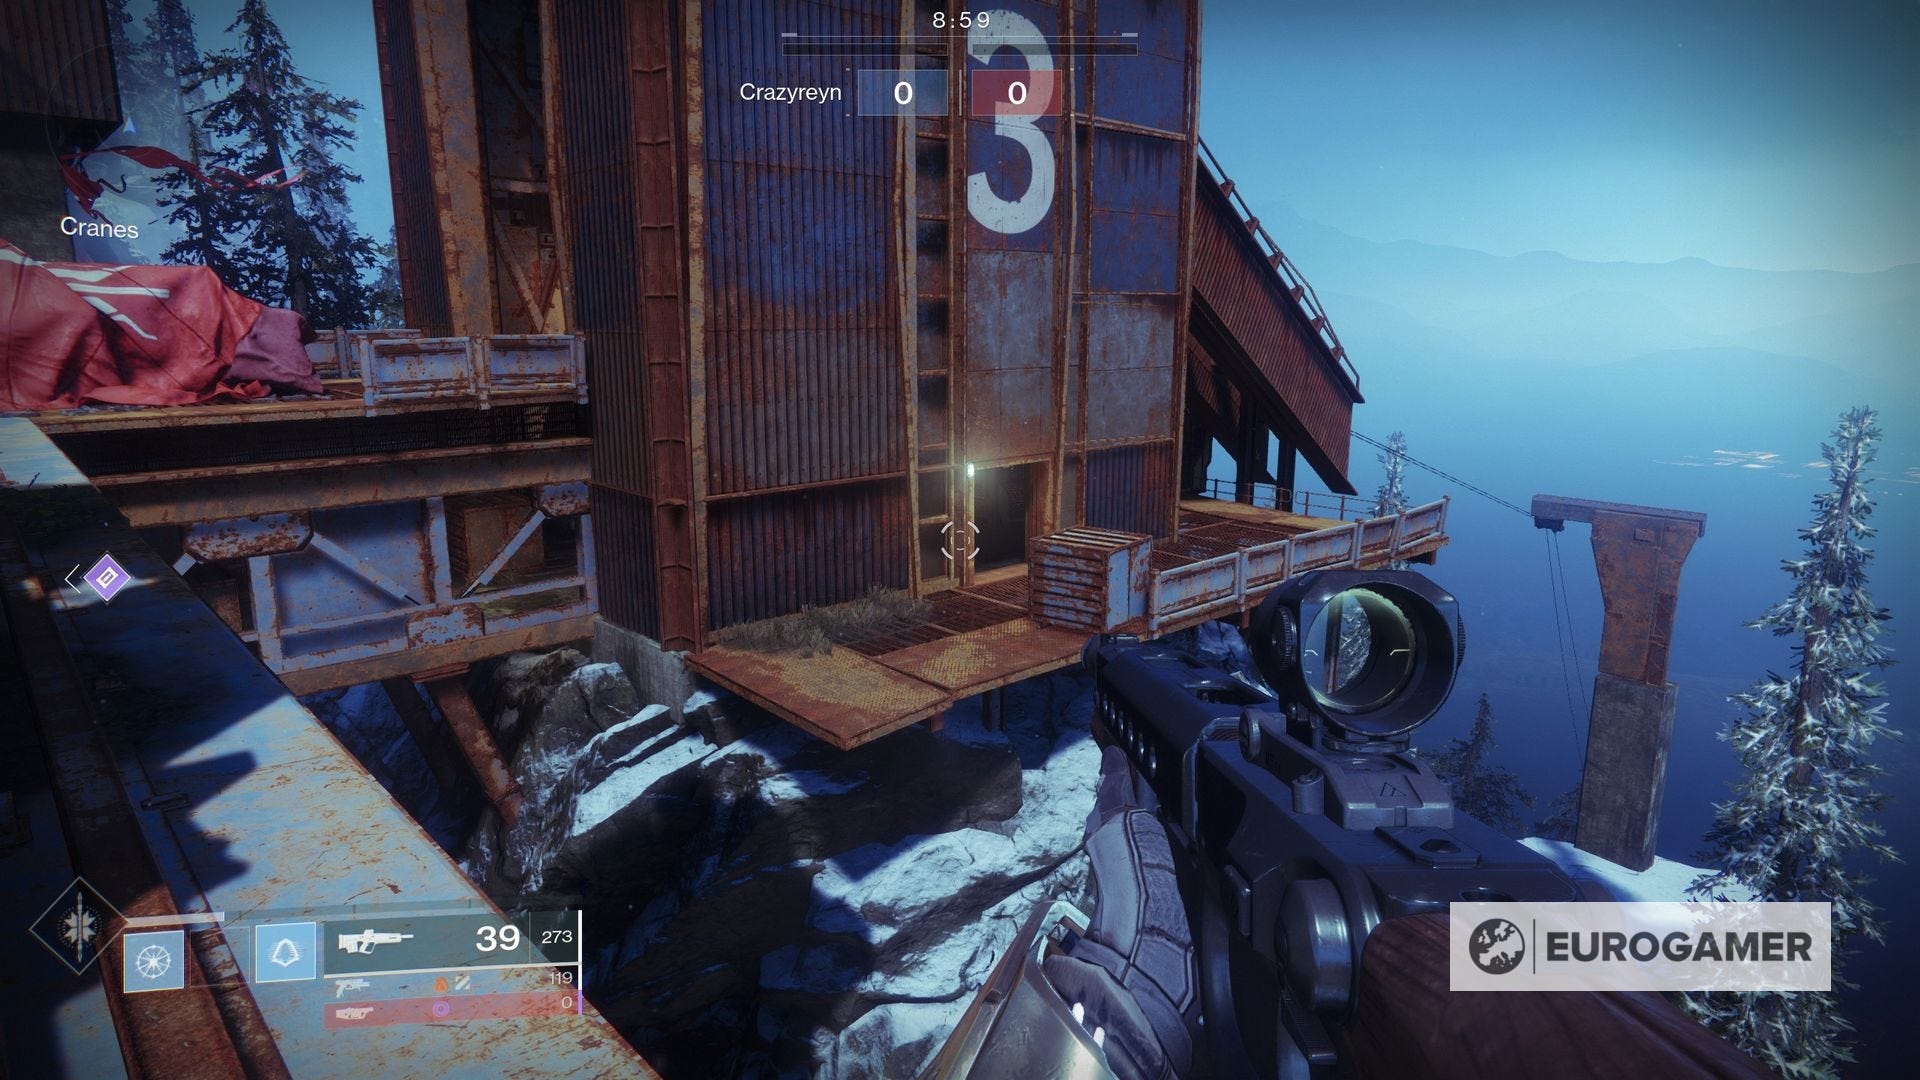
4. Head to the '3' hanger on the edge of the map - this is also where you'll find one of the flags during a multiplayer match. A part is on the outer walkway.
5. From the '3' hanger, head towards the '5' hanger at the end of the map by going alongside the outside snow-covered edge. Just as you're about to go up the stairs, you'll spot a part at the bottom, in the entrance to a corridor on the ground floor.
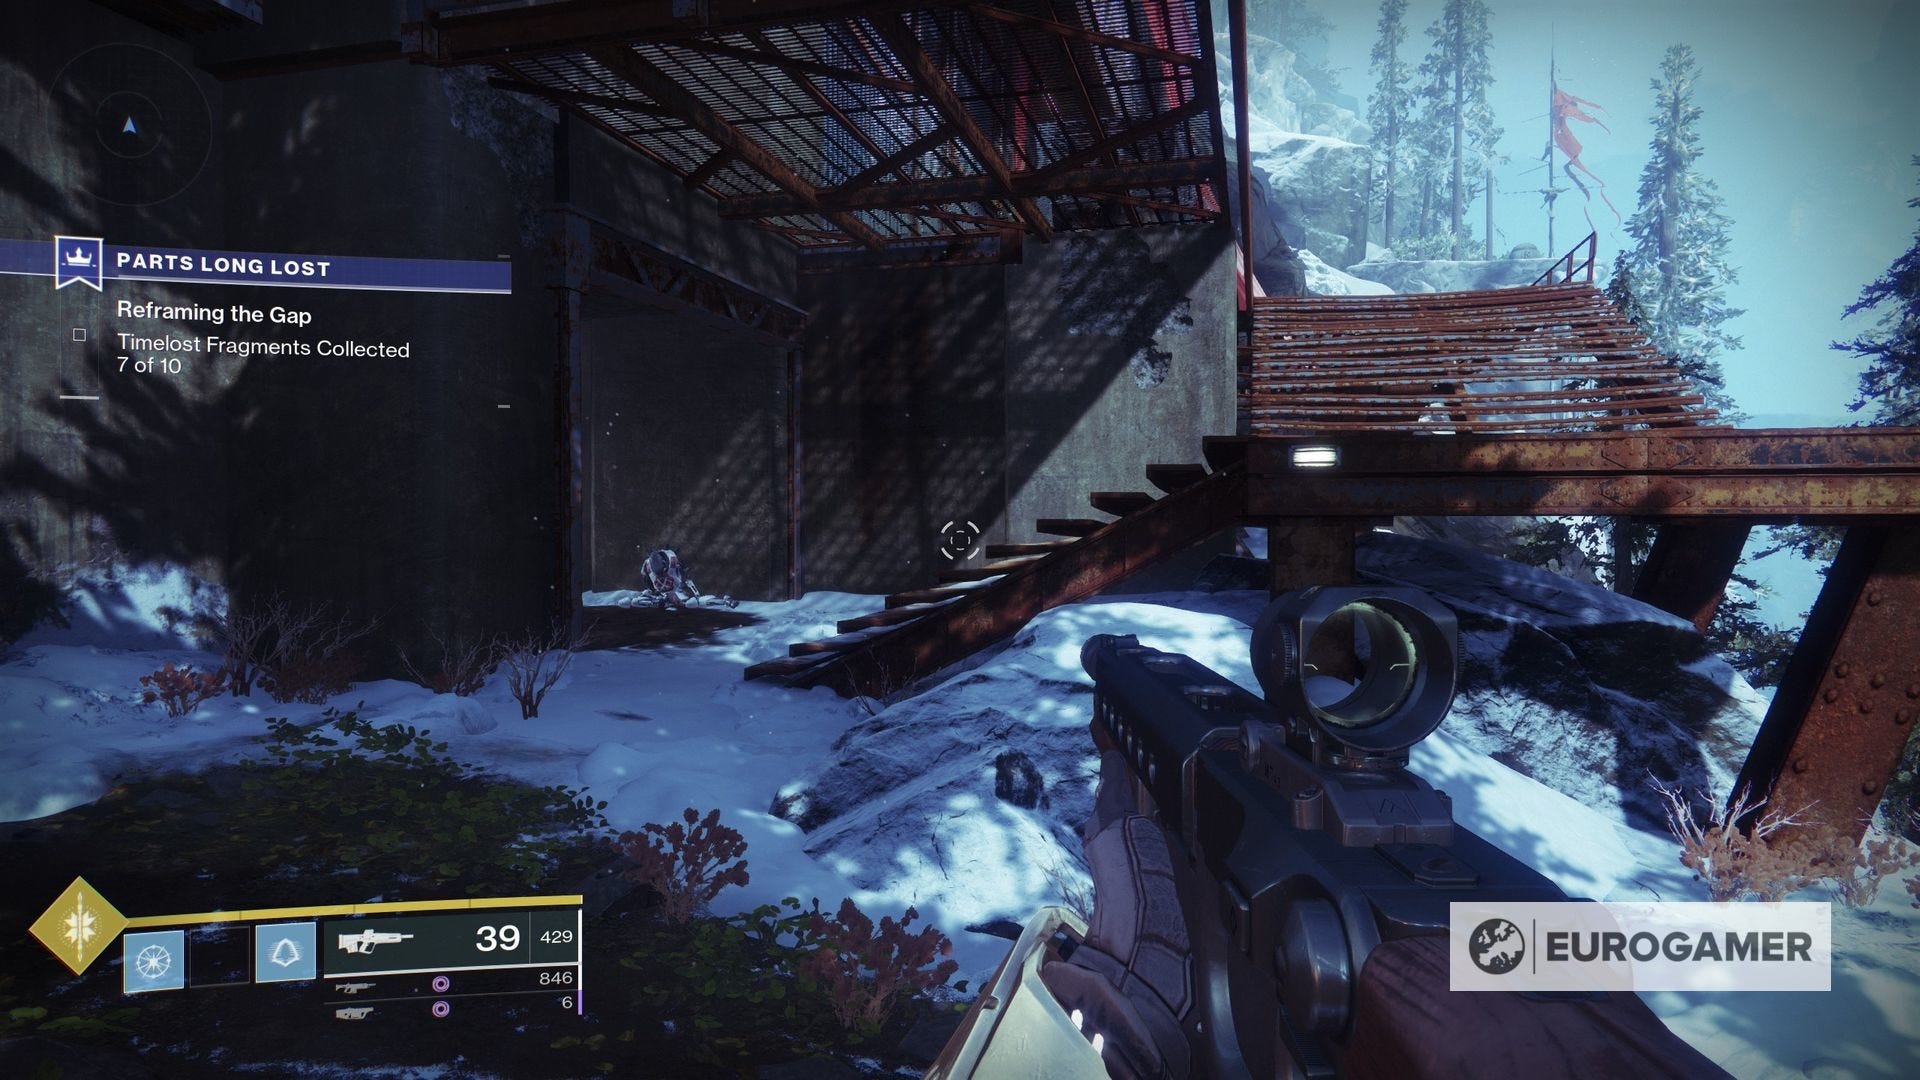
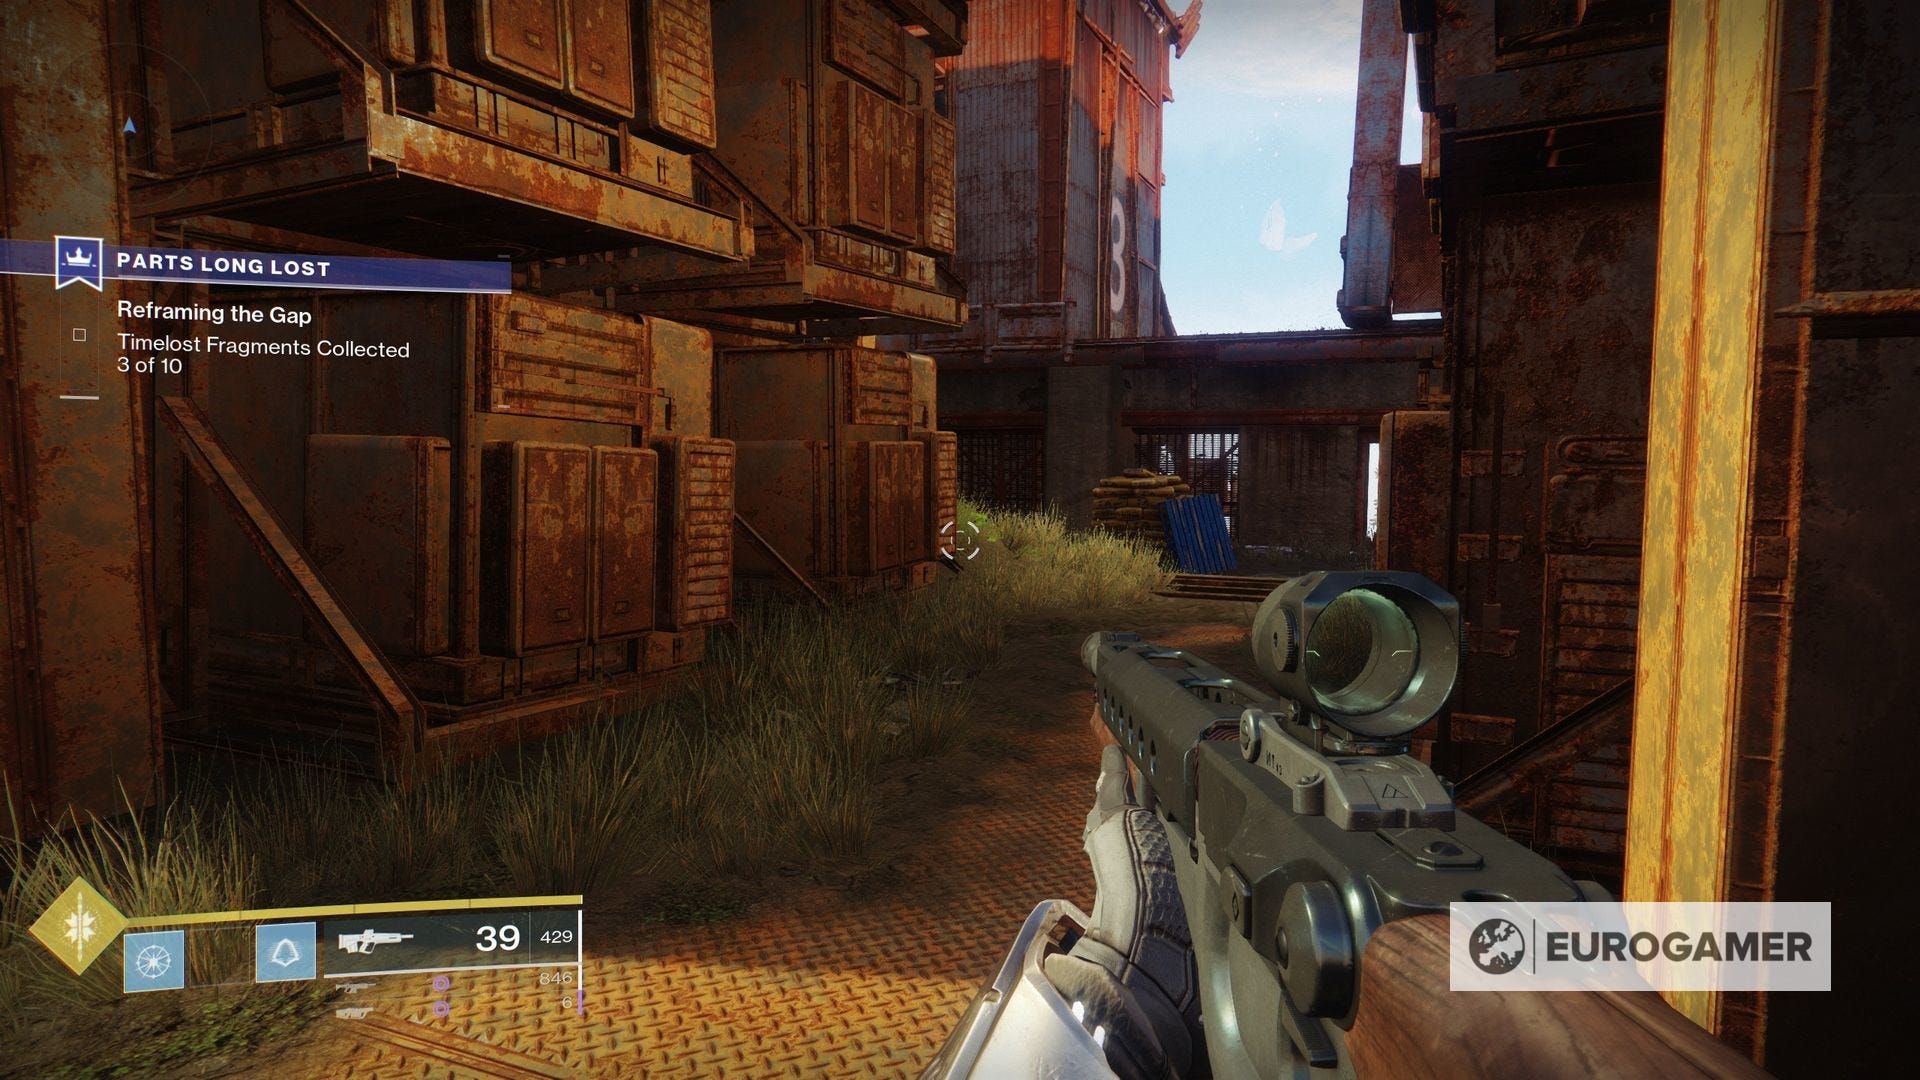
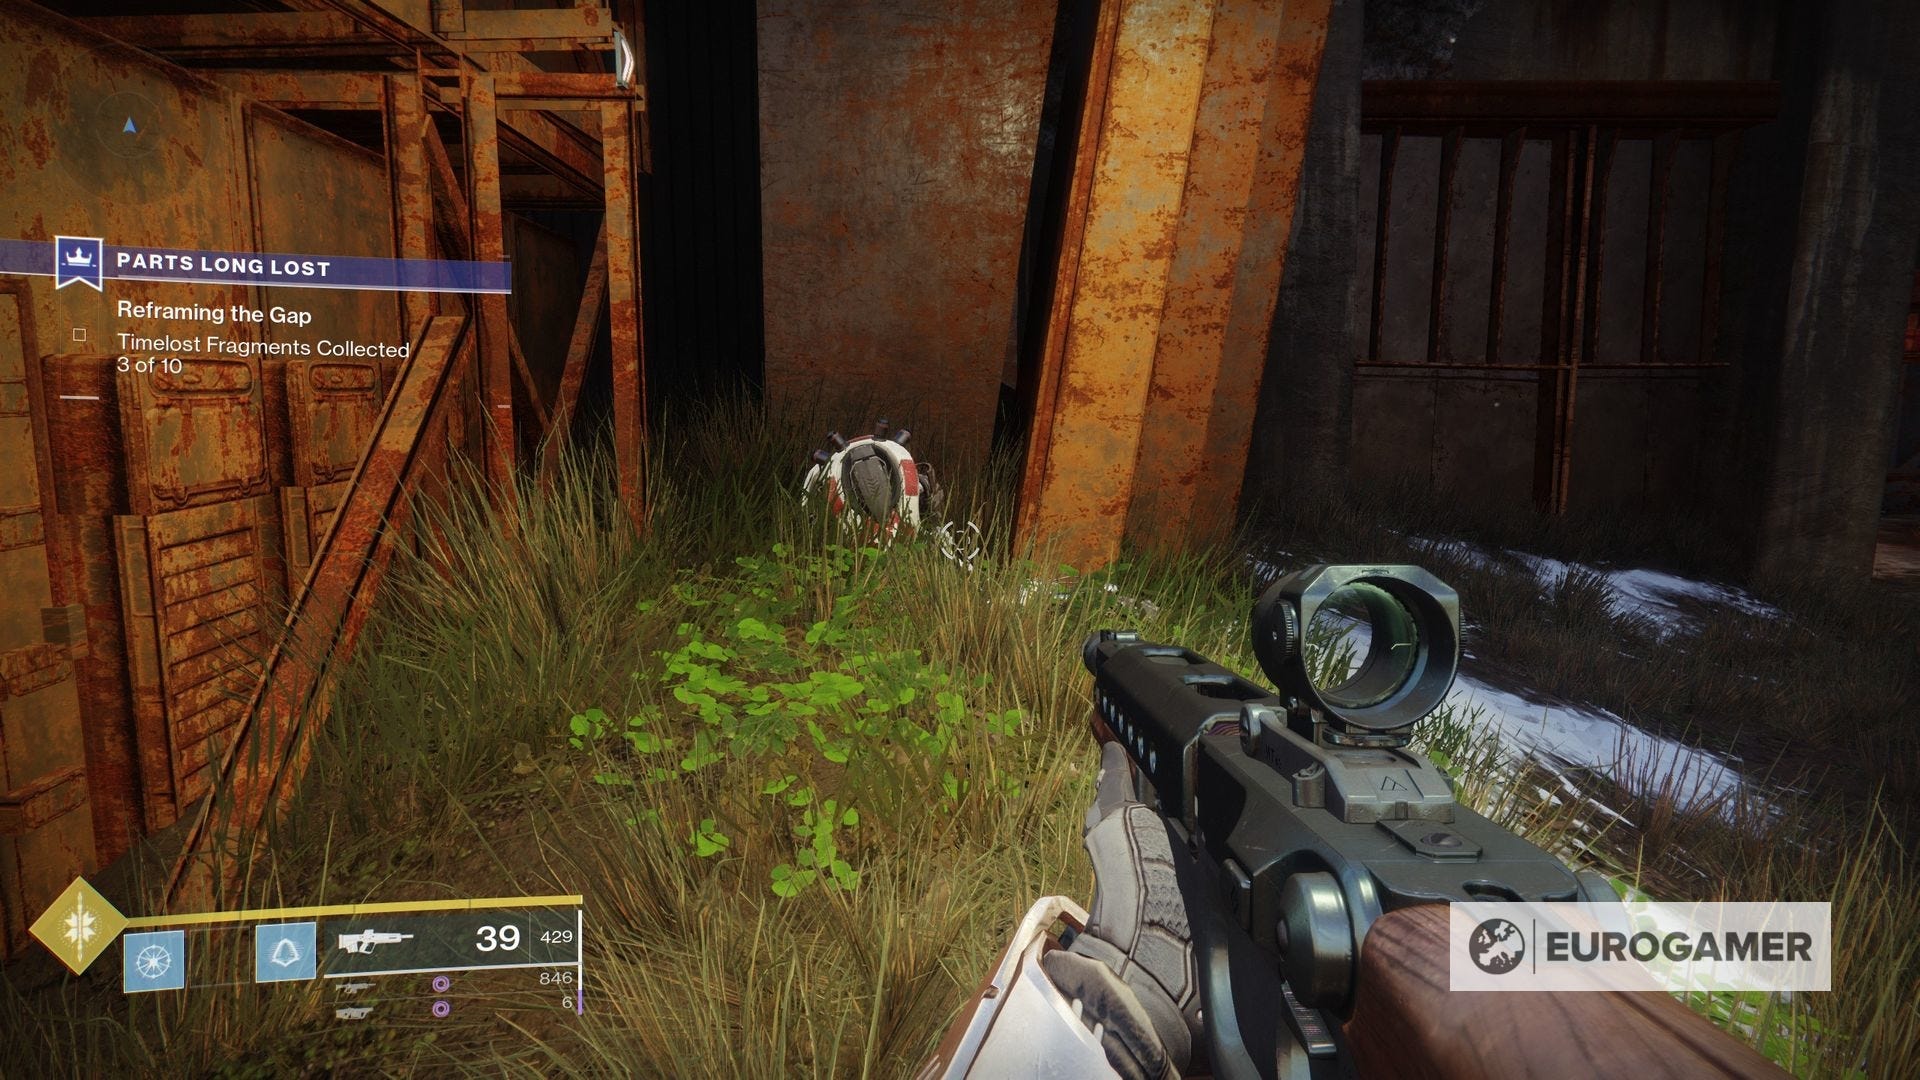
6. From this outside '3' hanger, head back towards the centre map but on the upper floor. On the outside, you'll find a part inside a shipping container.
7. Head towards the centre of the map on the upper floor, where all the areas converge. There is a part against the centre block.
8. From here, you can drop down to the lower ground, where at the centre of the map is an underground room where all other hangers and areas lead to. There is a part to be found here.

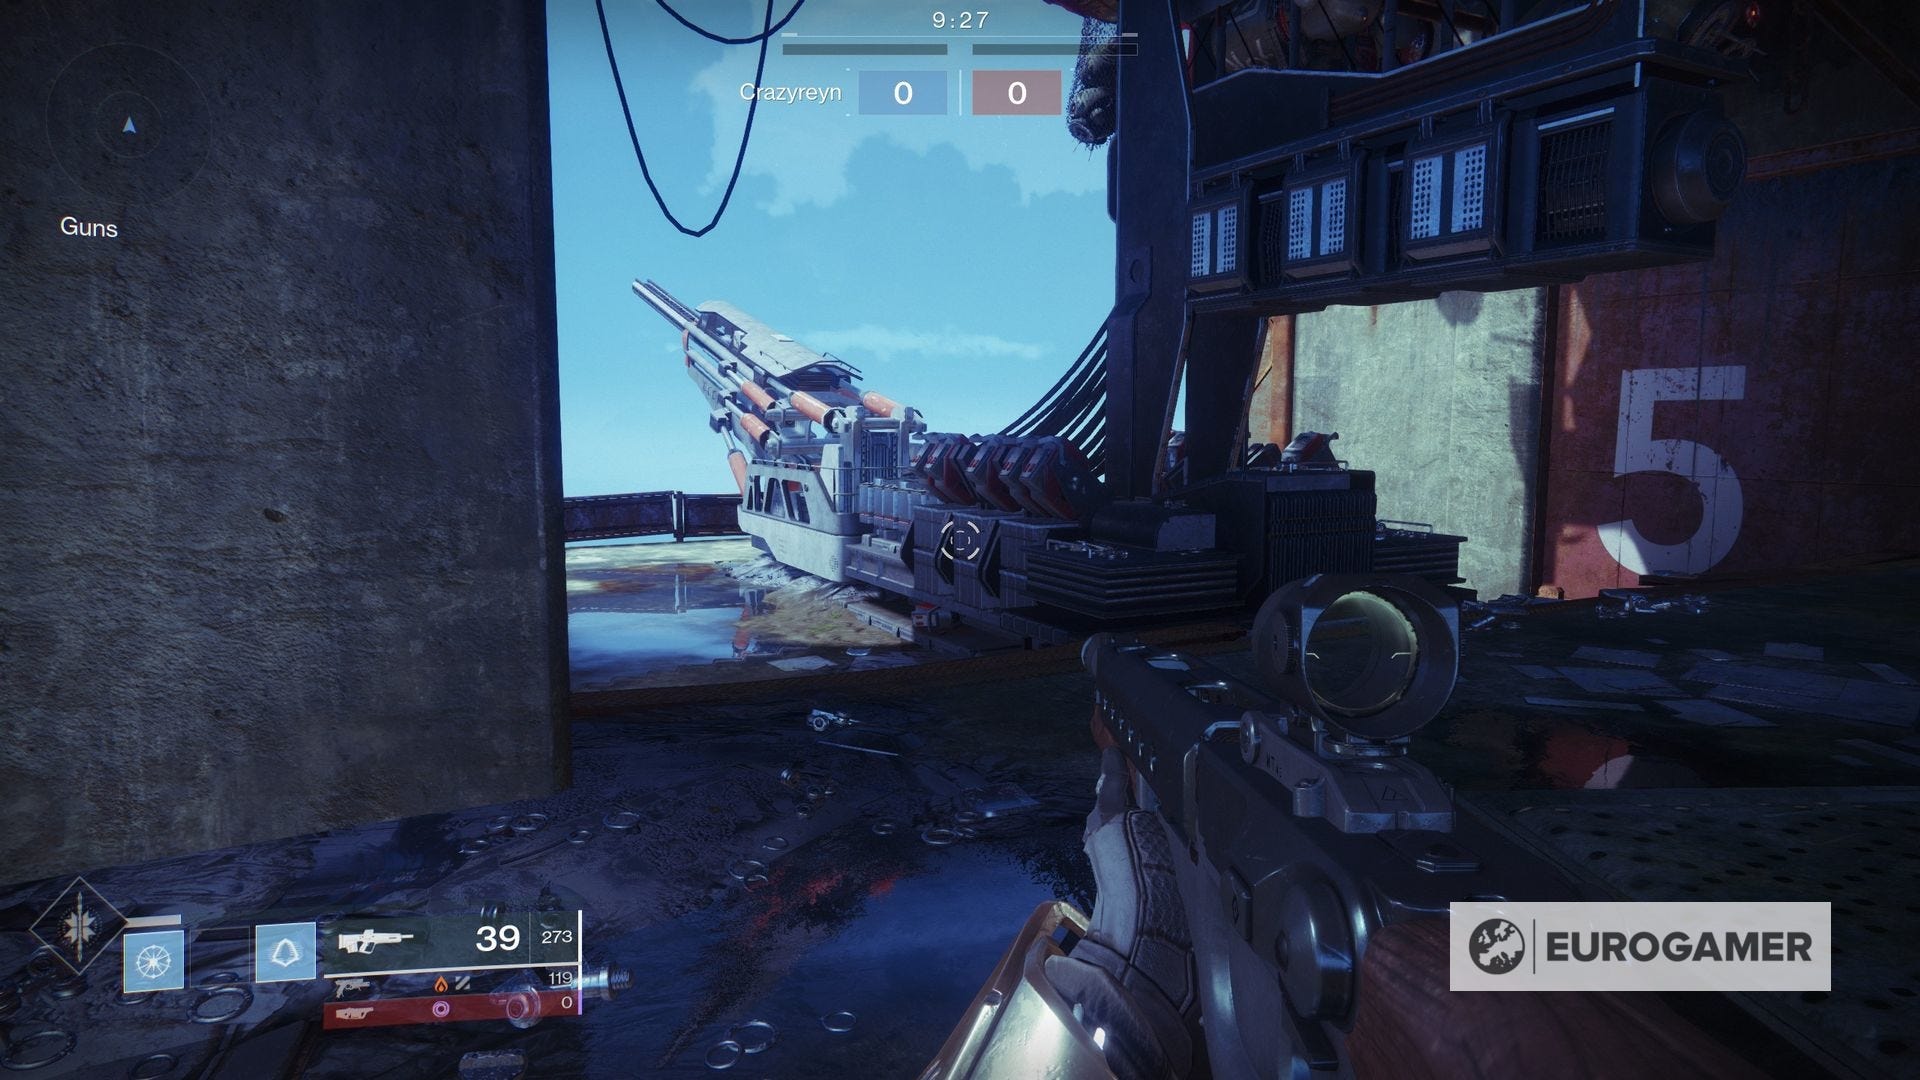
9. From the centre, if you look 'left', you'll see hanger '5', where there is an artillery battery at the edge. Look underneath at the end for a part.
10. From this artillery battery, stay on the ground floor and head further along the map to some red-tinted room in the corner. There is a part in the corner area.
With all these found, you'll receive the Devil's Ruin.
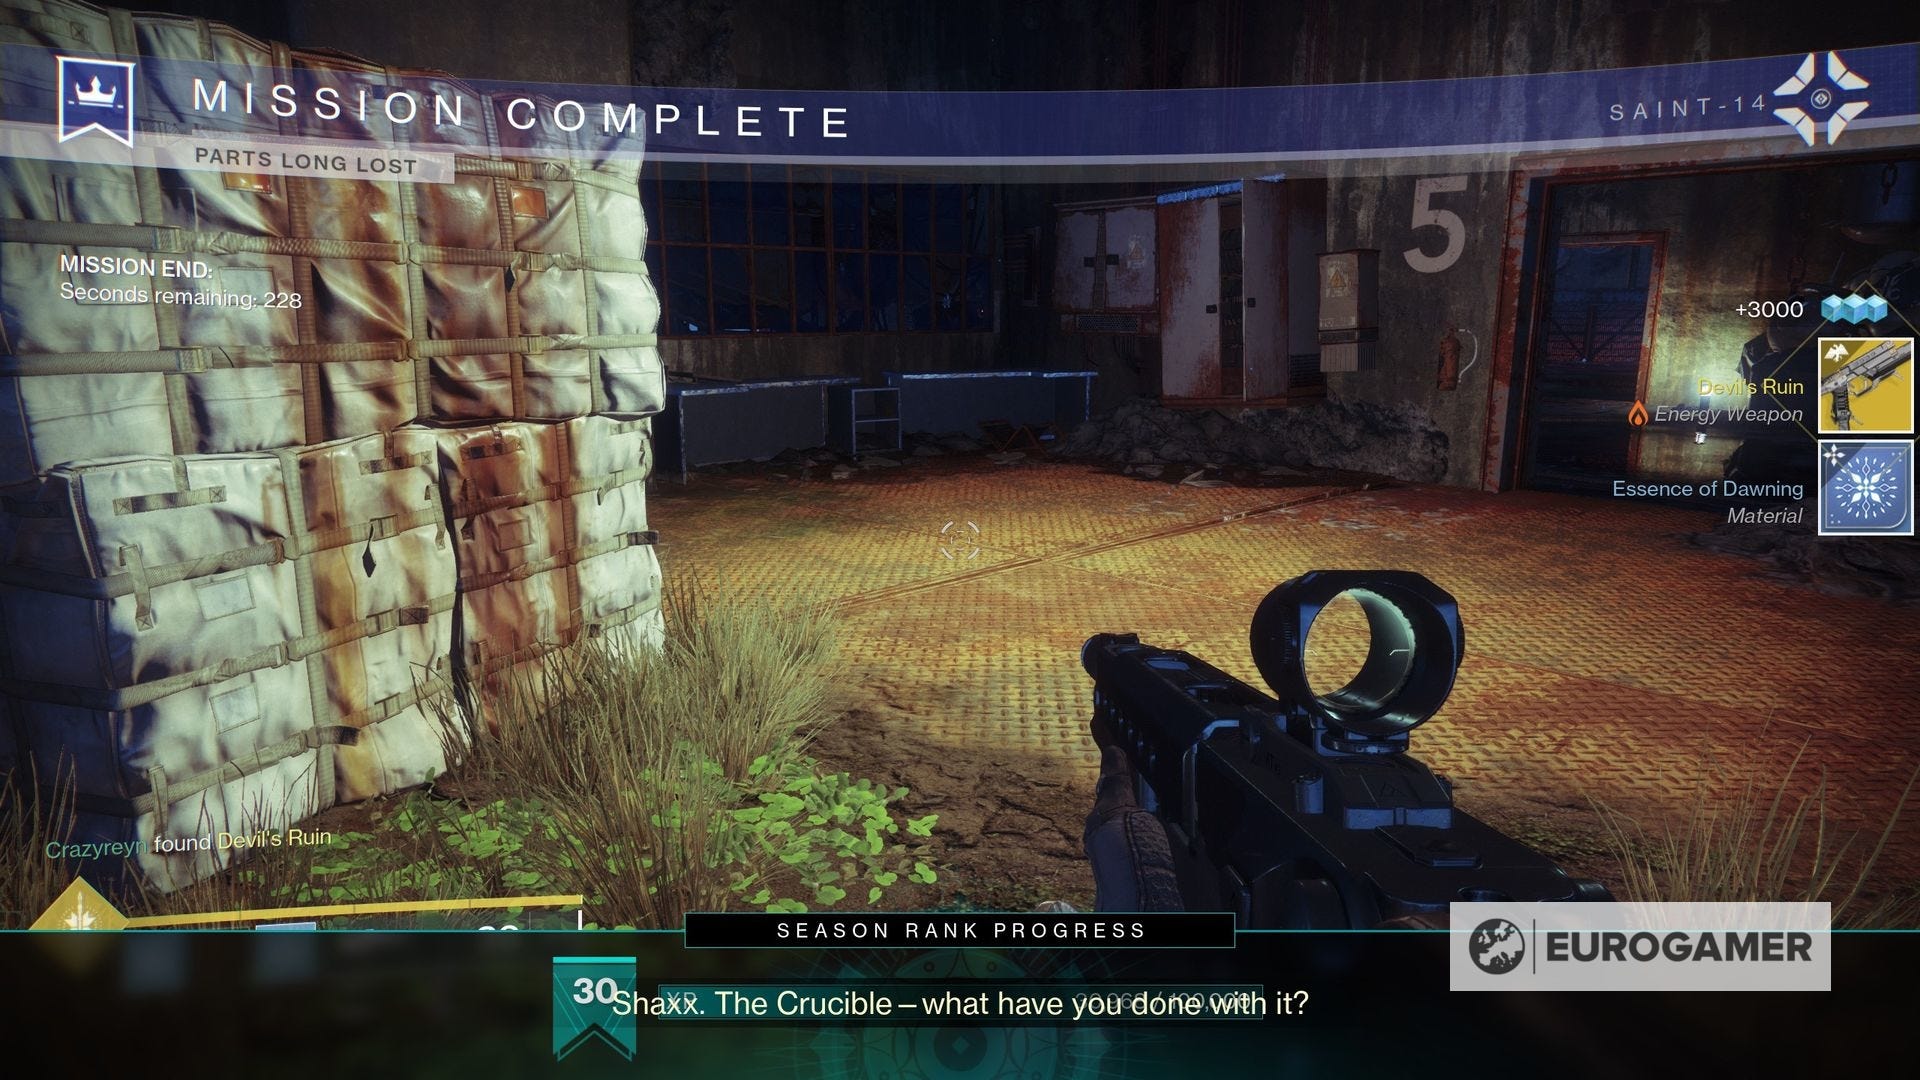
You can now stay in the map to hear a conversation play out between Saint 14, Osiris and Shaxx - or you can leave if you wish.
We recommend staying - it only takes a few minutes and is very entertaining! It also gives you a chance to play around with your newly earned exotic without any interruptions.
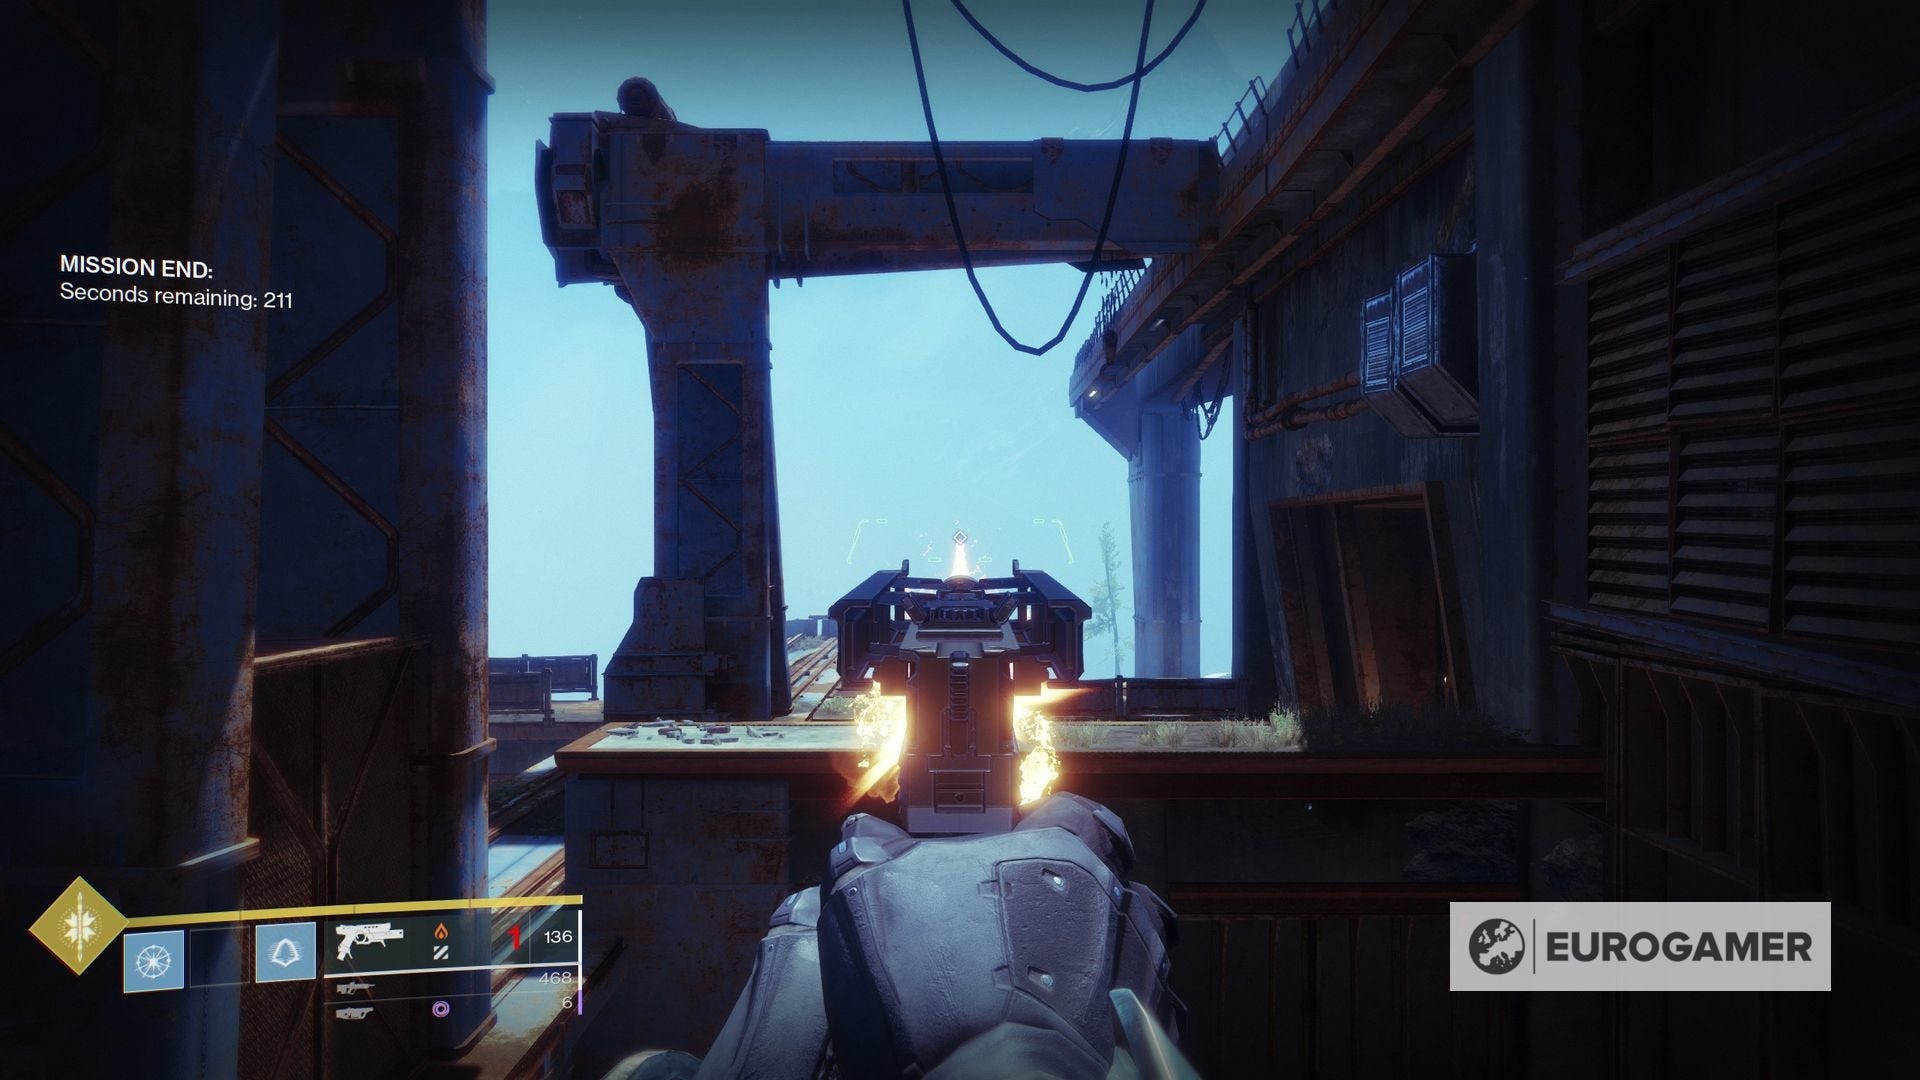
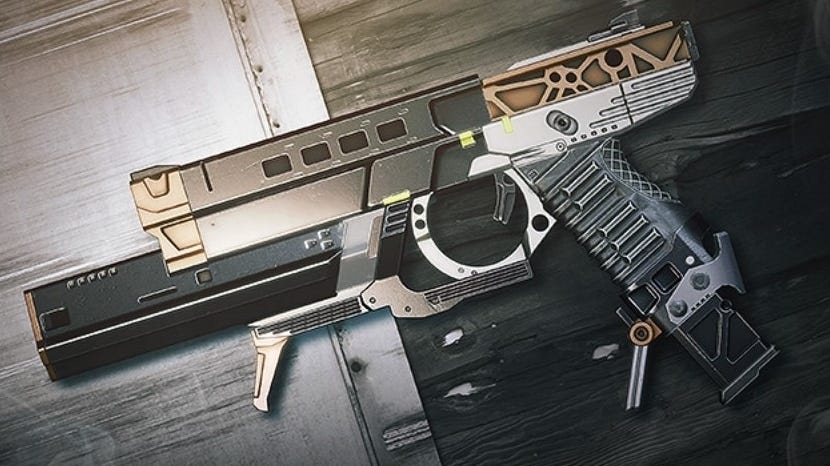
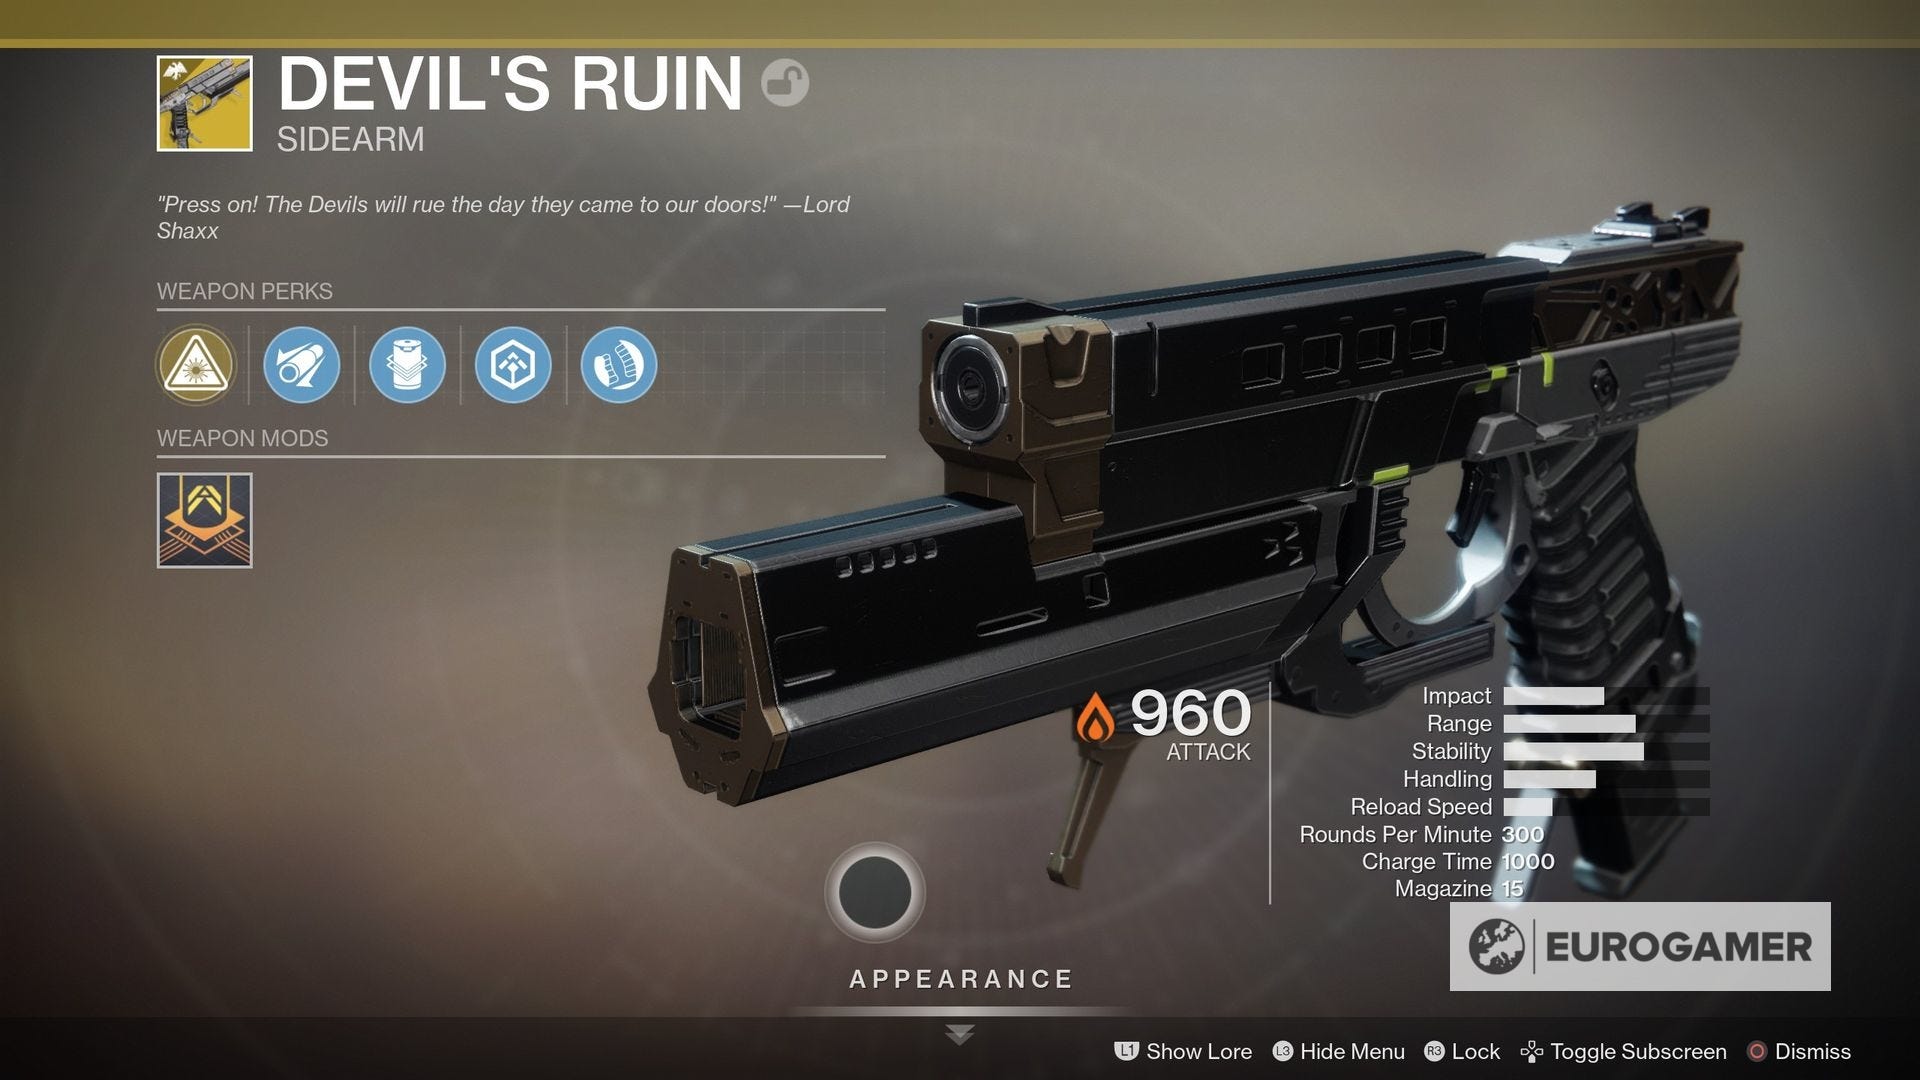
Devil's Ruin is a sidearm with an interesting feature - a laser that shoots out if you hold down the fire button. This will consume all of your ammo, and will automatically reload once dispersed. Even if you don't have full ammo, your stocks will refill just as you fire the laser, so you'll always shoot at full power.
Have fun!