Final Fantasy 7 Rebirth Dyne boss strategy
Gunners' spirit.
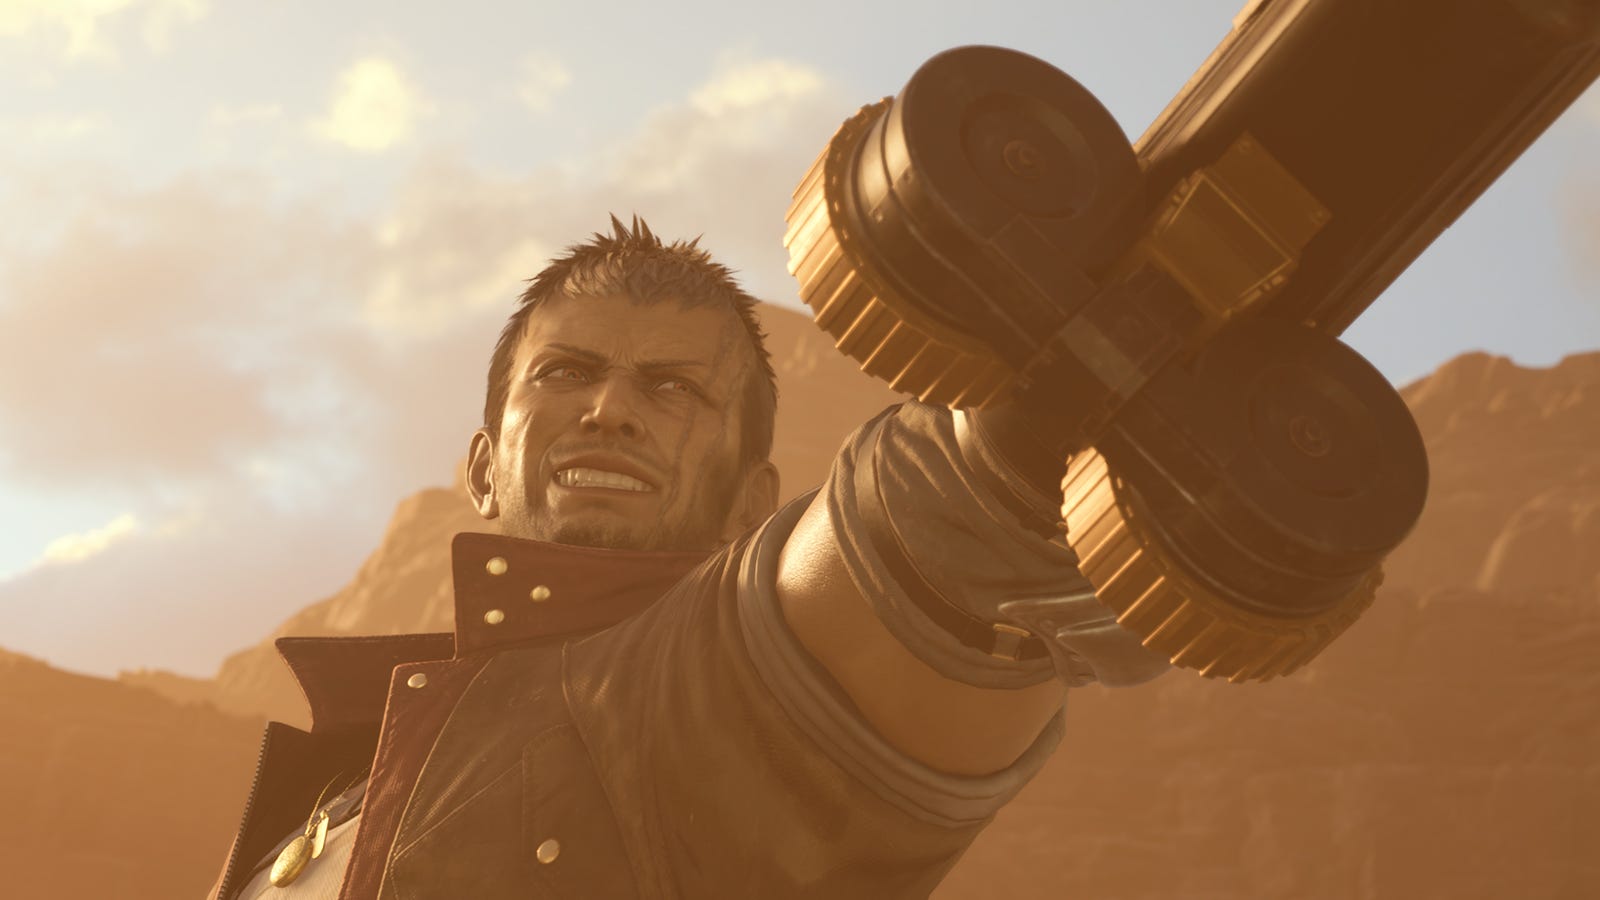

Dyne was Barrett's best friend, whose tragic pasts in North Corel you will have learned about over the course of Chapters 7 and 8 of Final Fantasy 7 Rebirth. Having tracked him all the way out in the scrapyard prison cell far out in Corel's desert, there's no happy reunion as this is a boss fight that occurs towards the end of Chapter 8. And just like the original game, it's a showdown that Barrett fights alone.
That makes the fight against Dyne more emotionally charged as two best friends fight to the death. It's one of few one-on-one fights in Final Fantasy 7 Rebirth but, as both combatants have a gun for an arm, the way this fight plays out is also quite different.
This guide will provide you with all the information you need to face Dyne and put Barrett's past behind him.
On this page:
How to prepare for Dyne in Final Fantasy 7 Rebirth
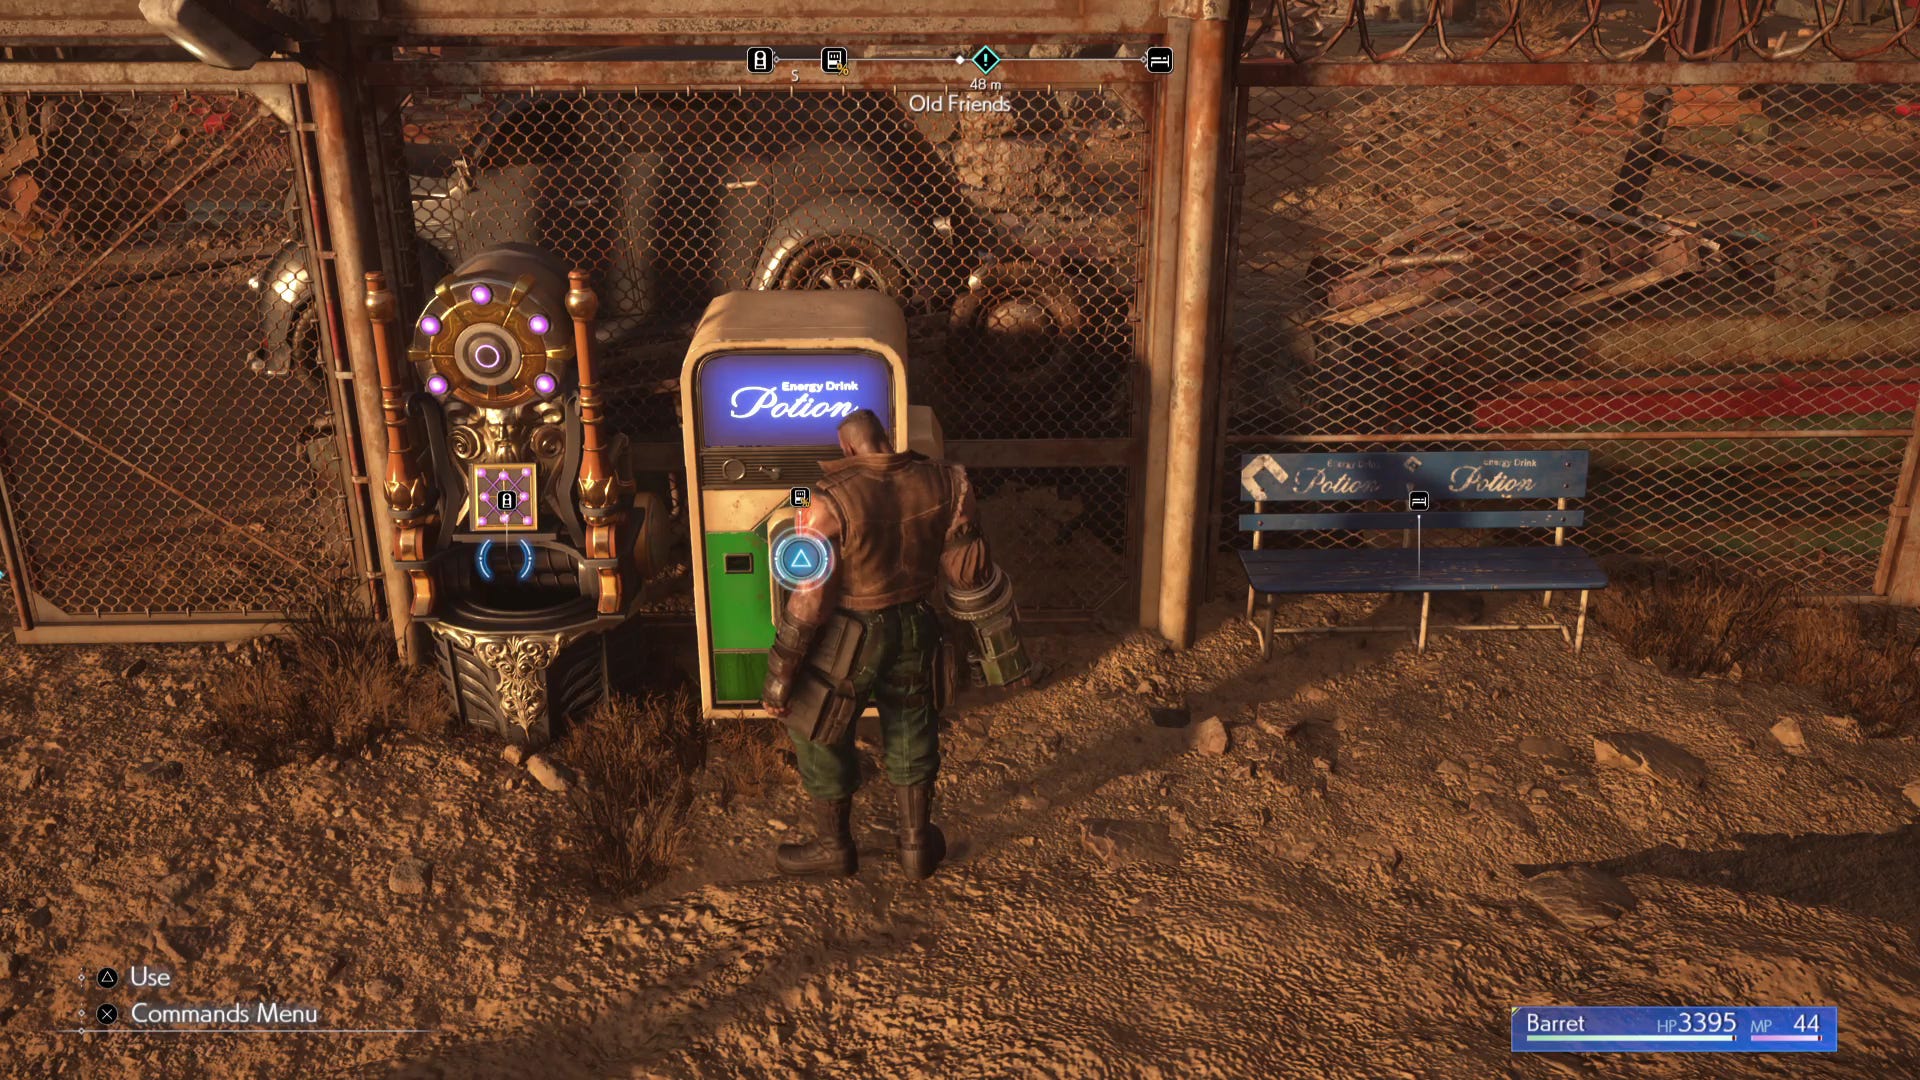
Barrett will be the party leader and the sole party member for the fight against Dyne. There's not too much preparation involved for this fight, provided you've been equipping Barrett with the equipment. Like other boss encounters, there's a rest area where you have the chance to stock up on items and equipment or spend SP on your folios. The vending machine only stocks Hi-Potions though at this point in the game you will have hopefully accrued plenty of Mega Potions, which are going to be much more effective for healing. Alternatively, equip Item Master Materia to make Hi-Potions more effective. With Item Economizer Materia, you'll also be able to occasionally use potions without having to waste an ATB bar.
As a one-on-one fight, Barrett's synergy skills won't be of use but early abilities like Steelskin and Maximum Fury will come in handy here. If you haven't already, upgrade his folio skill tree to increase HP, defence and attack.
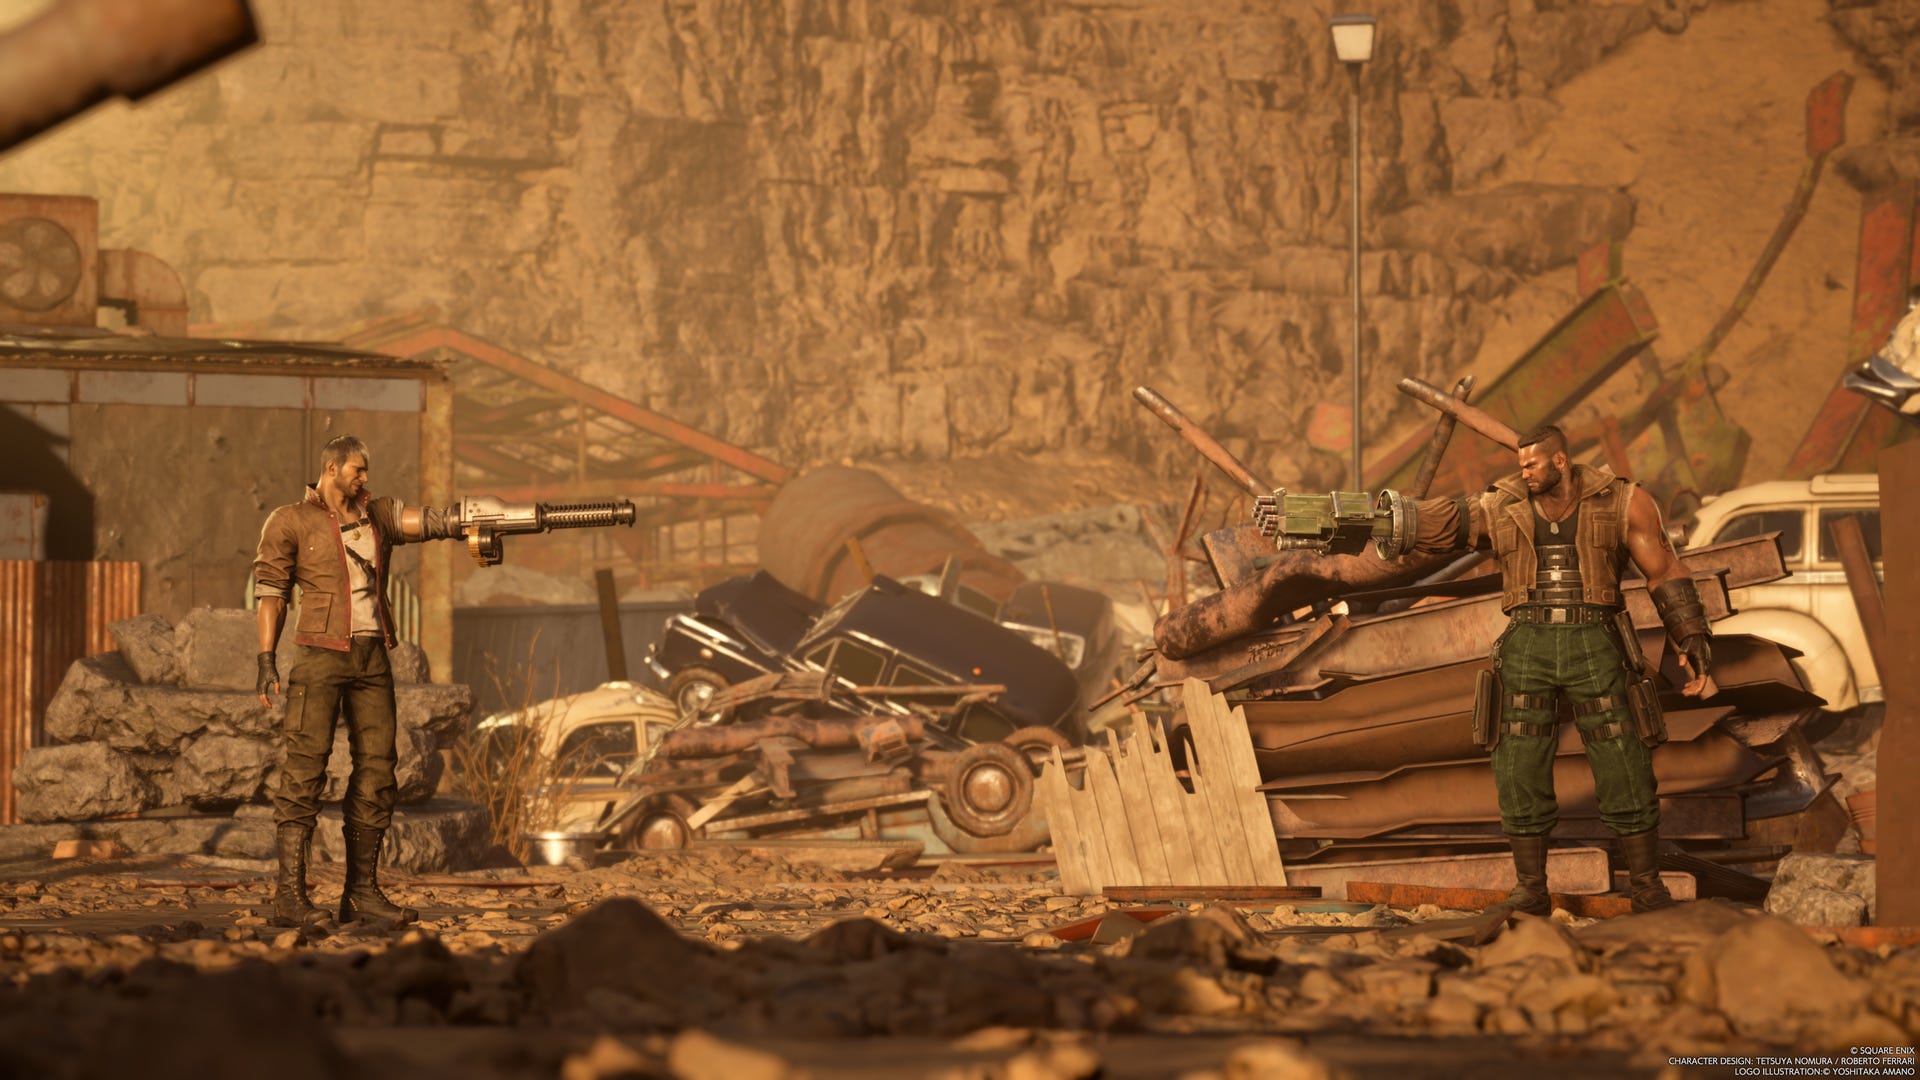
There isn't a chance to grind at this point in the story but if you were already at the recommended level at Chapter 7 then you should be fine. Once you're ready, have Barrett go through the fence into what will be the boss arena, and then make your way to the container on the other side to find Dyne and a lengthy cutscene will play out, eventually culminating in the two facing each other in the arena gun arms at the ready.
How to defeat Dyne in Final Fantasy 7 Rebirth
The first thing you'll notice about this fight is that while it's in a typical boss arena, there's quite a lot of cover available, and as both characters have guns attached to their arm, this is almost a bit like a third person cover shooter.
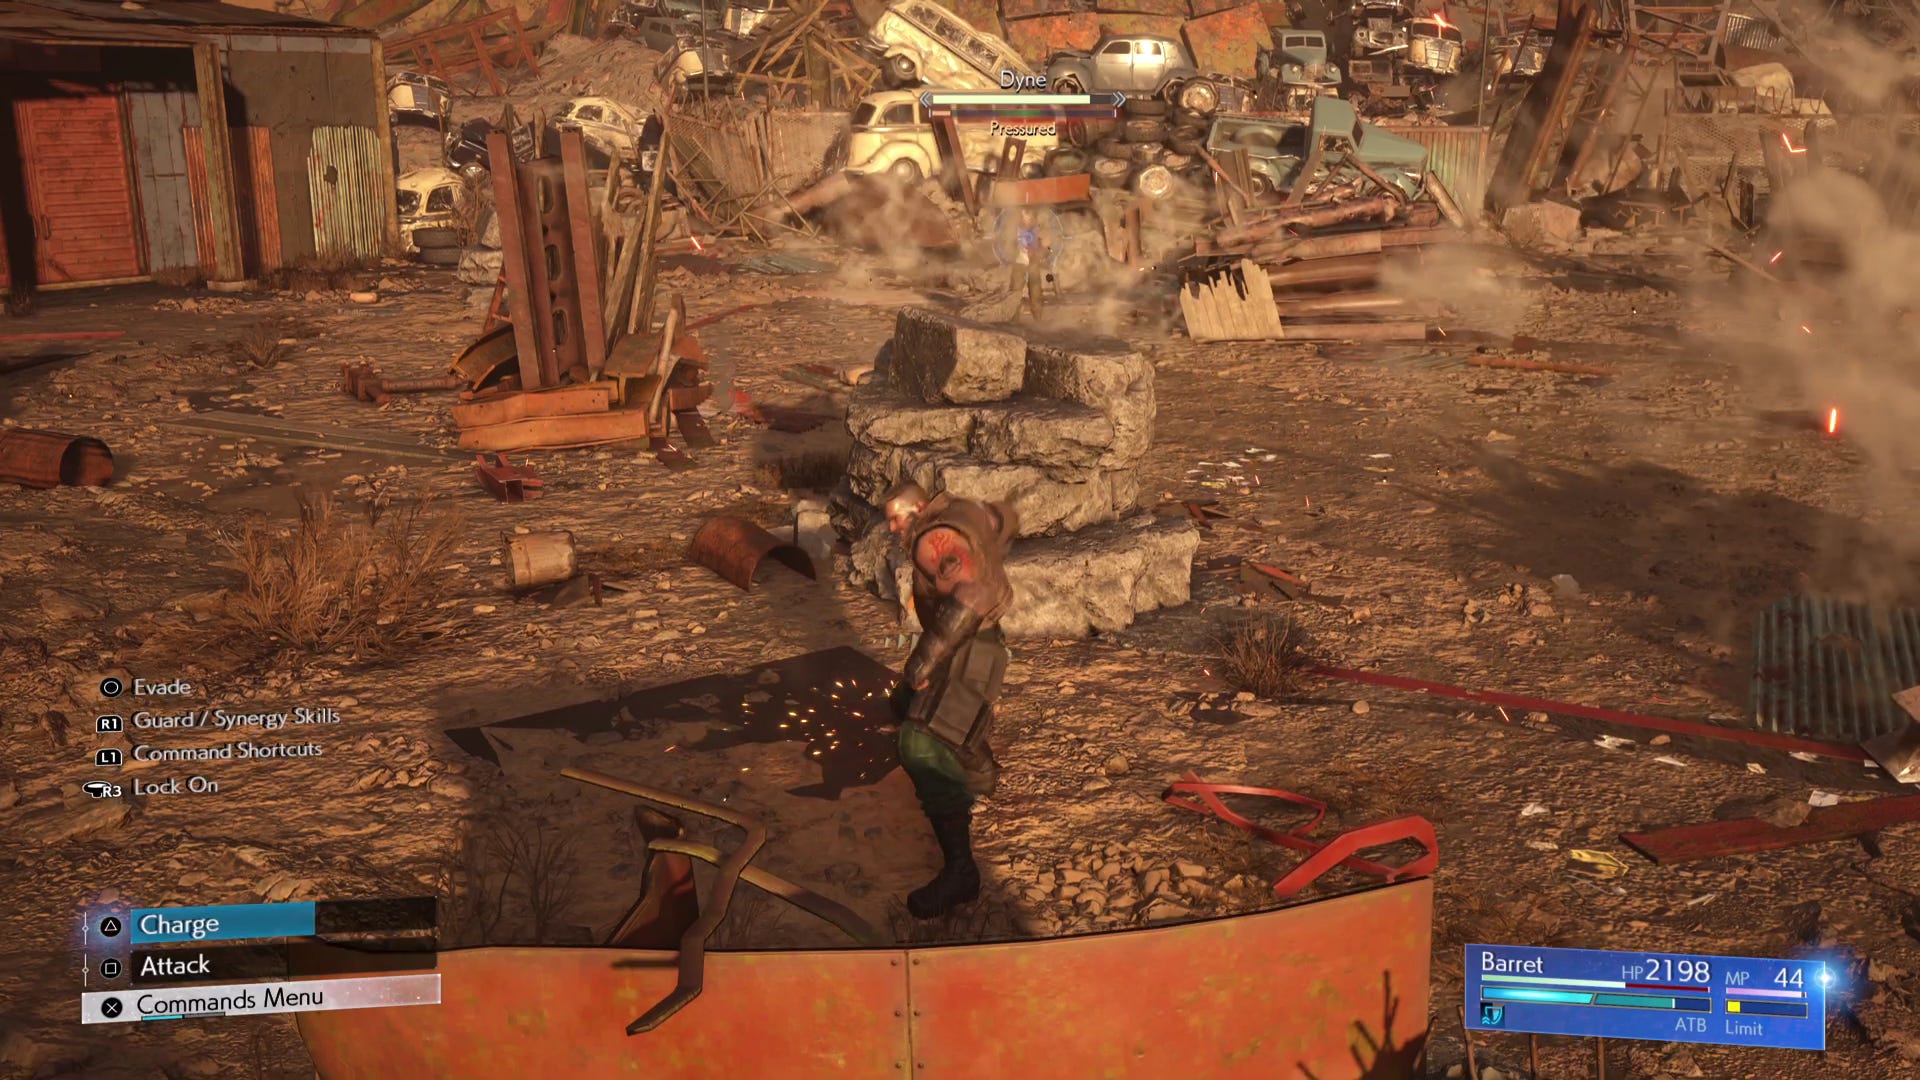
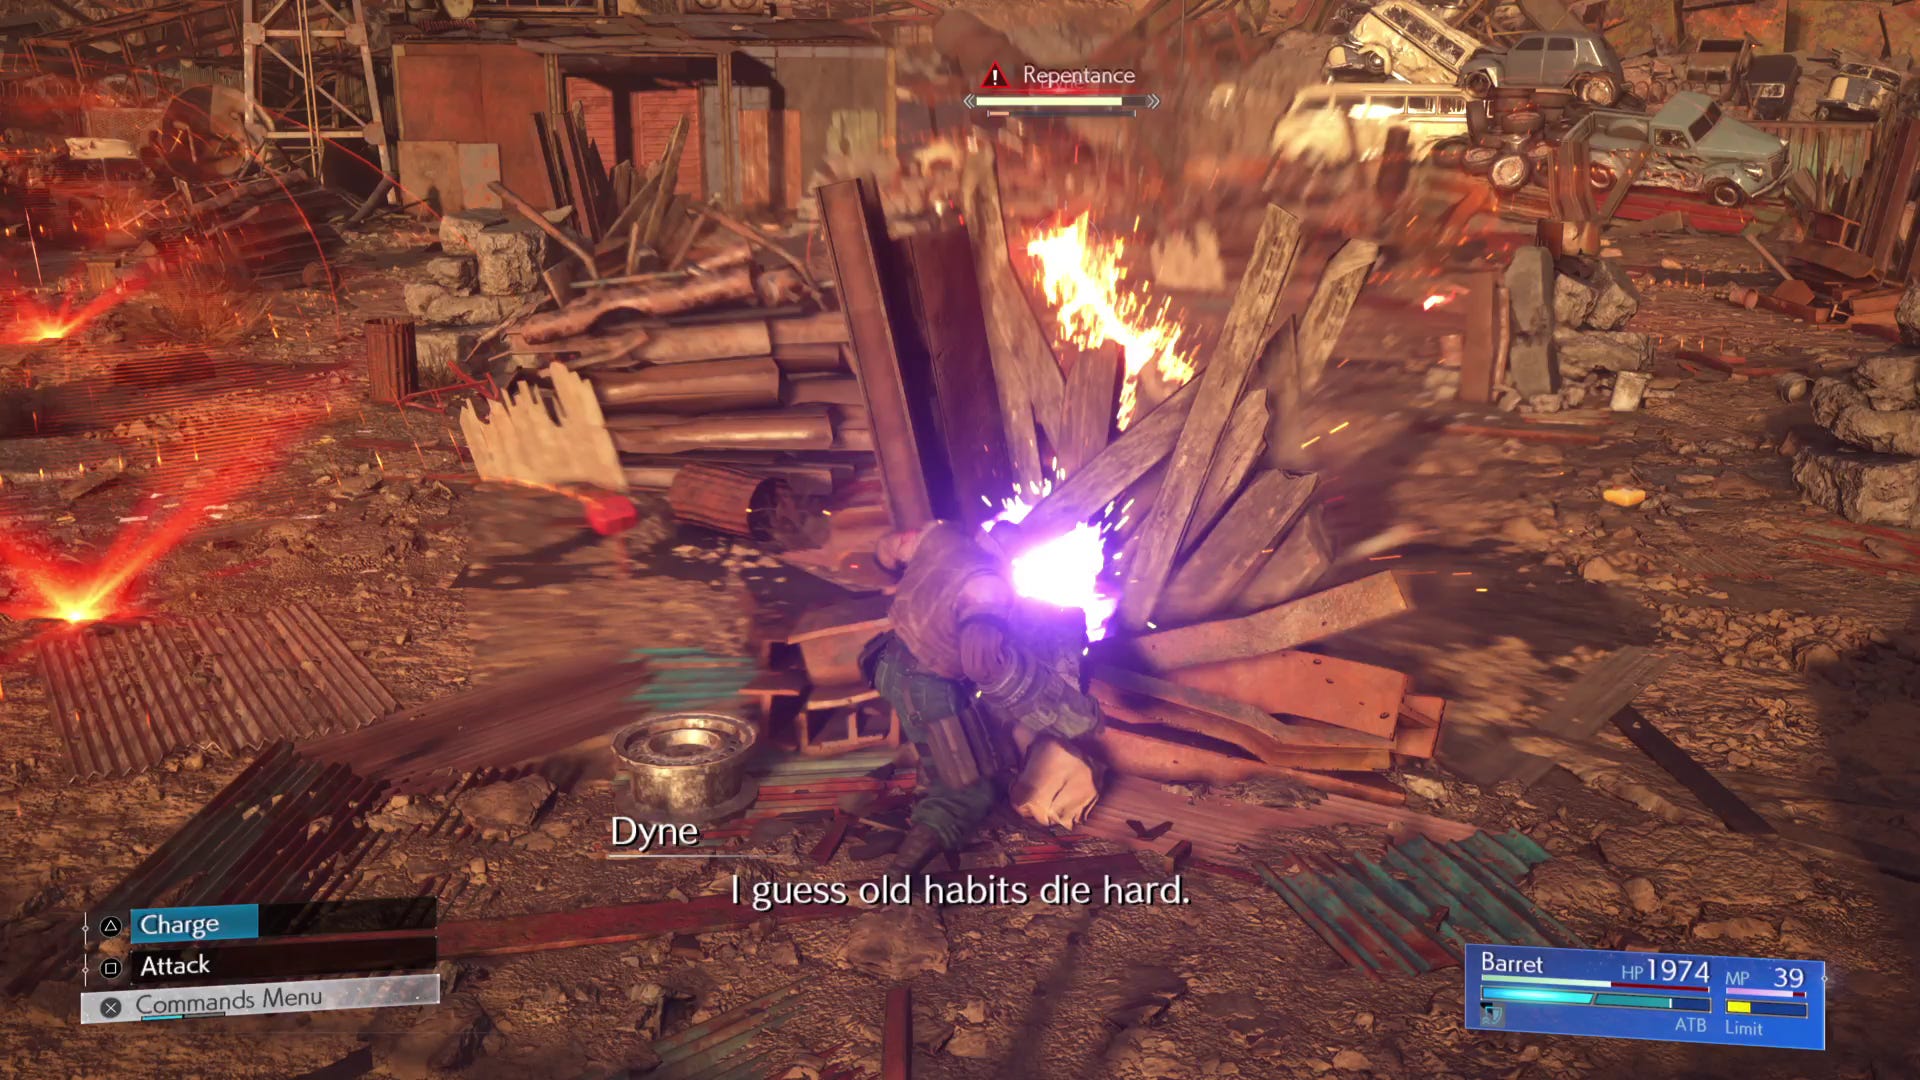
So as soon as you have control of Barrett, roll out of the way and get to cover as Dyne will immediately start opening fire. When he's fired all his rounds, that's your window to step out to take some shots of your own at him so that you can fill up your ATB. Use Steelskin the first chance you get.
Dyne won't just wait for you to come out of cover though. He's got a number of abilities up his sleeve. Paralyzing Shot has him shooting streams of electricity along the ground through cover and if you don't get out of the way you'll get paralysed, leaving you open to more damage. He can fire Firebombs, basically a blast grenade that explodes on impact but you'll be protected from it by cover. There's also Point Blank, where he charges in for a devastating attack, so you need to get out of the way when that prompt comes up.
When it comes to attack, save your strongest abilities for just after he's used one of his unique abilities and you'll be able to pressure him, adding to his stagger gauge. In other words, be patient before and focus on charging up both ATB bars so you can get the most out of Maximum Fury. You can also charge up Overcharge while you're in cover, so having both of these in reserve once you have an opening will be optimal.
This is, however, just the start. When you've taken about 15% of Dyne's HP, he'll move onto his next phase and start firing Blast Mines around the arena. These have a visible dome-shaped AOE and so you'll have to avoid running into their proximity so they don't set off. On top of this, he has a new attack called Repentance that's like a rail gun blast that actually blows away cover, and you'll also receive some damage if you're standing too close to it. So you've got limited space to move safely around and you're going to gradually have less cover.
Even with all these new annoyances, you want to focus on charging up ATBs and Overcharge and wait for your opening to use them to pressure him. Also remember to use Steelskin to get your defence back up again. As you'll be moving around the arena a lot, also consider locking on to Dyne, even though he's just one target.
With about a third of his HP down, Dyne's next phase will pretty much render any remaining cover obsolete. Going full Magneto, his gun arm attracts all manner of scrap nearby, transforming it into a huge scrap arm with long reach and heavy hits.
Fortunately, the scrap arm isn't permanent. It does however grant him a new move called Heedless Swing, where he swings it with a very wide-reaching arc both left and right before the scrap arm collapses. Paralyzing Wave meanwhile is like an upgraded version of Paralyzing Shot except the lines of electricity shoot out like a spiral wave, which again you'll want to make sure you're clear of. He'll also grab more scrap for Executioner, similar to scrap arm except he'll leap into the air and bring it crashing down, so you'll have to dodge it. Then there's Annihilation Beam, where he fires a whole flurry of beam based projectiles in your direction but can be dodged by rolling to the side.
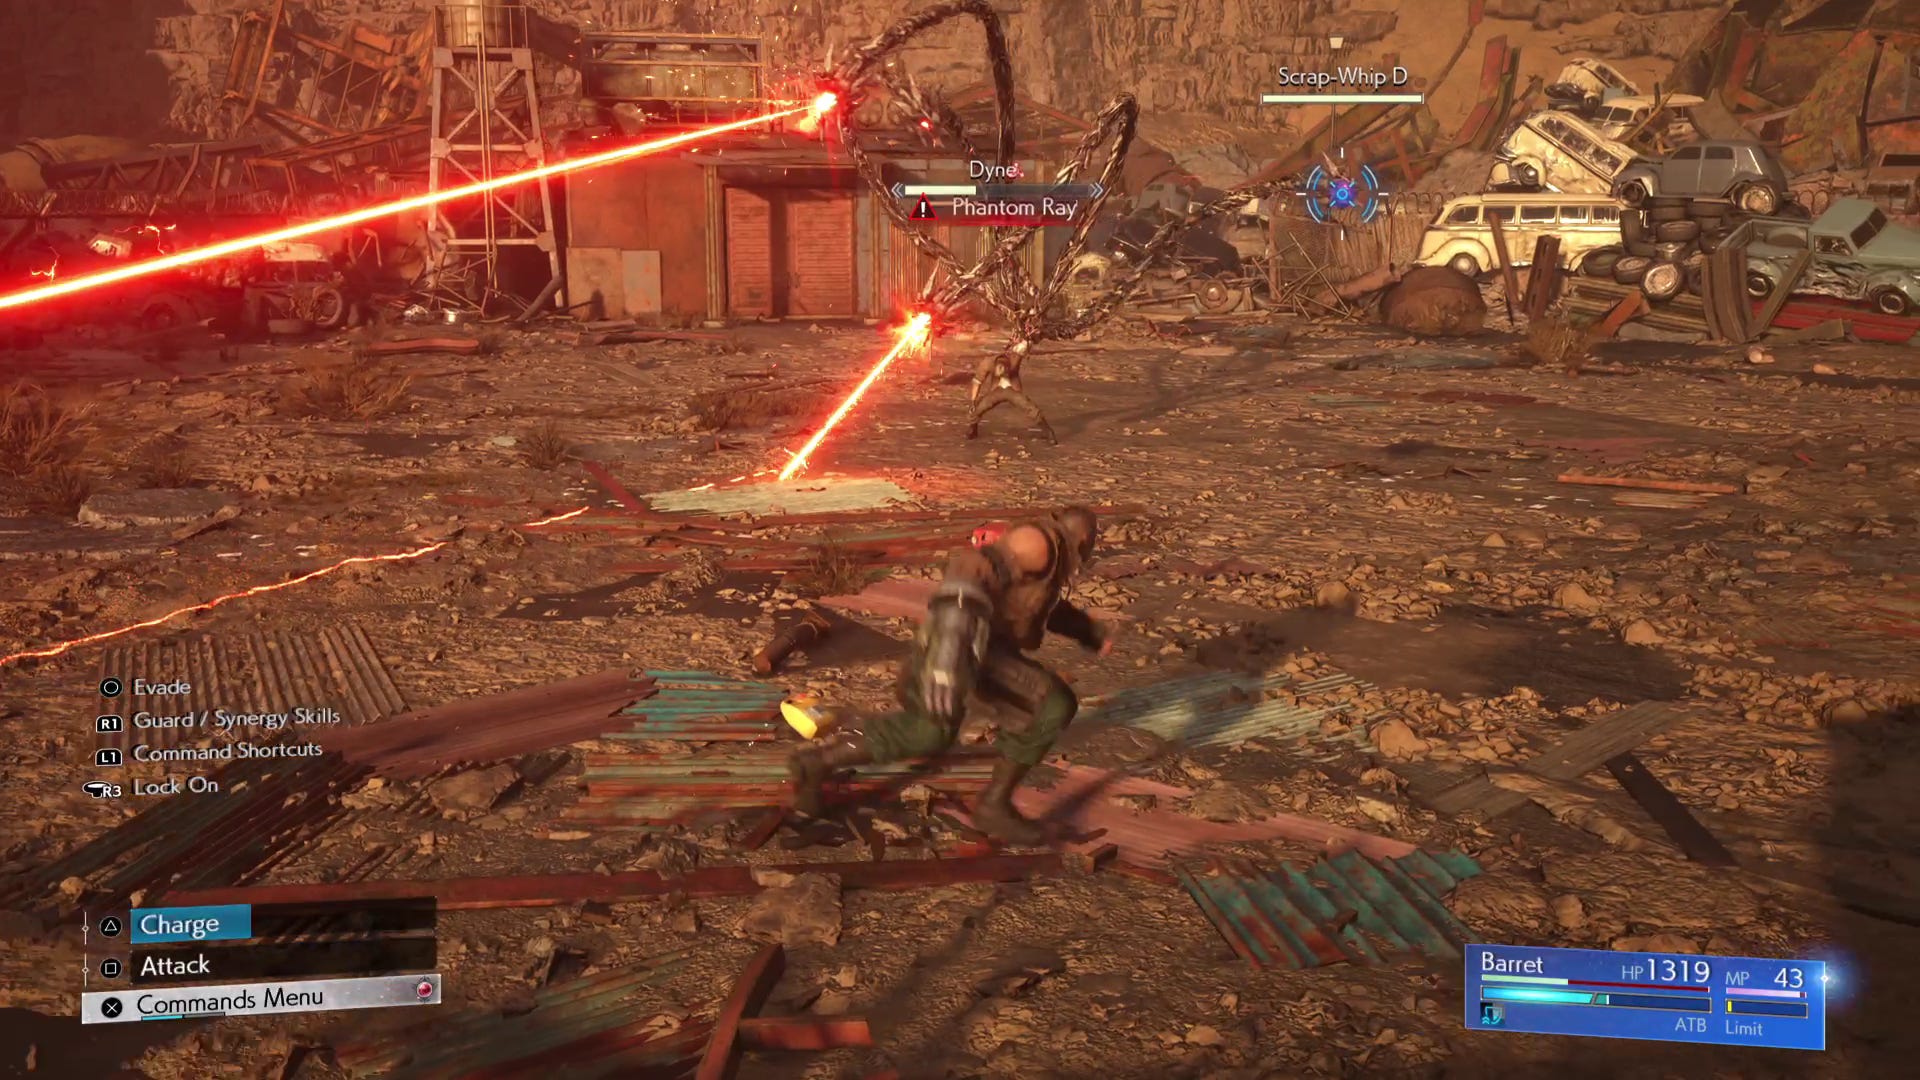
Another move Dyne has is Hidden Barb, where he creates worm-like Scrap-Whips into the ground and they'll shoot out from the ground beneath you. They also appear in his other ability Phantom Ray, as they shoot from behind his back a bit like Doctor Octopus, each head firing out lasers randomly at your direction. Another variant is Dying Rage where they will all focus their lasers on one target, but this one can be easily dodged.
These attacks will keep on coming in between all his other attacks, so one way to get them off your back is to target the Scrap-Whips. Maximum Fury is efficient at this since it's a long burst of fire and if you target one Scrap-Whip once one's destroyed you'll automatically target the next. Conversely, you can also save your firepower just focusing on whittling down your main foe's HP.
Without cover, this can be a very relentless fight of attrition where you're just slowly chipping away at Dyne's health while quaffing potions. But if you can seize the small windows to unload your firepower after he's finished his own unique attacks then you'll be able to get through this quicker. Also be sure to make use of Barrett's Fire in the Hole Limit Break when the opportunity arises, which will really help take down a decent chunk of his HP.
Dyne reward in Final Fantasy 7 Rebirth
Defeating Dyne will earn you 900 EXP and 10 AP, while you also gain 1,200 gil and 50 party EXP. Technically, he's not down yet as another lengthy cutscene plays out between the two former best friends, only to get tragically cut short by the arrival of Shinra troopers.
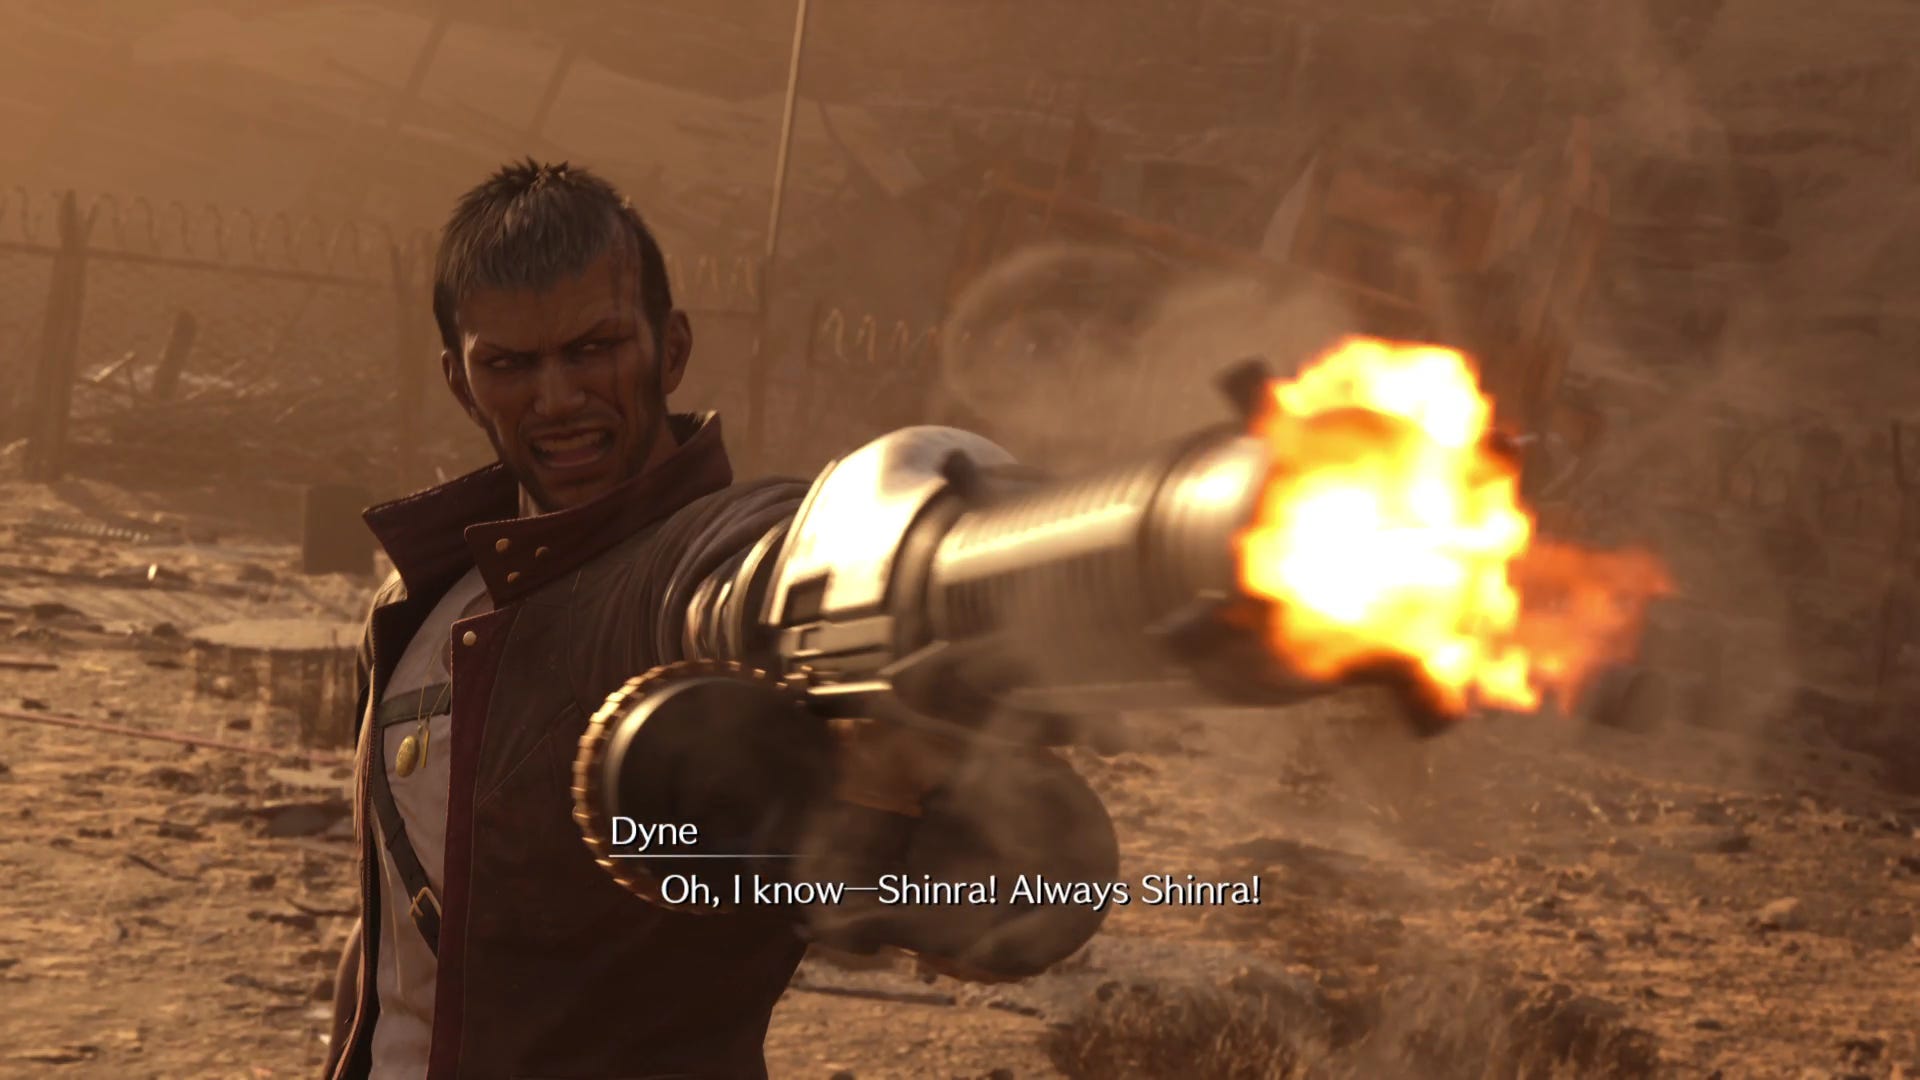
In fact more are on the way, and so while Barrett mourns the loss of an old friend, it's up to Cloud and the rest of the party to hold the line and defeat the next threat that will conclude Chapter 8 of Final Fantasy 7 Rebirth.