Destiny 2 Duality dungeon guide, walkthrough and secret chest locations
How to complete the Season of the Haunted dungeon.
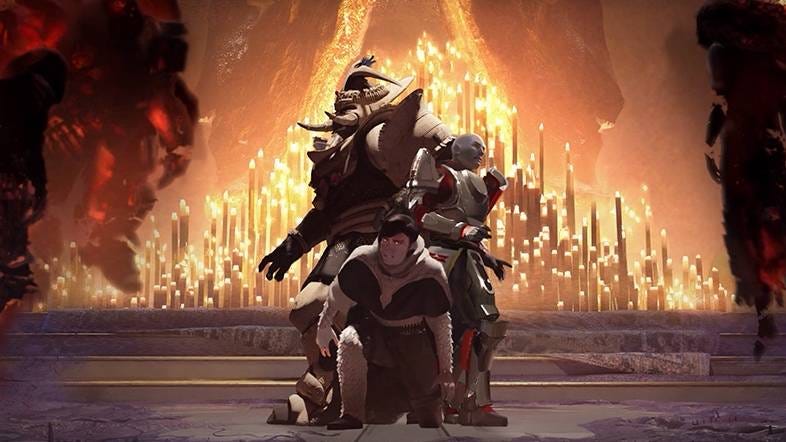

The Duality Dungeon in Destiny 2 was introduced alongside Year 5's Season of the Haunted in June 2022.
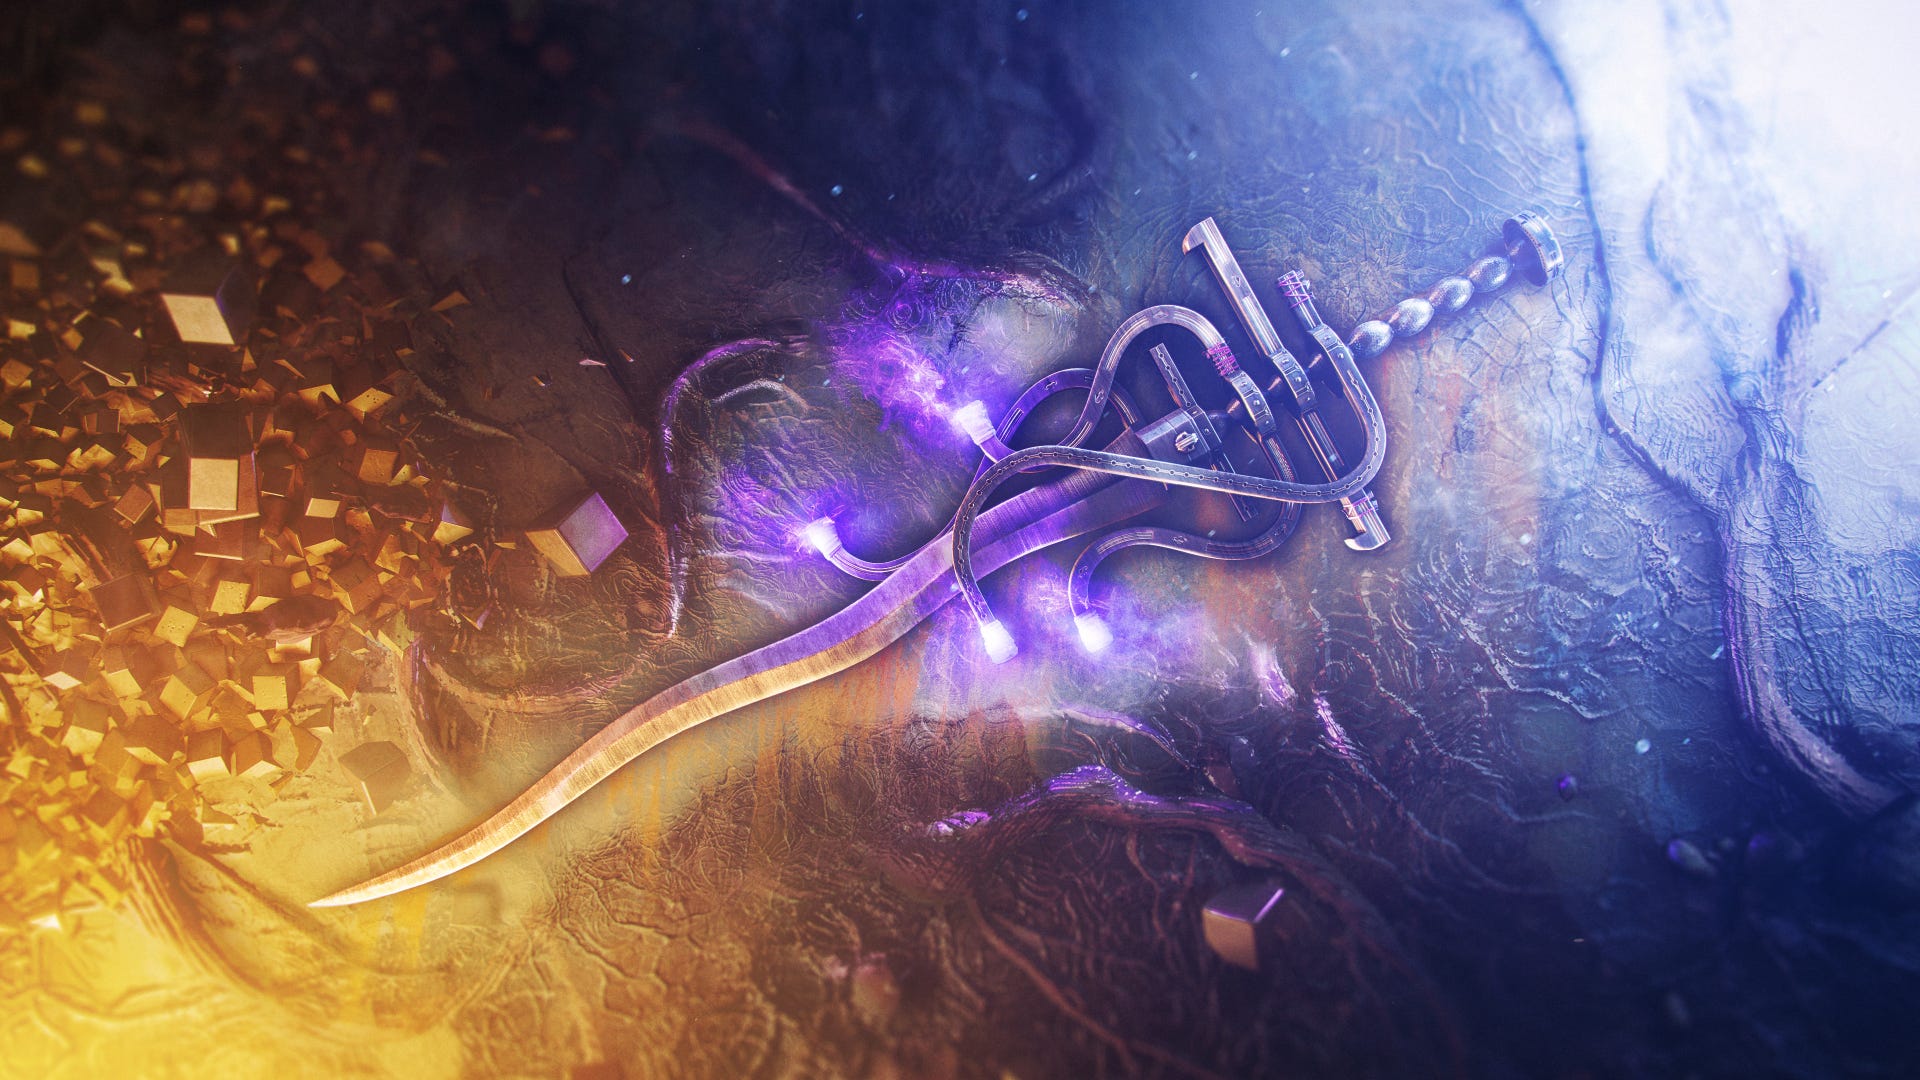
Taking place in the Derelict Levithan in Destiny 2, it takes you inside Calus’ mind and pitting your team against a series of increasingly difficult challenges, made more grueling by the fact that you’re often operating on a time limit. Your reward for all this effort is (potentially) Heartshadow, an Exotic sword unique to this dungeon.
To help you earn this sword we've outlined how to prepare for the Duality dungeon, along with how to defeat the Nightmare of Gahlran, Ghalran and the final Duality boss fight. You will also find the all of the secret chest locations in our Duality dungeon walkthrough below.
On this page:
How to prepare for the Duality dungeon
Duality, like all of the rotating dungeons, has a recommended power level of 1600, with an optional Master difficuly at 1840 during week the dungeon is featuers. That has better drop rates, but adds harsh modifiers and champions. It's a tough gauntlet of encounters that mixes long range enemies in platforming sections with close up skirmishes near bosses. Try to bring weapons that fit both situations. Likewise, weapons with area-of-effect (AOE) like Witherhoard or Osteo Striga are hugely beneficial. Any ranged boss damage weapons are viable, such as Tapian-4fr, work great.
Duality is considerably easier if you play as part of a Fireteam, since several objectives require you to obtain multiple items before you can progress to a boss’ damage phase.
It’s feasible alone, but the processes take much less time in a team.
In terms of character class, we've had the best luck with the Solar Warlock, especially in solo runs, thanks to its recent buffs that make healing and Scorch more viable. In addition to the usual buffs Empowering Rift and Well of Radiance provide, if you damage foes while either is active, you significantly reduce your grenade’s cooldown timer. That’s important for Duality, as the dungeon throws countless waves of aggressive Cabal at you in almost every encounter.
Strand is extremely strong right now, and is another solid choice, especially if your build let's you create Threadlings, which can seek and eliminate enemies for you. Other options are viable too, as long as you know how to use it.
Finally, we recommend equipping at least one Arc resistant trait. Some of the Cabal mobs in the first boss encounter use Arc damage, and it’s easy to get overwhelmed.
How to unlock Duality with the A Single Thread quest
Duality requires access to the Witch Queen Season Pass or Dungeon Key from Eververse. From there, it unlocks automatically once you load Season of the Haunted, but it’s tied to the quest A Single Thread.
You can pick this up from Hawthorne near the Bazaar on the Tower. It’s a straightforward quest that only tasks you with completing the dungeon. Open the Destination map, choose the moon, and pick Derelict Leviathan to get started.
How the Bell works in Duality
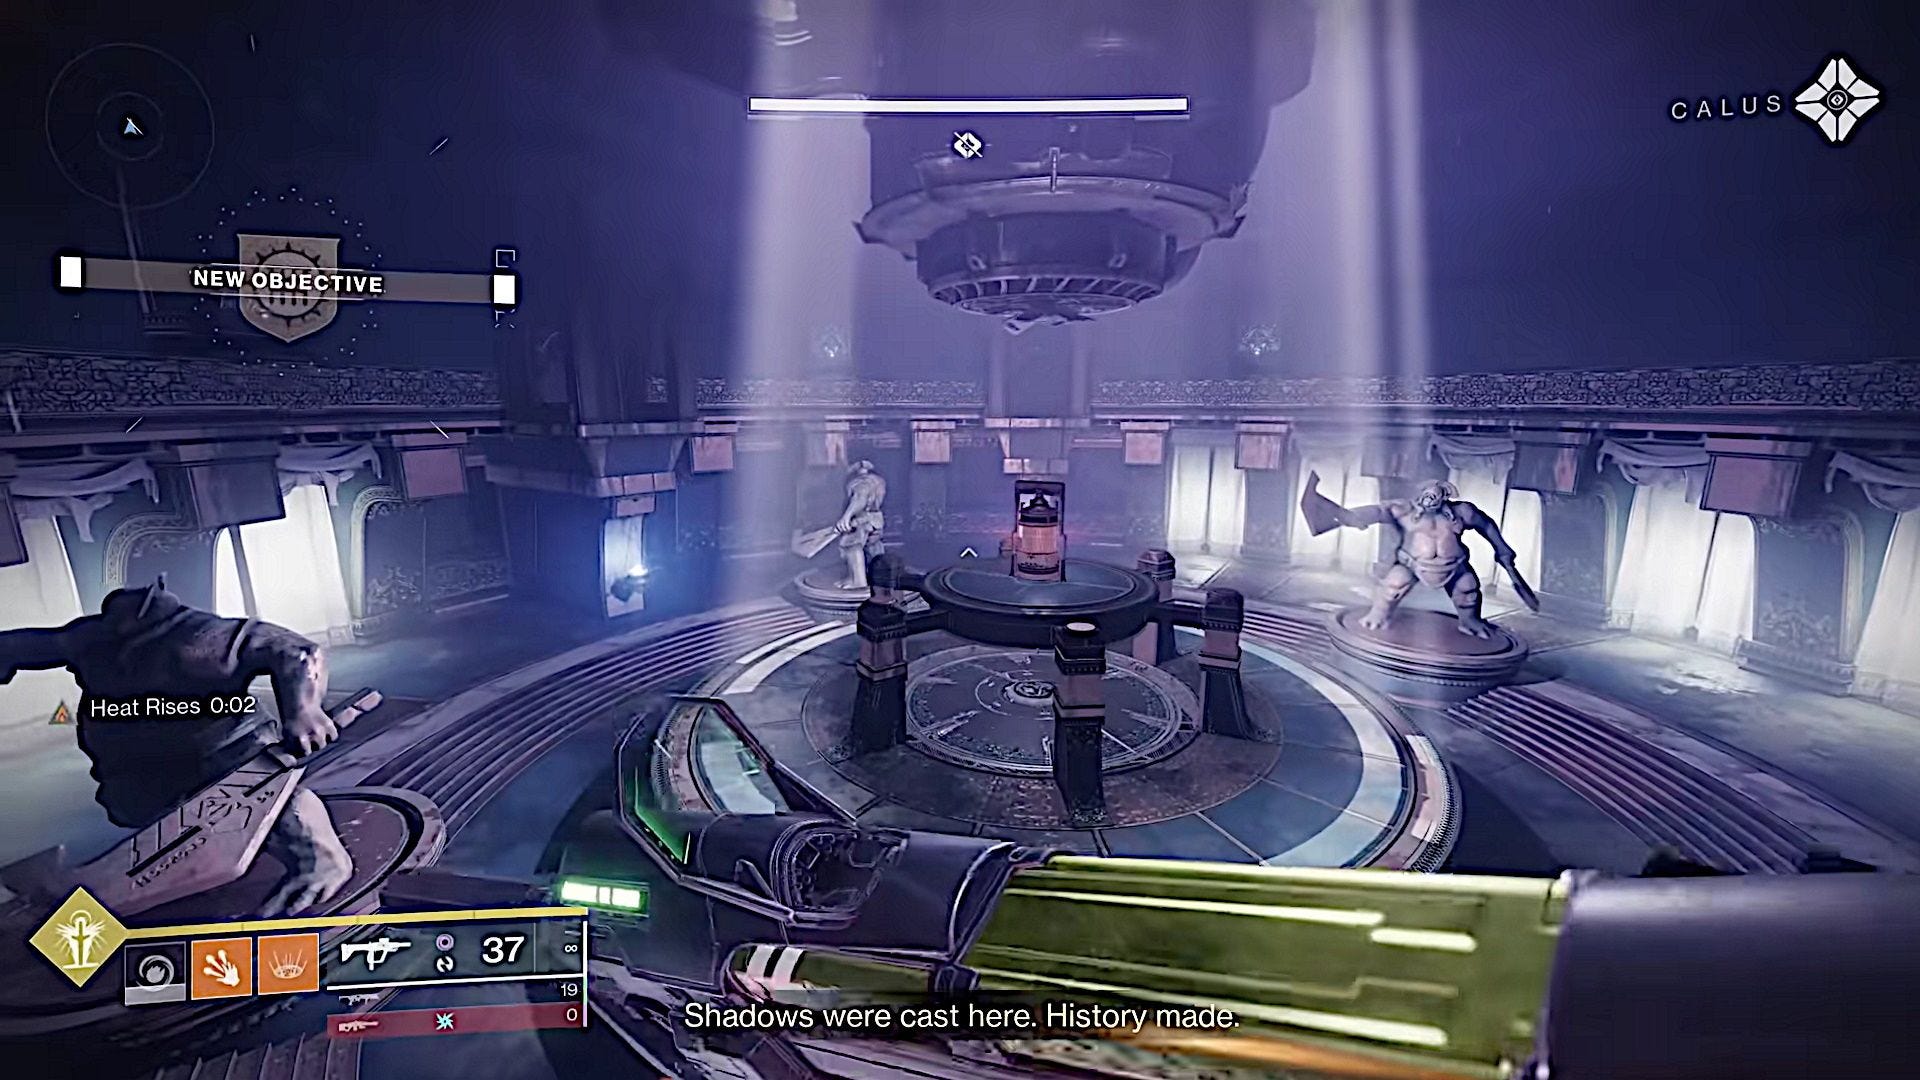
At the start of the dungeon, you step into the Tribute Hall and, after some light platforming, open a hole in the ground that leads you into the dungeon proper.
Here’s where you learn how to use Duality’s most important mechanic: the bell. You land in a long hallway with an odd device – the bell – at the end of a walkway.
Shoot it several times, and it sends you to a parallel reality called Nightmare, or as we’ve dubbed it, the Nightmare Realm. Approach the bell, stand within the circle around it, and shoot it until the ring around the device drops.
This sends you back to the normal realm, but anyone outside the circle will die.
This bell remains active until you shoot it again, but later bells have time limits.
The next phase is a fairly straightforward bit of platforming until you reach the first major encounter in the Vault.
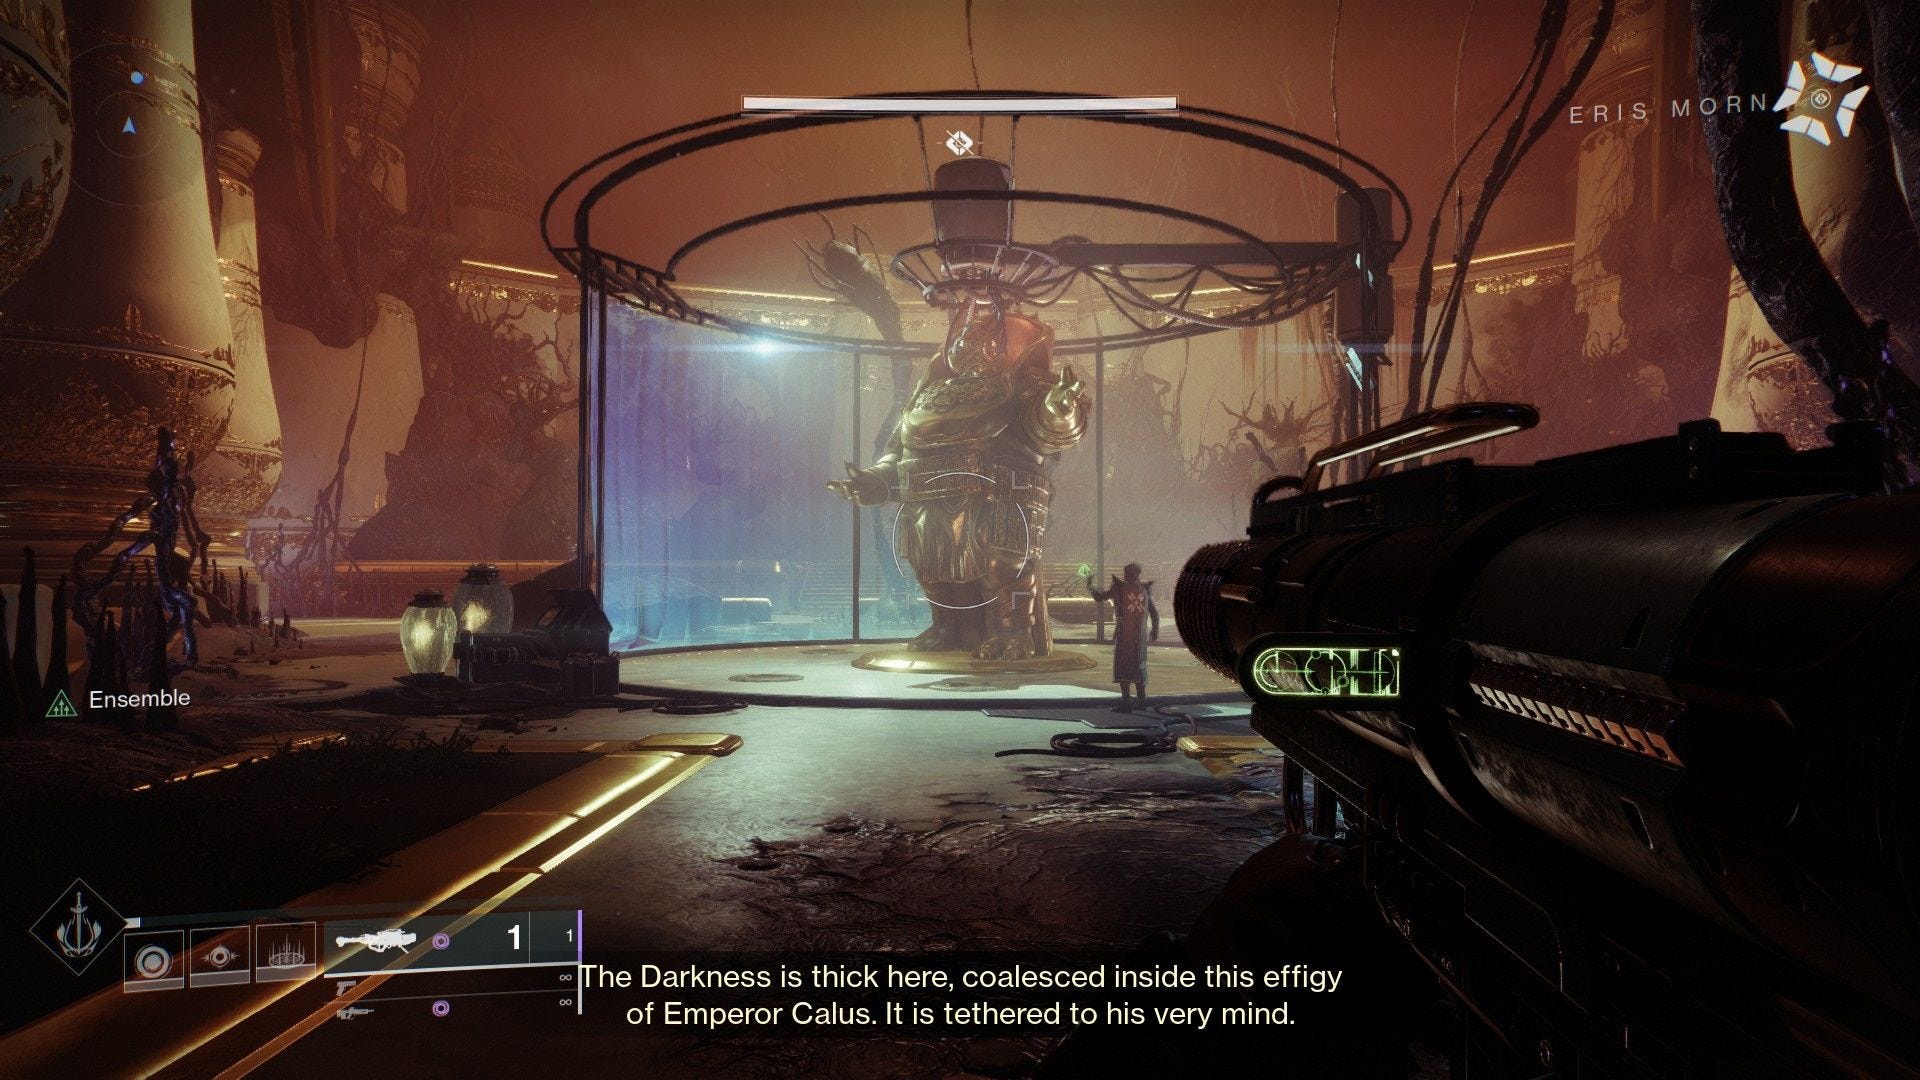
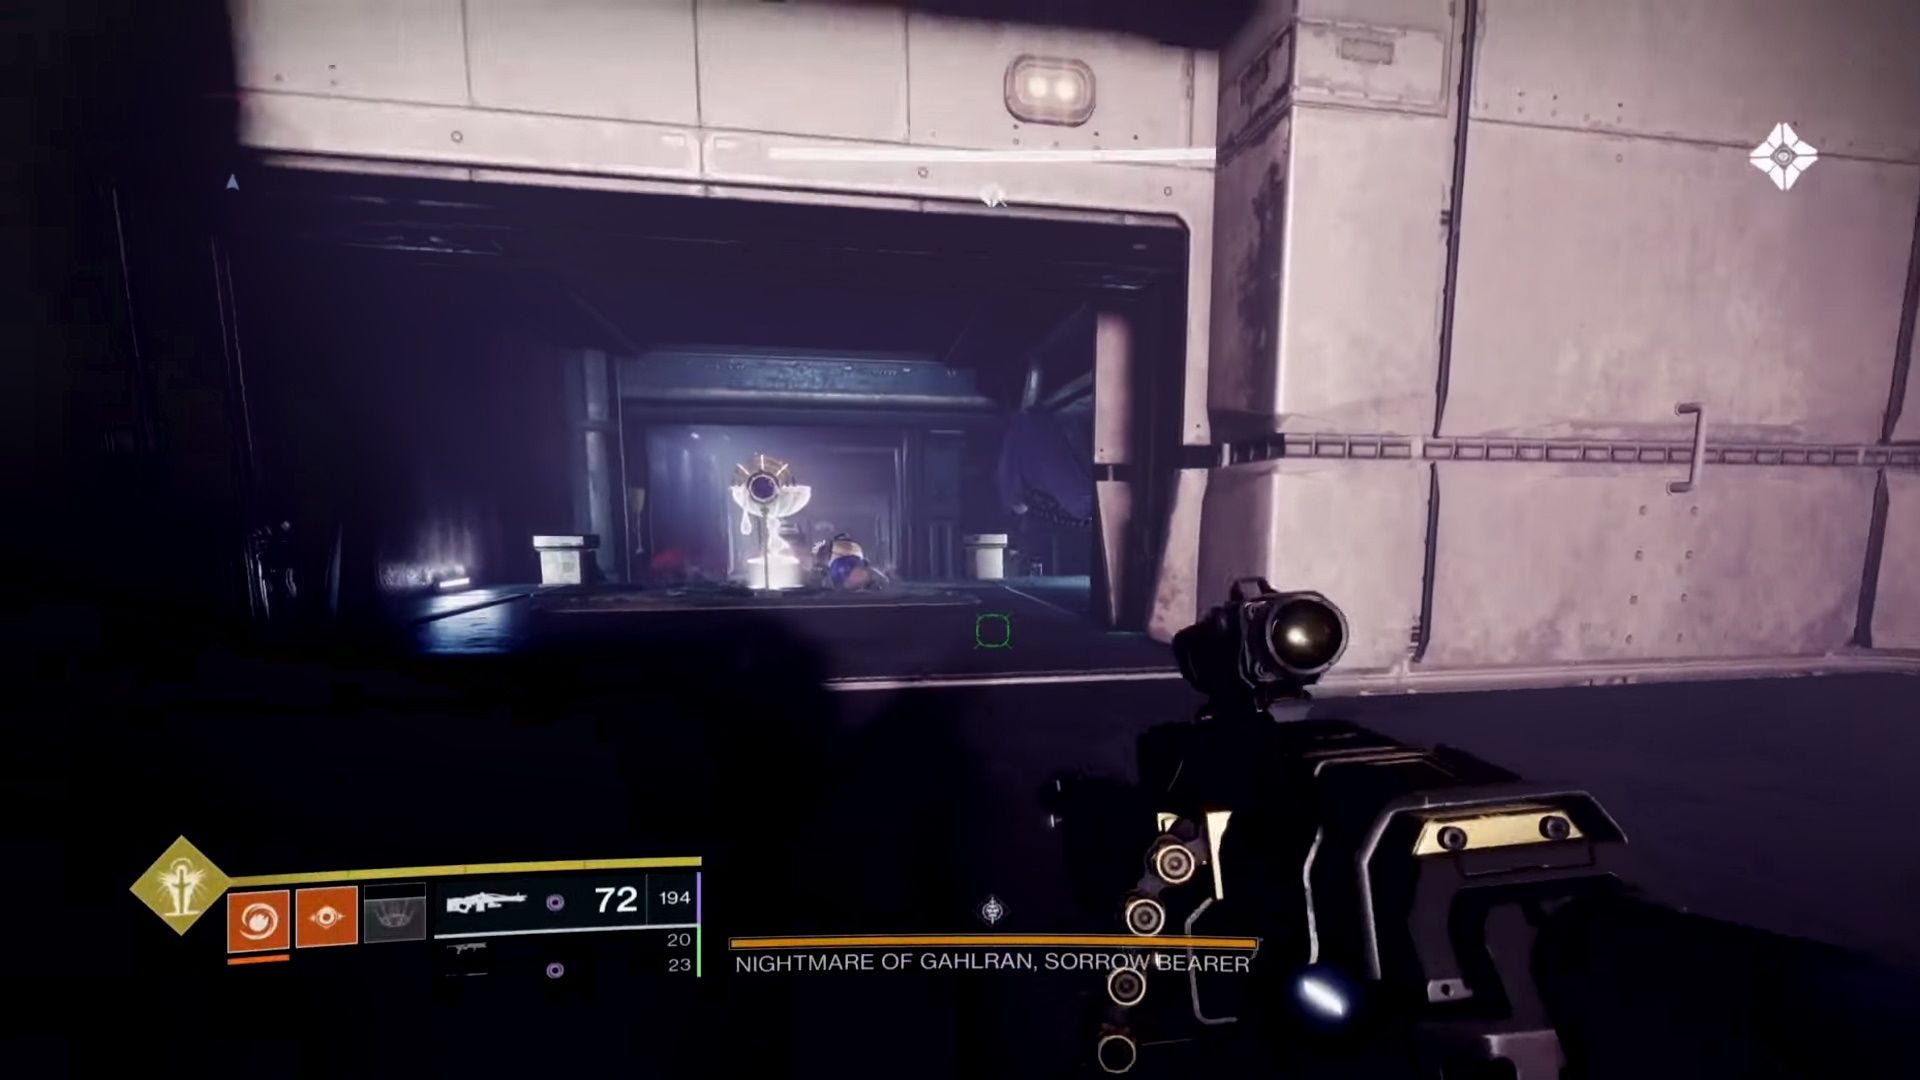
Nightmare of Gahlran boss
The next chamber you enter is a massive one with several rooms branching off the central chamber.
It contains two bells, one on a walkway and one underneath, and you need to enter the Nightmare Realm to bring two Cabal Standards back to remove the boss’ invulnerable shield. There are slots for four Standards, but you only need two.
Once you arrive in the Nightmare Realm, you have one minute to leave of your own accord before the realm collapses and kills you instantly.
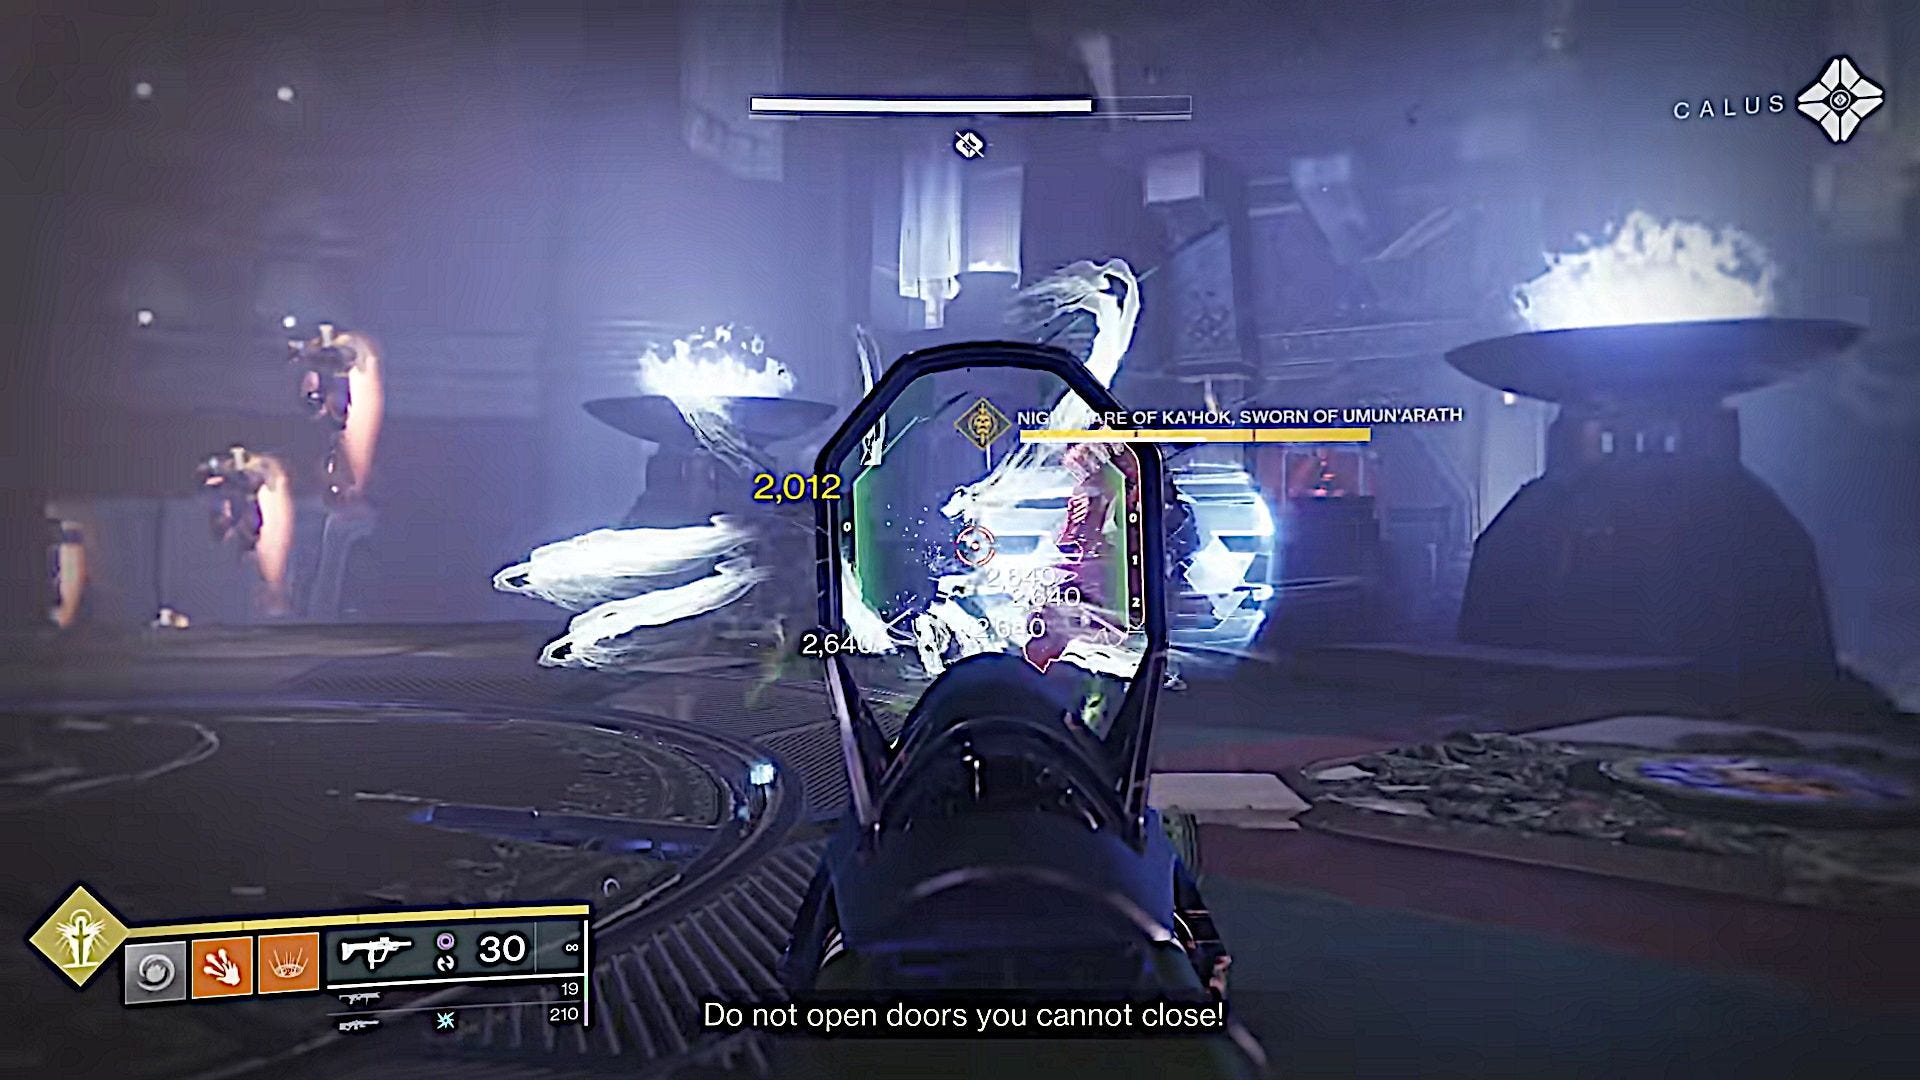
Along with the usual hordes of Cabal, you also face new yellow-bar enemies called Bellkeepers.
True to their name, these guard the bells that teleport you out of the Nightmare Realm, and you must defeat them before you can use the bell again.
Some players have had difficulty getting adjusted to the room’s layout, but a fairly easy way to keep your bearings is remembering where you are in relation to the bell once you enter the Nightmare Realm.
The upper bell has Sun and Chalice slots on either side of it, and the lower one has the Axe and Beast slots behind it.
The Nightmare Realm layout is slightly different here, but keeping the Standard location in relation to the bell in mind is a good starting point.
Some players mentioned the rooms with the Standards tend to have Cabal dogs, though we didn’t notice this as a constant feature.
What we did notice, though, was that rooms containing the standards tend to have carvings of that Standard in them.
The Axe Standard room has axe carvings on the archways lining the main corridor, for example, while the Chalice room has a set of large chalices on a pedestal in the center.
The Standardbearer usually won’t appear until you clear out the mobs, so work quickly to defeat them, grab the Standard, and head back to reality.
Gahlran boss guide
Here’s where the process splits depending on whether you’re playing solo or in teams.
If you’re playing solo, enter the room that opens after you place your standard, then defeat the Colossus and Bellkeeper that appear, and shoot the nearby bell to enter the Nightmare Realm again.
You find six Gahlran’s Shadow in the corridor. Defeat them to open the path to the main room, then go back to reality.
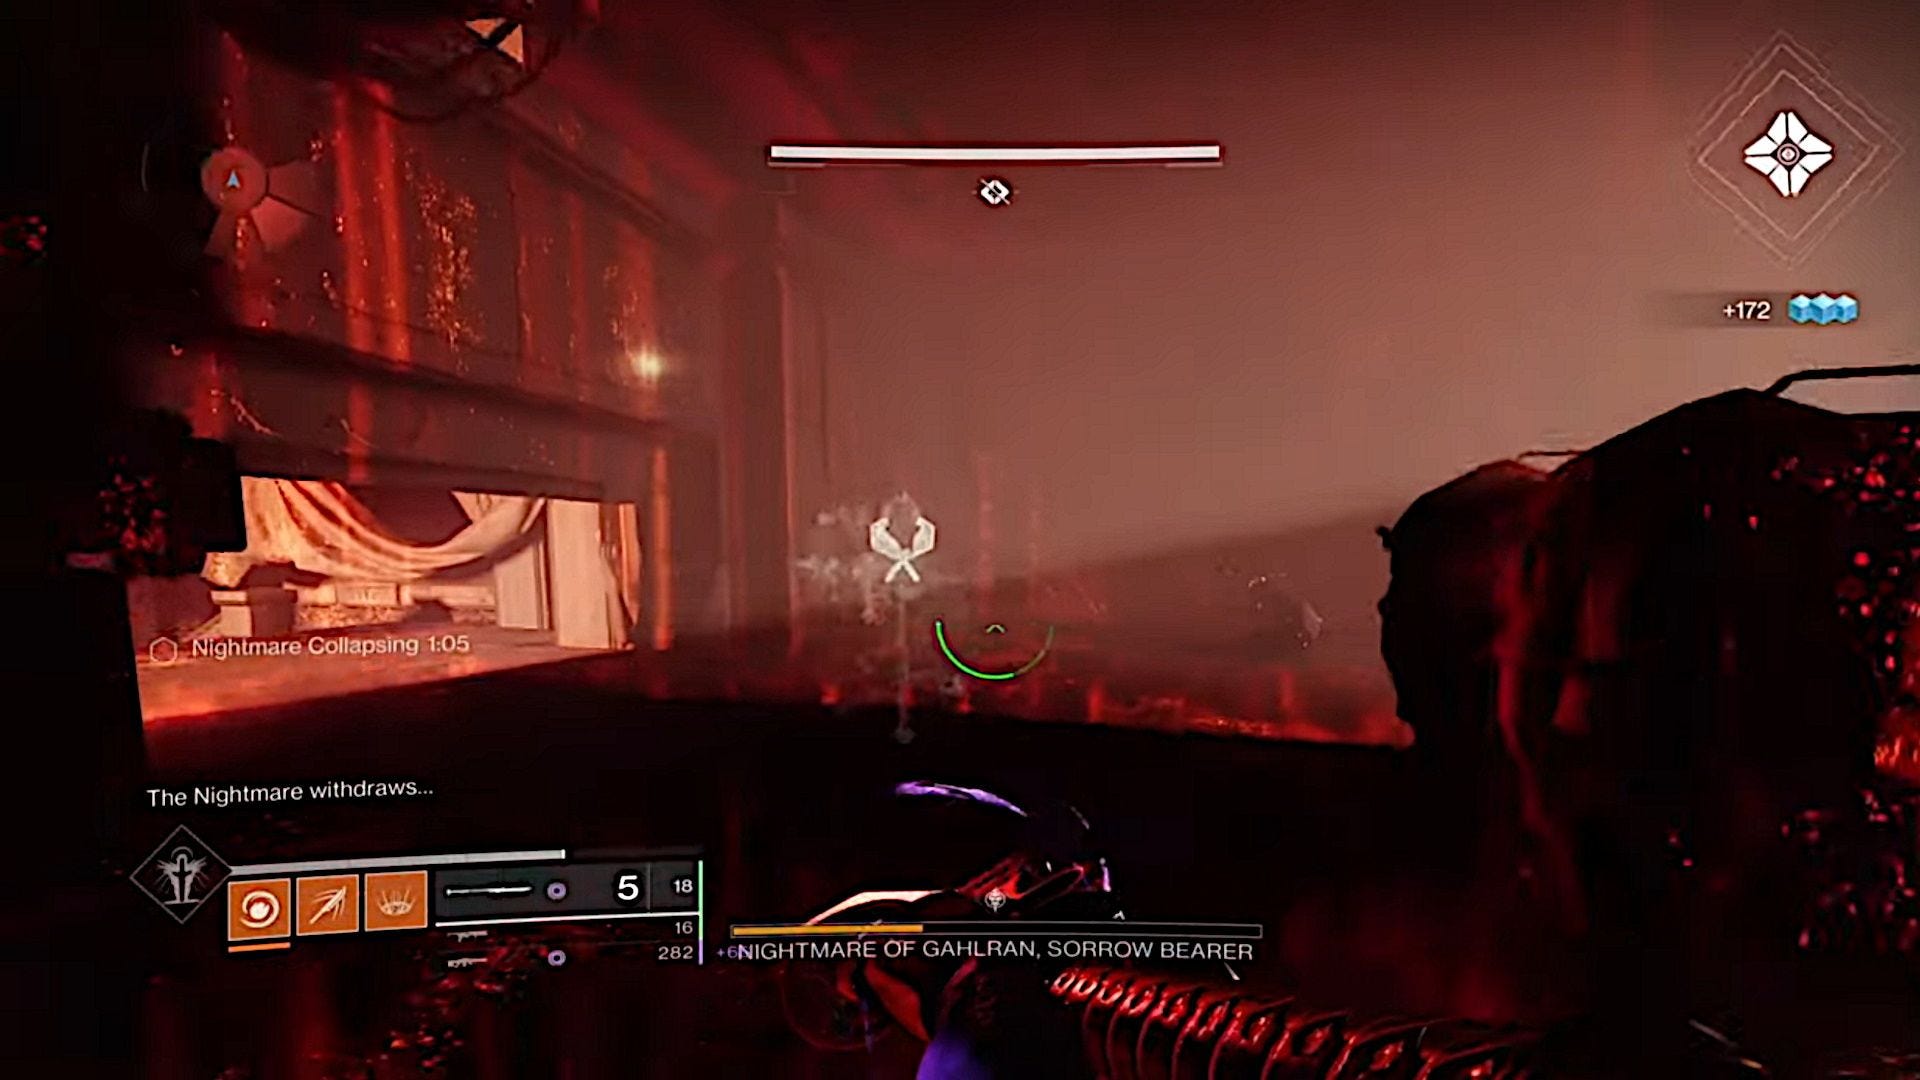
Bear in mind the boss form of Gahlran is still wandering around and will give chase if it spots you. Also note that while you can technically carry more than one Standard, there’s usually just not enough time to grab both before the Nightmare collapses, hence having to return more often when playing solo.
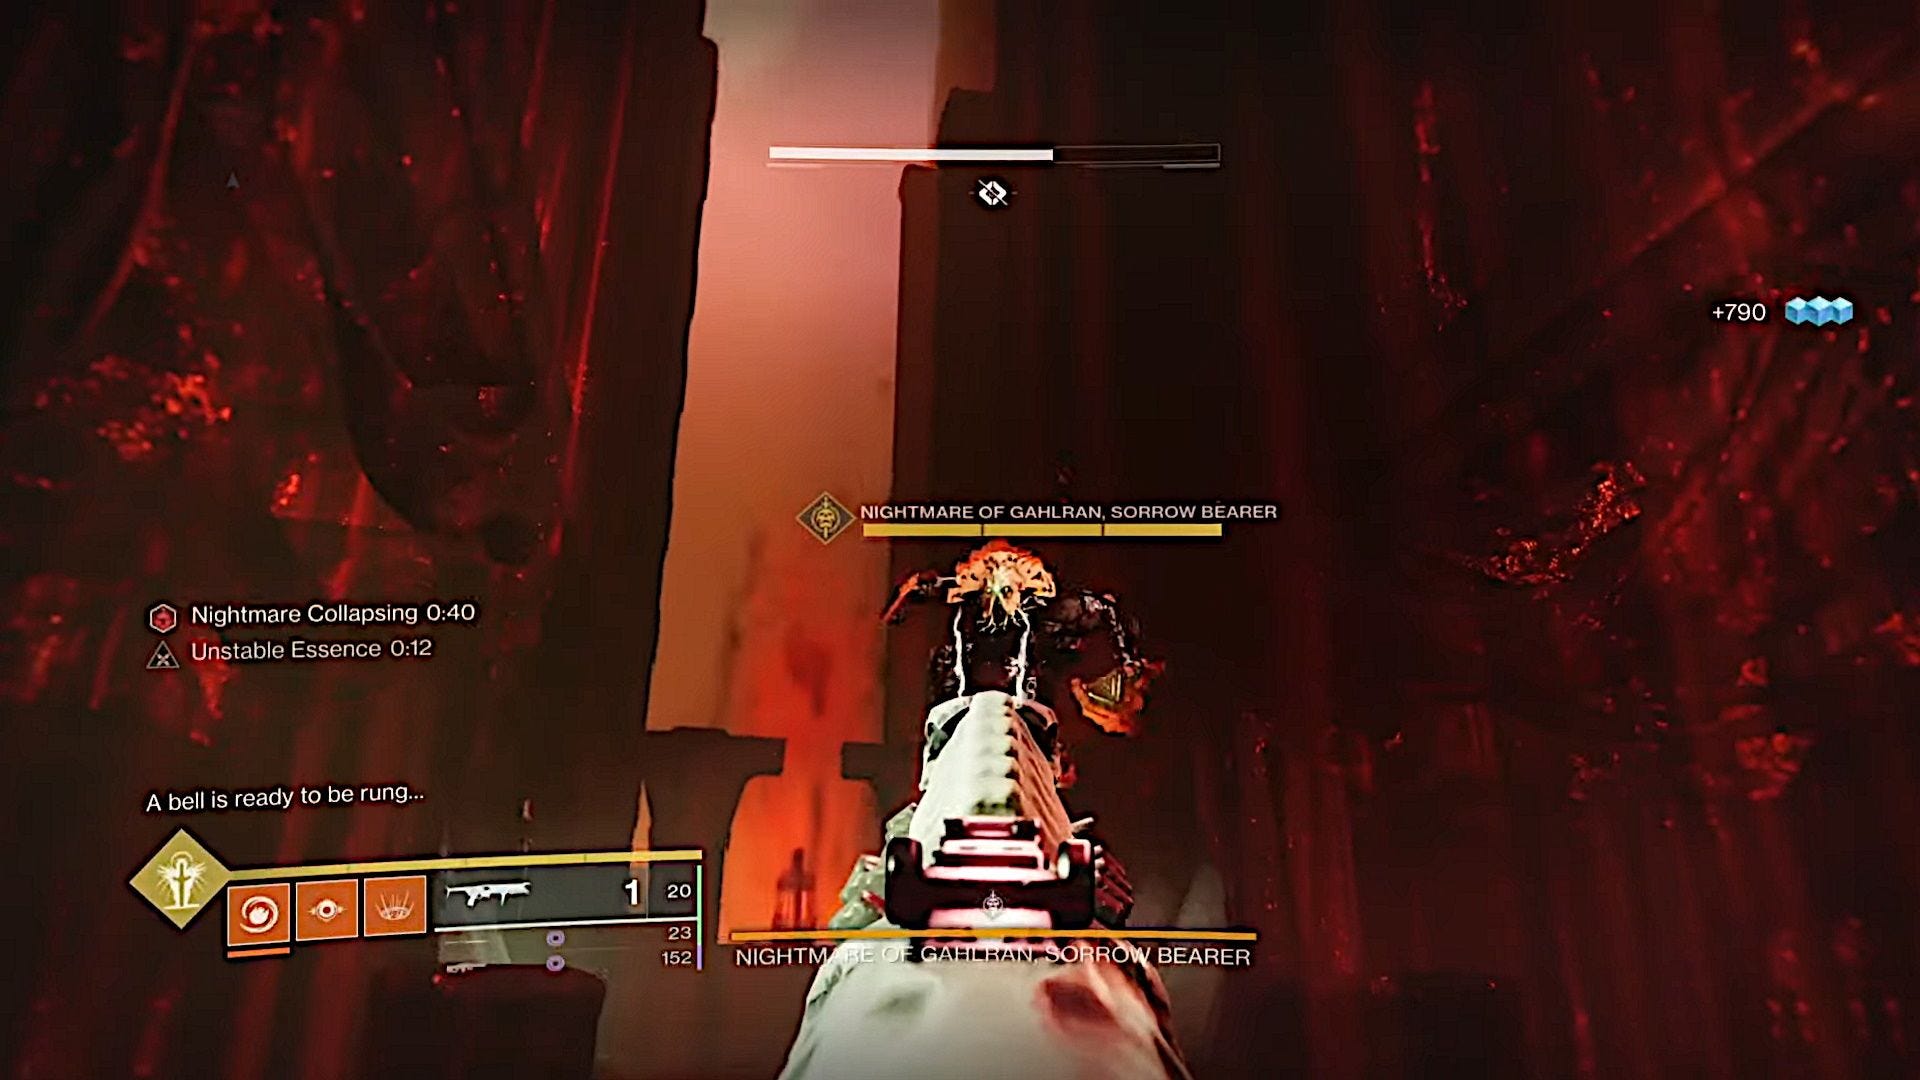
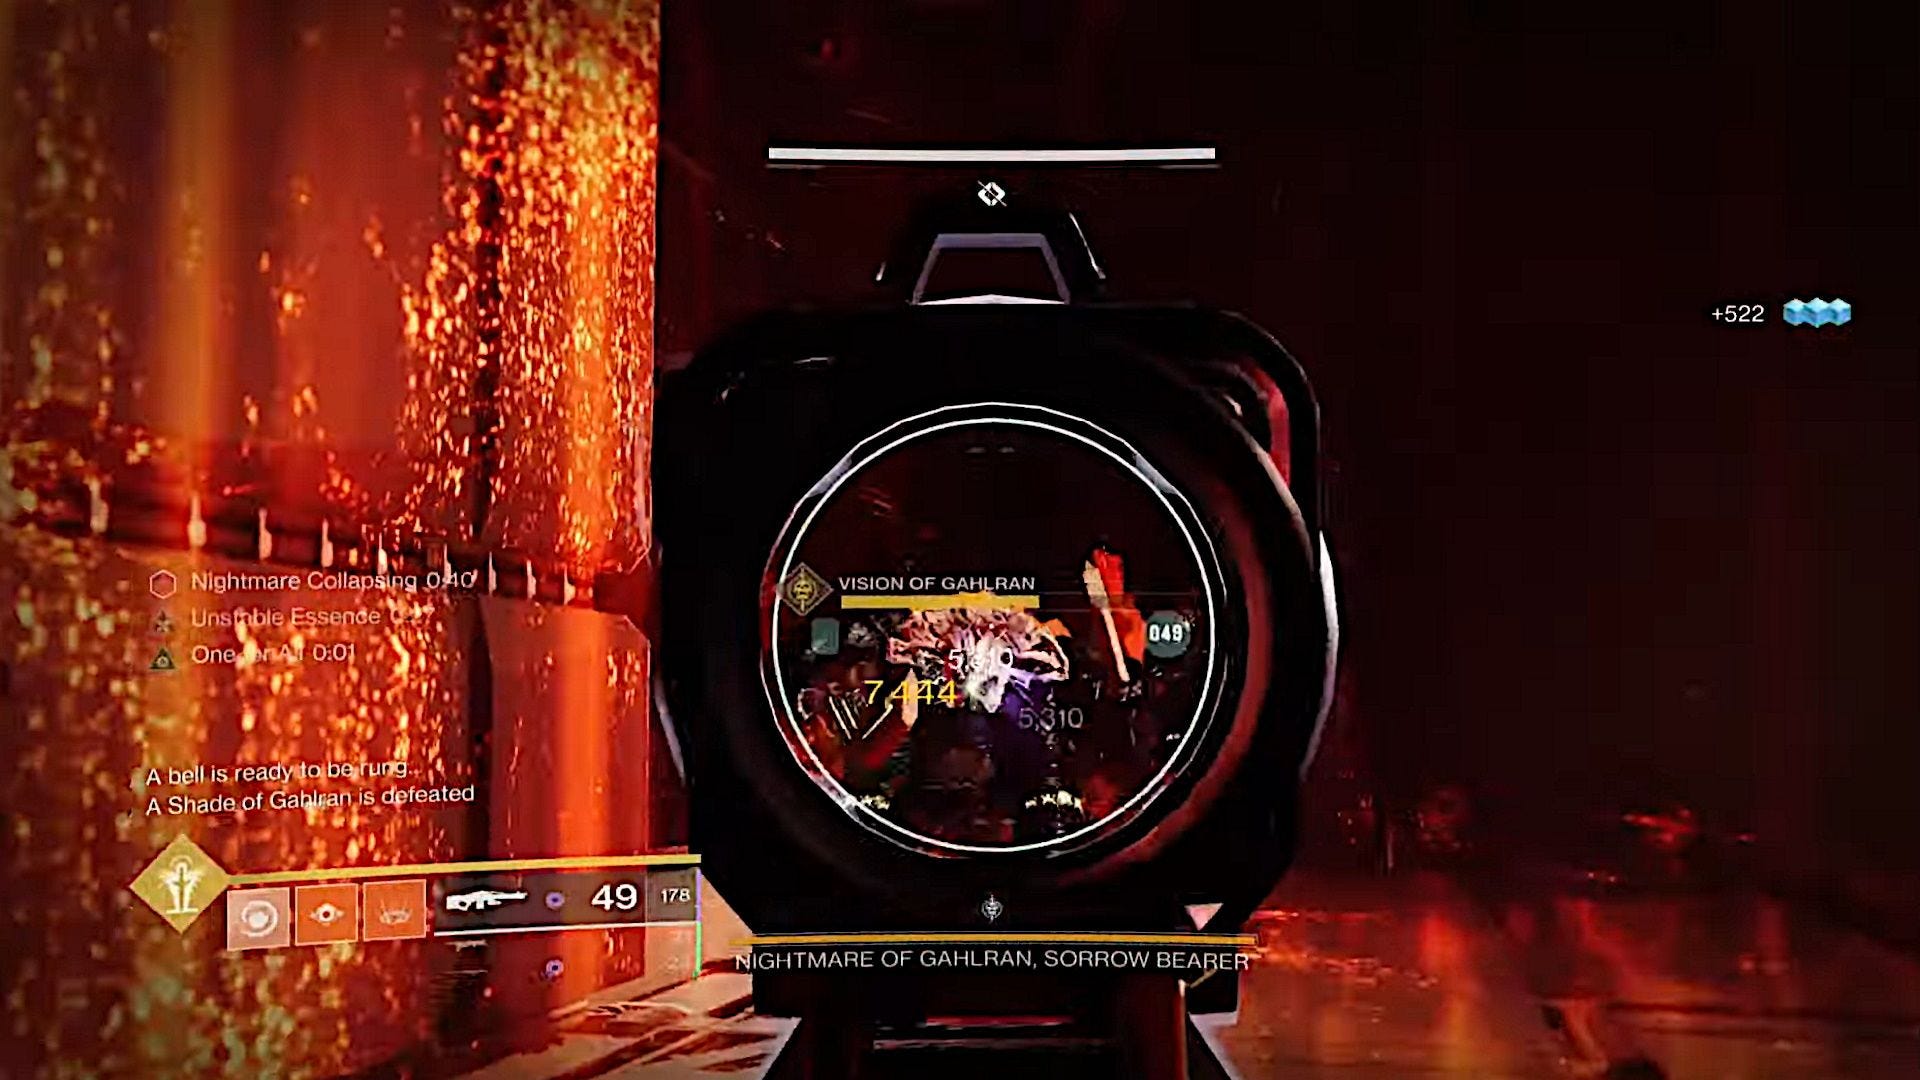
Repeat the process with the second standard, but after defeating the Shadows this time, the actual Gahlran boss is vulnerable.
Unleash your Super and use power weapons to deal as much damage as possible, but keep an eye on the Nightmare timer so you can escape before it’s too late
You can repeat this overall process of gathering banners and defeating Gahlran’s Shadows as many times as you need before the boss finally goes down.
Here, too, the Solar Warlock class is one of the most useful for solo players, thanks to Empowering Rift and the nearly-endless supply of fusion grenades.
If you’re playing on a team, this phase goes much faster. Have two team members place the standards and enter the newly opened rooms, dealing with the Bellkeepers and Colossus along the way. The third player should stay in the center corridor.
Enter the Nightmare Realm, and have the two teammates defeat the Shadows quickly before reconvening in the main chamber and fighting Gahlran.
Again, this process repeats until you defeat the boss.
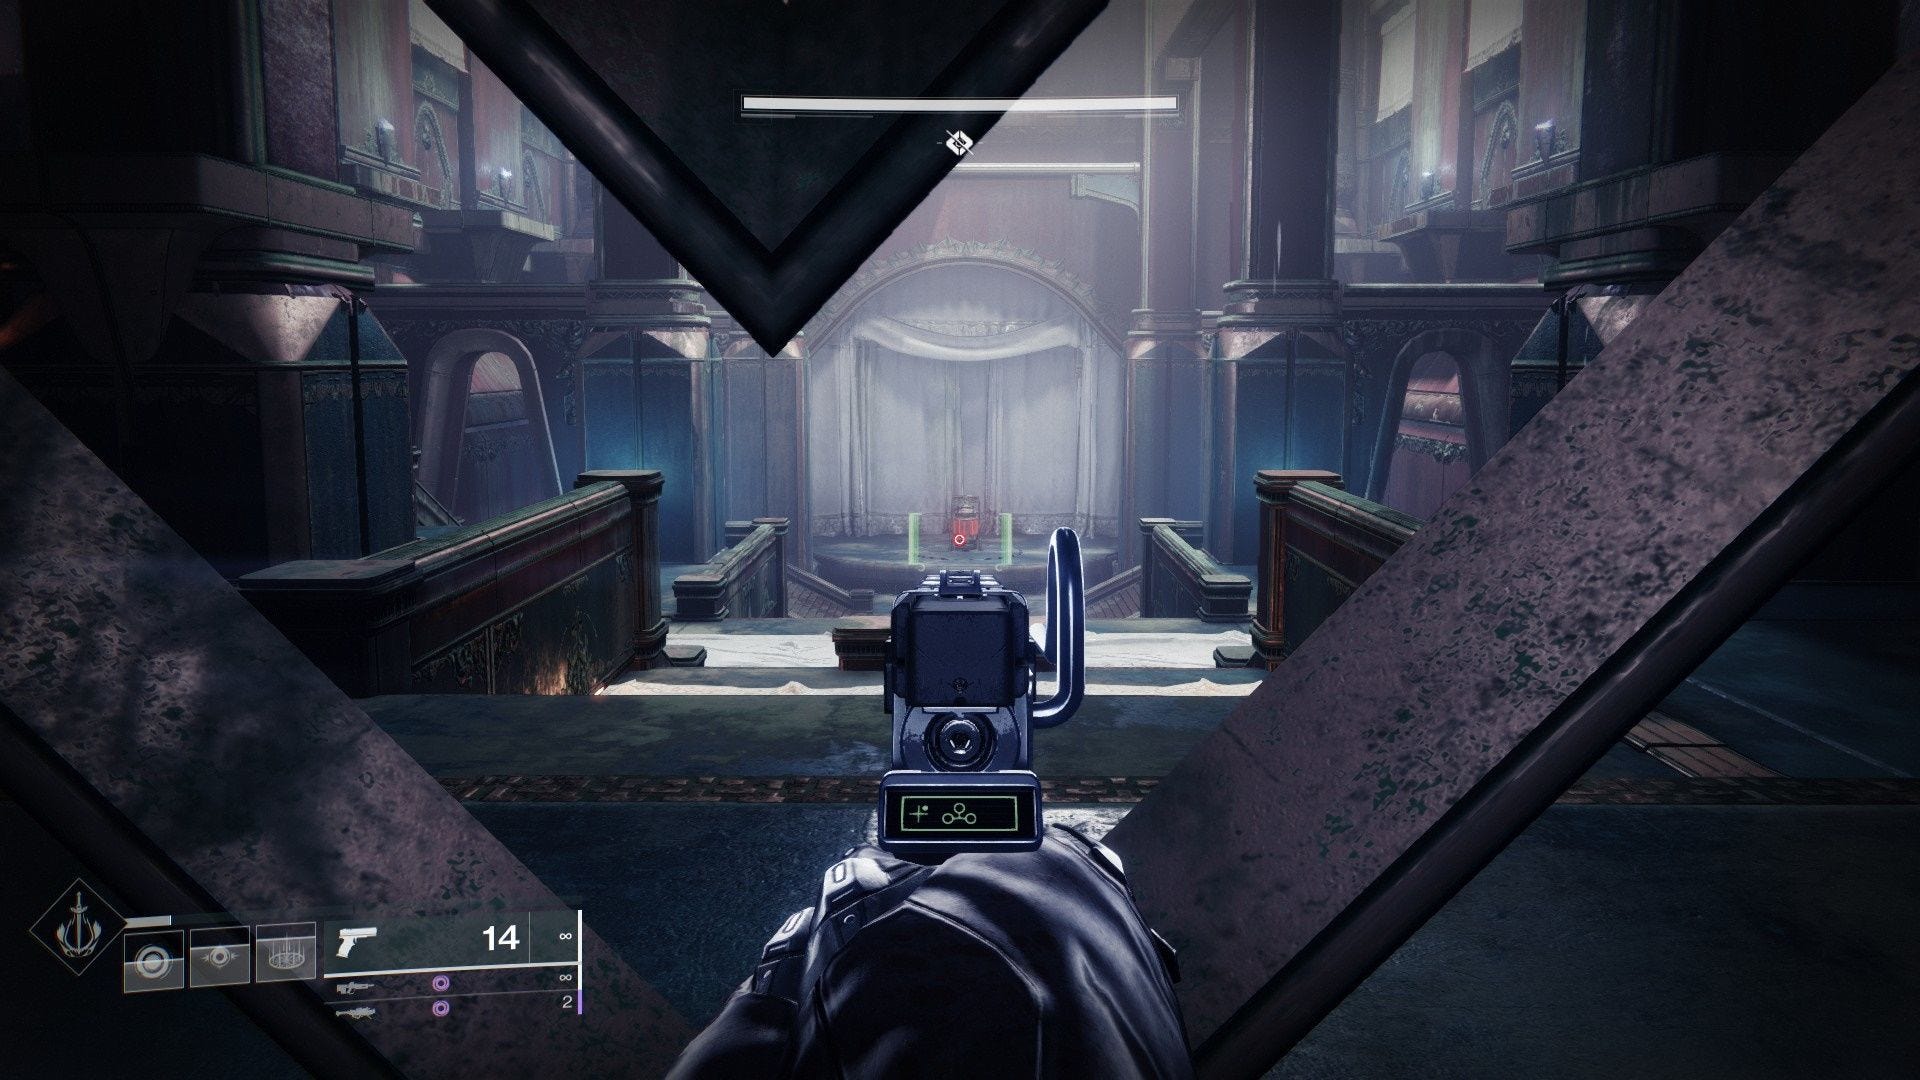
You get a slight breather before the next major encounter. The path forward is linear and involves only a few light platforming segments where you need to use coffins lining the wall to move forward.
Eventually, you reach a room with four statues. Before dealing with the statue puzzle, take a short detour to the first secret chest.
Once you enter the statue chamber, look to the far end of the room and to the left. There’s a platform there, with a statue pointing towards it. Jump onto the platform, go inside the cracked door, and you’ll find the dungeon’s first secret chest. Open it, then head back into the main room.
Duality statue puzzle solution to unlock the Vault
All four statues need to be facing the bell, so enter the Nightmare Realm and activate the switches on the base of each statue’s plinth.
Each interaction turns the statue 90 degrees counterclockwise in the normal realm, so move them as needed, and exit the Nightmare Realm.
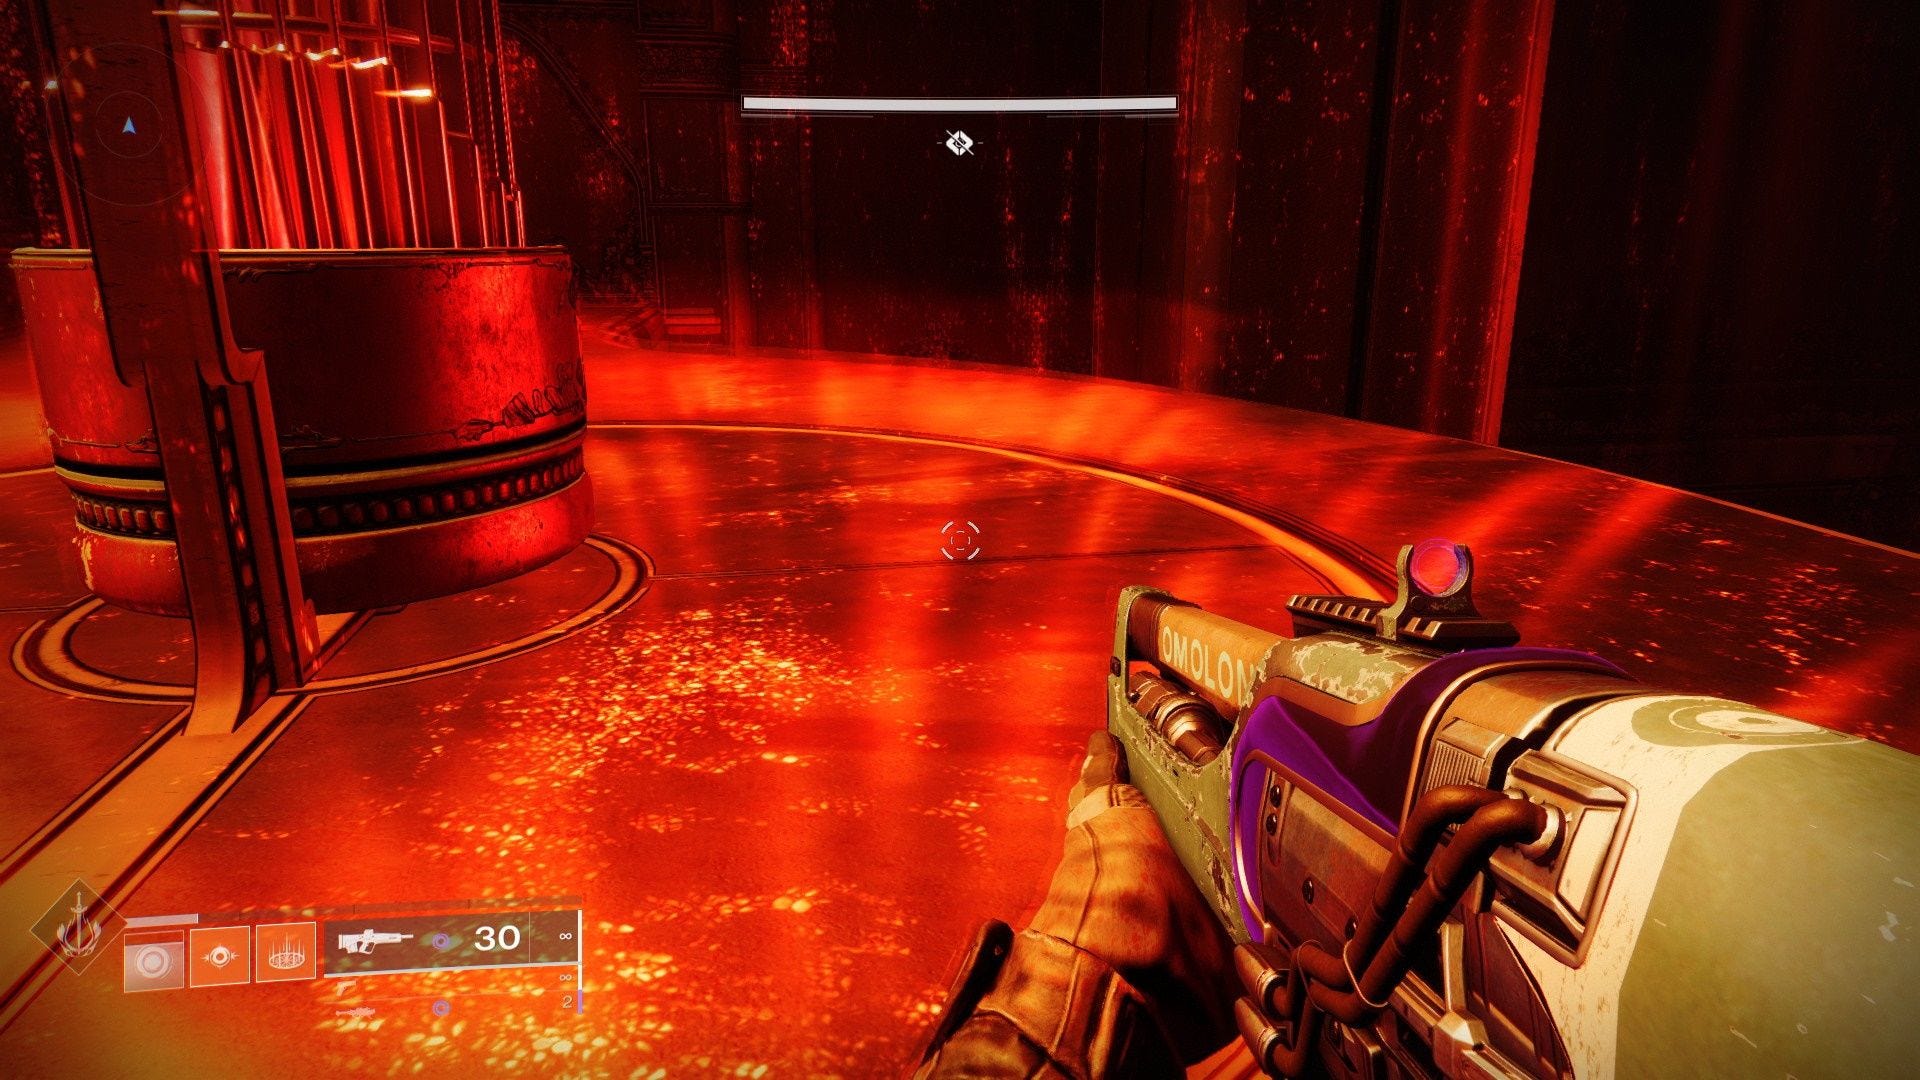
The second encounter follows a similar pattern, though you face three slightly weaker bosses instead of one powerful foe. When you enter the Vault room, you’ll notice a few things at once.
There are two bells here, one at the far end of the room and one nearer to you, and four standard symbols in the center.
There’s also an endless wave of Cabal that can easily overwhelm you, so play it safe and don’t linger too long if you’re solo.
The first mini-boss Cabal will also spawn in the chamber. They’re invincible for now, so just ignore them.
Drop down into the lower part of the room, and defeat the Bellkeepers there. Then, decide which standards you want to shift near, and enter the Nightmare Realm.
Whichever bell you used, the Bellkeepers in the Nightmare Realm will spawn at the opposite end. For example, if you used the bell closer to the rally banner, the Bellkeepers will be on the side of the room with the Sun and Chalice standards.
Once you’re in the Nightmare Realm, you need to defeat all the Cabal Phalanxes and the Legionary before the standard bearer will appear. Kill it too, then take the standard essence back to the normal realm.
If you’re playing in a team, you can grab two essences in one run like before. If not, you’ll have to enter the Nightmare Realm again and repeat the process to grab the second standard.
Once you install two standards in the normal realm, the Nightmare mini-boss’ shield disappears, and you can defeat it.
Repeat this process two more times until the third Nightmare dies, and you can progress.
The path to the final encounter includes another bell and platforming puzzle, though it’s fairly straightforward.
Similar to the beginning of the dungeon, transport to the Nightmare Realm to move past obstacles in reality, and make sure you’re within the bell’s circle when you shift out of the Nightmare Realm.
From here, the dungeon’s second secret chest is in The Depths chamber. Enter the room, drop down beside the platform into the gunk, and you’ll find one of Calus’ memories there. Turn around to see a small space you can crouch down and walk through. The chest is at the end. Open it, and move on.
Caiatl boss fight in the Duality final encounter
The path to the final encounter includes another bell and platforming puzzle, though it’s fairly straightforward.
Similar to the beginning of the dungeon, transport to the Nightmare Realm to move past obstacles in reality, and make sure you’re within the bell’s circle when you shift out of the Nightmare Realm.
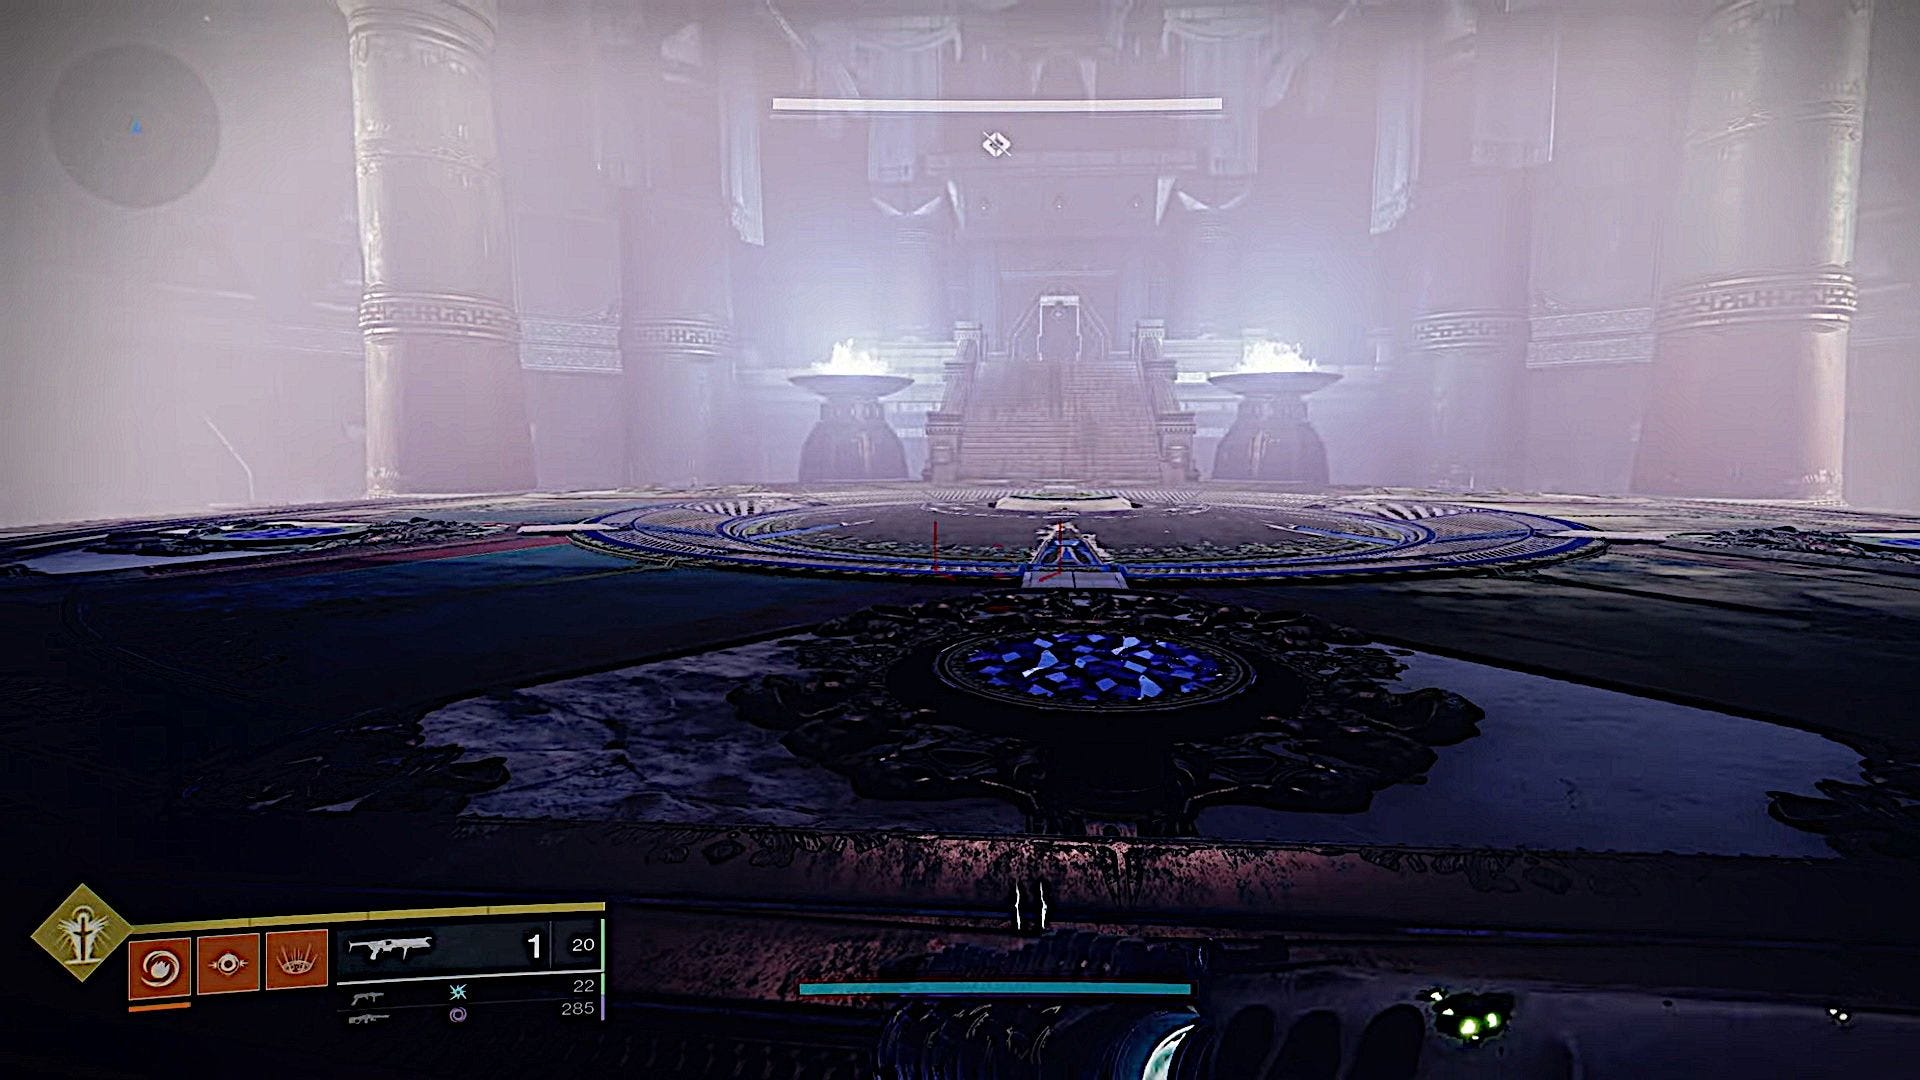
You eventually reach the boss chamber, which contains three normal bells and a massive one at the room’s far end. There are also four balconies around the room’s edges. These are where the standard bearers will appear in the Nightmare realm.
Once Nightmare of Caiatl appears, the pillars in the room’s center light up with the usual four Standard symbols. Your task is heading into the Nightmare Realm, grabbing at least two Standards – more, if you can manage it – and depositing them in the corresponding receptacles back in reality.
It’s standard procedure at this point, but the trouble is, you have more Bellkeppers than ever. There are four in reality and six in the Nightmare Realm.
Because of that, your priority should be defeating Bellkeepers when you’re in Nightmare so you don’t get stuck when the Nightmare collapses – especially if you’re playing solo.

If you’re in a team, position two players on the balconies corresponding to their Standards to save time. Solo players should stand on one of the balconies to shoot the bell, also to save time.
Once you’re in the Nightmare Realm, try to avoid standing still for any length of time. All the standard bearers are snipers, and one or two hits can significantly reduce your health.
Once you deposit four standards, shoot one of the giant red glowing gems on the pillars in the room’s center to activate the large bell.
This sends you back into the Nightmare Realm where you can finally start damaging Caiatal – sort of. Your attacks won’t chip much off her health bar at this point, but that changes soon.
The fight gets a bit tricky here. There are six Bellkeepers as usual, but you need to pay more attention to Caiatl right now.
She’ll run towards one of the three regular bells and, if she reaches it, shift back to reality, ending the damage phase. Your goal is defeating the two Bellkeepers near the bell she’s running towards, get within the bell’s circle, and ring it before Caiatl touches it.
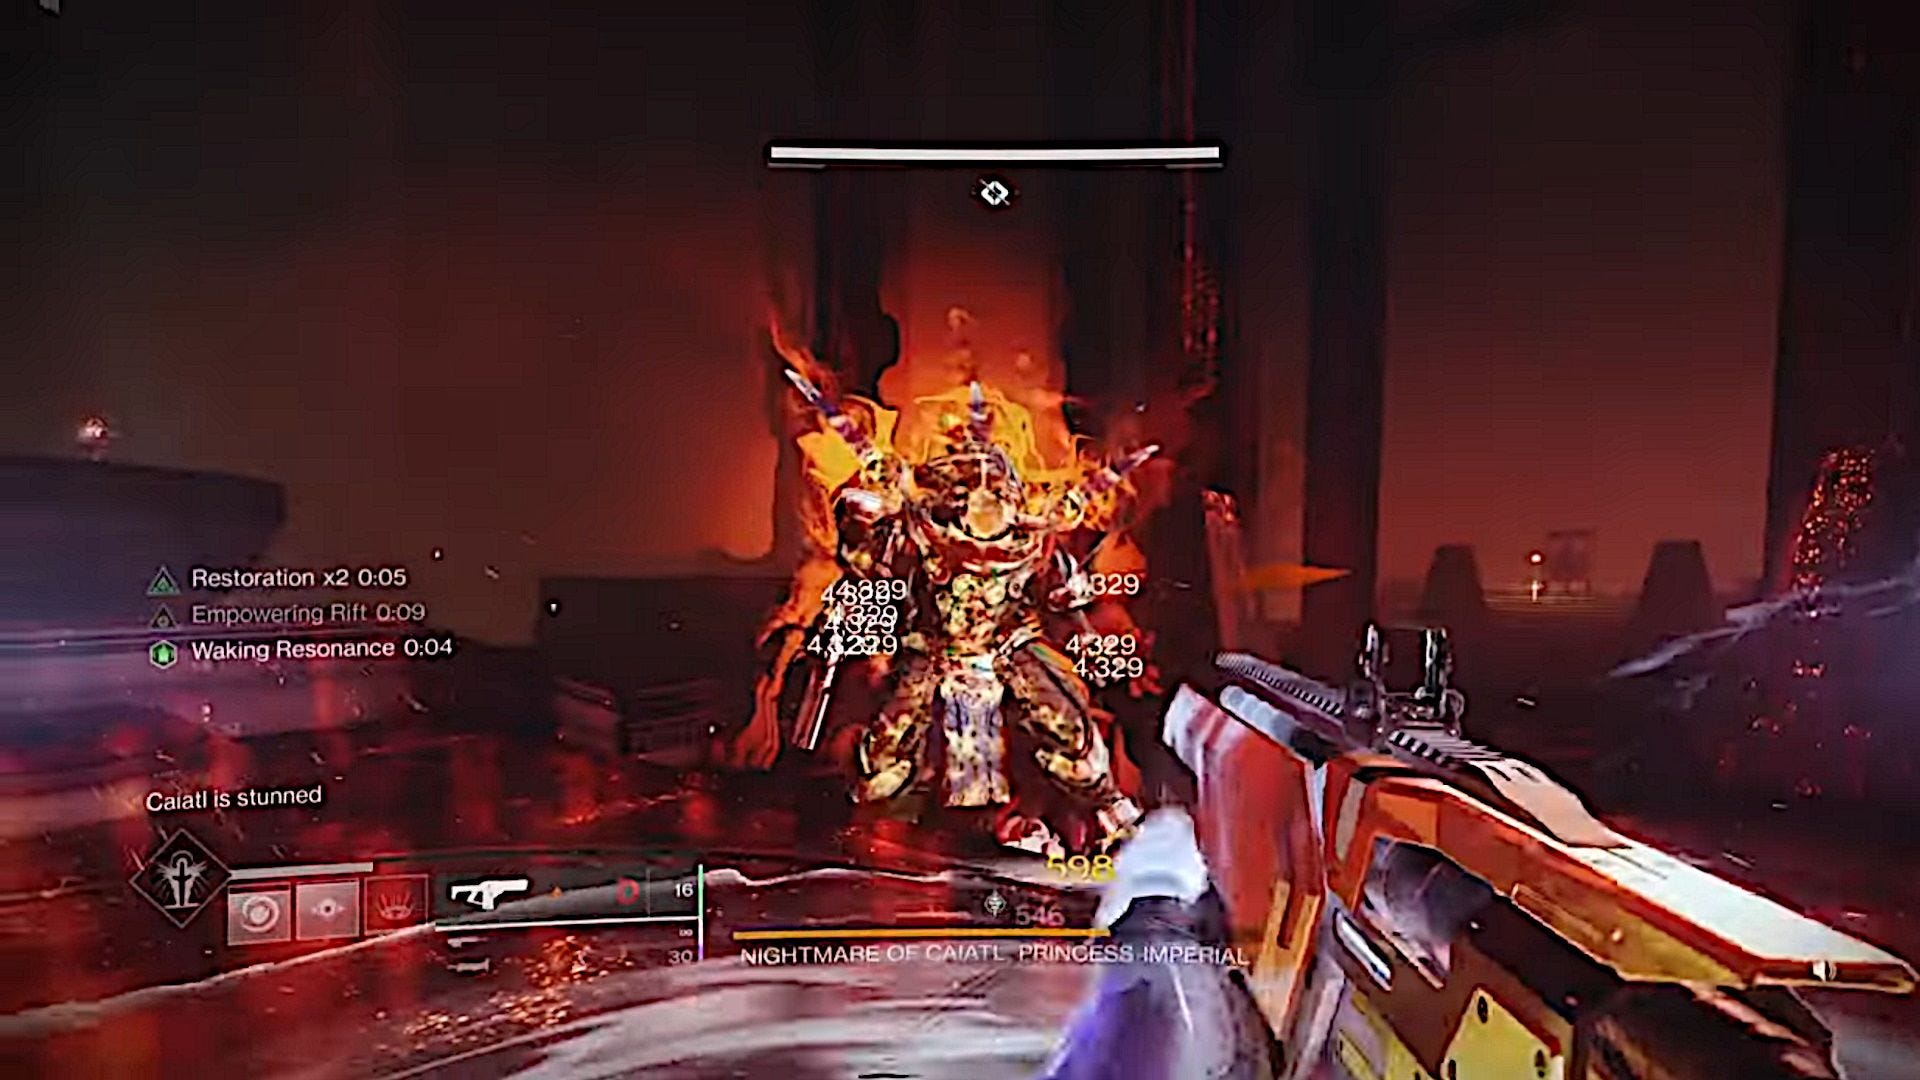
She always spawns under the large bell at the far end of the room and tends to run toward the center bell first.
That gives you time to deal with the Bellkeepers, but you want to time your bell shots well. Activating it when Caiatl is close enough but before she touches it will stun her and reduce her defenses.
After the center bell, Caiatl will run towards the bell on the left or right, though figuring out which one is a guessing game.
This phase suspends the Nightmare Collapse timer, so you don’t have to worry about overstaying your welcome.
Eventually, Caiatl will escape back to reality, and you repeat the process until she’s finally defeated.
Upon completion, there is a chance you will see the Heartshadow Exotic drop. If it doesn't, it's a good excuse to run the dungeon again another time.
Duality secret chest locations
There are two secret chests to find in the Duality dungeon:
- After the Gahlran boss, once you are in the statue chamber, look to the far end of the room and to the left. There’s a platform there, with a statue pointing towards it. Jump onto the platform, go inside the cracked door, and you’ll find the dungeon’s first secret chest. Open it, then head back into the main room.
- The dungeon’s second secret chest is in The Depths chamber, shortly after the Duality statue puzzle. Enter the room, drop down beside the platform into the gunk, and you’ll find one of Calus’ memories there. Turn around to see a small space you can crouch down and walk through. The chest is at the end. Open it, and move on.
Good luck completing the Duality dungeon in Destiny 2!