How to unlock Wicked Implement in Destiny 2
Appease the hive statues with Blades and... fish.
Something is stirring beneath the methane Seas in Destiny 2, as strange Hive Statues seem in the depths seem to beckon Broken Blades during the Season of the Deep
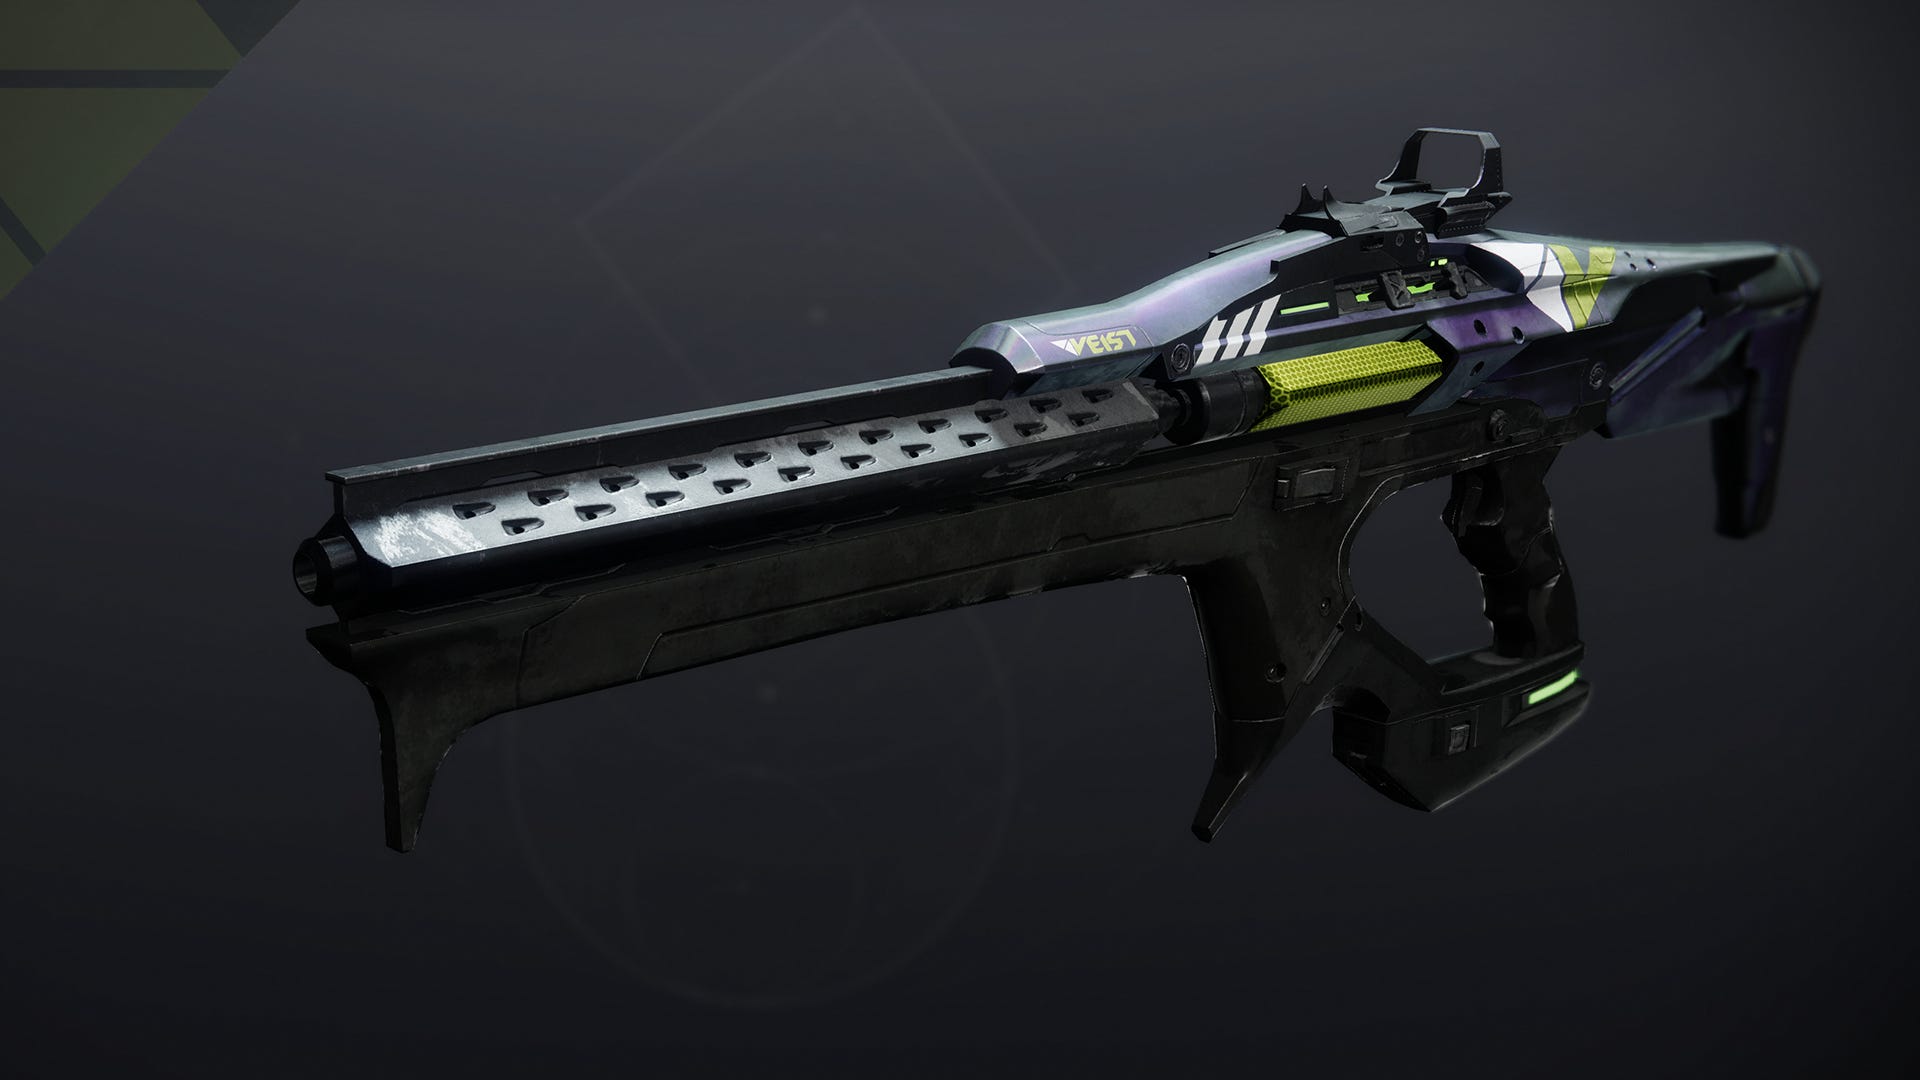
Guardians with the fortitude to brave this challenge will earn the Wicked Implement exotic scout rifle in Destiny 2.
This is a long and deep quest. Gathering all of the Broken Blades can be quite time consuming, and the final mission is one of the hardest challenges in Destiny 2. Gather your fellow Guardians and get ready to dive, there is a lot to do.
On this page:
- What are the Broken Blades?
- How to earn the Broken Blade of Strife and Hive Statue location
- How to earn the Broken Blade of Ambition and Hive Statue location
- How to earn the Broken Blade of Cunning and Hive Statue location
- How to unlock Wicked Implement
- Preparing for the Wicked Implement mission
- How to defeat Khull Executioner Knight
- How to defeat Omen Blade of the Black Terrace
What are the Broken Blades in Destiny 2?
Broken Blades in Destiny 2 are a strange hive artifacts that are earned by fishing and depositing exotic fish in the Aquarium. Each exotic fish is tied to a different blade, and each blade has a corresponding statue hidden in the Deep Dive event where they are to be deposited.
At first only one exotic fish was available to be caught, but a second has now been added to the mix. It’s likely that up to two more exotic fish will be added, one in each of the upcoming weeks.
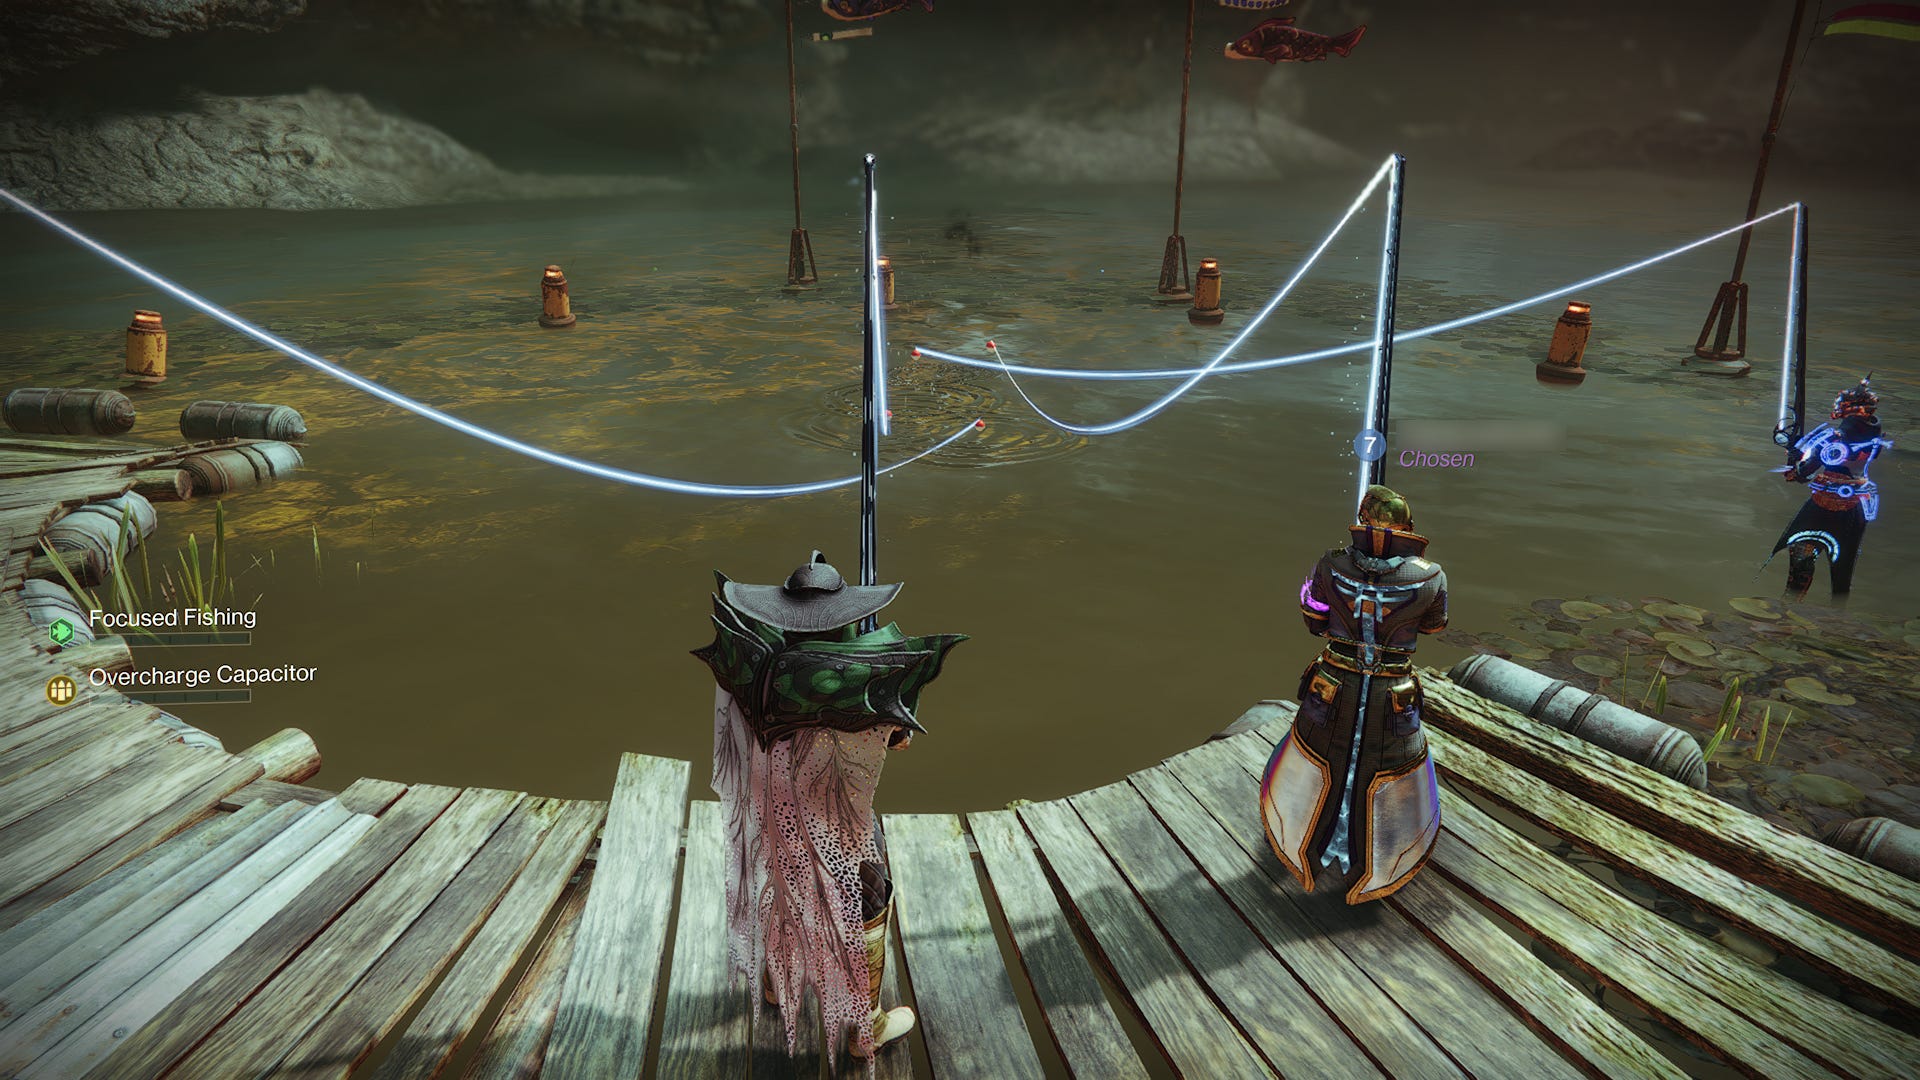
You’ll need to visit each of the fishing ponds, and keep catching fish until you reel in one of the exotics. Which fish is hooked depends purely on luck, but, as we detail in our comprehensive Fishing guide, building up your Focused Fishing meter will increase the chances that the more rare legendary and exotic fish appear.
Once you have caught your fish you will need to visit the Aquarium and deposit them. Once you have done so, the corresponding broken blade will be added to the Fishing Tackle box in your inventory.
How to earn the Broken Blade of Strife and Hive Statue location in Destiny 2
The first blade is the Broken Blade of Strife. This is earned by depositing the Whispering Mothcarp exotic fish at the H.E.L.M.
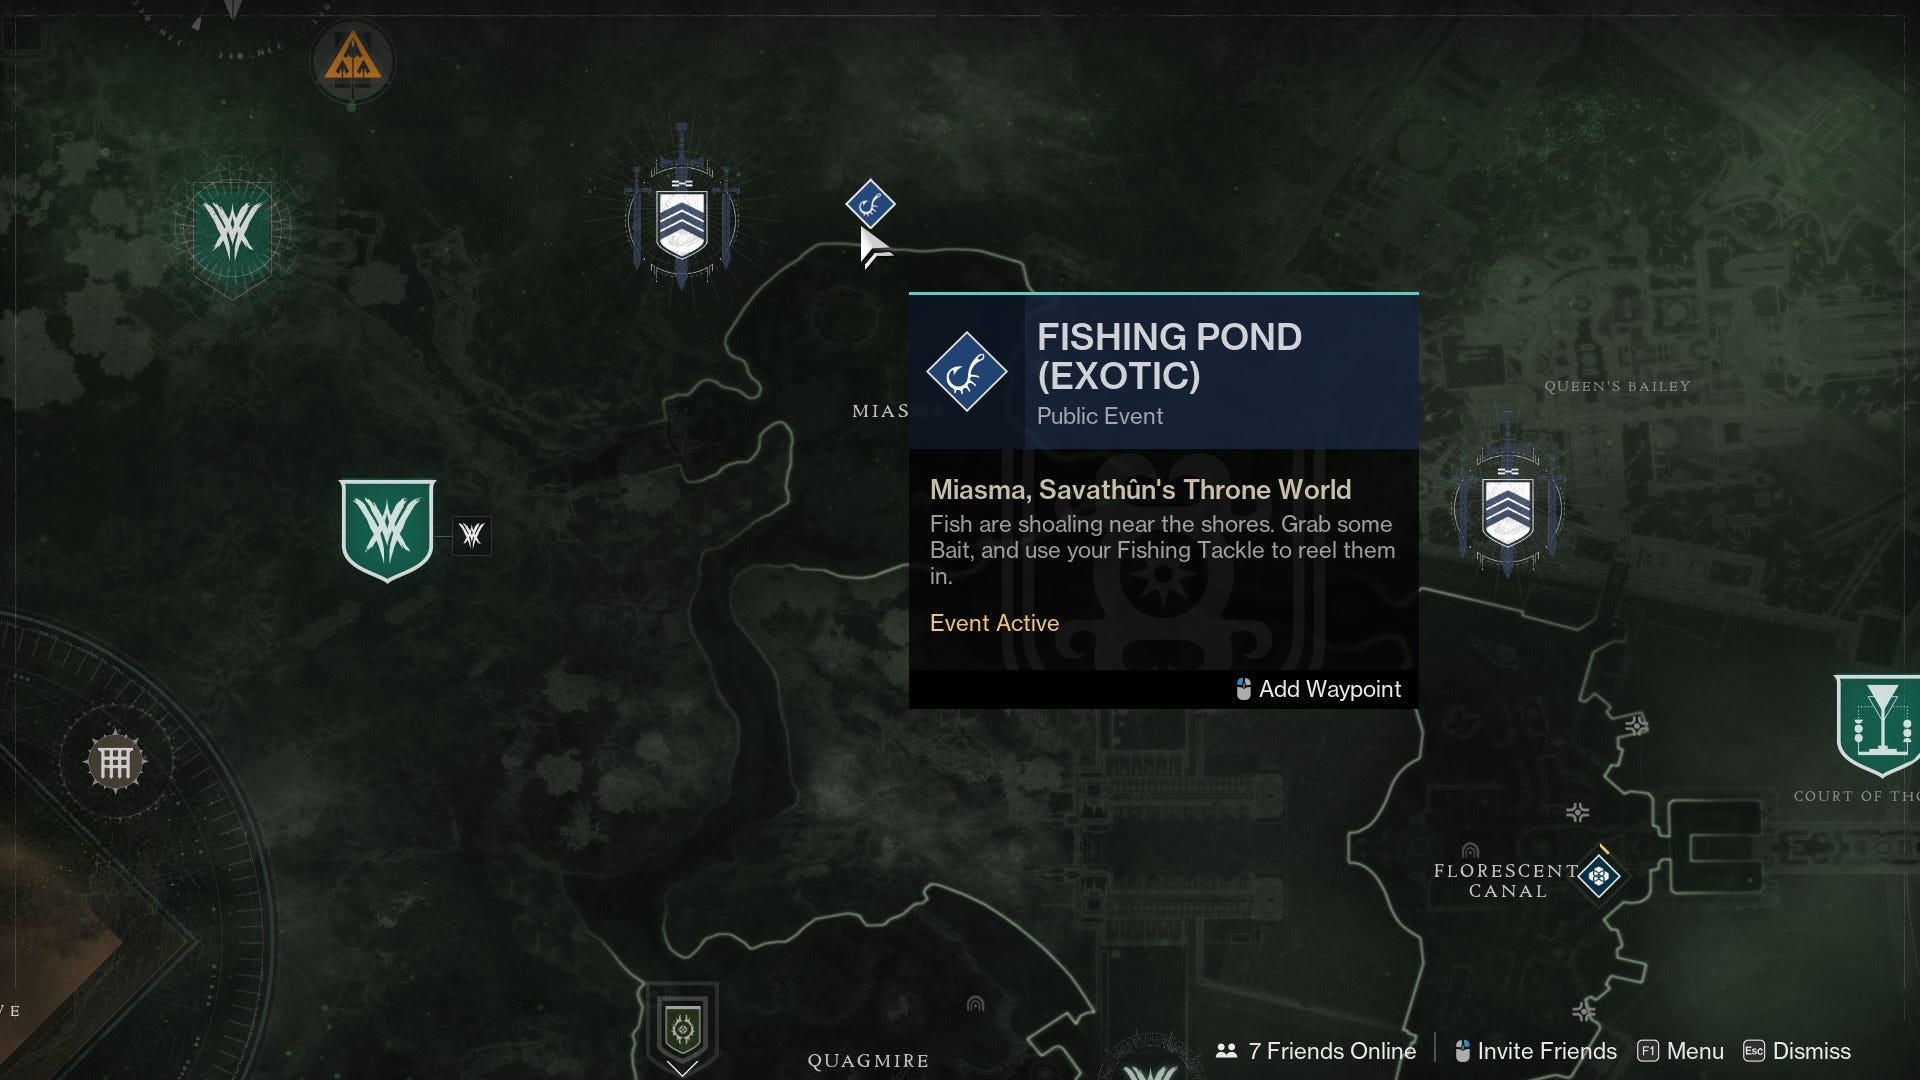
The Whispering Mothcarp is found in Savathun’s Throne World. Open the regional map to find the pond, and set up shop there.
How long it takes will depend mostly on luck, so best set aside some time, and bring a lot of bait. Eventually you’ll see the shiny gold fish come out. Collect it, and head to the H.E.L.M. Deposit it at the aquarium, and the Broken Blade of Strife will be added to your Fishing Tackle.
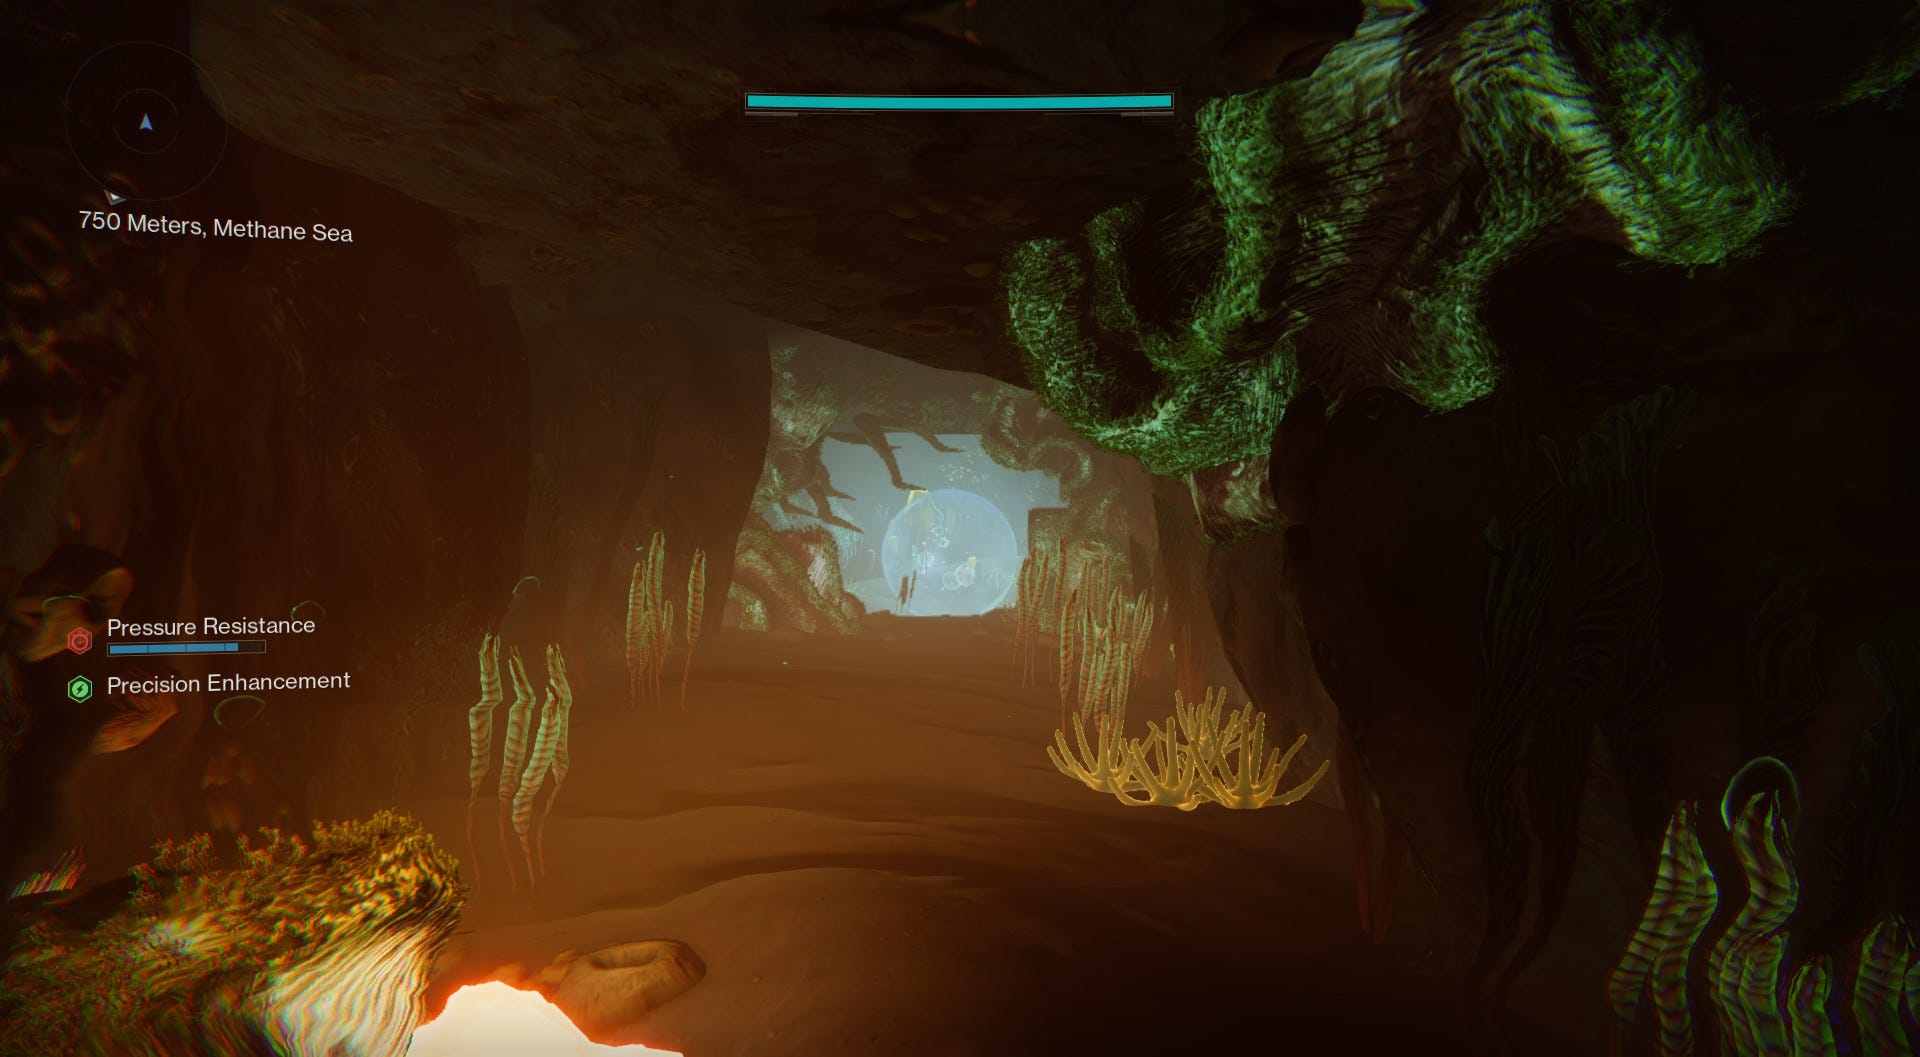
Now open the H.E.L.M. menu, and launch a deep dive. The statue for this is in the first deep dive area. Proceed down the hatch into the depths, and keep to the right once you get to the first area with plants at 750 meters. Hug the wall to your right, and look for a small opening and path. It’s the same area as the Twilight Plant in our Aquarium Decorations guide.
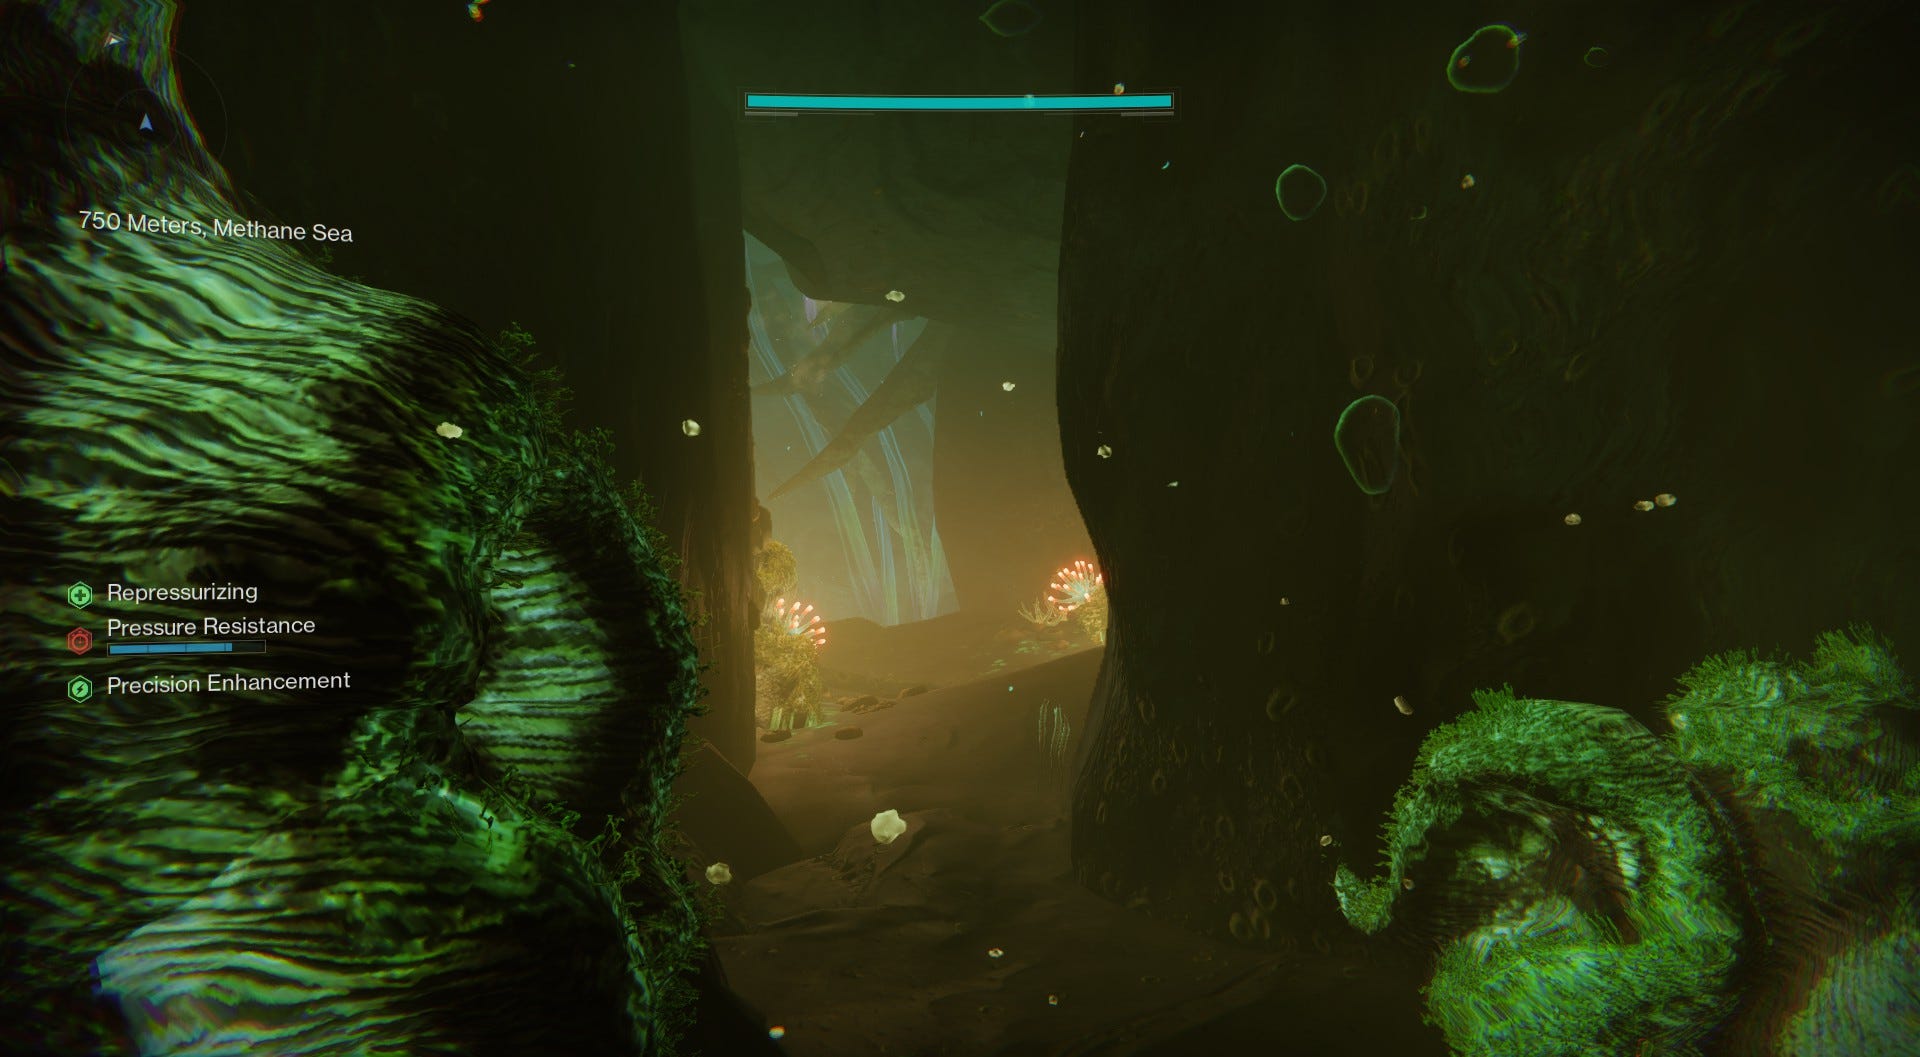
Shortly before you reach the plant there will be a pit. Look down and to your right to find the statue.
Walk up to it, and offer the Broken Blade of Spite.
How to earn the Broken Blade of Ambition and Hive Statue location in Destiny 2
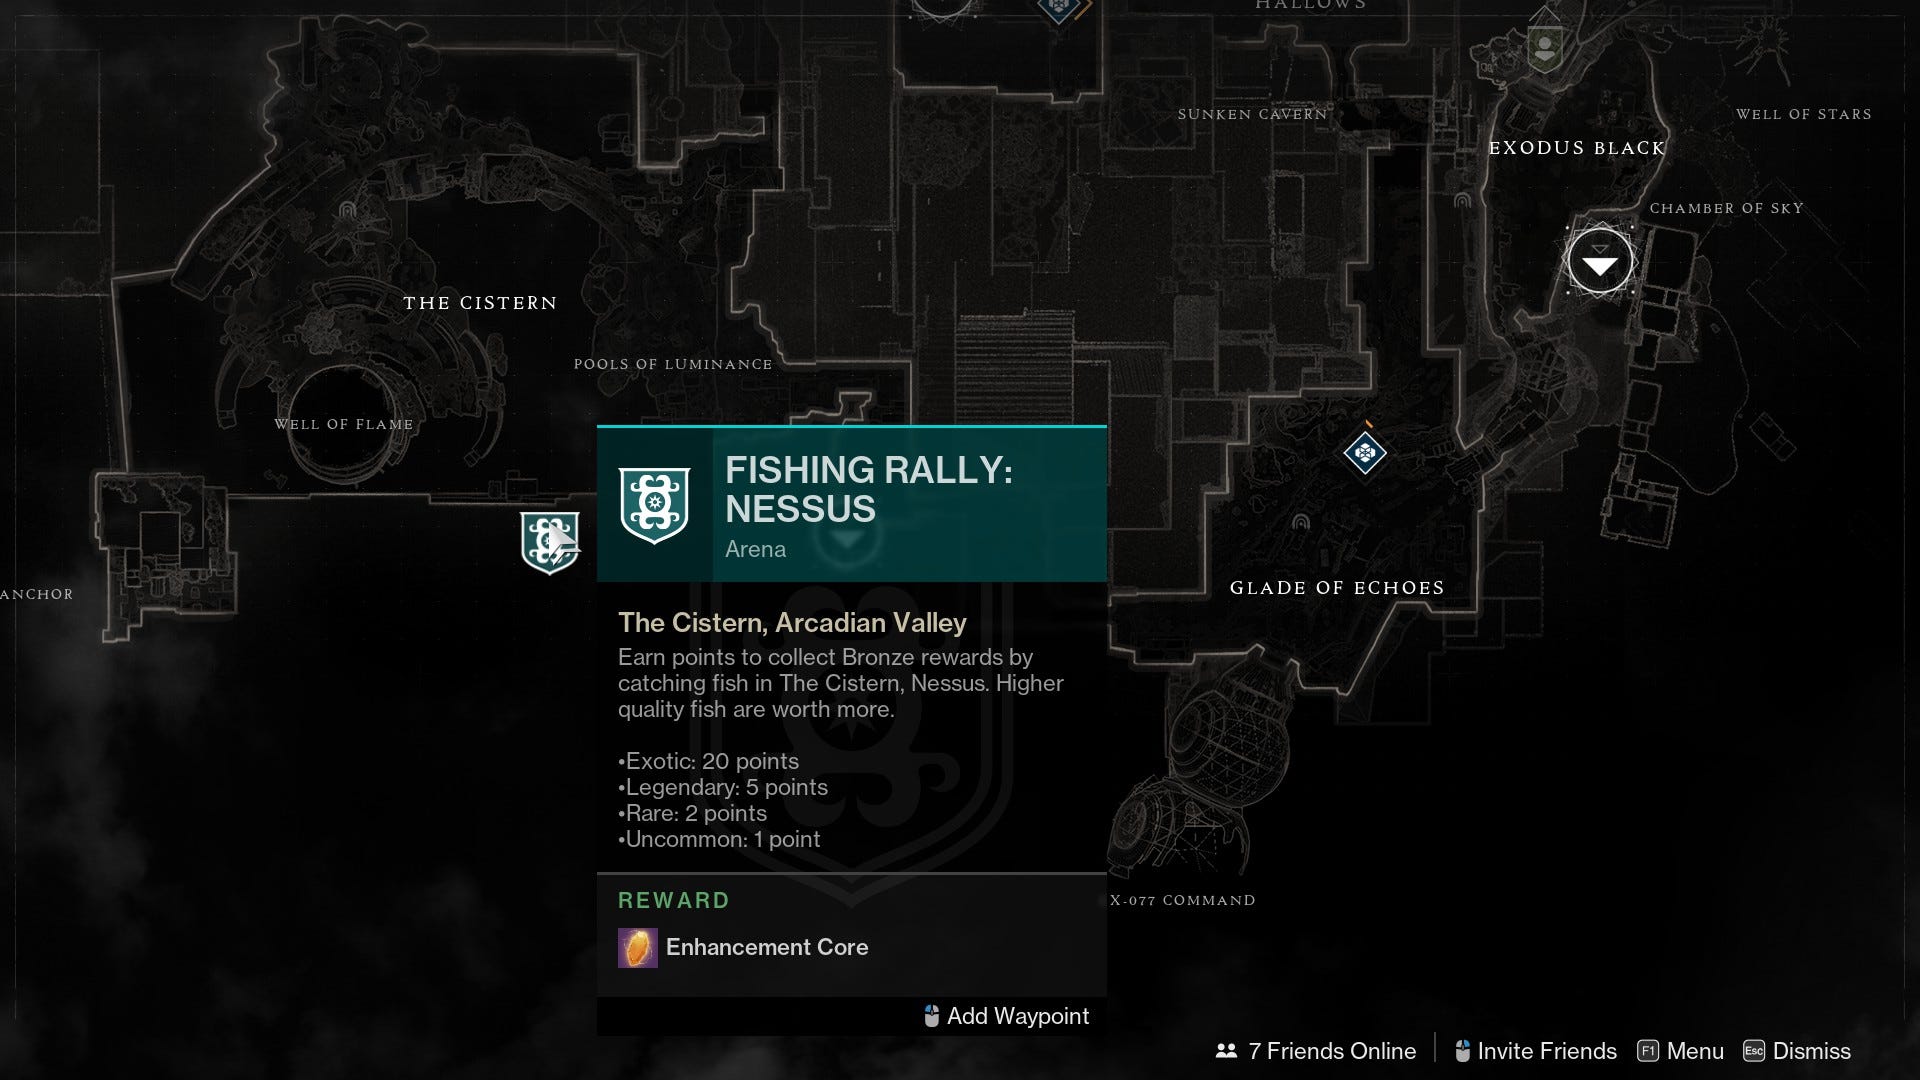
The search for the Broken Blade of Ambition begins on Nessus. Locate the fishing pond, and cast your line. This time you are on the hunt for a Vexing Placoderm exotic fish. Fishing is all about patience, so settle in, and catch fish until you get the one you need.
Once you’ve caught the Placoderm, take it to the H.E.L.M., and add it to your collection. The Broken Blade of Ambition will be yours, and stashed safely in your Fishing Tackle.
Begin the Deep Dive from H.E.L.M. This time you are going to the first enemy encounter area, after the initial dive. When you enter the room look straight ahead to the doorways thay roughly divide the area in half. On the other side of that doorway, up and to the left is a balcony and a locked door.
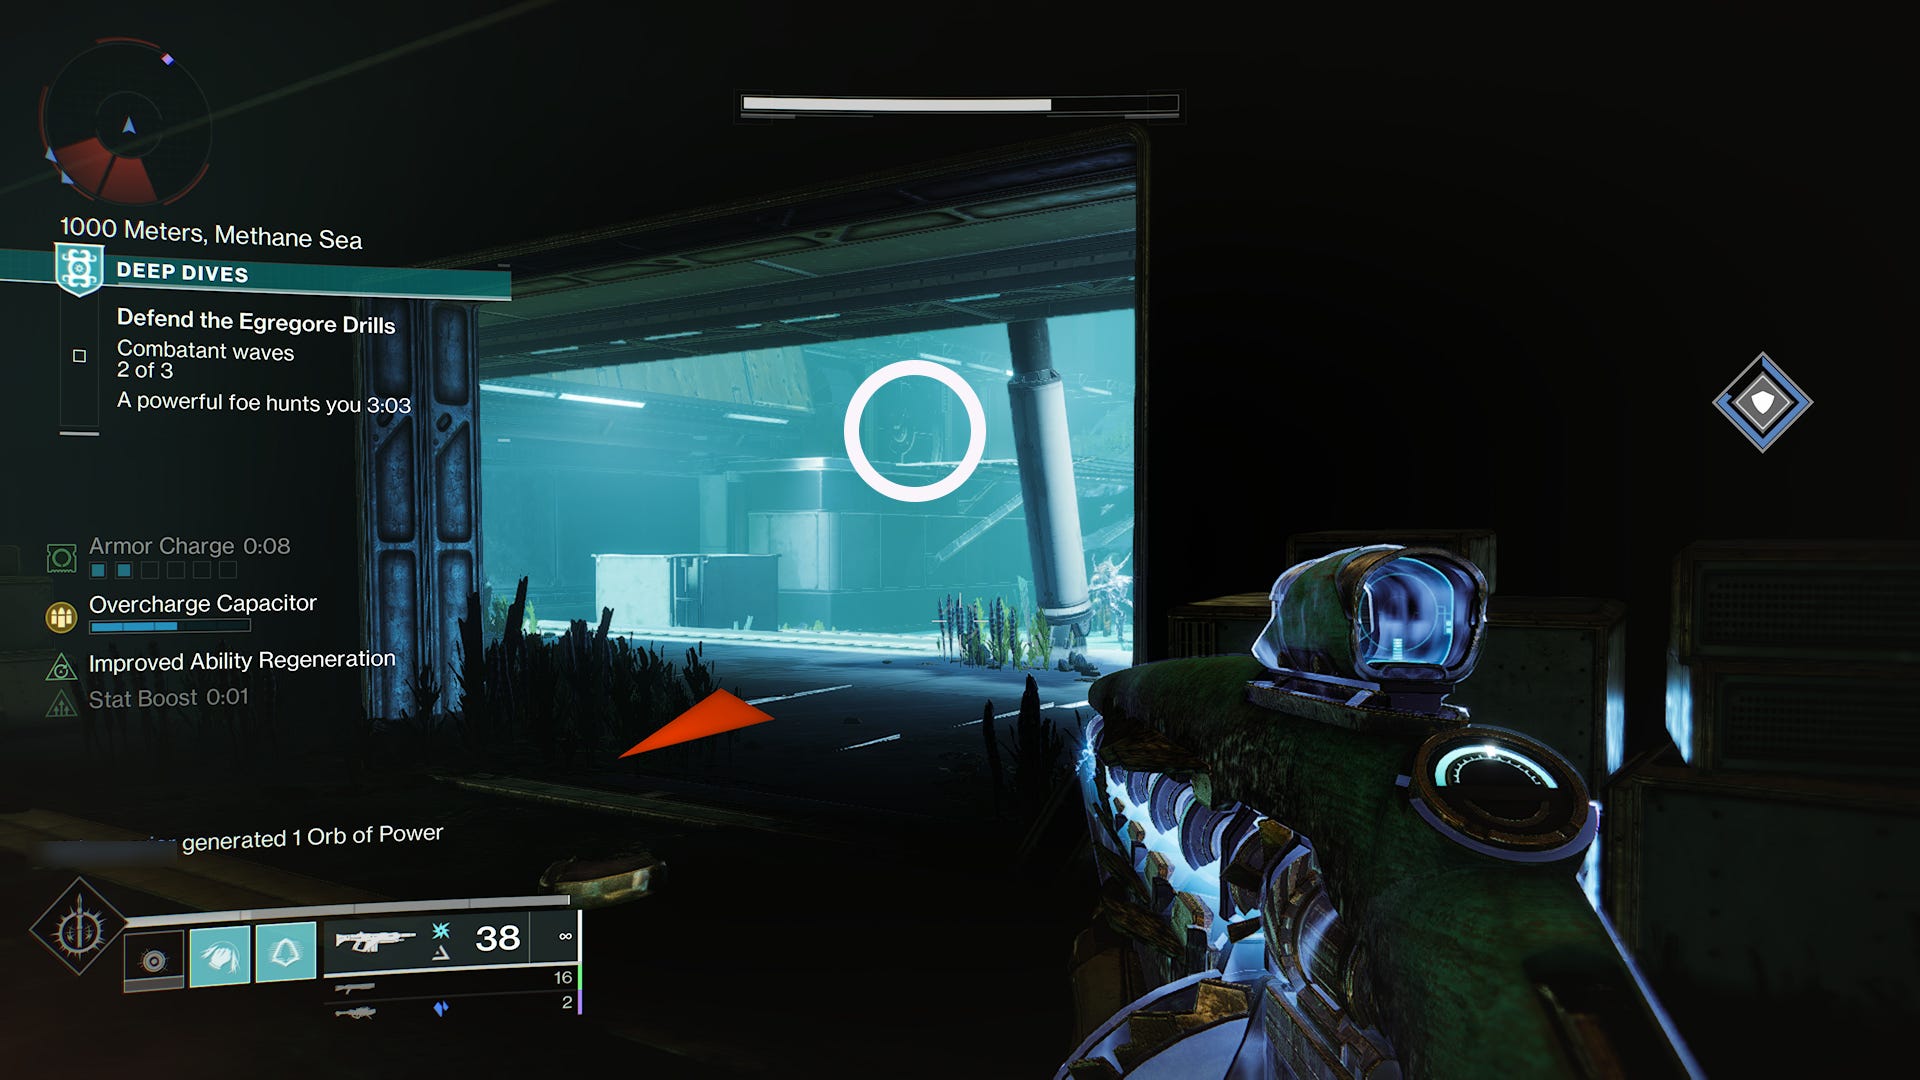
Once you defeat the enemies and clear the objectives in this space that door will open. Visit the statue before moving on (or before your teammates pull you ahead), and deposit the Broken Blade of Ambition.
How to earn the Broken Blade of Cunning and Hive Statue location in Destiny 2
The final piece to find is the Broken Blade of Cunning. Open the Director, navigate to the EDZ, and note (or mark) the fishing pond location. Go there, cast your line, and get comfortable while you fish for the exotic Aeonion Alpha-Beta.
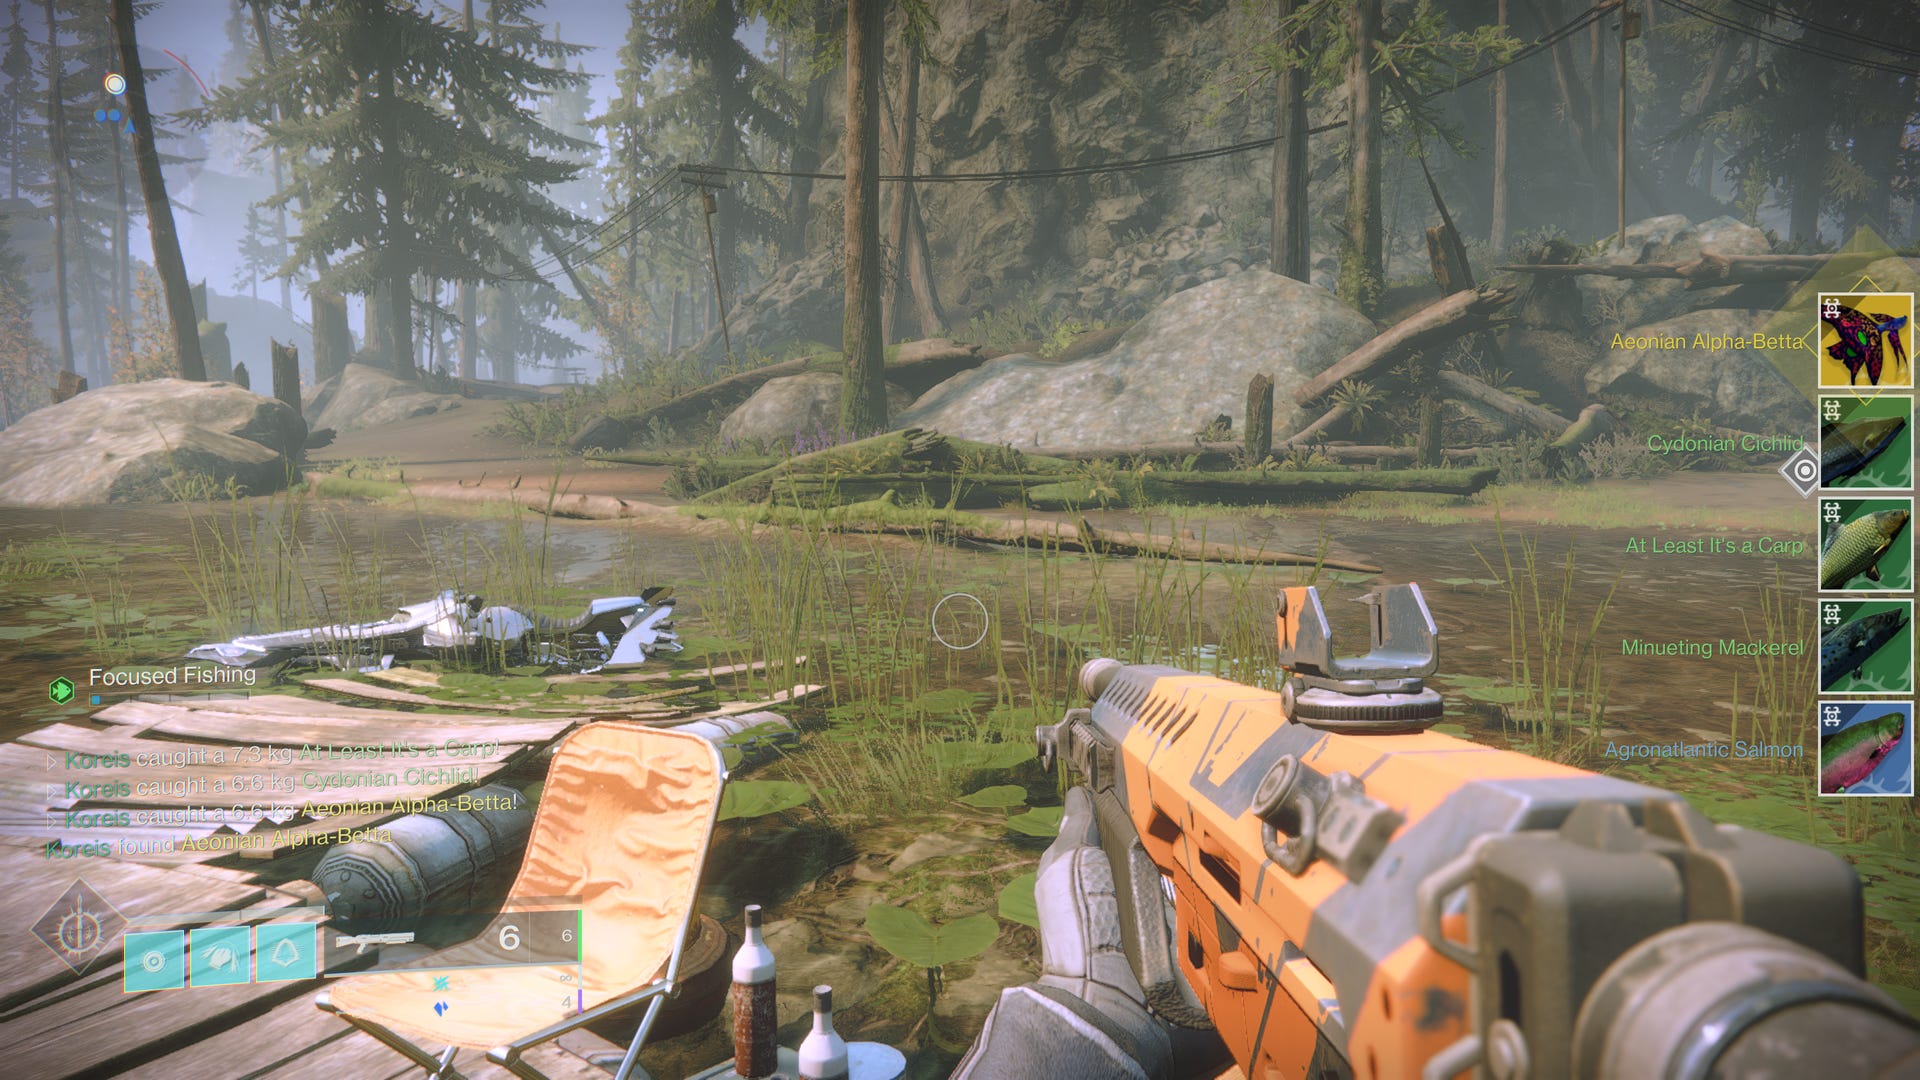
Once you make the prized catch, deposit it at Aquarium in the H.E.L.M., and the Broken Blade of Cunning will be yours.
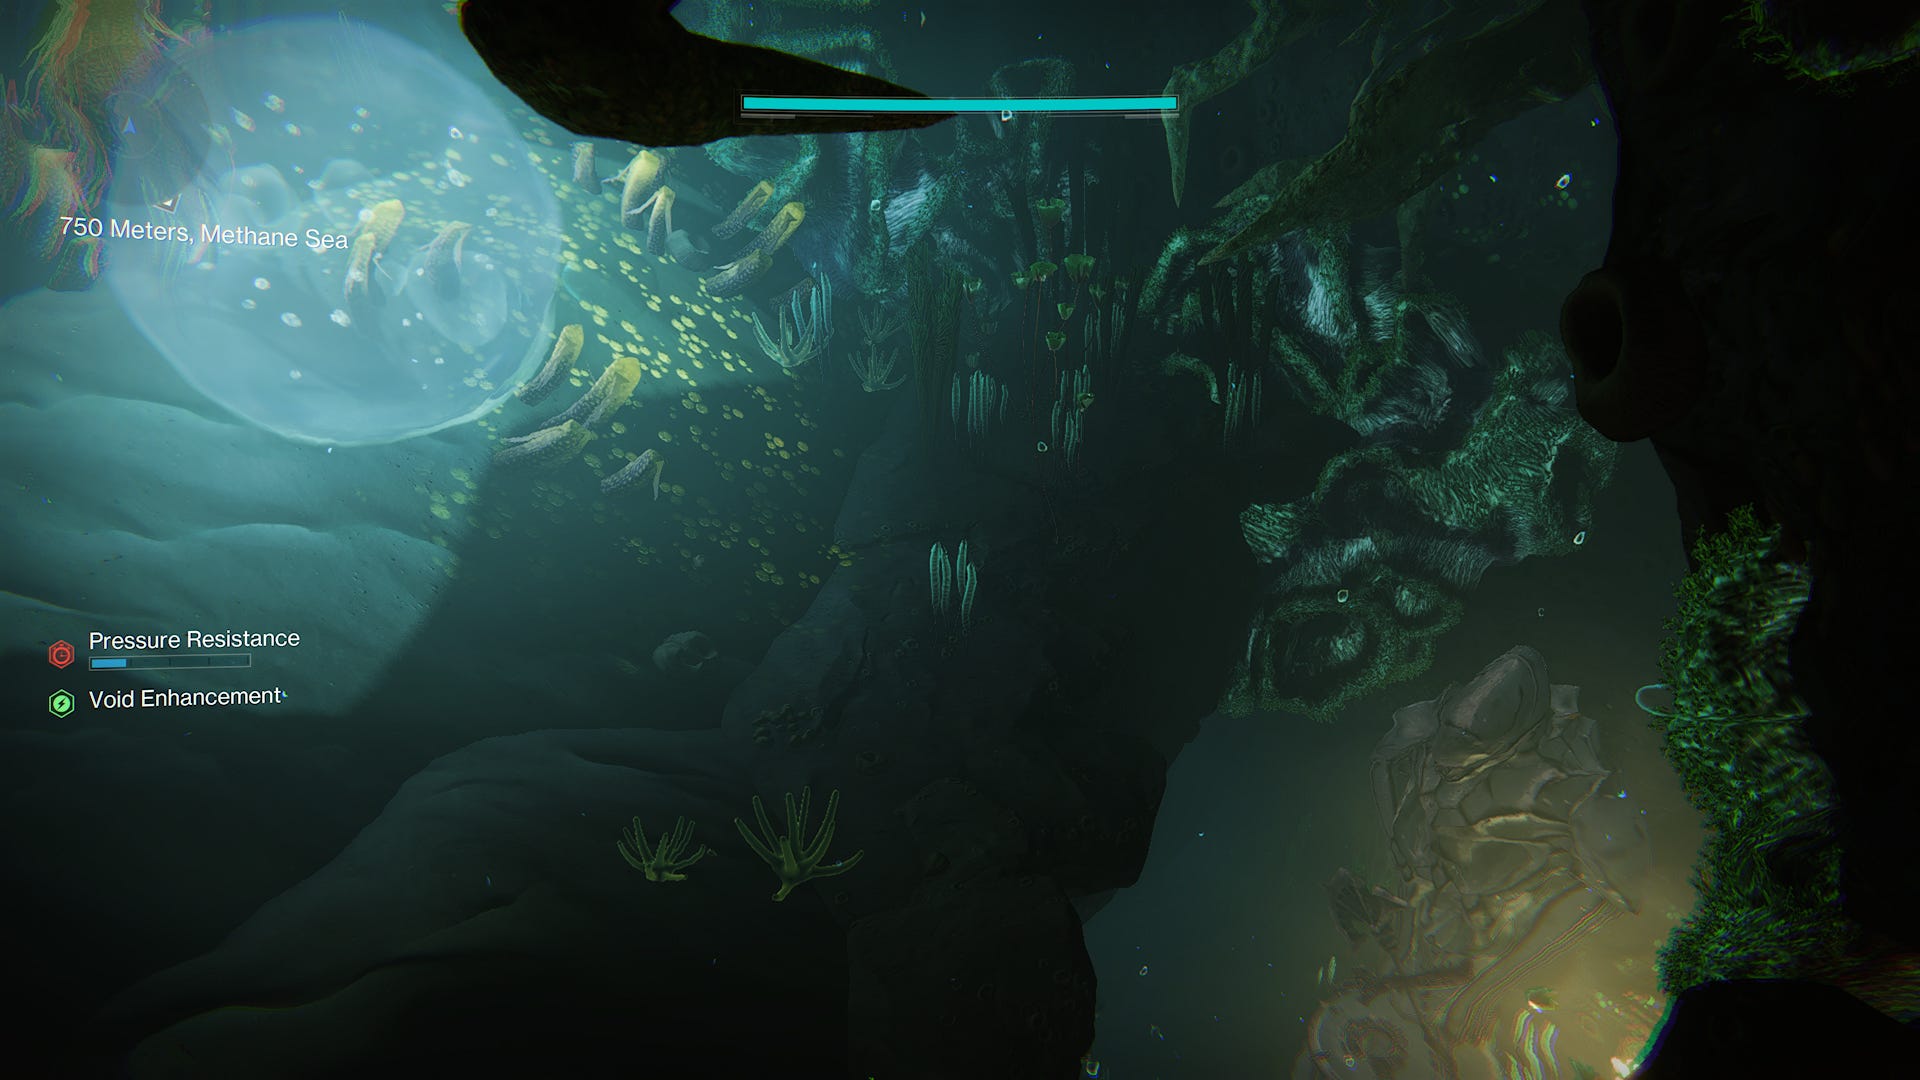
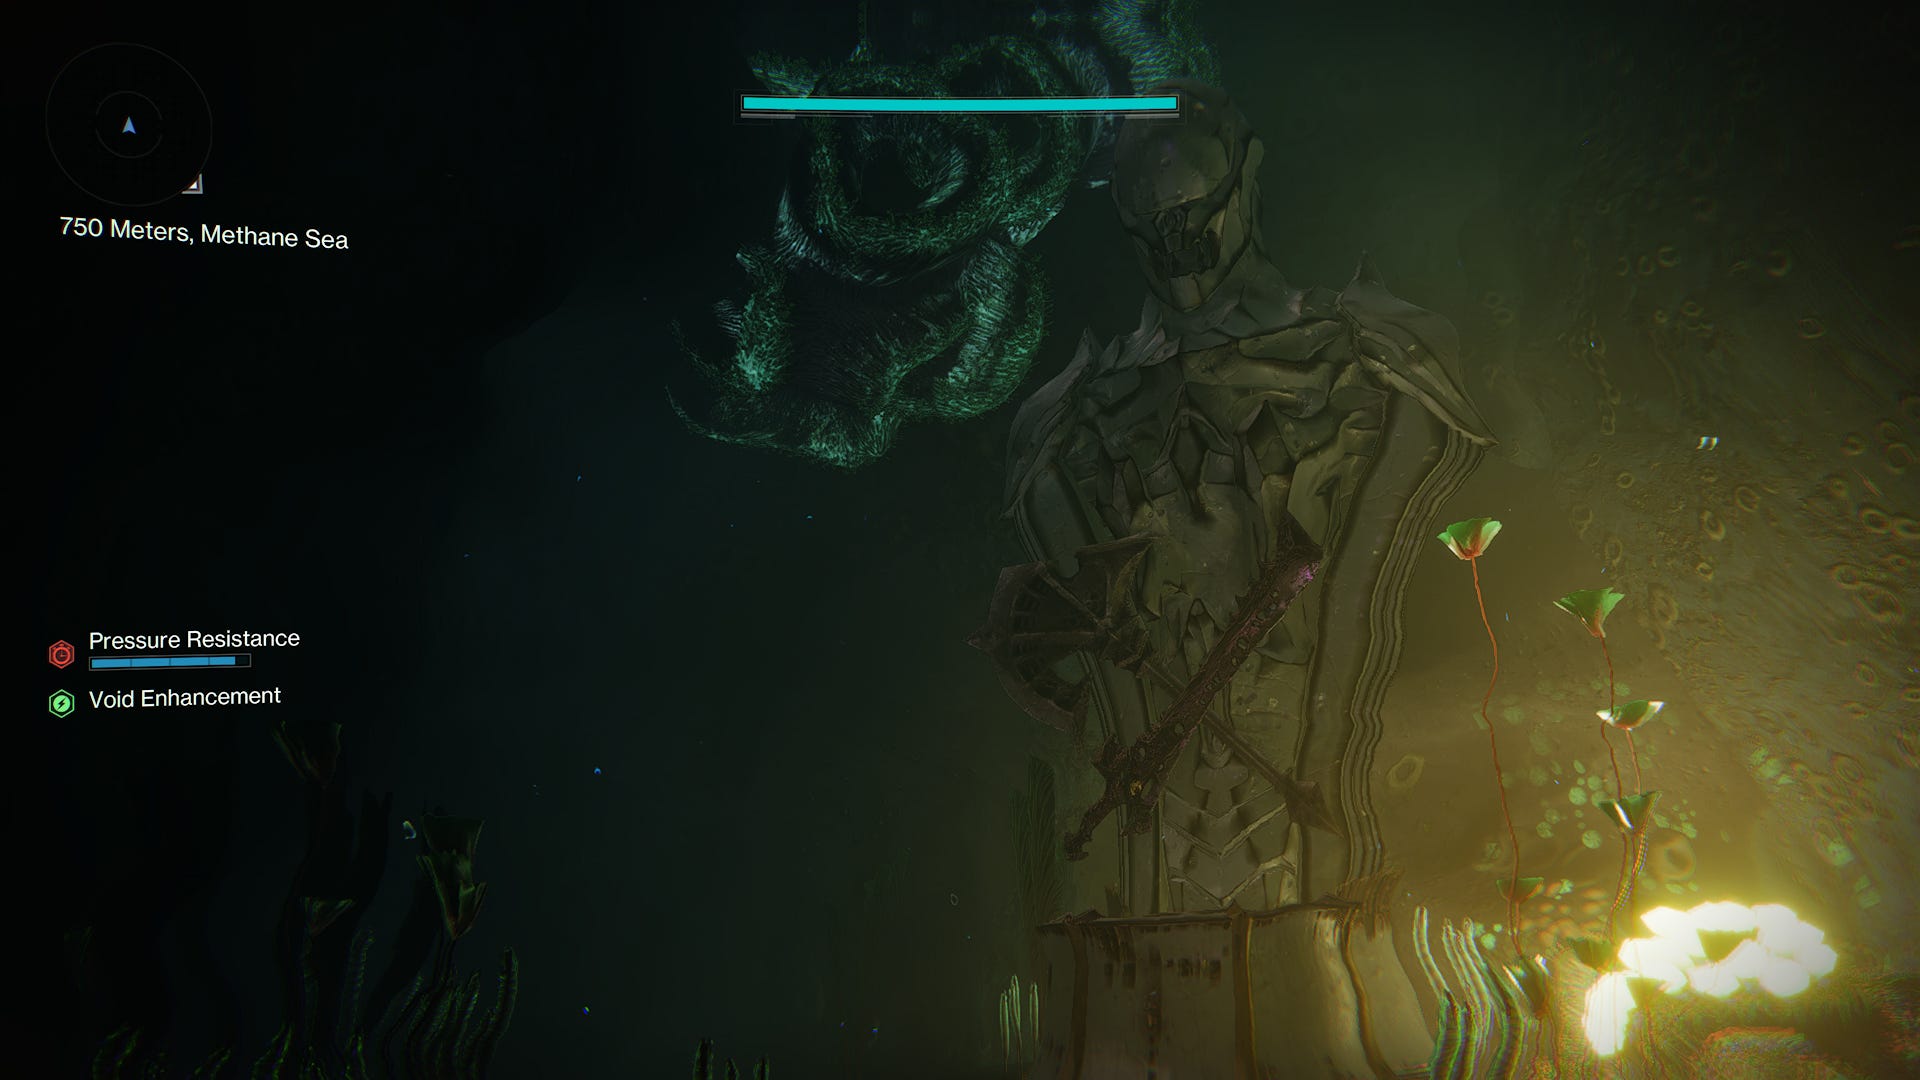
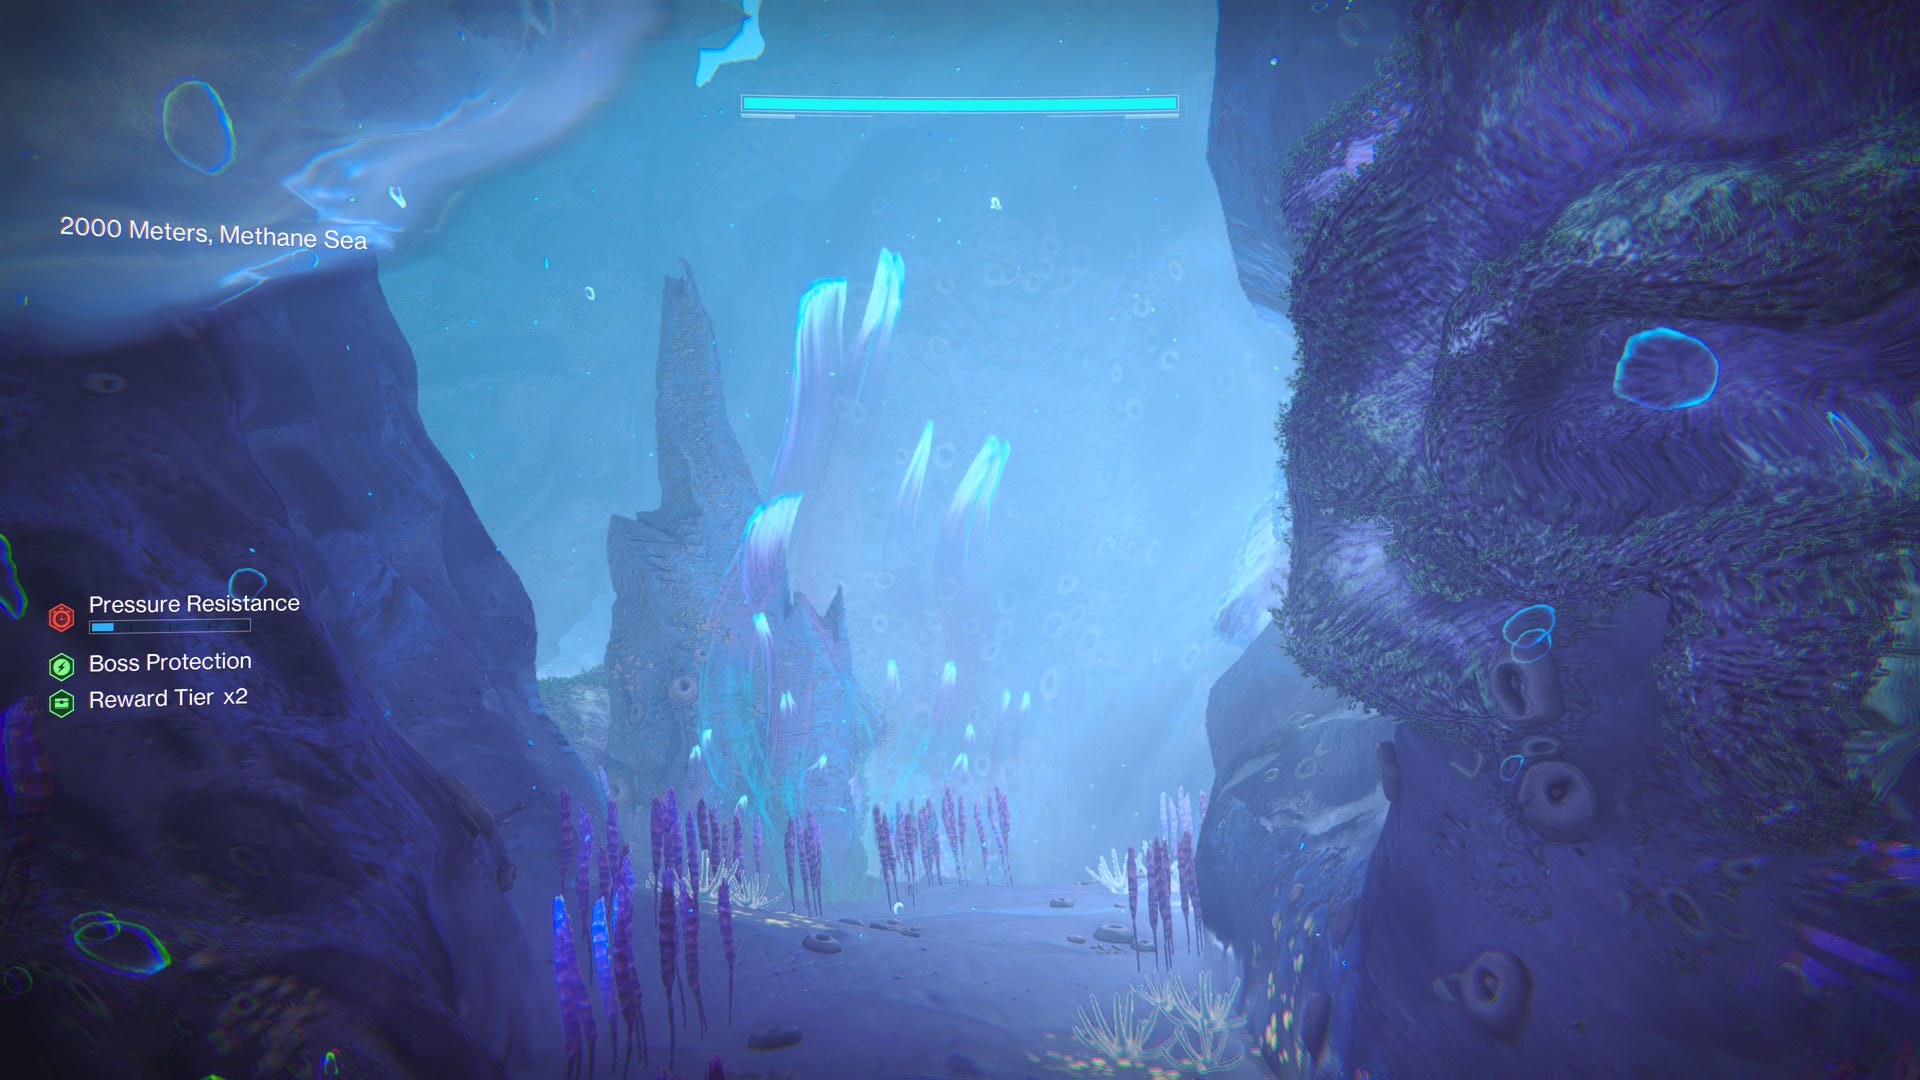
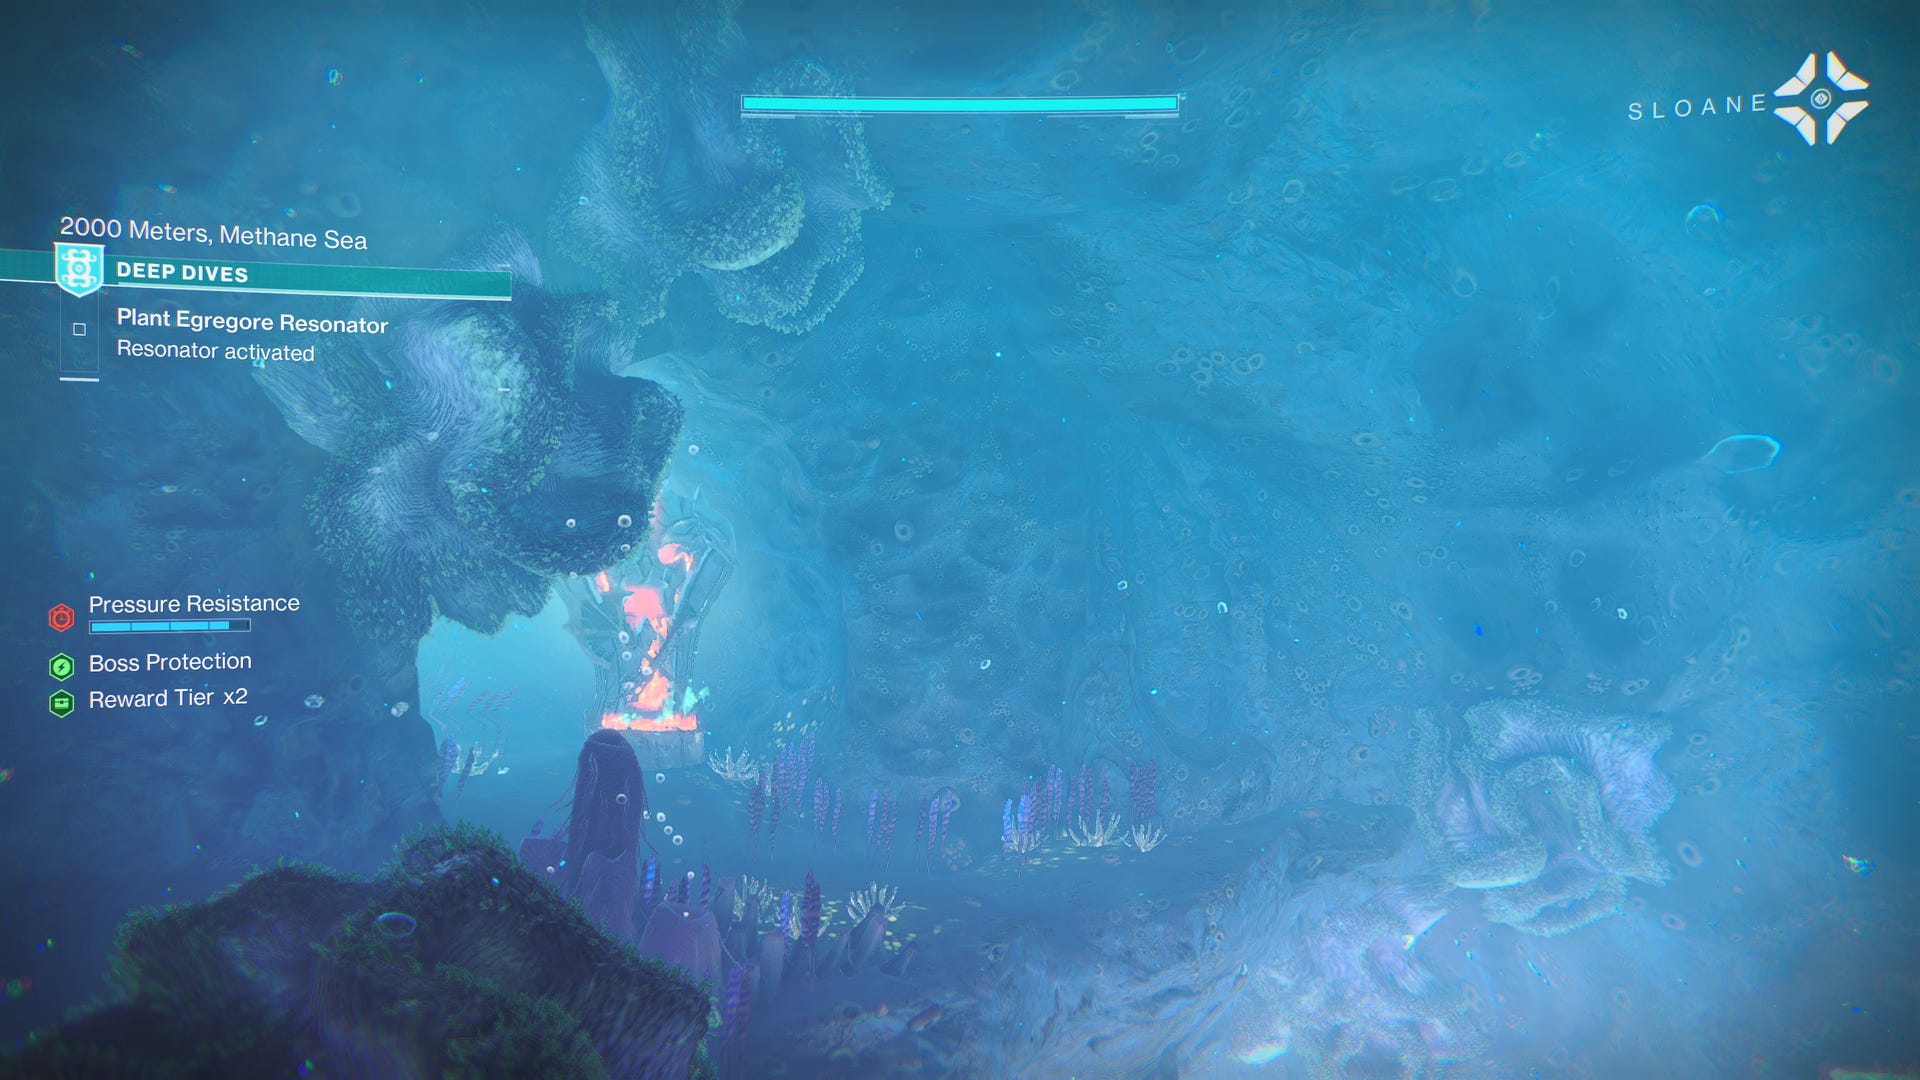
Now begin a Deep Dive. Work your pay past the first encounter, and enter the depths thereafter. Drop to the flat area below the large turbine, then drop again to some caverns in the sea. Look for the spiny pink plant, turn left, then left again at the large translucent blue anemone looking vegetation. Follow the wall on your left to reach the statue, and offer the Broken Blade of Cunning.
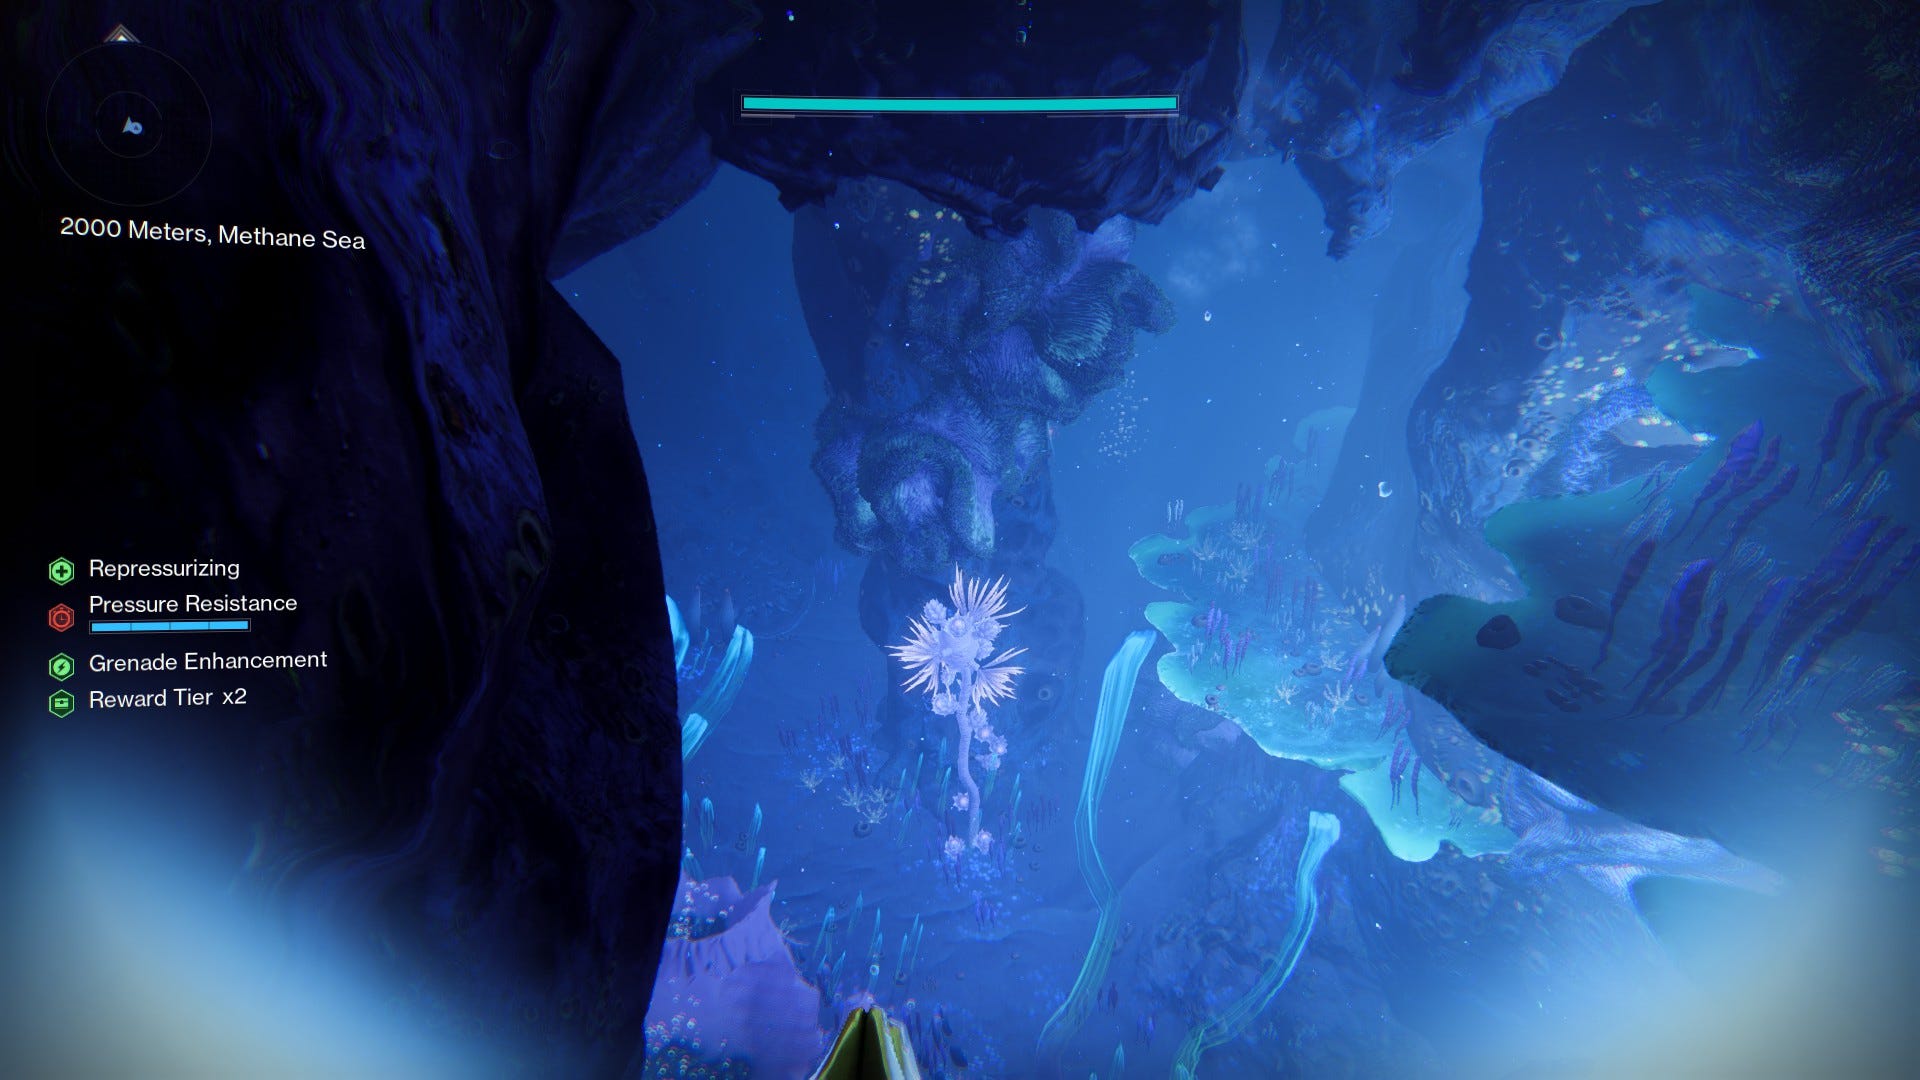
Once the Broken Blade is deposited, you can move ahead to the next encounter.
How to unlock Wicked Implement in Destiny 2
Once you’ve earned all of the Broken Blades you are eligible to try and unlock the Wicked Implement exotic scout rifle. Doing so requires taking on a very challenging timed mission in a hidden area called The Drowning.
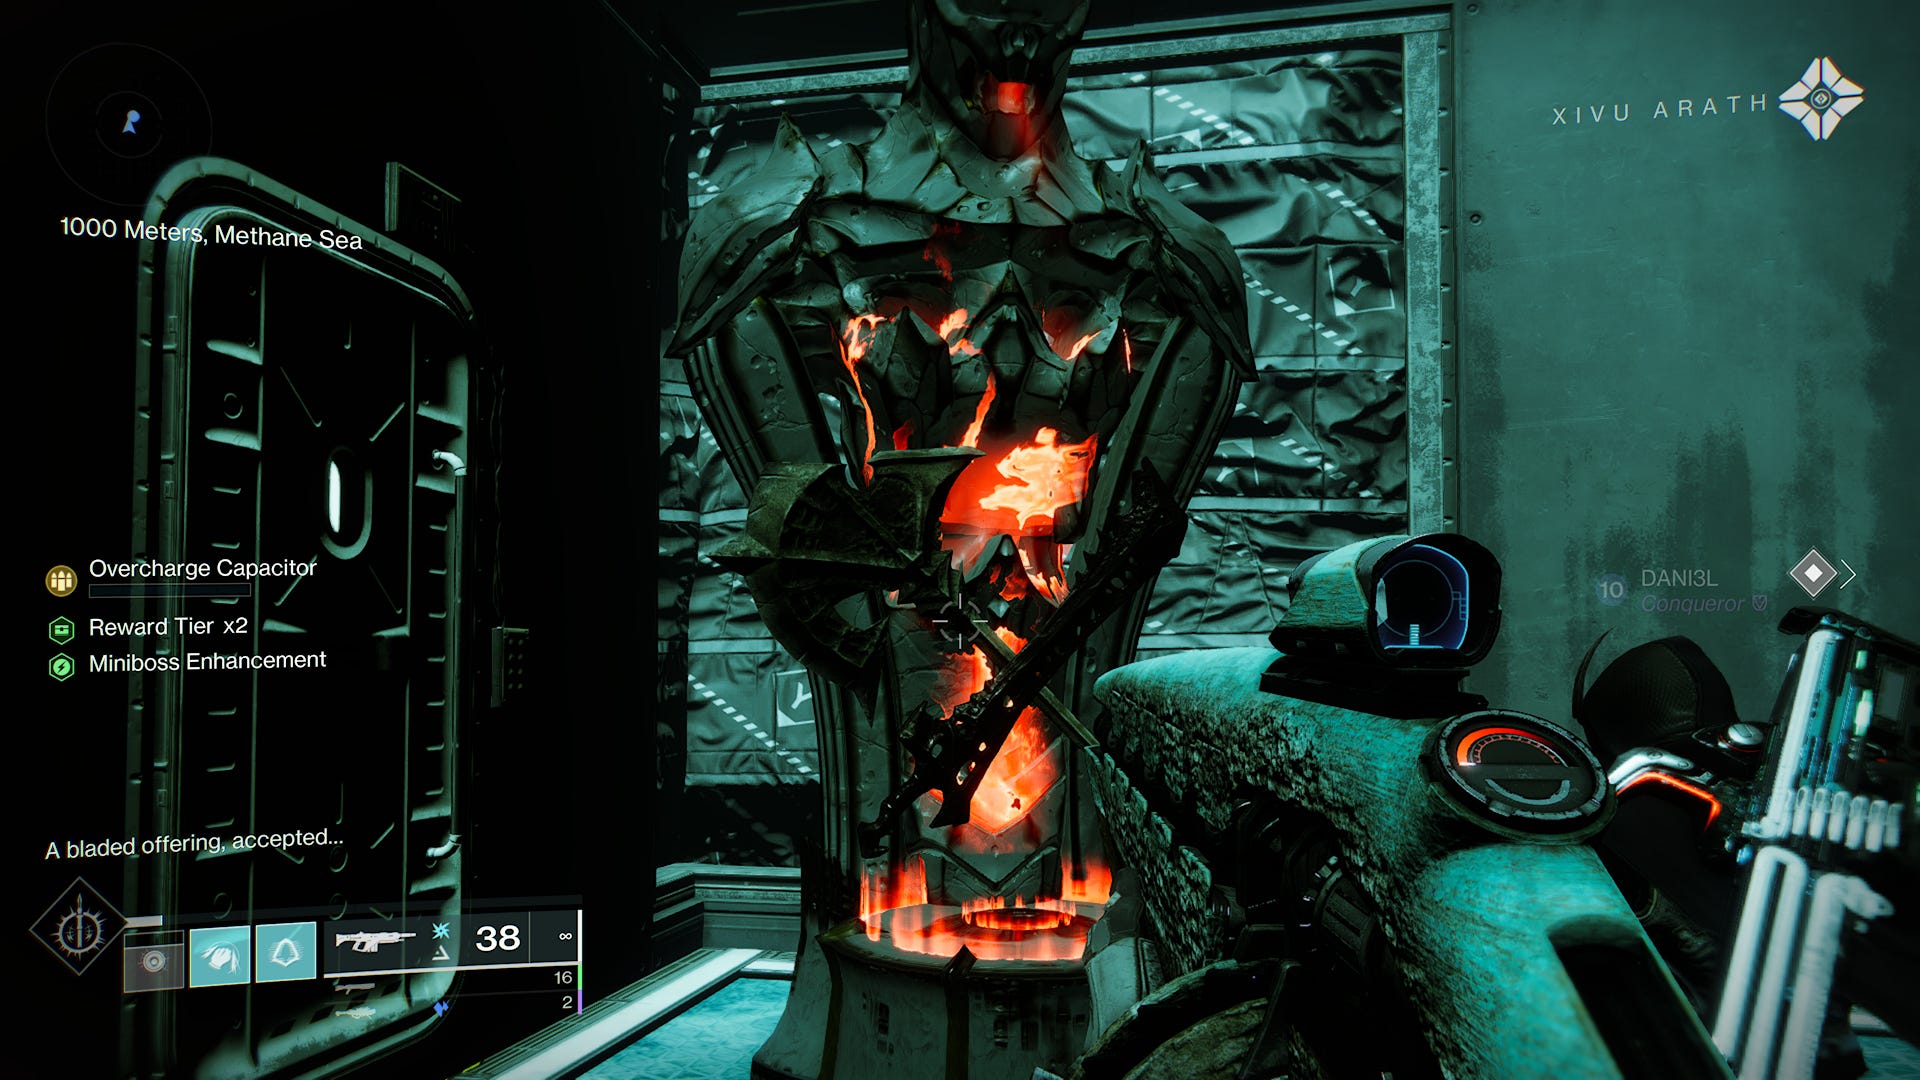
To open the entrance you will need to start a Deep Dive and deposit the blades at all three statues. Once you’ve done that, fight your way to and complete the second encounter, but do not proceed forward. Instead, look far to the right of the exit, toward a large set of doors. If you successfully deposited all of the Broken Blades, these will be open.
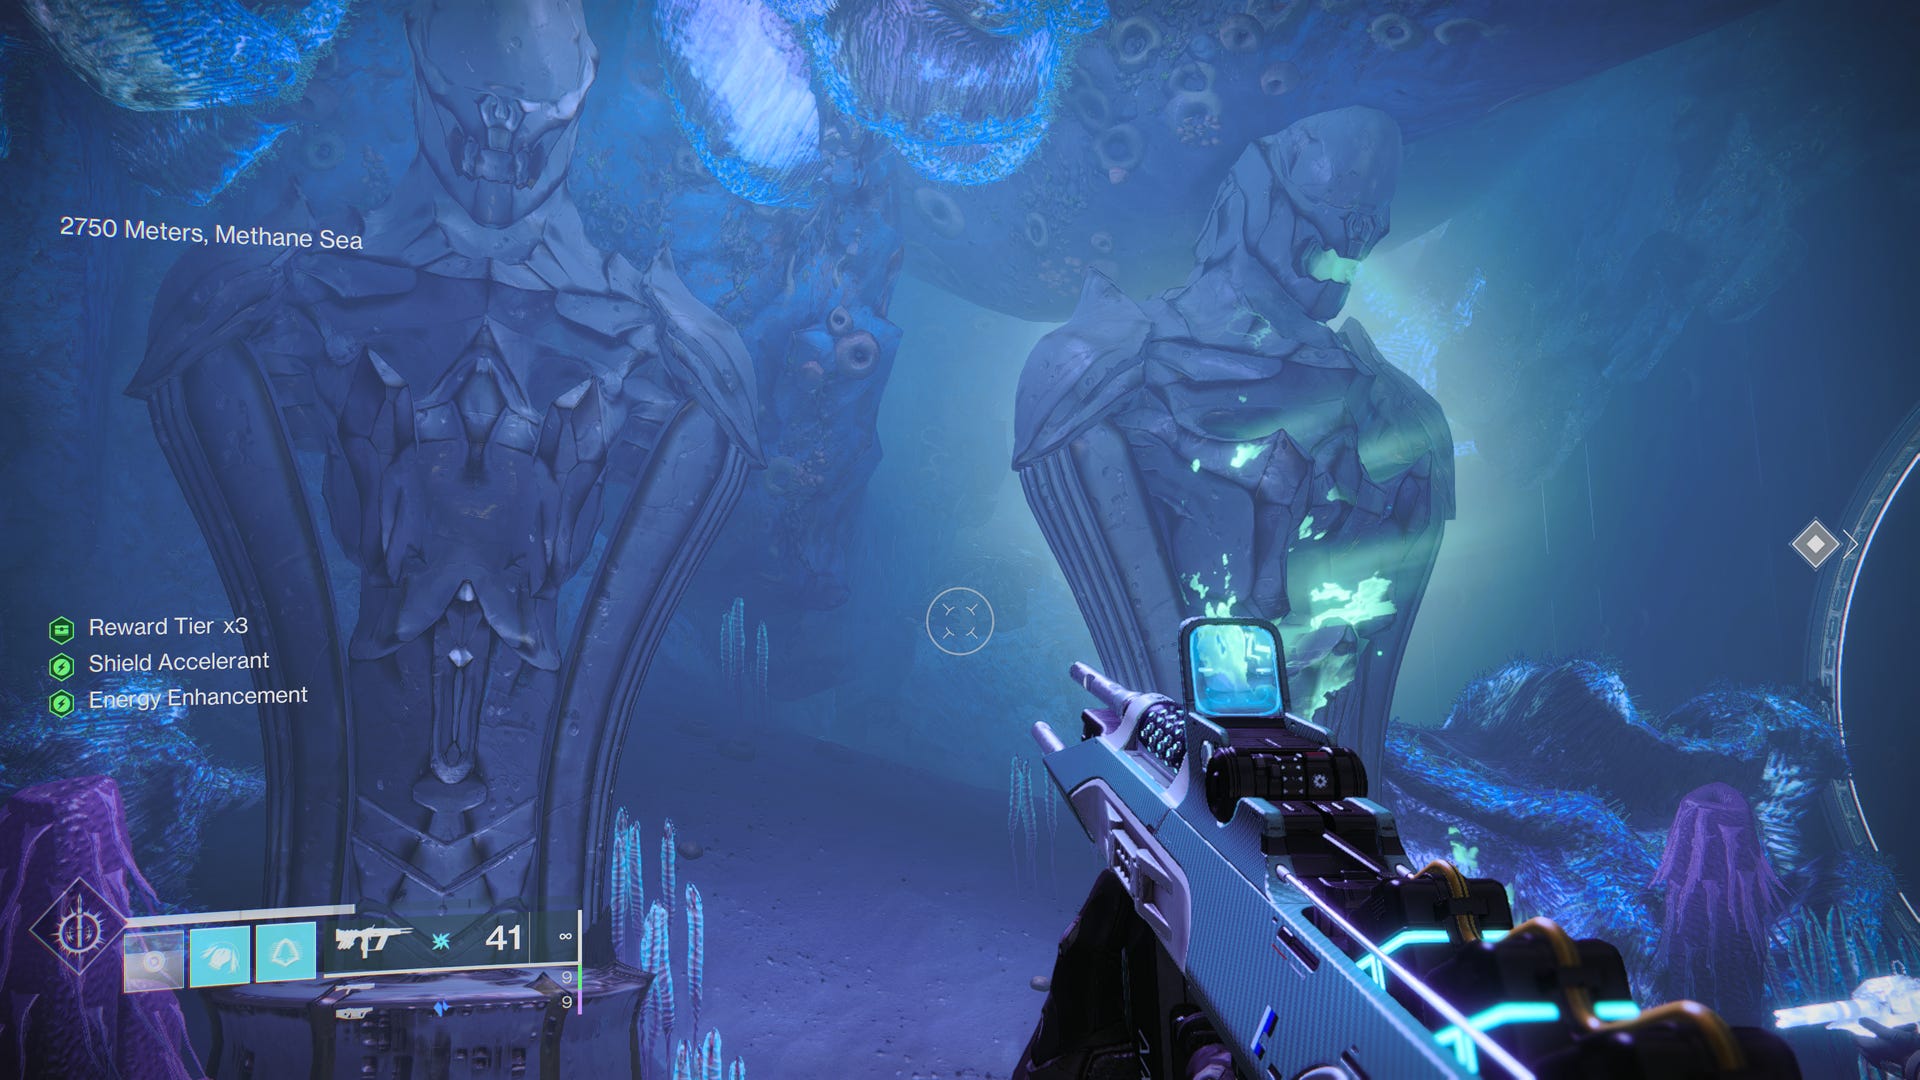
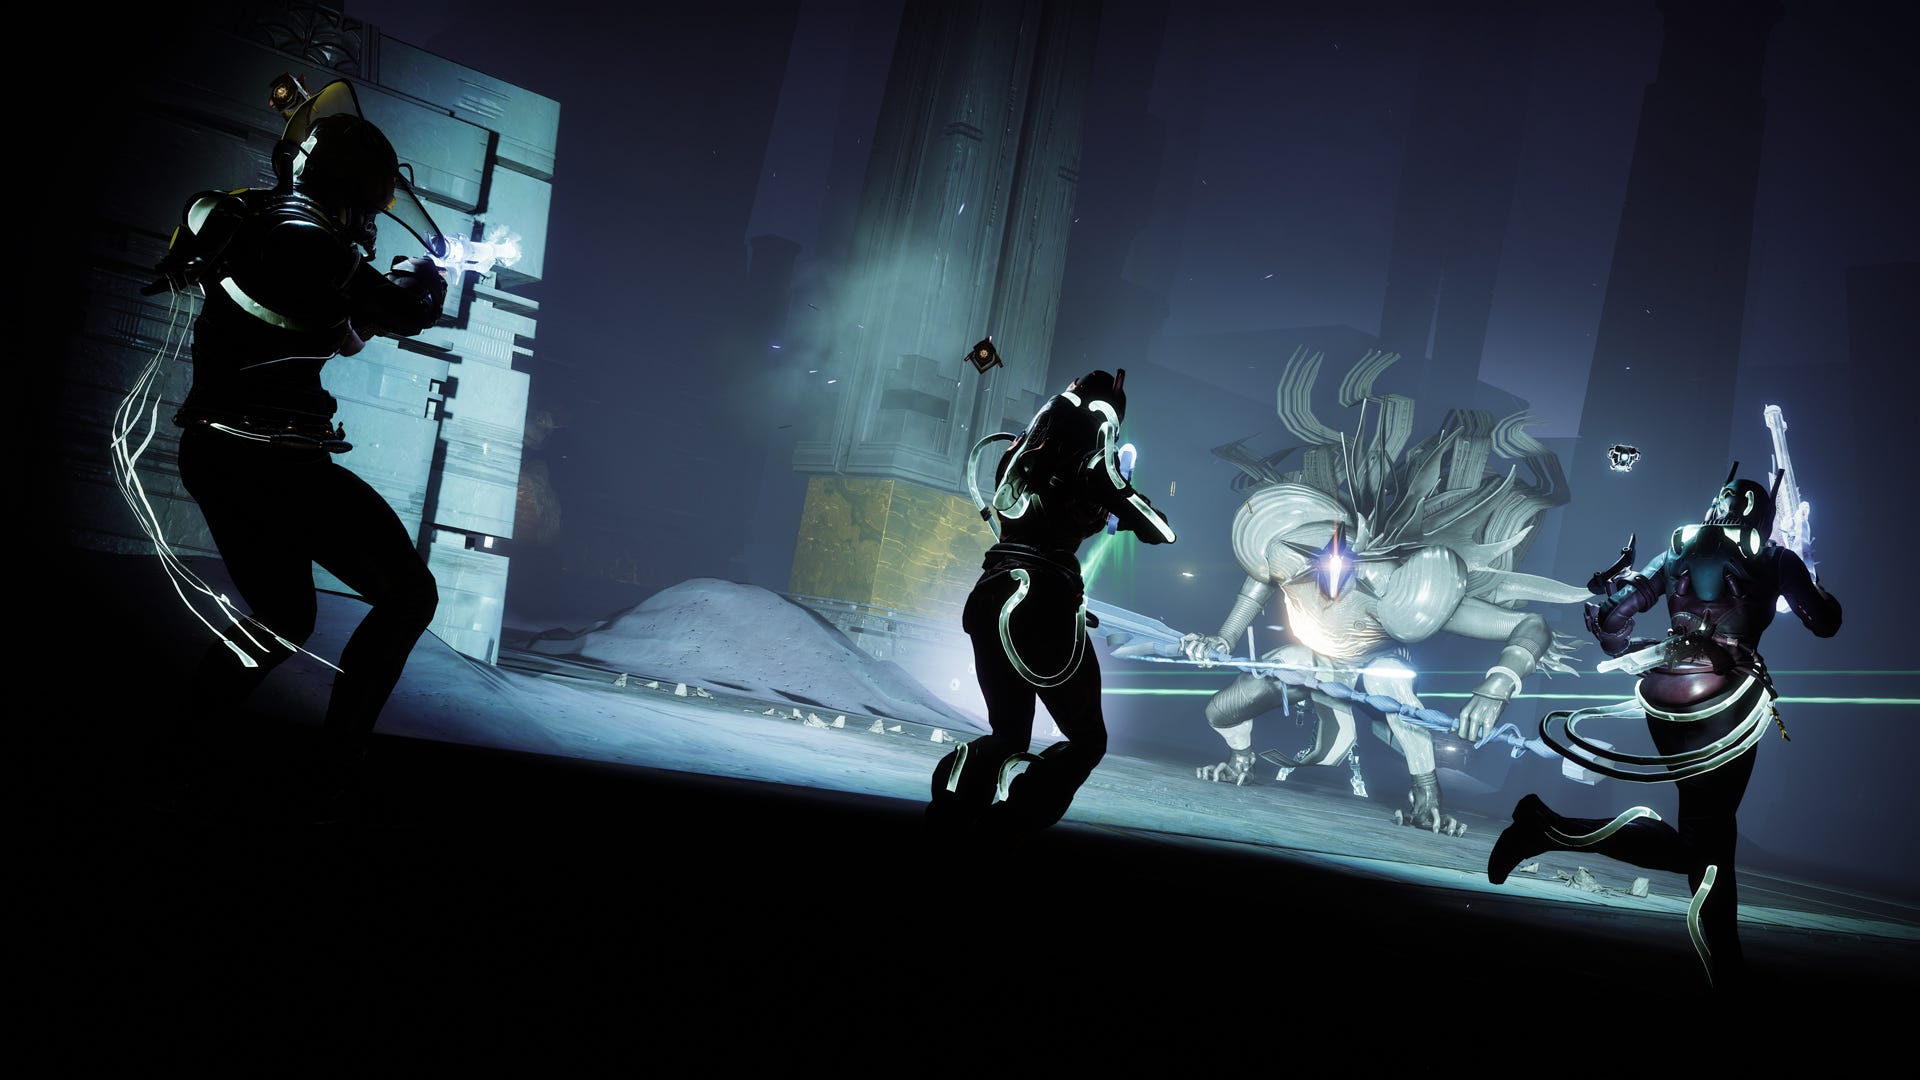
Inside are three hive statues. Each person in your fireteam must interact with a separate statue. Once you do so Xivu Arath will offer some words of 'encouragement', and the way forward will be open.
Preparing for the Wicked Implement mission in Destiny 2
The mission to unlock Wicked Implement is exceptionally hard, similar to a high level Raid or Dungeon. What makes it especially tough is a 10 minute time limit to complete the mission that begins part way through.
There will be both add clear and boss damage to focus on. The bosses have readily apparent critical spots, so high damage weapons that do precision damage like Taipan 4FR are a strong choice. Having at least one person using Divinity to enhance group damage is extremely helpful.
The weaker enemies are all Taken, so a Ruskrunner or Osteo Striga that clears large groups of weak enemies quickly can save some time. There will be some strong Minotaurs to kill at regular intervals, it is worth equipping some armour mods that decrease the void damage they deal.
Finally, keep in mind that the Extinguish modifier is active. If every member of the fireteam is dead simultaneously then the mission ends in failure, and everyone is sent back to orbit. Hunter invisibility abilities or a Warlock Well of Radiance can be really helpful for survivability.
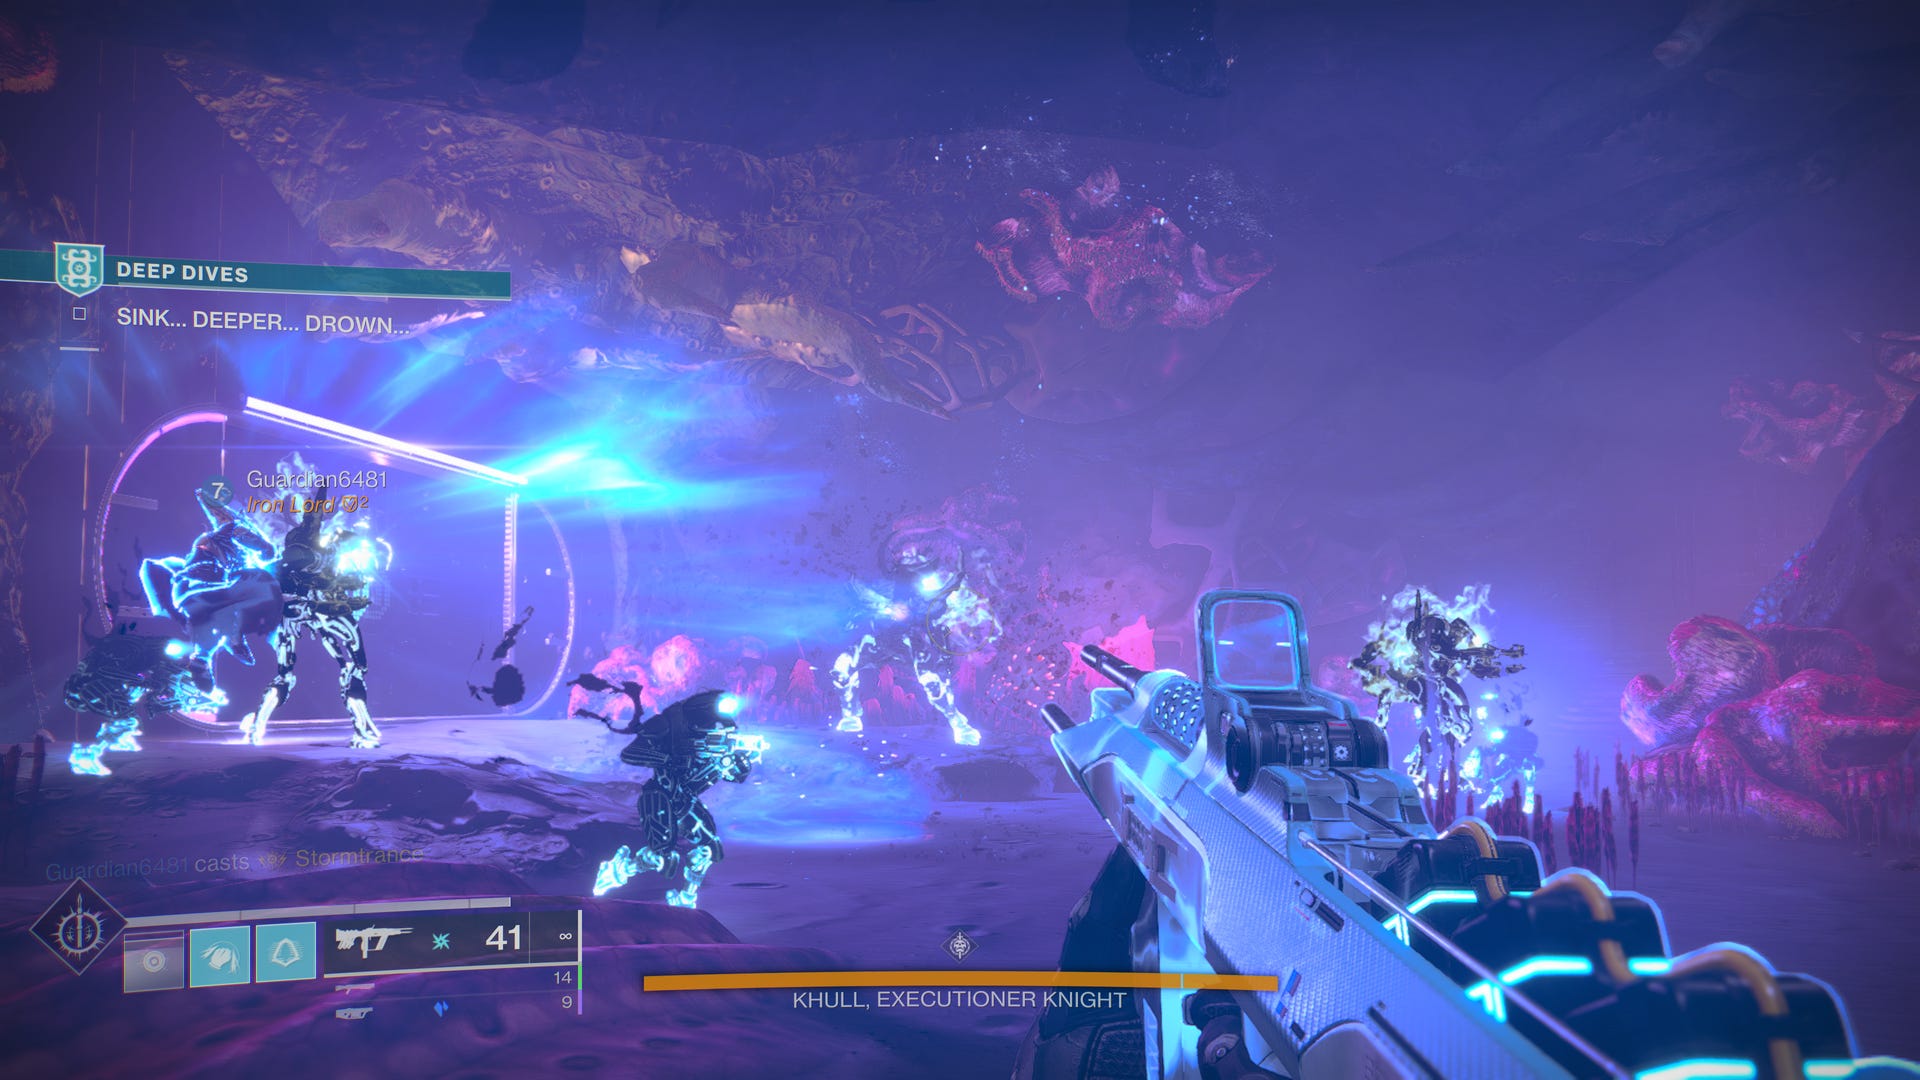
How to defeat Khull Executioner Knight in Destiny 2
Once you cross the bulkhead into the depths after the statues press straight ahead. There are plenty of air bubbles, and the path is very linear. You will quickly exit the depths into a long hallway that will fill with Taken enemies. Clear them out, and proceed forward through an airlock into the depths once again. Continue on until you drop down though the floor and out of the depths into an open room. Here you will meet the first boss, Khull, Executioner Knight.
This fight has a few phases. The first phase takes place in this room. Khull is extremely resistant to damage, so don’t waste any shots on him just yet. Other enemies will start to spawn in the room; take them out, and look for the three Honed Minotaurs. Each time you kill one of these Minotaurs they will grant a buff called Deathly Sharp. Once all three fall there will be a message that reads 'Sharp, Like Death.' This is your que to damage the boss. Once you’ve removed about a quarter of his health bar he becomes invincible, and teleports away, ending this phase.
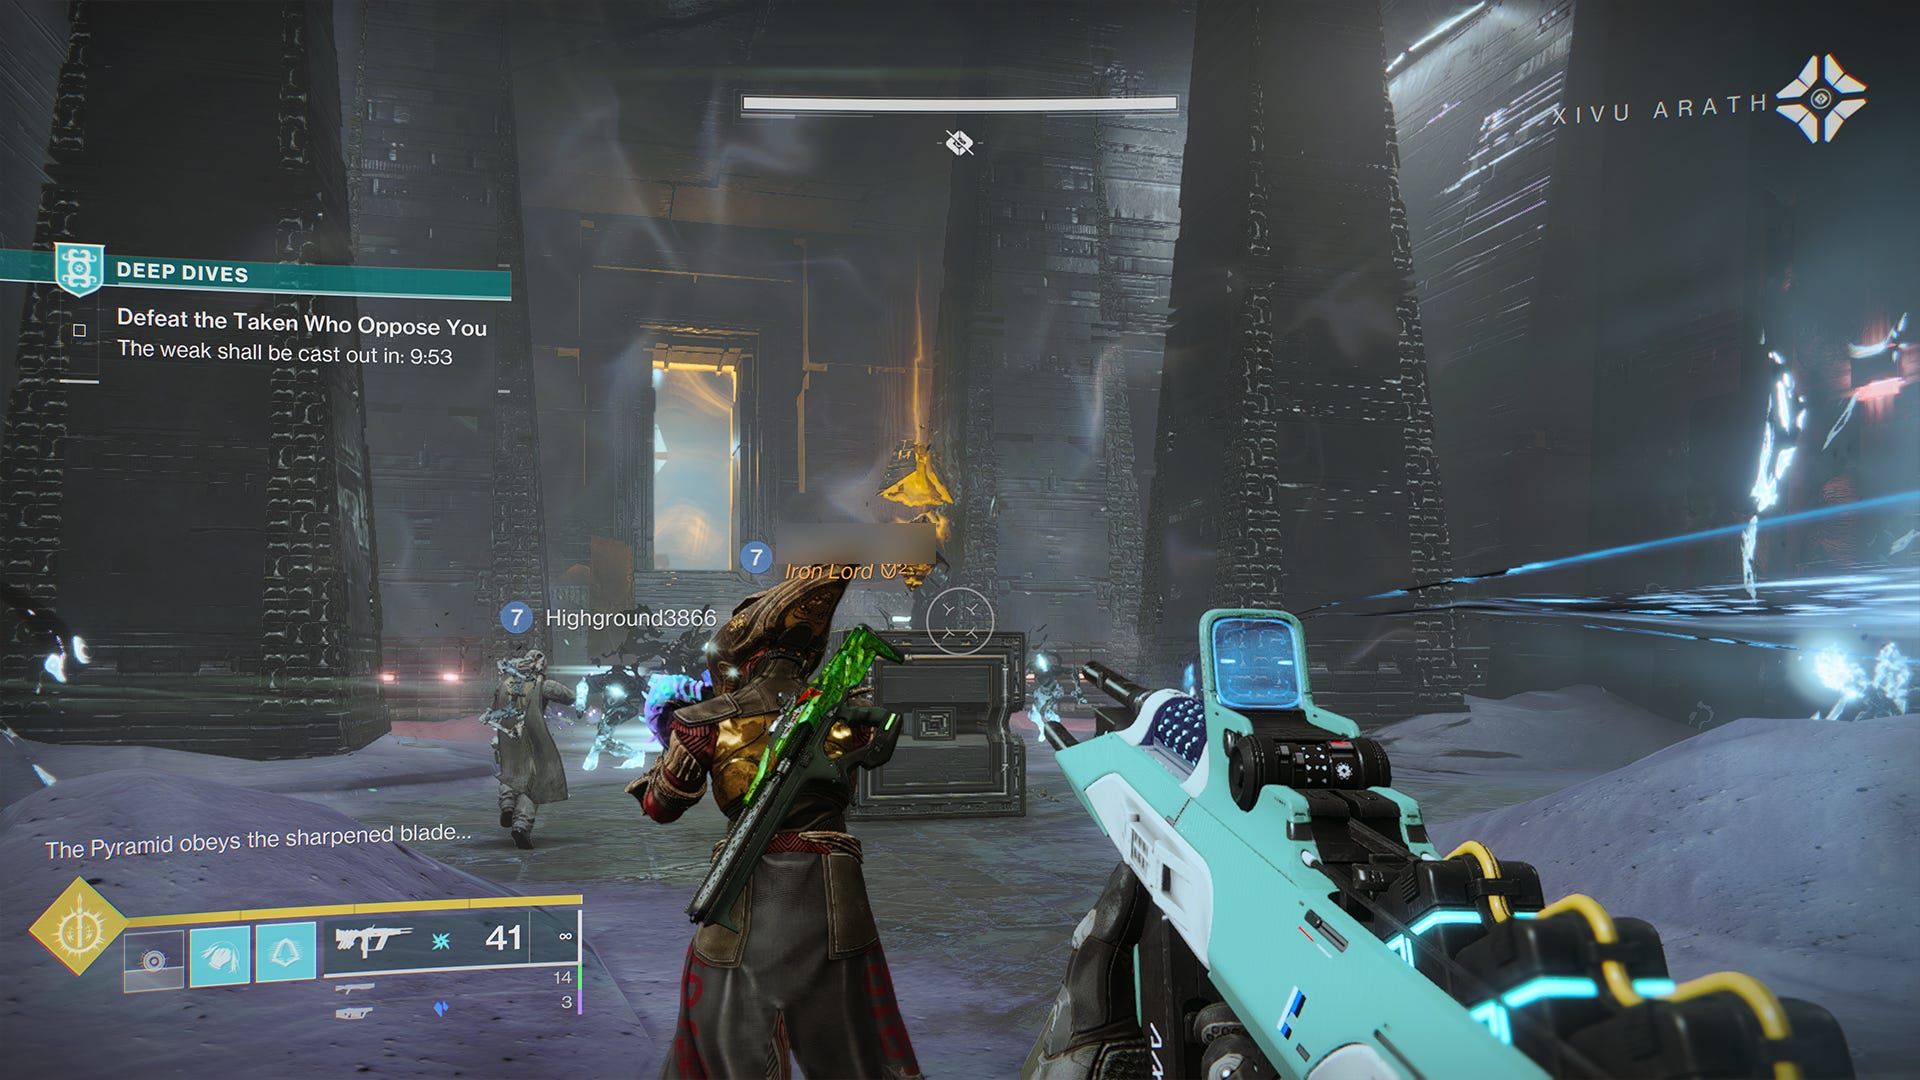
Once Khull makes his retreat a door will open. Pass inside and you’ll find yourself entering a Temple of Darkness. A timer will begin counting down from 10 minutes, warning you that, 'The weak shall be cast out as it counts down.' If you don’t finish the rest of this mission by then, everyone will be returned to orbit, and the mission is a failure.
The room will fill with Taken adds. While you deal with them, locate two Darkness Shards. One will be dead center in the room, the other will be under the staircase dead ahead. You’ll need to shoot each once to activate. Activating both opens the barrier up ahead that separates you from the room with Khull.
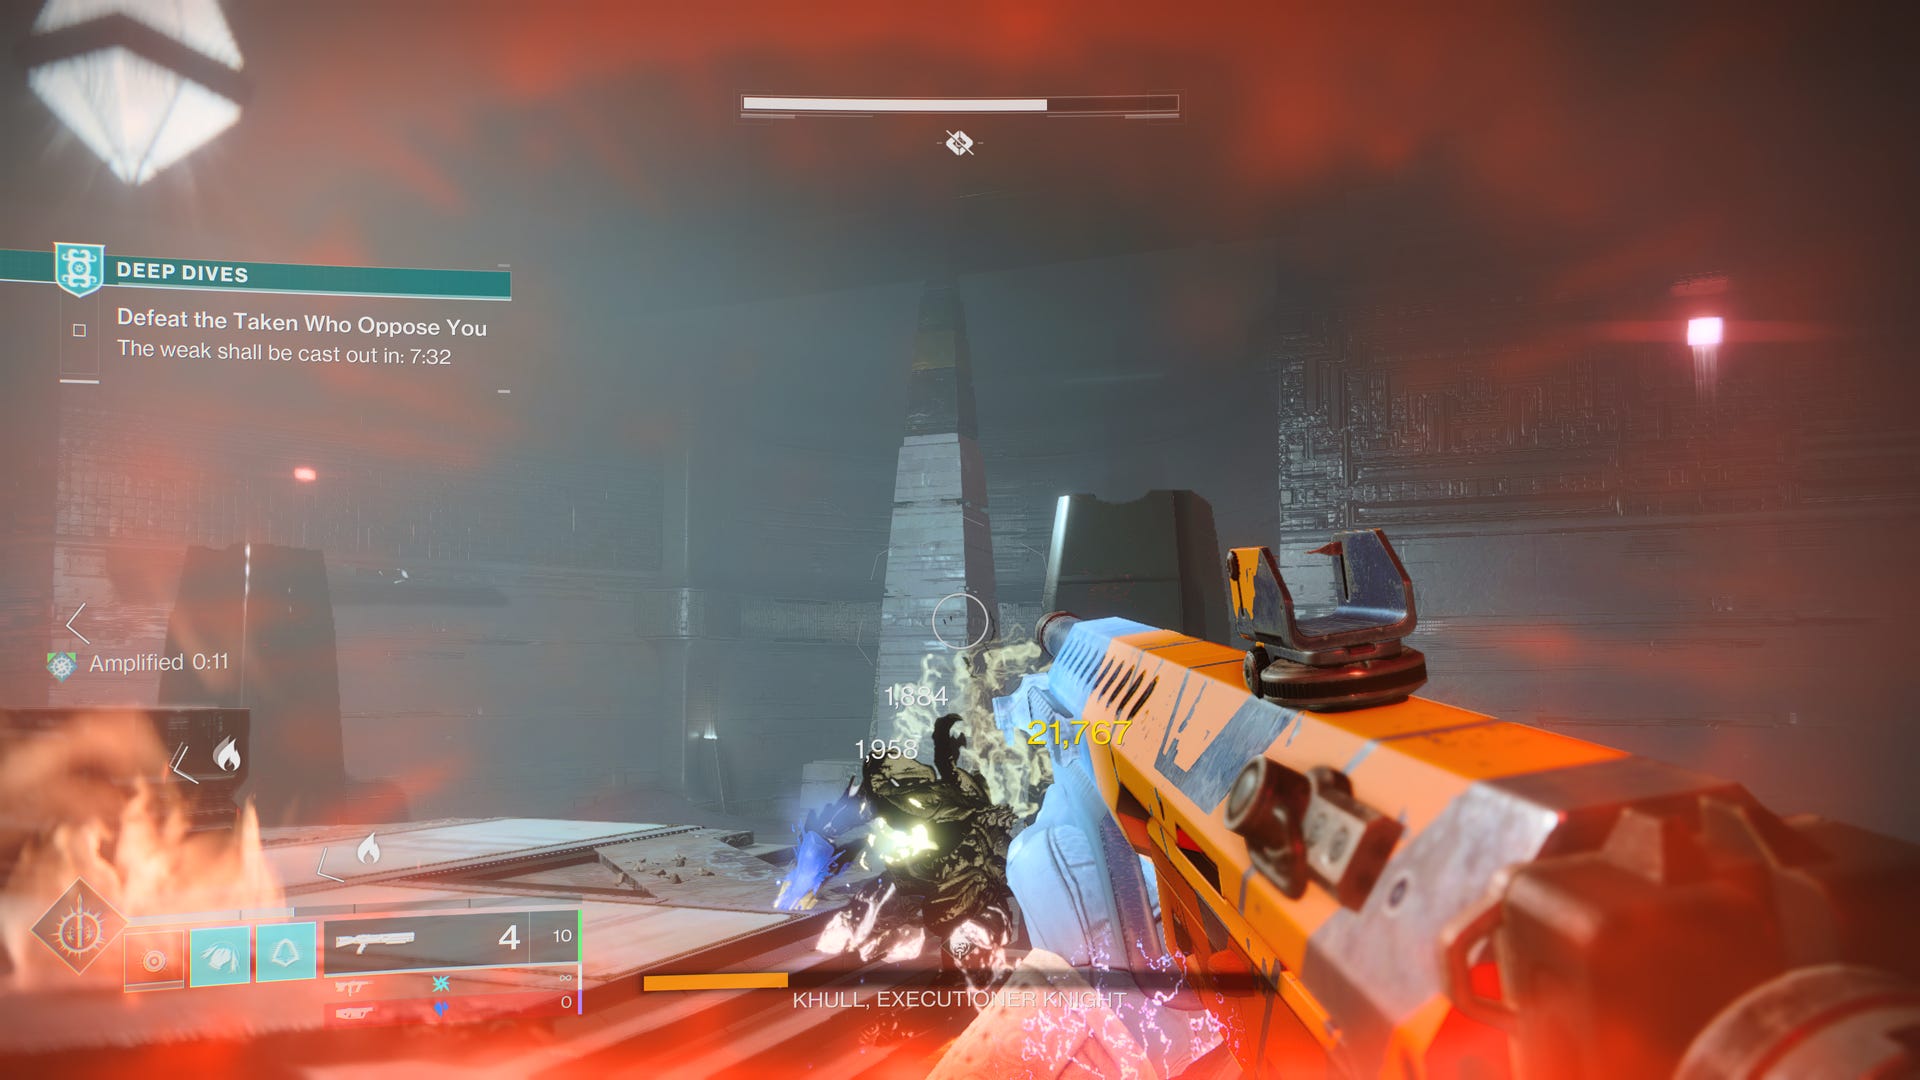
The rest of the fight with Khull is similar to the first phase. You’ll need to hunt down the Honed Minotaurs to get the damage buff in order to kill Khull quickly. This time the Minotaurs are hiding behind more of those transparent barriers, one on each of the other three sides of this rectangular boss fight room. Shoot the Darkness Shards near each barrier to open them. The damage buff does have a timer, if it reaches zero the buff ends. If this happens the Minotaurs will respawn, and you must kill them again. Focus on defeating Khull as quickly as possibly, as time is of the essence. Once he falls, another door will open.
Grab the rally flag. and proceed to the final boss.
How to defeat Omen Blade of the Black Terrace in Destiny 2
The final boss of this mission is Omen, Blade of the Black Terrace. This nasty fellow is a Tormentor. You may remember from the Lightfall Campaign these have a lot of mobility, ability suppressing attacks, and a big critical hit spot on the chest. Like Khrull, Omen is very damage resistant initially.
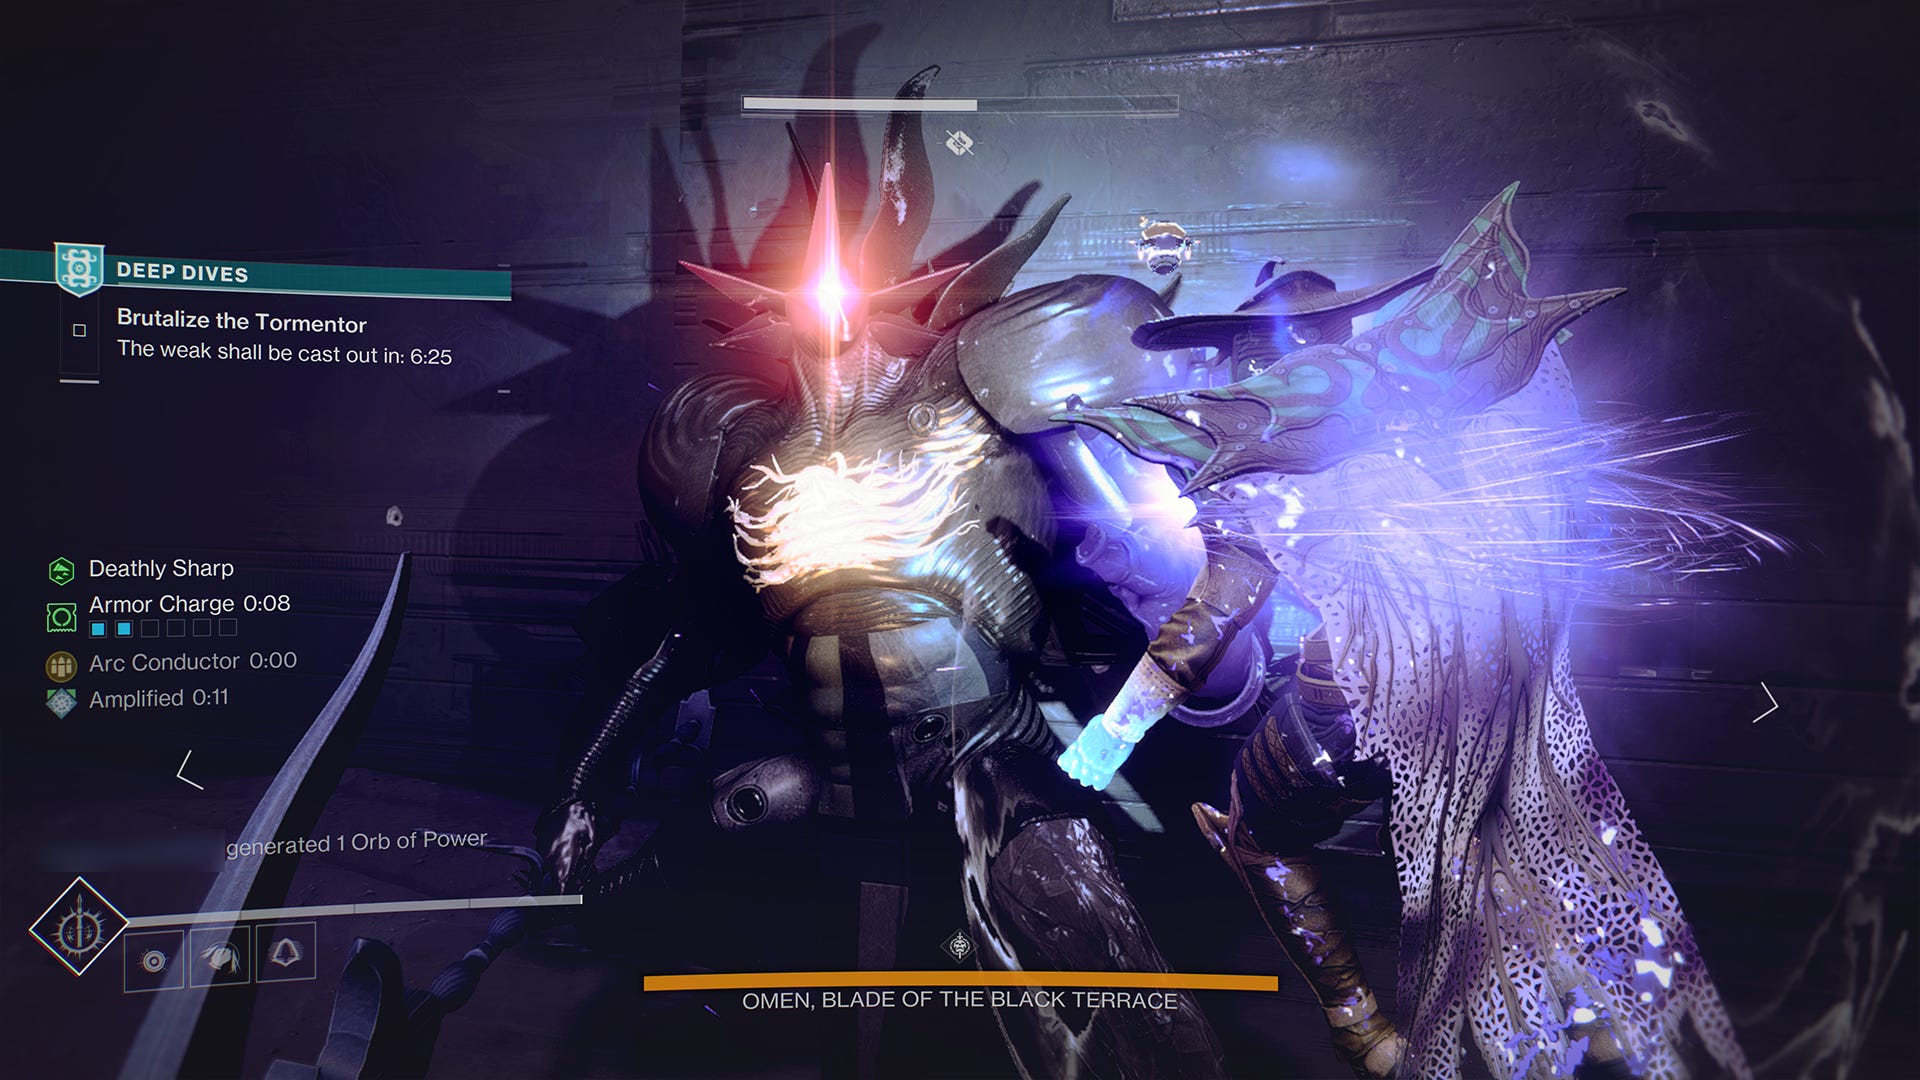
The boss fight arena is roughly a large square, with dividing walls and staircases throughout that make the space into a labyrinth. The central room is relatively wide open, and tends to be the ideal place for the boss damage phase.
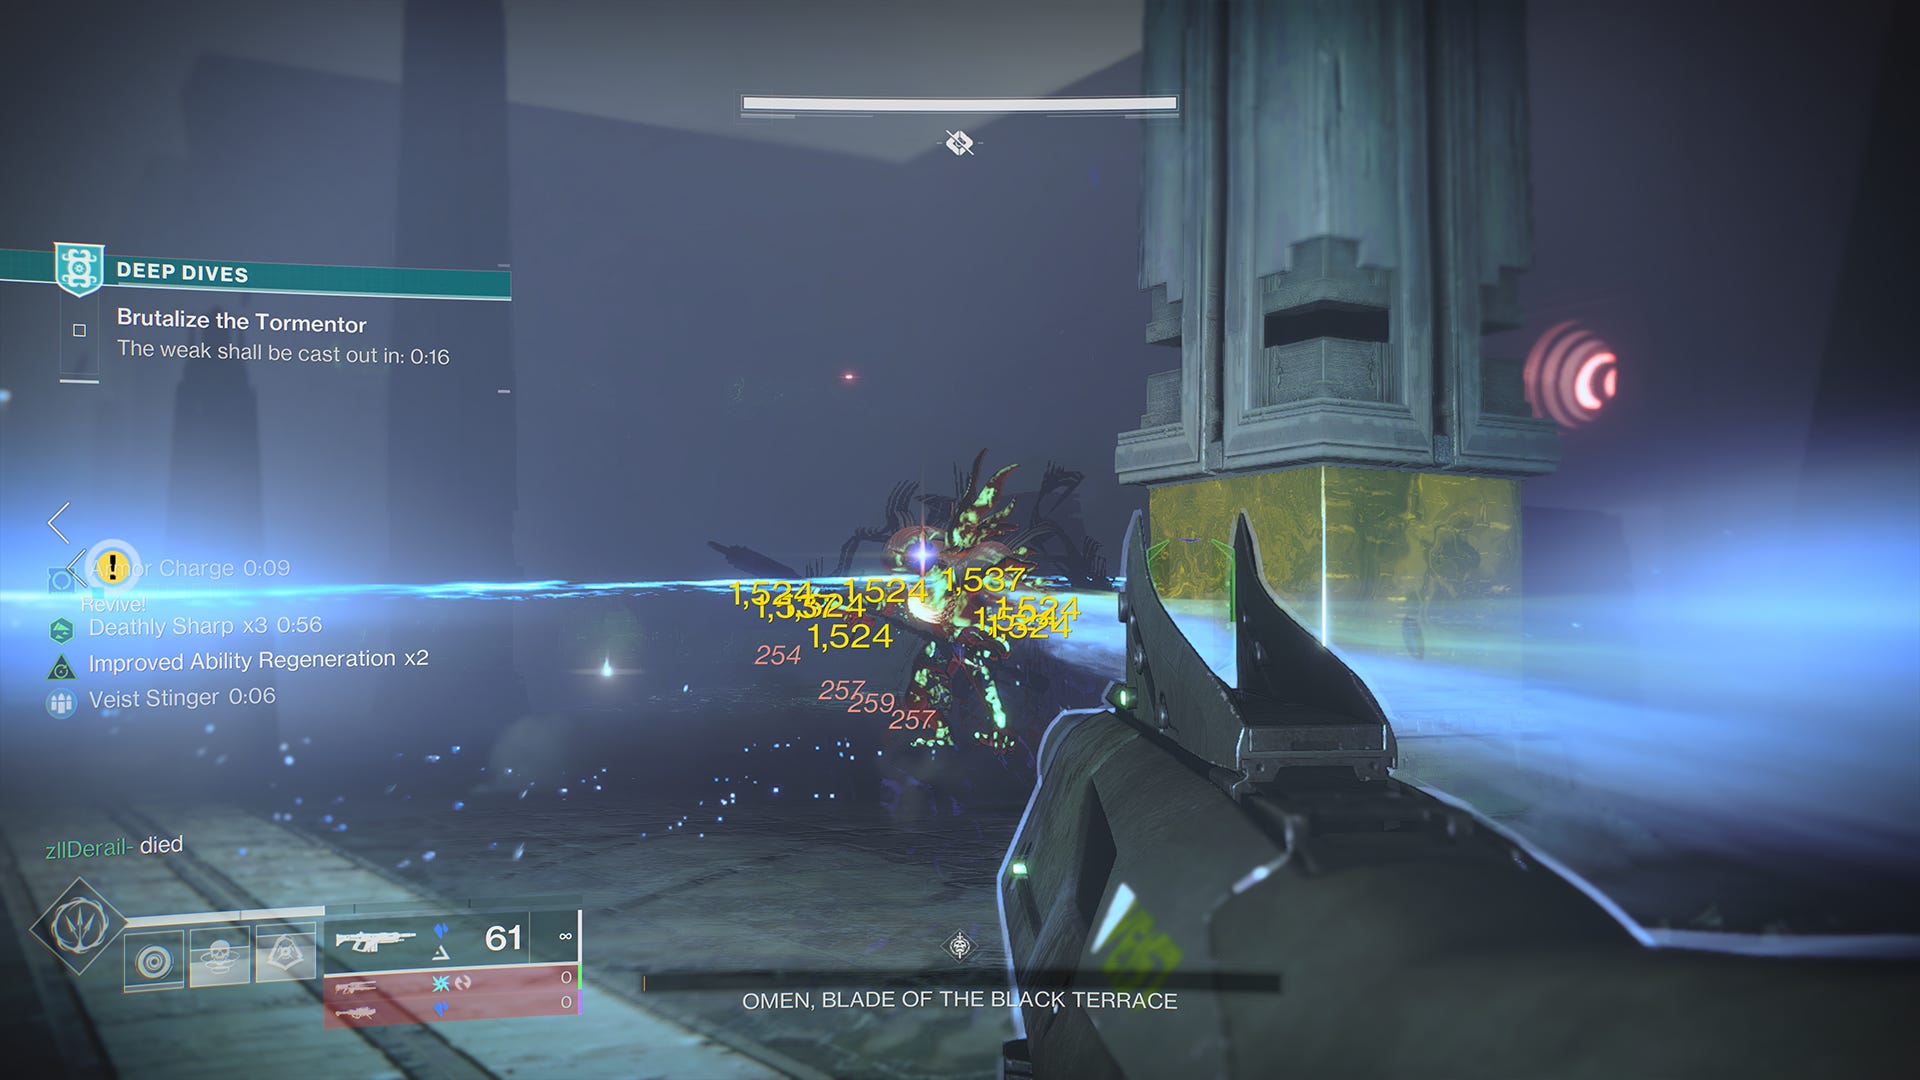
You will once again need to kill three Honed Minotaurs to get the buff that enables boss damage. The Minotaurs are scattered throughout the arena, and you will need to hunt them down quickly if you are going to defeat Omen before time runs out. Ideally have your team split up. After a short while any Minotaurs that you have not located will have markers placed on them, helping you track them down. Omen will be attacking your fireteam while this is happening, do your best to stay ahead of him.
Once all three Minotaurs fall, converge on Omen, and start unloading damage as quickly as possible. He will leap, slash, and pull at you and your fellow Guardians. Stay alive, but keep dishing damage, preferably with critical hits to his chest area. Divinity creates a sphere that acts as a larger, easier to hit weak spot, having one on your team here makes things much easier.
Eventually the damage buff will run out of time. The Minotaurs will respawn, hunt them down again and repeat the process until Omen is no more. Now work your way to the middle of the rear wall of the arena, and it will open to reveal a Darkness Statue.
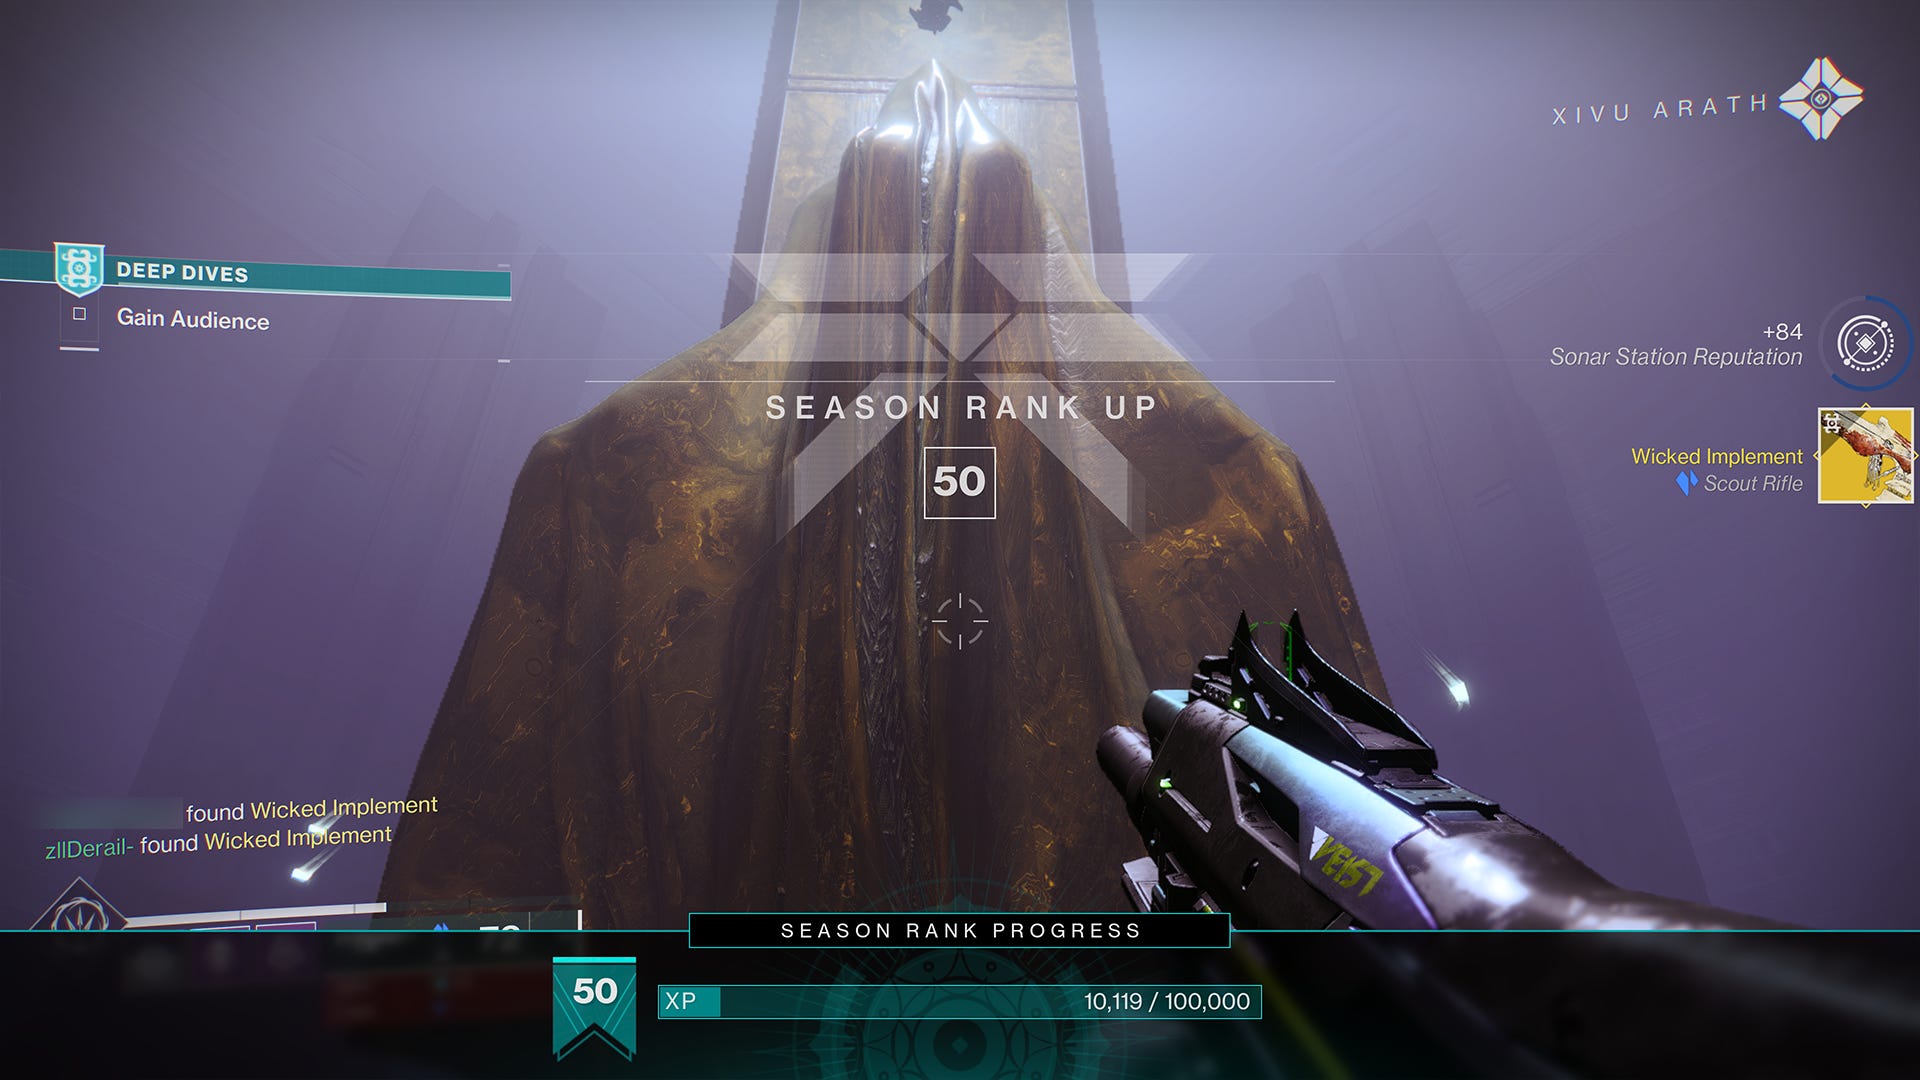
Interact with it to clear the mission, and claim your Wicked Implement.